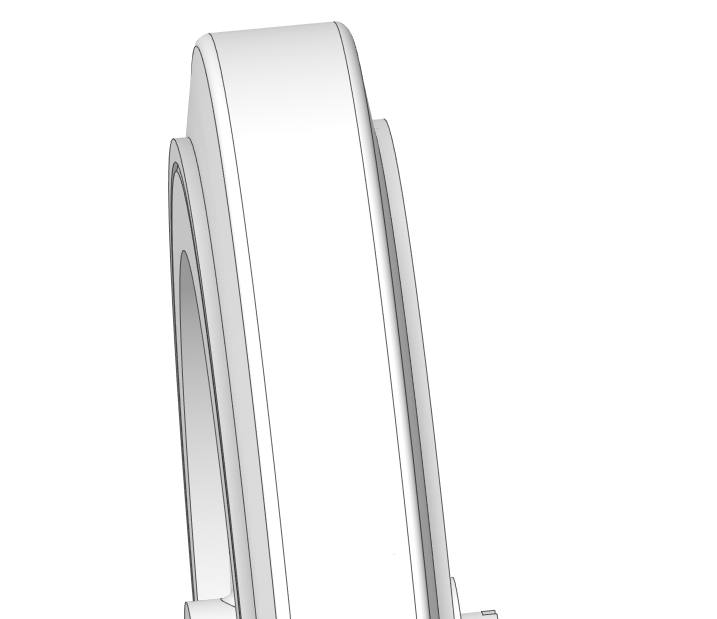
Yes, I did update the file with the updated wheels. I also increased the casting text height, which looks unnatural on the STL, but prints way better. This could be scaled down to 1/35 (just reduce by 219%) but for sure some details will be lost.
1 Like
It might be a nice option for takom’s 35th kit as the PE rings they give a hair small.
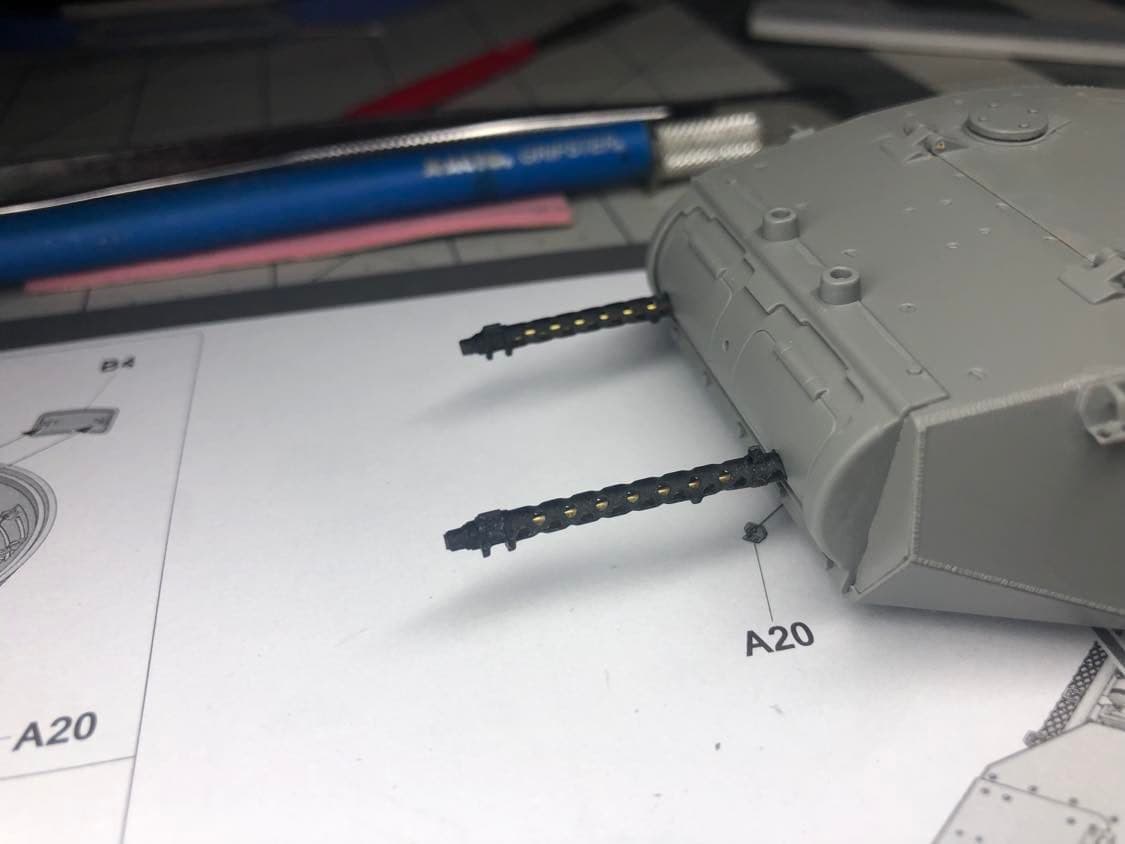
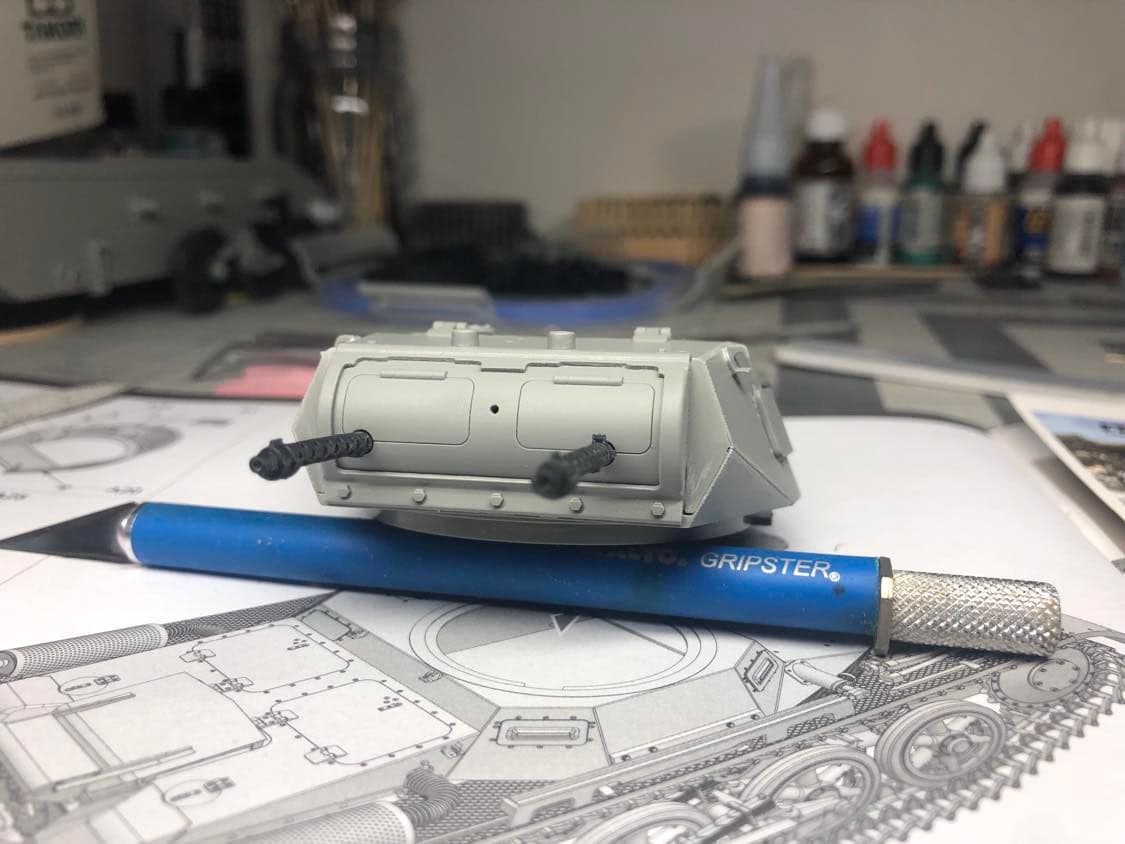
I finished assembly of the turret, it was quite simple but needs further work. I probably printed like 15 MG13’s until I had the idea to use a 1MM copper rod as the gun barrel and just print a hollow barrel jacket. This stopped the part from warping when post curing. It came out really nice and gives the correct length on the gun. The kit provided MG 13’s are in fact too short as compared to the real thing, in scale the kit is short by something like 3.5mm.

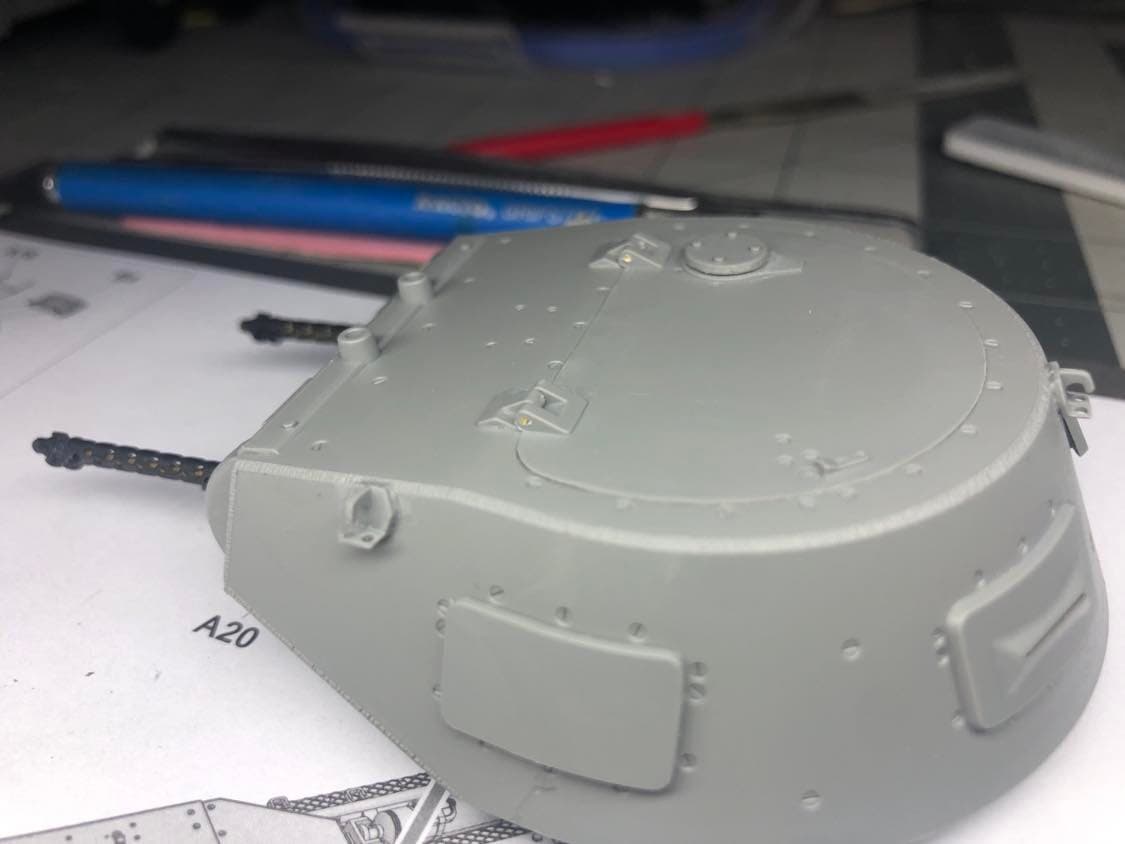
As for the turret assembly, there are gaps at the front and the welds seams kind of don’t line up as nice (see photo below). The hinges are also missing detail of the bolts, I drilled .5mm holes and inserted brass wire which also allows the hatch to work, not that there is anything to see inside though. I also drilled out the gunners periscope, as it was just an indent in the plastic.
I am still fiddling with the 3D printed wheels, I had a set that I thought I would go with, but I feel like the rubber on the wheel is too wide, so I reduced it by .5mm (updated the STL file) and am reprinting them now.
3 Likes
Fantastic work on the MG13’s! They look to be accurate.
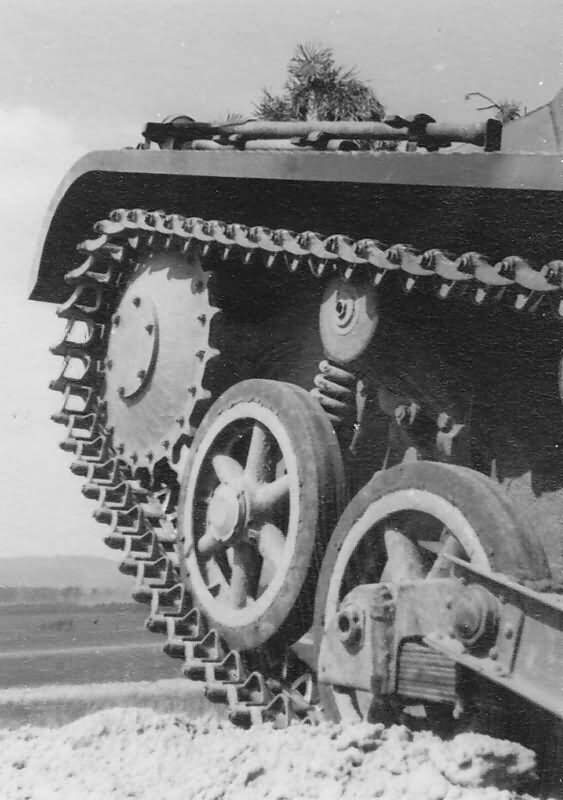
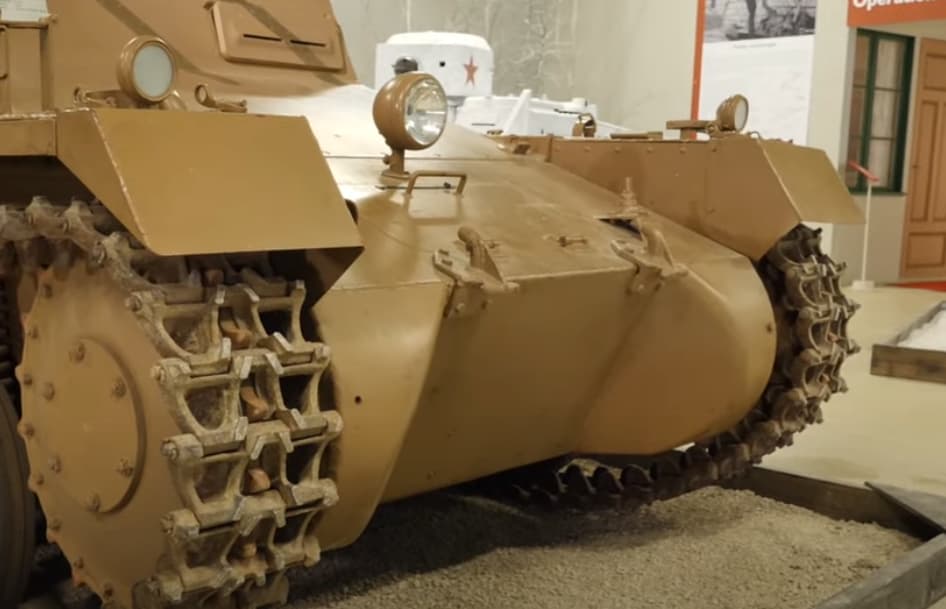
As for the tires…. my understanding is that in cross-section they are actually trapezoidal. Wider at the base where they attach to the rim and slightly narrower where they meet the track… if we’re picking nits. 
Yeah, that is correct. I’m not sure what the actual angle is but you can kind of see it here on this Ausf.B. I might print 1 more set with the taper just to see.
Here is the taper, and hopefully the last change… I hope. lol.
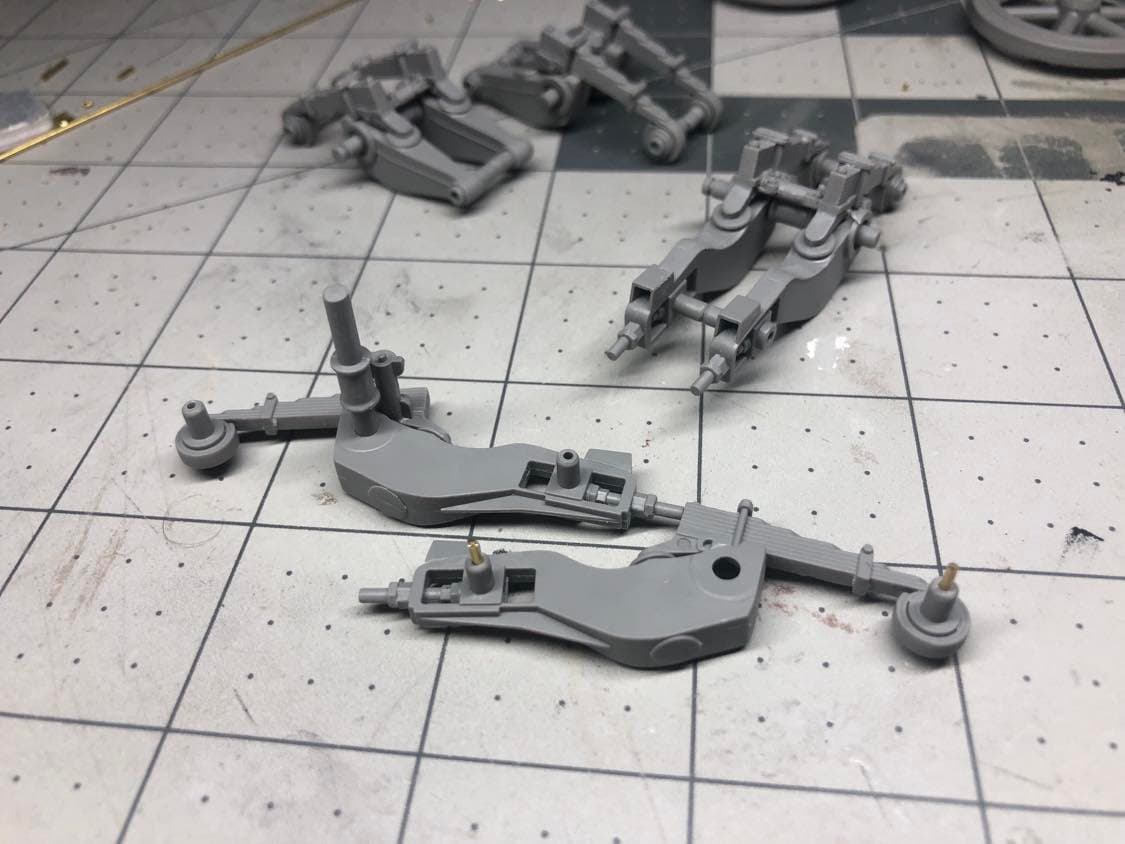
While I continue to struggle with 3D printing these wheels (having some finishing issues with post curing), I was dry fitting the suspension again. I don’t know if it is just my kit, or what, but the fit without gluing the wheels to the bogie is “cheap”.
The wheels wobble side to side in the assembly and there is nothing to keep either end of the assembly from flaring out if your plastic part is slightly warped, which mine is. You could glue the axles together with the wheel on, but this would add more complication for painting. If anyone else has this same issue, you can drill some 0.9mm holes in the axles and press fit a 1mm copper rod in one side which creates a really nice sturdy fit and stops the bogie from flaring out. This is probably just me going overkill, but I want the working suspension because I intend to put this model on a base with terrain (i.e a vignette).
2 Likes
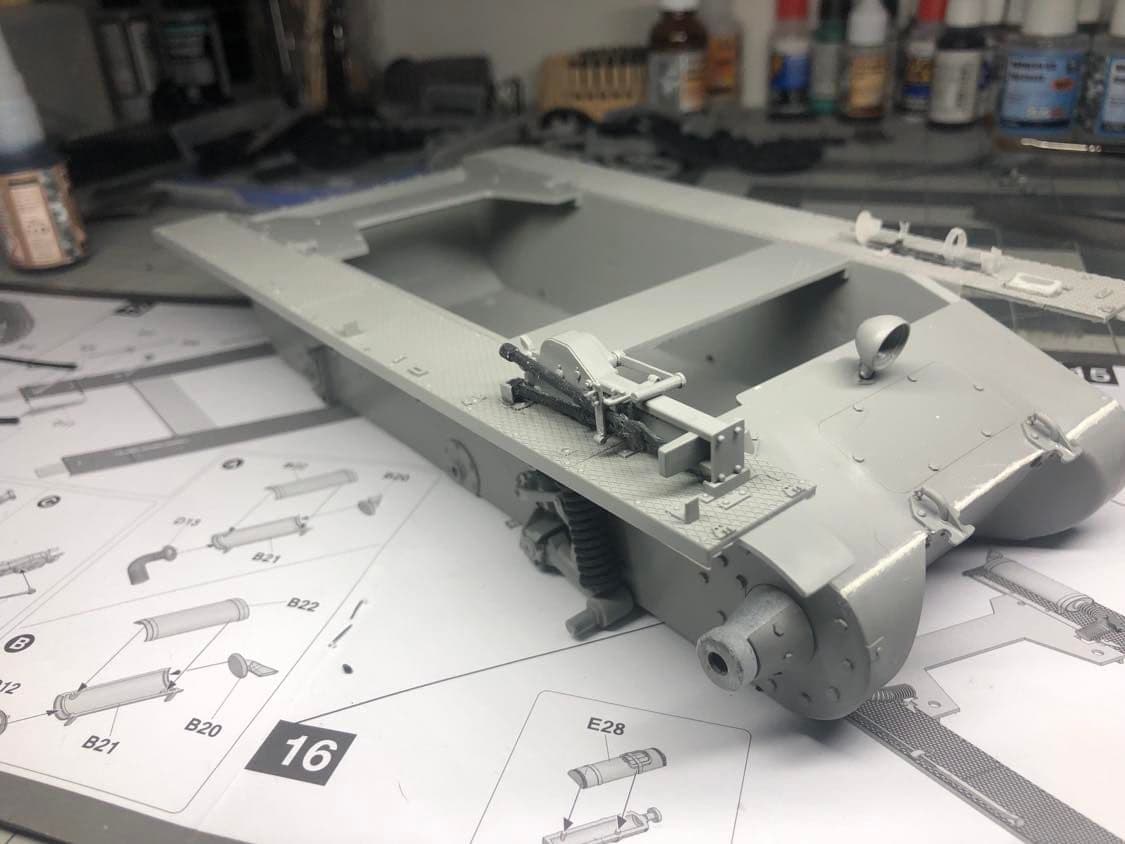
Me again. Finished the rear of the lower hull and started working on the upper deck, with some 3D printed goodies of course.
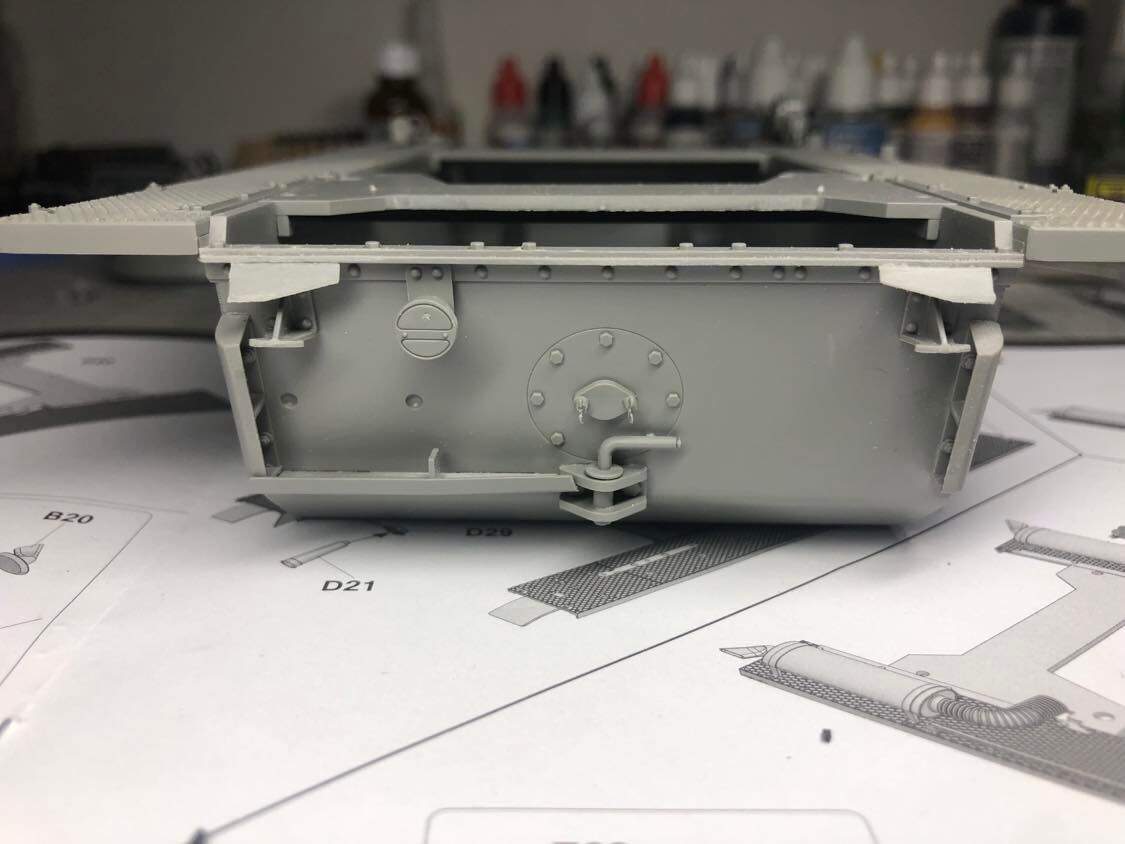
With the front of the hull, I tried (emphasis on tried) to show some arc weld beads as they appear on the real thing. I think they are out of scale, but what is helpful is that natural welds are sloppy. It’s hard to catch a good photo, but the arc weld detail is there.
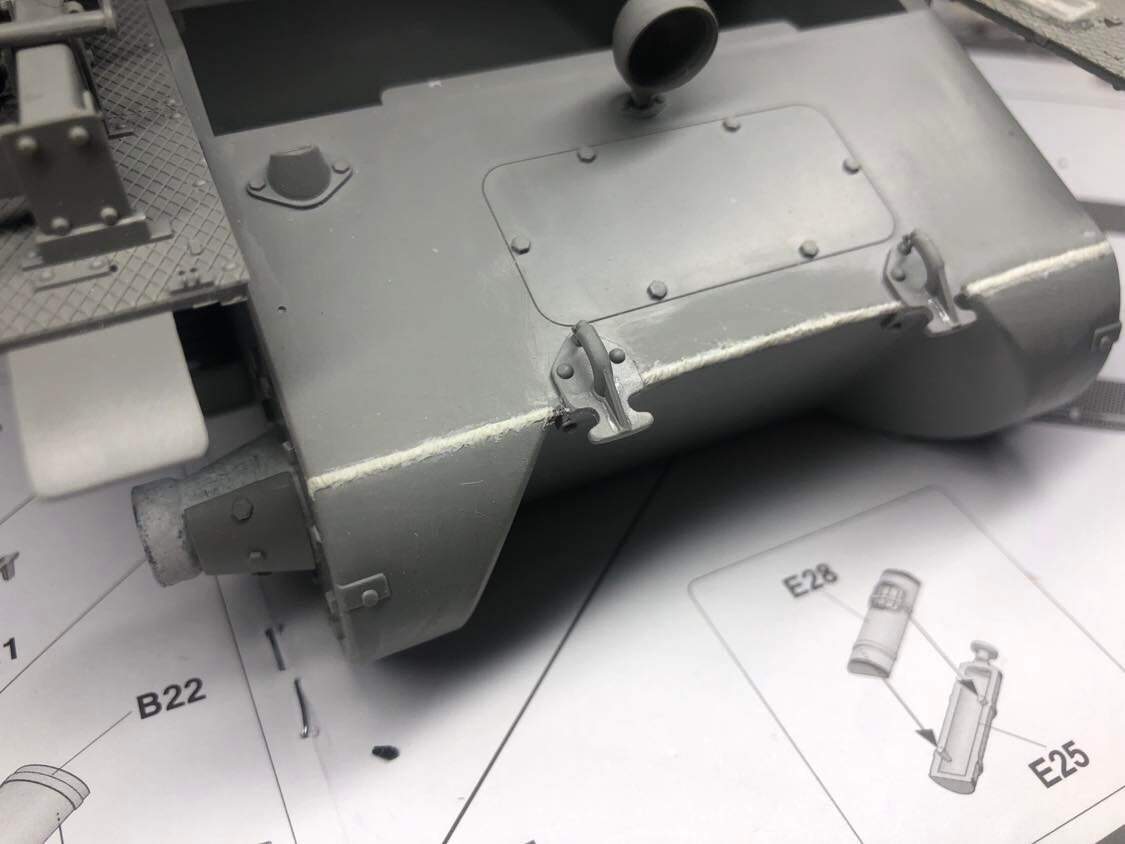
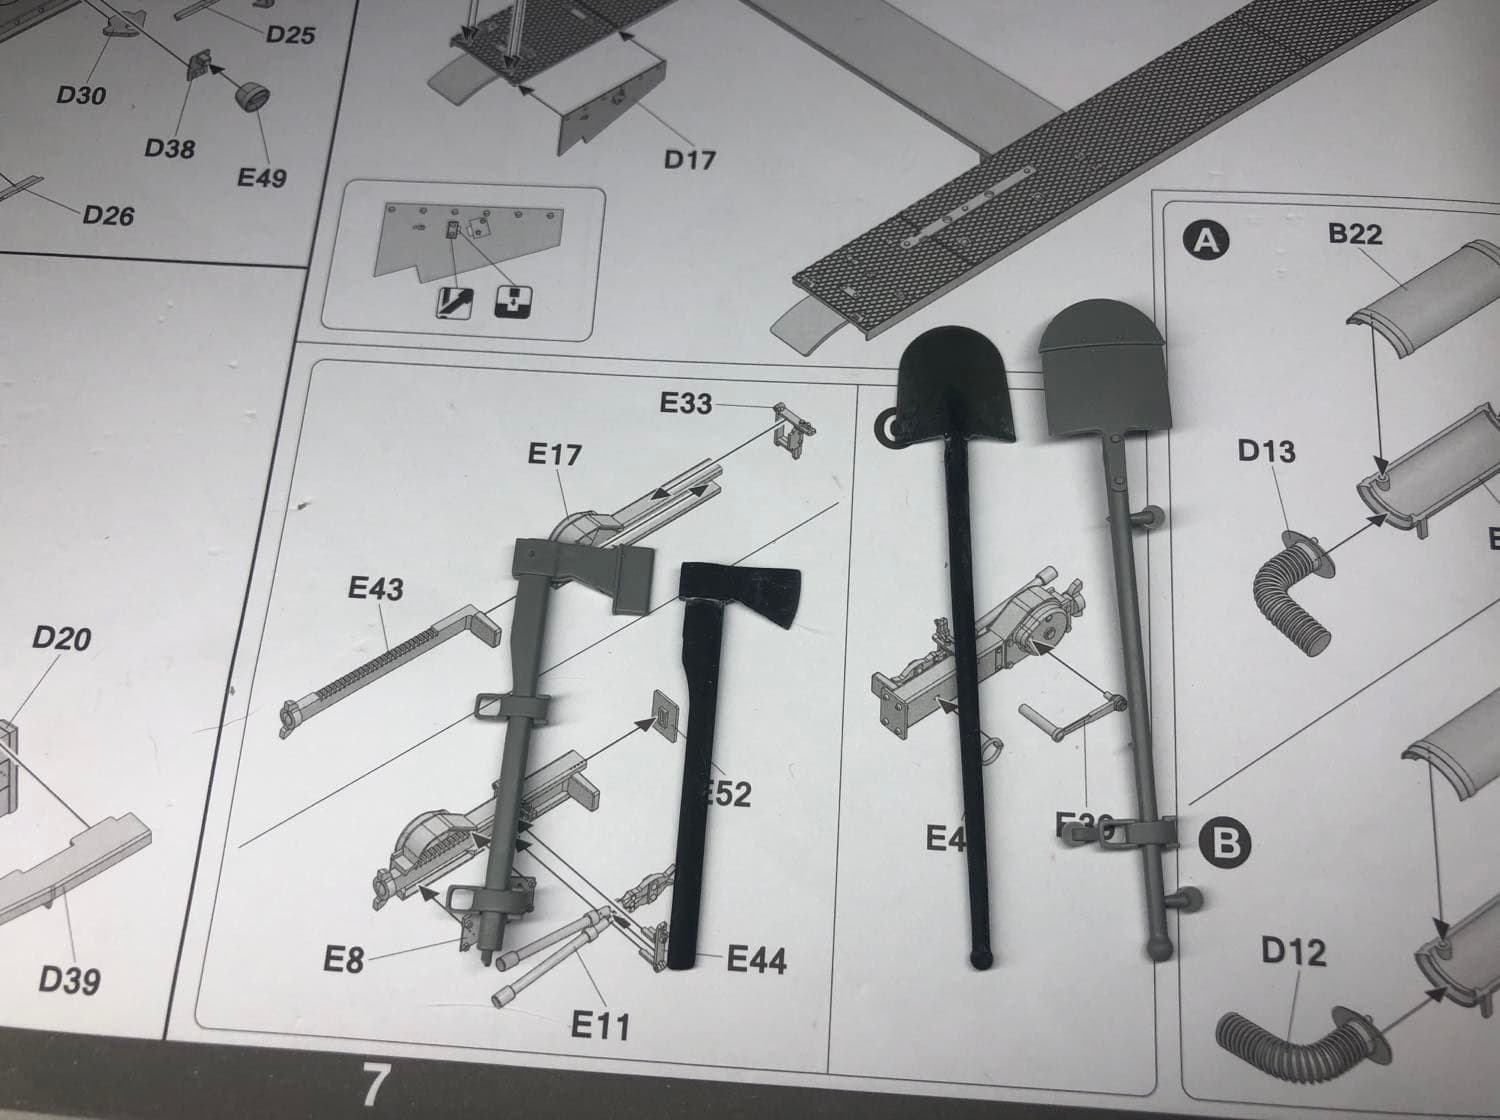
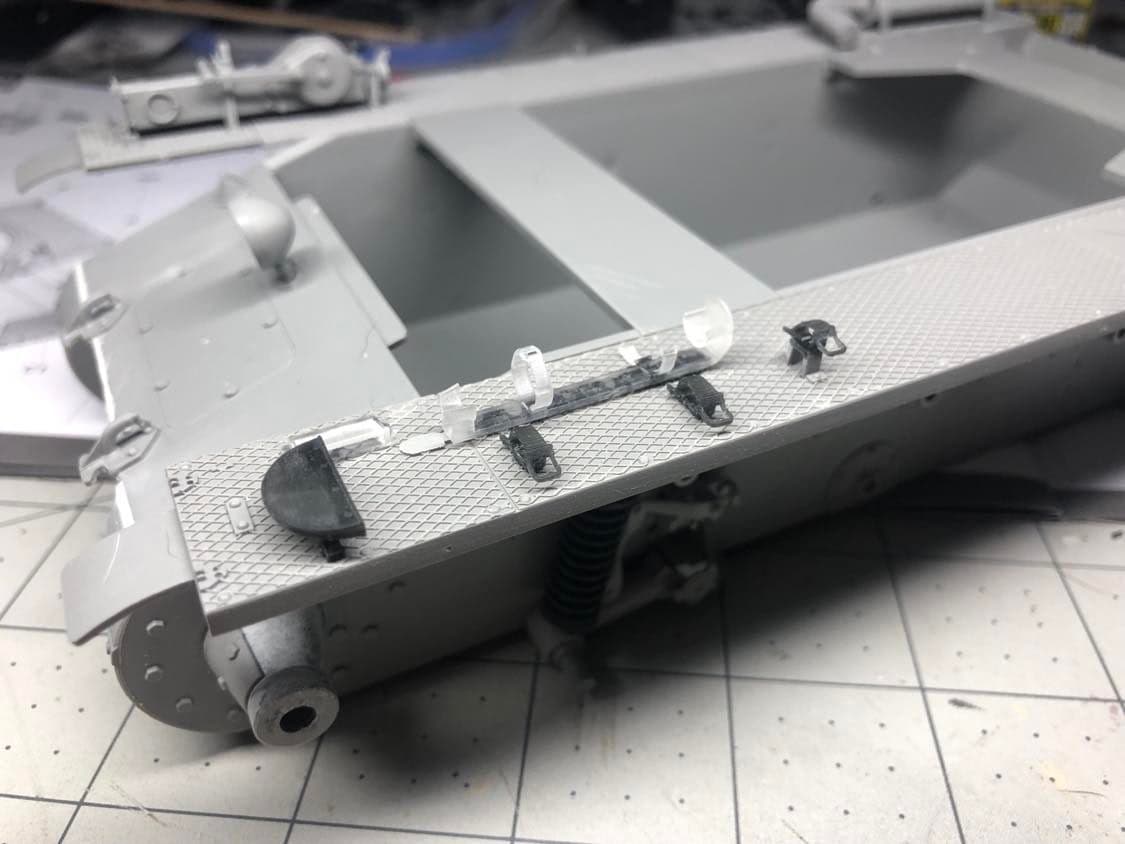
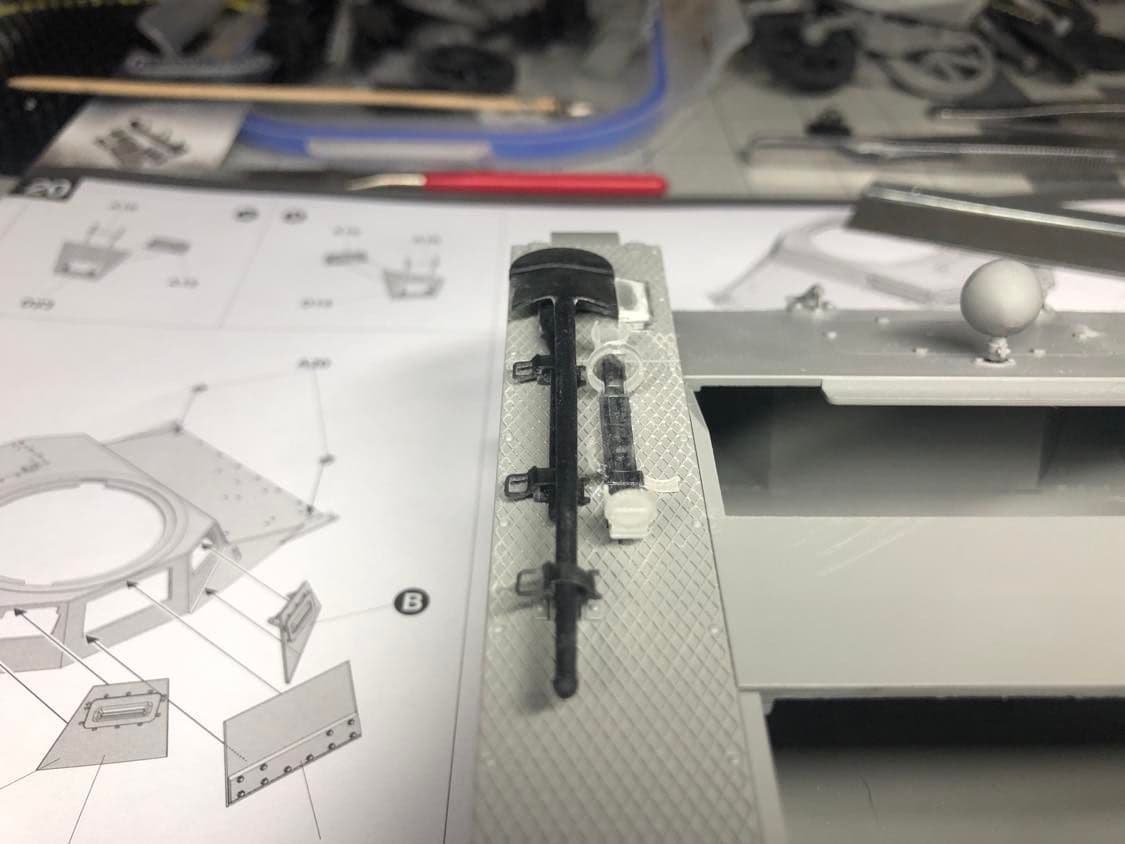
Next up was some of the tool mounts on the fenders. I started with a fire extinguisher mount and the axe sheath from FC Model Trend. I would like to model this without the fire extinguisher for more visual interest, and the FC Model Trend mount is nice for that.

I also 3D printed my own tools, rather than knocking the molded on clamps off the kit provided tools. I got the jack assembled (pain in the ass, btw). Just need to print some clamps for the axe and the shovel now.
2 Likes
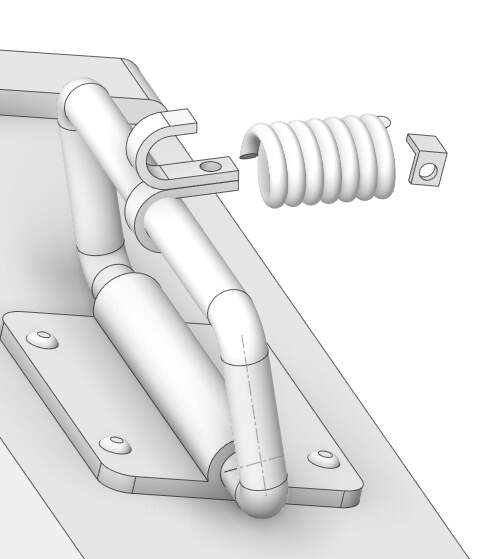
There is a small spring for the jack block-could you make that in 3D?
Probably, does it go between the base and the L shape?
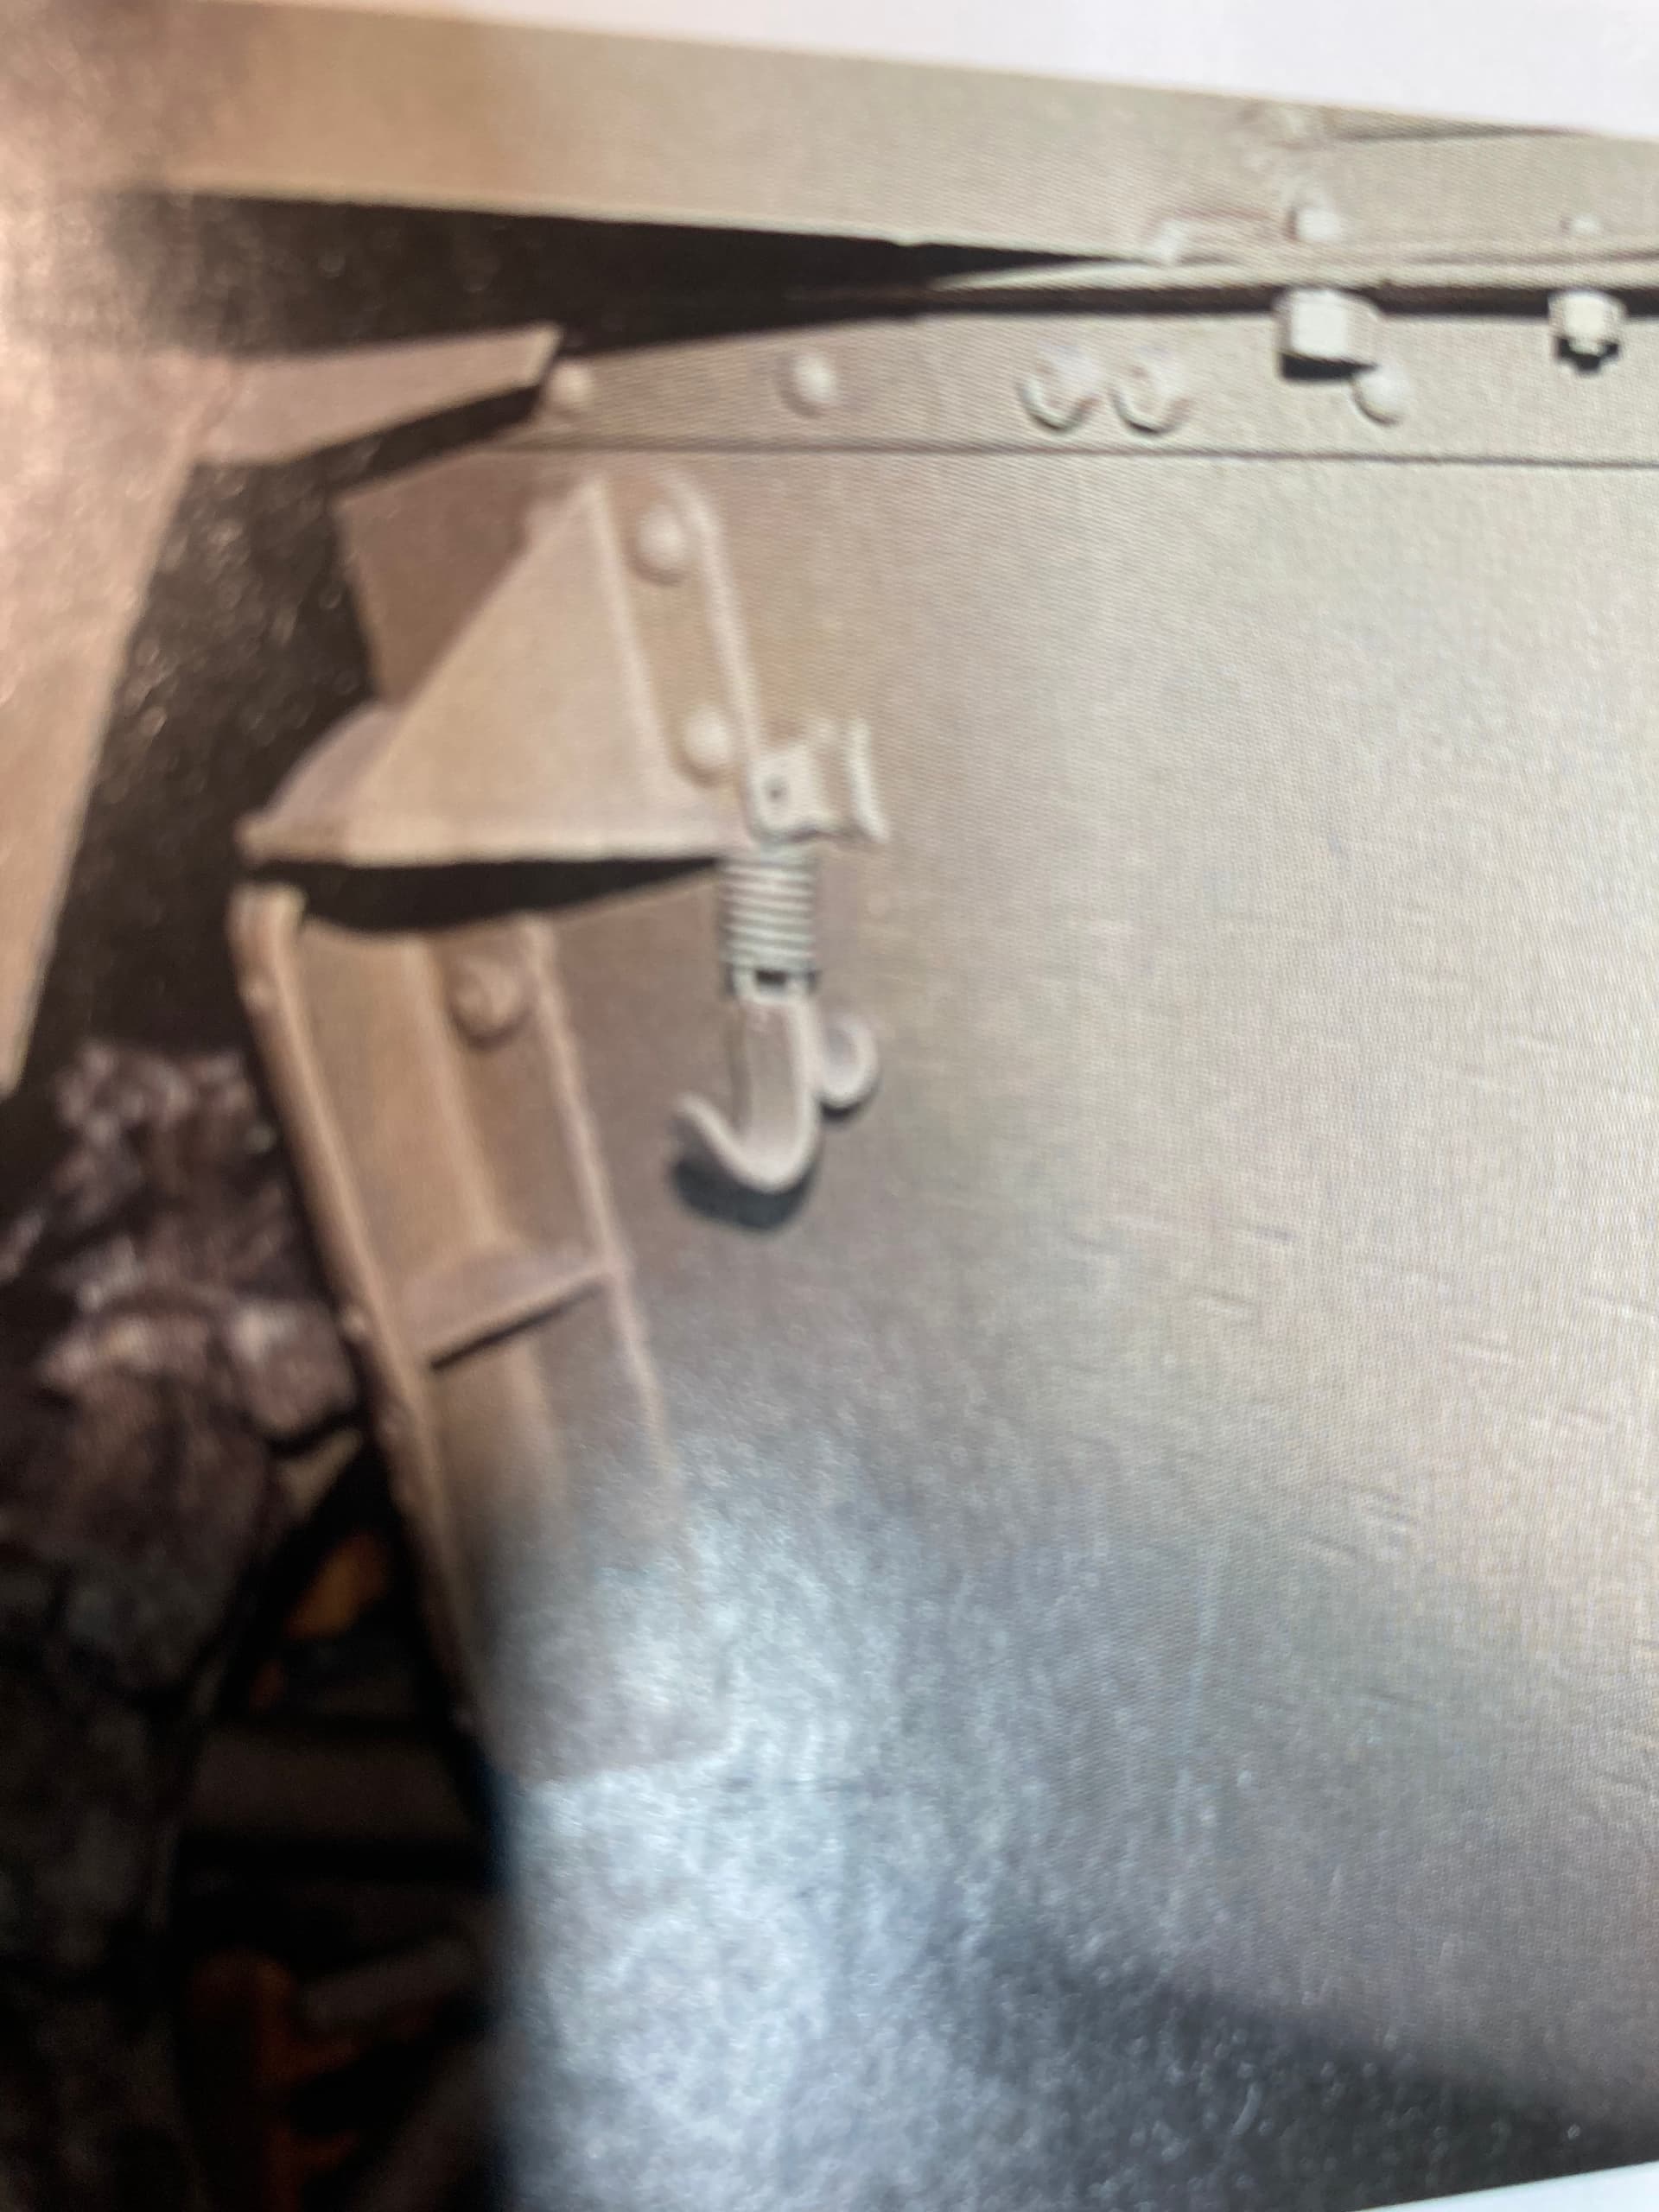
I’ll find you a pic
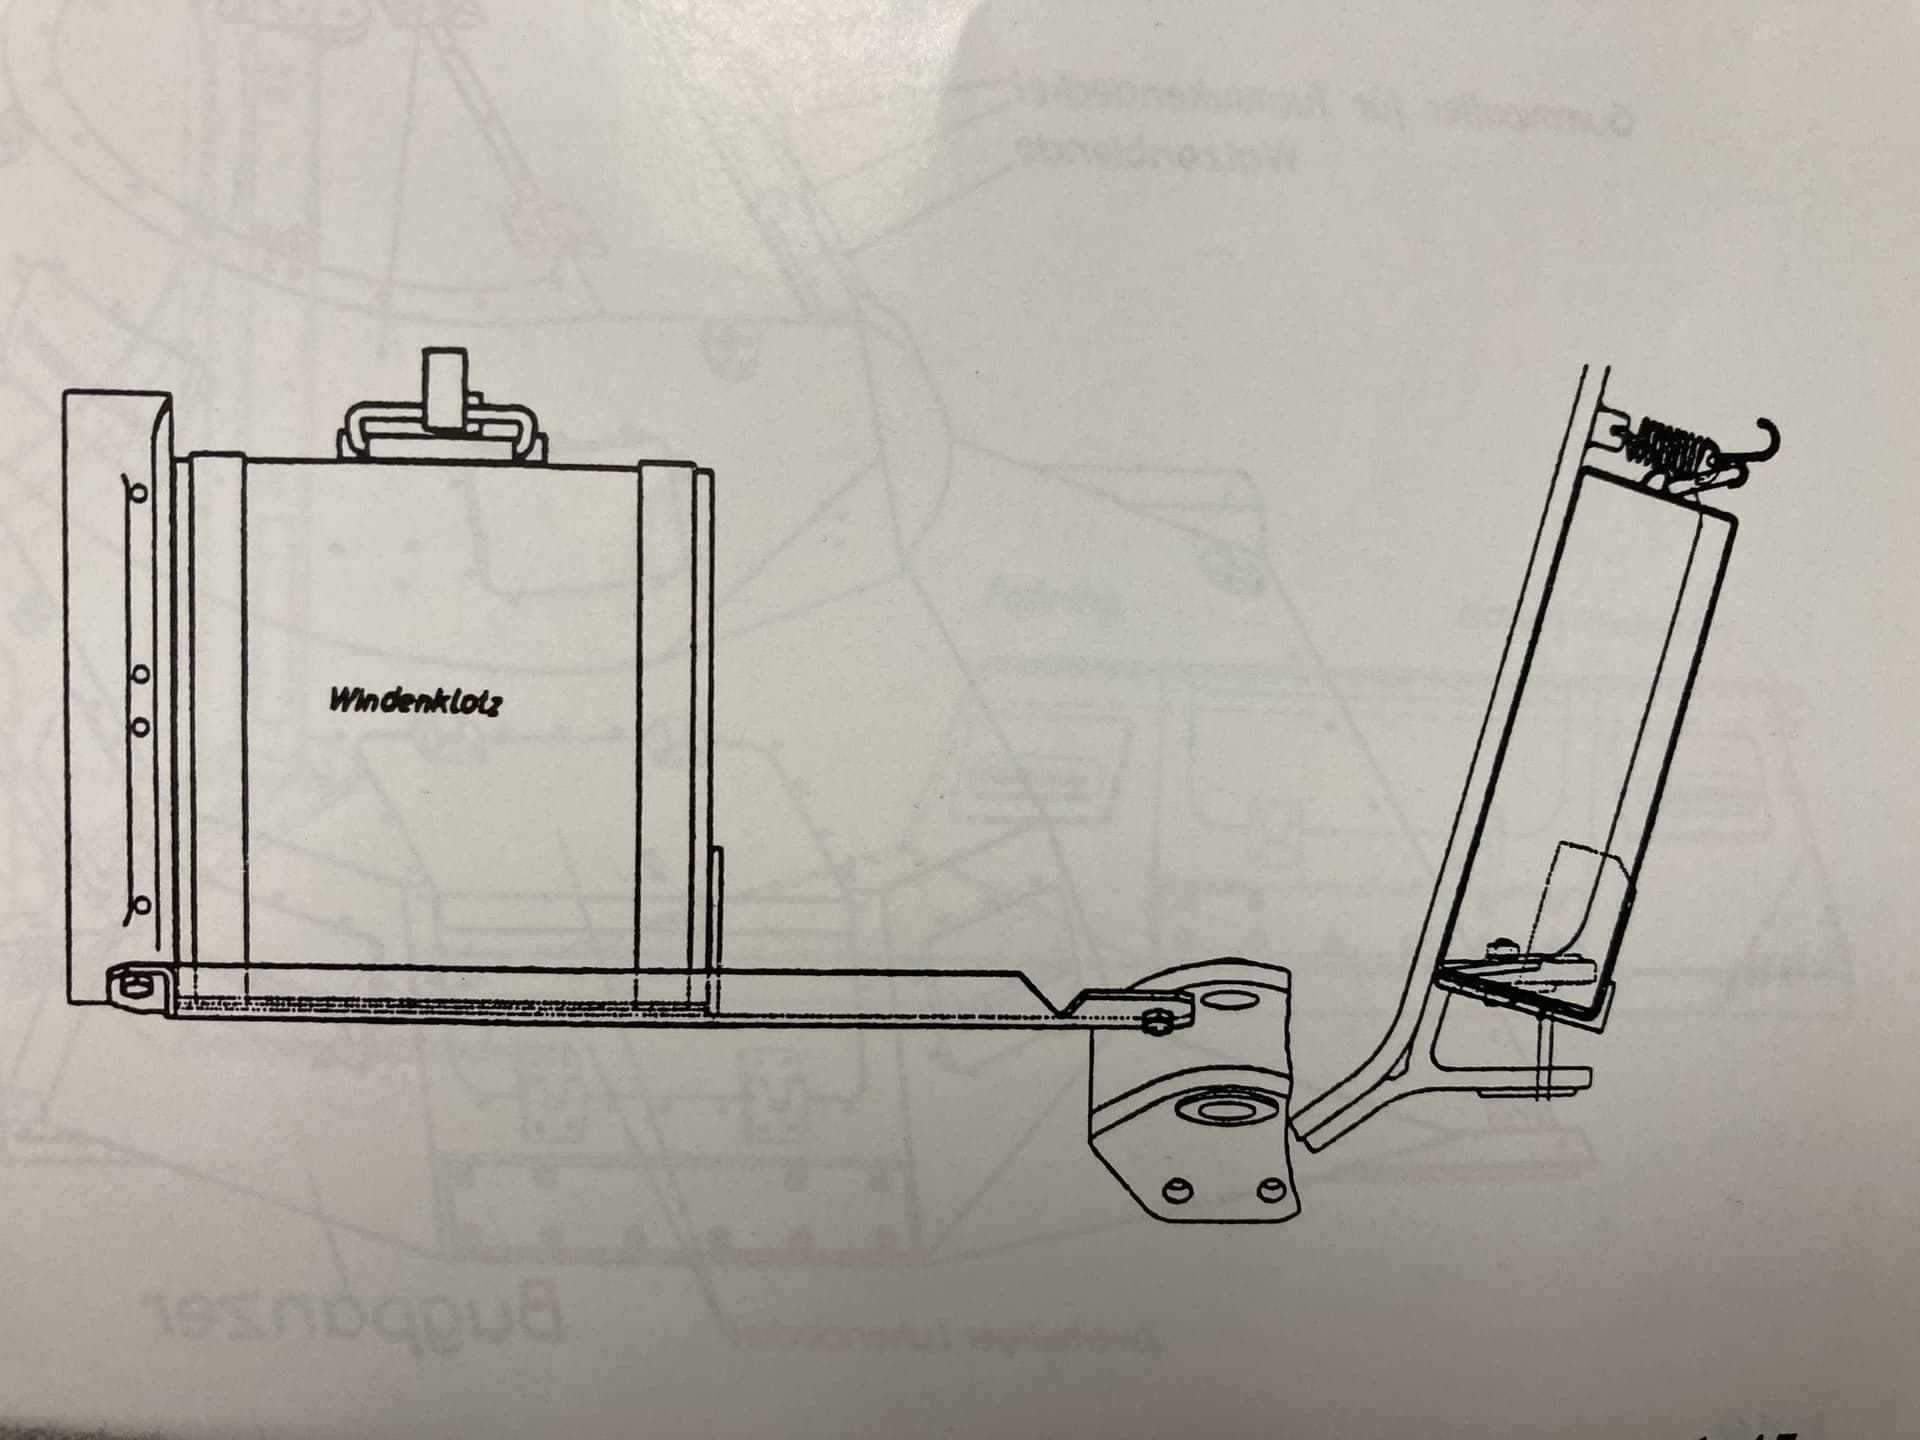

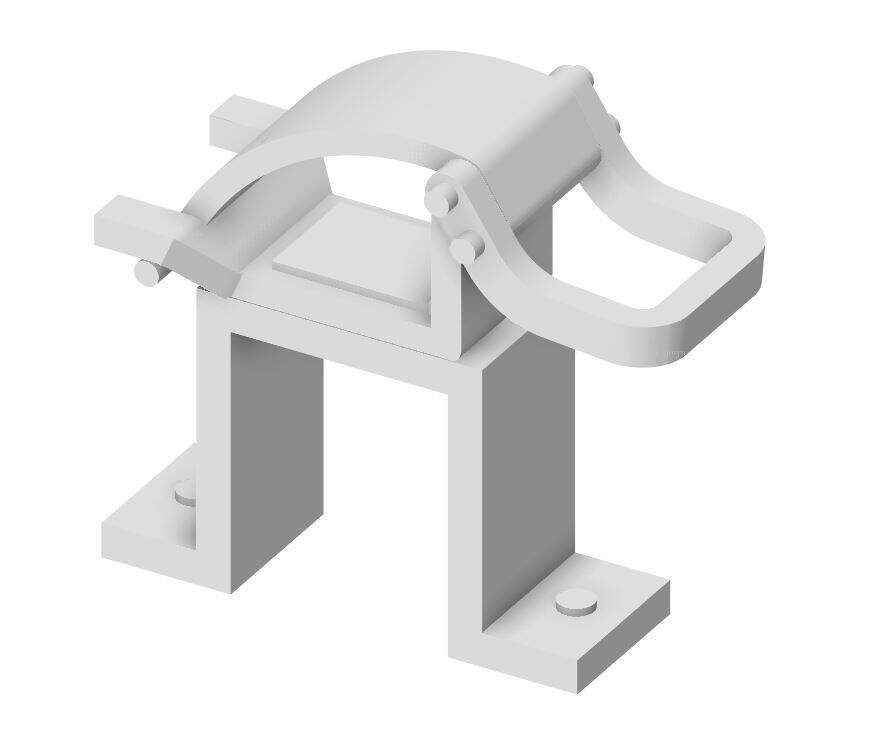
Oh, I see. Its the part that holds the jack block to the hull. I can probably 3D print that, actually. It might be tough with the size though. I will probably give it a try 
How is the spring attaching to the mount? From what I can tell this is the orientation, but I’m not sure how the spring attaches to each side of the part.
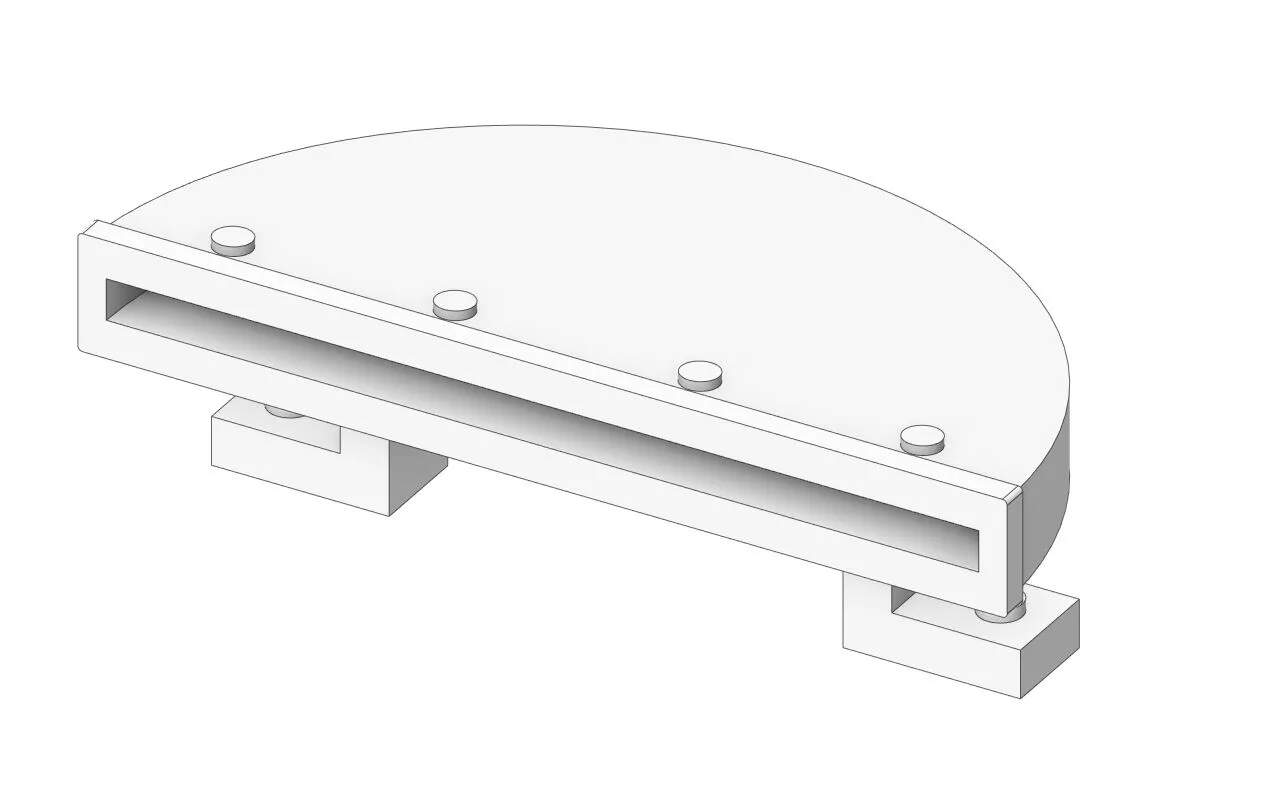
This part is so small, I think it will be possible to print it attached to the jack block so it can be reinforced. Also the kit provided jack block has the handle in the down position, so a new jack block would be required.
I’ll look into it some more and see if I can find period pics.
At least a new jack block wont take super long to cad up. I was thinking the same thing, that it would be easier to do it all as one 3D printed part.
That will be the plan, but I’m still confused how that spring attaches to each end of the part. It looks like rings, which I assume are wrapped around the spring.
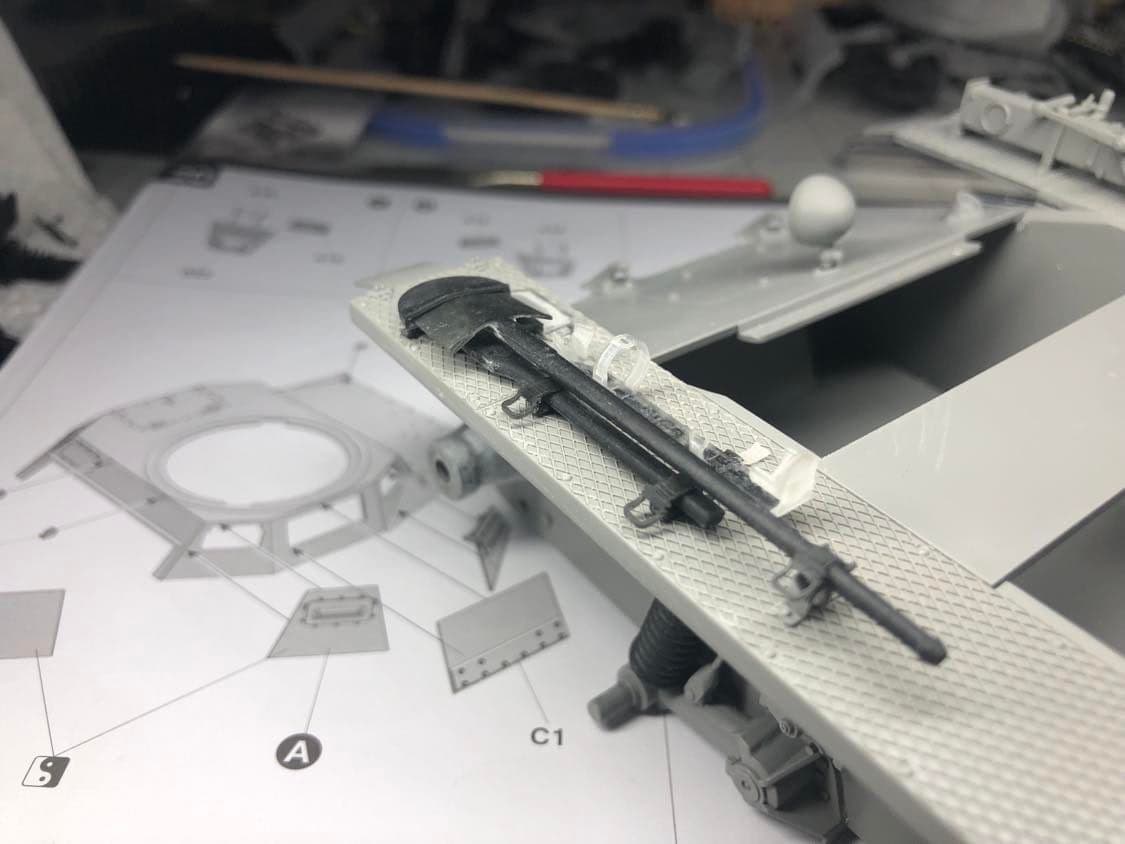
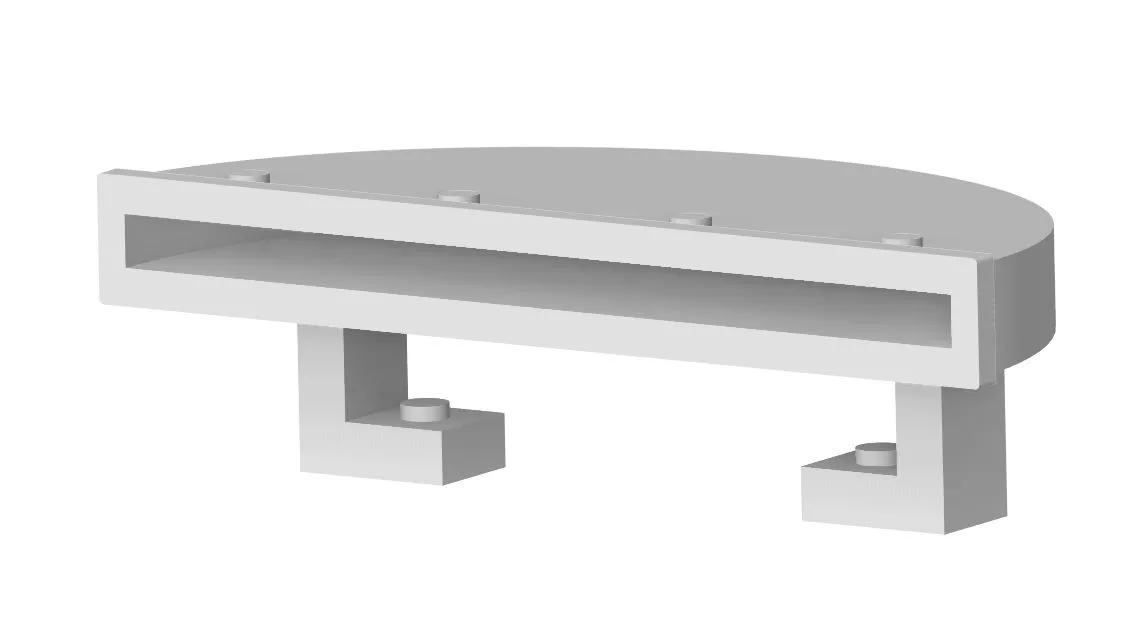
So printed some tool clamps from HomeBrewParts on Cults, and drew up/printed a shovel holder specific for the panzer I. I originally ordered some from RochM, but I have been waiting over two months to receive them.
Anyhow, here is the shovel holder, its free download on cults if you wanted upgraded tools. I used the toolpack from HomeBrewParts as well.
2 Likes
I noticed the shovel holder has mounting tabs facing inward, not outward. So I fixed that and also printed an entirely new clamp mount, because I didnt like how the kits looked, it was thick and the the way it attached looked like crap.
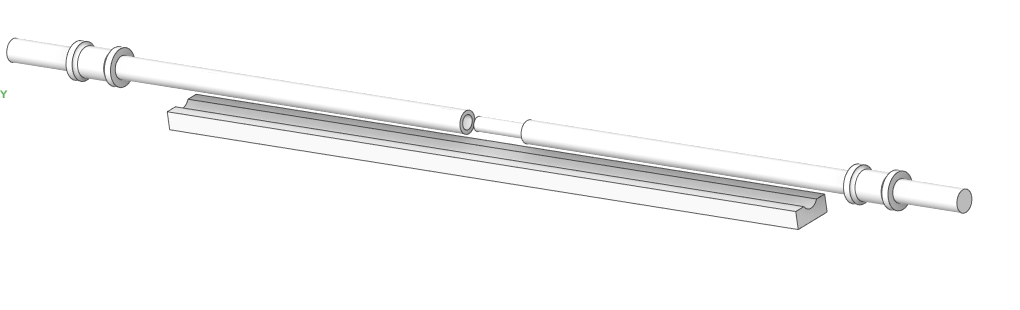
The manner in which the bogies attach to the hull is not very nice either. I lost one c clip and 2 others snapped in half. So I am also working on a full axle shaft to better support the running gear. I’ve got a base that will glue into the bottom of the hull and two shafts that run through either end and connect. I think this is a better way to mount the bogies in the long run, they won’t randomly snap loose.
1 Like