1/35 m2a1 half track

this is my next project! First time doing ww2 us armor as well as some battle damage. My first question is… What is the color of the chassis when it rolled out of the factory and what color did we use as primer? I want to start practicing chipping. Thanks!

The chassis was olive drab. The engine was olive drab. It all was painted olive drab. The primer was US automotive brown.

When assembling the armored body, don’t attach the cab and rear body separately–glue them solidly together first, so you don’t end up with an awkward gap if the fit to the chassis is wonky. Any fiddling and sanding will be underneath and out of sight. Also, some of the engine detail can prevent the hood from closing, so don’t add it all unless you plan on an open hood.
Beware of doing a lot of chipping. US vehicles had a baked enamel finish, and the paint had lots of white lead for durability. Also, repainting after the sea voyage across the Atlantic was common, so a paint chip might just reveal another layer of Olive Drab below.

20460

Like others have said, please examine high quality original color period photos. Chipping was not as modelers would have you believe – esp. on US made olive drab vehicles. Look at these two worn items – you see embedded dust mainly. And on edges where crews’ hands/feet/bodies have rubbed against them? They’re dark – due to hand oils and the rubbing off of the dust.

Paint chips? Exposed primer? Maybe – but lost under a layer of dust.

3 Likes

Well said, chipping has become a vanity item on tanks of late.

2 Likes

Thank you everybody for the tips! I had no clue that US paint was that tough!! So I guess I gonna do very subtle chipping that I will practice on the chassis. I also wanna try to do some damage like bullet holes, dents and shrapnel but that will come later… Anyways here is what I have so far… It’s not weathered or anything yet.

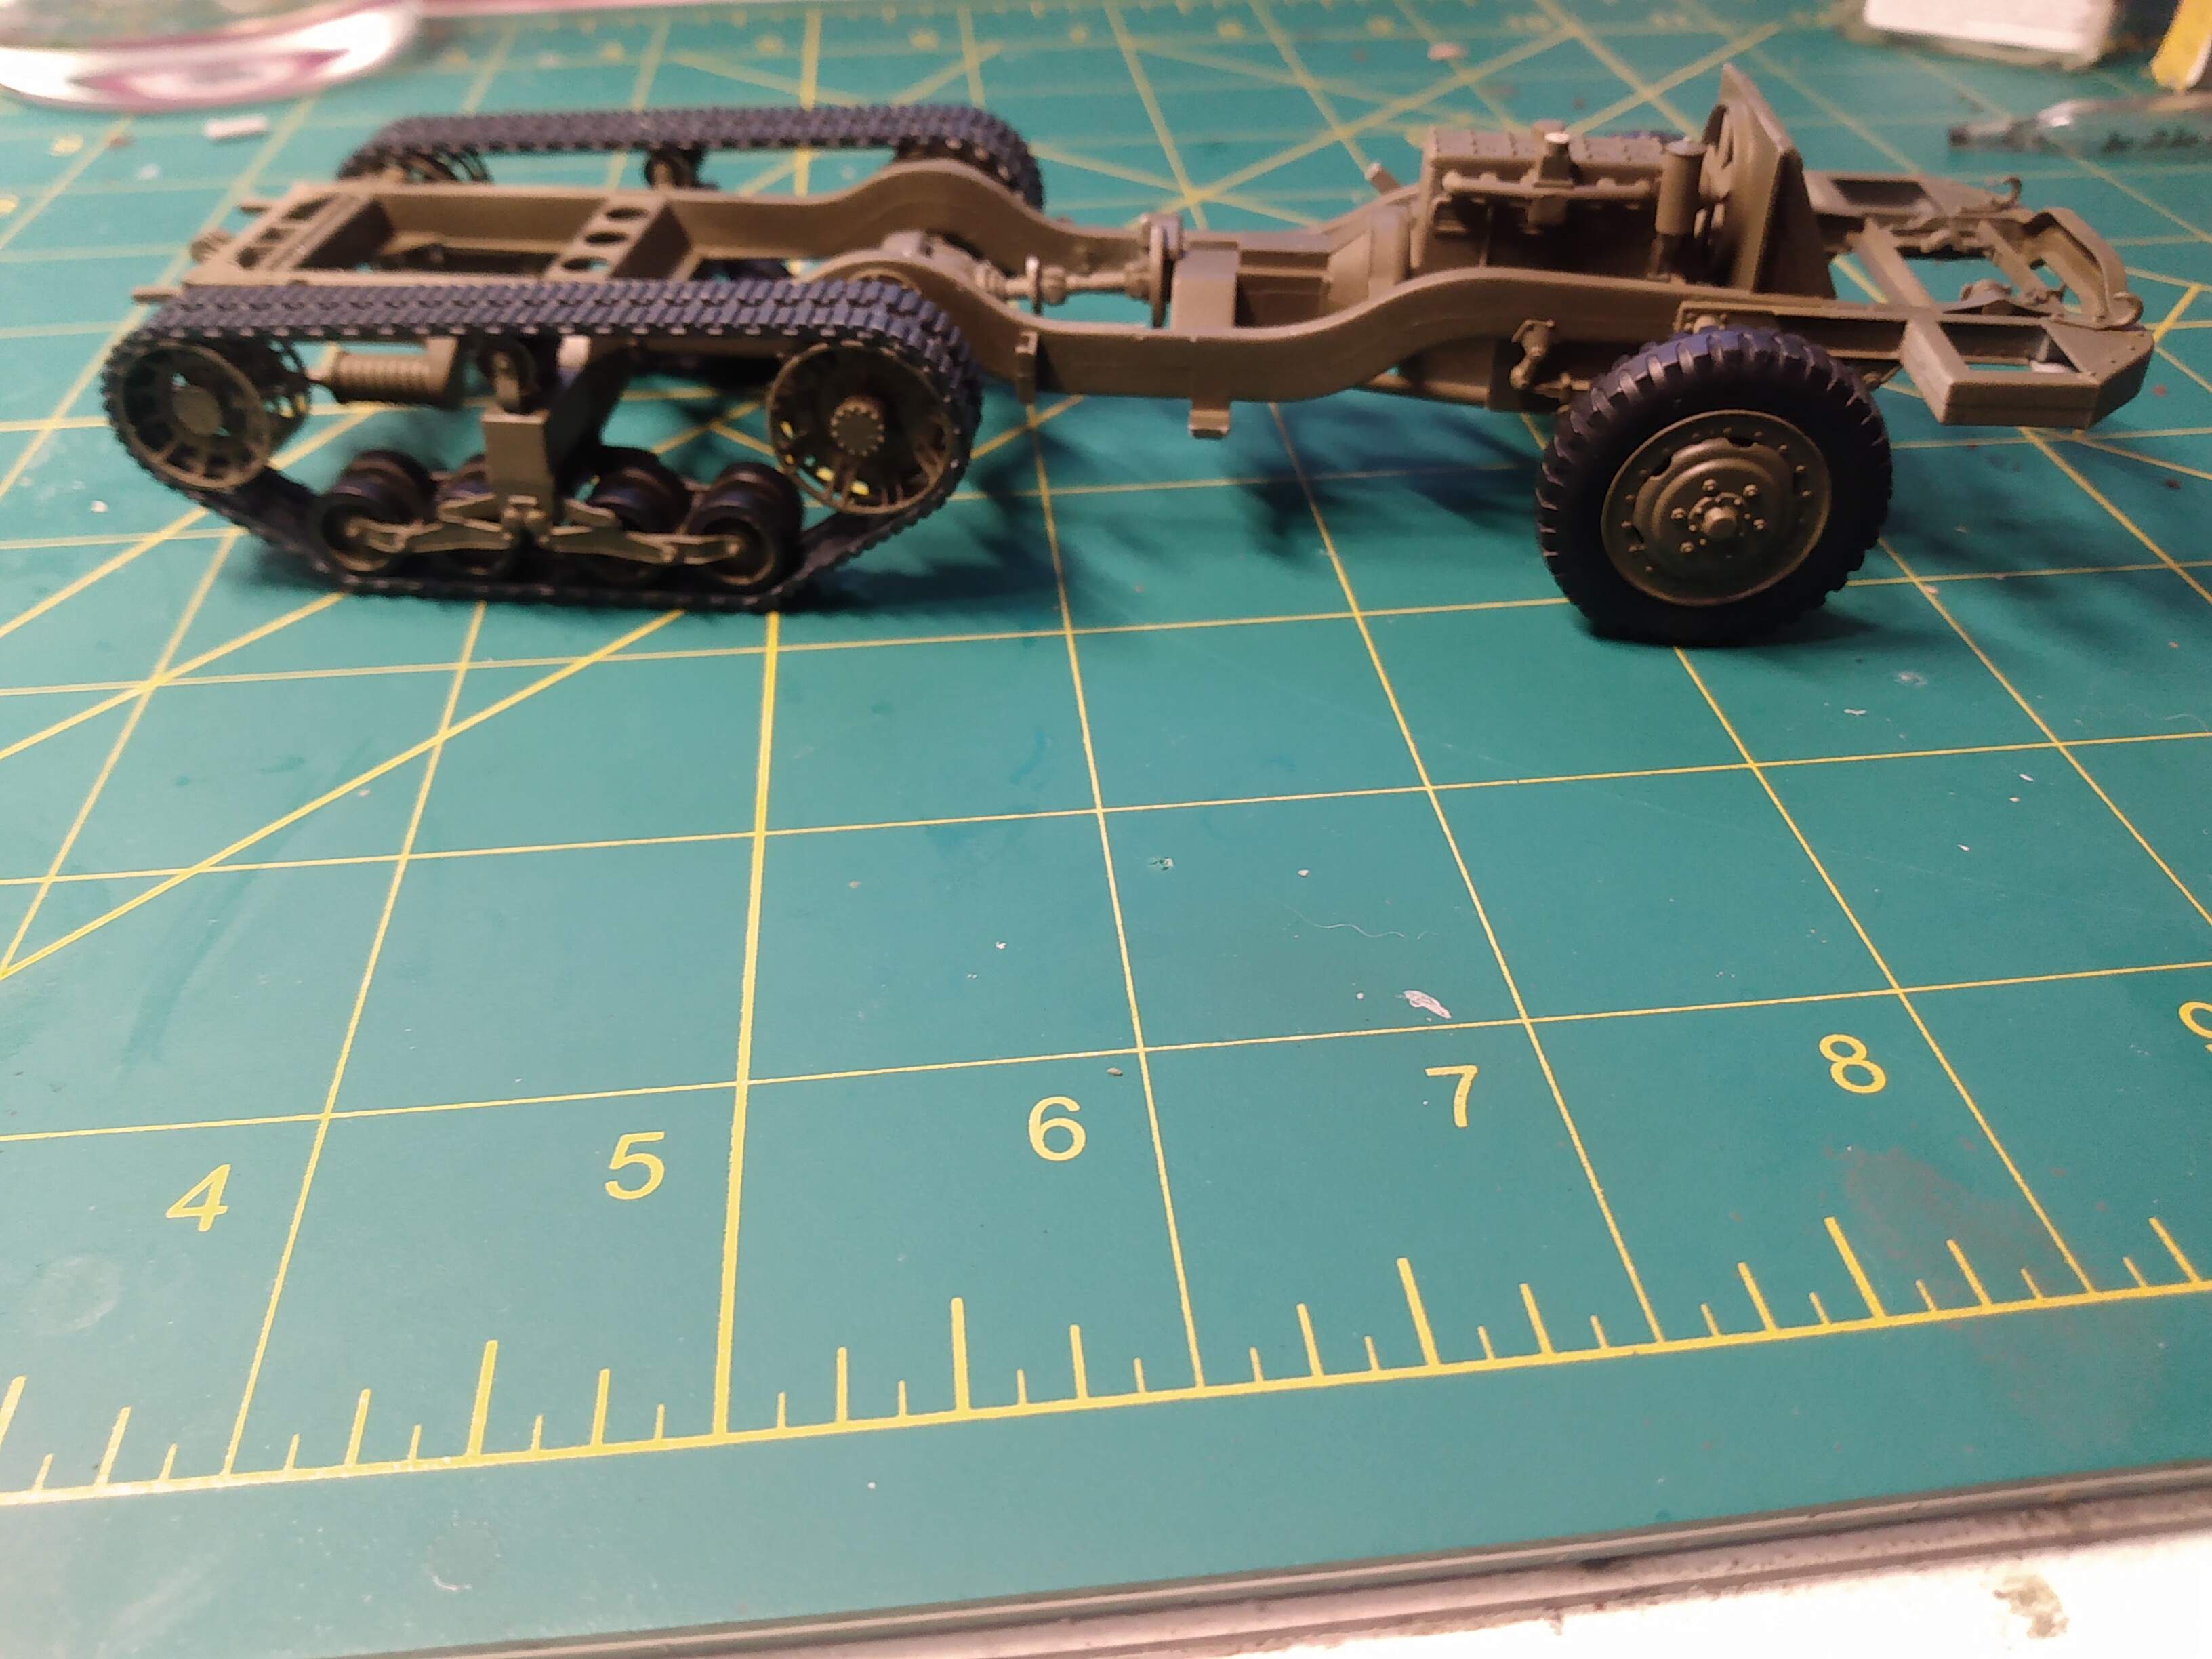
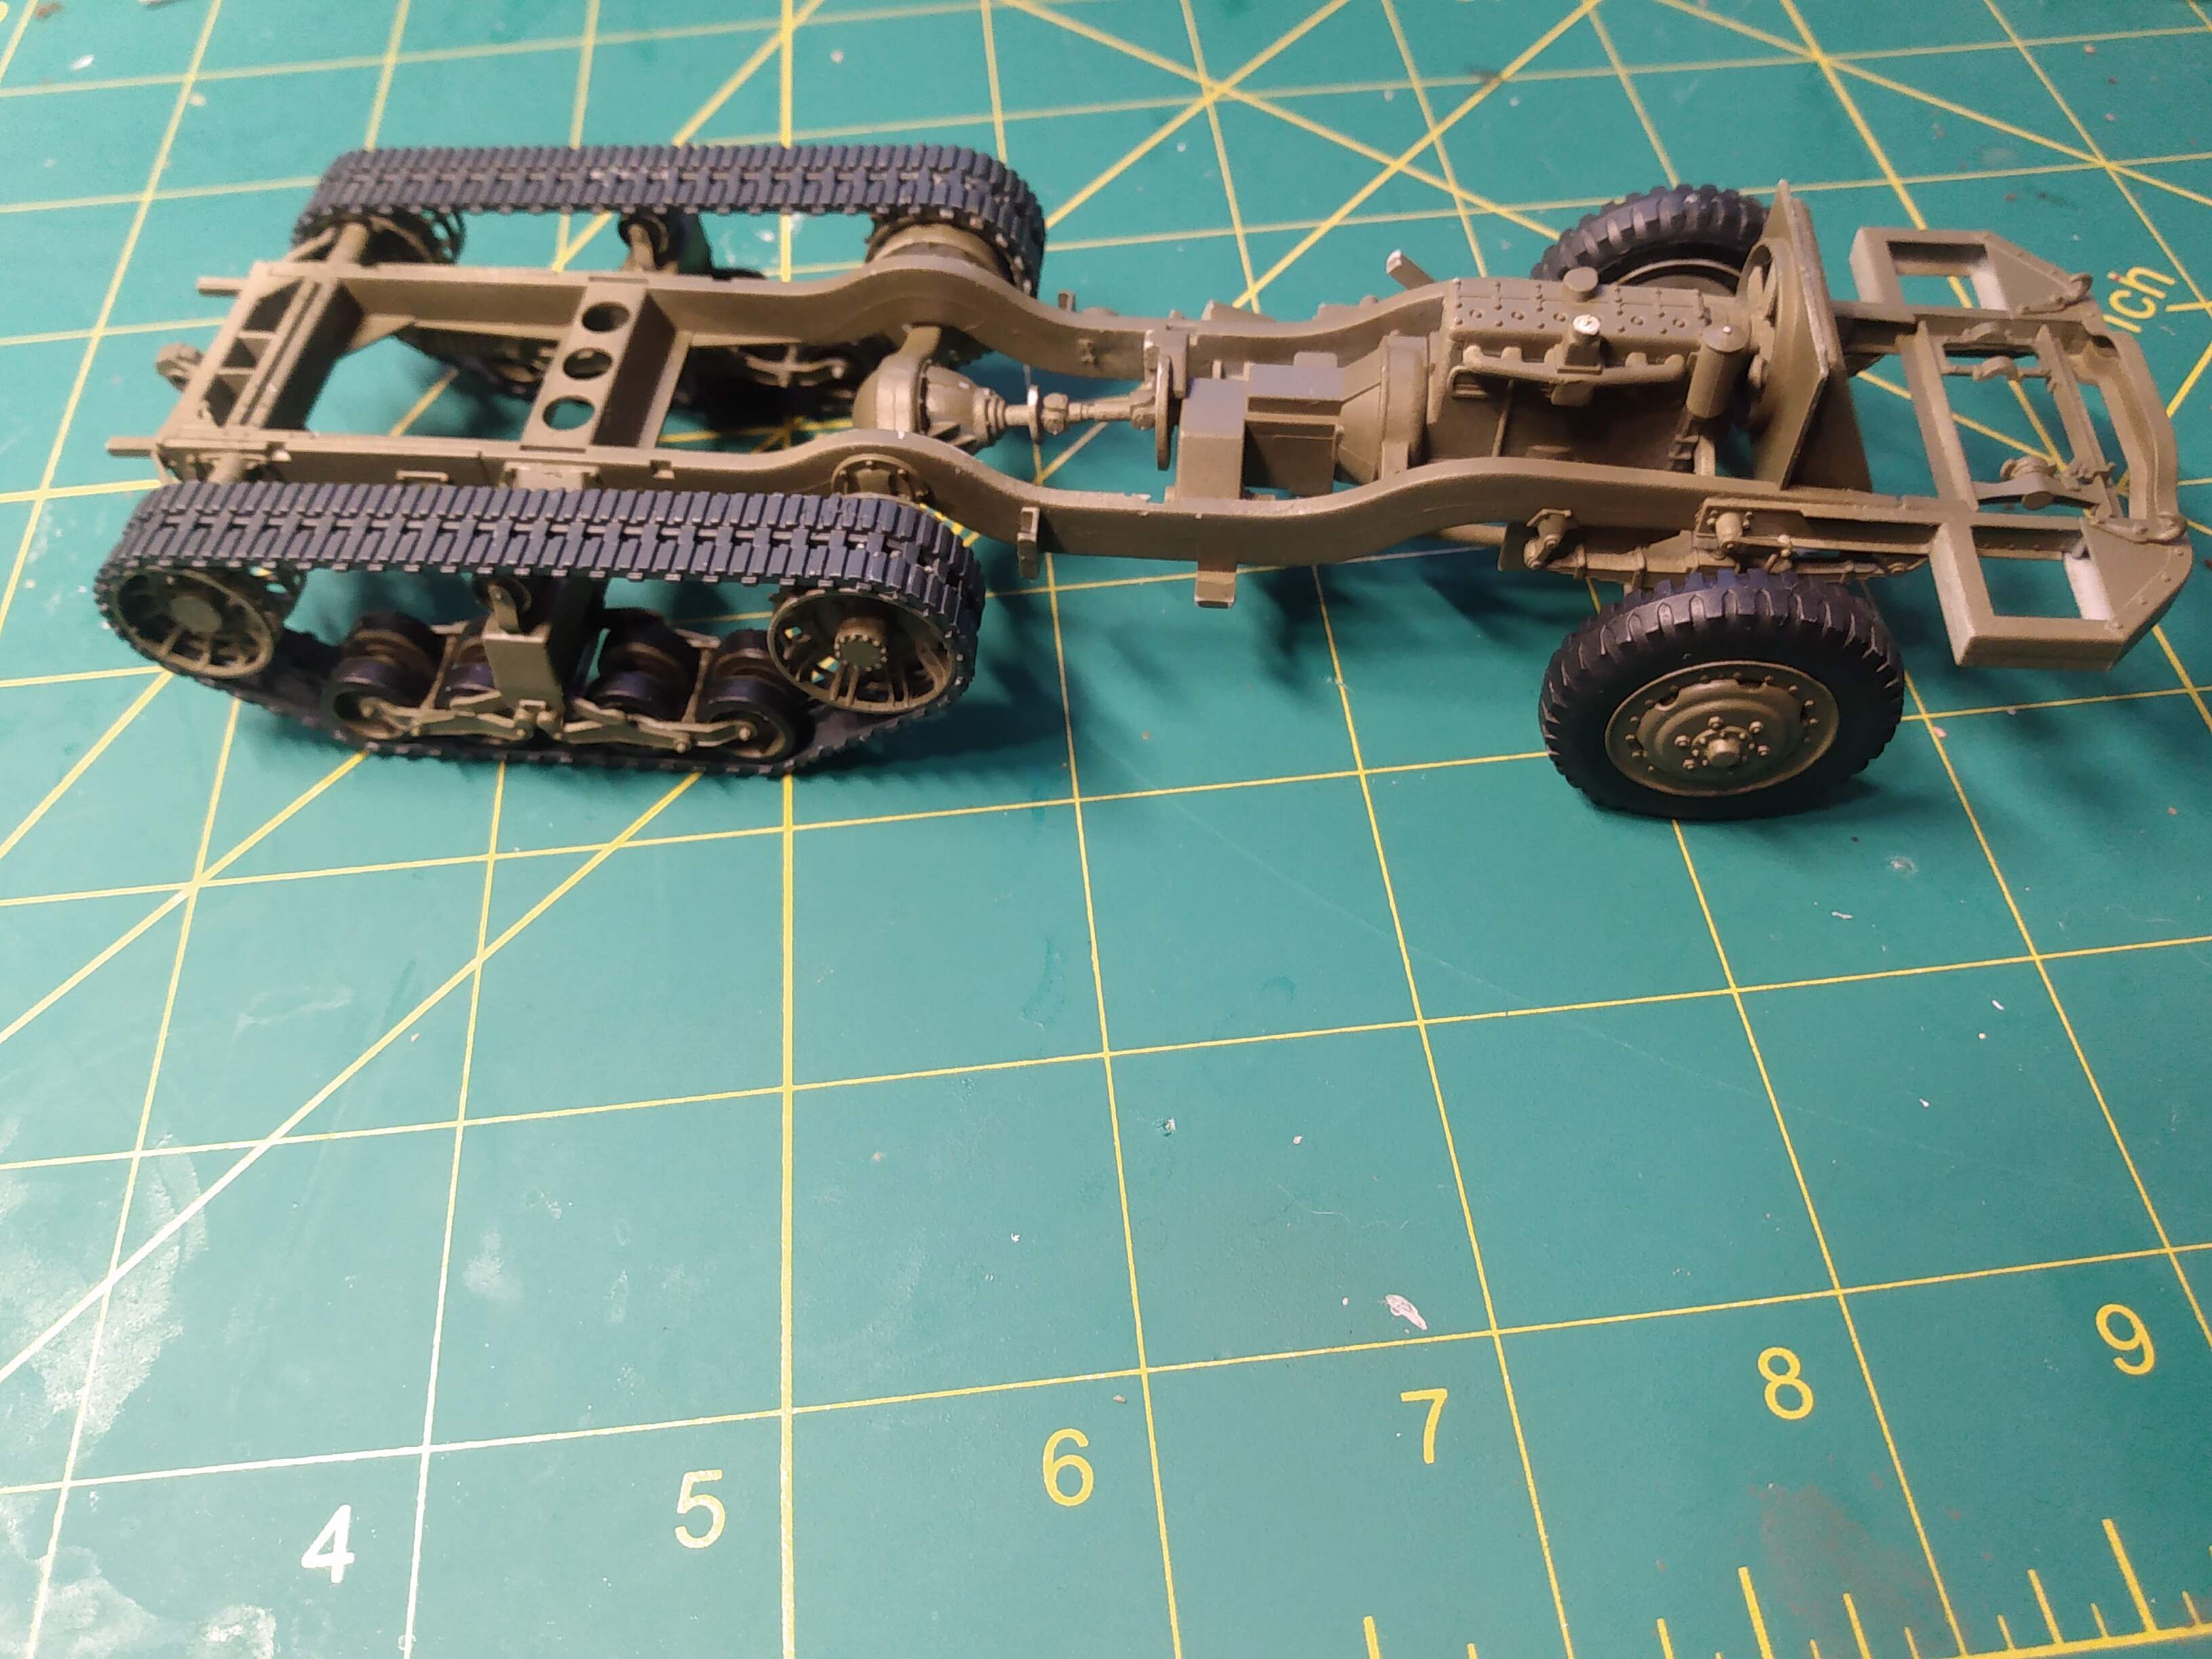
As always criticism is always welcome! And please point out any flaws you see… How else am I gonna learn!!

5 Likes

Everything looks great to me! Waiting for more!

Chassis is looking good! :nut_and_bolt: :slightly_smiling_face:
—mike

Here are some updates… I did a wash on the chassis and started the interior

One more question… The steats were like a leather brown or more of a khaki?

The seats were olive drab canvas. Just pick a different (lighter) shade of OD than the vehicle to paint the seats.

One more question for fun… Were halftracks considered frontline units? Both German and us? Or where they just to get infantry close to the fight?

Halftracks are combat vehicles. That’s why they are armored. They are used for the frontline attack with the infantry.

So this thing is definitely going to get some battle damage! I never really did this so it will be a first… Were mg42 bullets able to penetrate the body?
Anyways here is the radio

I did a little digging and the best info I can find is how much a 7.62mm bullet can penetrate:
A tungsten Carbide core Kalashnikov round (7.62x39) requires at least 8 mm UHHS RHA steel.
For Hardened core 7.62X51, You need at least 10 mm UHHS RHA steel. For Tungsten Carbide core, this will be over 12 mm.
And the M2 Half Track has a armor thickness of 6-12mm, So I think its fairly safe to assume at close range the bullets would penetrate
( Maybe at around 100 meters and maybe even farter out.) So I would say in my opinion it would be okay to assume some rounds would punch through the “armor”. As for making the bullet holes themselves this video should help you along!

2 Likes

Thanks for the video I’ll definitely check it out soon! Anyways I finally got all the seats in.

What is this thing (b27)? It’s not on any photos Uploading: IMG_20201201_222259633.jpg…

Your picture doesn’t show, but I’ve built about 24 of these h/t kits and I’m pretty sure B27 is the noise suppressor for the radio, it’s a canister that mounts under the dash right behind the shifter, double check your instructions it should be there.

As a side note @geraldowens mentioned a couple issues that I have never experienced in all of those 24 kits. None of the engine parts interfere with the hood if they are assembled correctly, if they do it would have to be user error.

Same for the mating of the front cab to the rear body, I have a video of an assembled kit that is dry fit together that I’ll post below where I remove the cab and crew compartment and put them back on and they join perfectly with no issues, and all the engine parts are installed as well, so again I’d have to say that too would be user error.

As far as the whole dogmatic “OlIvE dRaB nEvEr ChIpS” derp… just remember absence of proof is not proof of absence. It’s a model, do whatever you enjoy. :sunglasses:

First time posting a video, let’s see if this works…

Dry fit sub-assemblies

2 Likes