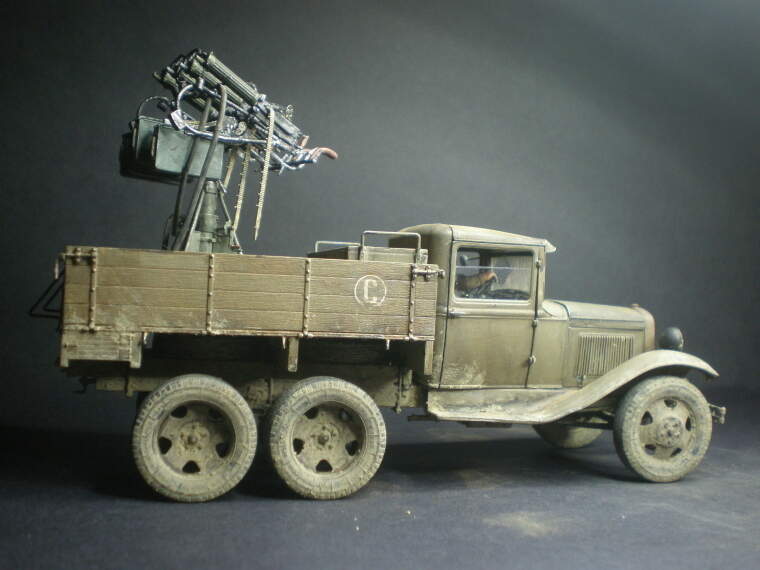
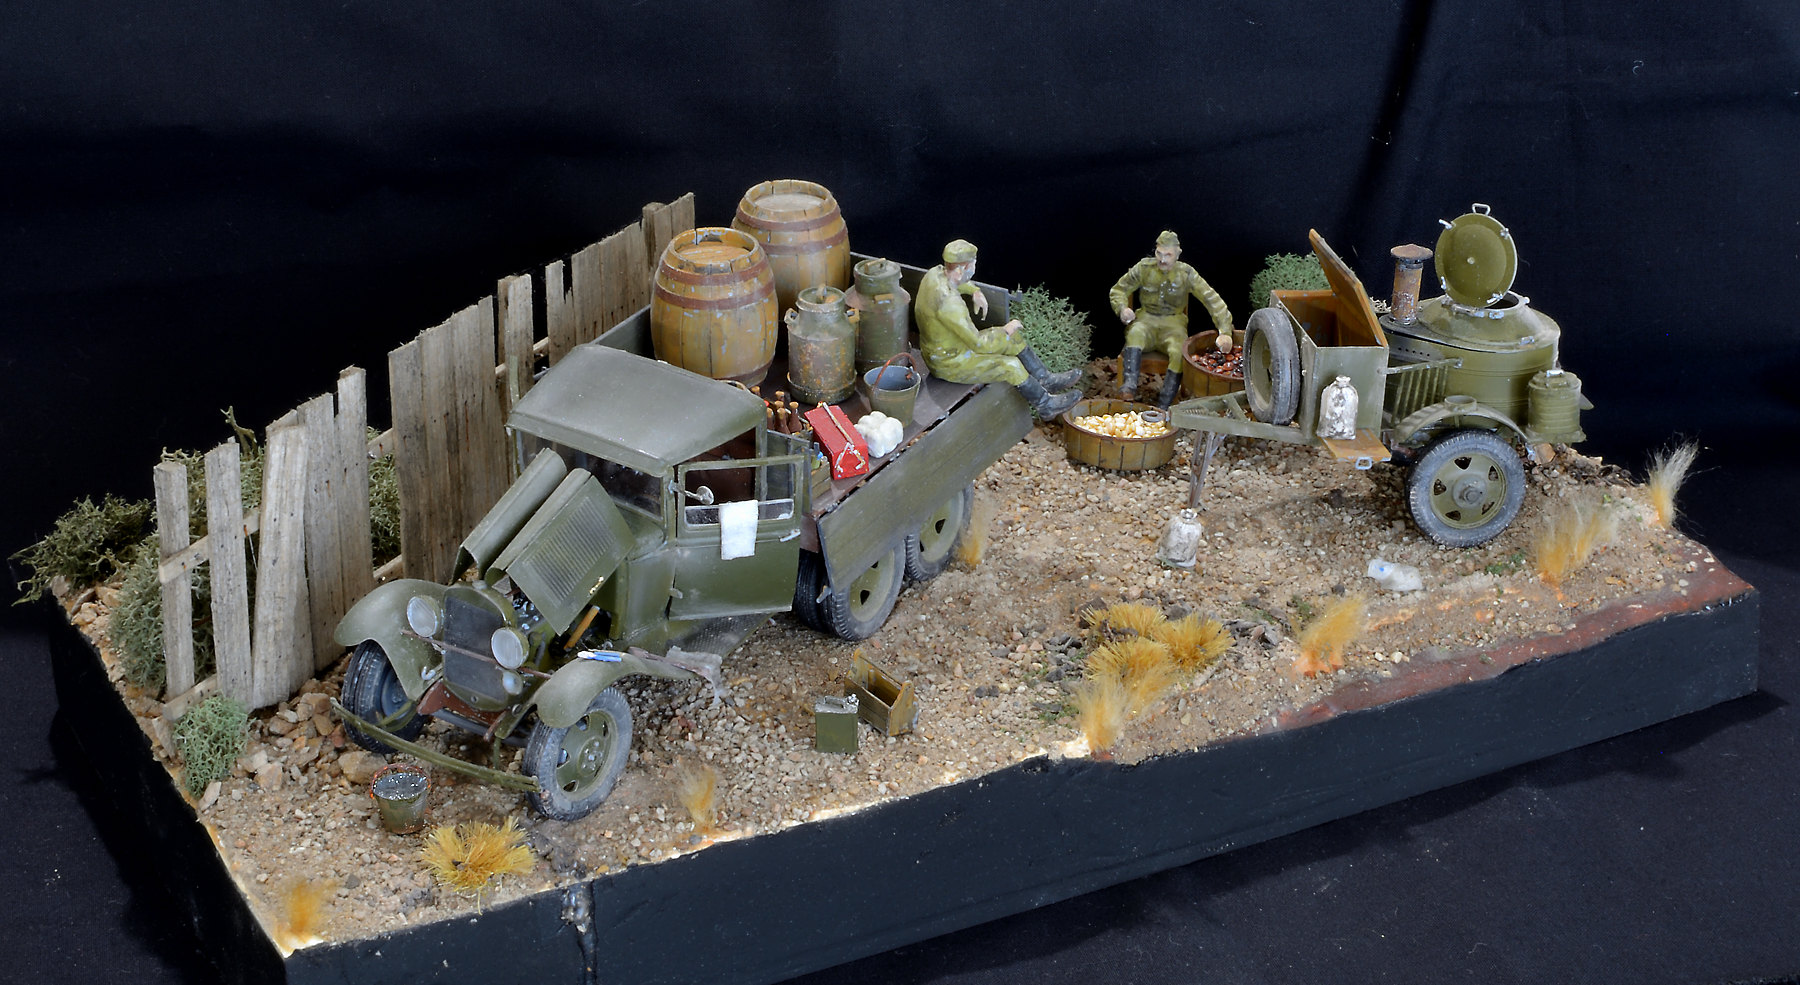
I’m building this for the made in Ukraine campaign and wanted to stop and share some thoughts about how to build this kit.
I’ve been building it following the steps in the instructions. I have another one, and when I do it I will change the order up a bit…
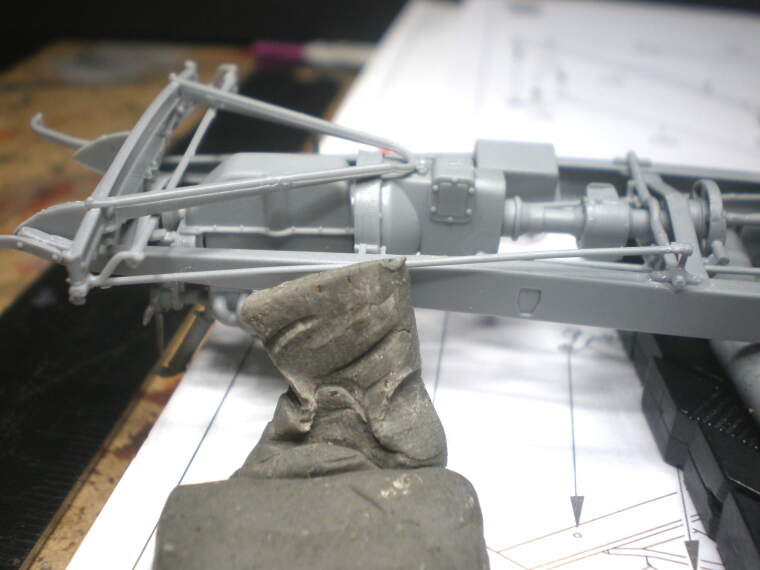
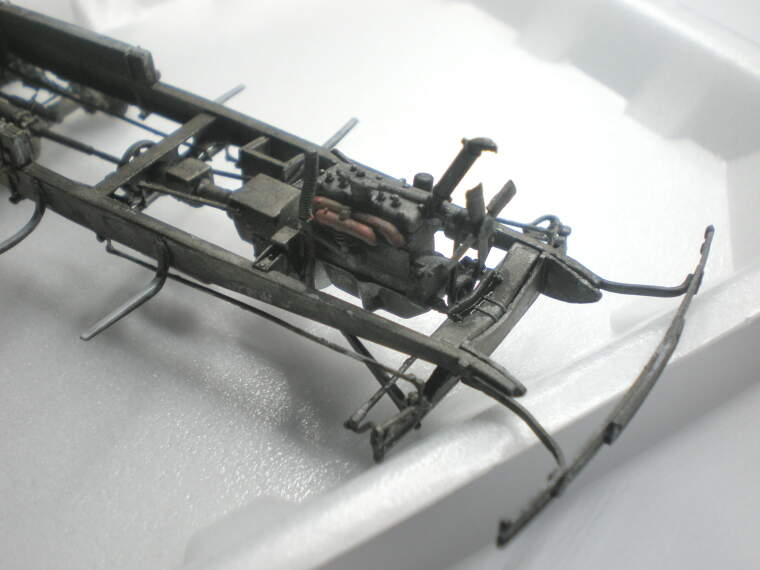
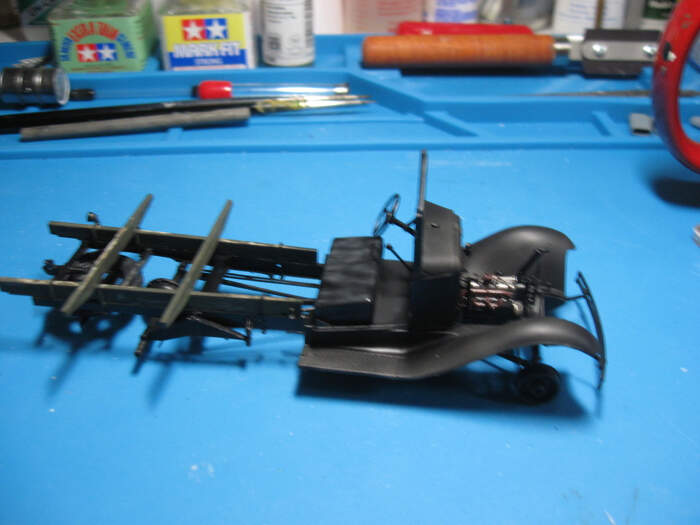
As it is now, parts inside the engine compartment don’t really line up with the rest. Part of that is on me, but I think part of it is because of following the instructions in order. I’ve heard people complain about soft plastic on mini-art kits before and didn’t really understand what people are talking about. With this kit I think I better understand. There are things in it that I think by looking at it would help me keep things in alignment but because they are soft they don’t really help, and because they are soft it makes it difficult to line things up. I’m not really complaining much because I do like the kit, but I am going to share a few thoughts in case they might help others who are as similarly (un)skilled as I am.
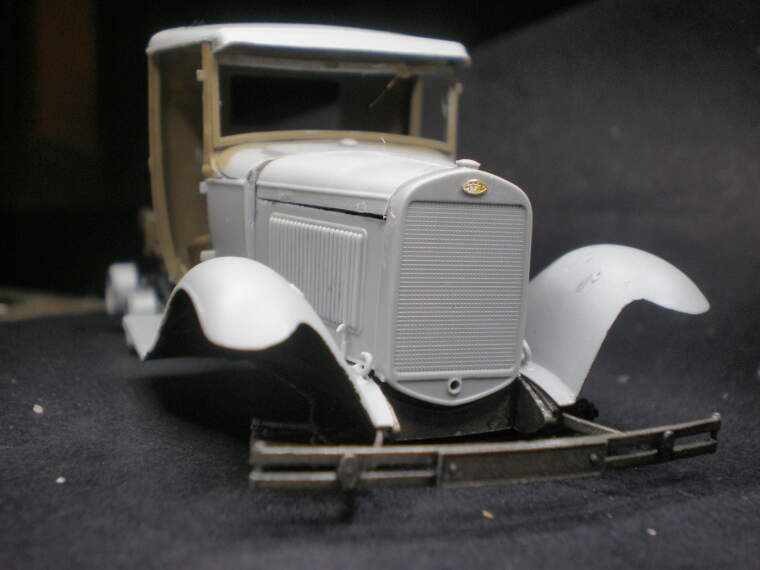
I’m not sure how to organize my thoughts but here is the headline. To get everything to line up, the fenders (step 22) and the front of the cab (step 29) need to go in very correctly. I would not add any of the little sticking out bits until that is all done. I have managed not to break any, but I’m not sure how that has happened.
Here are the by steps things I would do differently next time:
Step 4 Part A57 I would leave off until the fenders and cab are lined up correctly. The steering column attaching to this part and there’s really nothing about this part to help line it up until you are ready to put in the steering column.
Step 13 I would leave all these small parts off until the cab and fenders are on. They all go underneath or in front. And parts A5, A6, and A7 line up with the frame and the radiator and are probably easier to position correctly when you’re ready to attach the radiator.
Step 18 & 19 The fender supports don’t really help to position the fenders so I would add them after the fenders are on.
Step 22 Have step 29 done and be ready to dry fit step 29, part Da16 from Step 23 before attaching the fenders in this step. On step 29 lining up all the pieces in this is tricky. I didn’t realize how tricky it was until I tried to put the assembly from step 27 onto the cab sides assembled in this step. Best to get this all set up like it should be before applying glue.