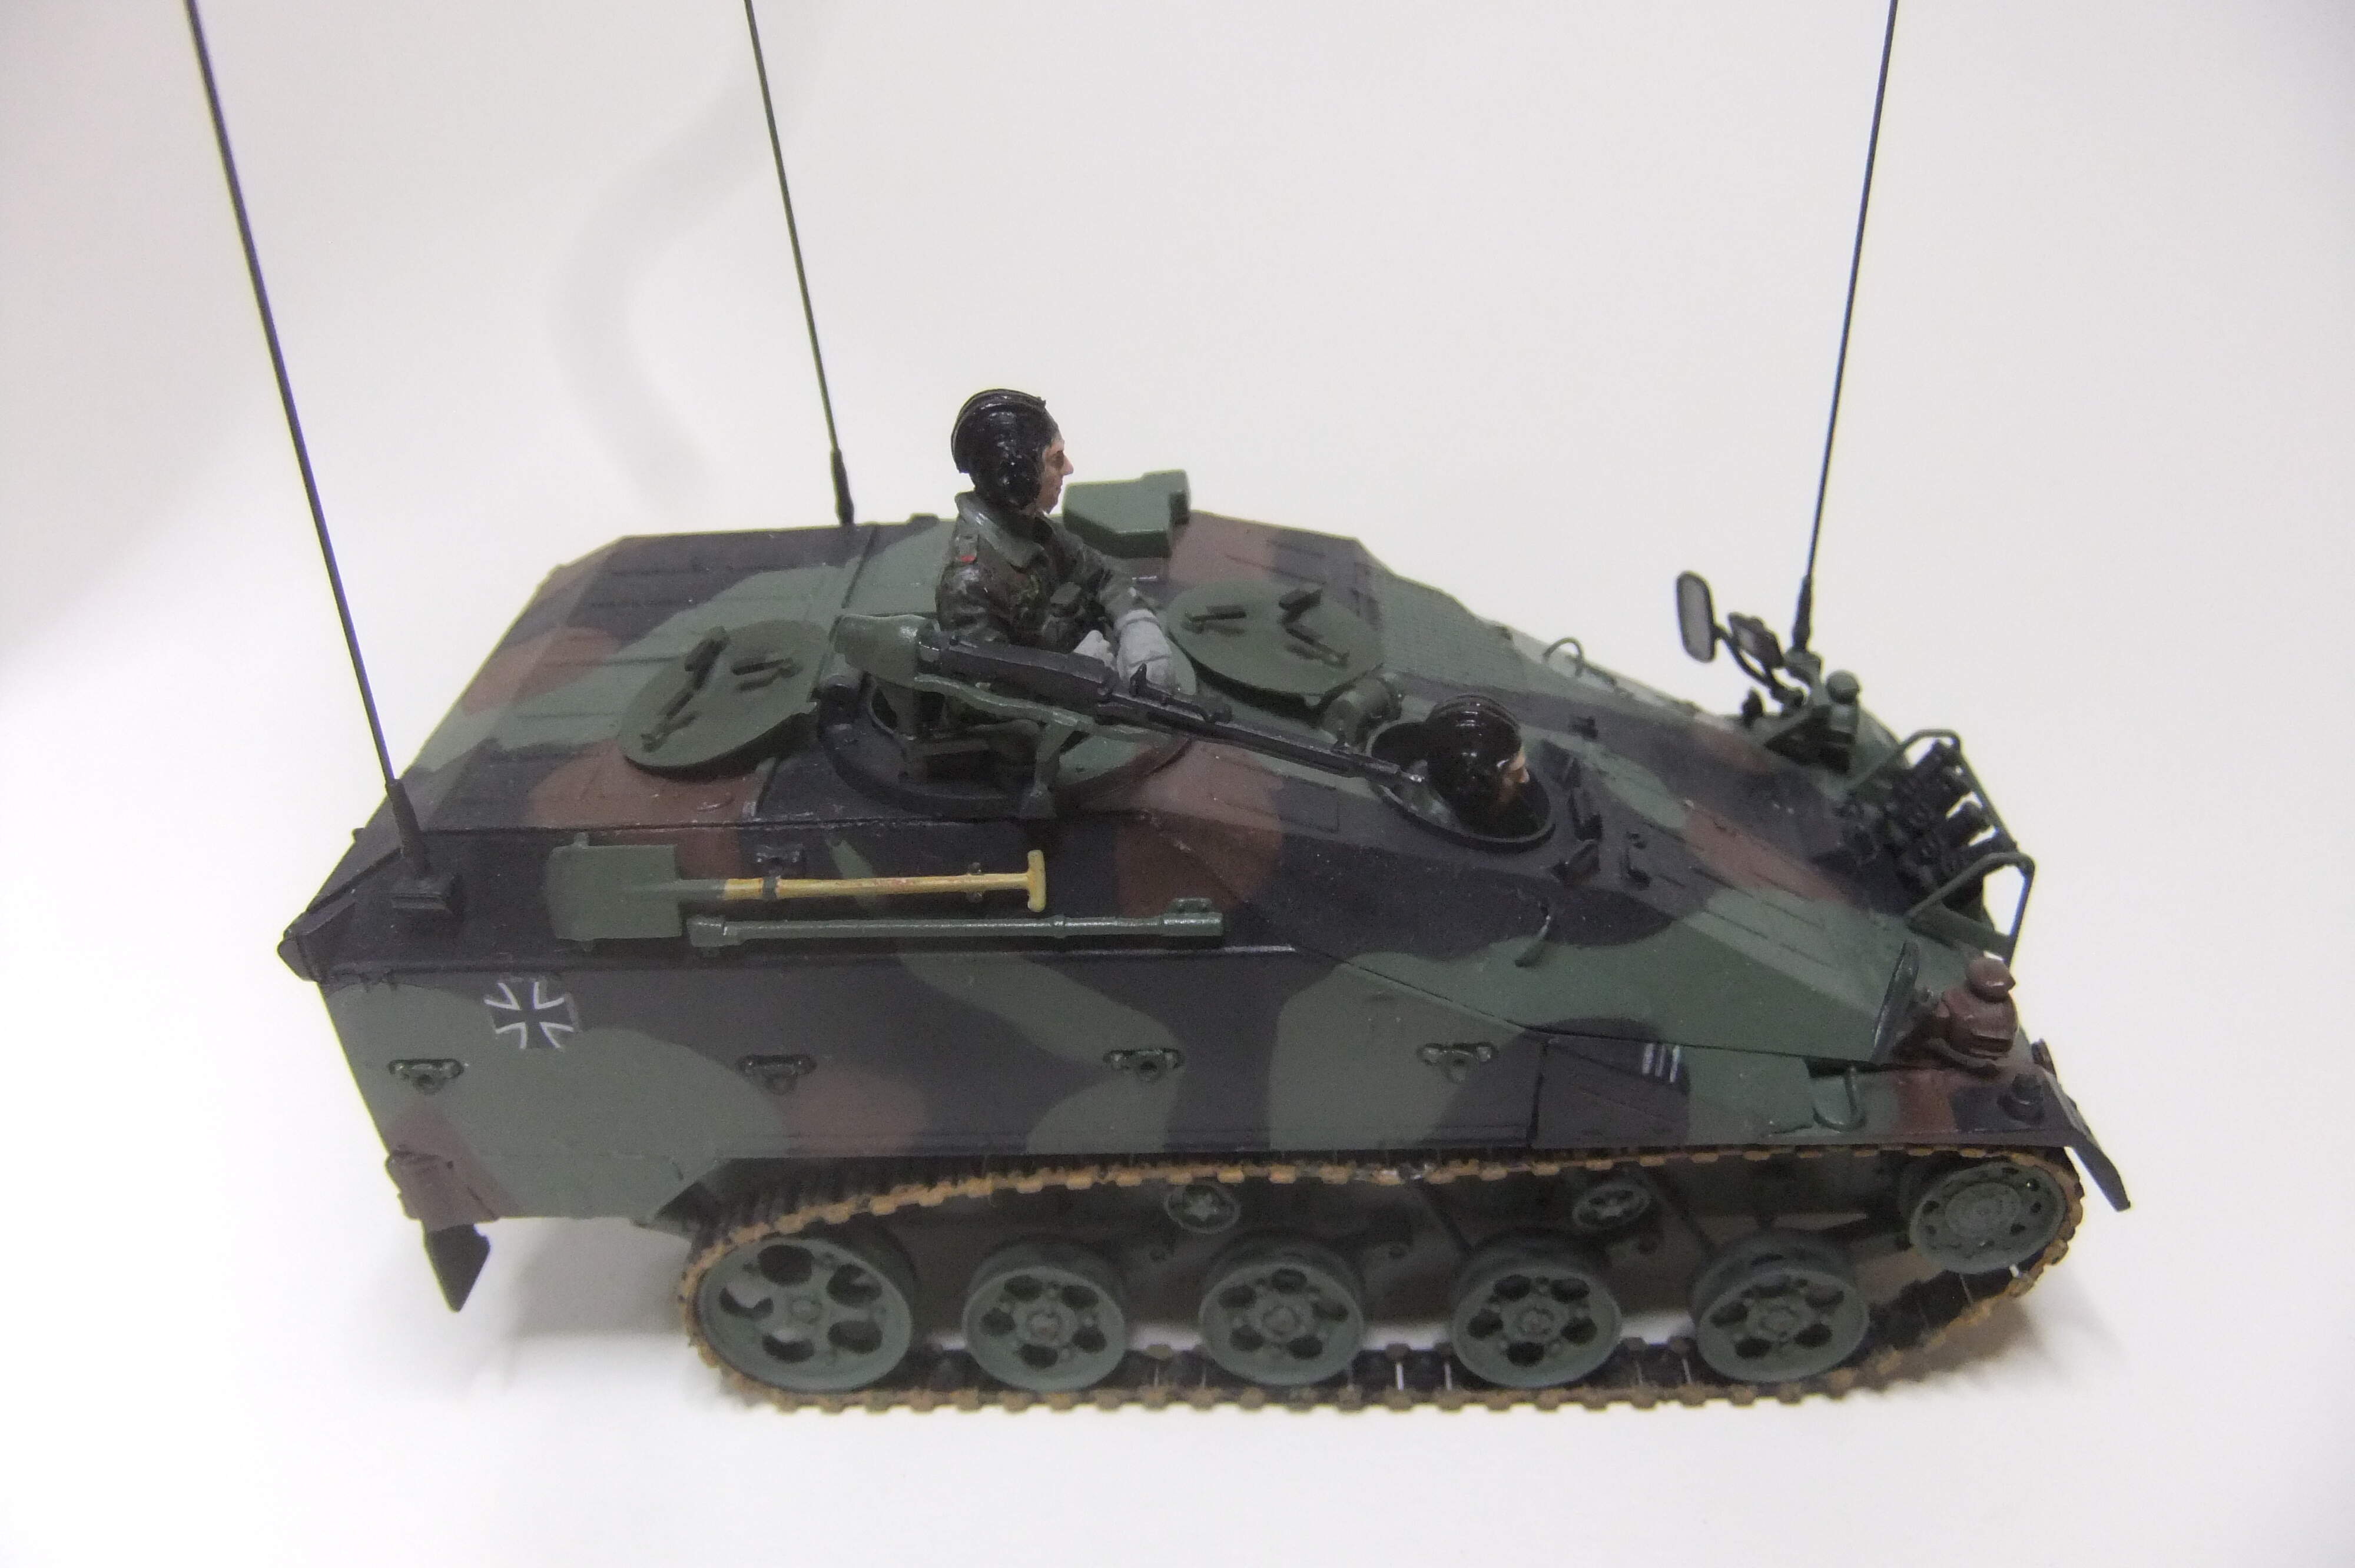
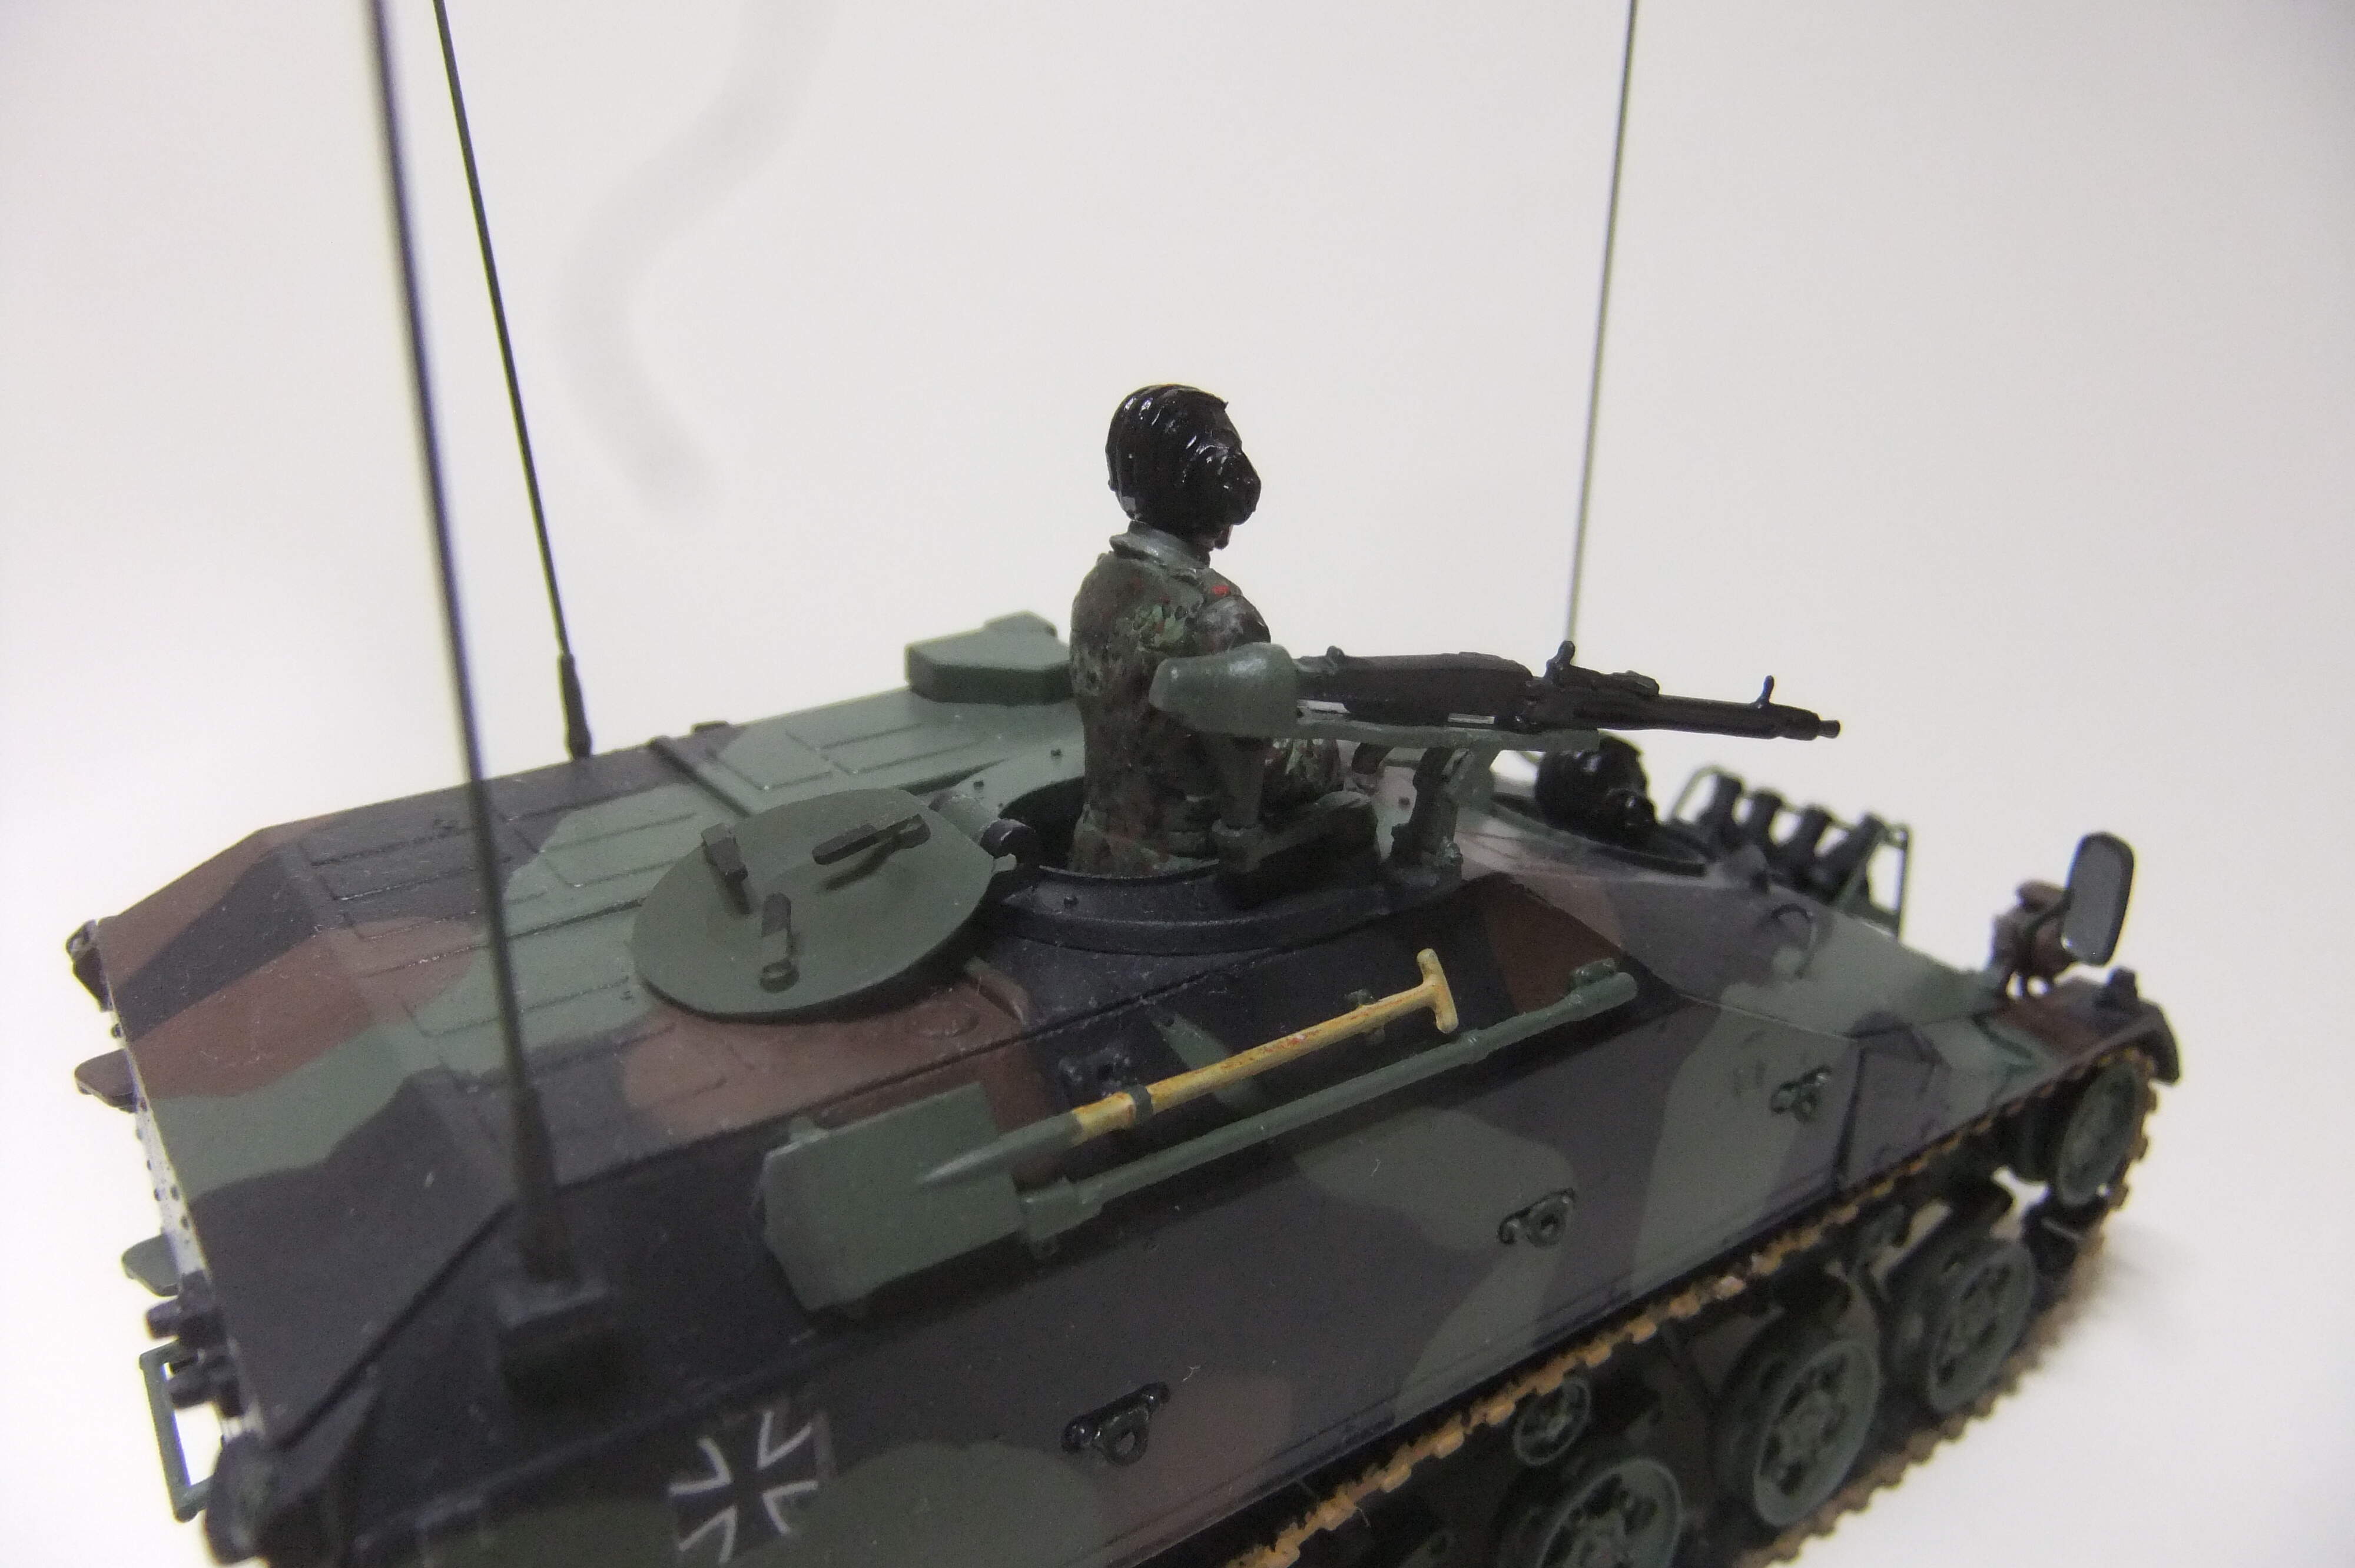
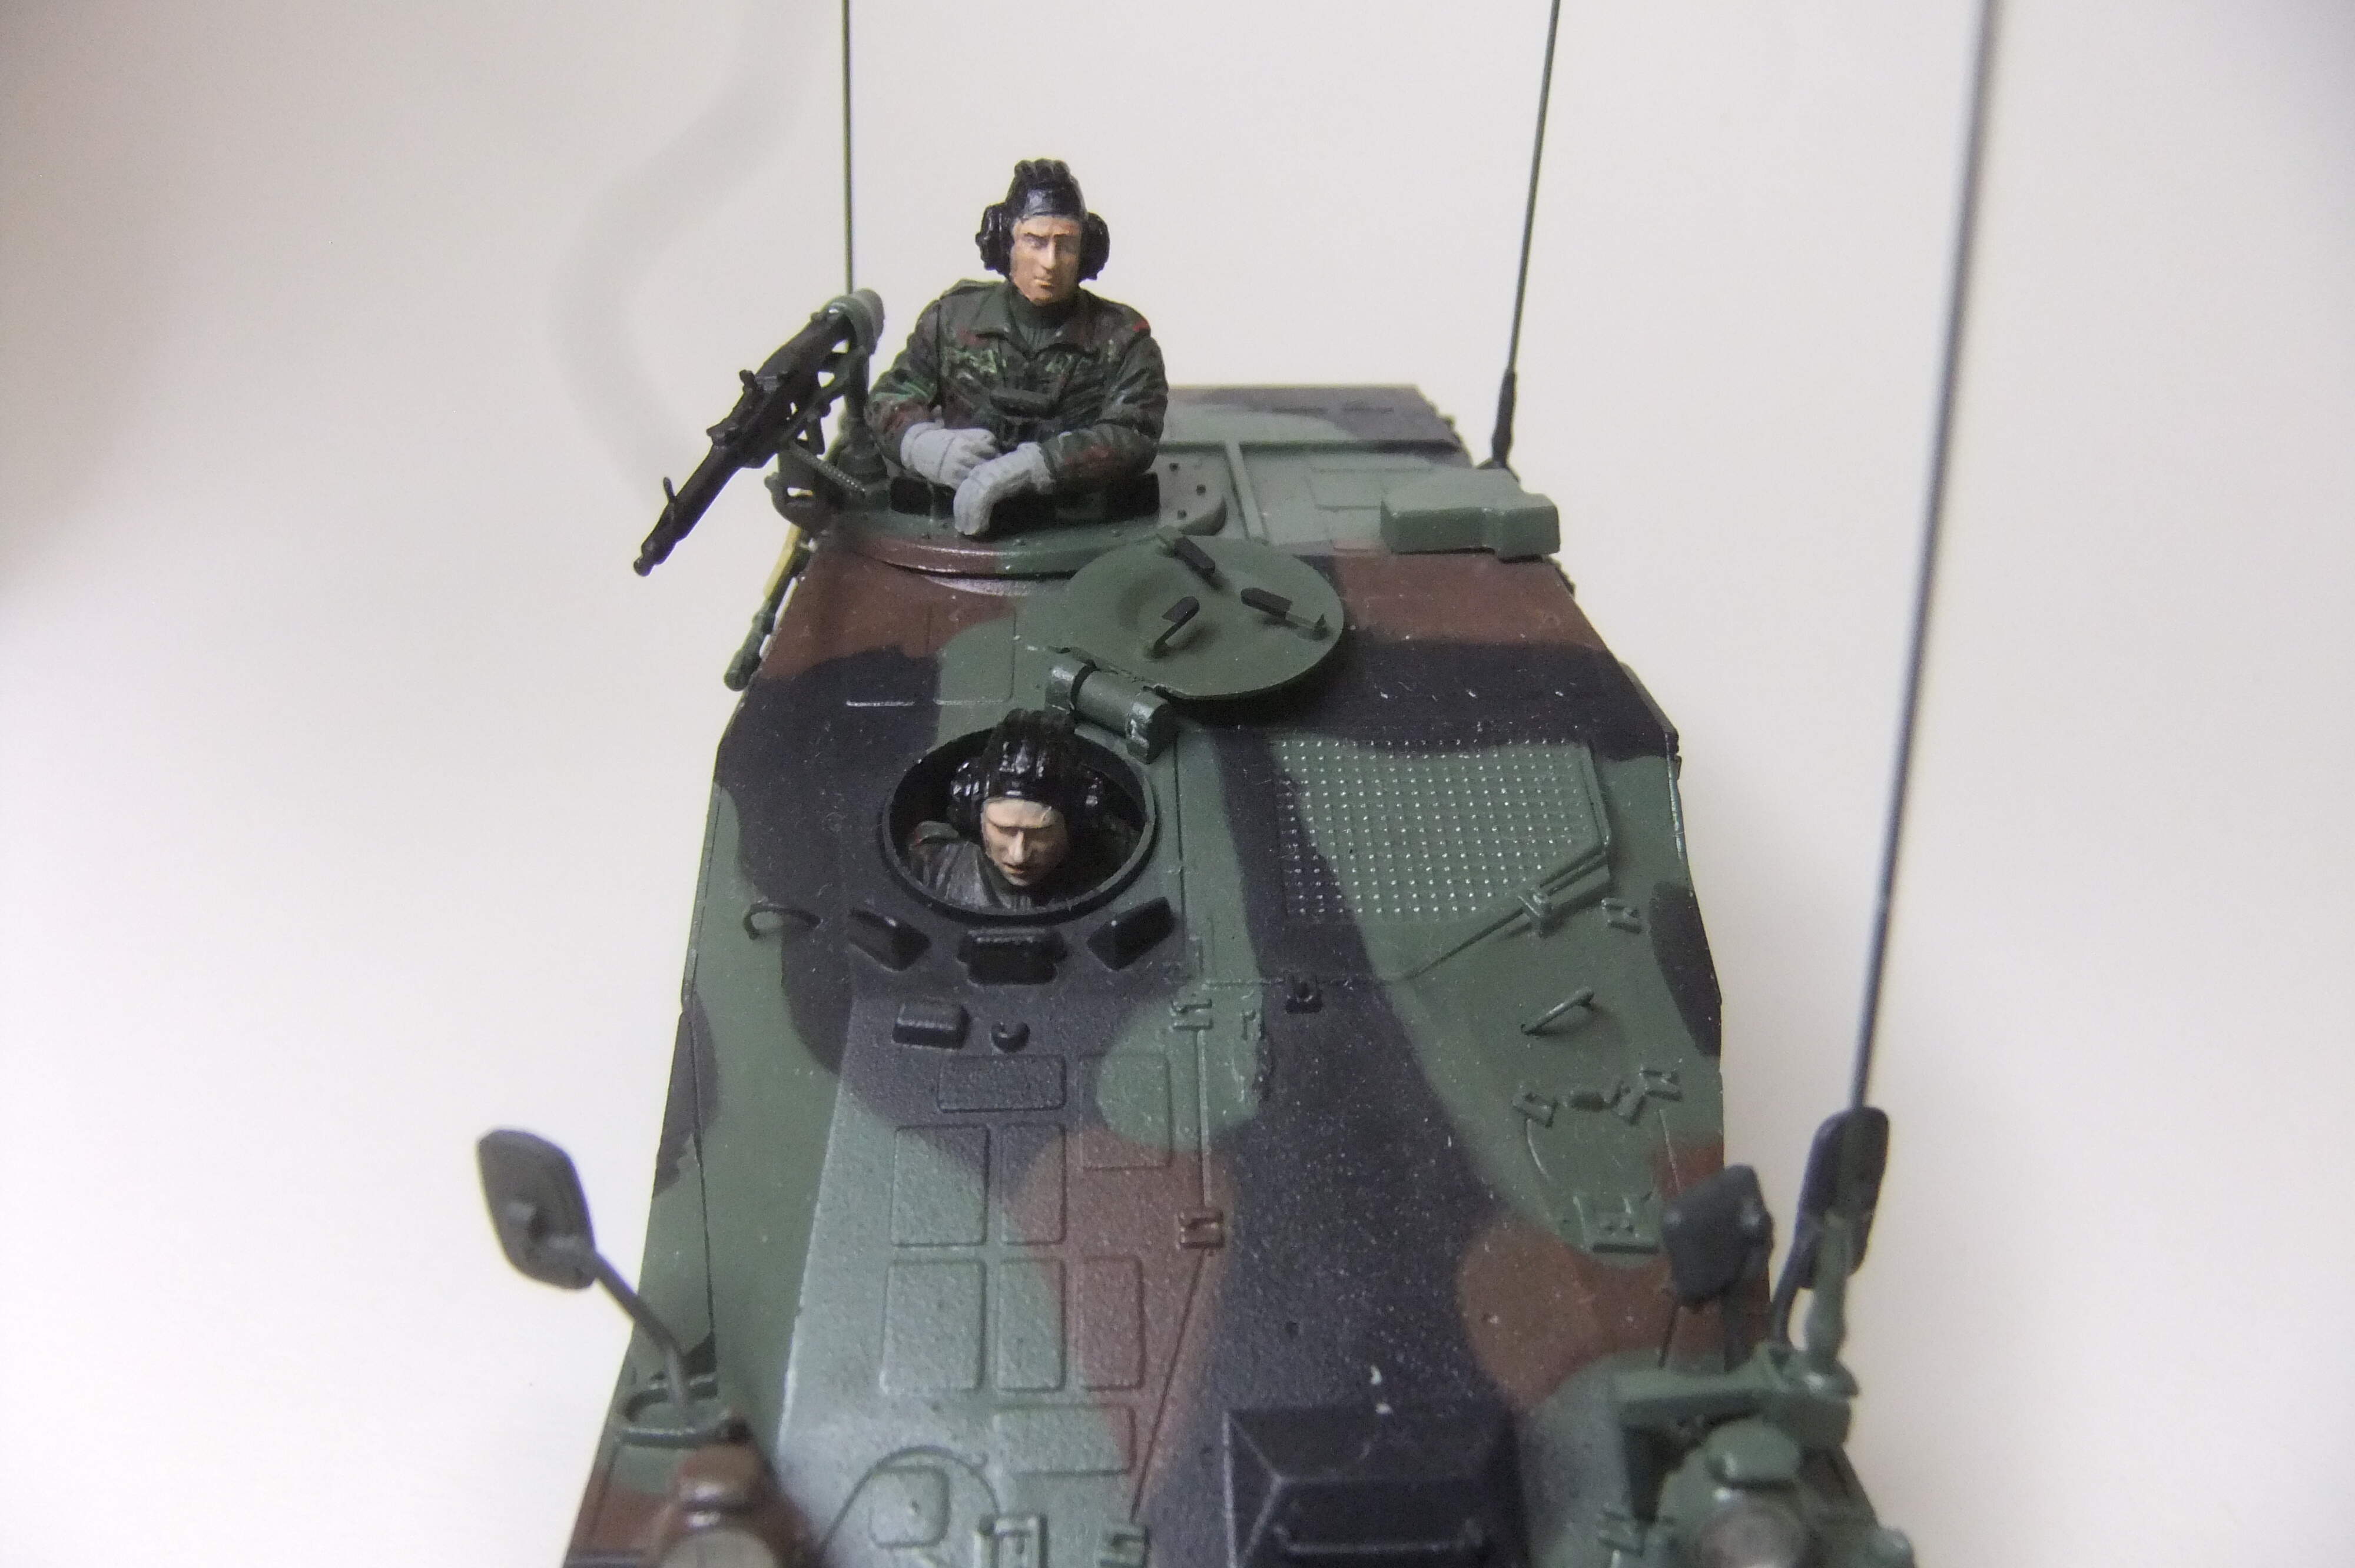
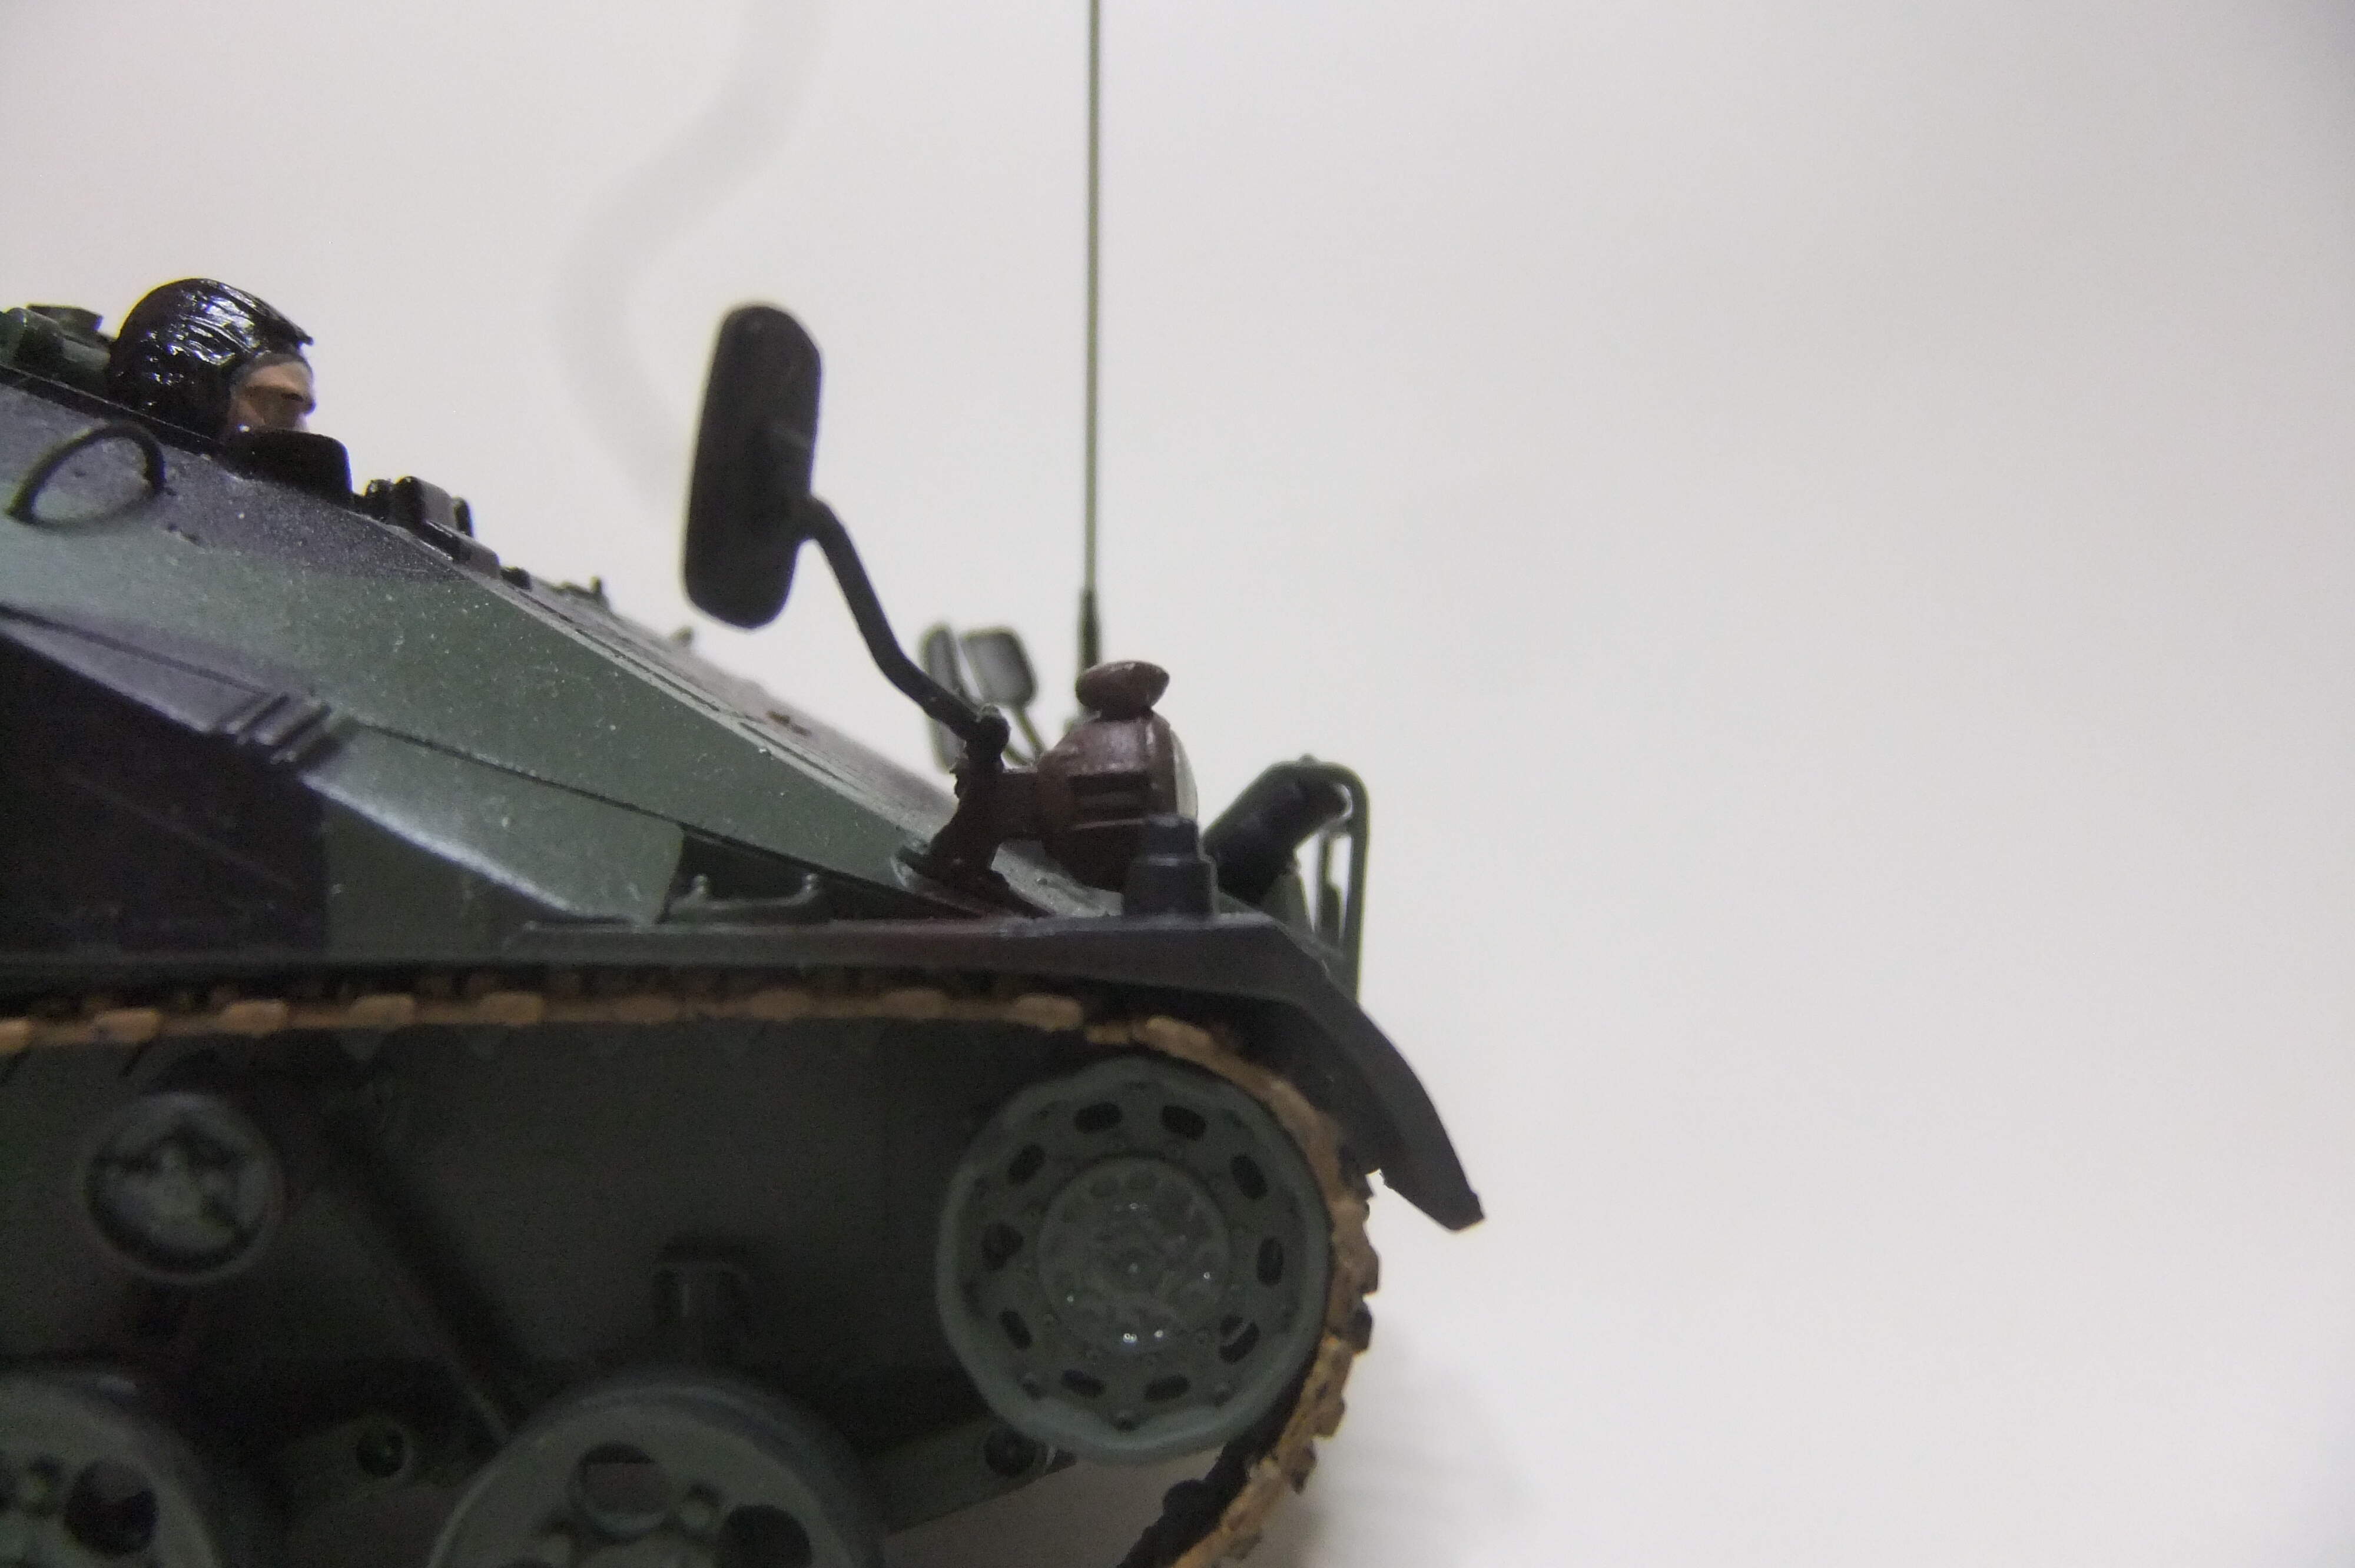
Well, I started this build log in the old Forum, it was in an advanced stage of construction but I couldn’t upload furthermore pictures. Now, after I have finished this one, I just wanted to share the results with you.
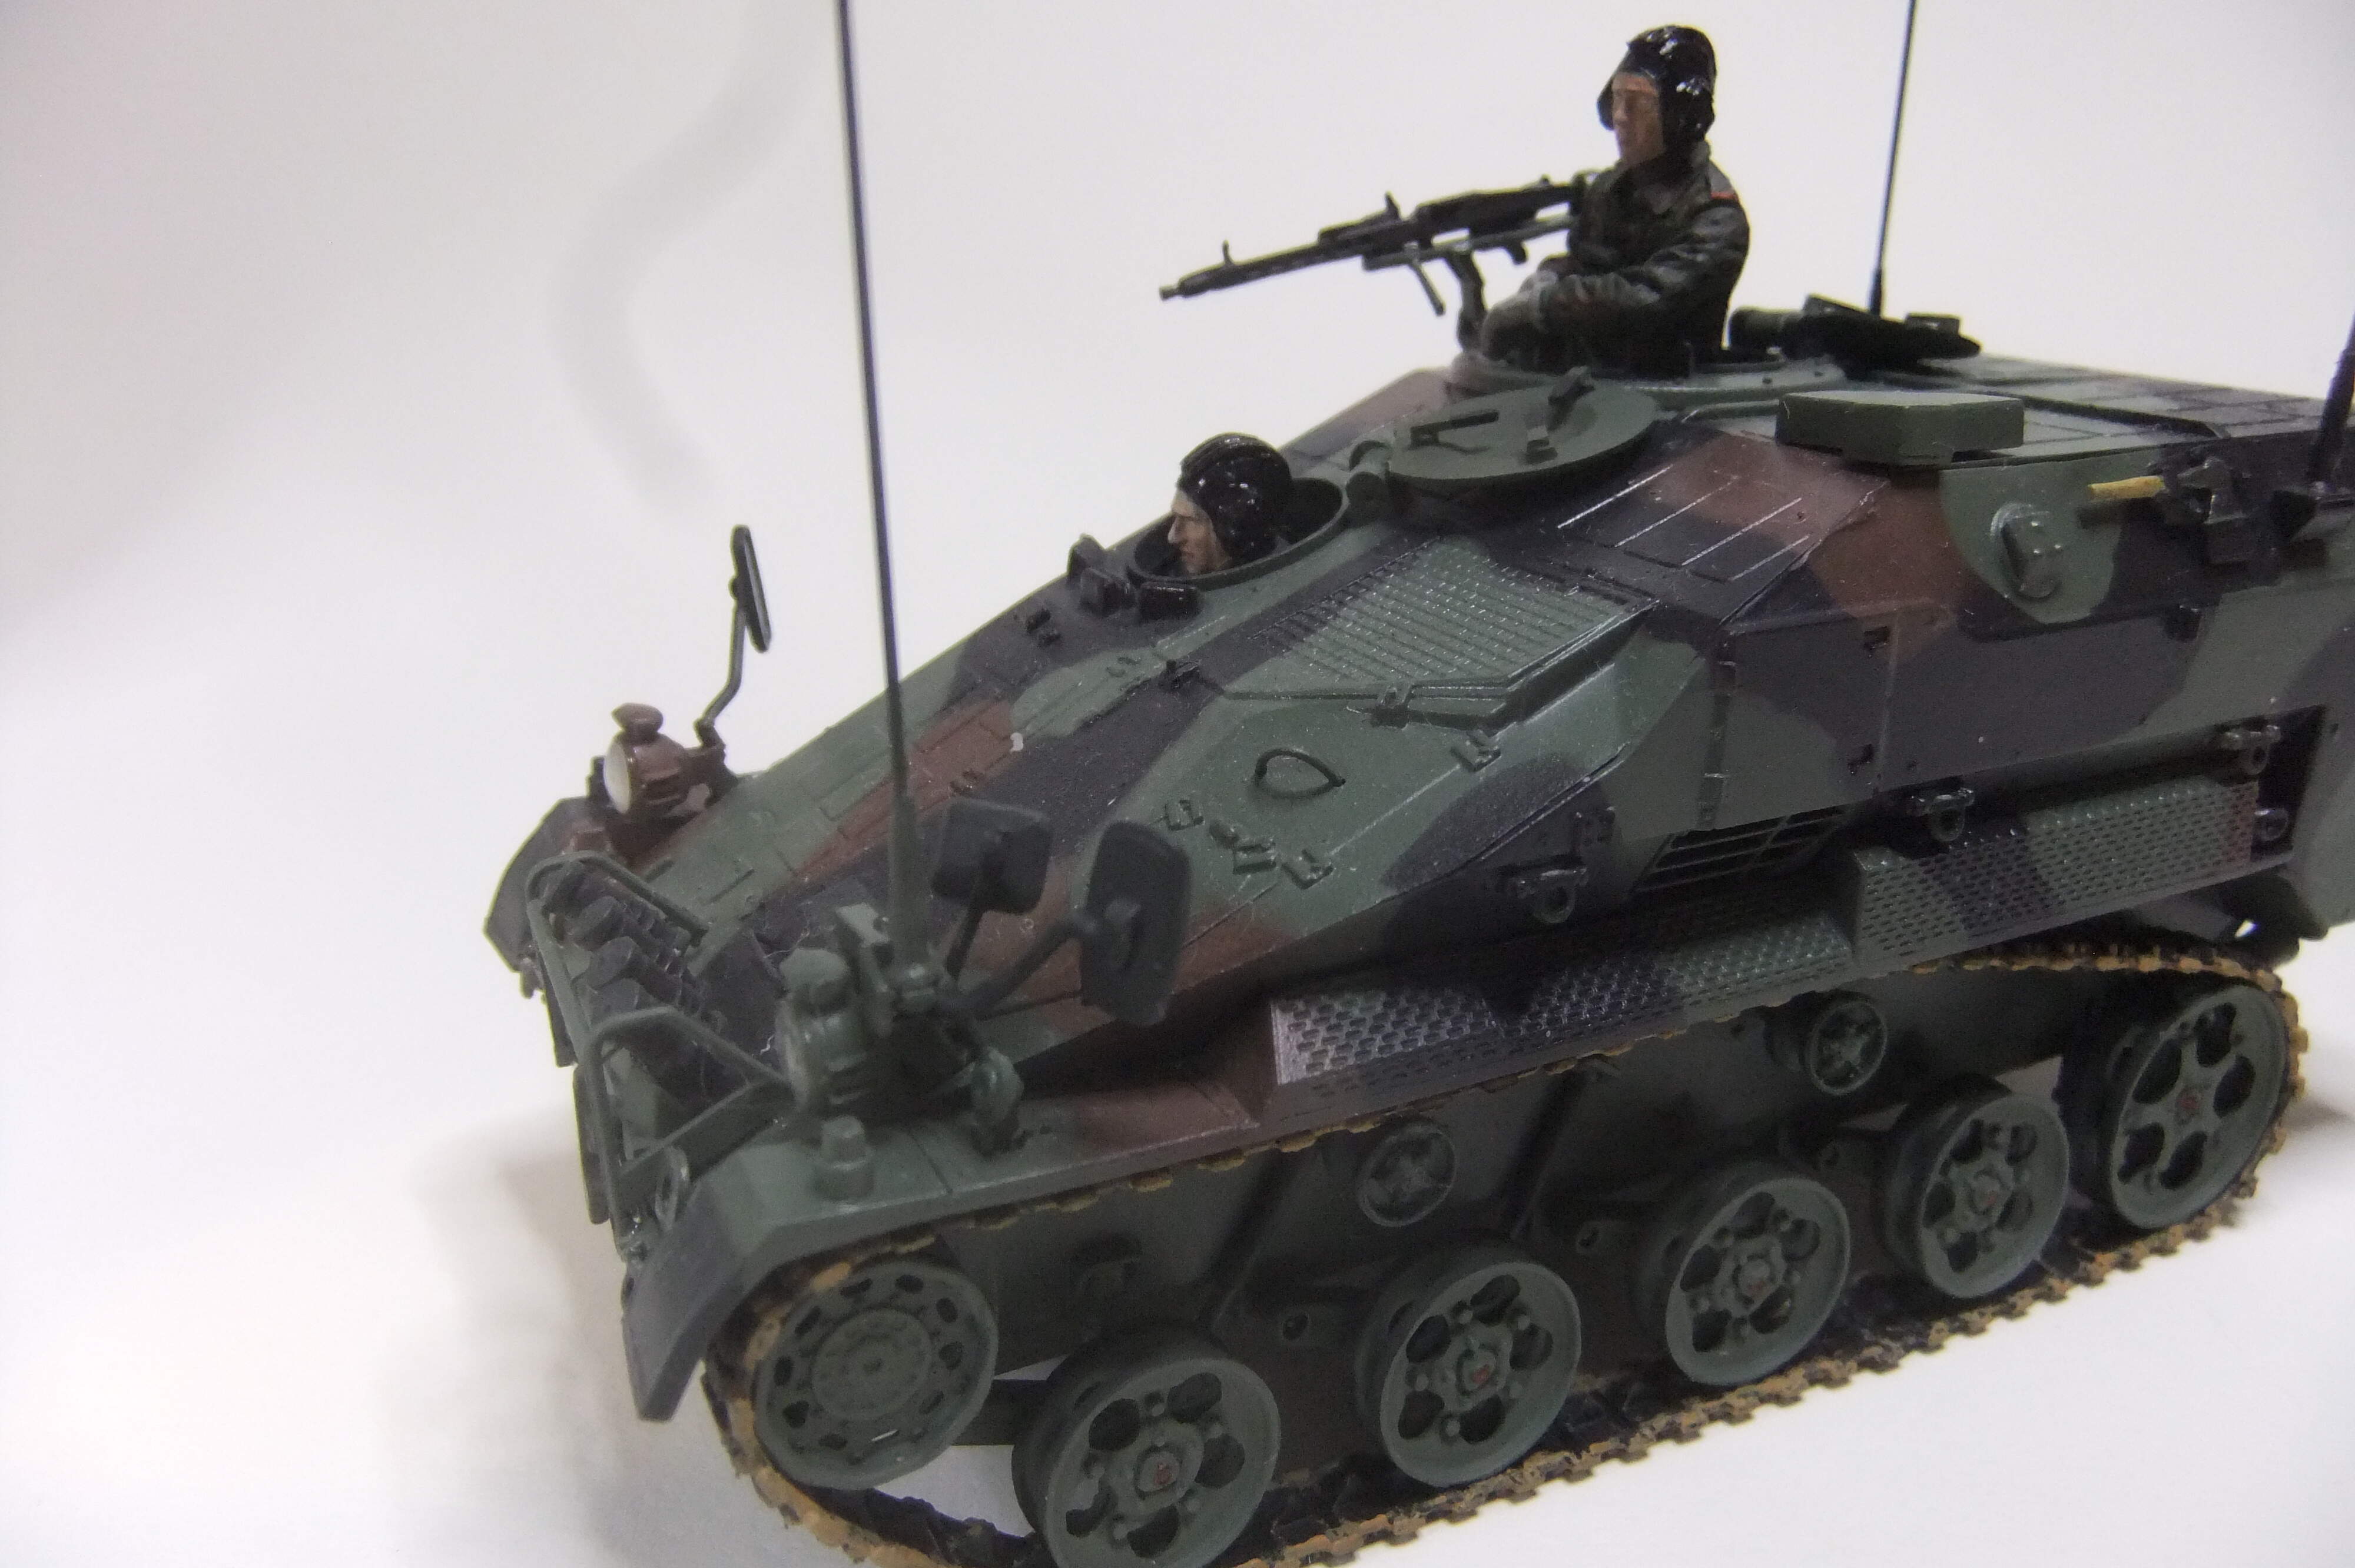
Of interest may be the head lights:
You might remember, I first hollowed the lamps. Furthermore I painted the inside with Revell Aqua Color 99 Aluminum.
And for the “glass” I chose the following method:
I took a very thin, clear polystyrol plate (0,3mm) and scratched some small lines on one side. Then I punched out round discs and turned them around. On the side without the scratches, I dropped on some Revell Aqua Color 01 clear gloss and let it dry over night. Now the clear gloss is dryly bent and has the shape of a lens.
With this method you can always produce your own lenses in exactly the diameter you need.
Peter
2 Likes
Very nice clean build!
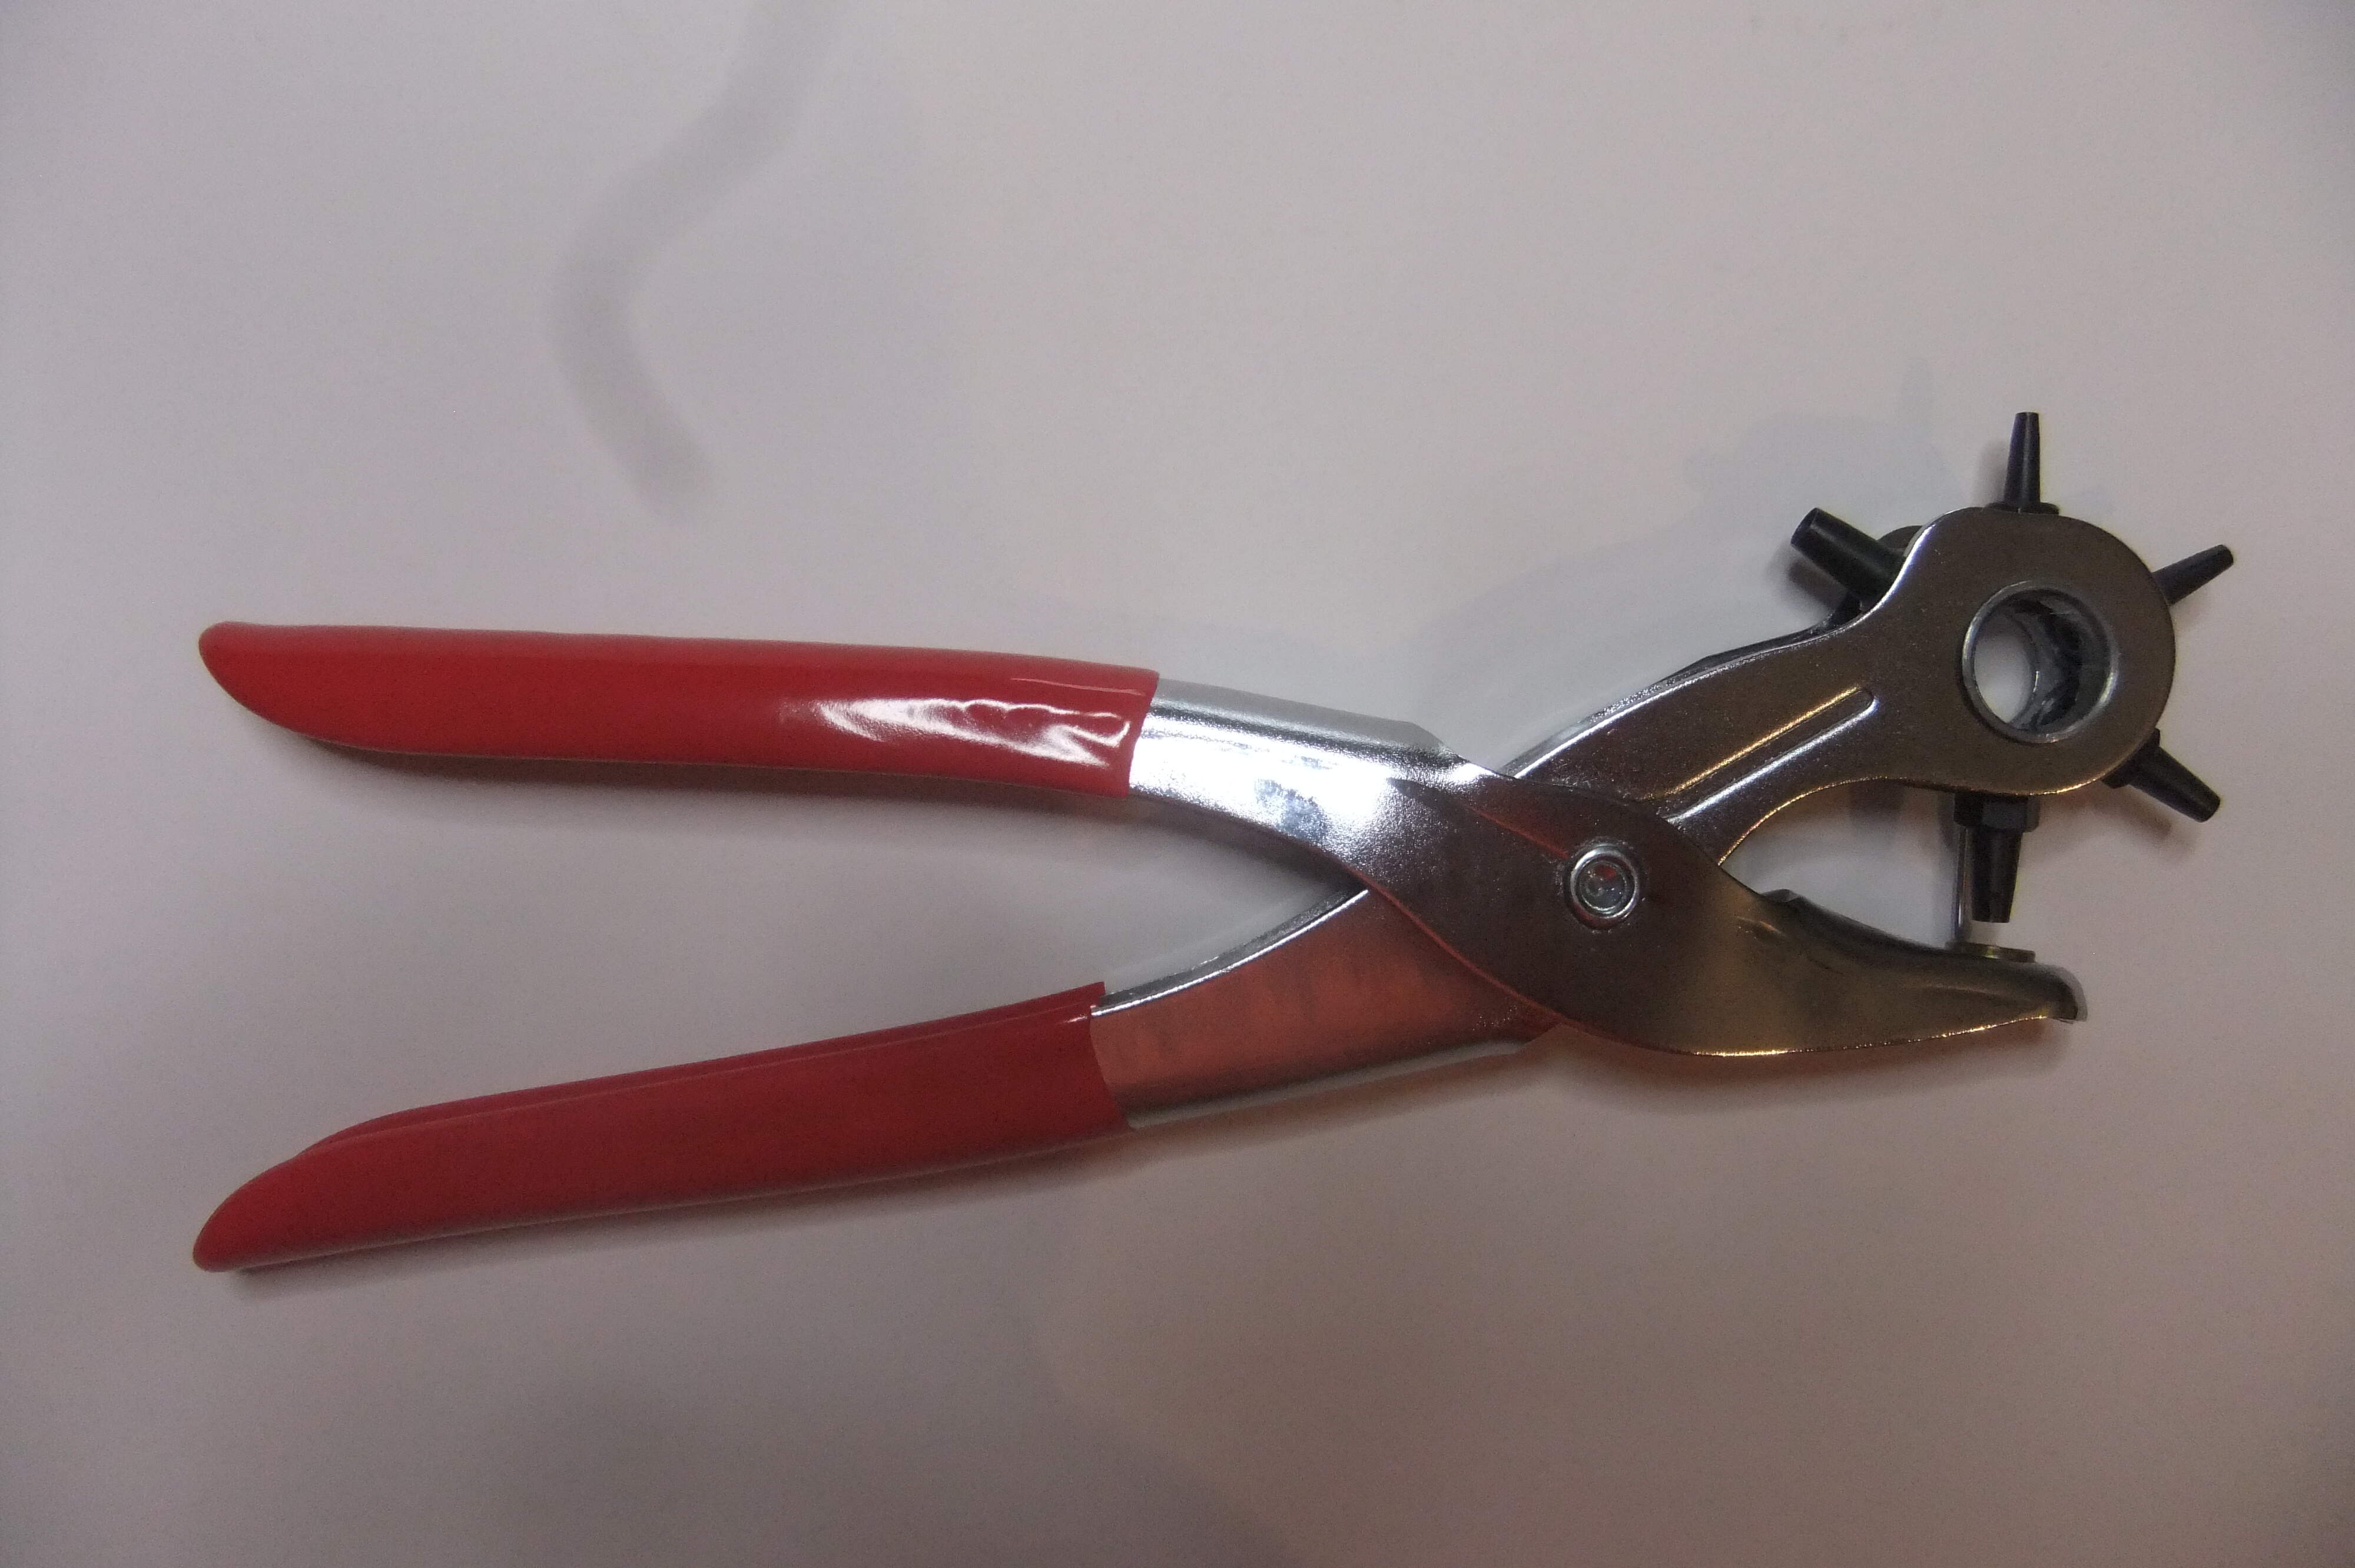
How did you punch the lens pieces out from the clear plastic sheeting in the proper size?
Thank you for your compliment.
In this case I used a Punch pliers. In fact it is an American product and I bought it in Phoenix/AZ in a hardware store.
I also used a “punch and die” set, for bigger diameters (6mm) even a punching iron - whatever fixes the needed diameter.
Buy the way I forgot something:
The clossy drop is not working with brand new Revell Aqua Color 01 clear gloss. This one is too liquid and for that it will “flow away”, creating a mess on the table. I always use some older stuff of the gloss. It has to have a “creamy” consistent, then it will work properly.
Even more, I always lay the cutout disc on a small mirror in order to drop the gloss. So if any of the gloss goes over the disc, I can easily remove the disc from the mirror again.
And!!!: make more discs than you need, they have the inclination to disappear! In this case I made 6 of them.
Good luck!!!
Peter
Very nicely done, Peter!
Those Wiesel 2’s are definitely some tiny vehicles!


Thank you for the clear explanation Peter. I’ll have to look for some of those punching pliers.
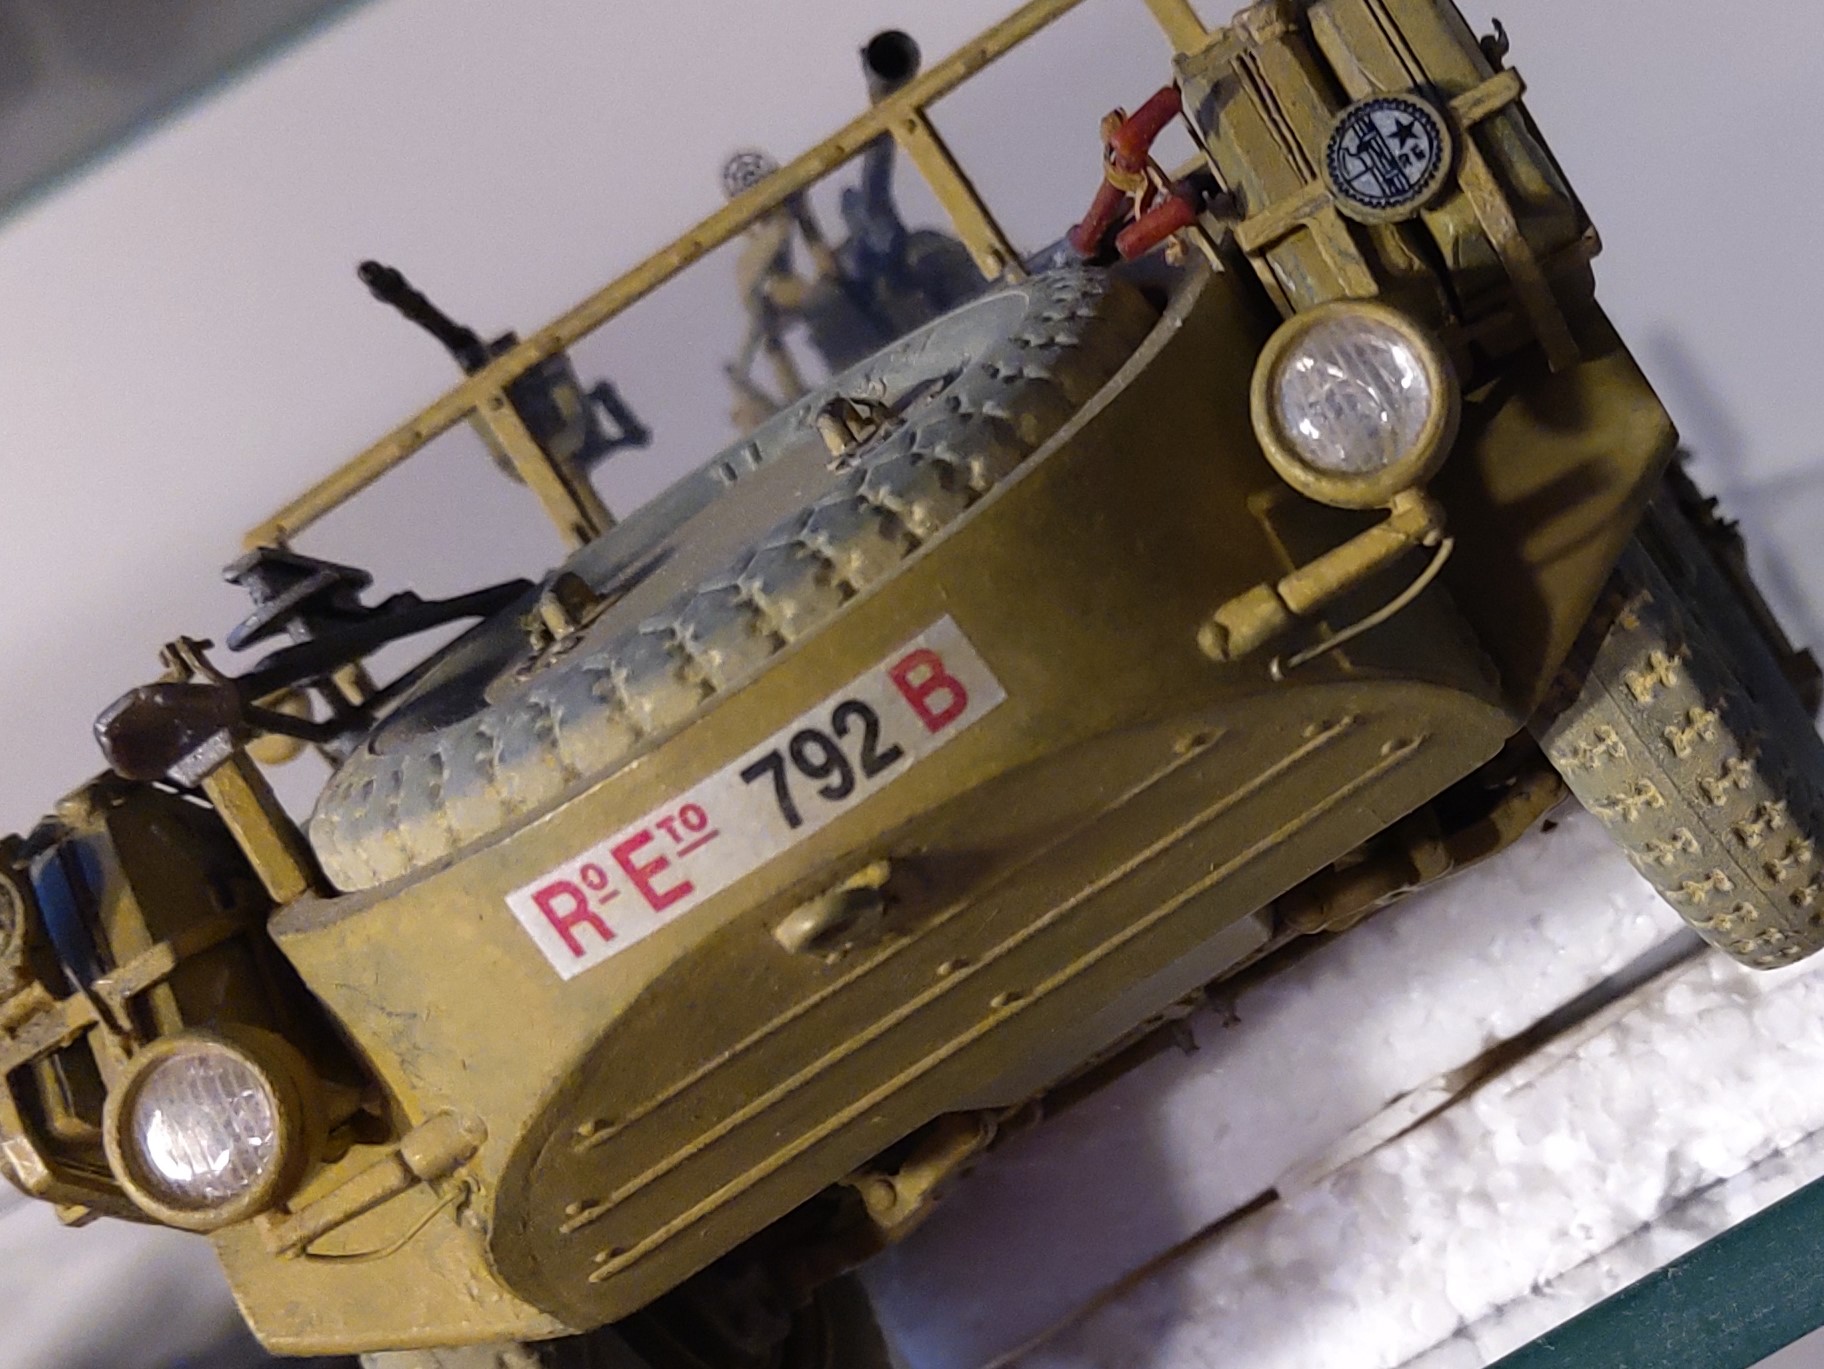
I’m using a slightly different method:
Acetate sheet (like from the stiffeners you get in shirt packings) receives the described parallel lines inscribed. Plastic sheet of about 2 mm thickness gets a hole drilled that’s 0.5 mm larger than the needed lens. The acetate is held over a candle until it becomes floppy, the placed over the hole and pushed in with the dull end of a suitable drill bit, e.g. 3mm drill for a 3.5 mm hole. The “lens” can then be cut off and the edge sanded smooth as needed (by sticking it to a piece of tape). For the drilled out “reflector” I use very thin aluminum foil that I form over the drill’s end again.
The result can be seen on my Italeri Sahariana.
HTH,
Peter
2 Likes
Thank you Richard!
Wish you a Merry Christmas!
Hi Carlos,
I guess it is worth a try!
Wish you a Merry Christmas!
Hi Peter,
Interesting method you use.
How do you push the drill through the melted Acetate?
Just by hand or do you use a hammer?
Wish you a Merry Christmas!
Peter
Hi Peter,
I just push it in by hand - that’s why I let it become floppy over the flame. Different sorts of acetate have different cooling (= hardening) times, however, so success strongly depends on the right material [or your reaction time ;-)].
Have a negative (test-wise, that is) Xmas,
Peter