Happy Easter all!
I’ve begun attaching the second run of tracks. ![]()

Mike
The tracks on both sides are not set. I’m working on the OVM now. I need to see about getting some single-wing wing nuts for the hatches as the Sovereign kit includes nothing for them. I keep finding little bits of details that the kit misses - like the lifting hooks on each side at the front of the superstructure. The barrel will be mounted soon, too.
Mike
I use sewing thread (usually black but browns or tans would work depending on the weathering).
Pierce the guide horns on either side of the axle of the support roller.
Thread goes through the guide horn, under the axle, through the other guide horn, tie a knot with the loose ends under the axle, add a small dab of CA to lock the knot.
The pull of the thread will pull the track down on either side of the support roller, causing the track to sag down,
Due to foreseen and unforeseen health things and major exterior yard updates, there has been an unfortunate delay in the StuG III. However, I did sit at the bench for a few minutes with a caliper to get the drill bit size needed for the T-pins and start drilling one of the holes with a small hand drill. That was kind of rough on the hands.
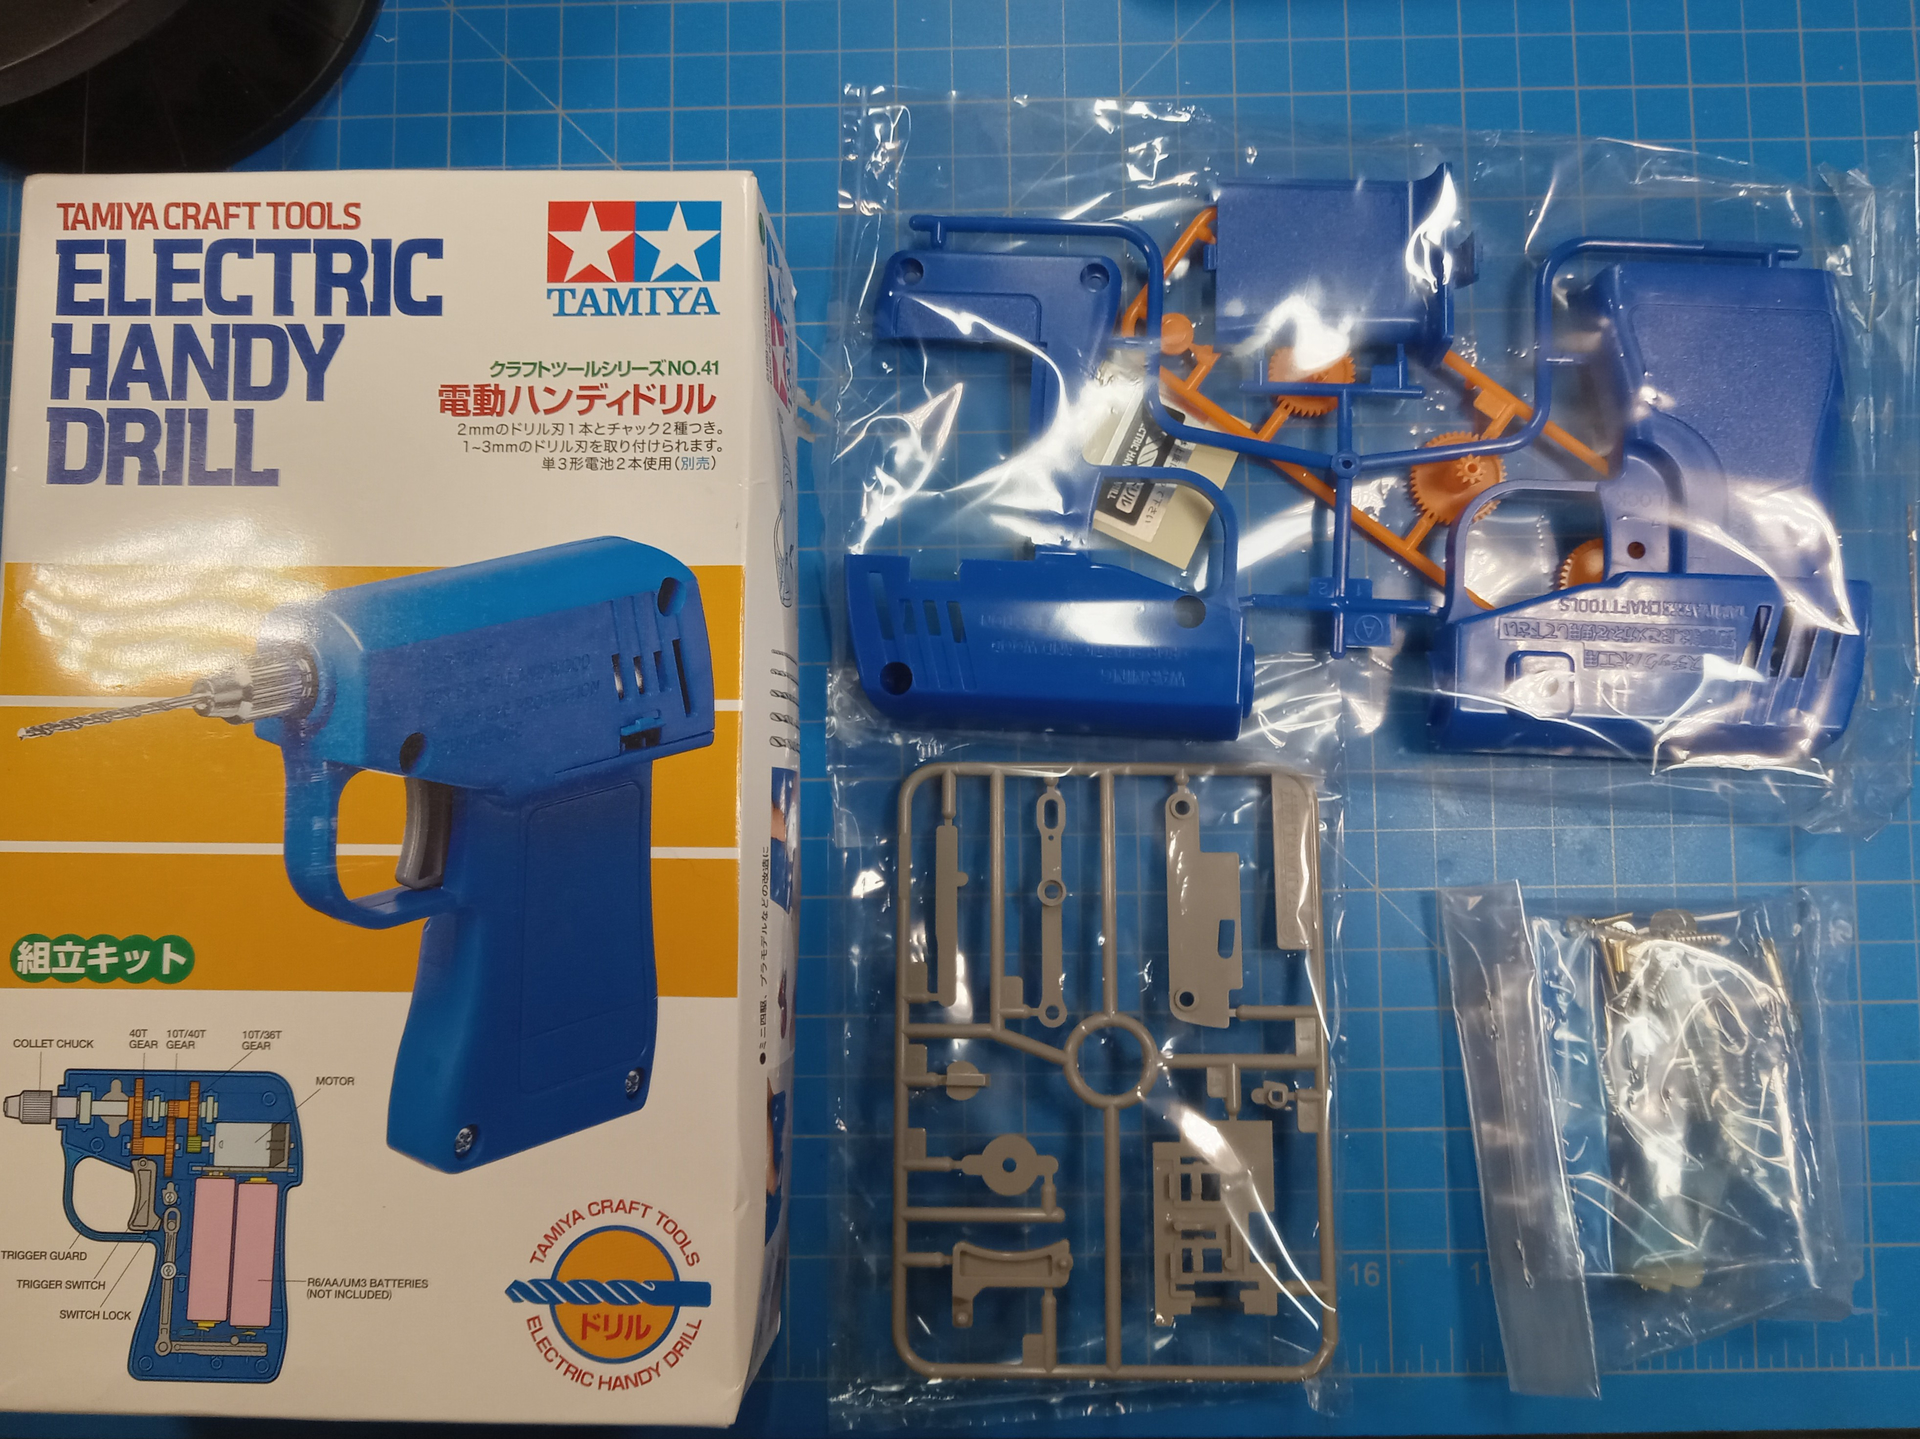
I have seen, many times, in the past the Tamiya Handy Drill. I’ve always thought that was more toy than tool. I looked at a couple of reviews and decided (because I had an Amazon gift card) that I’d get one. I do have a variable-speed Dremel that I can chuck a #60 bit into, but it’s awkward trying to get the angle steady. I also have a 12V Milwaukee drill, but light as it is, it’s also awkward. Hence the Tamiya drill.
It’ll arrive tomorrow so I’ll “build” it and give it a shot. And for those that may have thought about one, but felt the same (toy not tool), I’ll let you know how it went.
Mike
As mentioned before, the Tamiya Handy Drill arrived today.
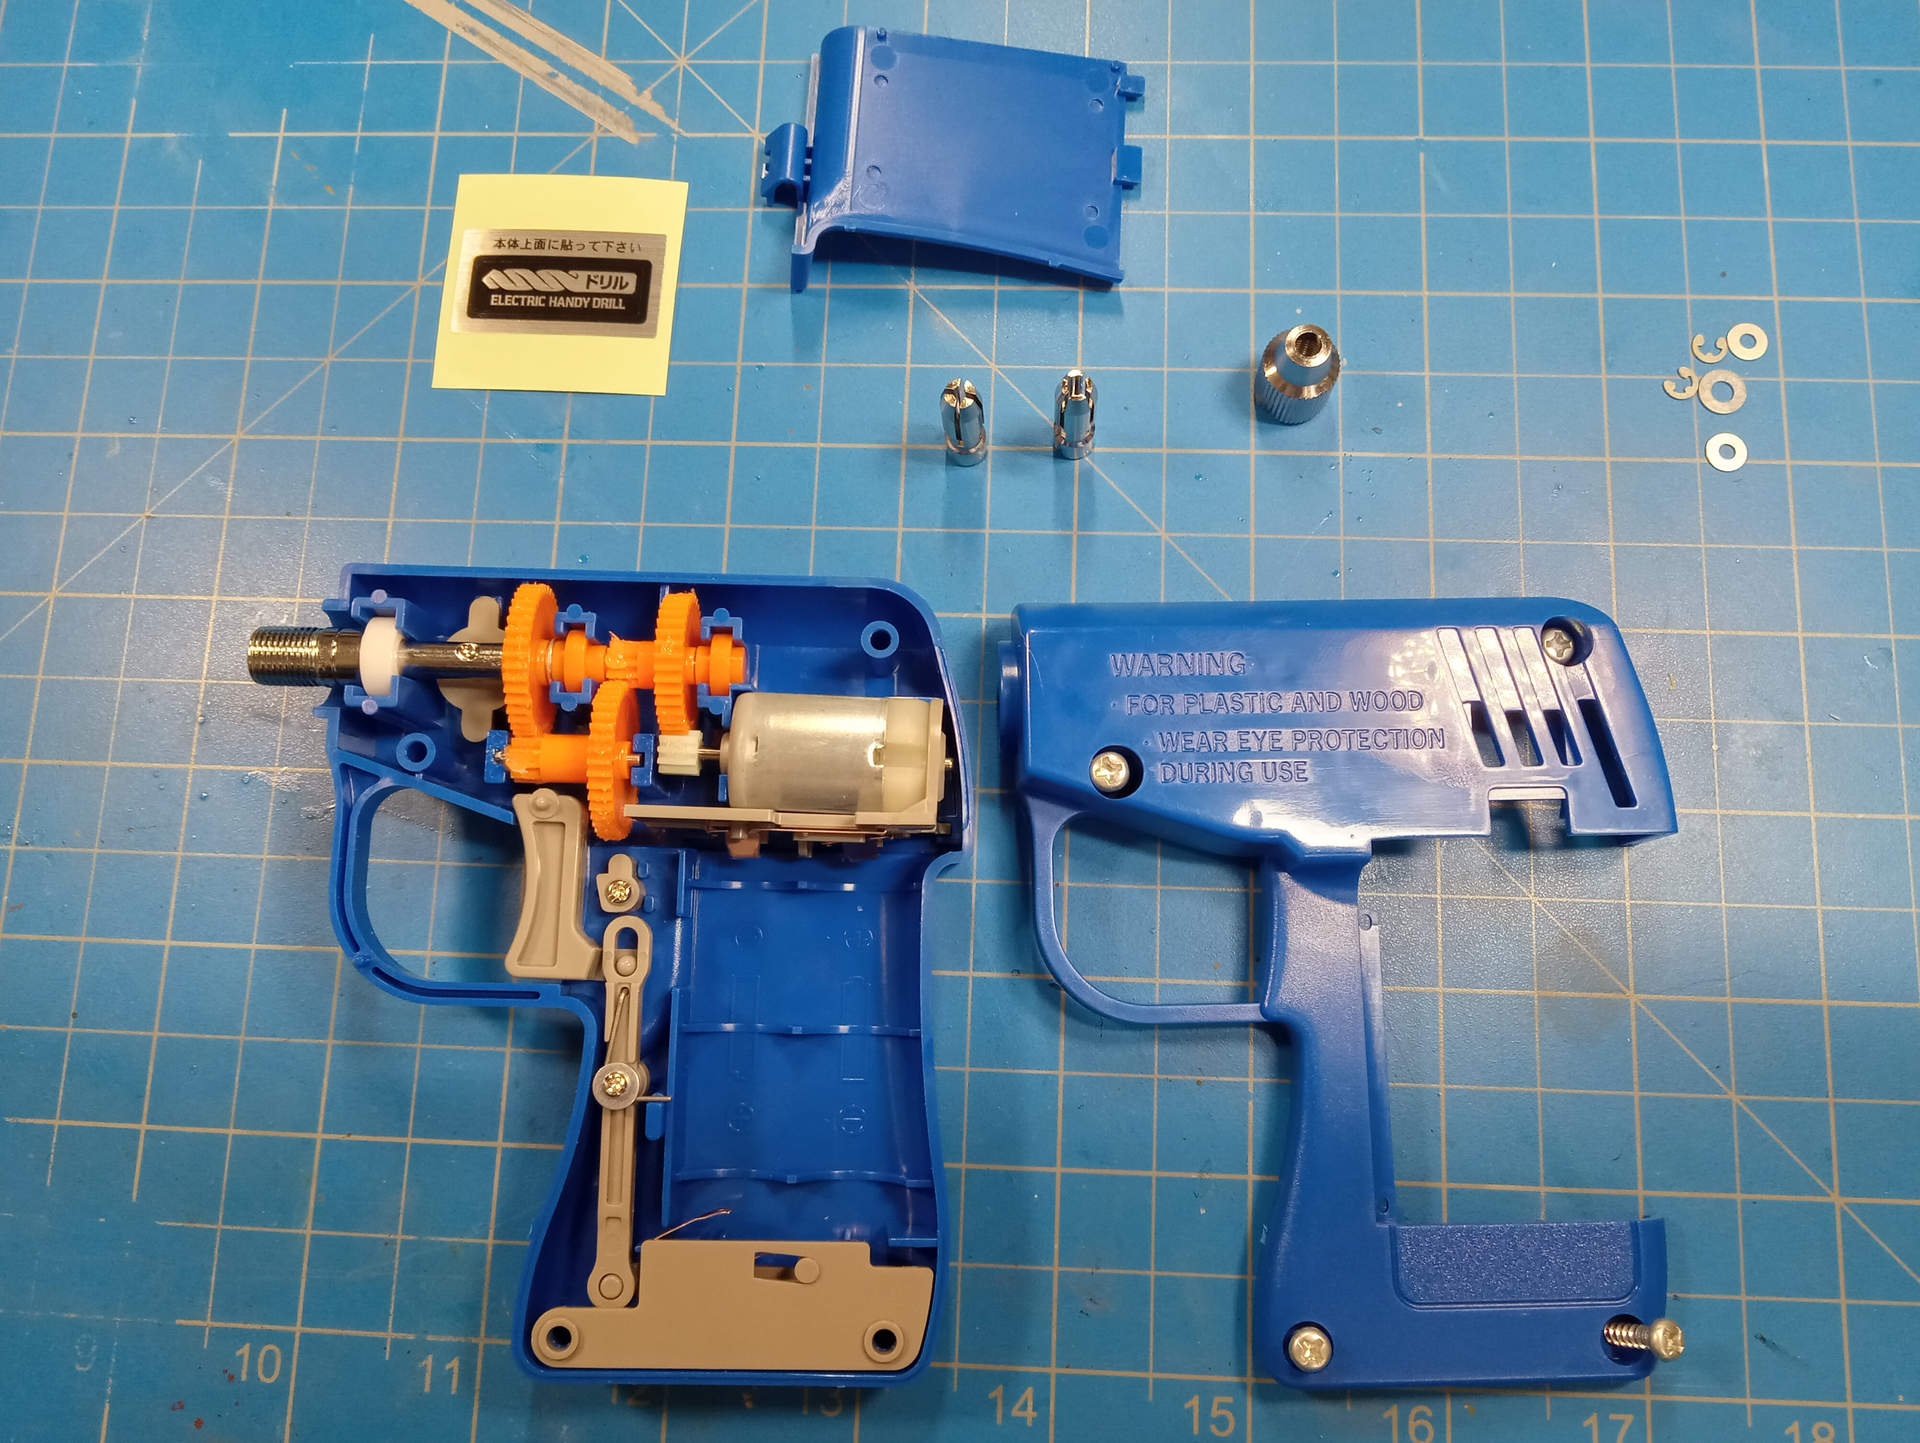
Just a few pictures:
The only confusing piece was the bottom “clip” for the batteries. It took a bit trying to figure out just where that little piece of metal fit in. Anyhow, it finally made some sense.
What I really like is that the RPMs are low.
Mike