Would the CH-47D pilot set be accurate for 1983?
1 Like
Trumpeter’s CH-47D crew are wearing the right gear, but those figures are pretty soft on details and look pretty bad to me.
I went with the Bravo 6 Vietnam Huey pilots (with Live Resin UH-60 pilots arms w/molded in cyclic grips and collectives) and door gunners, one modified to be standing and leaning out the gunner’s window. They have the proper uniform, chicken plate armor vests, and the pilots have seatbelts already molded onto them. I should have some pics of them soon.
2 Likes
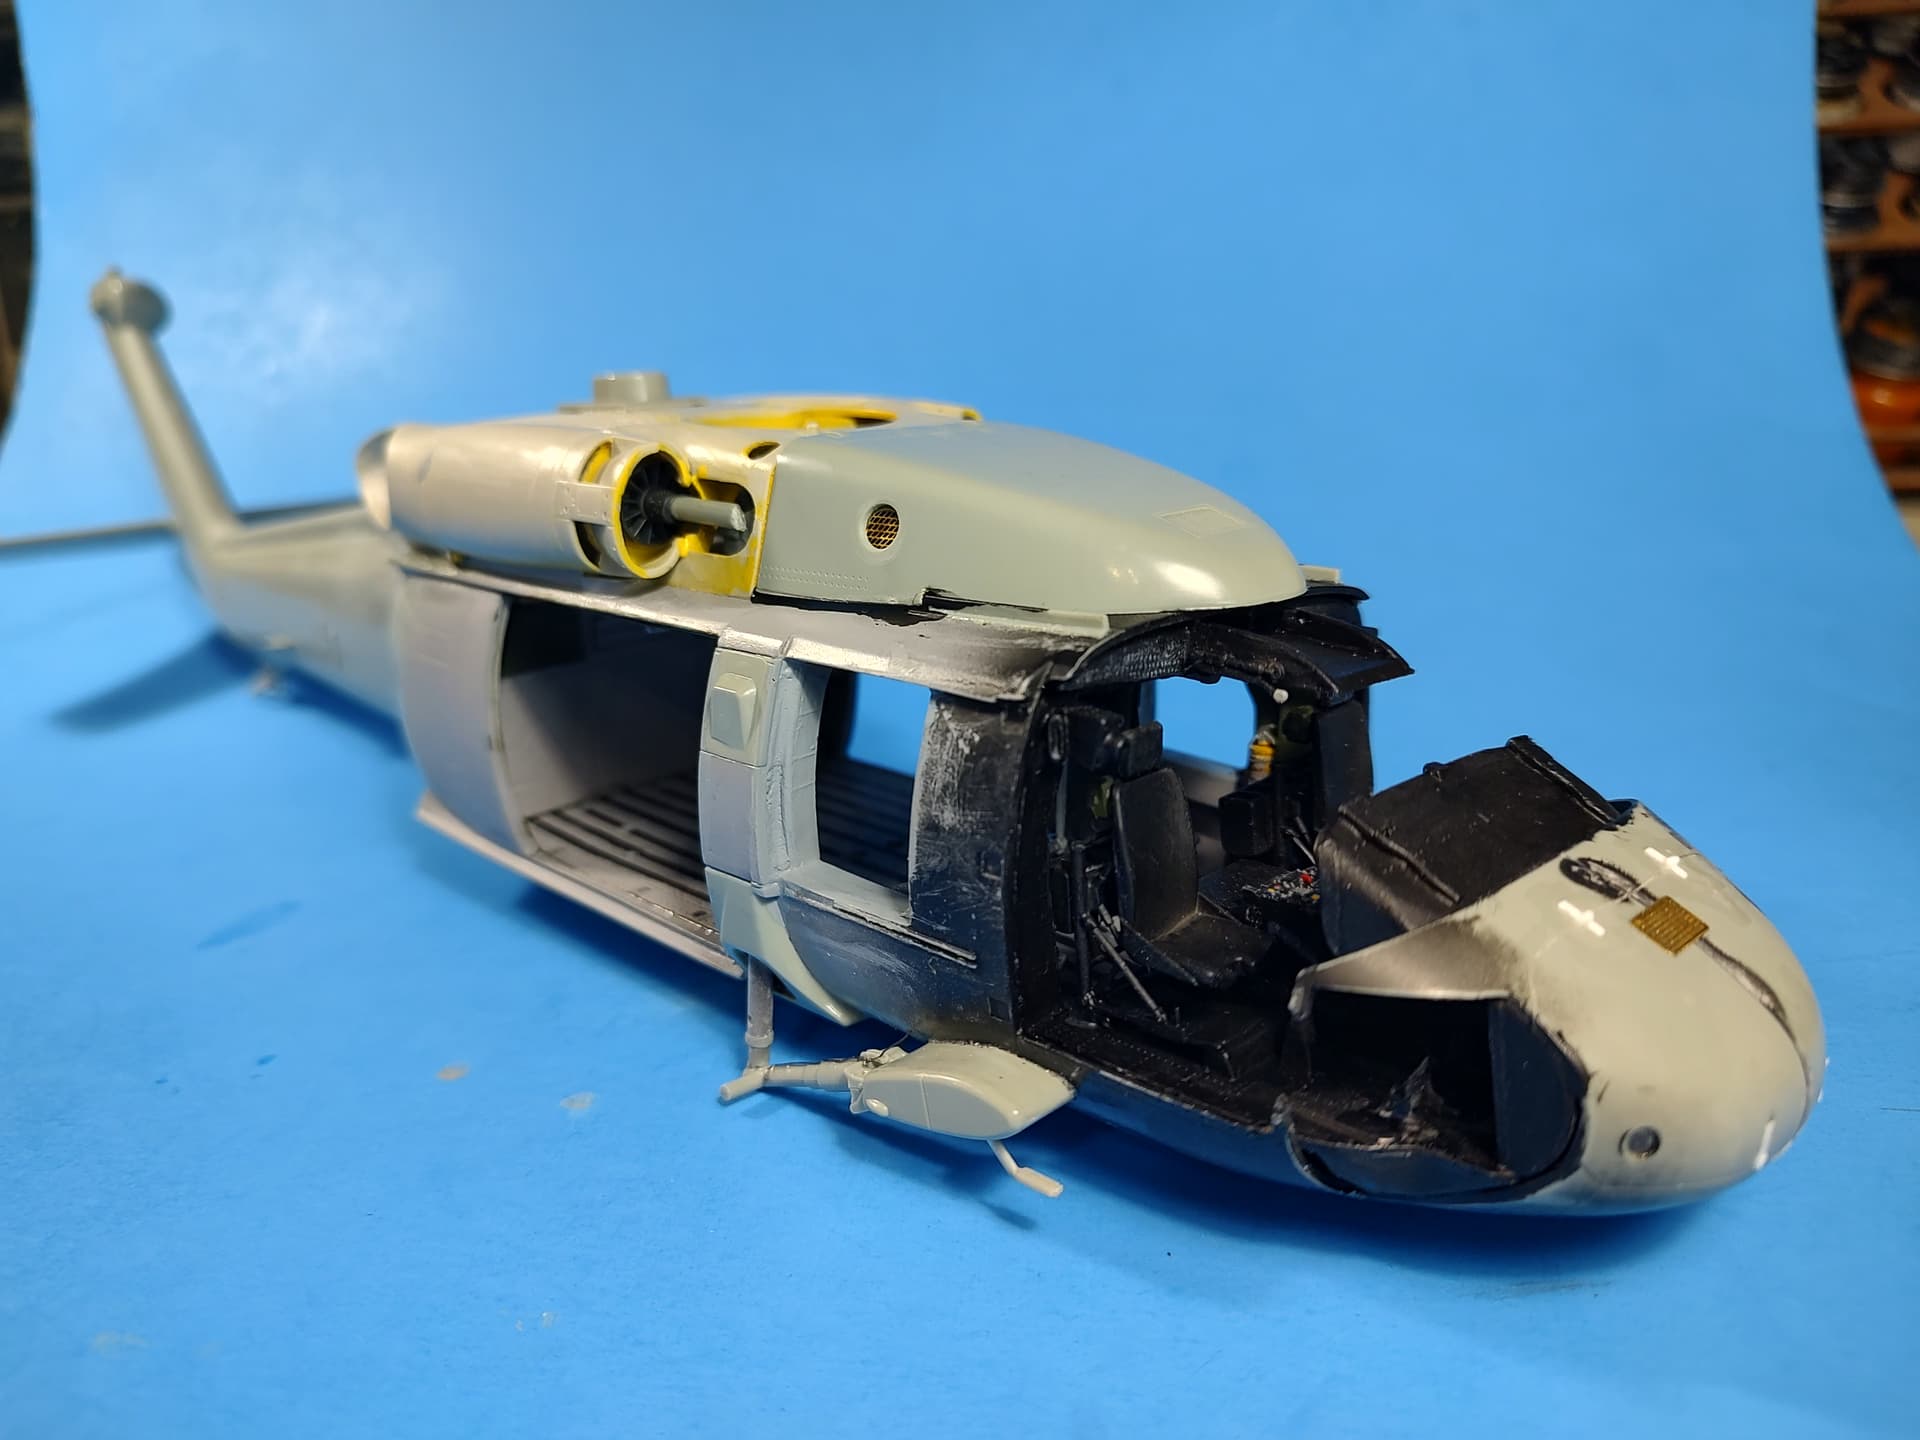
Over the last few days, I have made quite a bit of progress. It’s almost ready for paint.
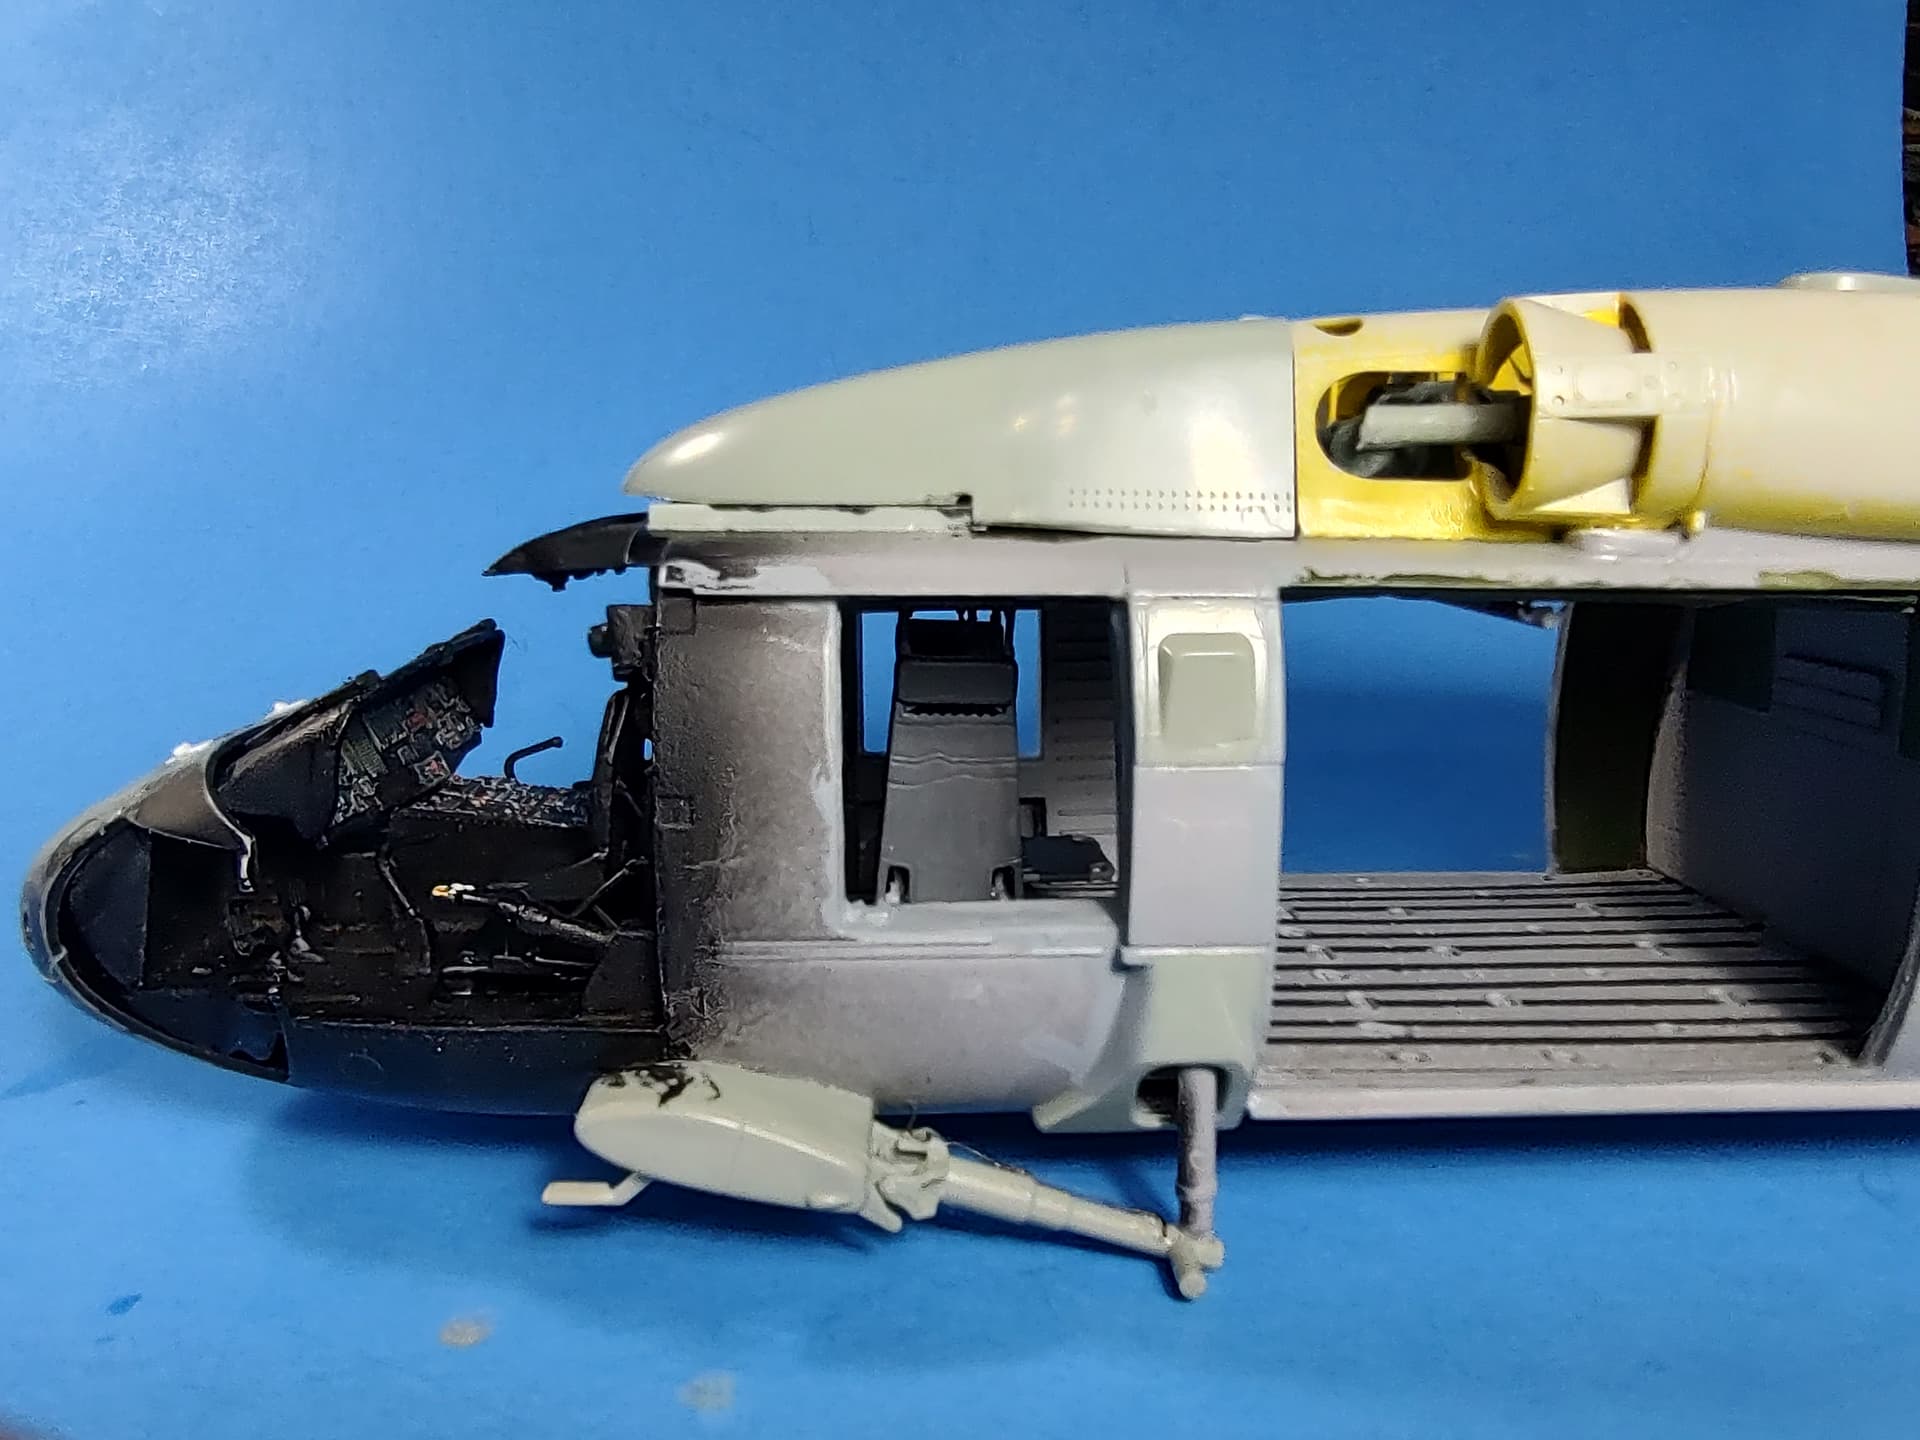
First, I got it all closed up. It wasn’t too hard closing it up. A little bit of trimming on the cockpit floor sides and in the gunners’ windows and it closed up just fine.
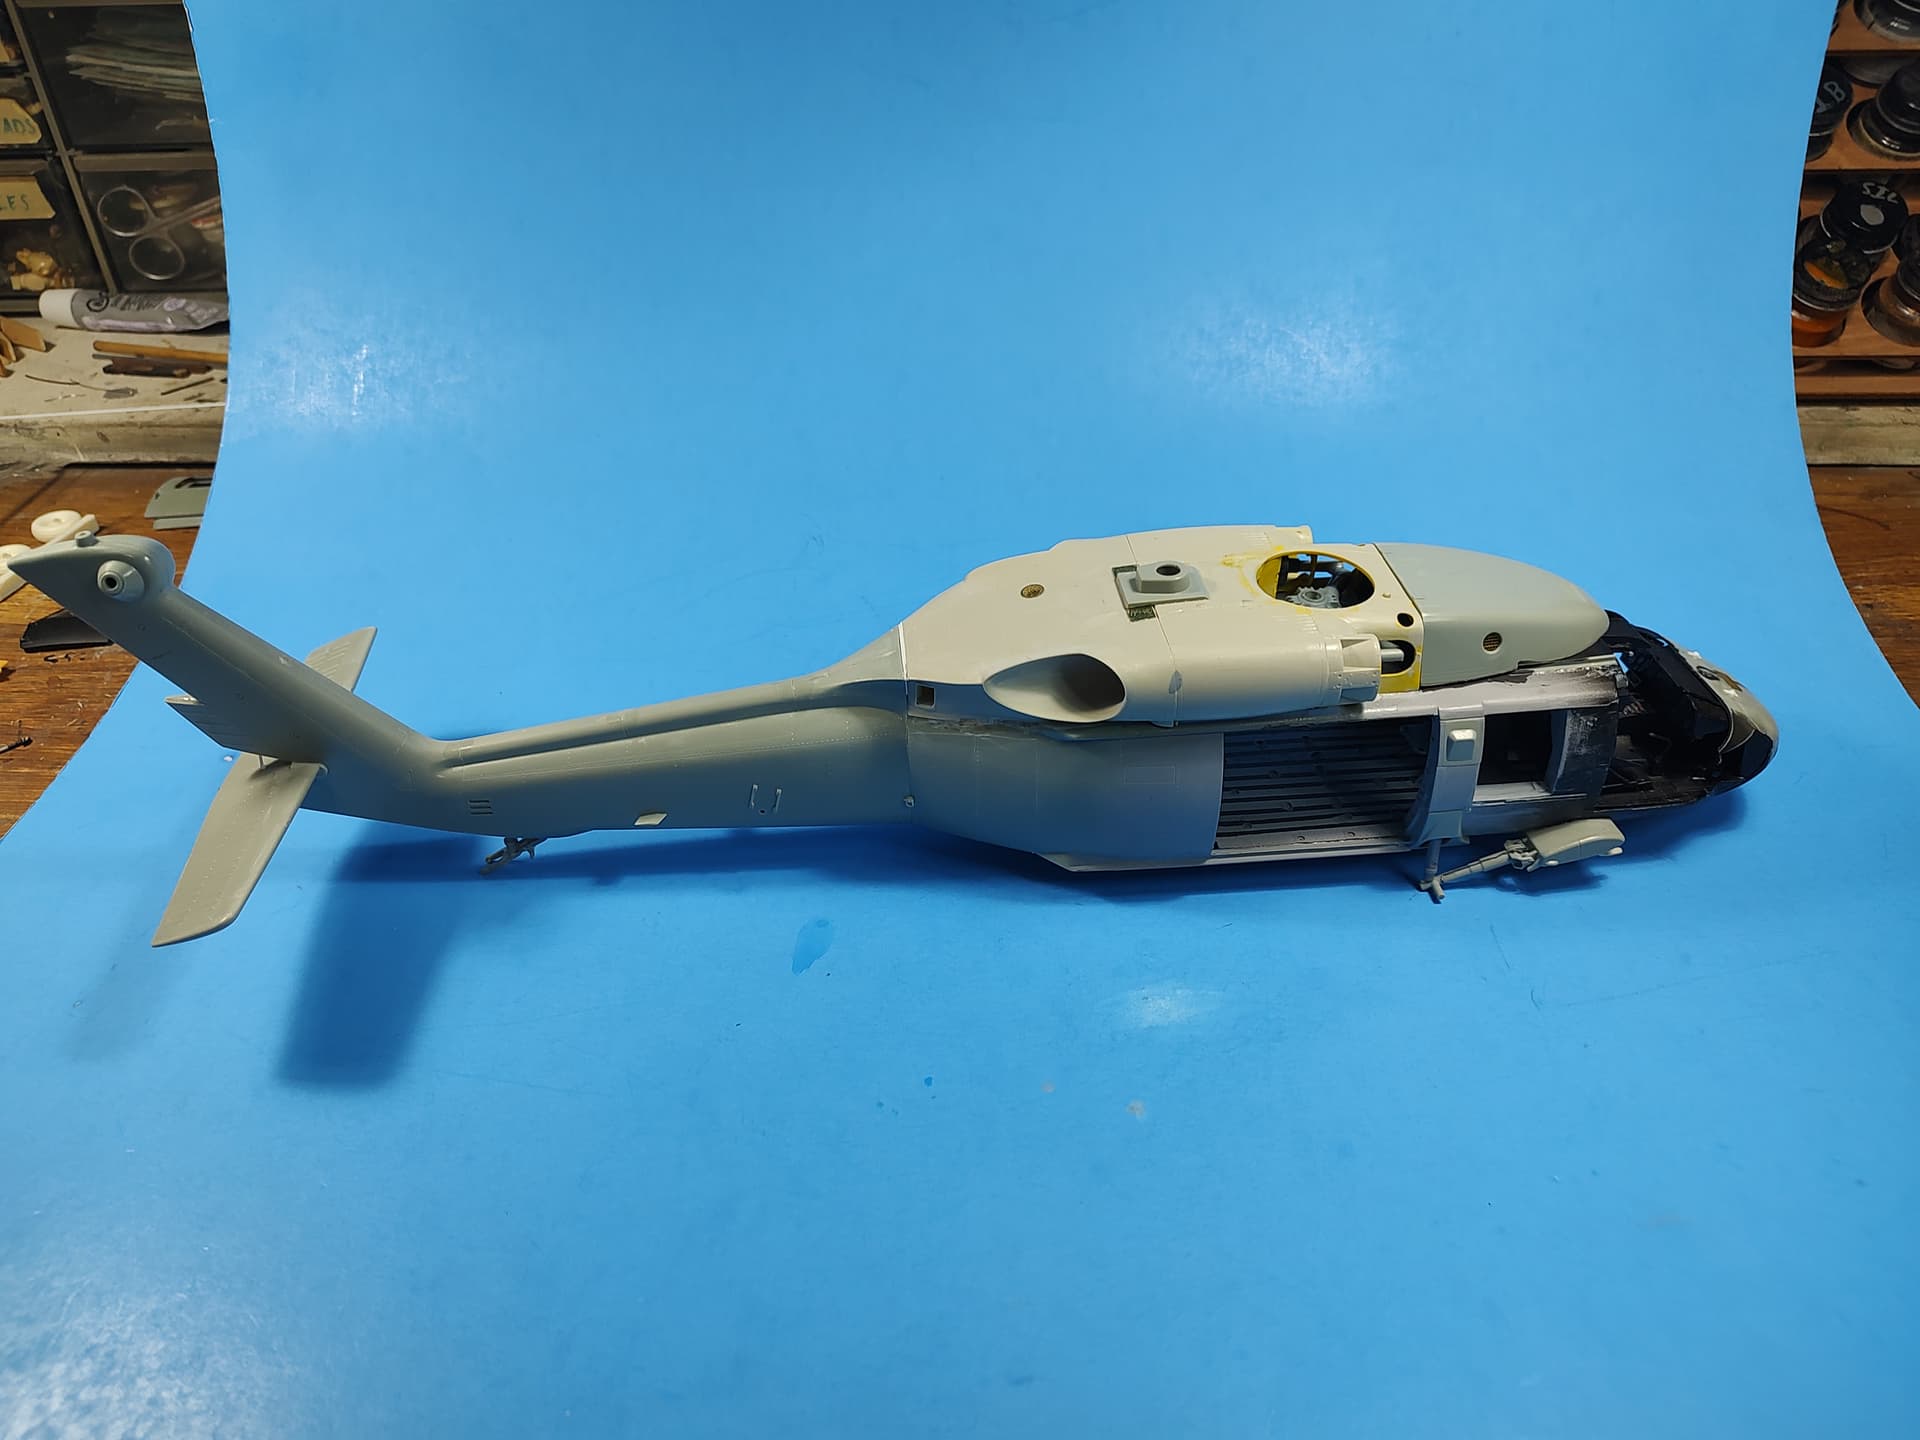
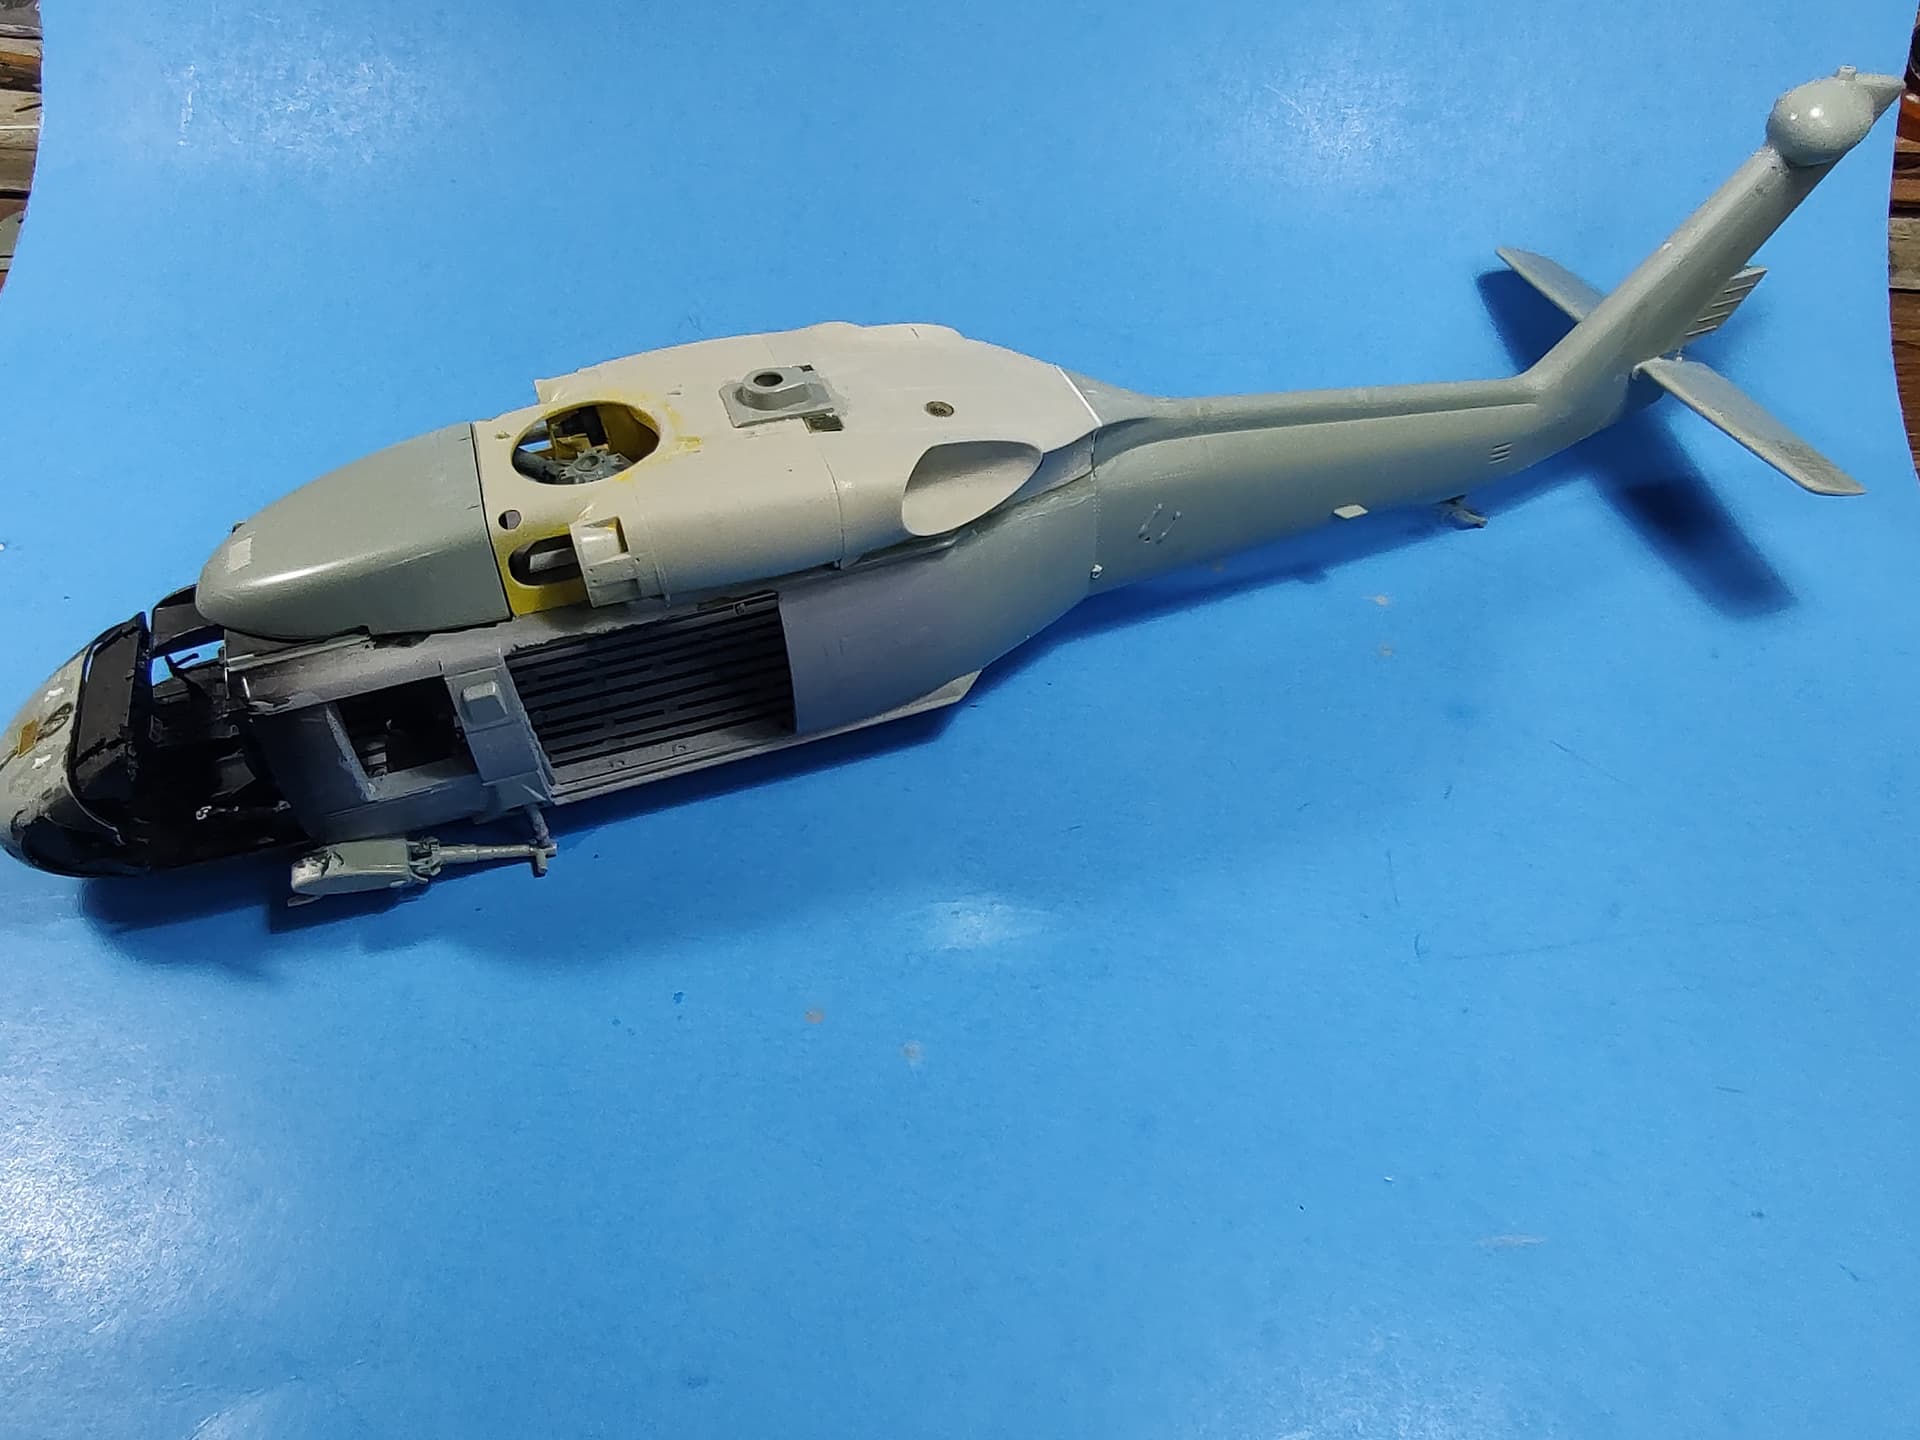
Here it is overall. I also used a few spare pieces of PE here and there to add details.
On the inside, I added the gunners’ seats and the squad leader seat between them. I had forgotten how much of a PITA the legs are on those seats. After wrestling with them for a while, I finally got them all in place.
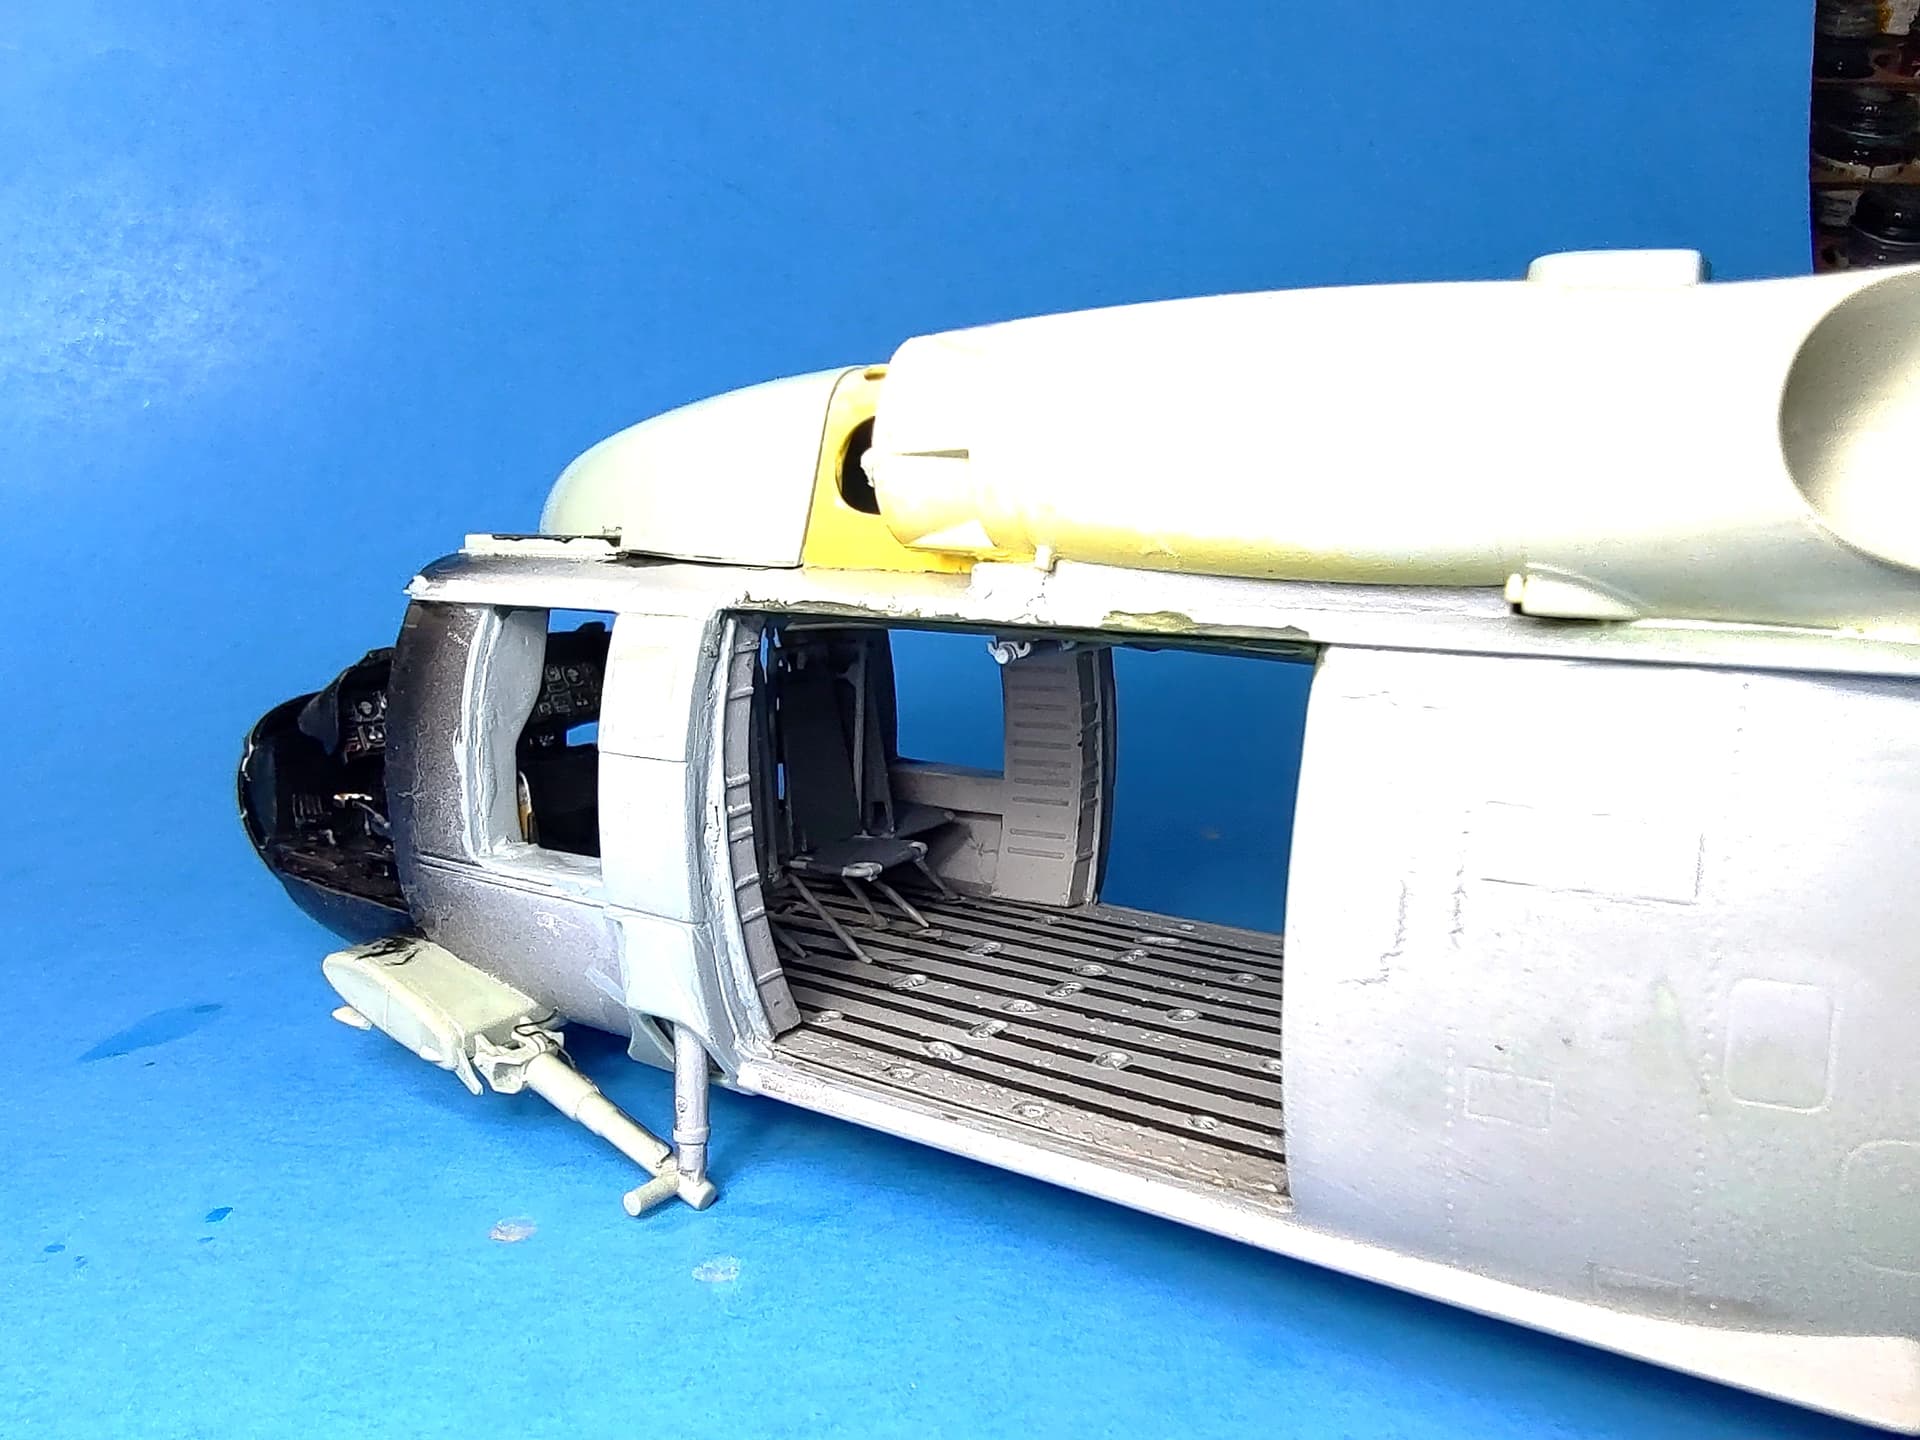
I also changed up the cockpit a little bit. I swapped out the collective handles and cyclic grips from a Live Resin set. The cyclic grips are in the pilots’ hands from the same Live Resin UH-60 pilots’ set. They look much better than what I had.
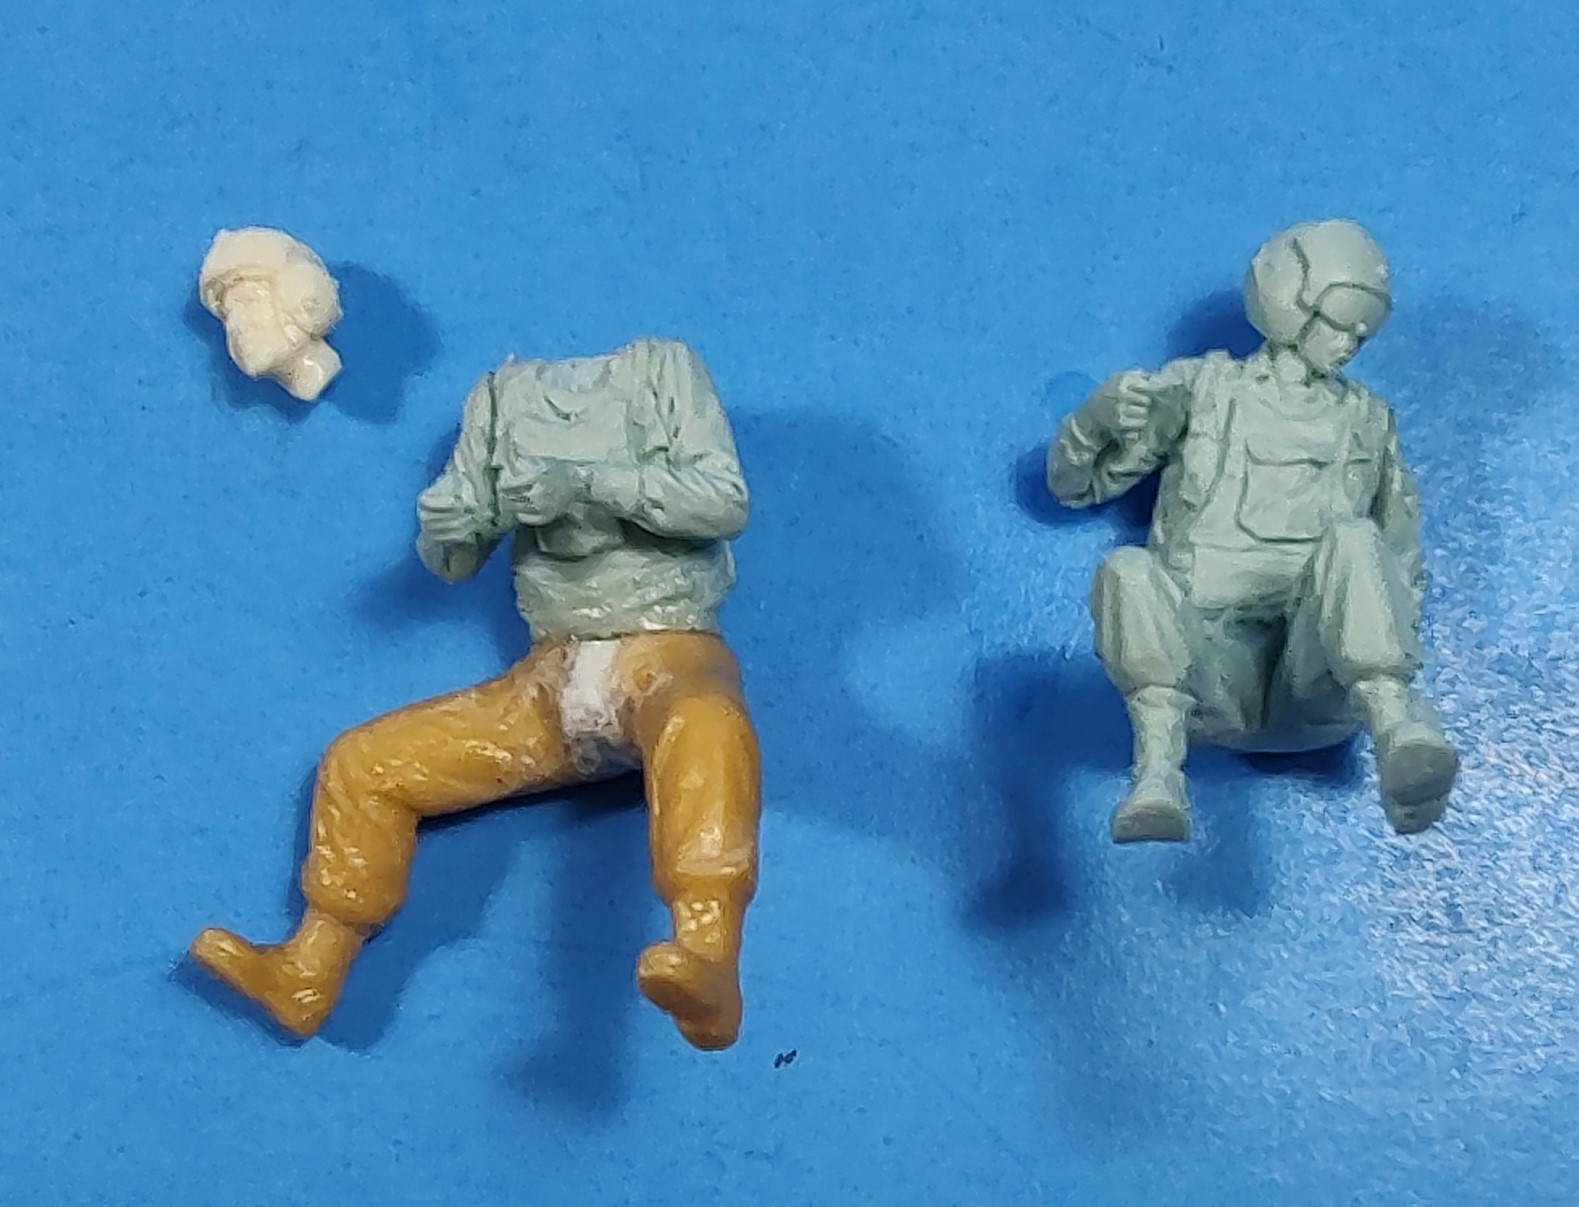
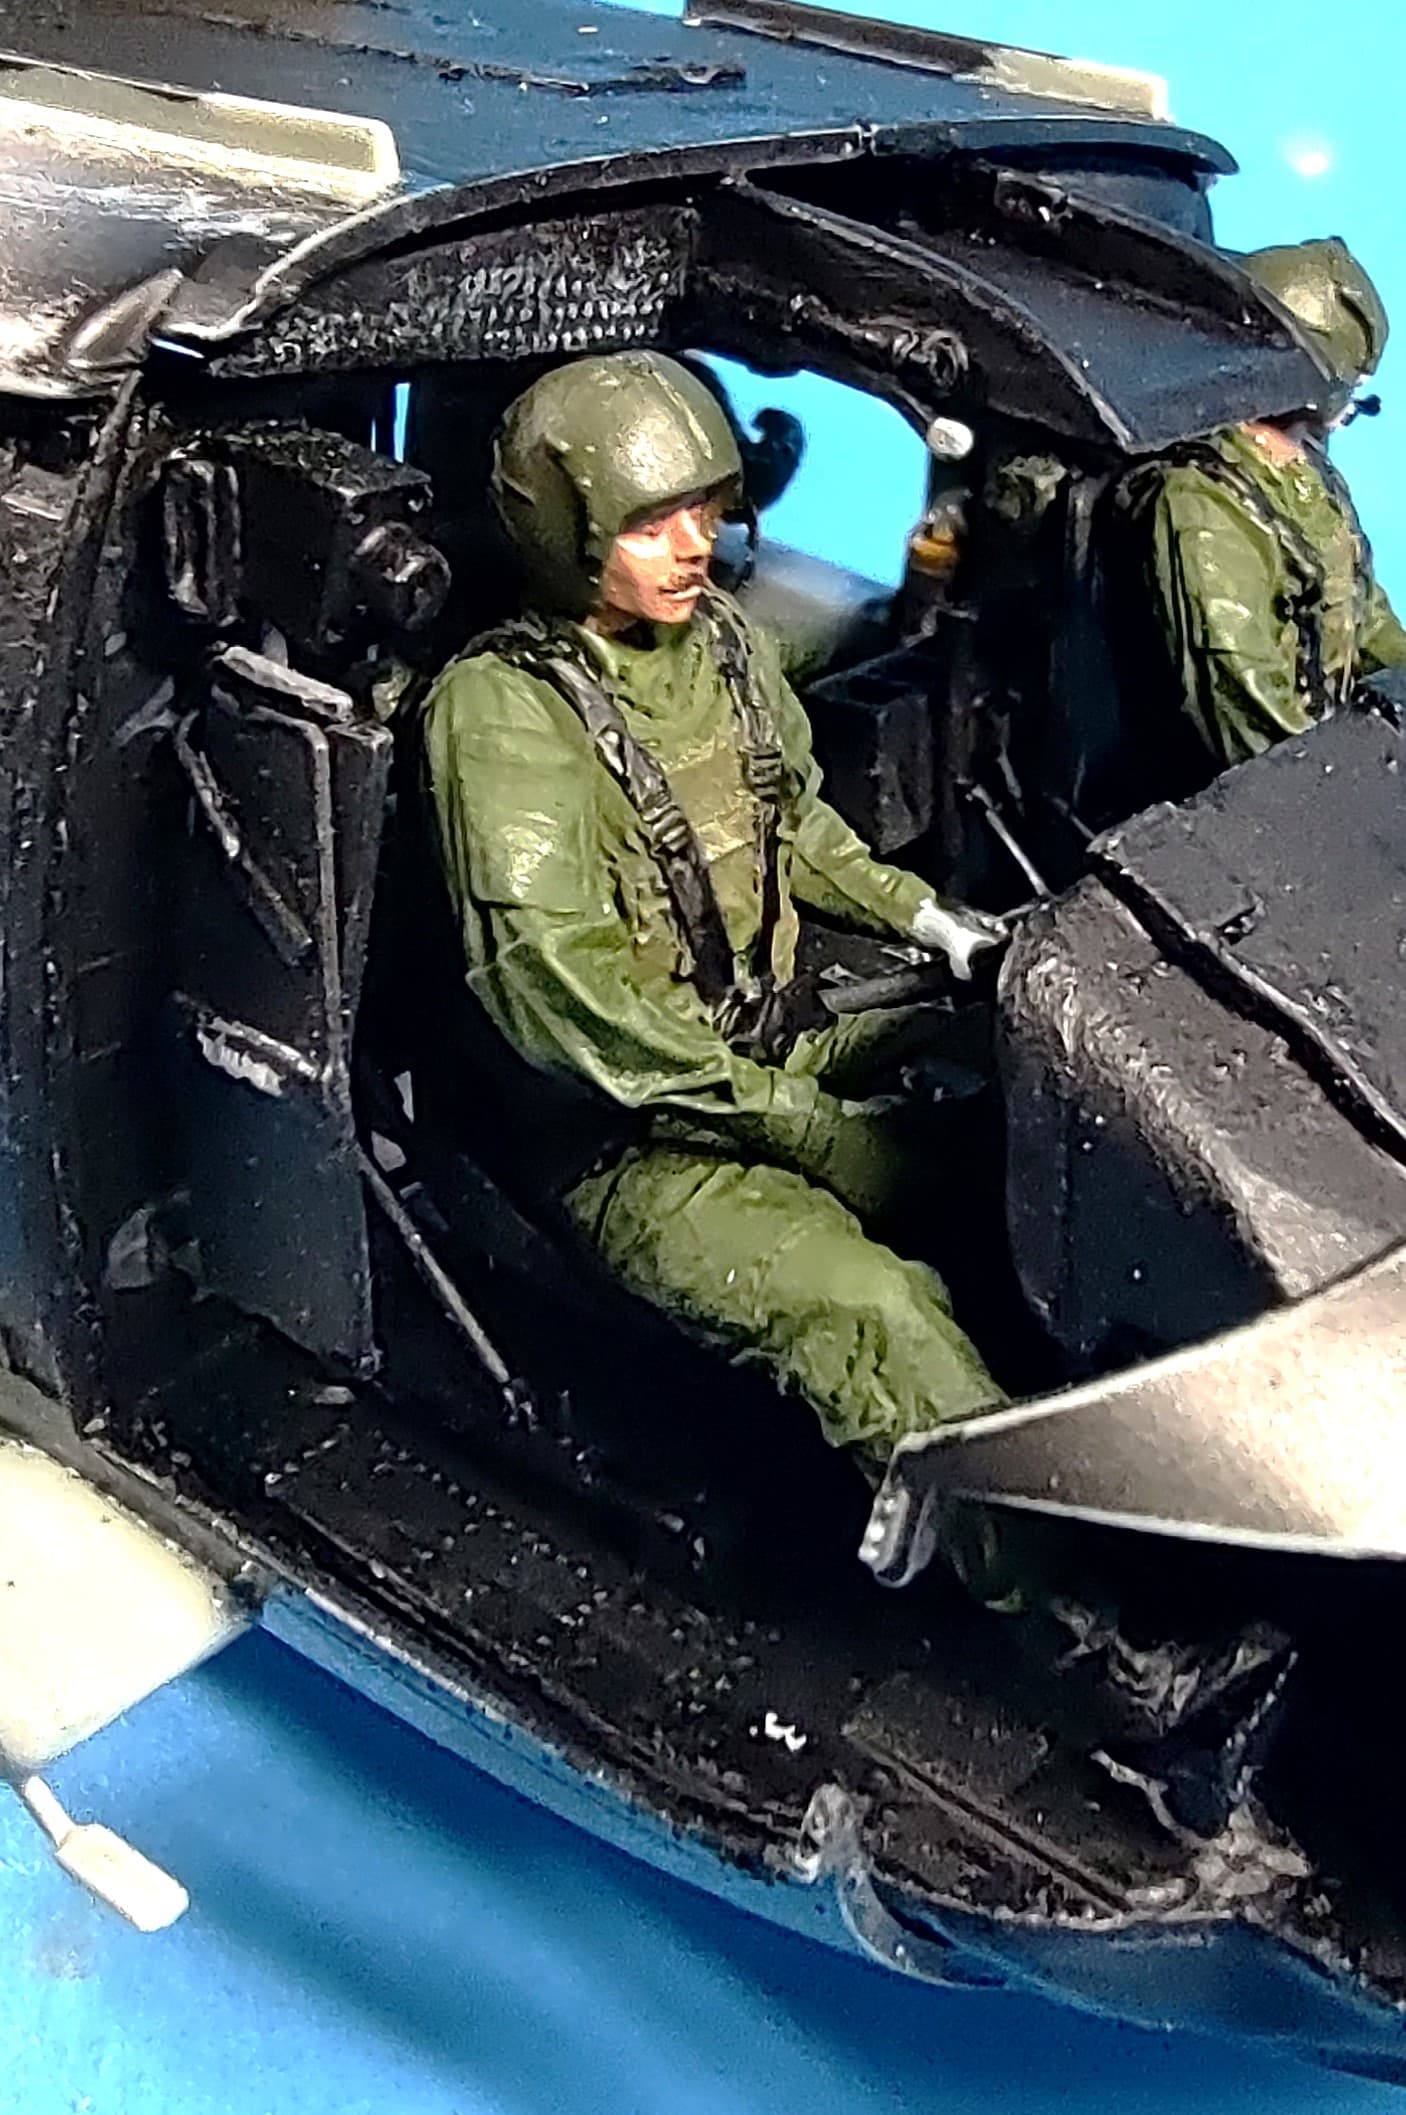
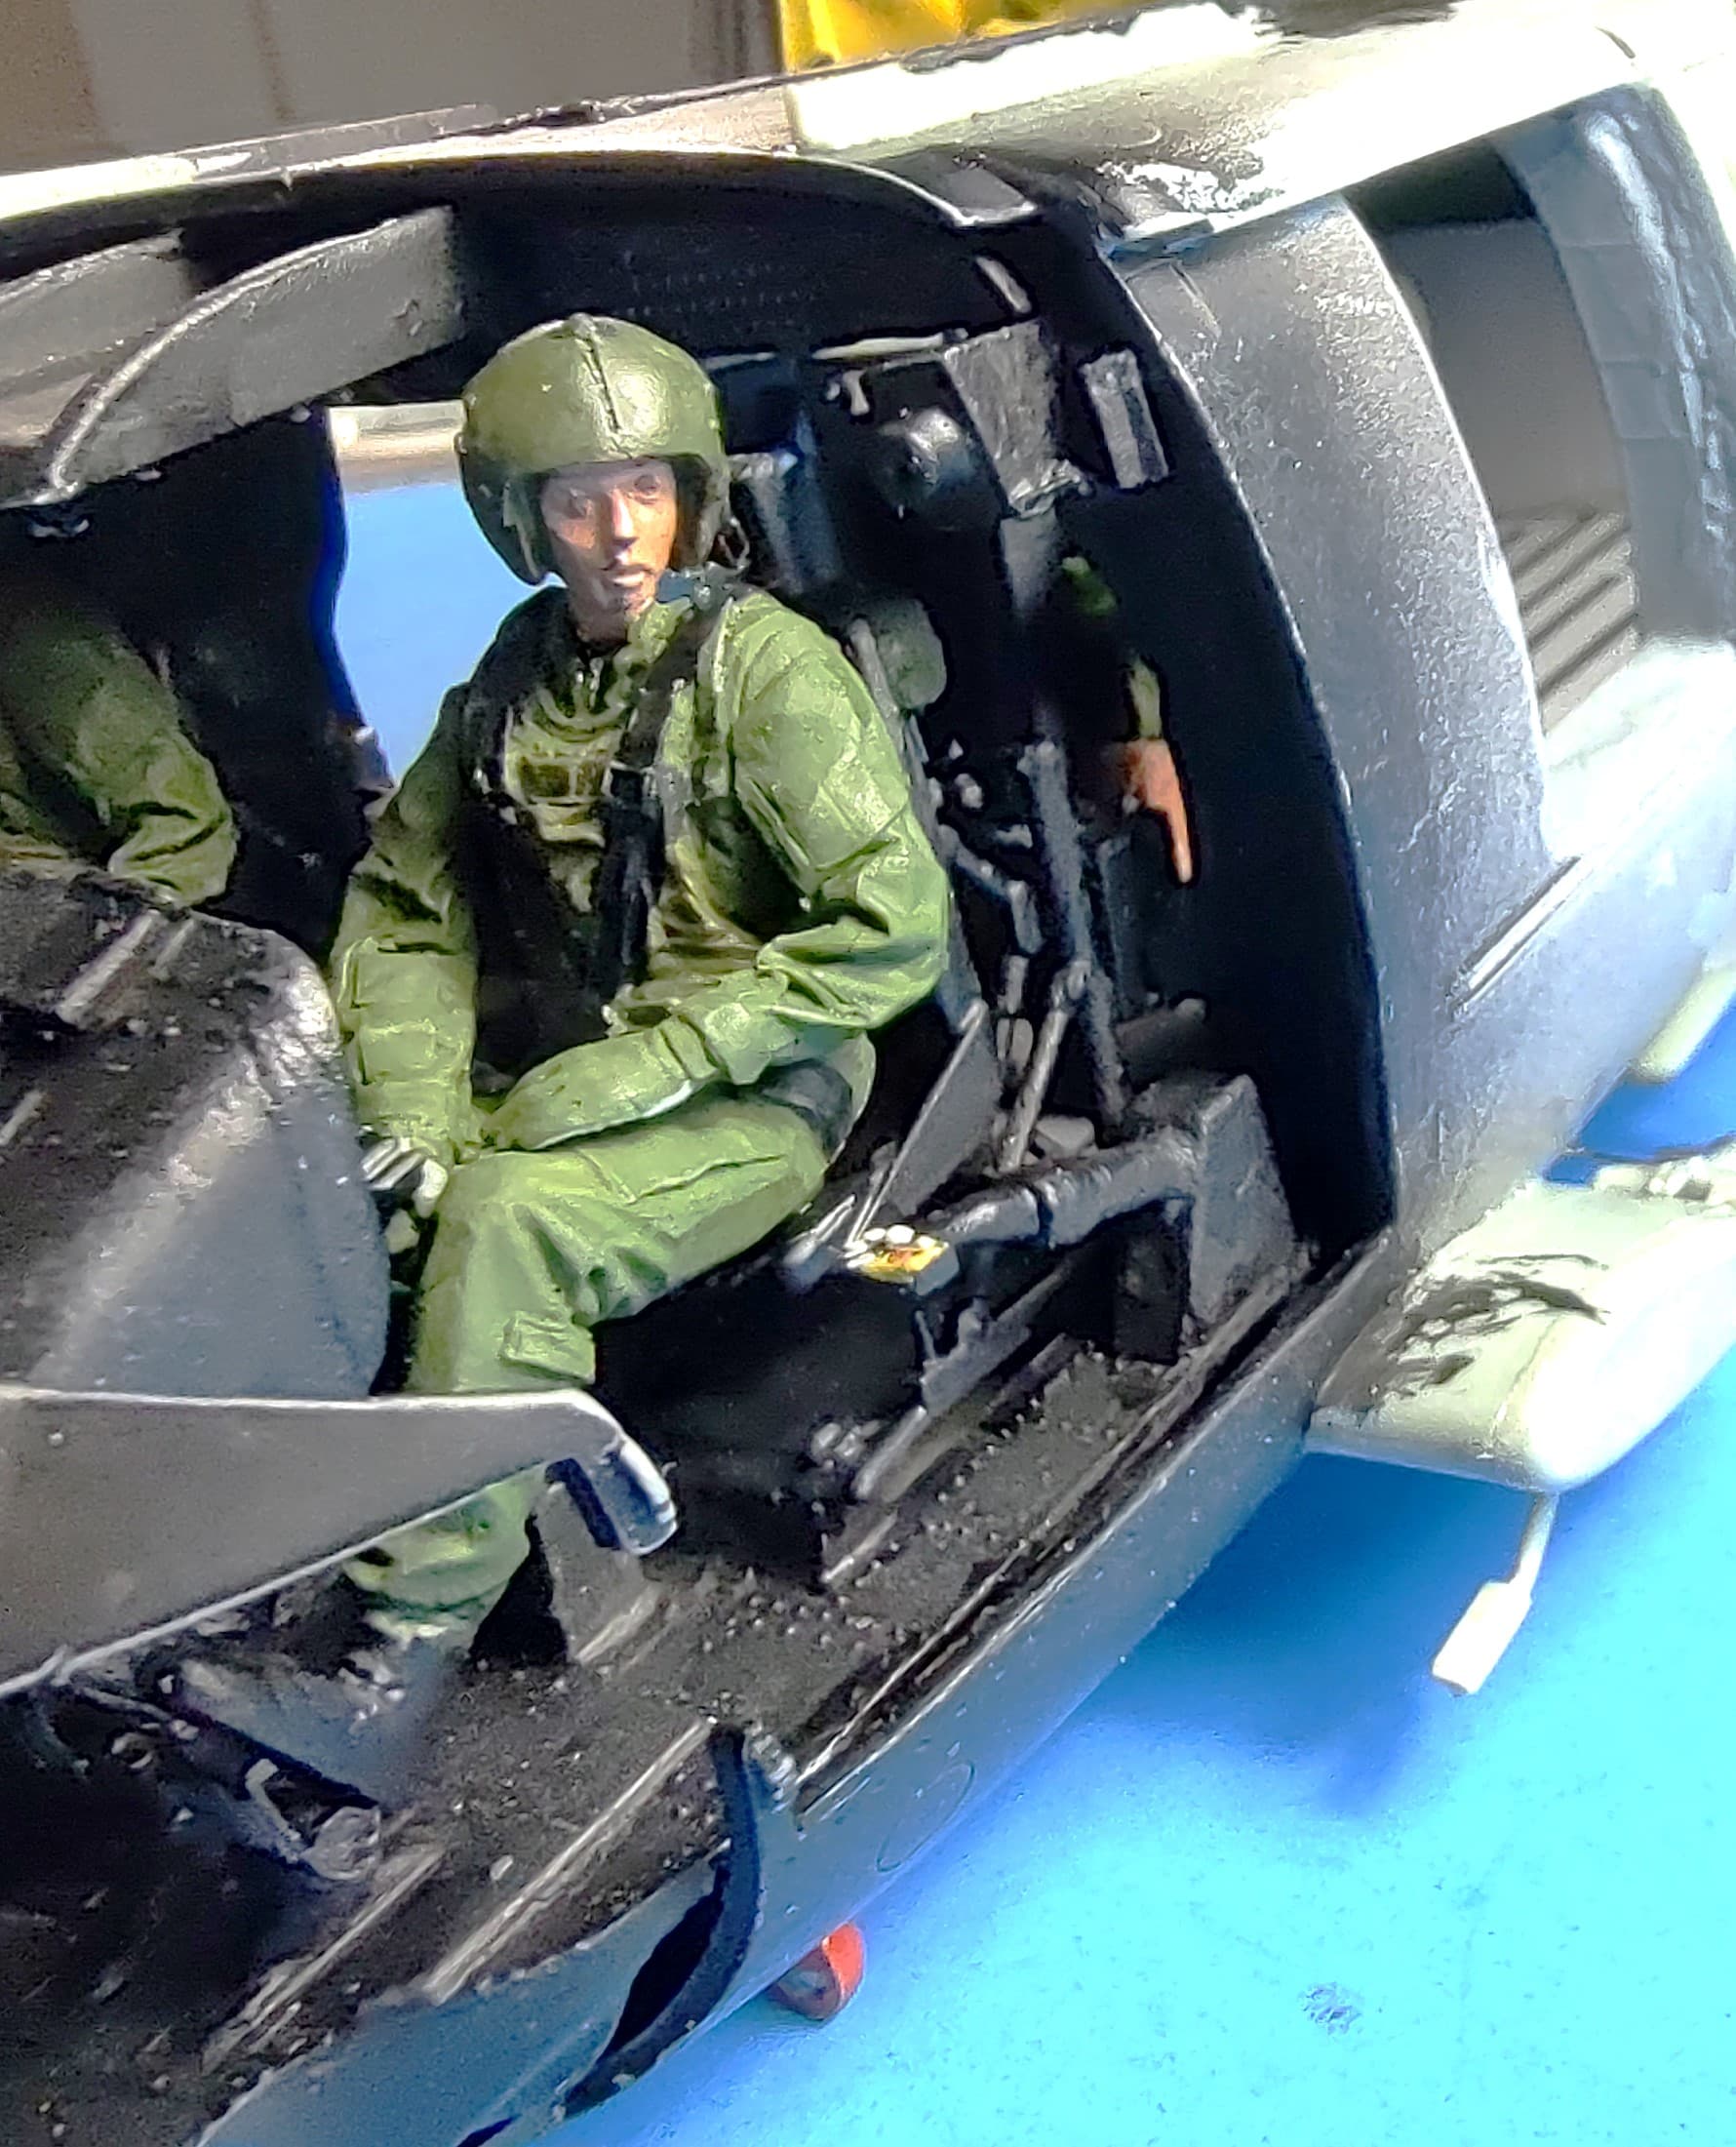
Here is the crew. I started with the Bravo 6 Vietnam Huey pilots and door gunners. I swapped the arms of the pilots for ones from the above-mentioned Live Resin UH-60 pilots set. They have their sleeves down and have the cyclic grips in their hands. They also have the chicken plate armor that was still being worn and molded on seat belts. I added the round seat belt release from the Kitty Hawk PE sheet.

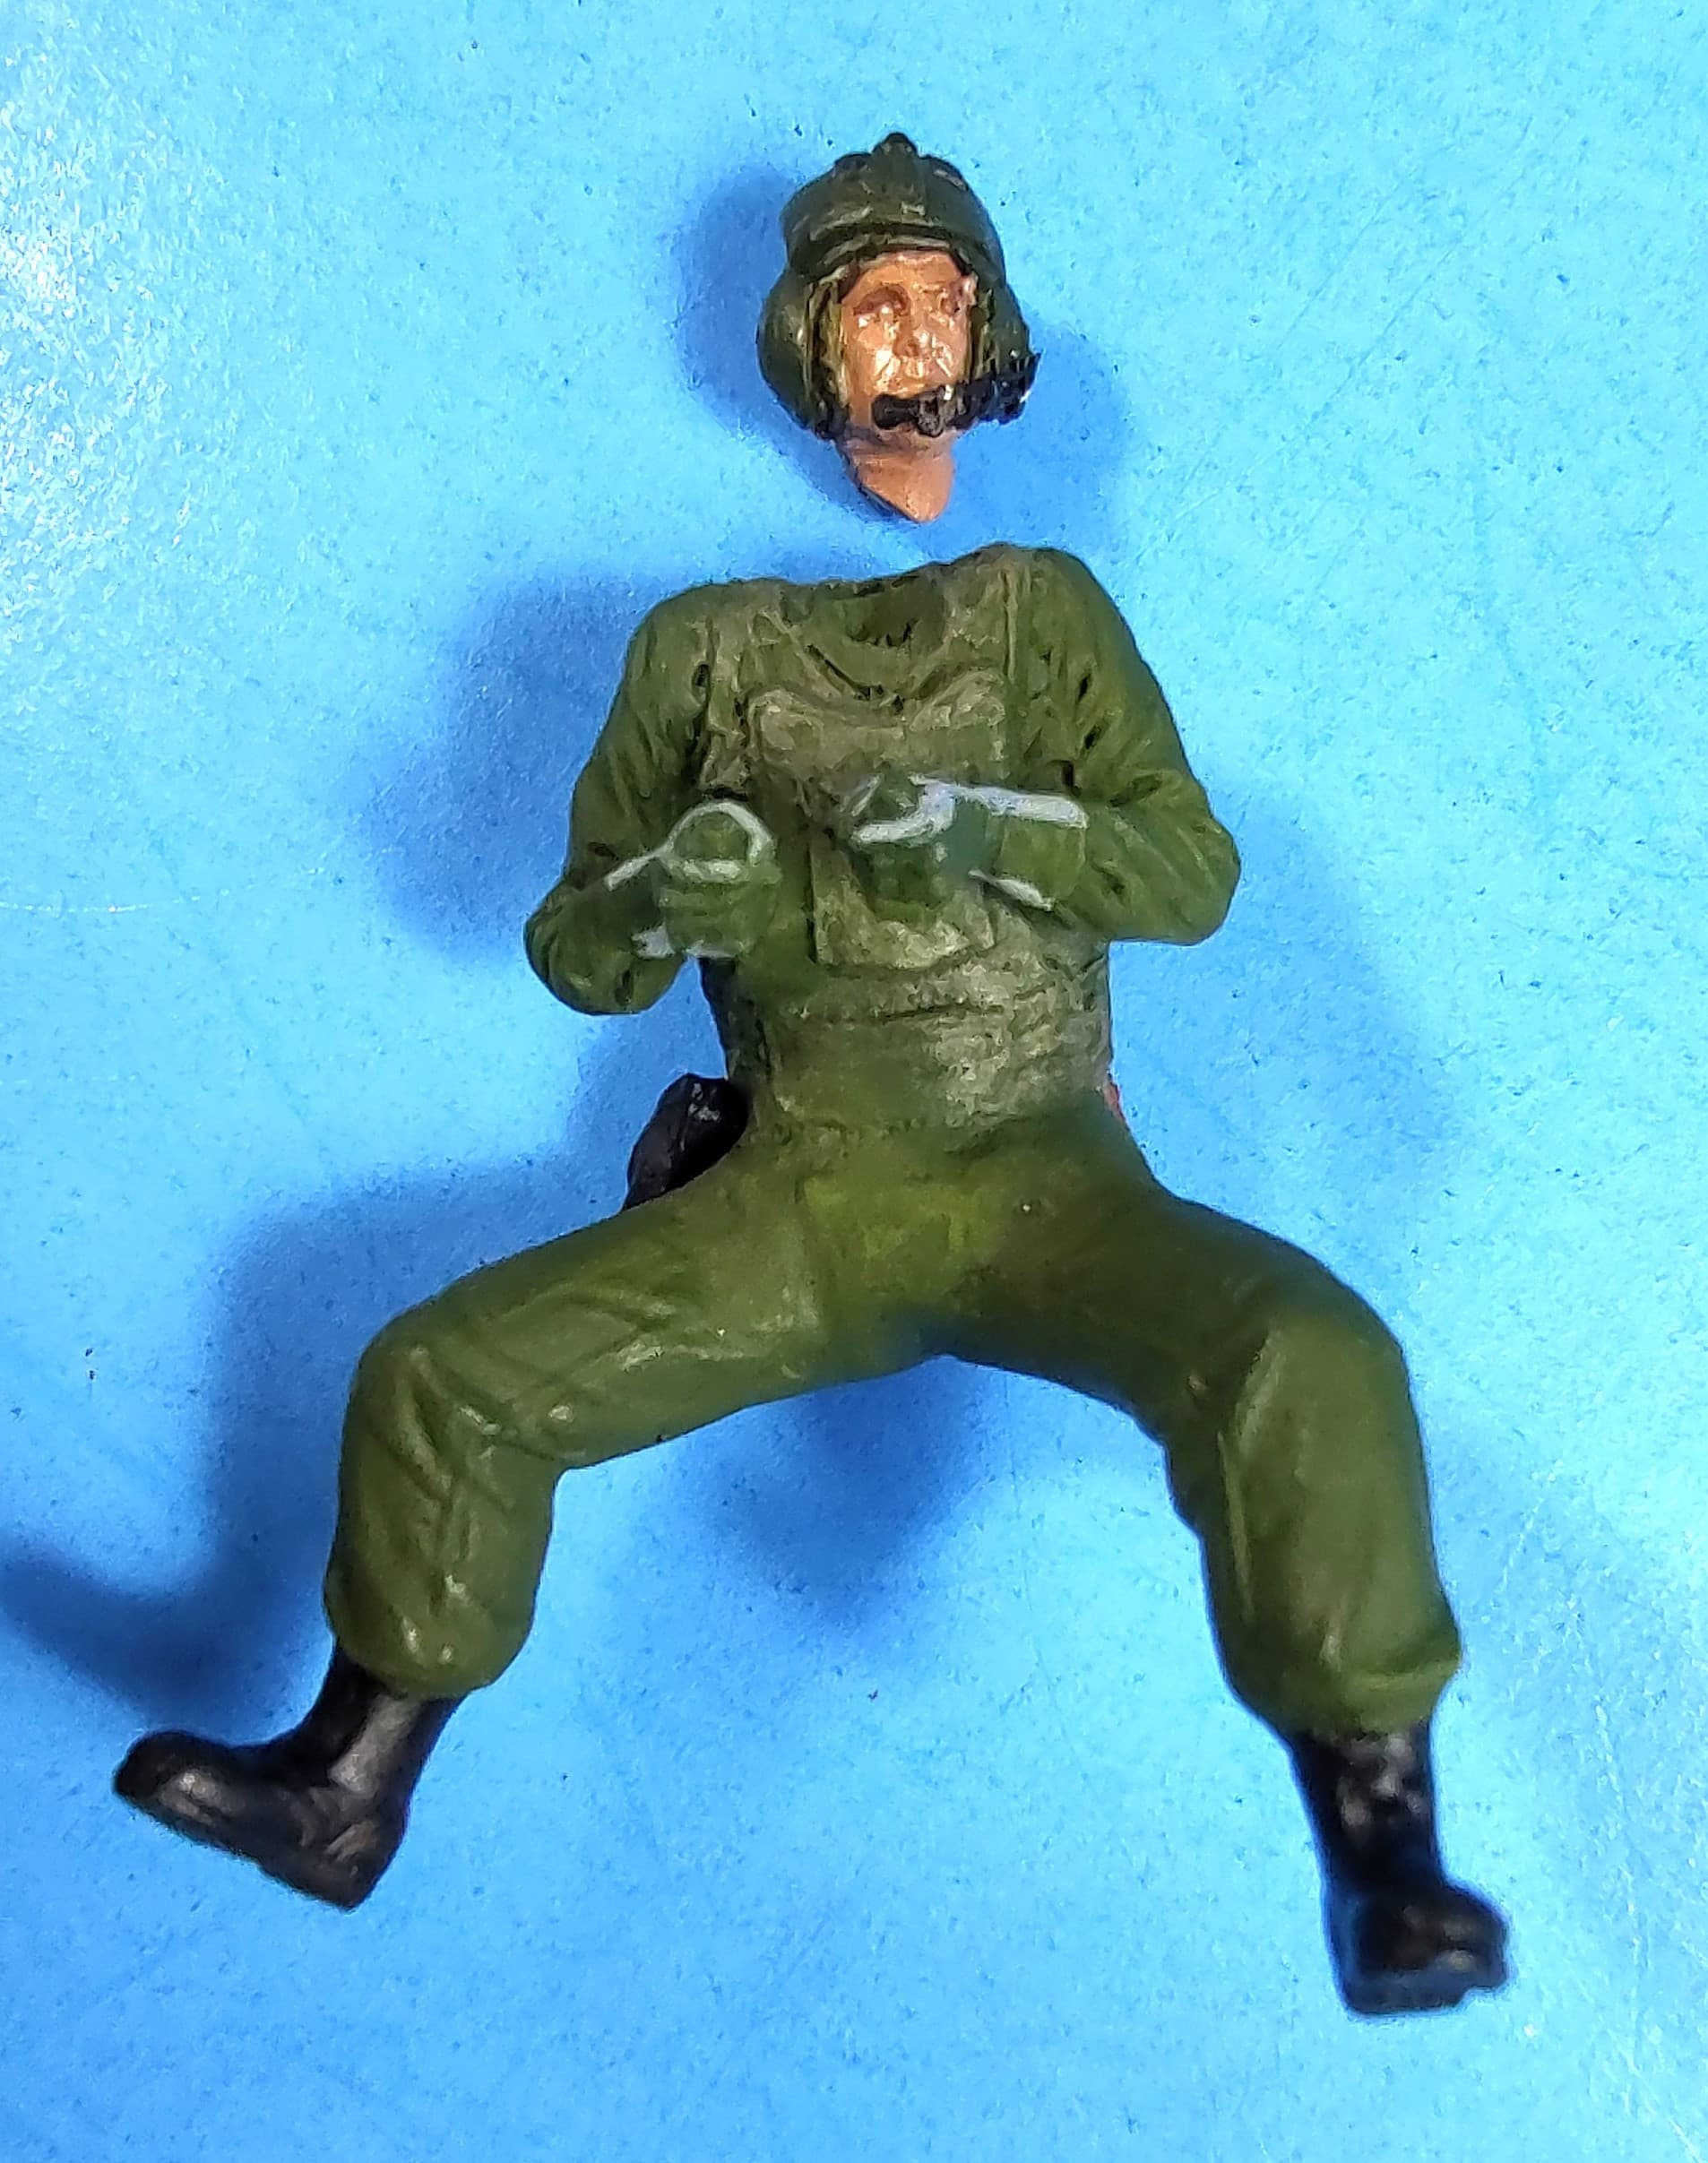
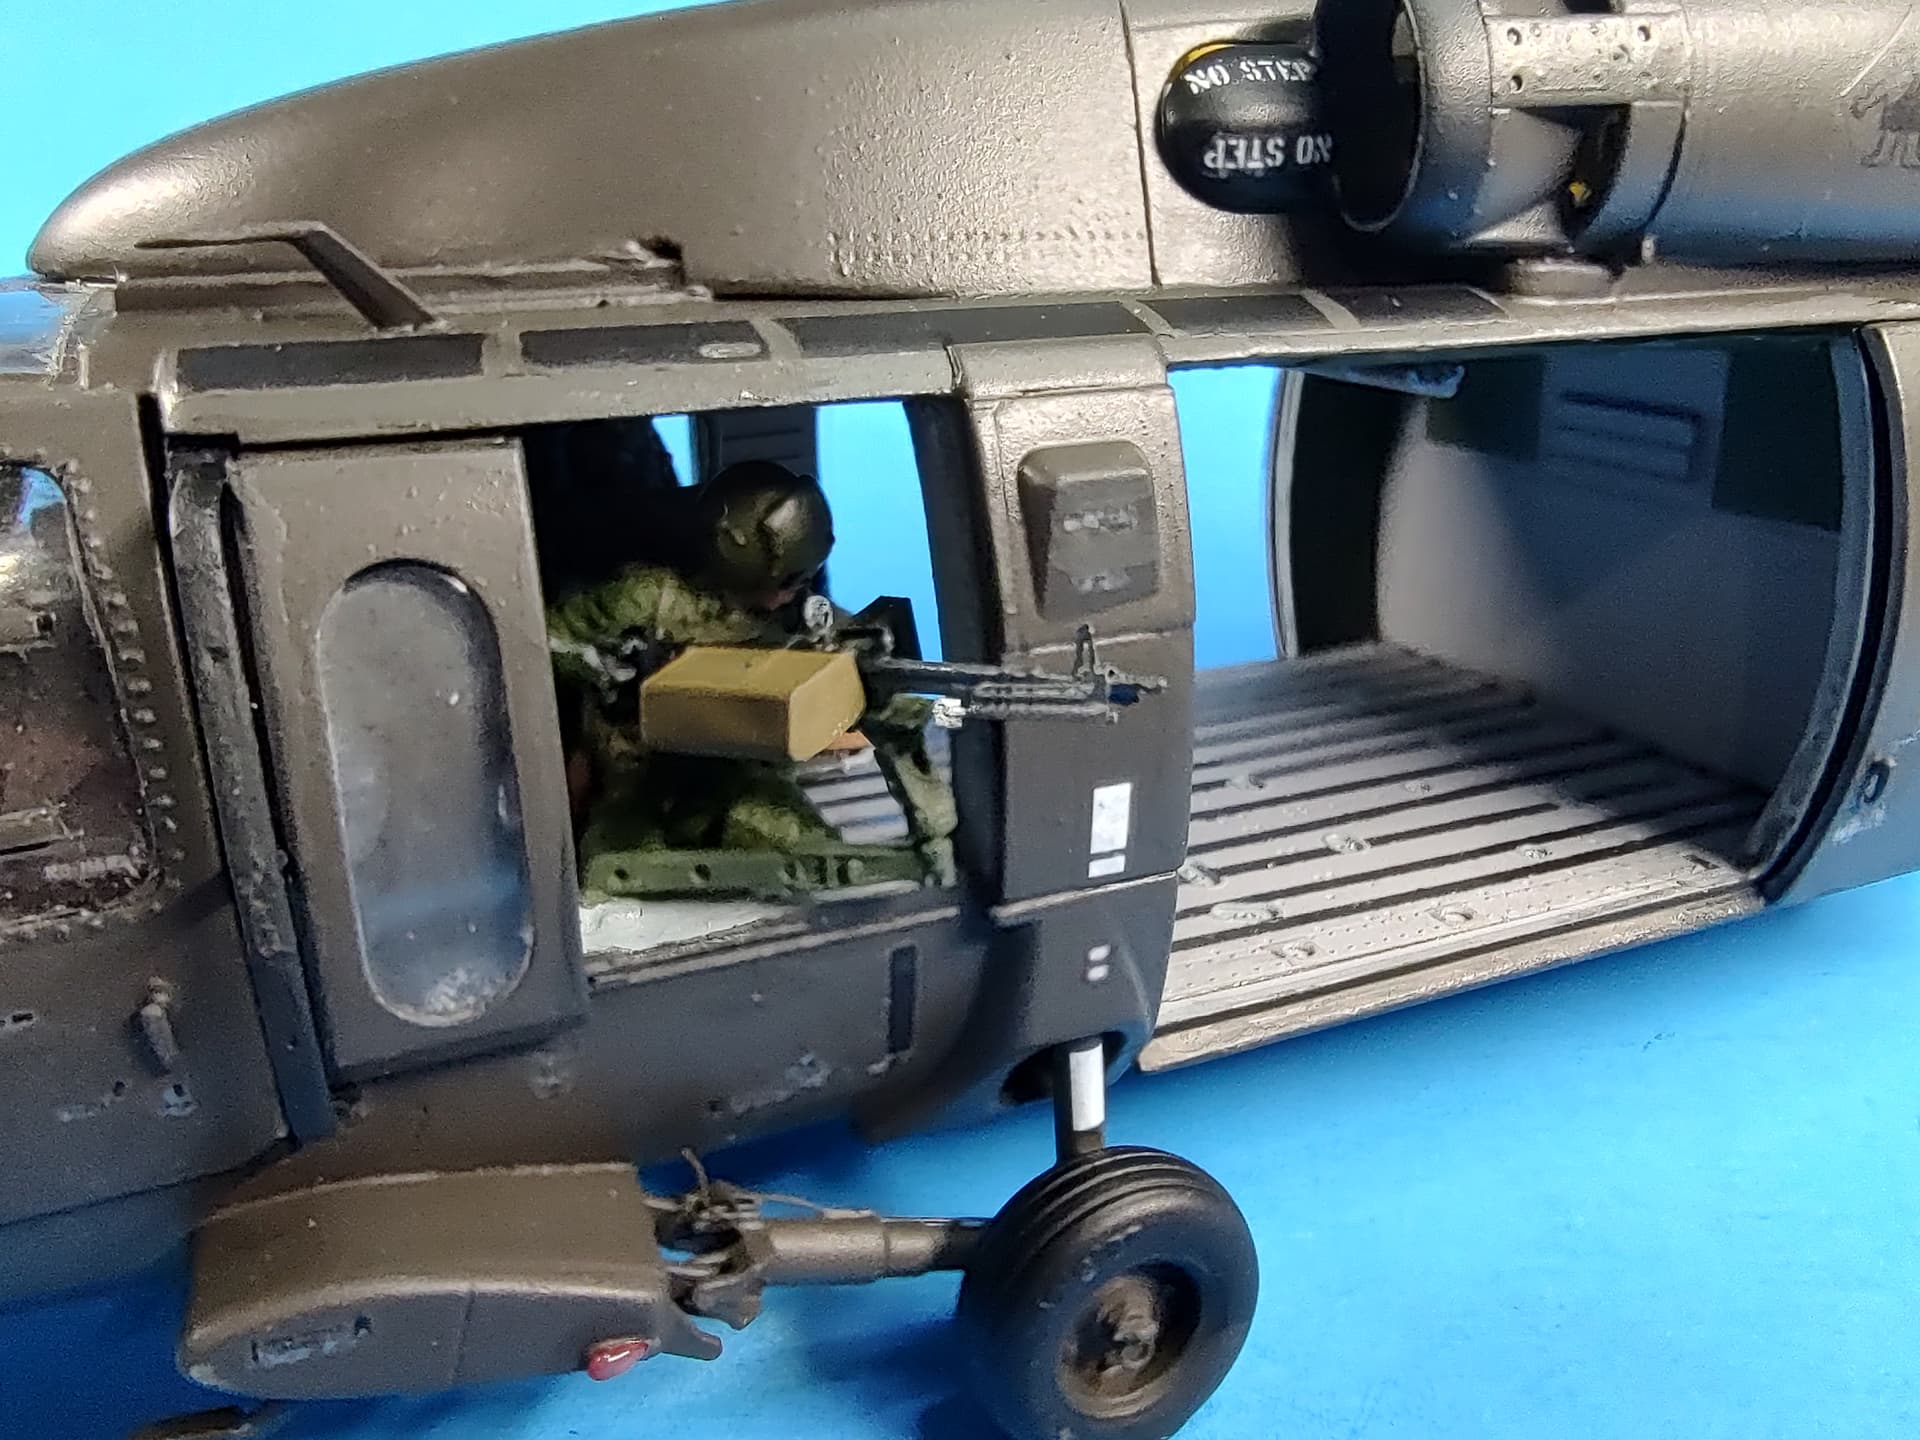
The gunners are also the Bravo 6 Vietnam Huey ones. The seated one is straight from the set. All I changed on him was shortening his legs a bit to get his butt to sit on the gunner’s seat. The other one I took and added the legs from the standing gunner in the Dragon Vietnam Helo Crew set. I widened his legs, so he straddles the gunner seat on his side. He will be hanging out the gunner’s window and looking back, holding both grips on the M60D MG.
Next up is painting the crew and installing 3 of them. The standing gunner has to be added after since he will be hanging out the window. Then close up the glass and paint.
I will add the troopers hanging out the side doors and all their gear in the back after paint as well.
10 Likes
Wow looks great so Gino
1 Like
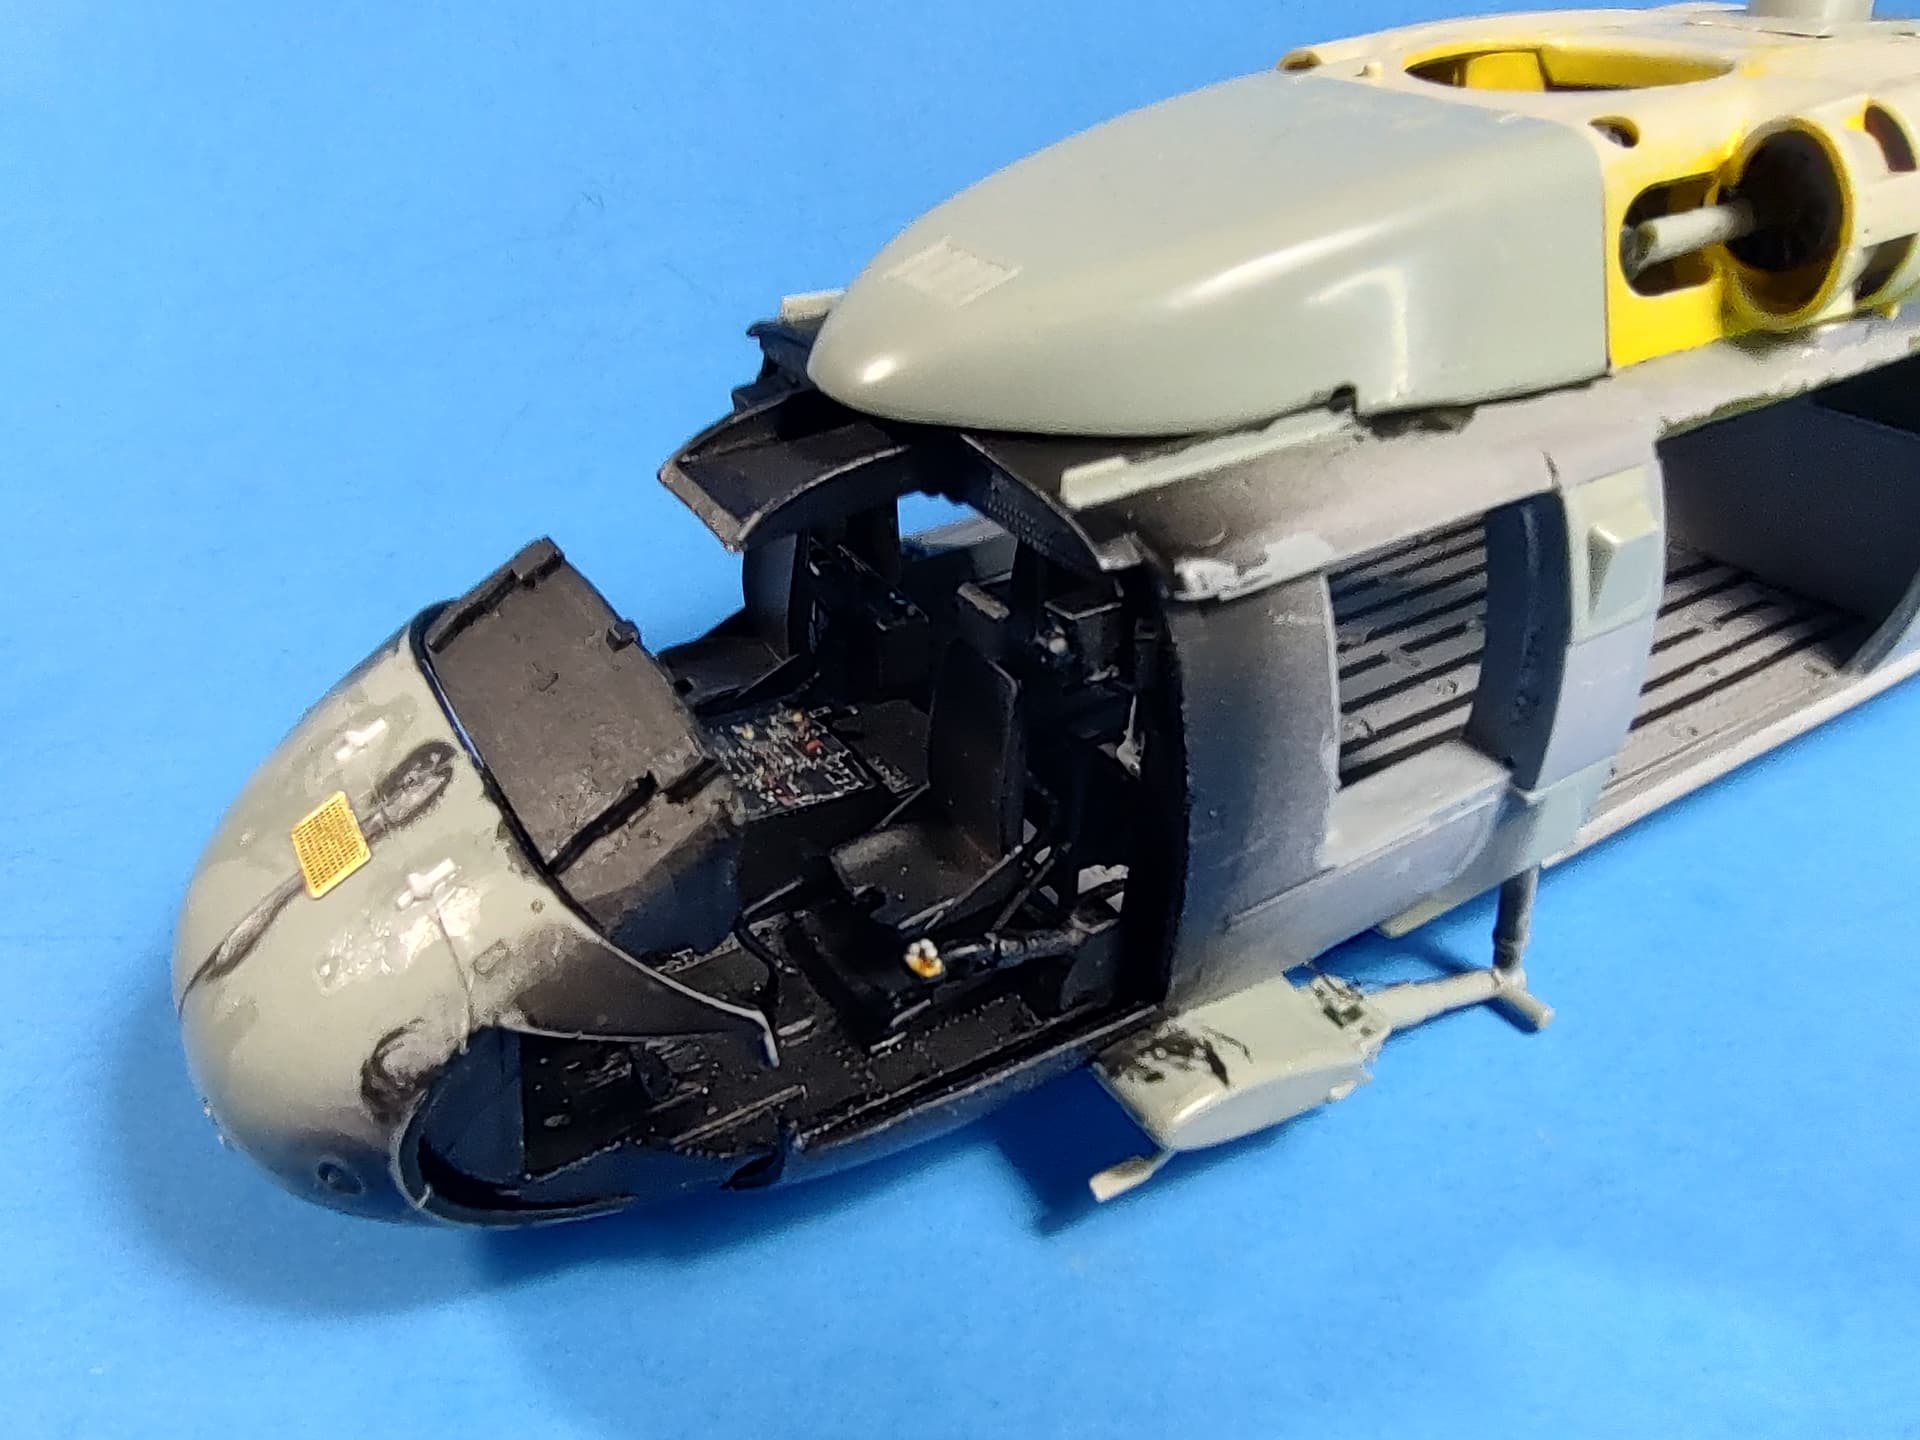
Thanks Matt. It is coming along. I am really pleased with how the Kitty Hawk interior fit as the lack of details on the interior is the weakest part of the Academy kits. It looks pretty good so far in my humble opinion.
2 Likes
Excellent progress, looks very cool.
1 Like
Thanks John. I like how it is turning out. I hope to have more progress soon.
2 Likes
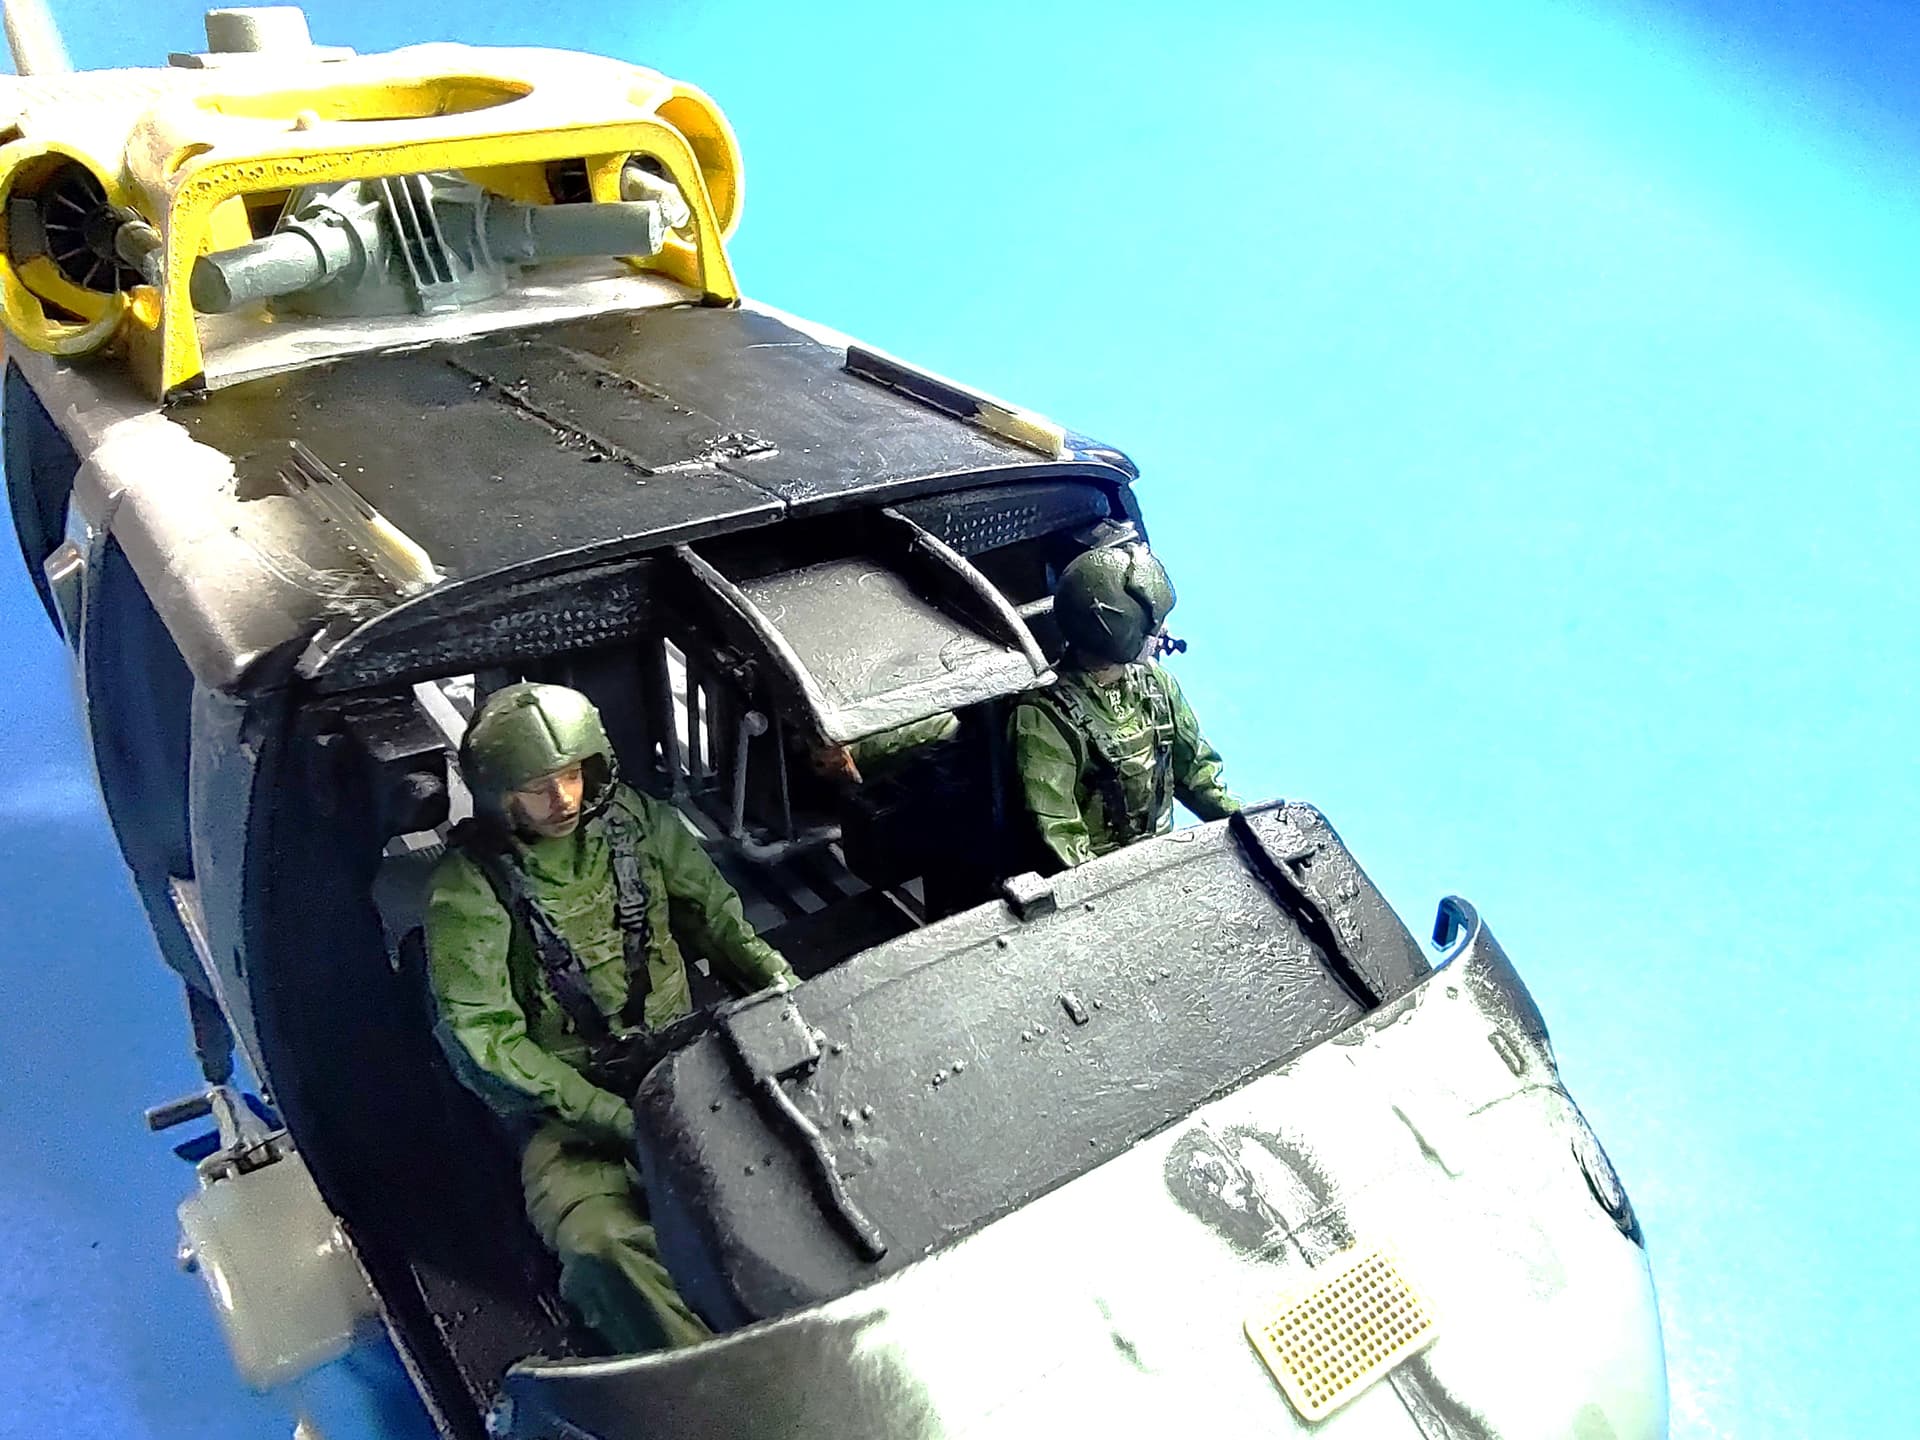
I completed the crew. I forgot to take pics before installing them in the helo. Here they are in place. One nice feature of the Bravo 6 crew is they come with PE boom mics. They look pretty good to me.
Pilots
Port side gunner.
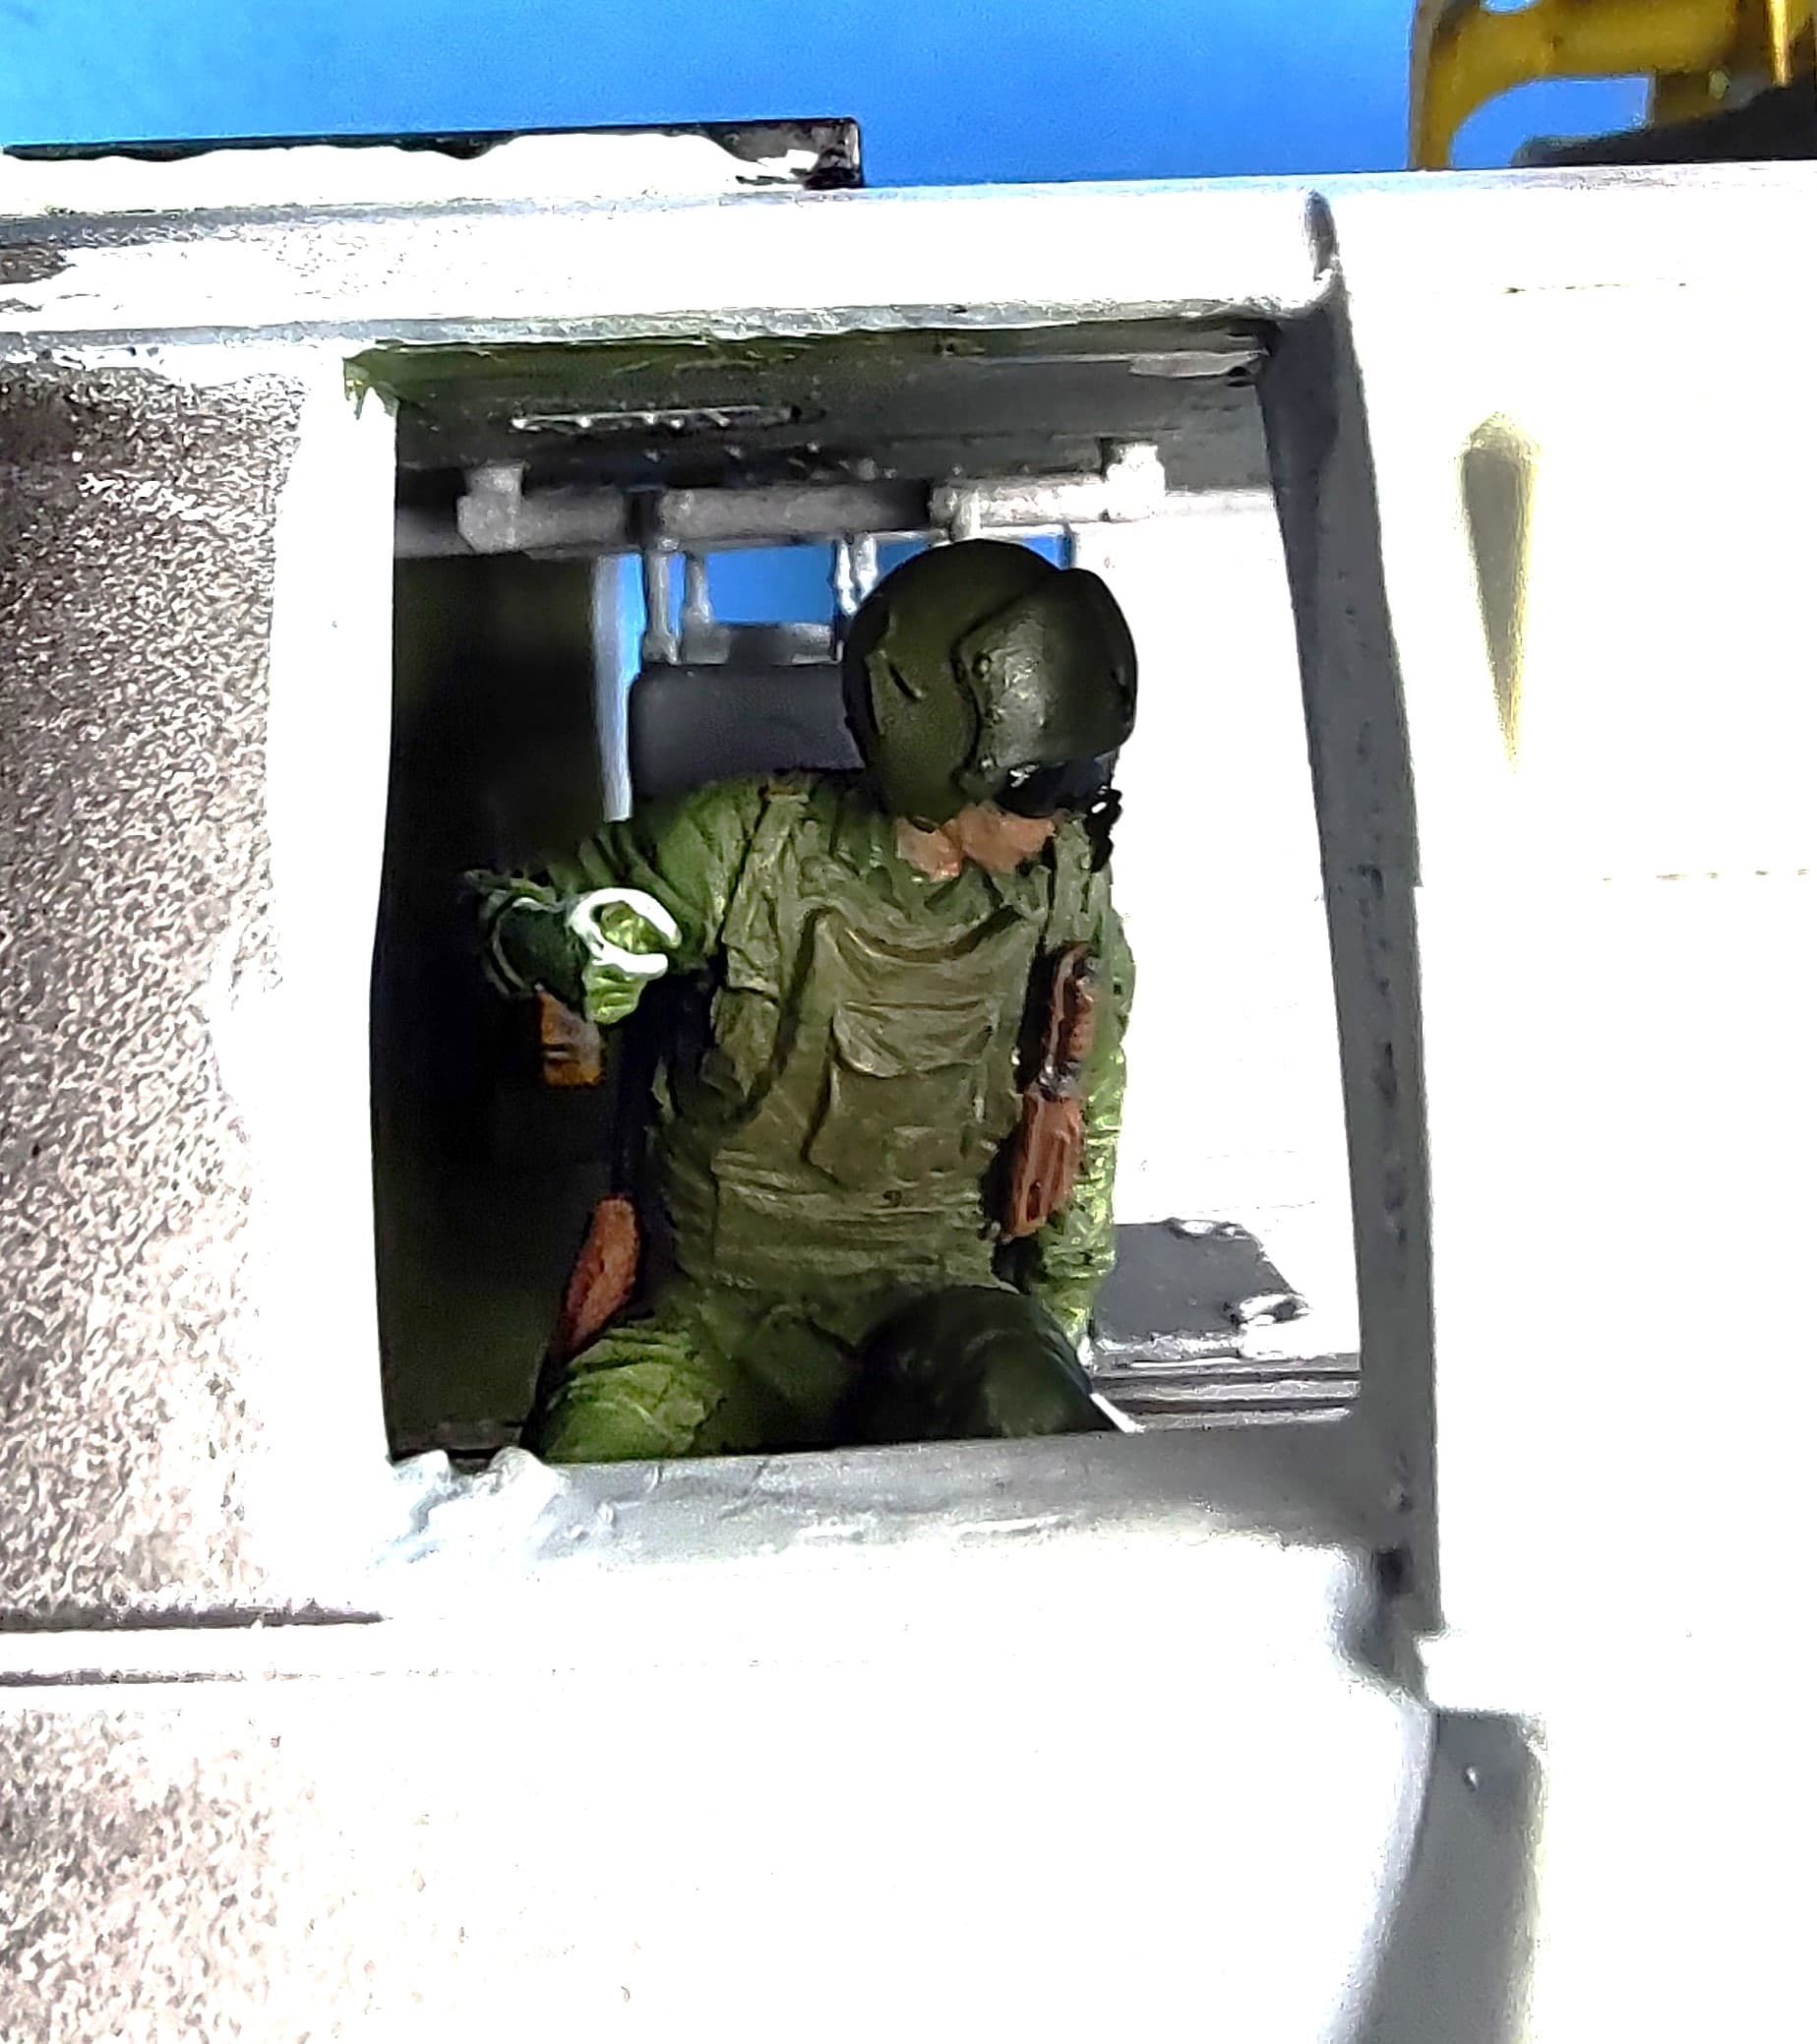
The starboard side gunner. He will be added after painting since he will be hanging out the gunner’s window.
Next up I need to install the canopy glass and tape it all off to prep for painting.
10 Likes
Will make a big difference with a crew in place. Really adds to the look.
1 Like
Thanks John. I think the crew brings it to life. They also show the scale/size of the helo as well.
3 Likes
Looks good, Gino!
1 Like
Thanks Mike.
1 Like
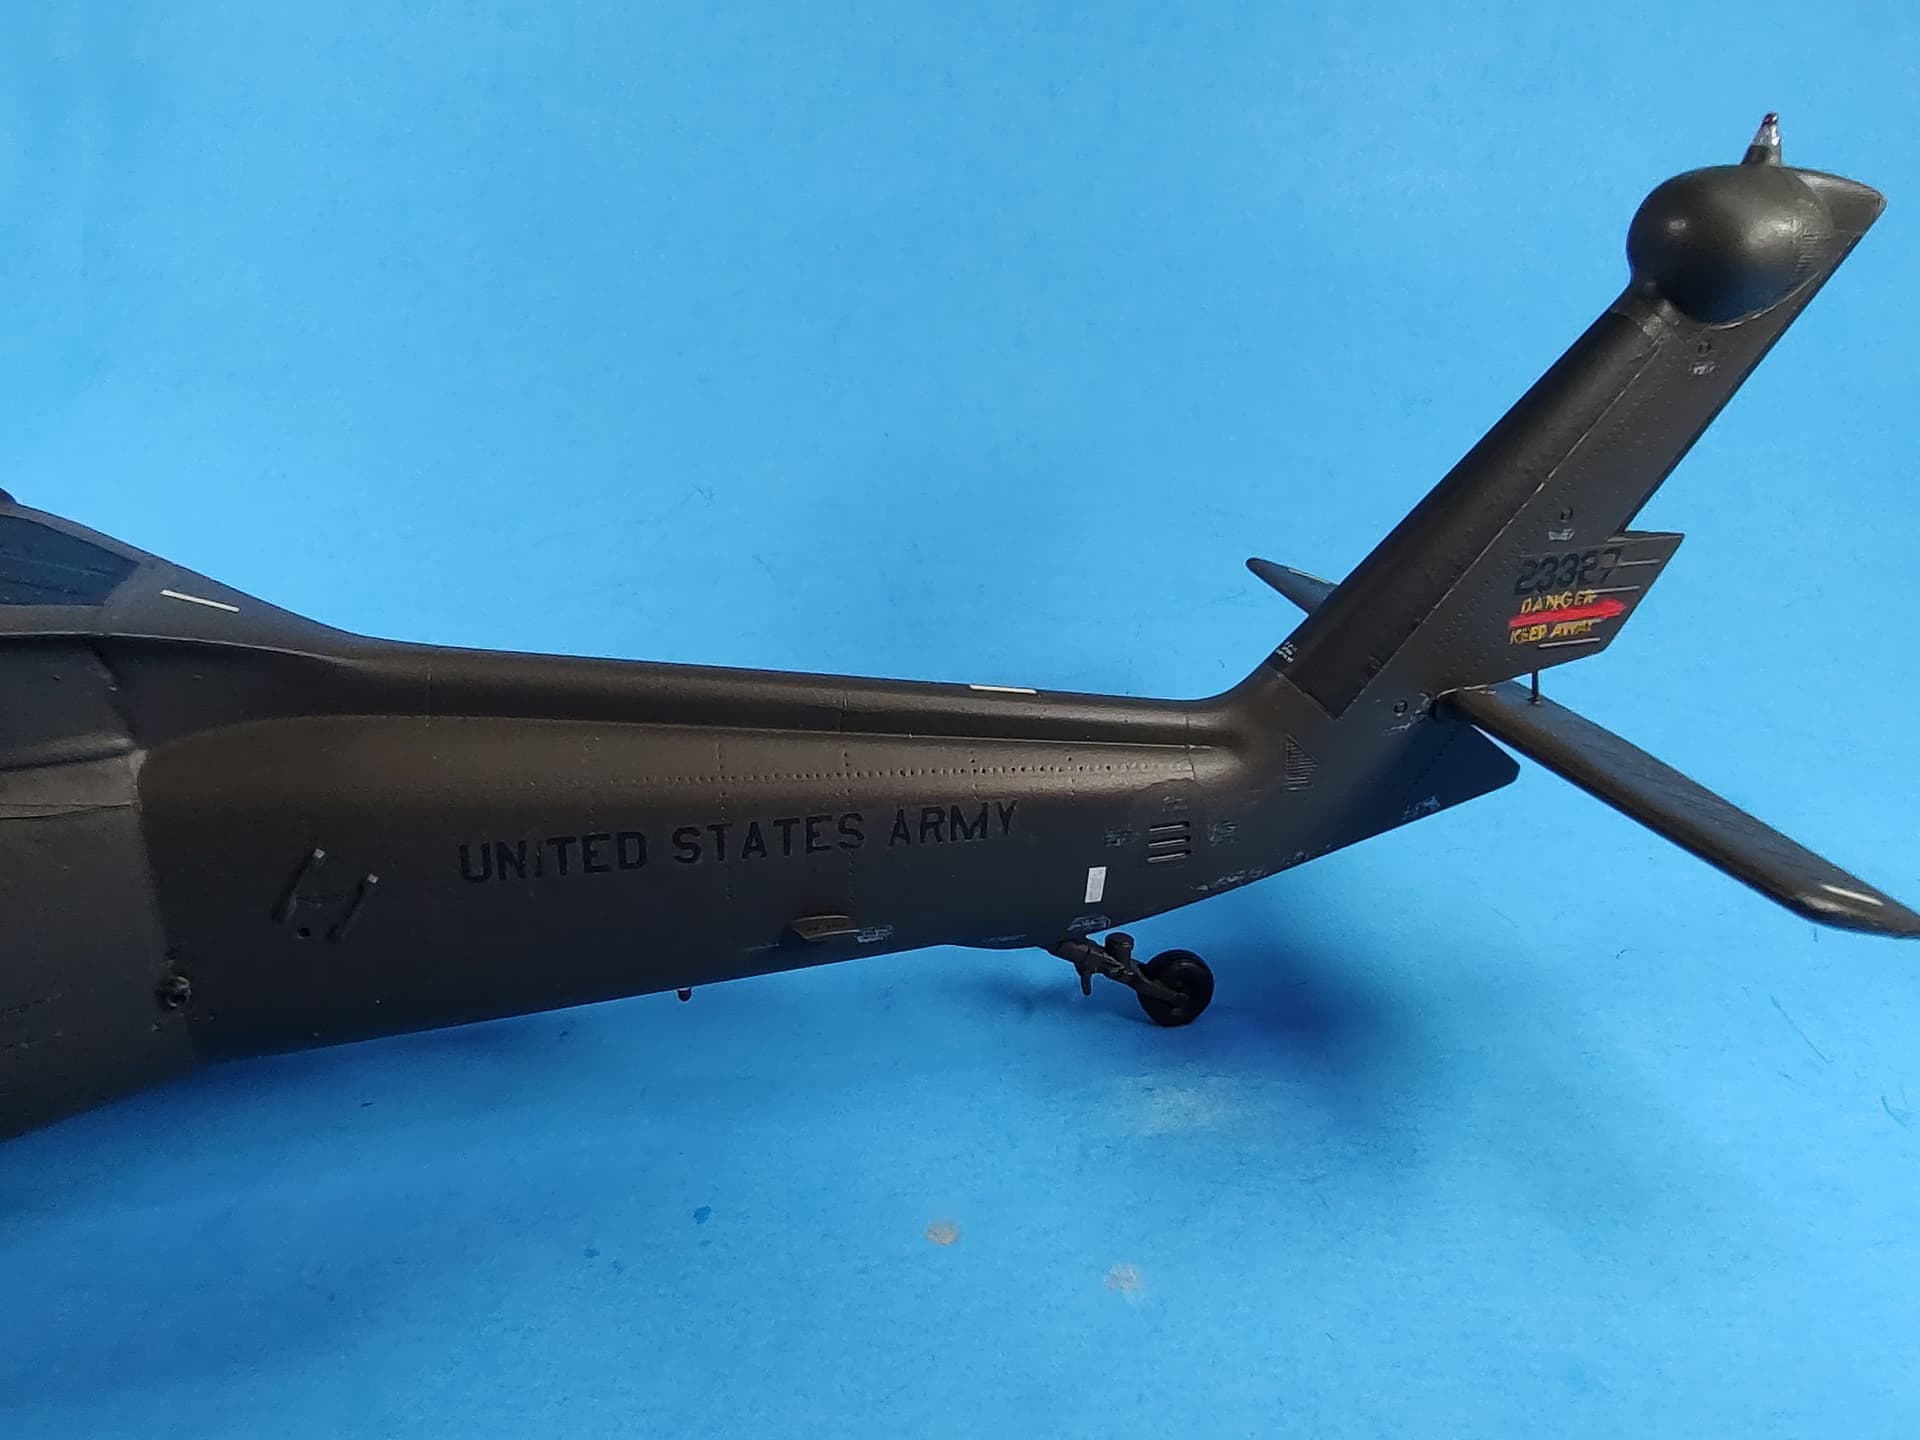
Over the last few days, I was able to get some paint on it. I painted it with Testors Model Master Helo Drab (FS34087) enamel. I bought a few bottles when I heard they were being cancelled. Luckily, I still have a few left.
Here it is overall.
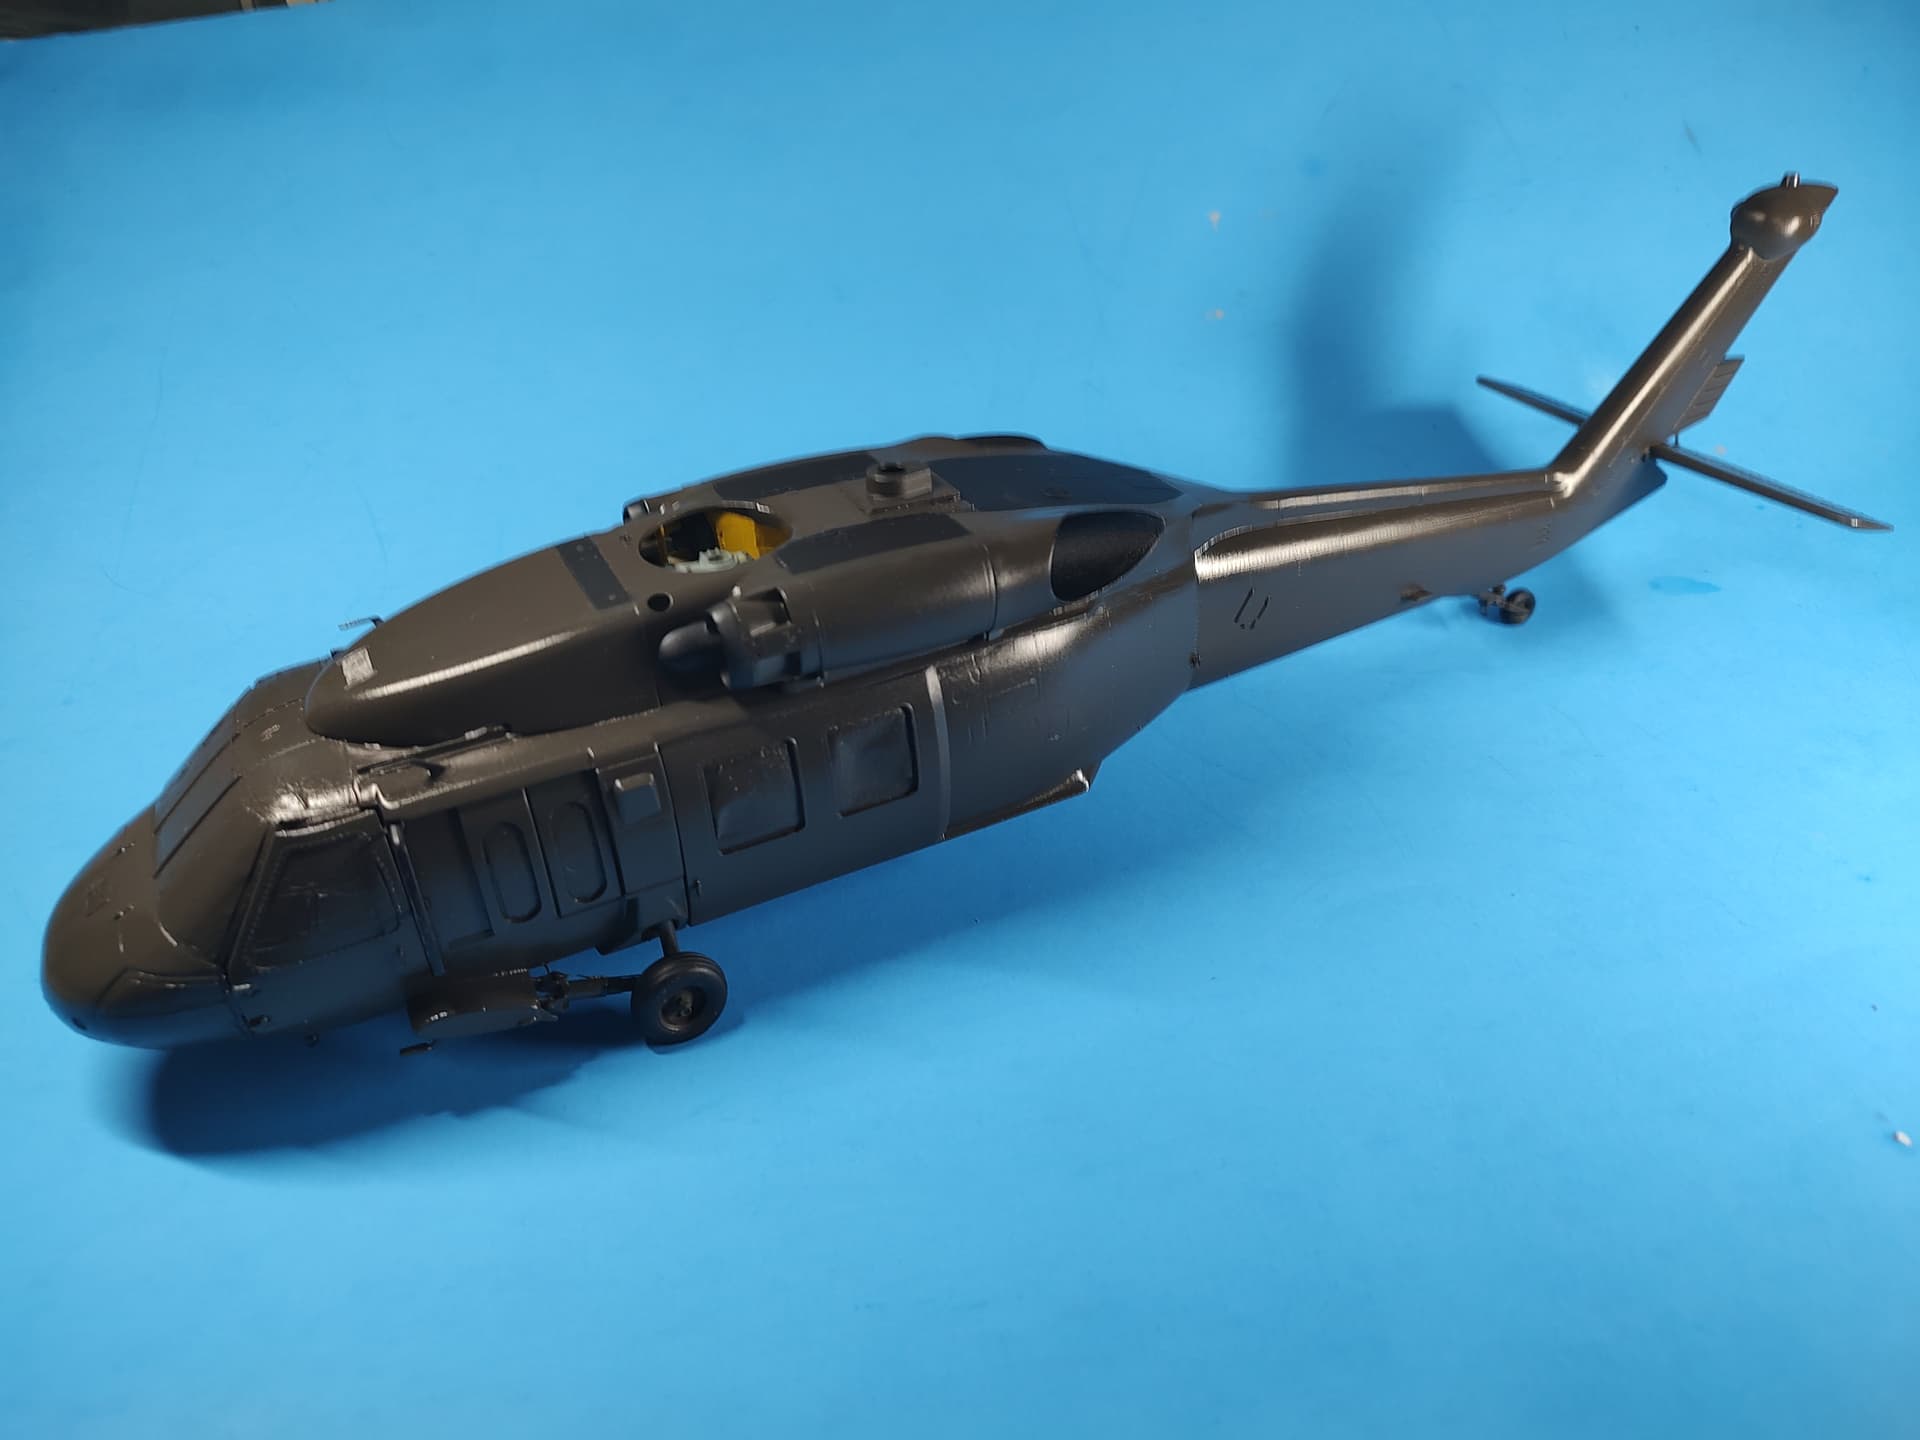
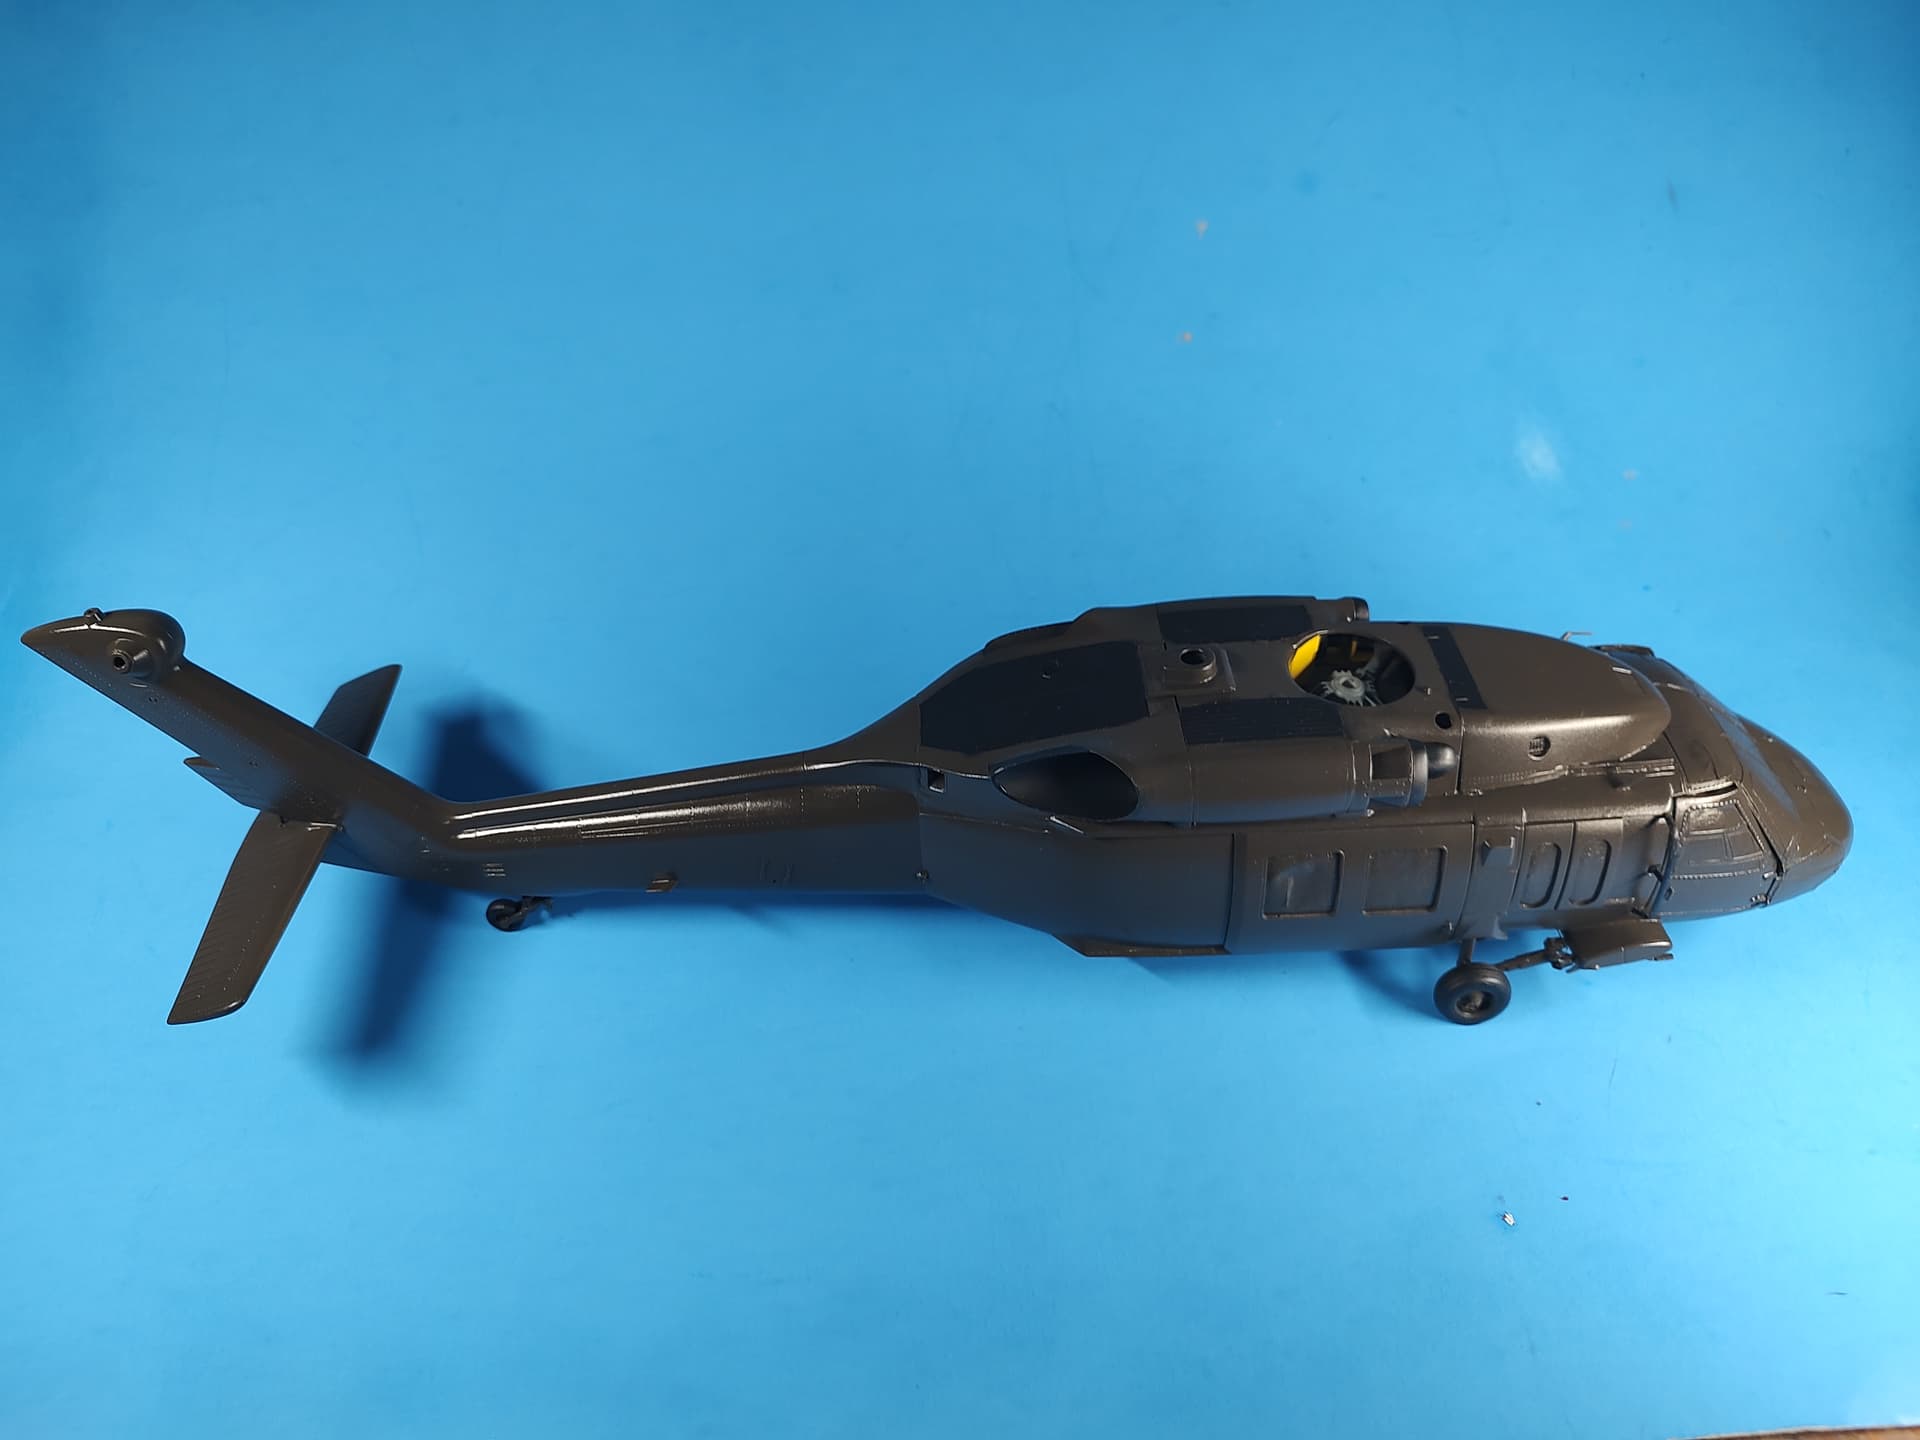
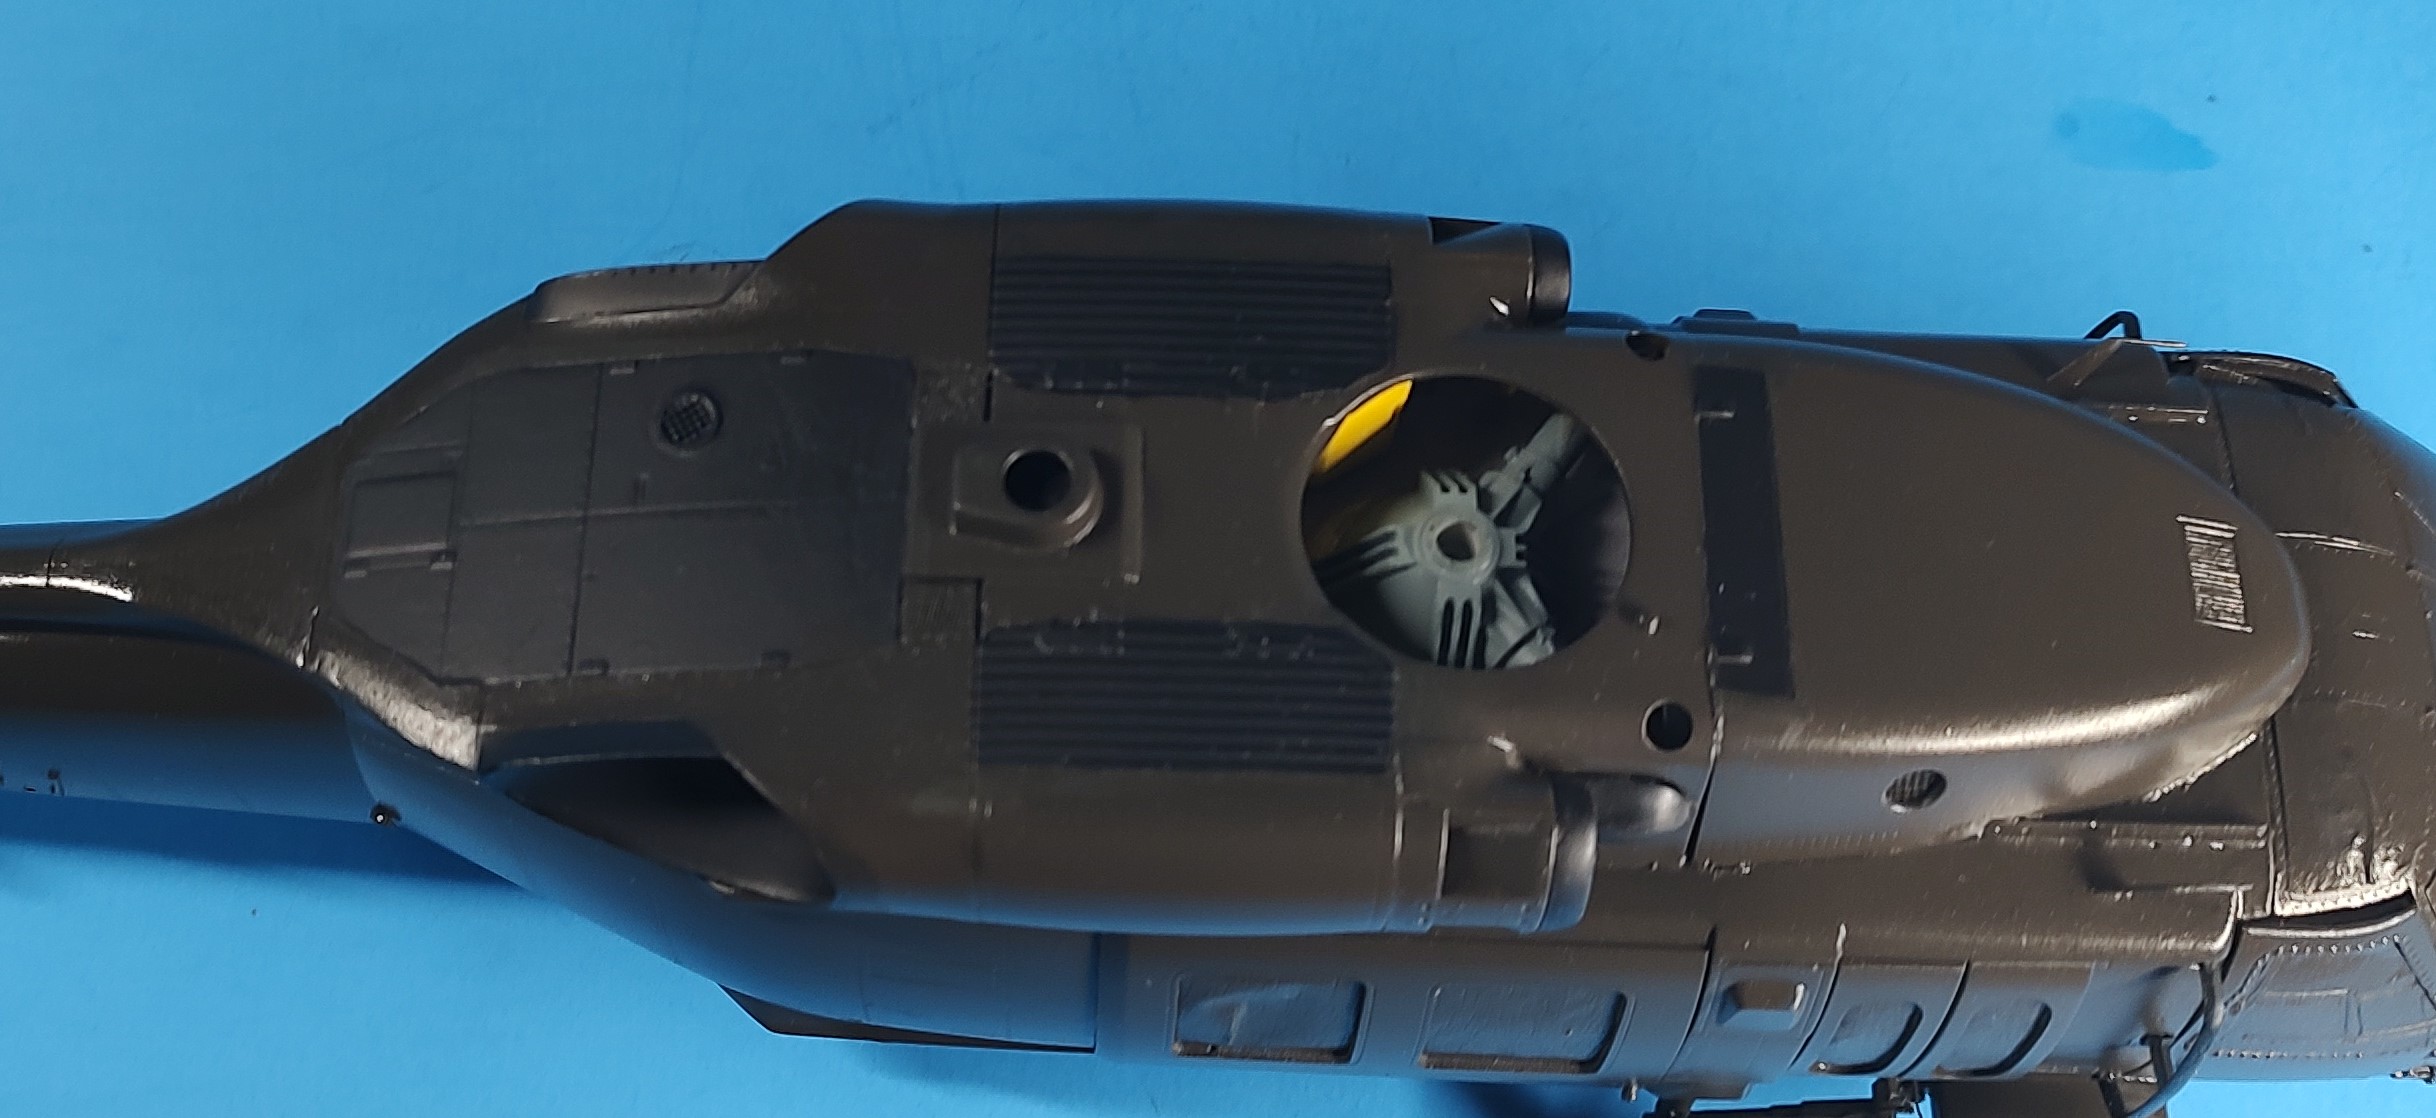
I taped off and painted the black non-slip areas on the roof and the exhausts. I also shot the intakes and the side antennas with black.
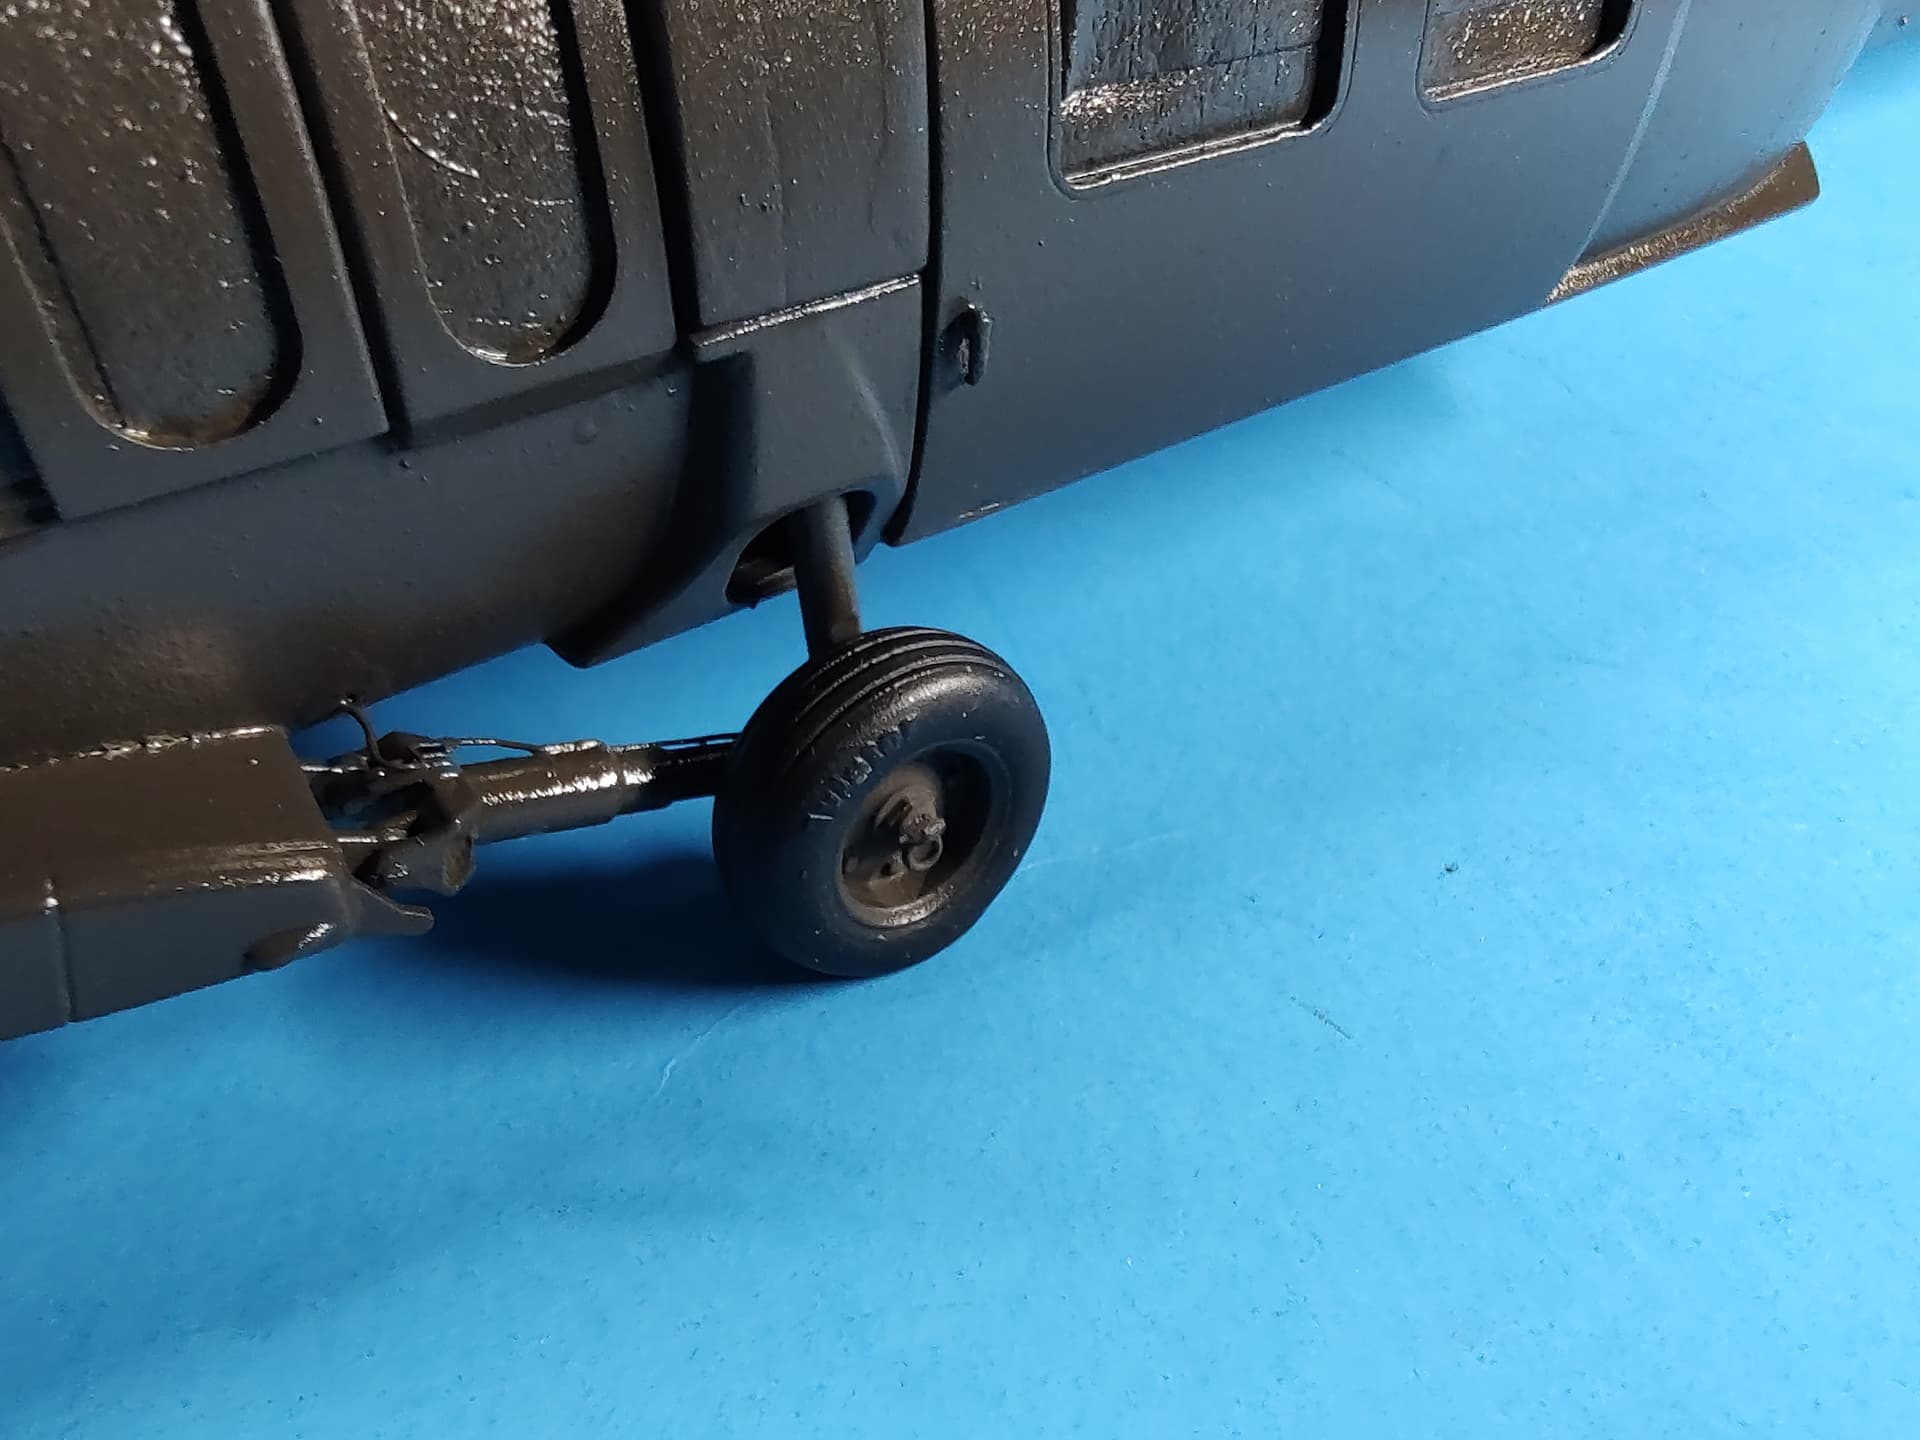
I got it up on its wheels too. For the wheels, I used a resin set by Werner’s Wings. They look great and have sidewall details and the proper grooves around them.
I will be marking it as a bird from B Co, 82d Combat Aviation Bn, 82d ABN Div.
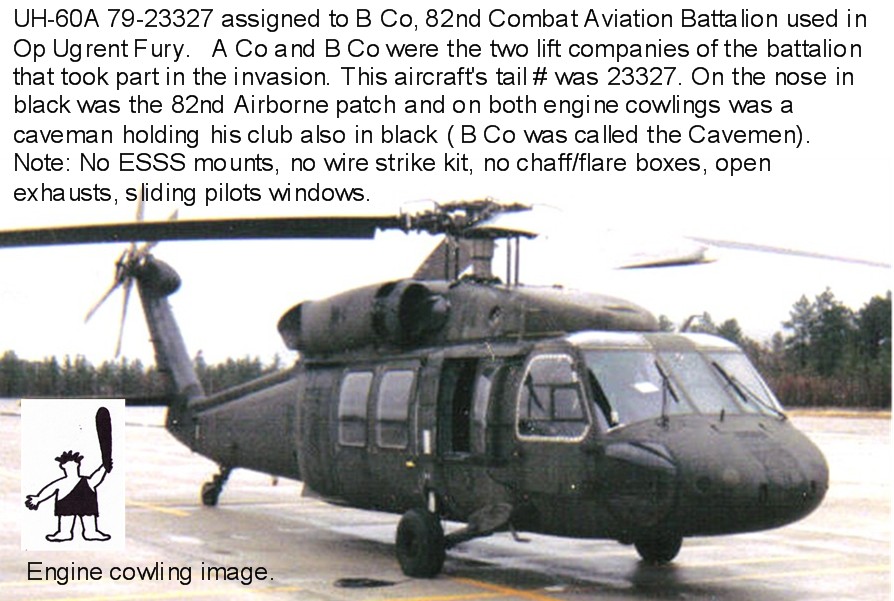
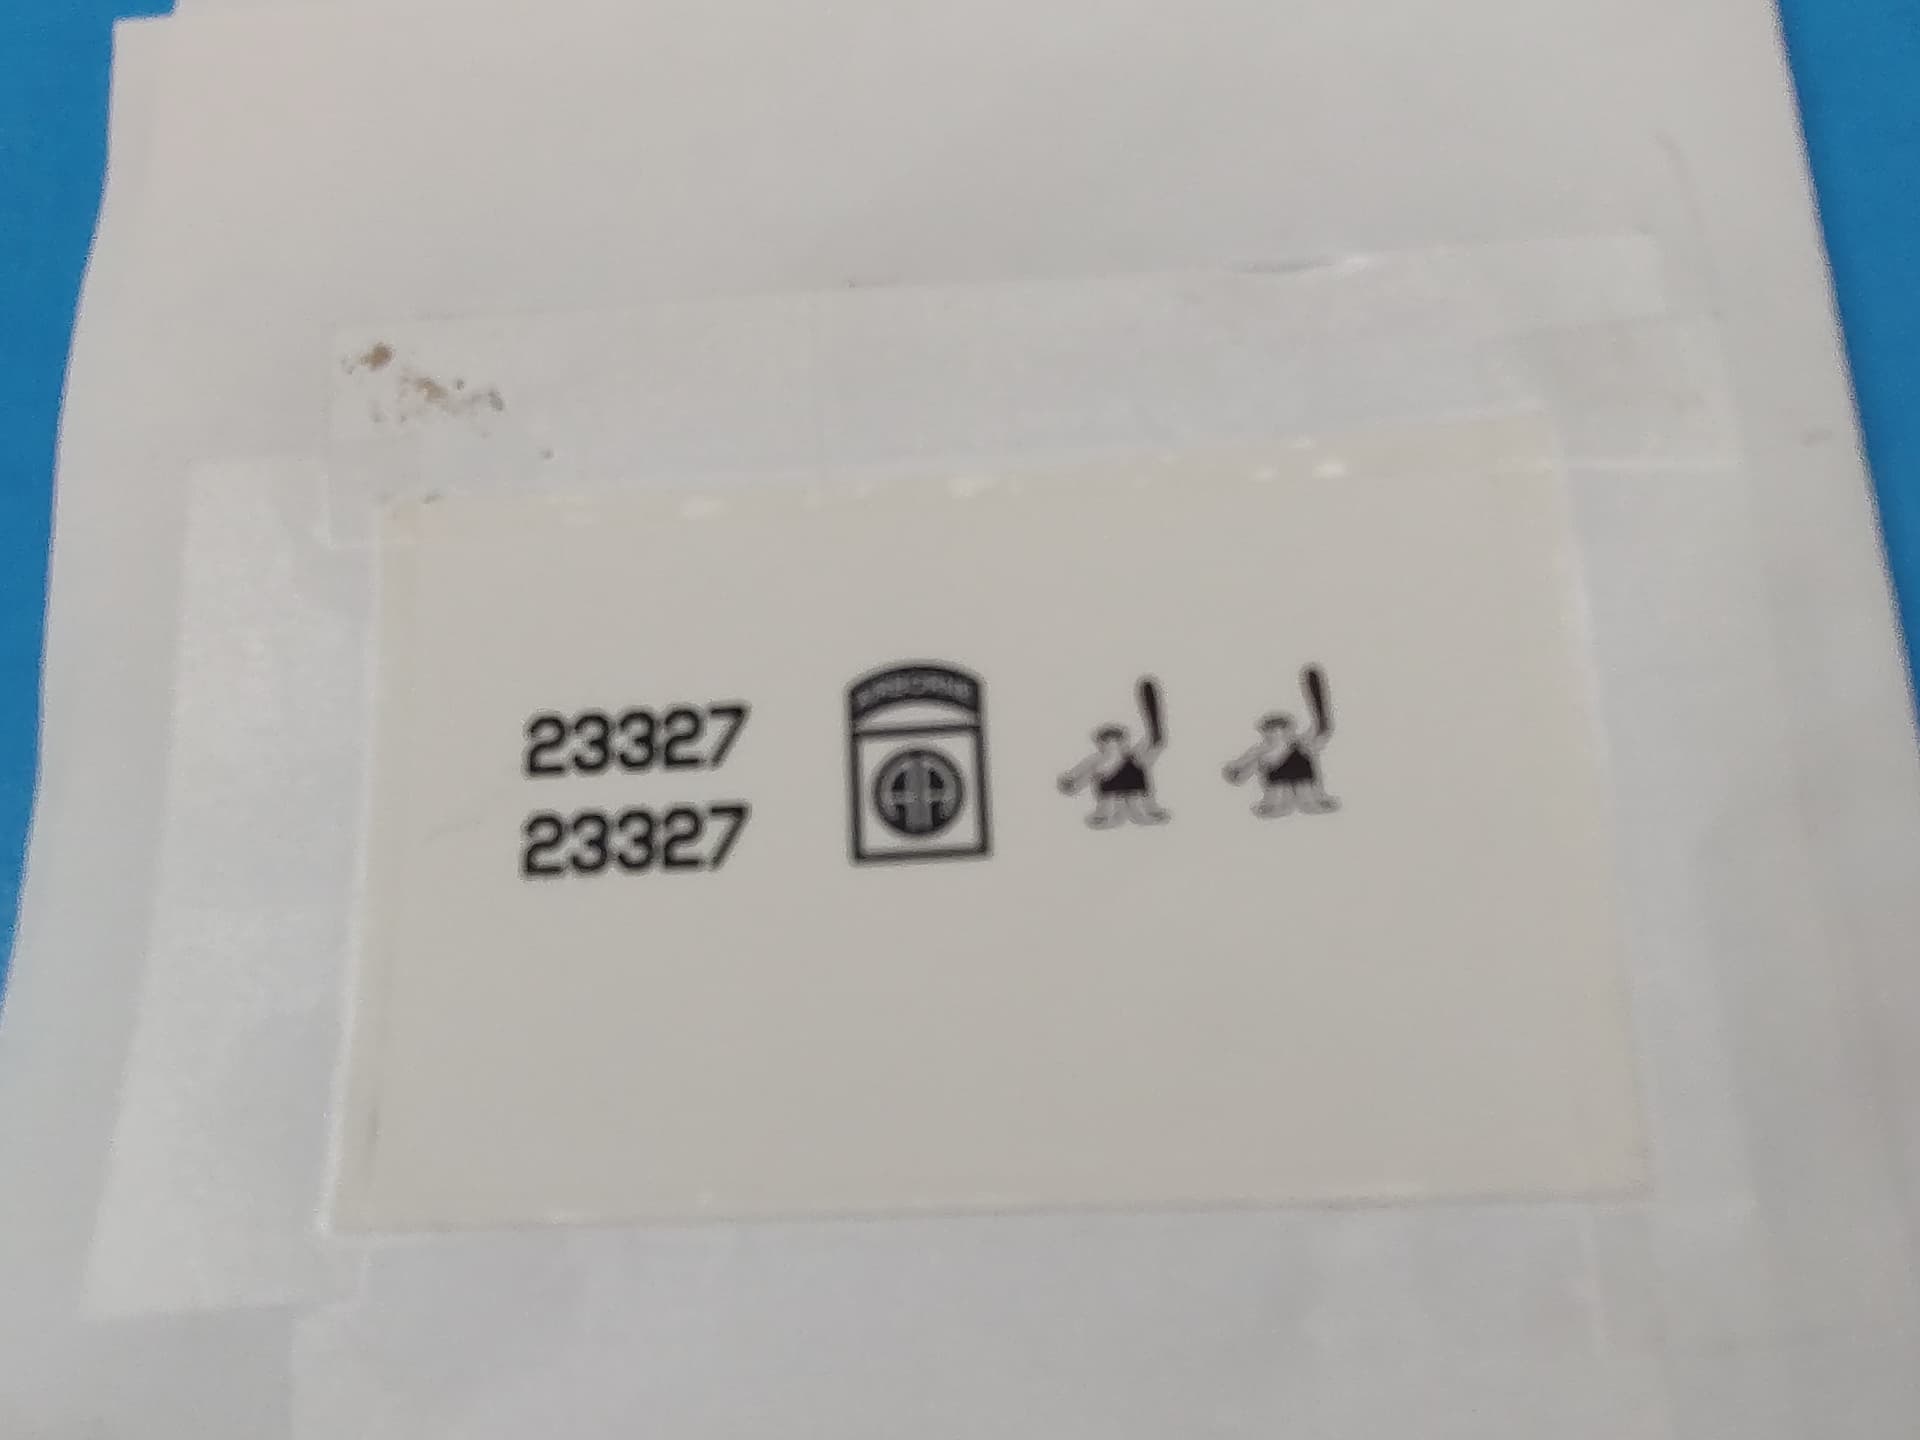
I will use most of the common decals on the Academy sheet for stencils and such. I made up and printed out my own decals for the ones that are specific to this helo.
Lastly, I received one last bit I have been waiting for. I got the Res-Kit M60D doorgun set from Ukraine. They look great and have PE rear grips, PE vented bipods and sights, and all the needed accessories. They should look really nice on it.

Next up is decals.
5 Likes
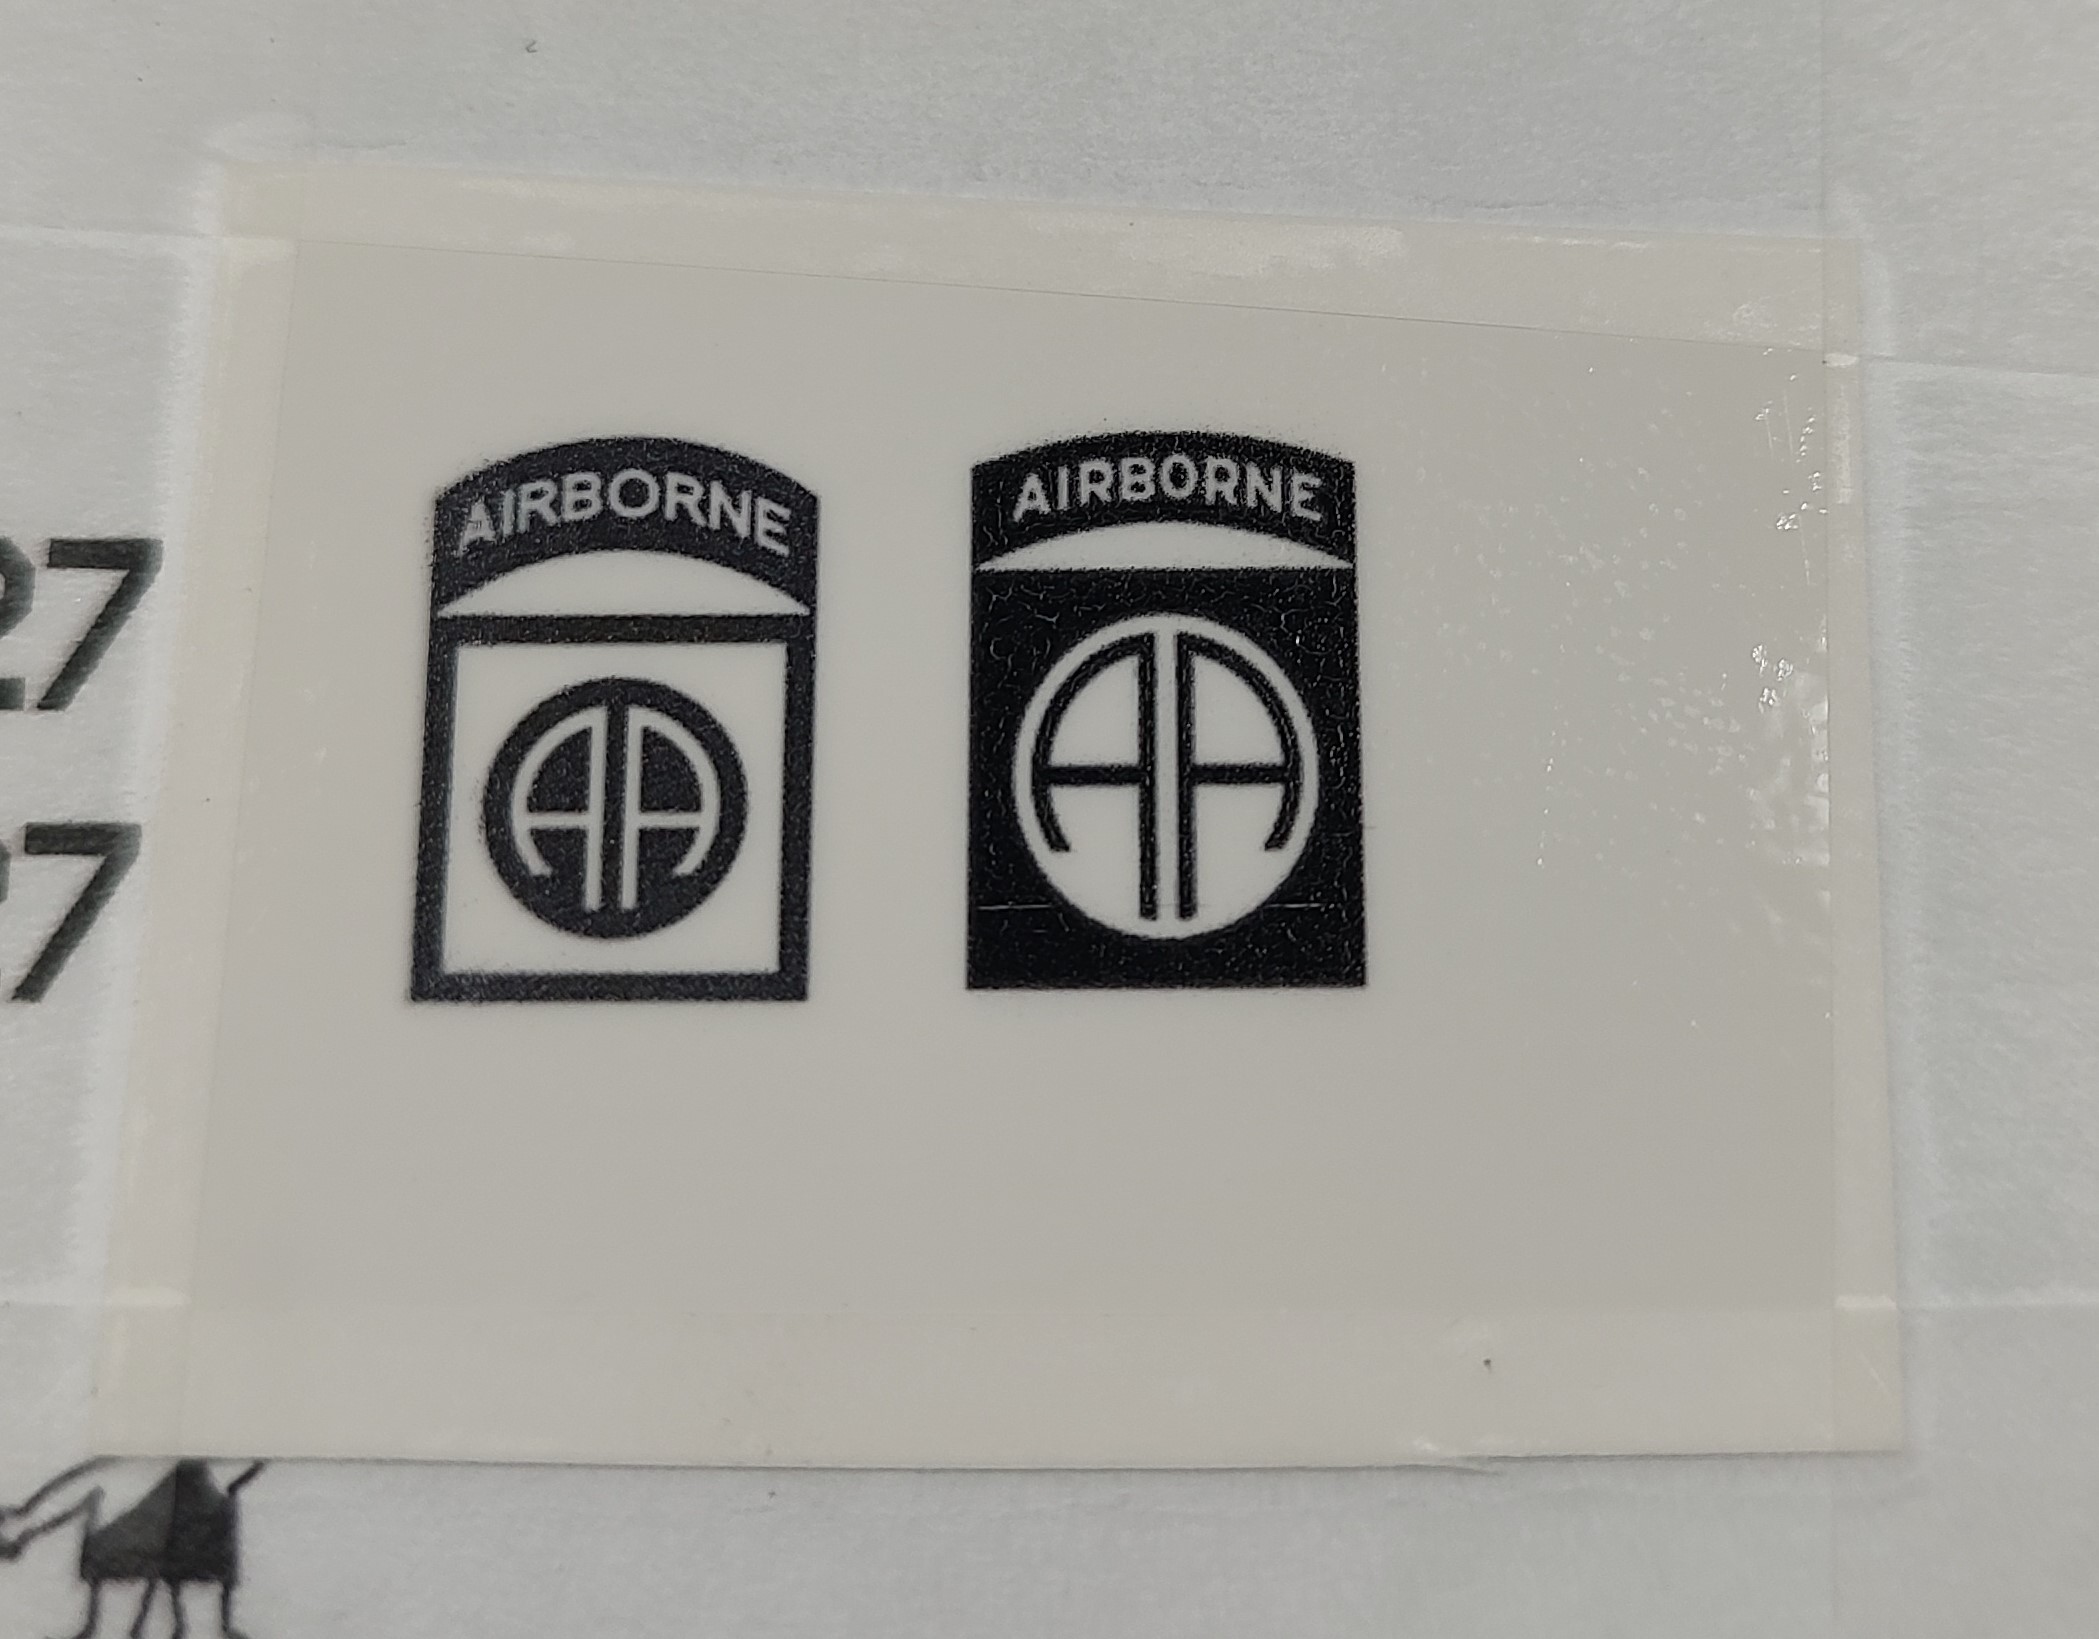
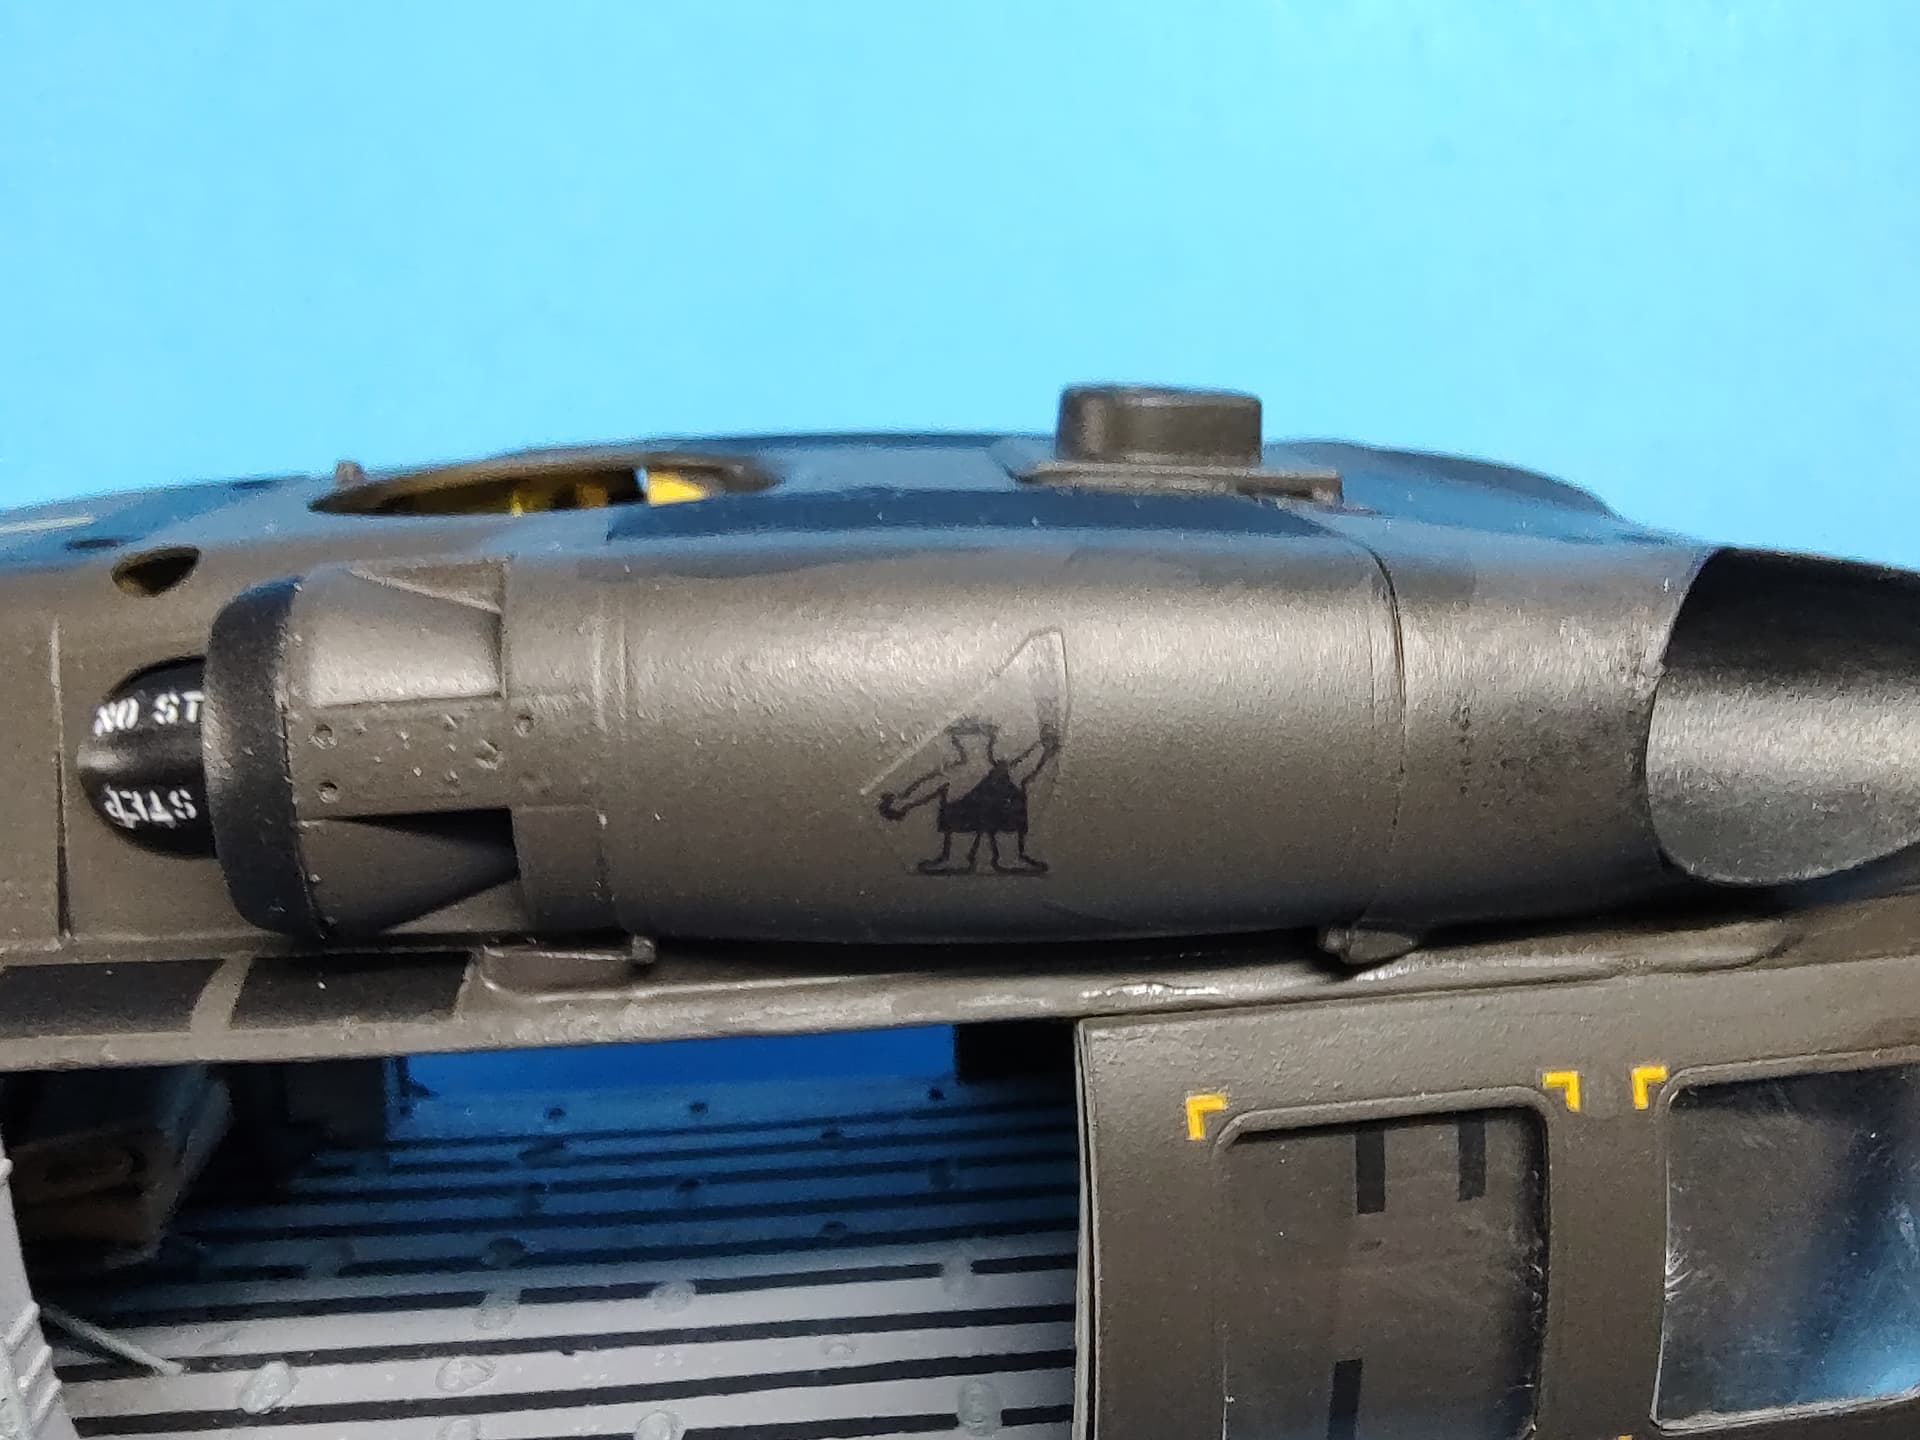
After posting above, I realized I was using the wrong 82d ABN patch. I went online and found the right one and printed up a decal for it.
Correct one on the right.
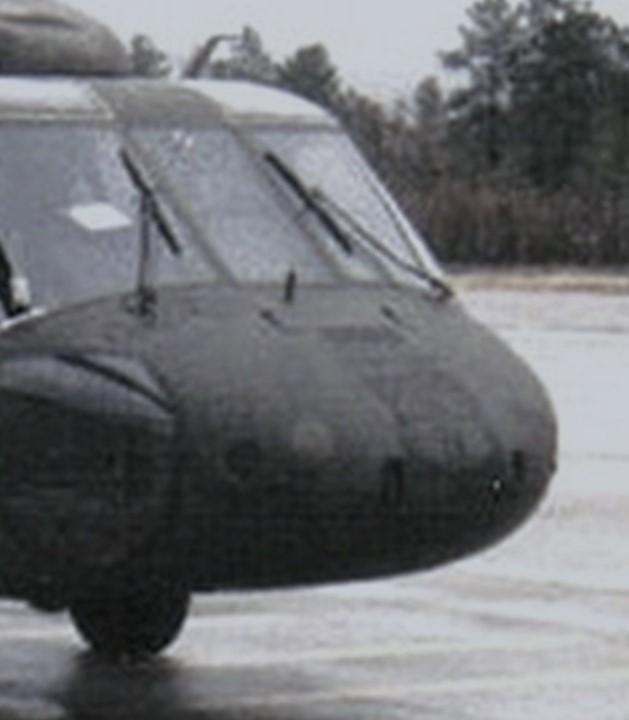
Actual nose art.
6 Likes
Only just caught up with this one - some excellent work here!
I’ve still to cut m y teeth on rotary wings and really need to get a grip; it’s the small Bell H-13H from Revell, somewhere in the stash. I was minded to try and make a Brit Sioux out of it, but keep putting it off. That said, this thread is inspirational!
1 Like
Thanks Brian. I am pleased with how it is turning out.
I say build the Brit Sioux. I have the 1/35 USCG version w/floats in the to-do pile. I have built two others (MedEvac and gunship) and was very happy with them. They are nice little build and can go together quickly. Good luck on it.
1 Like
Well done Gino, i missed your build (i spends 99% of my internet time on my phone), i see that we have lots of commun models interrests!!
I likes the crew that give life to every aircraft models!
1 Like
Thanks Stephane. I will have an update this weekend. I have the decals on and dullcoat, along with the starboard gunner in place and the M60D doorguns installed. Next up is weathering and working on the GIBs and their gear.
1 Like
Got some more work done on the UH-60A. Playoff hockey is slowing me down. Go Bolts!!
Anyway, I assembled the rotorhead and blades. I was able to mainly use the Kitty Hawk parts as the naval versions have a totally new/different rotor head and blades. I also had some rotor parts on the extra C sprue I bought. I added the wiring that goes from the center out to each blade too.

I also got all the decals on it and flattened them out with a coat of dullcoat. Here are the 82d-specific ones I made.

Some more overall.

Port side.

Starboard side.
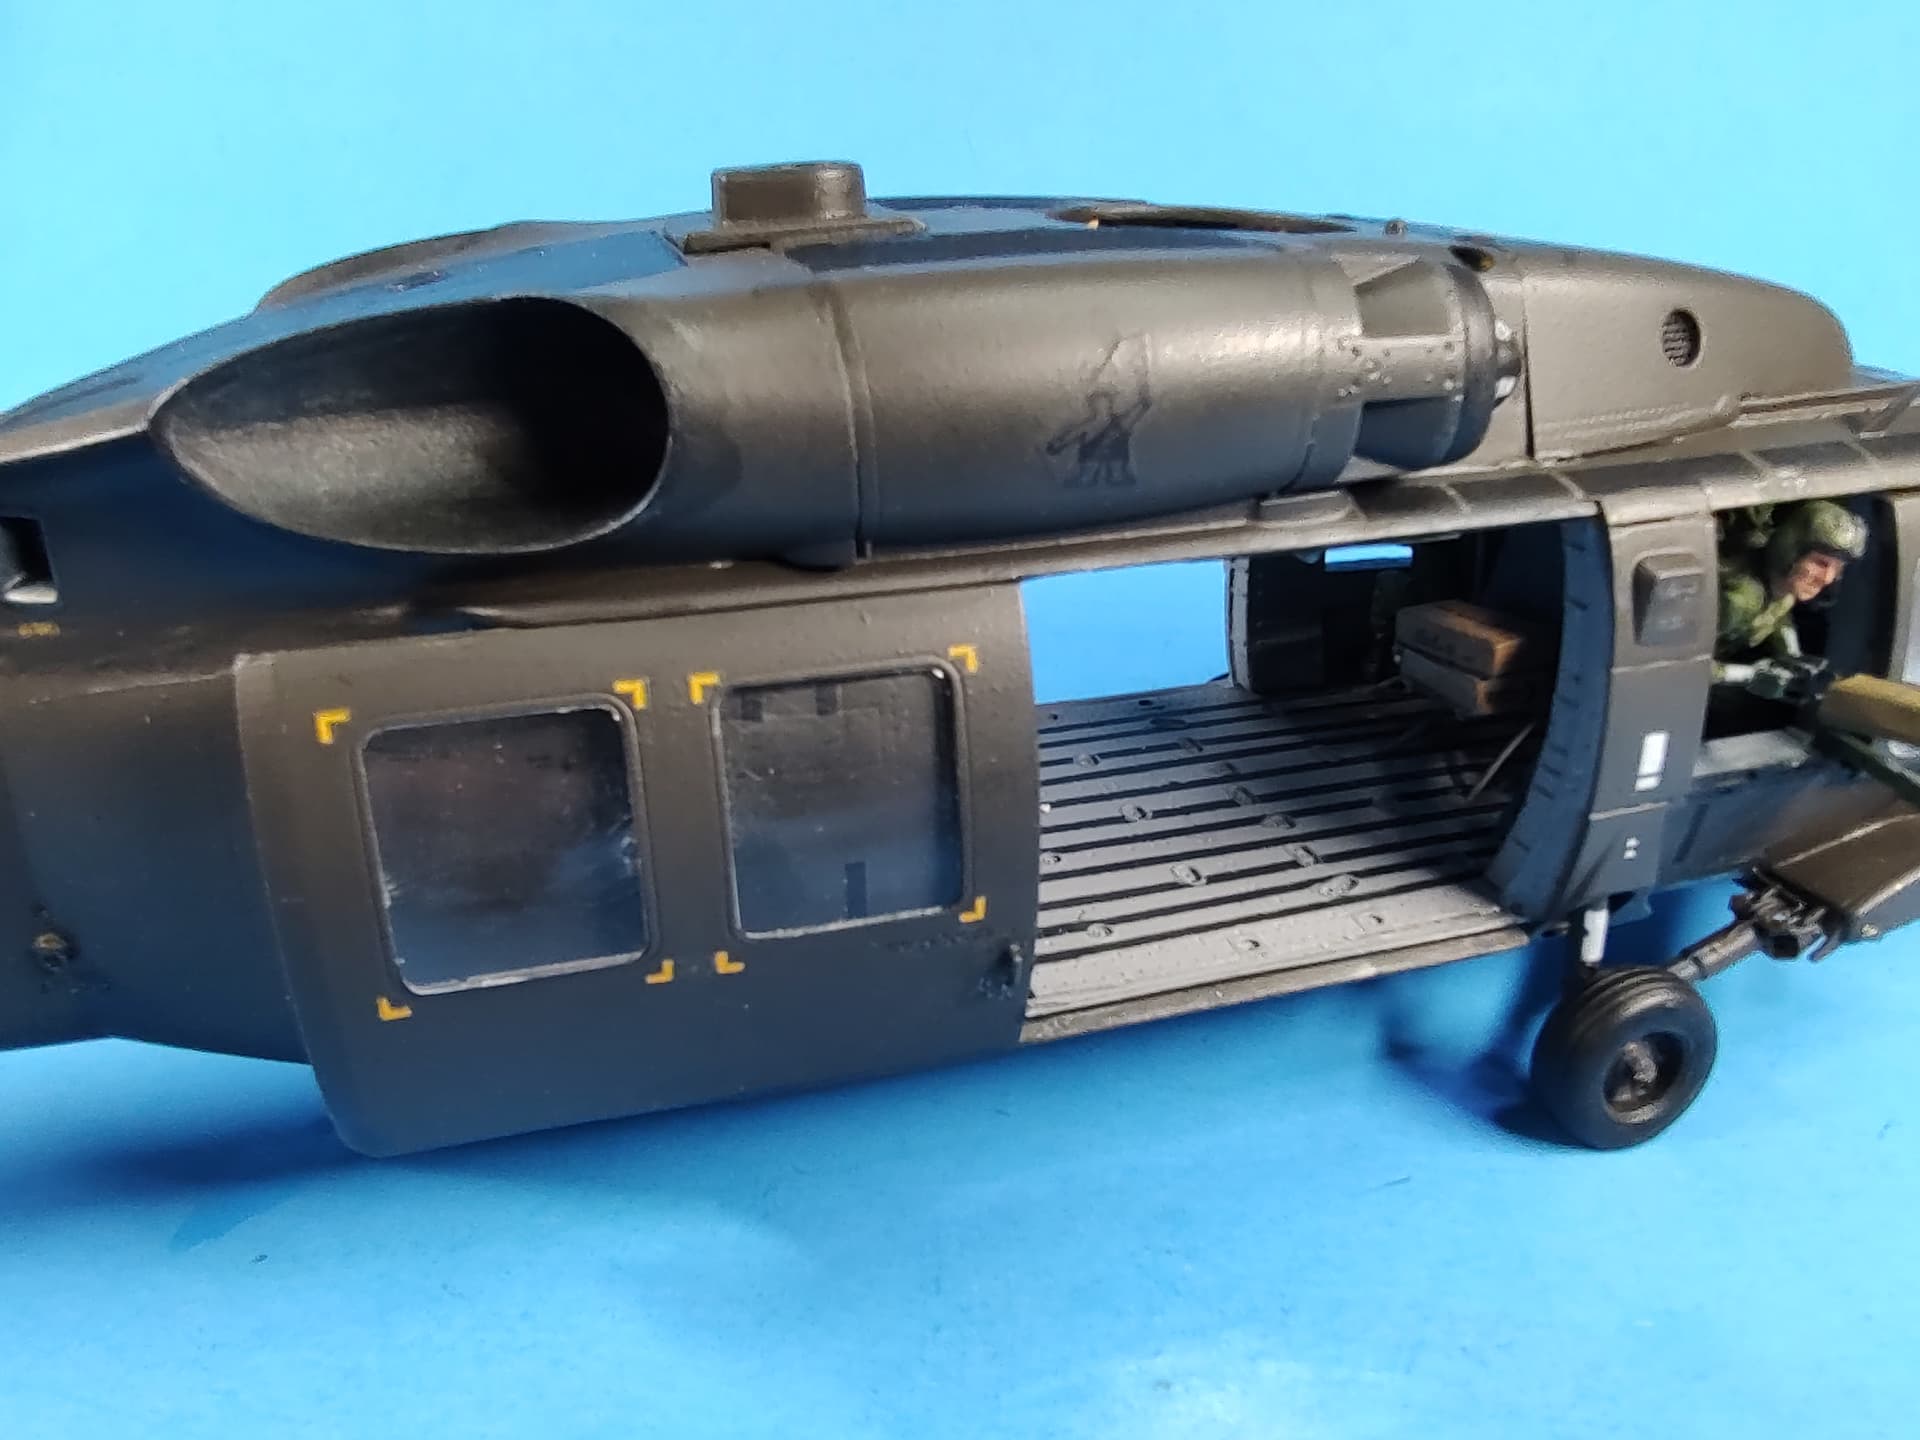

I installed the starboard gunner and the Res-Kit M60D doorguns. They came out really nice.

And the port side gunner.
I also started on the GIBs (Guys In Back). They are mostly made up of Dragon ODS-era parts. The torsos w/PASGT armor, heads, and helmets are all from Dragon. The lower halves are mostly from the old Tamiya Armored Troops set since they are seated. I also used one guy from the Dragon USMC Tank Killers set: the seated Dragon gunner (he will be seated against the back wall), and one set of legs in resin from somewhere. The arms are from various kits to make them fit as I want.

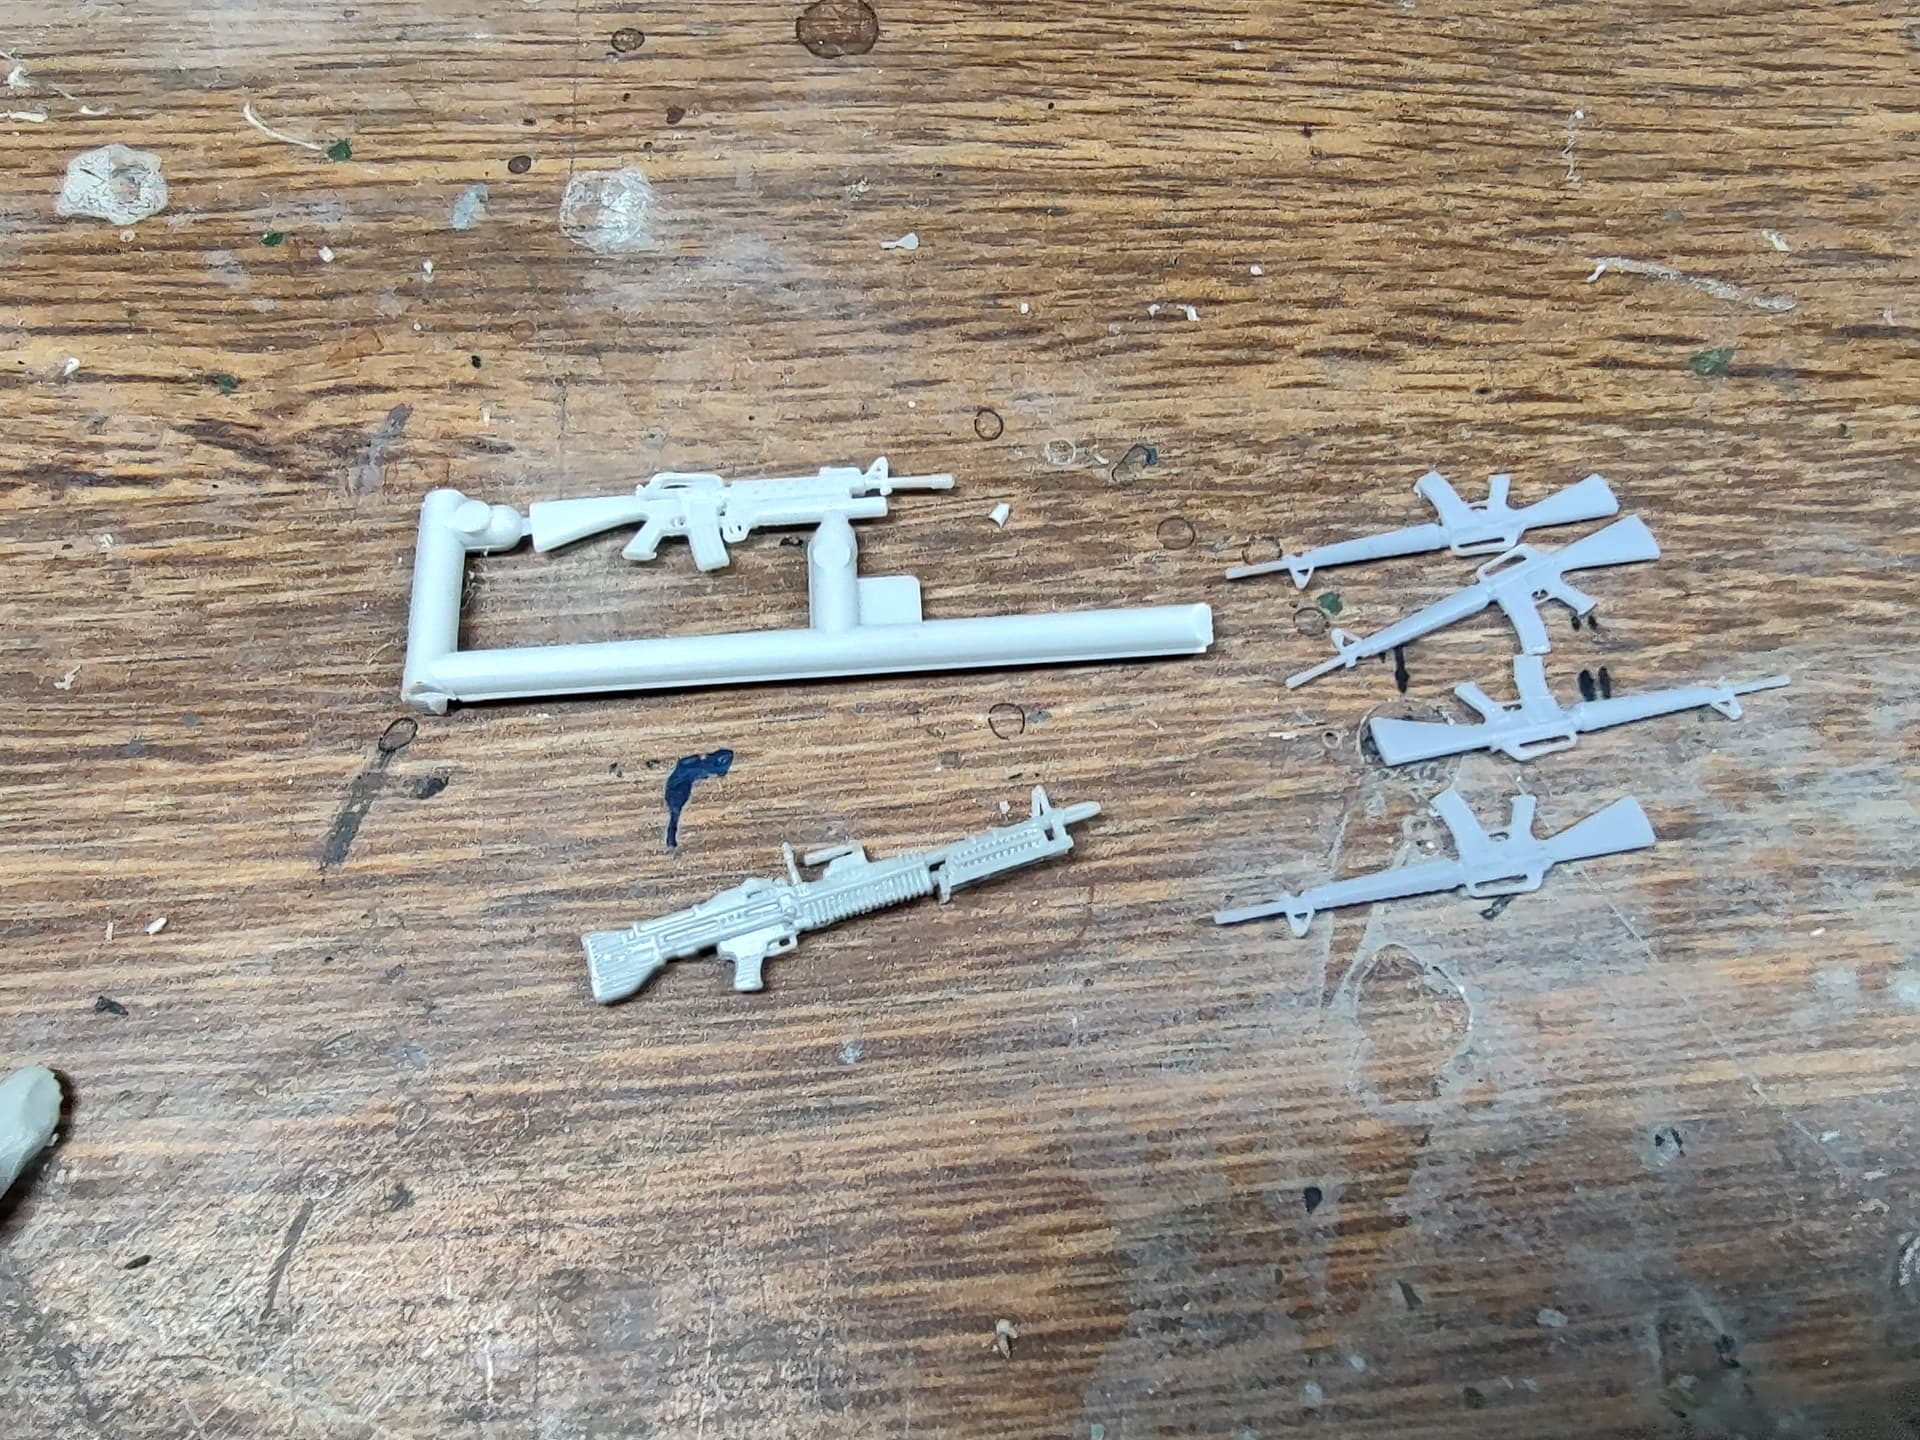
Their weapons will be a mix of Dragon (M203 and M60A) and 3D printed M16A1s with 30rd magazines.
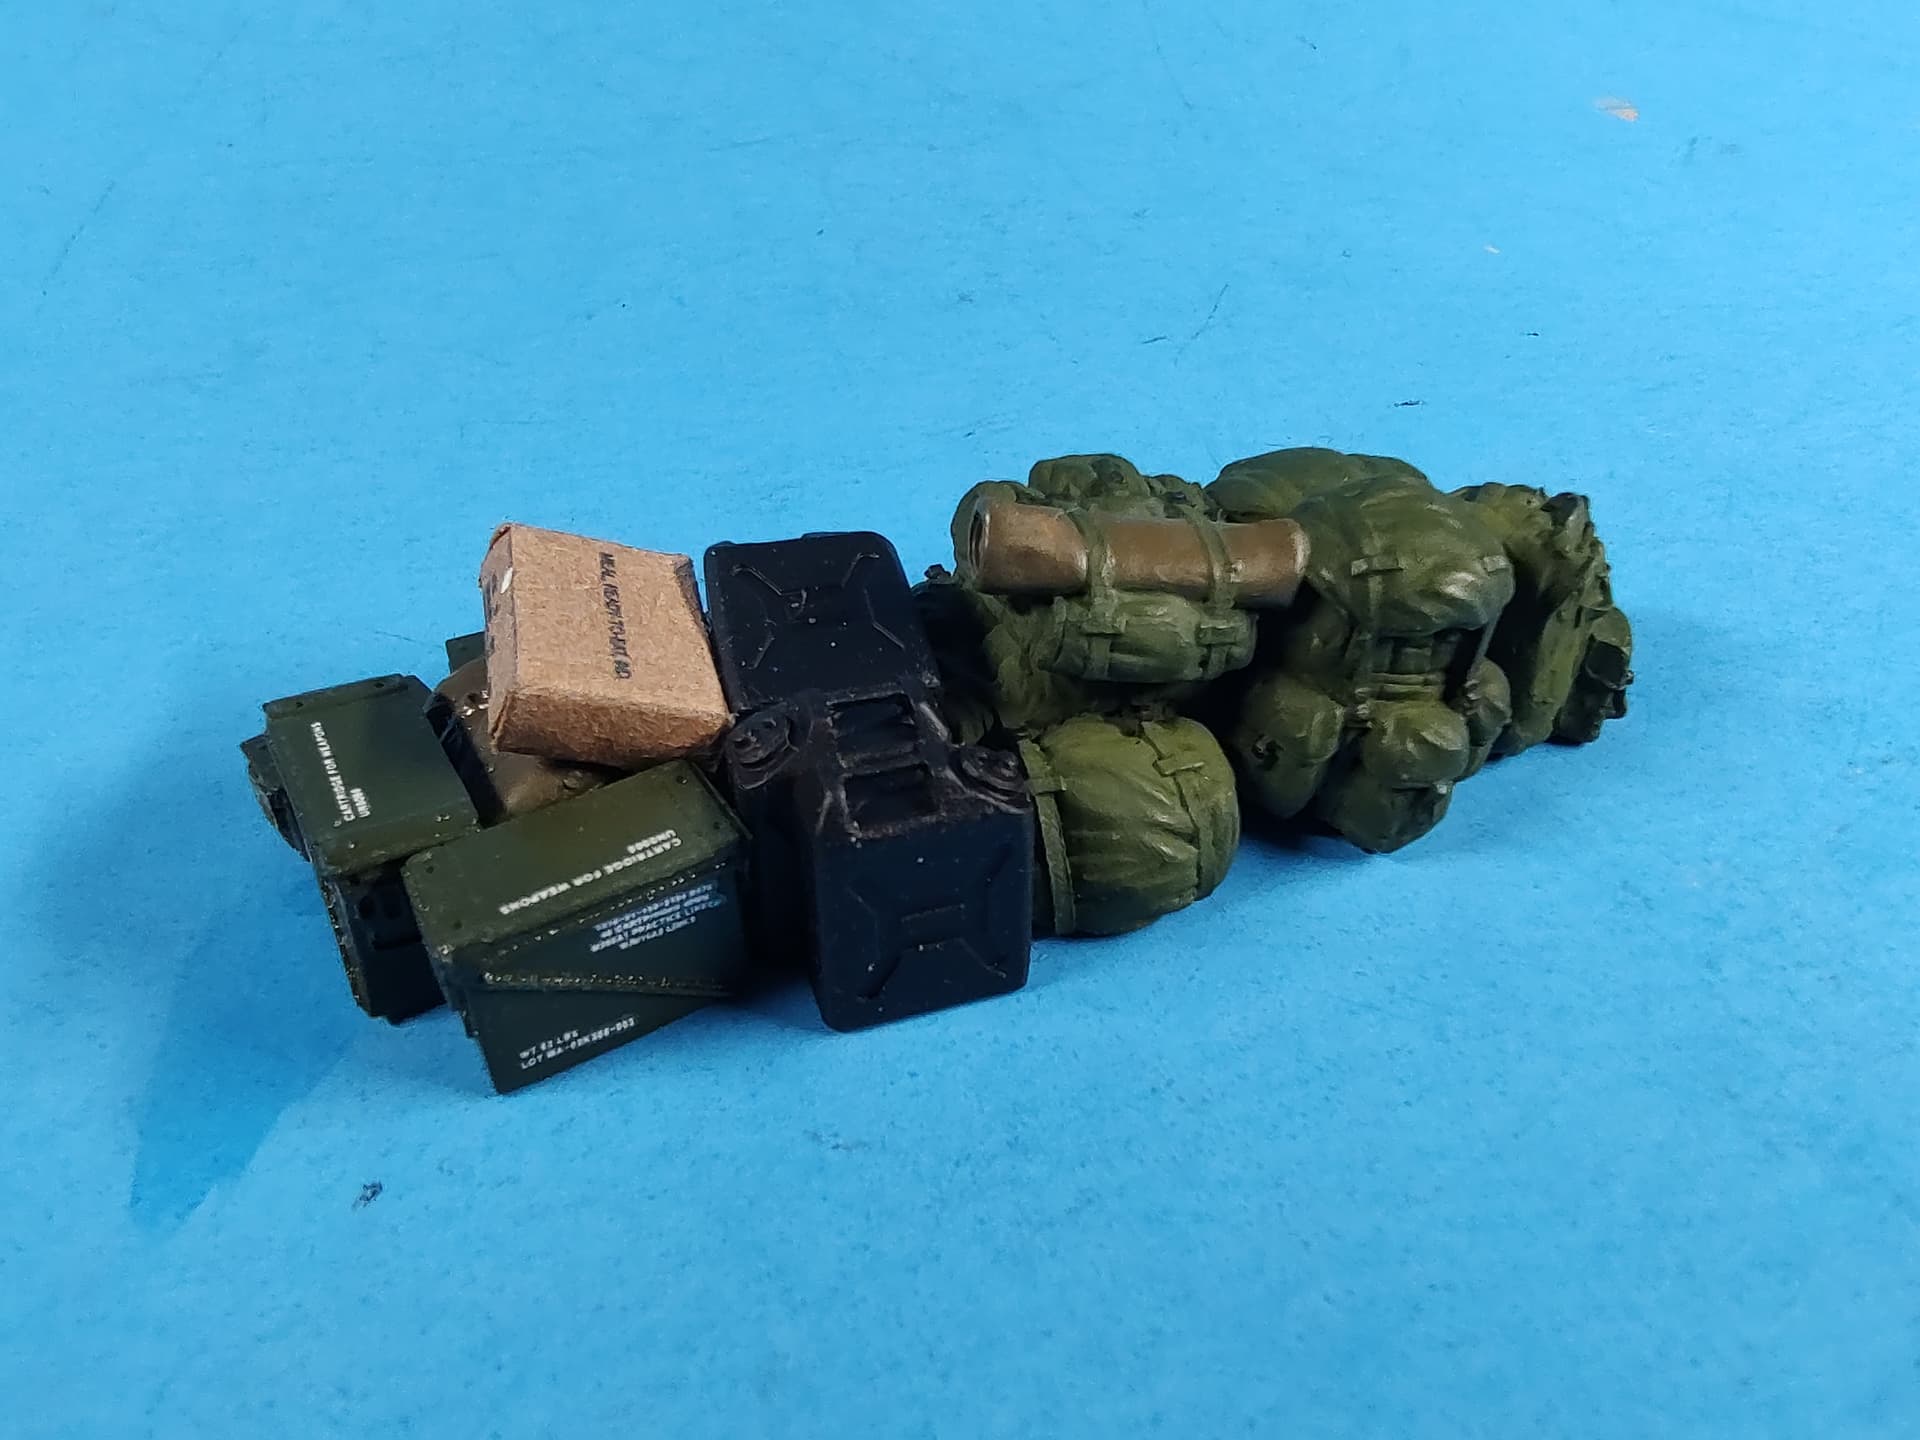
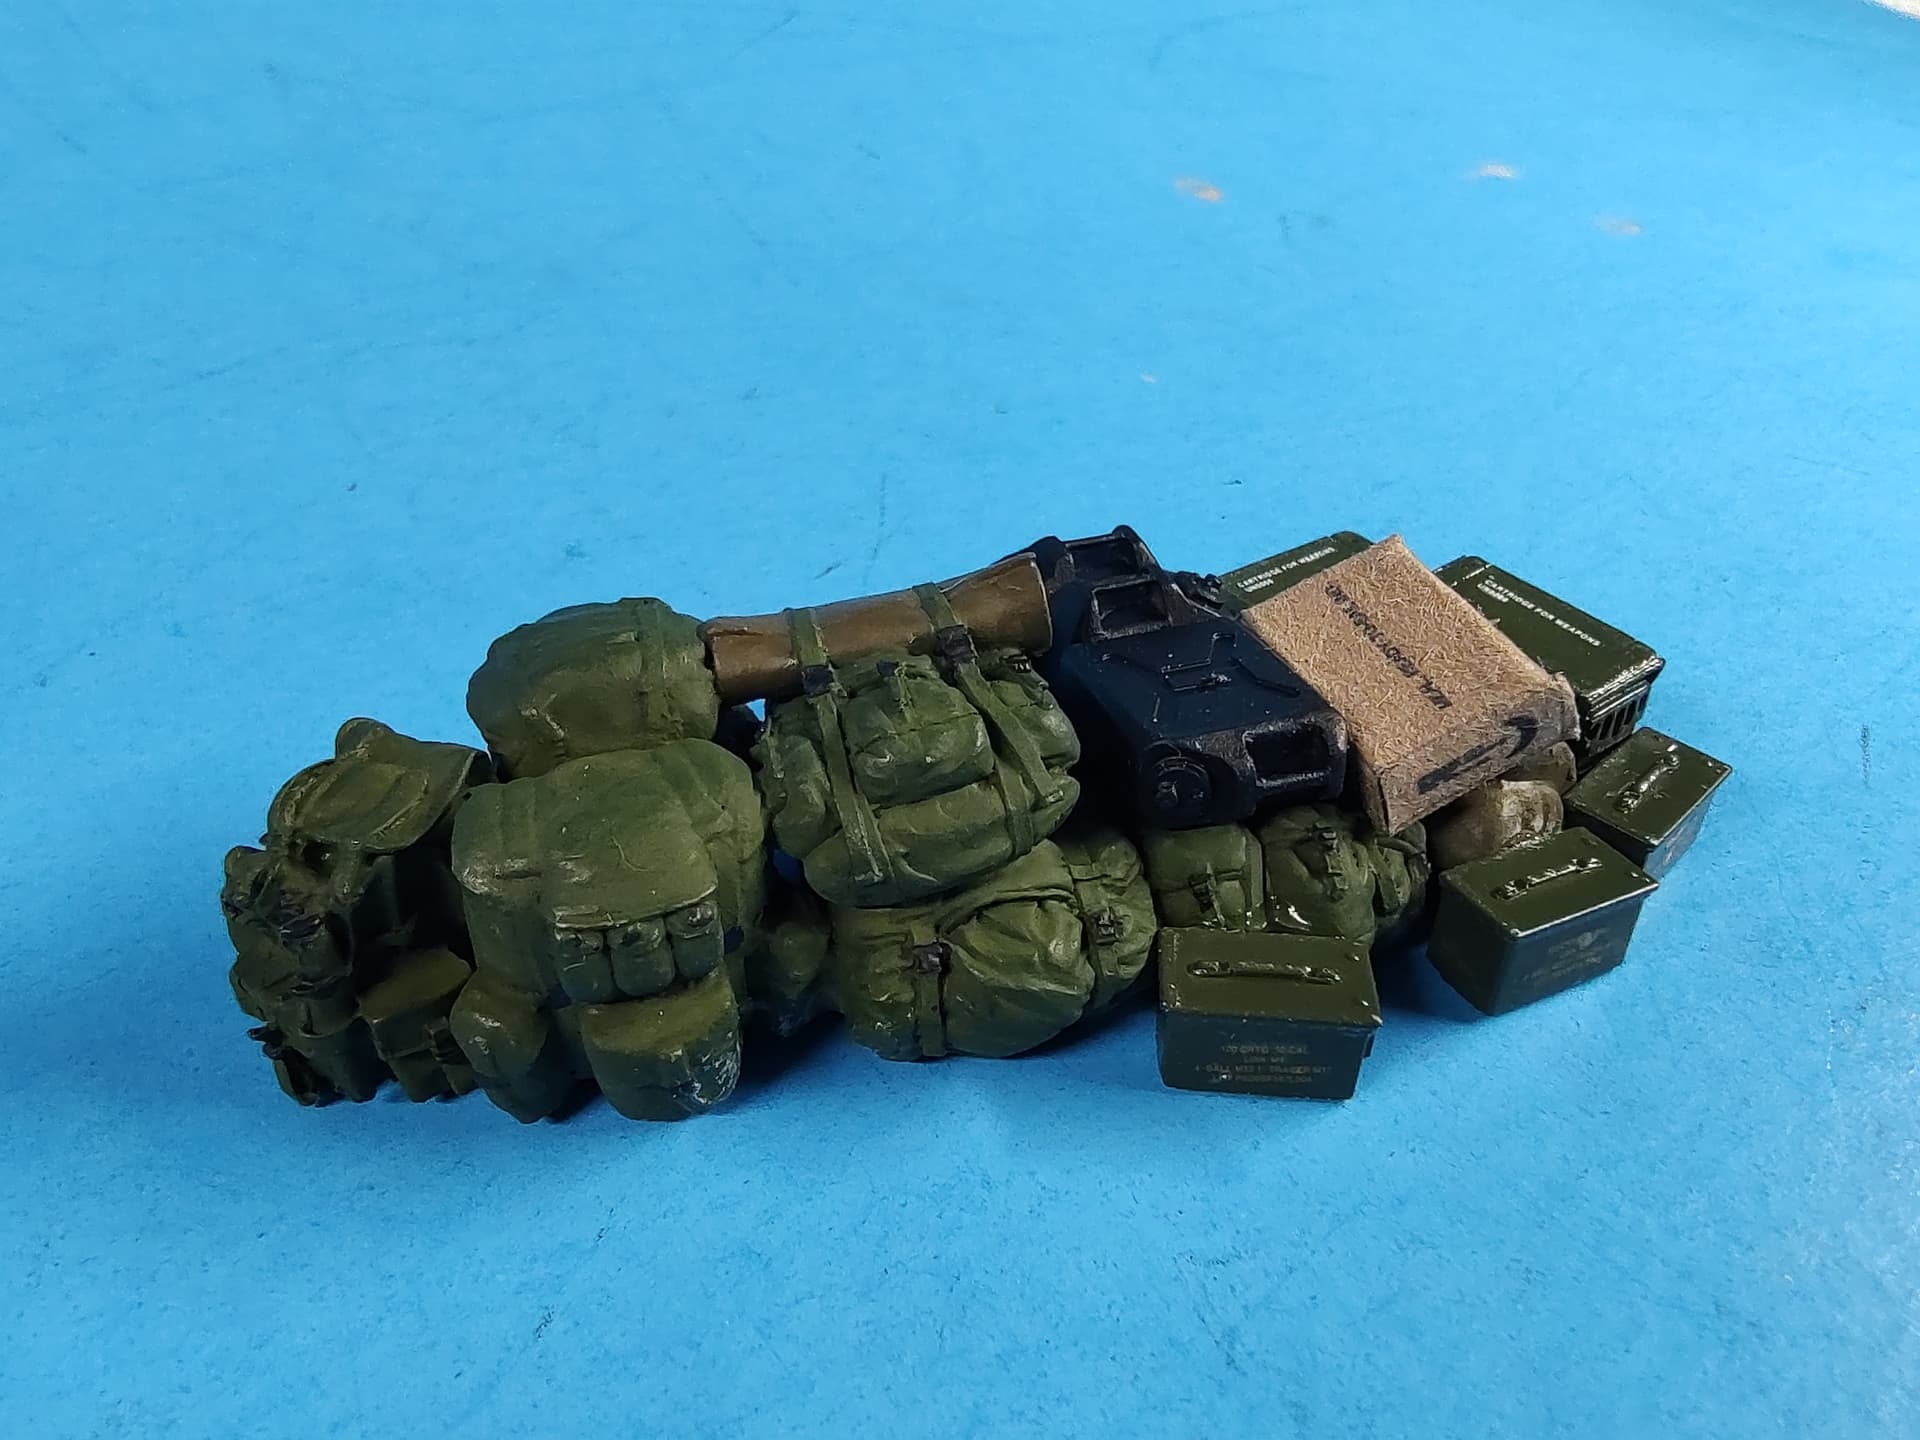
Here is their stack of gear that will go down the center of the helo. It has six rucksacks, water jugs, MREs, ammo cans, etc.
I’m currently working on all the figures’ camo and finishing up their gear. I need to add some weathering to the helo as well.
7 Likes
Thats all looking very good Gino. Nice realistic poses on the figures and the side gunners give the whole thing a sense of urgency - decals came out nice as well.
2 Likes