I can’t agree more to what Tim says, wonderful work, and all those hidden treats - just love the cargo holds (even though it seems your crew is a bit lazy in securing stuff for sea… ).
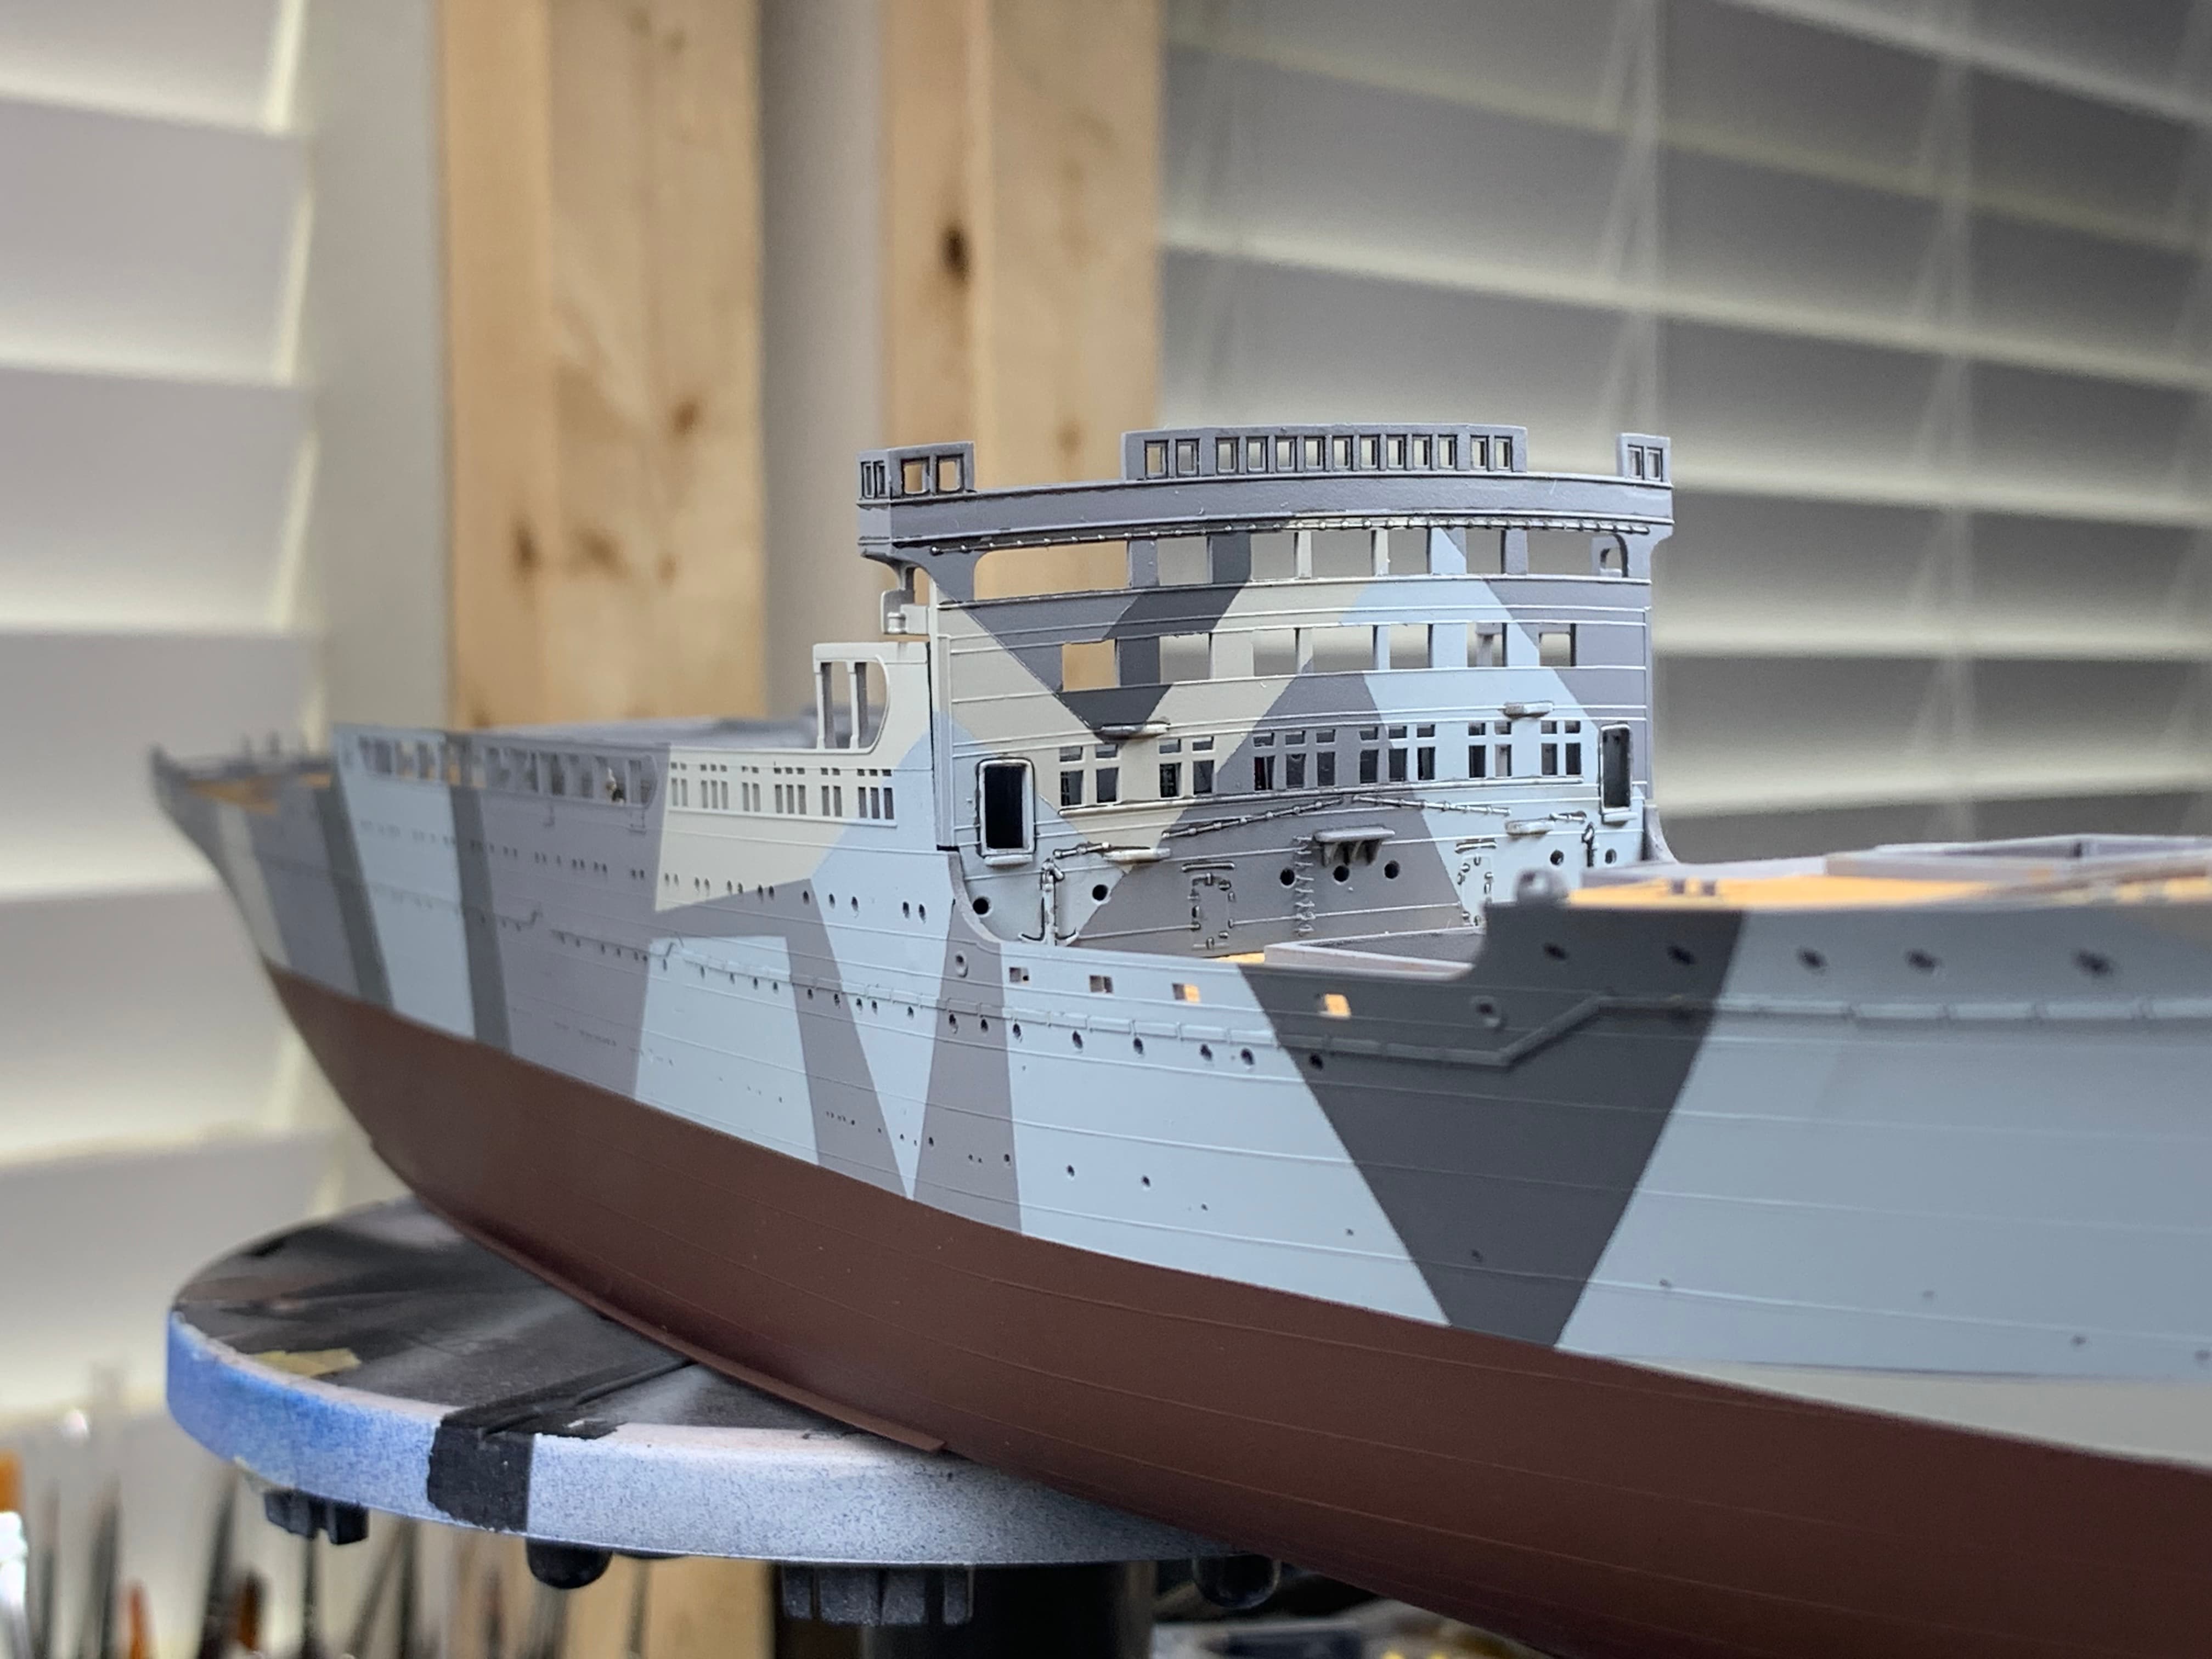
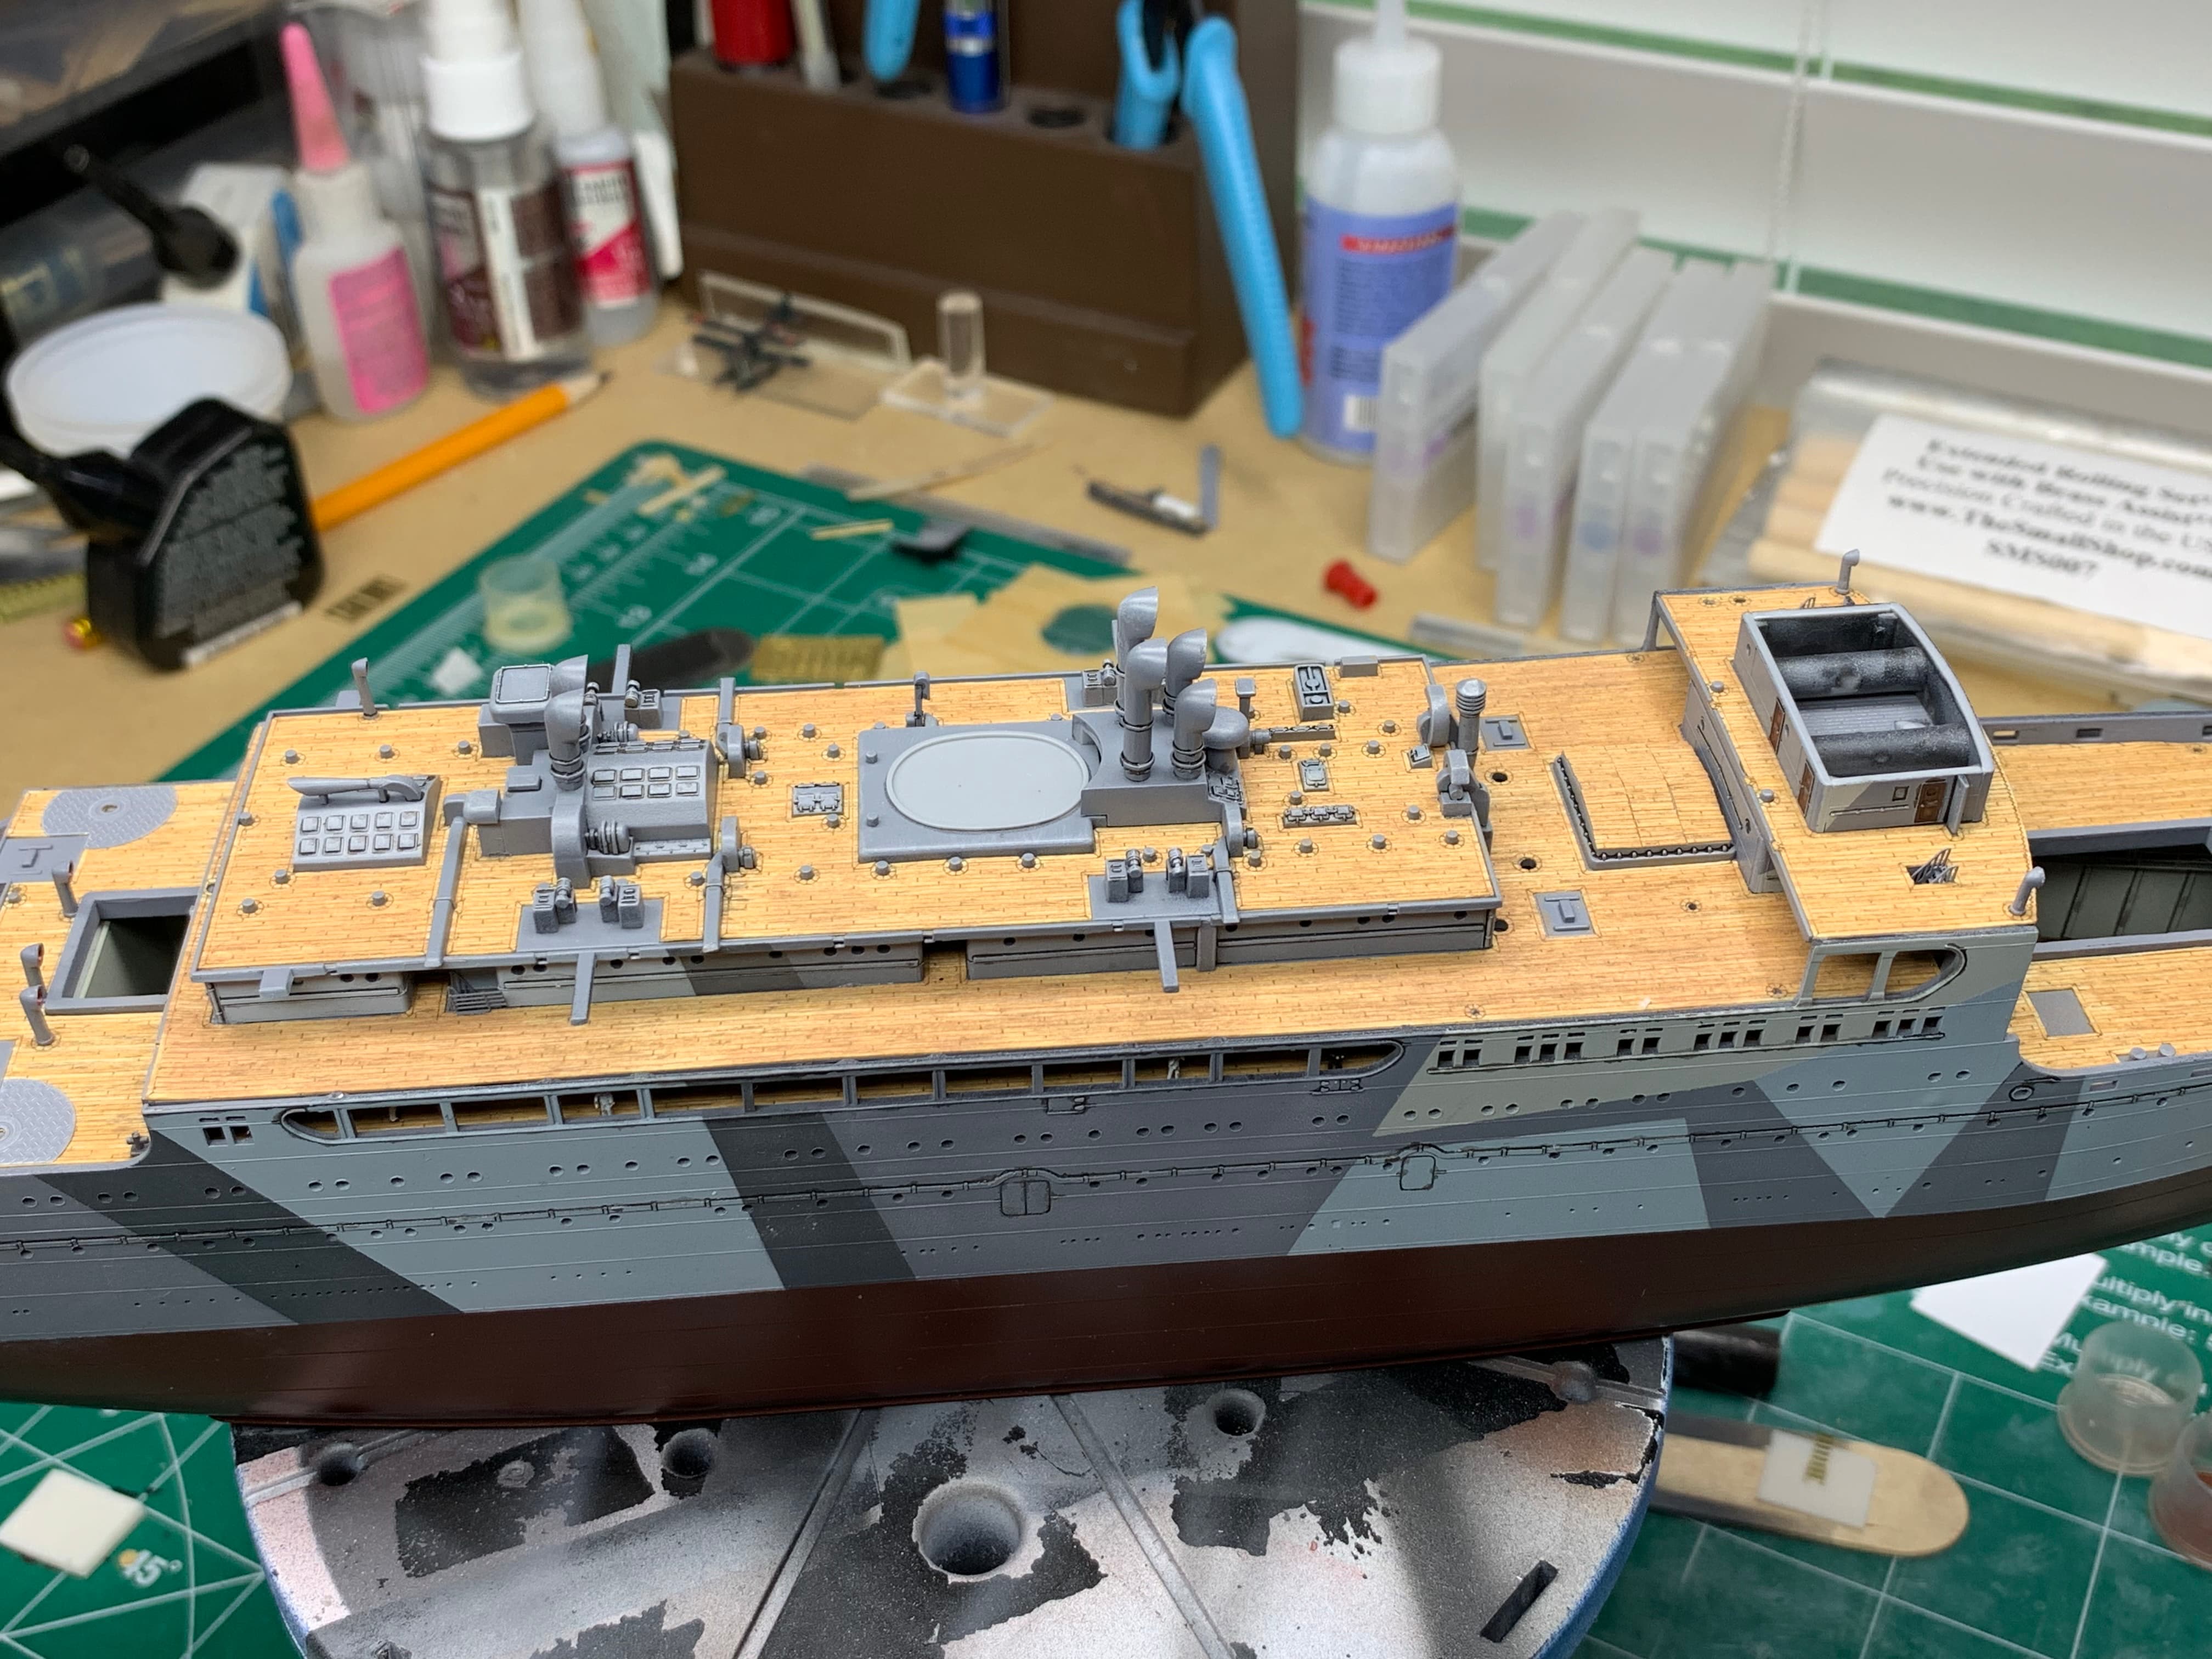
The deck looks spot on, despite the fitting problems you mentioned, and the camo is looking sharp!
Time - I agree, while the cargo holds will not be readily visible I know what is there and as you said it adds to the depth of the build.
Jan - yes, they are a lazy crew as illustrated by the crew resting in the forward cargo hold, but as far as securing the load - the ship will be displayed in Truk harbor re-supplying submarines so I felt that the loads would not have been as secure as they would have been at sea - now I am a land lubber so my assumption maybe wrong
Hi there, I’ve been watching your build after I bought the kit and pretty much want to do a similar build. Like yourself I’ve gotten all the extras and reading the blog I now need to get some Zeros and degaussing cables!
'Morning RGL1 - as far as I can remember, we started at the bow, so the holds we entered and explored were up forward. The aircraft had been underwater for 62 years by then, and had suffered accordingly. What we saw were the fuselages, minus wings. As for the canopies, given their light construction, I don’t recall seeing them on the airframes, but that could have been because they’d corroded much more quickly than the airframes themselves, but I can’t see any reason for removing them for transport. The wings - perhaps, but not the canopies, but I could be wrong there, and don’t know how easy it was to remove the wings from Zeros for transport. My advice would be to place completes aircraft in the holds if they’ll fit - who’s going to challenge you.
Hope this helps.
Welcome aboard - glad to have you along for the ride. There are a couple of more things associated with the build that are not included in the kit.
If you read the description on the Combined Fleet Tabular of Movement, the mid ship 152mm main guns were removed in October / November 1943 and replaced with twin 25mm AA guns. The fore and aft 152 mm main guns were replaced by 120mm main guns. An additional two 13mm AA guns were also added but I have no idea where they were mounted. And last but not least depth charge mounts were mounted but again I have no idea were they were located.
Infini Models make some great 13mm twin AA guns and I sourced the 120mm Main guns from Black Cat.
As far as the torpedoes go - no one makes the appropriate 53.cm IJN torpedoes that were used on IJN submarines so I went with Aber’s turn brass German Torpedoes which have the righ diameter and length. Draw back was they do not have the right fins so I used the fins from the Aber British torpedo sets.
I don’t know if it is still available, but Tamiya issued an upgrade set for their 1/350 scale I-400 kit which included four turned brass and photoetch type 95 submarine torpedoes.
Here is the 120mm dual purpose main guns that replaced the 152mm main guns during the Heian Maru’s refit - these were sources from Black Cat I believe.
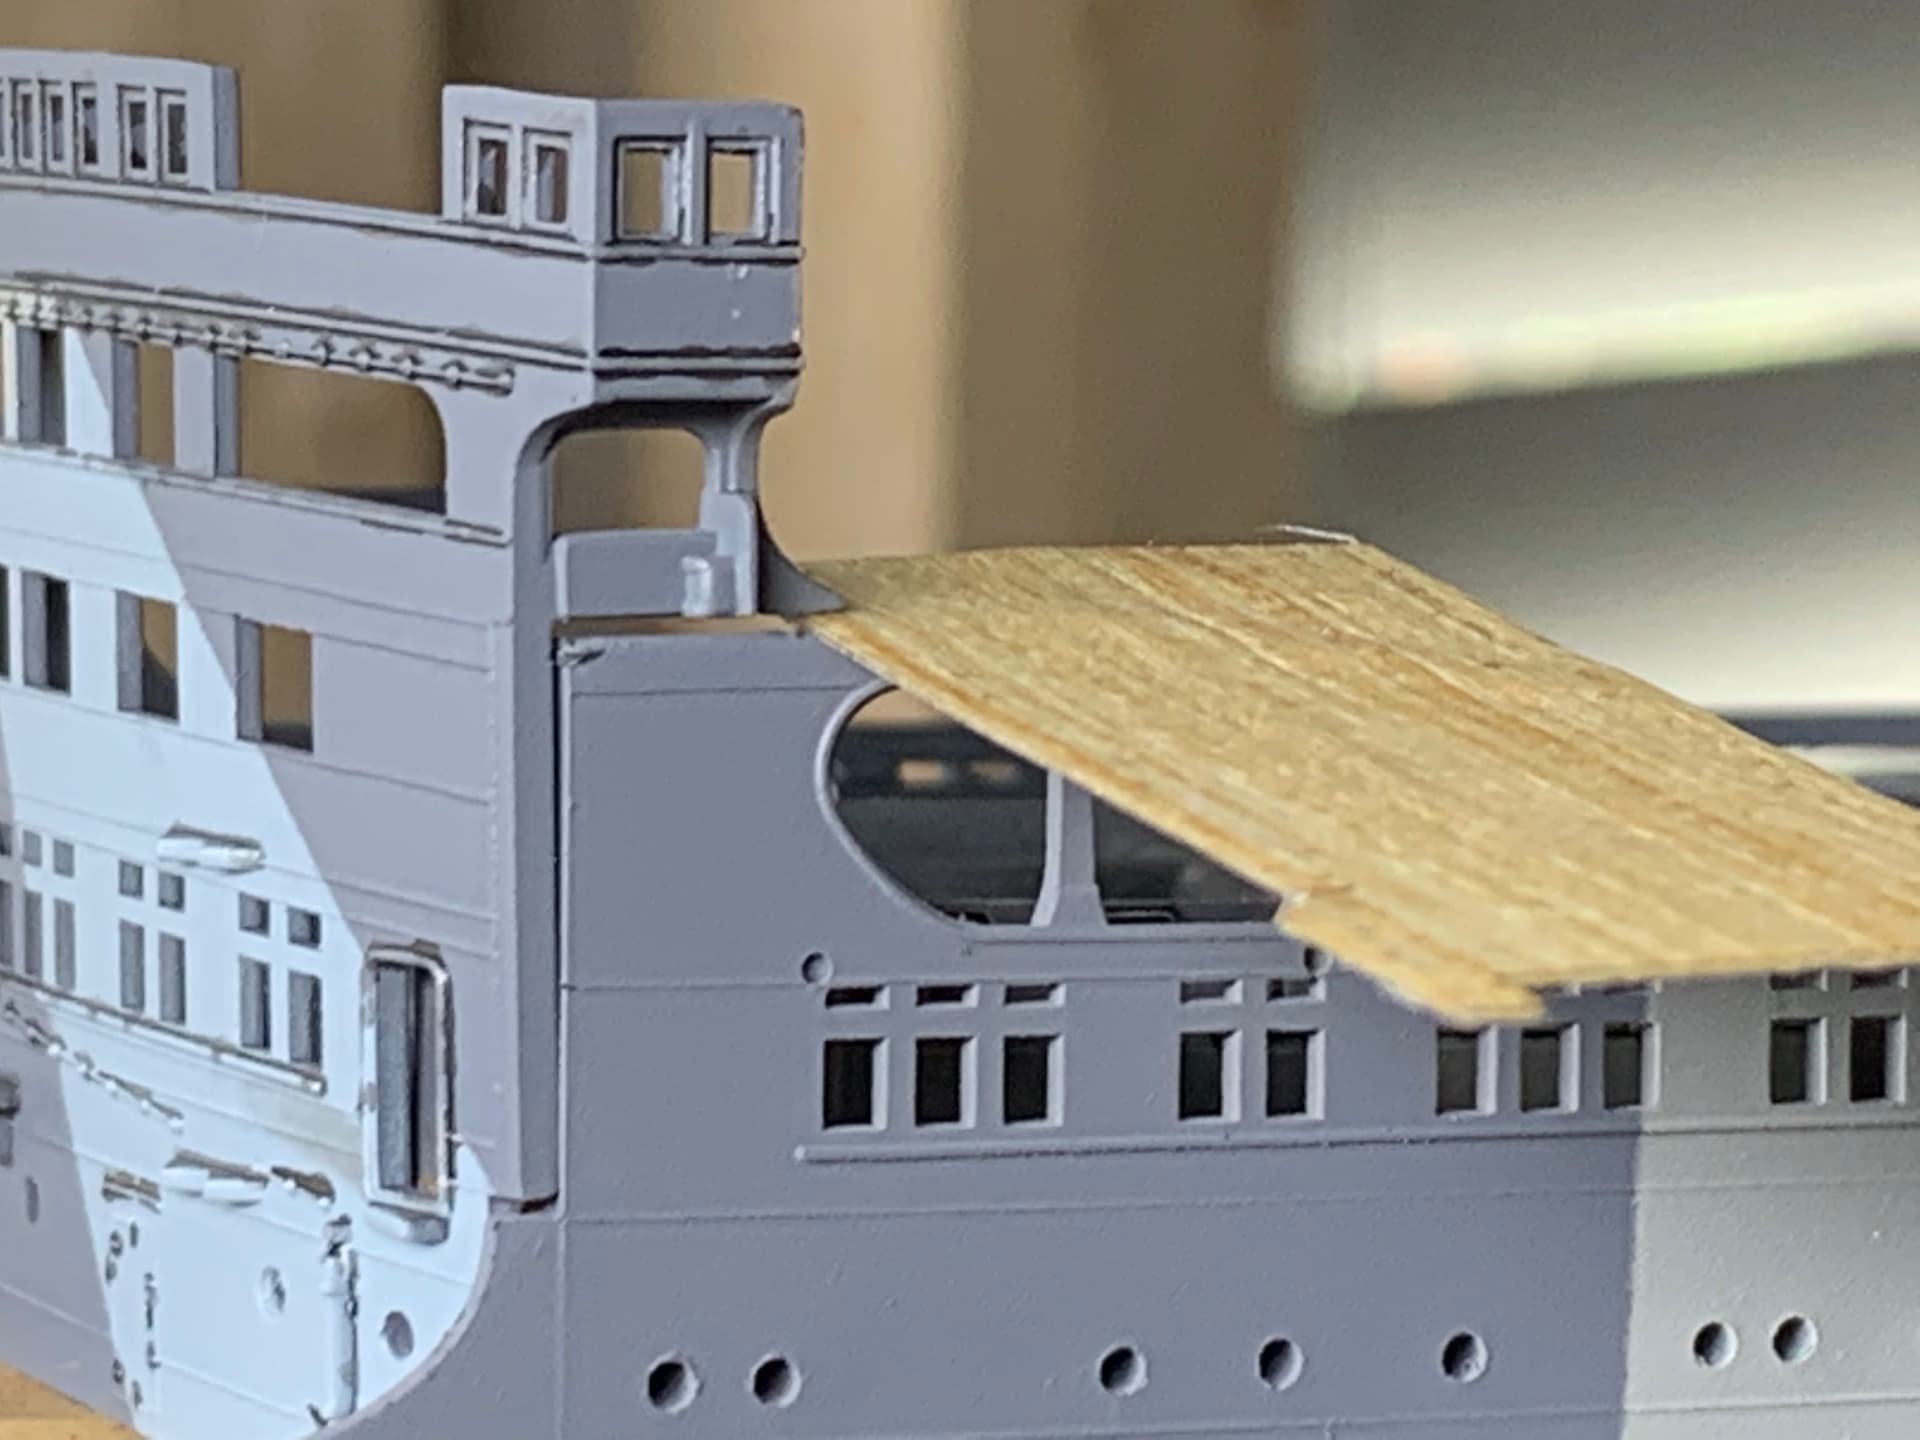
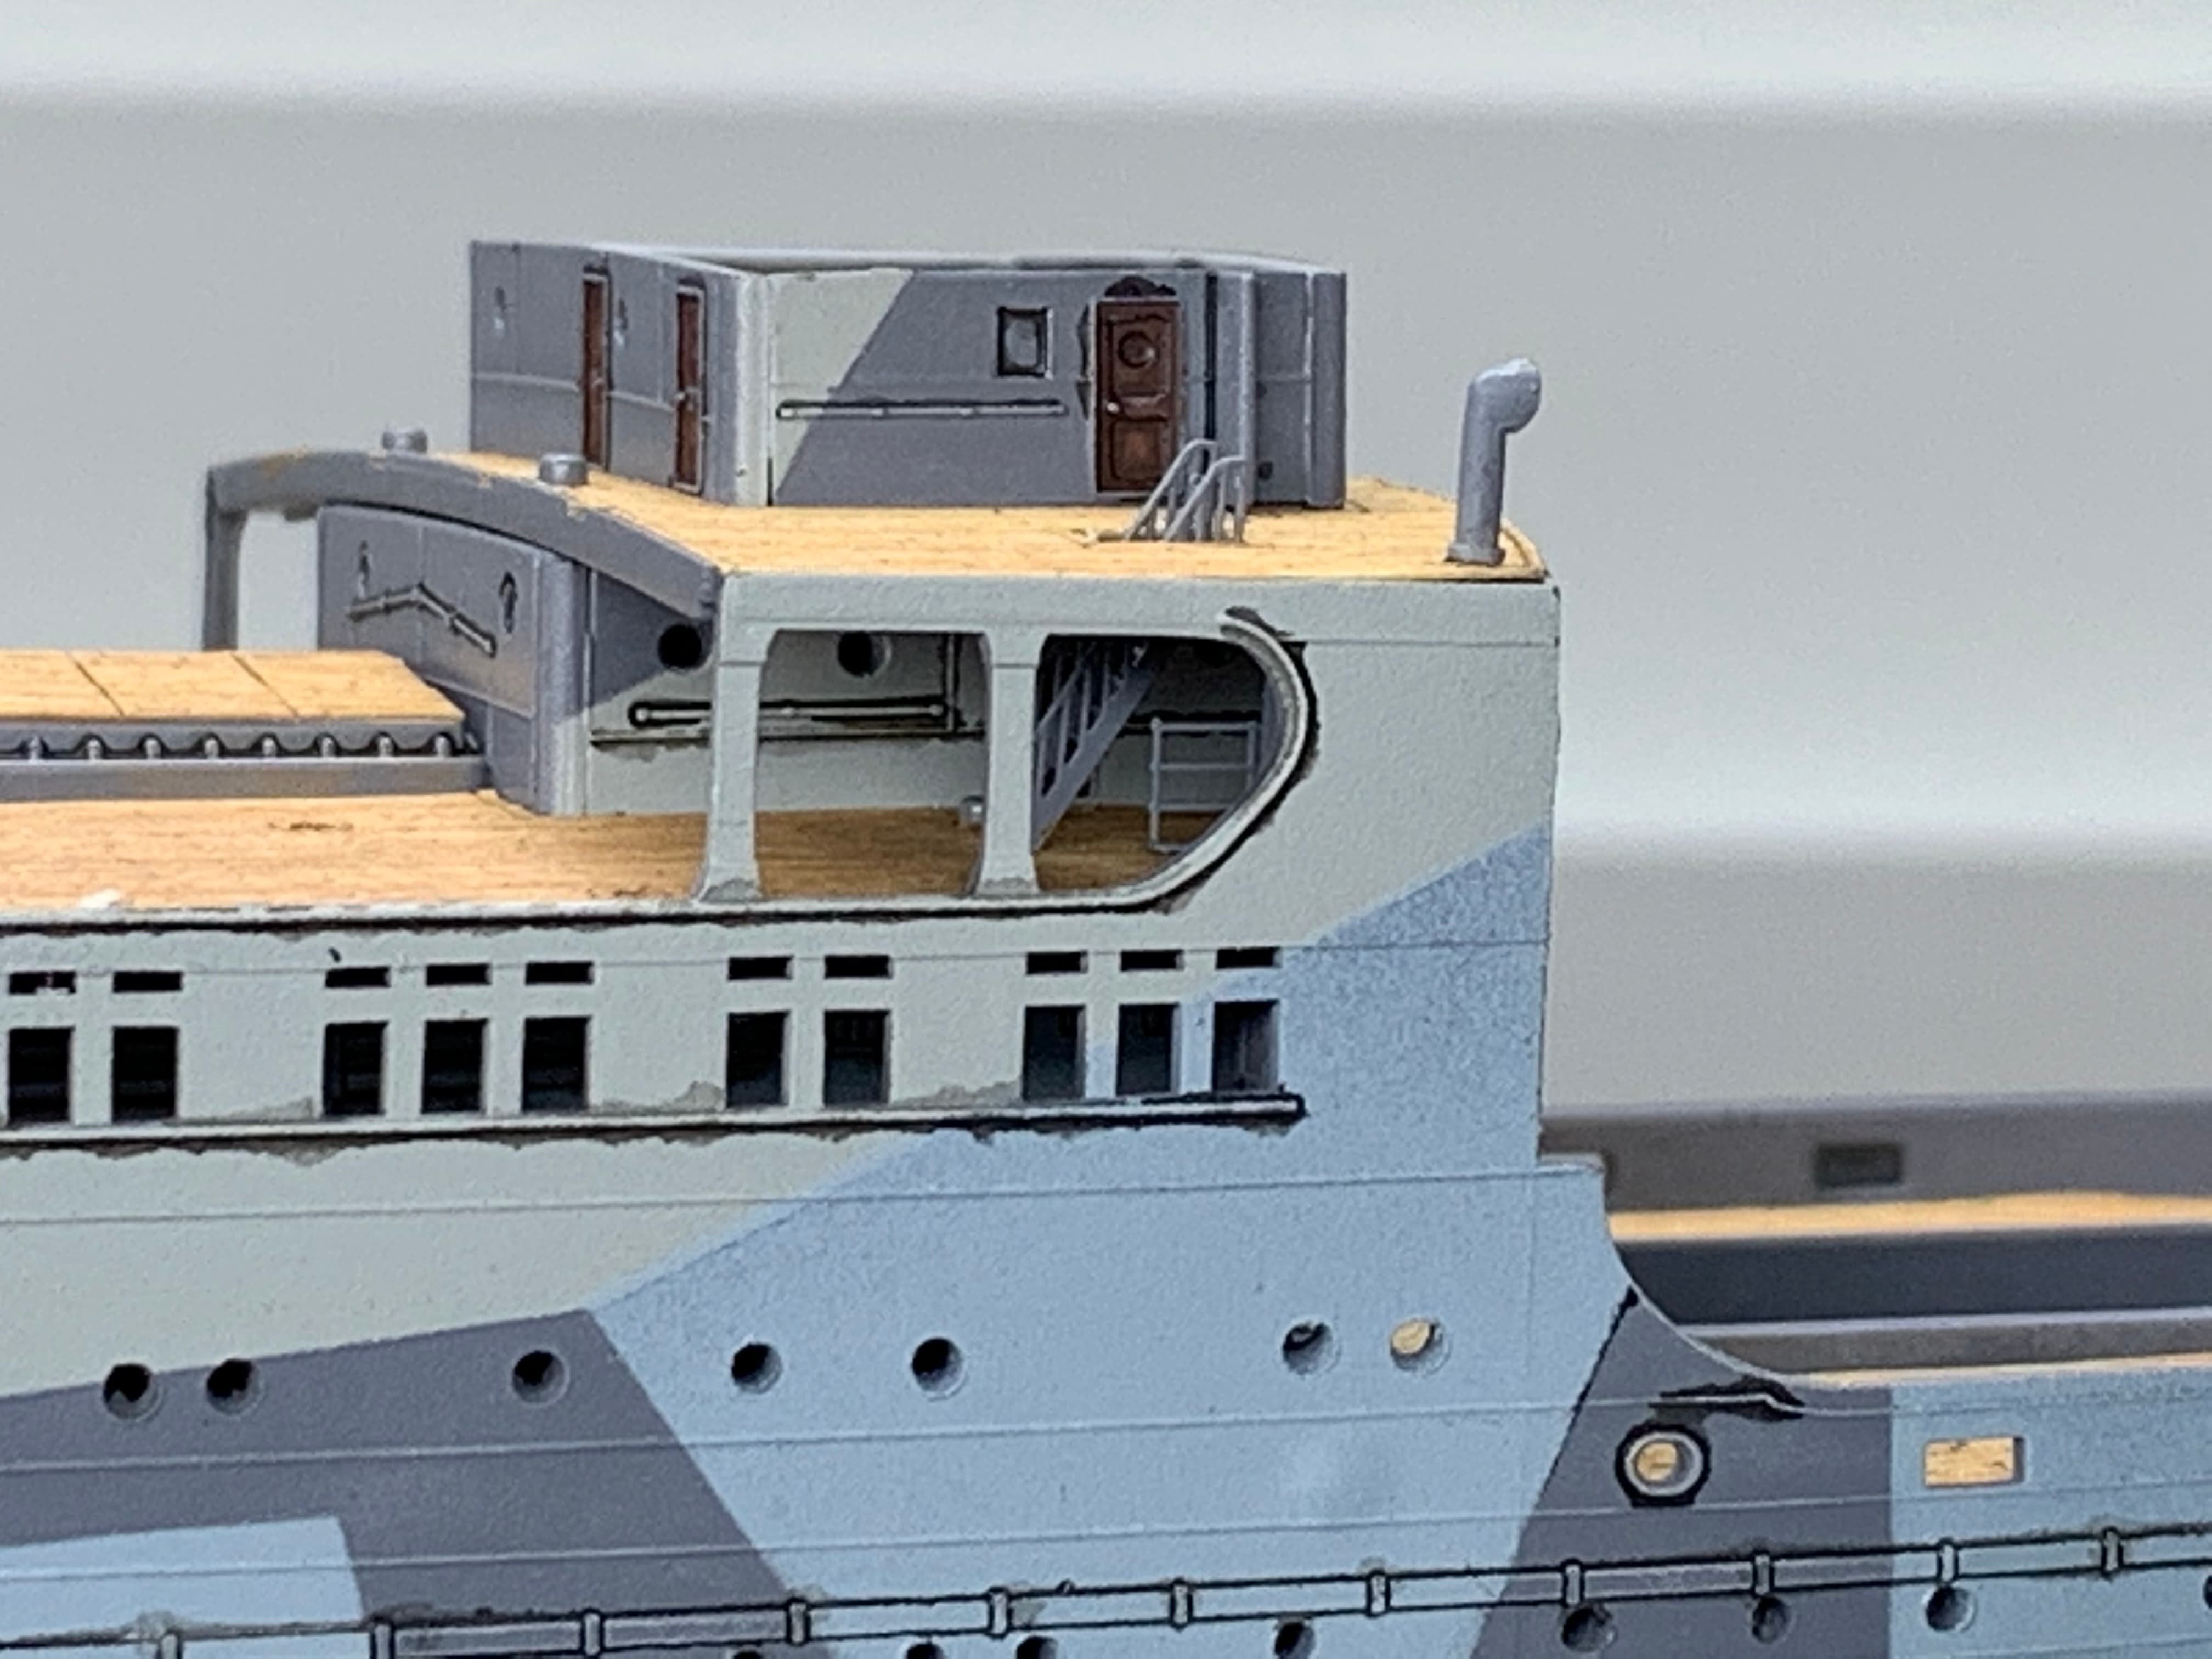
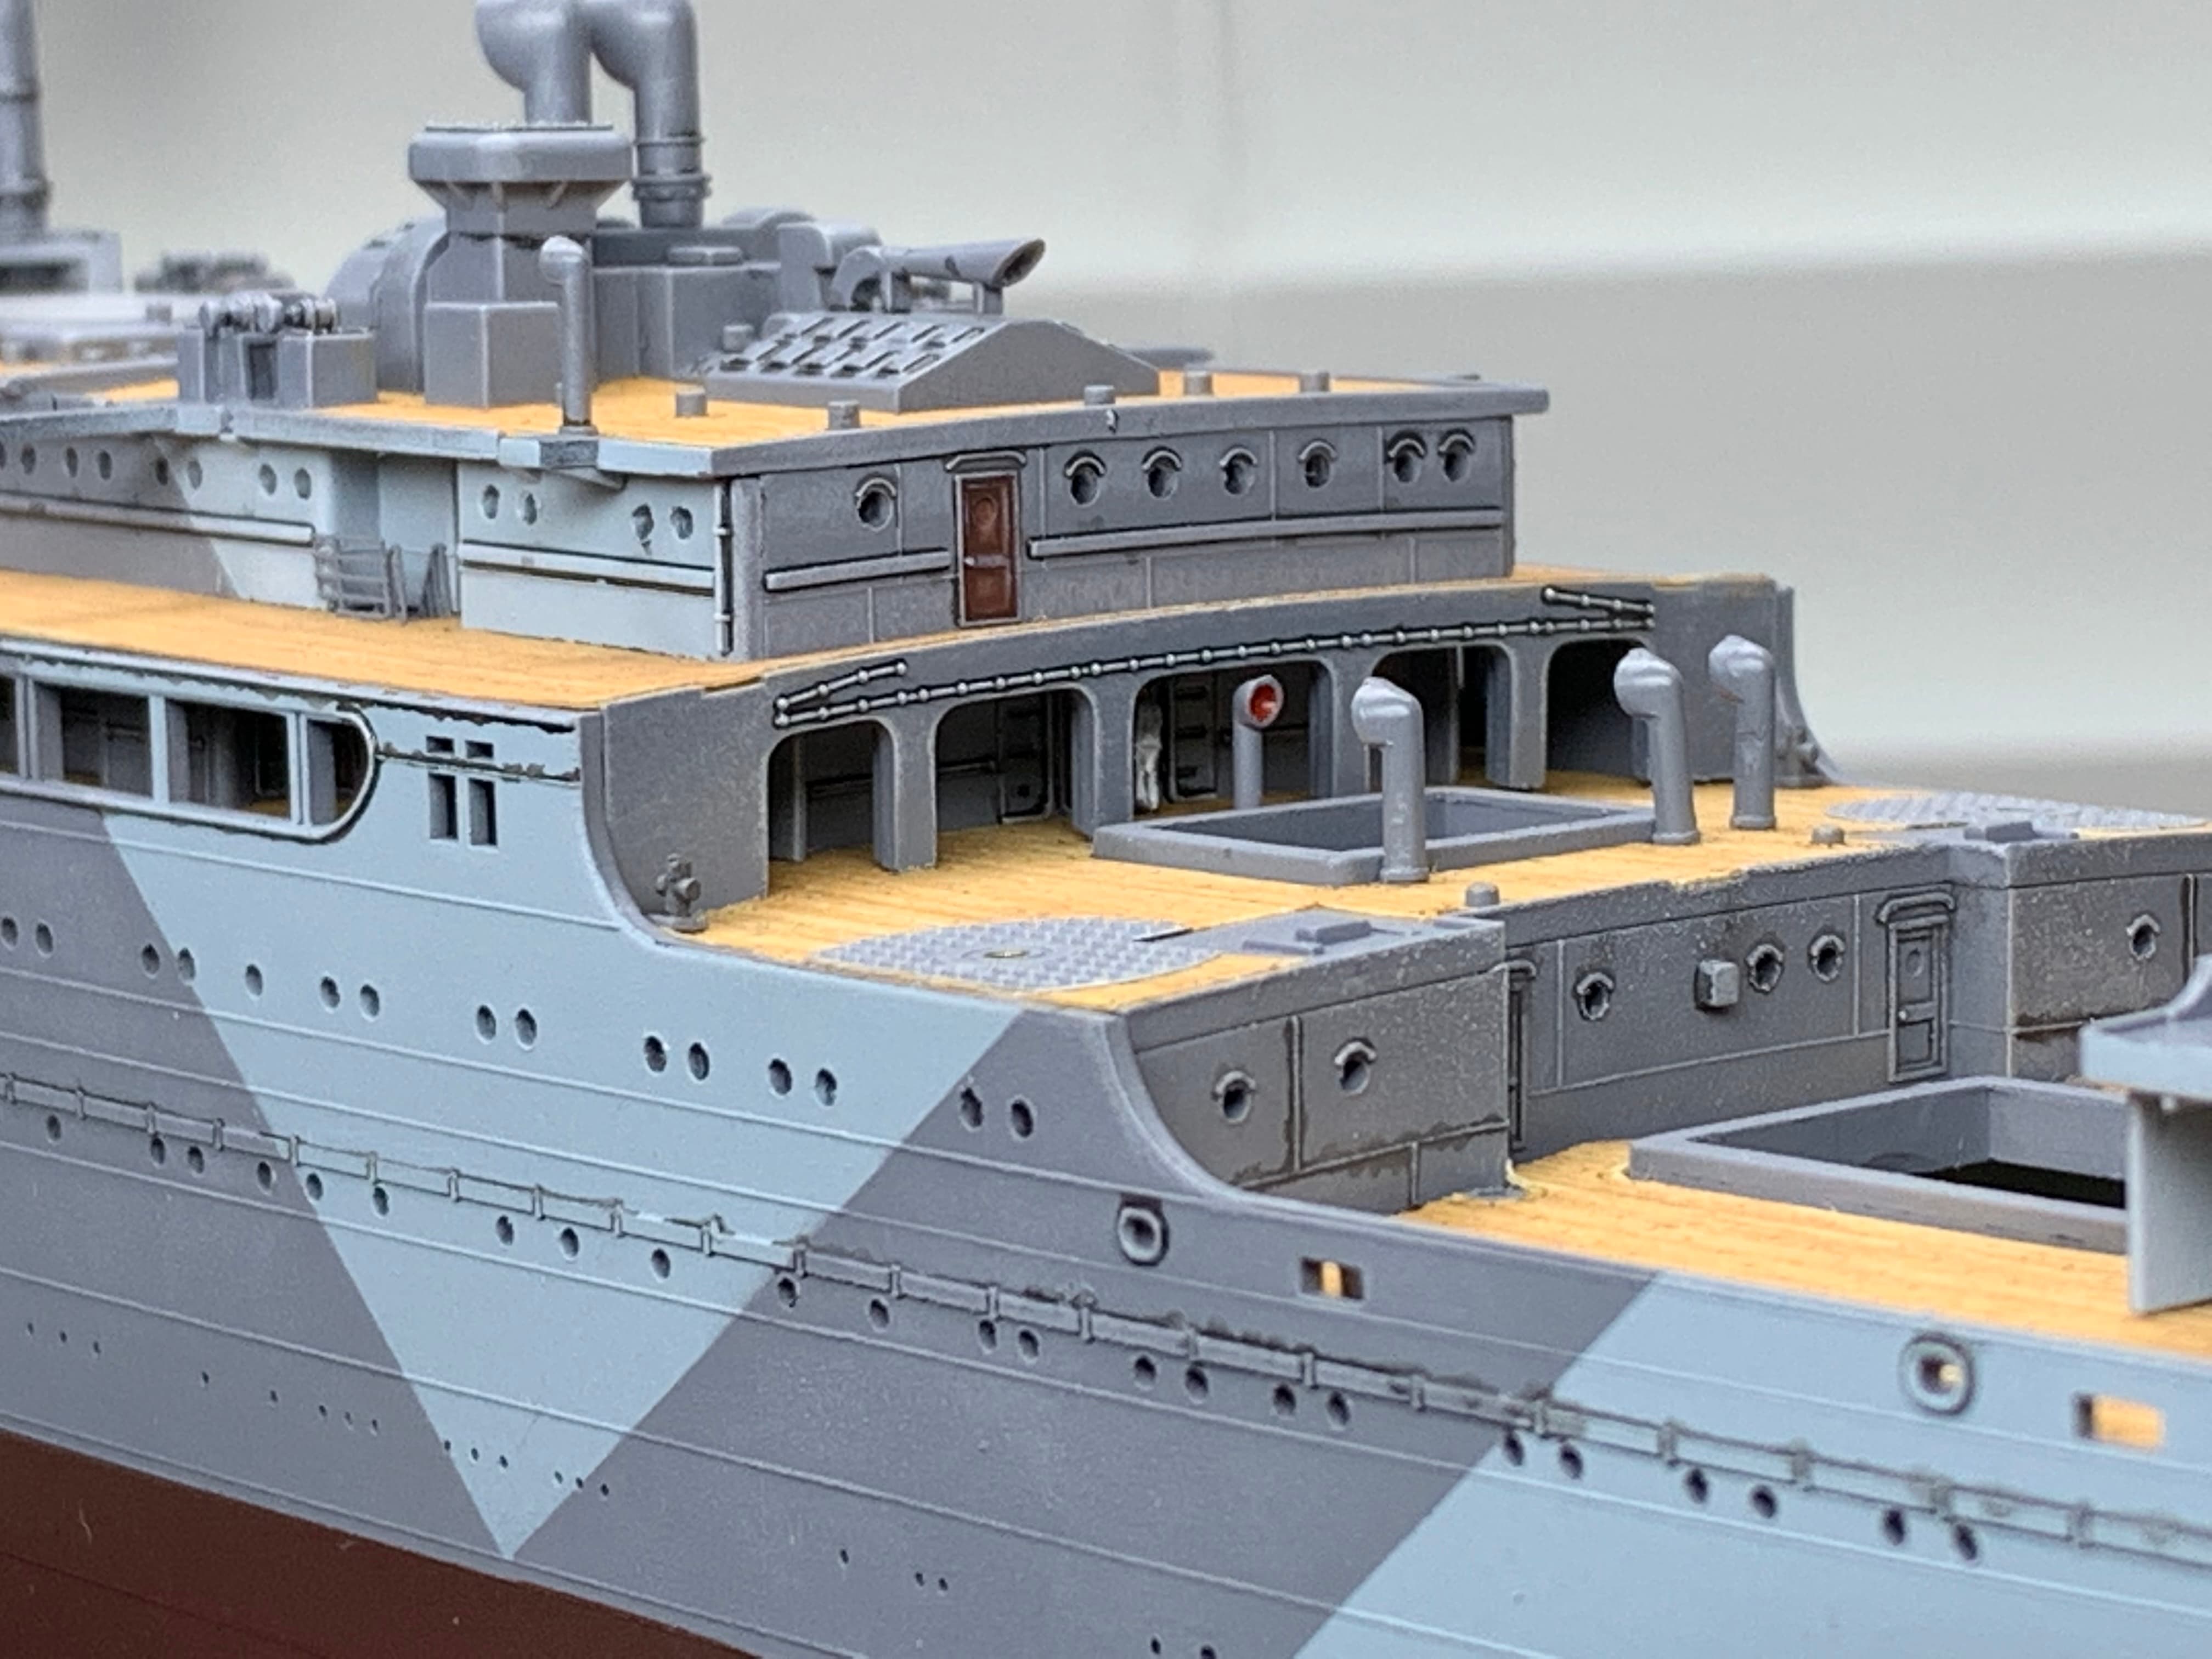
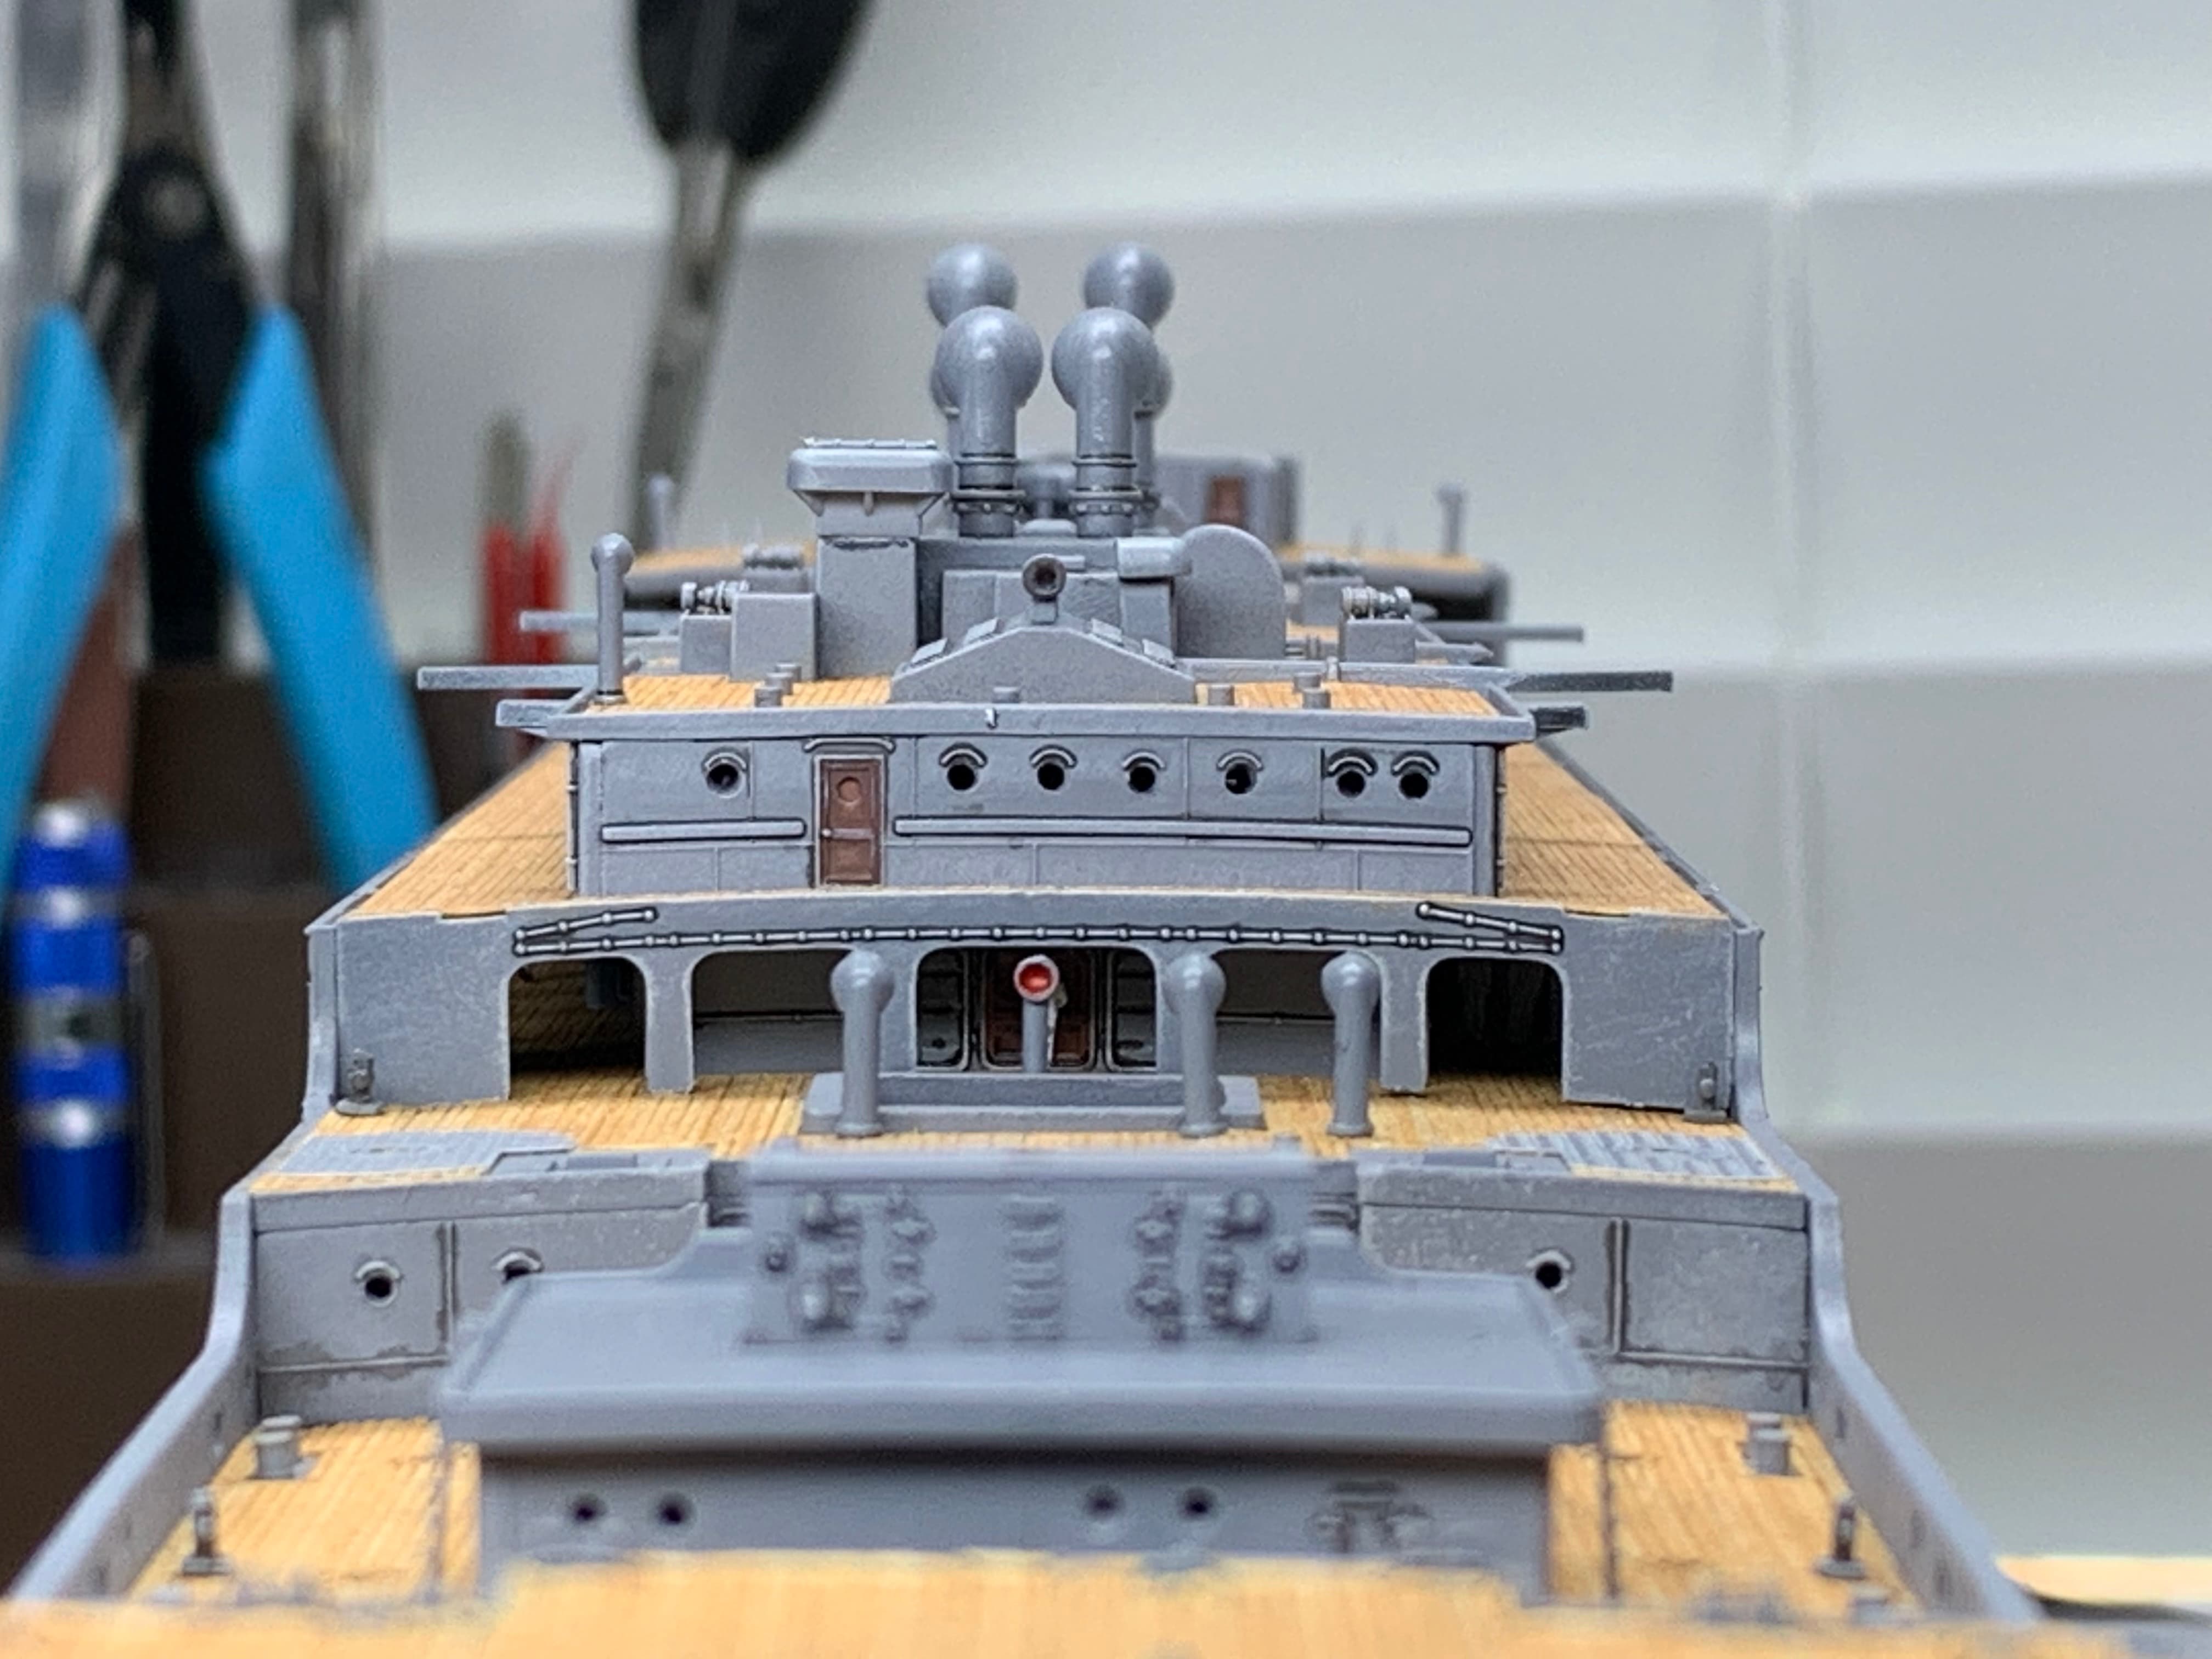
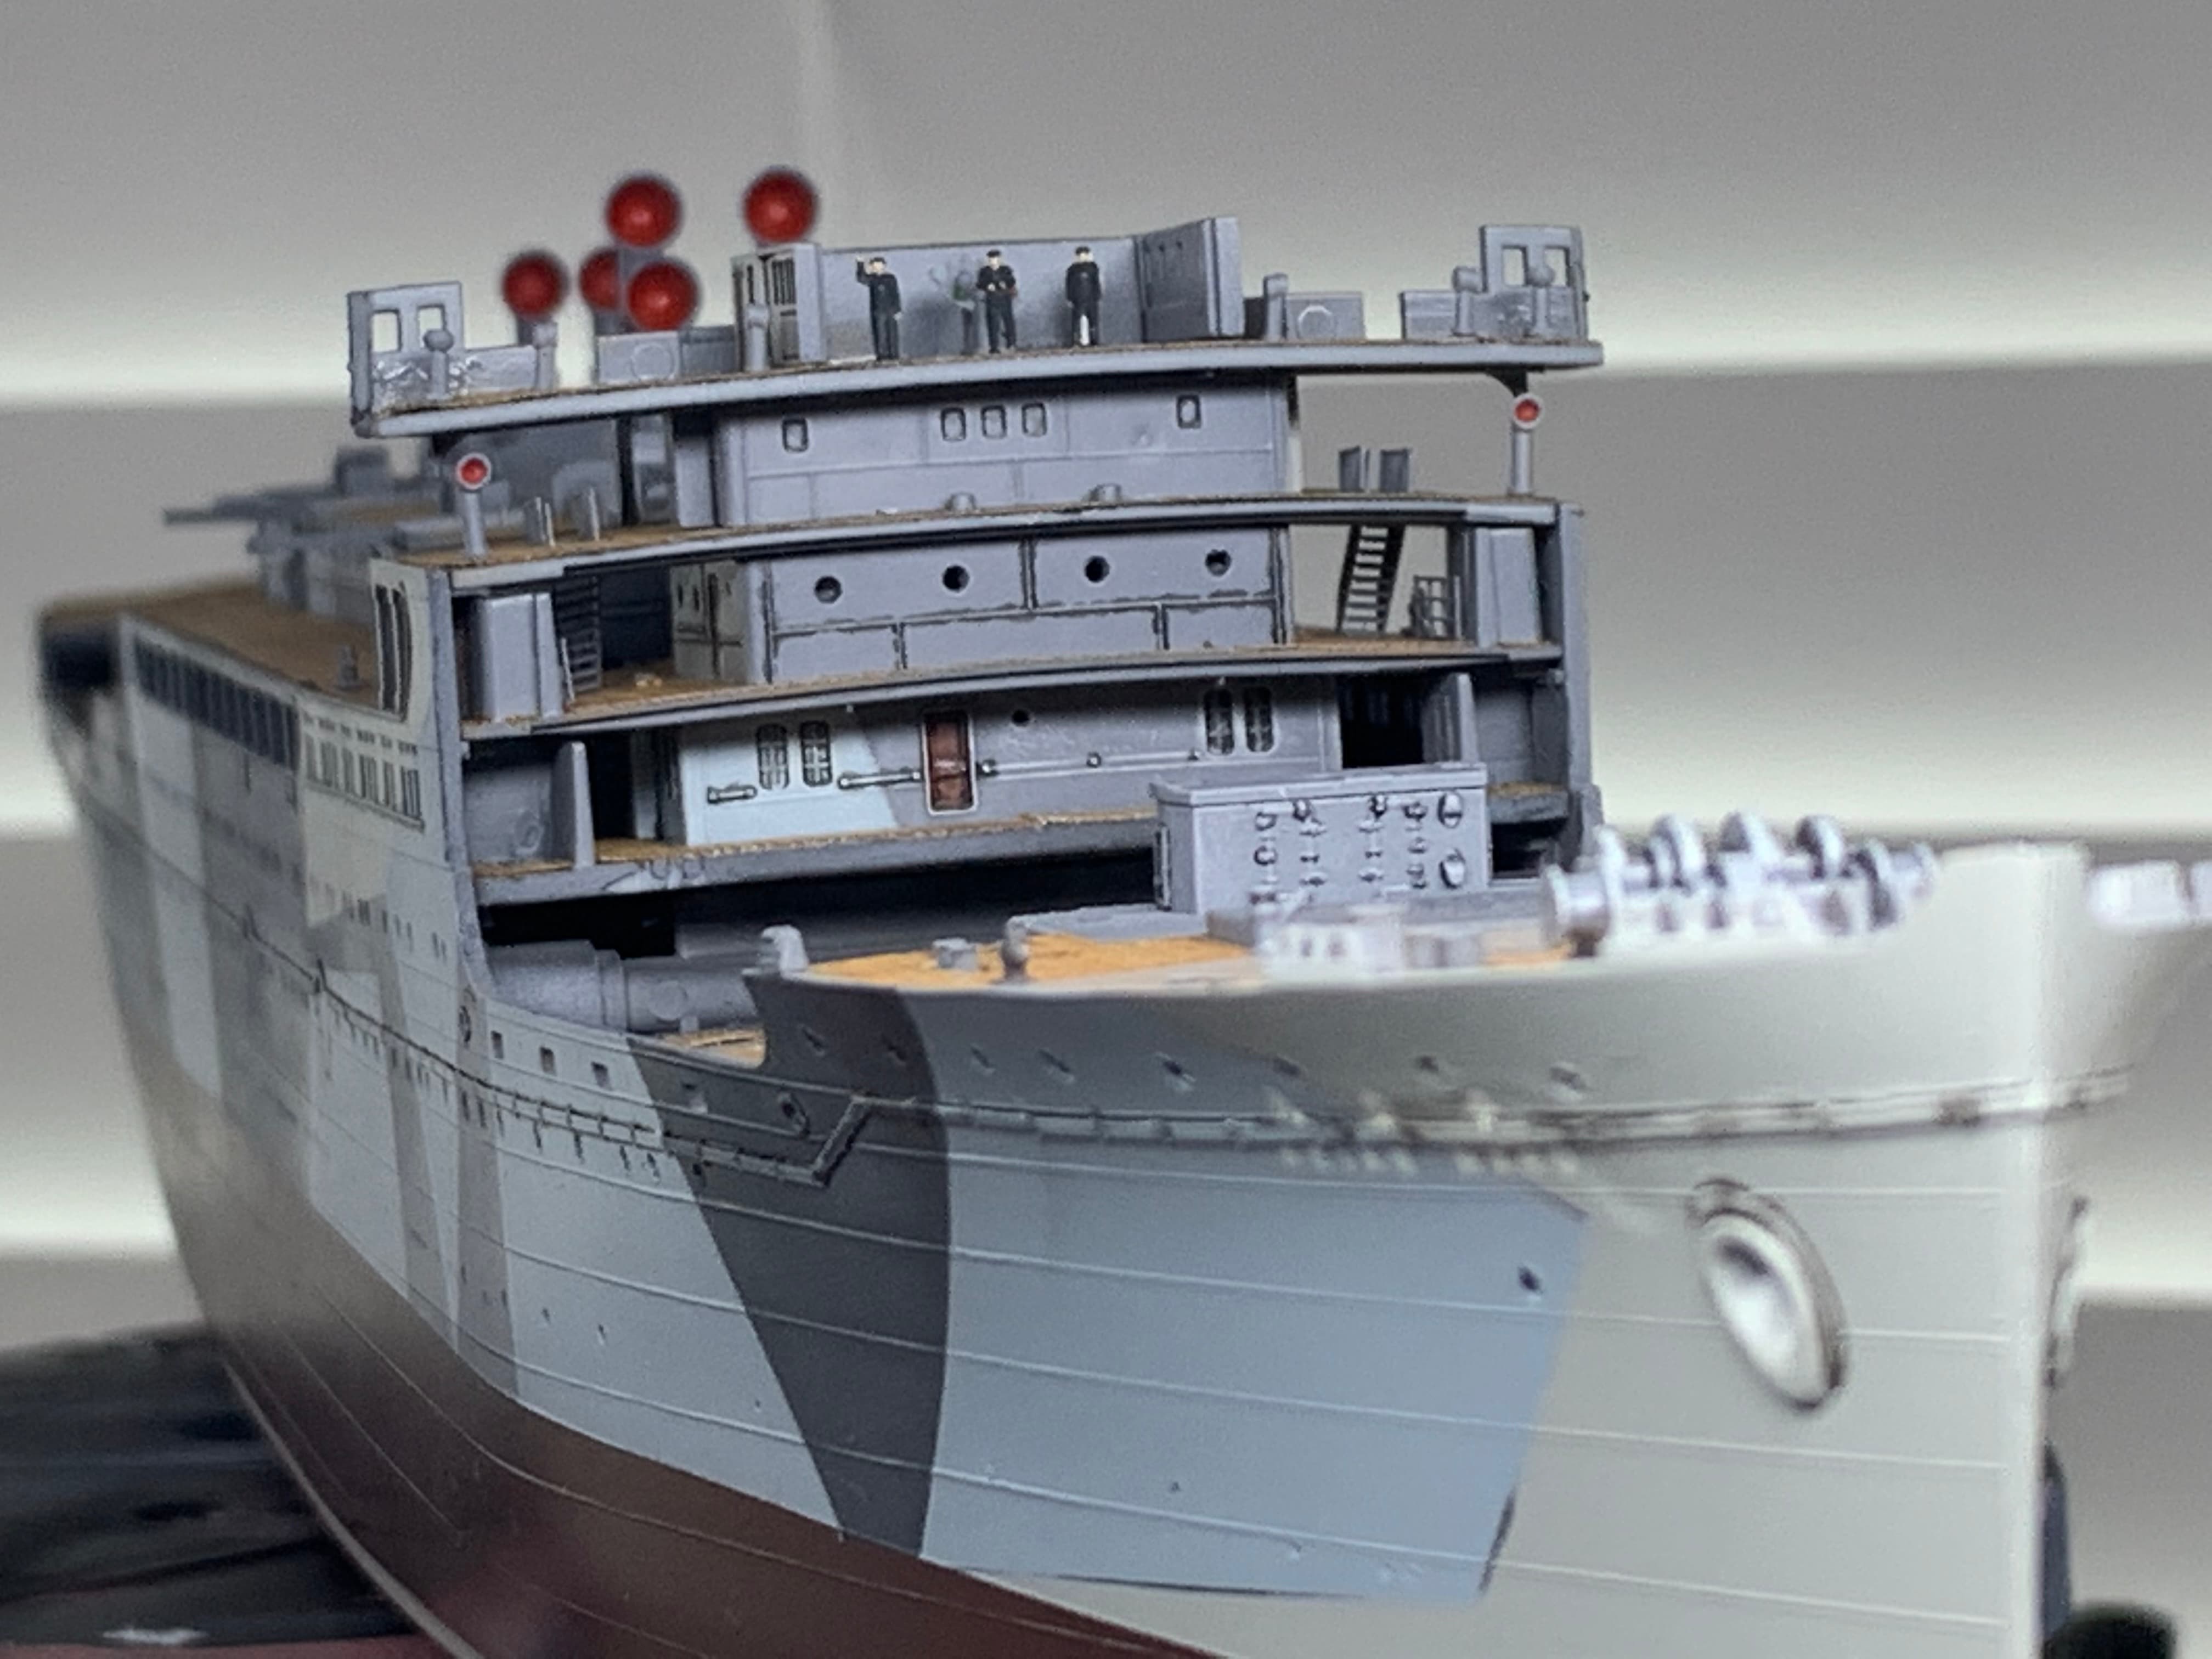
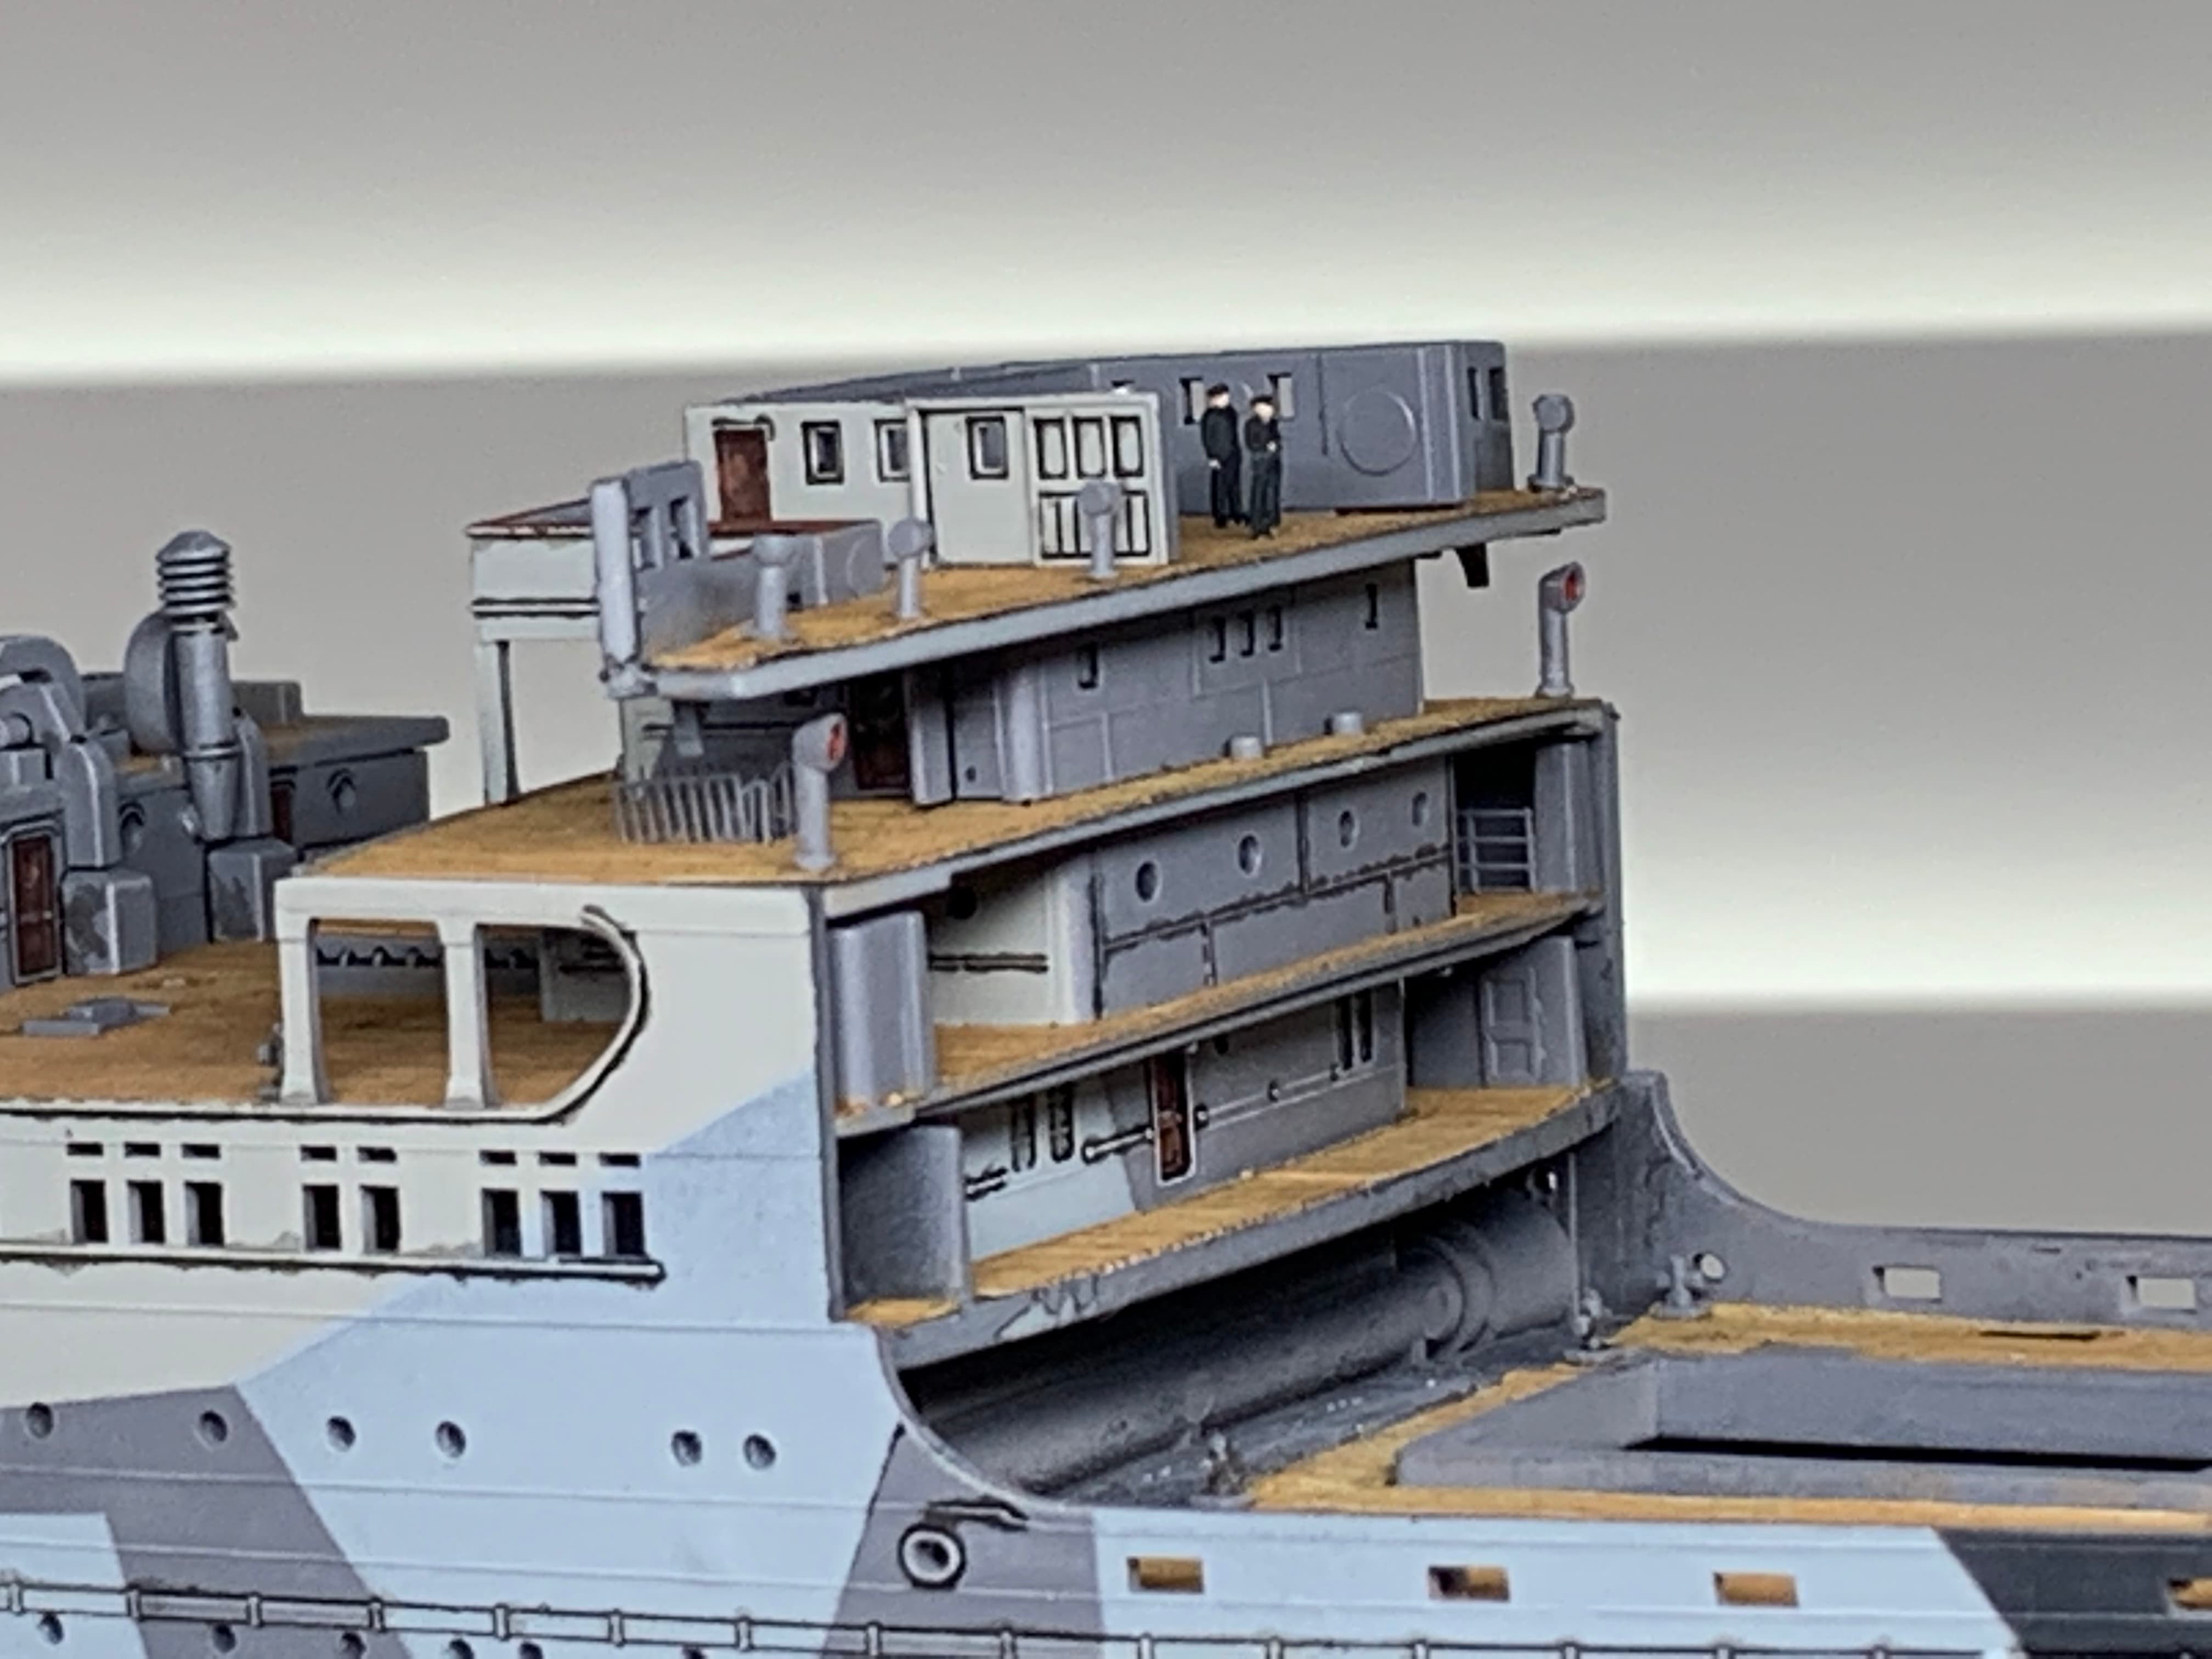
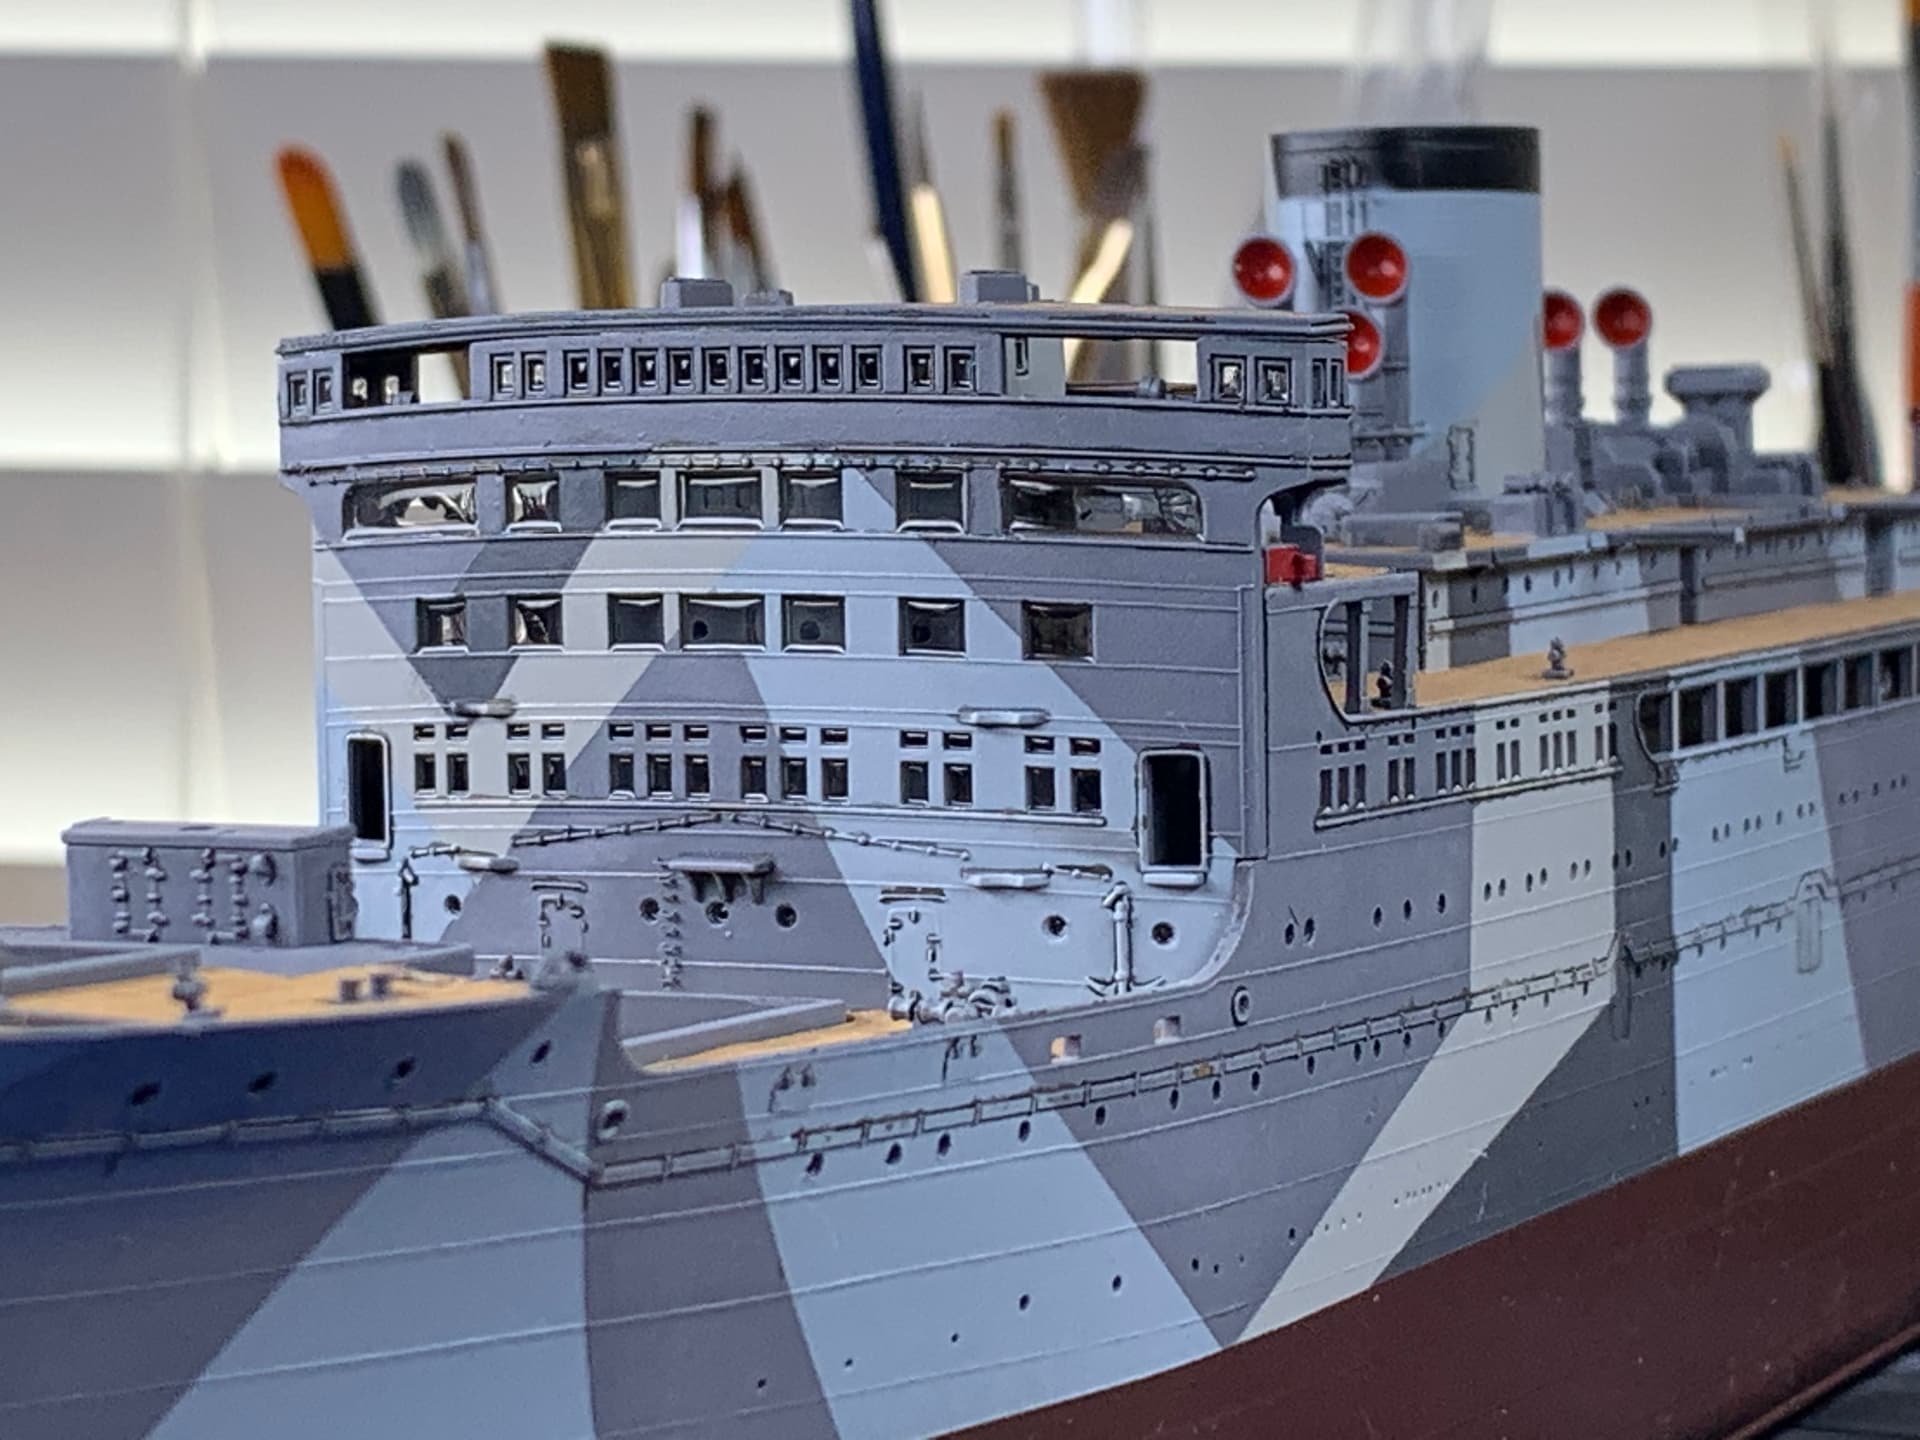
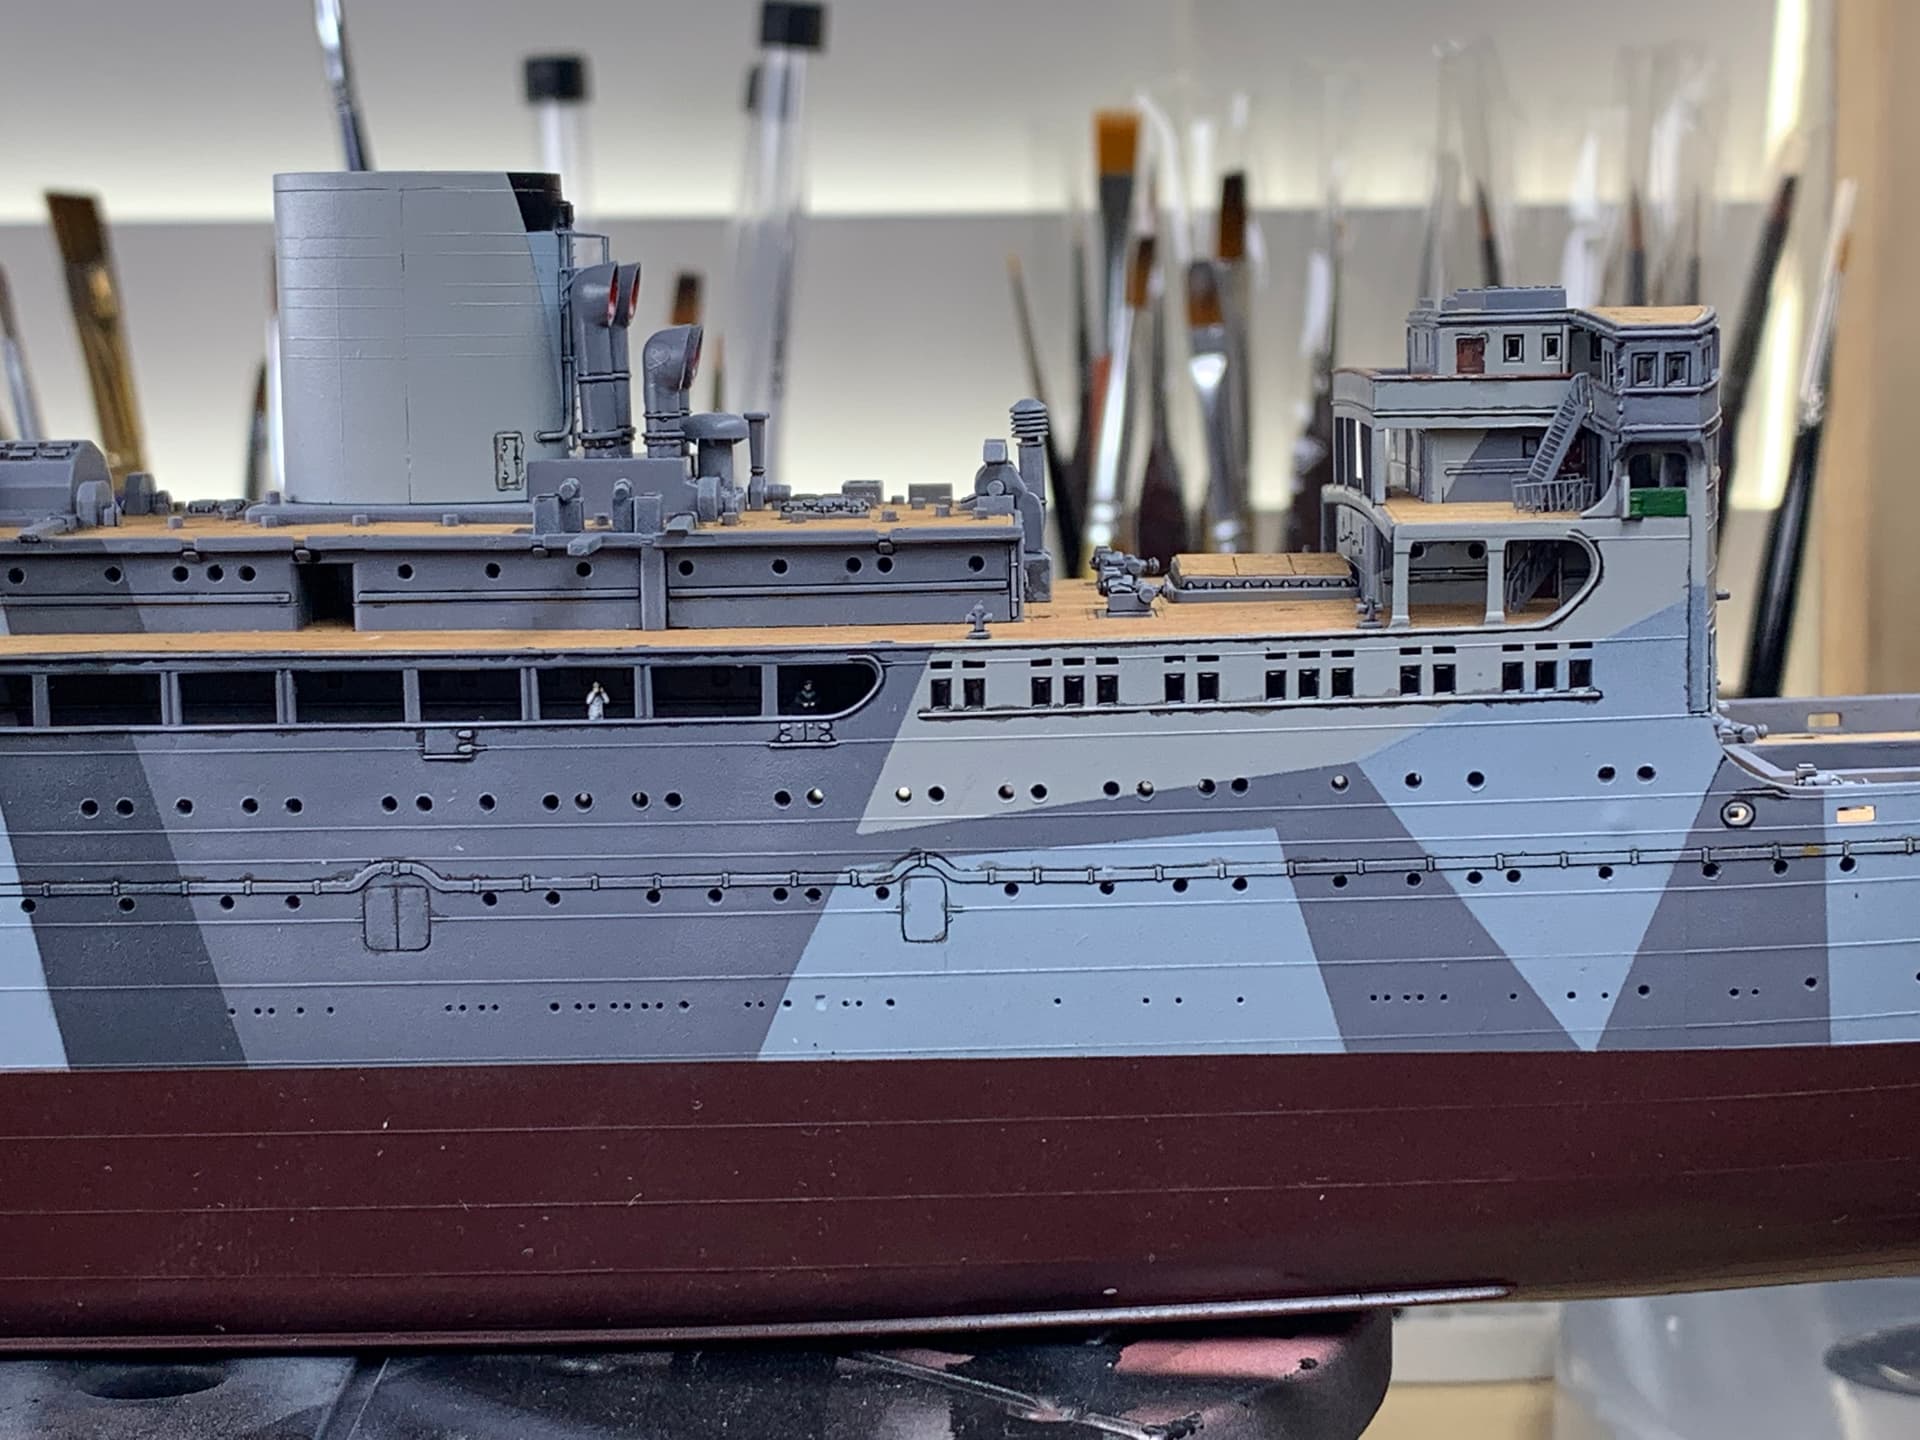
This is where she sits right now - I ran into significant issues with the front bridge face that required I break the lower deck joins and reseat due to the top deck extending above the top of the front bridge face.
After breaking the joints I had to re-glue everything and apply significant pressure with clamps. It did the trick for the most part - there is still some extension but I think I can overcome that with a little sanding and some more pressure through clamps. Time will tell.
I have a show coming up this weekend in which i will enter that Tama - but Sunday is the dat that I will be applying the front bridge face so keep your fingers crossed.
Thanks for stopping in and as always, comments, suggestions and criticism are always welcomed.