1/48 A6M2b Type 21 build

Begining to feel my way around moving my build log from old site to new -

Hi all - Starting a new build here , Hasegawa’s Zero. I will be doing an aircraft from the carrier Kaga that participated in the attack on Pearl Harbor .
Some mods will be resin cockpit from SBS , folded wing tips from Wolfpack , various photo etch details from Eduard and decals from Eagle strike.
This is liable to be a little spotty- modeling mojo has recently returned but summertime and the lure of outdoor fun is just around the corner.


Some reference materials-

I’ve begun the SBS resin cockpit- fit is very good so far but the tiny details are getting to be a challenge for my aging eyes-may have to swap the Optvisor for an electron microscope.


A little more progress - cockpit painted.


Thanks for looking ! Cheers - Richard

7 Likes

Great start. Like the deatails and the paint job.

Not quite sure how to bring over all the responses from viewers and give proper credit - be assured that I acknowledge all the interest and input from Brian , Joel , Damian Tim, , H.G. and others - Thanks all for the compliments !

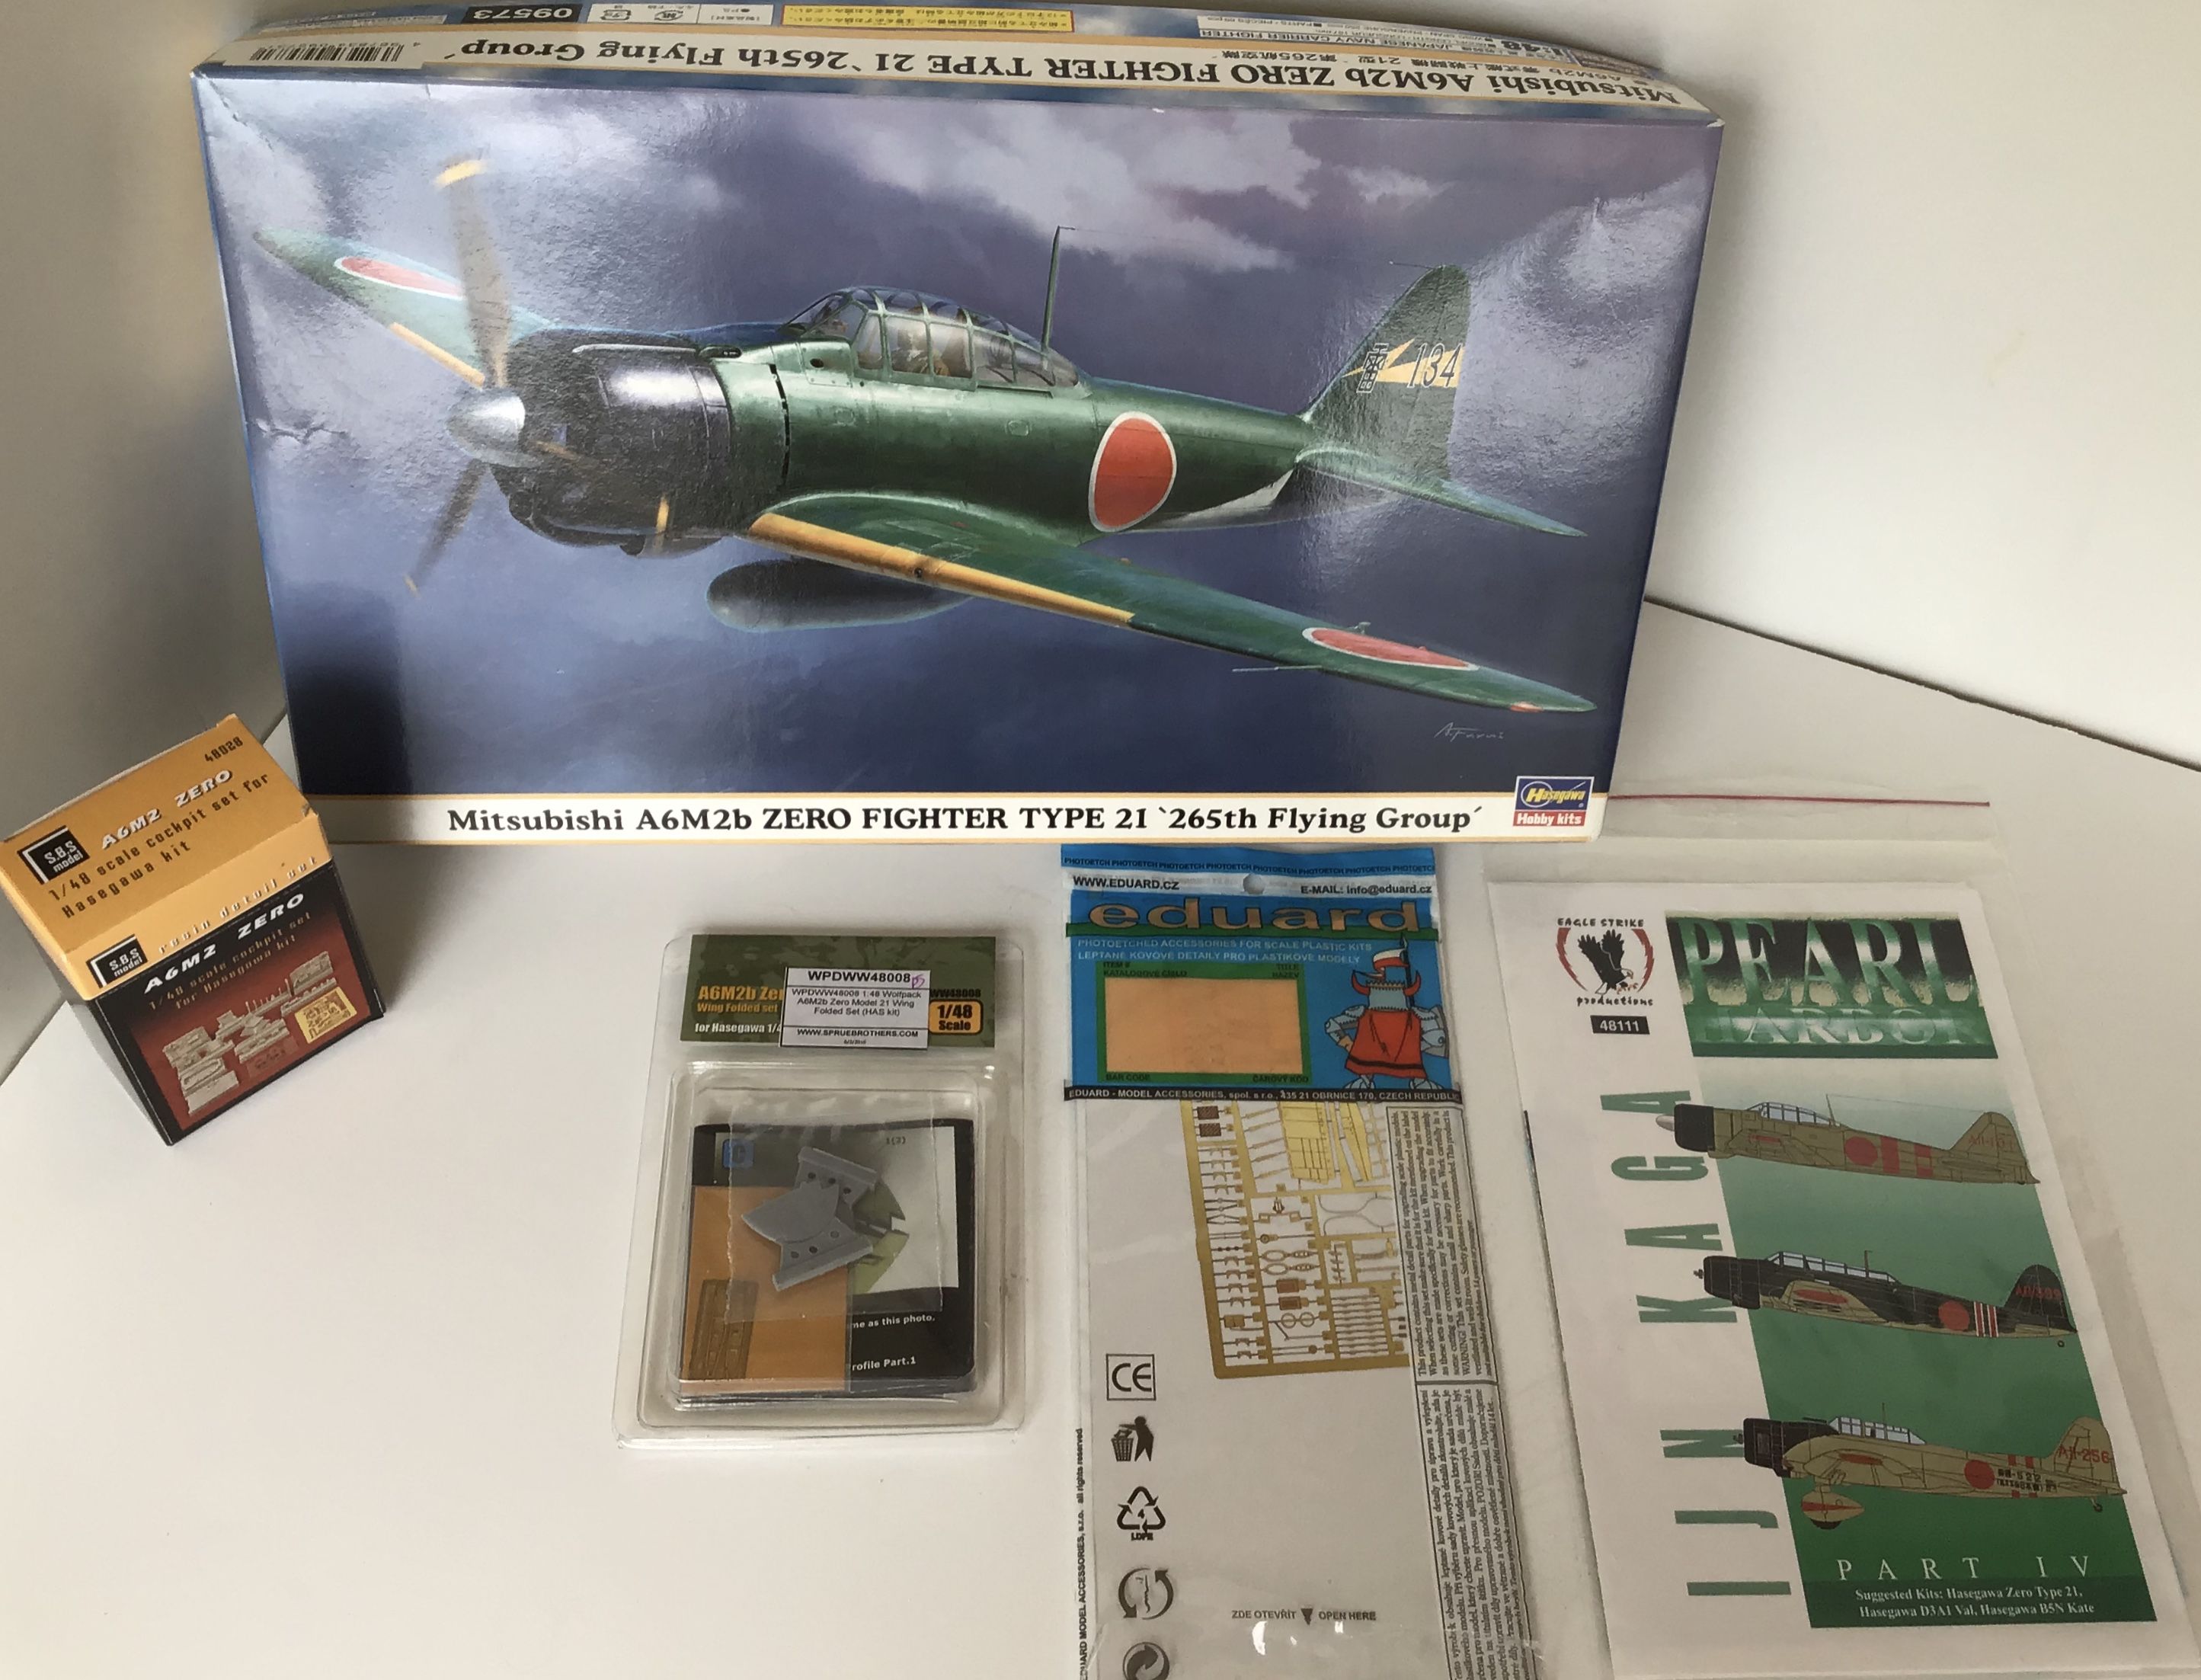
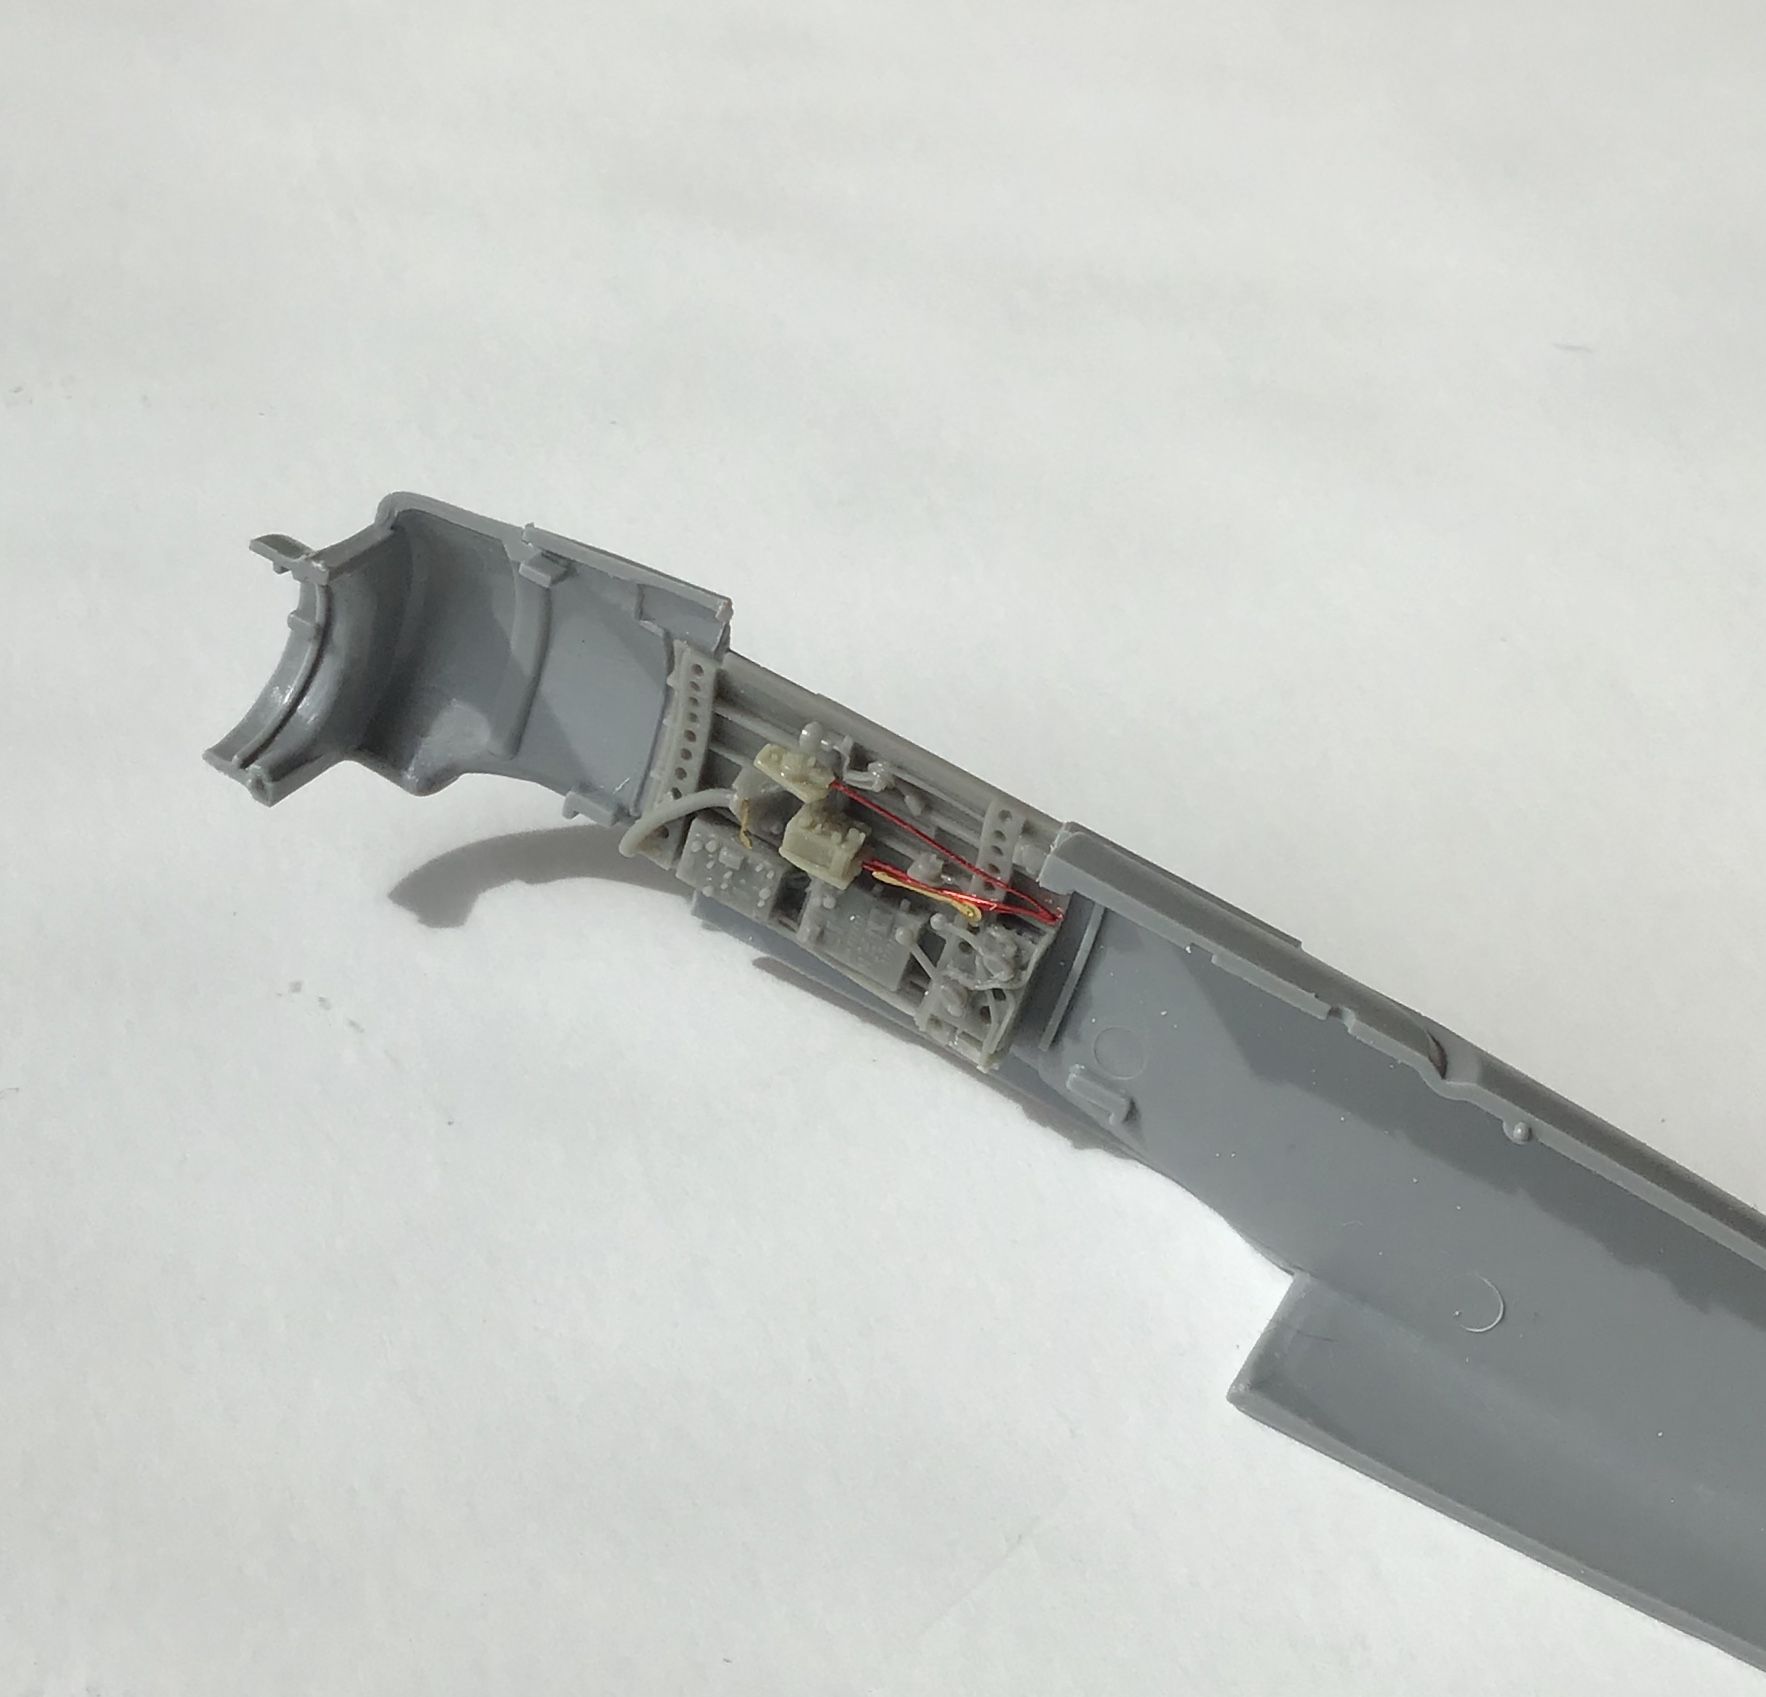
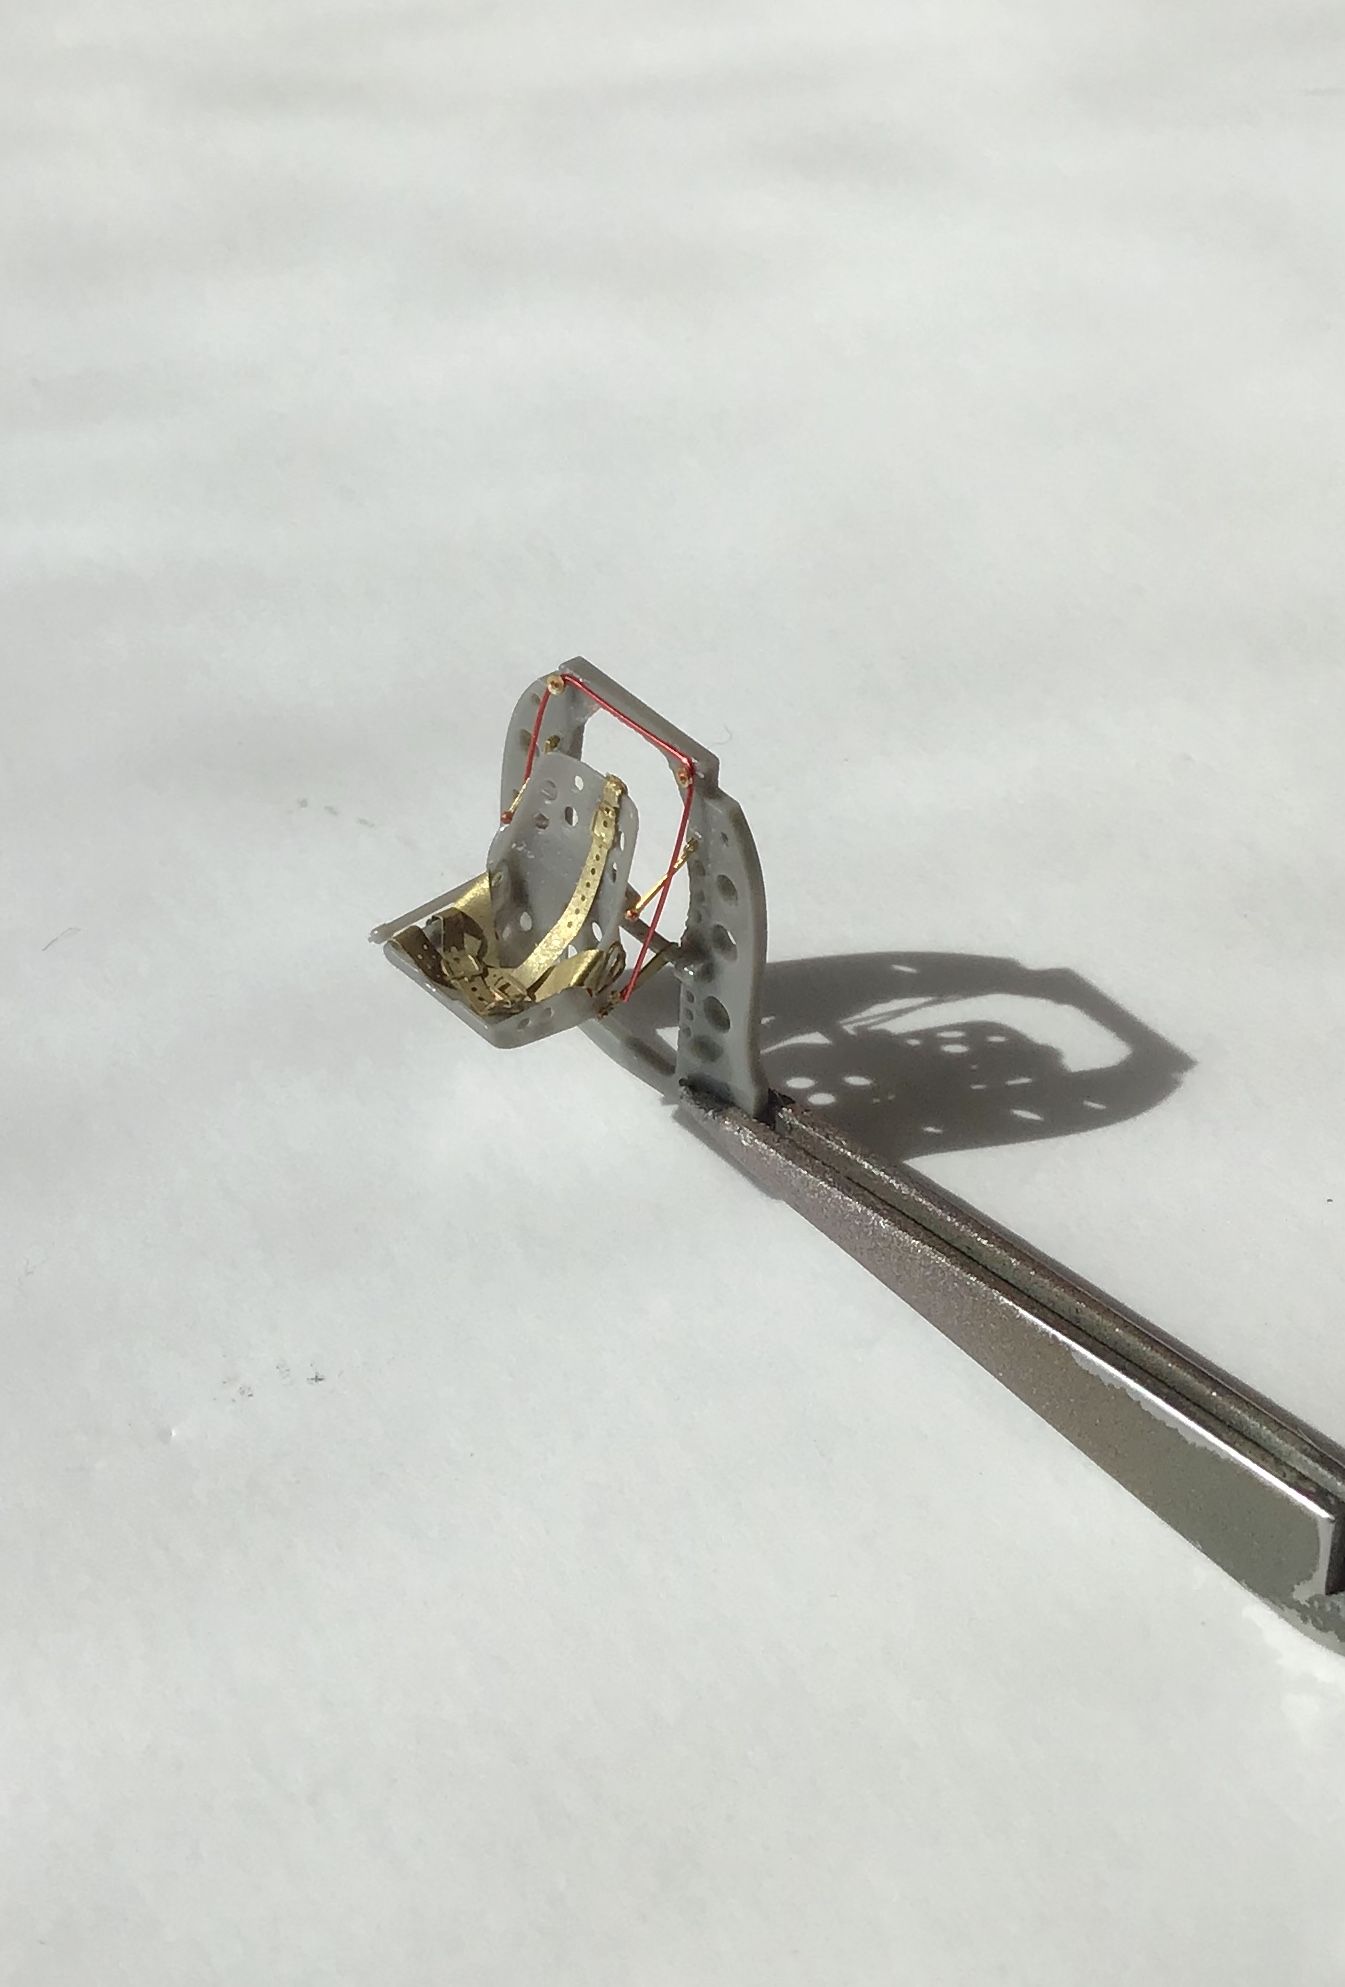
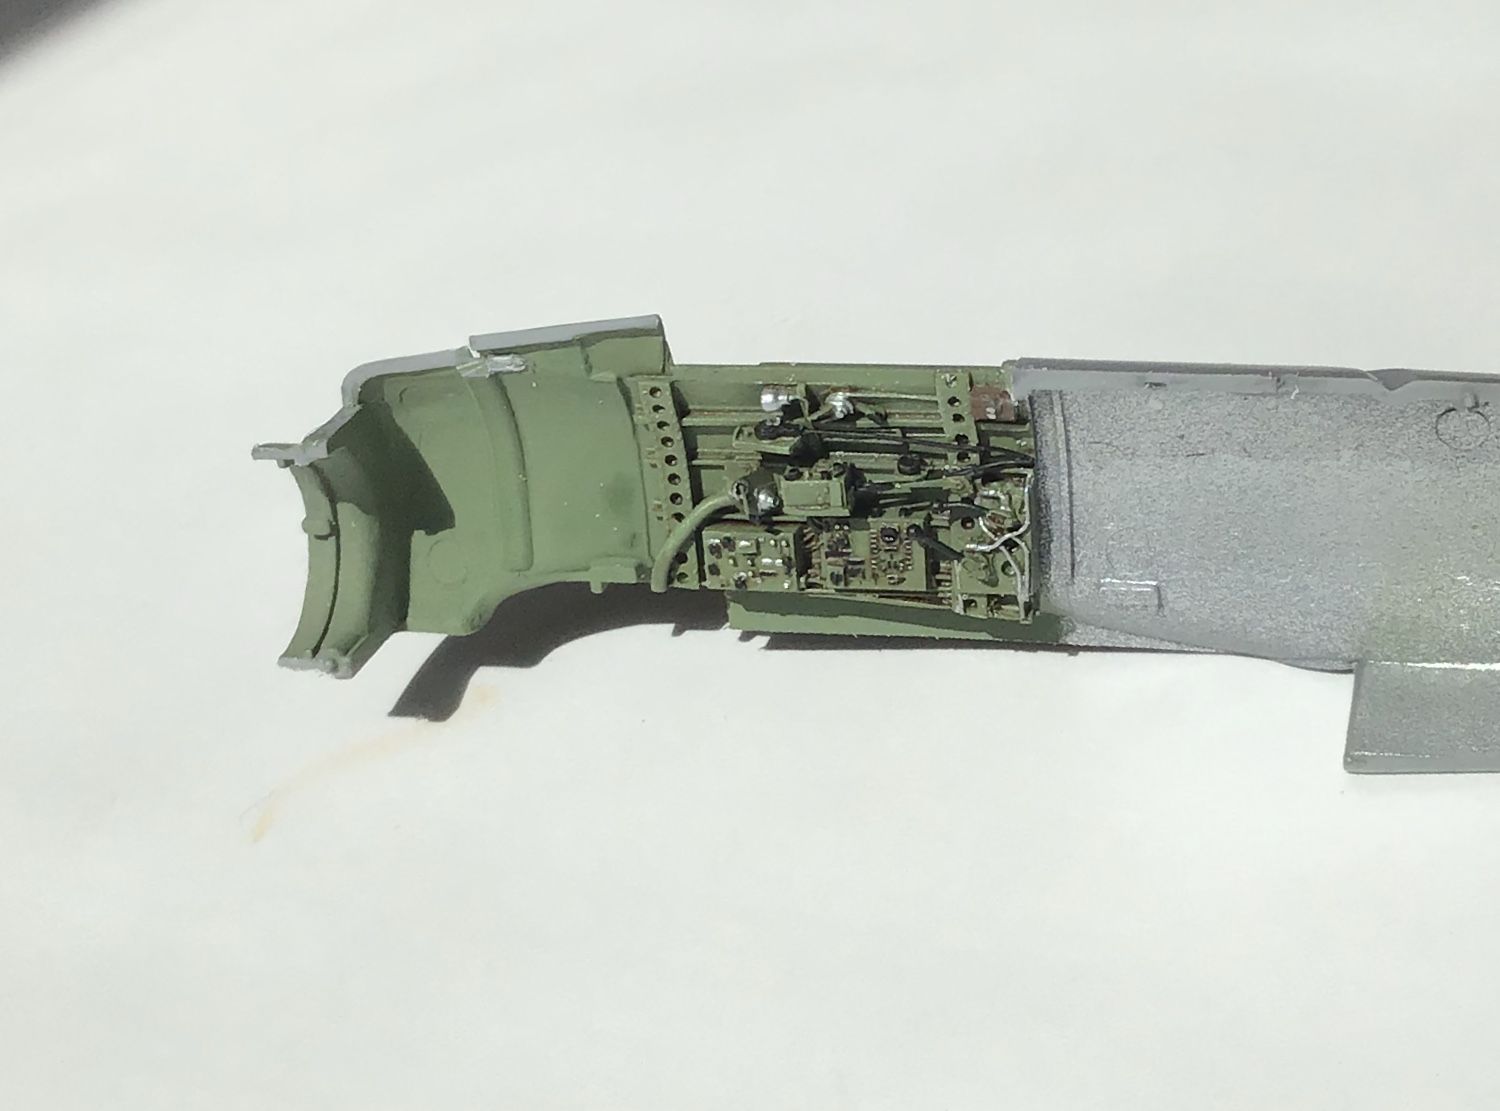
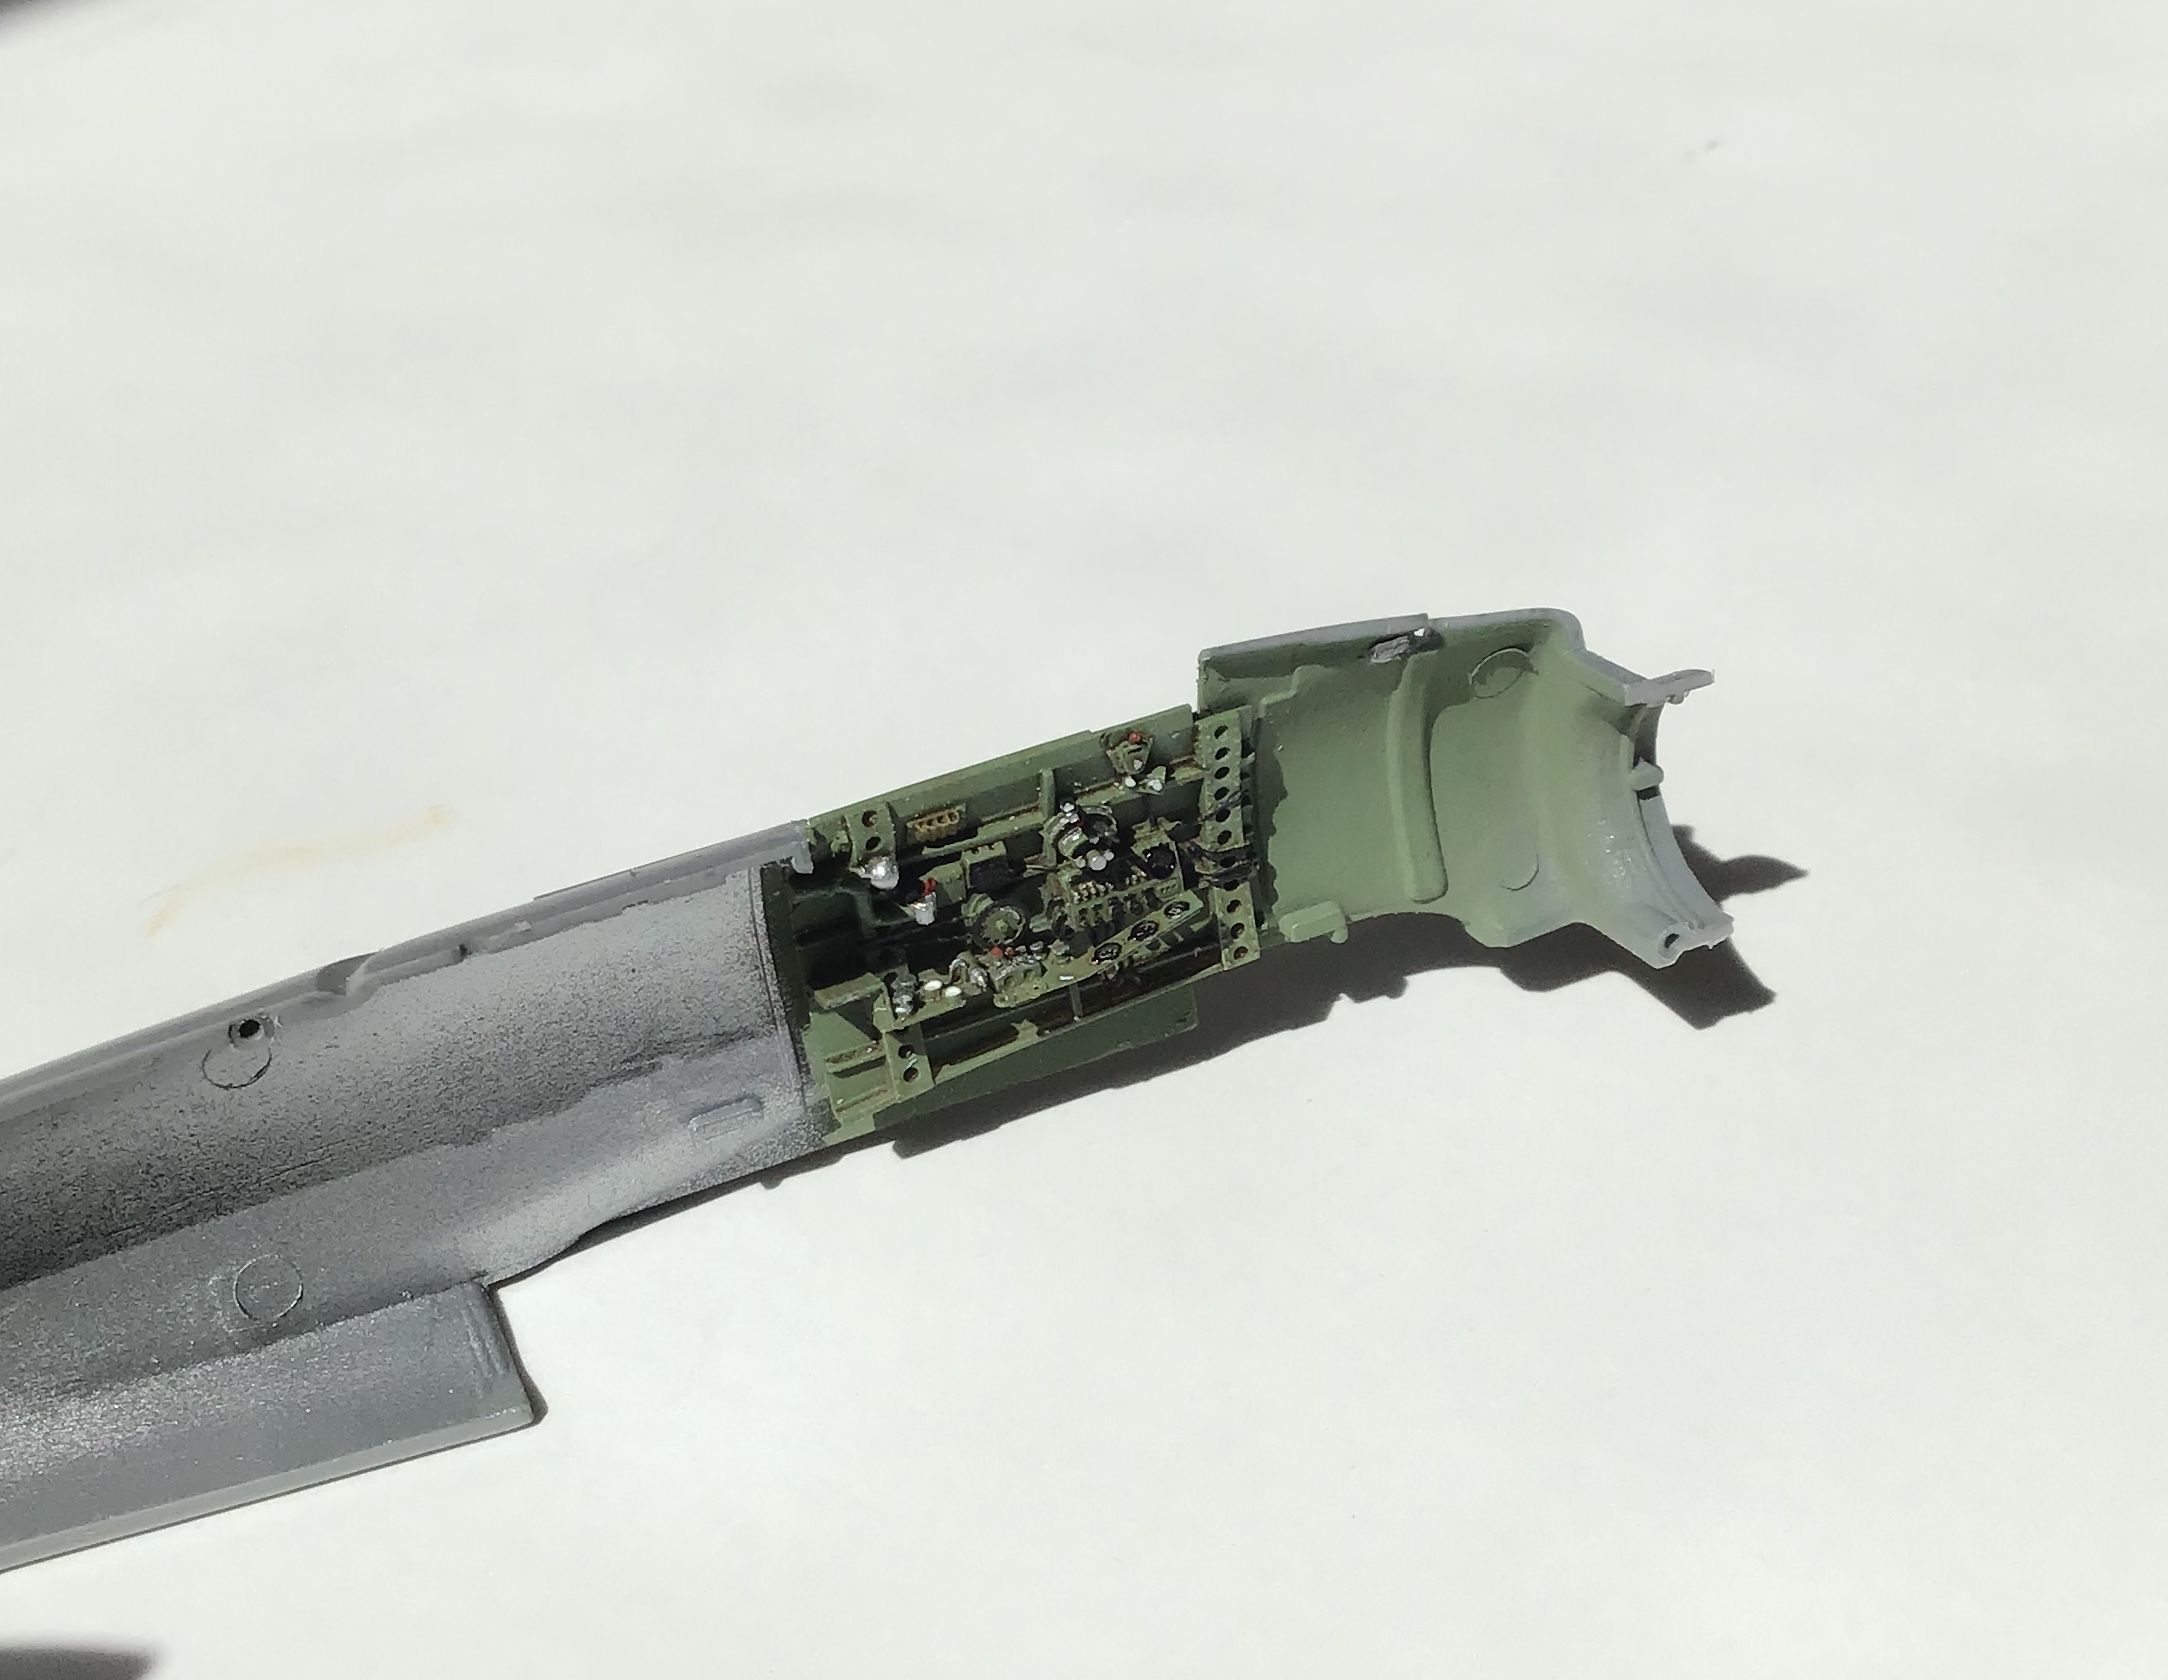
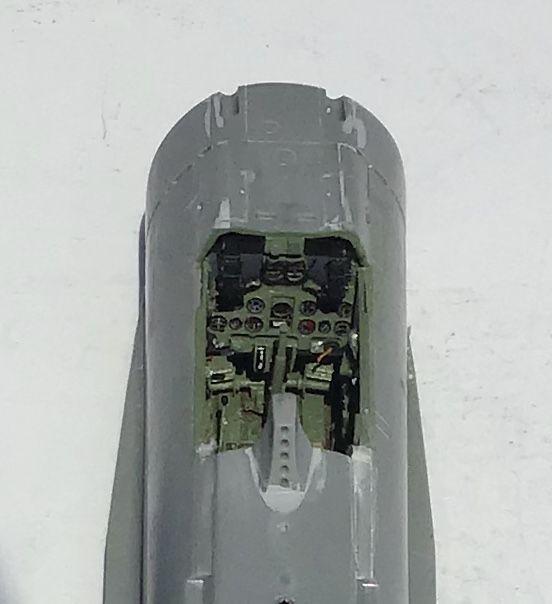
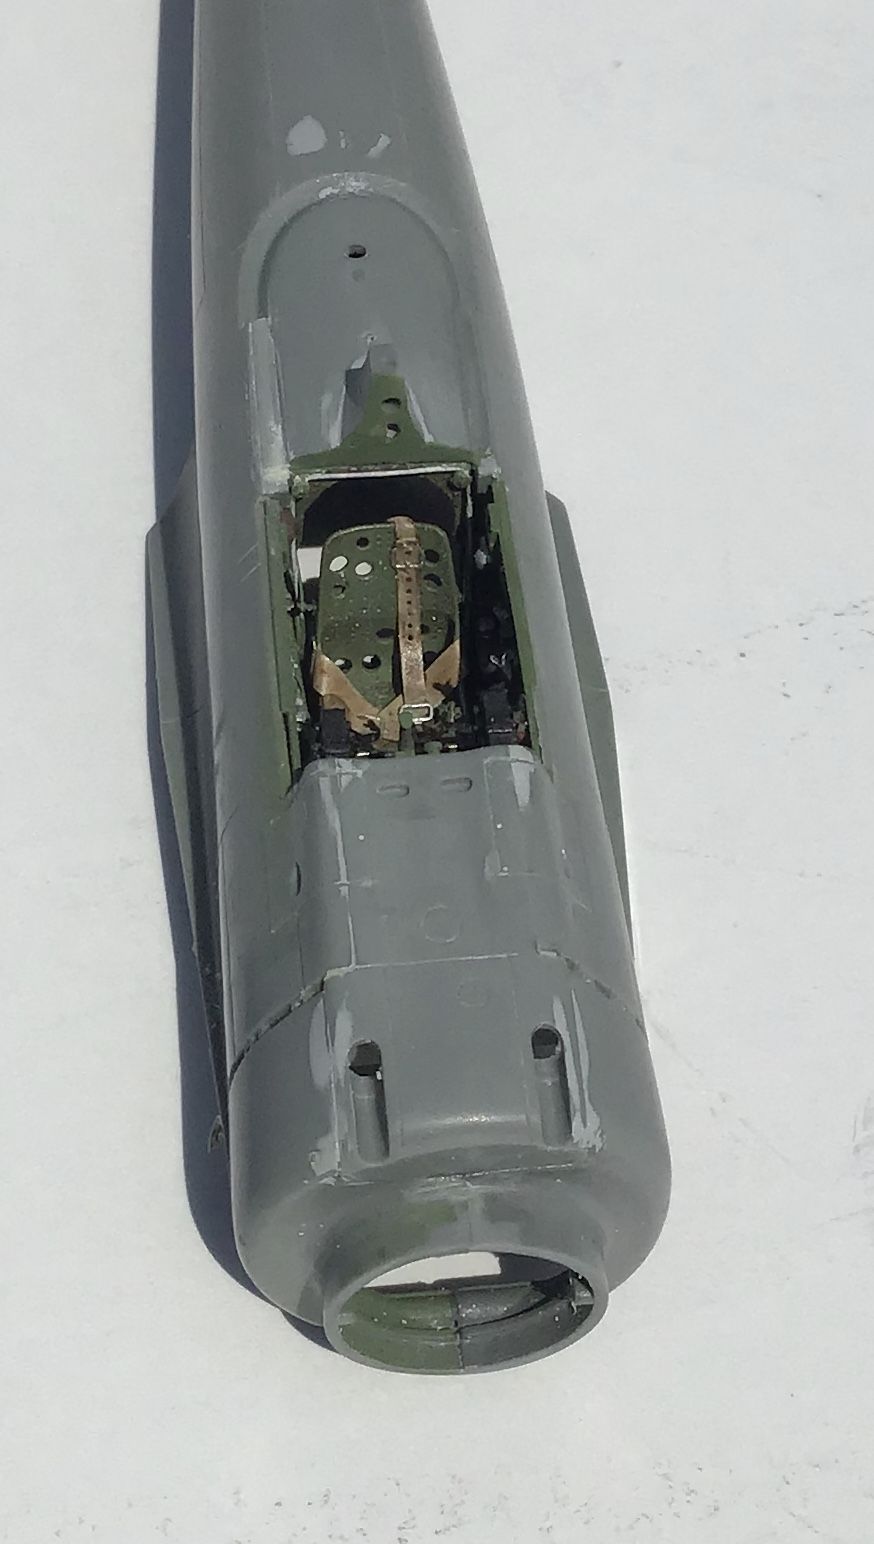
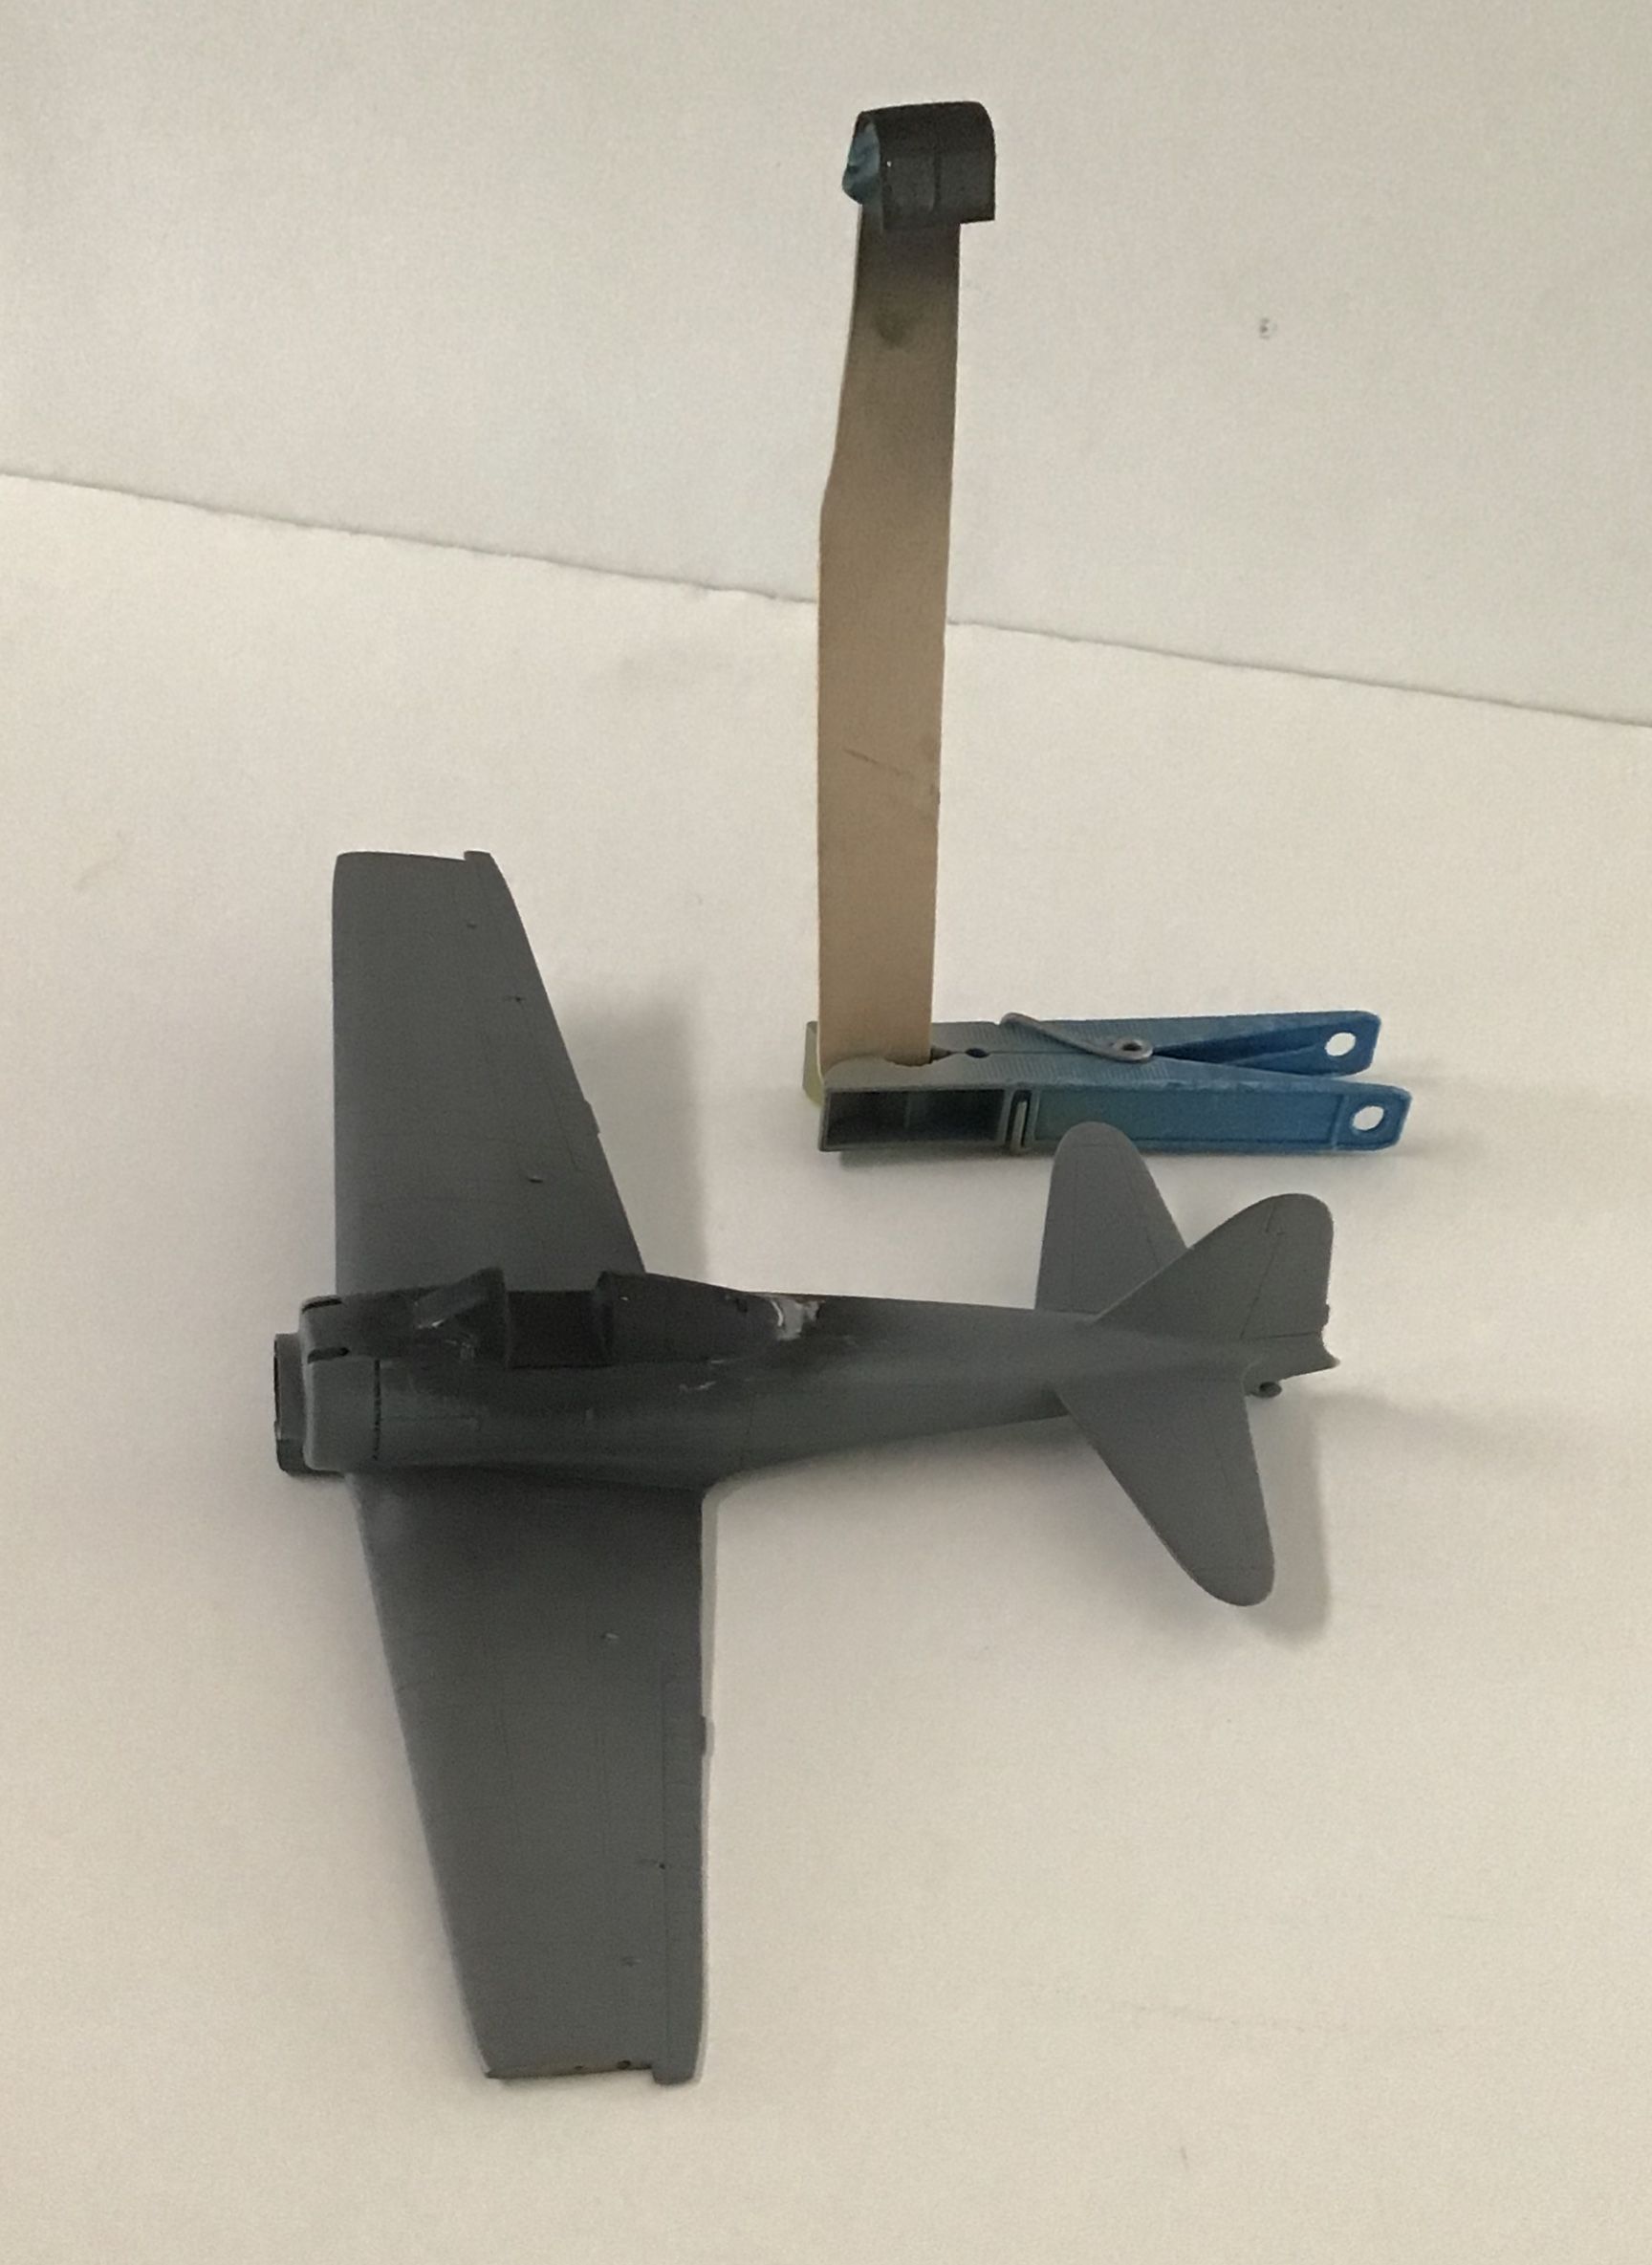
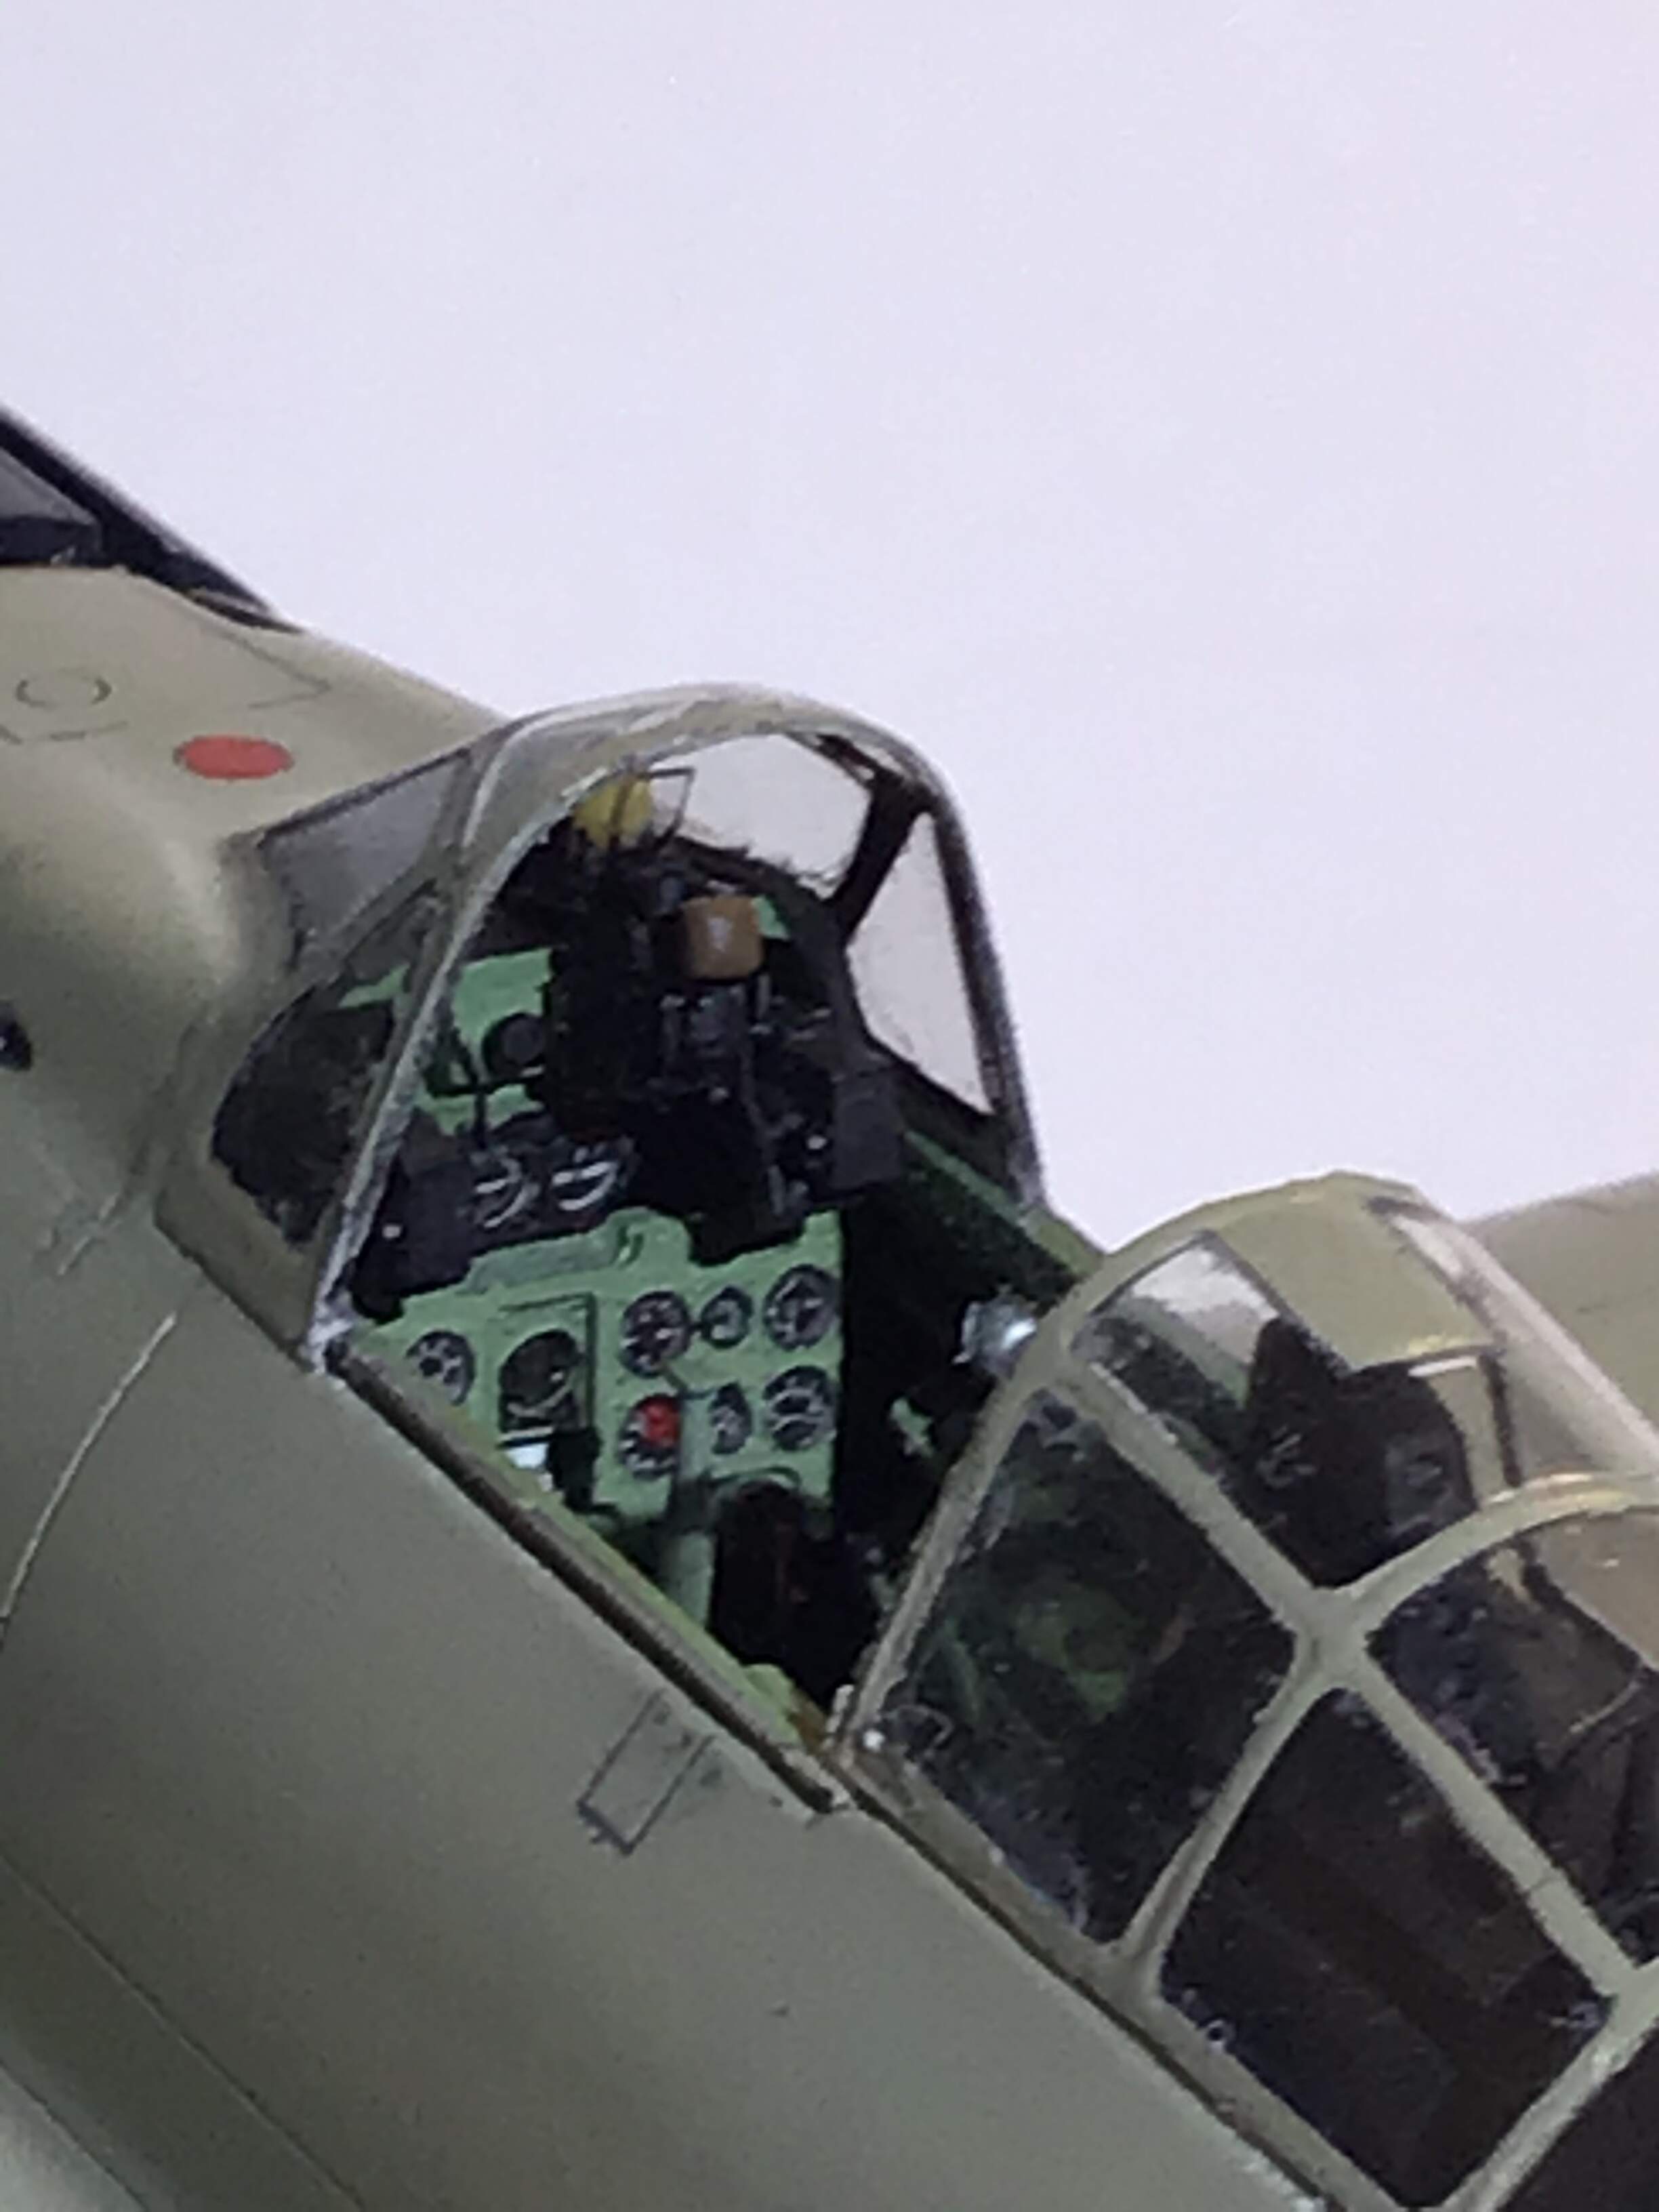
Some more progress - cockpit done and fuselage buttoned up.
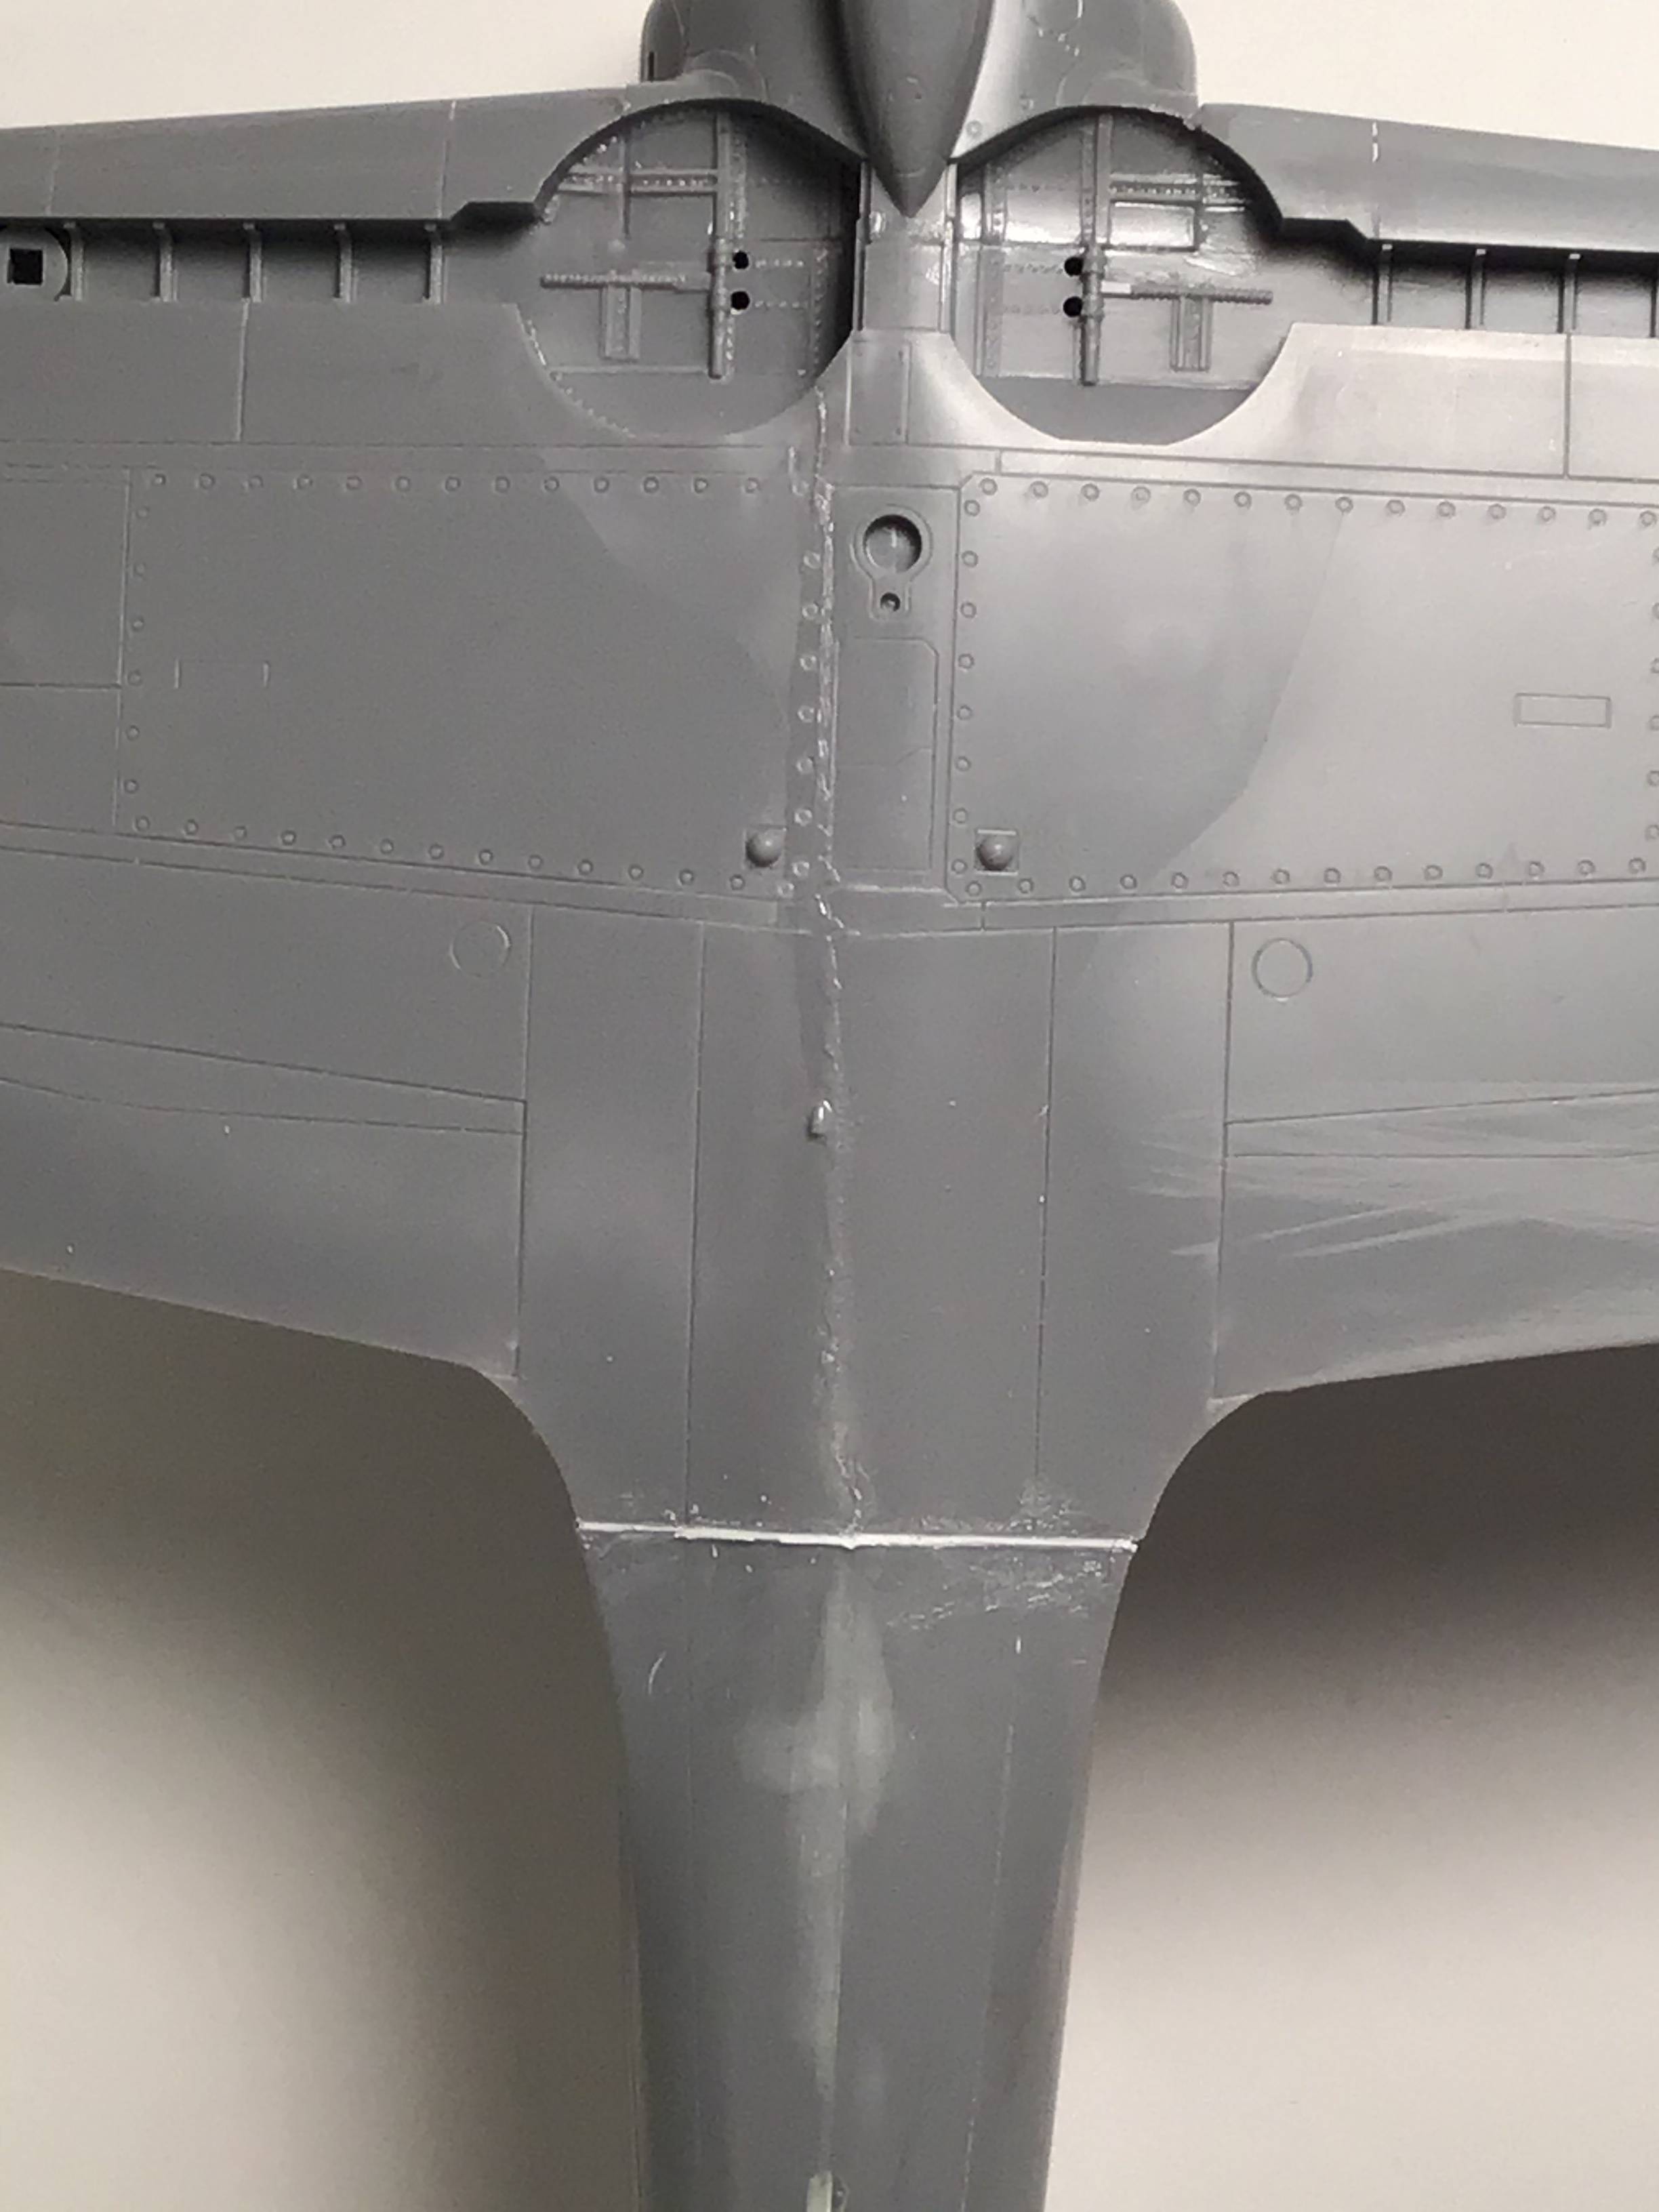
A lot of re scribing necessary as there were odd kinks in some panel lines in the rear fuselage . It would seem something went amiss when the fuselage was ejected from the mold.


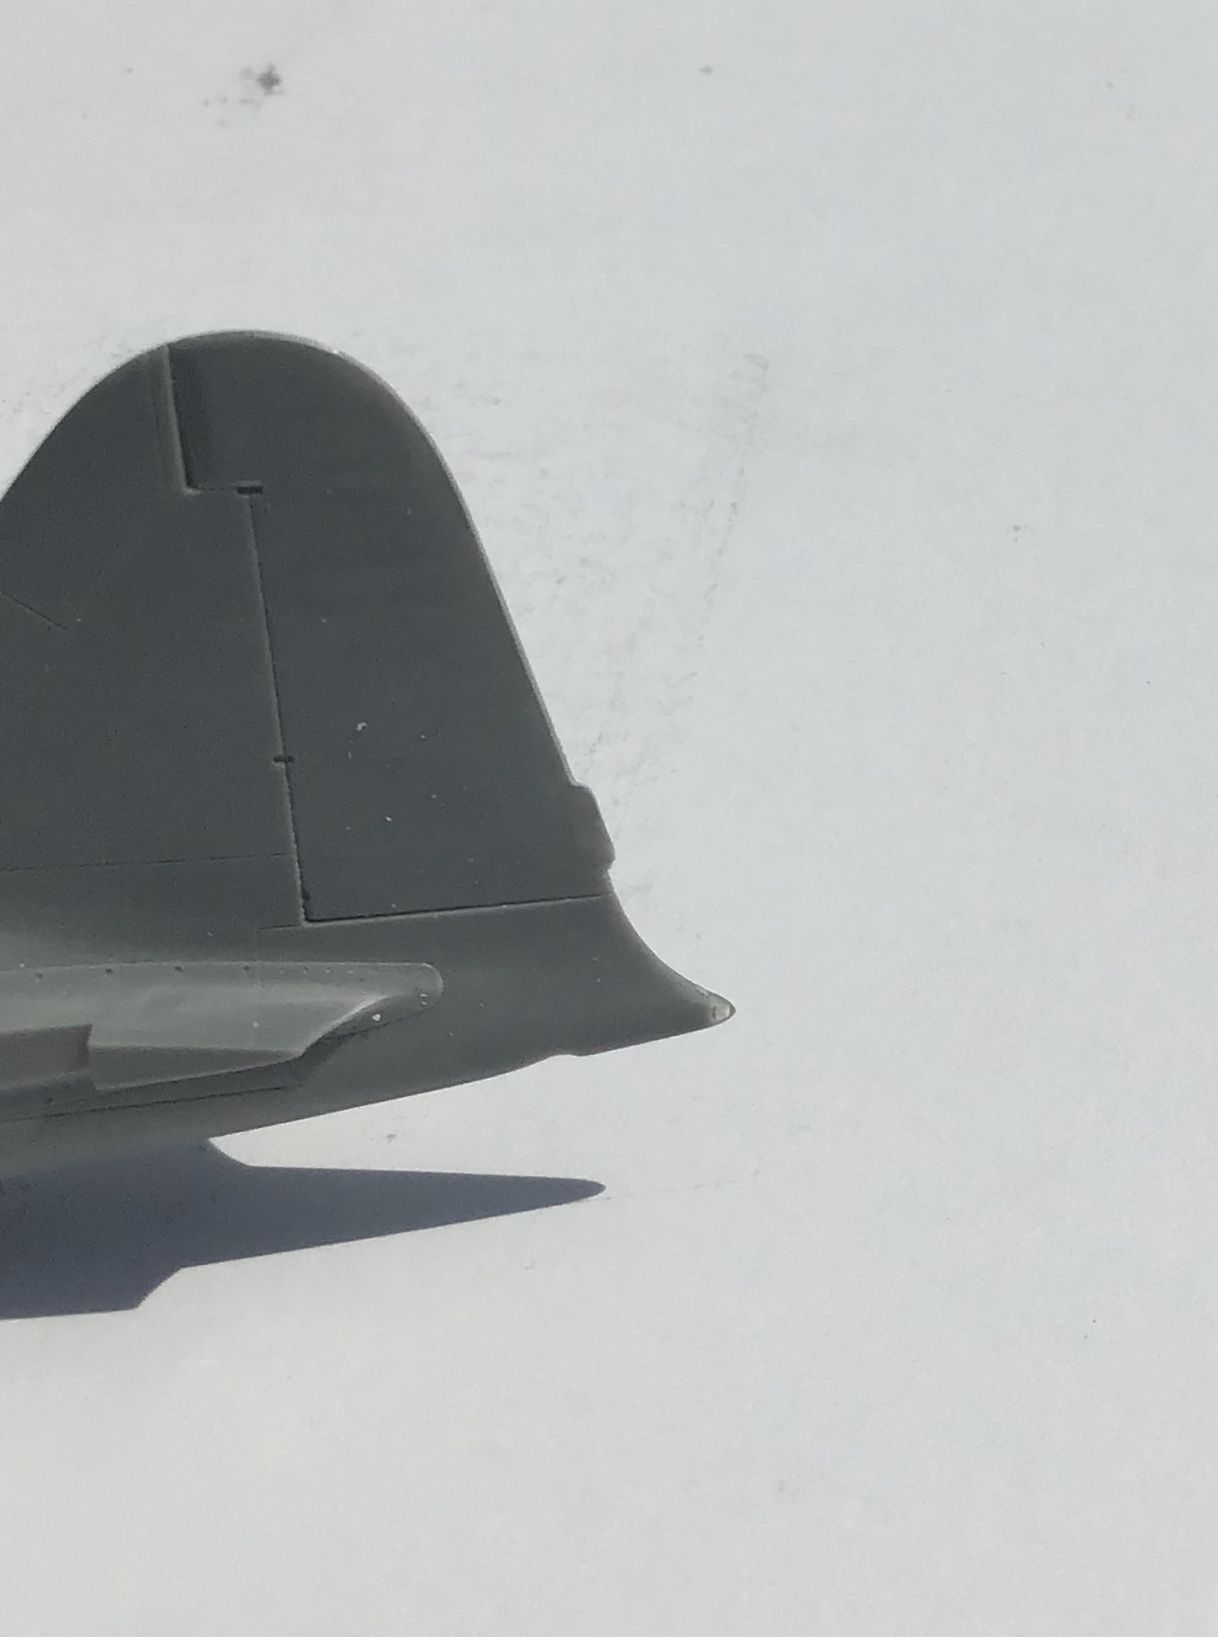
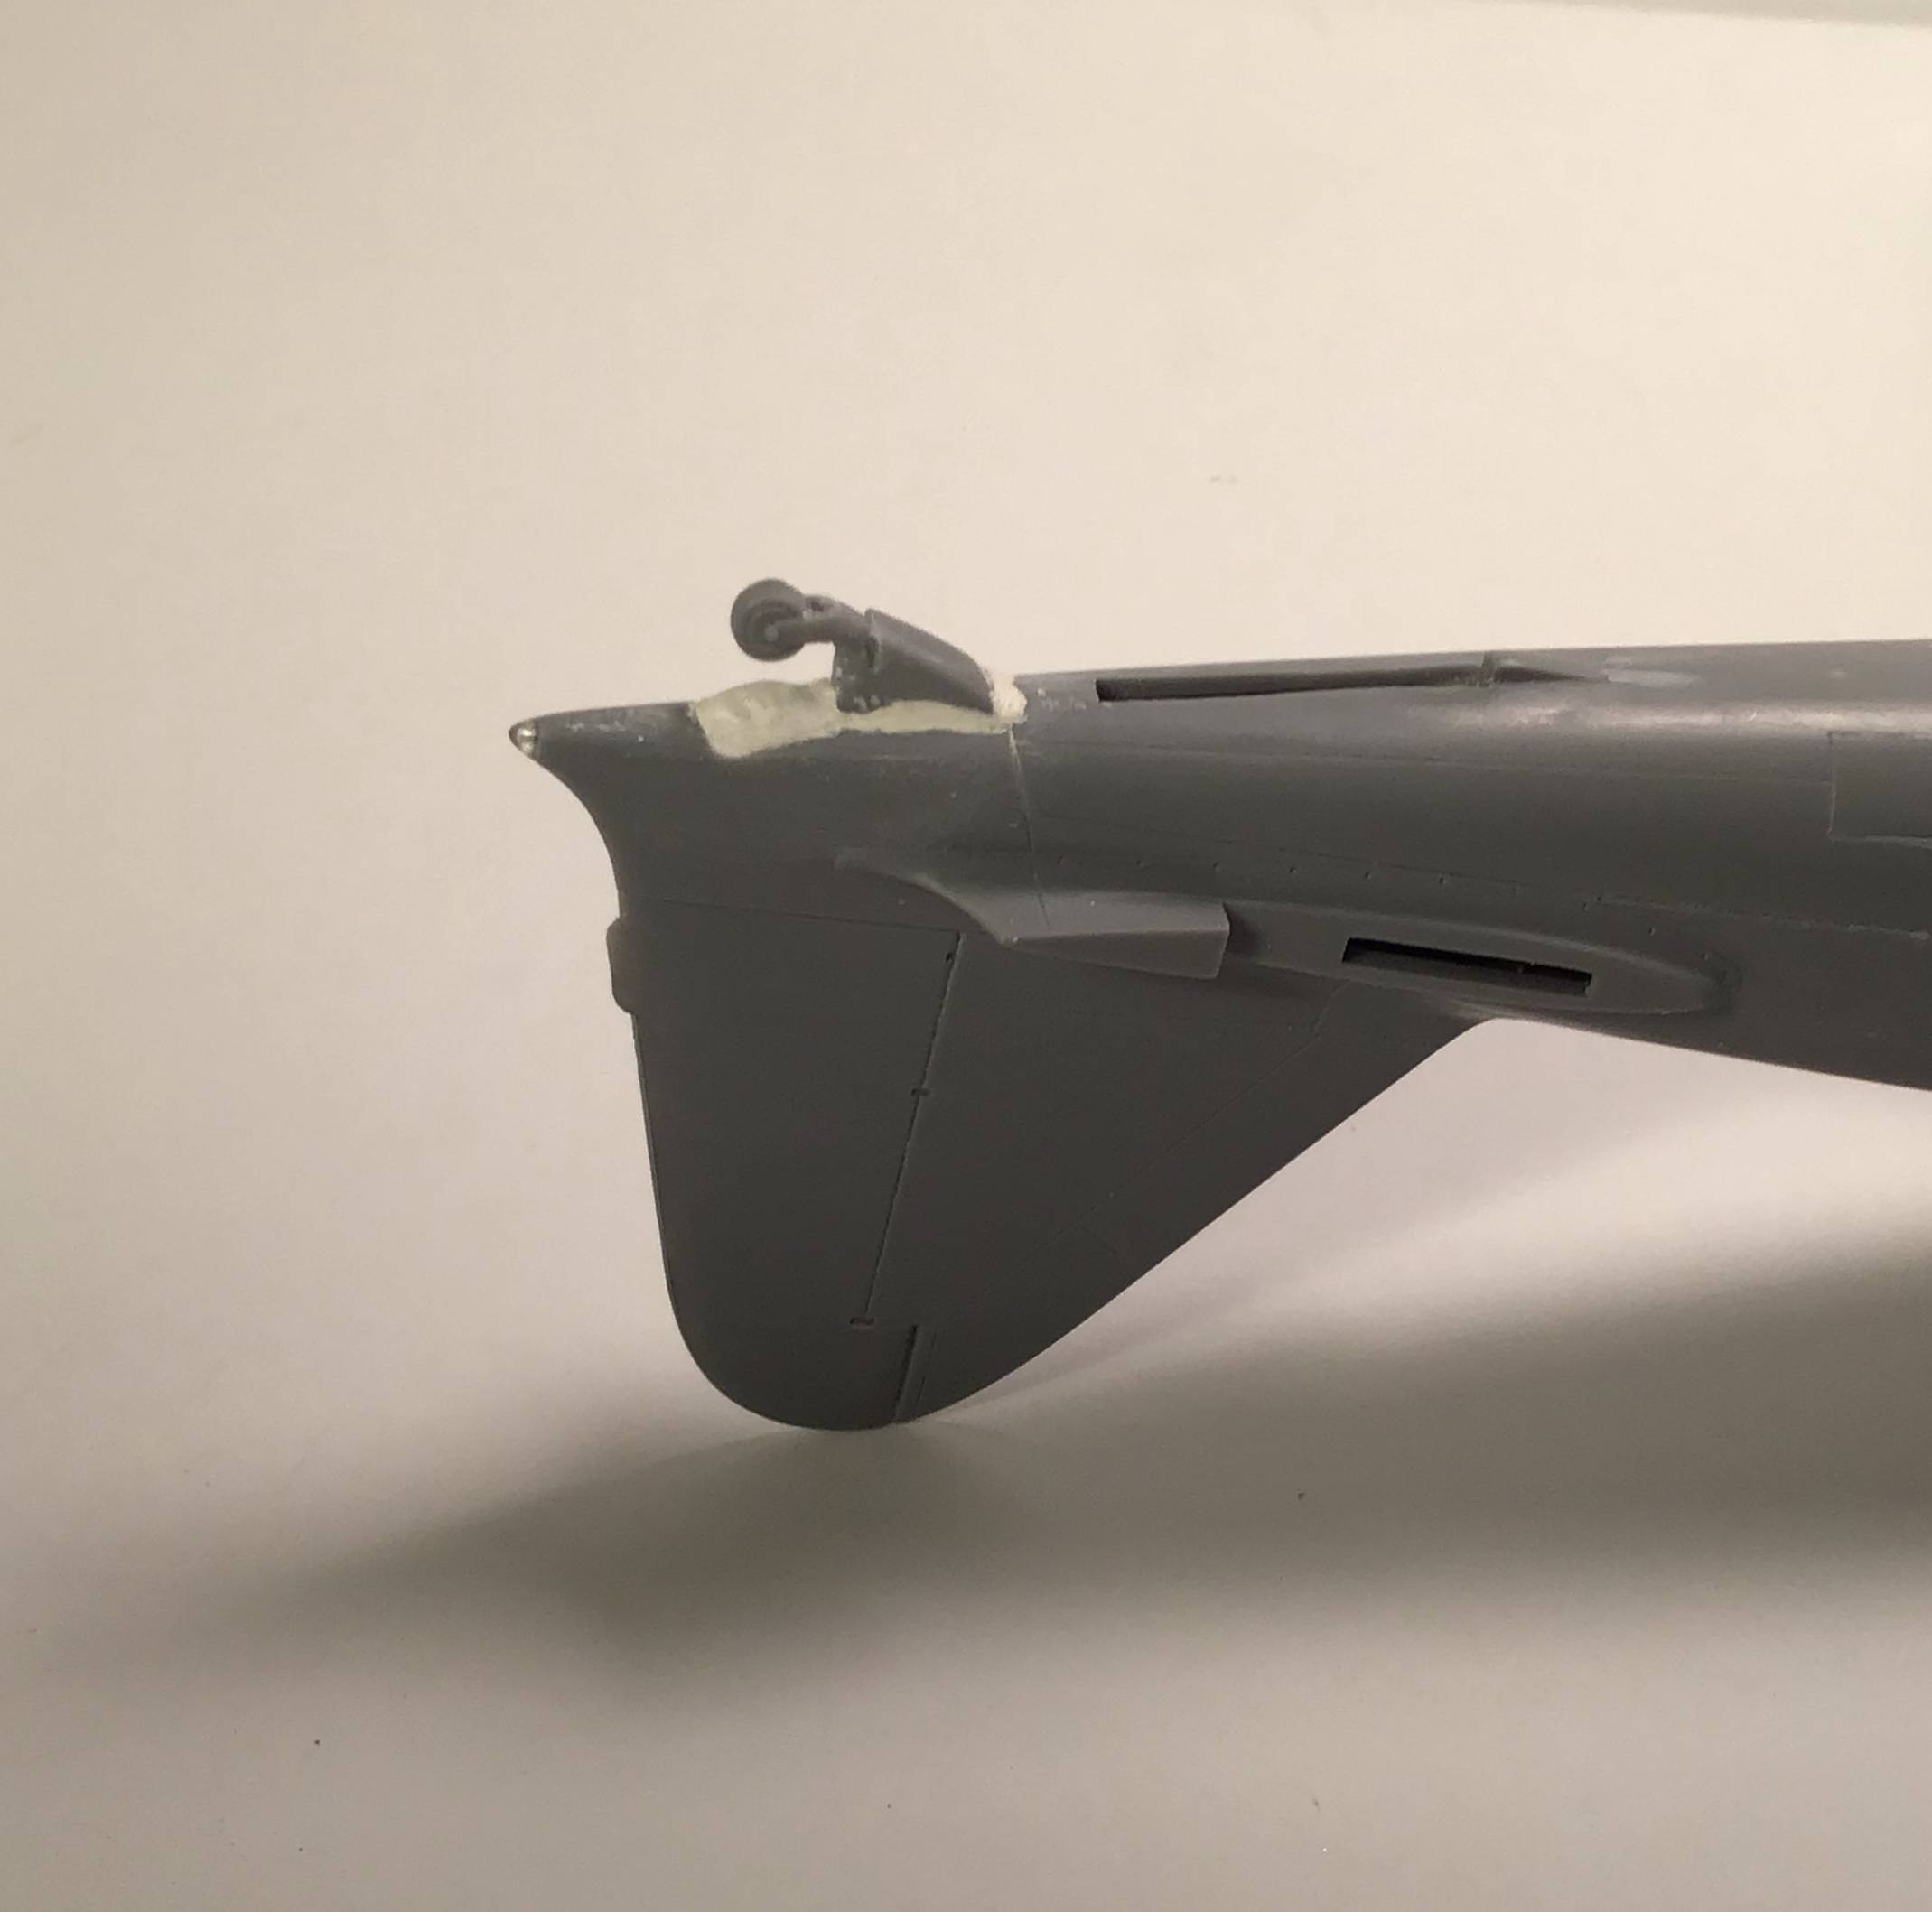
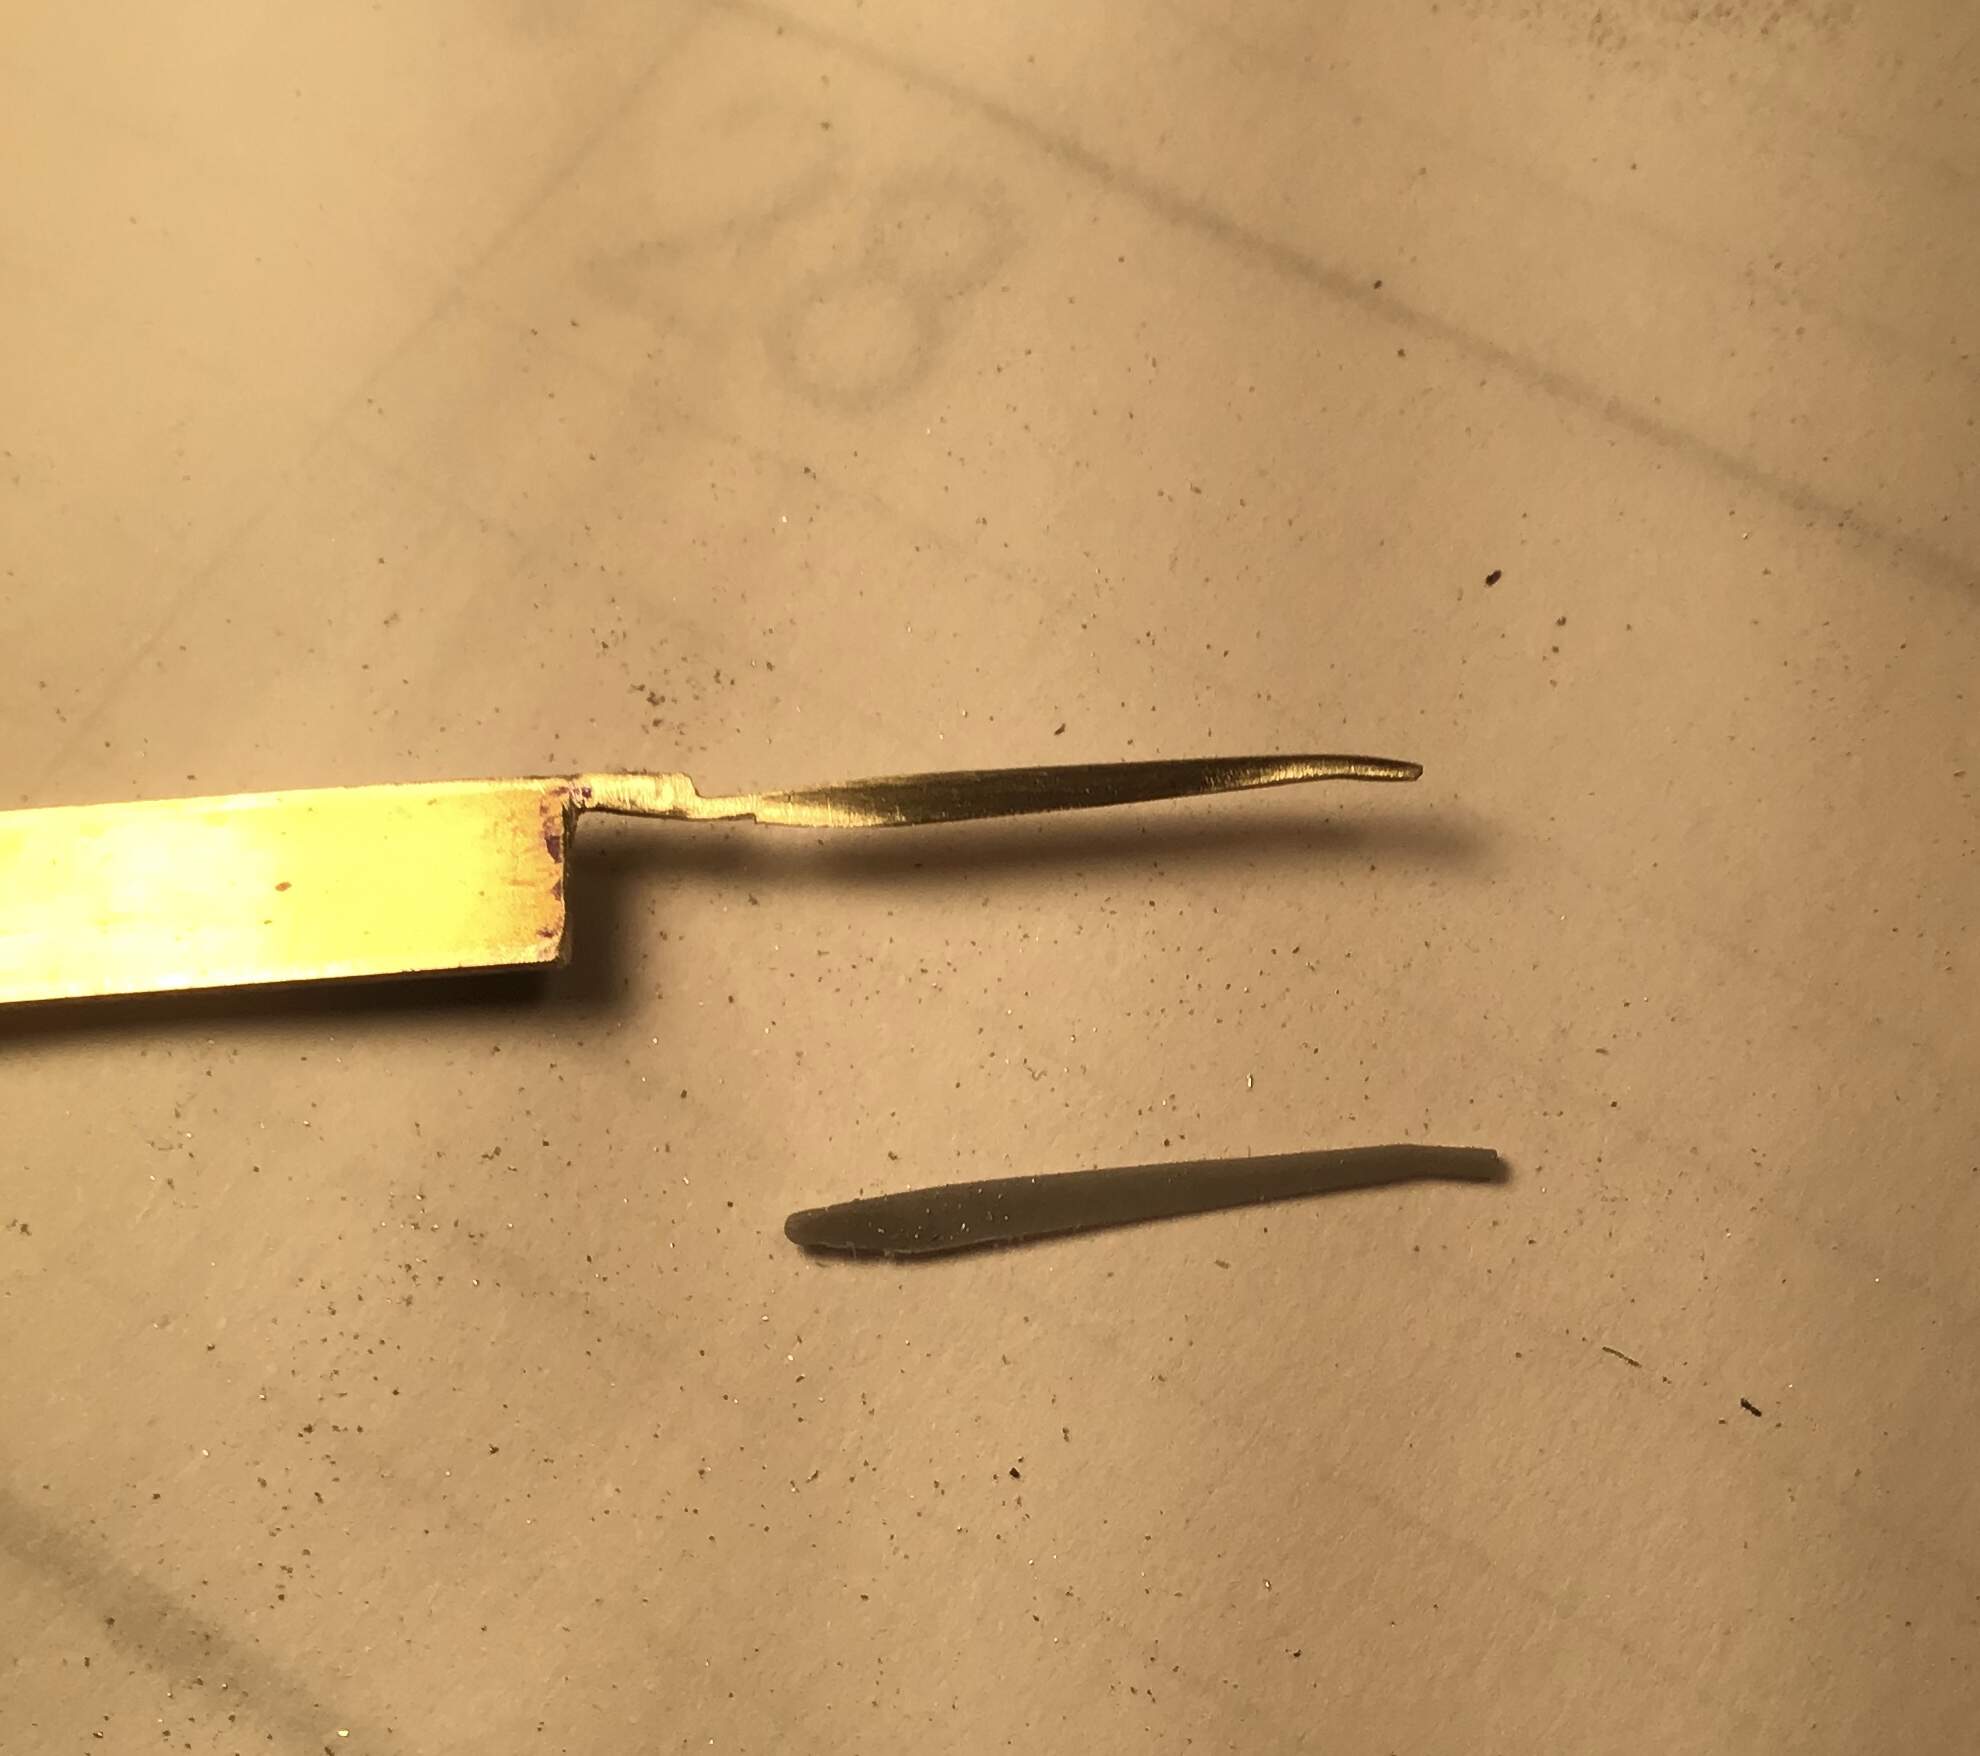
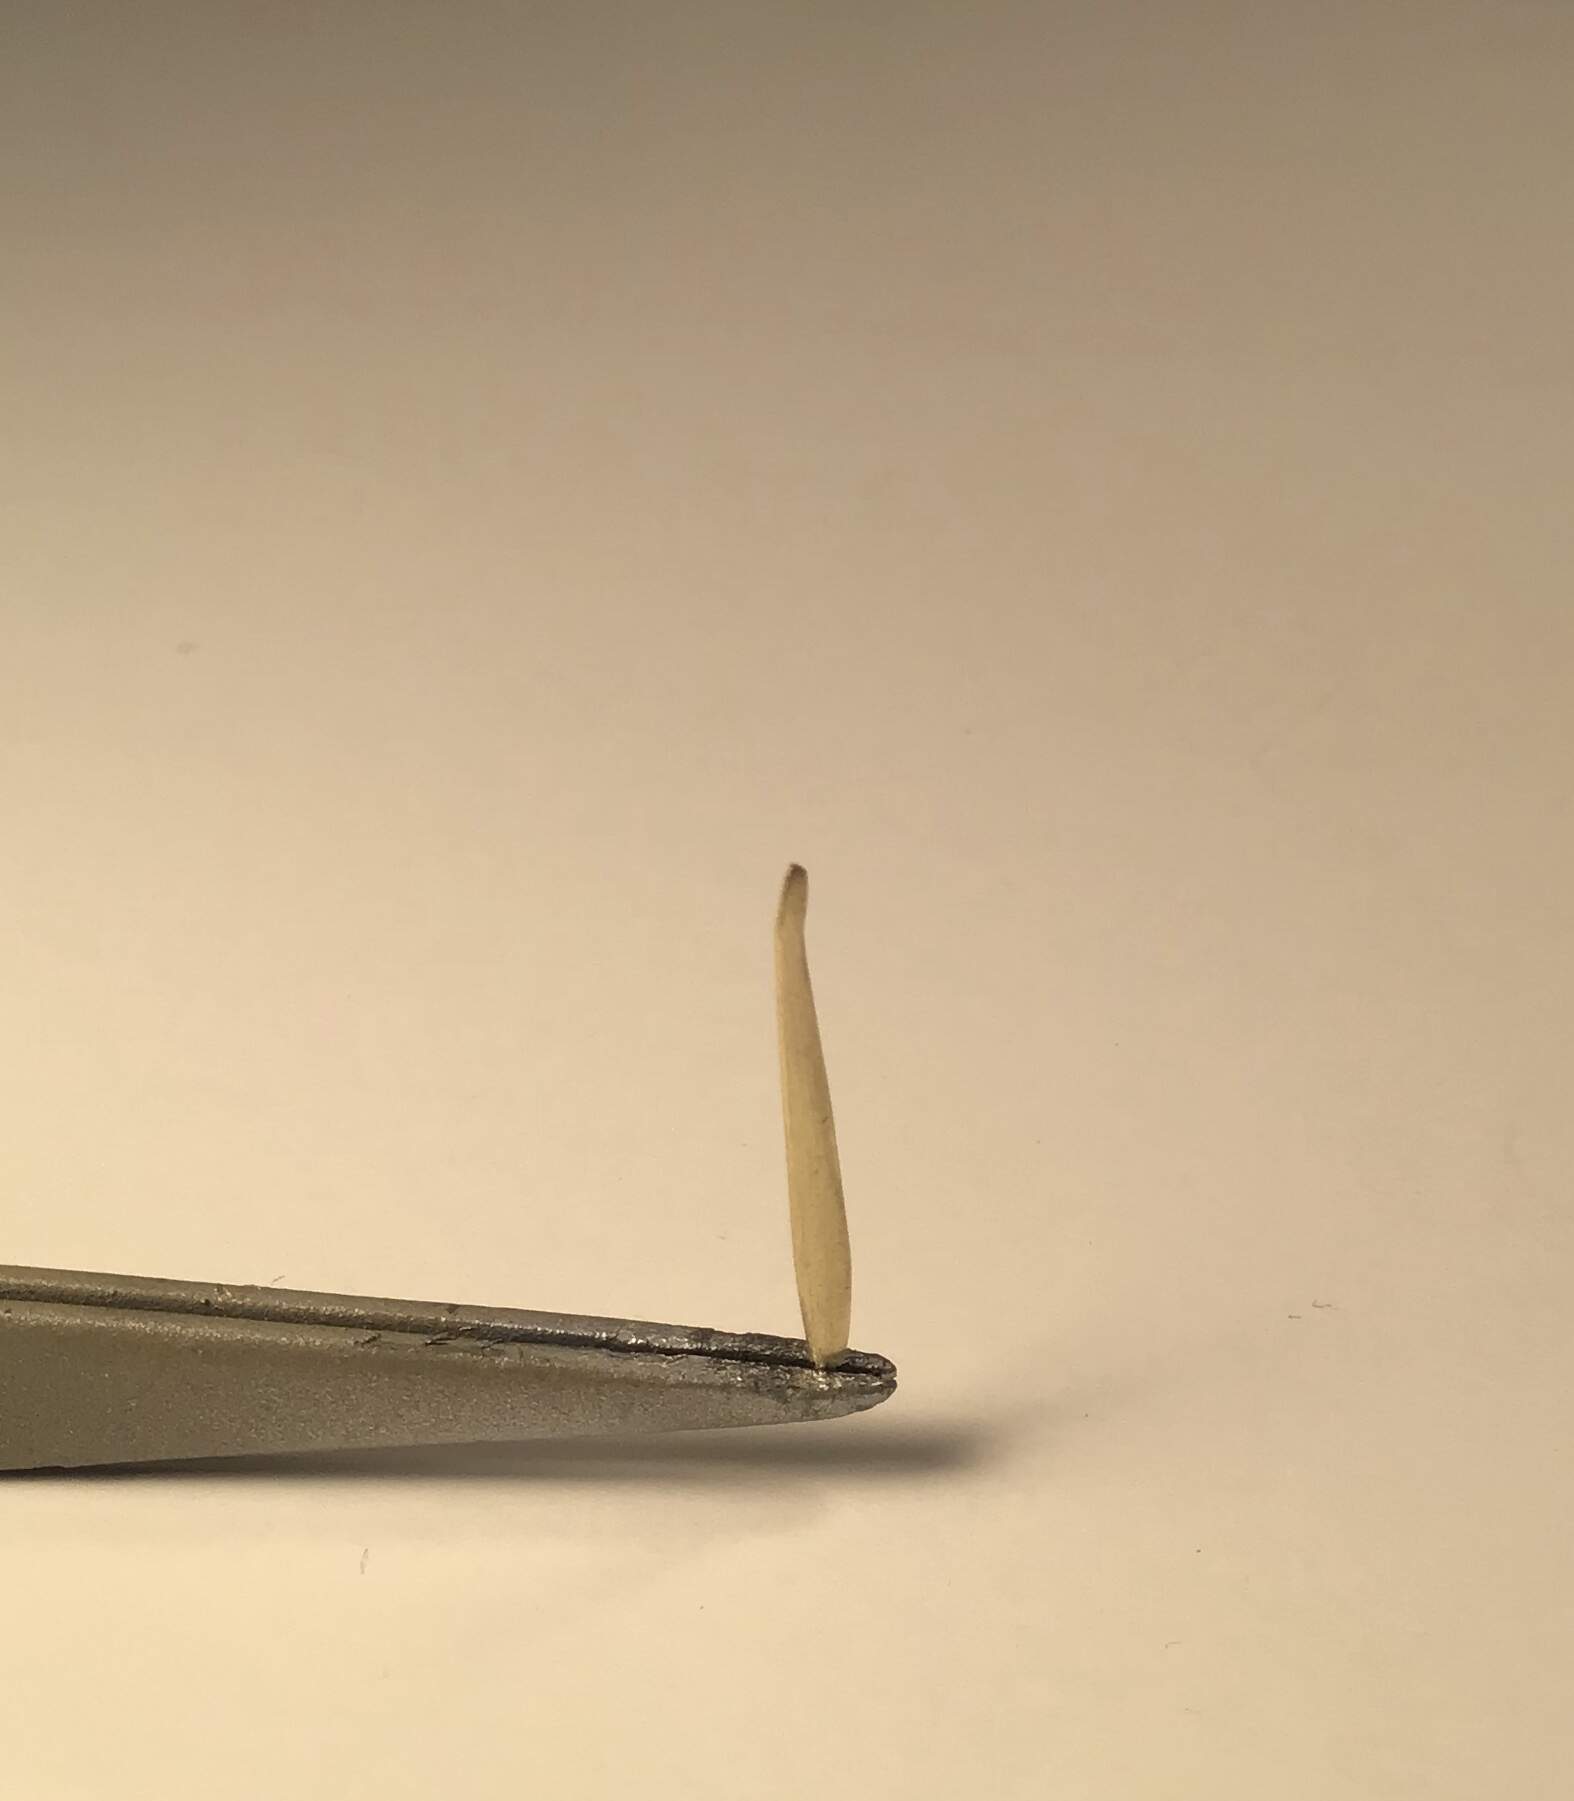
solid tail navigation light sawn off and replaced with new filed from clear sprue-

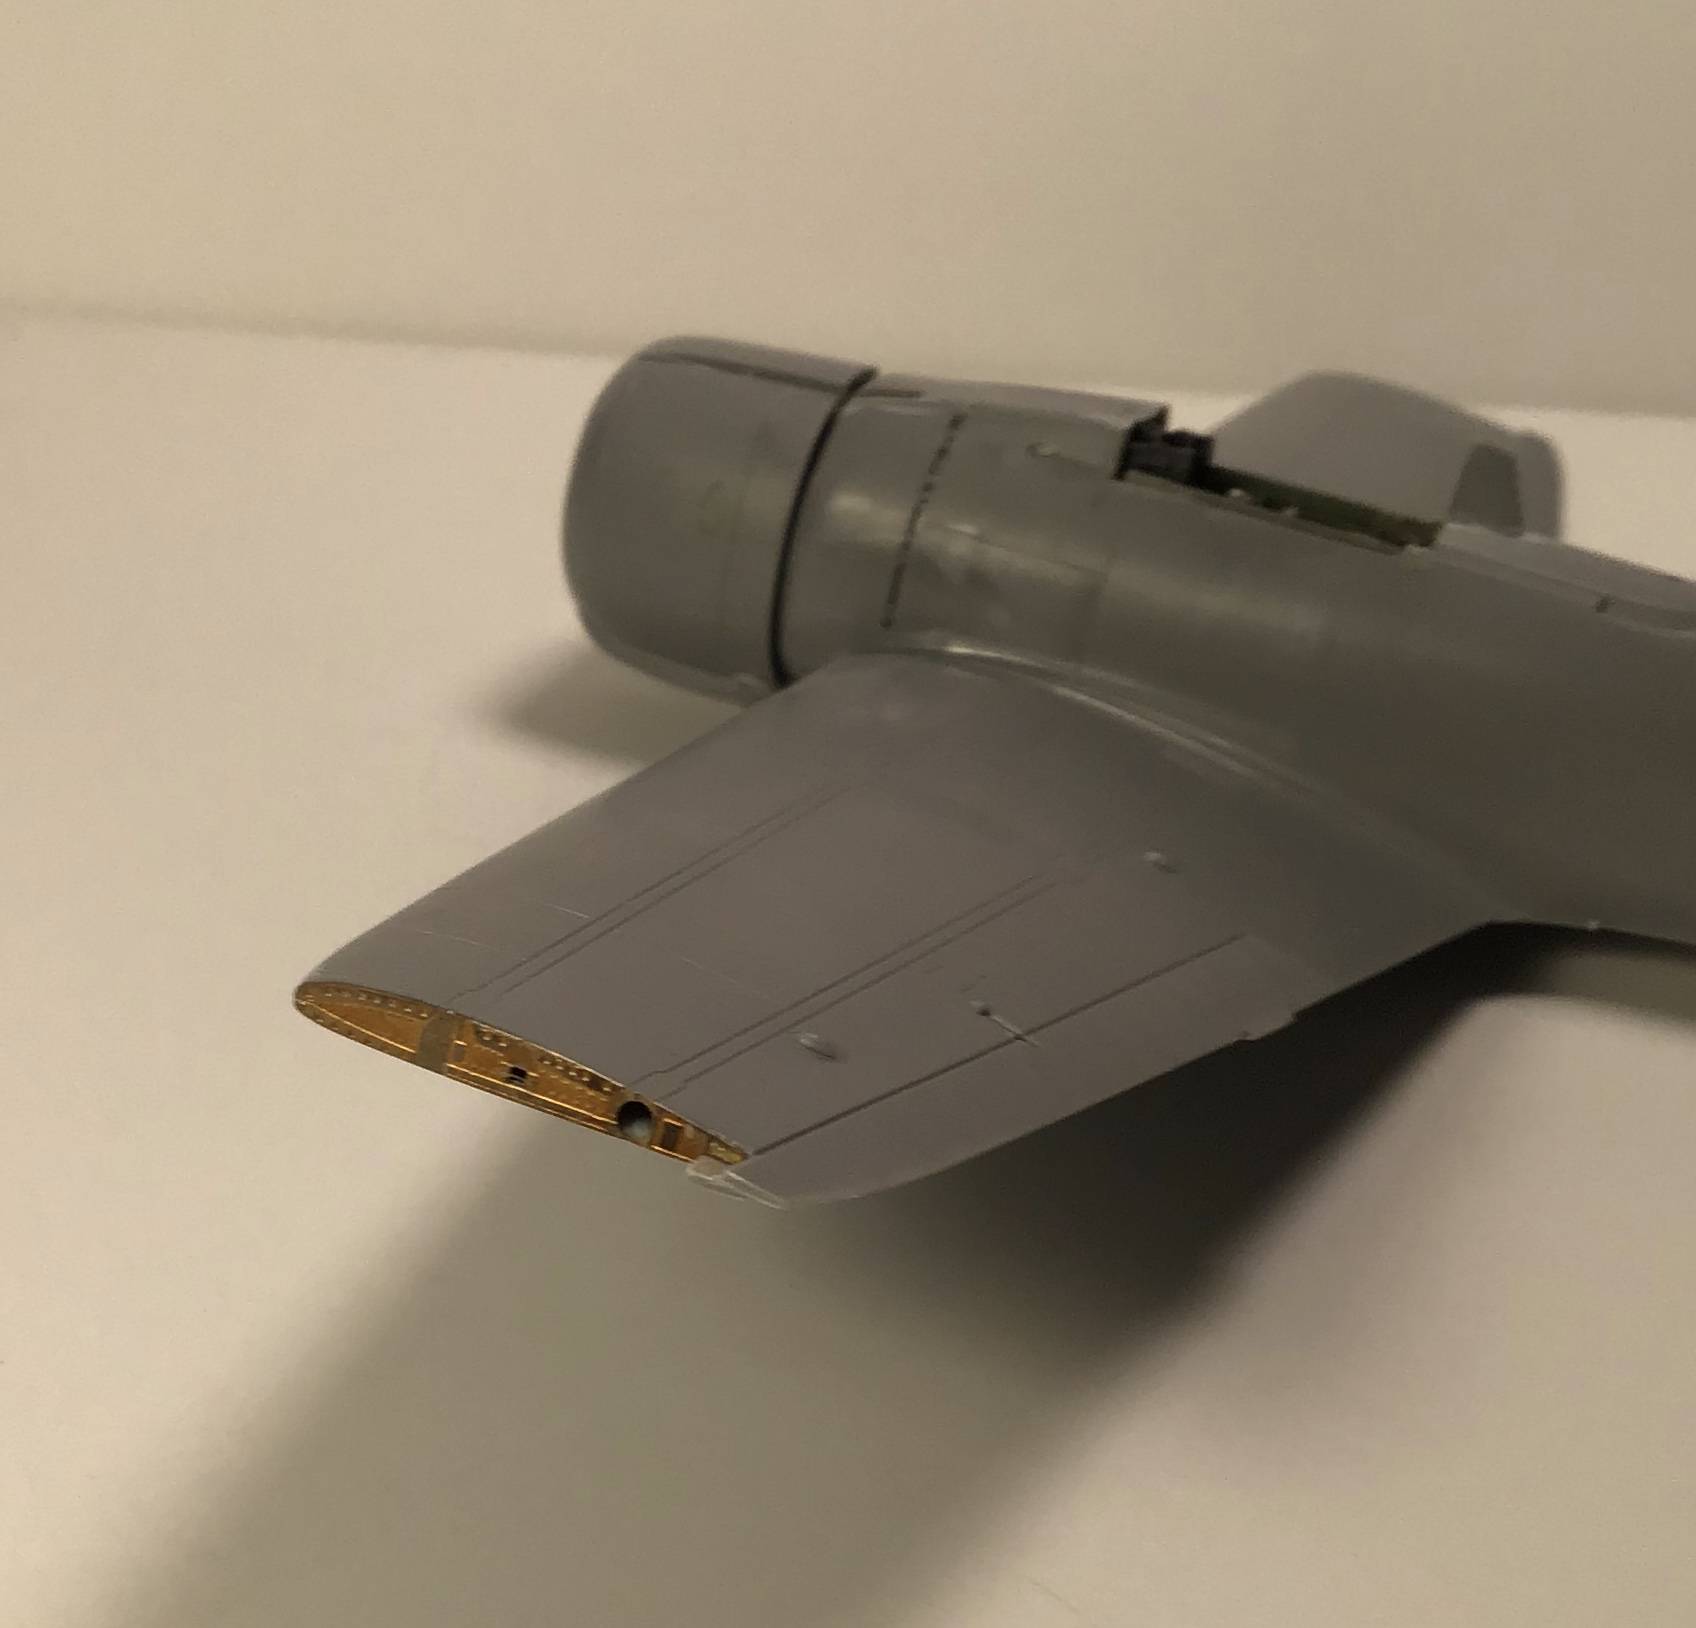
  • and wingtips sawn away in preparation for the folded wing bits -

    Hi all - wing is mounted after a careless drop to the floor which broke it in half.
    I think all will be good after some sanding and surfacer.

    photo etch ribs added from the Wolfpack folding wingtips set - outboard ends of ailerons still need finishing.

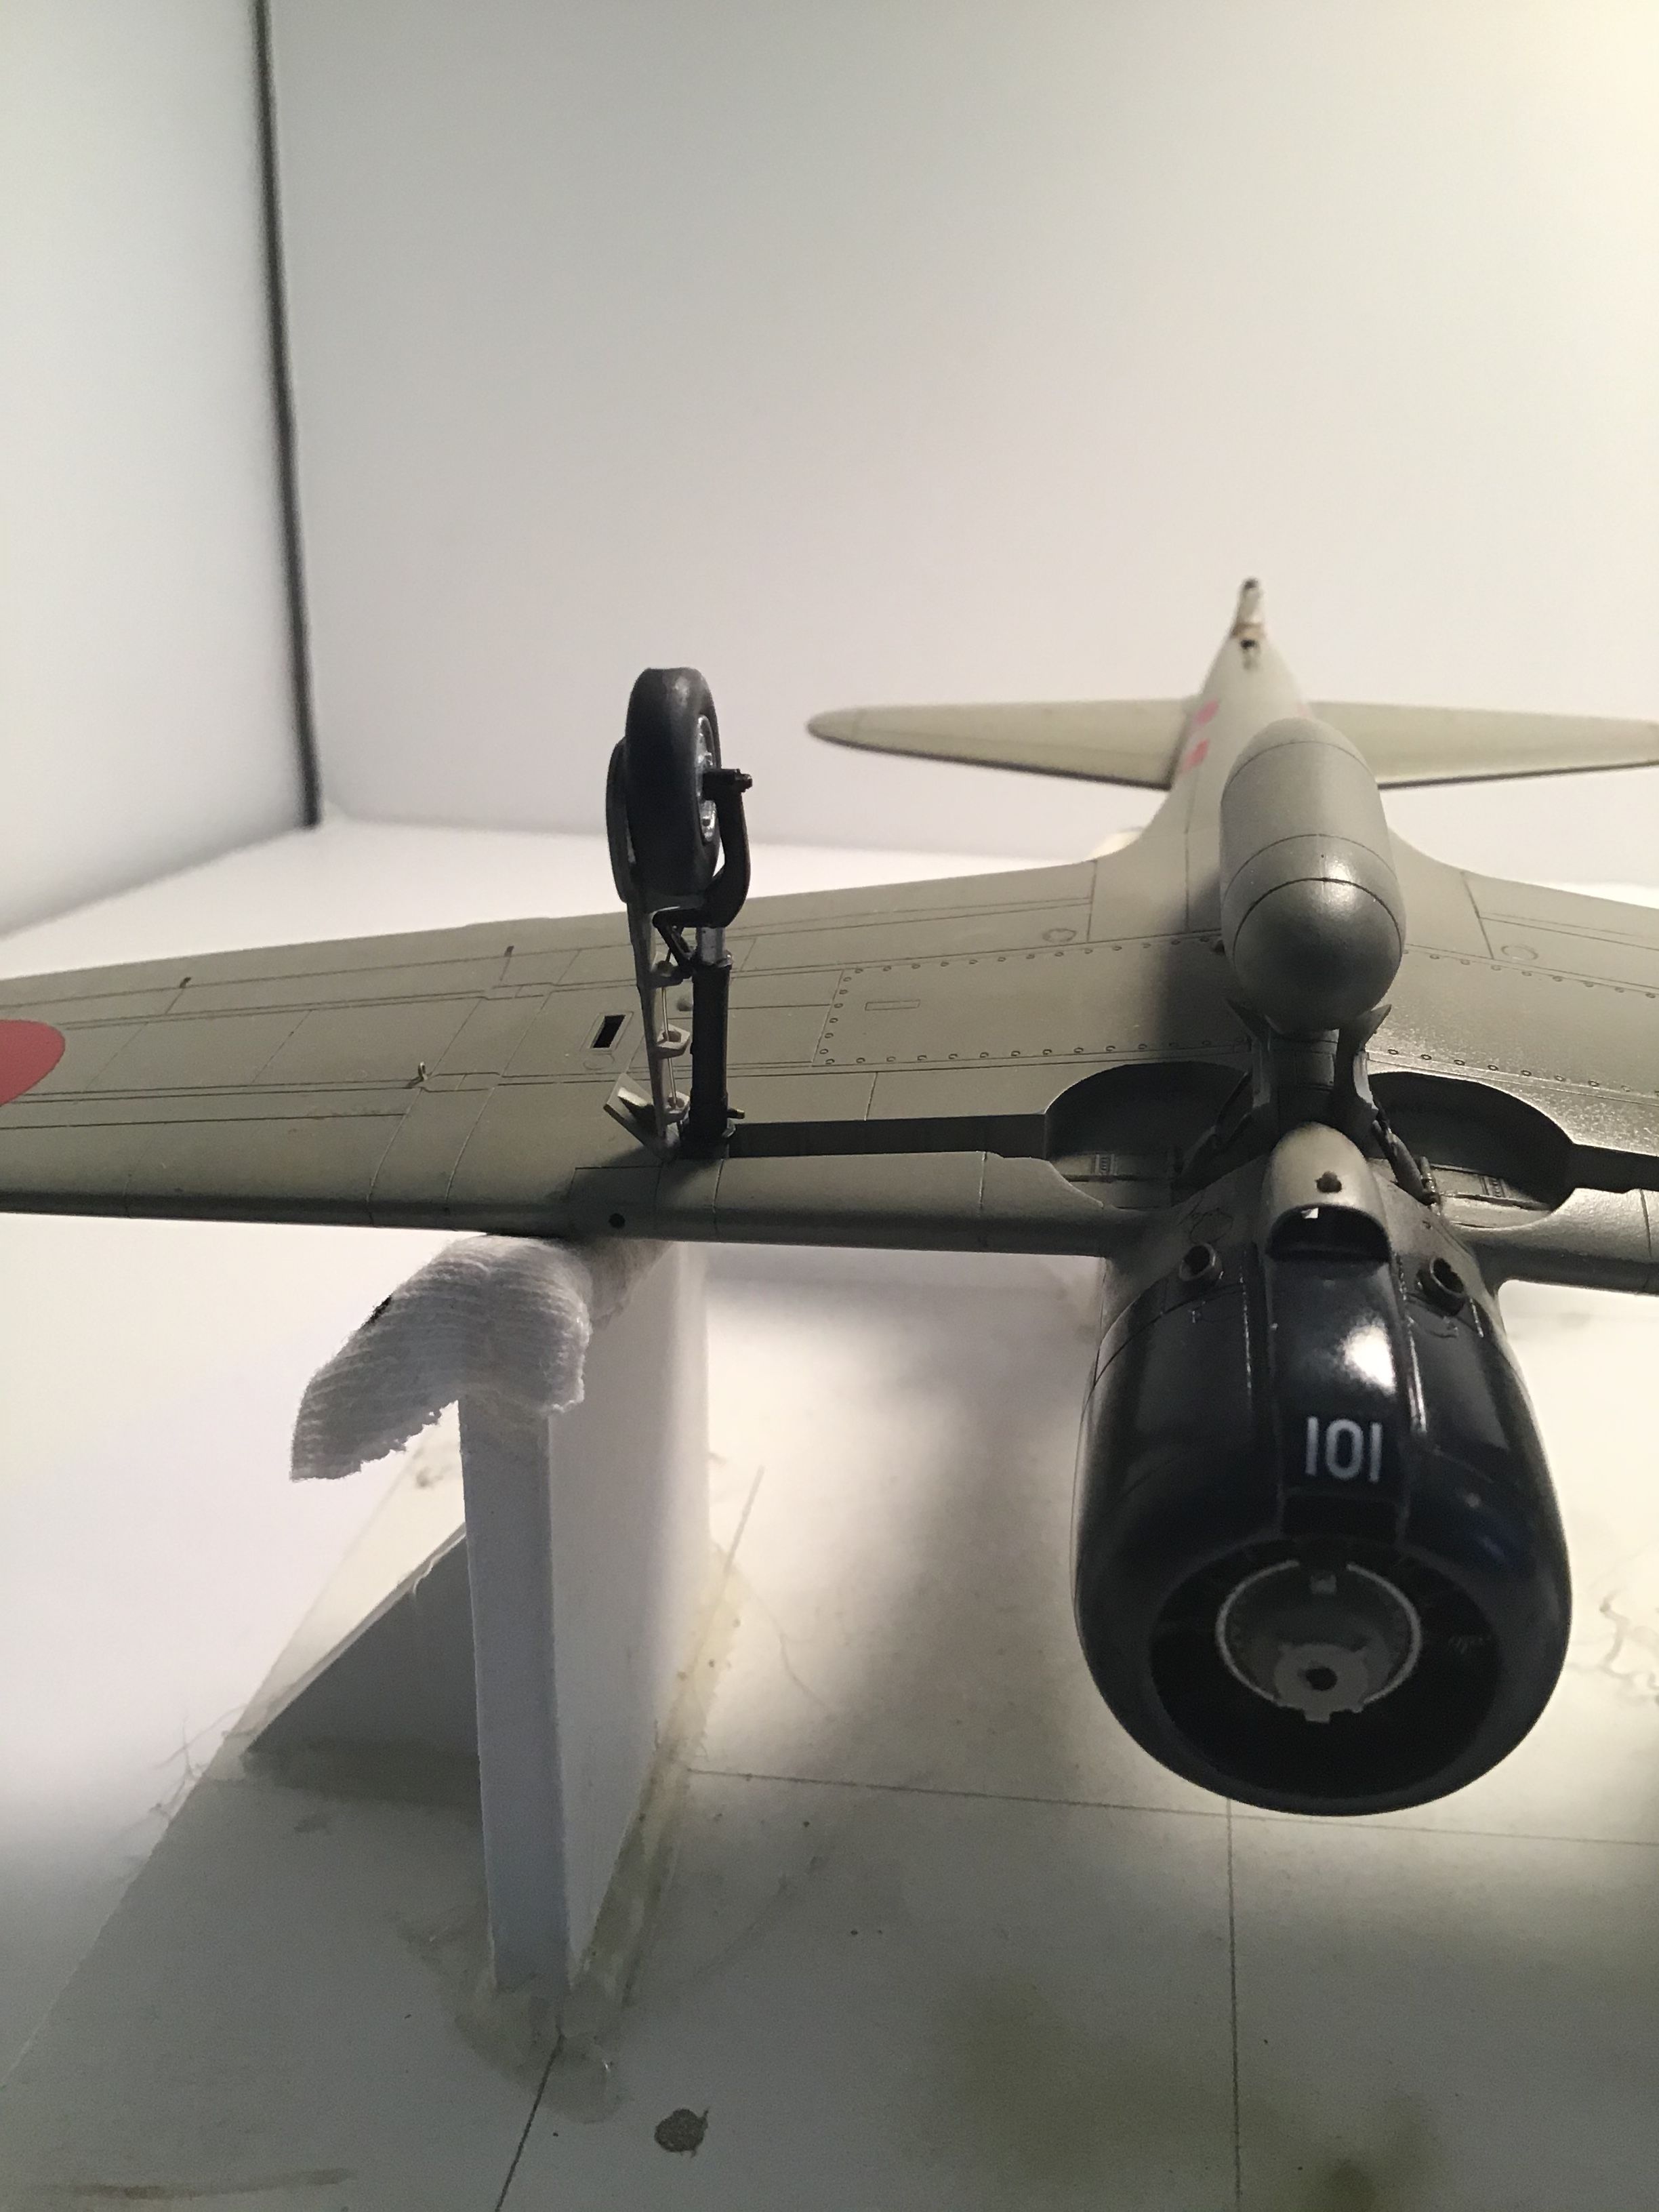
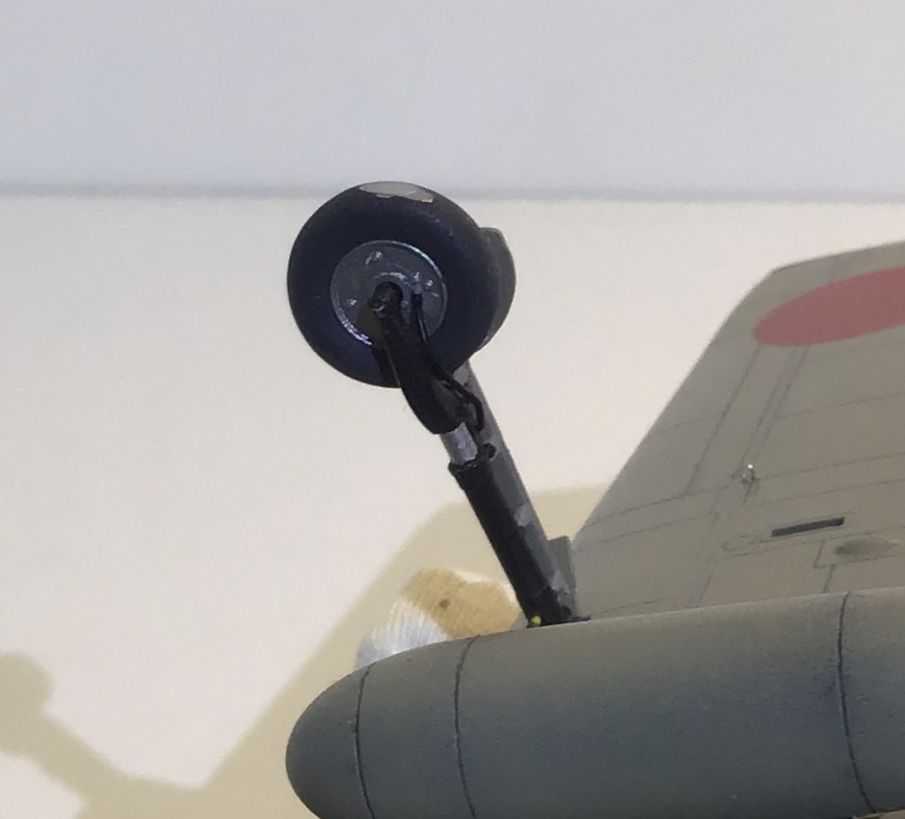
    fabric boot around tailwheel made with epoxy putty -

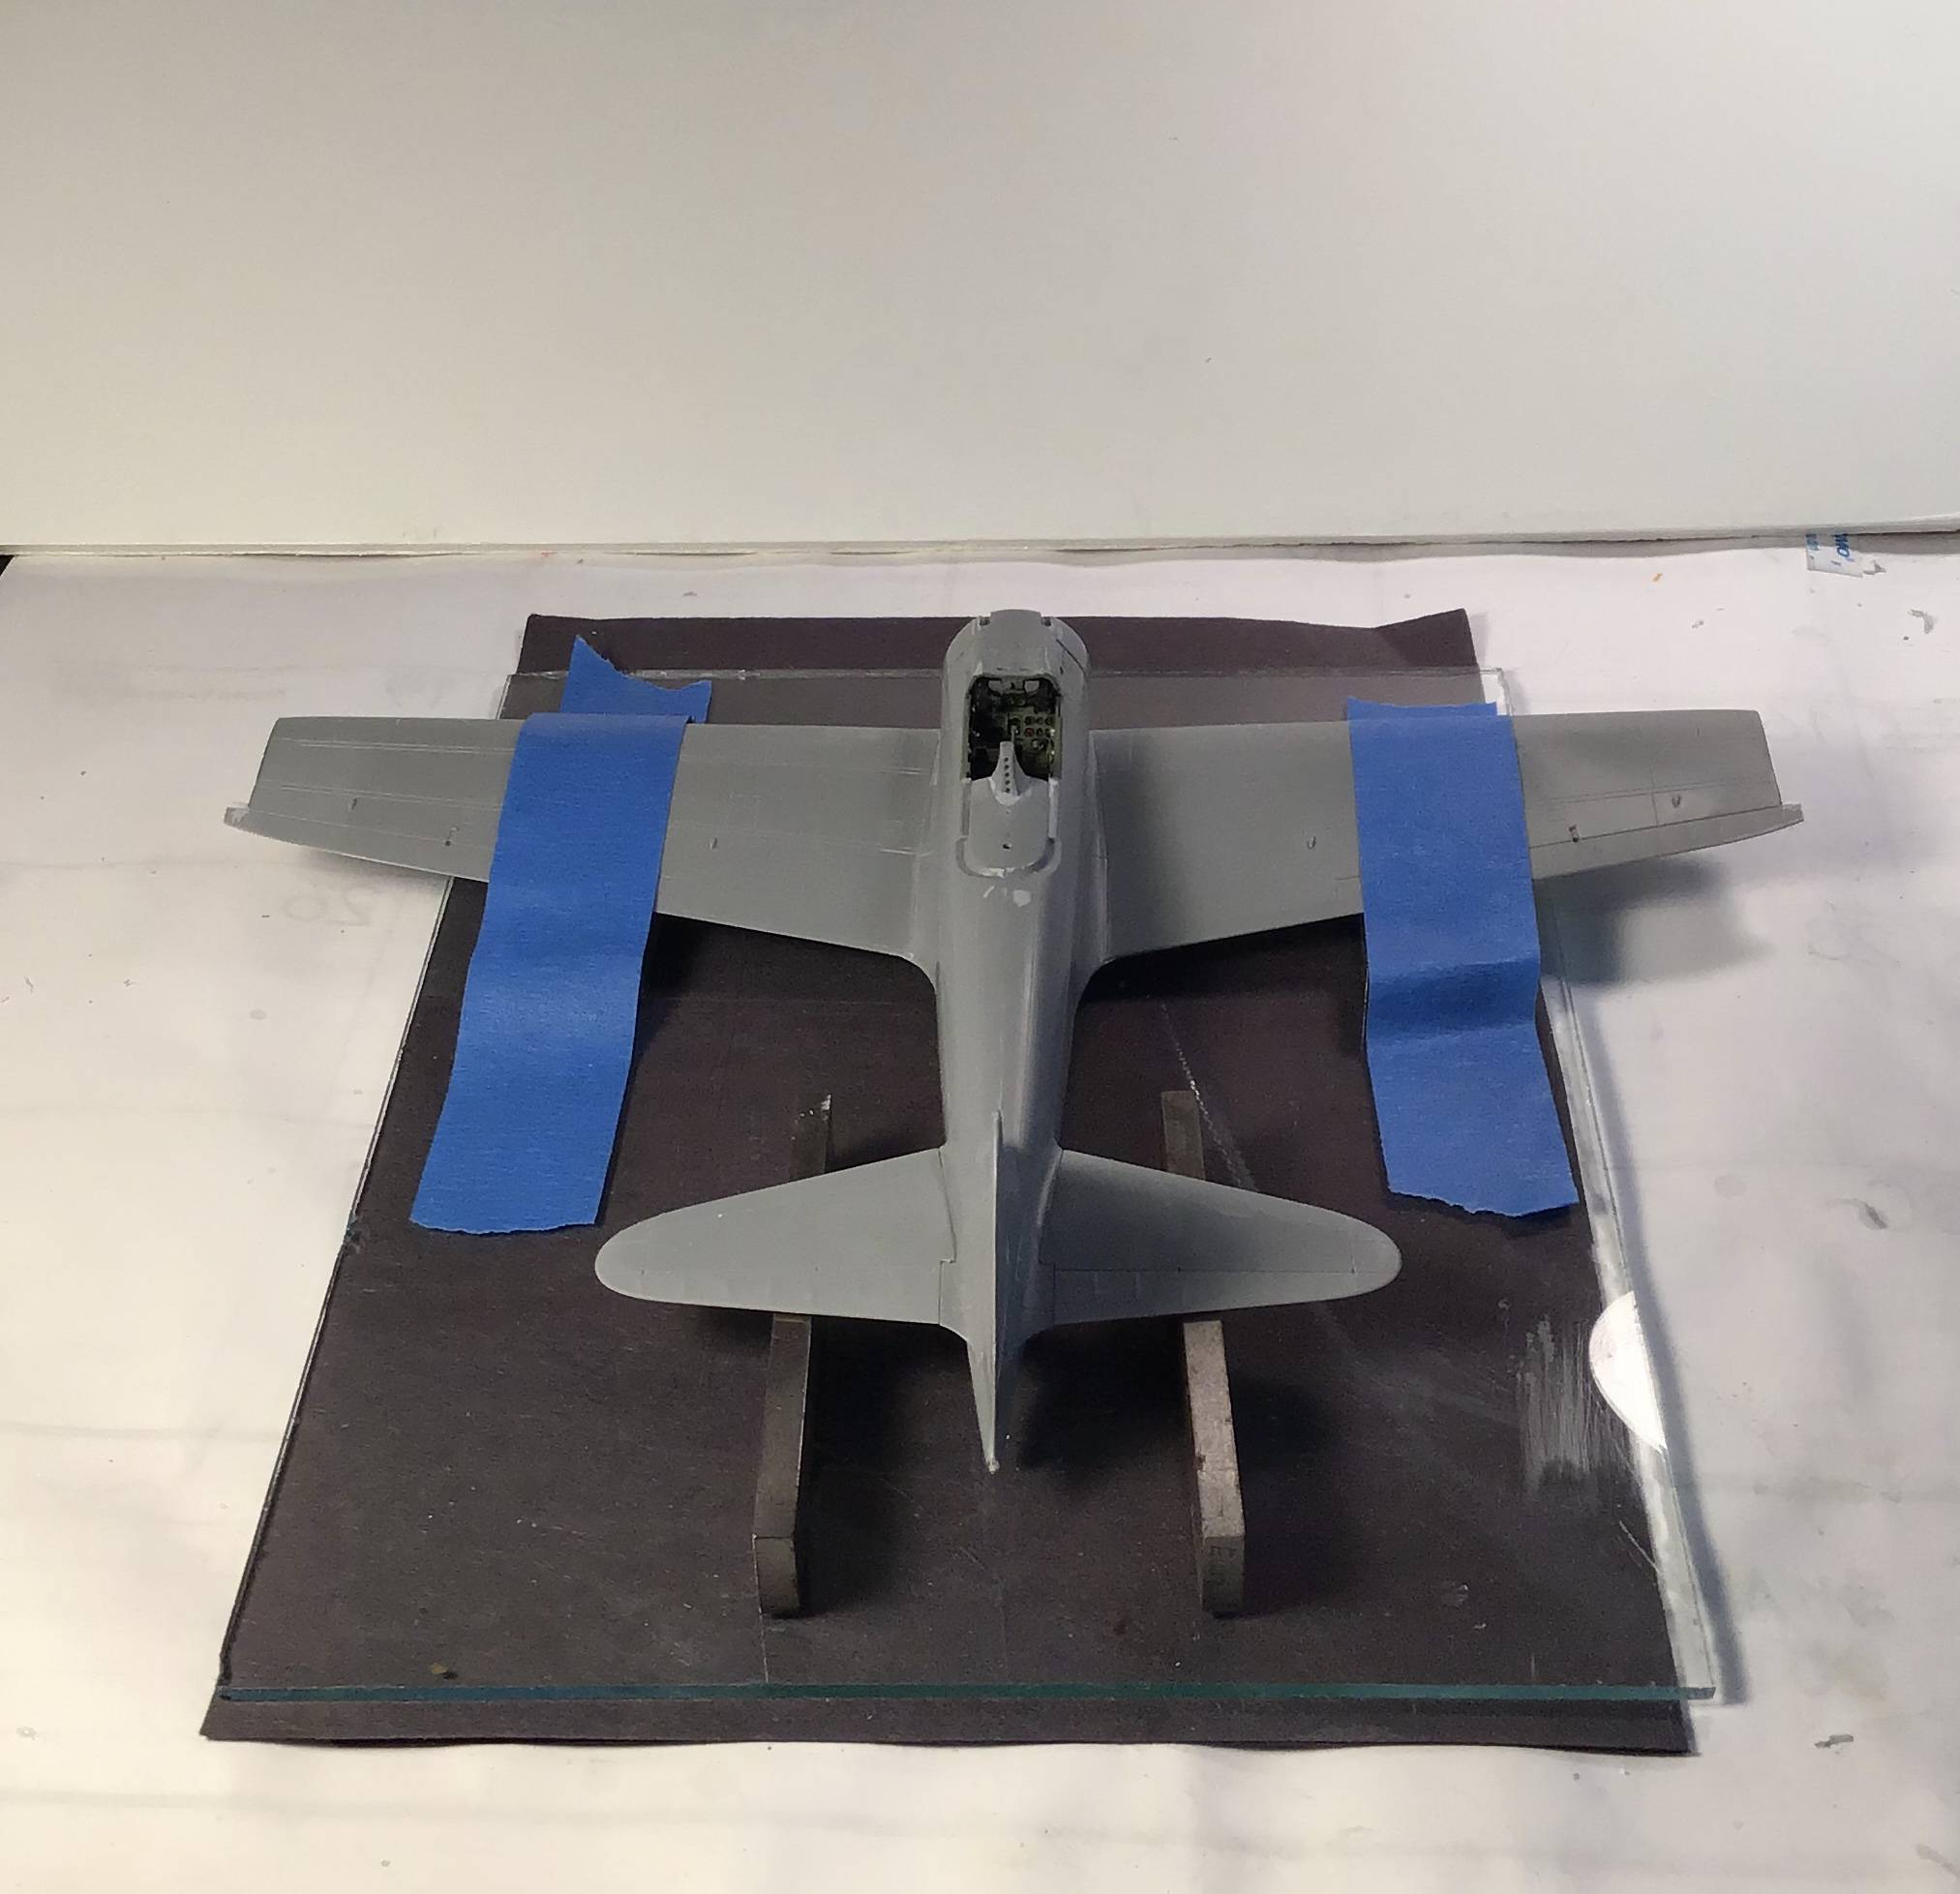
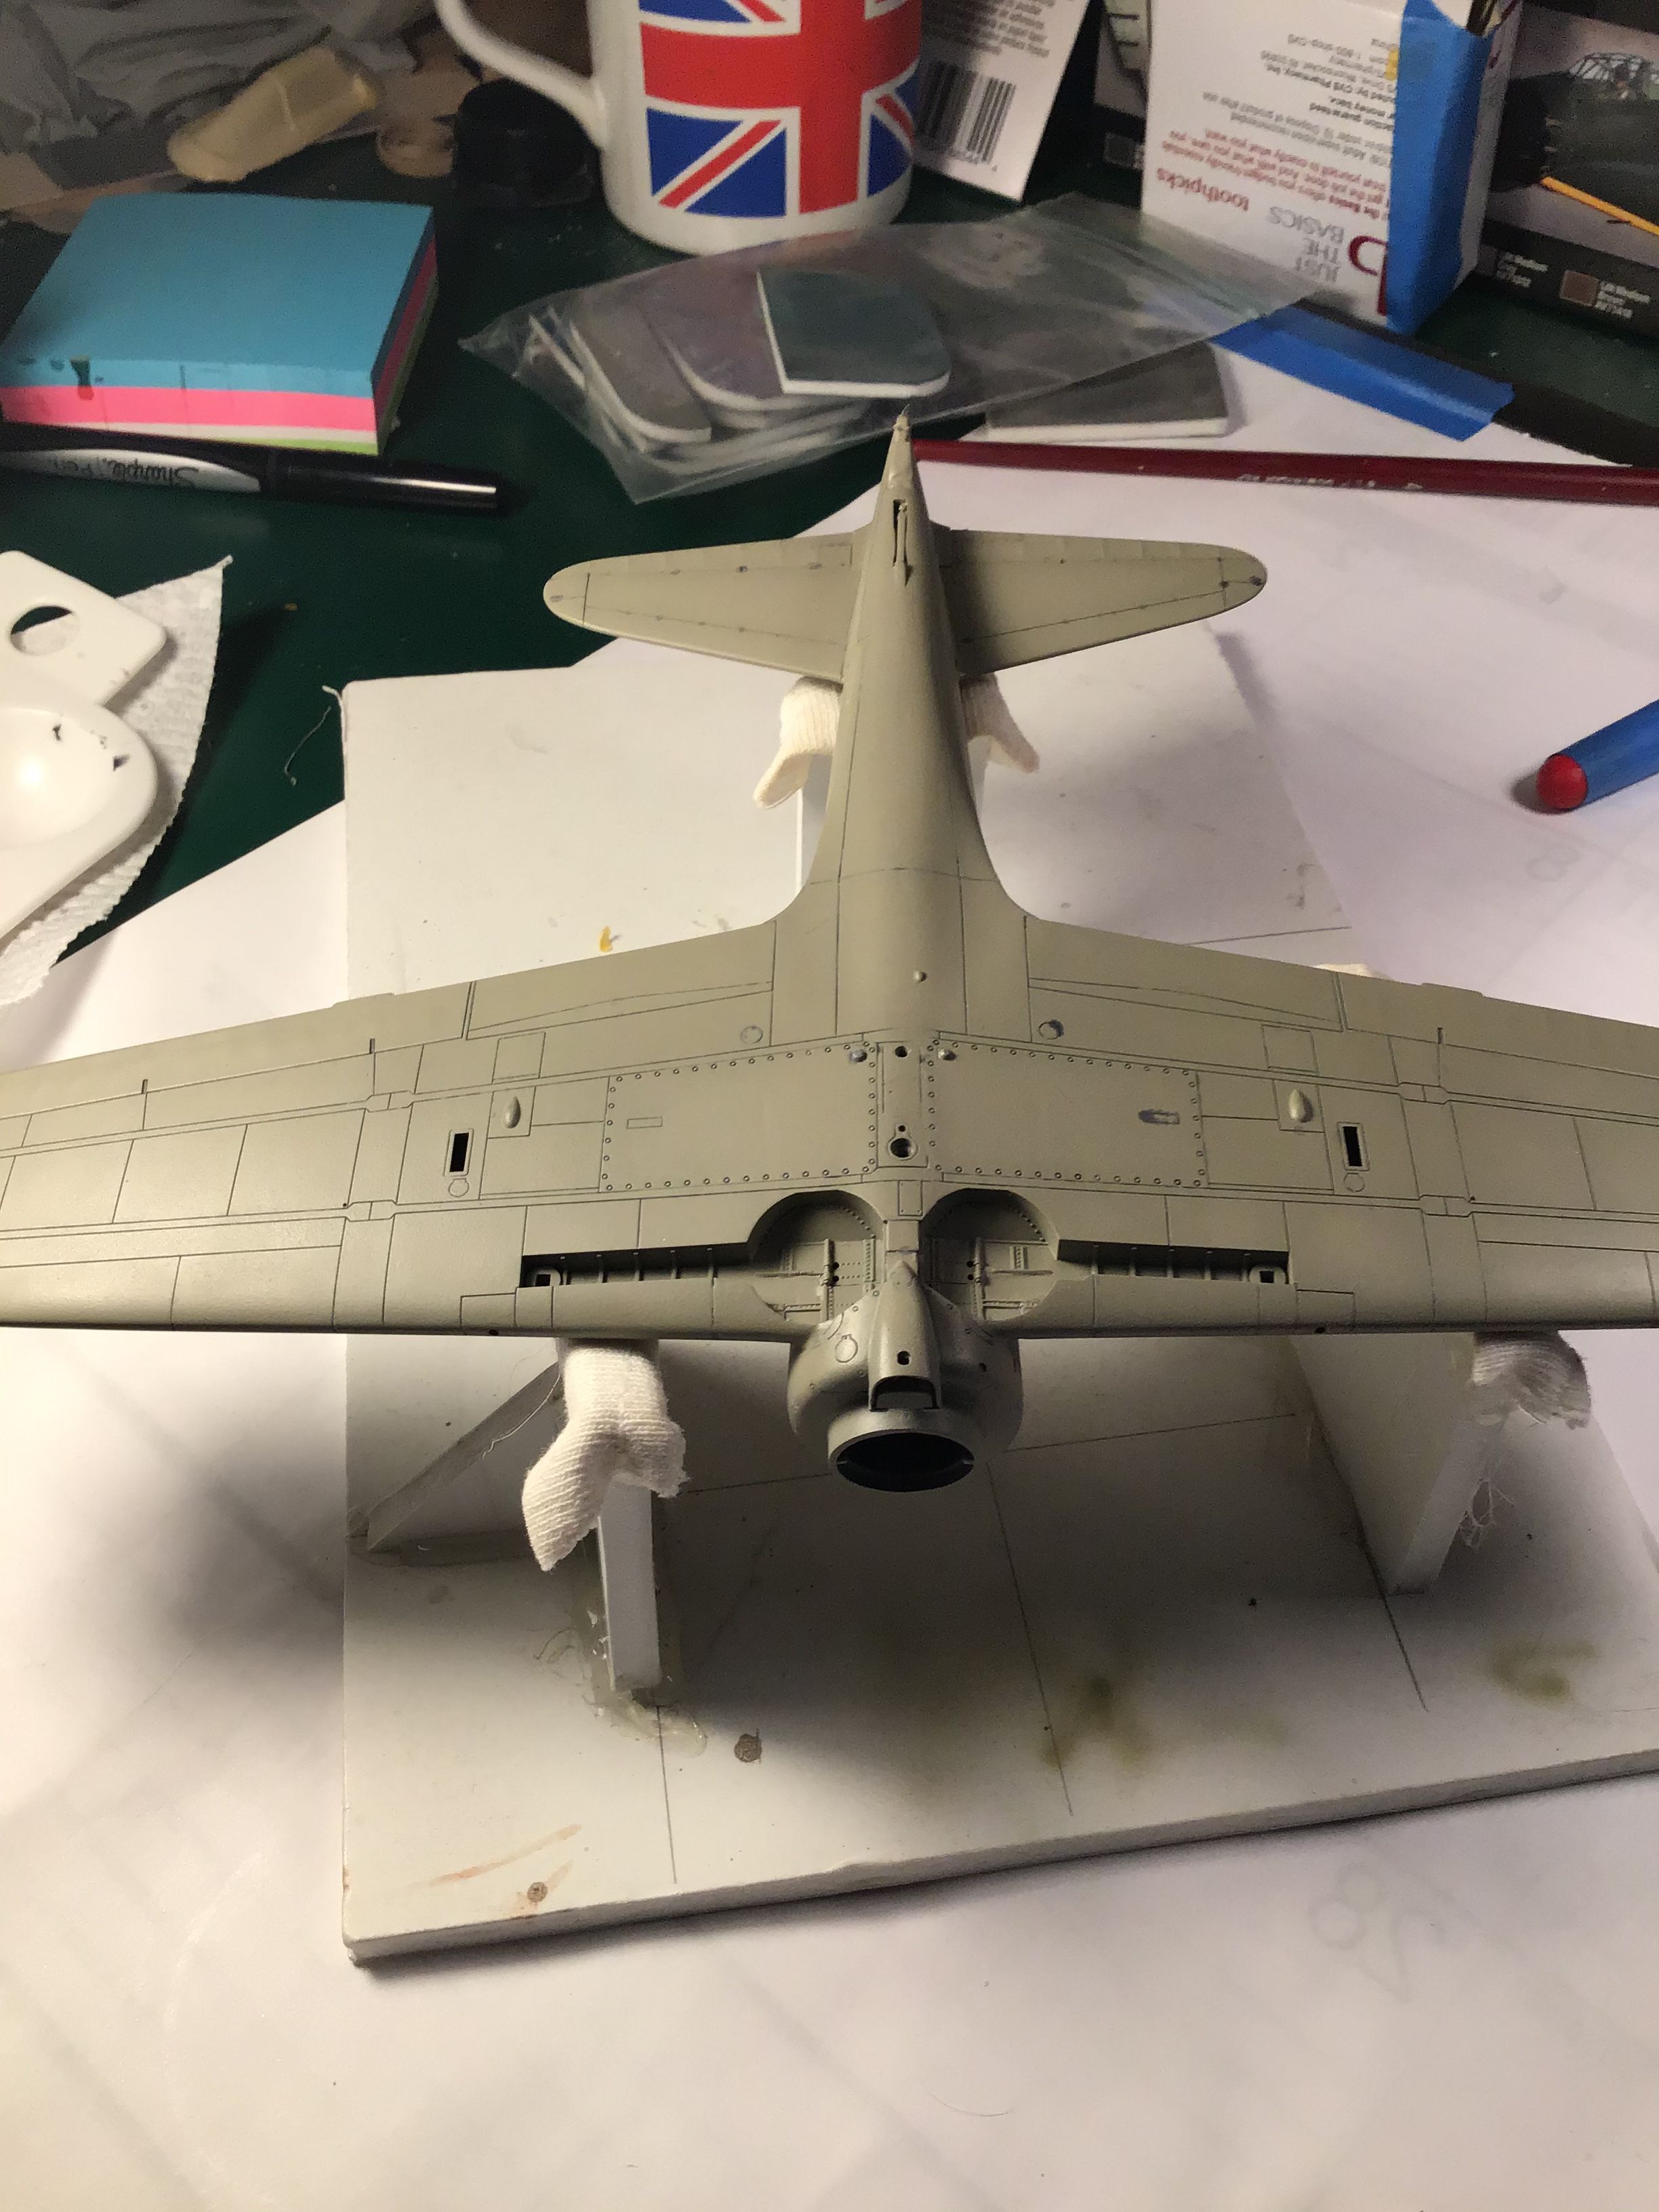
    fuselage nearly complete - all filling and rescribing done with the exception of the horizontal stabs which have just been glued up on the glass plate with machinists blocks to keep all square …

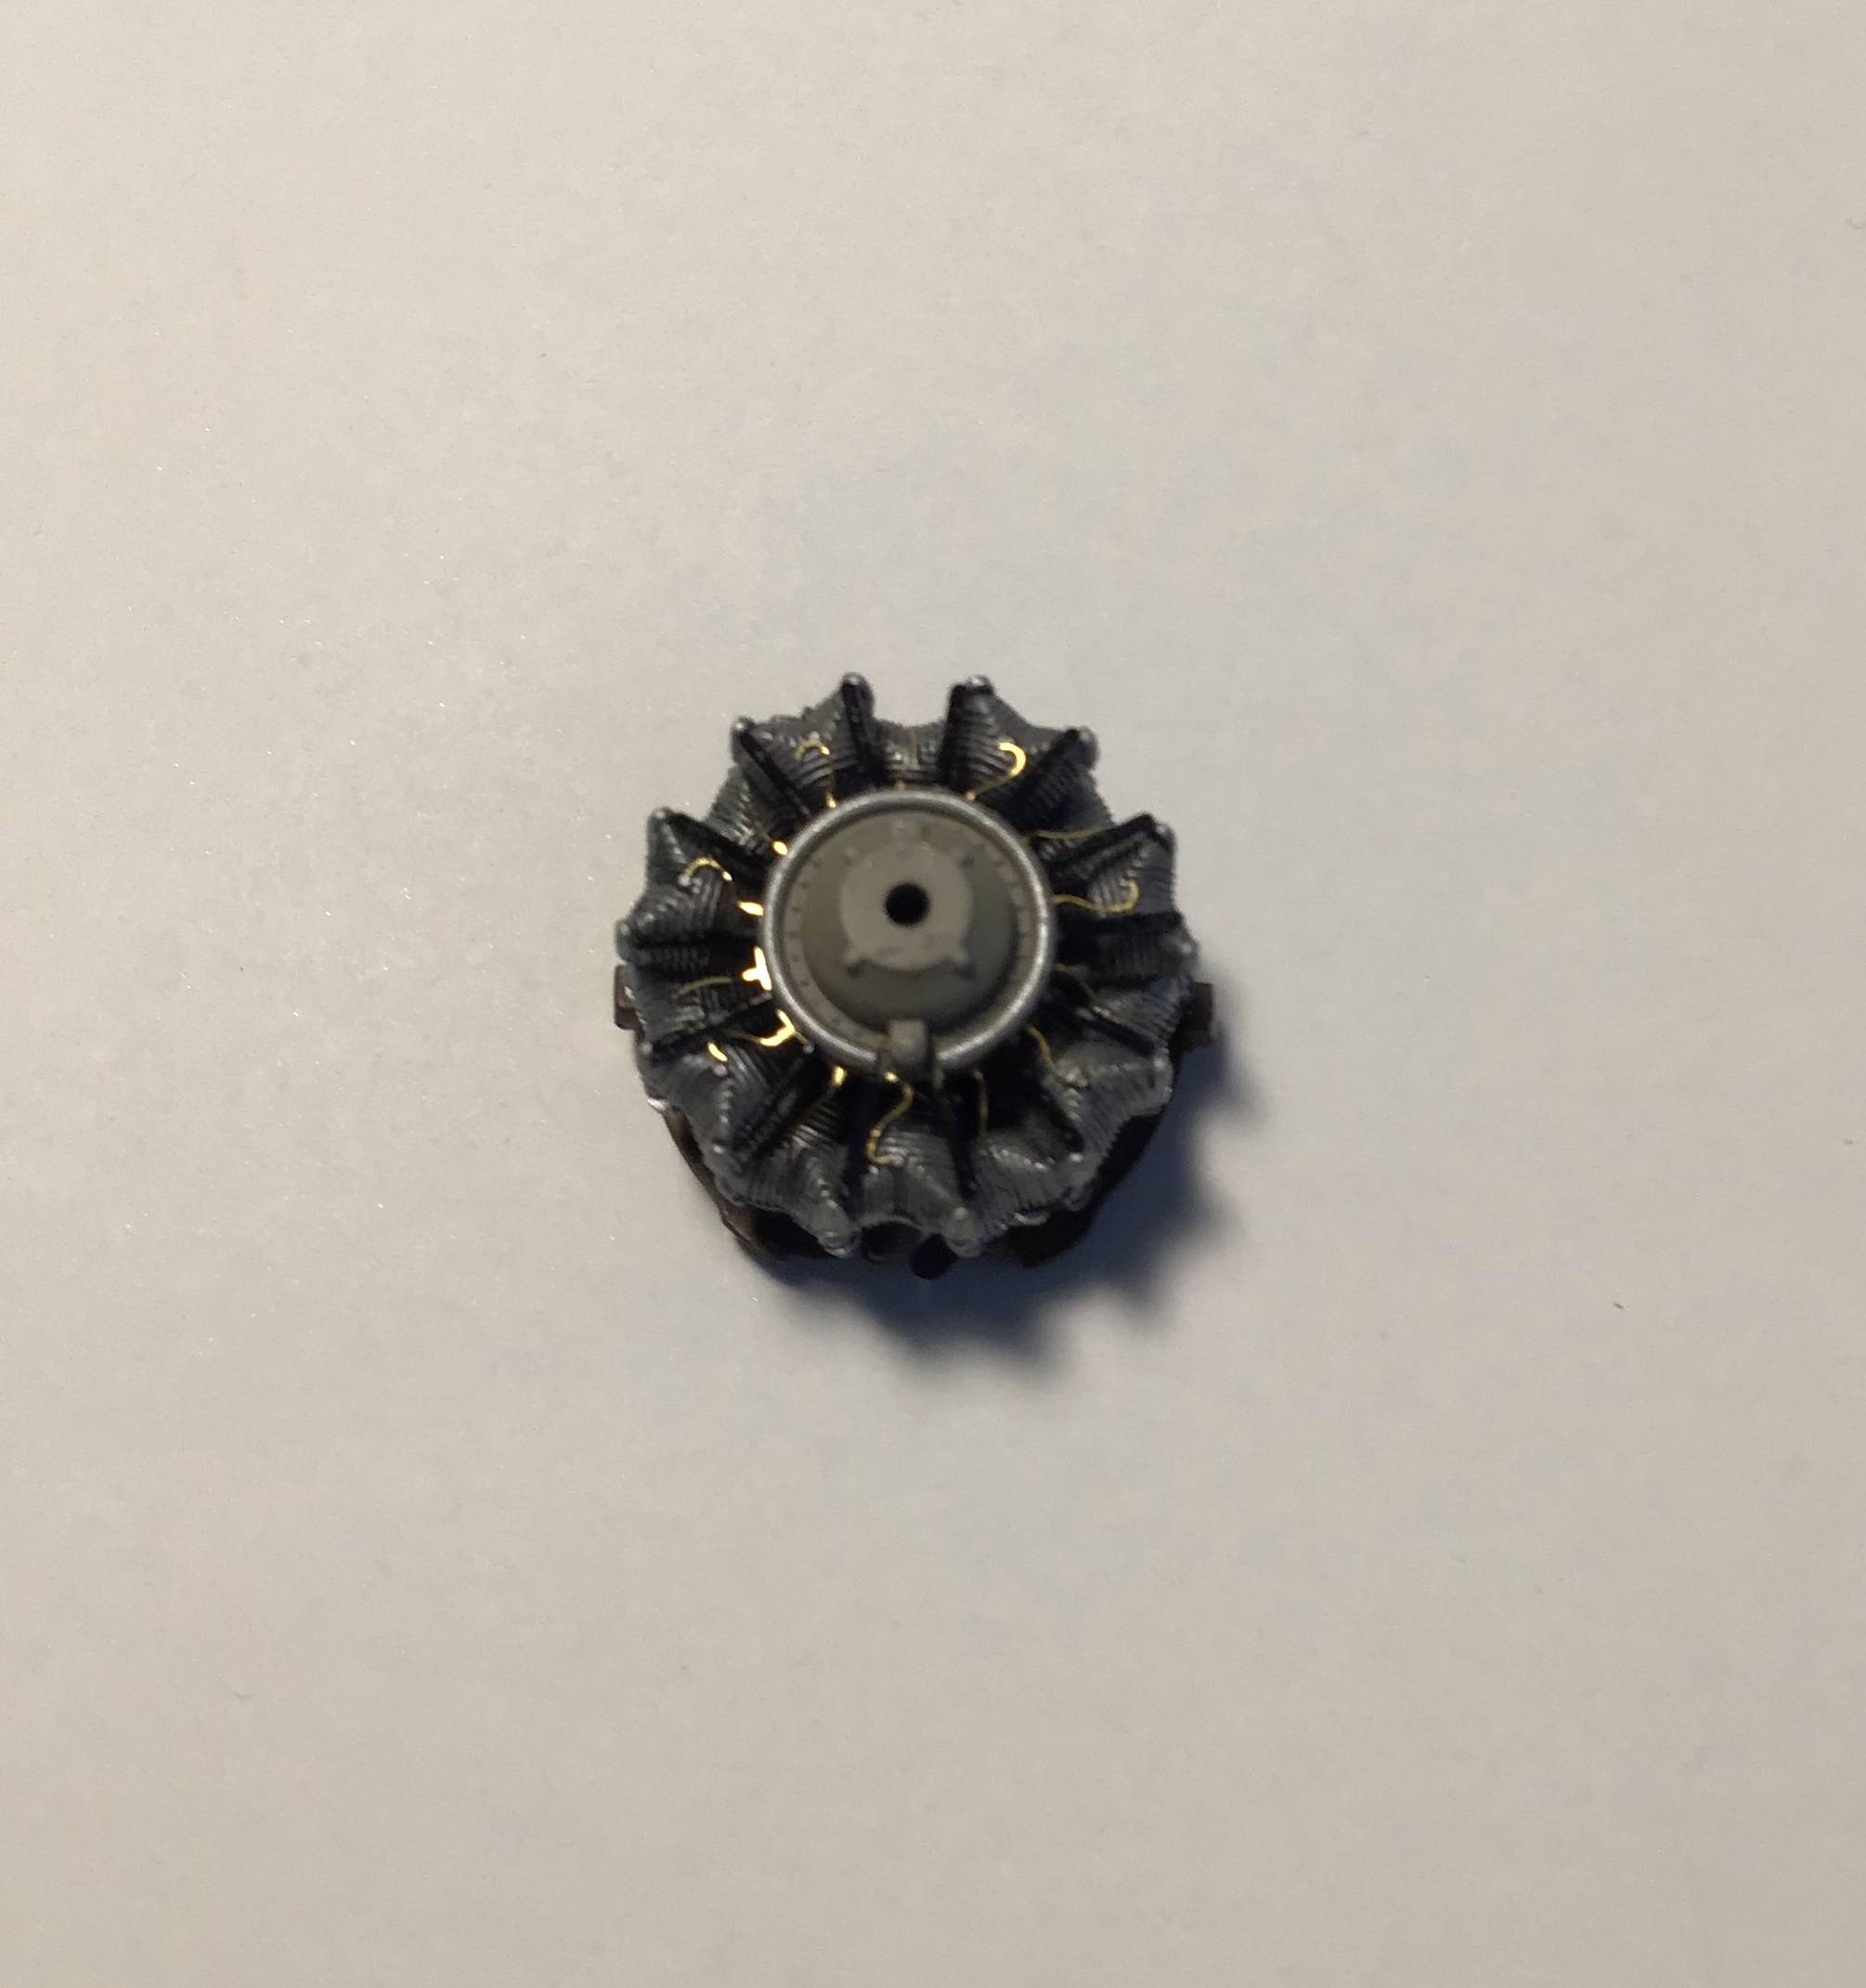
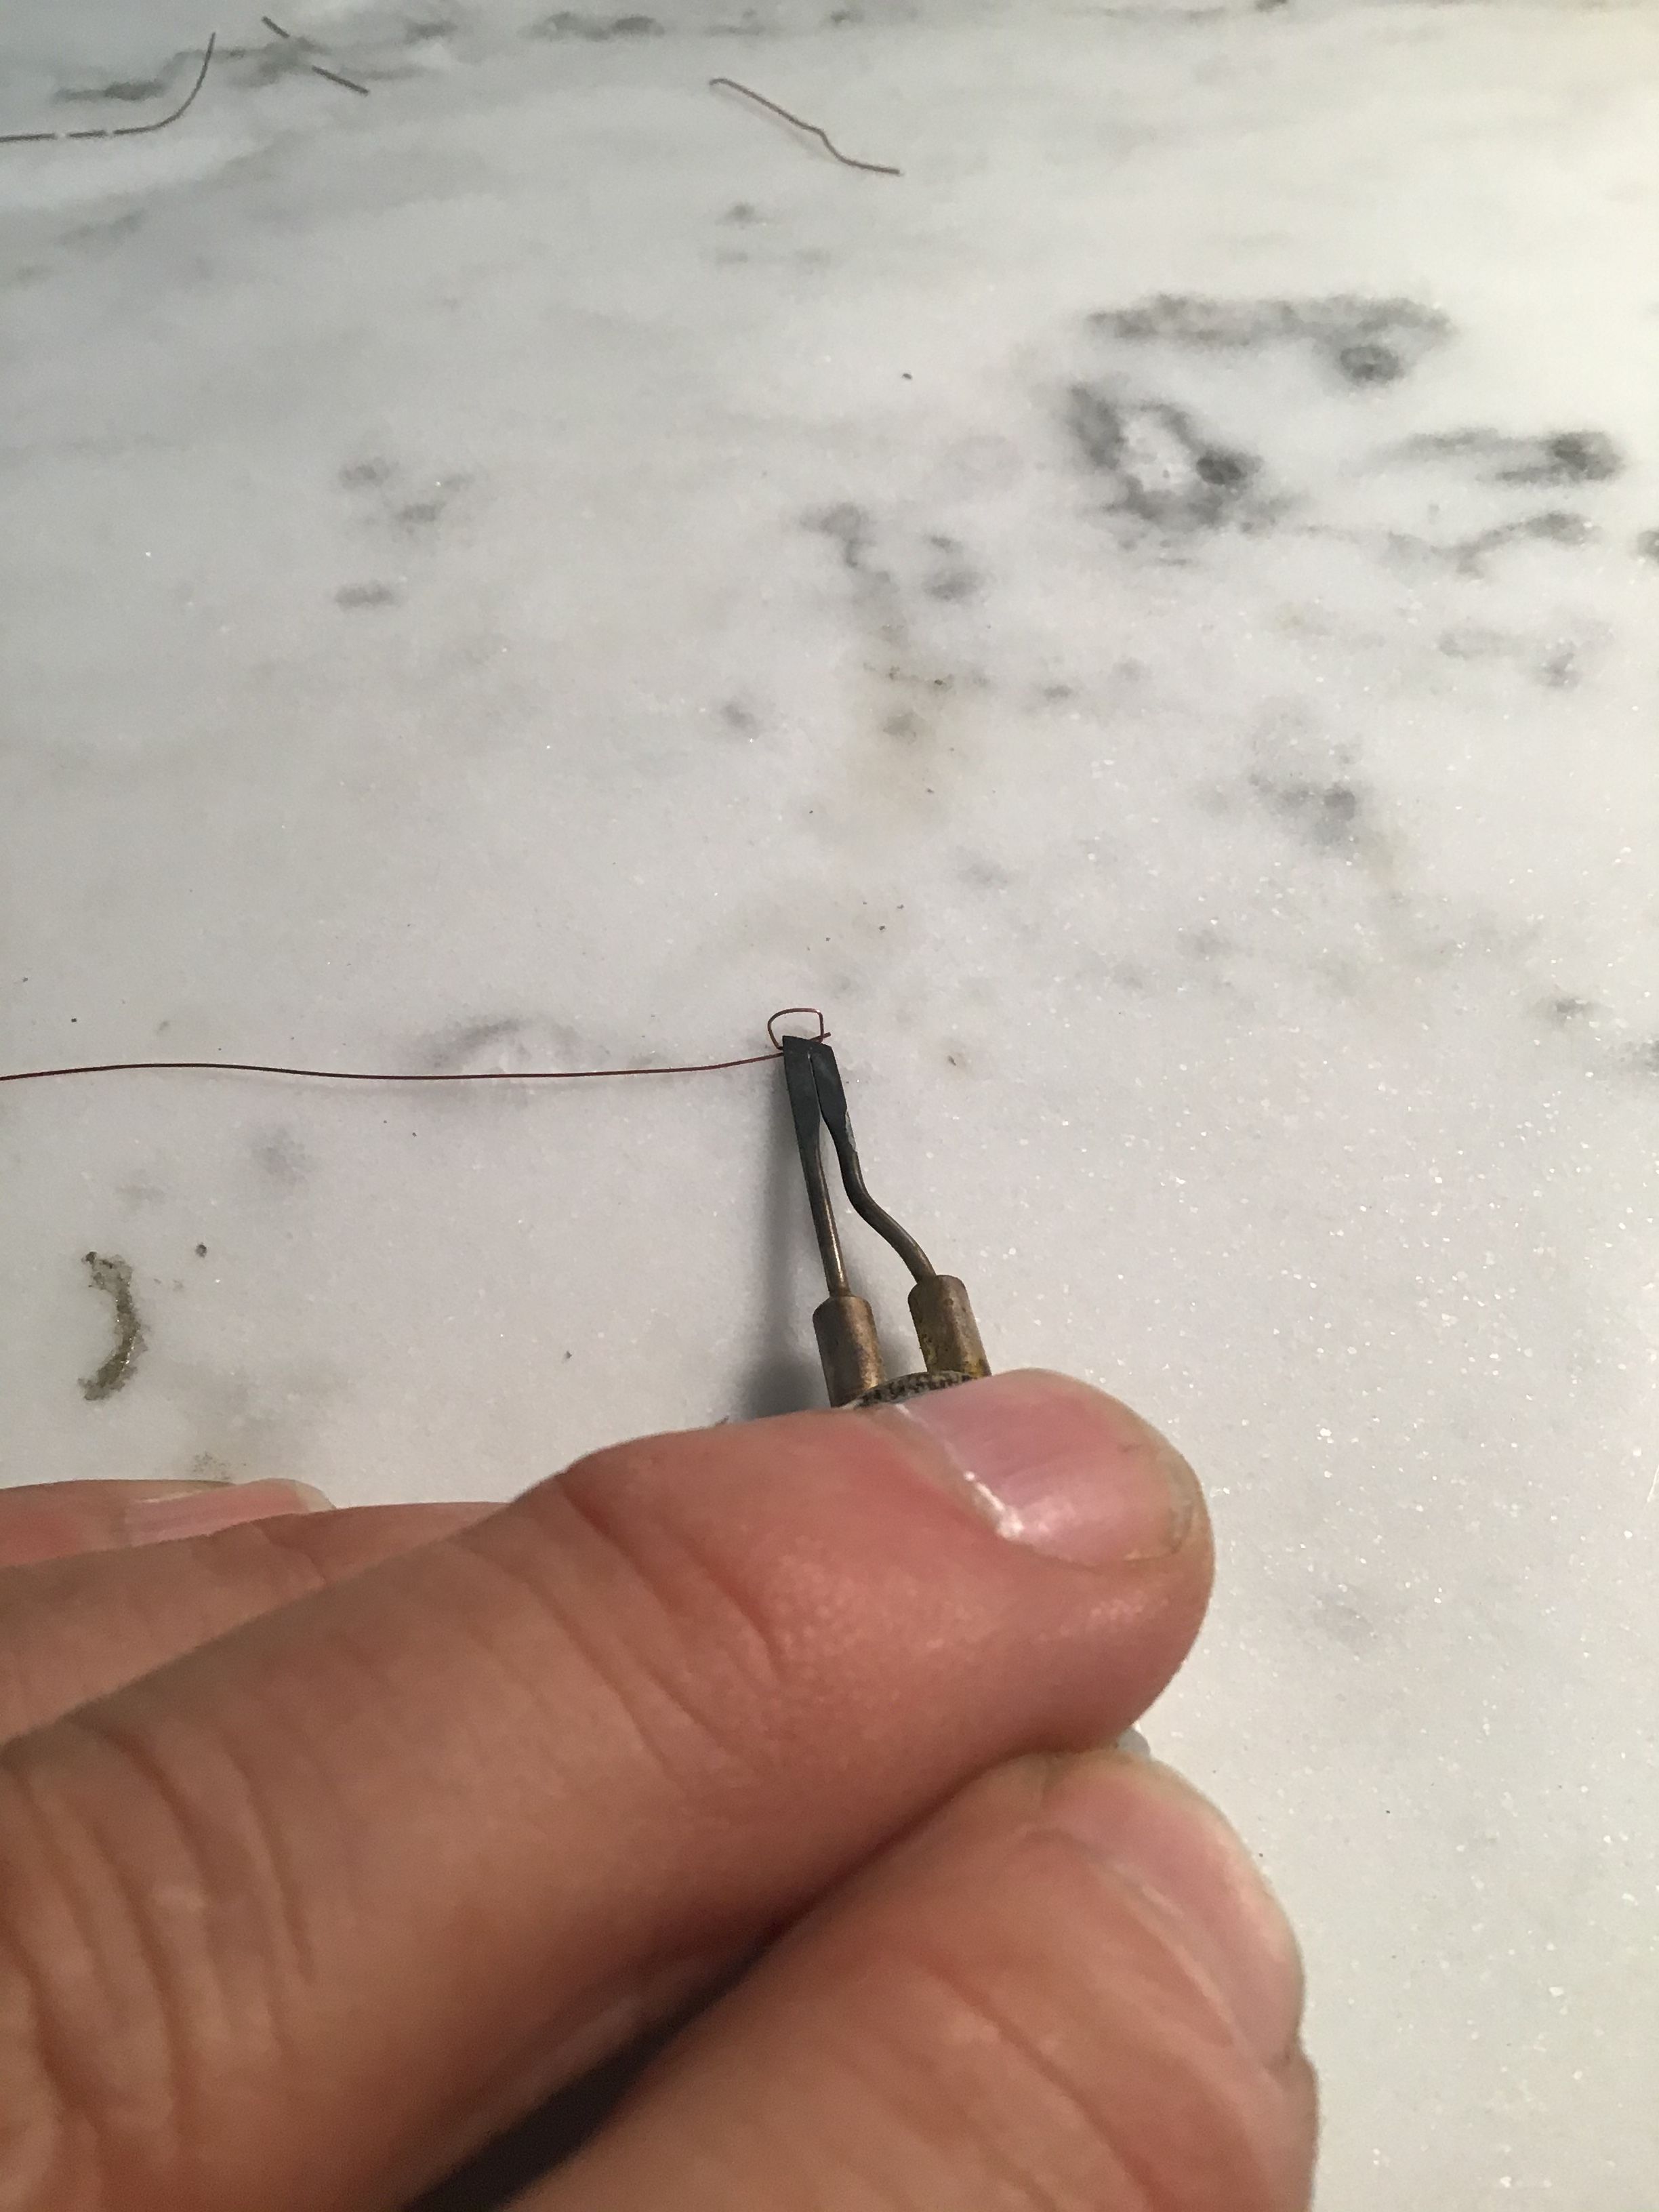
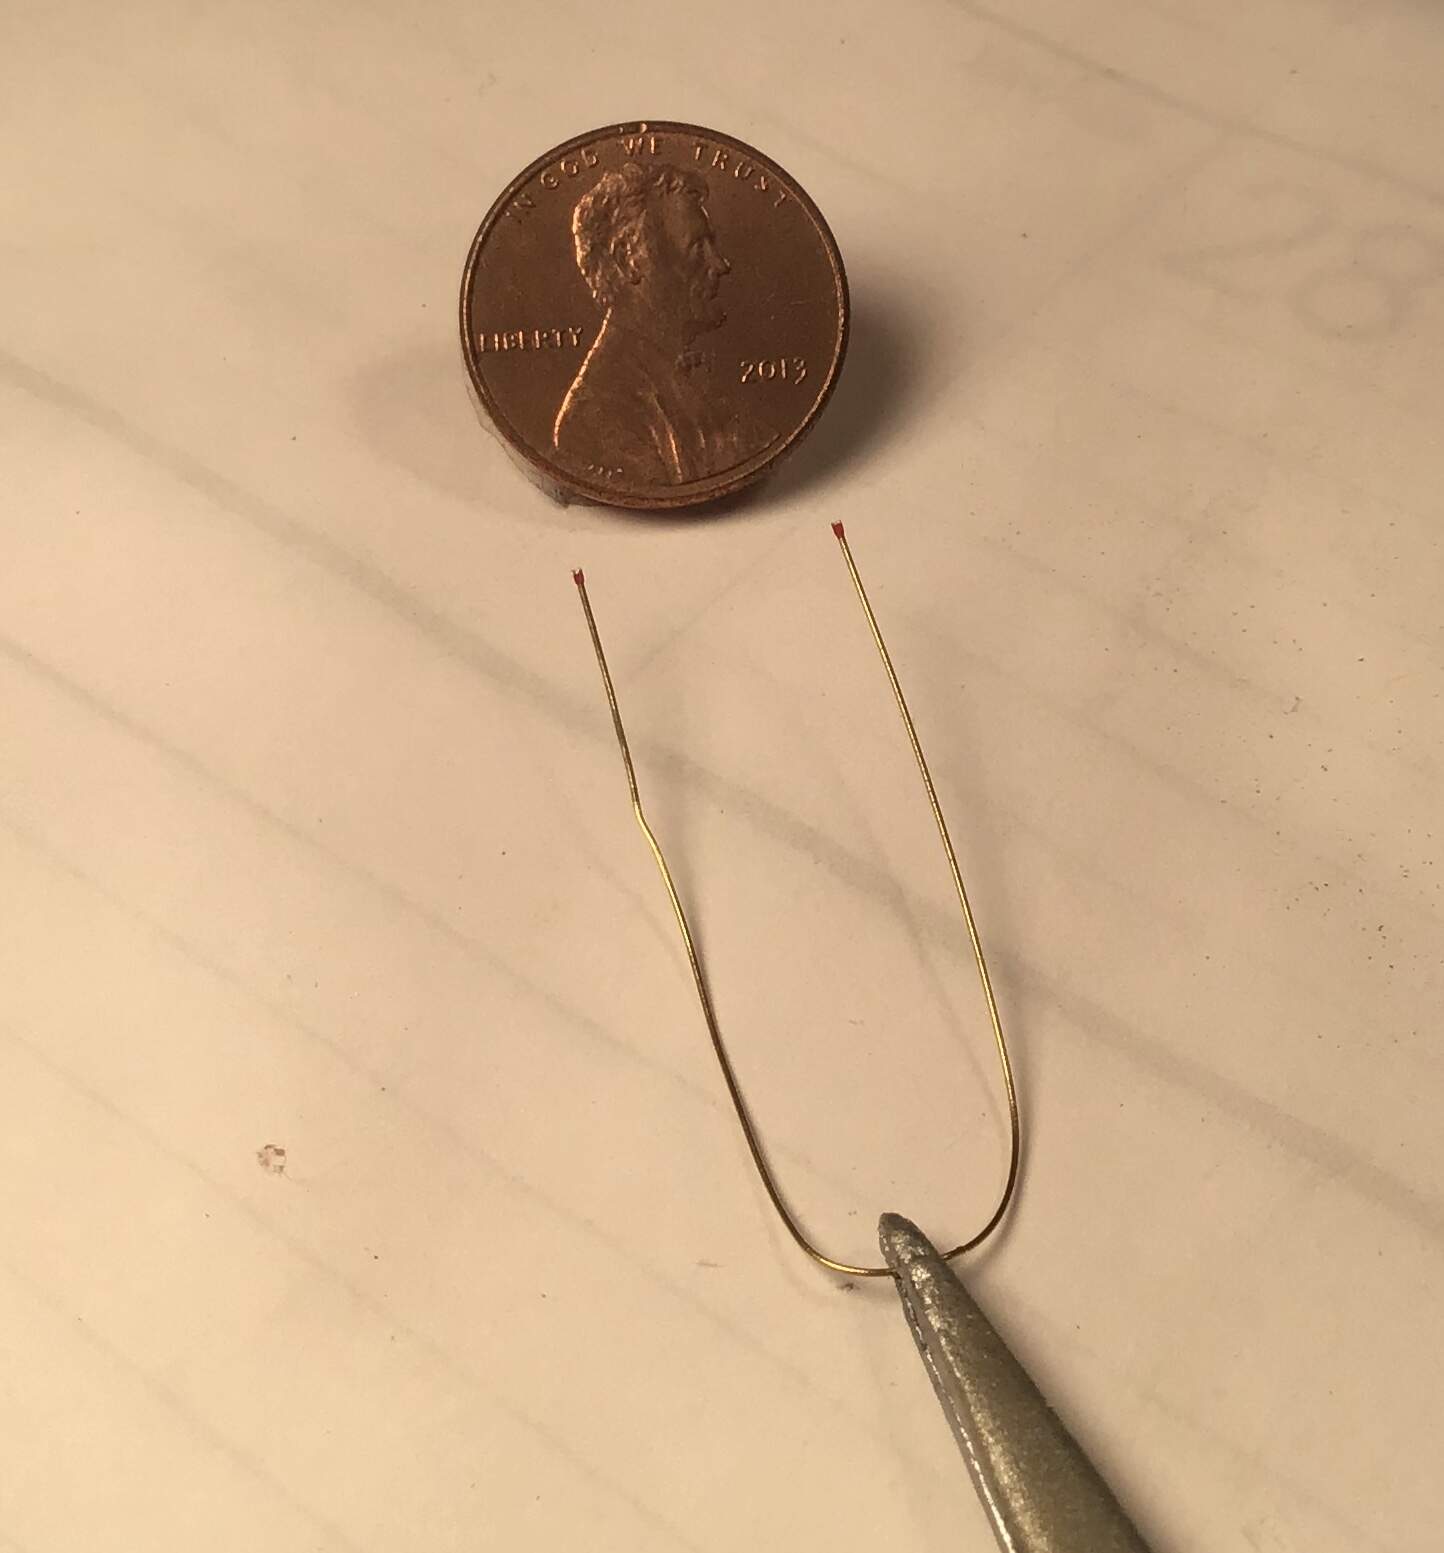
    and the engine done - Eduard photo etch ignition wires added. These are a little lame . As this was a 14 cylinder radial with 2 plugs per cylinder there should be 28 leads. Hasegawa also did not include the little bosses on the ignition ring where the leads exit so the Eduard piece just lies behind all - not real convincing.

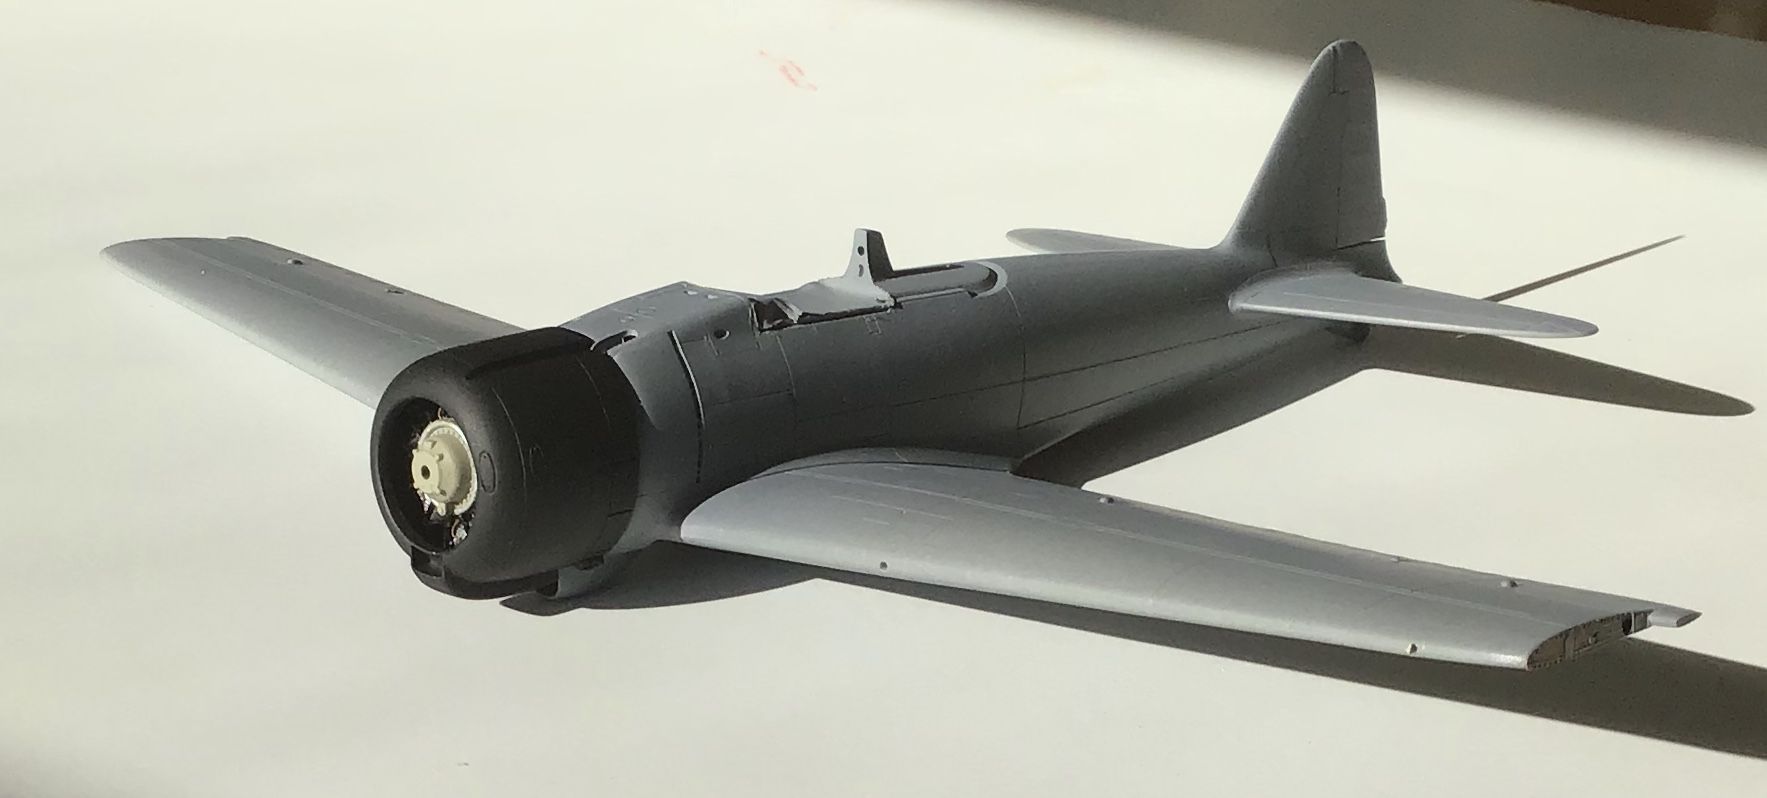
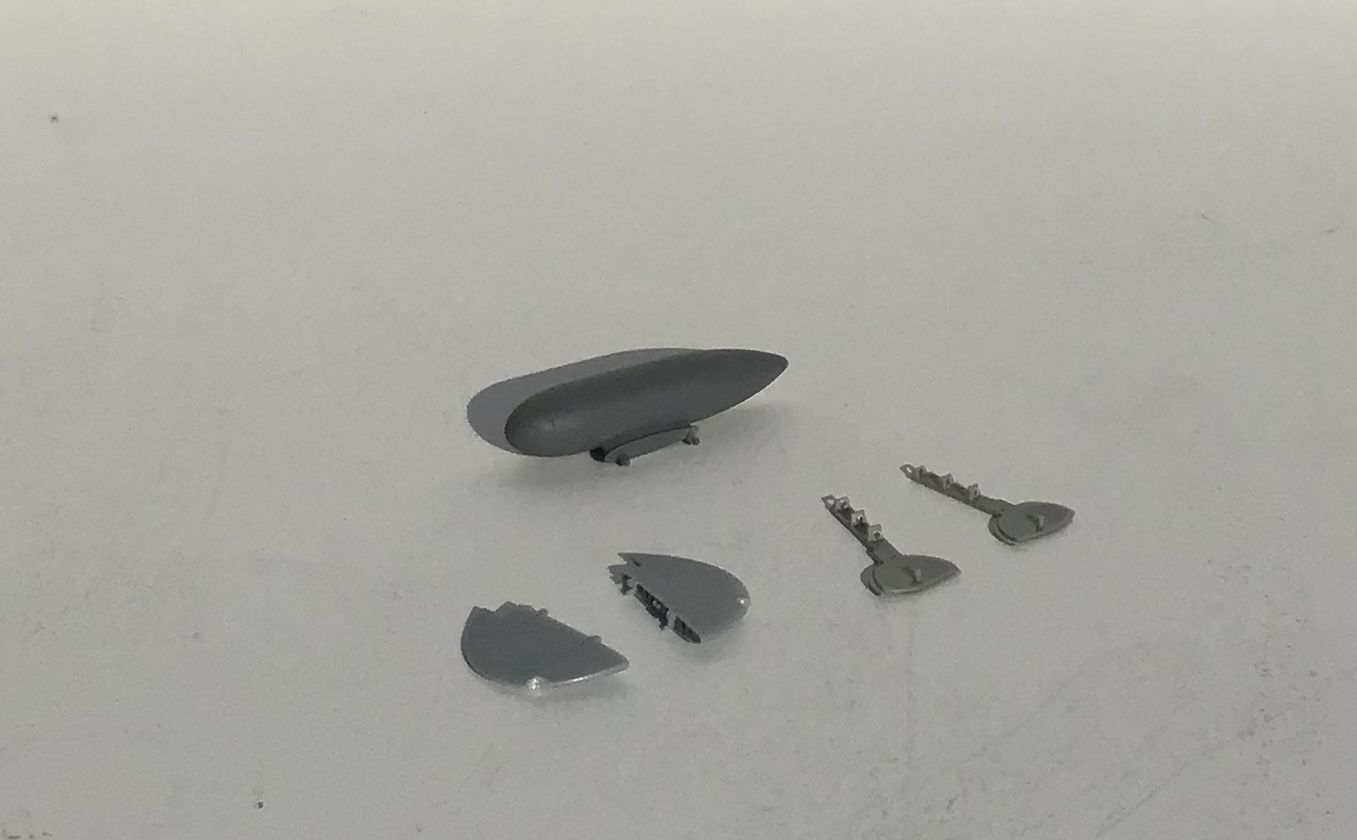
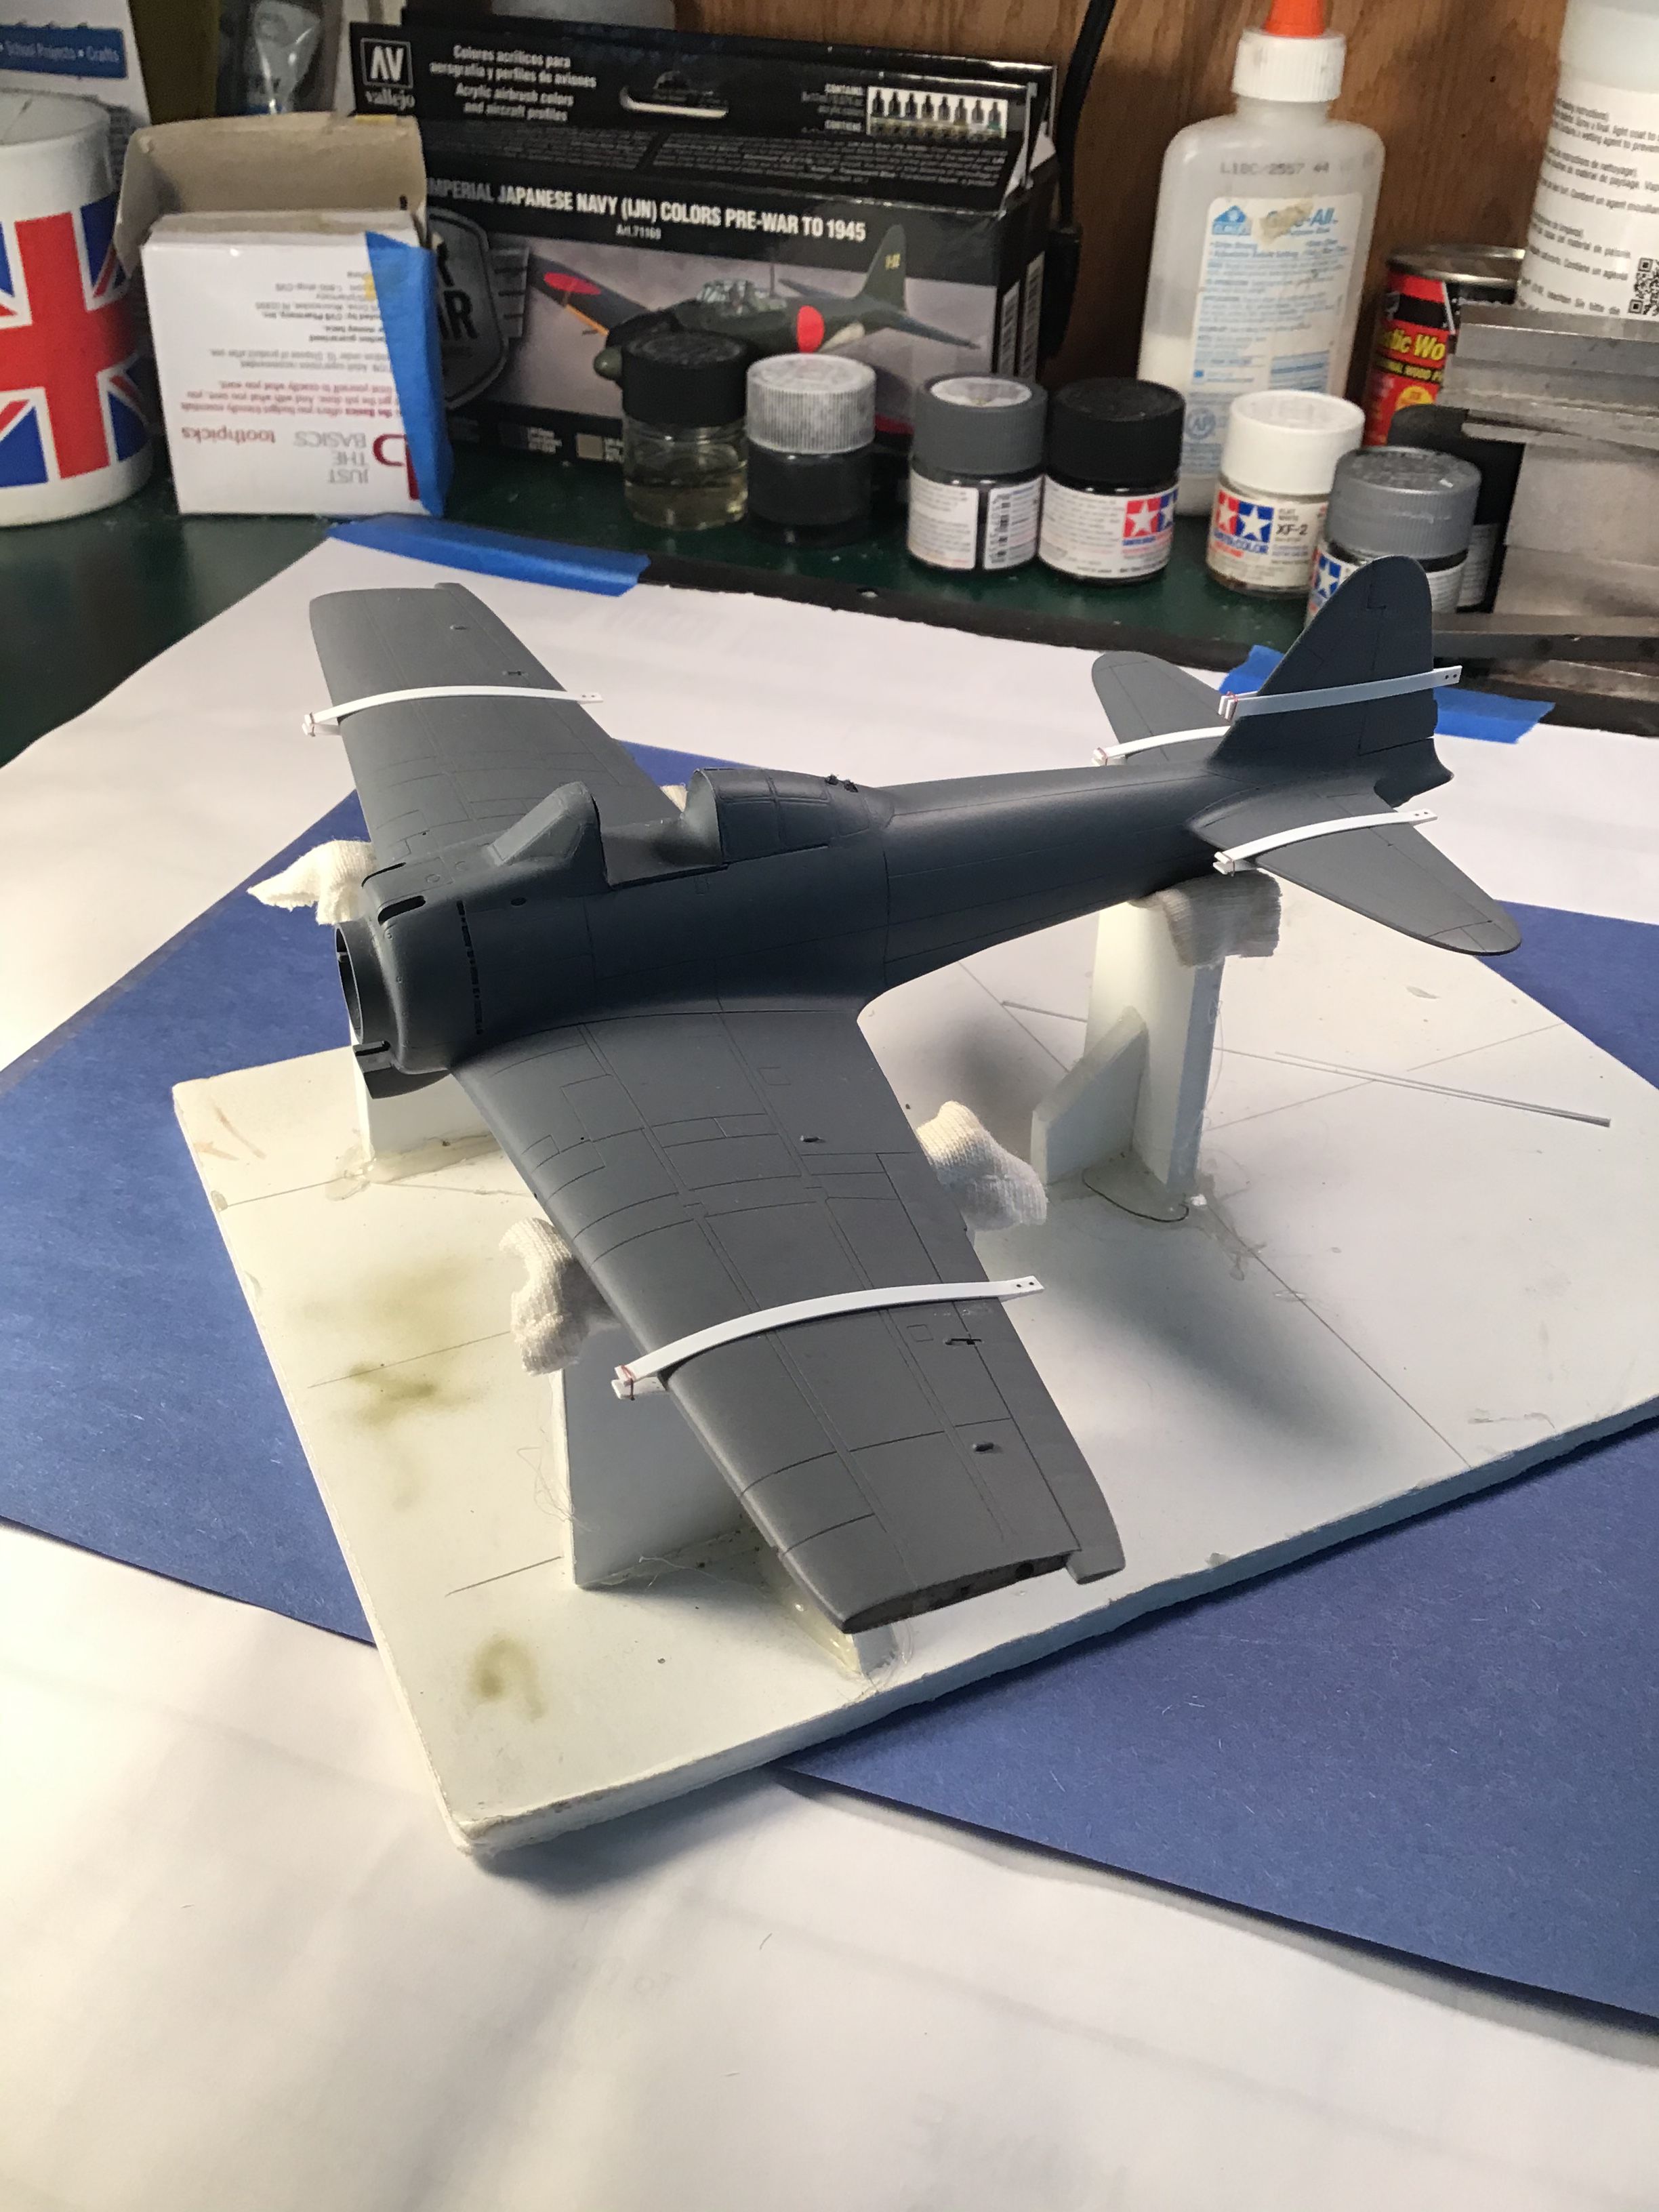
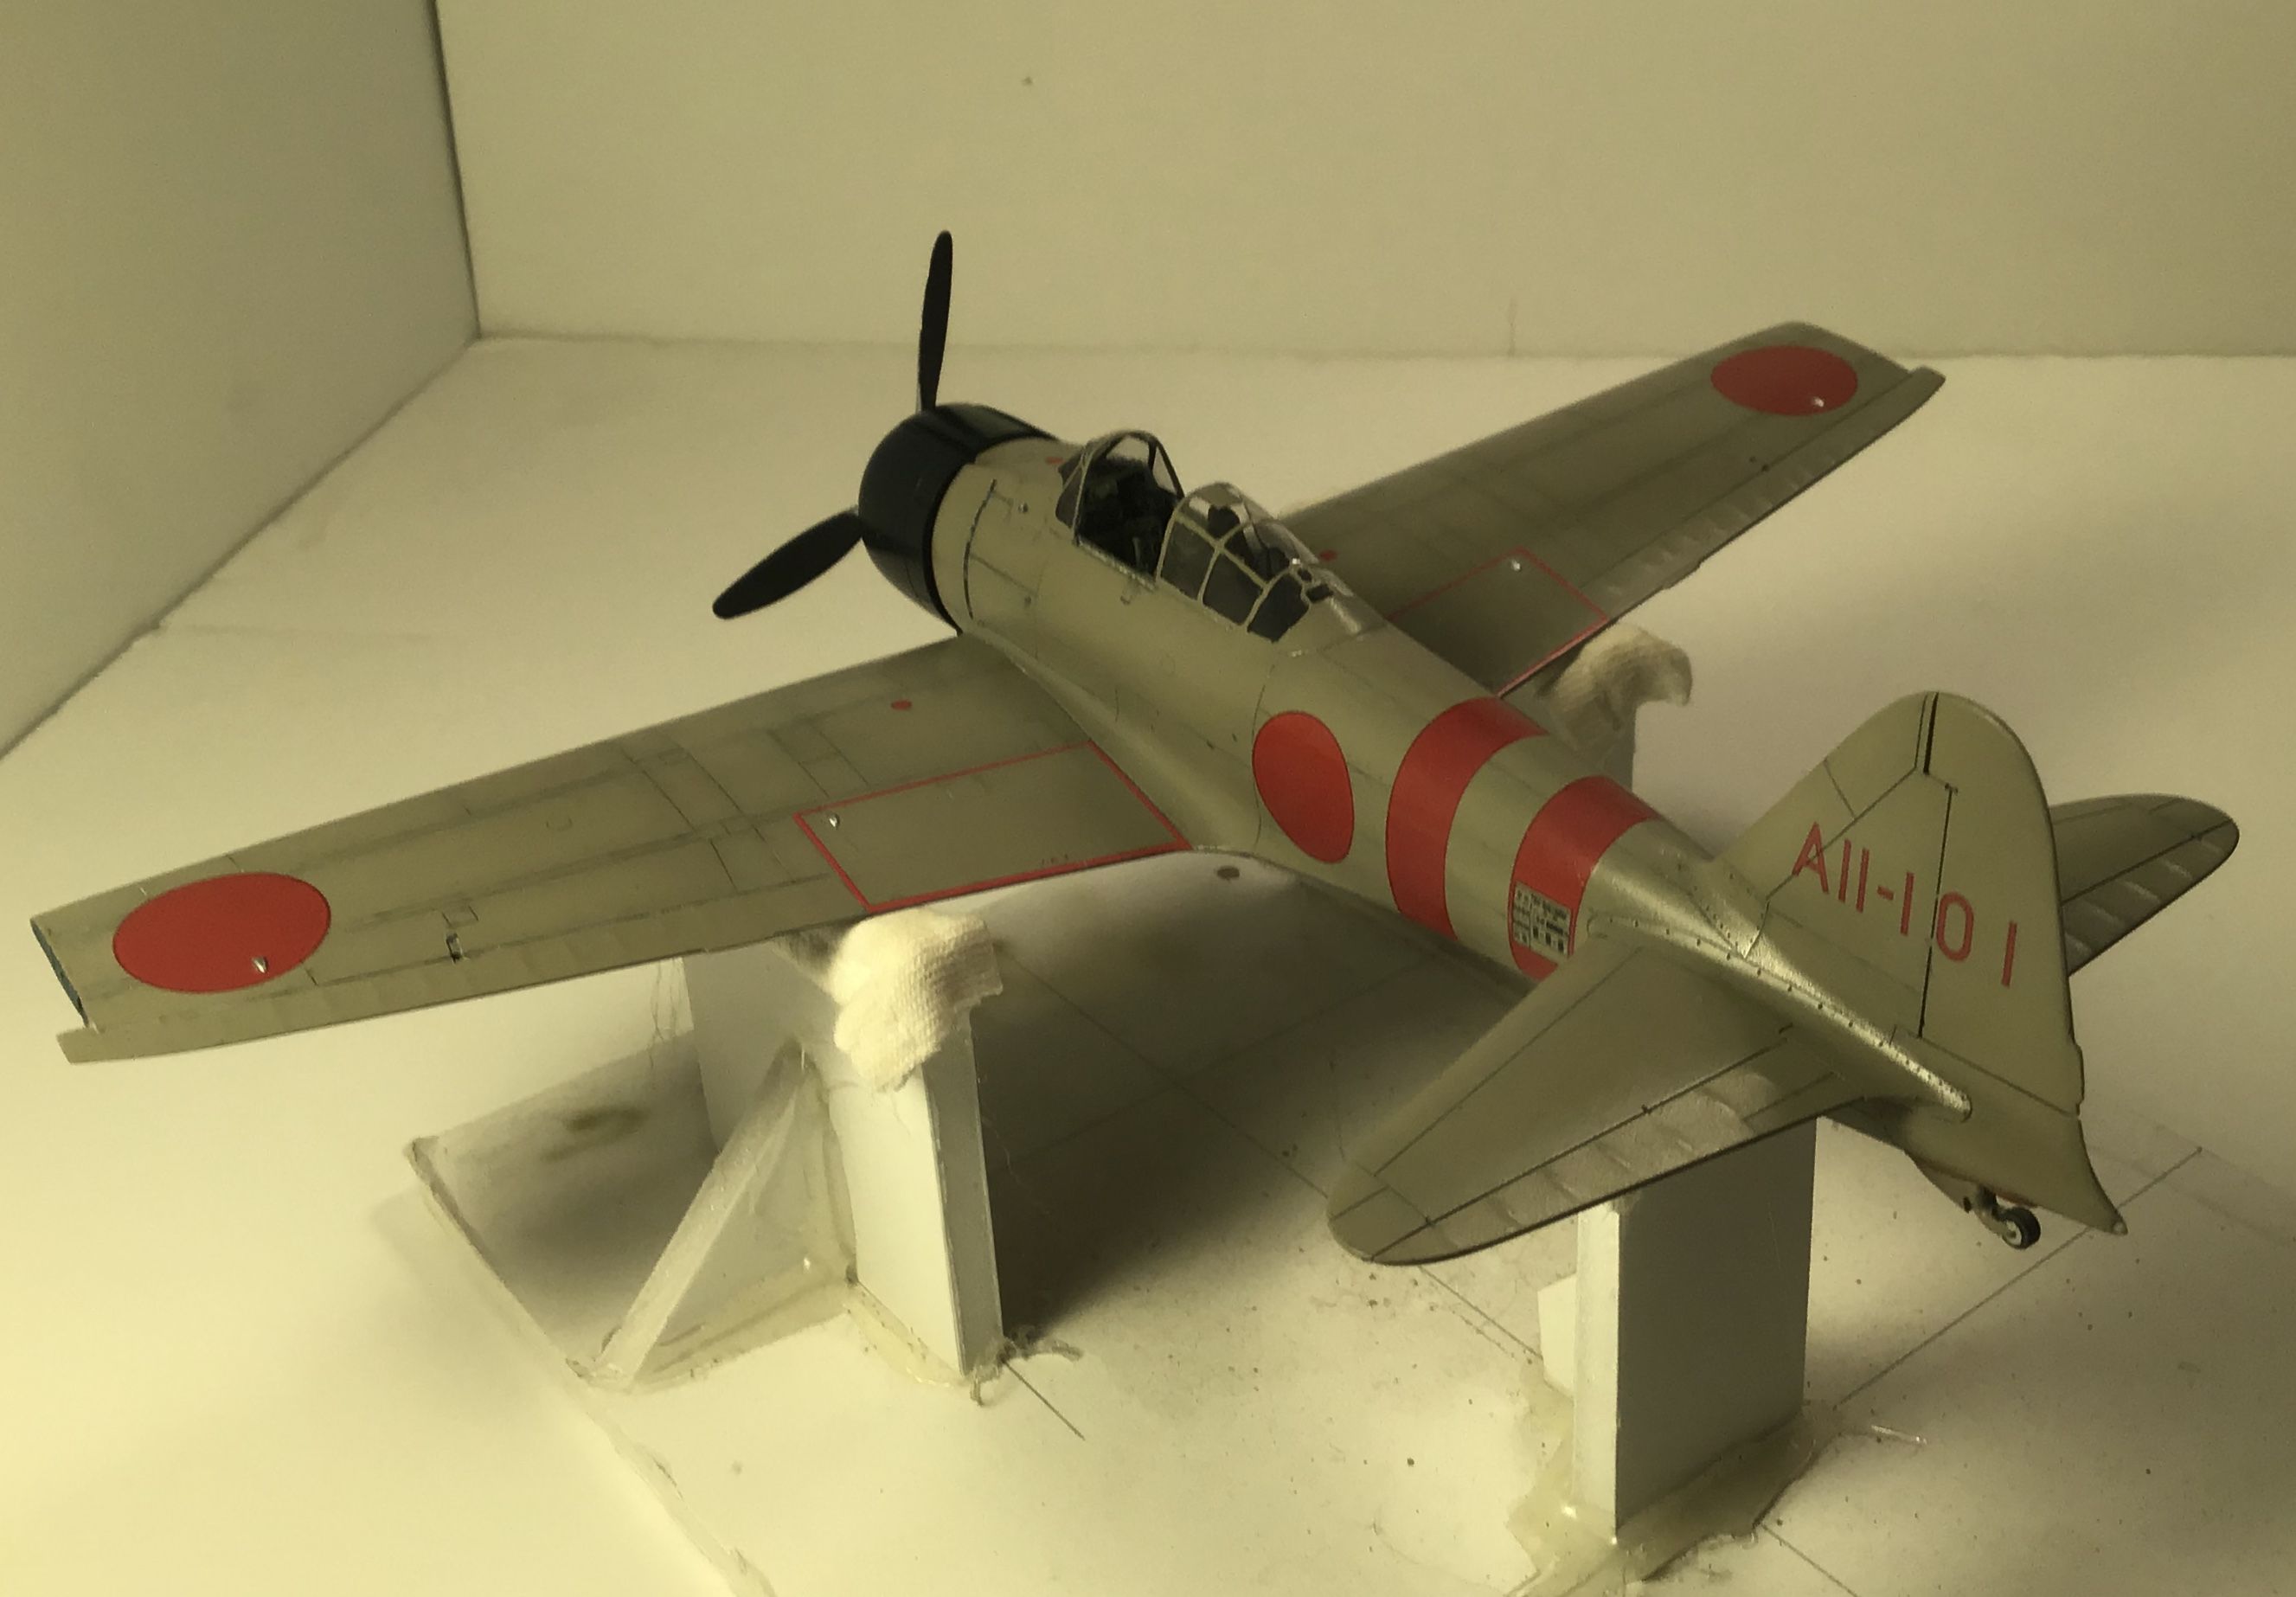
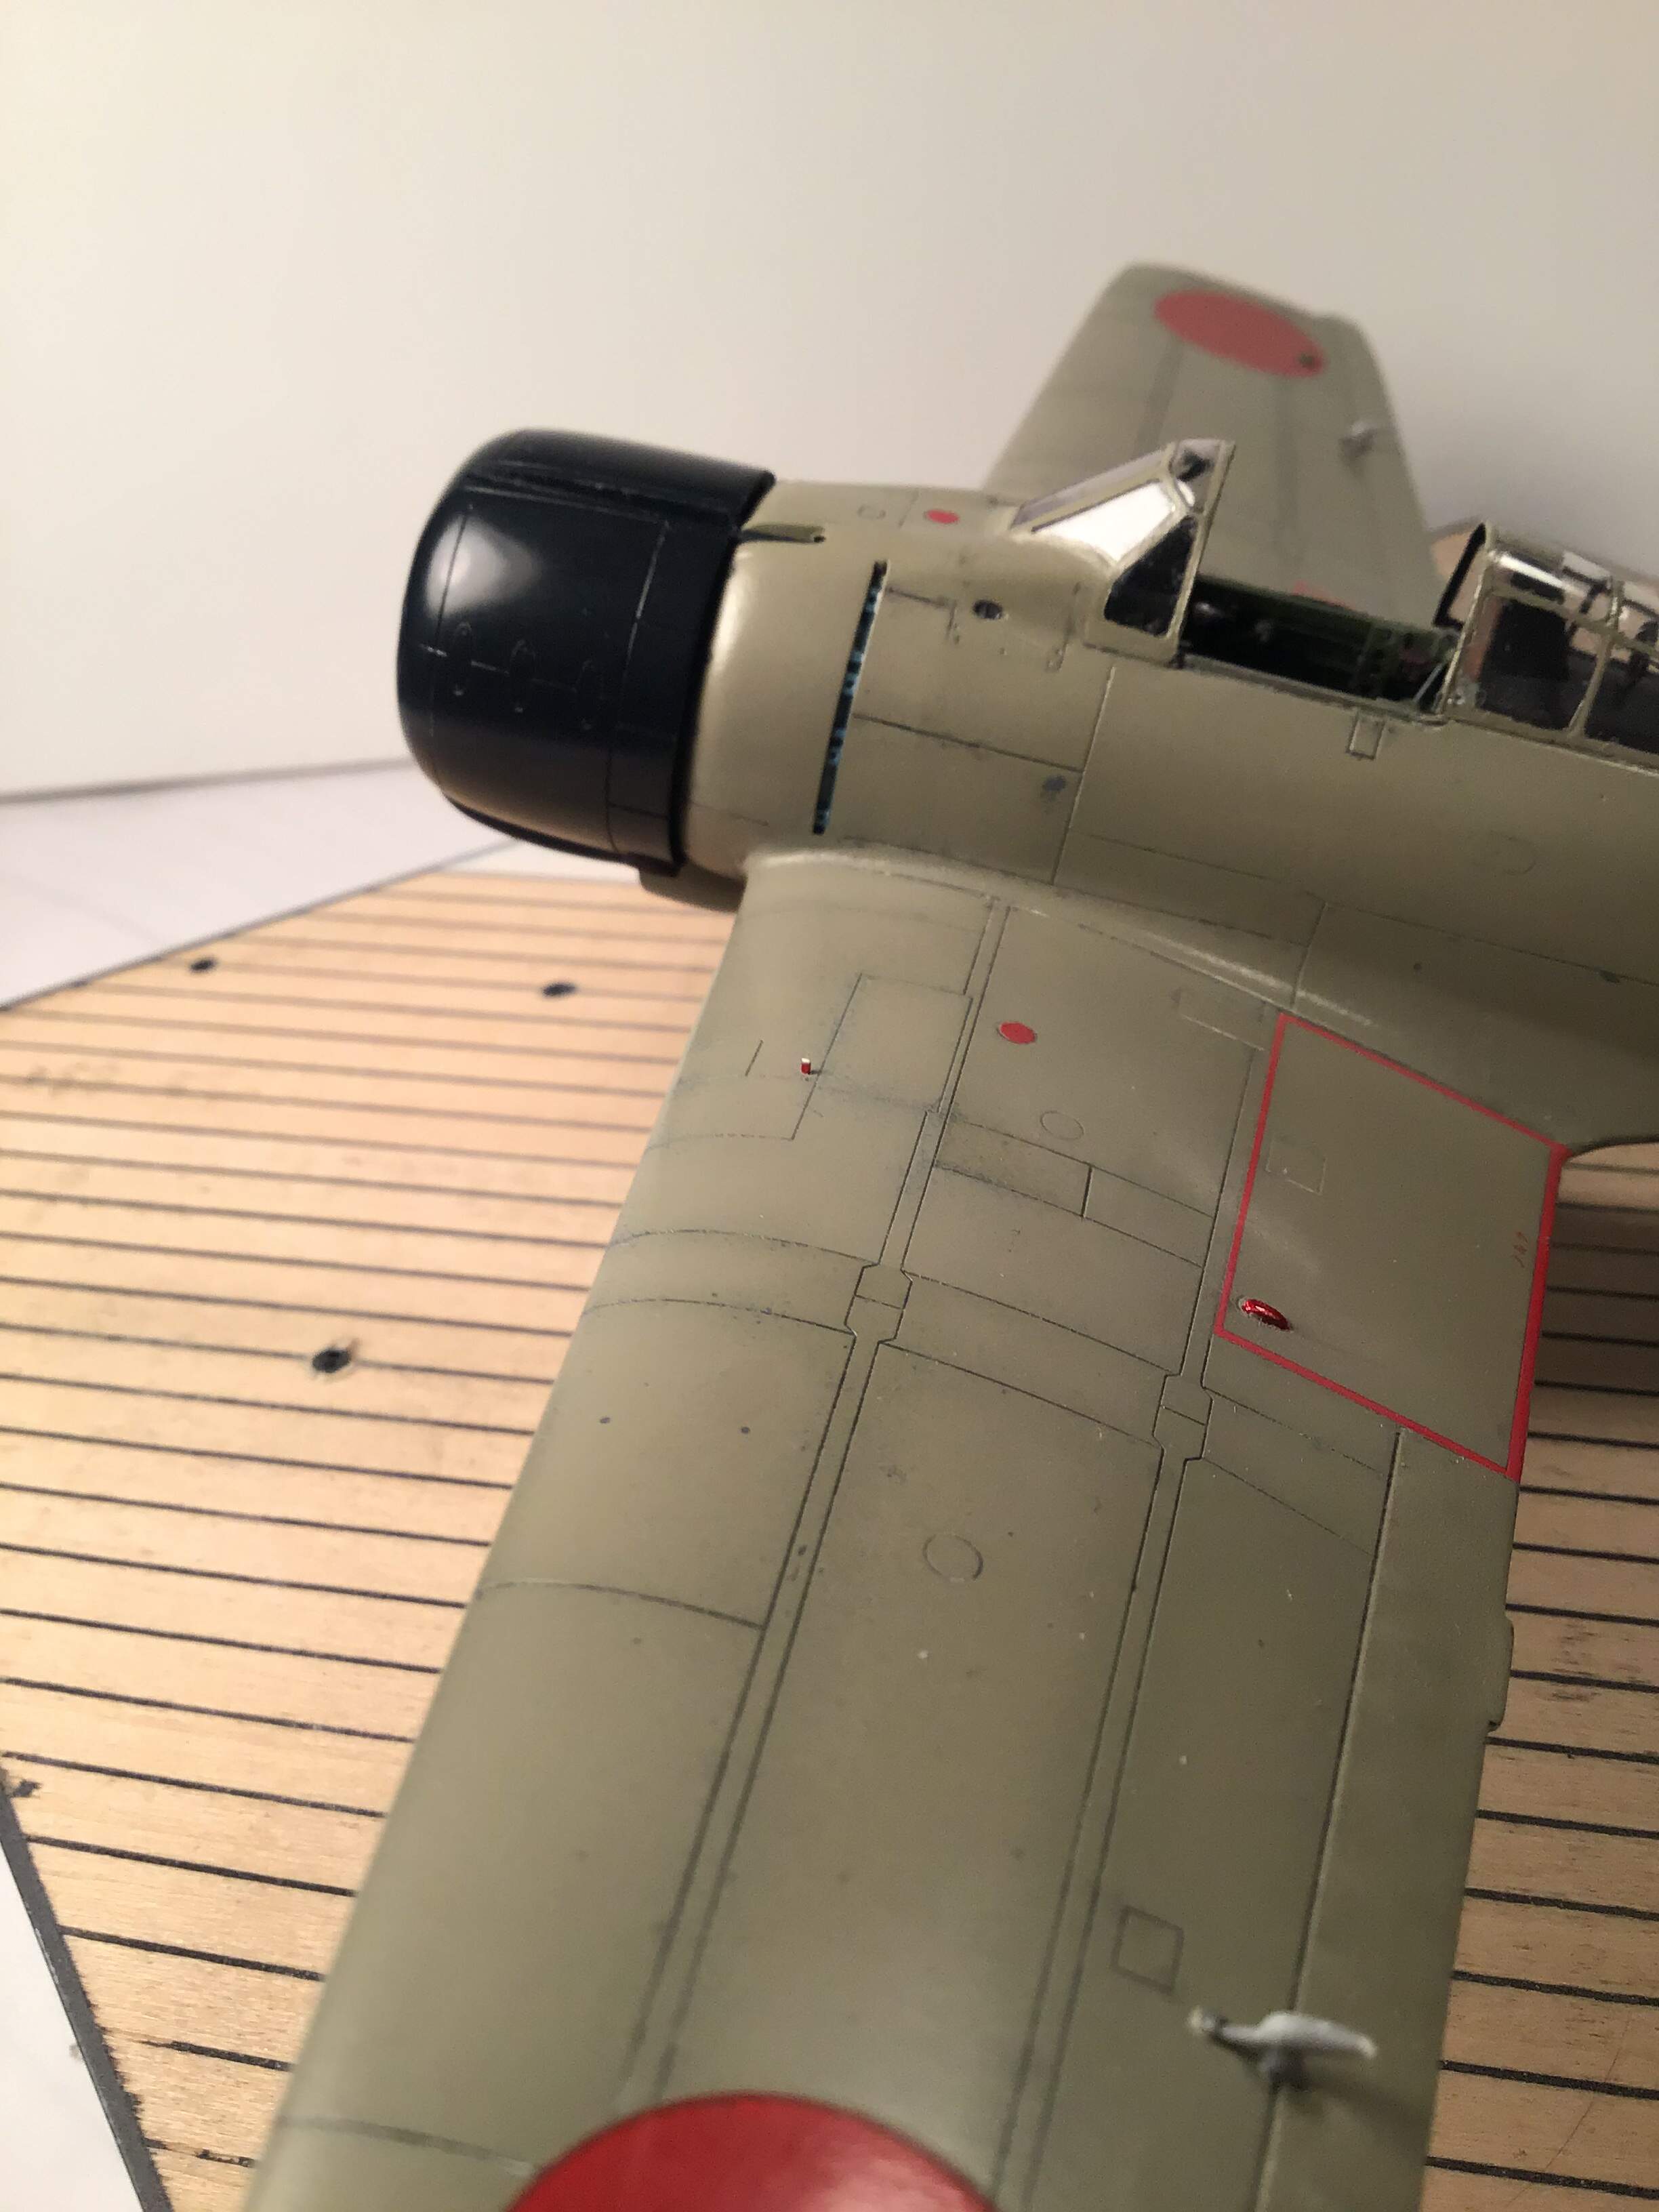
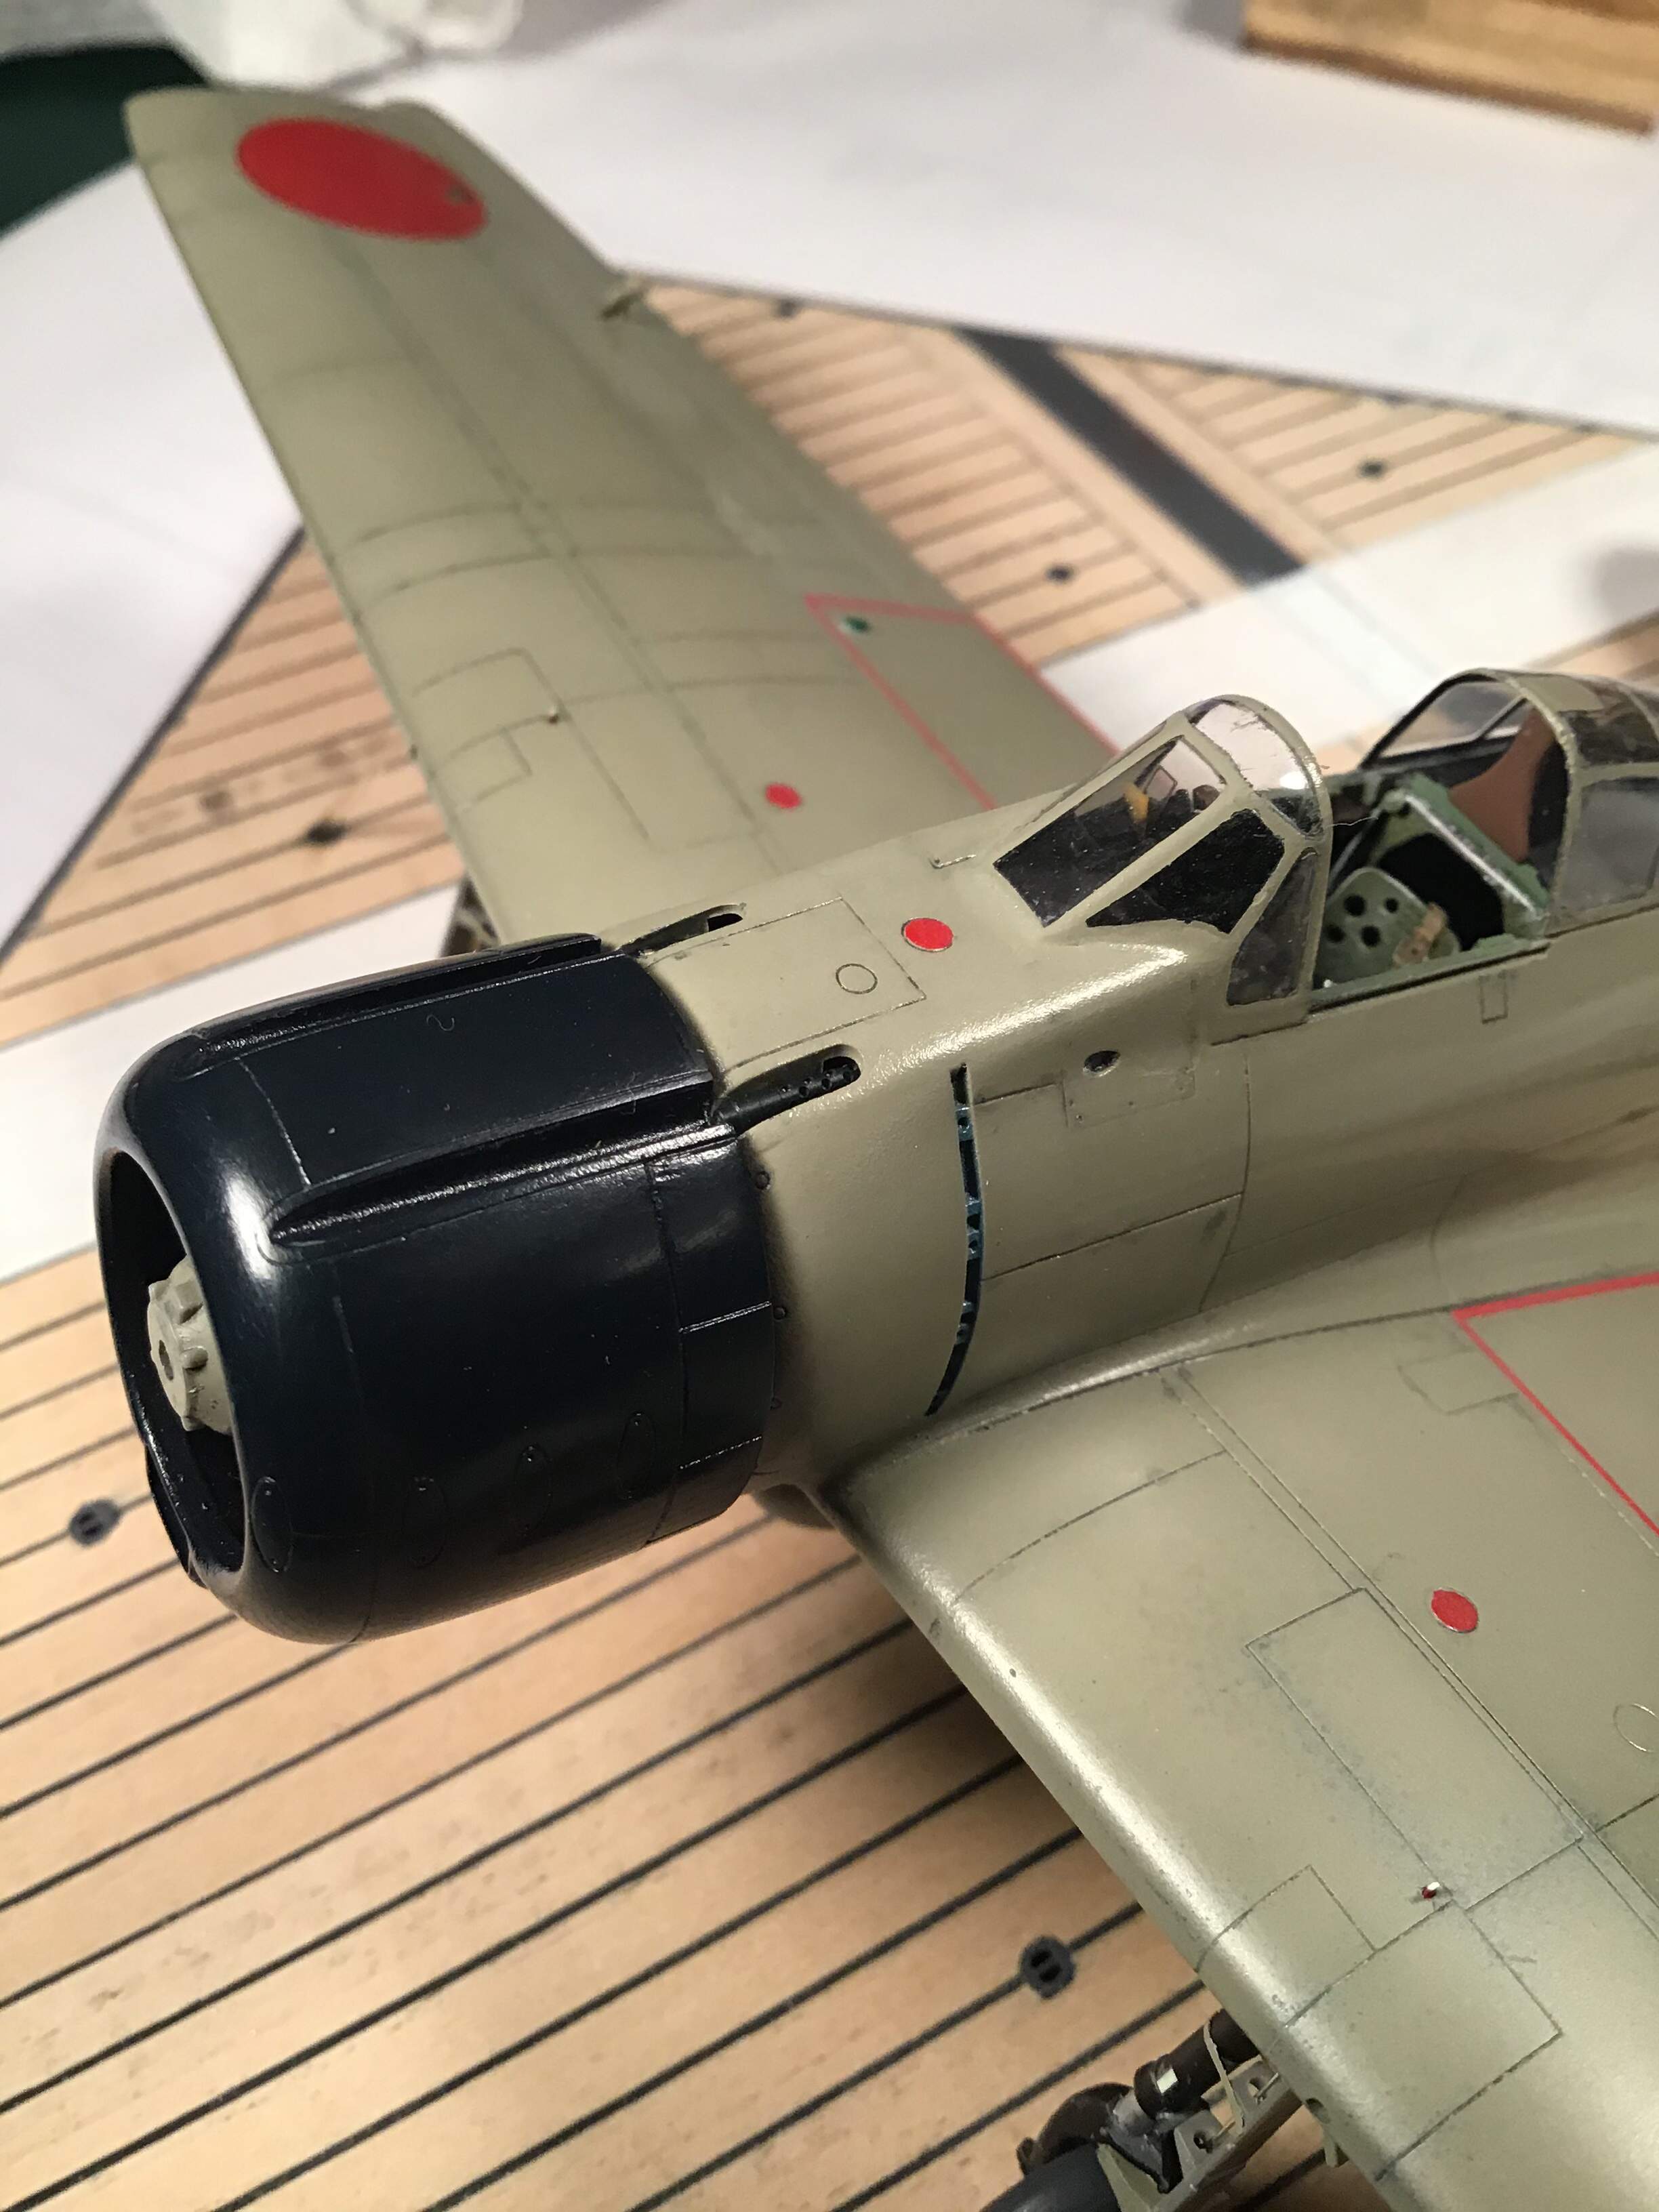
    Fuselage and drop tank done and primed in Stynylrez gray - engine done and cowl primed in Stynylrez black .
    Resin folded wingtips have had kit navigation lights installed with CA and sanded flush & polished .
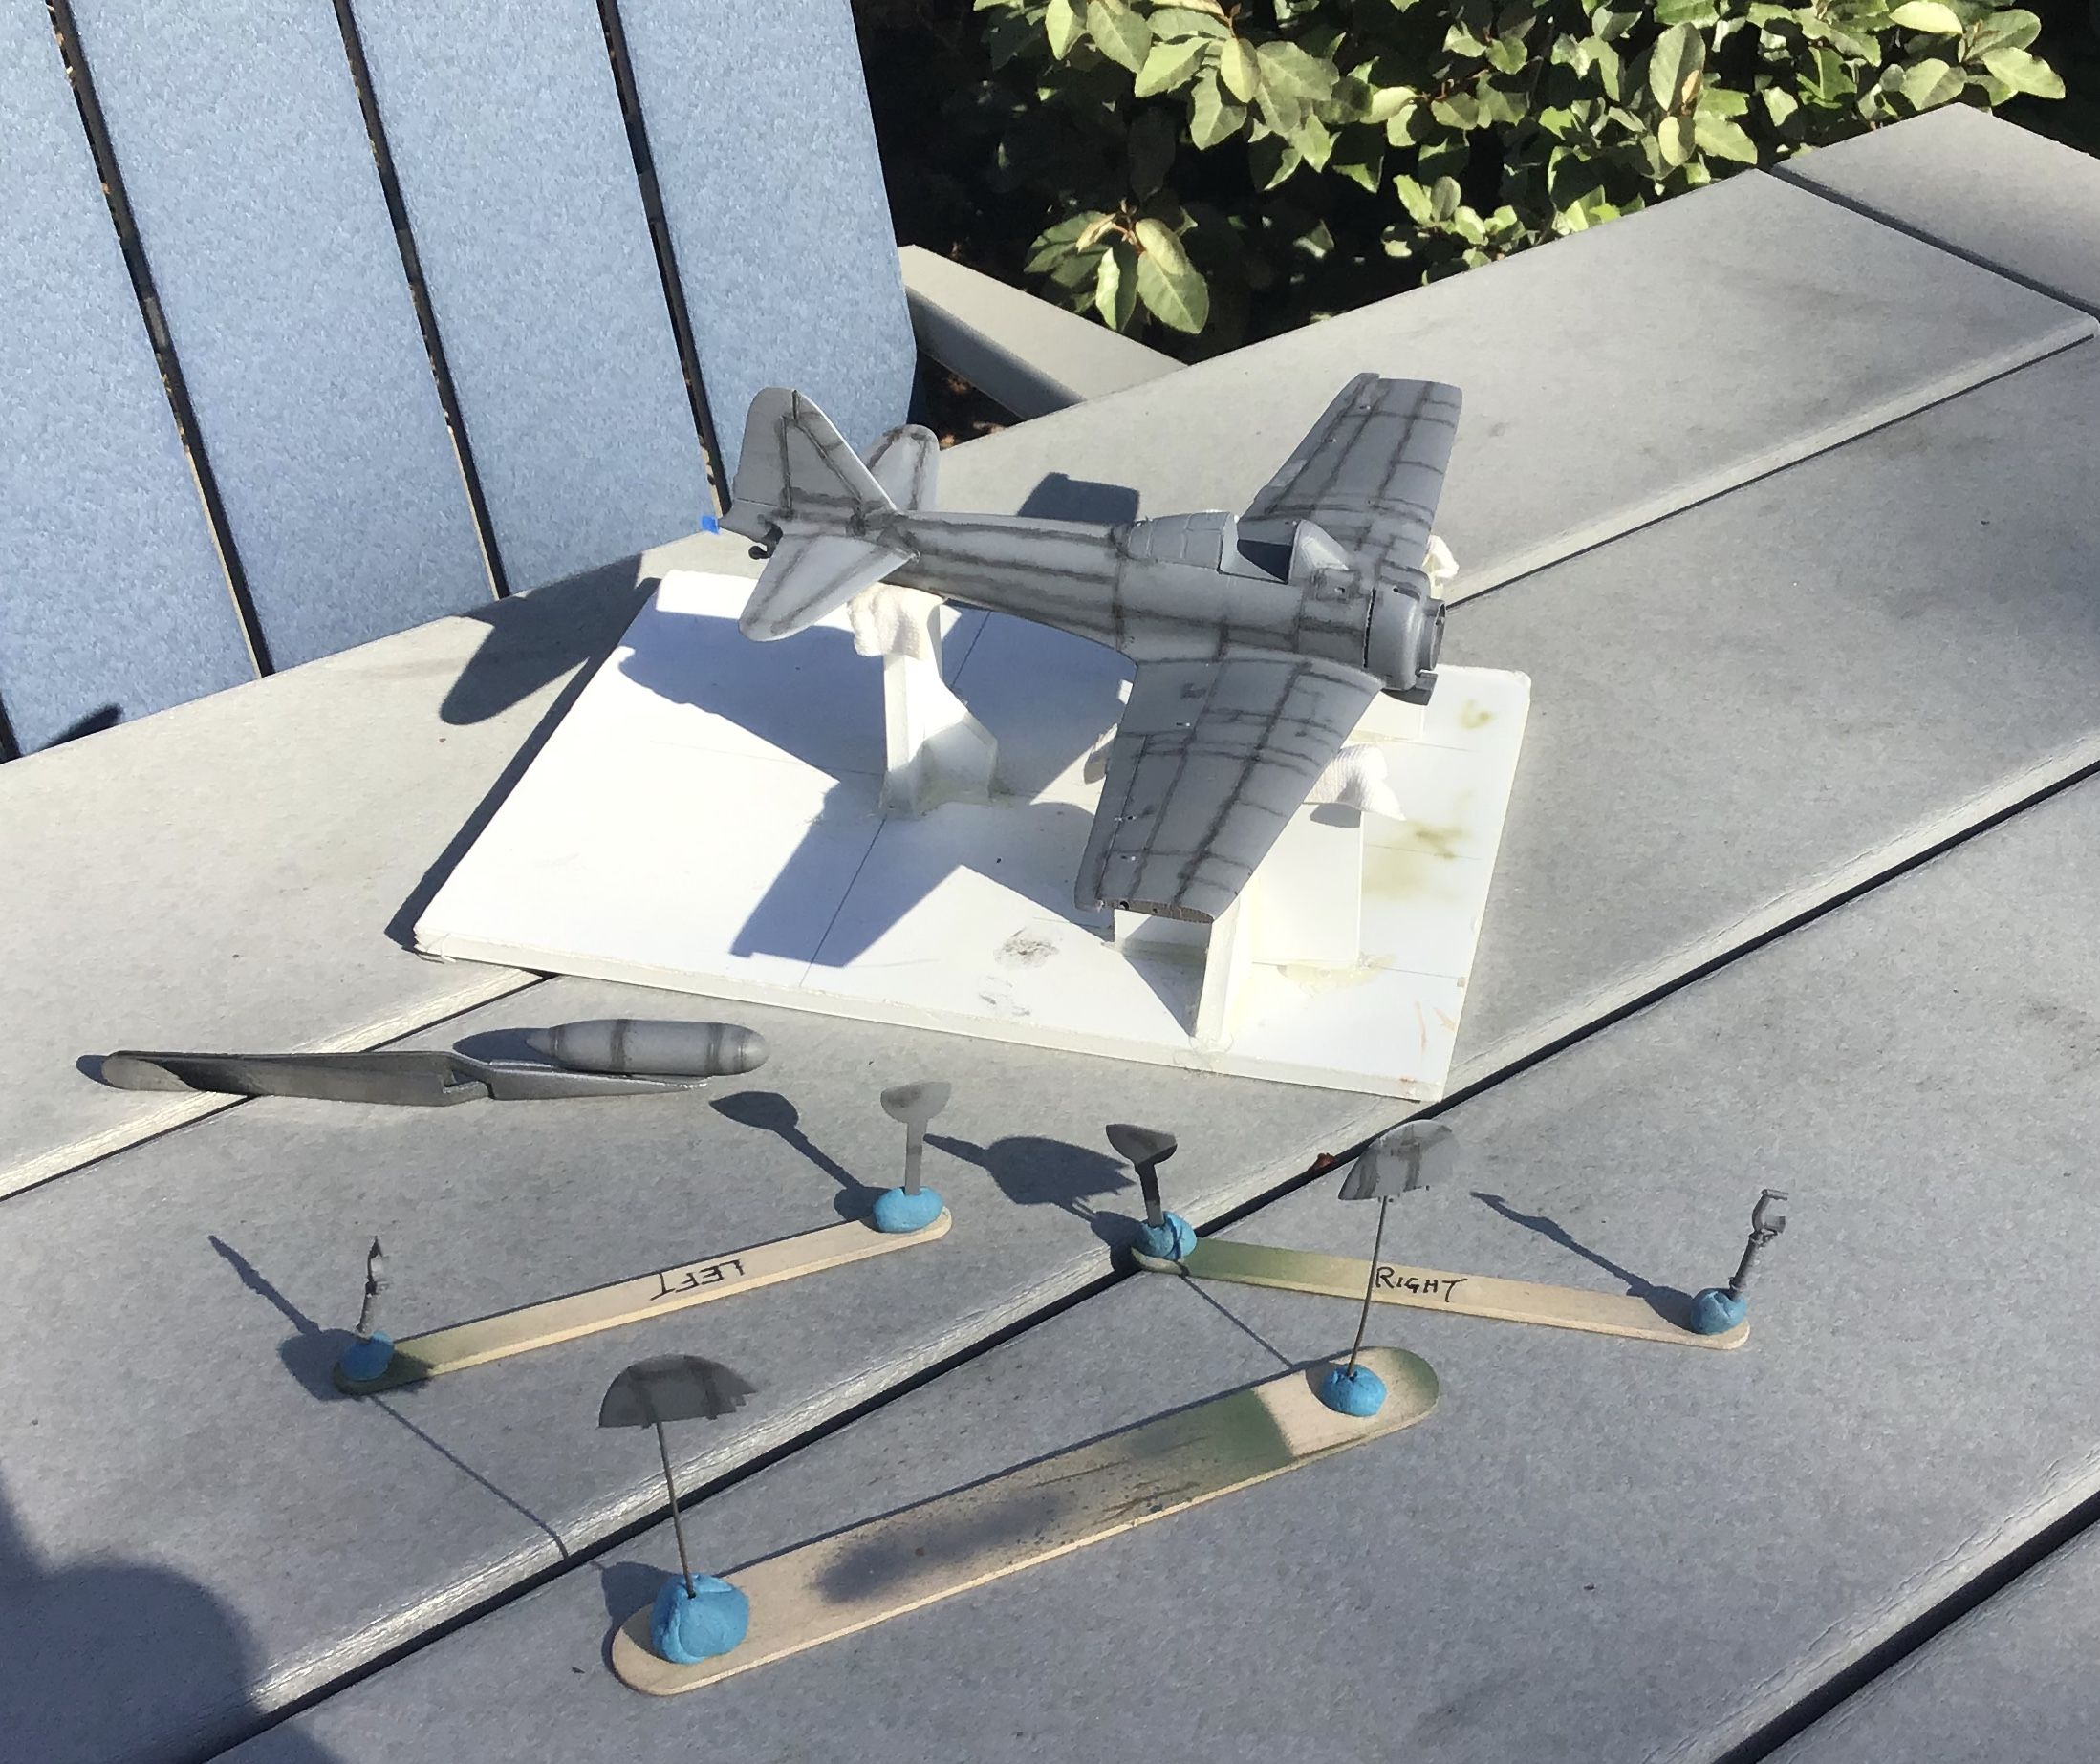
    Main gear doors mounting brackets have lightening holes drilled.

Thanks Phil for the compliments and interest.
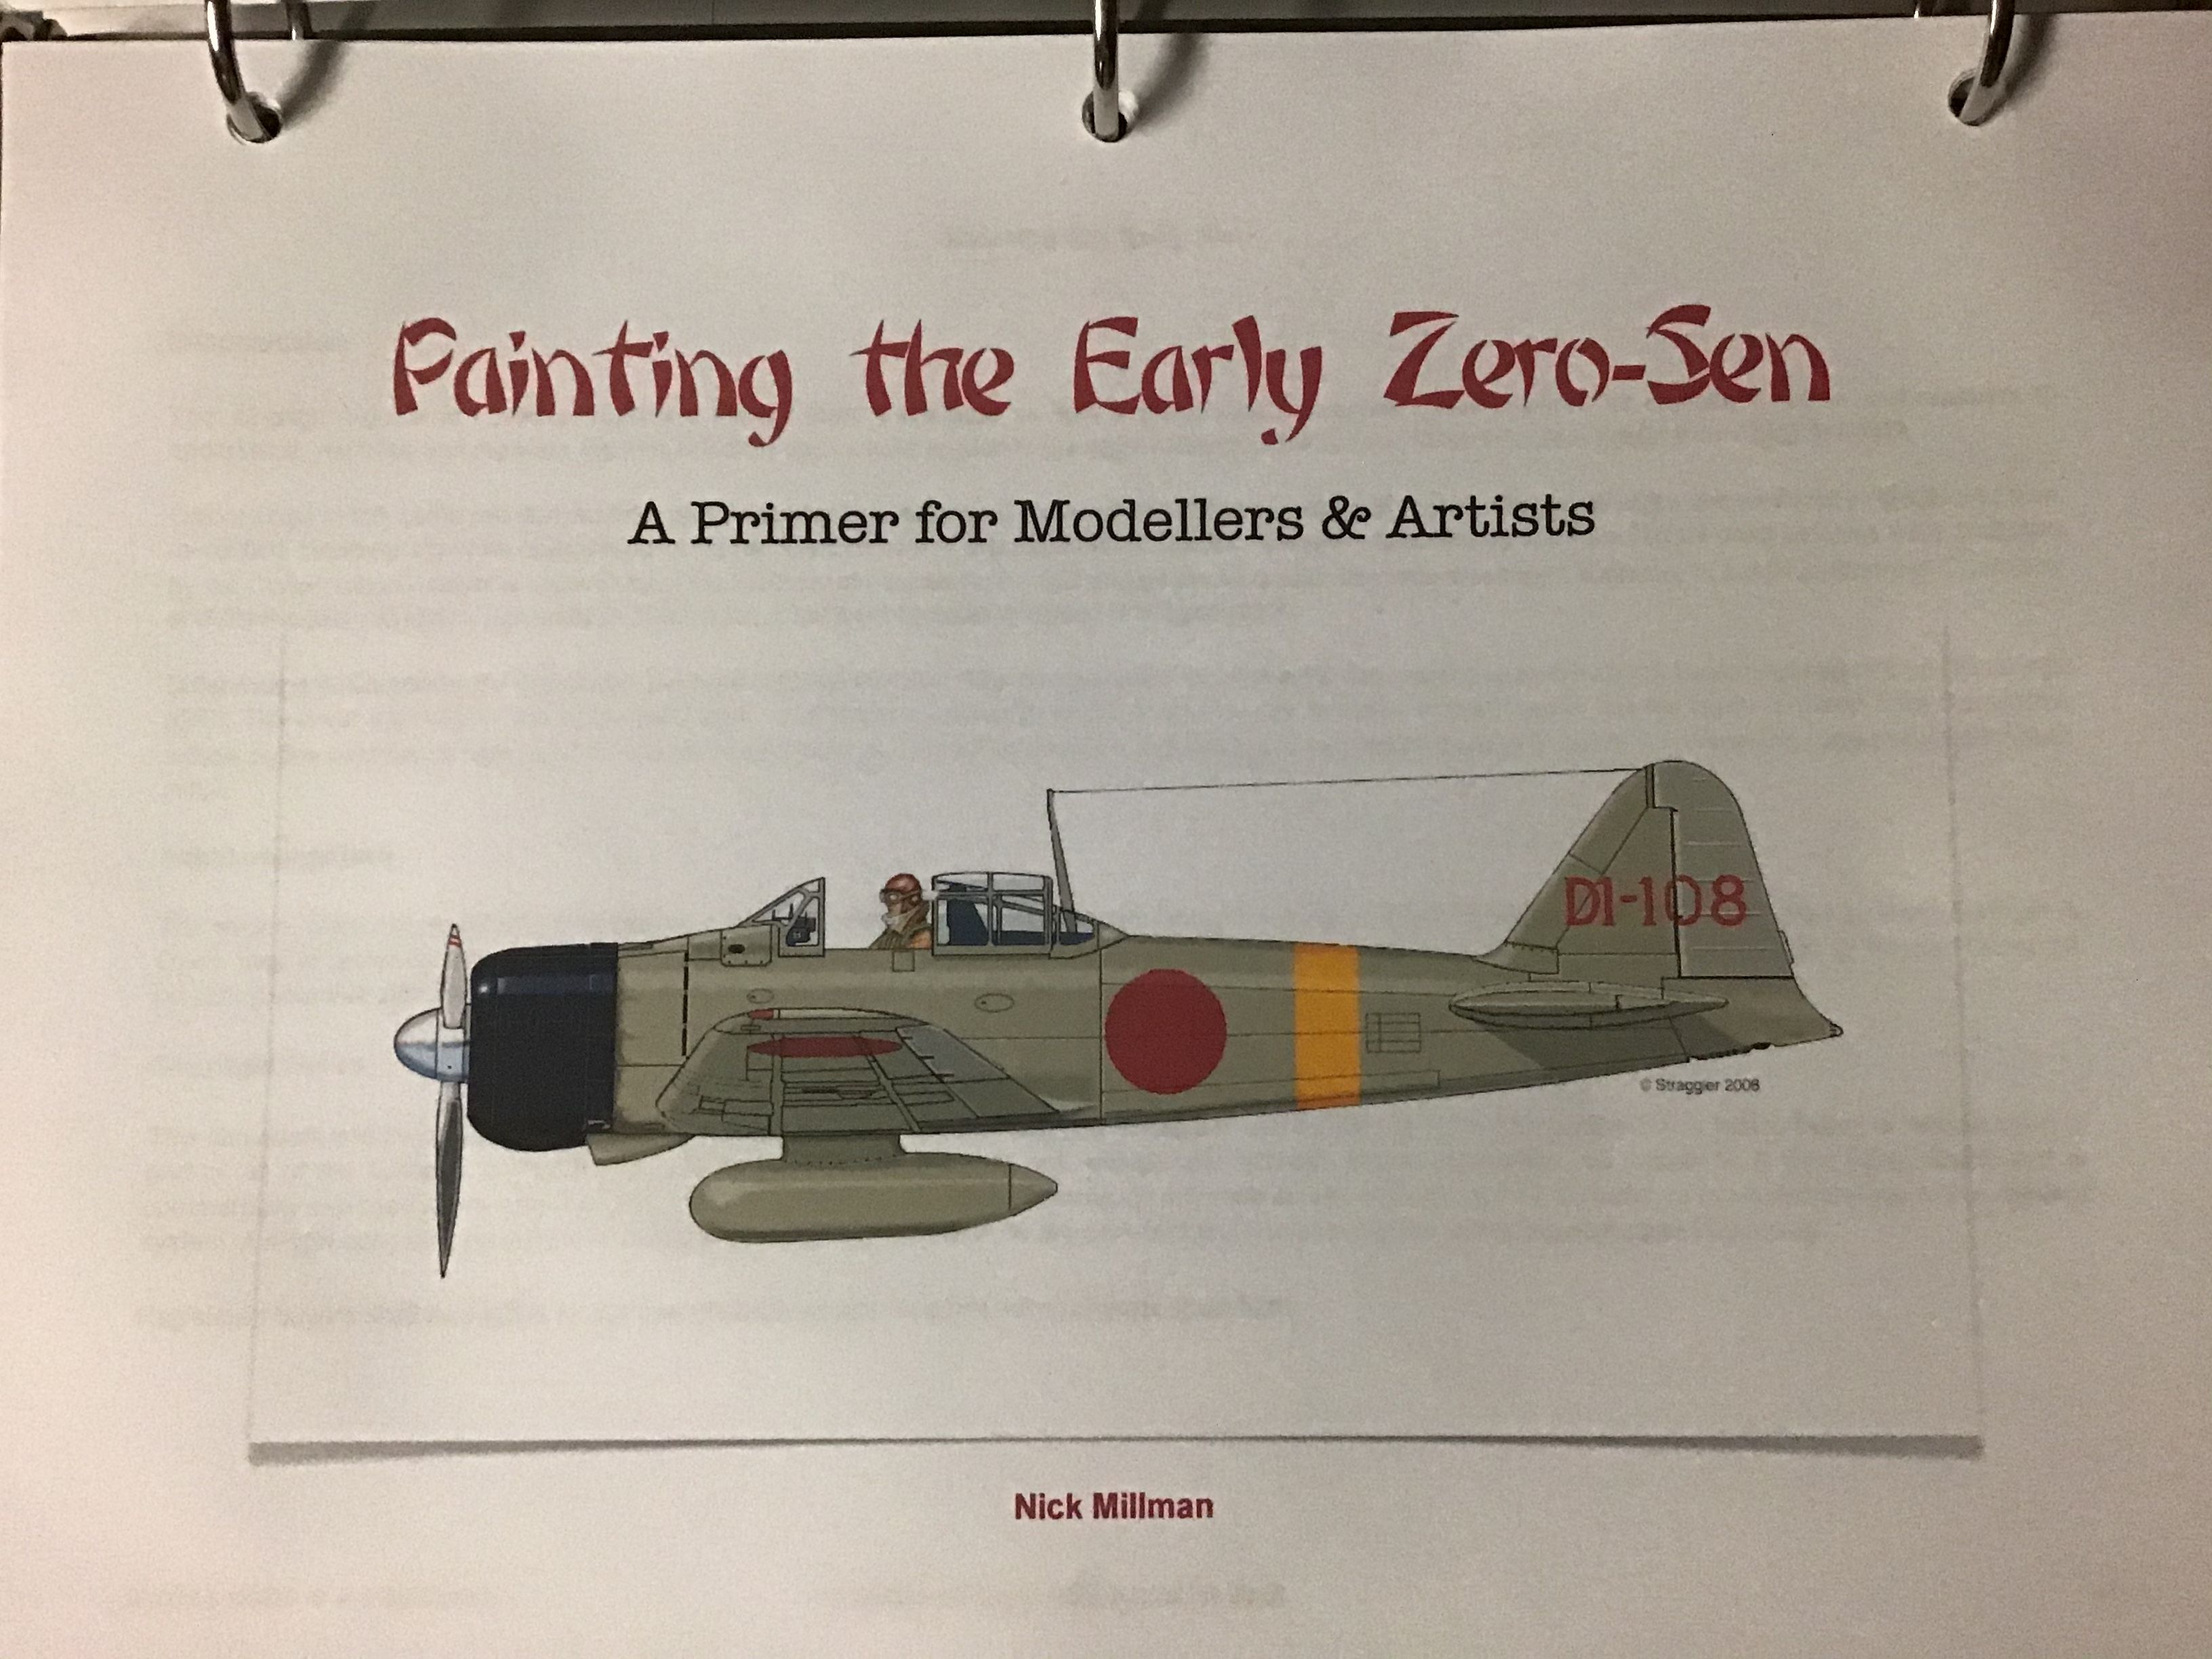
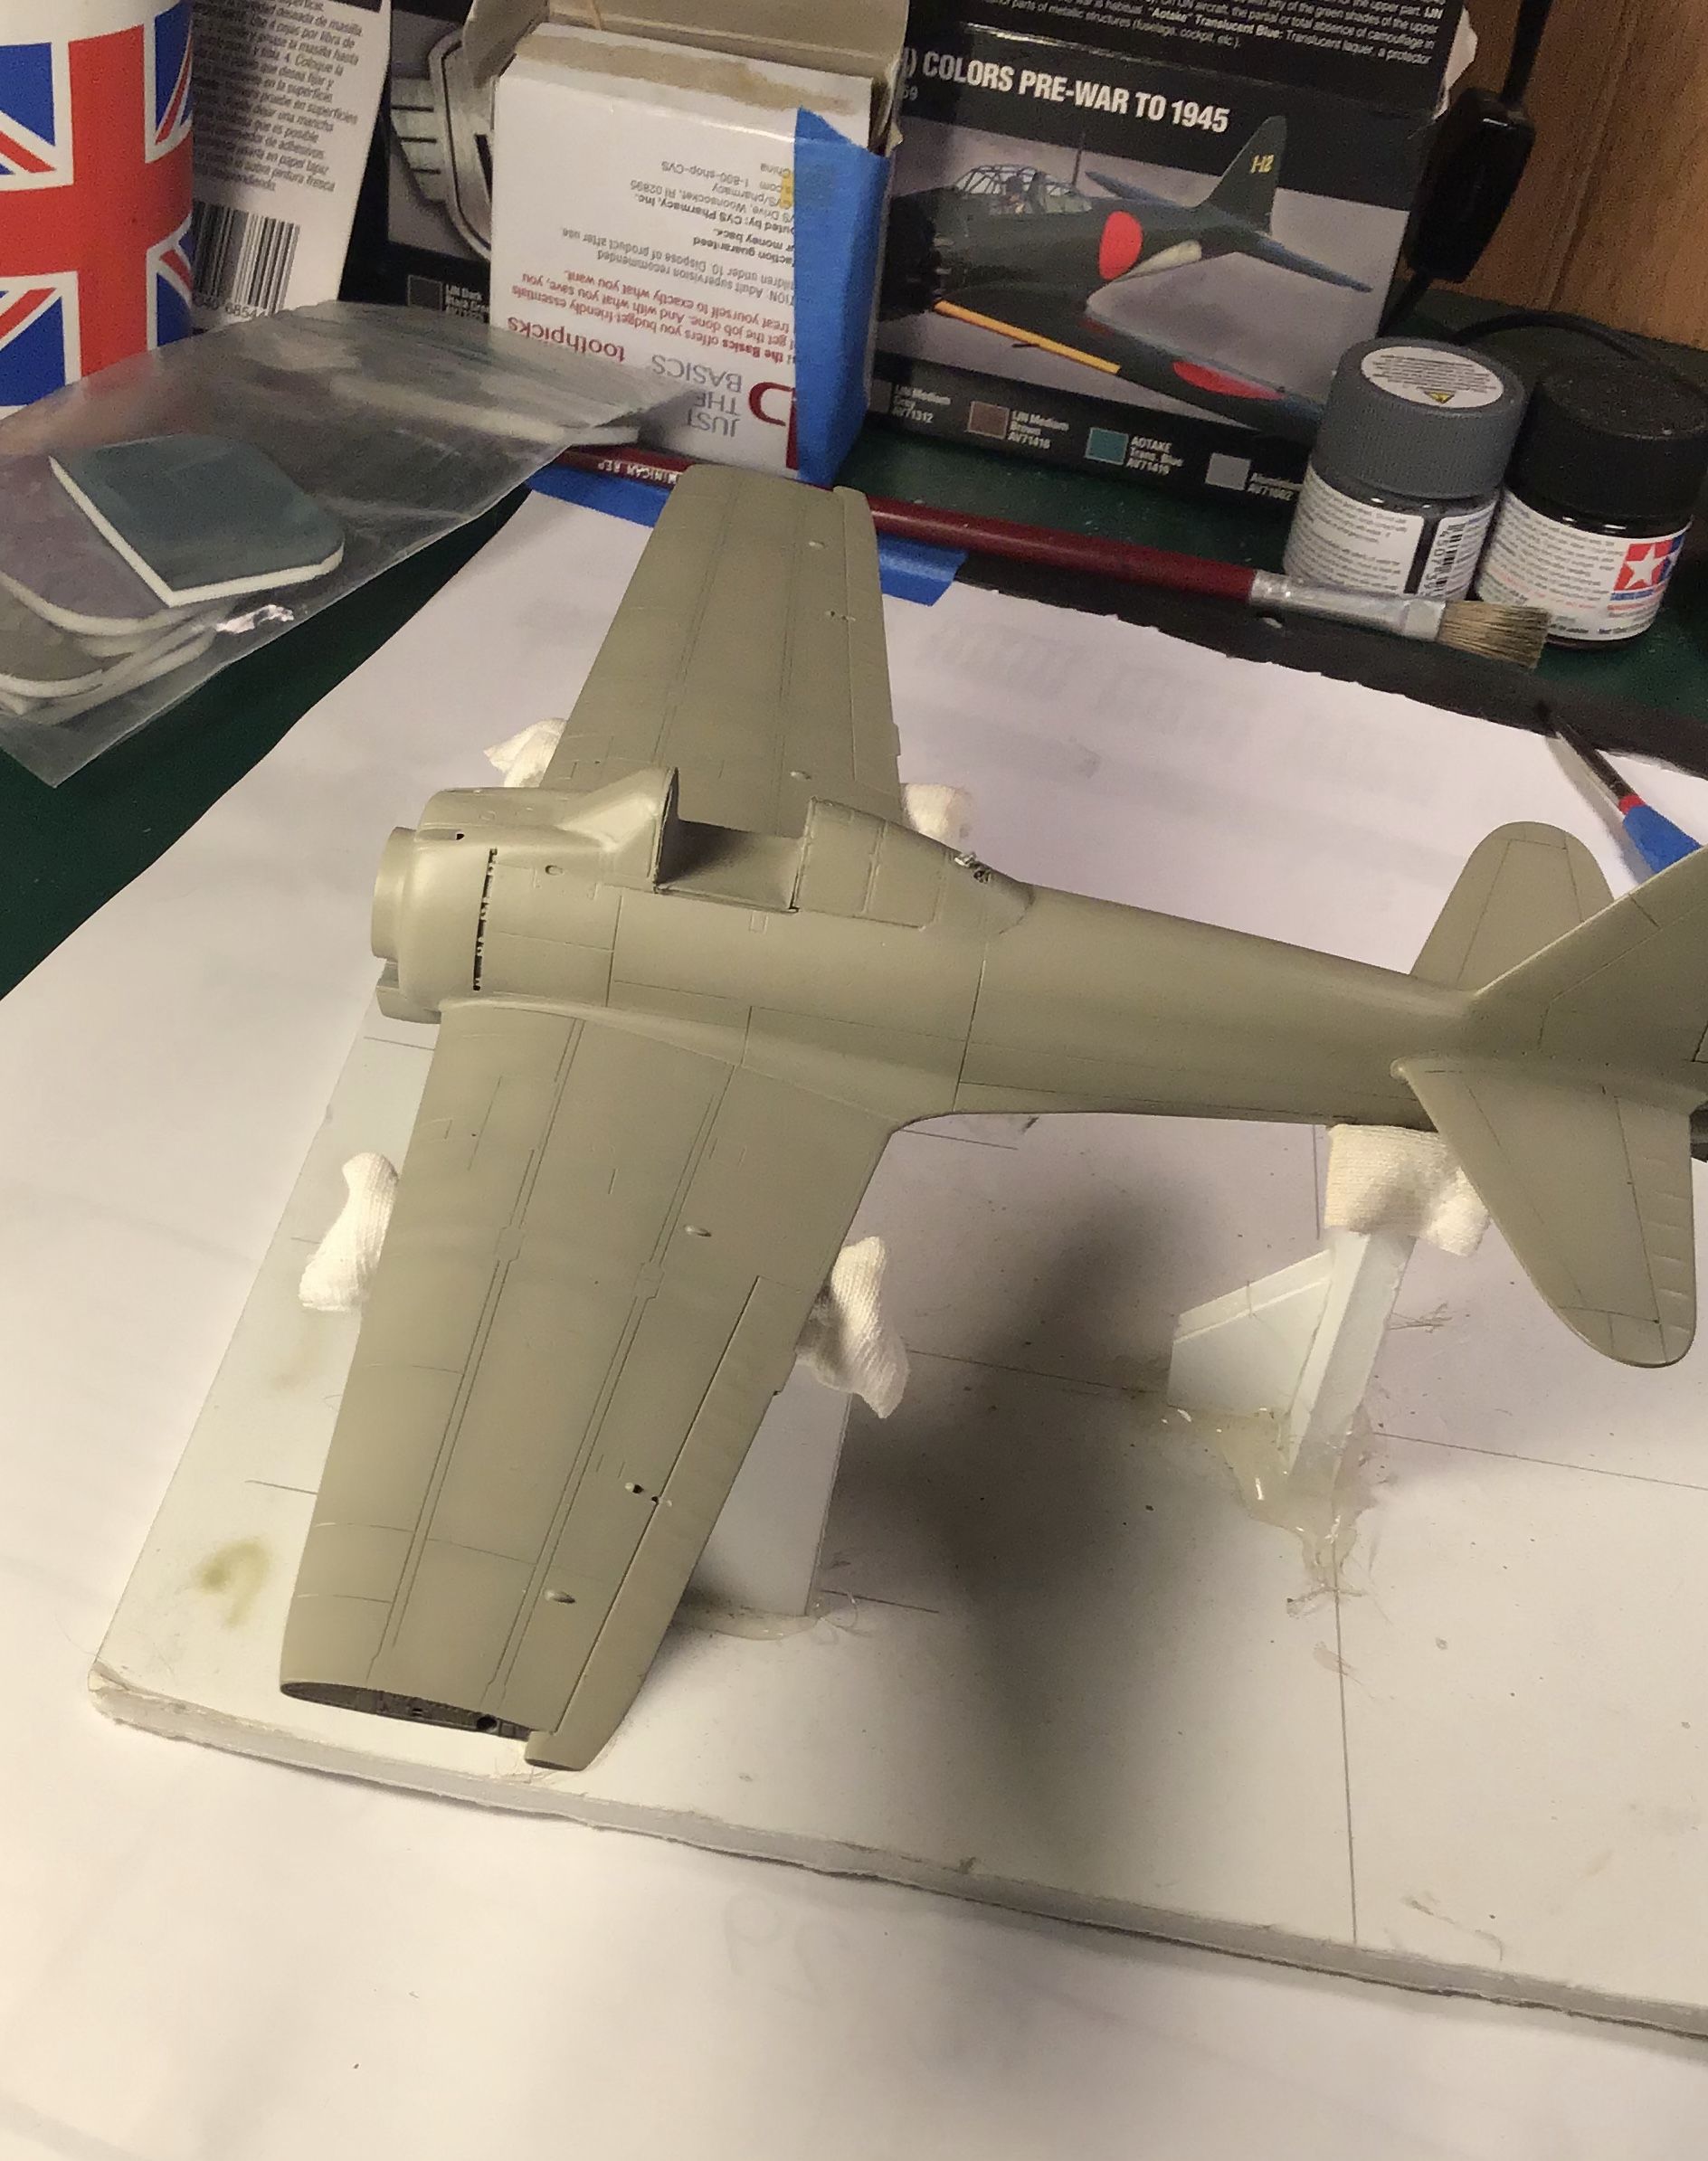
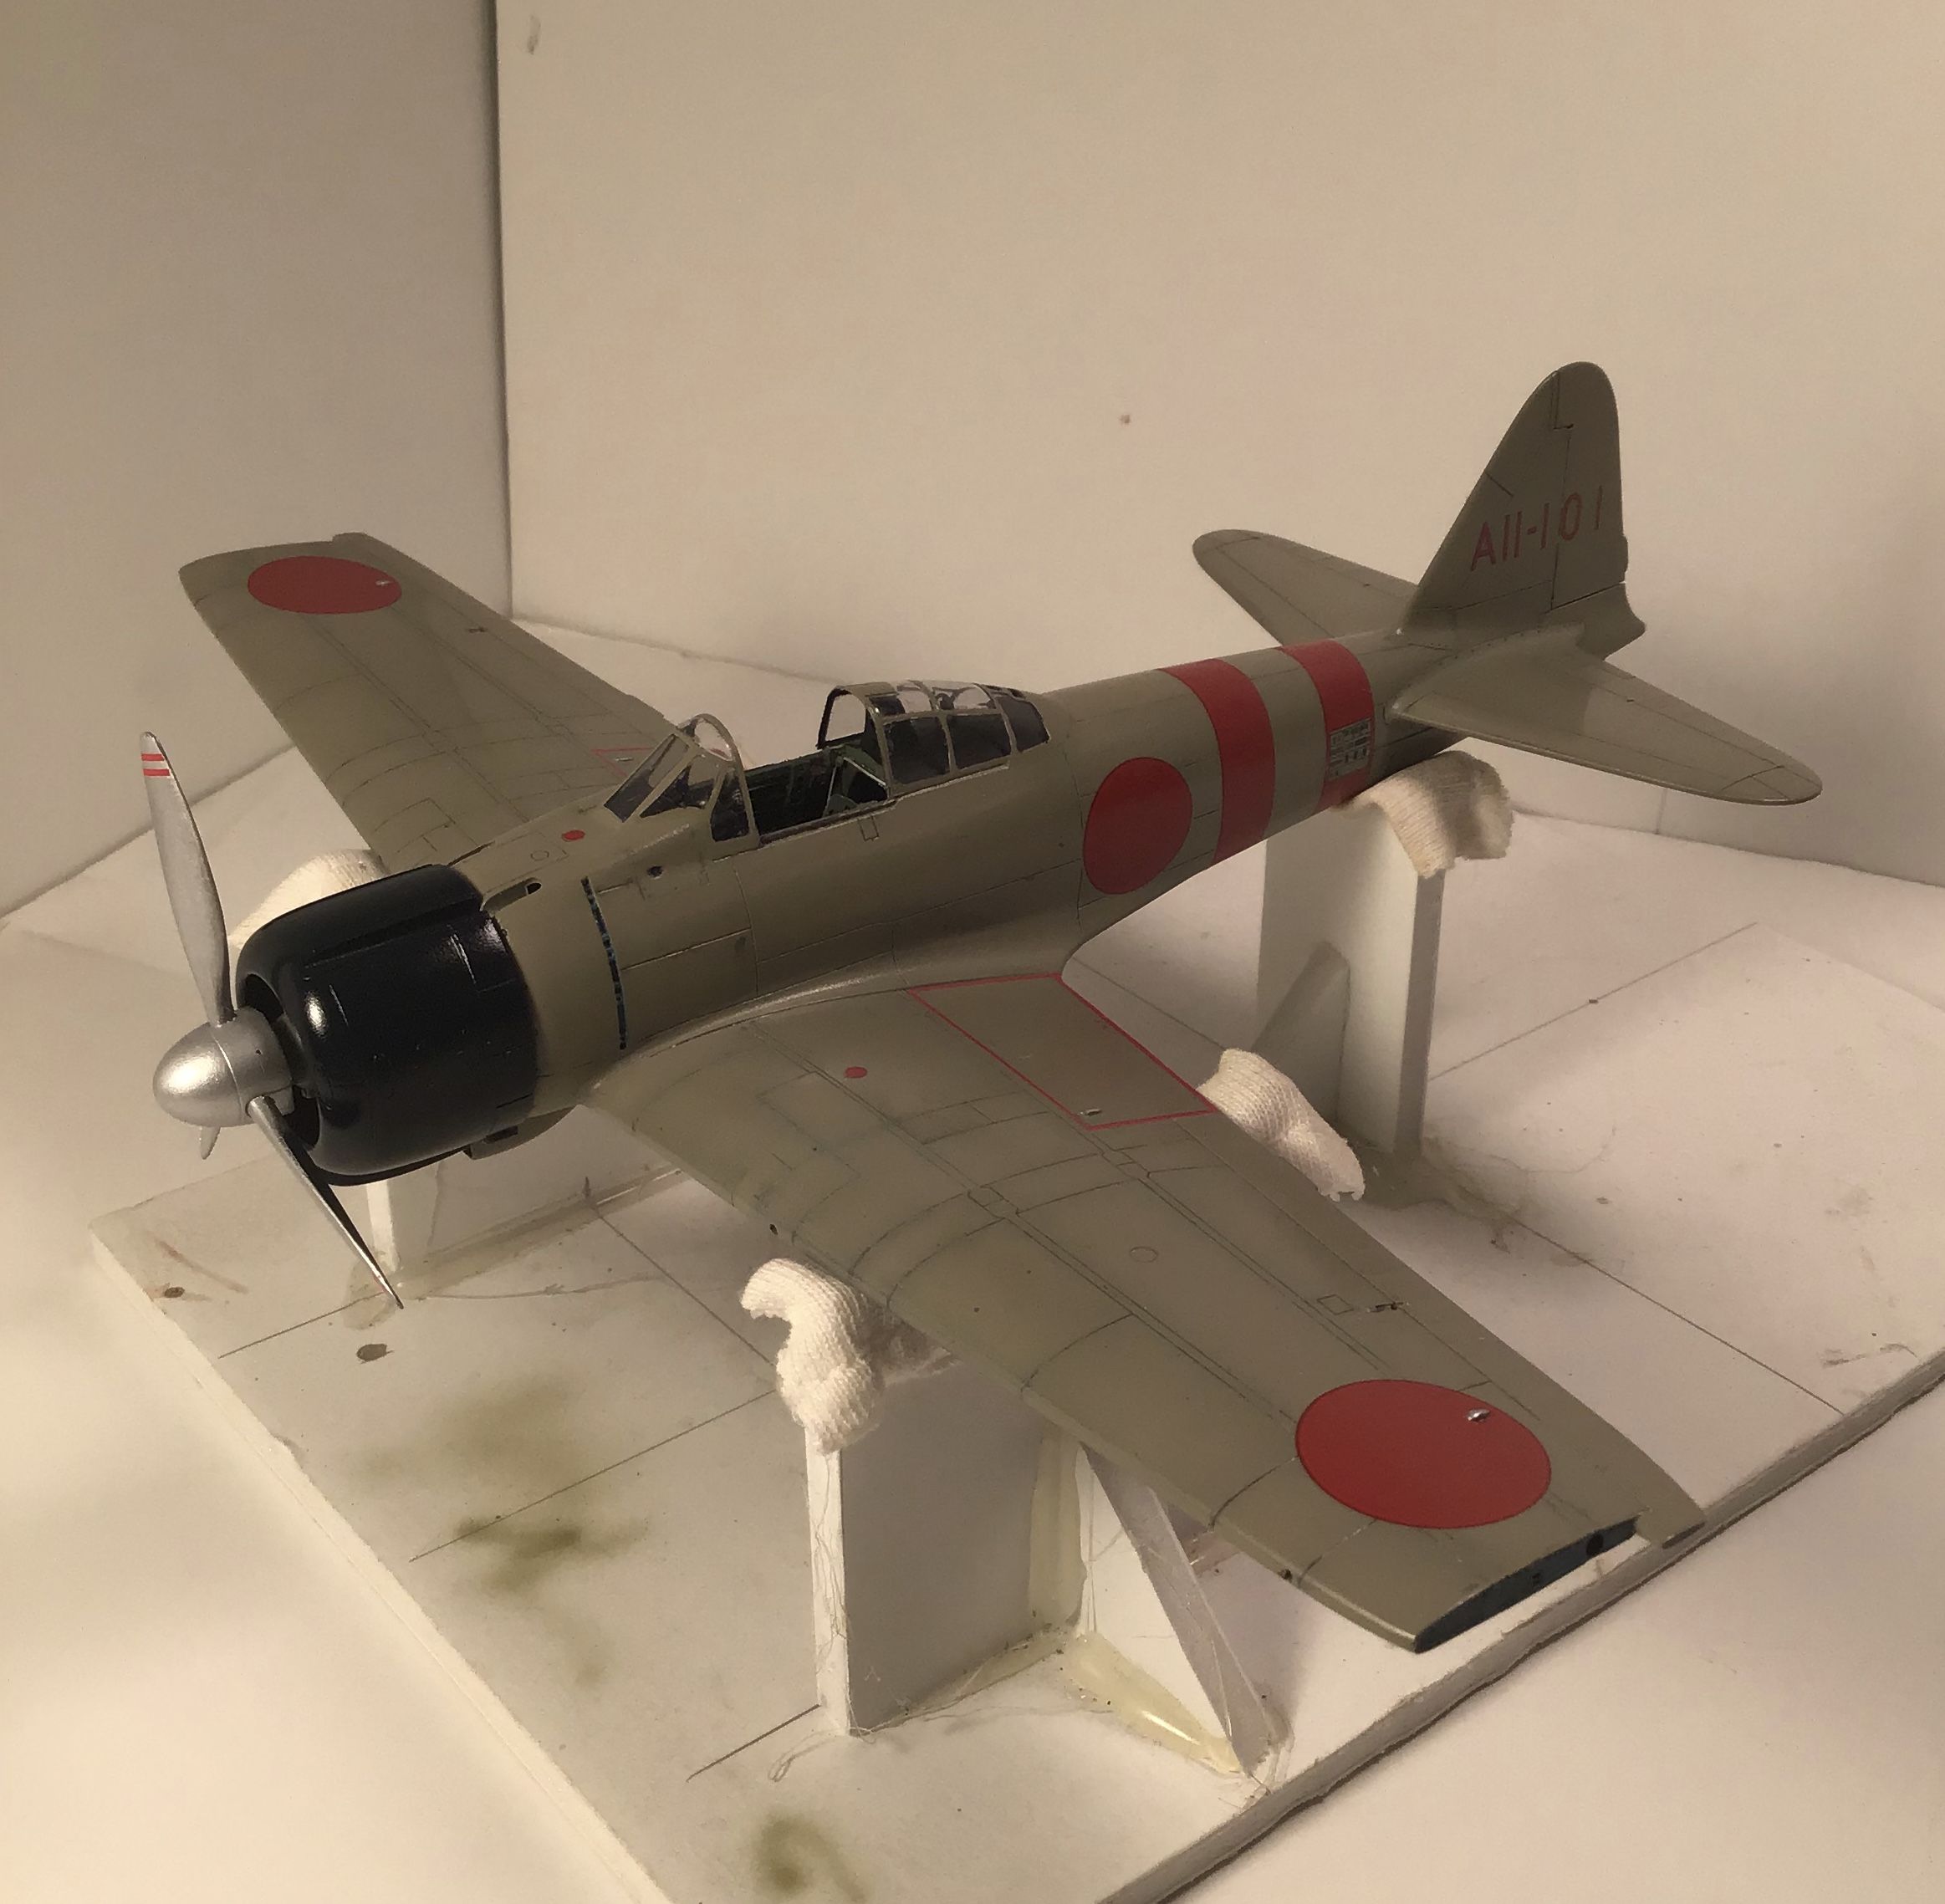
The paint I will be using will be Vallejo Model Air IJN Ash Grey. If you will be doing an early Zero you might want to consider getting Nick Millman"s excellent e-guide " Painting the Early Zero" which is available through his wonderful site @ aviationofjapan.com. 40 + pages of very scholarly work on what can be a contentious subject at times.


I printed mine out as a hard copy for convenience.
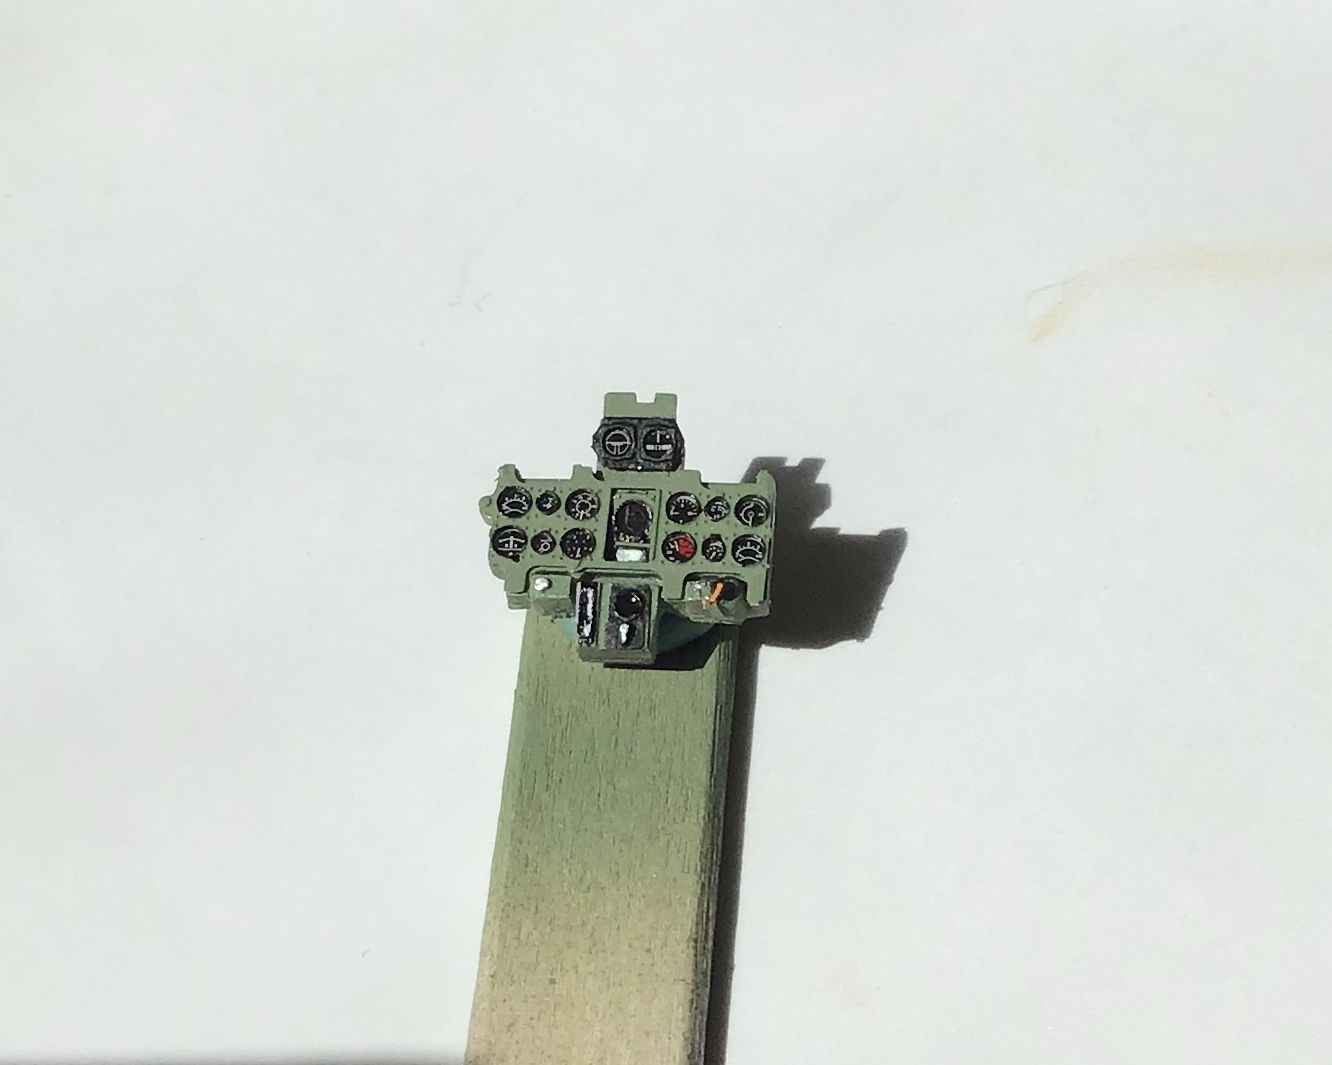
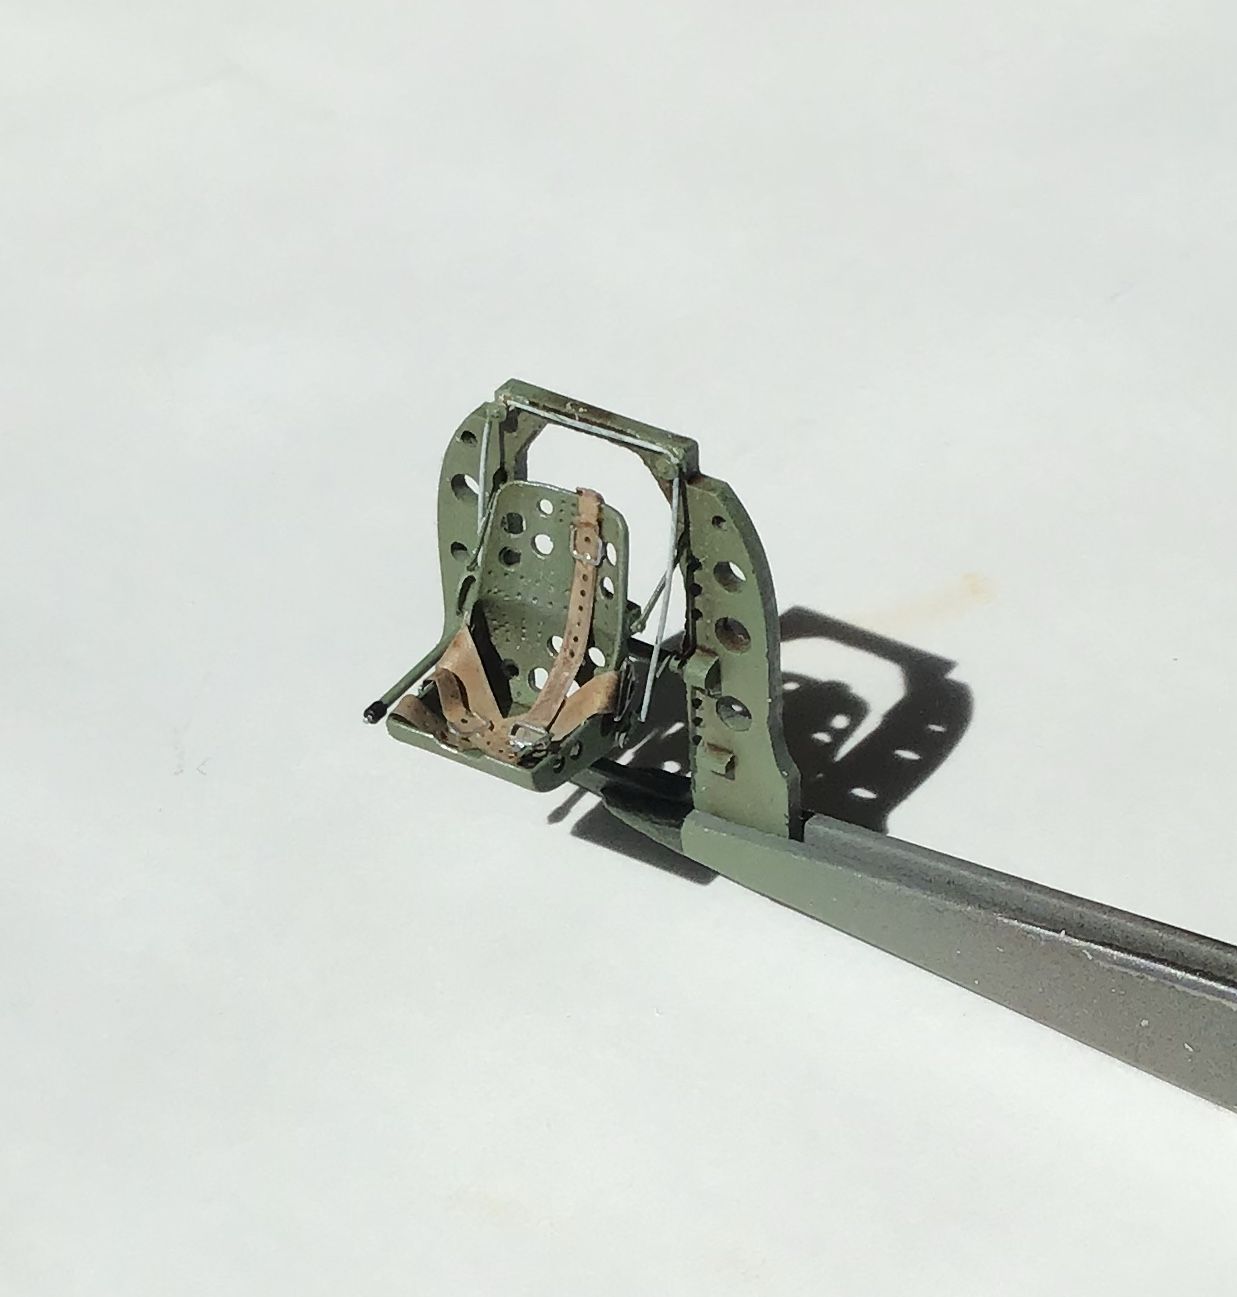
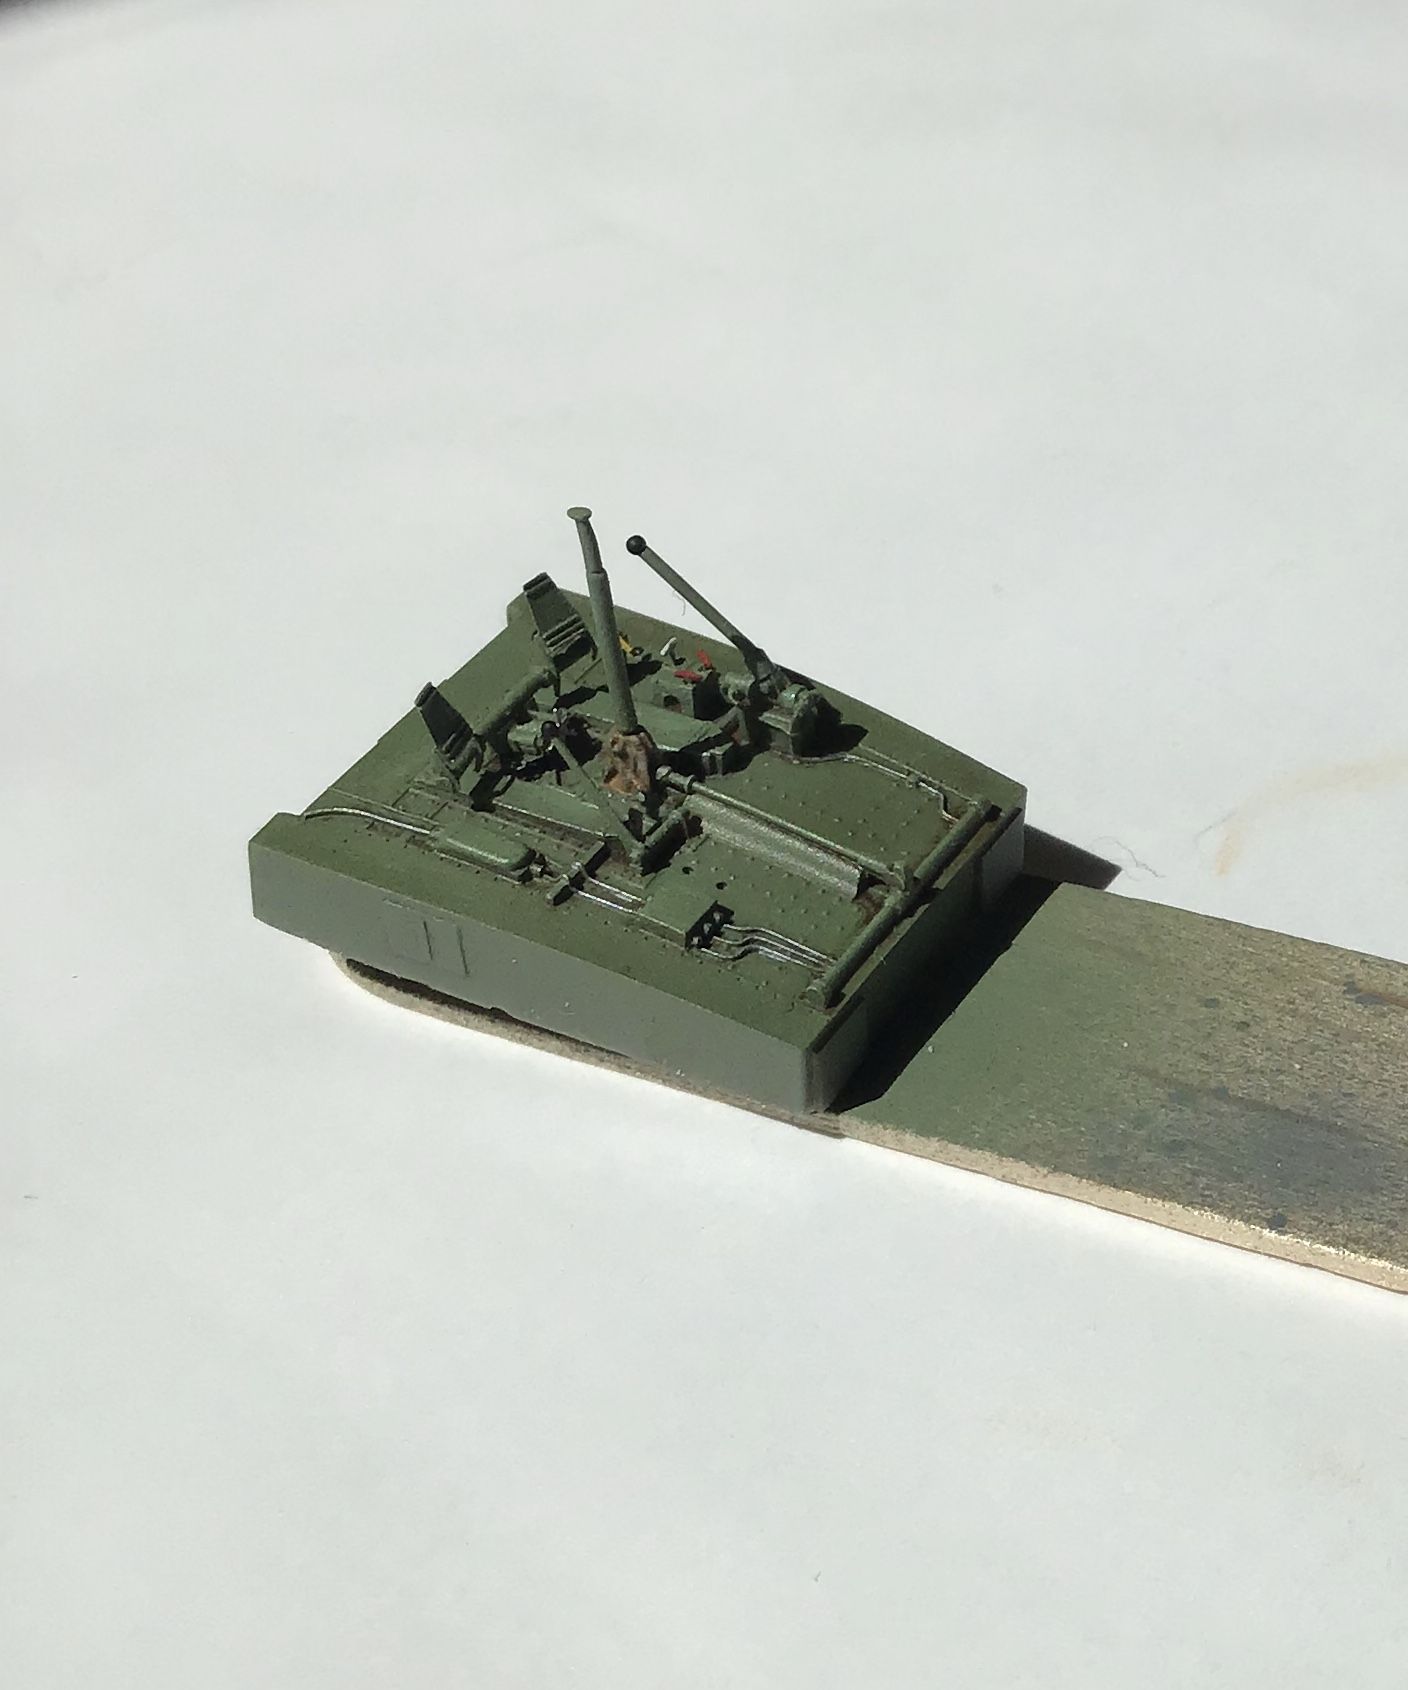
I did the interior with Tamiya Mitsubishi Interior green as I had it on hand . I don’t know if the aircraft I am doing was Mitsubishi built or Nakajima . As I had no Nakajima Interior green ( a darker shade than Mitsubishi ) I used what I had and will paint the rest of the aircraft in the fashion that Mitsubishi used.
I’ll call these things out as I progress .
Regarding the cockpit , fortunately nearly all of it can still be seen .
I hope you will post some pics of your Zero when you build it - there can never be too many Japanese aircraft blogs !
Cheers ! Richard
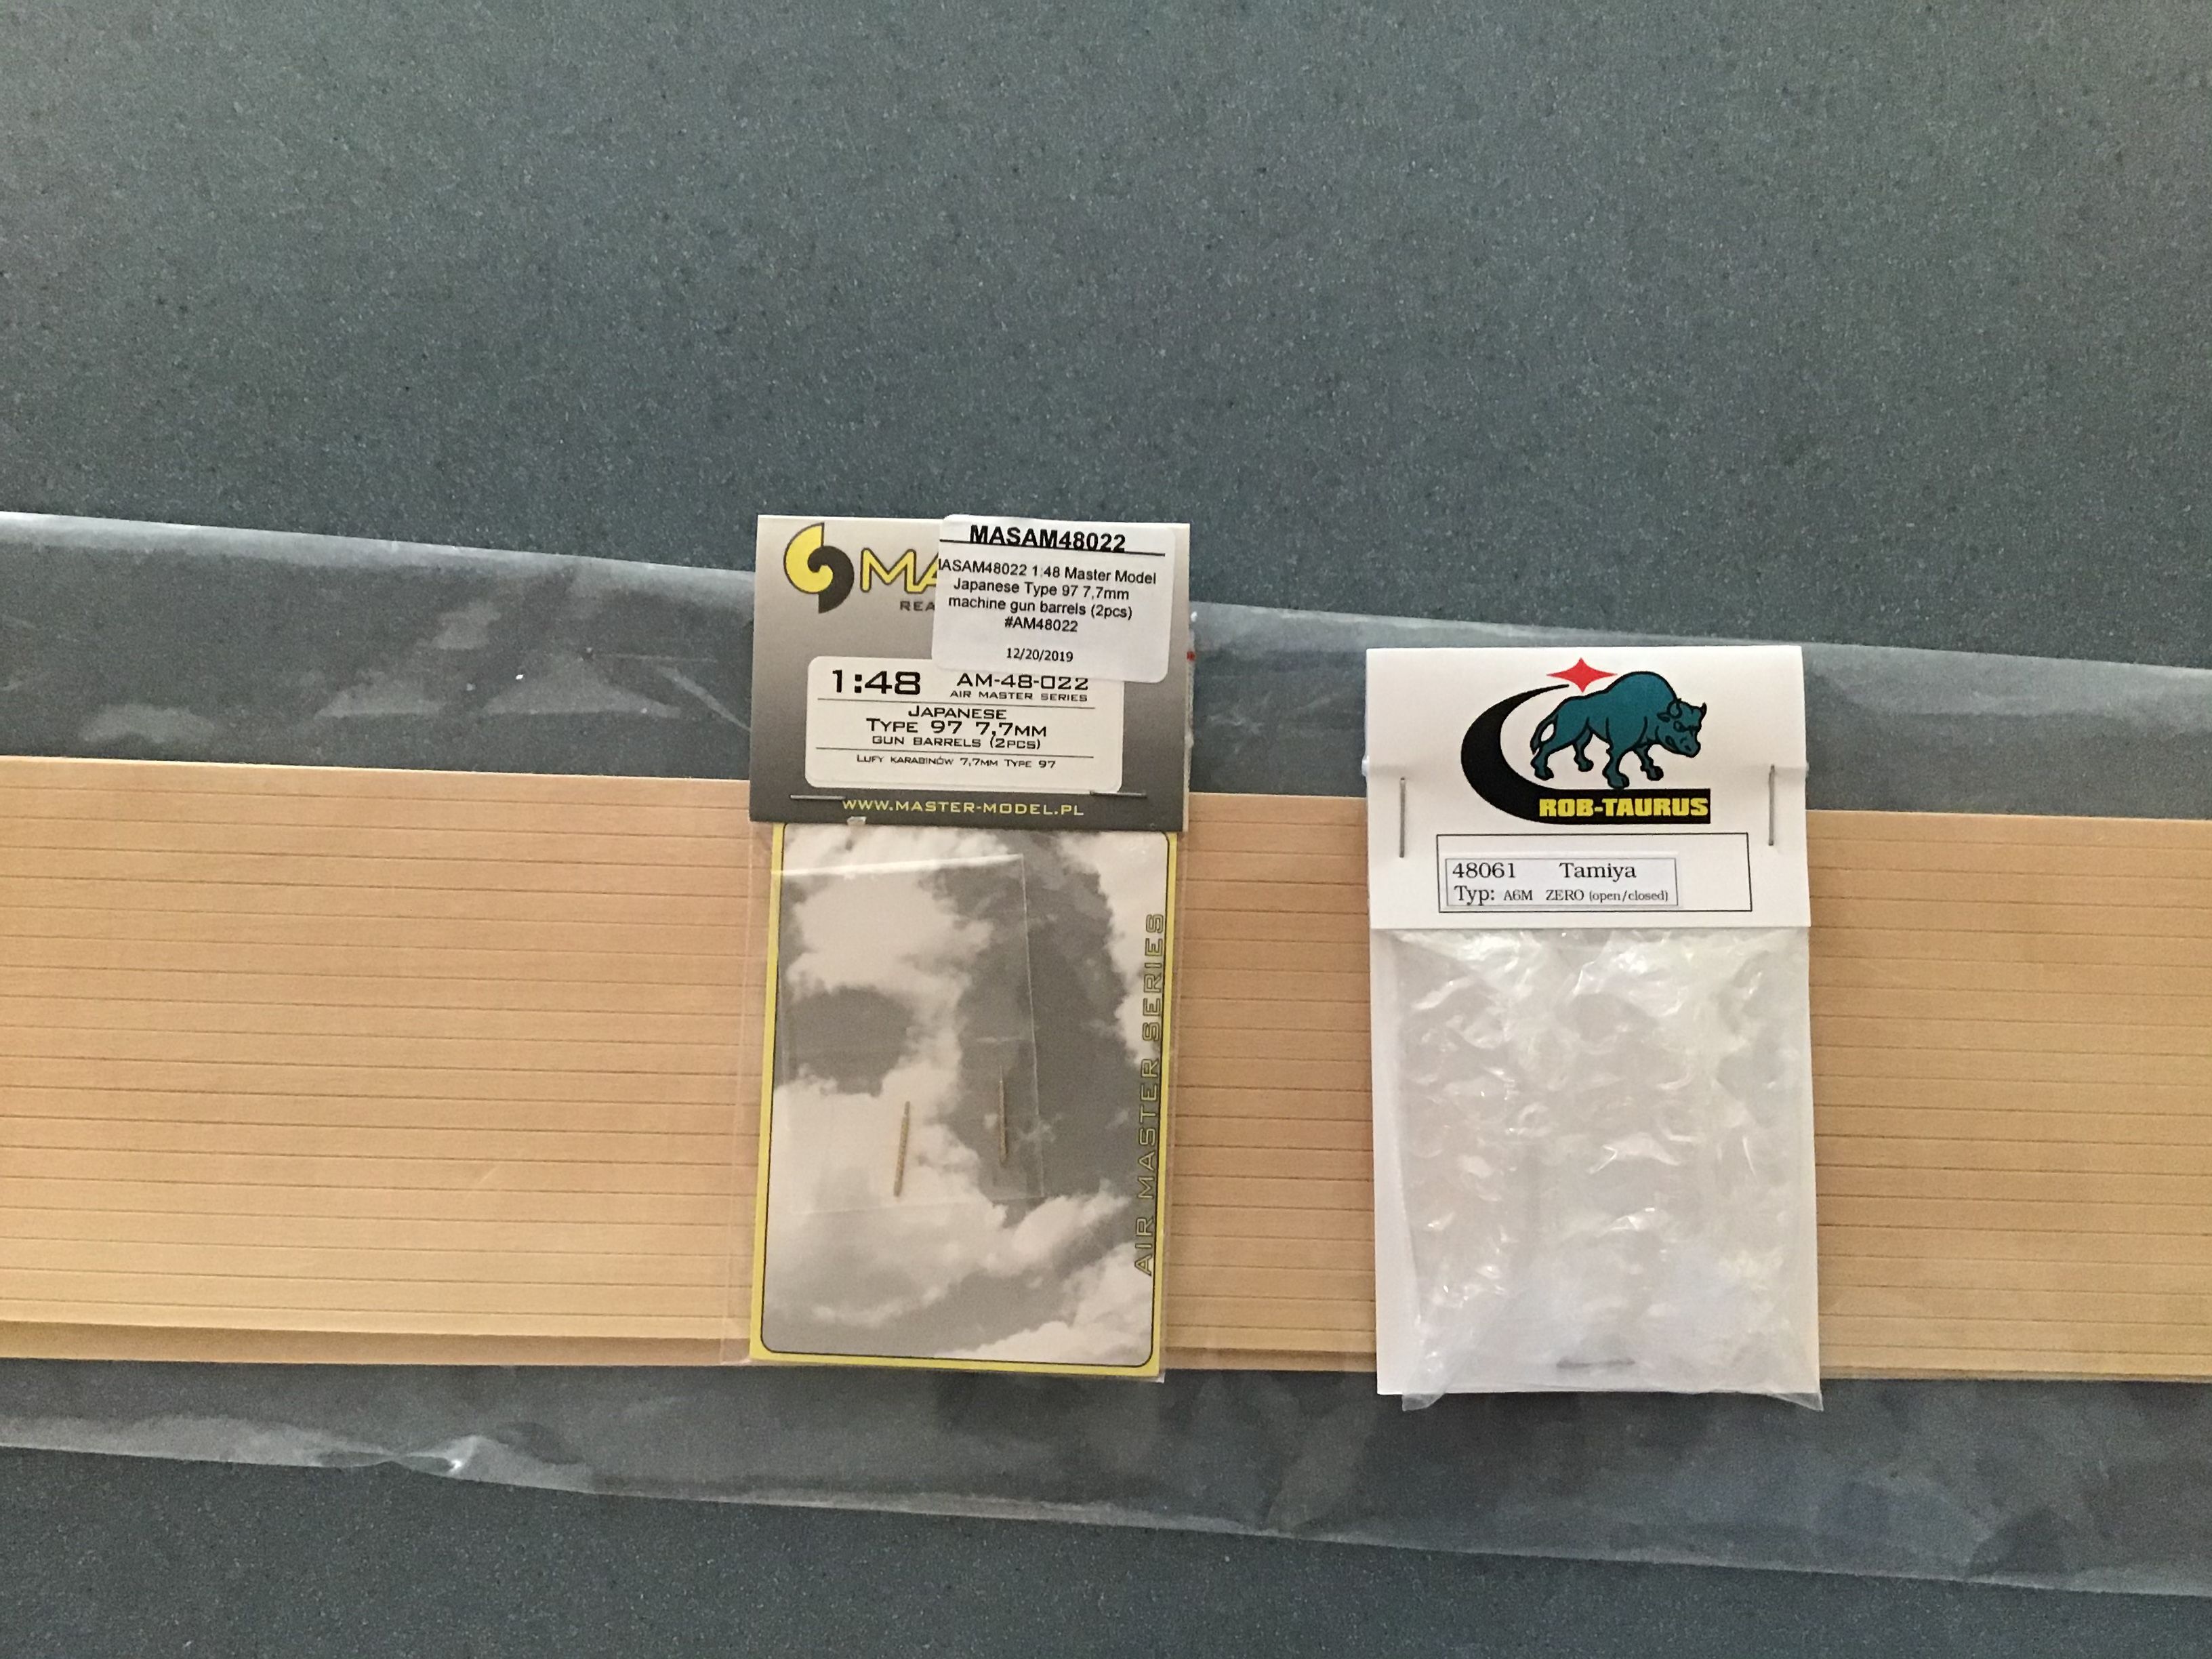
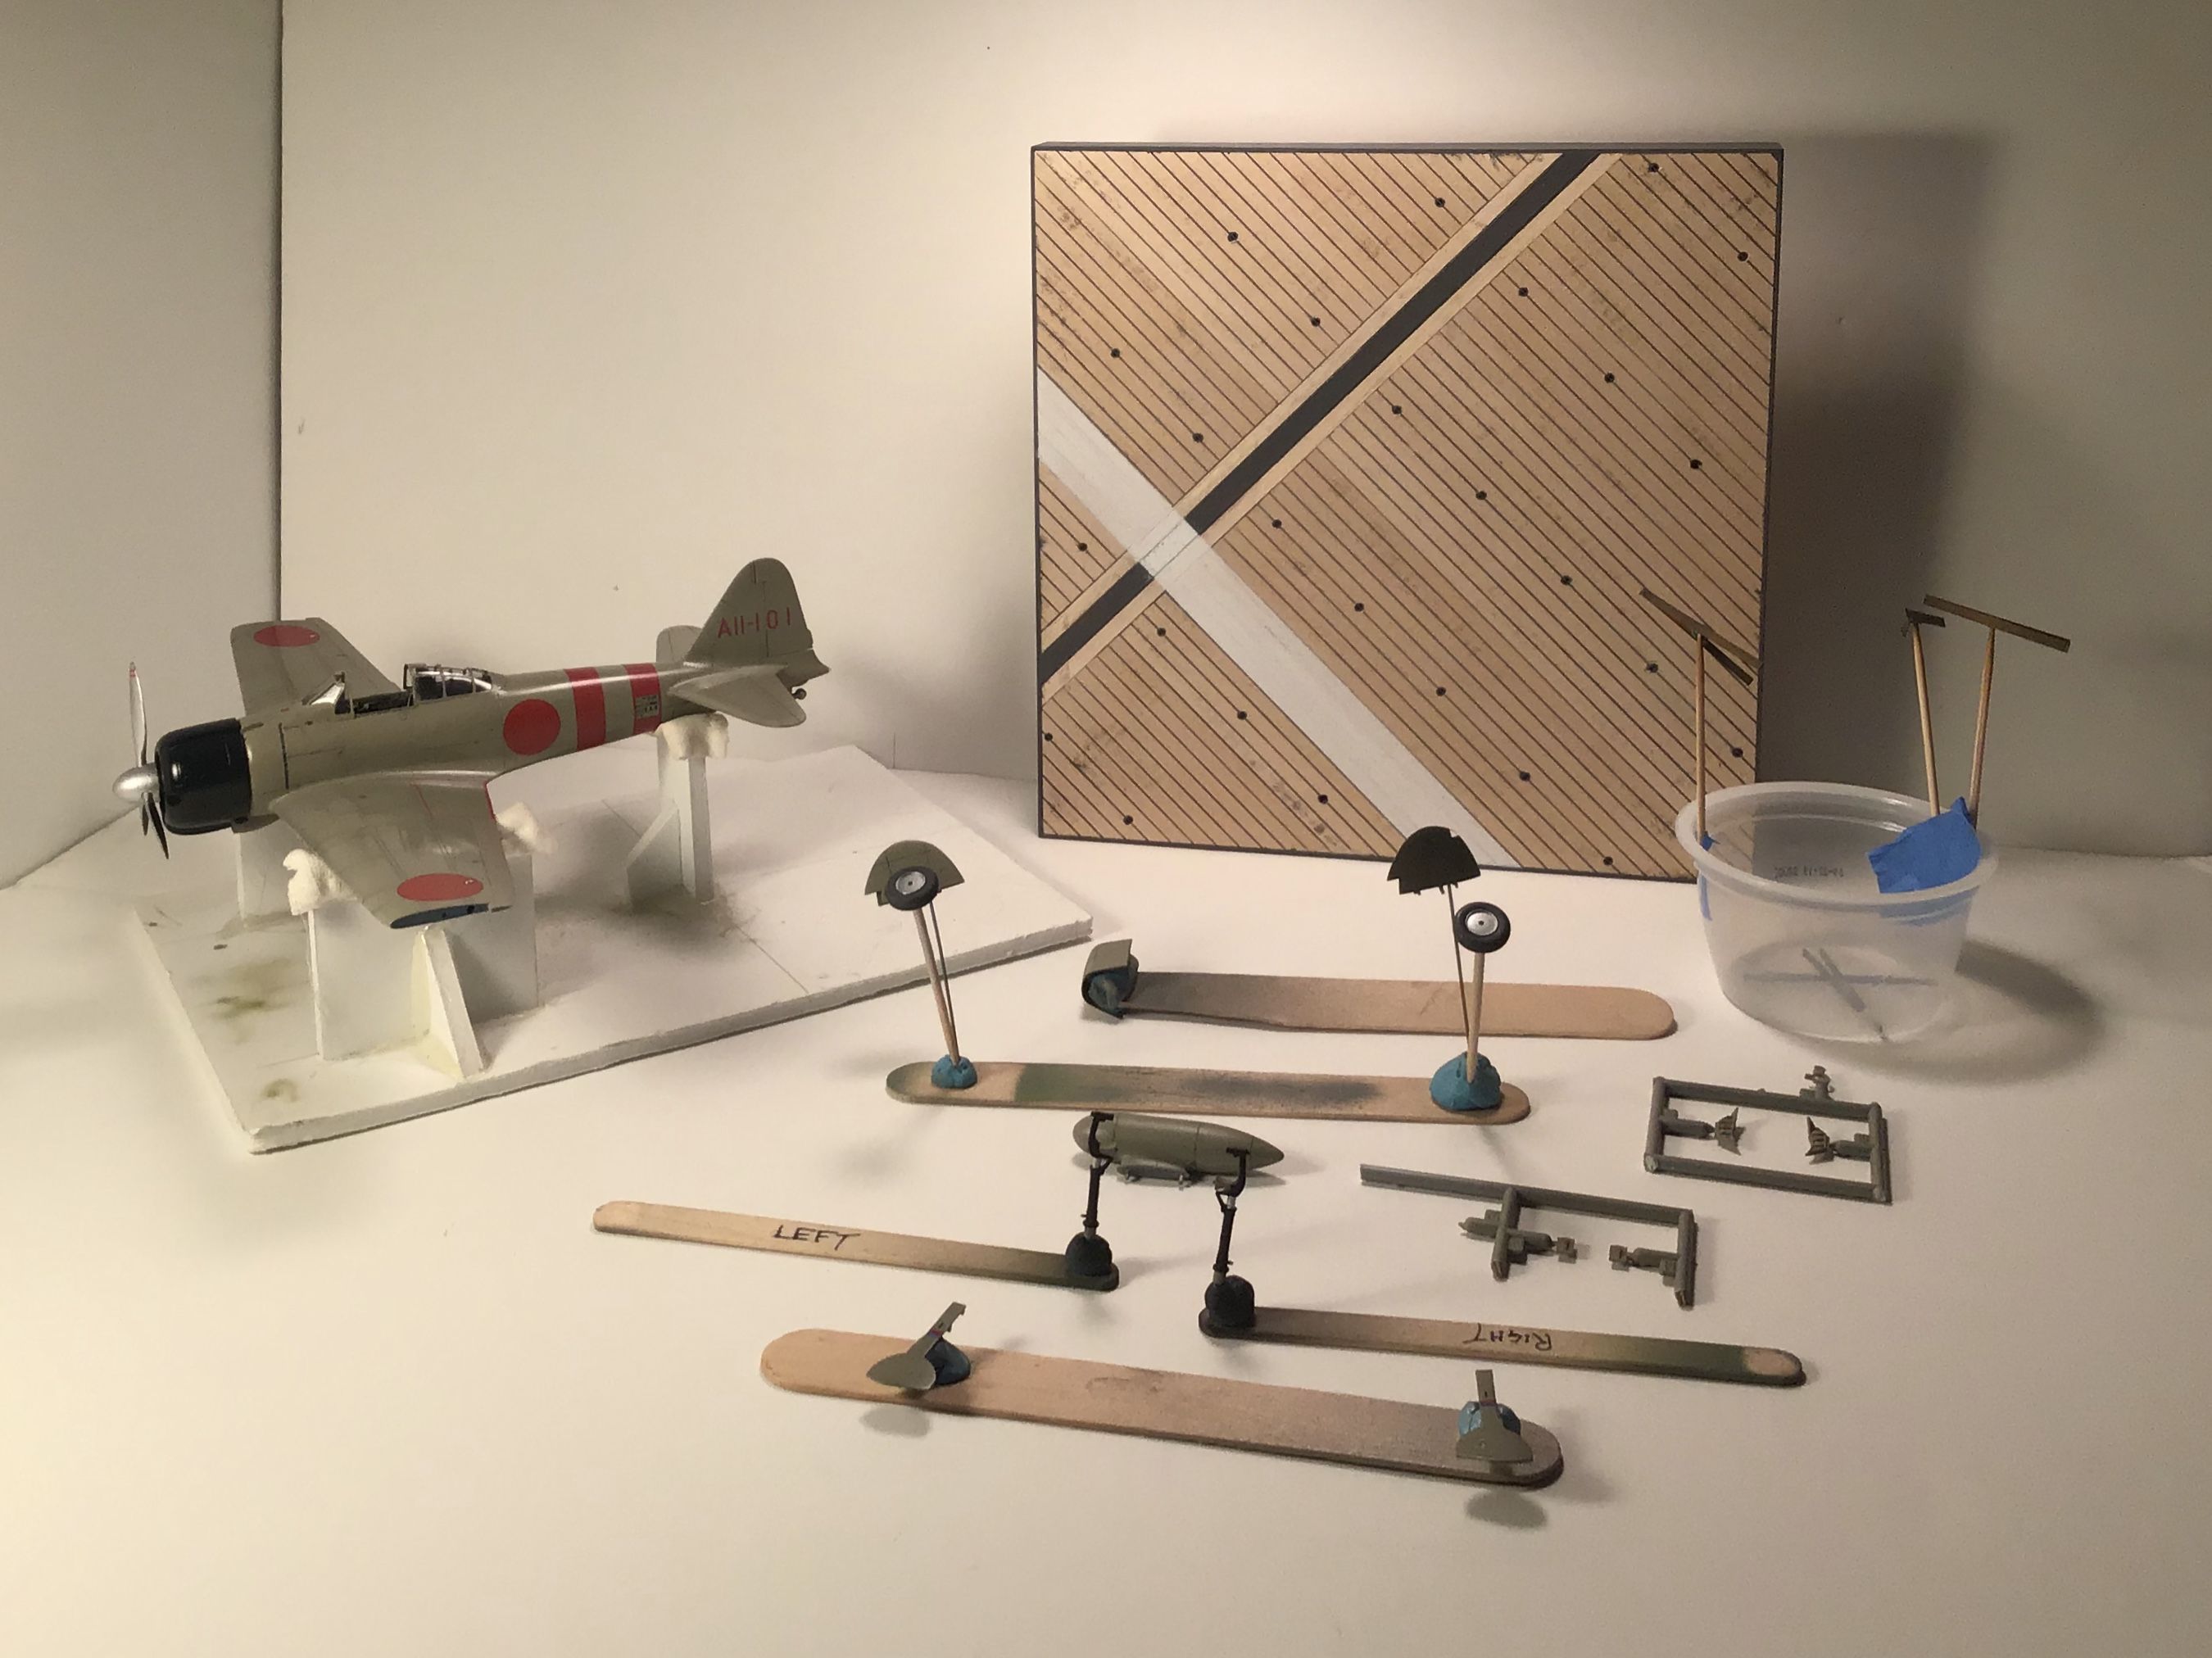
Some goodies arrived today - sawn basswood decking for the carrier deck base , Rob Taurus canopies & Master Type 97 7.7mm barrels

After a brief delay because I clicked on the wrong Rob Taurus canopy - seems I ordered for the Tamiya kit instead of the Hasegawa - I am now back to work as the correct ones have arrived.
Rob Taurus Vac Canopies are superb - thin with sharp detail ( some have more detail than the injection kit parts) and they are styrene so they will bond to the fuselage with styrene cement.
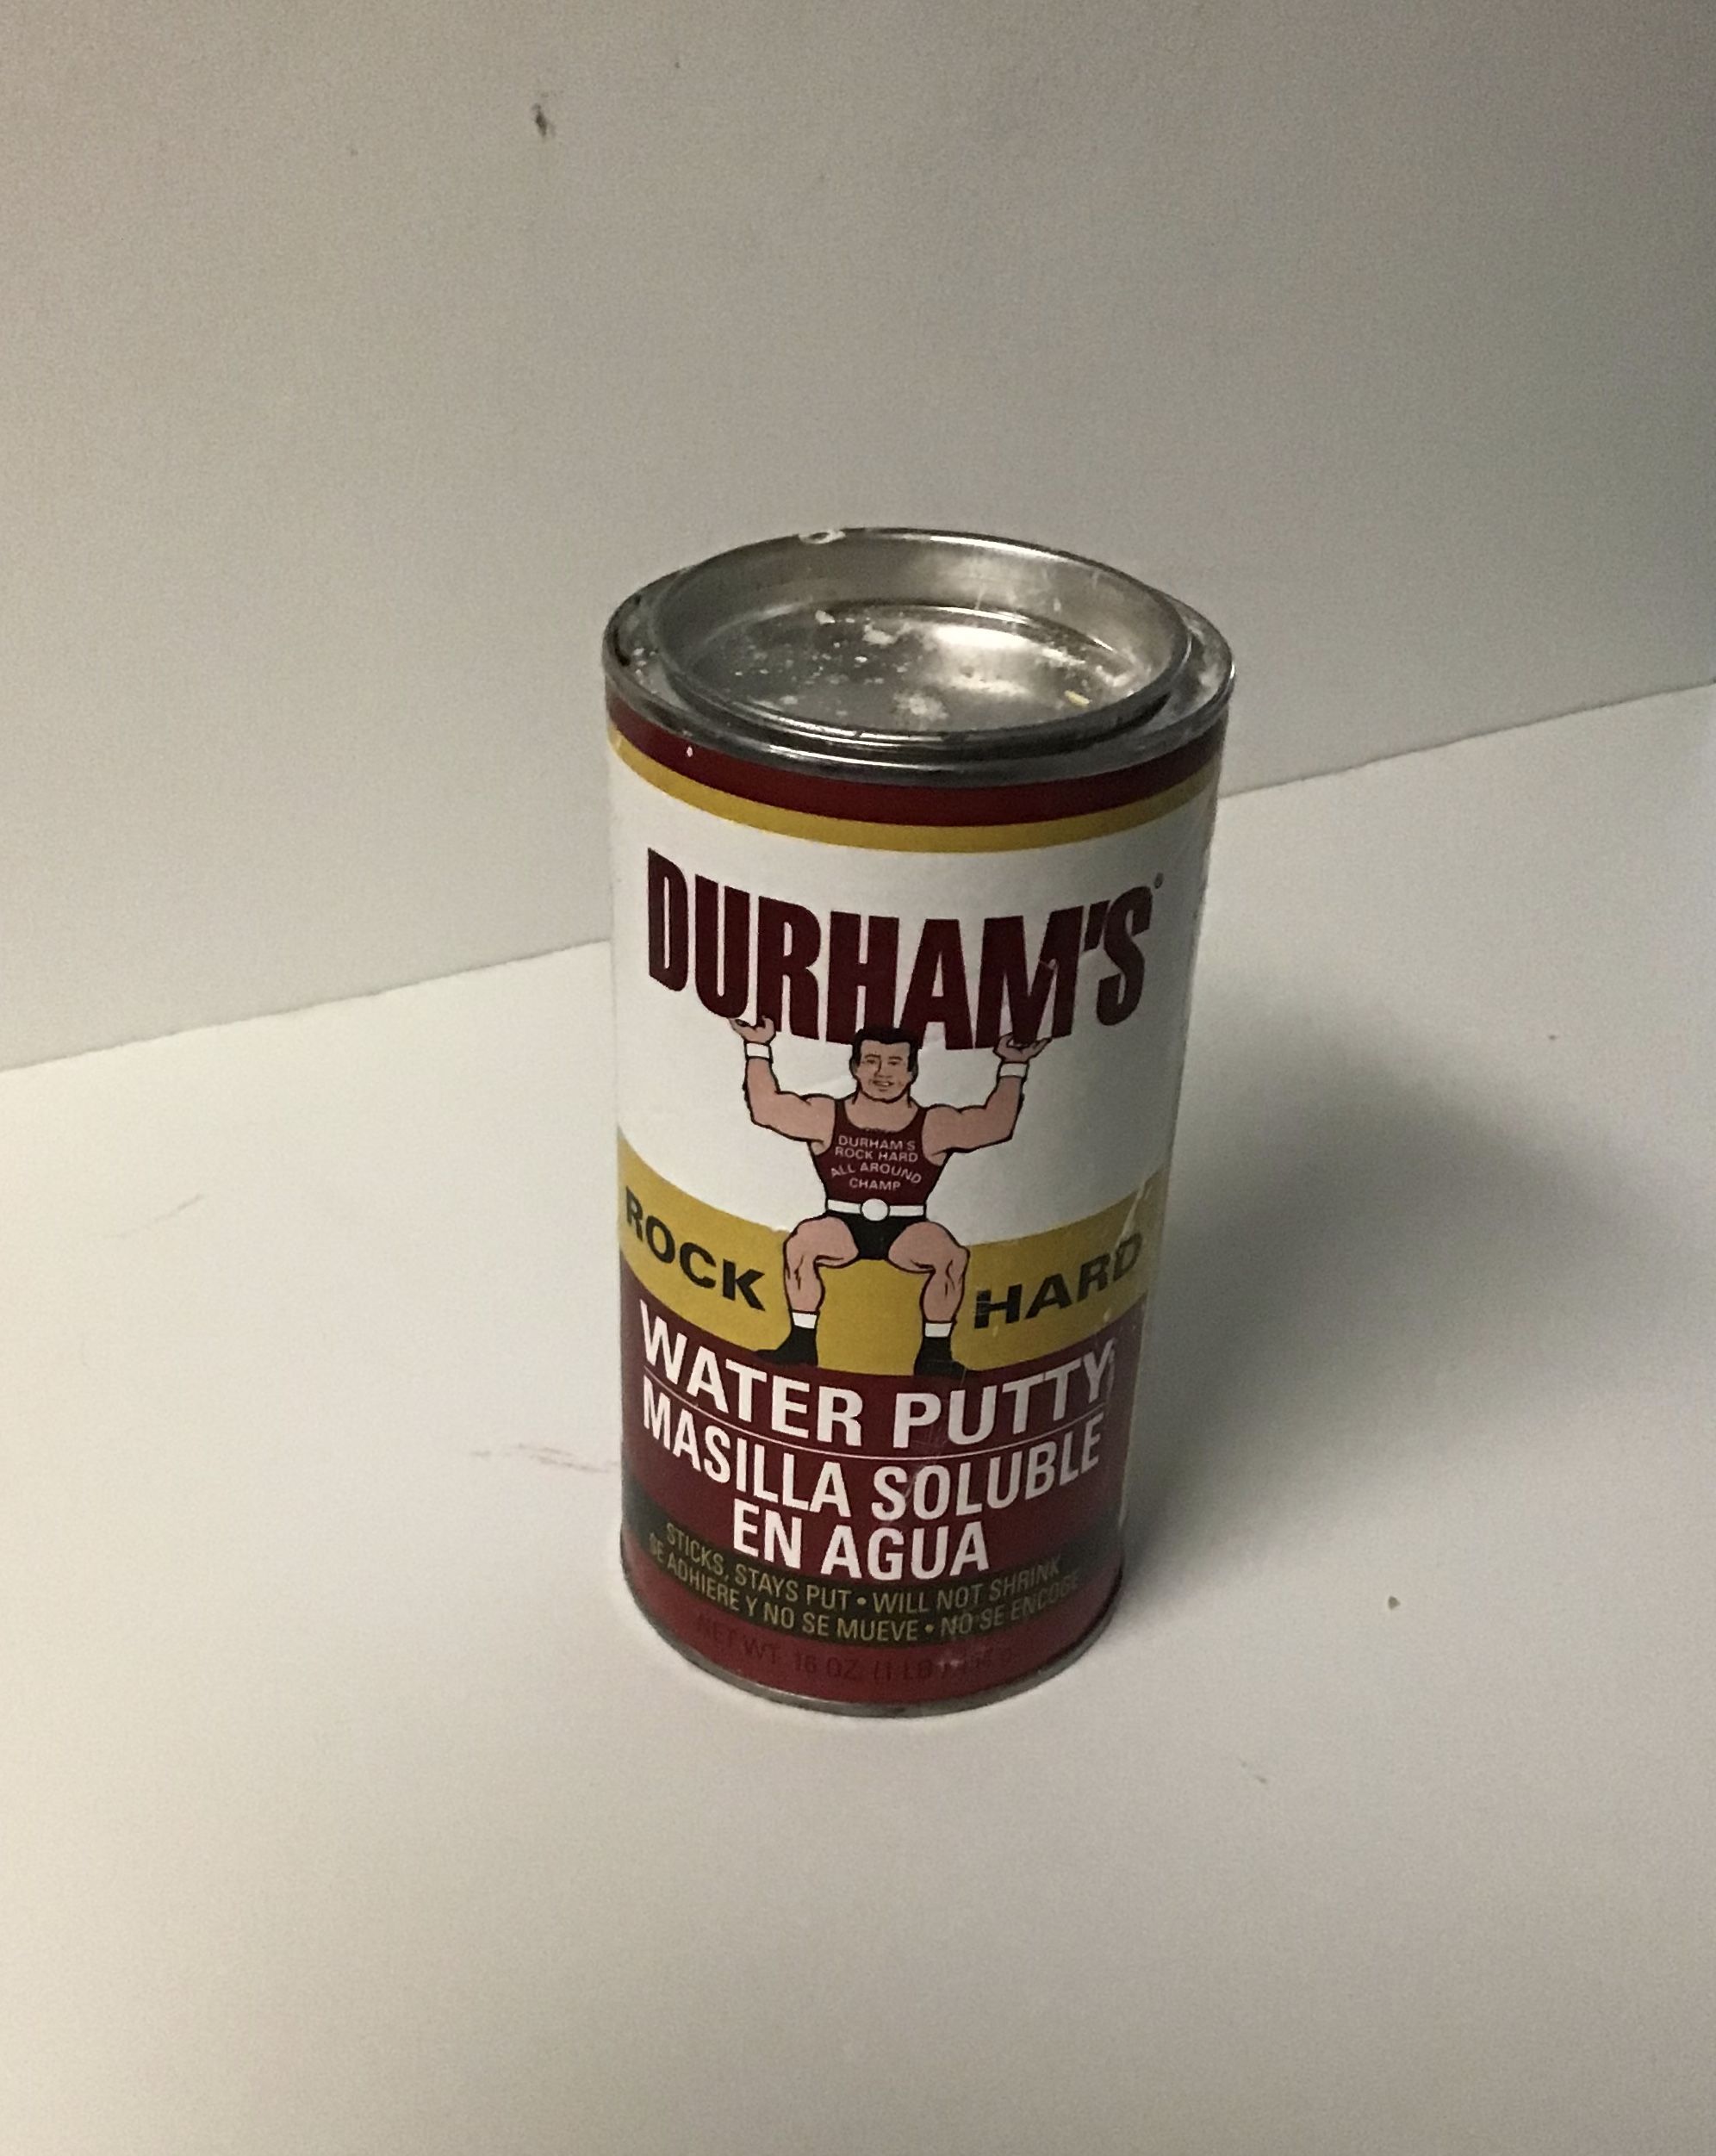
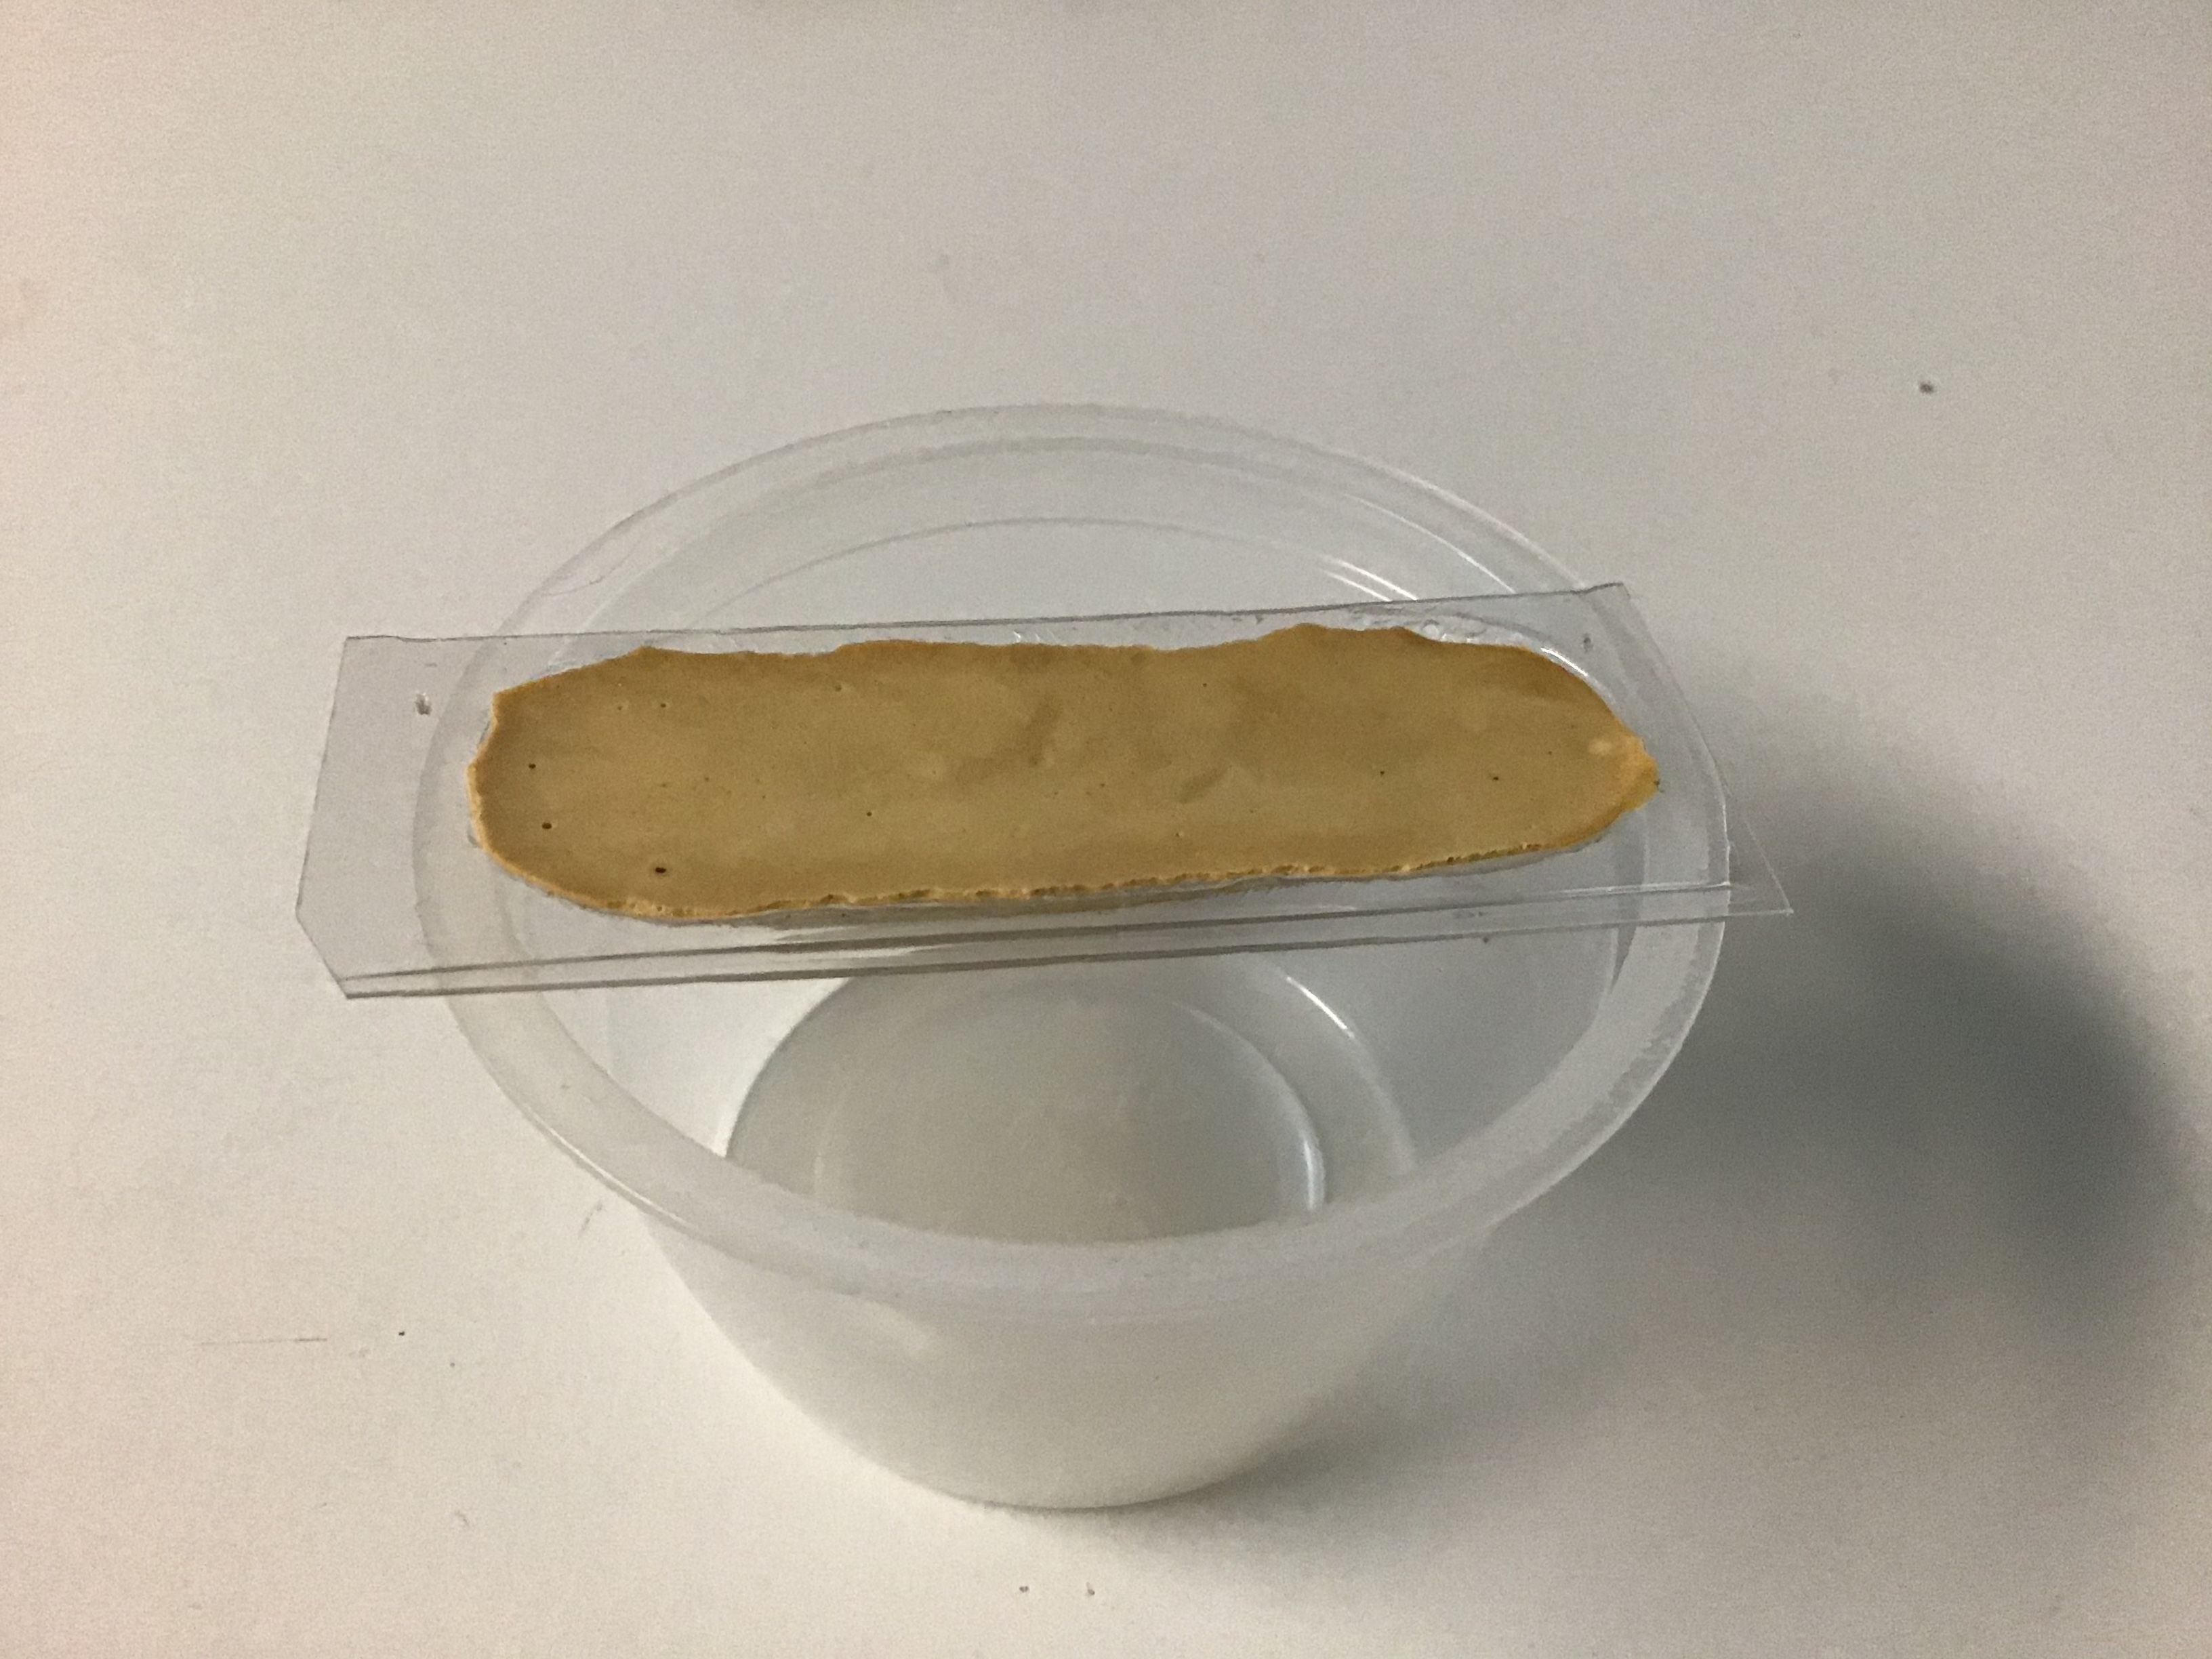
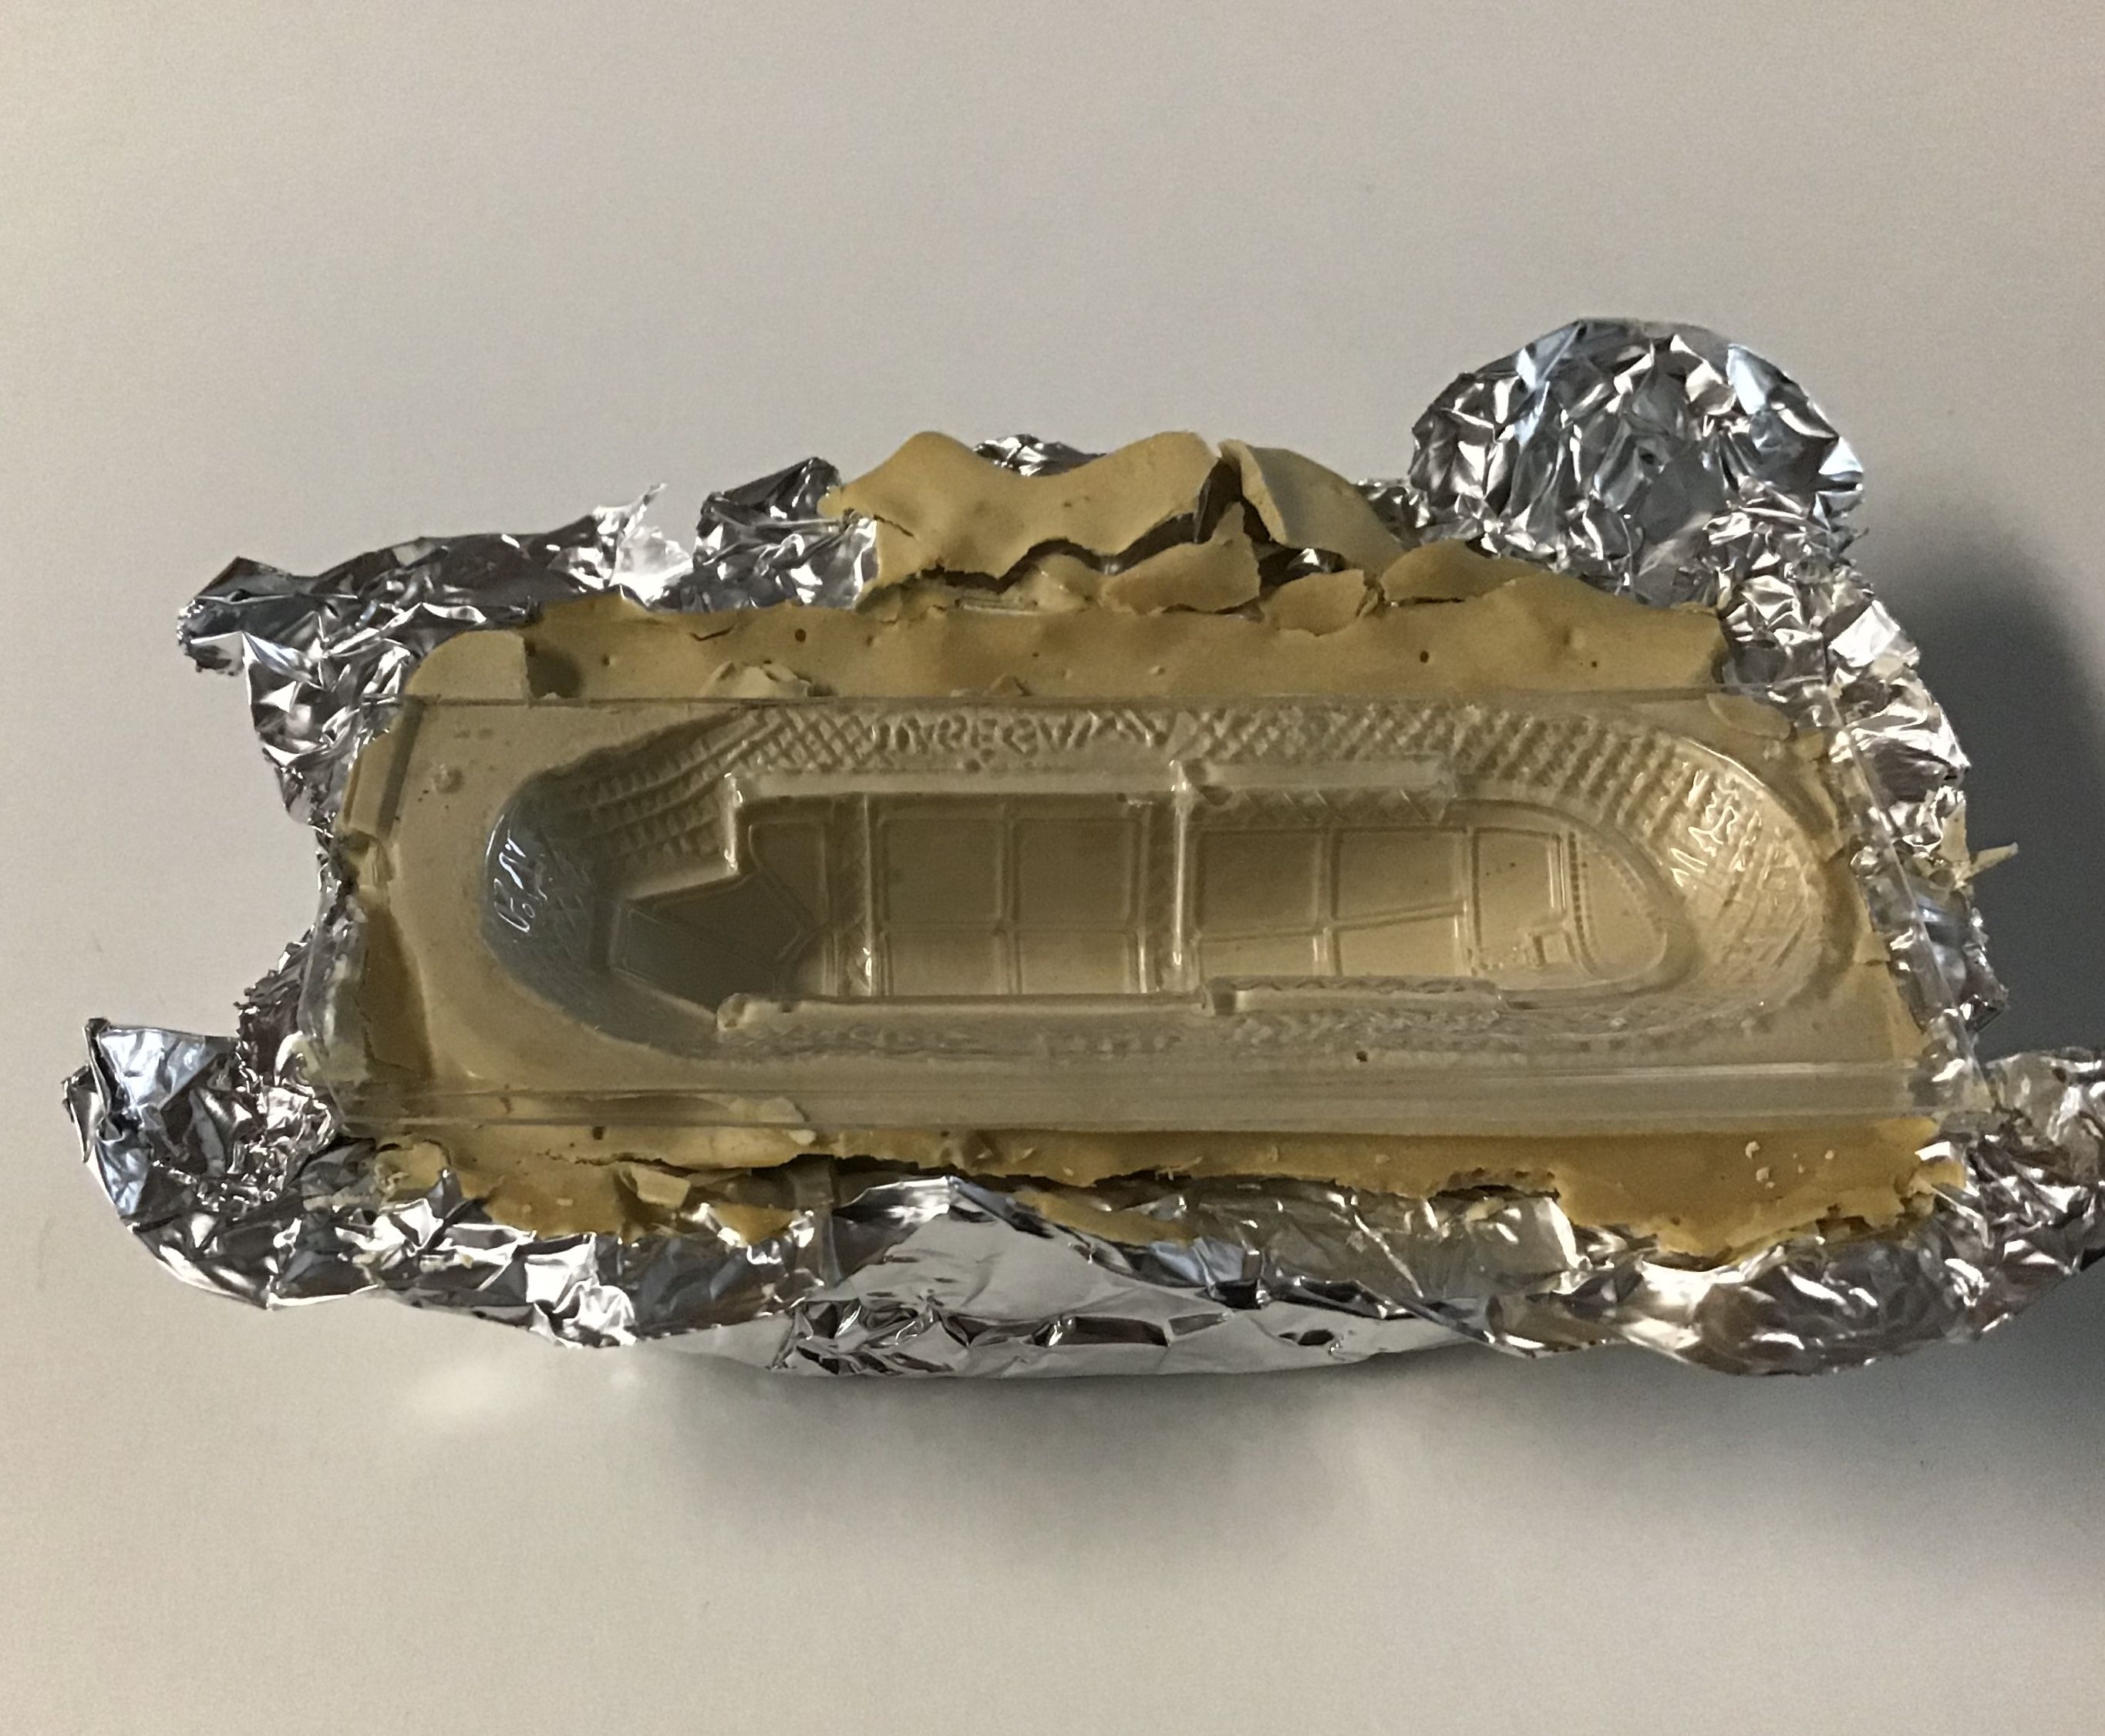
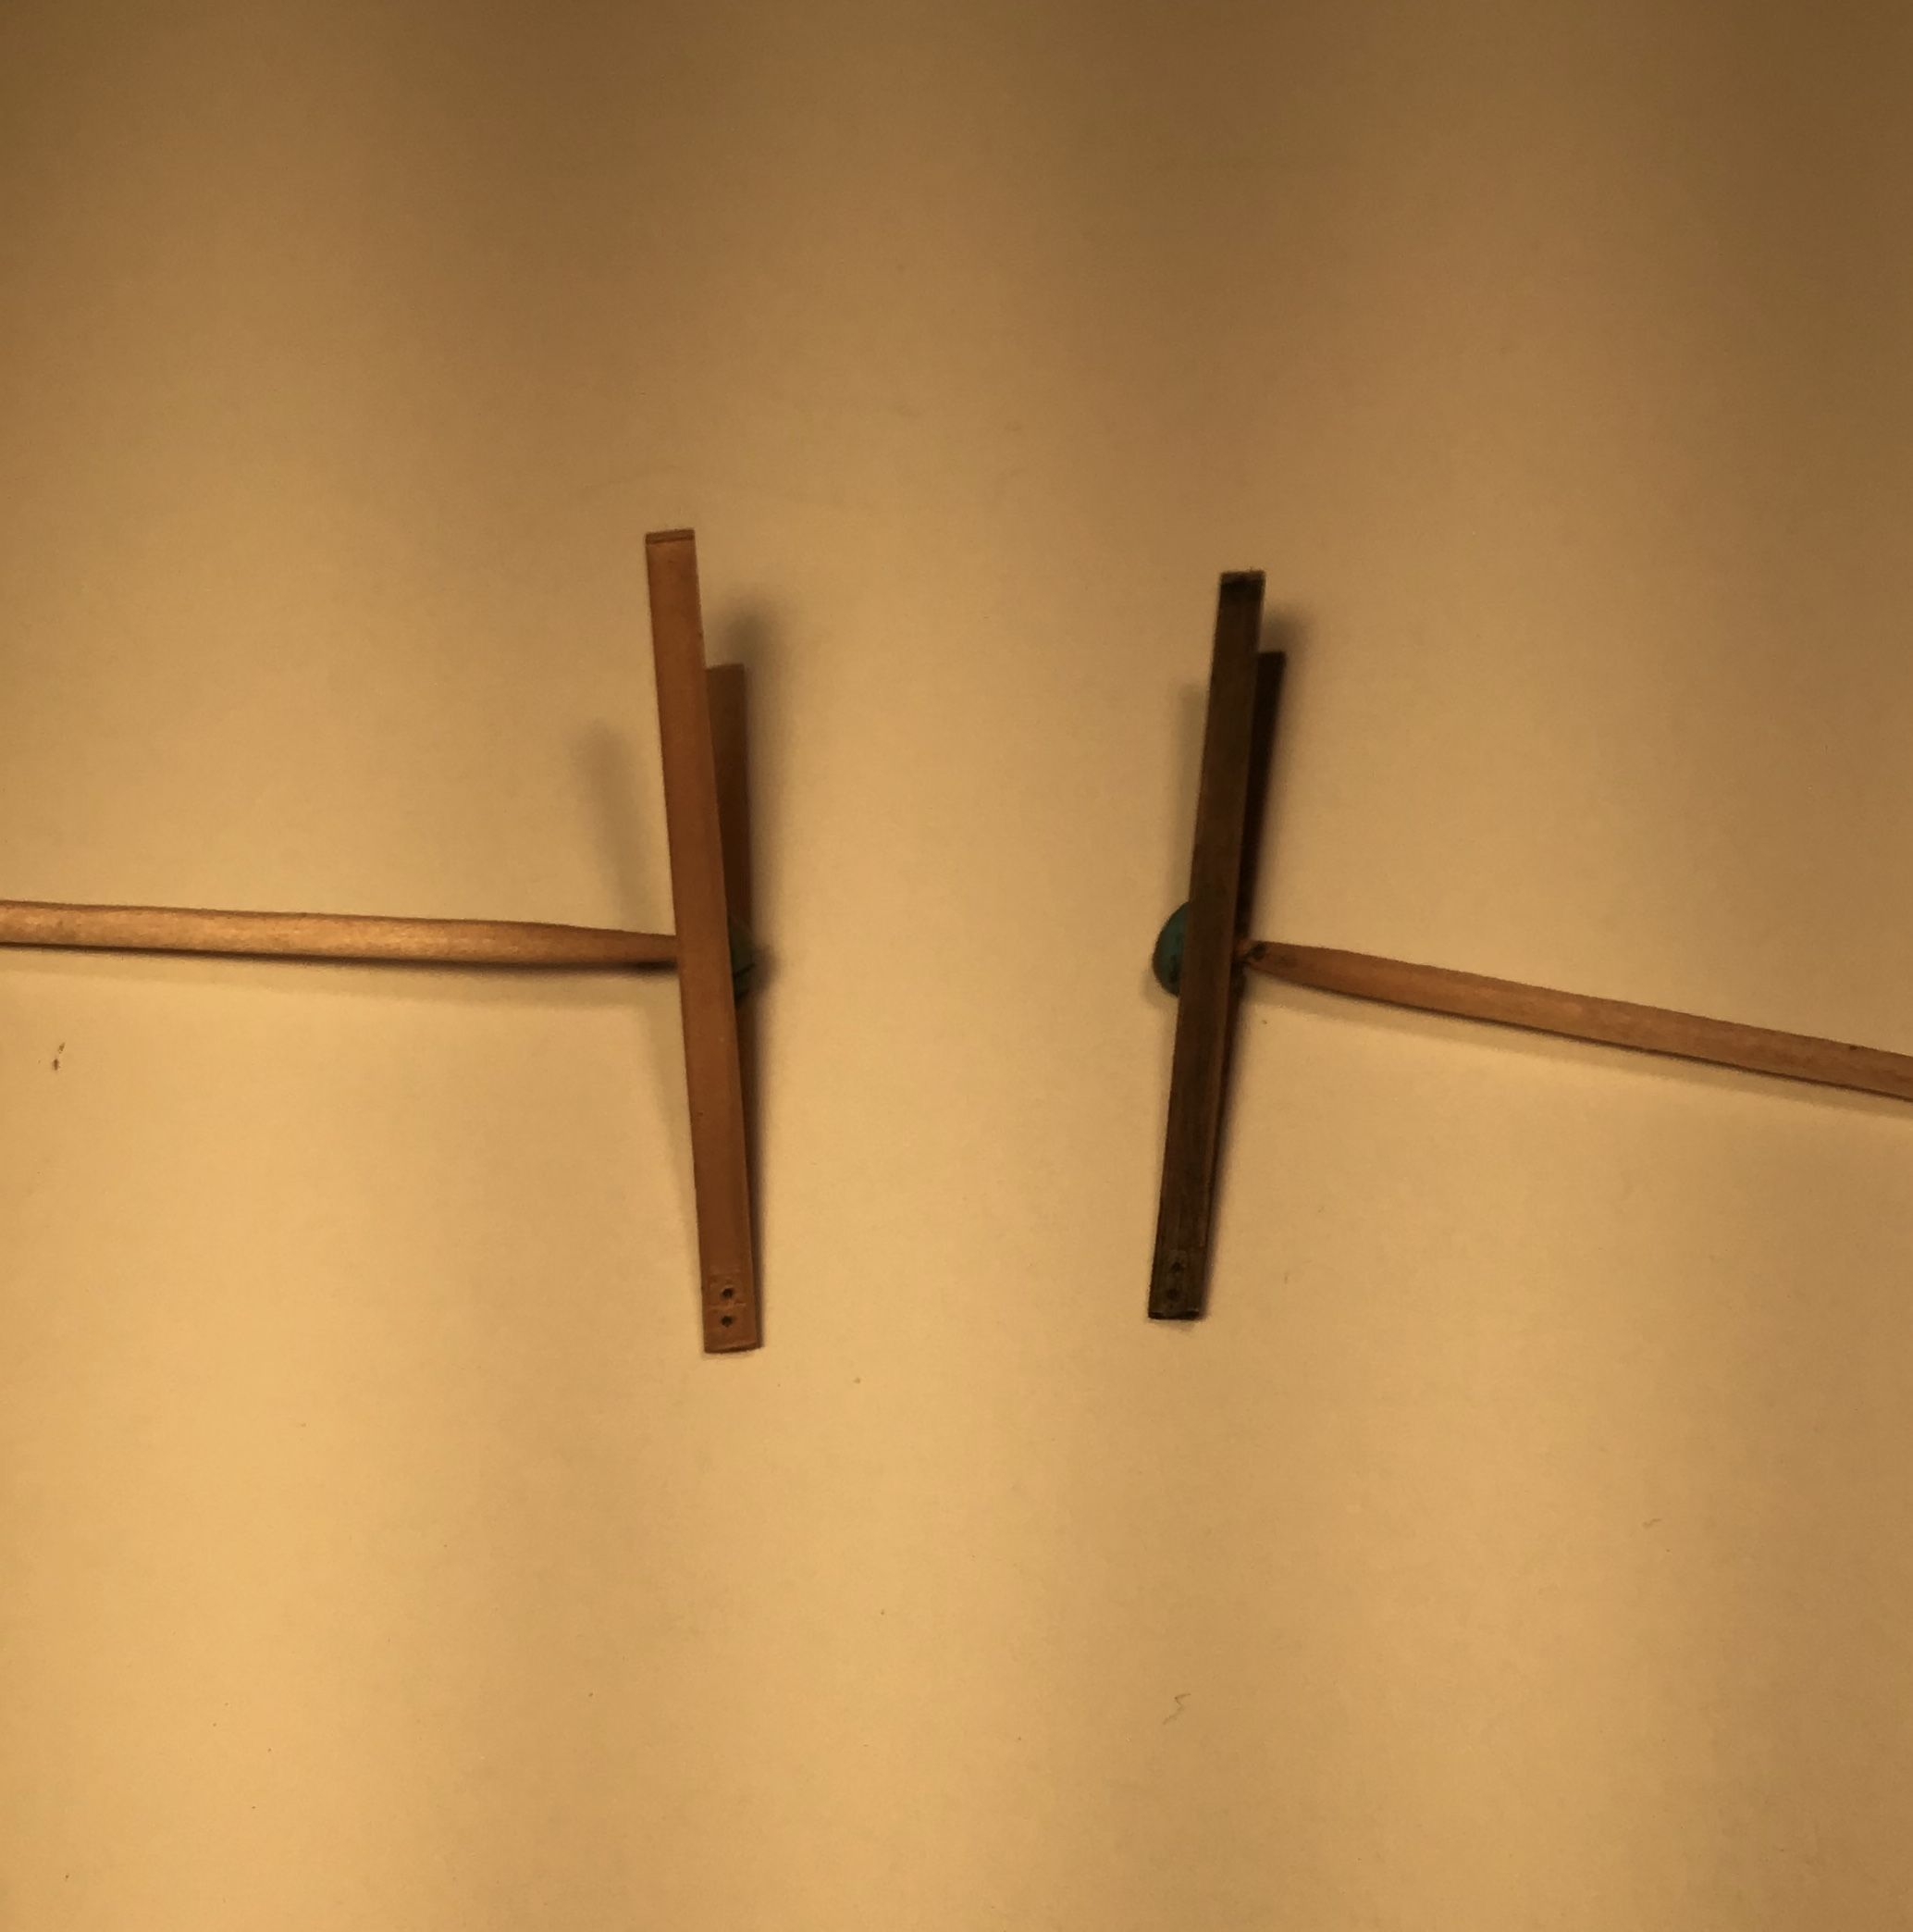
I like to use a product called Durham’s Water Putty to make male and female fixtures to support the vac canopies while cutting and fitting. The male casting for cutting the canopy from it’s matrix and the female to support the canopy while tuning up the edges where they meet the fuselage.

Durham’s is a plaster base product and could not be easier to use . It dries quickly - an hour or so and comes in powder form- simply mix with water to a pourable consistency and pour into canopy for the male fixture and around the canopy for the female .
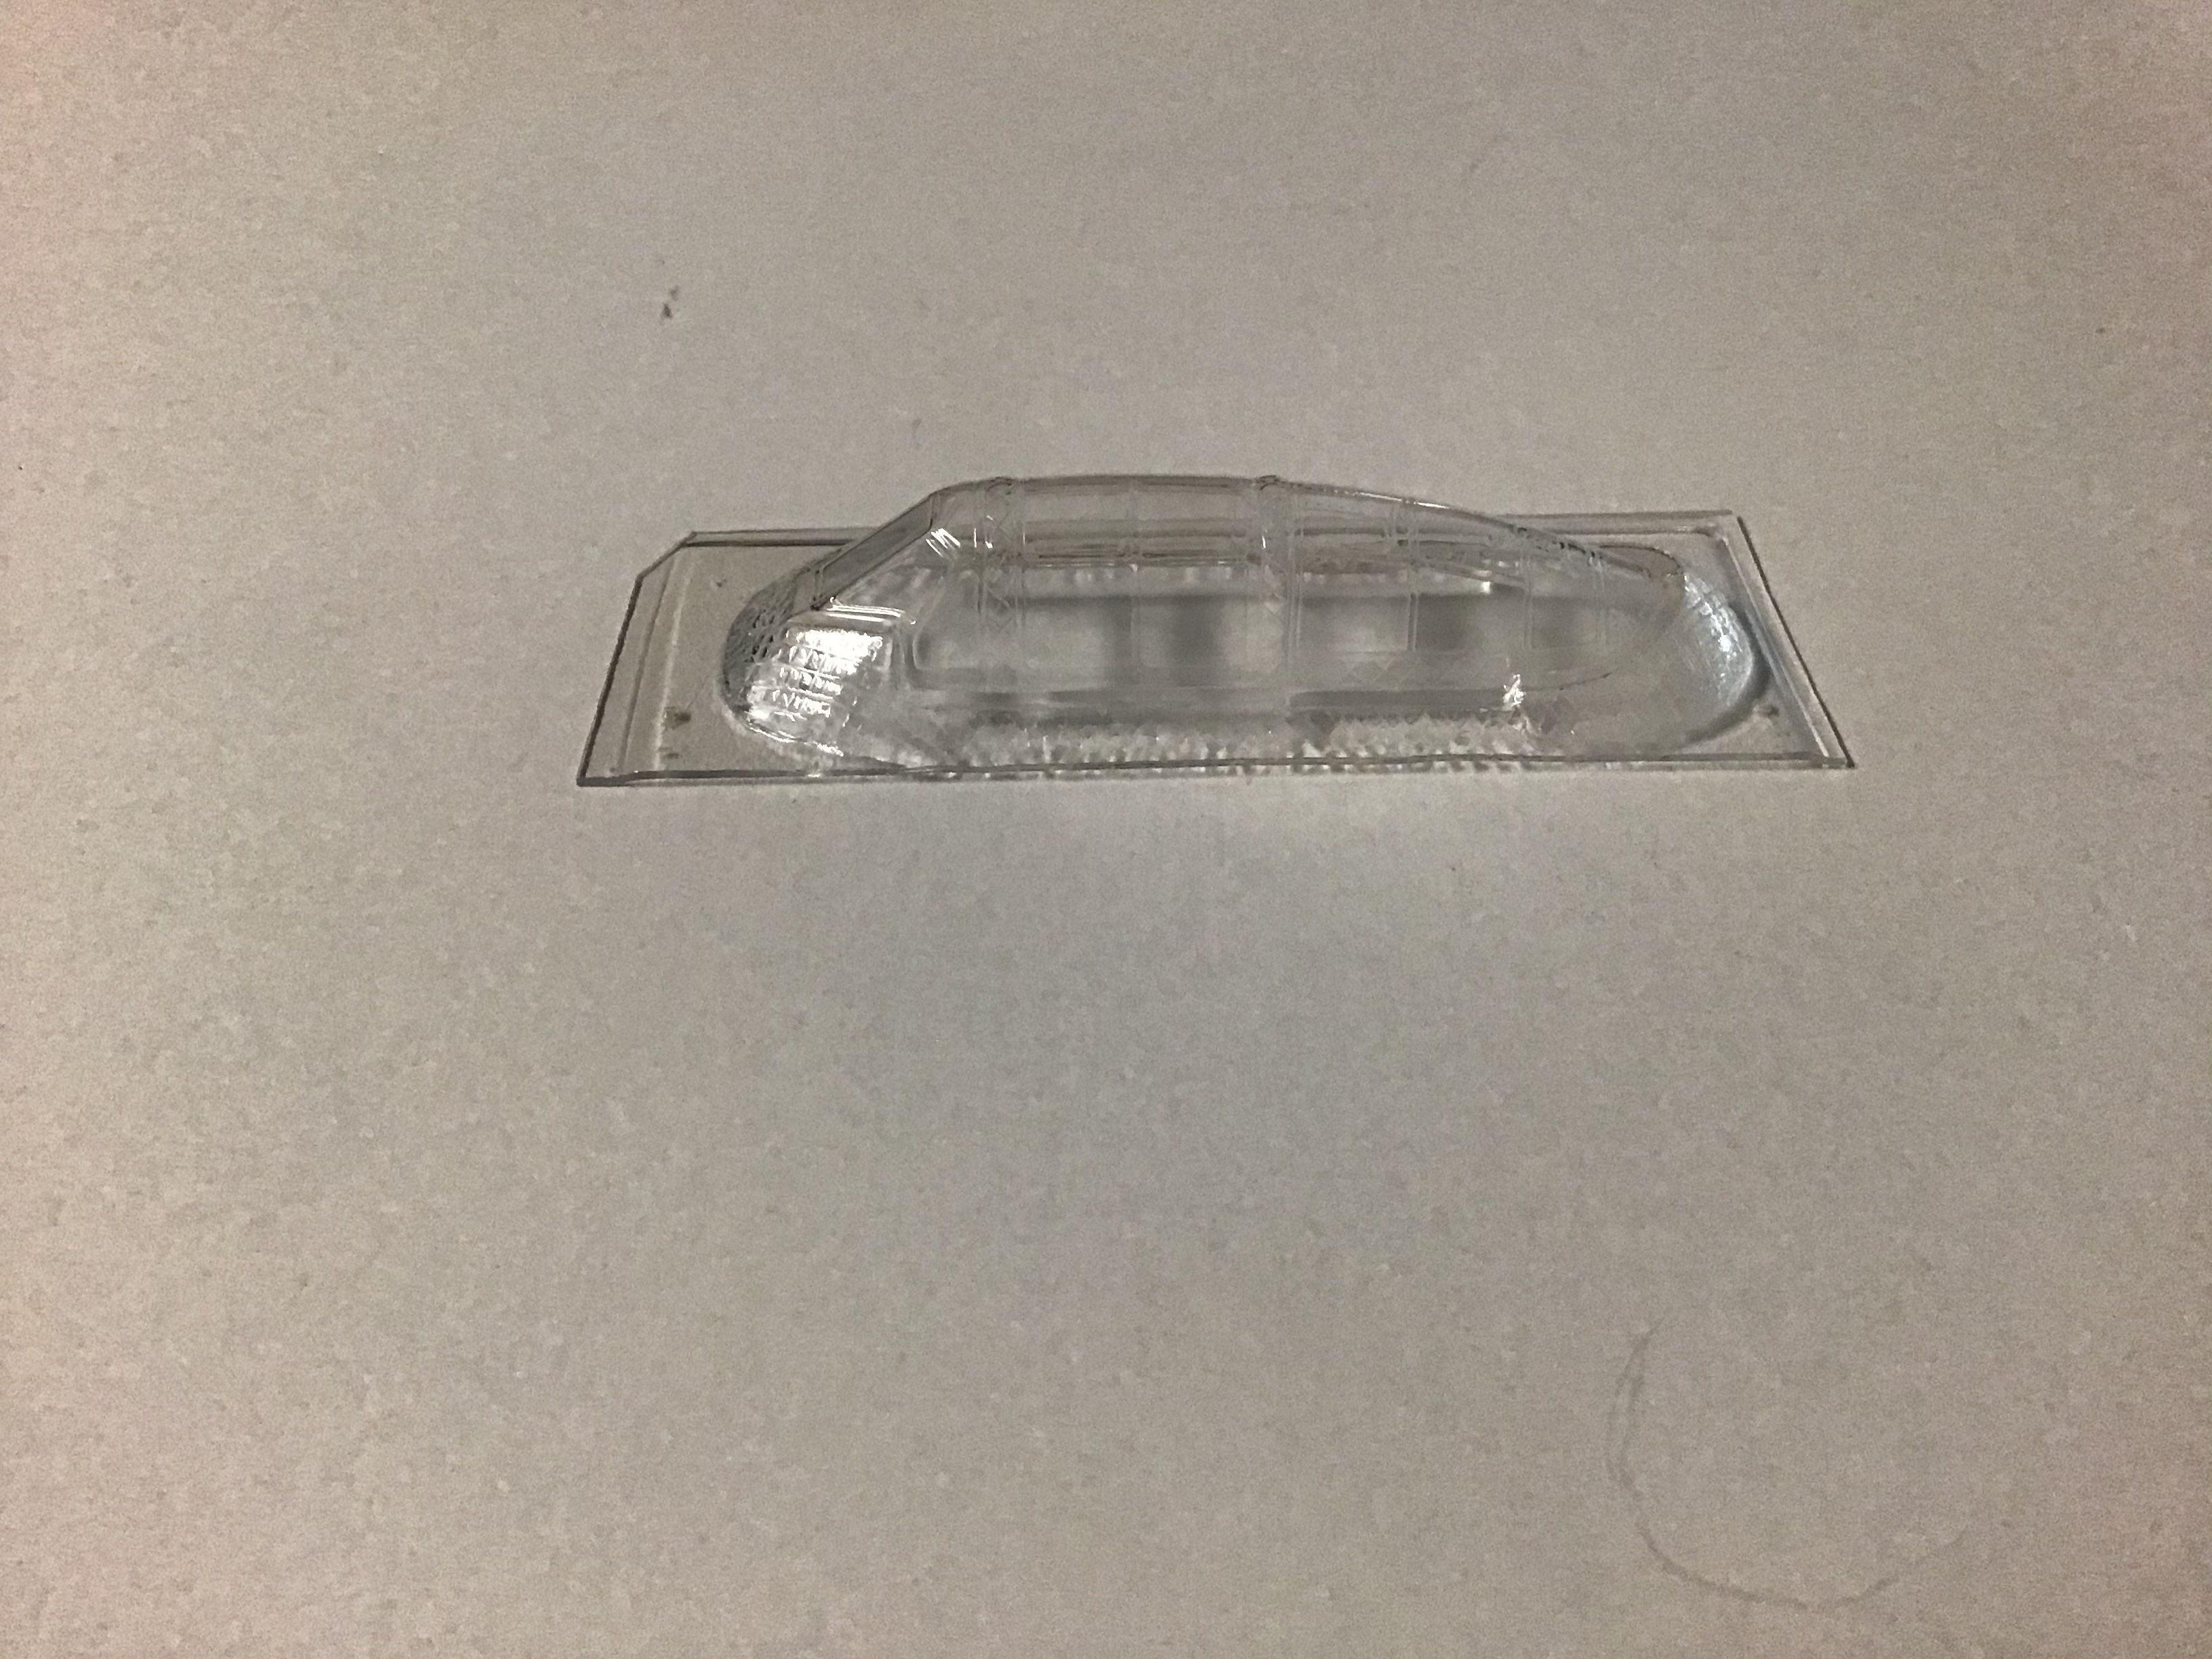
A simple box formed of foil does nicely.


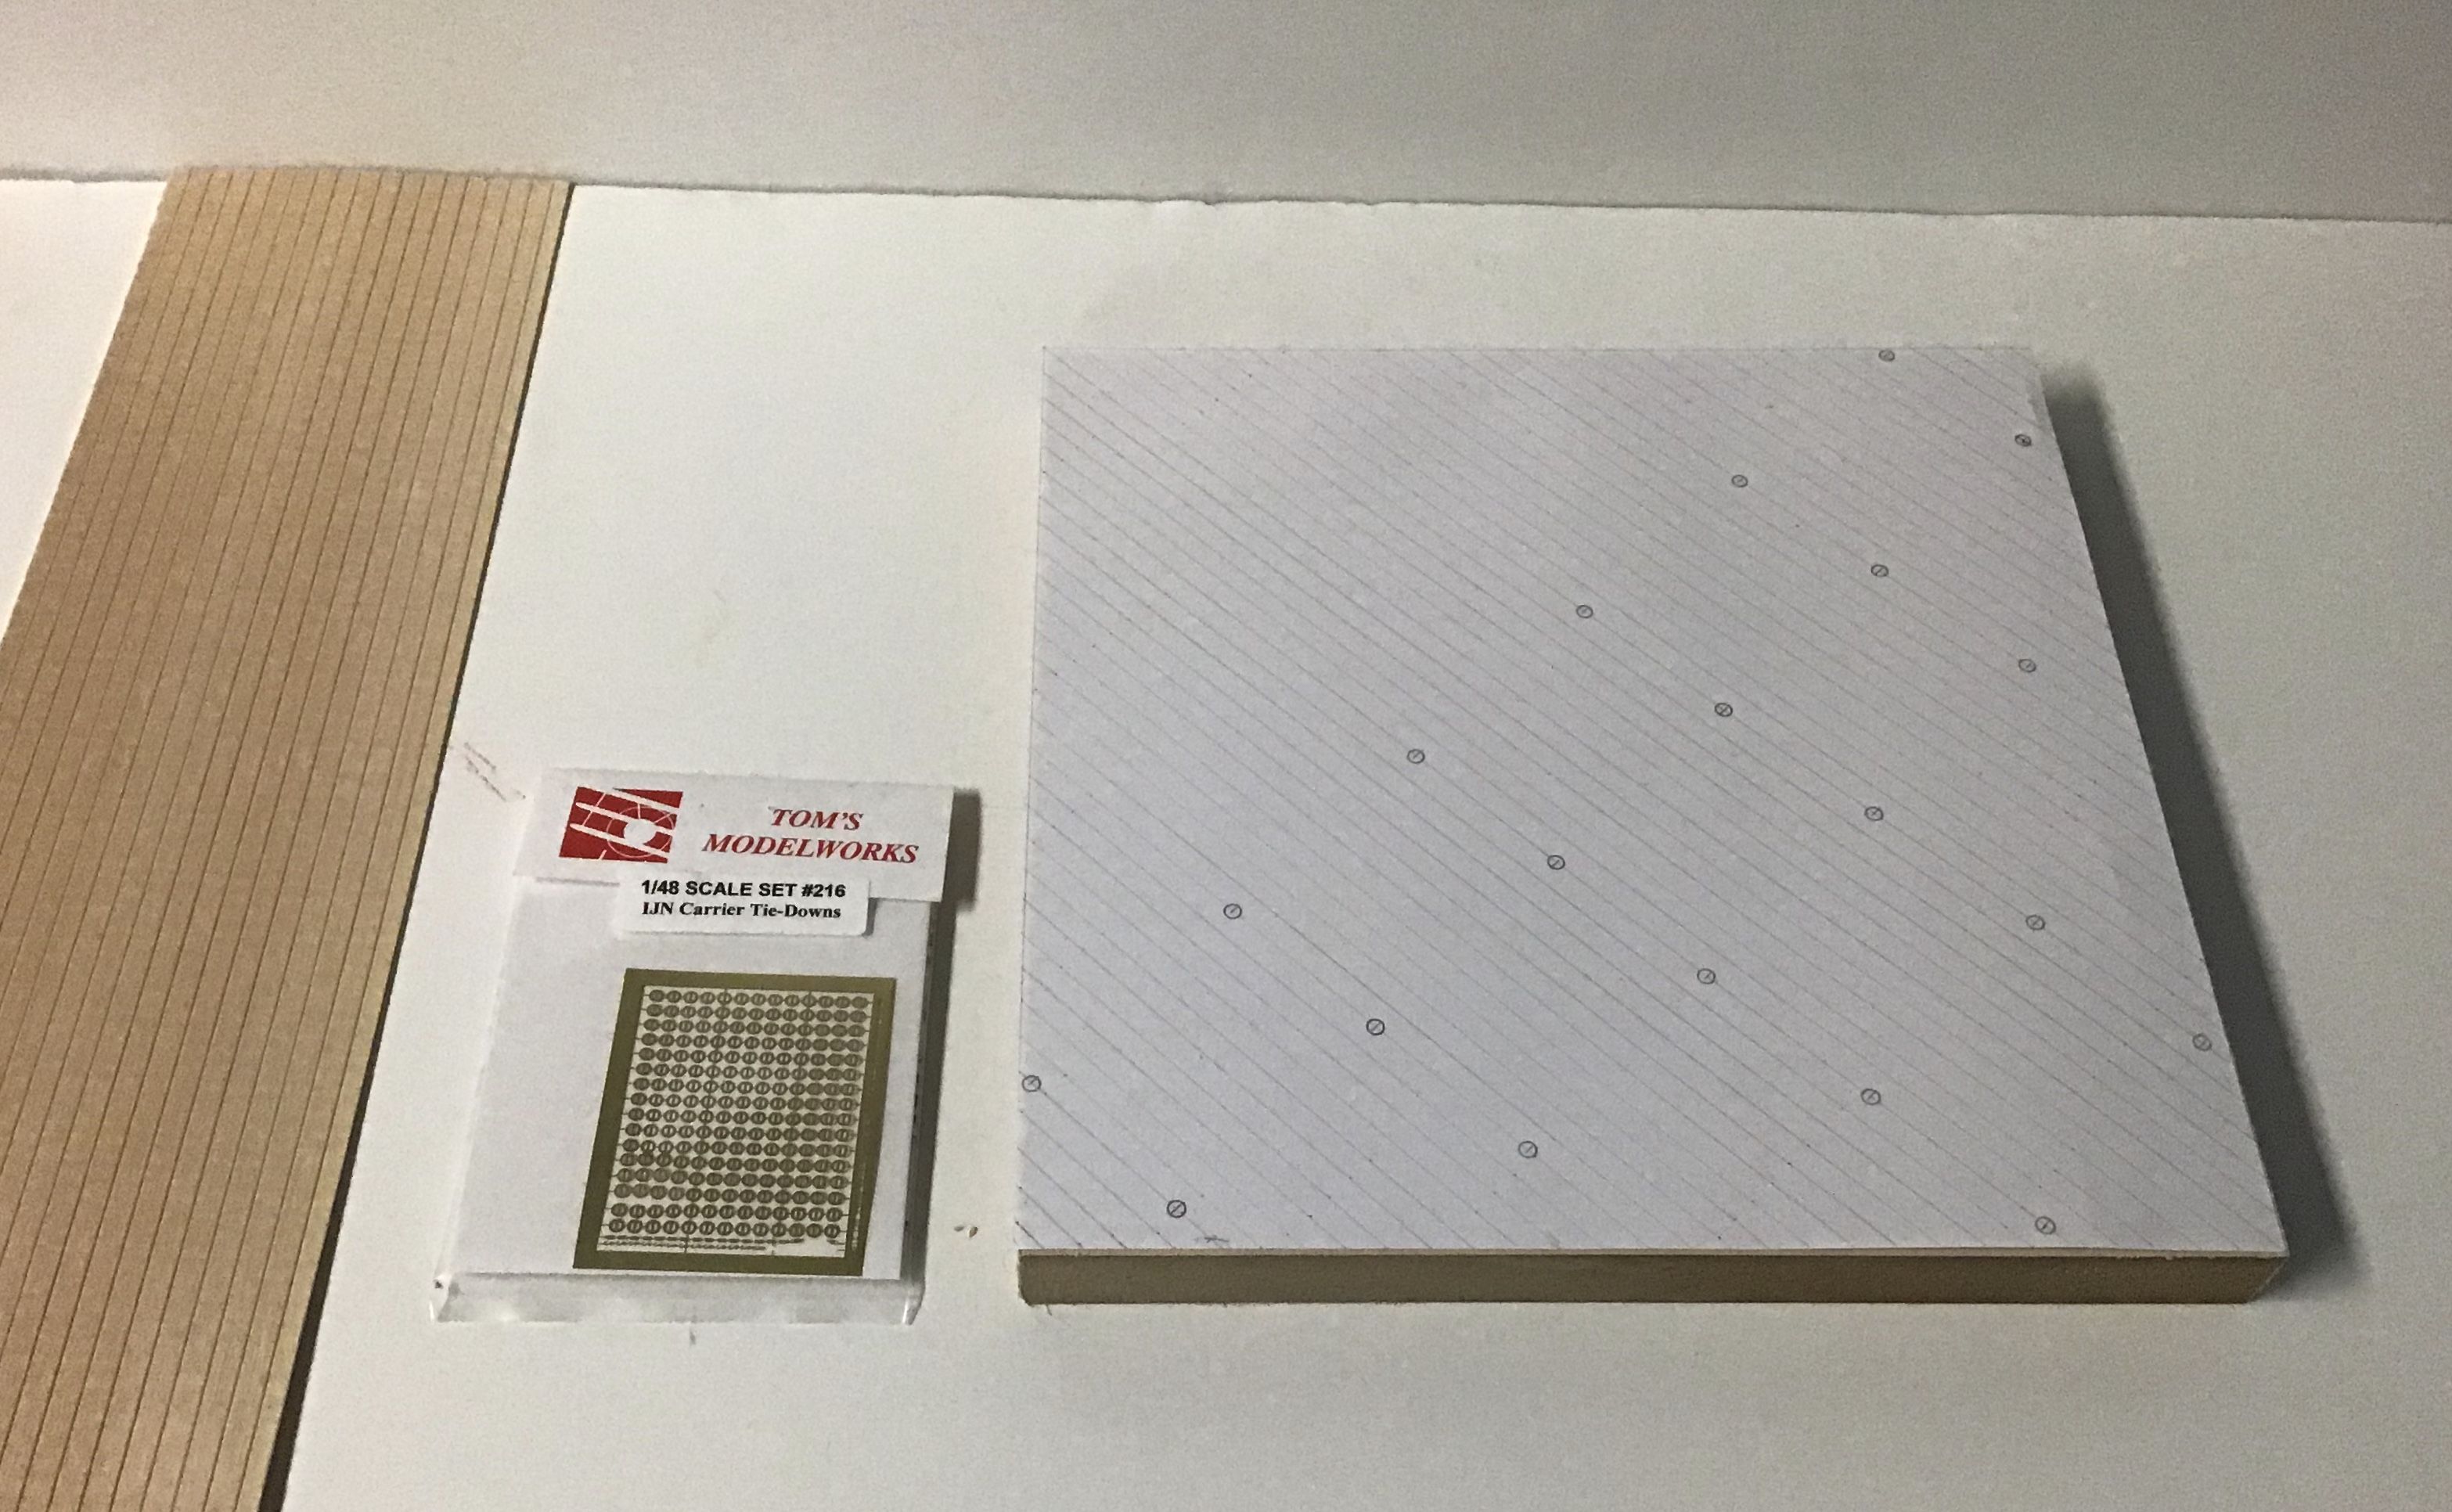
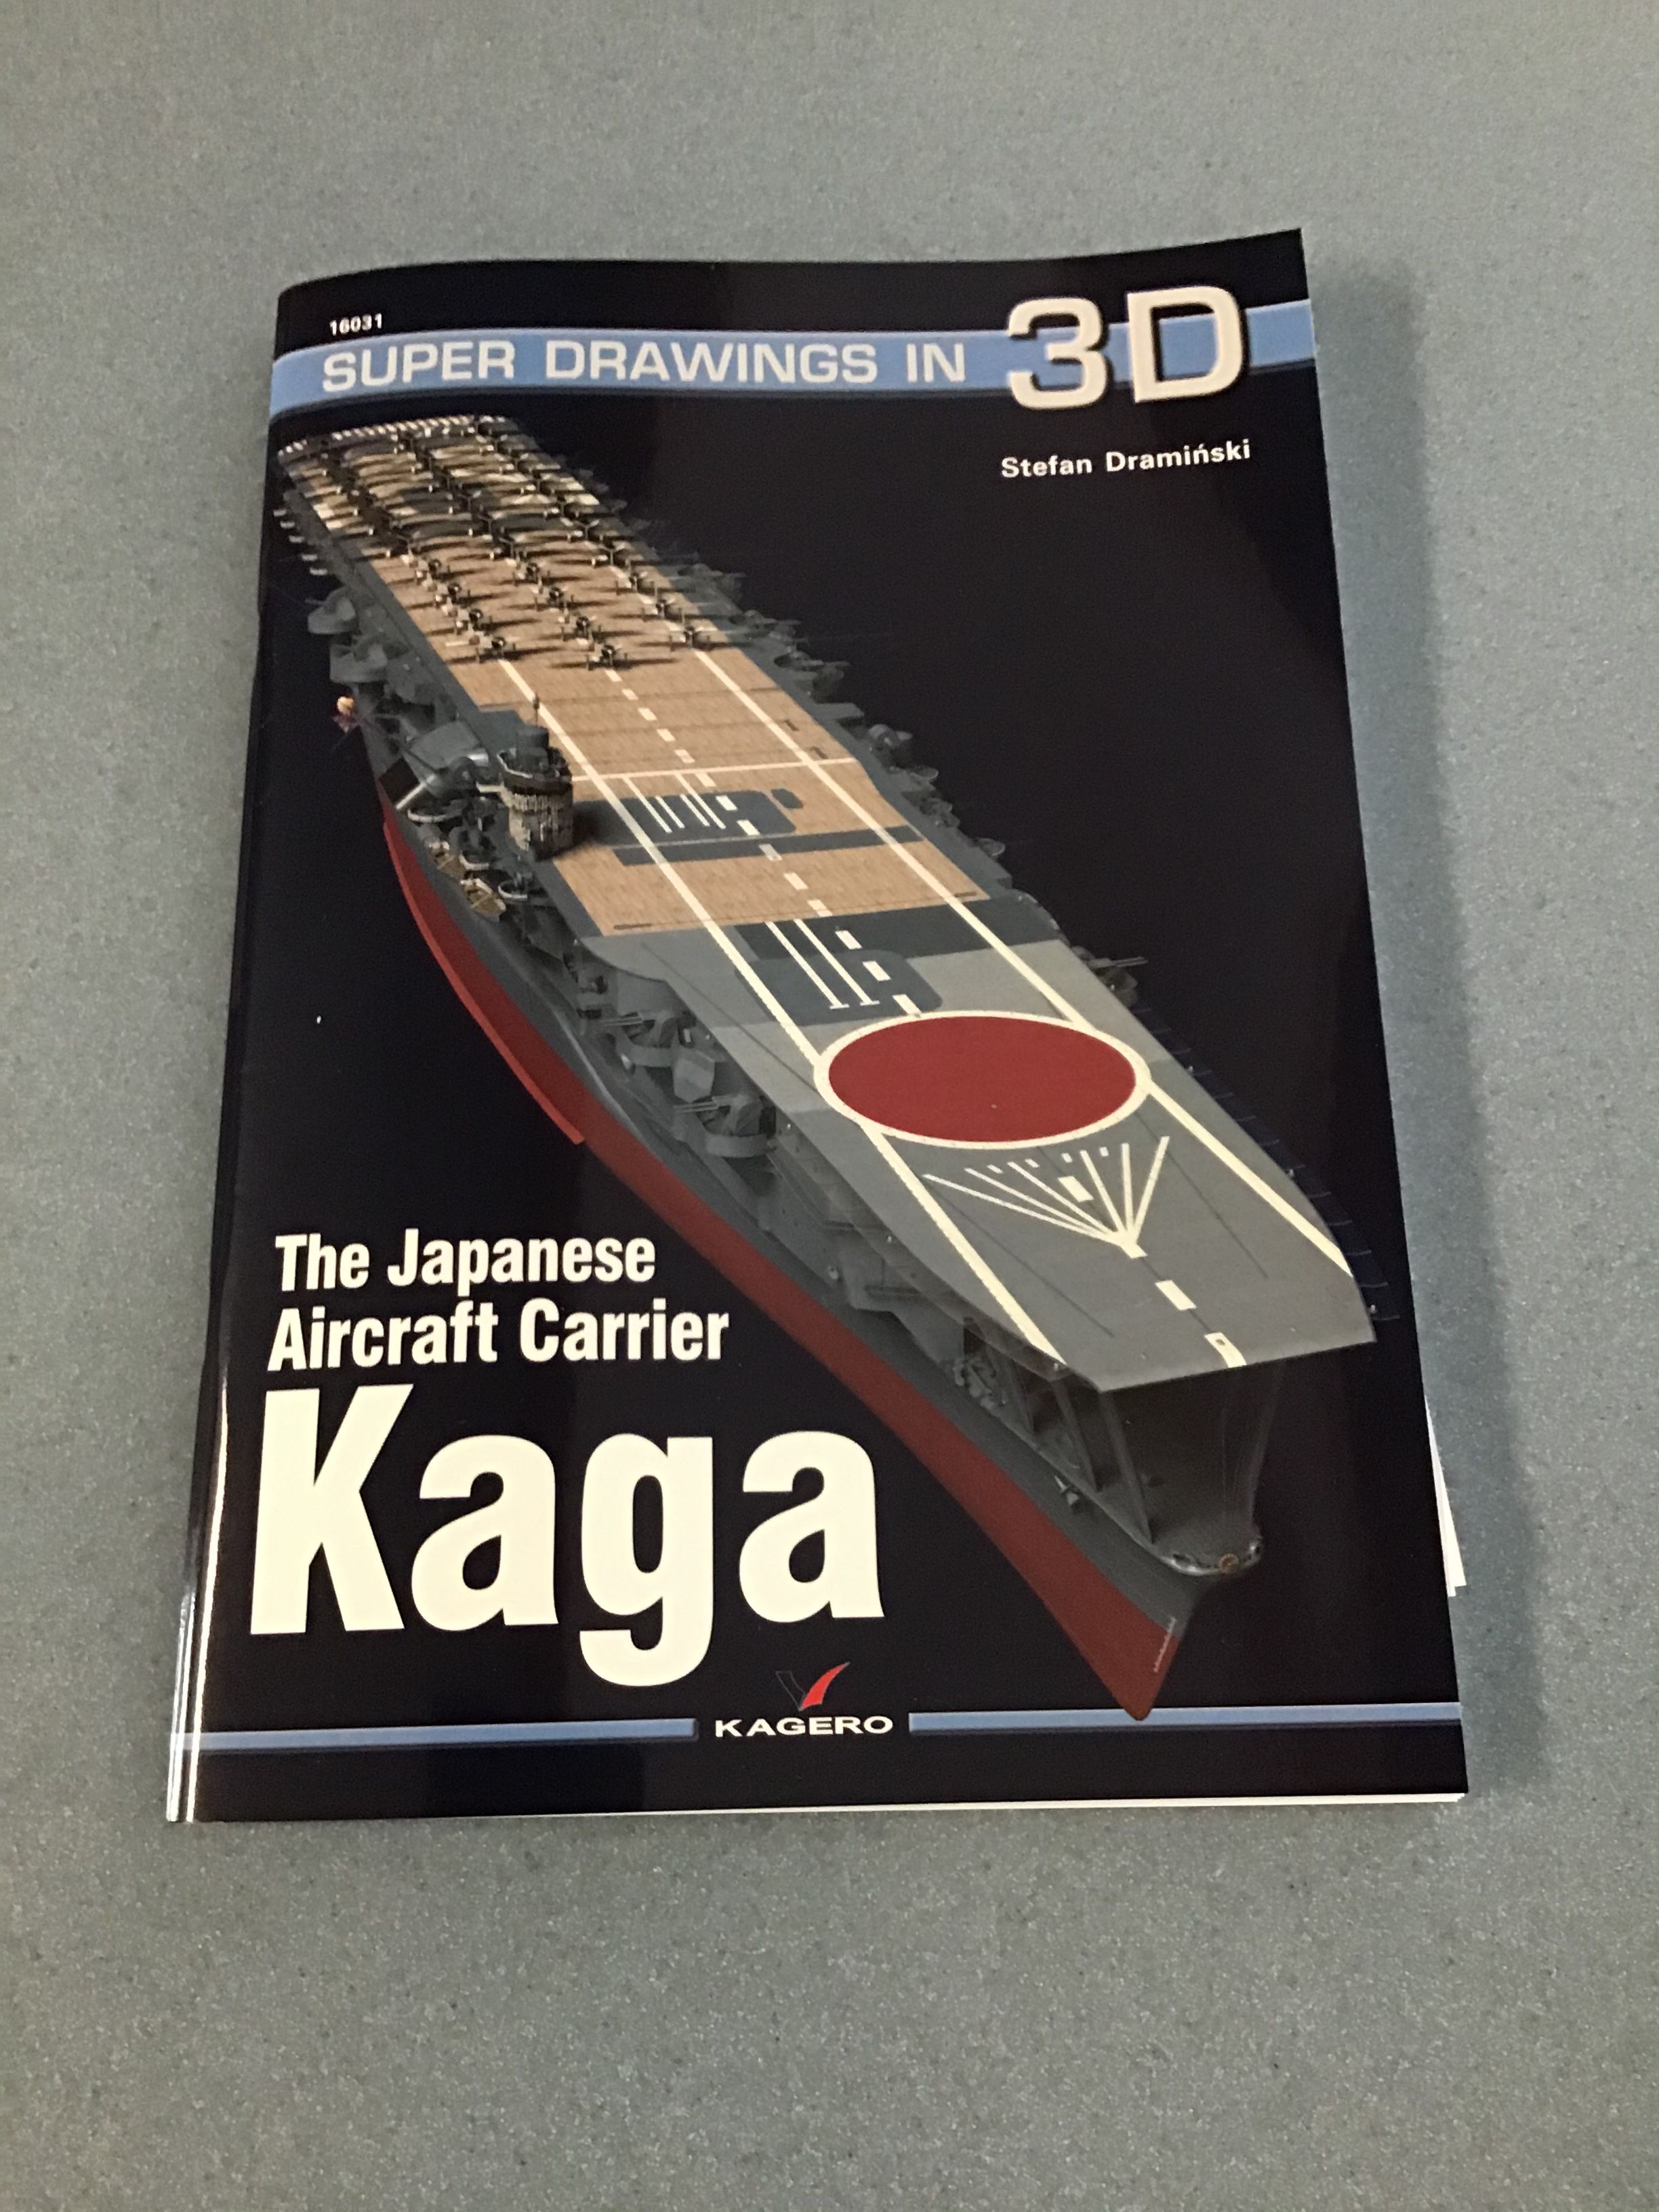
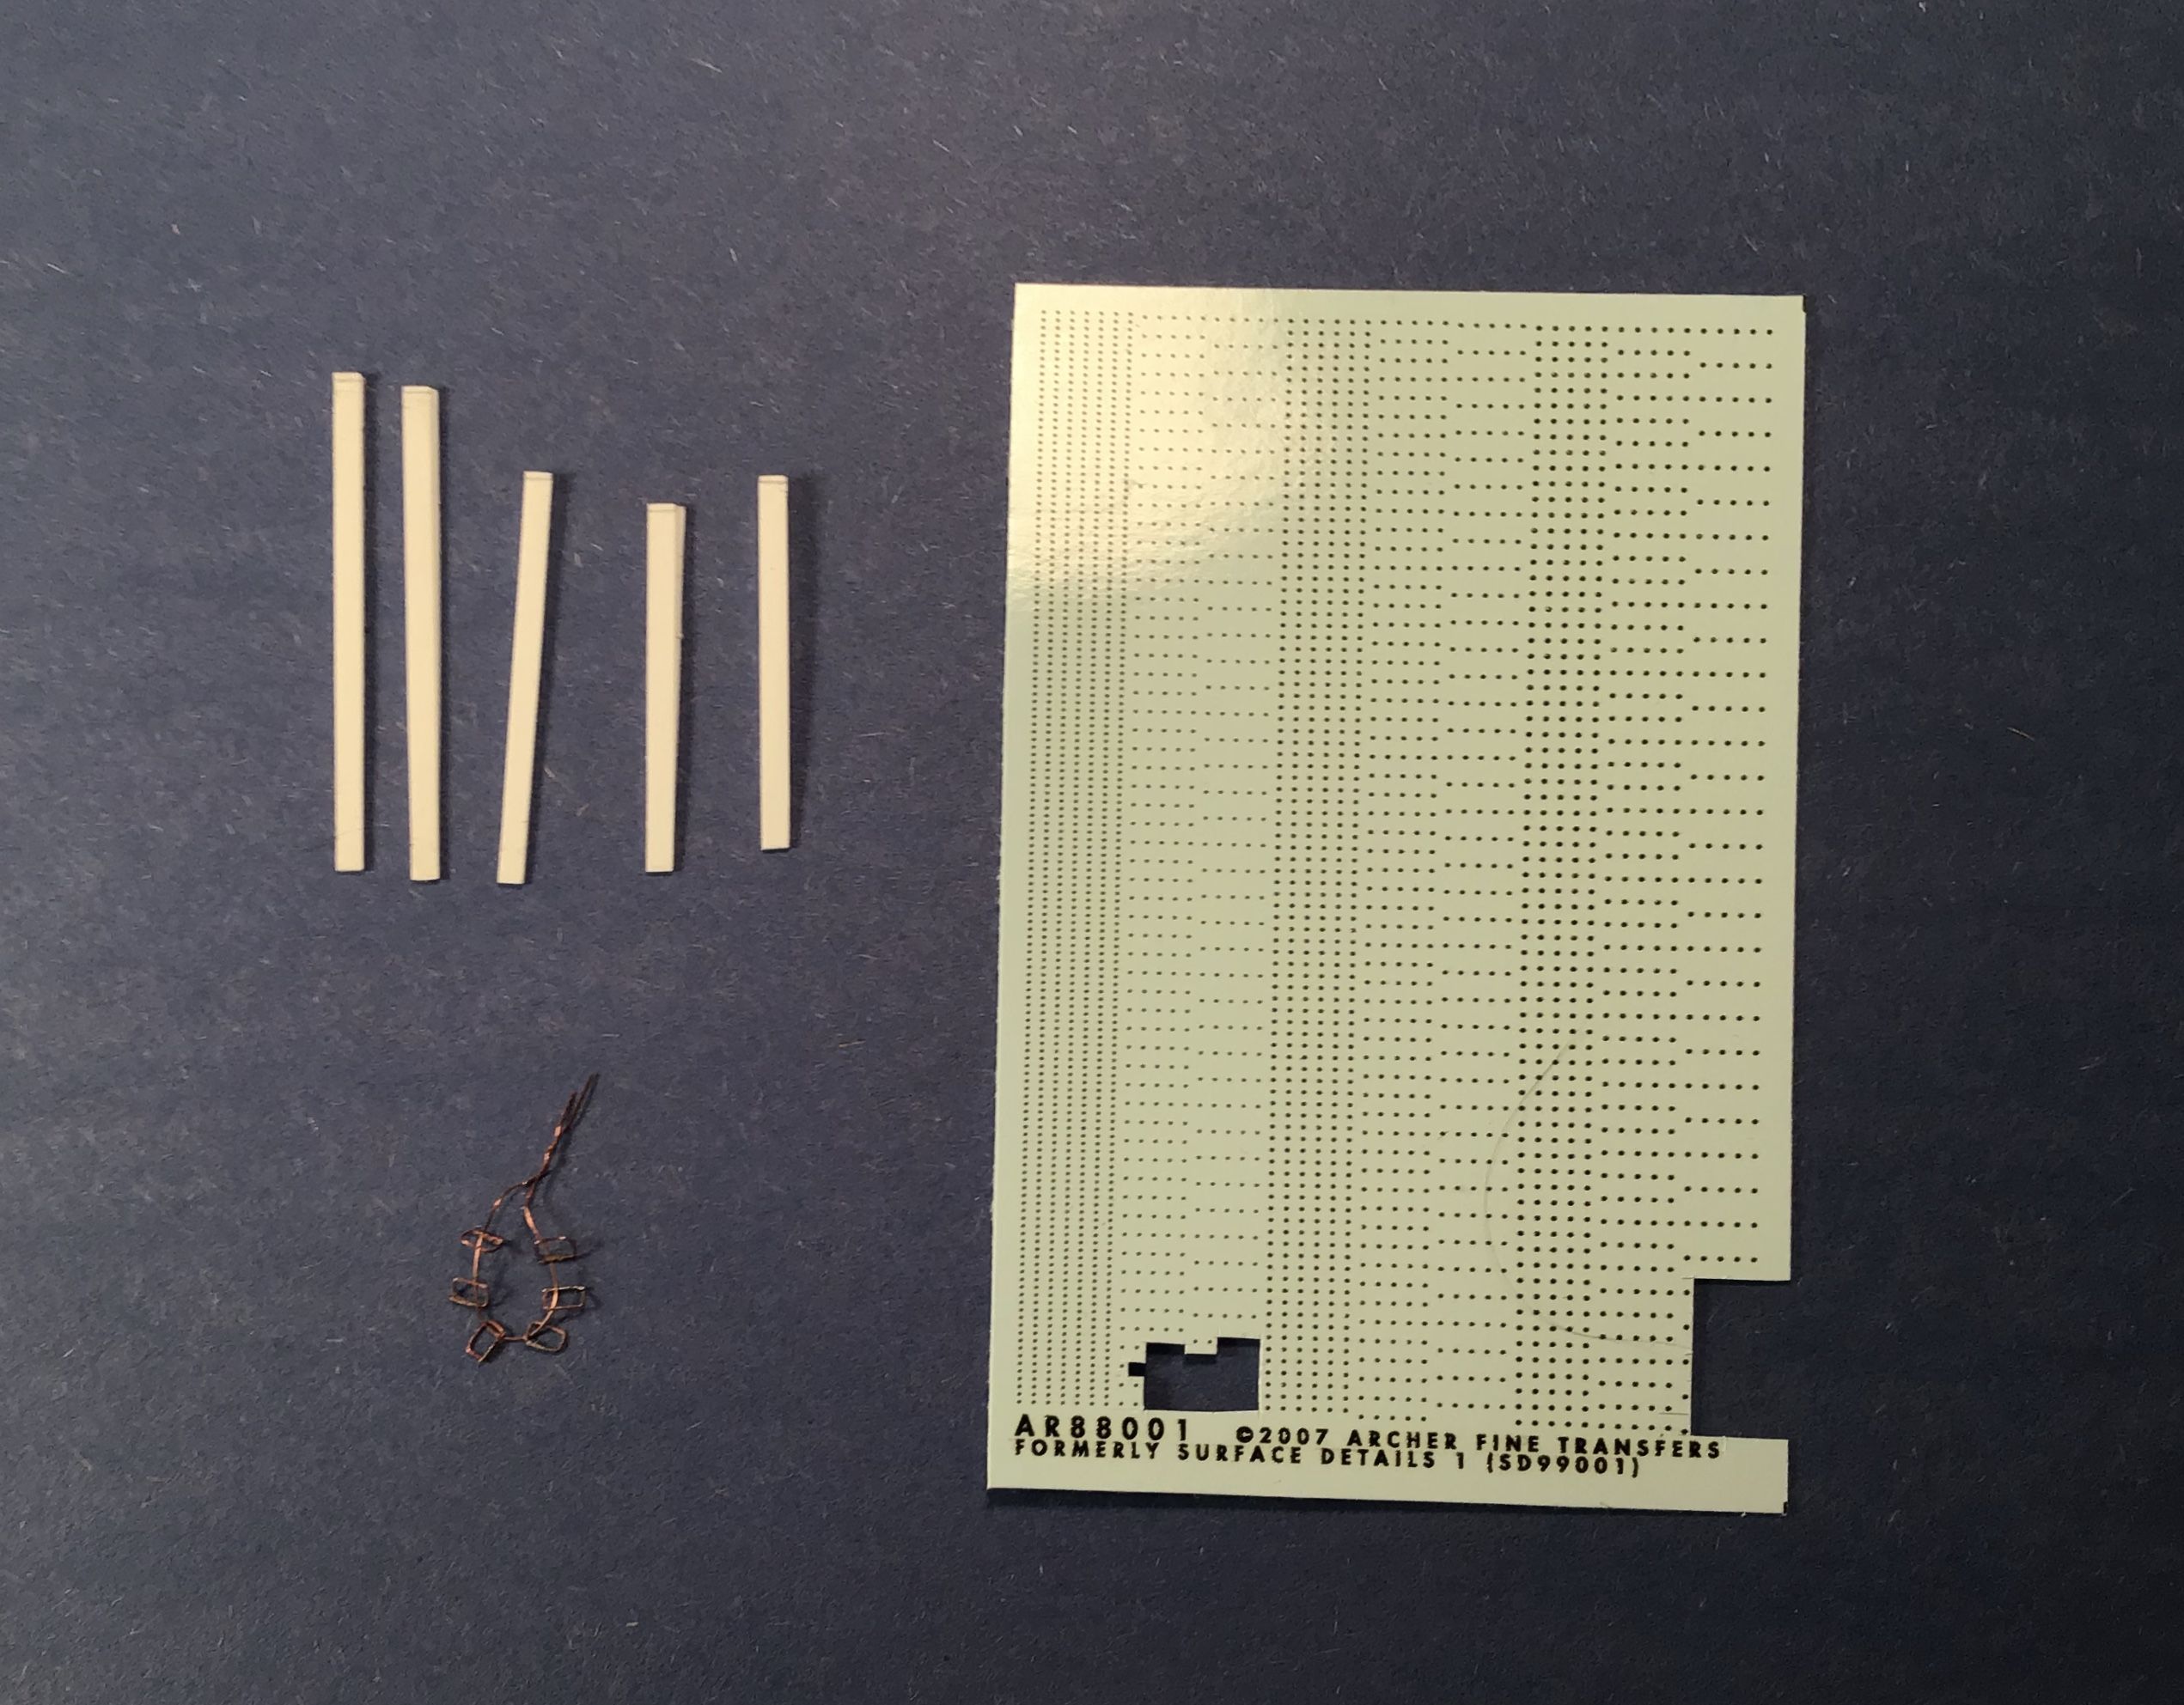
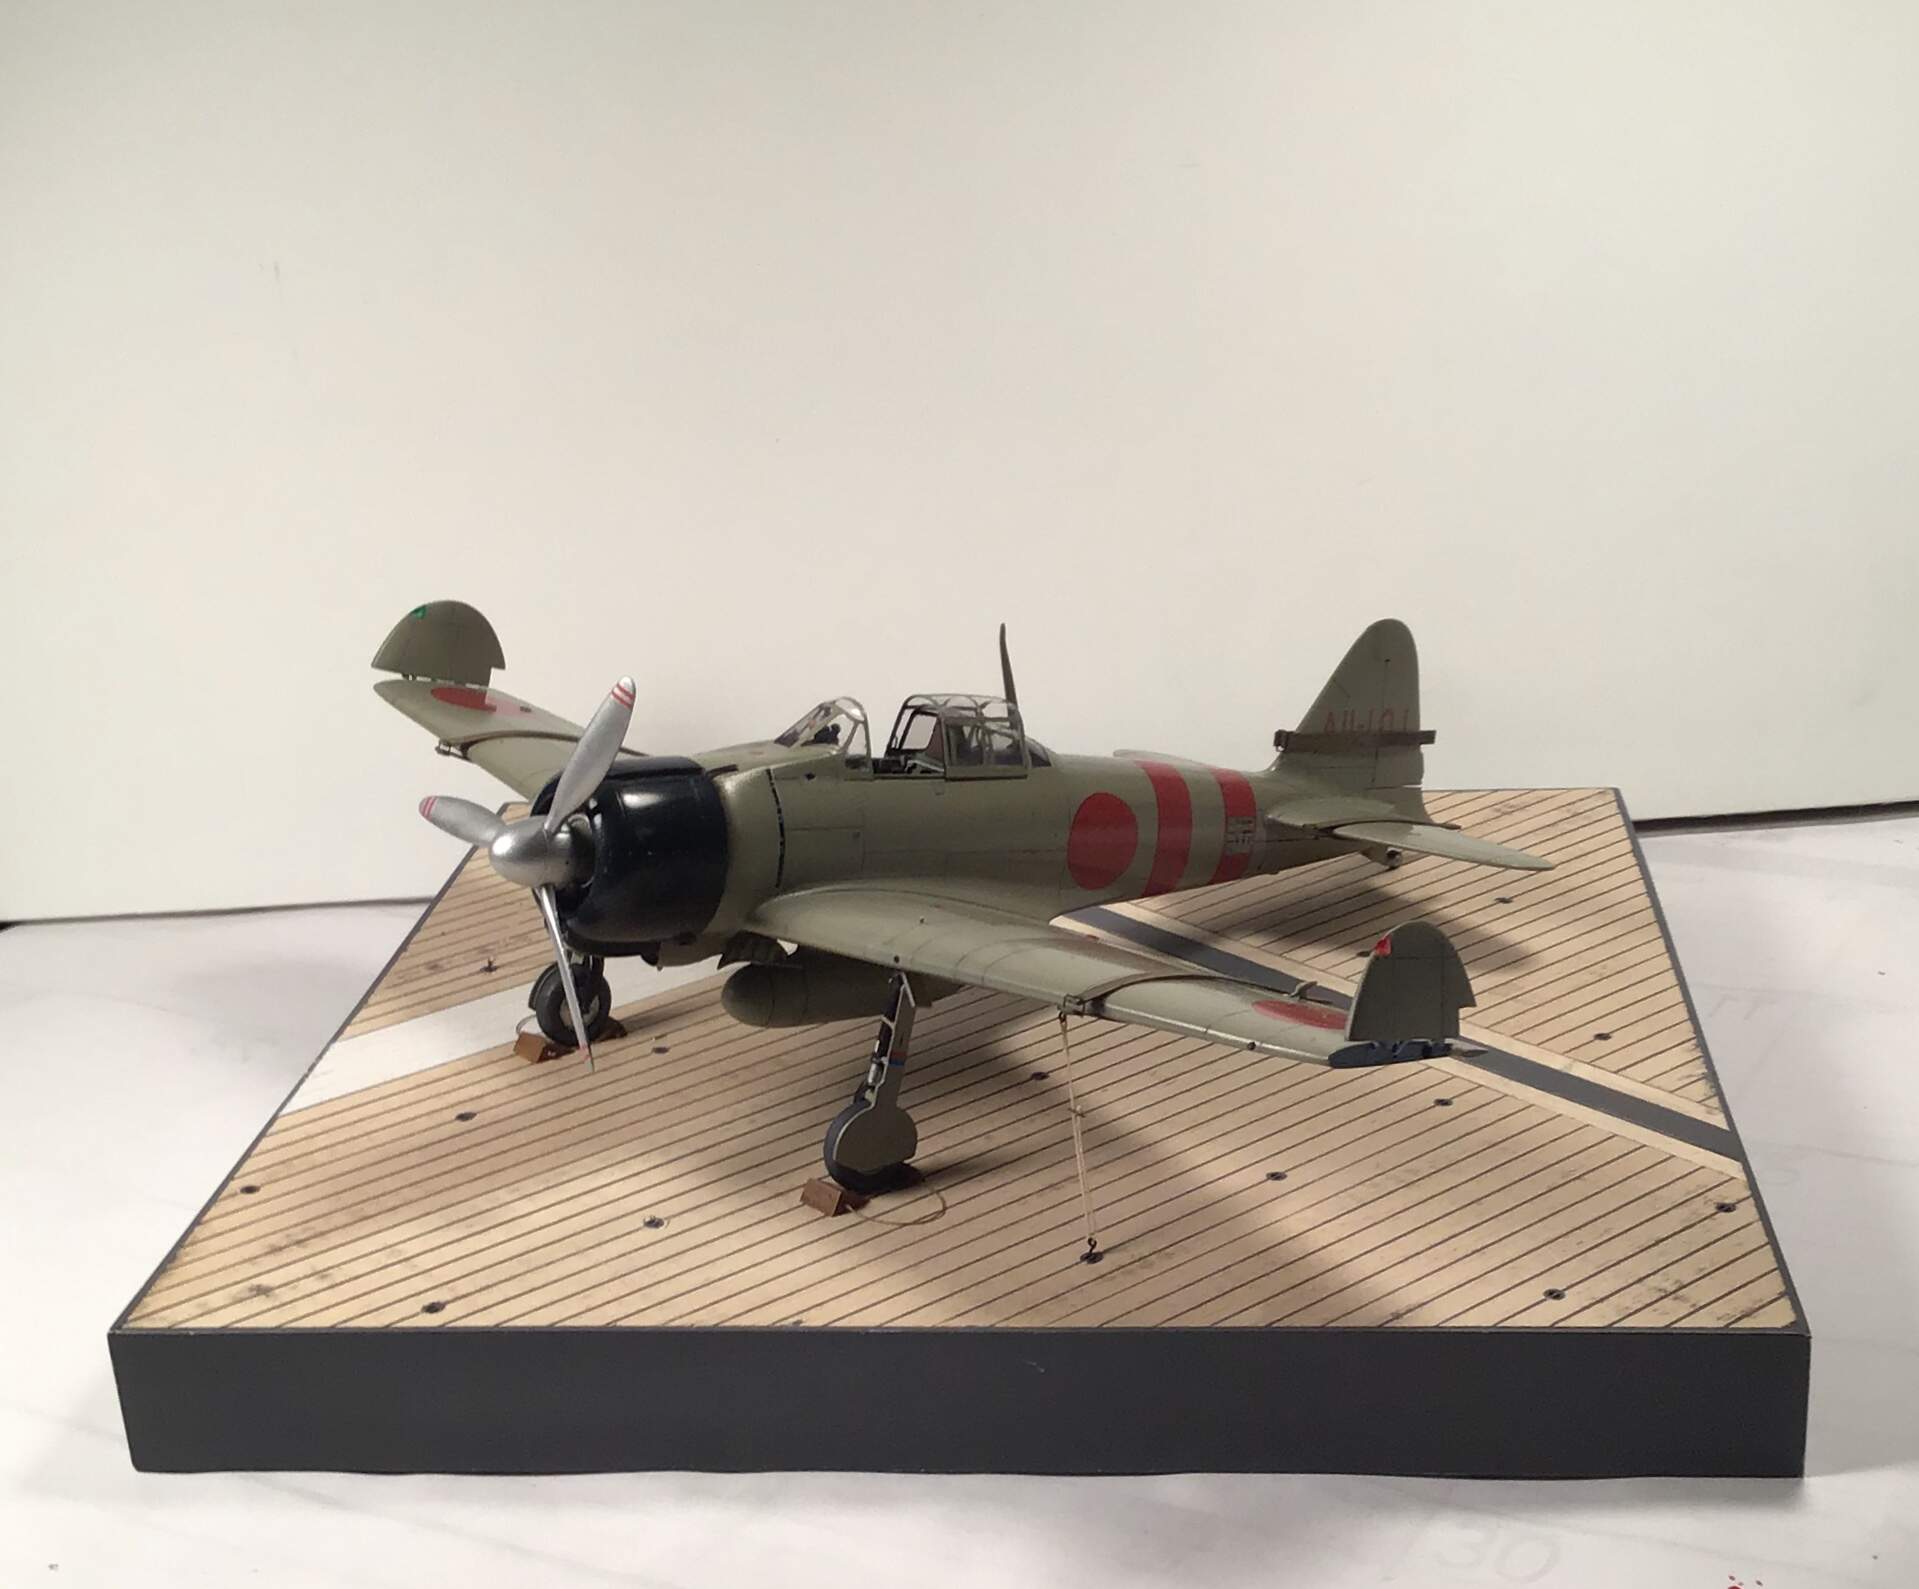
I’ve also begun work on the carrier deck base - a piece of MDF will be covered with sawn basswood sheet decking and will be using Tom’s Modelworks photo etch IJN tie downs. I’ve begun to lay out the tie downs on paper but waiting for more reference material on the Kaga to arrive .
Thanks to Tim Reynaga for help with the type of wood her decks were made of - Hinoki Cypress . I think the natural basswood will represent the light color of the deck very well.

Some more progress …
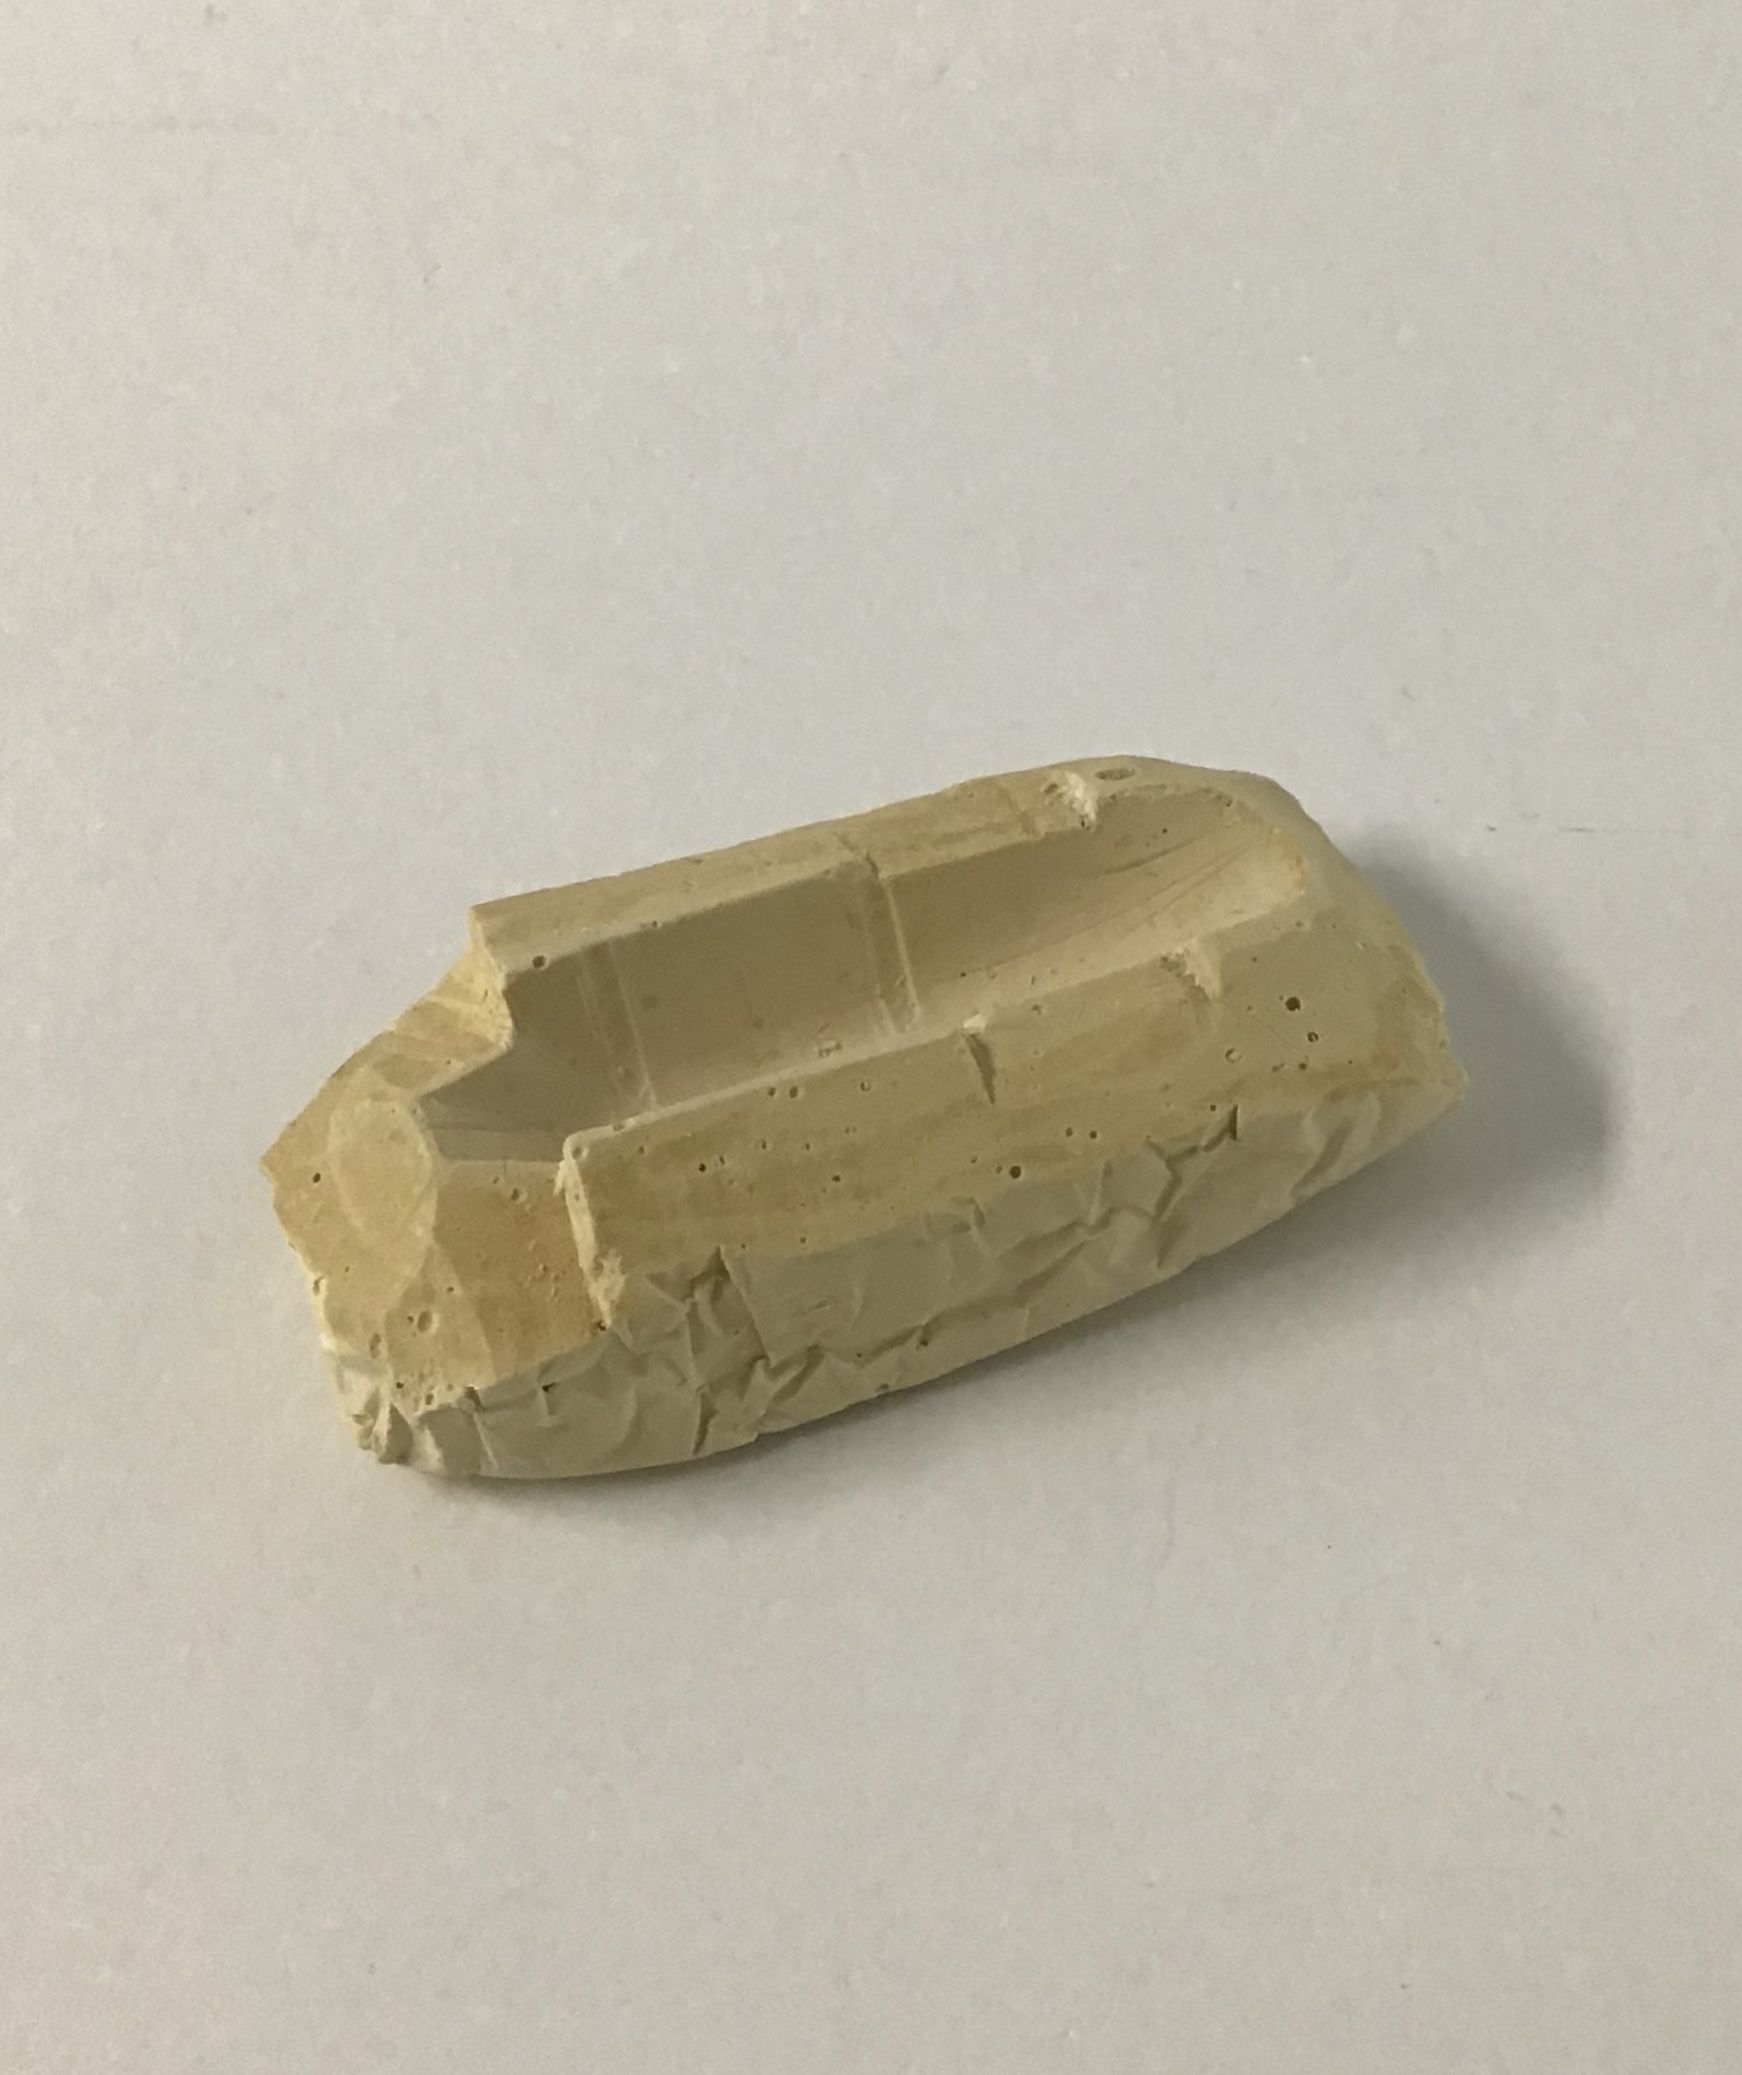
I meant to includes this in the previous post regarding the cast forms for the vac canopy. The female form should be carved away down to the line where the canopy meets the fuselage in order that the canopy’s edges can be worked by filing, scraping , sanding etc. as needed . This is easiest to due when the plaster is still green - it will have a hard cheese like texture and can be easily worked with a utility knife.

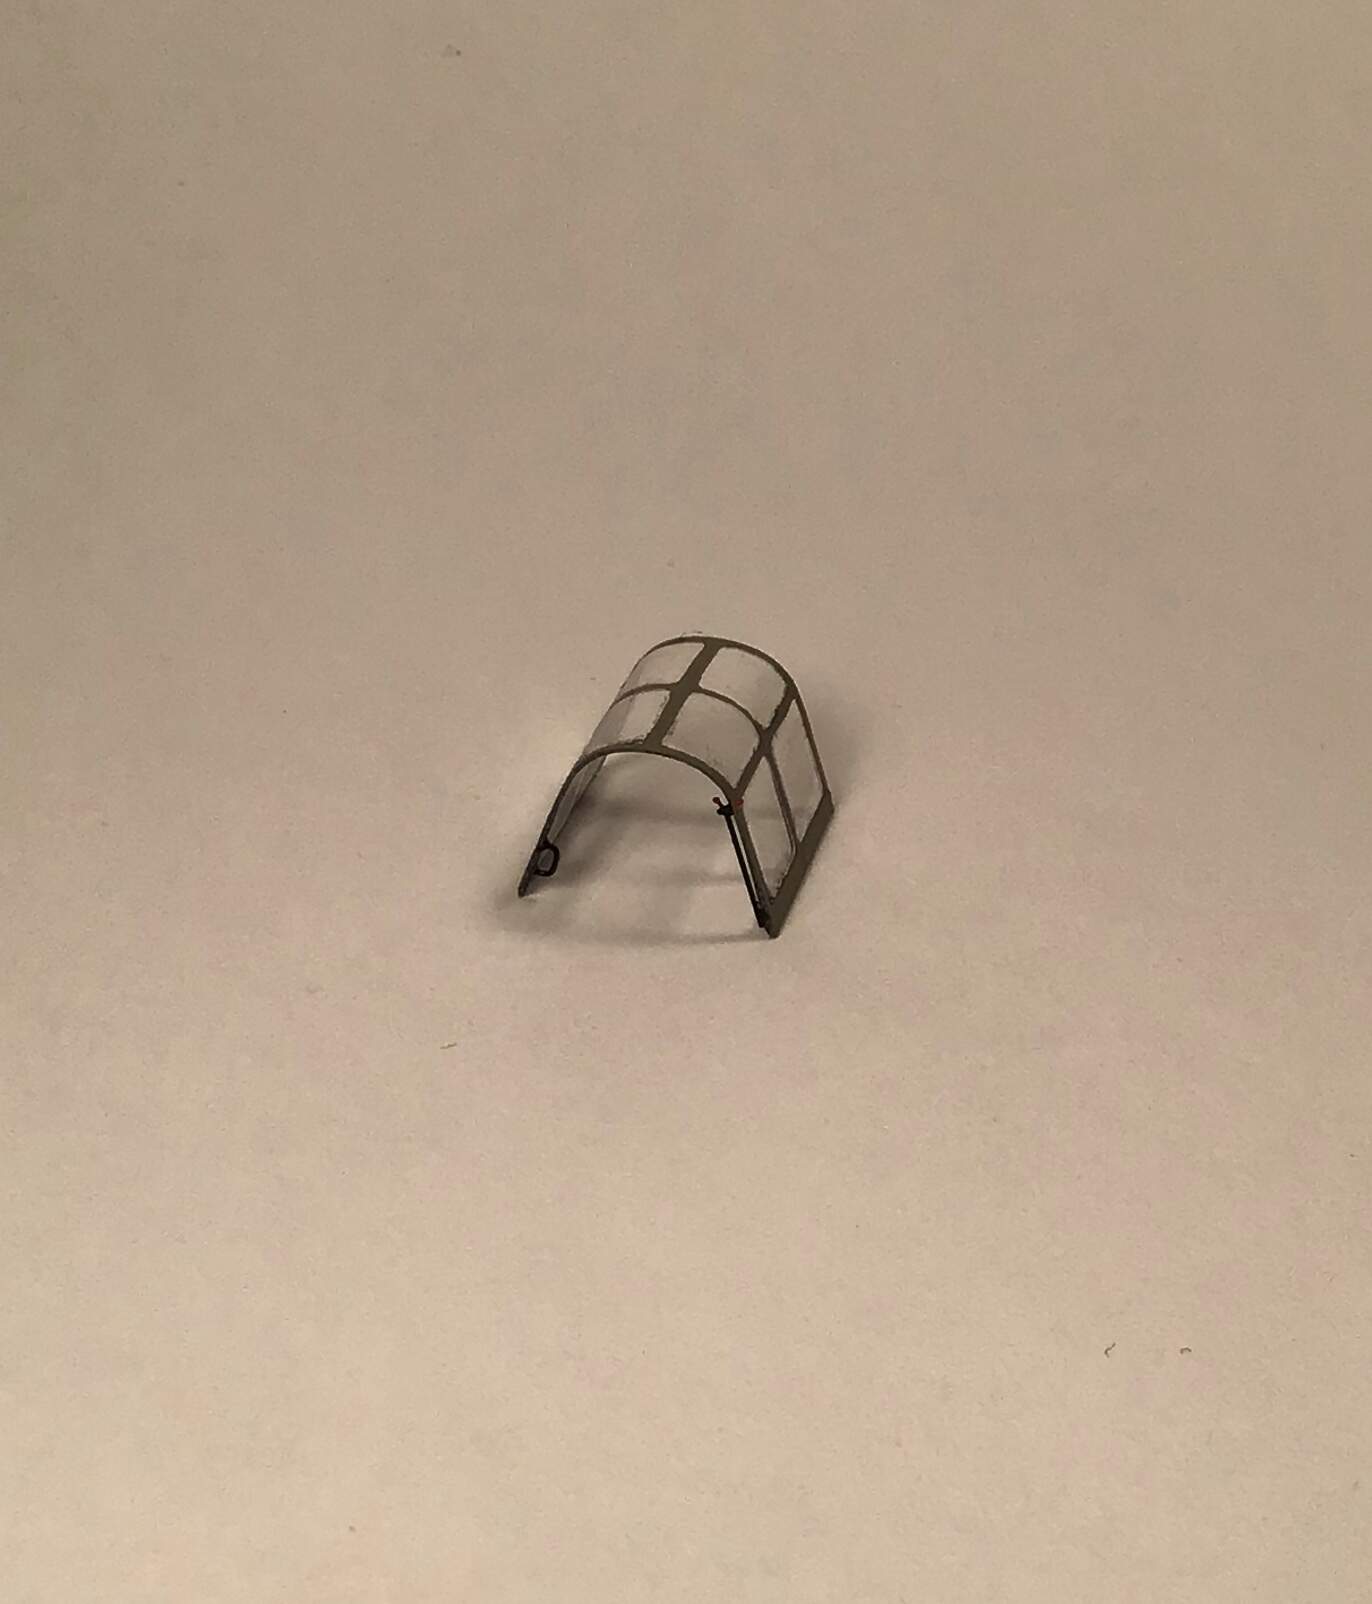
The canopy has been installed and seams worked with Tamiya surfacer
and masked with Bare Metal Foil.


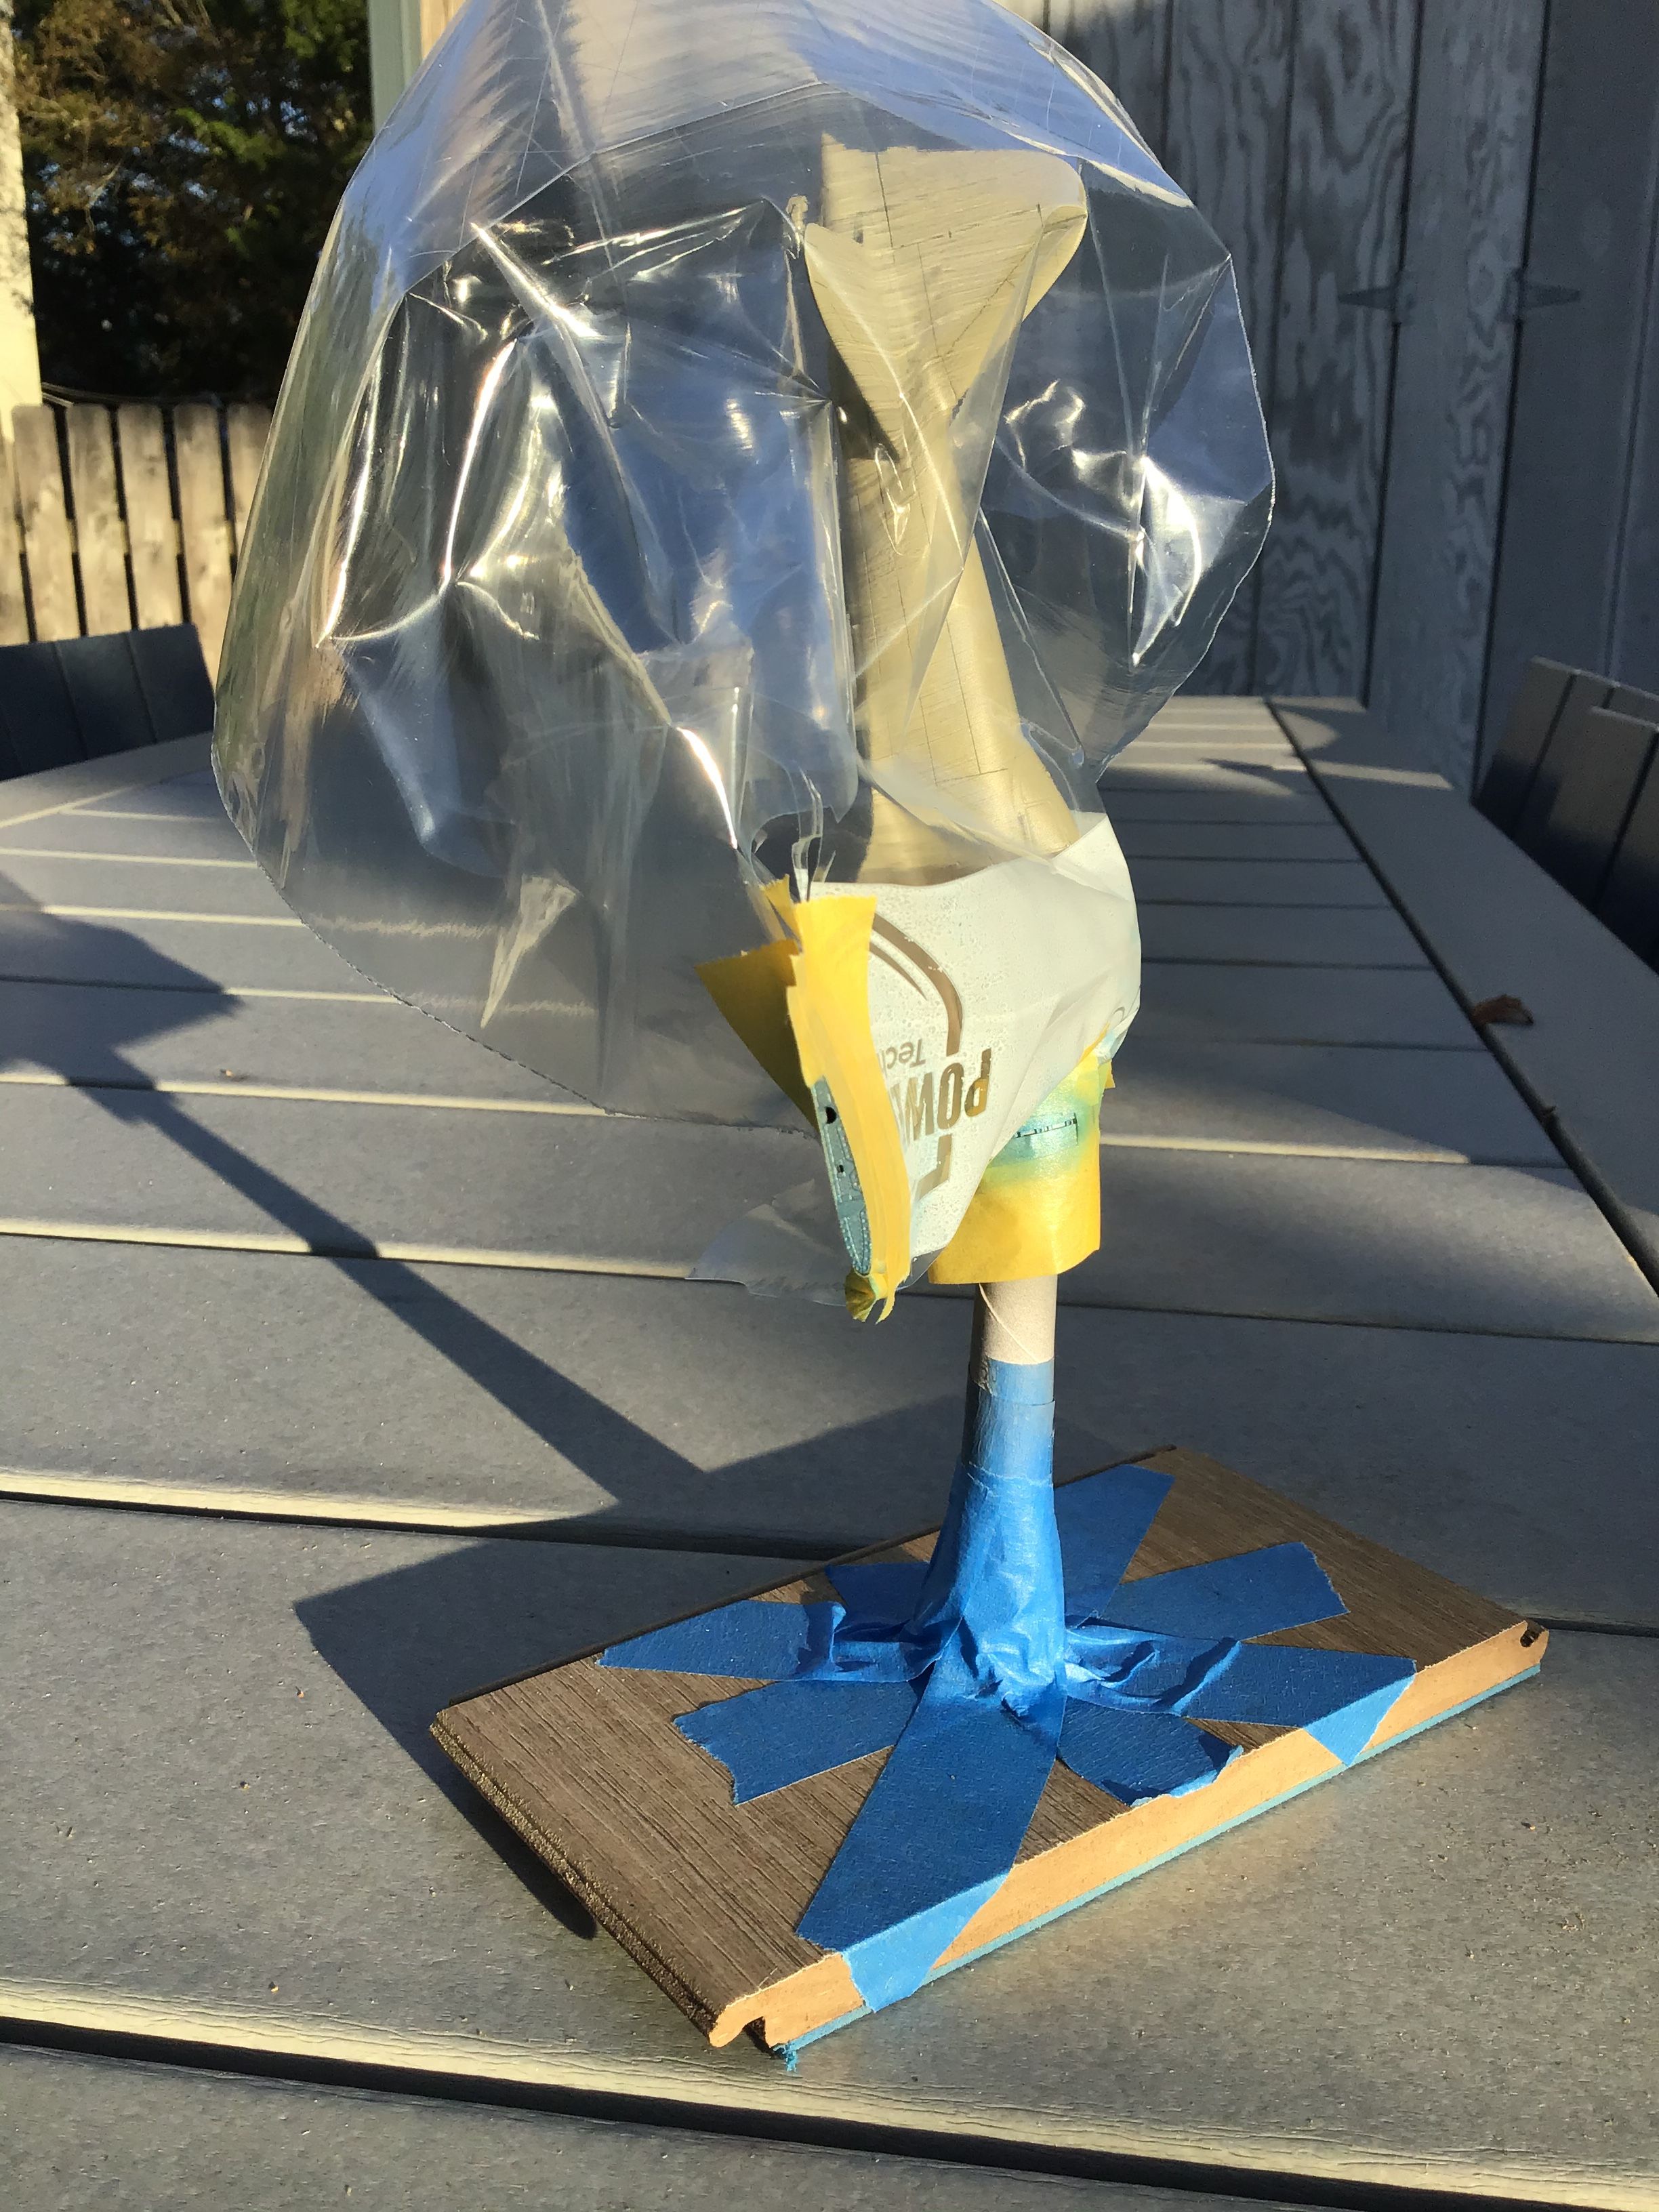
… then shot in black for the interior frame color …

… and then more grey primer …

Looks like it may need one more go around withe the primer then on to pre shading .
Thanks for looking - RT
Thanks Joel & Oliver for the kind words & interest .
I’ve received the reference I have been waiting on -our regular mailman is on vacation and his replacement real bolluxed things - besides missing our entire street two days in a row , this book was delivered to someone on the next block who kindly brought it to me this morning .

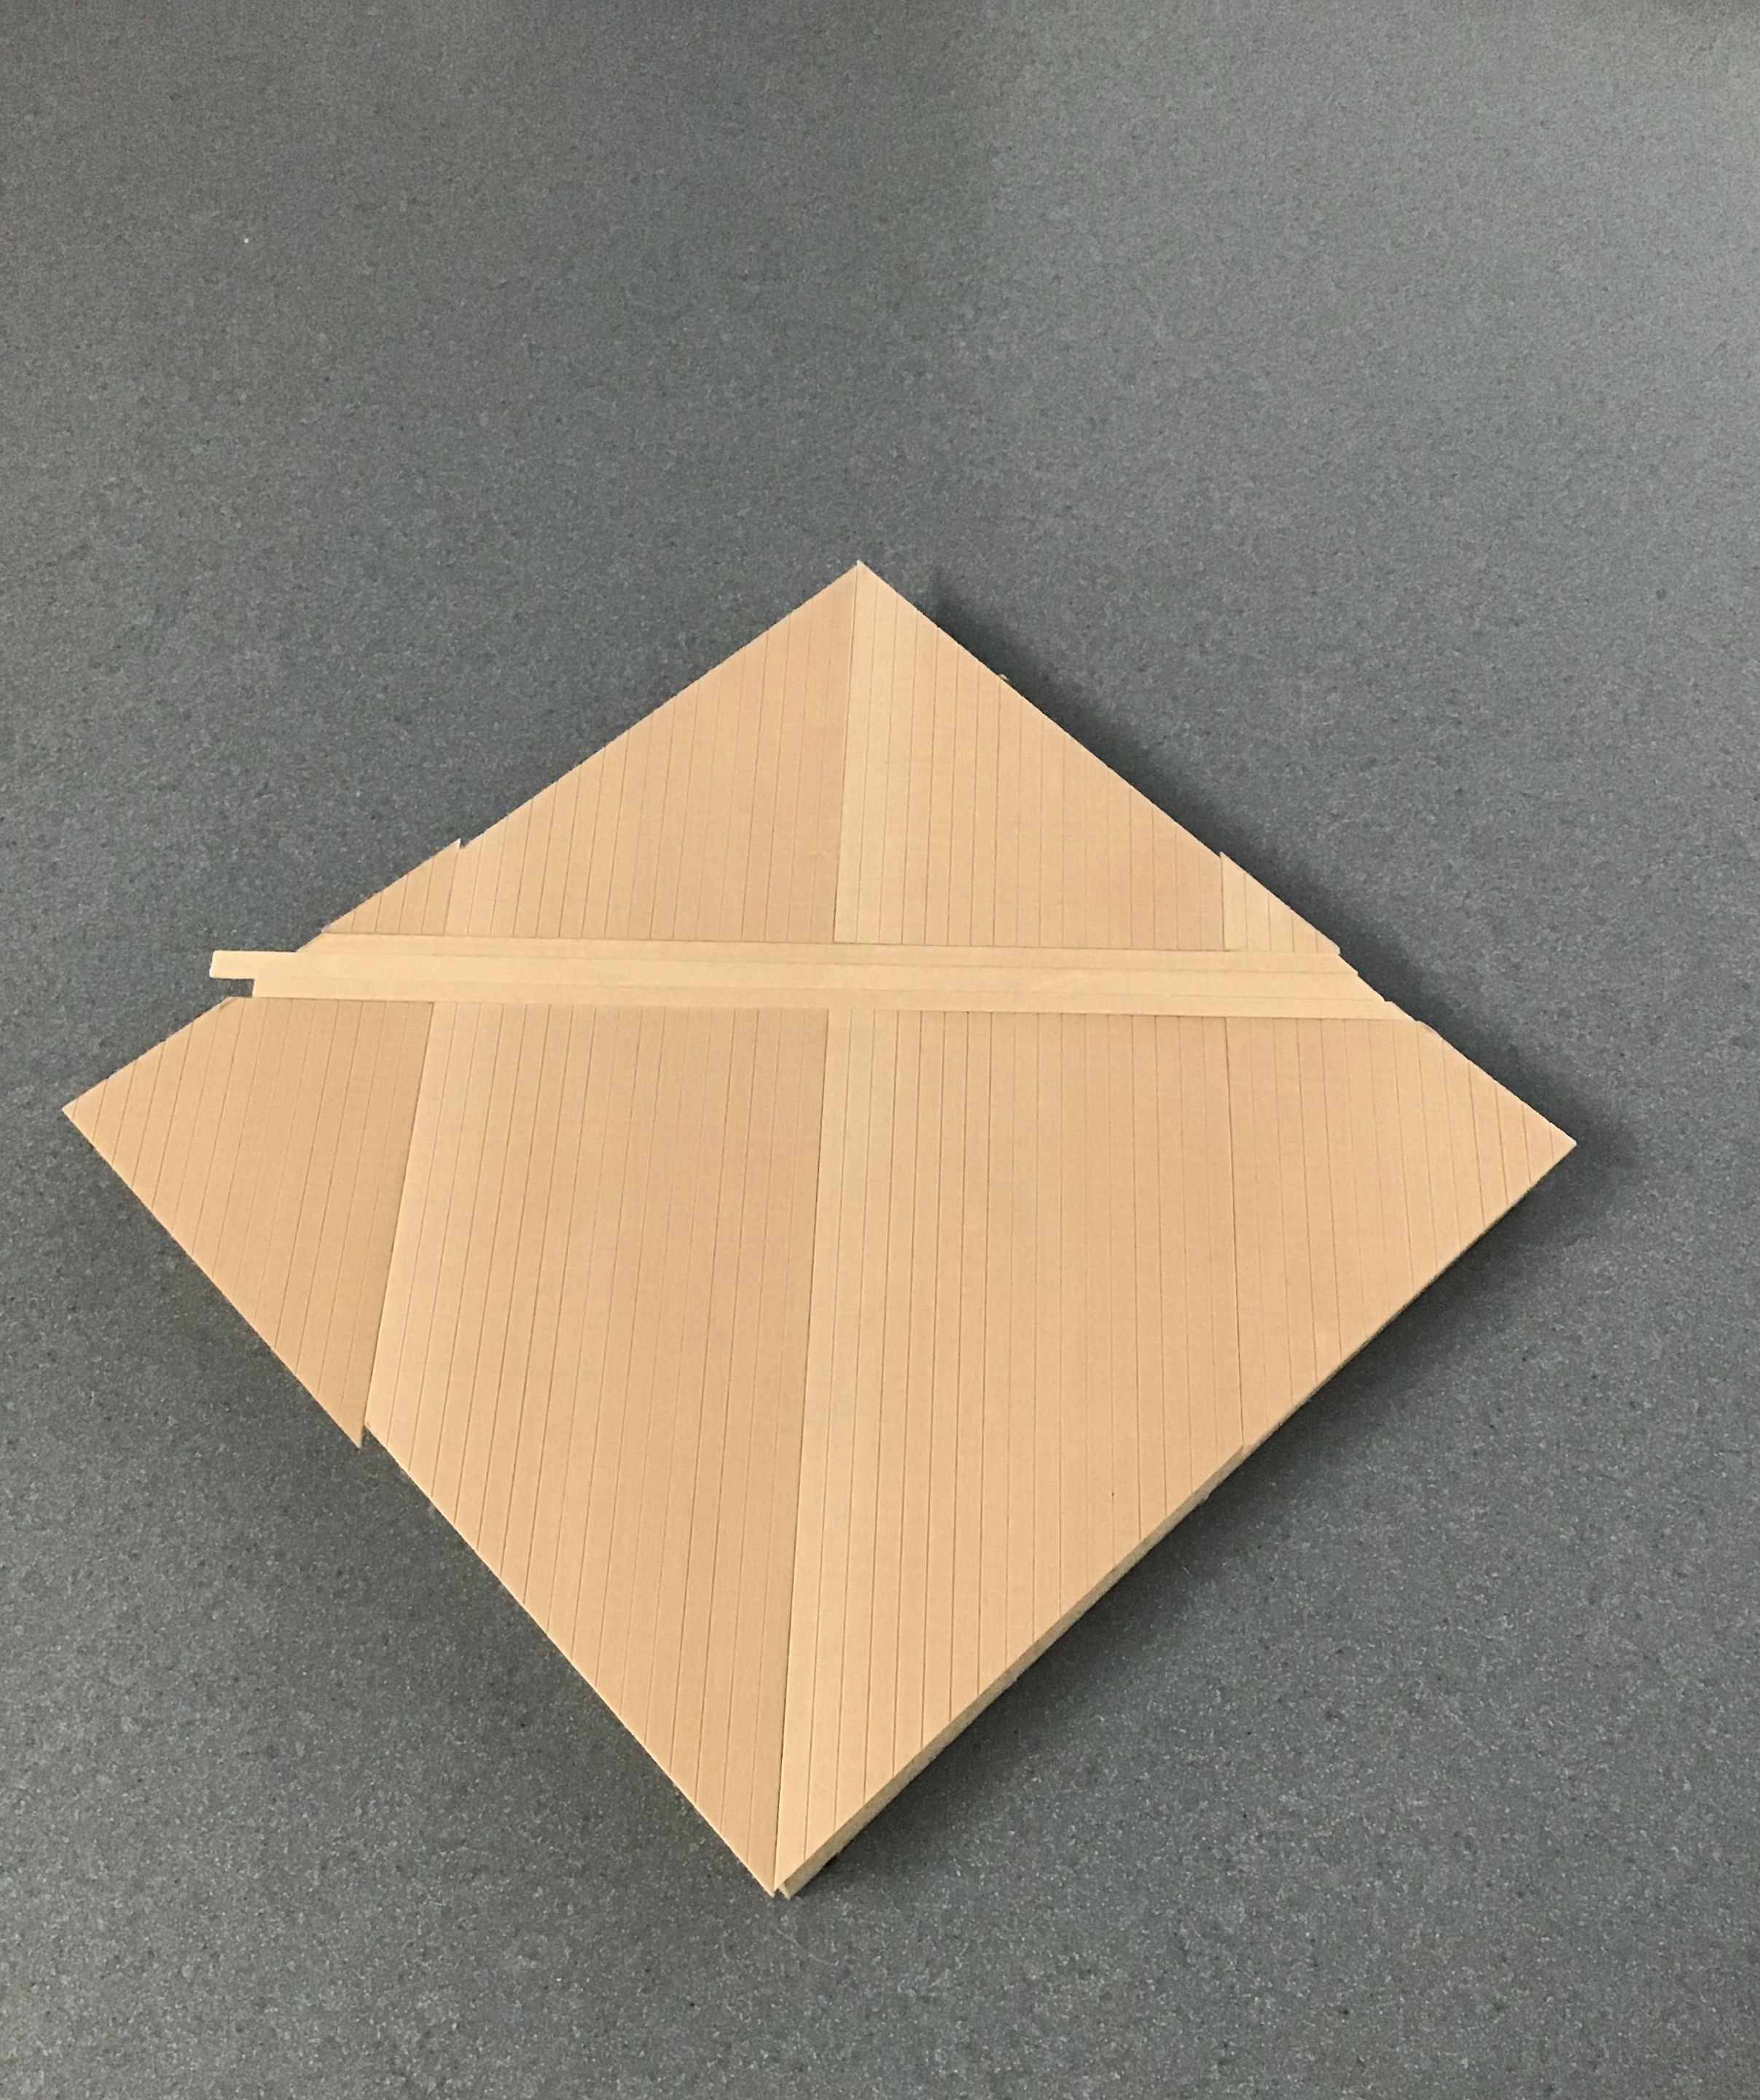
I have completed the plan on paper and have roughed out the basswood decking to be glued up to the MDF base block


Decking will be natural although I will have to do some staining to make it look like individual planks - yet to be worked out.
next up pre shading on the Zero.
Thanks for looking in- RT
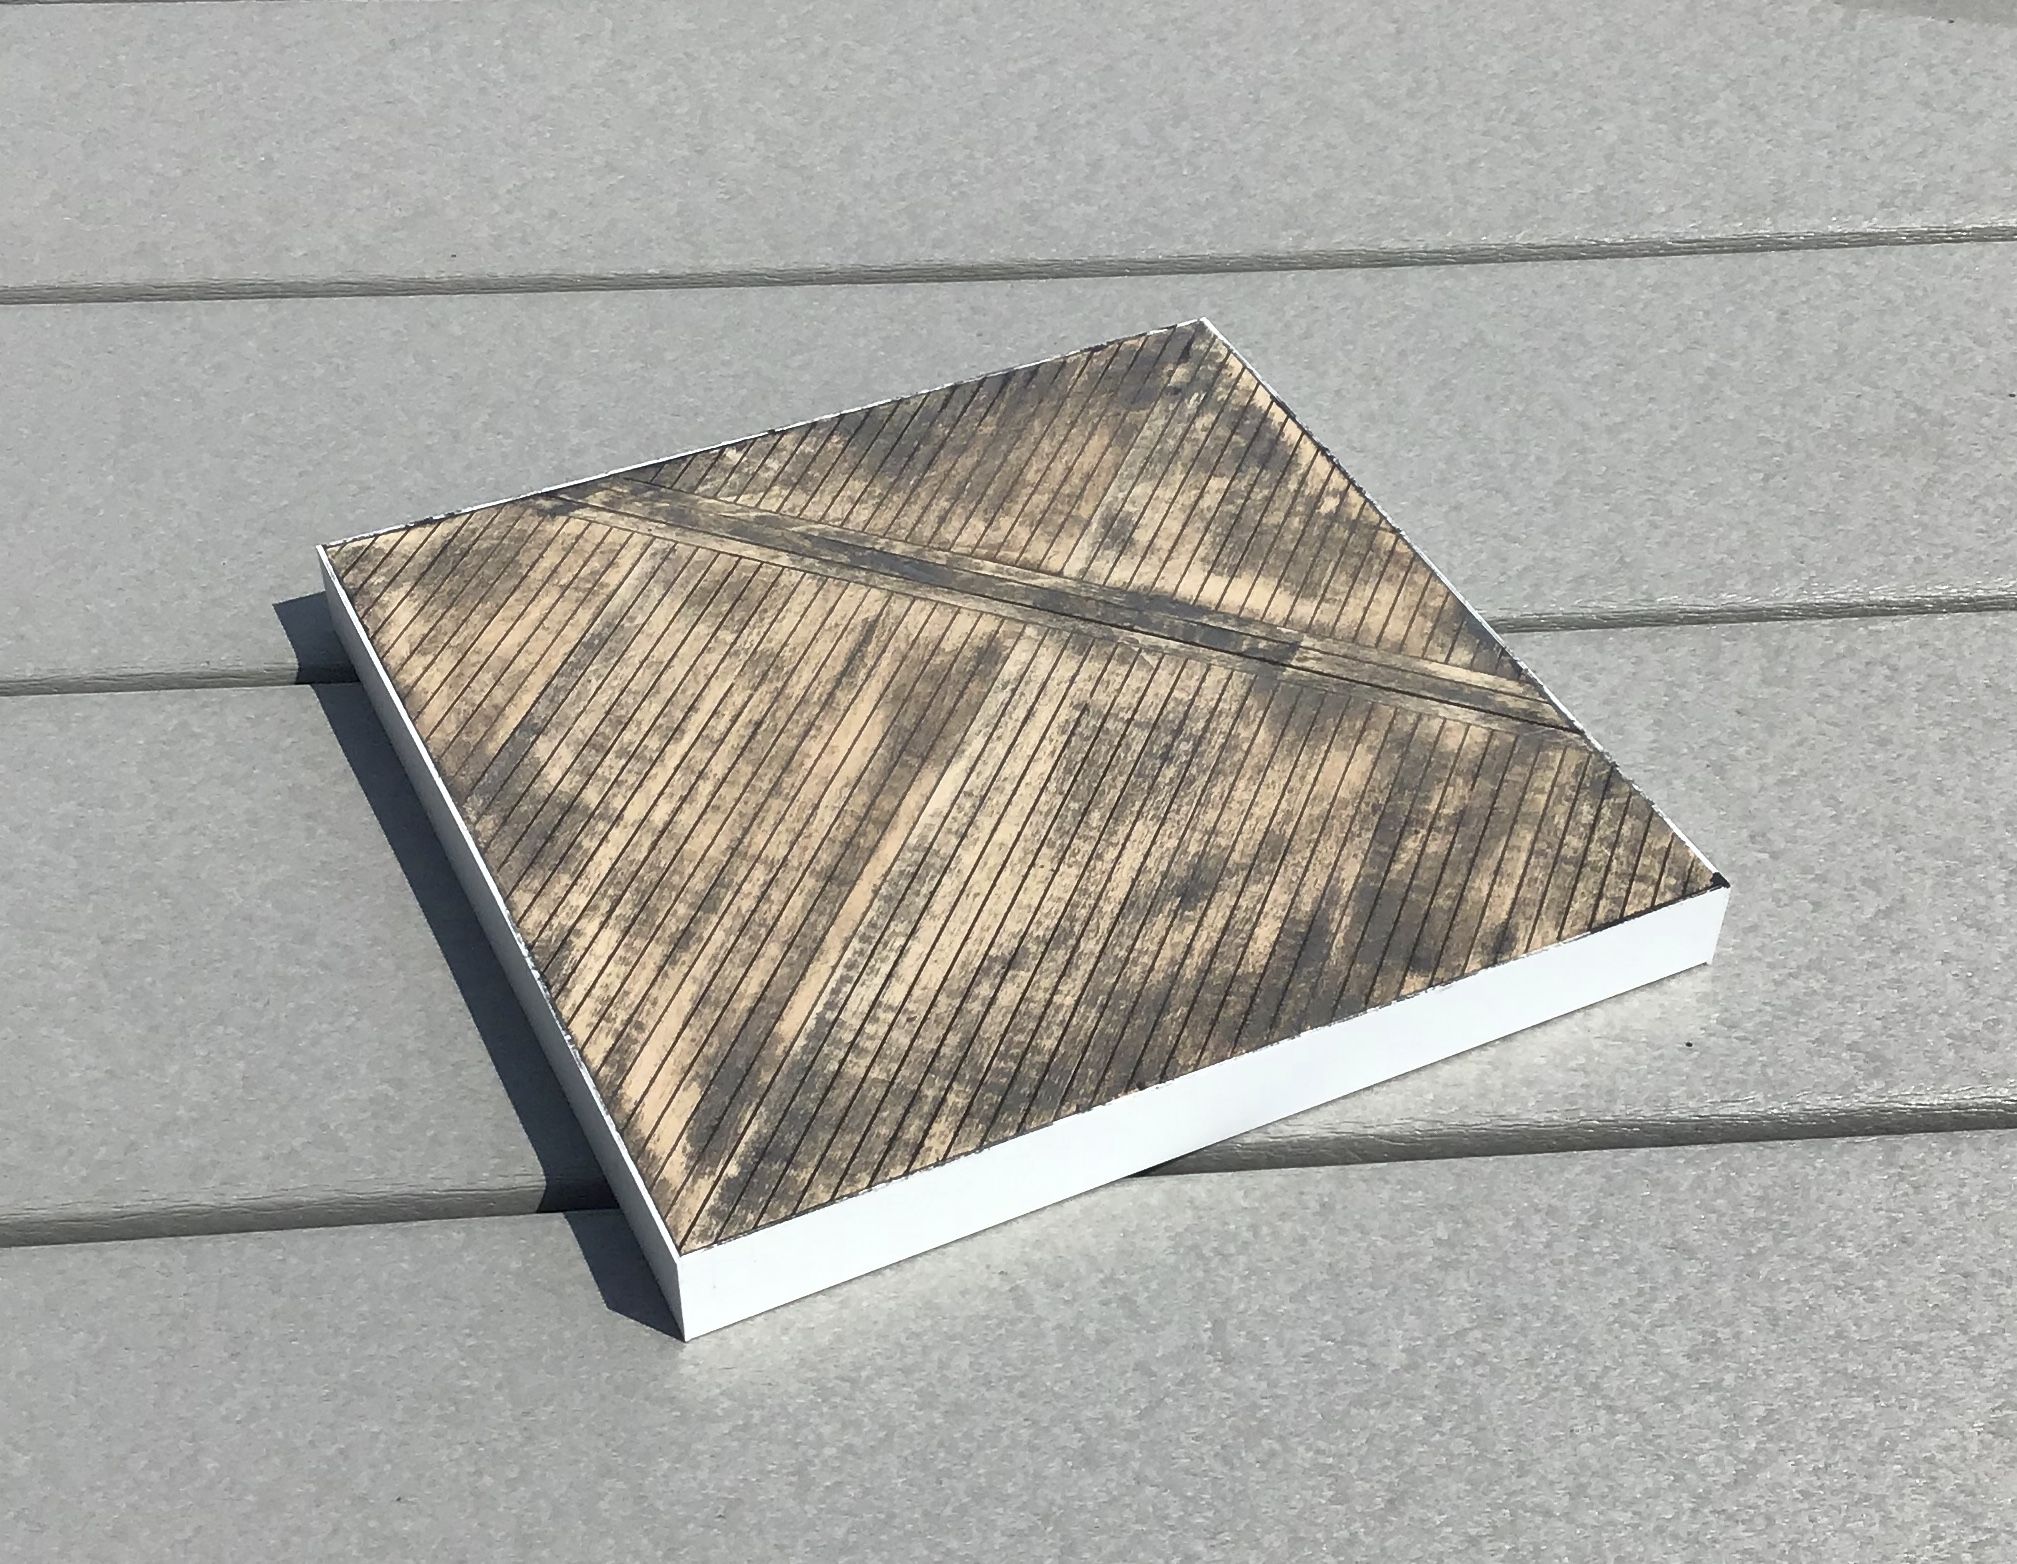
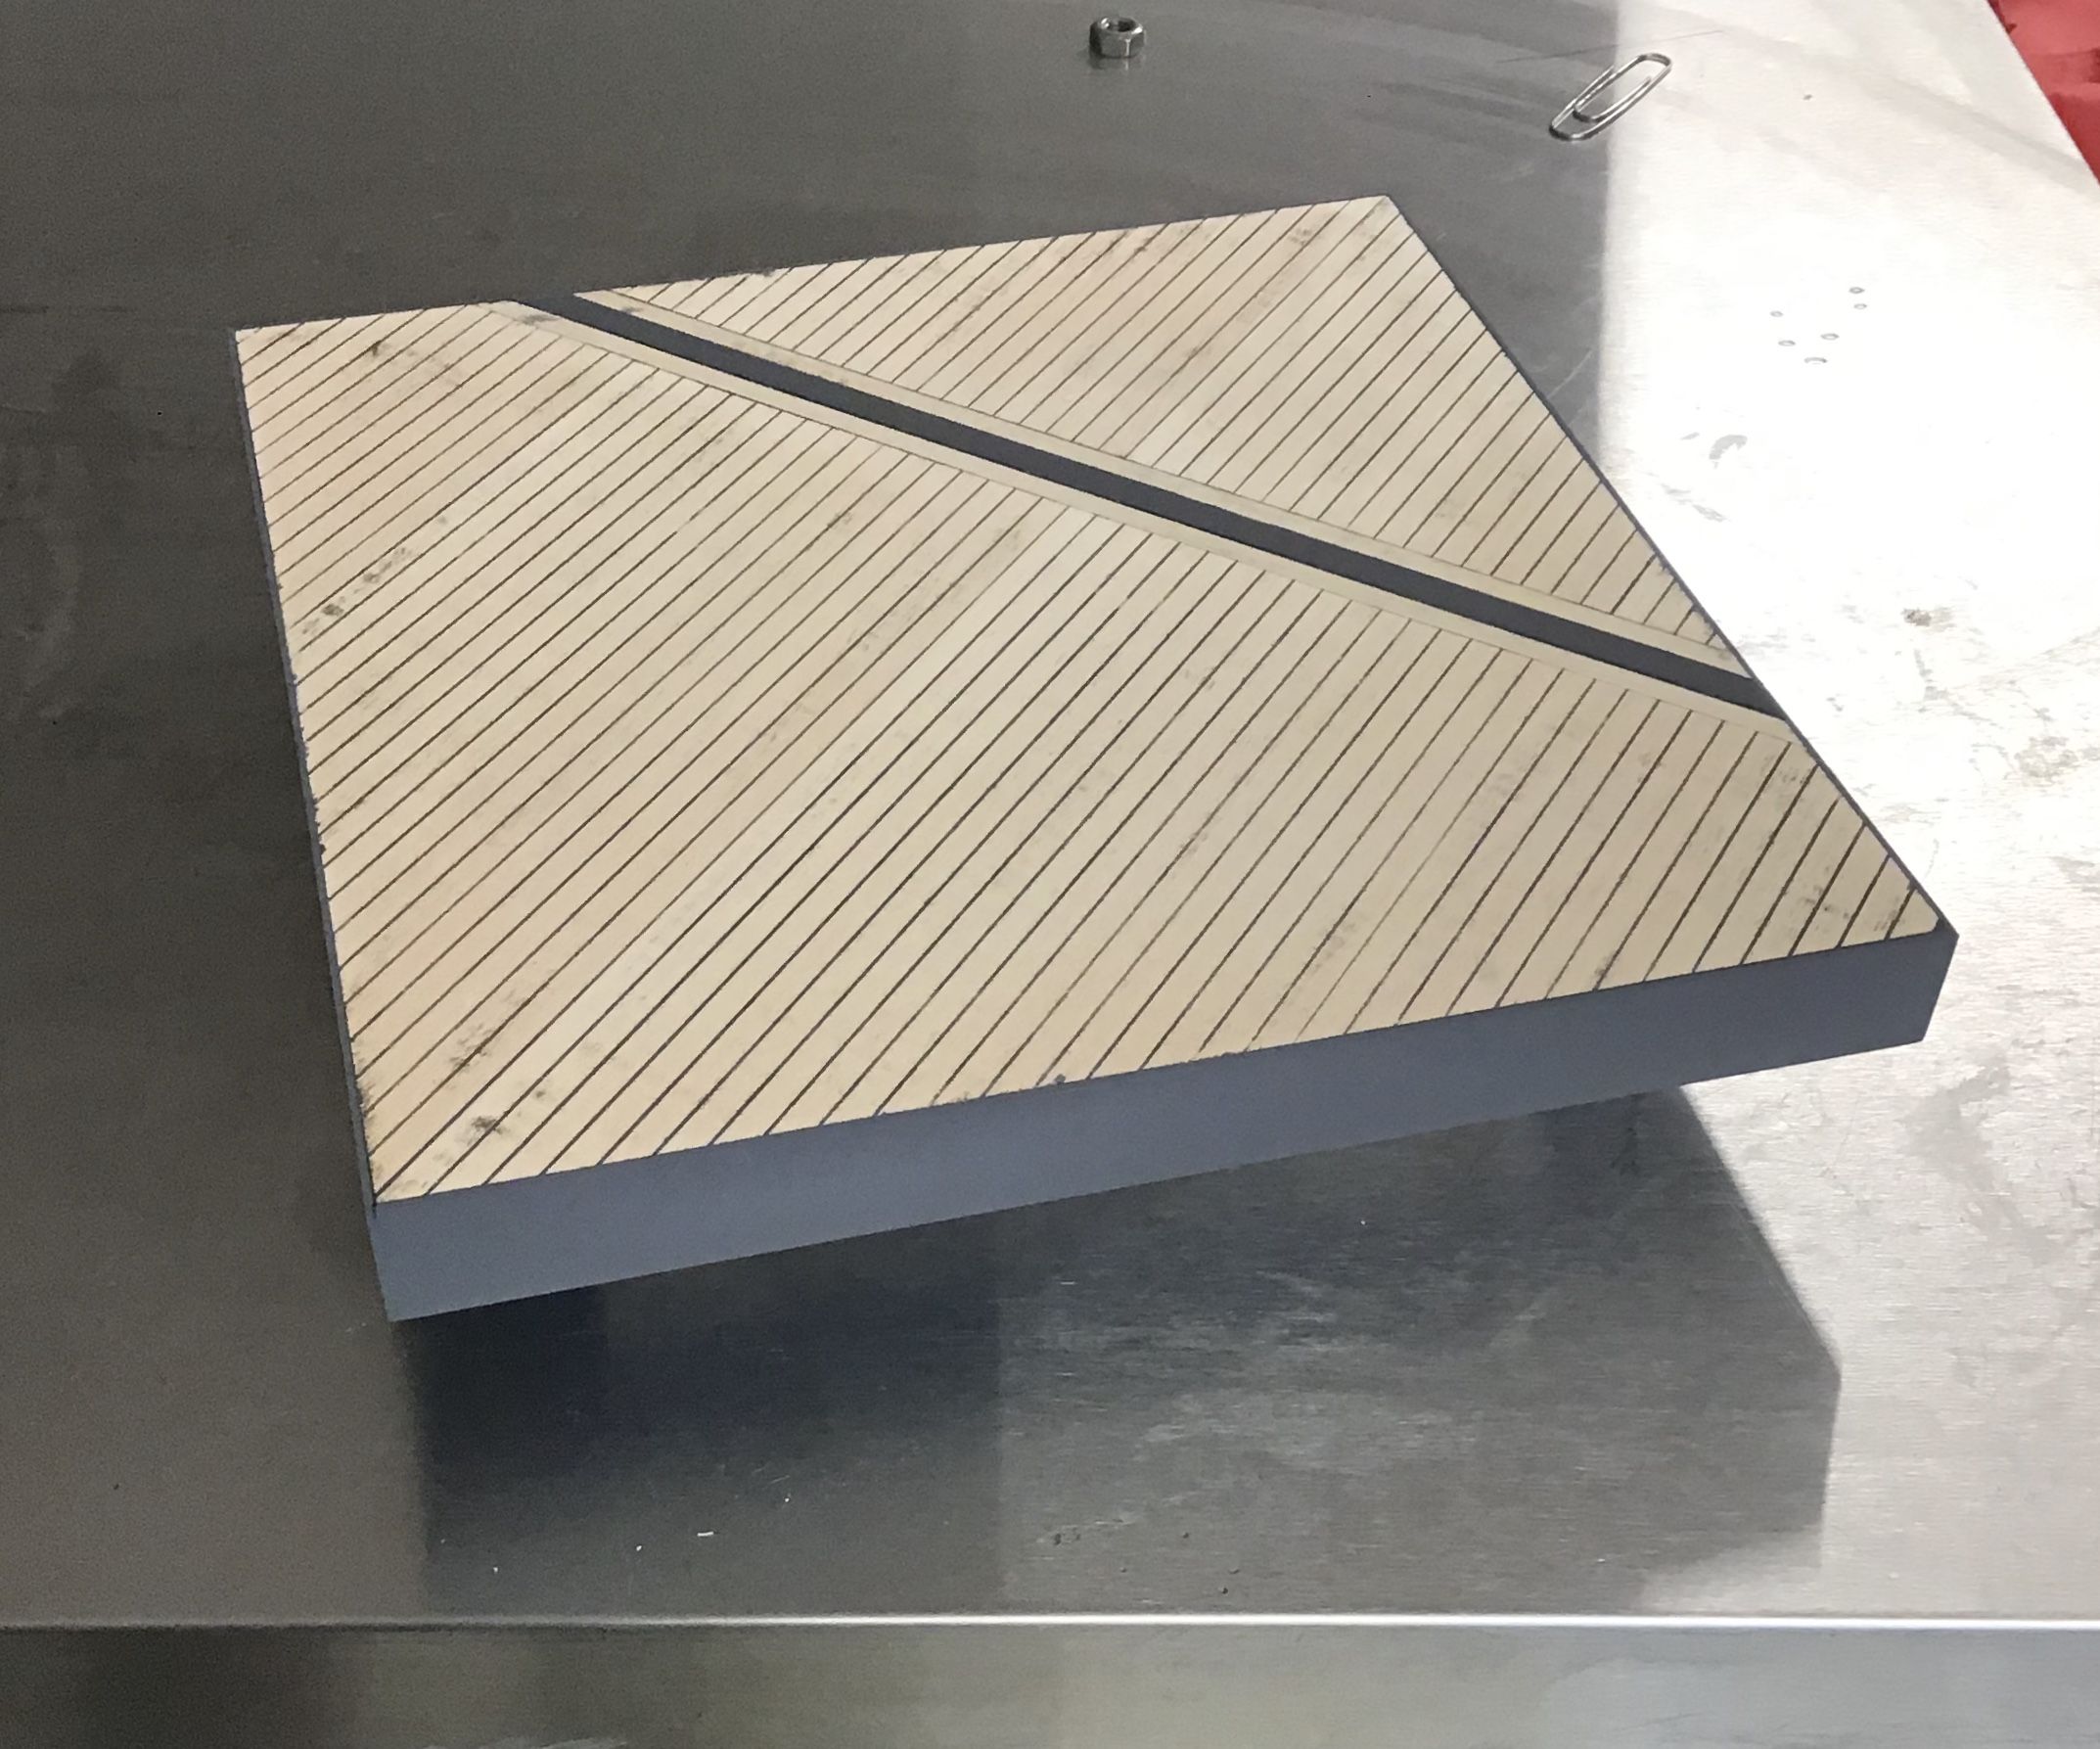
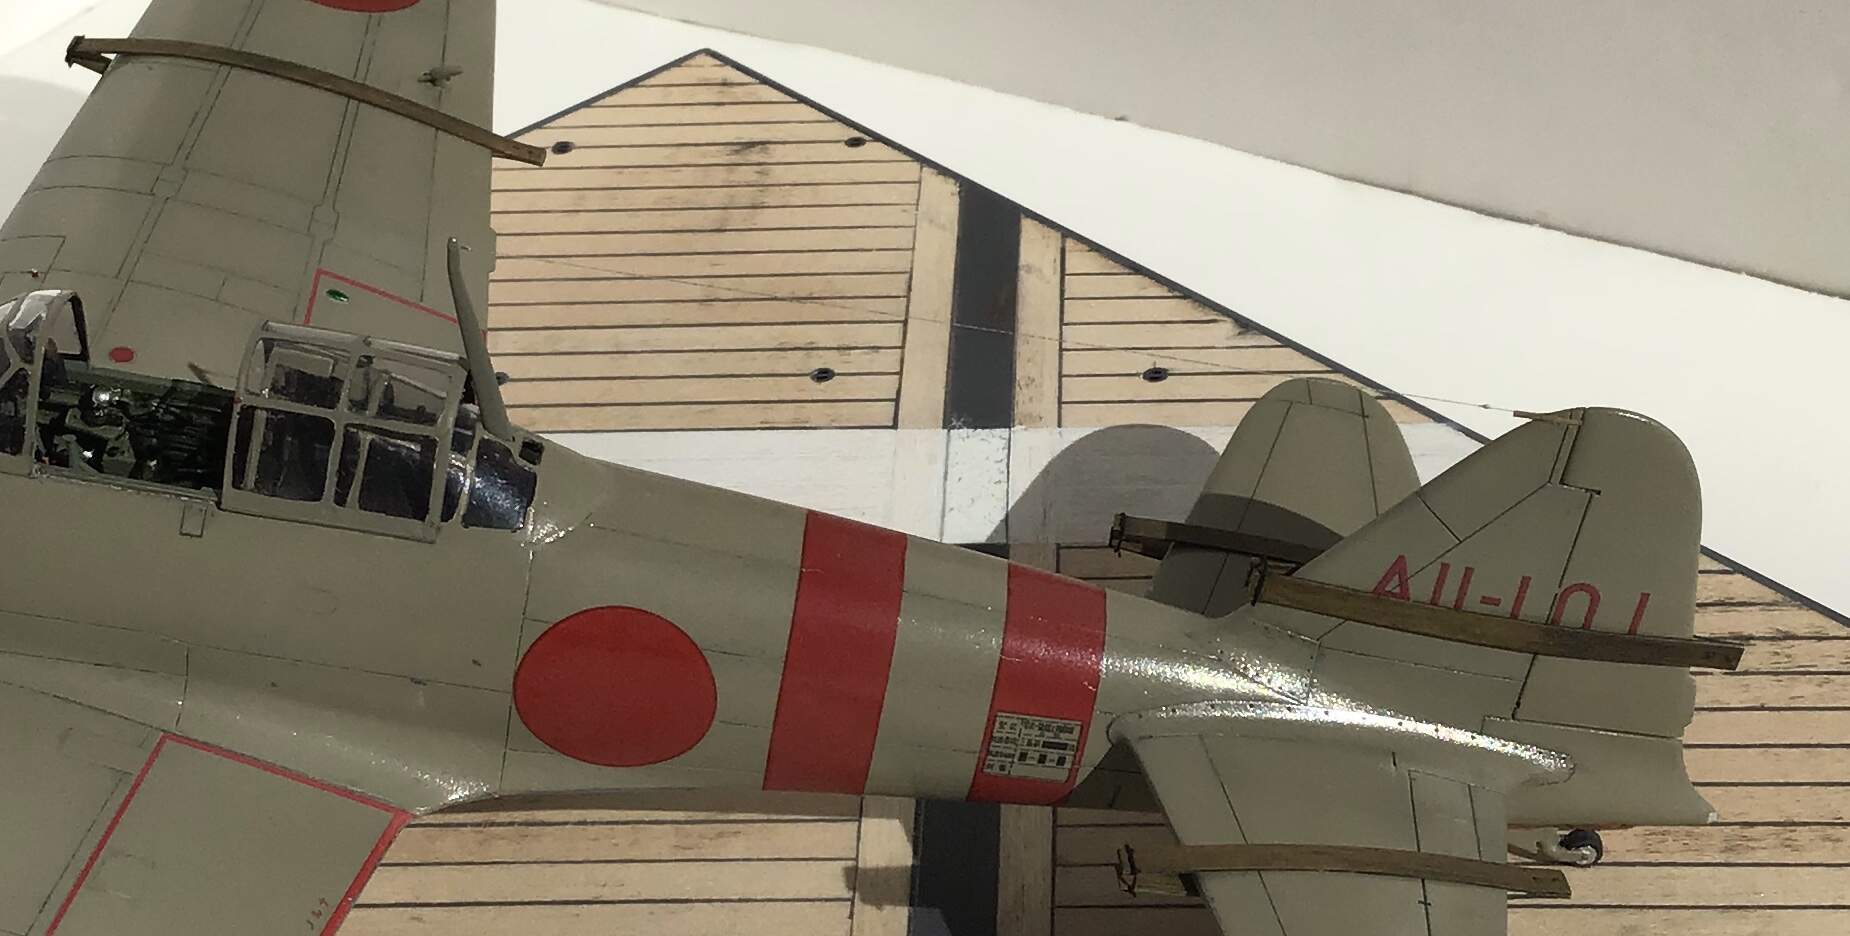
Decking glued up , edges dressed and lined with white styrene -

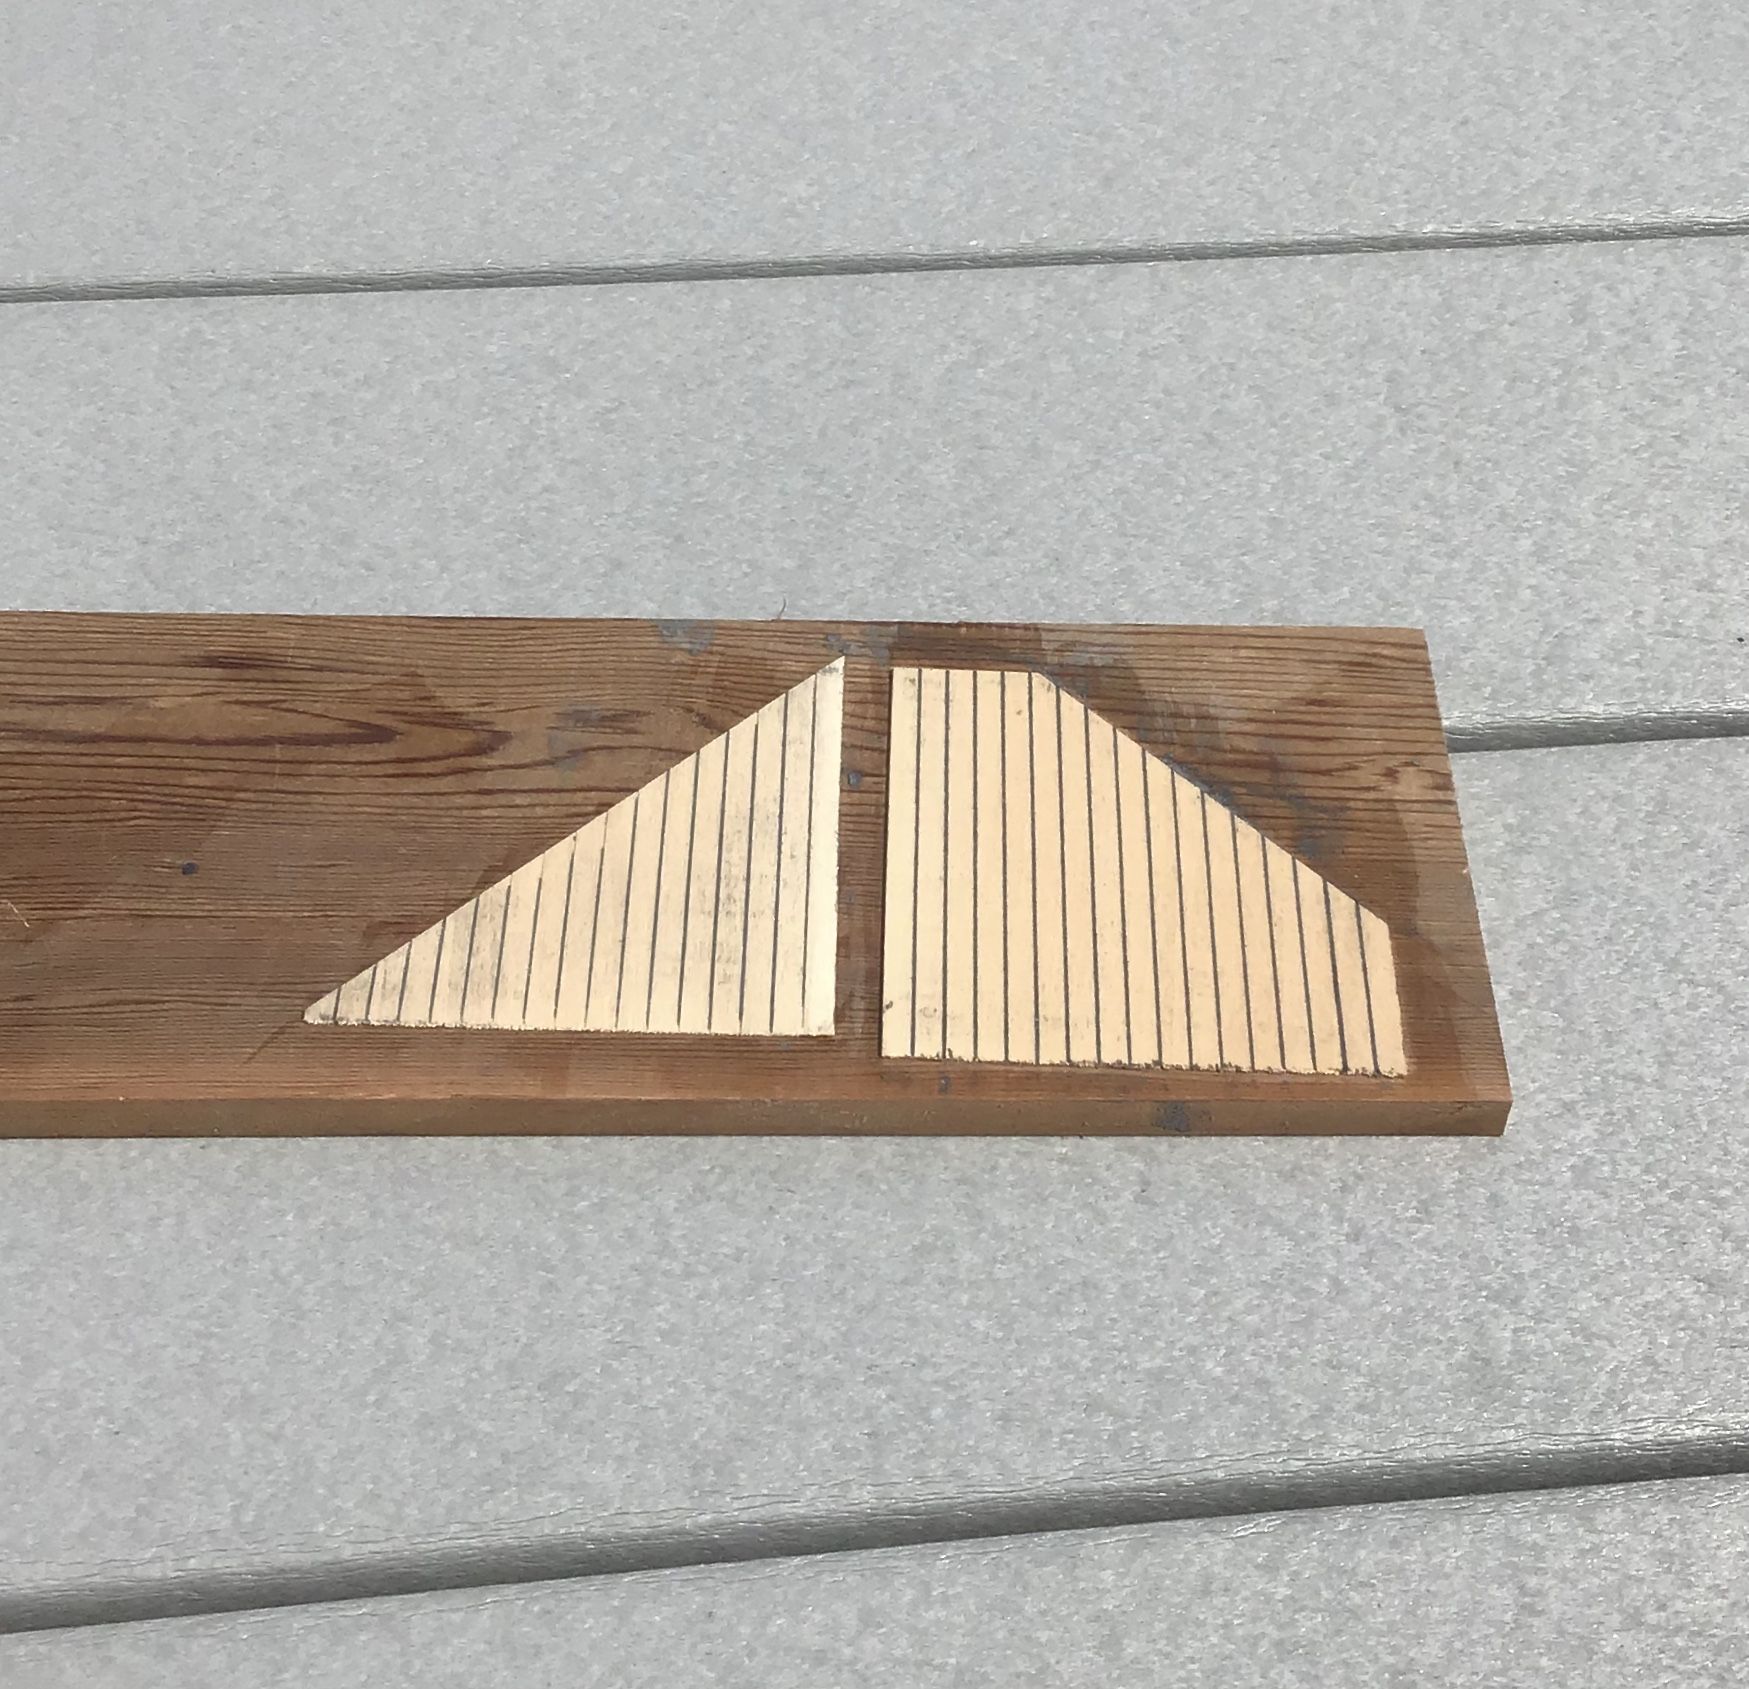
Paste mixed up of Durhams , water and Stynylrez black primer for tarred seams in deck -

Paste screeded into seams with utility knife blade -

Finished surface will look like test sample on right - bare decking given 2 coats of acrylic satin polyurethane , paste worked in and then scraped down when dry -

2 Likes

A little more progress -
The carrier deck base has been scraped down , masked and primed in Stynylrez gray -


Steel section running athwartship underpainted in red brown-

Steel section shot with hairspray as resist -

All overpainted with Tamiya Sasebo Arsenal Gray and unmasked -

1 Like


I’ve begun work on gust locks for the control surfaces as can be seen in the accompanying photo - photo credit Squadron/Signal Publications

The base is now done except for touch up and two tie downs that need to be installed at the time I mount the Zero to the base .


The gust locks for the control surfaces are now done and ready for paint - dark yellow /sand base coat in acrylic then brownish grey woodgraining in oils.
I made wire bails for the open ends out of fine copper wire bent around a rectangular form filed on the end of a piece of aluminum bar stock.
The overlap was soldered together by applying a tiny dab of flux to the joint and dipping in solder dust made by rubbing a piece of solder on sandpaper and then heating with a variable temp wood burning tool.


The open ends had small cleats cemented on to retain the bails and the closed ends were treated to Archer resin rivet decals.


Completed gust locks dry fitted before paint .

The painting has begun -
Components pre shaded along panel lines with highly thinned Stynylrez black primer shot at 4-5 lbs pressure to minimize scatter

all painted with straight Vallejo IJN Ash Grey then panels post shaded with lightened Ash Grey - 12 parts Ash Grey / 1 part White.

Panel lines pin washed with highly thinned Payne’s Grey oils . " stich " marks from brush vary with the amount of line covered by capillary action. I allow the model to sit undisturbed for a few hours then come back and buff off
"stich"marks with a piece of blue paper shop towl taped to a popsicle stick with double sided tape.

Underside of wing done-

Gust locks painted in Sand Yellow then wood grained with Payne’s Grey oils.

Sorry about the poor lighting on the last one.
A little progress to report .
Fuselage painting done - panel line pin wash done all over . Two coats of Tamiya clear gloss over all and then rubbed out with 2400 & 3200 sanding pads. As this will represent a Mitsubishi built aircraft the wheel wells and gear doors are fuselage color - Vallejo IJN Ash Grey .
The exposed wing ribs at the wing tips and the gill slit on the forward fuselage are done in Aotake - the metallic blue/green seen on many Japanese interior components . I stay away from the commercially bottled colors representing this color because I think the gloss and metallic aspects are over done and look out of scale. I like to represent it by first spraying flat aluminum and then just lightly dusting over with highly thinned Tamiya XF - 8 Flat Blue. This way you can control the effect by gradually building up the color.

All fuselage decals now done and await clear overcoat .

Cowling painted to represent Mitsubishi Blue-Black . A one to one mix of Tamiya X-18 Semi Gloss Black and XF-8 Flat Blue does nicely.
Getting closer to the finish line.

Painting mostly done - all rubbed out with Blue Magic on cotton t shirt squares.
Canopy and cockpit unmasked - always fun when that happens .


4 Likes

Coming down the home stretch -
Wheel chocks made from those supplied with Hasegawa’s Isuzu fuel truck kit but reduced in height to conform to those seen in carrier deck images. Under painted Dessert yellow then wood grained with burnt umber oils - drilled and joined with thread .


The first set of tie downs made with hooks and toggles from the Tom’s Modelworks IJN tiedown set . These were abandoned because they were too small - the holes only allowed a size of thread that looked too light when compared with photos of the real thing - and the hooks straightened out when tensioned . I wound up making my own hooks from brass wire and toggles from brass shim.

Brake lines made from fine electronics wire - part of jacket stripped away to represent the hard brake lines up the the oleos and the jacketed section left to represent the greater diameter of the flexible line to the backing plates.


Underside done -

Aircraft mounted to base withe small brass pins and epoxy .
Chocks fastened with white glue and the second set of tiedowns completed and installed - they look much better than the first set !

4 Likes

The kit antenna mast is a little clumsy looking - rectangular in section when the actual mast is a more aerodynamic teardrop shape . I thinned down the plastic mast but it may be too fragile and thought it best to saw and file another out of brass strip.


I also made landing gear position indicators from a piece of fine brass wire , flattening the ends in plain jaw pliers , painting the tips red & white ( as on the restored A6M2 at the Air Force Museum) and inserting them in holes drilled over the oleos.


Included in the SBS resin cockpit set is an incredible Navy Type 98 reflector gunsight.
This jewel includes a photo etched auxiliary ring sight and both the reflector prism and filter lens in acetate.

Here it is in place - photo is a little grainy from the zoom function.

And the Type 97 7.7mm brass gun barrels from Master Model .

5 Likes

Amazing work! Glad you braved the high seas and were able to ship her over. ~~ ~ ~~~~

—mike

1 Like

Your built is so beautiful.I love the details!

1 Like

No need to bring all of that across, just rest assured that we are very glad to see this build continuing here and nearing completion. It’s just brilliant!

Cheers, D

1 Like

Almost done.
Here is the sliding canopy section complete with latching mechanism with interior and exterior knobs
( the tiny red knobs on the right) and the handle on the left. The latch is Eduard .The handle is scratch - it was supposed to be in the Eduard photo etch fret . It is shown on their instructions as part number 74 but the numbers on the fret only go to 72 - strange.


Here are a couple of shots of the model . The only things remaining are the antenna and pitot tube and some sort of label/plaque for the base .


Better pics to follow when completed.
Thanks for looking-
Cheers- Mr . Redcircles

10 Likes

Really nice build and display.

Cheers,
C.

That is a stunning build. Great work, the base really sets the model off.
Andy :slight_smile:

That really is gorgeous!

Thanks gents for the kind words !
RT

Mr. Redcircles,
Your 6 month build journey has been simply amazing. Every part and section of your vignette is truly IPMS National quality by far.

I just signed up for your Ki-61 build as I’m sure it will be just a few notches above the Zero build.

Joel

Thanks Joel - always a pleasure to here from you !
I’ve been watching for Brian to move the Lucious Lady blog over to the new site .
Zero is officially done now - waiting for the opportunity to take some good pictures of it.
Here is a shot of the last remaining item - the antenna.


Just noticed how the finish looks all orange peel in the photo - strange as it really isn’t. Something in the settings or magnification?

6 Likes

Richard,
That antenna looks darn real to me. :+1:

As for that Orange peel effect especially in photos greater then 1 : 1 could be that the clear gloss coat isn’t super smooth and with that increased magnification the light reflects off of every little nook and cranny.

So I went back and looked at your last set of posted pictures, enlarged to full page, and the finish looks perfect.

I wouldn’t give it a 2nd thought as it doesn’t show up up close and personal.

So my final modeling grade is a A+. Report card in the snail mail.

Joel

Thanks Joel - With your photography skills I knew you would figure it out . I thought it might have something to do with the way the image was digitized- sort of pixelated when enlarged in the cropping process .

Richard,
That did cross my mind, but then the effect would have been across the entire picture and it’s not.

Joel

1 Like