Have begun the slow laborious task of cleaning as much of the flash and seams from these figures… When does this group build finish .  ??? Lol…this could take a while.
On a closer examination they all have some degree of flash or issue, and being soft plastic it is a real mare trying to get it off…onwards and upwards lol…
I don’t envy you that job John, I had a similar experience, the only solution I found was a sharp knife, as was backed up by Erik in an earlier post…see below.
G
1 Like
I don’t think I will be enjoying this part of getting these figures ready. I don’t remember the old Airfix or matchbox figures being this bad for flash etc … But admittedly, that was many moons ago…
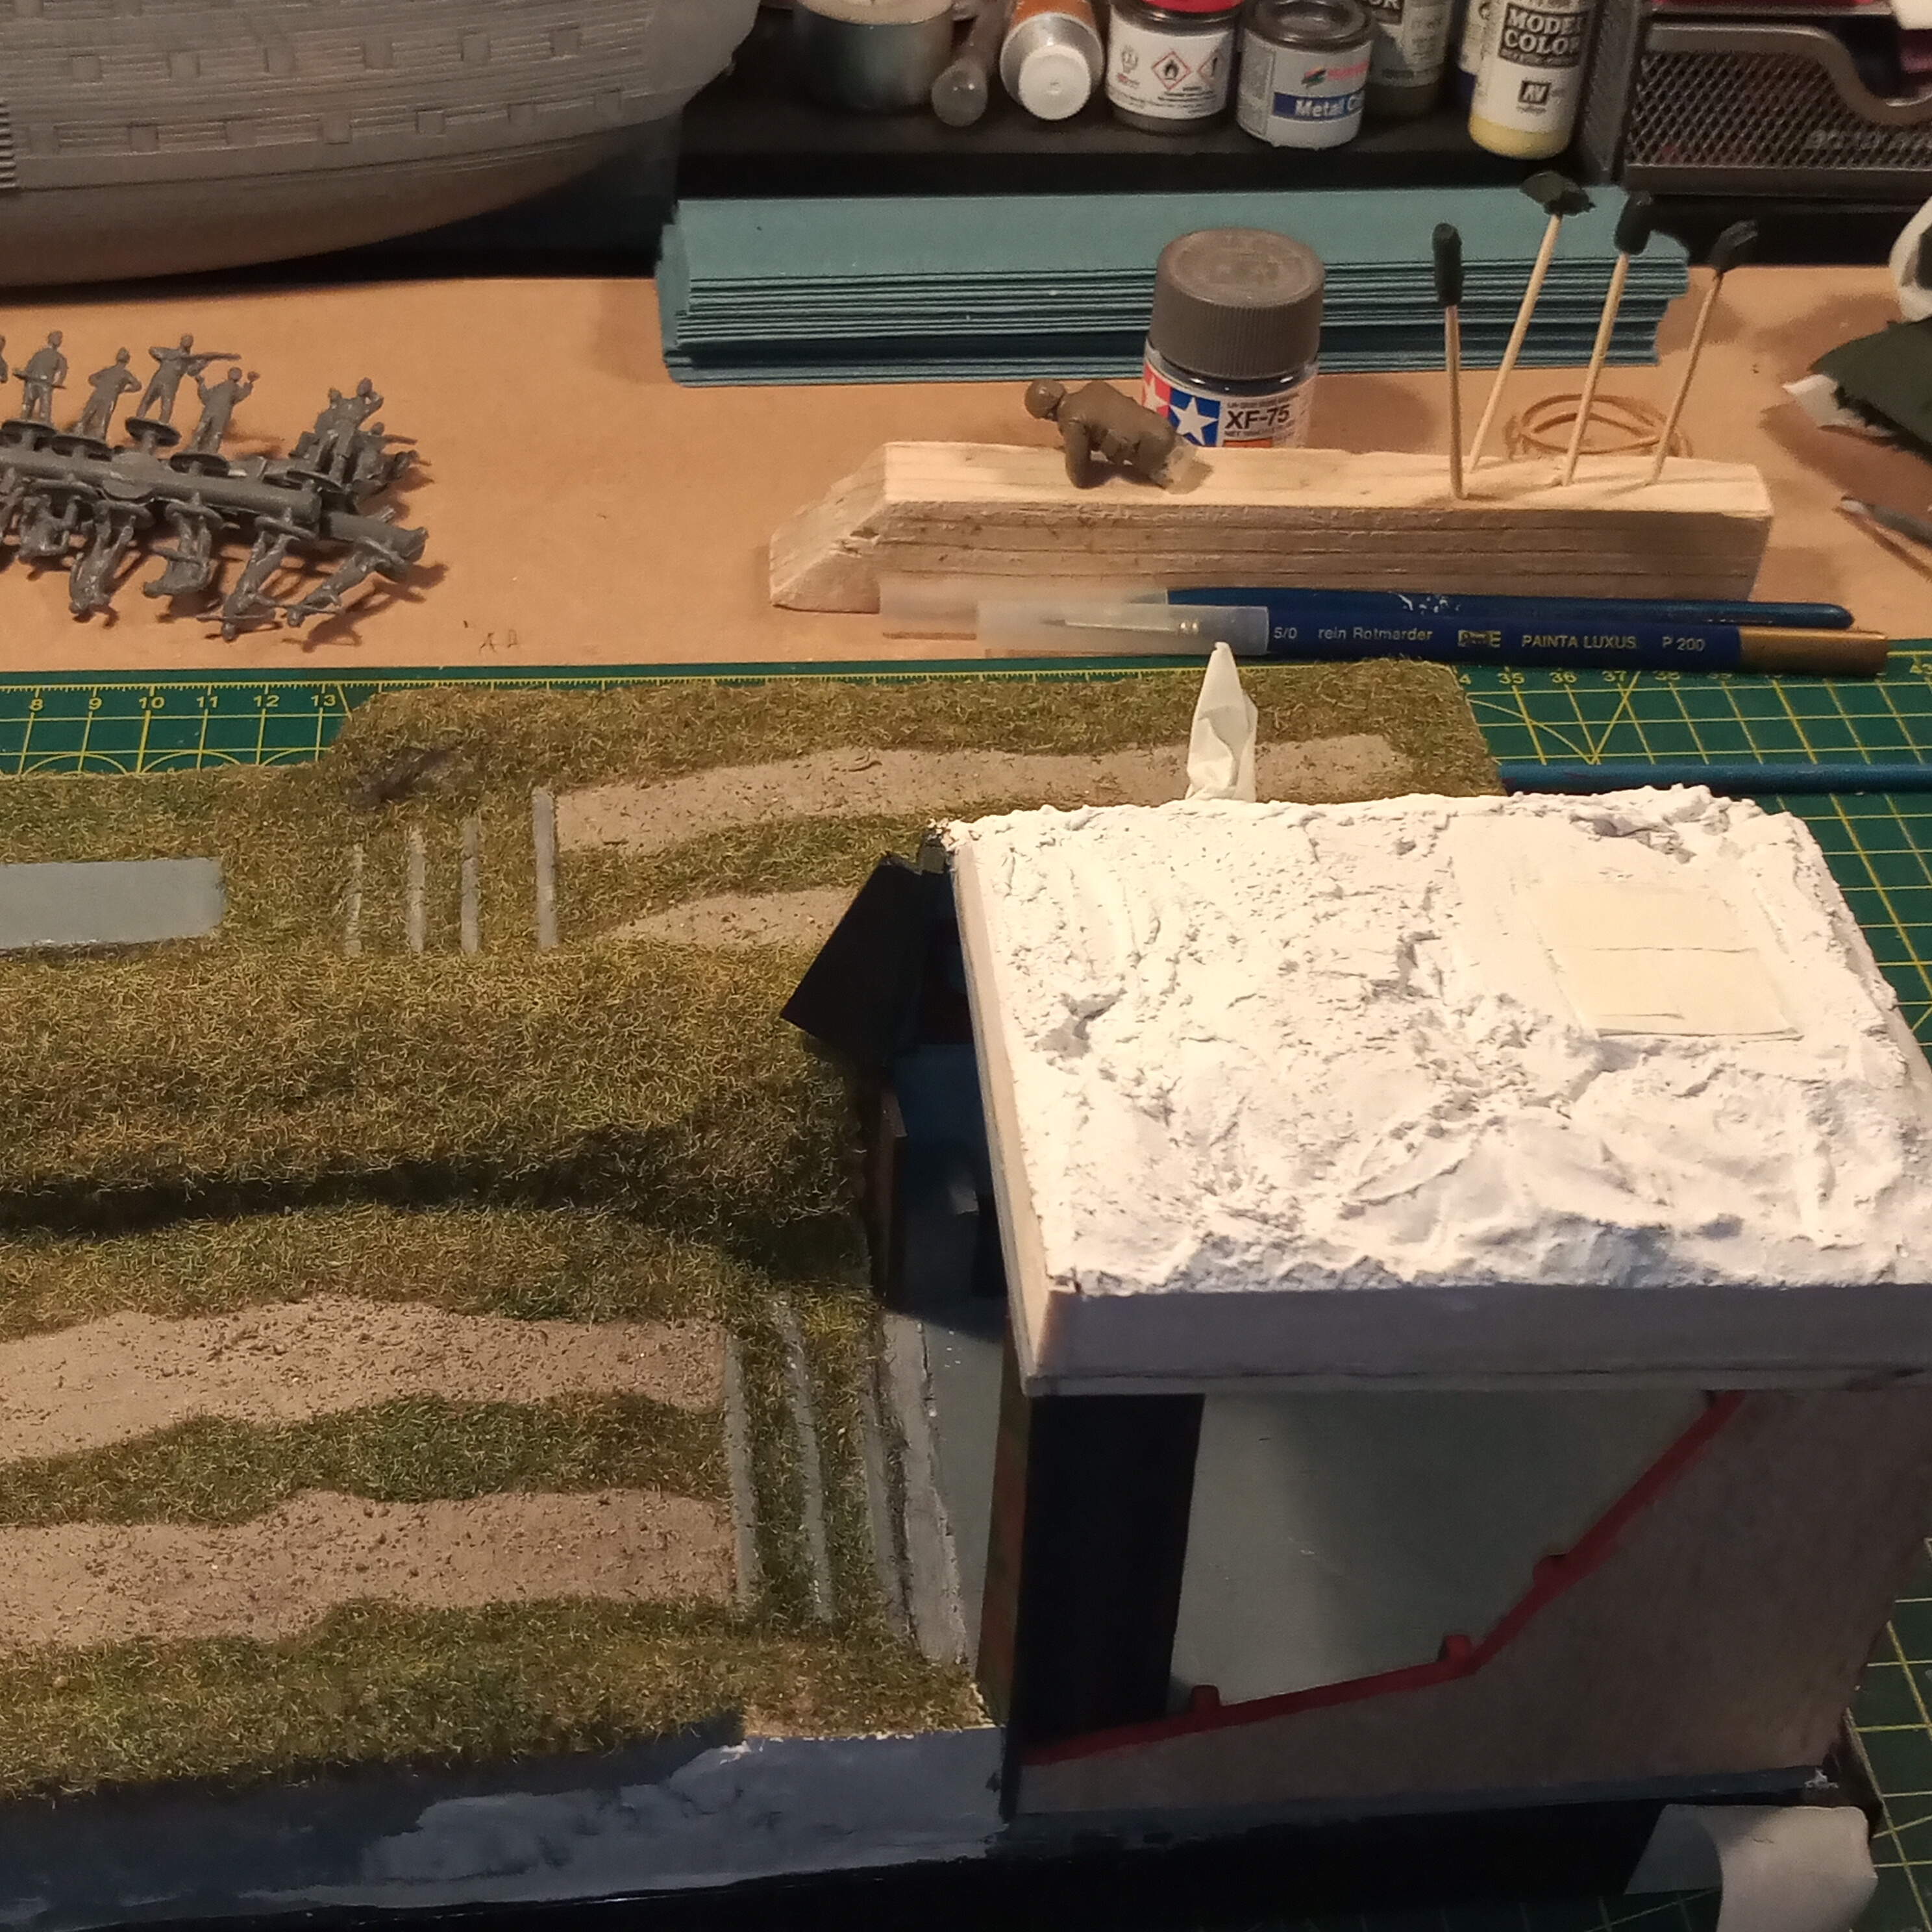
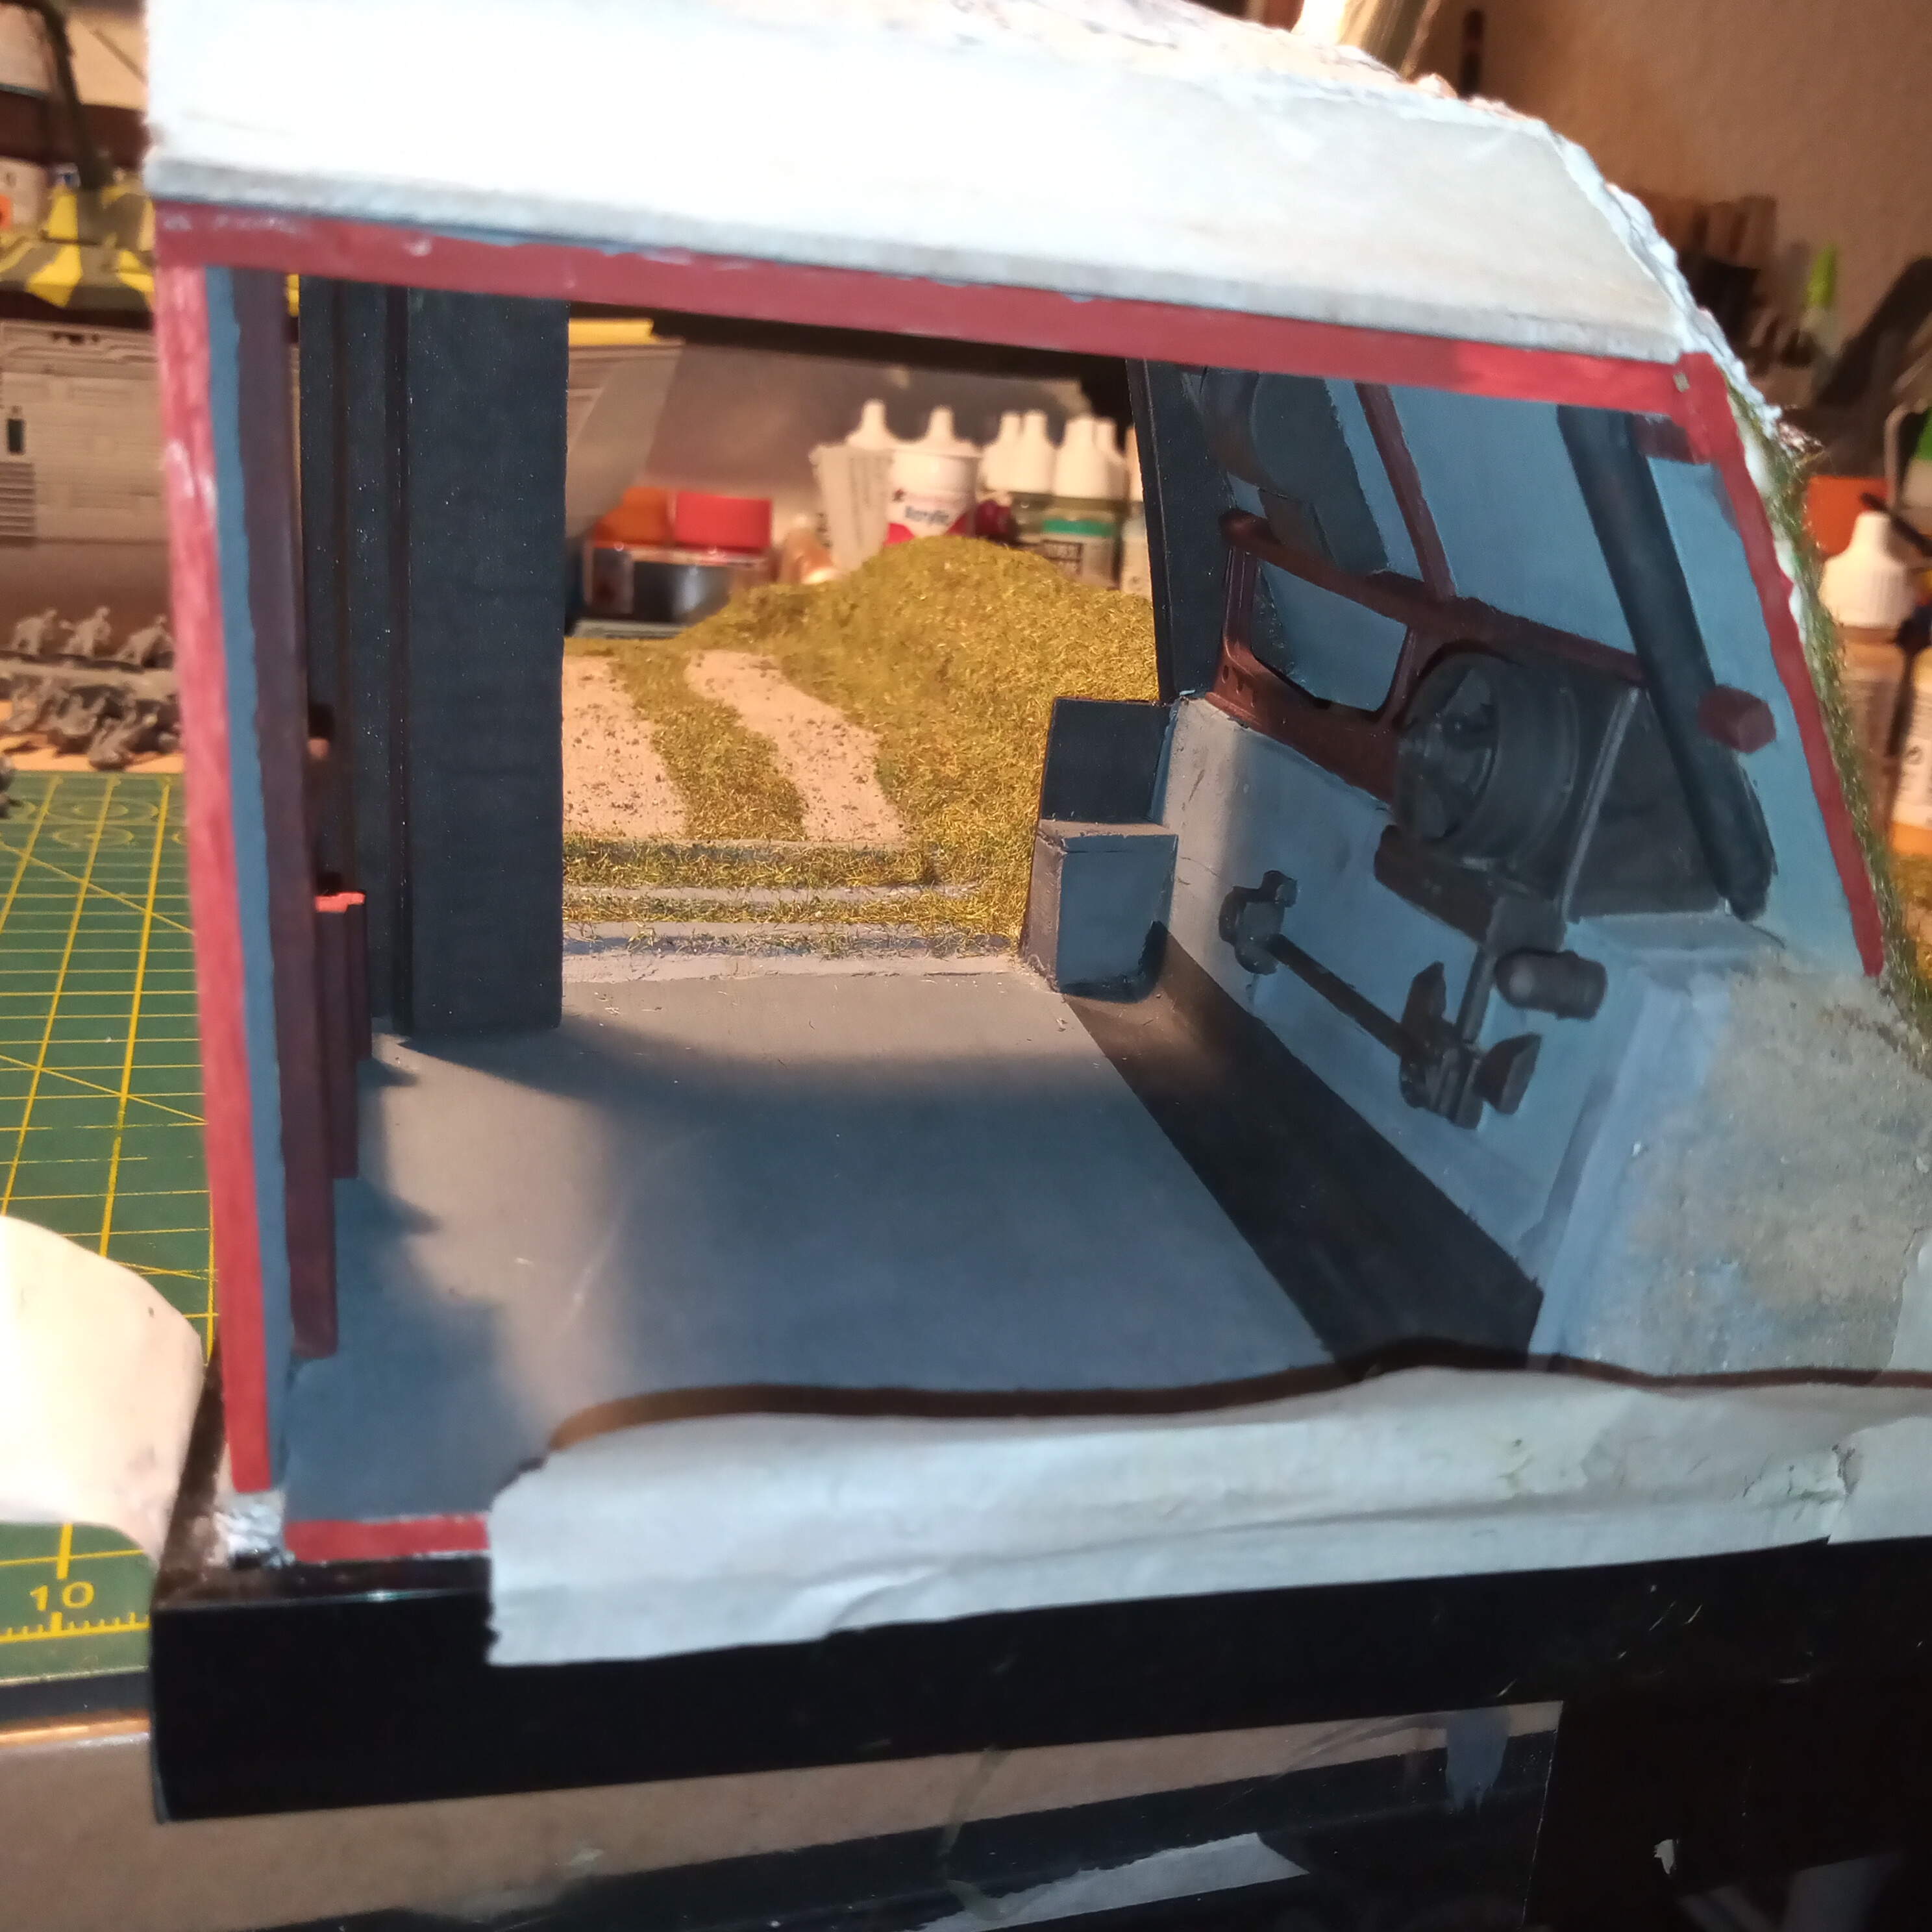
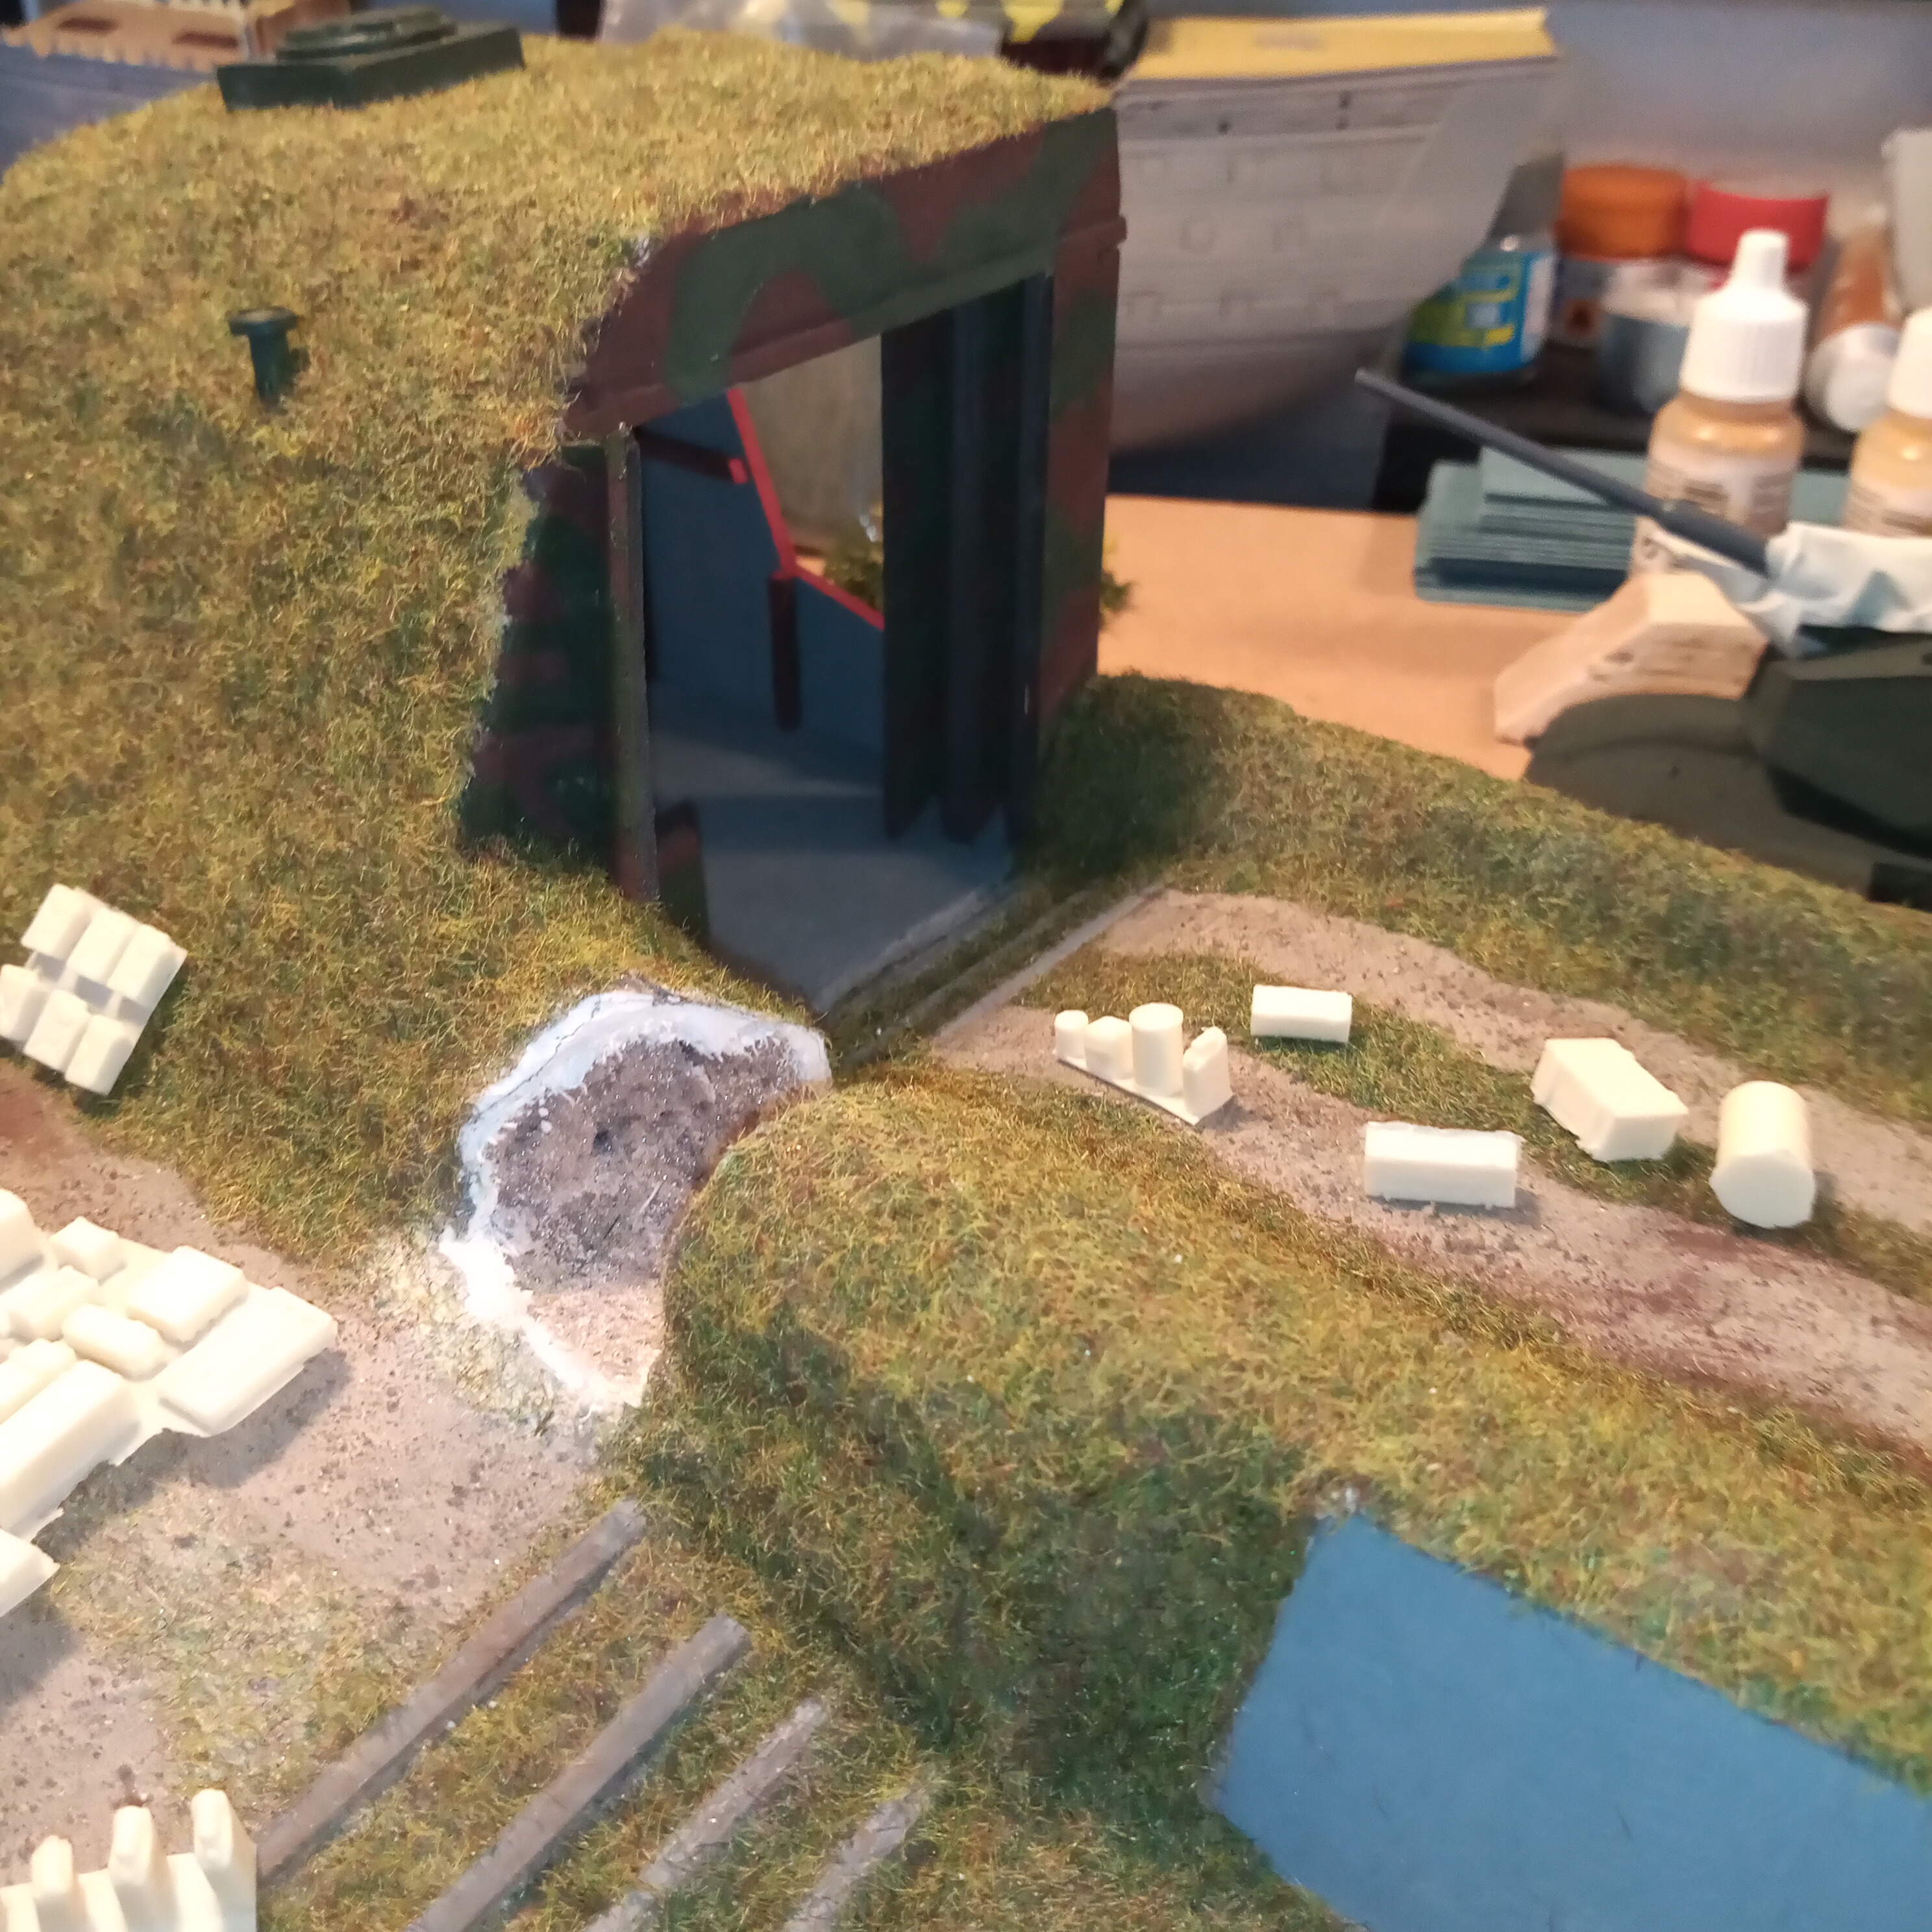
I finished of the main part of the hanger so that’s now ready for a coat of earth colour, then the grass effect.
I put the folding doors in and a side angled access door.
I started applying a cam finish to the hanger front and folded door front sections.
The inside is pretty much done and I am waiting on the stowage / kit sets I ordered.
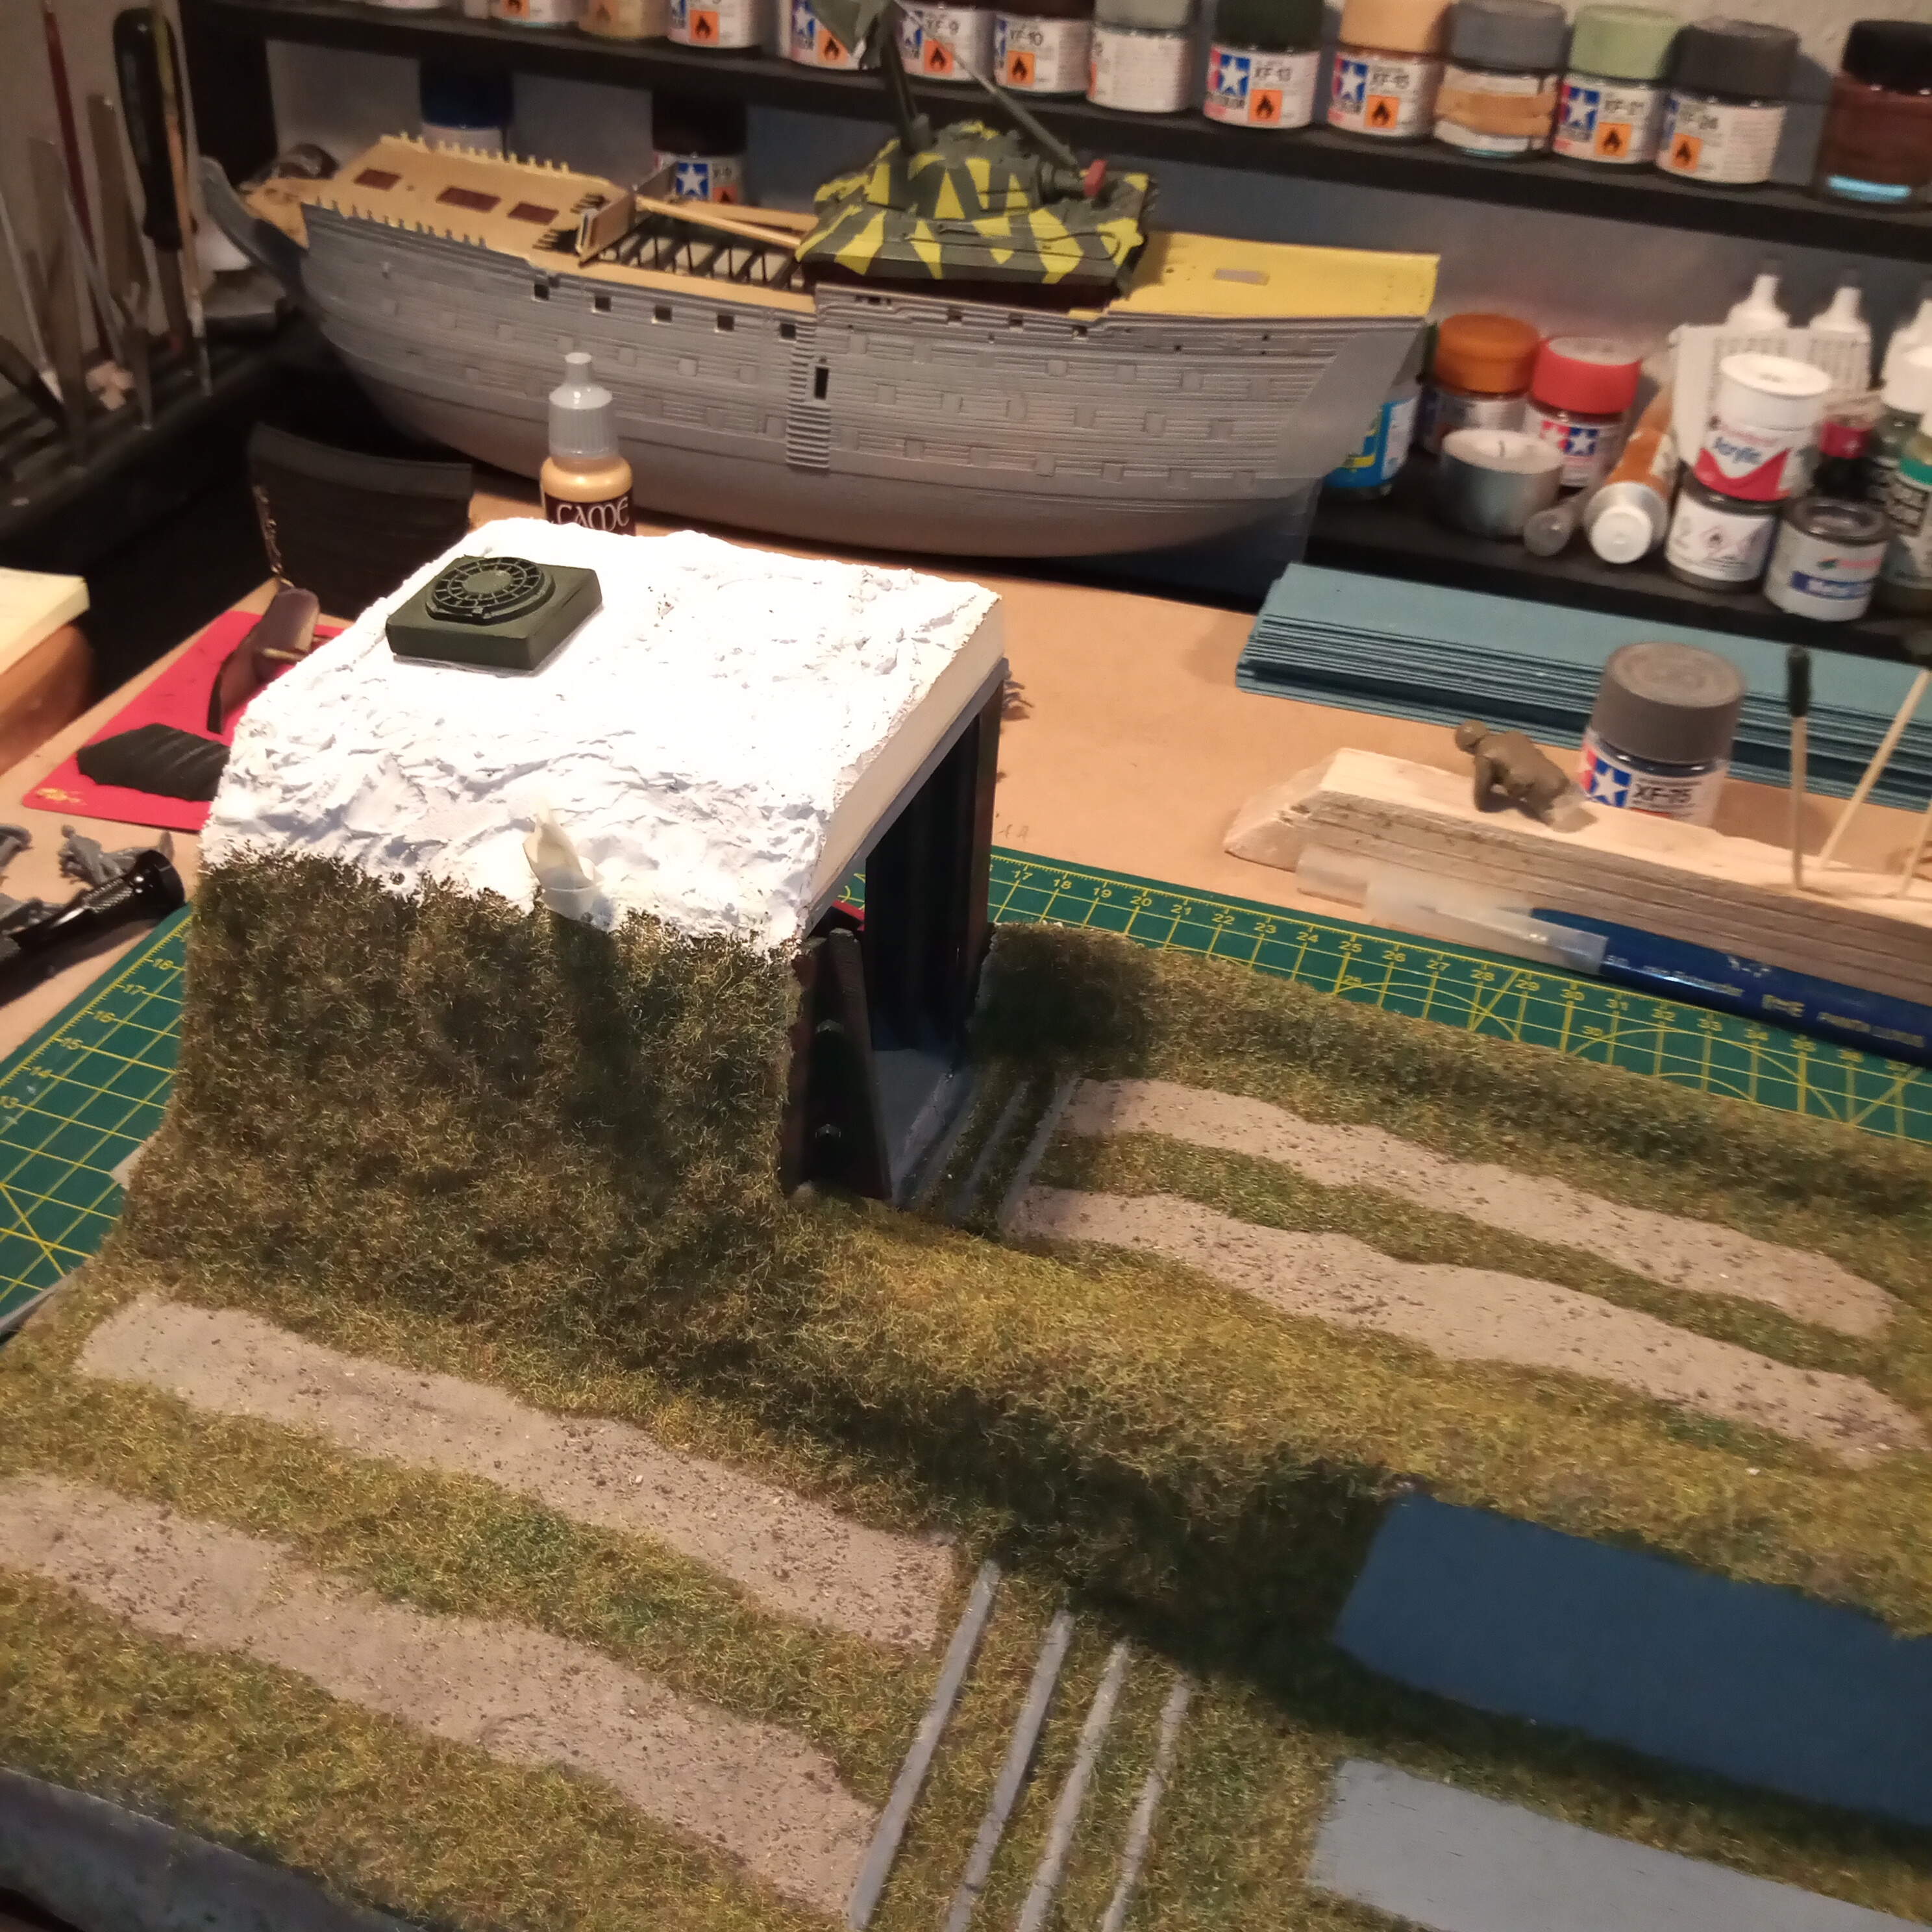
Have to add the external extraction fan housing (the bodge job from a spare 1/35 Panther fan and built base for it)
3 Likes
Hi John, your groundwork is excellent and the sculpting on the hanger roof looks really great. Very nice job thus far. I especially like the AAA assets on the HMS Victory! 
1 Like
Haha cheers Matt, I forgot I had put that there. maybe do that for an alternative what if scenario !!
Once I have some weathering and the ground stowage it should tone it all down a bit and make it a bit less sharp if you follow me.
1 Like
Follow you, follow you, very good, very good, nudge nudge, wink wink…
1 Like
Great looking base John, really liking the cutaway internal details and the external extraction housing, nicely thought out use of spares from the box, 
 .
.
Matthew’s comments about the up-gunned HMS Victory made me smile,  , no wonder we won at Trafalgar,
  .
.
G
1 Like
Thanks G, every little addition is step closer to getting it finished.
A few tweaks and updates.
The Orion figures are truly horrible to work with. Every one has flash and obvious seam lines. The box art cleverly is nothing like the figures inside. I have now decided I wil try to salvage between 5 and 10 and do them as best I can and try and hide the flaws when they are on the base. The rest are now in the bin. I would strongly recommend never buying them.
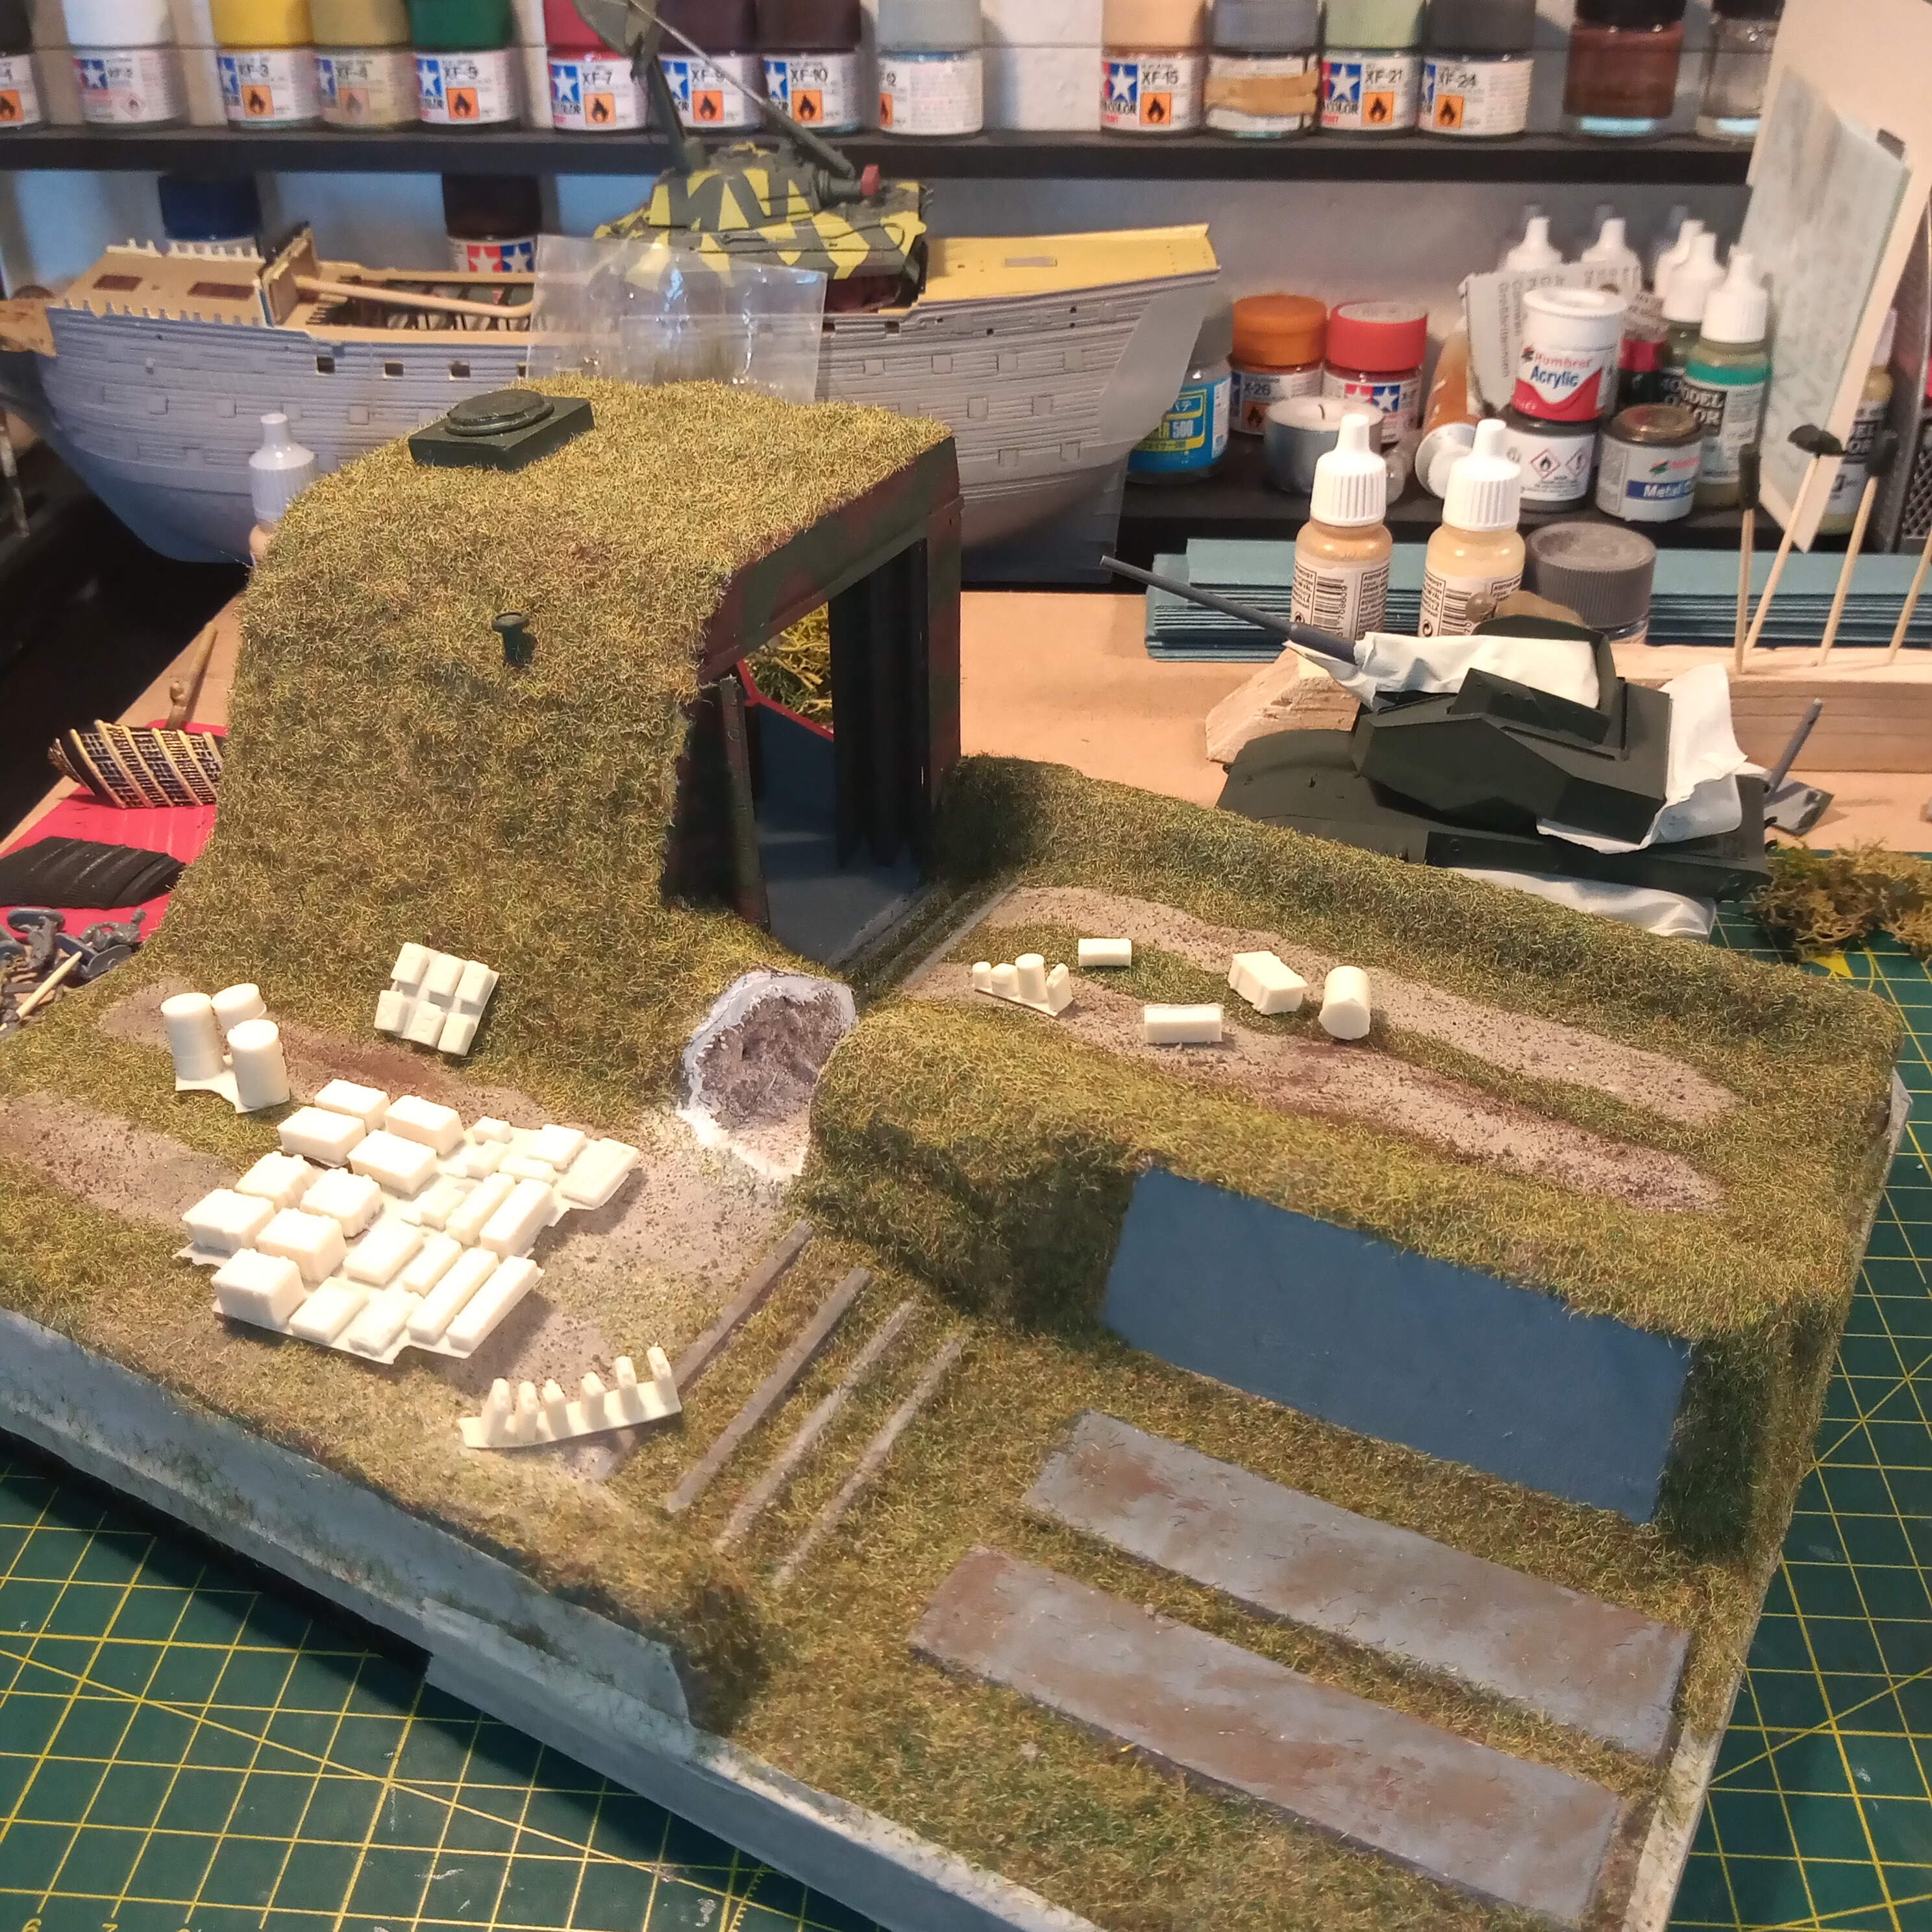
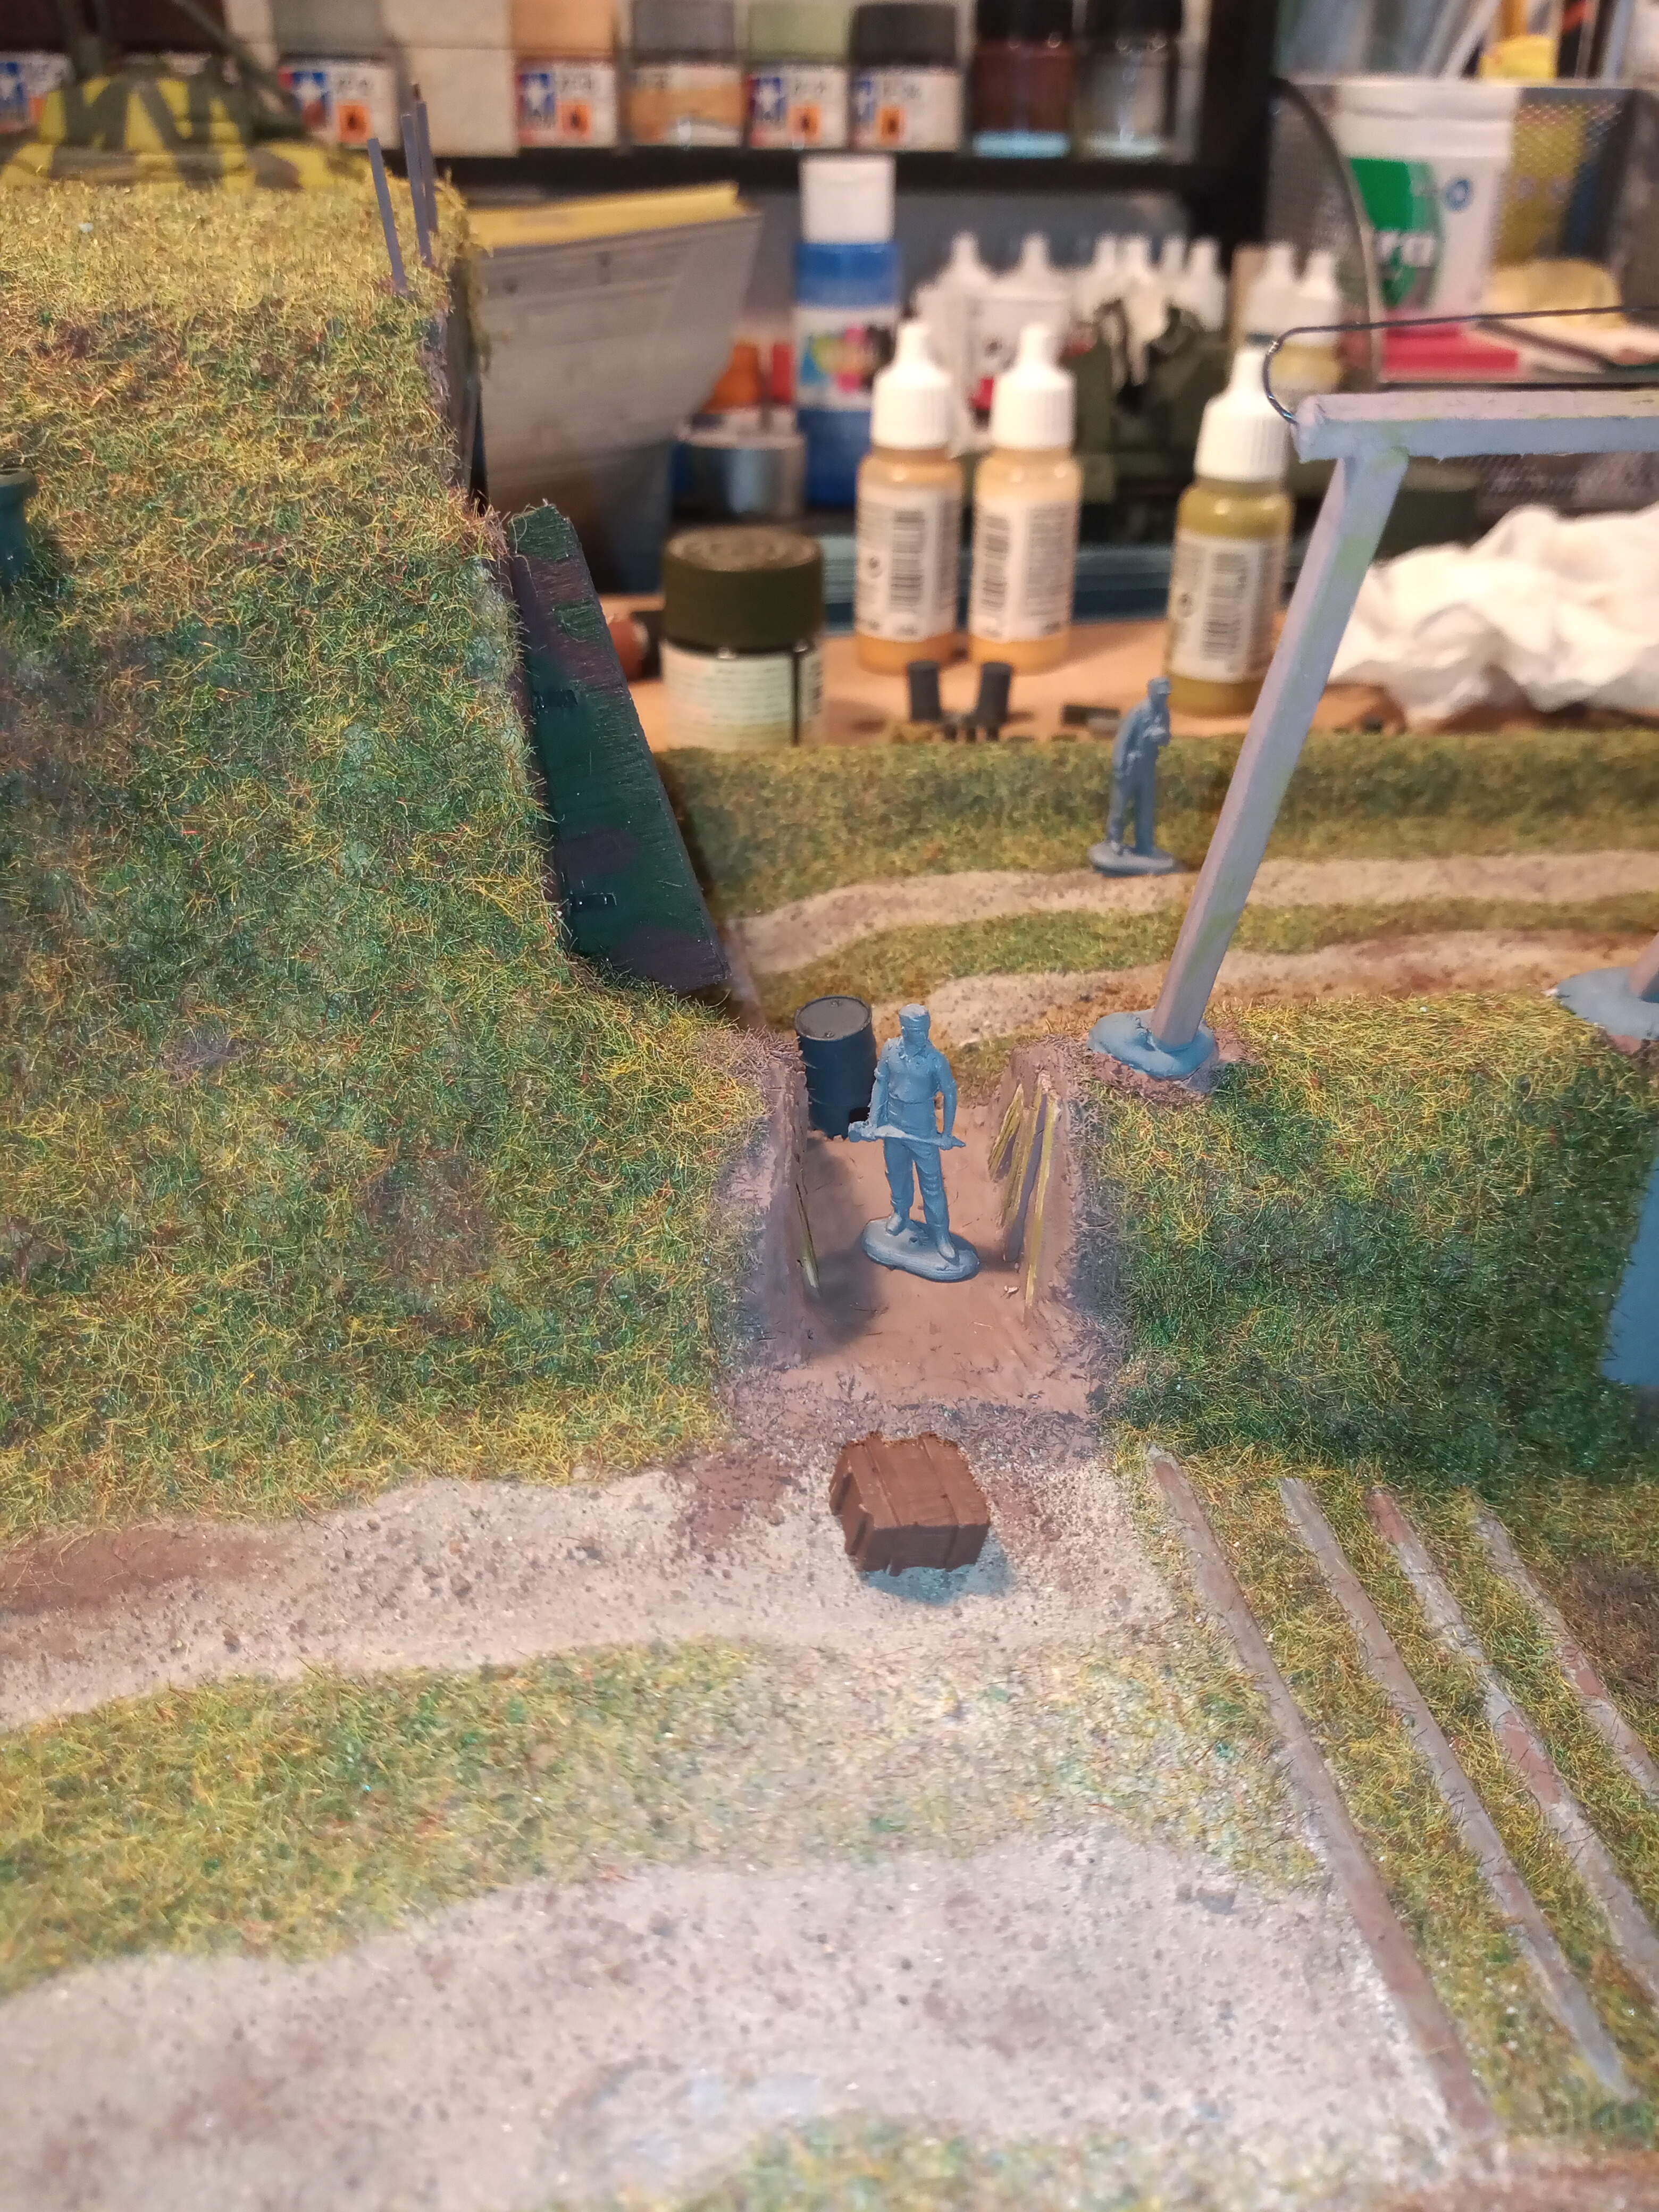
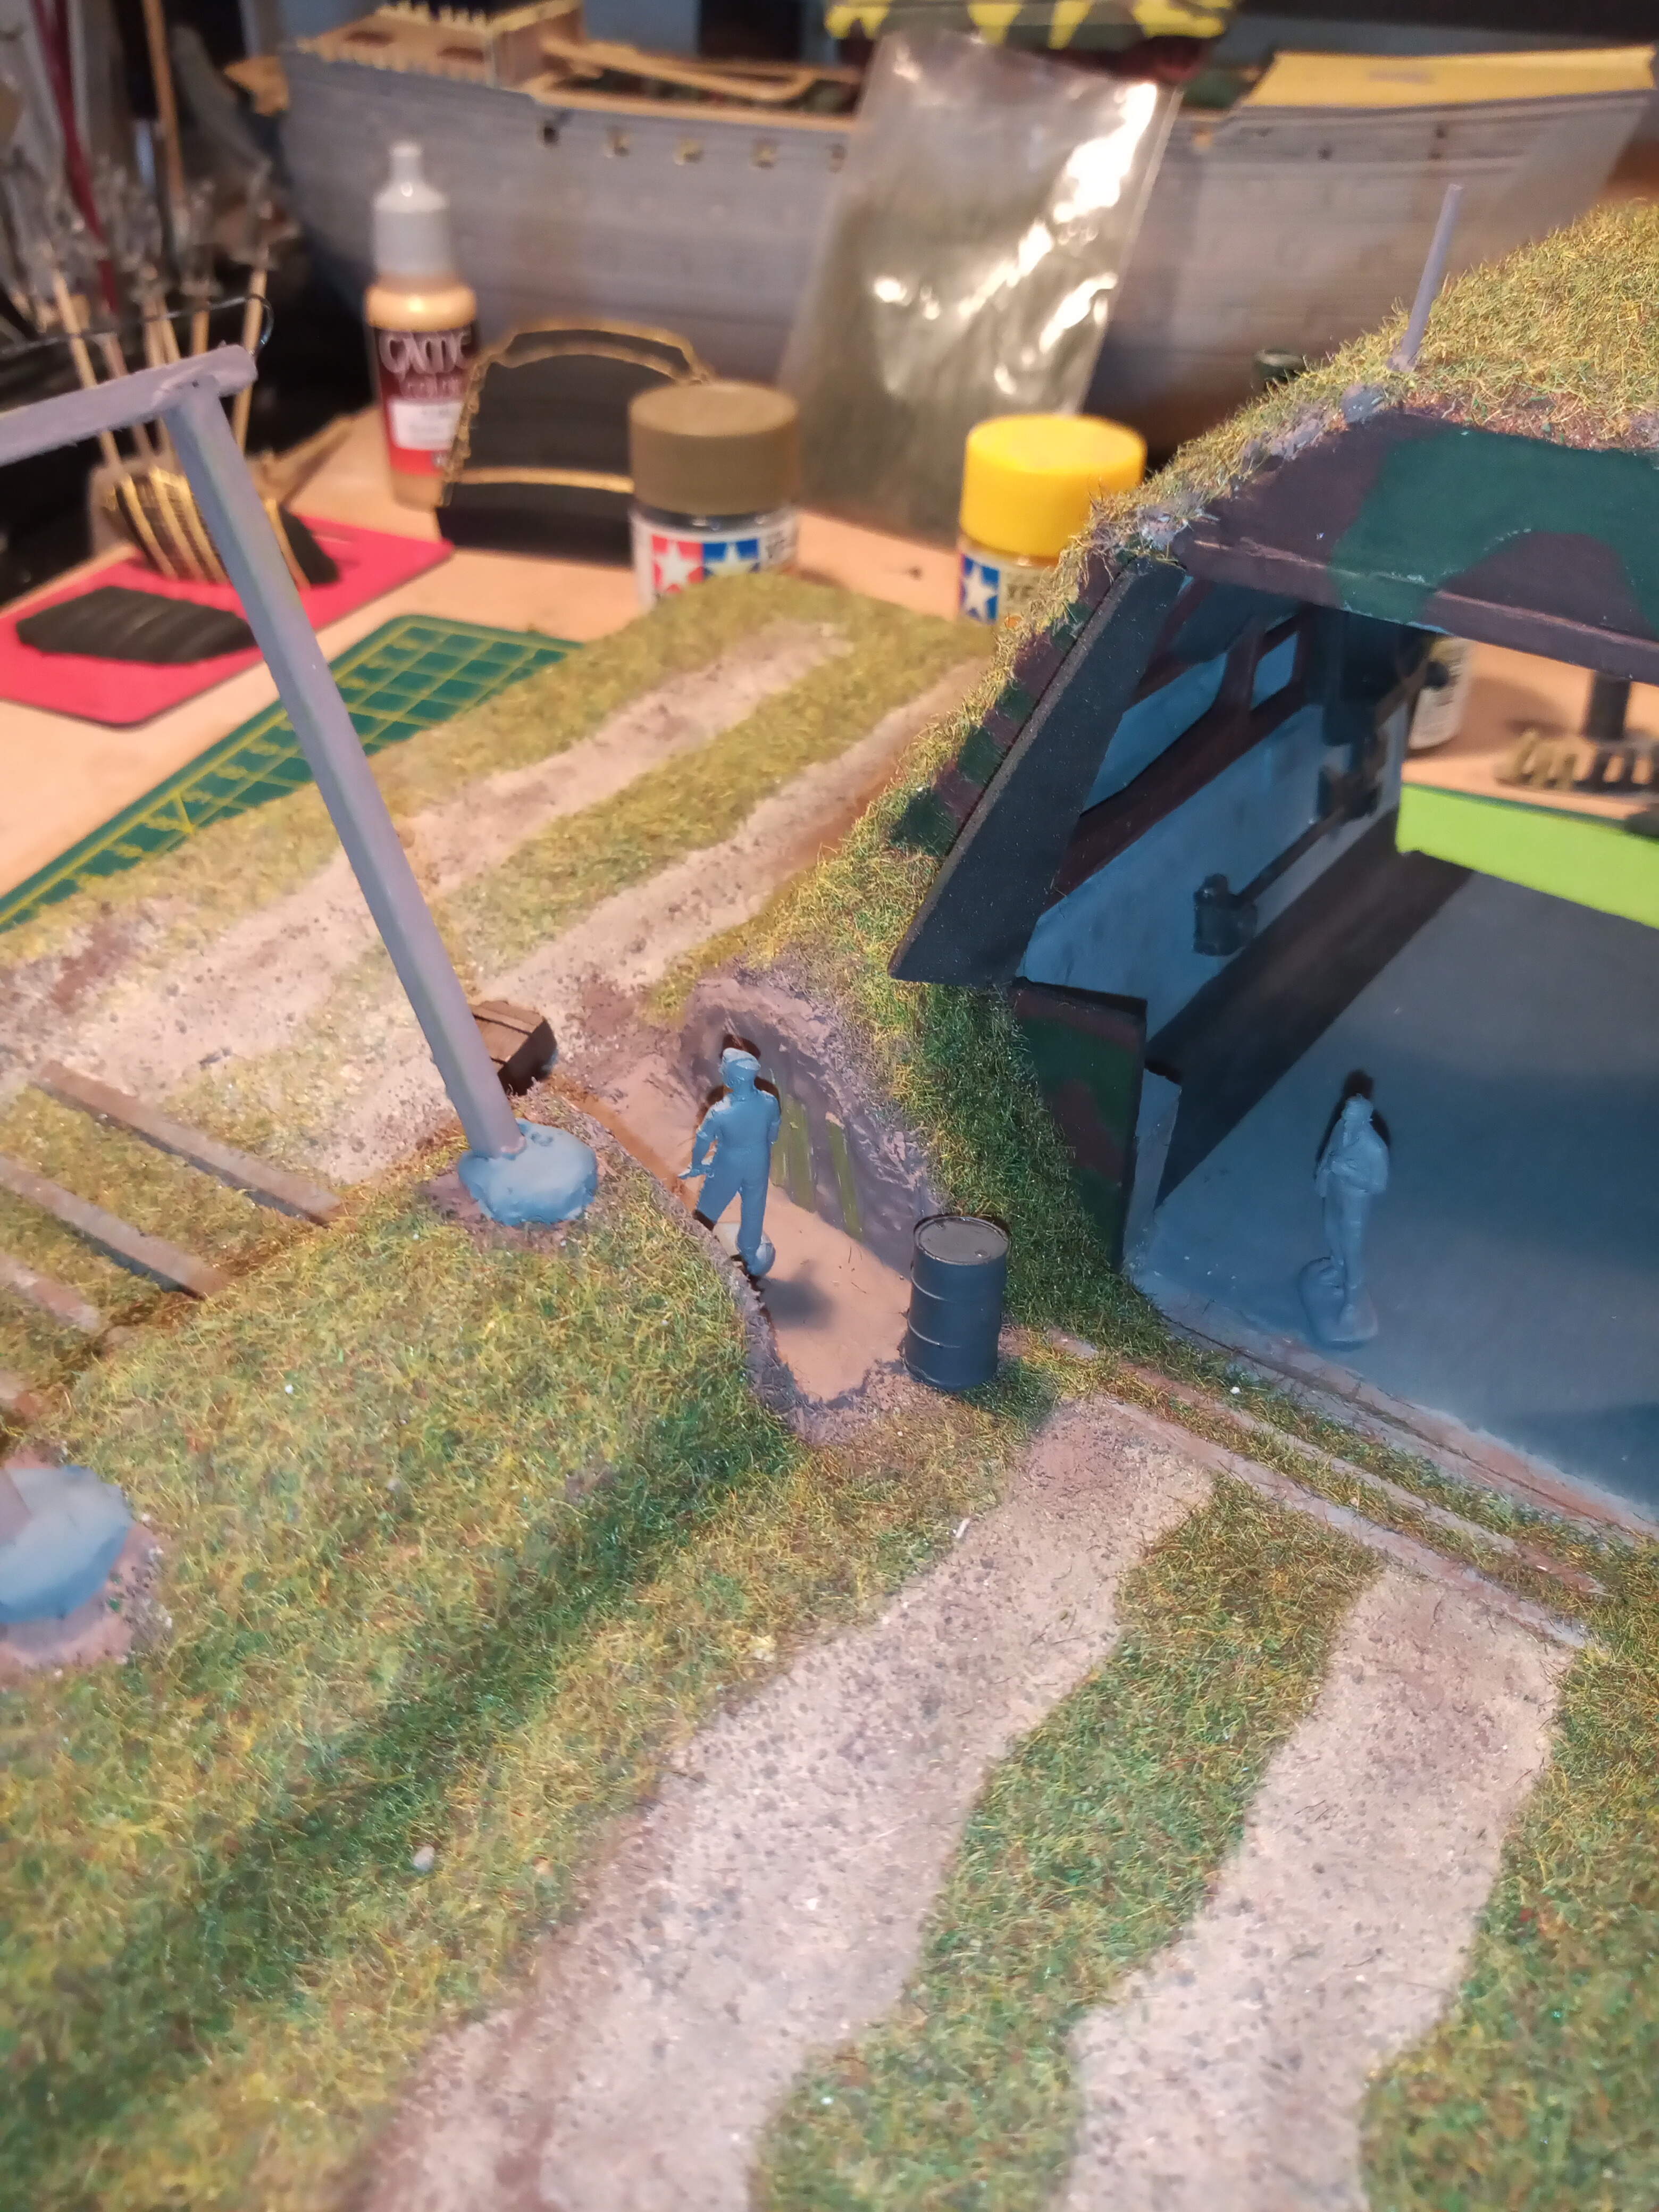
I decided to tweak the ground work a bit. And thought due to the varying heights and the vehicles needing maintenance etc a walk way would be sensible.
So out the razor saw came
I will tidy up the edges and put some thinned wood there as a side support for the walls.
I also got the Red dog resin stowage boxes and fuel drums/cans today which you can see here. Nicely detailed and inexpensive.
Lastly is the hanger roof finished off and the scenic grass applied.
3 Likes
That’s really starting to look the part John, . I think the cut-through in the revetment feels right, and the addition of a timber retaining wall will add to the feel, it might even be worth considering overhead timber as a makeshift shelter?
I like the camouflaged concrete façade ‘lintel’ above the shelter doors, and the colouring to the concrete track pads in the exposed position, both very effective, .
Cheers,  ,
,
G
1 Like
Thanks G. When I look at it now I keep seeing things I want to change or add to it so I need to take a calm tablet sometimes lol…
Update.
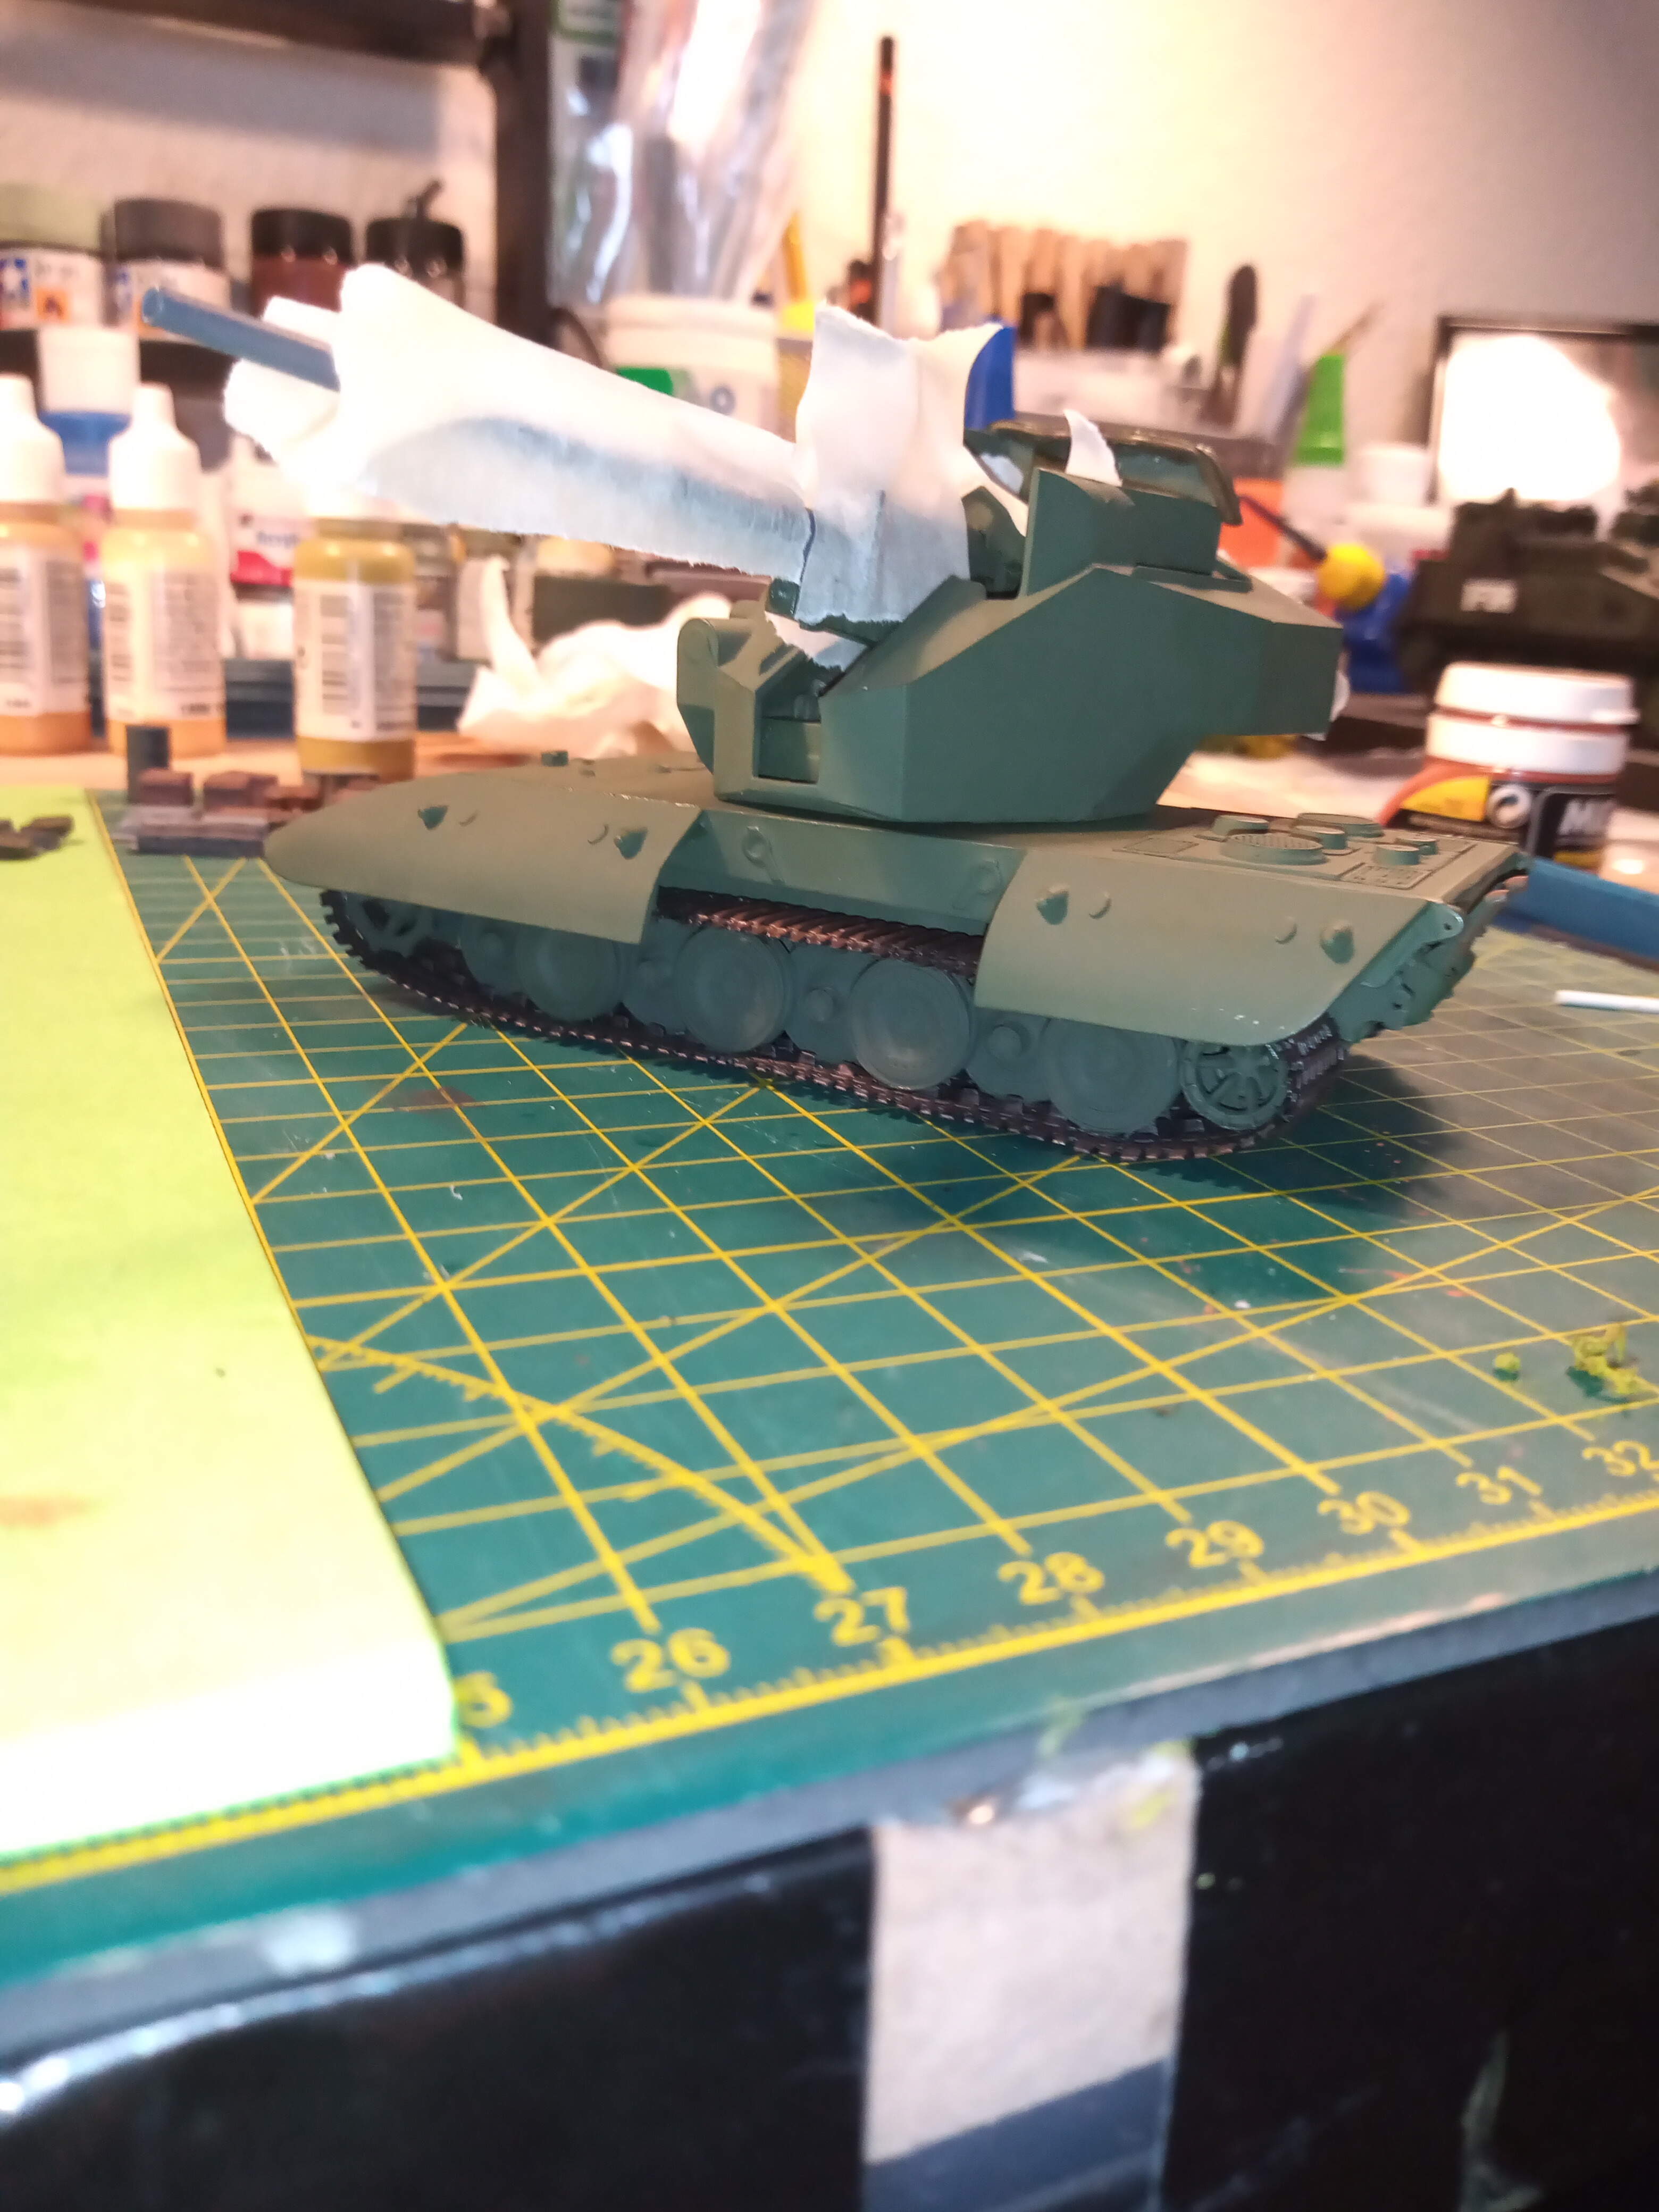
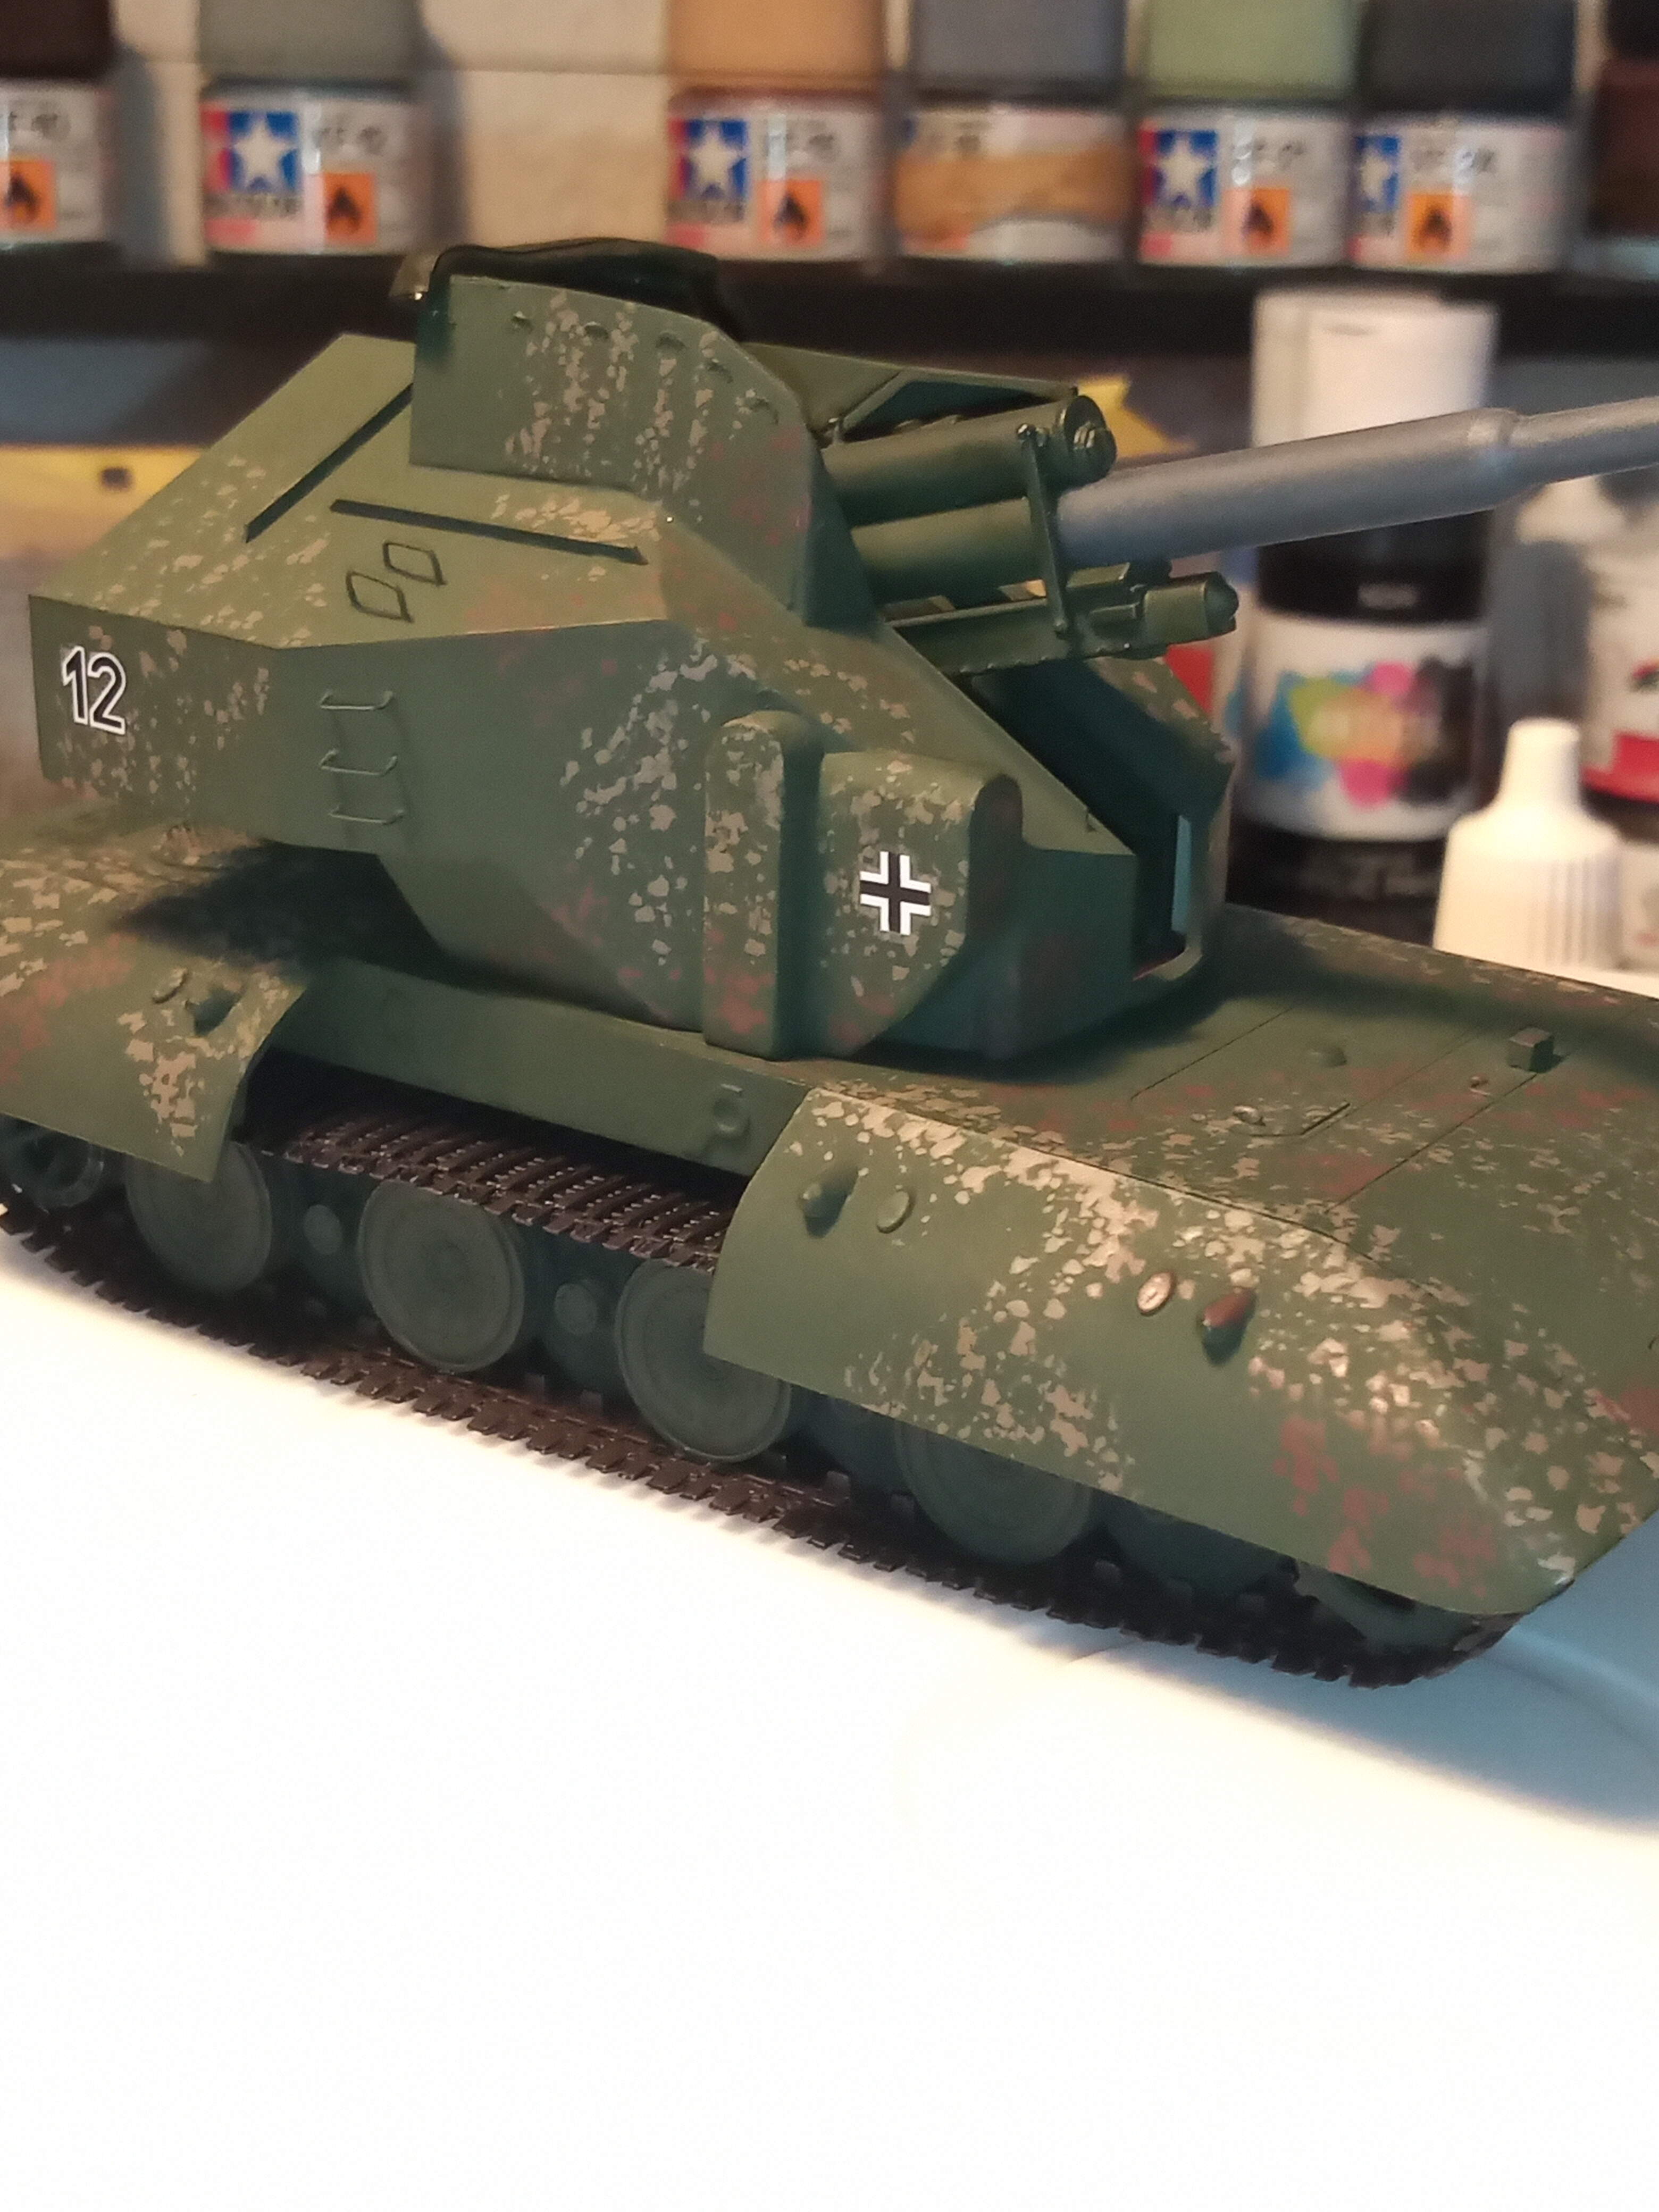
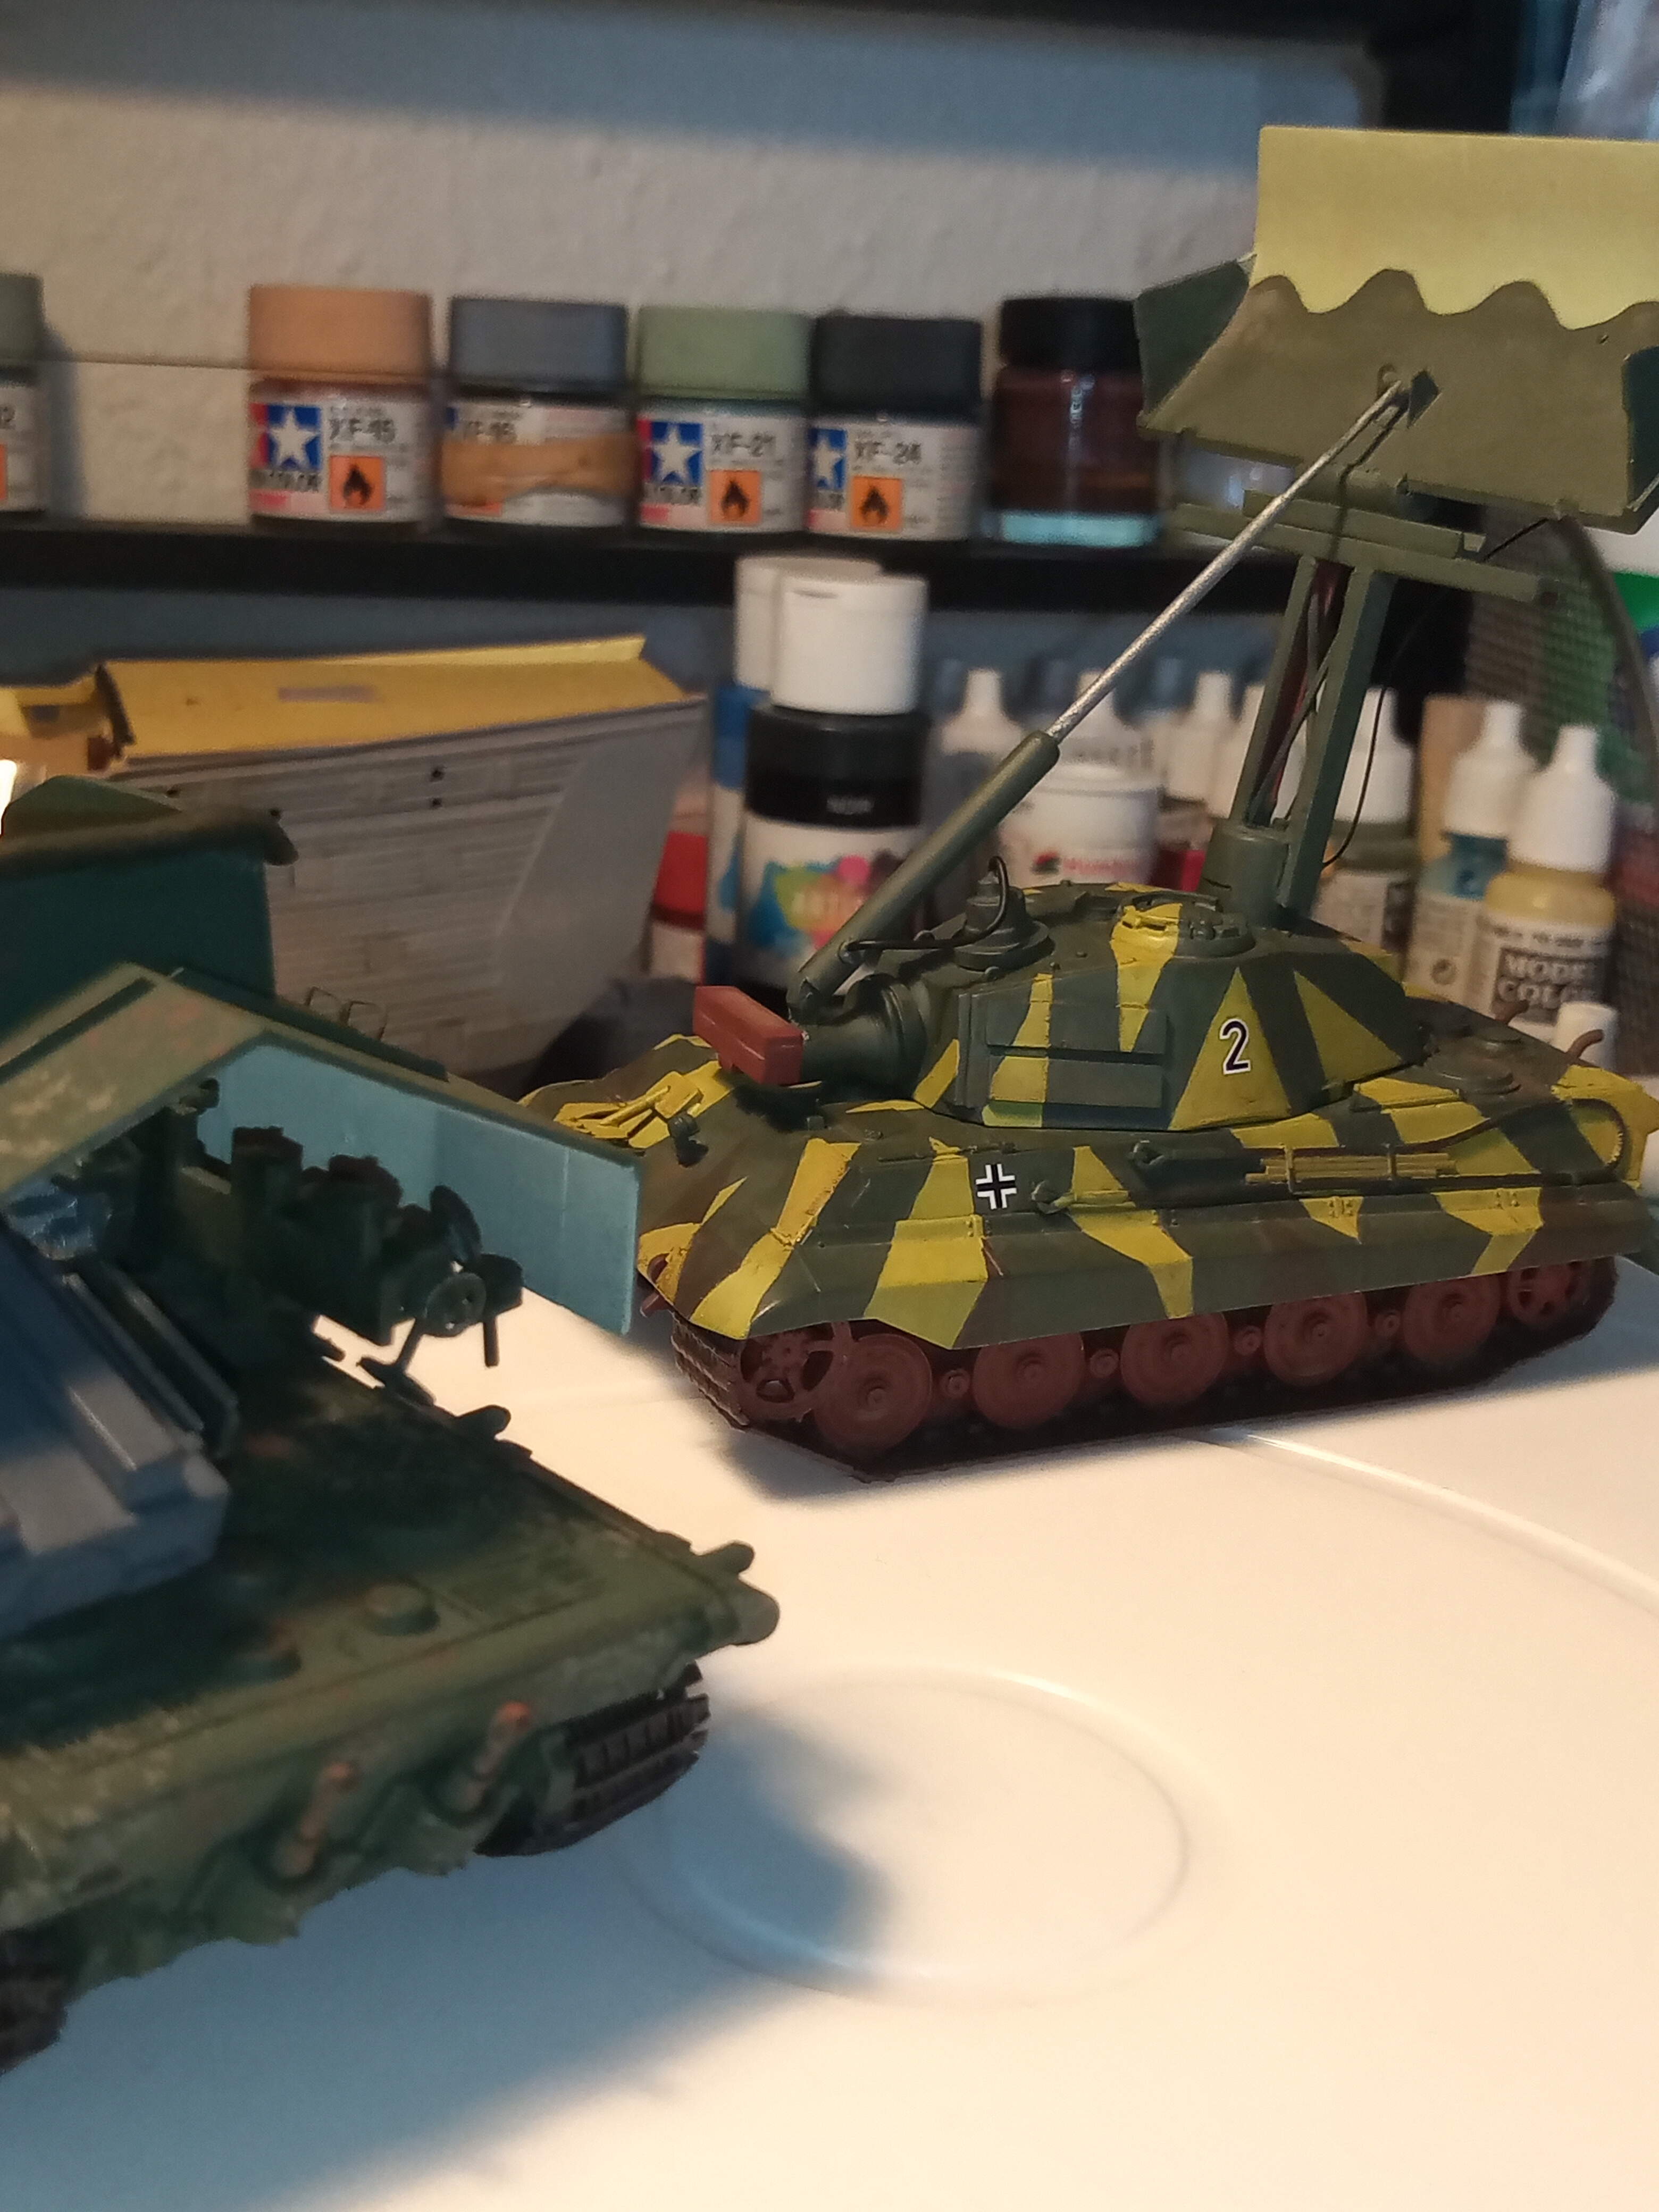
E100 Flak 40 is done, just need to do a Khaki speckle cam over the green and weather it.
Just realised I need to make a connection terminal box that will take the command cable from the KT tracker… Damn it !
Also the KT radar tracker is pretty much there now. Very disappointed with the link and length tracks, it really would of been better with a rubber band type but hopefully a good weather will help it. Tow ropes and cleaning rods on side were painted.
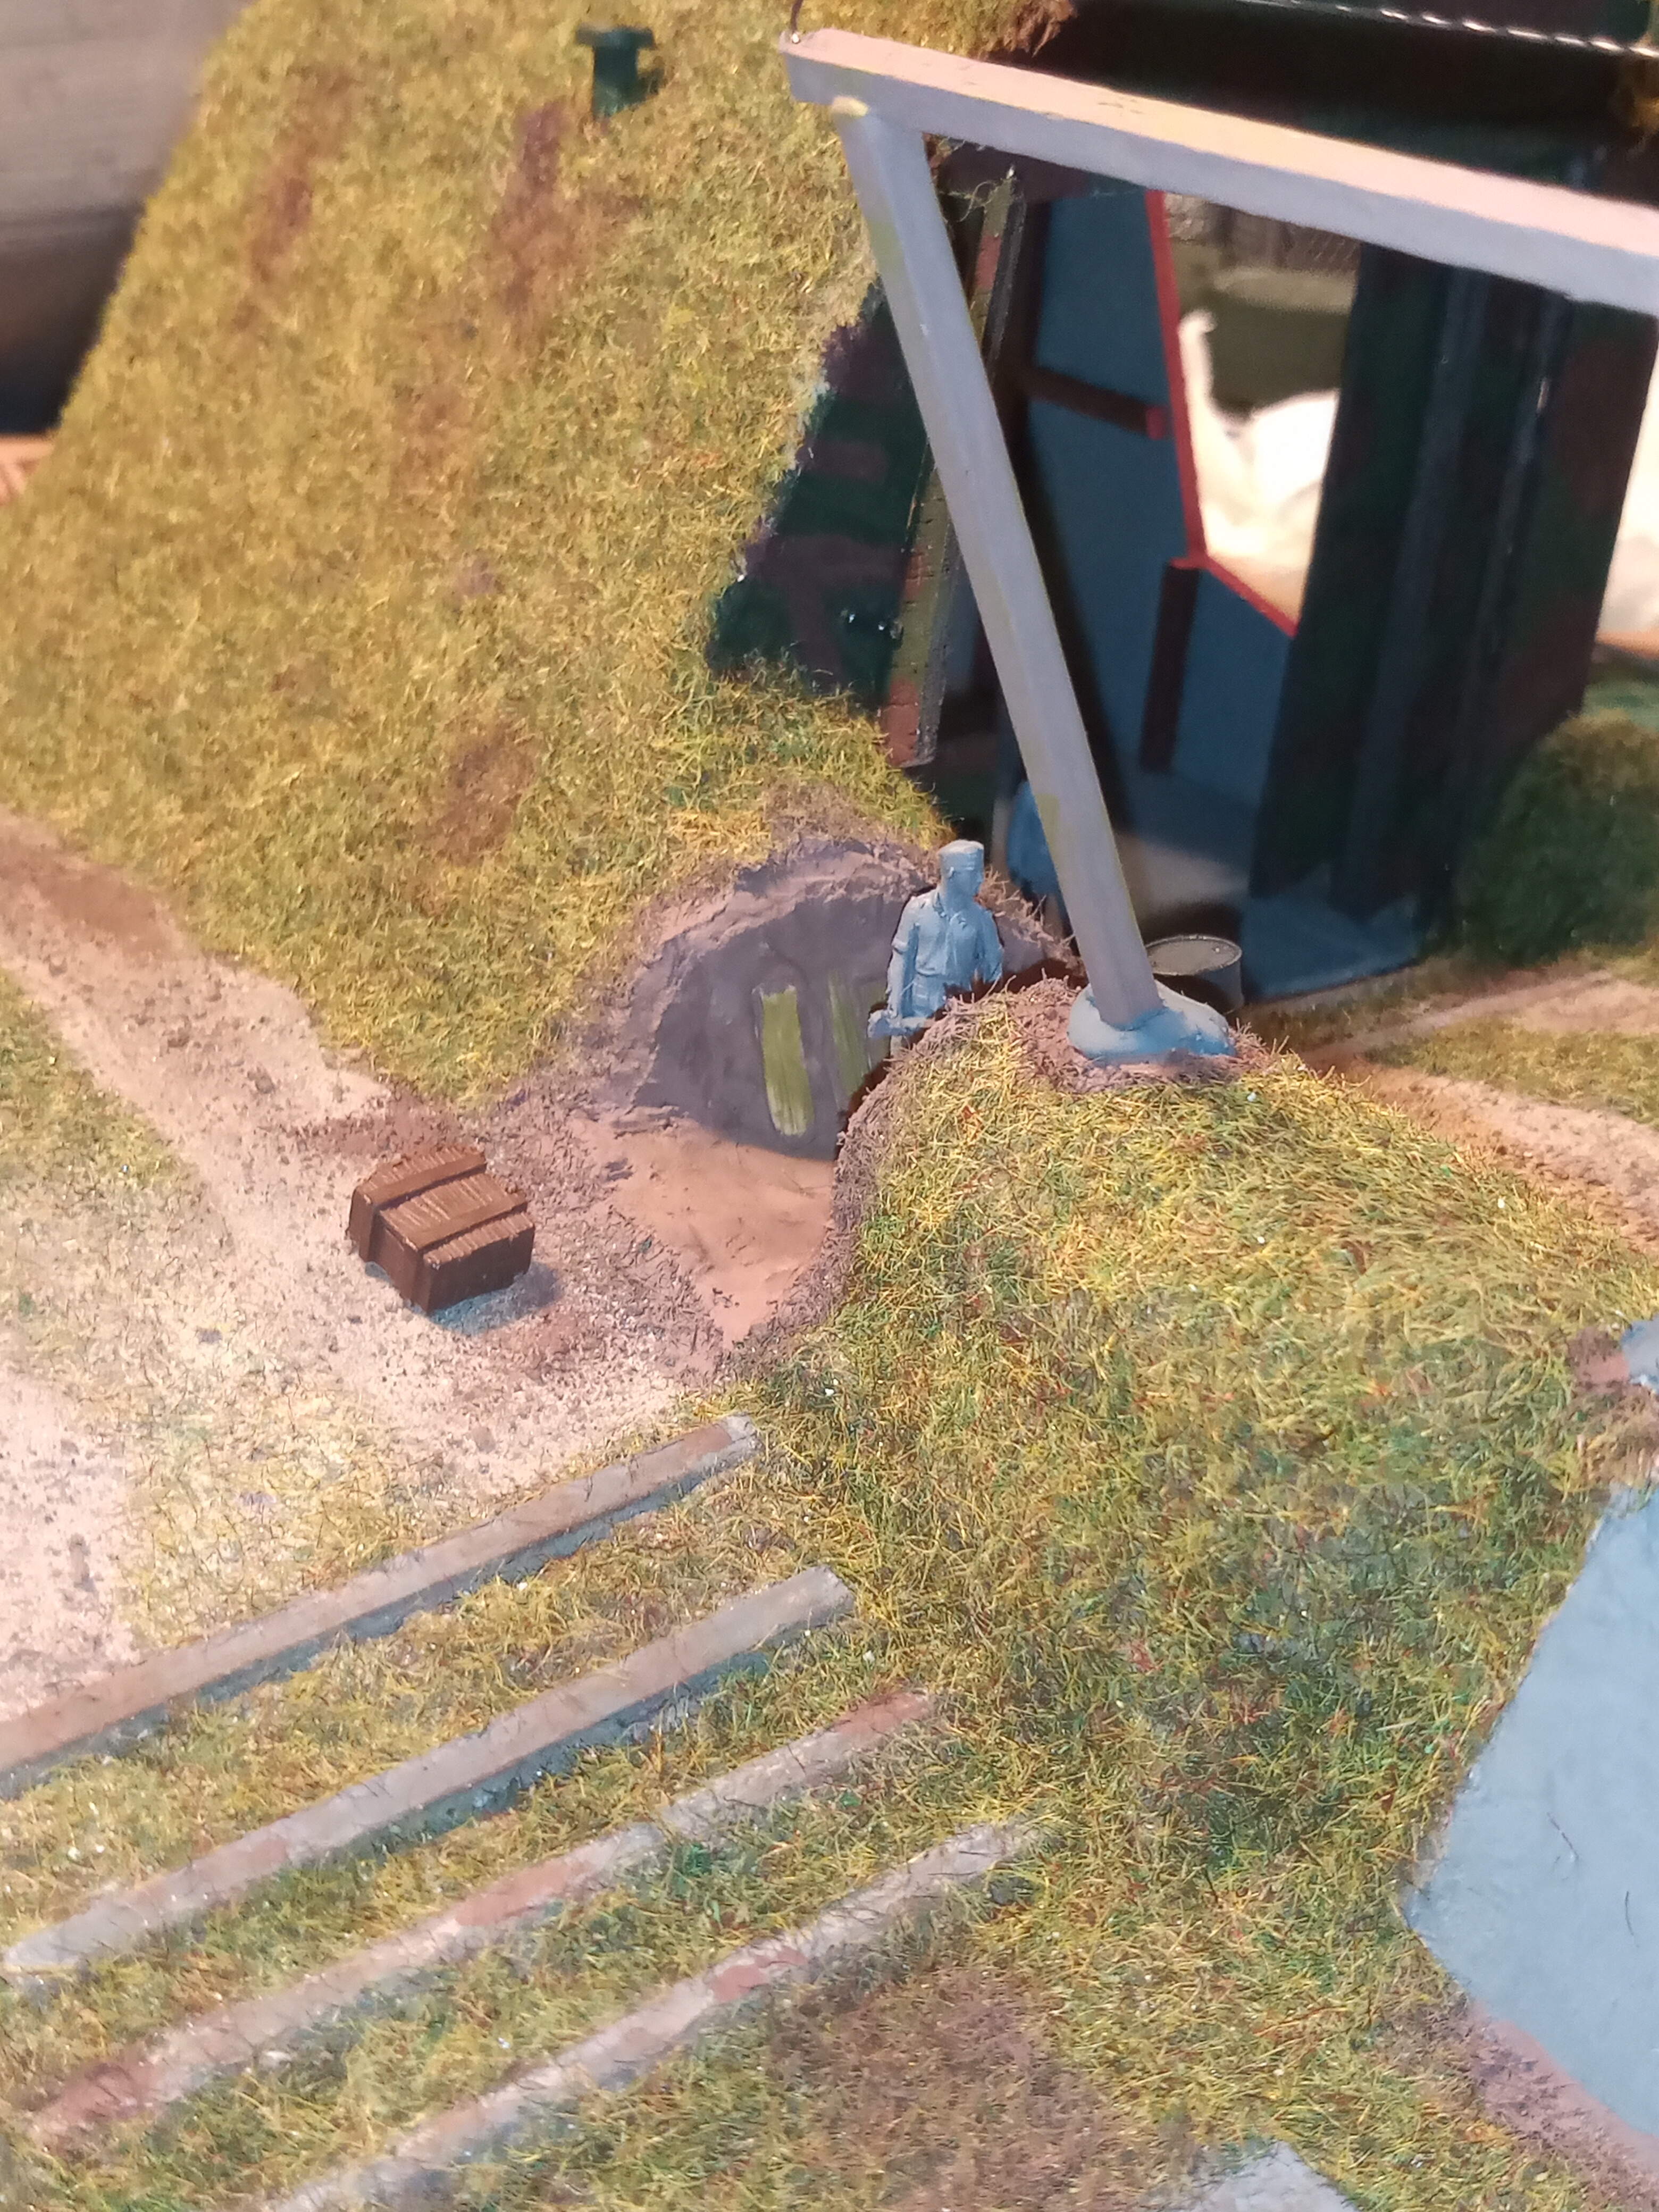
Next I added some small wood supports to the walkthrough and painted that some muted earth/dirt colours. There is a figure and fuel drum and wooden box for scale.
I think doing that made sense as there would of been a lot of foot traffic around this area carrying kit etc.
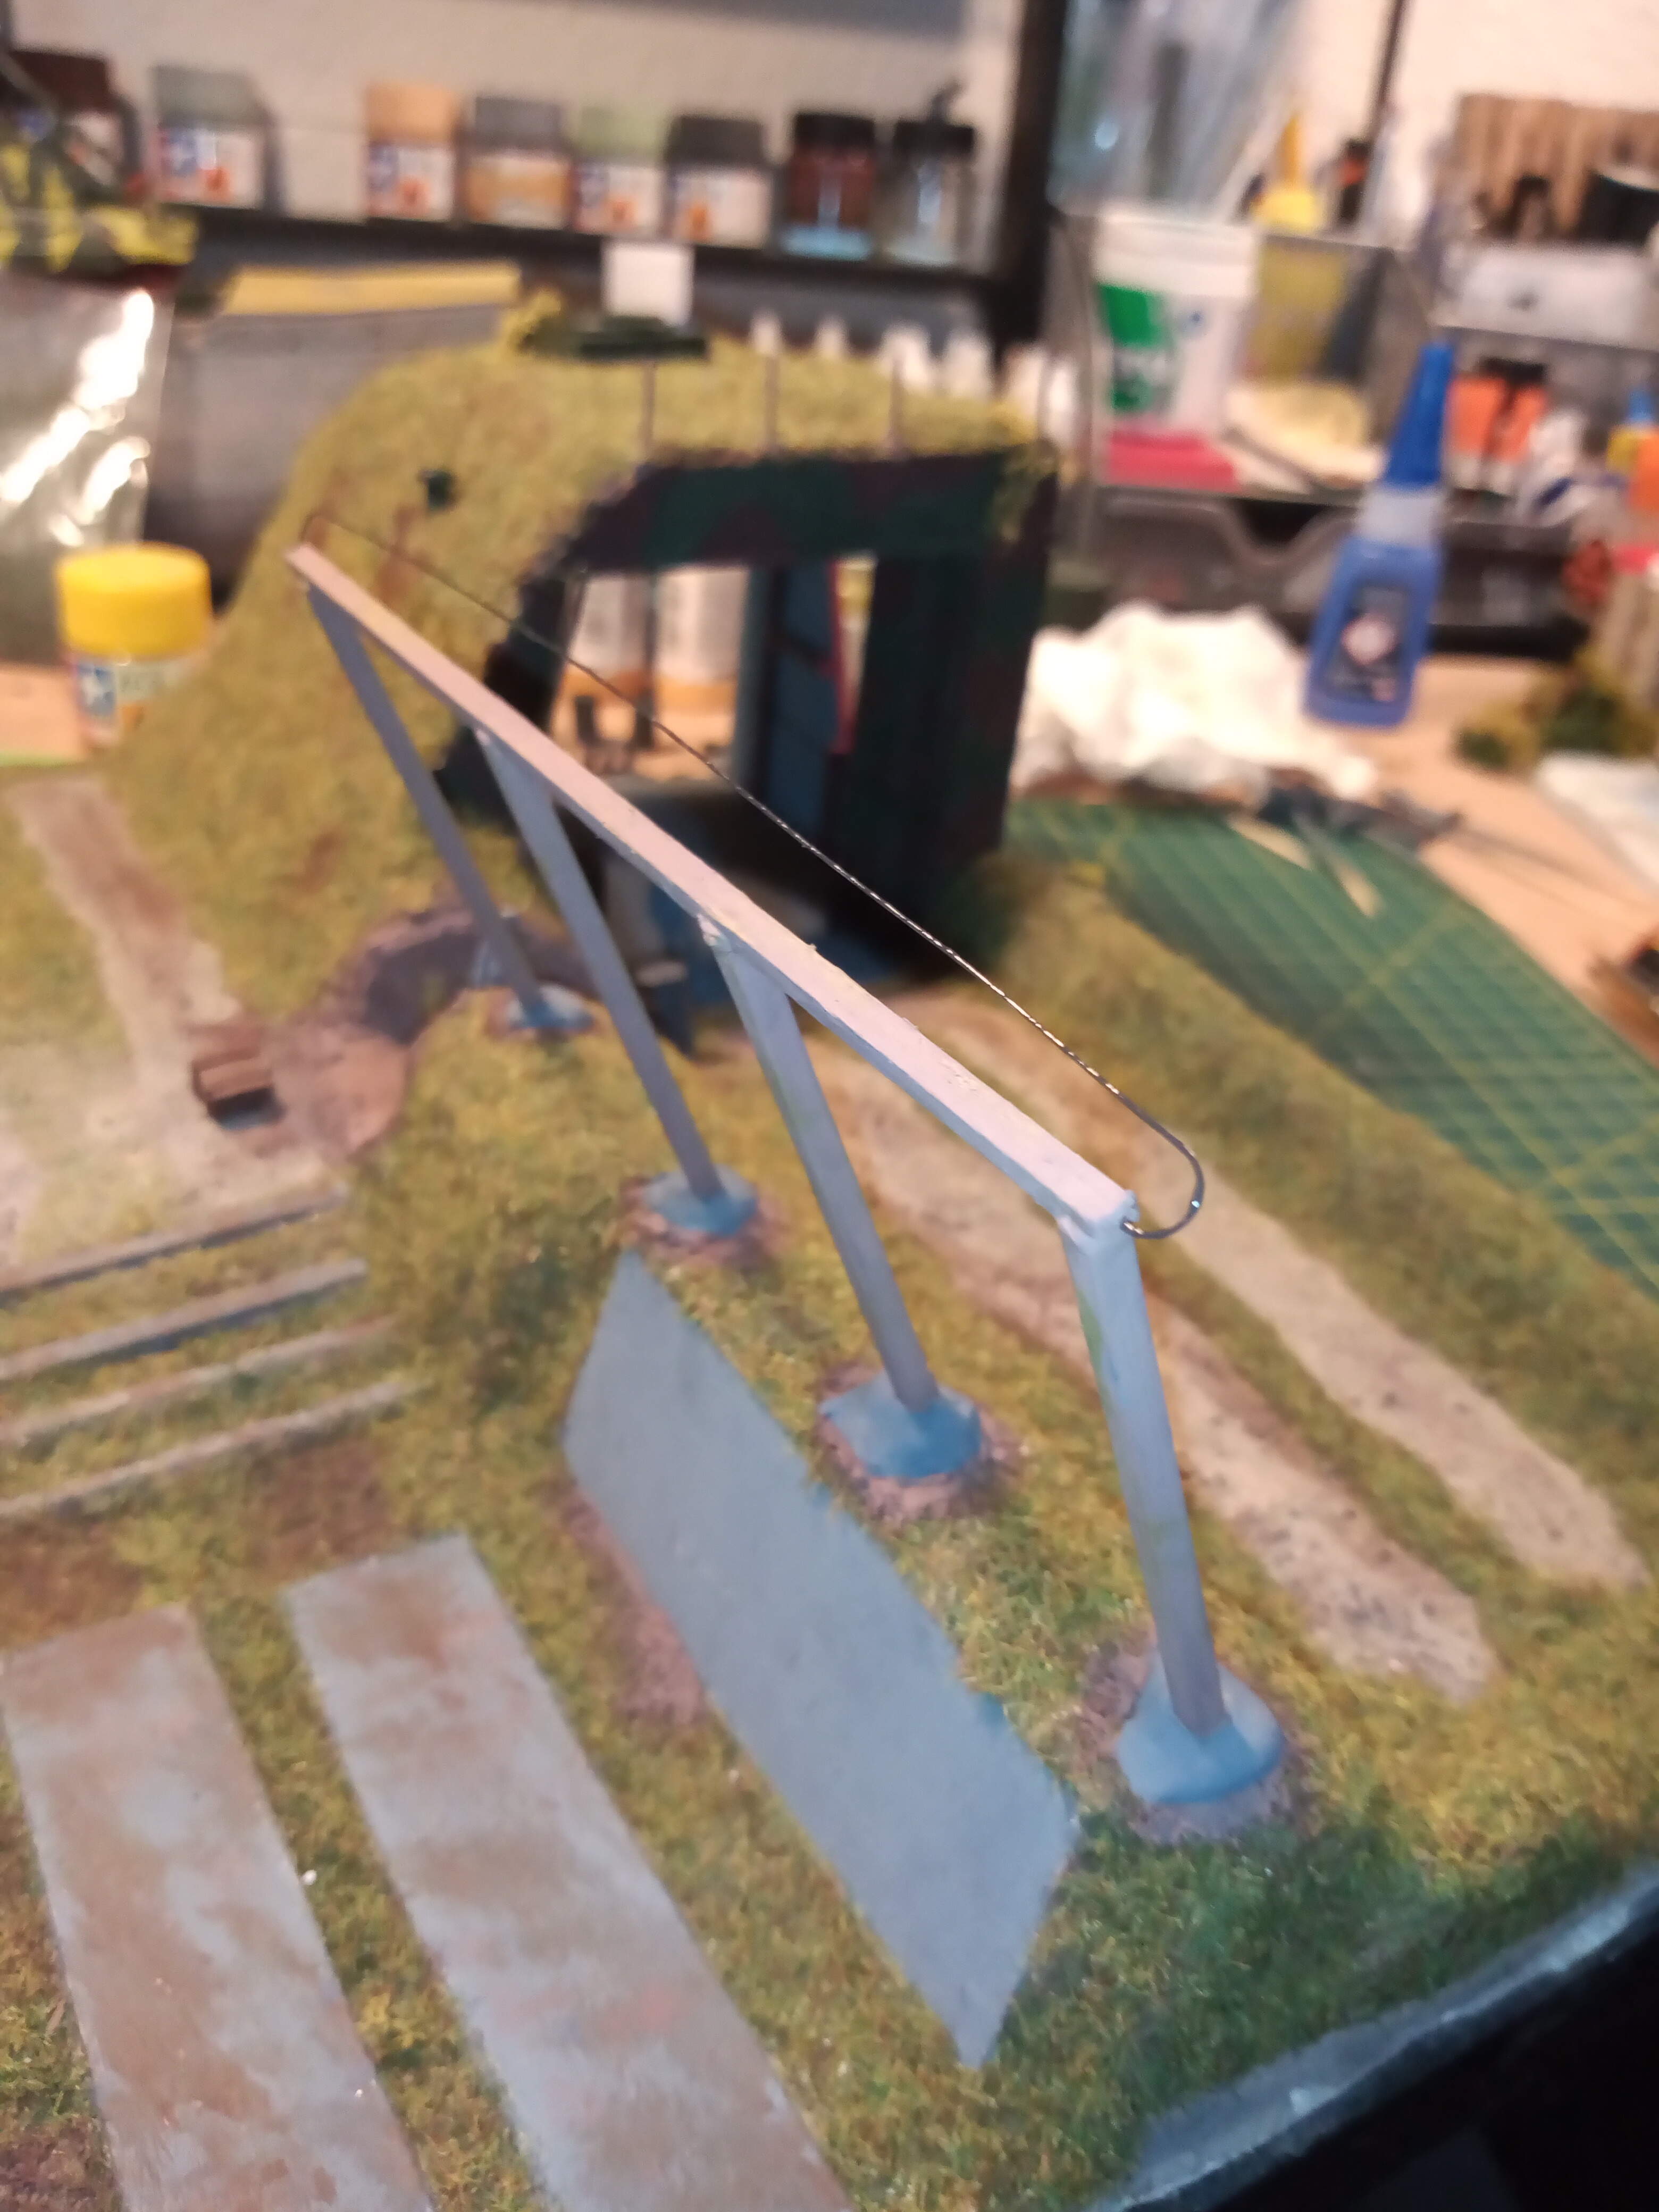
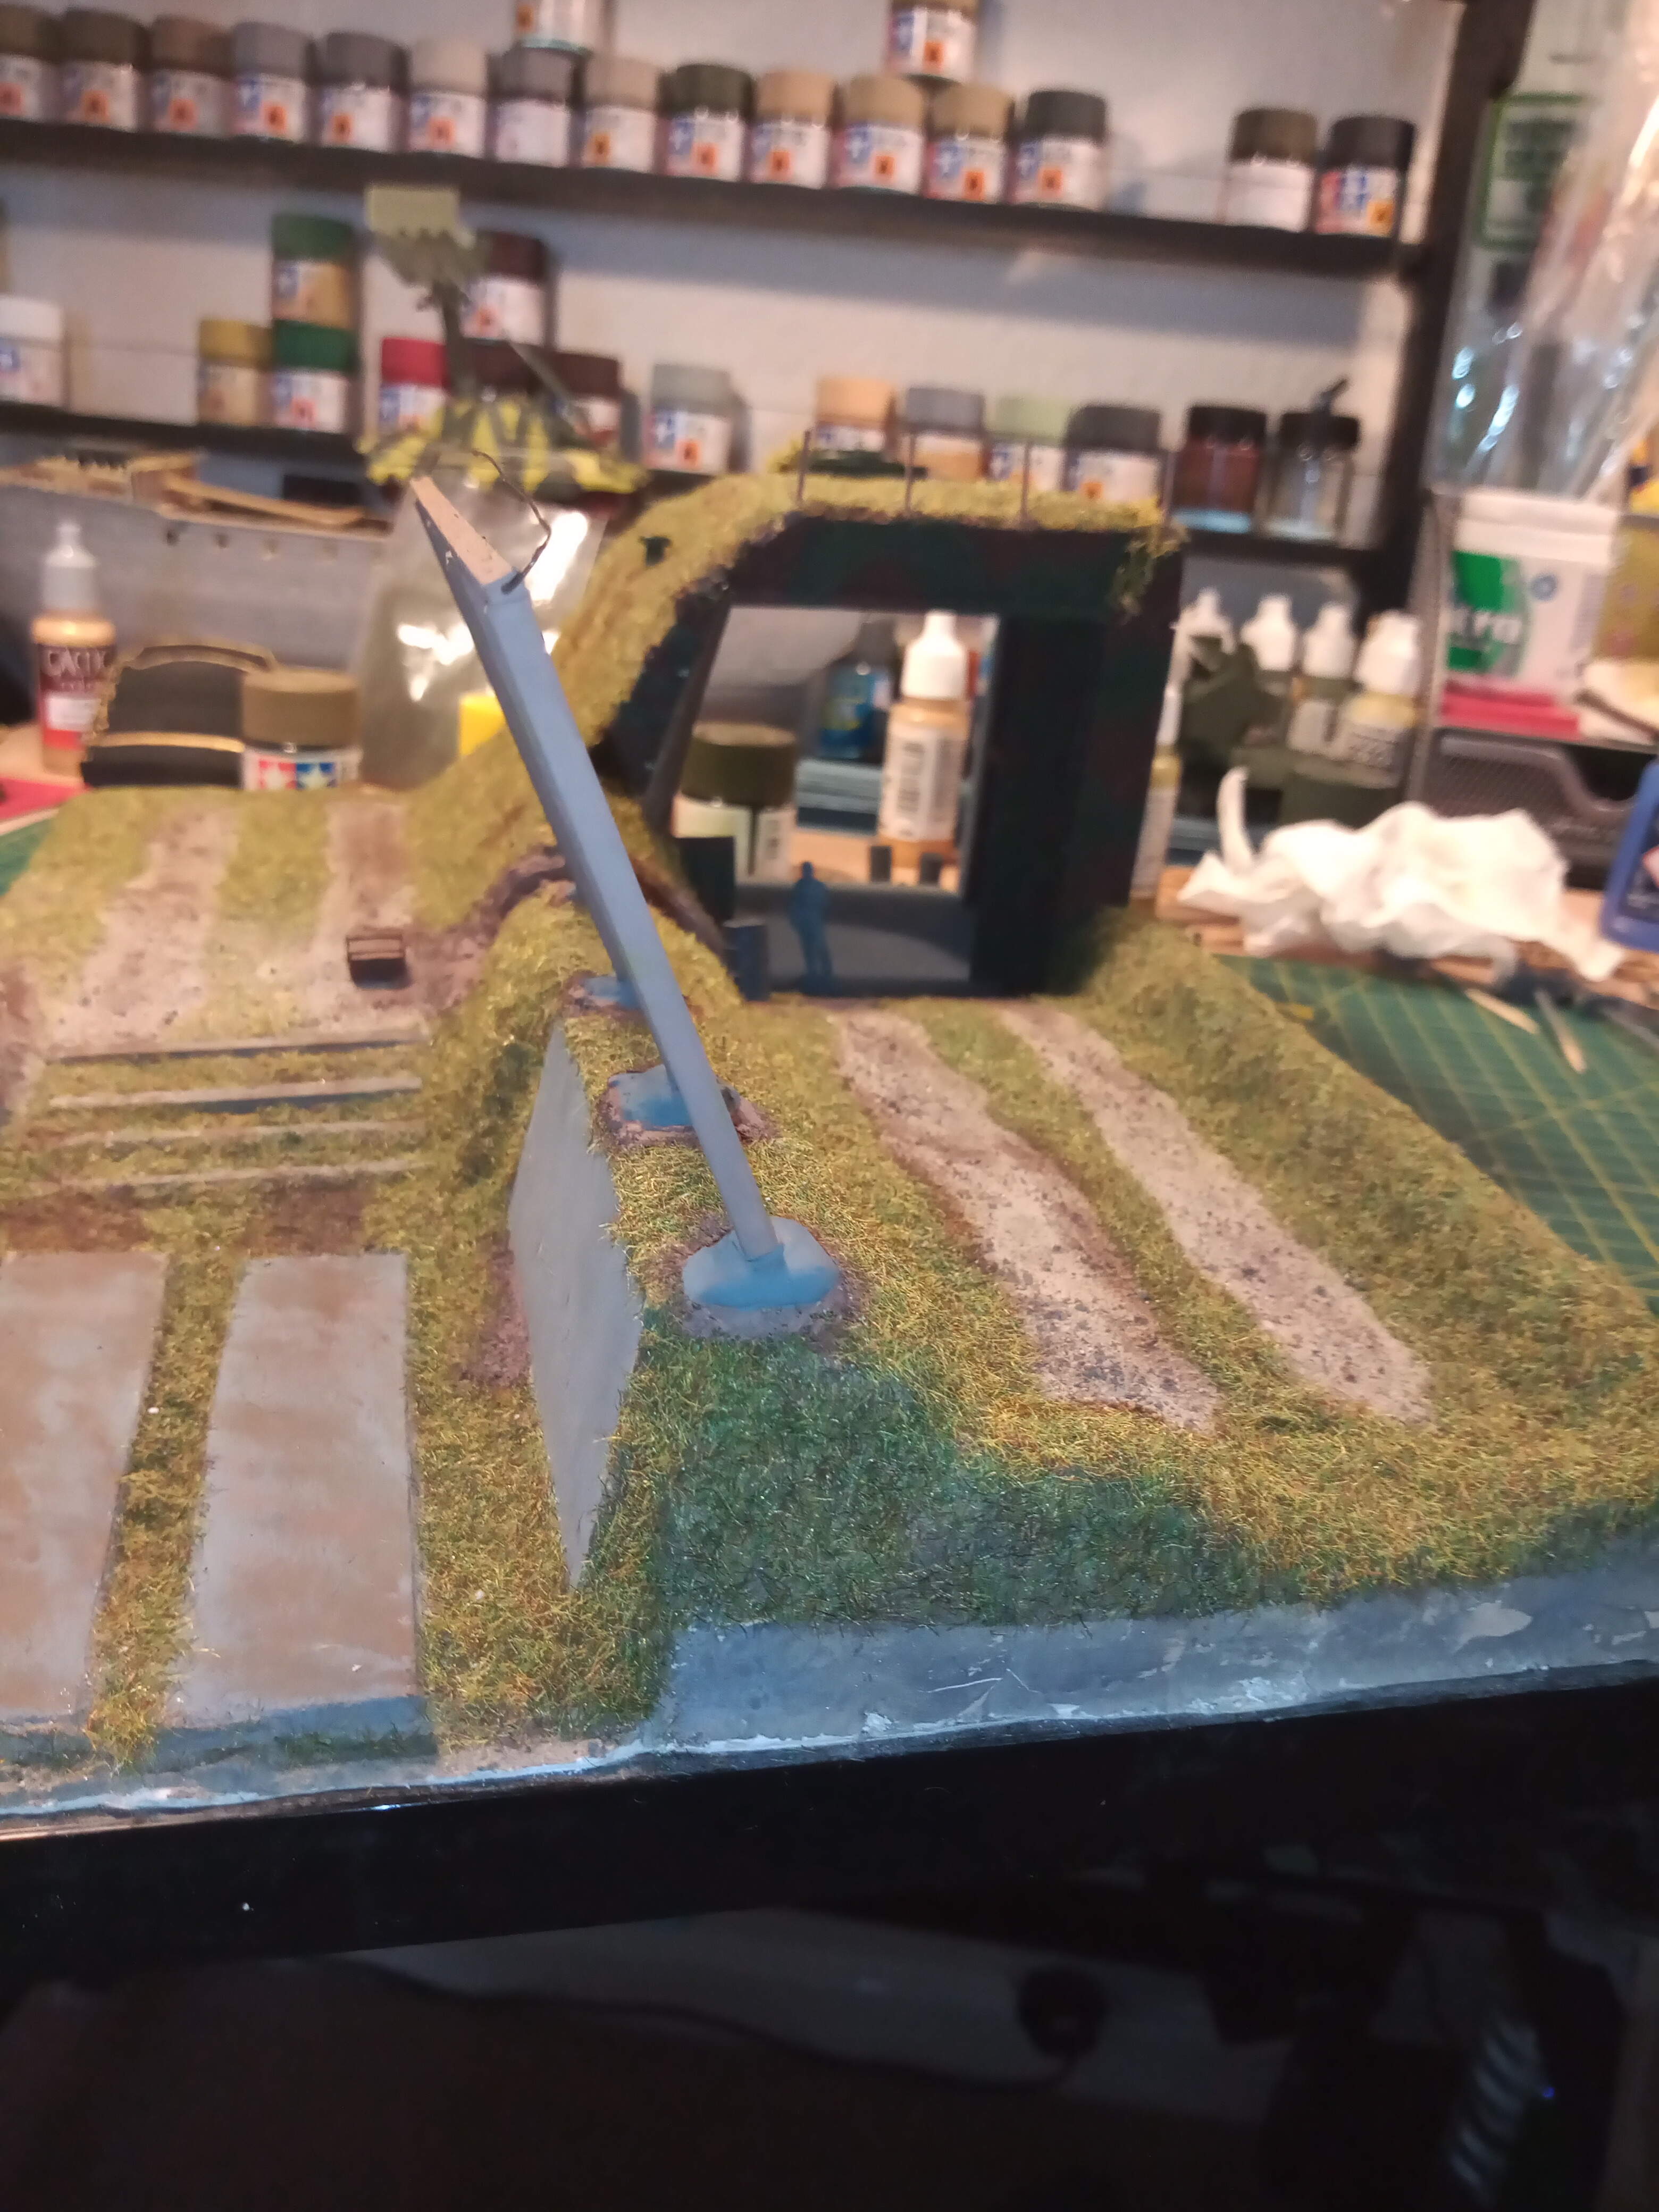
I have also knocked up a sort of cam net frame for the E100 pit.
There will be a 3/4s pulled down net on the sloped side, connected to 3 ropes which would help pull it up over the frame.
I have tried to make it look like the wood frame is sunk into concrete feet. Static grass will go around that area. On the top beam there is a thin wire looped guard which in theory would stop the cam net snagging on the wood as it’s pulled over.
Time to cam scheme the Flak40
1 Like
Flak40 with a three tone camo,
And basic generic decals.
KT with a diluted wash on and more decals
3 Likes
That base is really looking great John, as are the two vehicles, and I agree with Matthew regarding the camo job, very effective, .
As for seeing things to add or change, I’m with you there, every time I look at my attempt I keep coming up with ideas, .
The link and length tracks on the Revell Comet were a mare as there wasn’t any clear locating points for the longer length, luckily there’s always ‘mud’ to hide any offending junctions, .
G
1 Like
Thanks guys @SSGToms & @G-man69 .
The cam is very simple. It’s NATO green base coat then, I use a small cut out section from a Scotchbrite cleaning pad, and just held with tweezers and dipped in the colours and the excess dabbed away on a tissue so your just left with several random shapes/patterns when you carefully dab it on the vehicle. The other colours were Khaki and xf64, all tamiya and thinned 50/50.
The KT was just a rough Splinter cam done by hand and not masked lol… As you can probably tell haha
1 Like
That speckle camo looks awesome - I thought you somehow man handled a brass stencil and airbrushed it!
1 Like
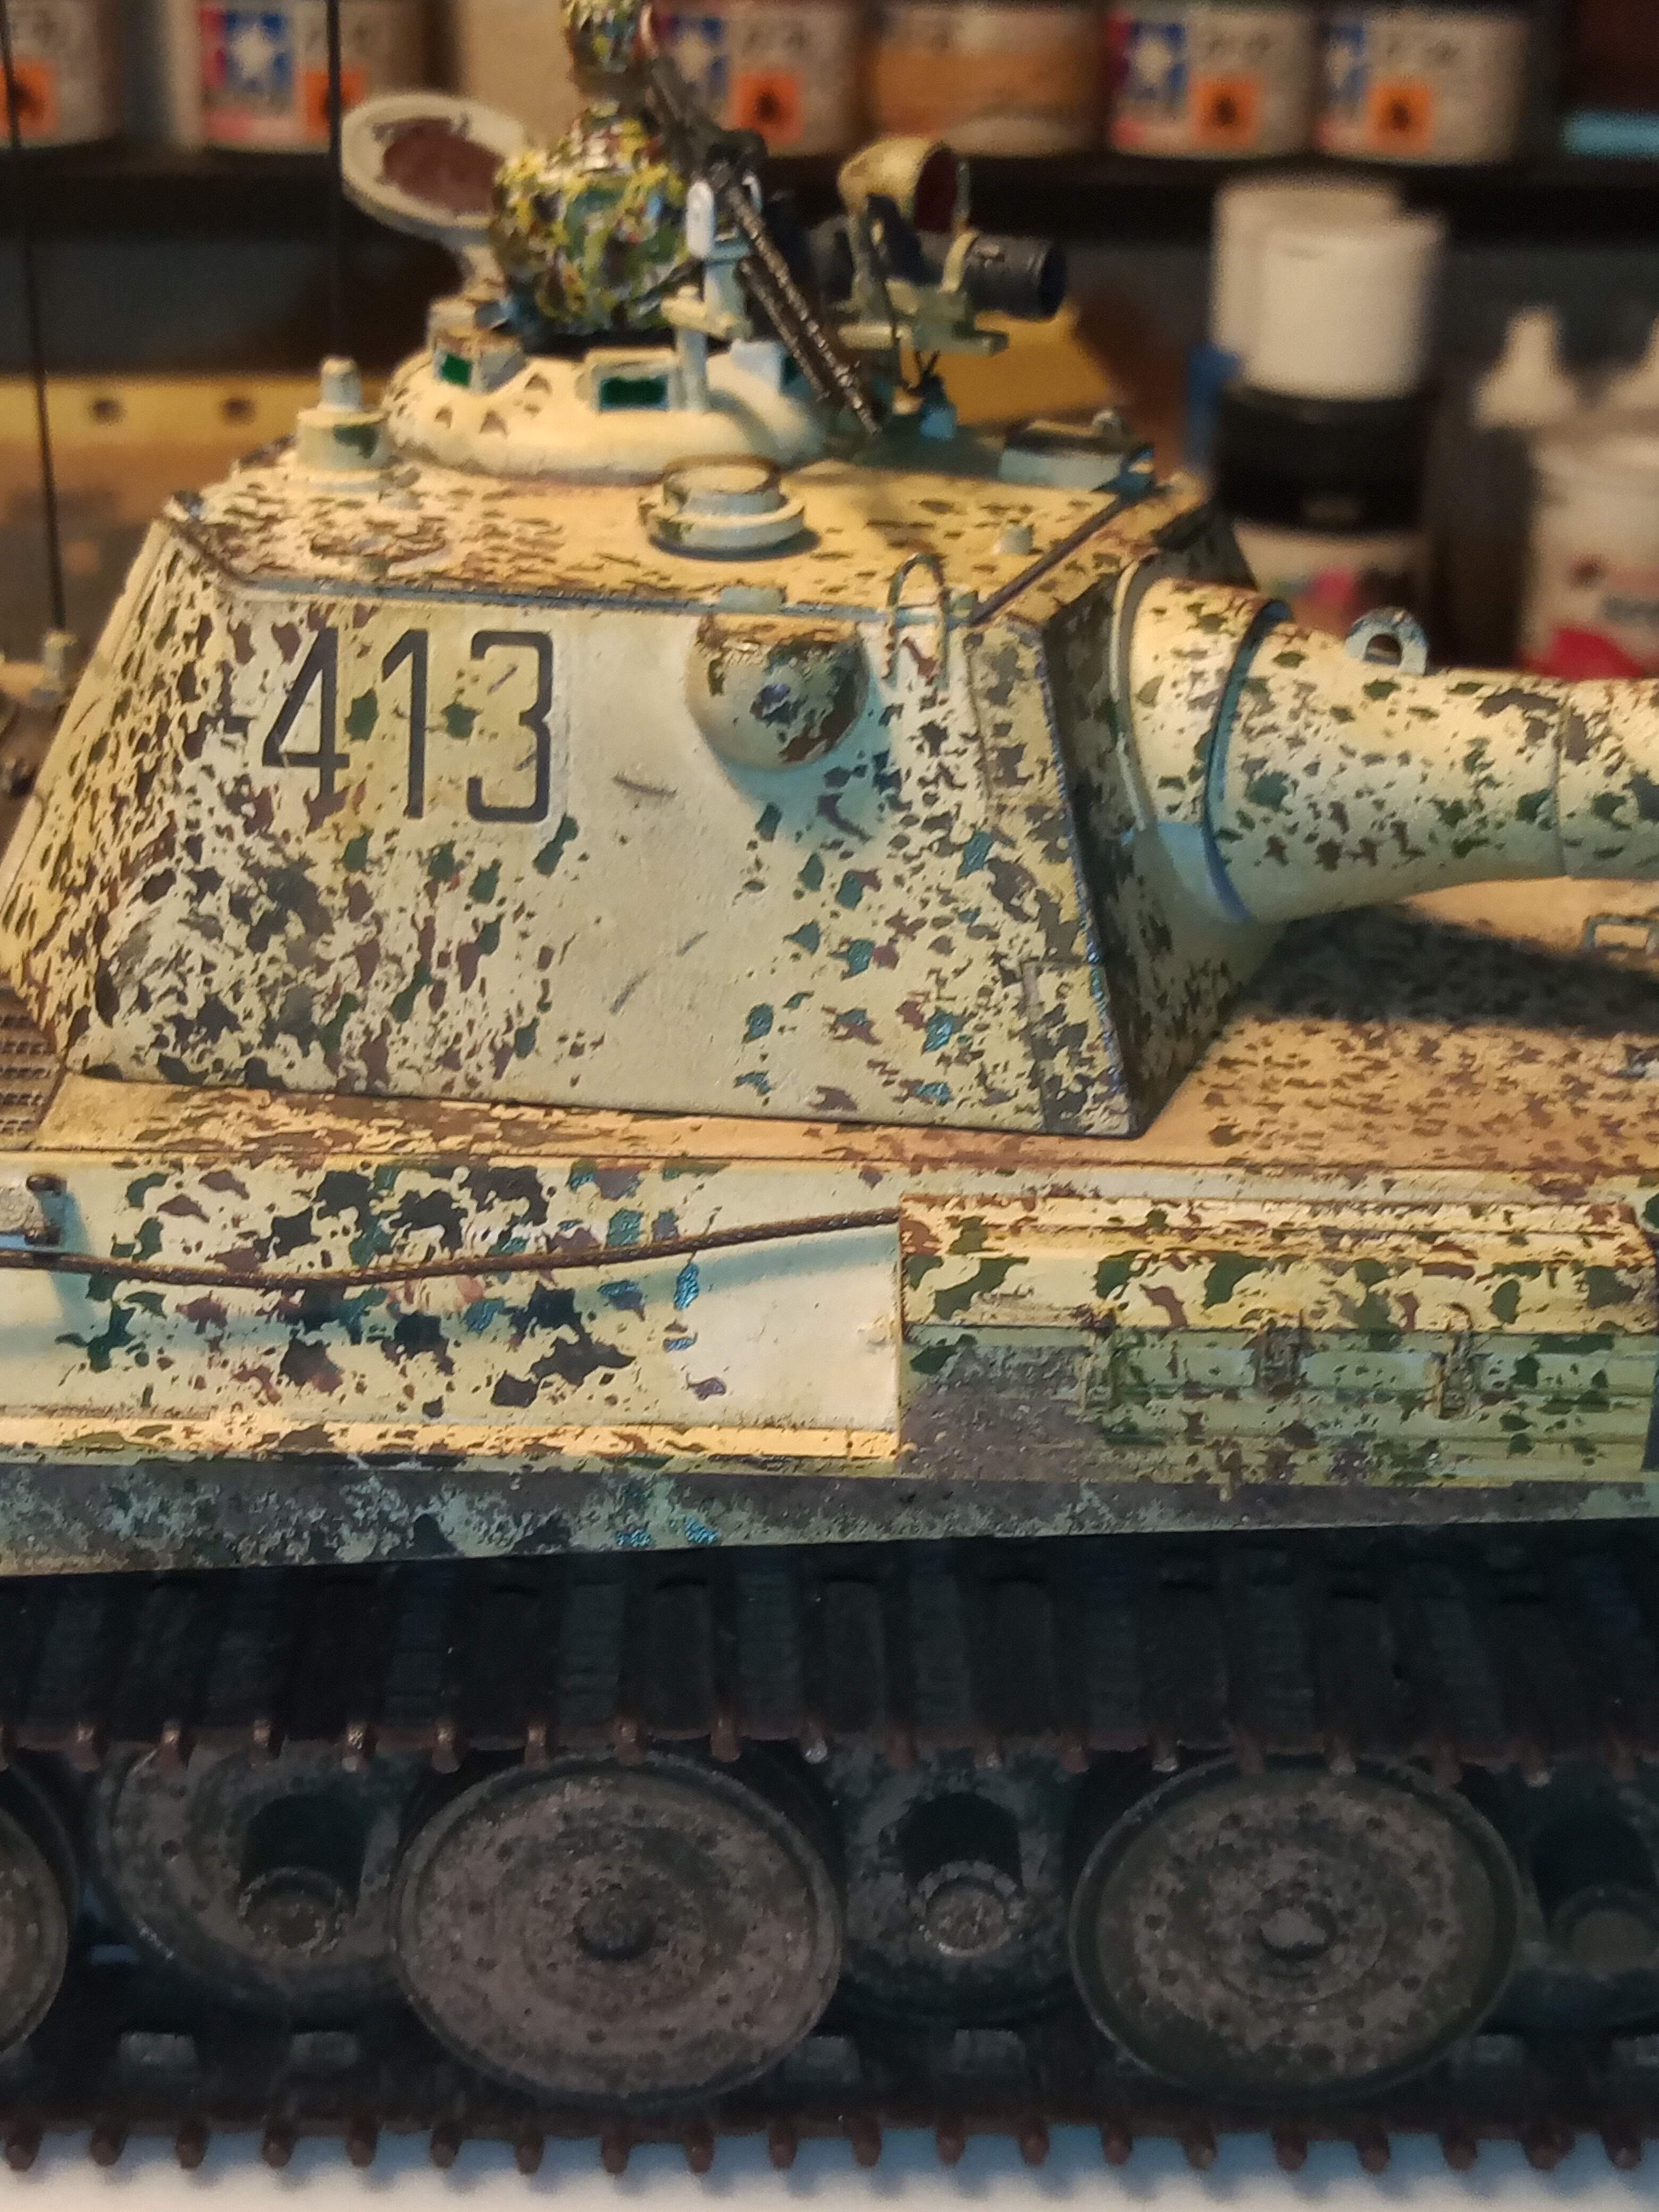
Lol… Absolutely zero chance of that… Far to labour intensive … It’s very low tech but I like the results. I first tried it on a 1/35 E100 super heavy, and then a Panther II for the snow white build.
Just a quick sidetrack.
I did it very subdued on the E100 as a test bed really.
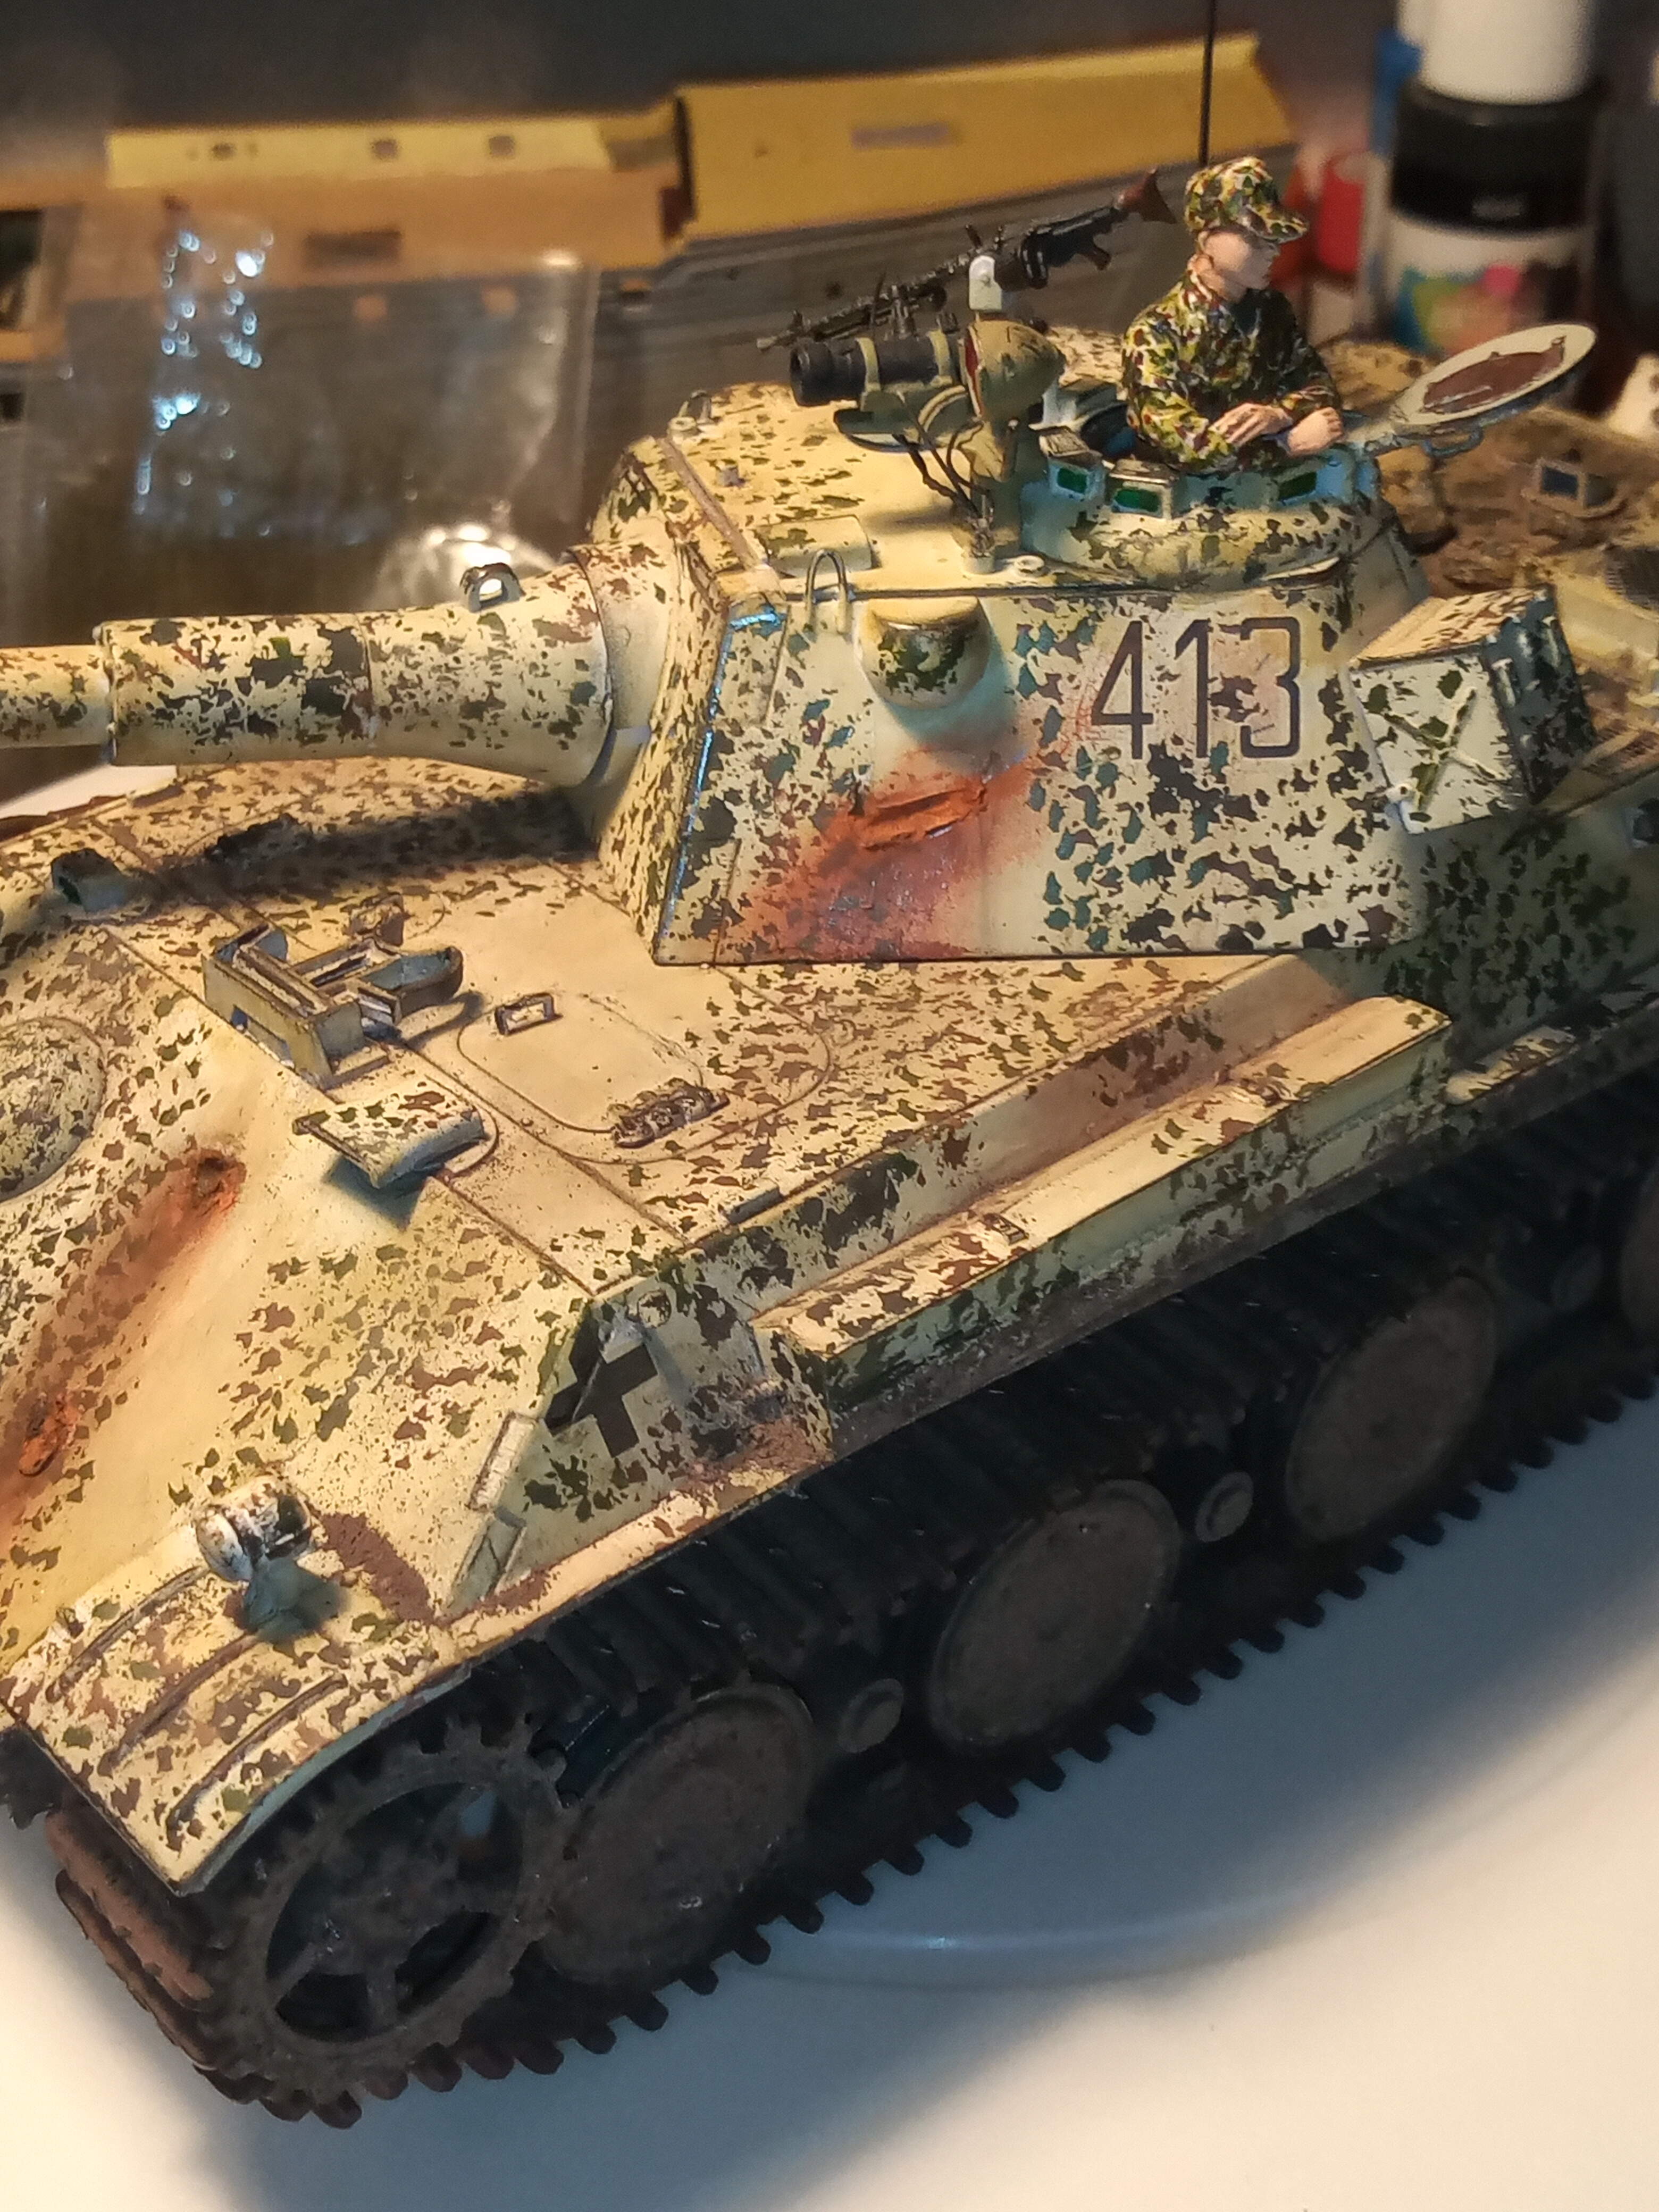
Then on the Panther I went for a proper all over main cam scheme over a dull white. I used 4 colours on this one. NATO green and black, field grey and red brown.
Just so you can see them on a big scale and the effect.
3 Likes
That really looks great on the Panther it looks very “leafy”.
1 Like
Great paint job on those two John,
G
1 Like
Cheers G, I really like the E100 chassis wagons, especially the Super heavy one above, its just massive … Another may be on the cards