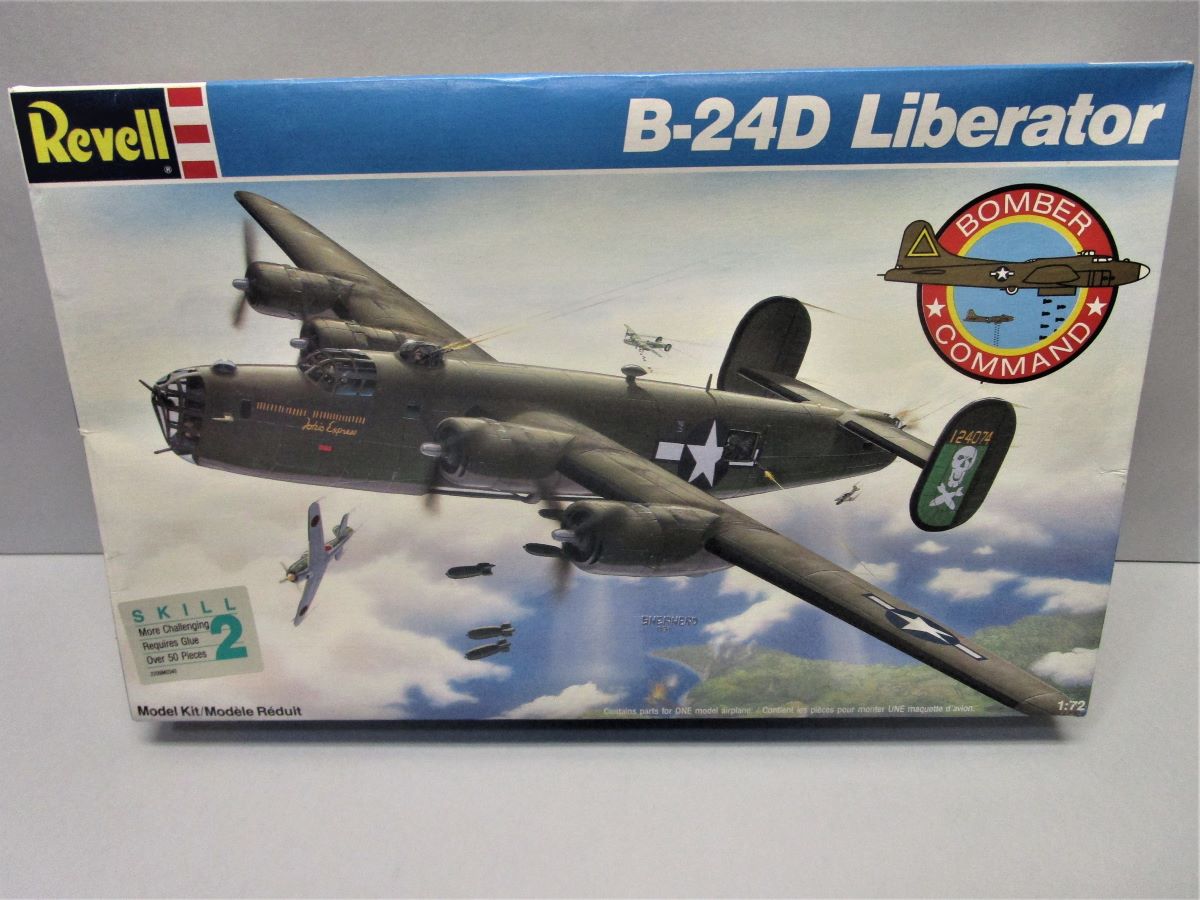
I am going to build this one as well. It seems better looking in outline than the Minicraft kit. It makes up for the missing detail parts with much better looks and the cowls and turrets look more to the correct size in scale. The only problem with this kit is it came in it’s factory sealed bag but one prop blade was broken off and not in the sealed bag and another prop is bent. I am searching to find replacements. I won’t use the kit decals as I want an ETO OD over gray scheme. The Revell kit also includes the ball turret whuich is a nice touch. John
2 Likes
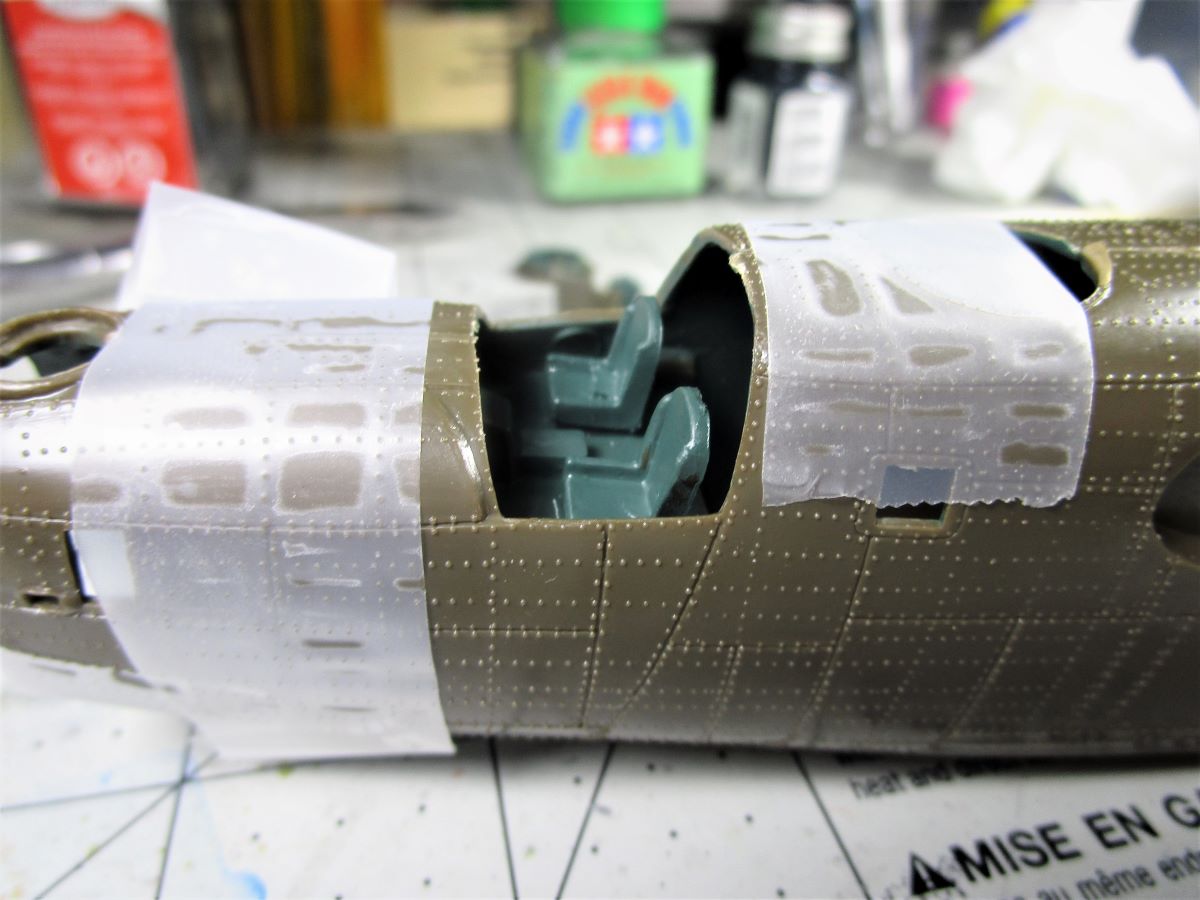
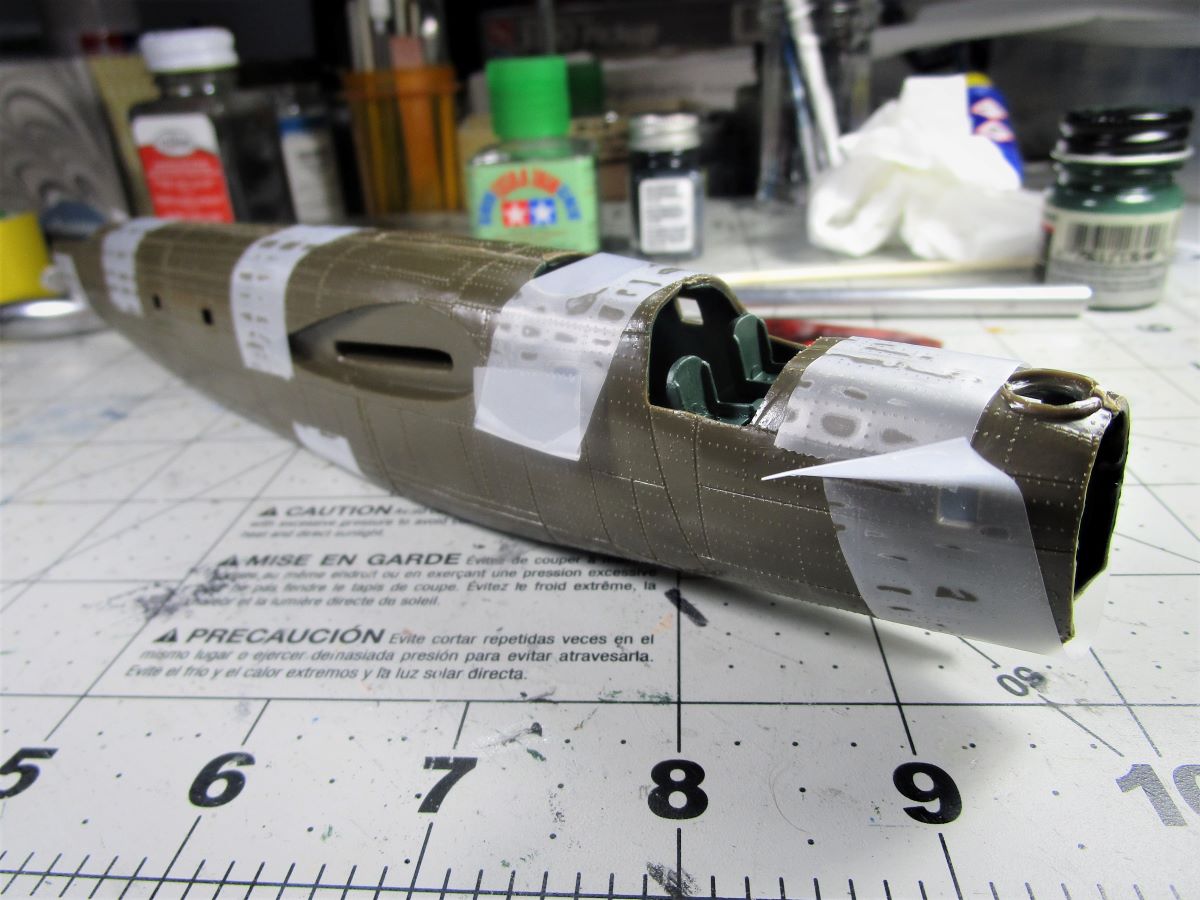
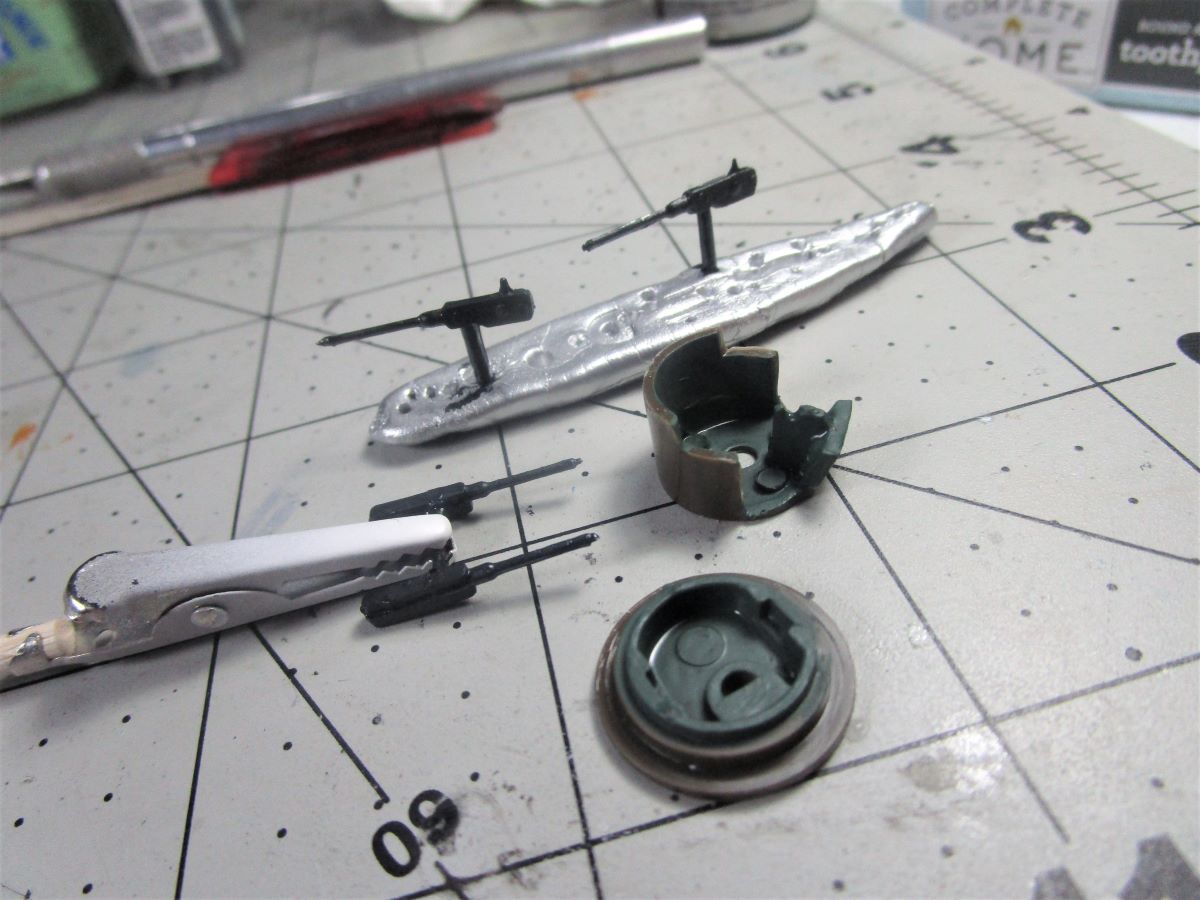
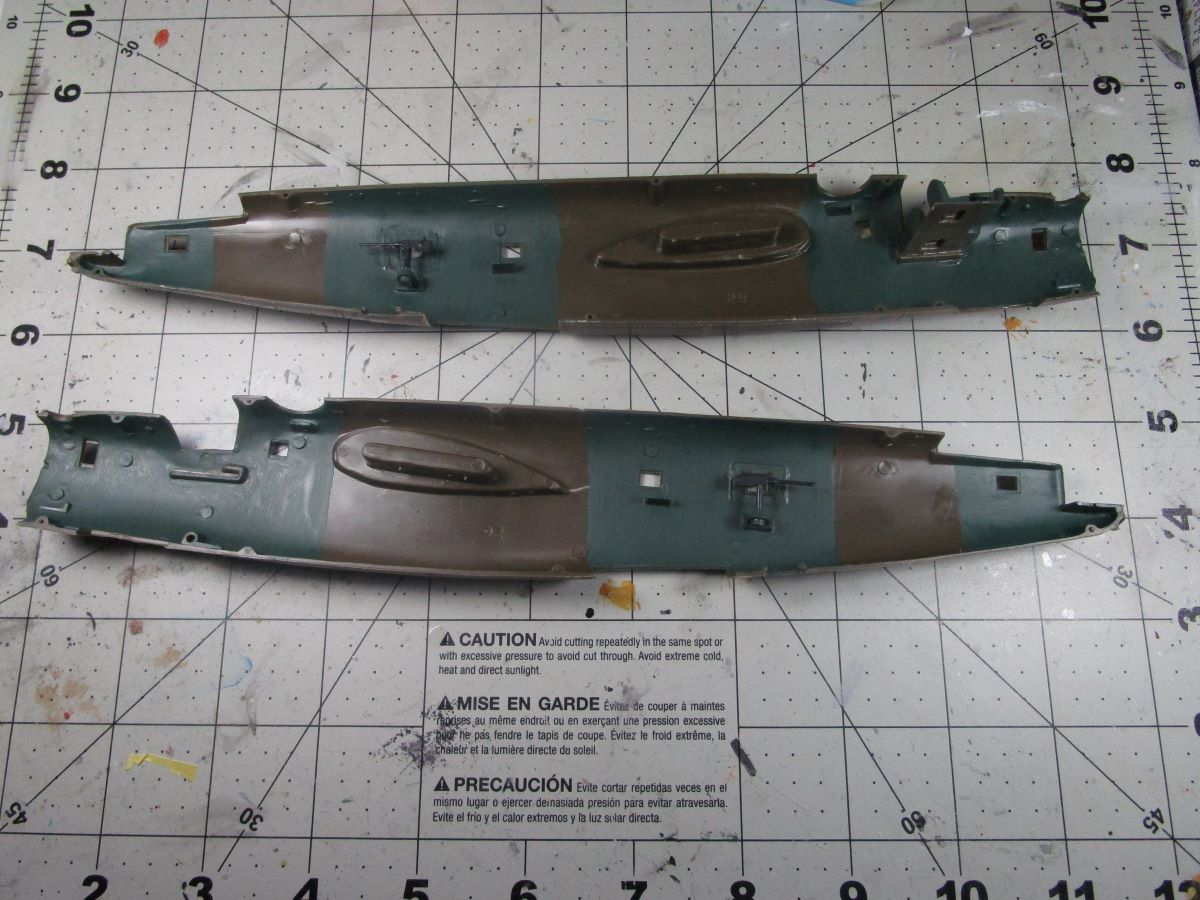
I have the interior painted dark dull green and assembled and installed the flight deck. It is only glued to one side, I have it taped together so it will dry square and be easy to fit back in after I install all the windows, gun turrets and nose gear. I also started painting up the turrets and guns. John
4 Likes
Off to a good start.
Looking forward to seeing how this one turns out.
I have one I plan on building in Coastal Command colours (will do a build log once I’ve finished up several projects), so any tips with it will be appreciated.
2 Likes
You should have fun with this one John! Look forward to seeing more.
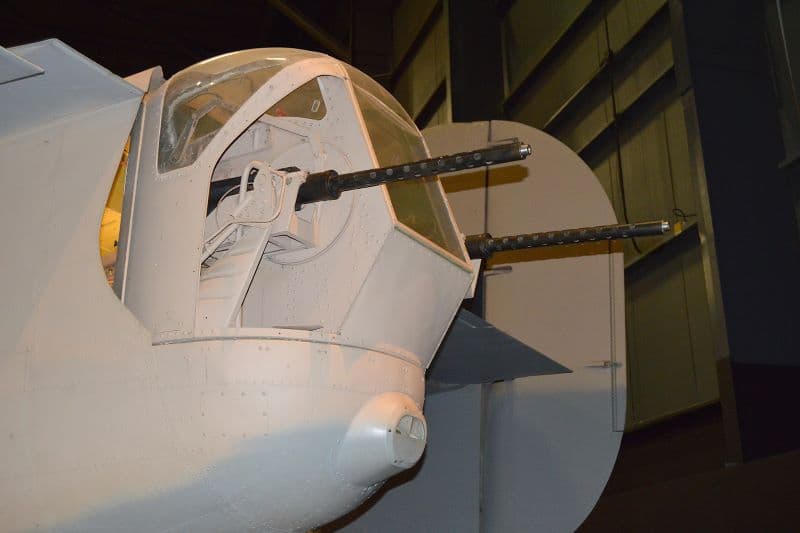
Thanks, I un-taped the fuselage halves and started putting in windows and guns. I also built the tail turret, I did not use the figure BUT cut his “bottom” off as it has the pivot pin that traps into the fuselage halves. I am confused as to why Revell left those 2 gaping holes in the tail turret by the machine guns??? I think I will fill them with Evergreen card stock to give it a “proper” look. John

2 Likes
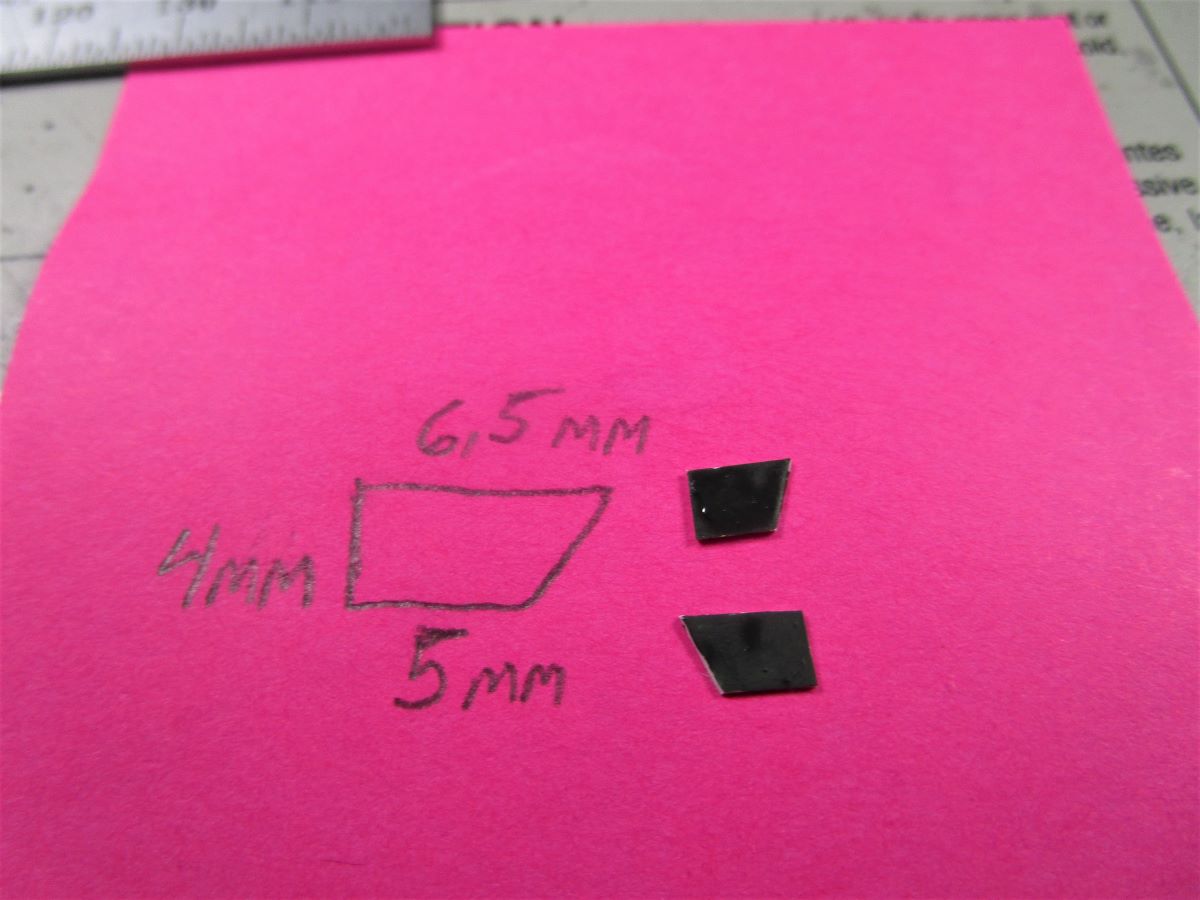
I measured and cut a piece of .015" Evergreen card stock and painted the inside dark dull green. Not perfect but it looks a lot better than the gaping holes that were there. John

2 Likes

Gotta love those 1960s Revell rivets!
2 Likes
Reminds me of when I was 6 years old and had chicken pox. I am going to add a bulkhead, a blanking plate have you, to block out the see through through the nose and hide the weight I need to add to the forward fuselage area.The Minicraft had one with a access hole so the crew could crawl up to the cockpit. I am just going to paint it dark dull green and put it in in back of the bombardier at an angle sorta like Minicraft’s. I used the fuselage halves to trace the basic shape then will fit it accordingly. John
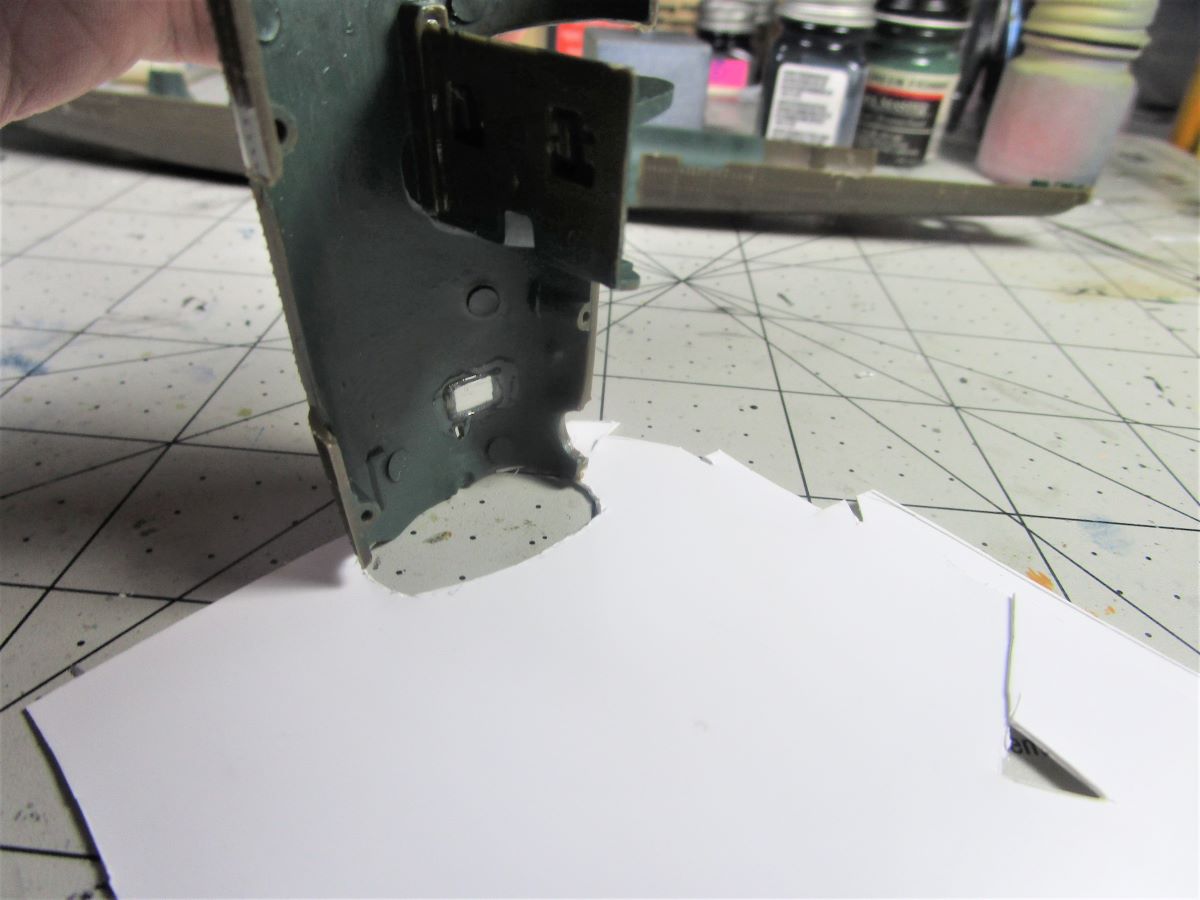

3 Likes
Nice work John.
Thanks, The interior is assembled and painted, I just need to add the turrets and nose weight to close it up. John

2 Likes
I have 46 grams of wieght in the forward fuselage, the turrets installed and the fuselage closed up. Jiohn

3 Likes
I have the fuselage all filled and sanded and started work on the wings. I am not going to box in and detail the wheel wells, this is just a relaxing build. I have considered a better detailed kit and am looking at the 1/72 Hasegawa B-24D for next year. It seems to be the best out there and I am not buying that many kits anymore as I have plenty in my stash. John
2 Likes
The wings are pretty much done. I have a bit more sanding and some touch up work. They were pretty well warped so I ran them under hot water in a few spots and massaged them so they are fairly decent now. John
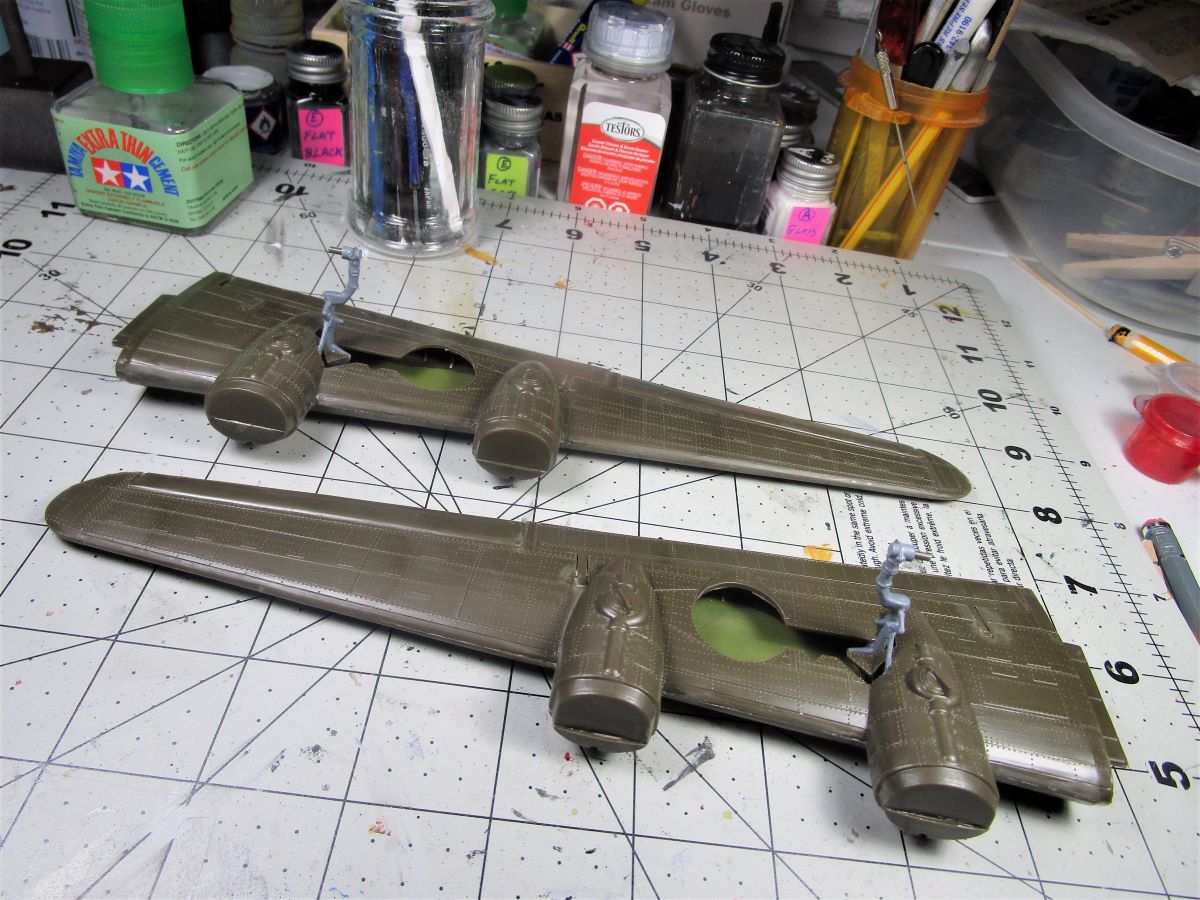
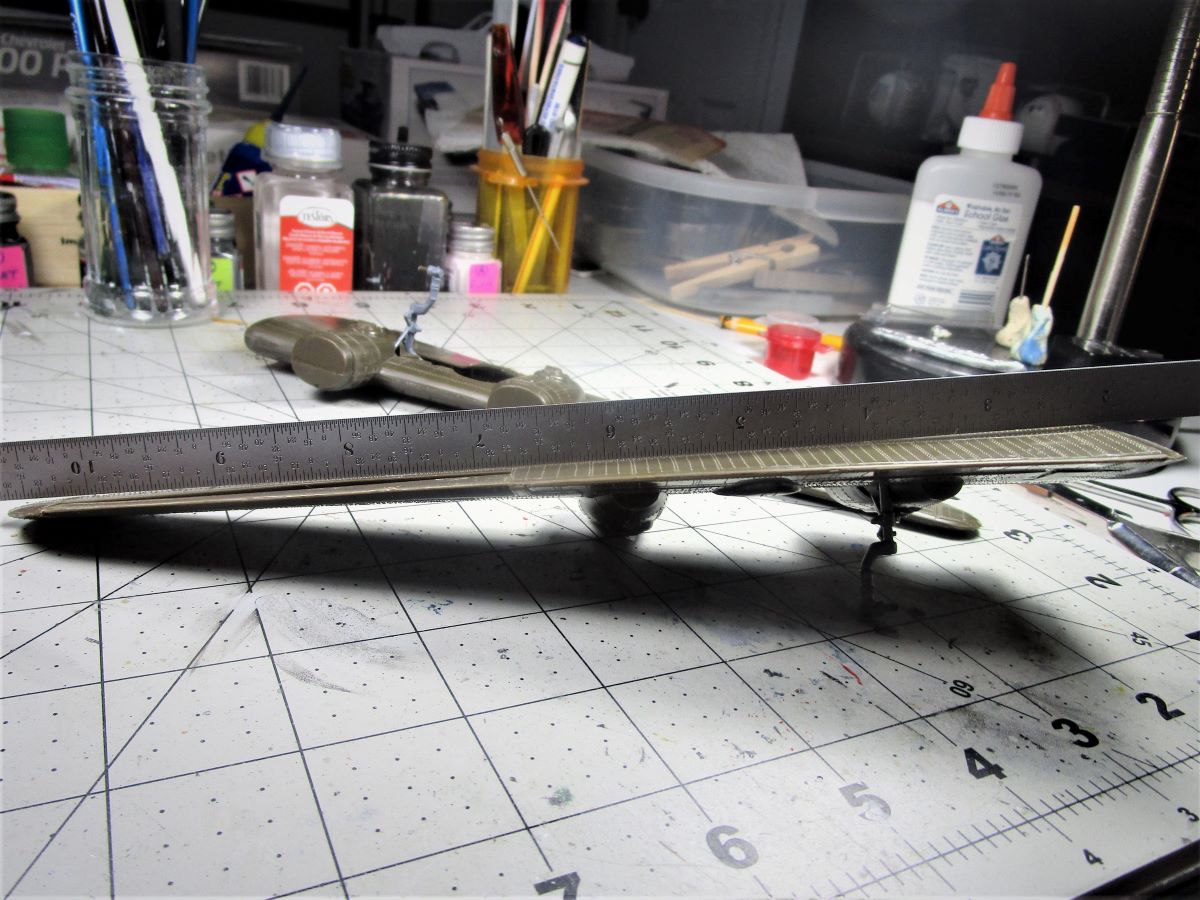
3 Likes
Great start on a challenging kit, John… ![]()
My guess is that Airfix might just announce a new tool B-24 in next year’s range, so it will be worth seeing whether or not it materializes! ![]()
2 Likes
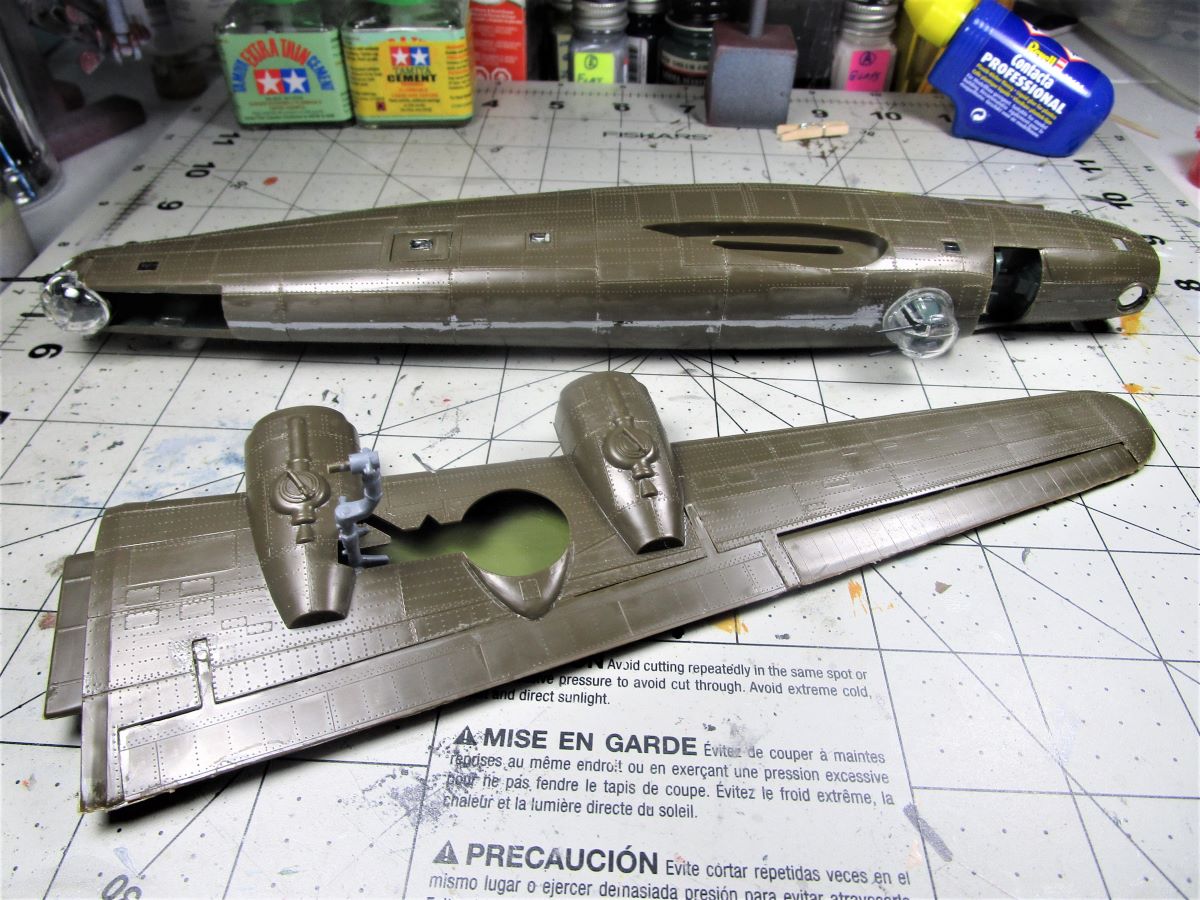
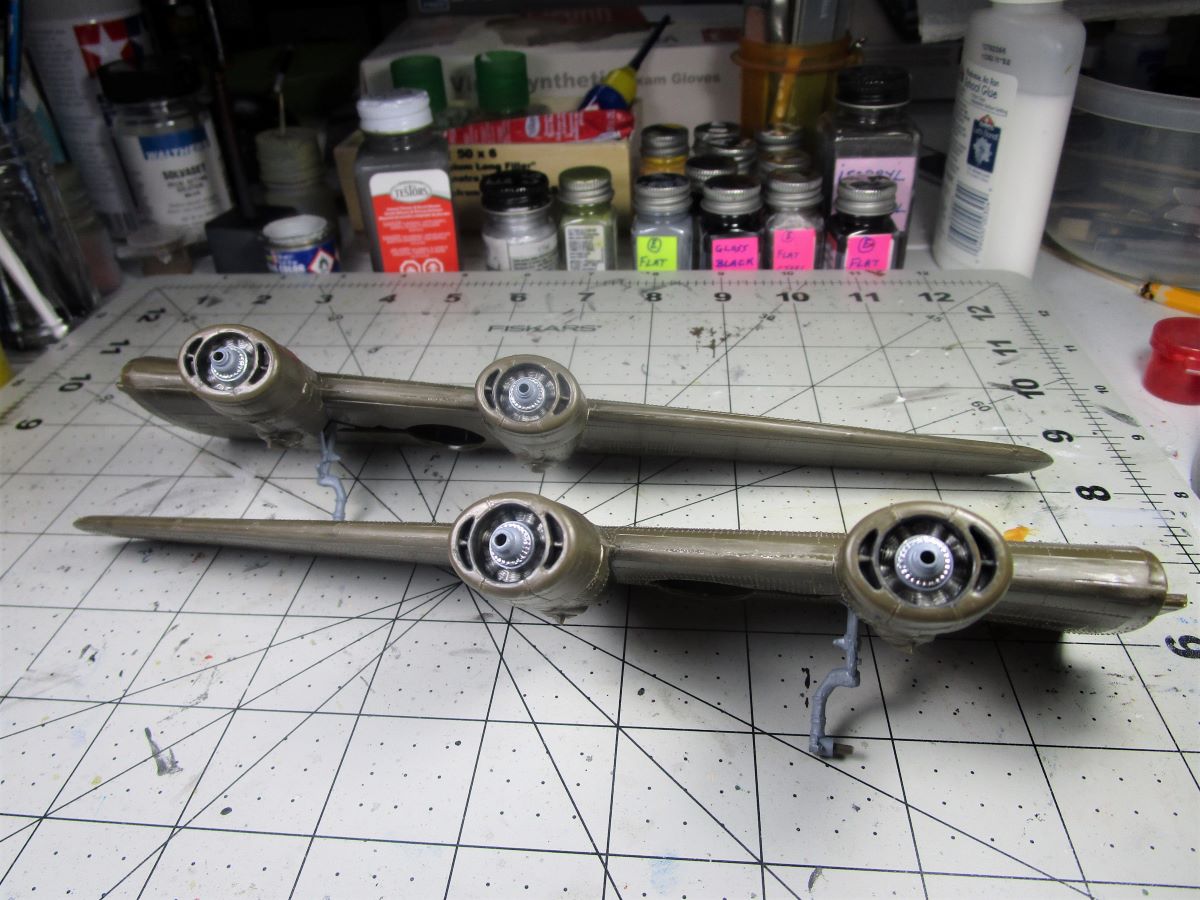
Thanks, I have heard that rumor and can only hope. I have the engines painted and cowls added to the wings. John
3 Likes
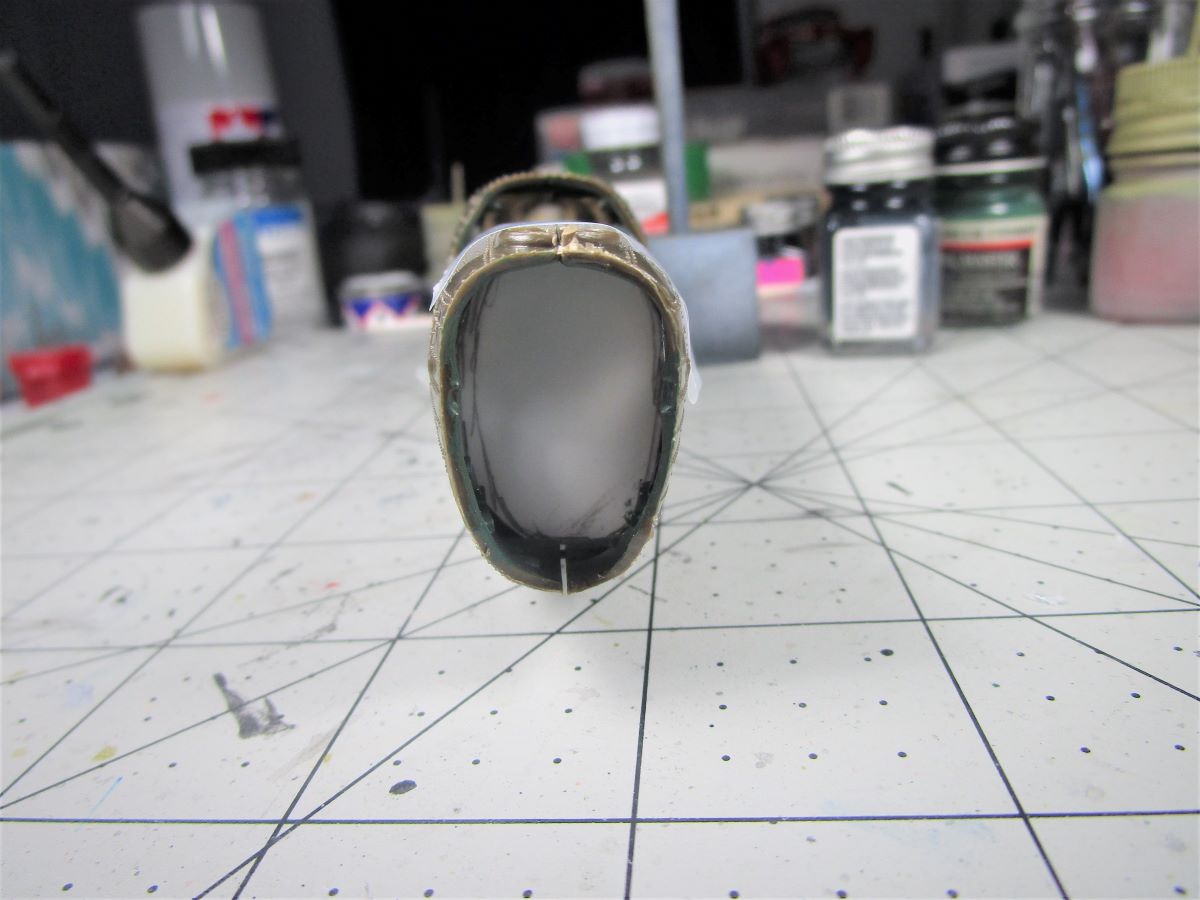
I have the plexi glass nose and machine gun installed. I also removed the front nose gear doors, trimmed off the workable hinges and re glued them to the inside of the nose gear bay. I have been leary of this from go as the Minicraft and 1/48 Revell B-24Ds have the doors inside. I found an old schematic showing the doors slide up and store inside the nose wheel bay, very similar to the way the bomb bay doors operate. John
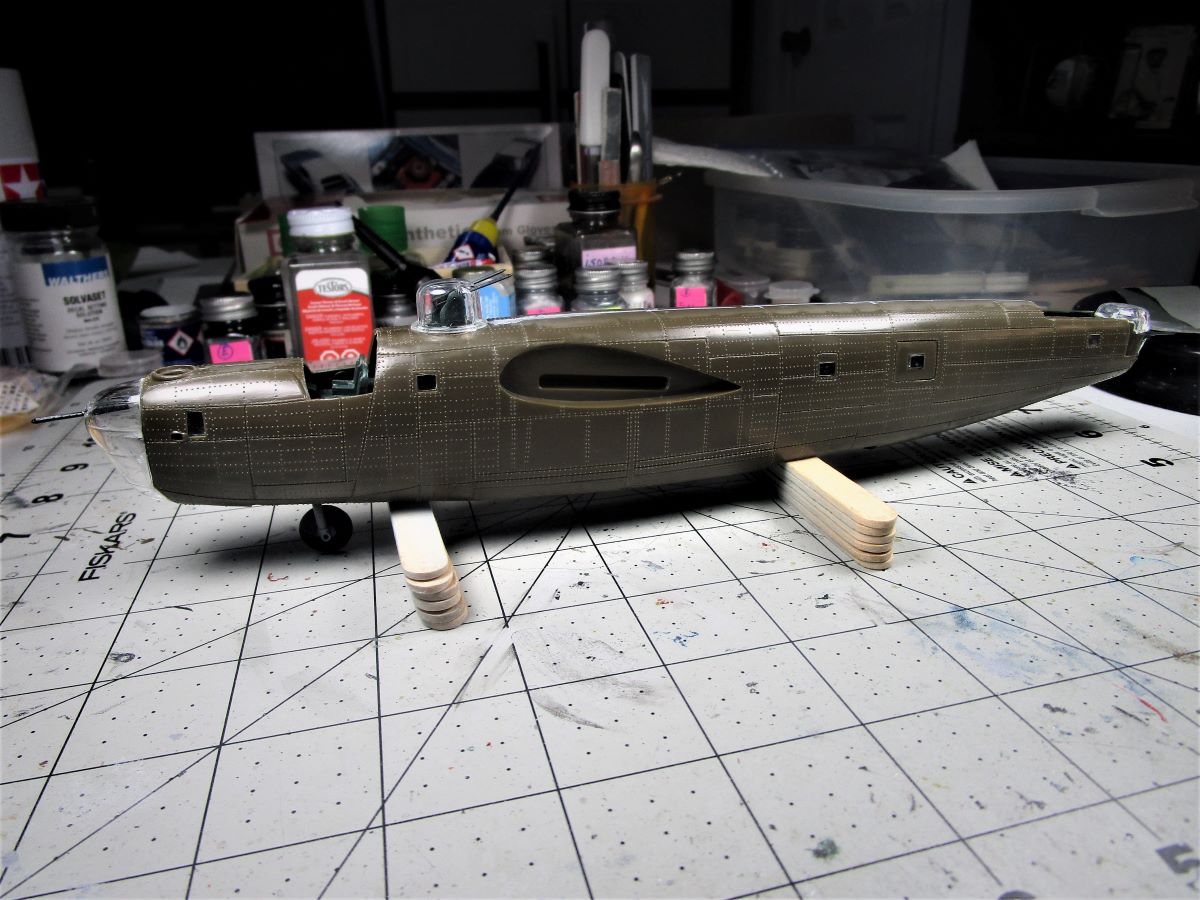
5 Likes
Oh man!!! Now I want to do this model… ugh. 
1 Like
Looking good.
Didn’t realise that about the undercarriage doors. Will have to look into it when I do eventually do mine.
2 Likes