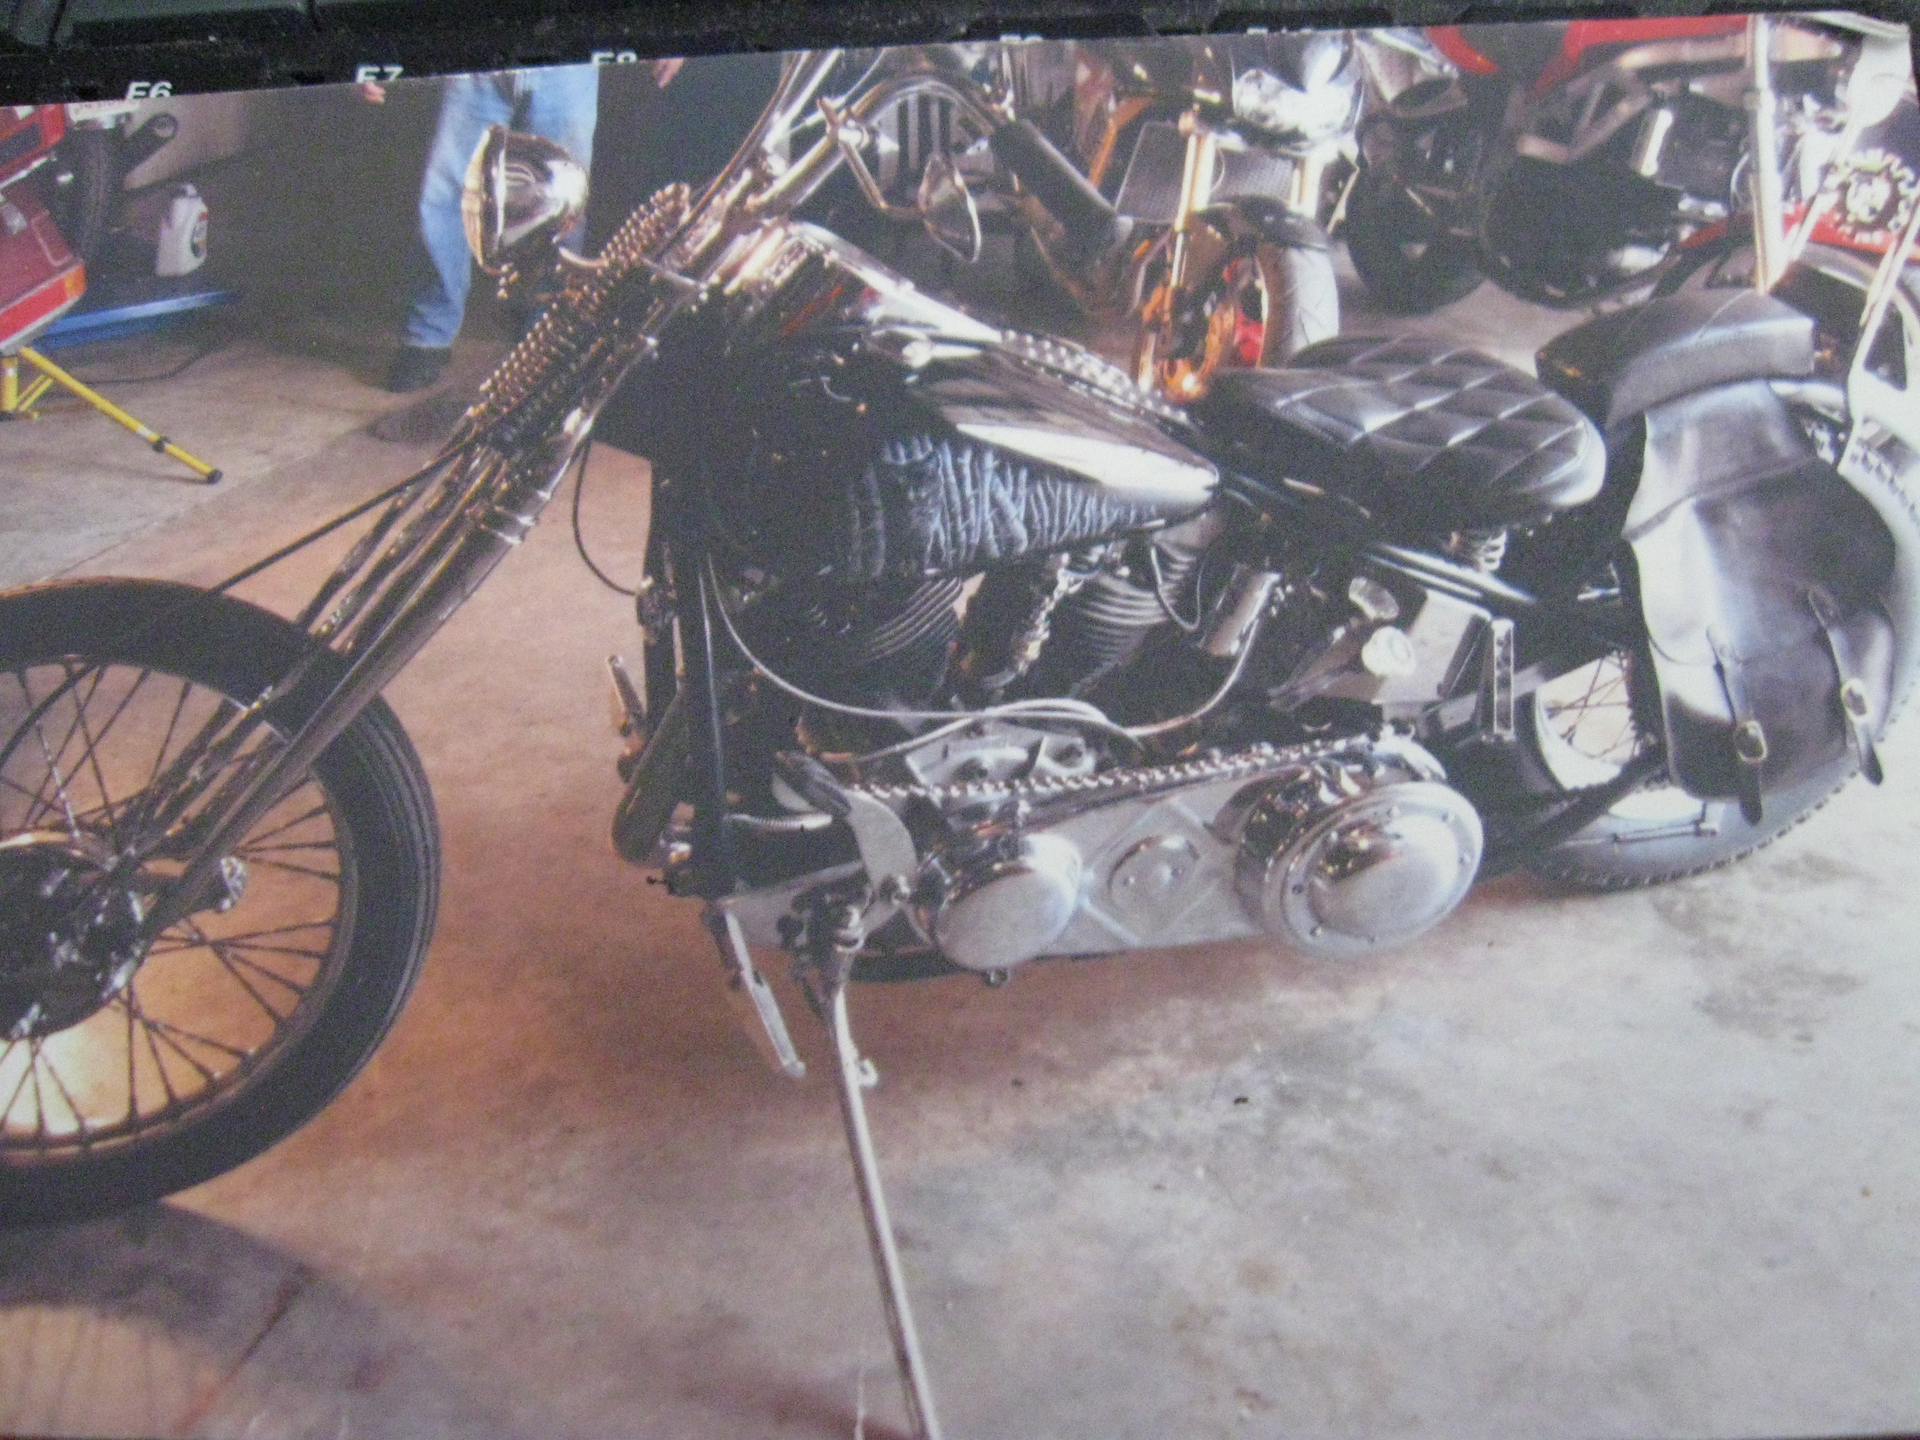
Coming along nicely. You know that you need two filler caps on the leftside tank, one for the oil part of the tank and one for the gas part. If you look at his bike you can see them. Wayne
1 Like
Hello everybody!
@namengr - thanks a lot Wayne! The Army manual I have say left cap is for fuel and in front of it is a valve for fuel reserve. The right cap is for oil. I wouldn’t know - the motorcycles we use the most here in Europe run on fuel-oil mixture, so you can say you have one cap for both ![]()
I have another update for you:


As you can see I installed the drive chain, battery box, ignition coil, dry fitted the rear stand and the exhaust. I tried to paint the heat discoloration here, but I’m not entirely happy here - I’ll work on that more.
Thanks for looking and have a nice day
Paweł
4 Likes
Yeah it’s been a long time since I was around one. On the bigger Harleys the oil tank is separate and located under the seat. A funny detail on those old flatheads was that they had a total loss oil system. the oil went from the tank to the engine and then went out thru the crankcase breather/chain oiler. There was no return line to the tank. Wayne
1 Like
Hello everybody!
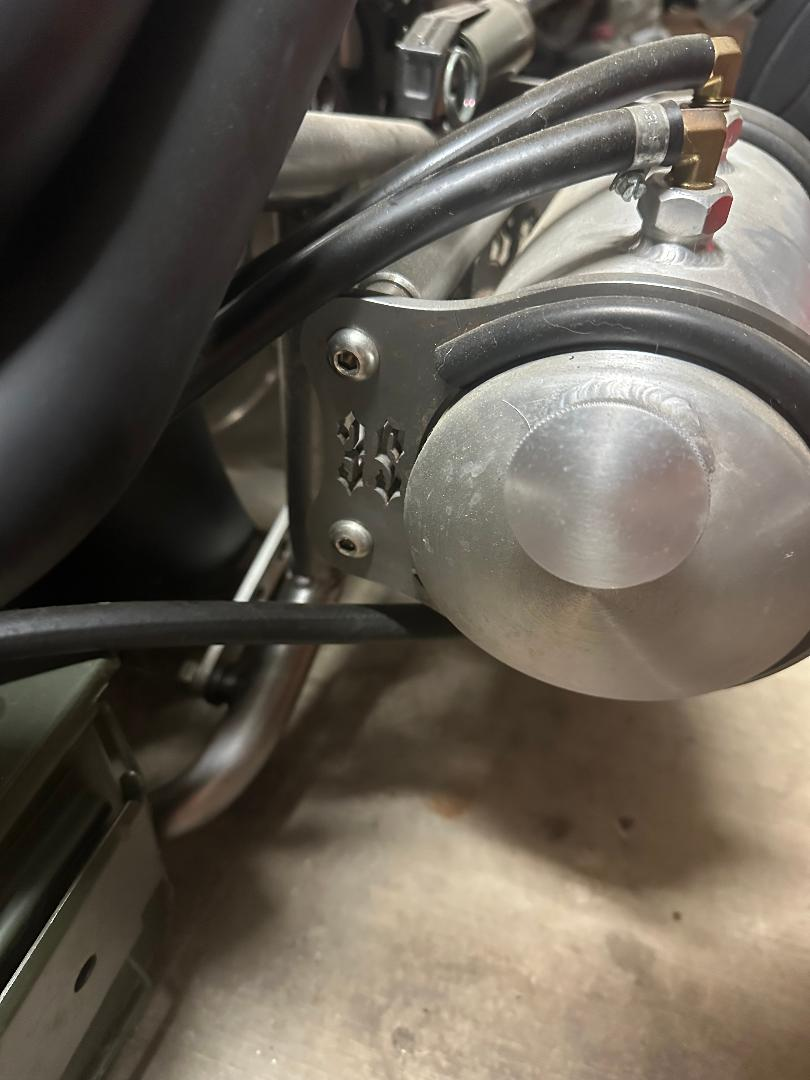
@namengr - interesting! In this one there are three oil lines between the tank and the engine, so I guess one would be some kind of return.
I have no choice, but to step up the tempo… Luckily my build looks more and more like a motorcycle and less like an ancient greek sculpture (you know, no head and arms…):

I installed the oil lines. I fixed the problem from the instructions - it has you connect the sparkplugs to the generator (no, they connect to the ignition coil). The backing plate for the toolbox (not pictured yet) didn’t want to fit, I had to cut it down and repaint. I’m also converting the lights to be “more Polish”. Let’s see how putting it all together will work in the next days… Thans for reading and have a nice day
Paweł
5 Likes
On an oil bag with three lines, one on top into the bag; one on the bottom is the return, and the second one on top is a relief tube.
3 Likes
Hello everybody!
@18bravo - thanks a lot for your comment, nice detail!
I’ve got another update - because time is running out!
Here’s what I have so far, many parts dry fitted:


And the next photo has parts that are “in the works” but I hope to install them any minute now:

Thanks for looking and have a nice day!
Paweł
8 Likes
Pawel that leather is phenomenal! How did you achieve that?
1 Like
Hello! I’m really glad you like it, because I wasn’t sure how convincing can I get it… And the method I used is very simple - I have painted the seat and the bags light gray primer, and then I took a nice wide brush and brushed on this:

It’s a trick I learned painting mini-figures. I’m really glad it worked, because the deadline is getting closer and closer…
Thanks a lot for your comment and have a nice day!
Paweł
3 Likes
This is looking really nice. You’ve done a great job and made it look really realistic. Congrats and happy holidays. Wayne
2 Likes
Hello everybody!
It’s been a little nervous towards the end, but I’ve got two good news:
-
I made it
-
My pops liked it!
And I’ve been building it almost ‘till the last minute - I only had time to spare for taking some goodbye photos.
One thing that slowed me down a little was the tube connecting the carburetor to the air cleaner - it didn’t want to fit because it was too short. The kit part is made of that black rubbery stuff that nothing really wants to glue. What I did was I cut out the slices of the original part that had the pipe clamps, then I took some 4mm sprue - luckily the kit has some of them and I made the “pipe” parts out of it. I drilled the parts axially and glued some wire in the holes - that helped to hold everything together:

After painting it fitted the way I liked it.

@namengr - look at the shifter, you inspired me! I used dime store jewellery for that. Thanks for your help on this thread and happy holidays to you, too!
I can remember, when I was little, in then socialist Poland there were some small privately owned companies that made many things the state owned companies didn’t want to make. One such thing you coud see in many cars, were shifter knobs made of translucent resin, sometimes with “things” encapsulated in them - like coins, insects or small toys. So this shifter knob could even be realistic.
Anyhow - I’m done and I have some finished pictures for you:


Thanks a lot for being with me on this one and have a nice (holi) day, everybody!
Paweł
7 Likes
The most important part.
Just happened to see this great looking build. Will have to try the Citadel Color technique.
1 Like
Amazing job you ve done
1 Like
This turned out beautiful, and if it wasn’t for his dad, I might have tried to obtain it. Glad the doorknob shifter worked out. I remember the resin knobs with spiders, scorpions and things back in the day. In my time things like that set a bike apart and made a statement about who the bike belonged to. My paint job was wolves, others were mystical or whatever they liked. Anyway, as long as he liked it that is what matters, Congrats, and have a good holidays! Wayne
2 Likes