well after over a year of sitting in limbo on the bench i finally and hopefully going to attempt to finish this build. it was originally meant for the strip, track and trail campaign last year.
so in order to stir up some motivation and to bring things up to speed i will post the photos of the build up to the point of stoppage plus a couple of current shots after i polished out the body.
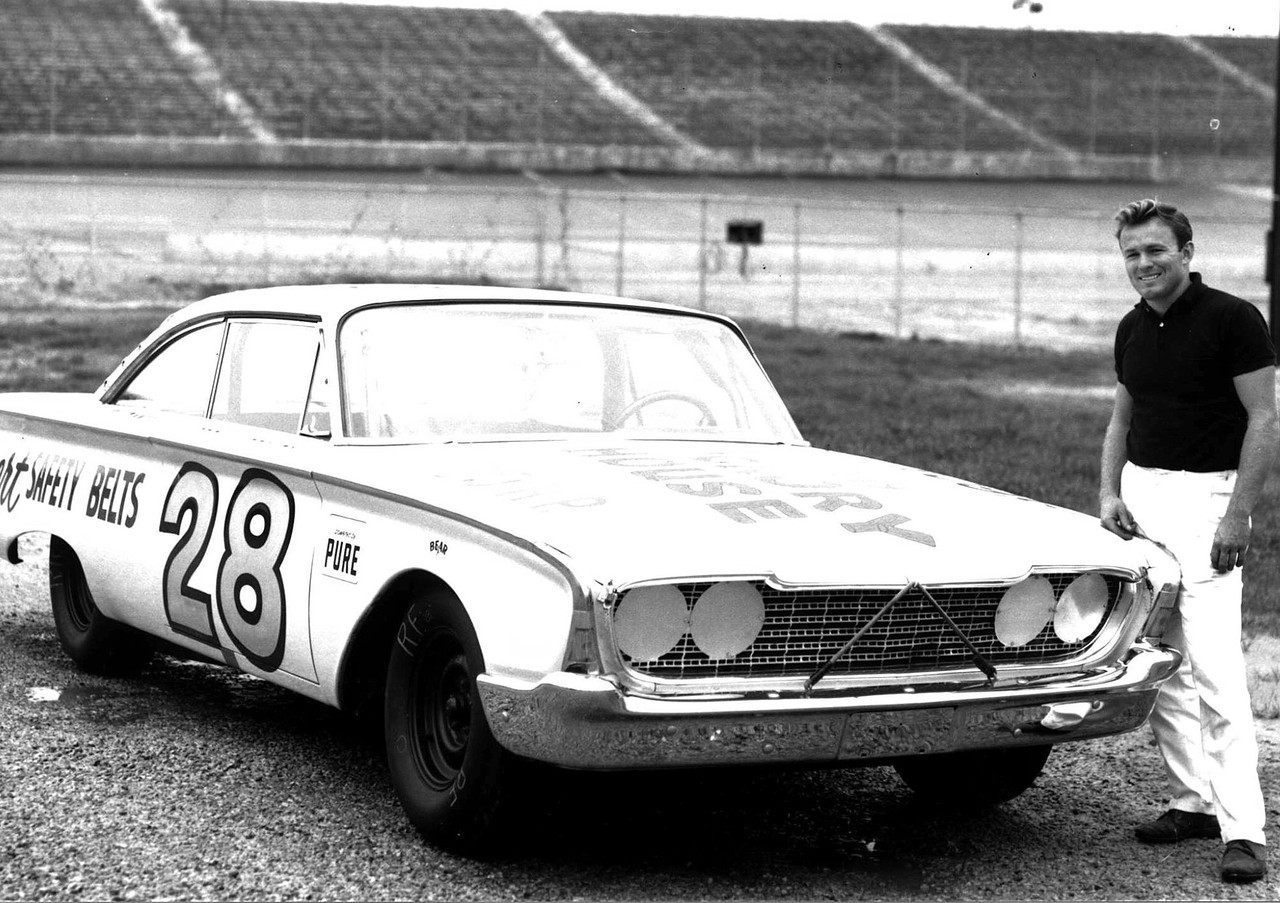
some might remember but if not, this is a Fred Lorenzen 1960 starliner stock car. street kit converted to stock car with scratch built and modified kit parts, wired and plumed.
first a photo of the real car, posing with Fast Freddy
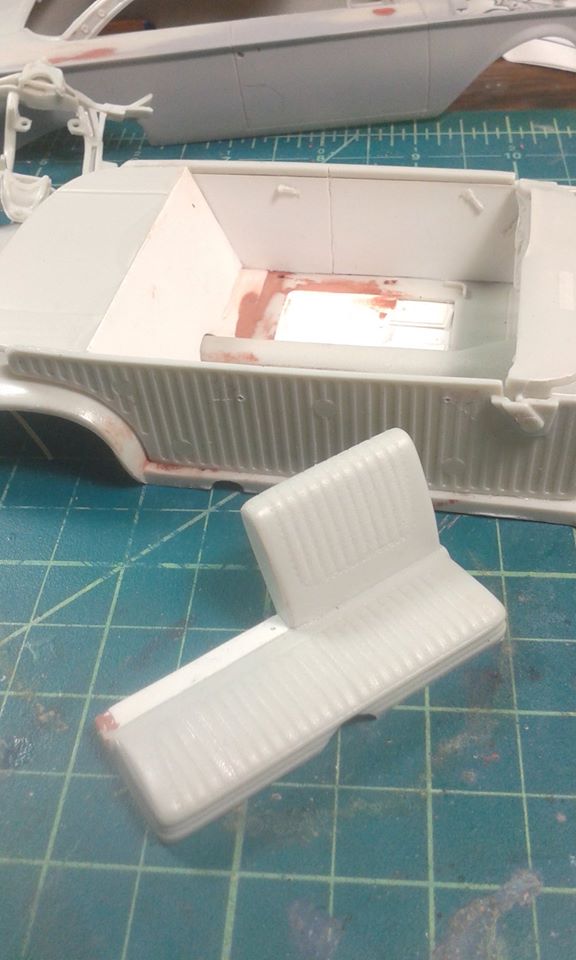
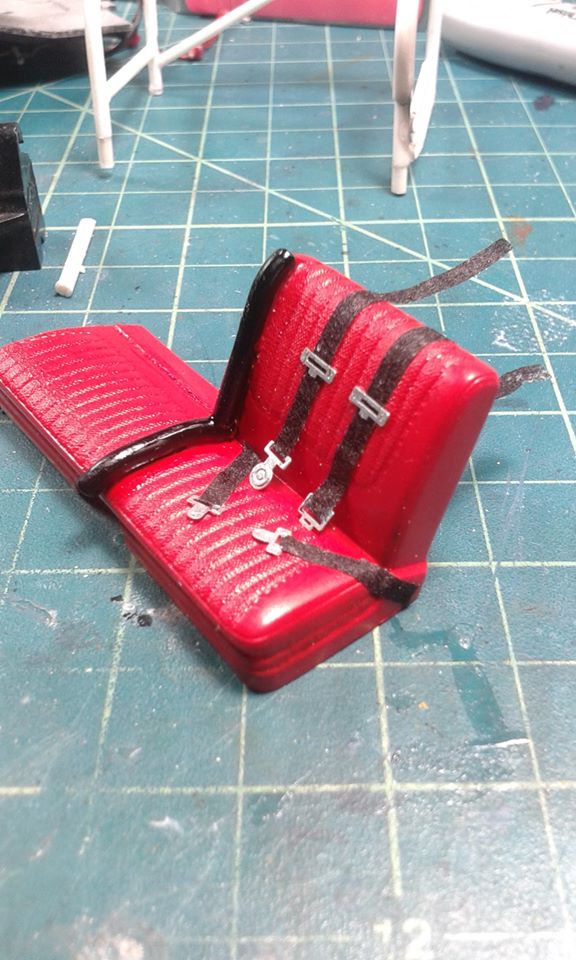
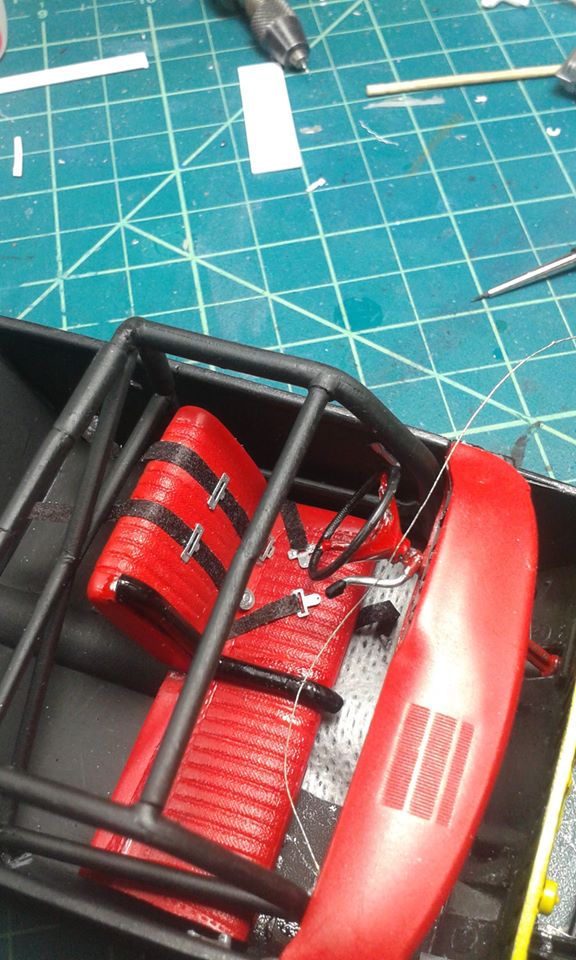
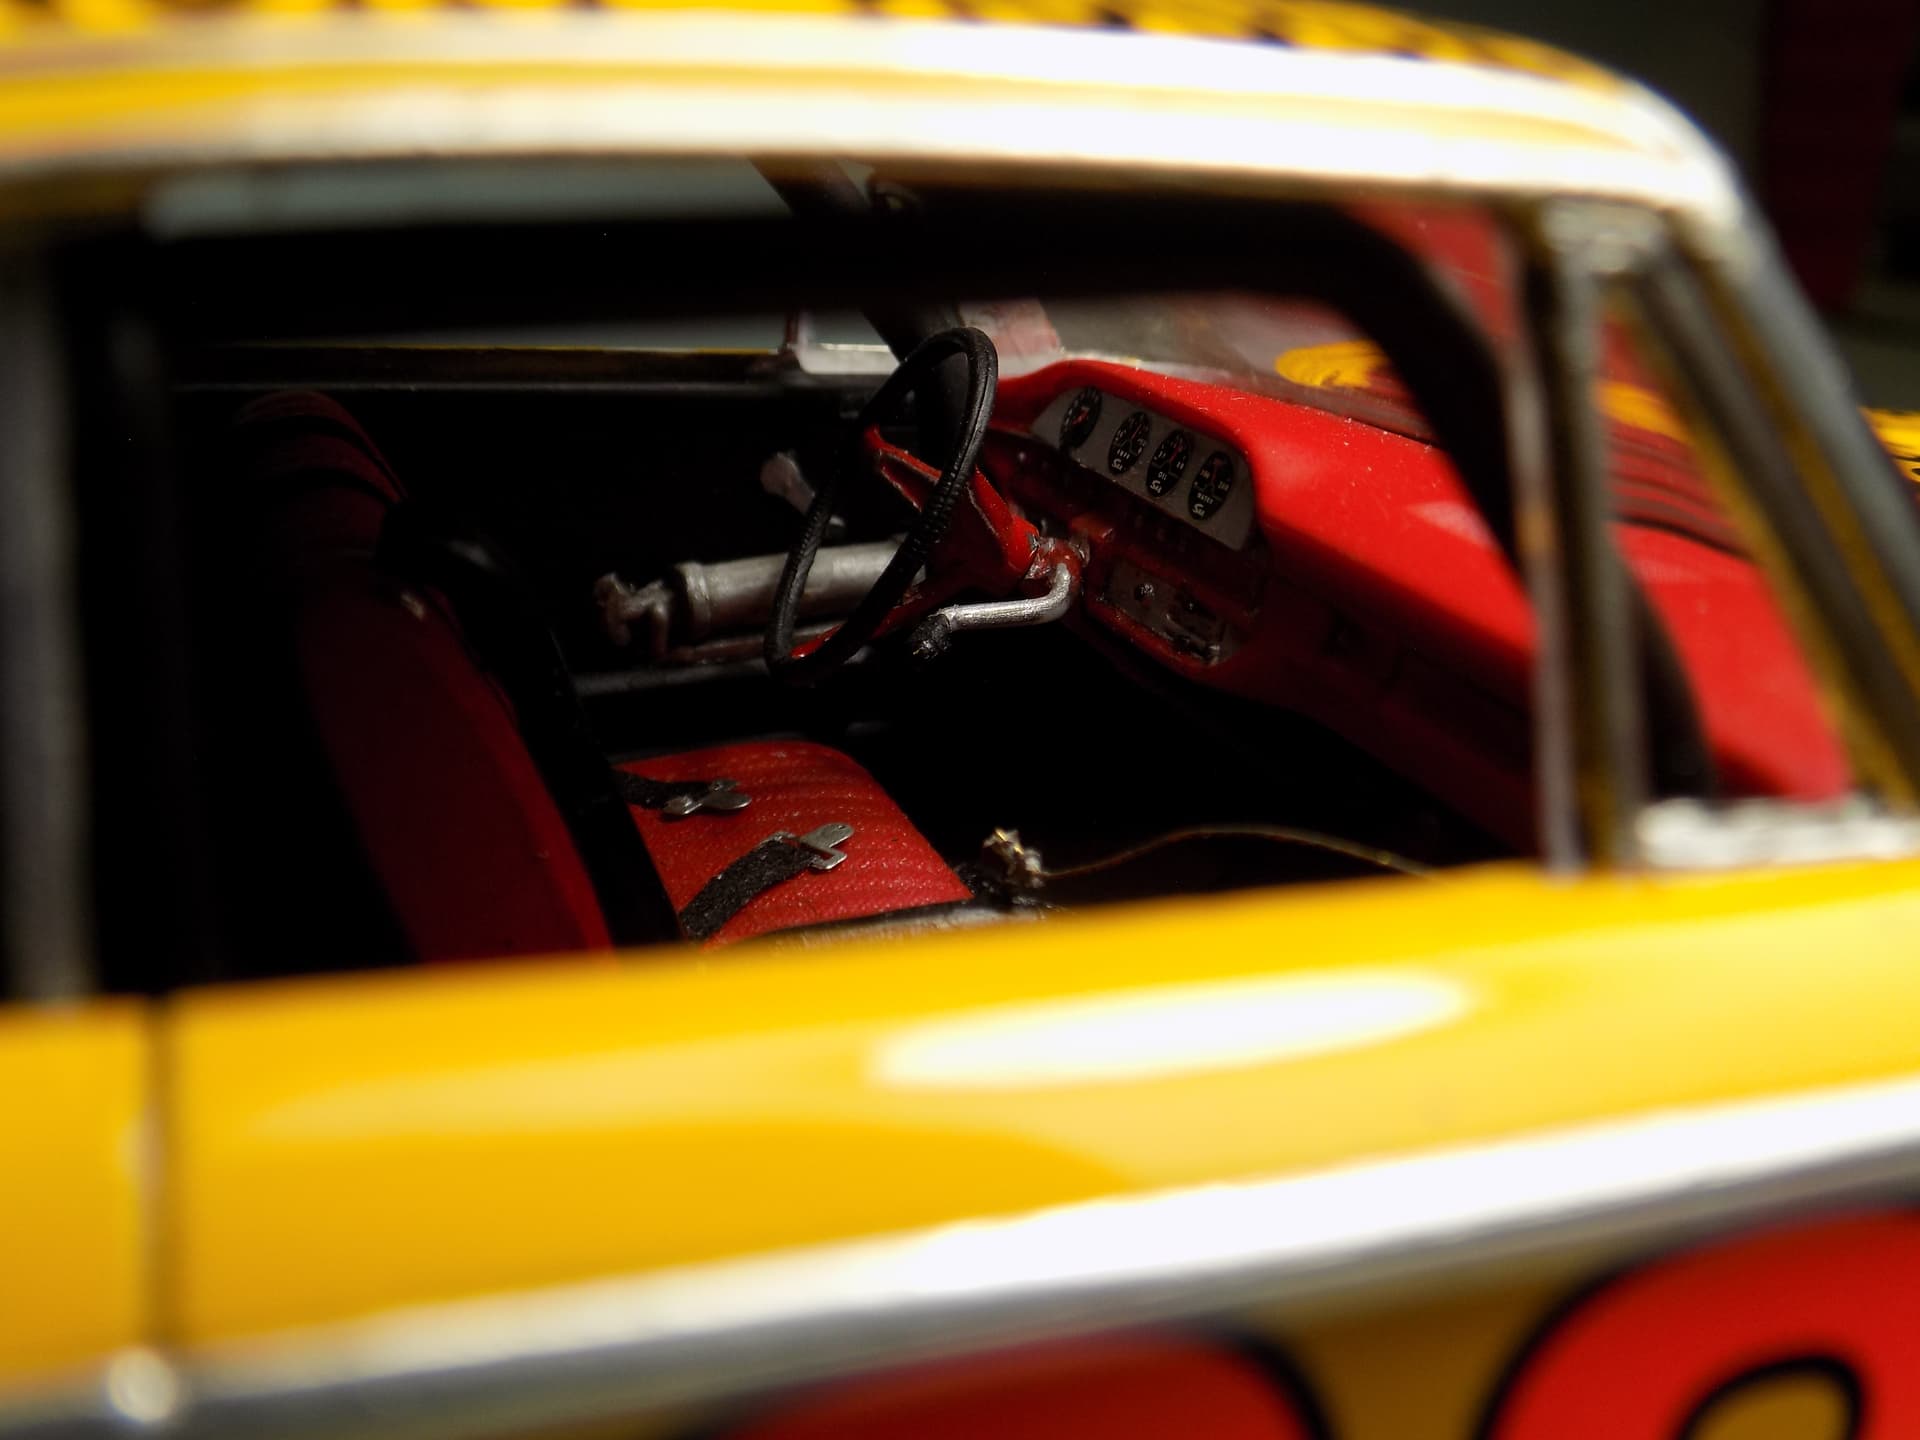
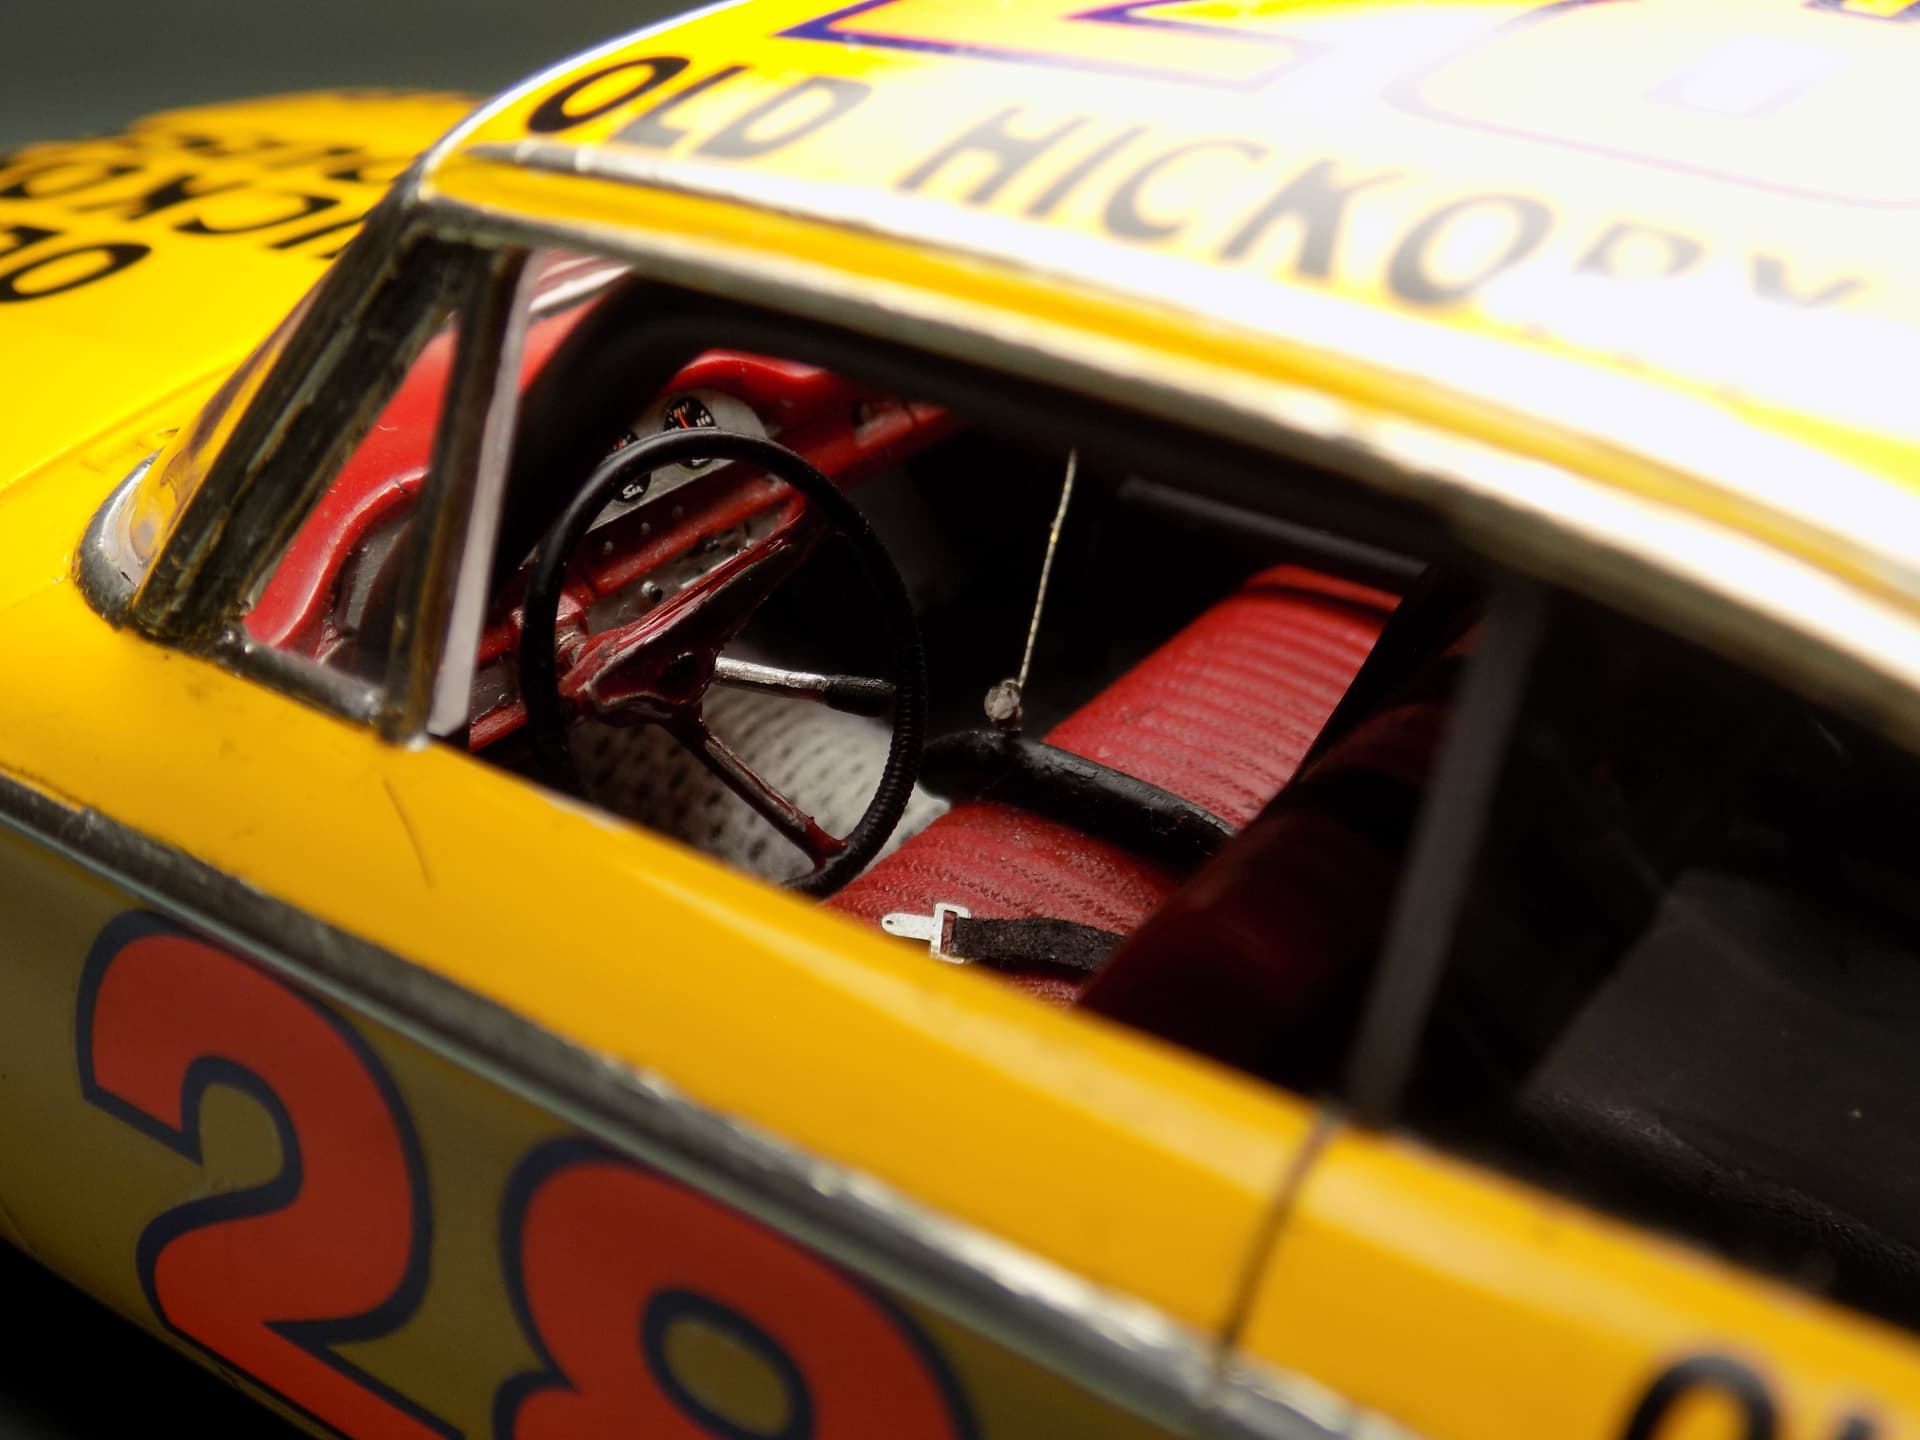
gutted interior and modified seat with added bolster and harness. i removed the rear seat but retained the package shelf as it has contours that match the body. filled in the missing floorboard where the rear seat was with sheet plastic.
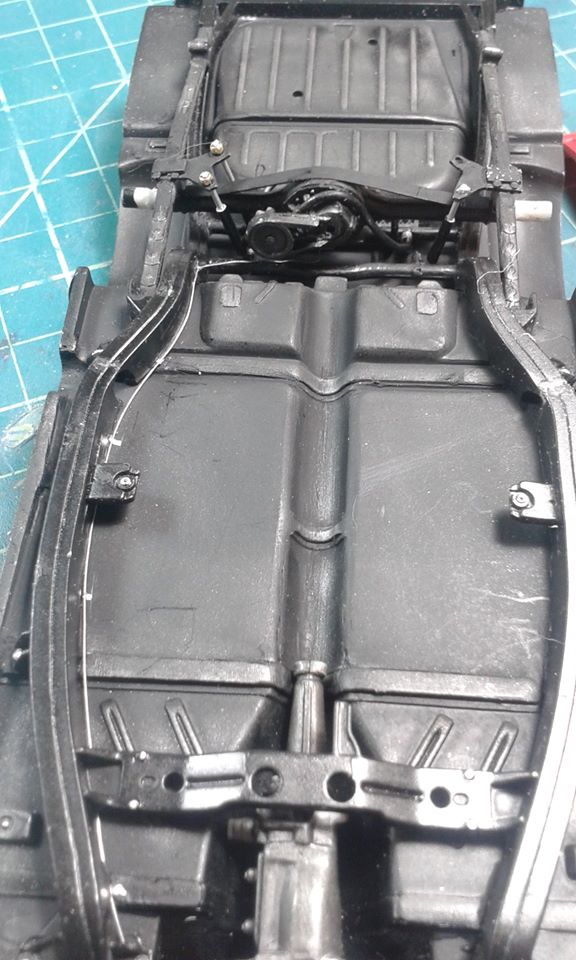
on the chassis i cut out the floorpan and replaced it with sheet plastic to allow clearance for the exhaust dumps, they will pass through the frame. added brake line and scratch made the shocks and mounts, and added the rear end pump.
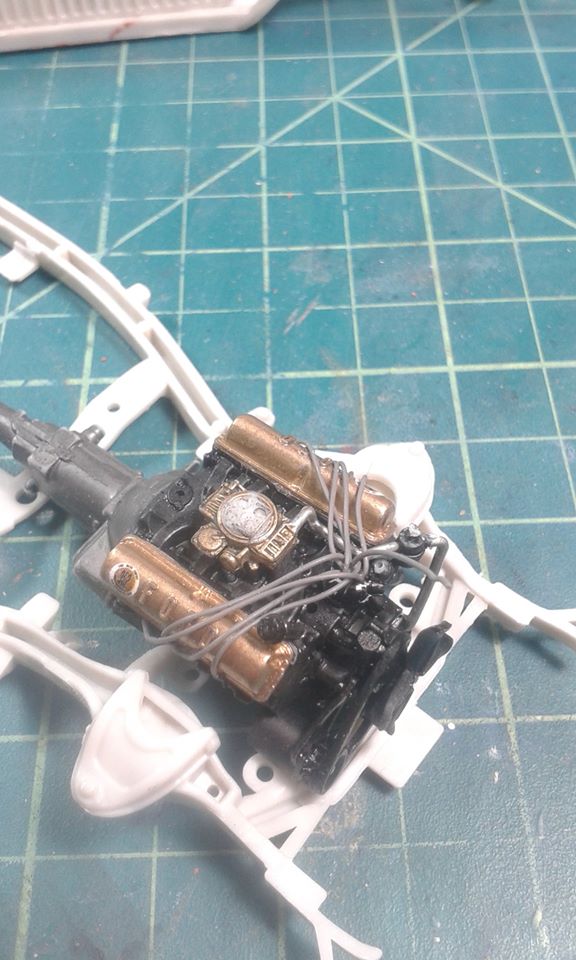
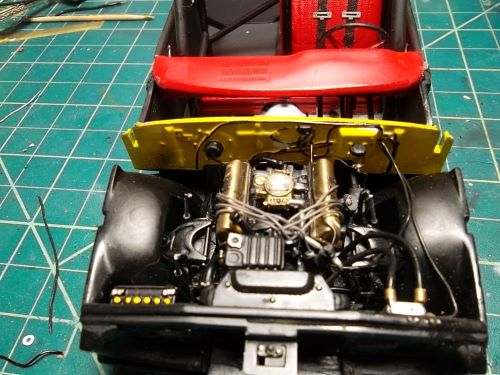
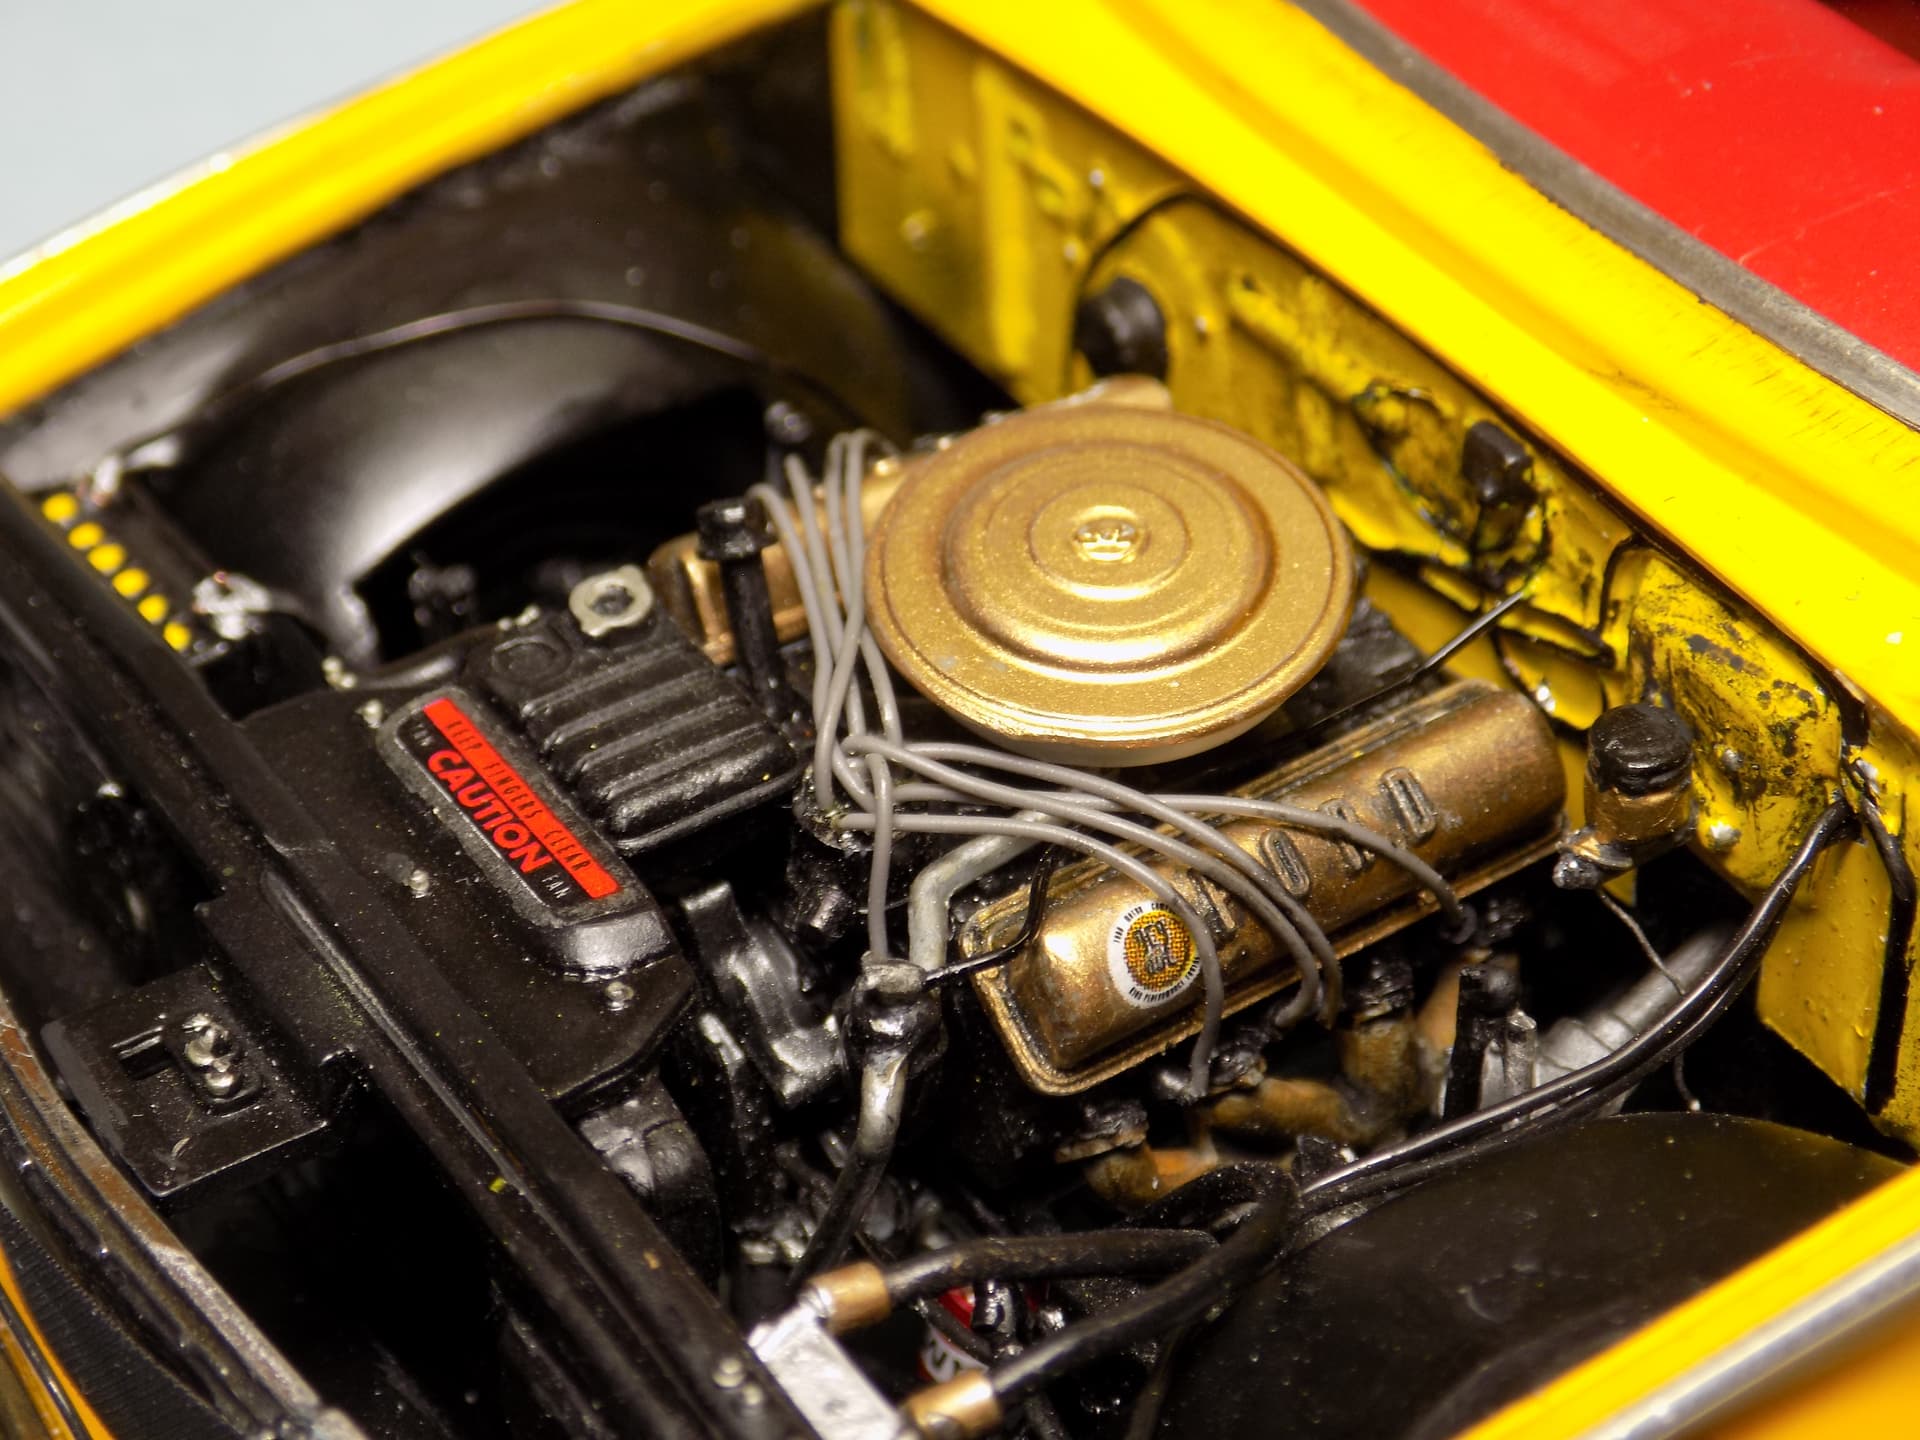
engine compartment just about done. just need the battery cables, note the inner fender cuts to allow the shocks to be mounted.
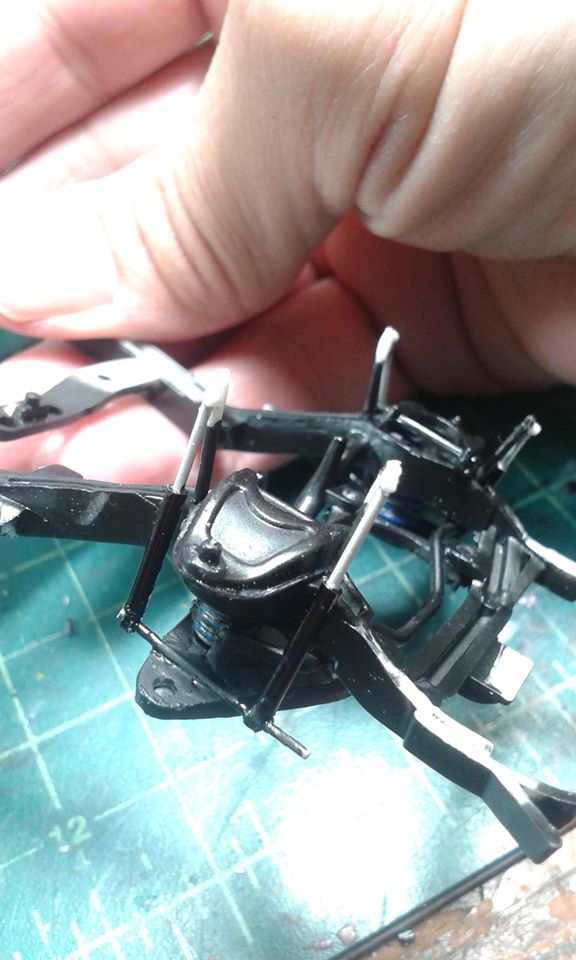
i forgot to show this- scratch made shocks and towers, i had to open up inner fenders to make room, that always gives me trouble getting the cut openings to look square and even but this time came out good. also tires from parts box, don’t remember if the wheels were kit parts.
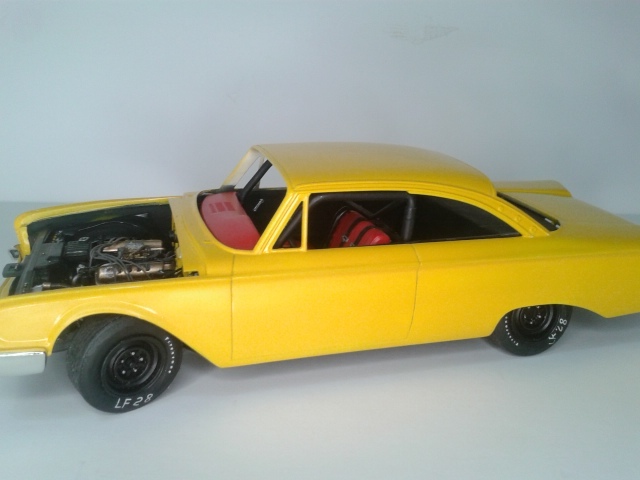
well things were going good. here is a mock up of the body chassis before my glosscote.
unfortunately i can’t show you photos of it after the glosscote because the paint crazed!!! this was enamal lpaint from model car world that was over a year oid so what happened? had plenty of time to gass out.
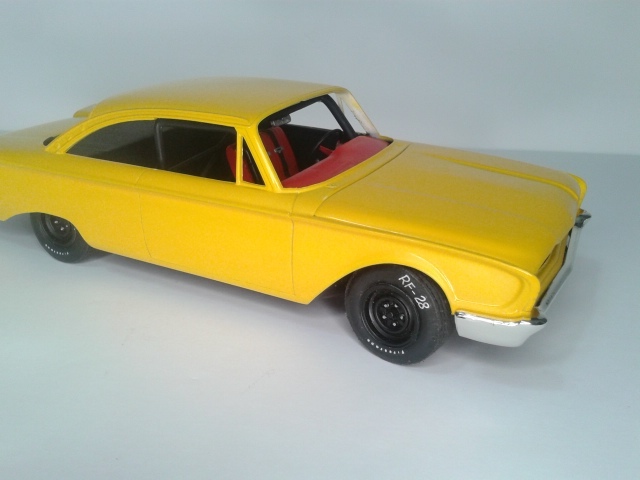
ok so i stripped the paint and primed and resprayed with tamiya chrome yellow this time. don’t know about how all of you but i always paint the hoods separate from the bodies. i guess this time i didn’t give the hood enough coats and it came out a shade lighter than the rest of the body. problem is i had already gave the hood a coat of future before i noticed it. now my question i would like to ask, has anyone primed and painted over future? is it possible to do? i would be using tamiya white primer and then the chrome yellow. i don’t feel like stripping the hood a second time.
thanks-joe
Bummer about the paint job. Basically it’s a clear acrylic paint, so anything that works over an acrylic, shouldn’t give you any grief. That said, I have never primed over Future, so I can’t say, for sure, how it will react.
yes and the tamiya is not acrylic, at least not the yellow, i don’t know of the primer.
An update on the hood. I took the risk and decided to spray the tamiya yellow over the future. guess what? it worked!! it is possible to spray tamiya rattlecan over future floor polish. a couple mist coats and a wet coat, no issues.
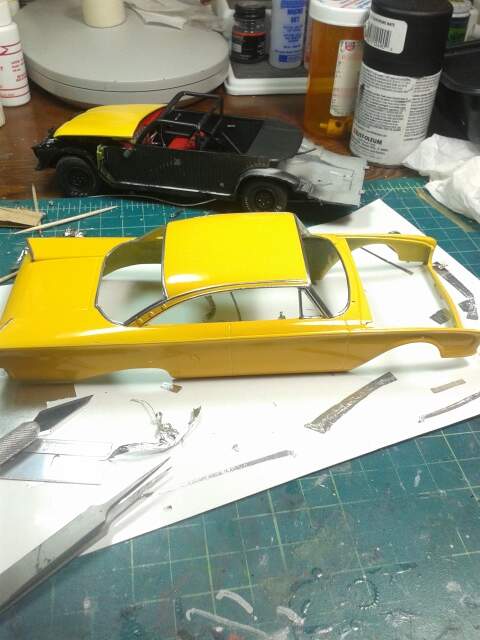
Started the bare metal foiling. it is deceiving how much chrome is on the body, and i had removed a bunch before painting
Update- finally got a chance to do some more work on the car.
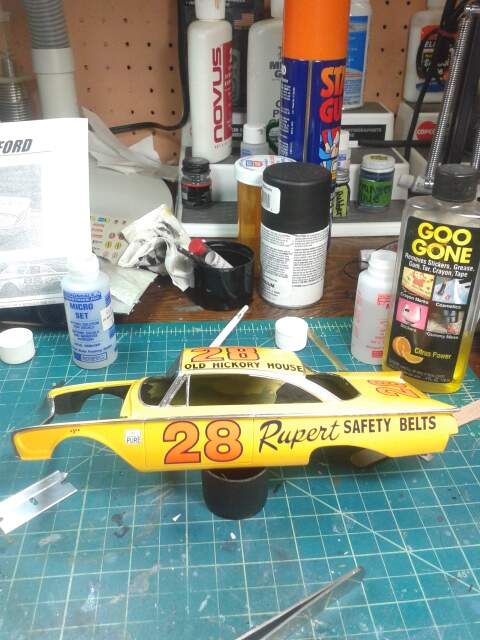
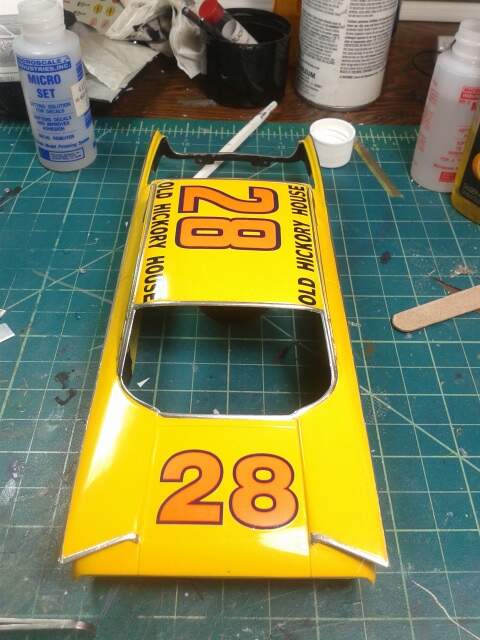
finished with the foil and started decals. decals seem to be working fine for being so old. i just hope they don’t fall off with time, i am not clearing over them so as to give them a painted on look. plus i don’t know how the foil would react, although it would be only testors regular gloss lacquer.
charles, yeah that year 3 speed on the column. does seem odd but that was what was being used at the time.
finished the decals last night. mock up of the body/chassis revealed some fit issues, can’t seem to get the front clip to fit into the chassis right. as a result the front wheels are not tucked up into the wheel well as much as i’d like. i may have to try to pin the front clip in position.
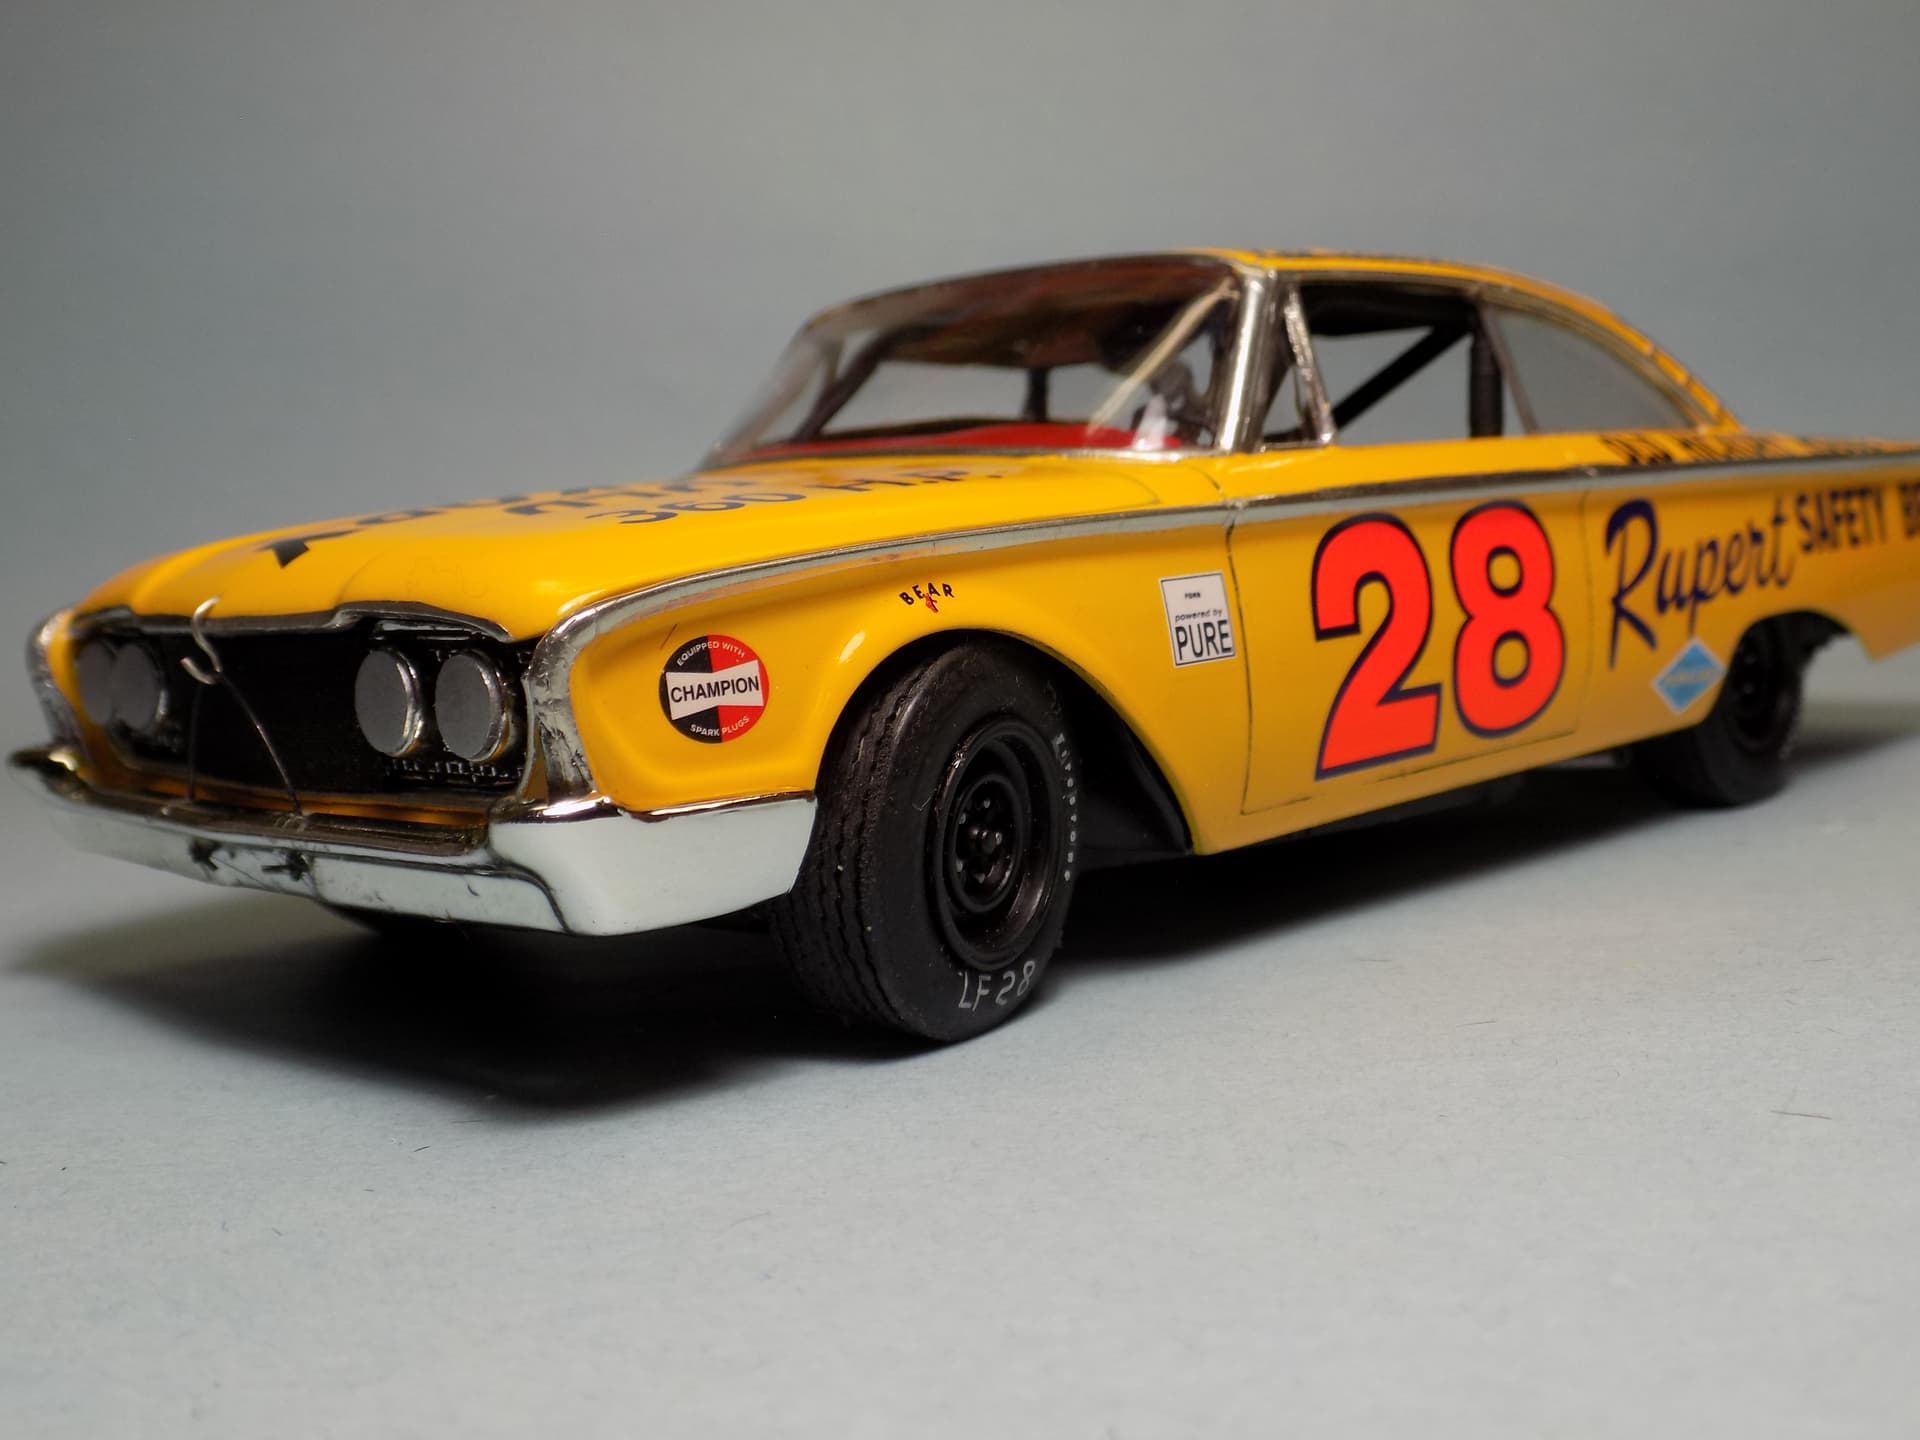
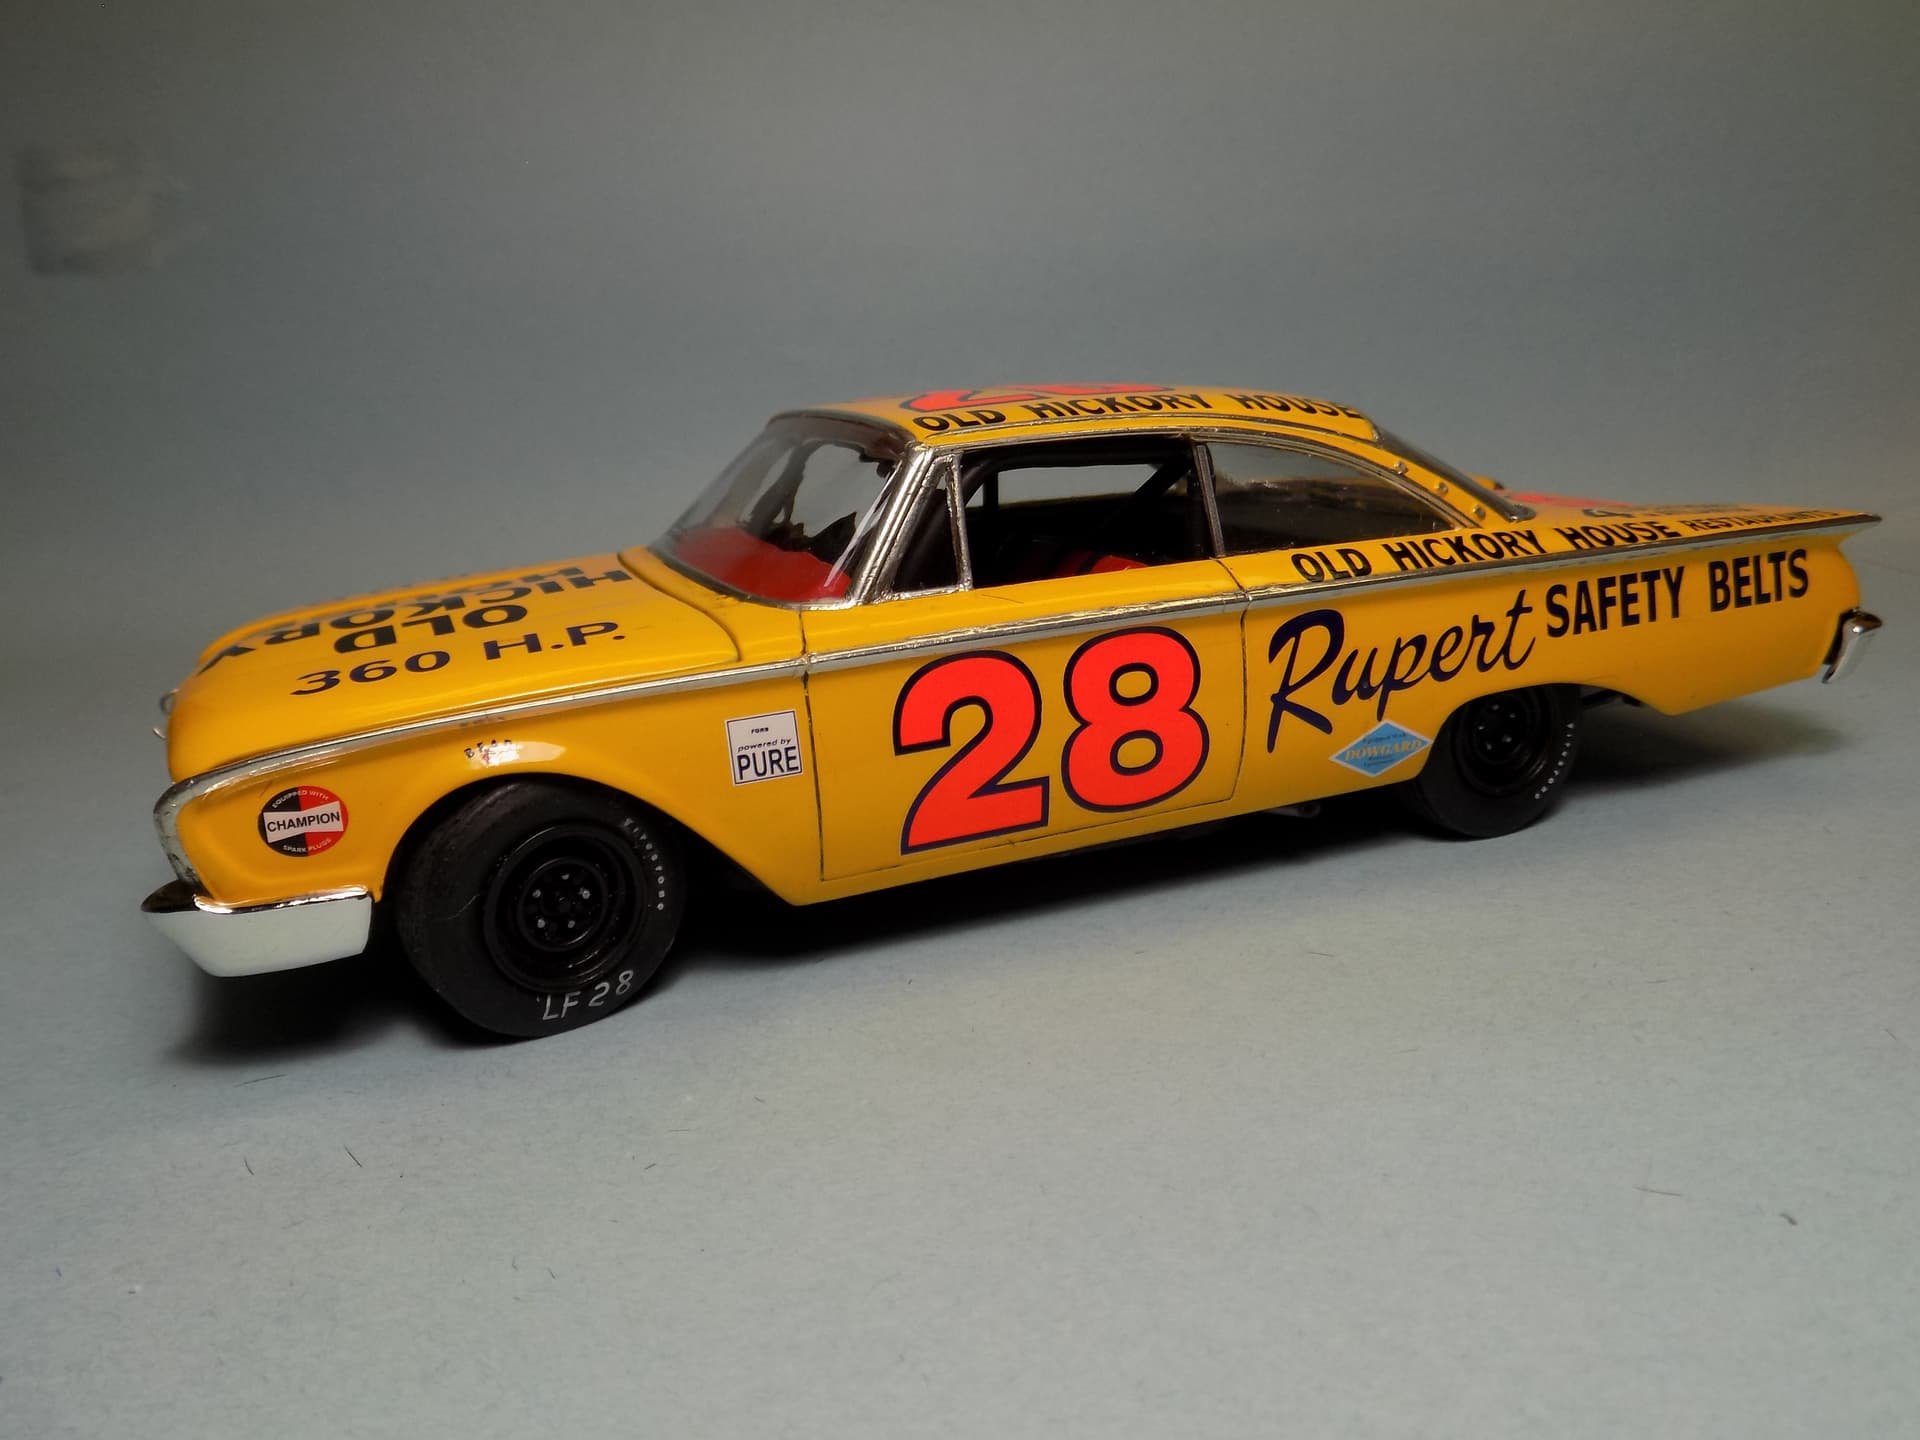
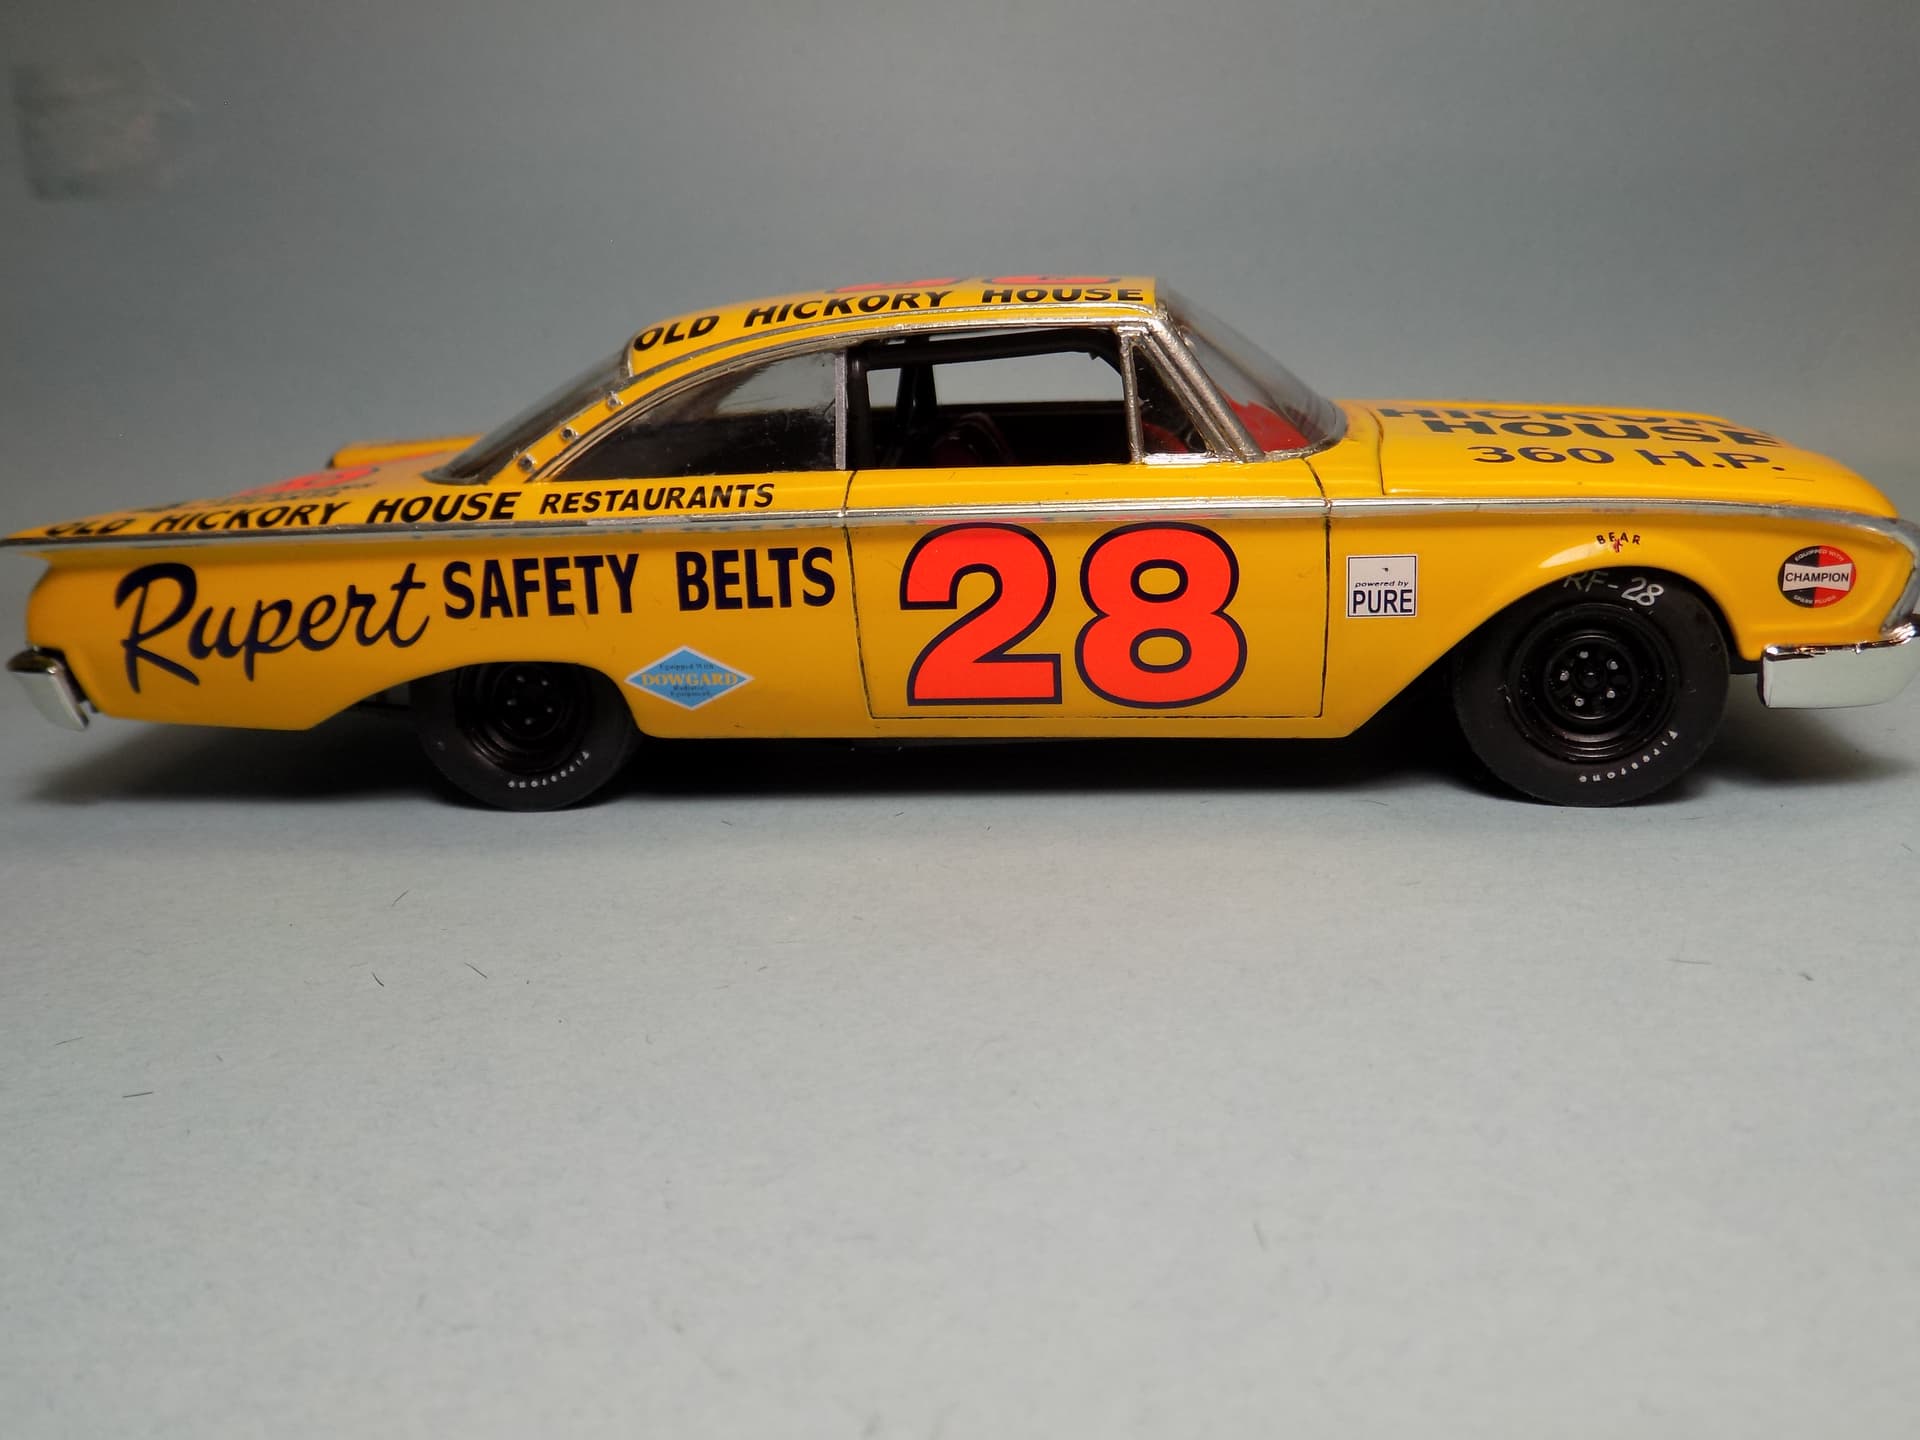
well took over a year but here is the statliner done. been done for a while just had to get around to photographing it. lots of kit bashing and scratch building. PPP and parts box cage, scratch shocks and towers,resin oil cooler and kit bash/scratch rear end pump (forgot to take a pix of the underside) cut and replaced chassis pan with sheet stock. wired/plumbed engine, split the bench seat and added inspection door to right front along with a heat blanket on floor. bungee cords for hood and trunk and added rear side windows. tamiya chrome yellow and yesterdays decals.
not completely happy with it. the bungee cords gave me a hard hime and i kinda messed up the bumpers.