Hey Mark.
In the final product I give the entire deck with thinned down brown wash.
This is the result.
I kinna liked it thou IMHO. Thanks for the suggestion thou.
Hey Mark.
In the final product I give the entire deck with thinned down brown wash.
This is the result.
I kinna liked it thou IMHO. Thanks for the suggestion thou.
look forward to your build
Thanks Rob
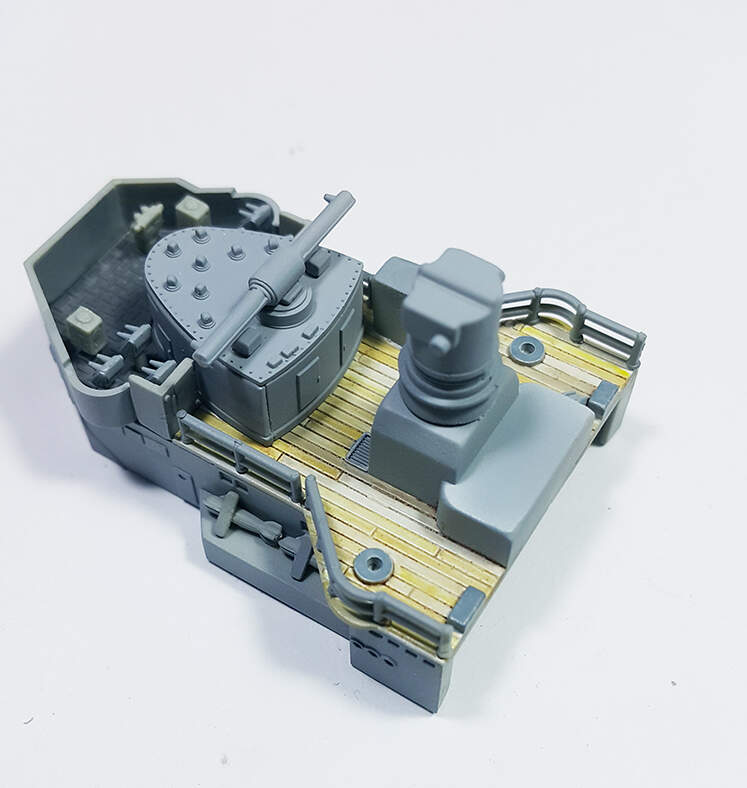
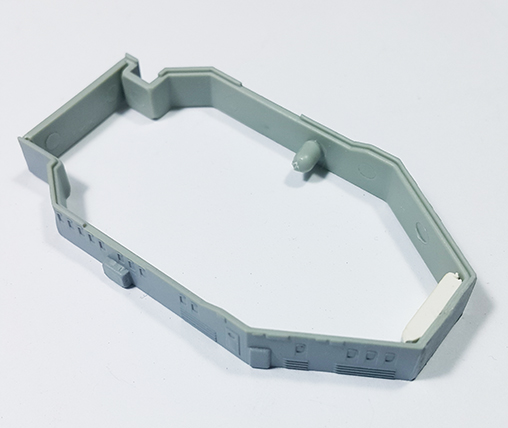
The main citadel section has a fit issue.
The 3 balconies on the left and right has the same fitting issues. It seems like how much I try or force to fit, it will not meet with the railing wall (aka. nasty gap). See pic.
But with some putty, it can be covered.
Thank god for putty. Nice work on making the correction.
Mark 
Thanks Mark.
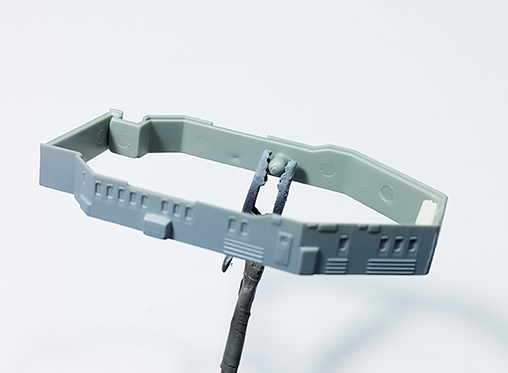
I found it easier to paint certain parts by gluing an anchor point made from sprue gate, in which you can attach an alligator clip so you can paint the parts easier.
Here are just a few parts that I attached anchor point:

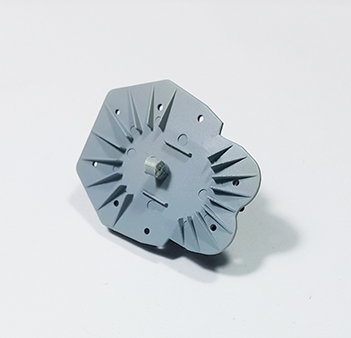
… alligator clips on, ready for painting, and/or weathering, or whatever with ease:
But of course everybody has their own method.
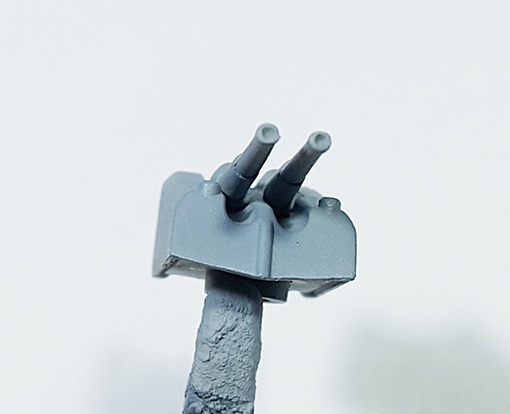
Spend the afternoon doing micro drilling.
I remember that on the newer kits, they dont made the hole to deep on small gun barrel size. I guess the idea was so that the modeler can just fill the hole with some dark ink to give it an illusion of depth.
Ben, that’s a great tip glueing a bit of spare runner inside the parts to allow holding with clamps! I may just have to borrow , cough, steal, cough, that idea!!! 

Glad it is useful Russ
You’re getting this ship building stuff down. Build and paint in sub assemblies, and you’ll be just fine, like right here.
Great tip! I’m always finding ways to hold small parts for airbrushing. I normally drill a small hole and super glue a toothpick in, but this a fairly weak hold, and requires some clean up. I’ll be using this technique for sure
Thanks for the nice word Stik.
I found out that it is similar like building planes, but definitely not like building armor/tanks. Some assembly feels like building gunpla.
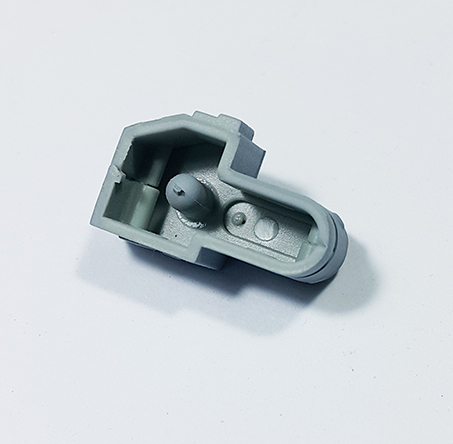
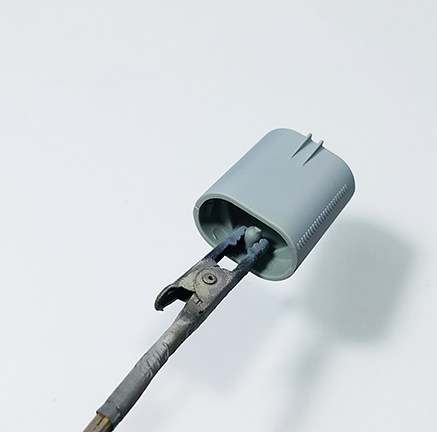
Sometime I can get away by paying attention on how I cut the part from the sprue.
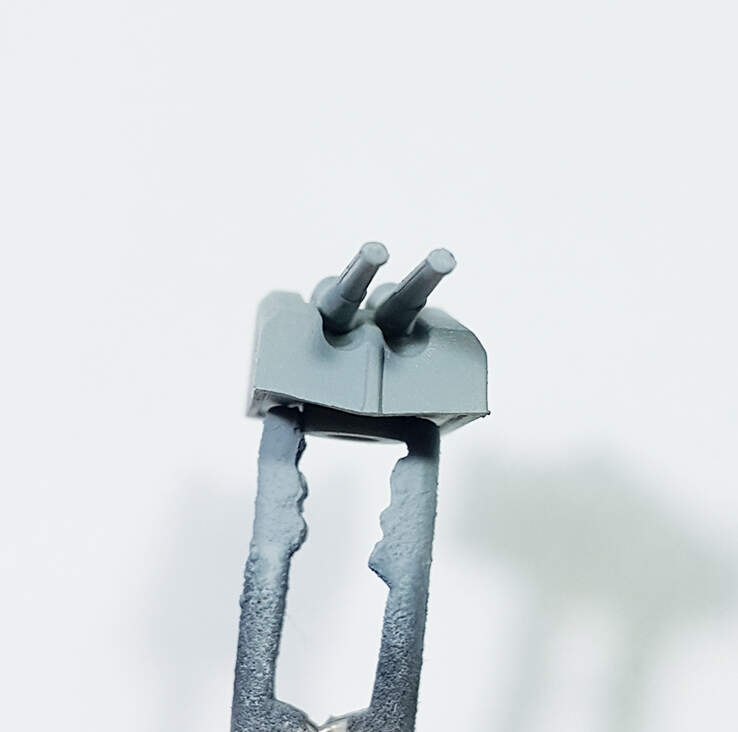
For example the small part below, I cut all sprue gate close to the part, the last sprue gate I cut it with the gate in which still hold the part. This still “attach sprue gate to the part” should be the point in which will not be visible or painted one the part is attach to another part.
I then can attach my clip to it. See pic. Hope this is clear.
NOTE: As the part gets smaller, the nipper use must be extremely sharp otherwise risking breaking the part. Some part I had to use God Hand for a clean and save cut.
Ben, that’s often one of my favorite methods ![]()
Hi,
joining in late but great work so far!
Even if you’re new to ships, you know your modeling skills, what you’ve accomplished so far really looks fine, you’re on a really good way!
Sorry for me being late and quiet, once move and all is accomplished, I’ll try to be bit more active!
Cheers
Jan
No problem there Jan. Thanks for dropping by.
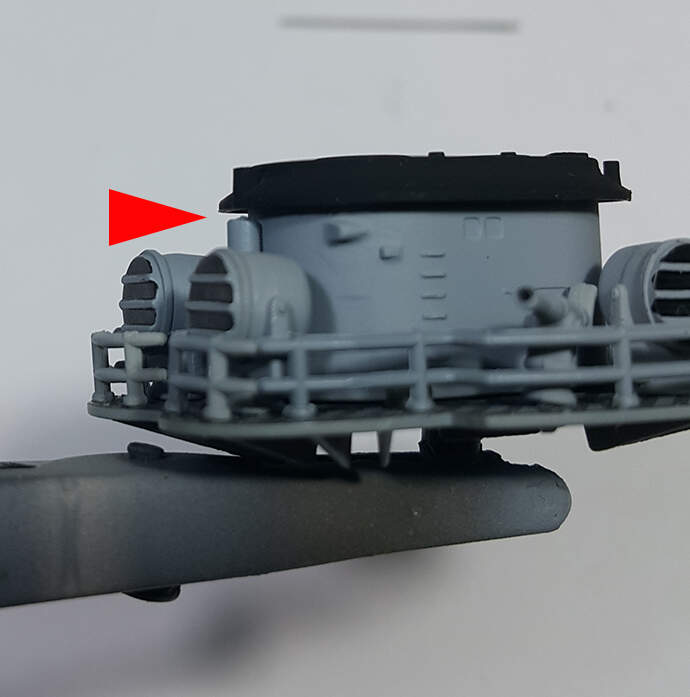
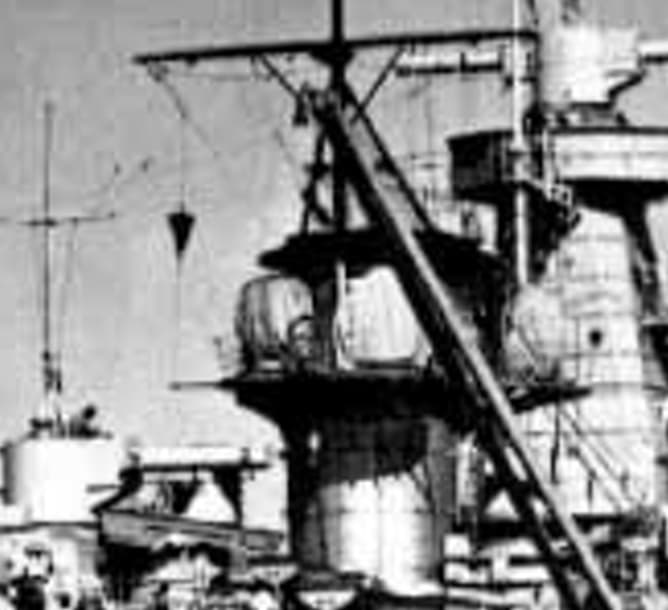
Hi Carves, nice work so far!
As far as I can see from my pics this is the base of the mainmast not a steam pipe (Diesel!) Cut it off, drill a hole through the black part and replace the mast with brass pipe or copperwire. Will be much more stable then anyway 
Cheers
Tom
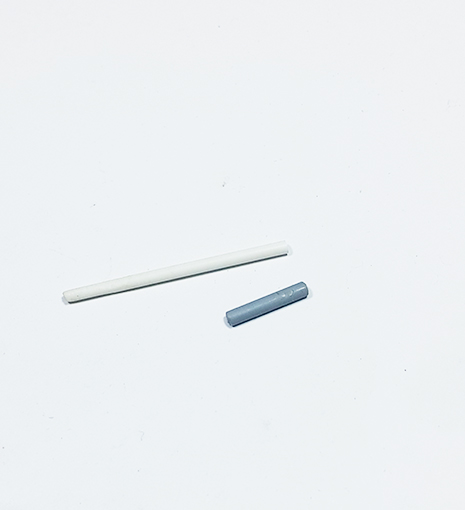
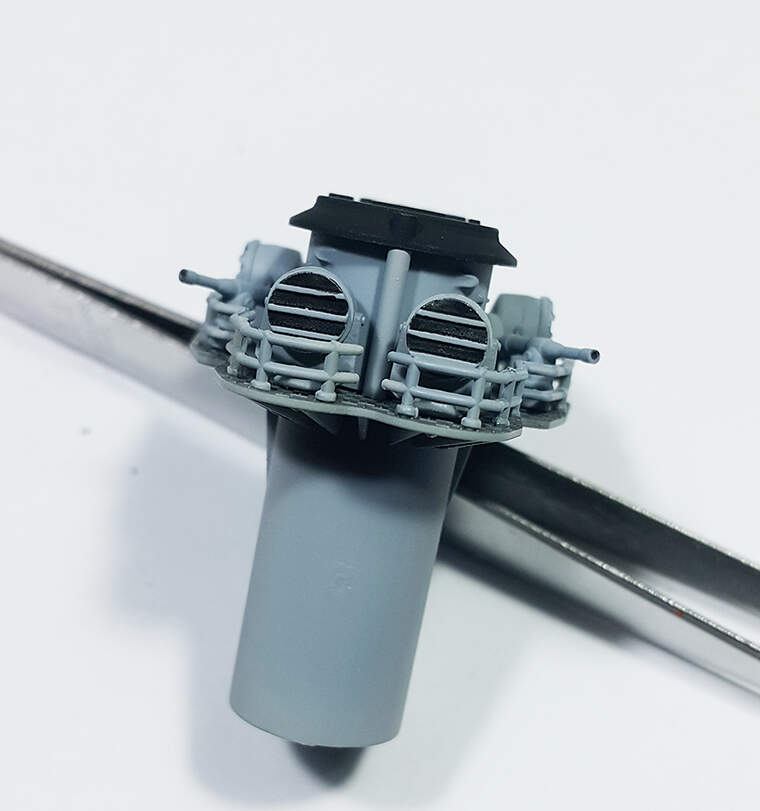
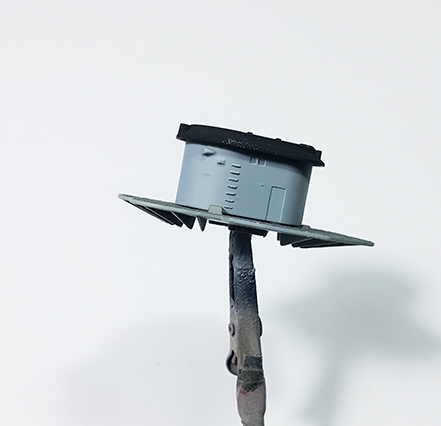
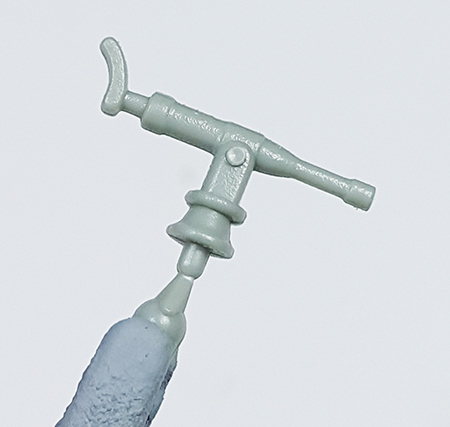
The support beam is to be corrected because it gave the sore to my eyes.
I found a similar size of rod in my stash o’parts which is closest to original. The rod I use is 1.5mm and the original is 1.7~mm. I tried matching it with 2.0mm rod and it is to big.
Then primed and painted and glue to the chimney cover.
Once dry, cut to size and attach.
Now it looks better.
Ship experts or anyone feel free to comment.