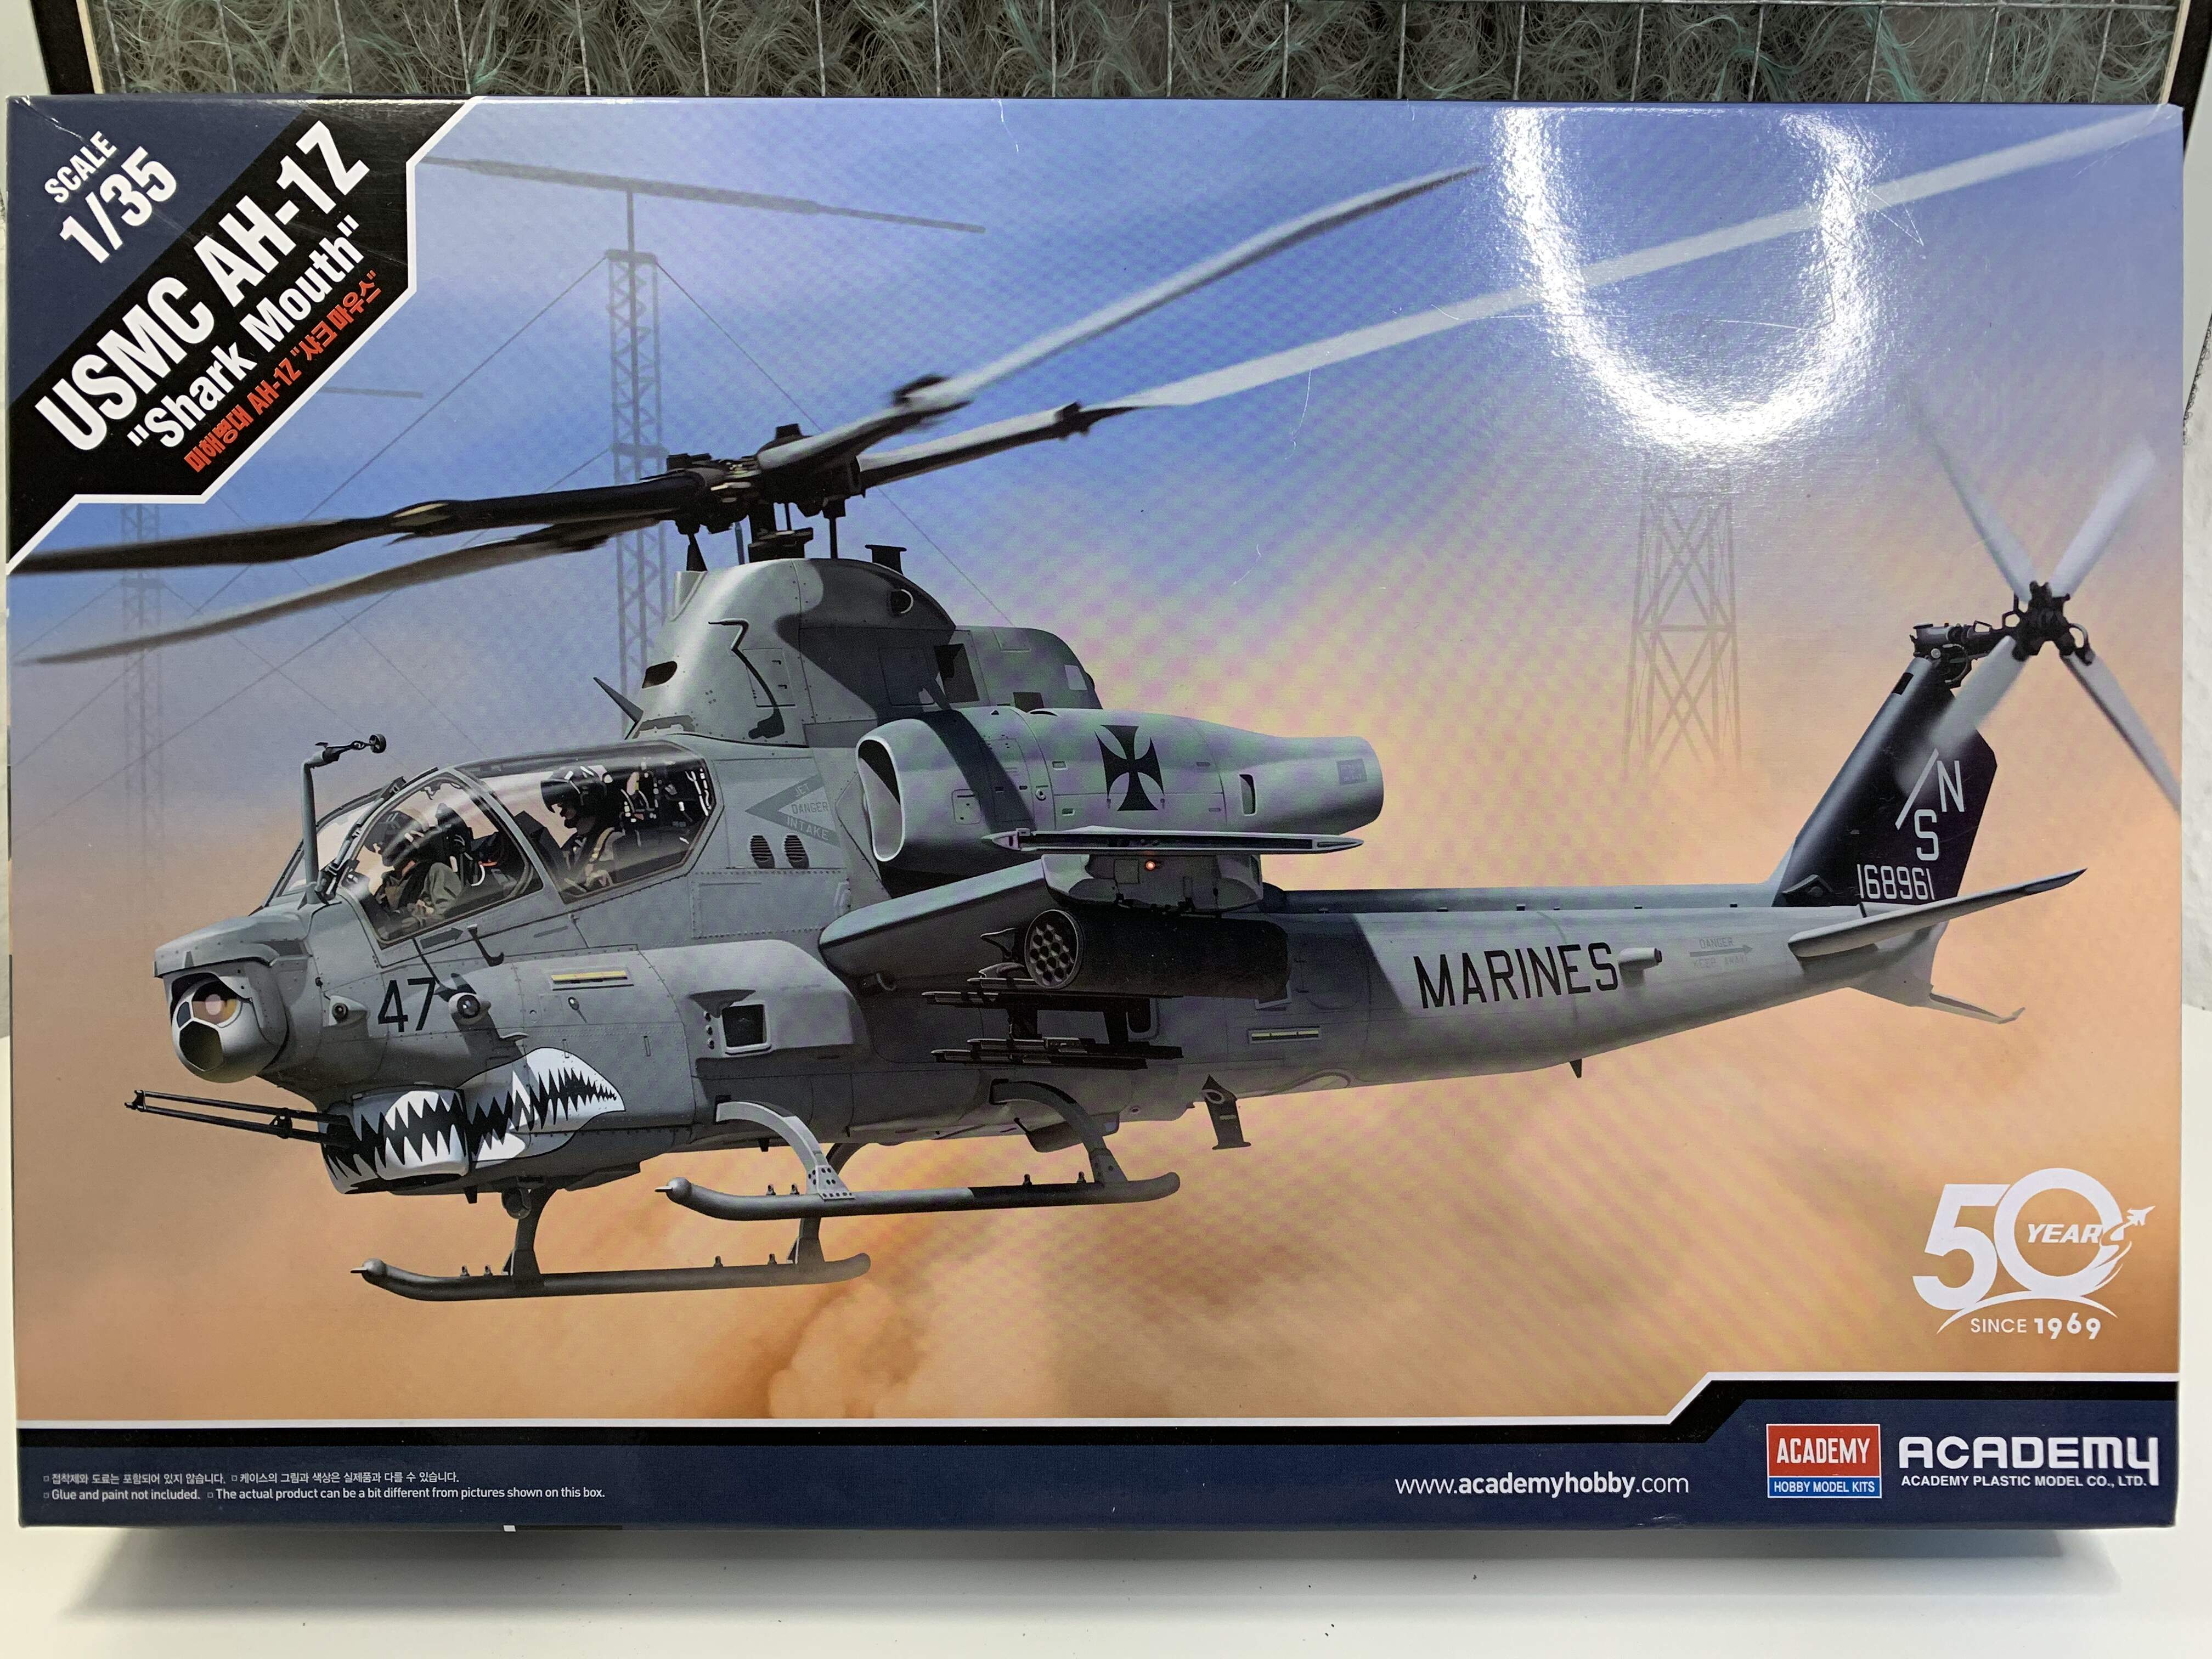
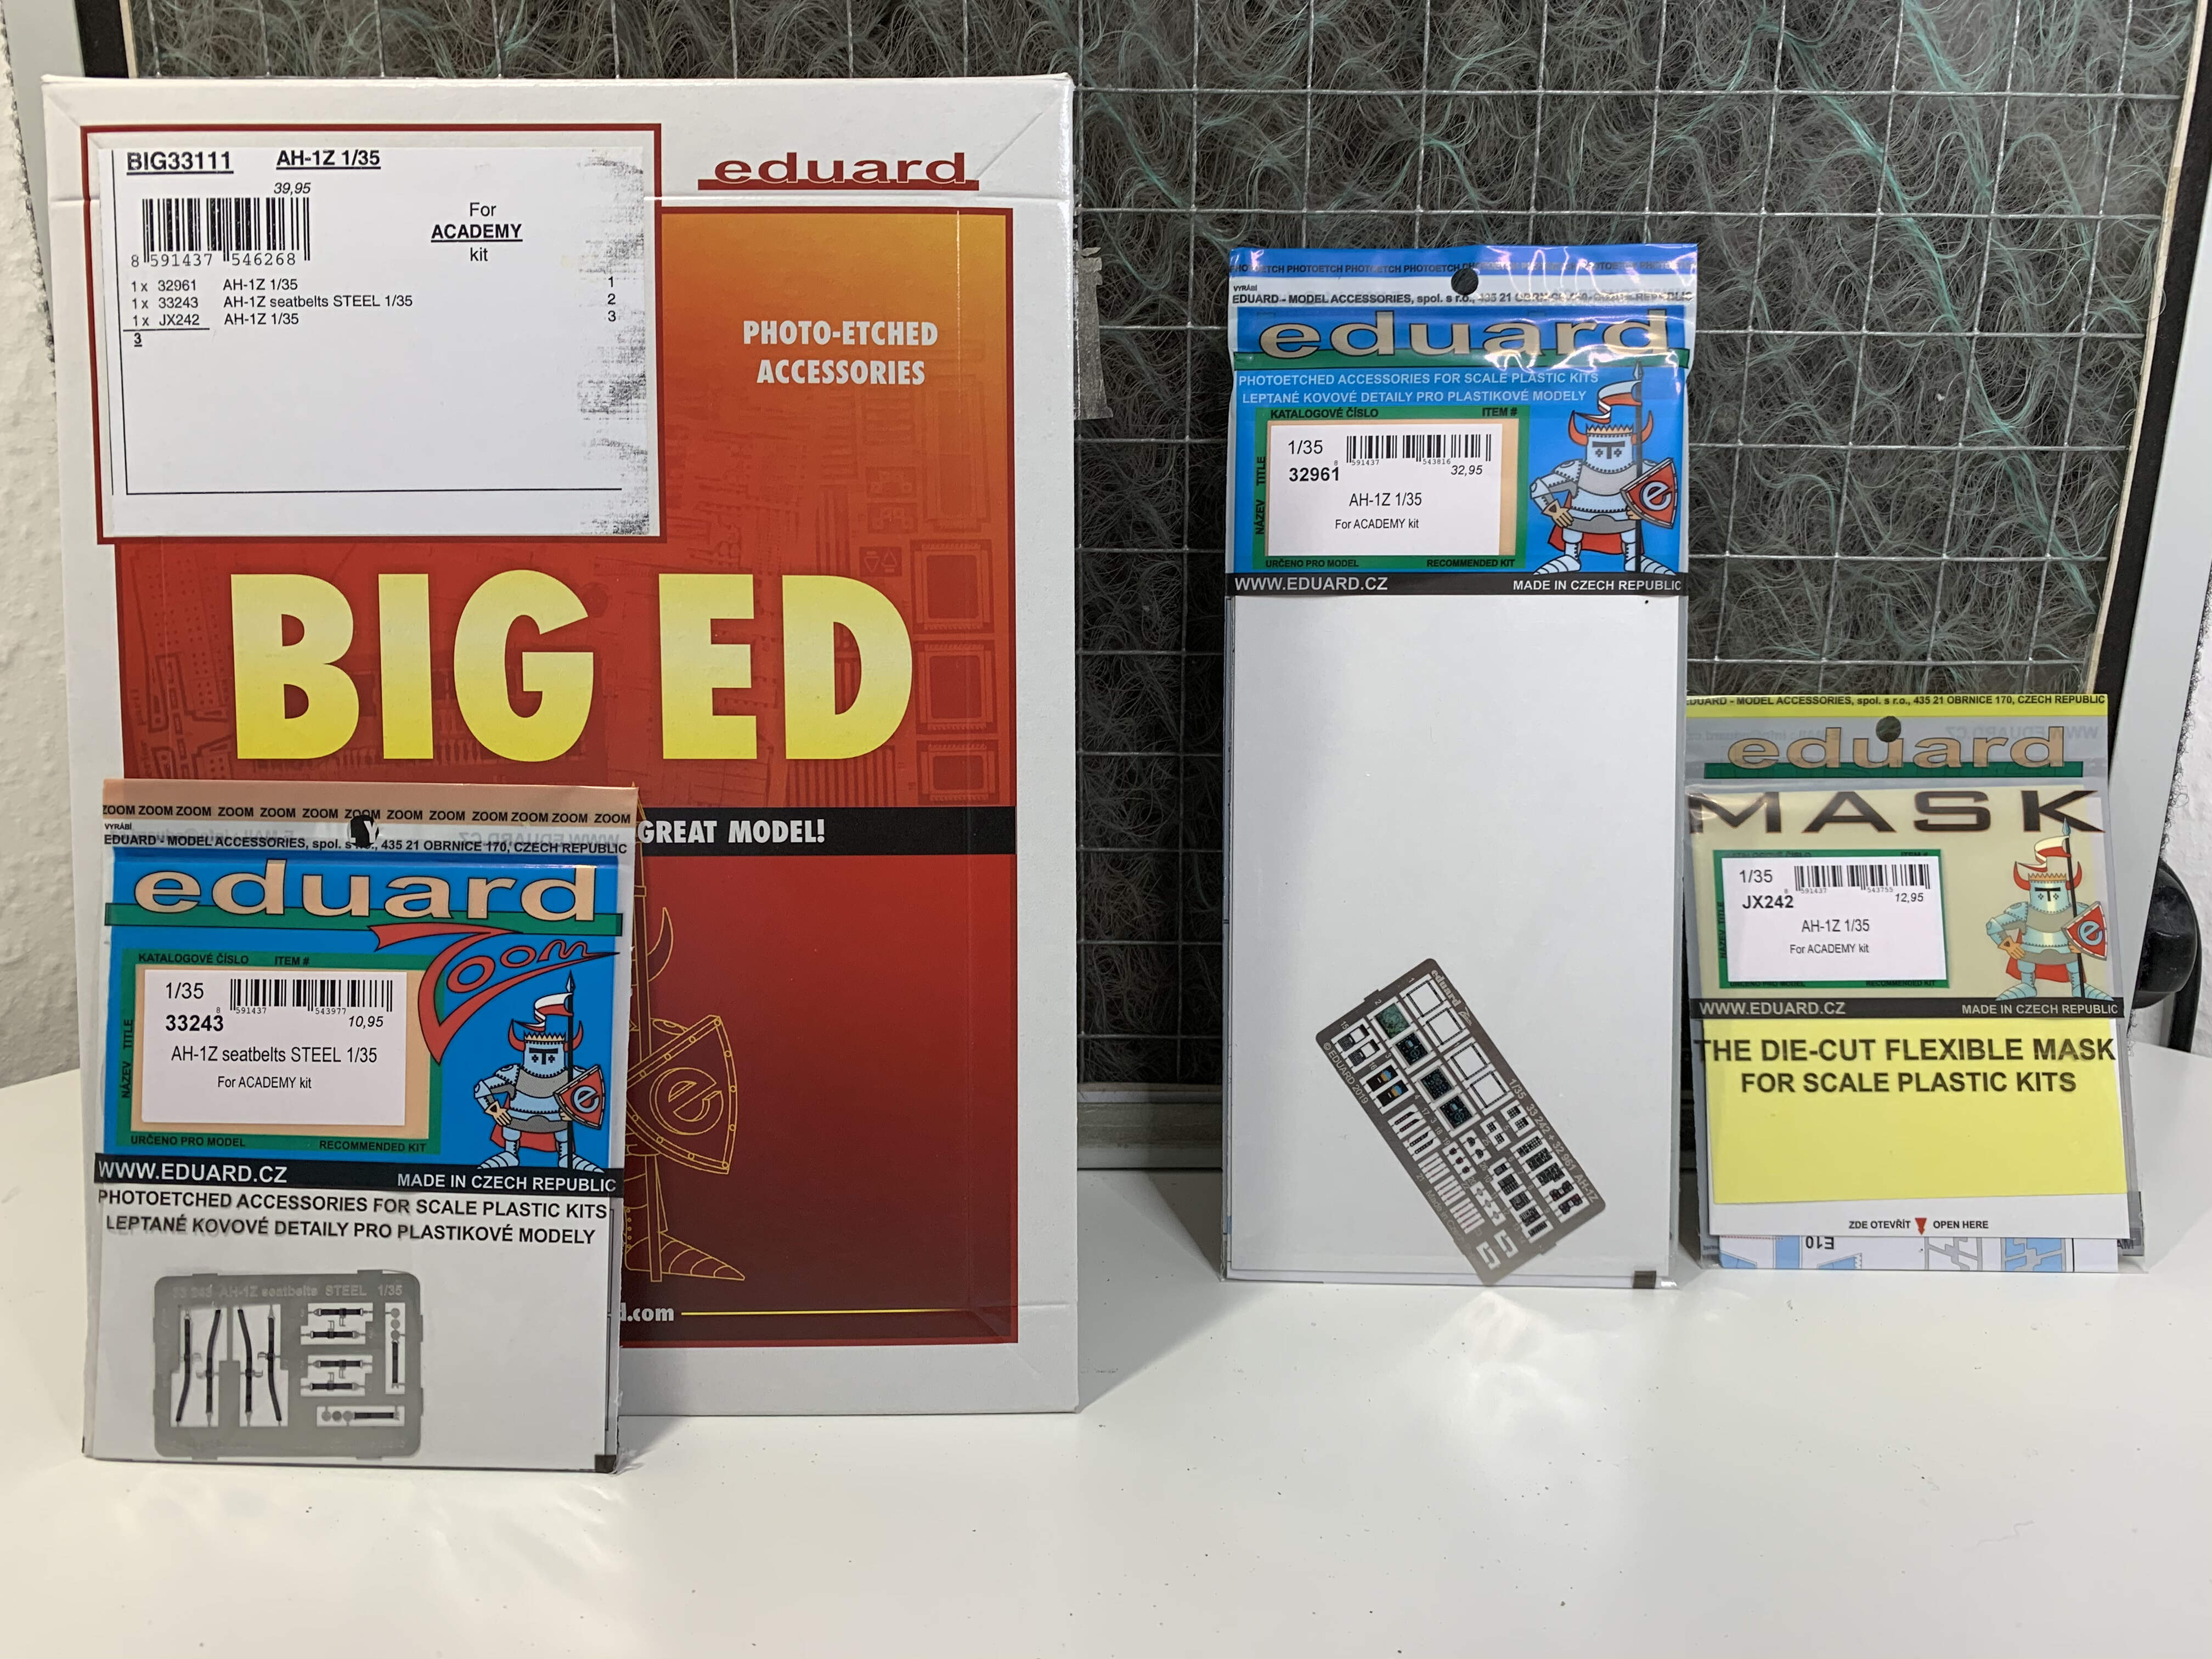
Hi there, this is the standalone thread for my AH-1Z shark mouth build, which is part of the rotary wing campaign.
Cheers, Jim.
Hi there, this is the standalone thread for my AH-1Z shark mouth build, which is part of the rotary wing campaign.
Cheers, Jim.
Which scheme are you planning on?
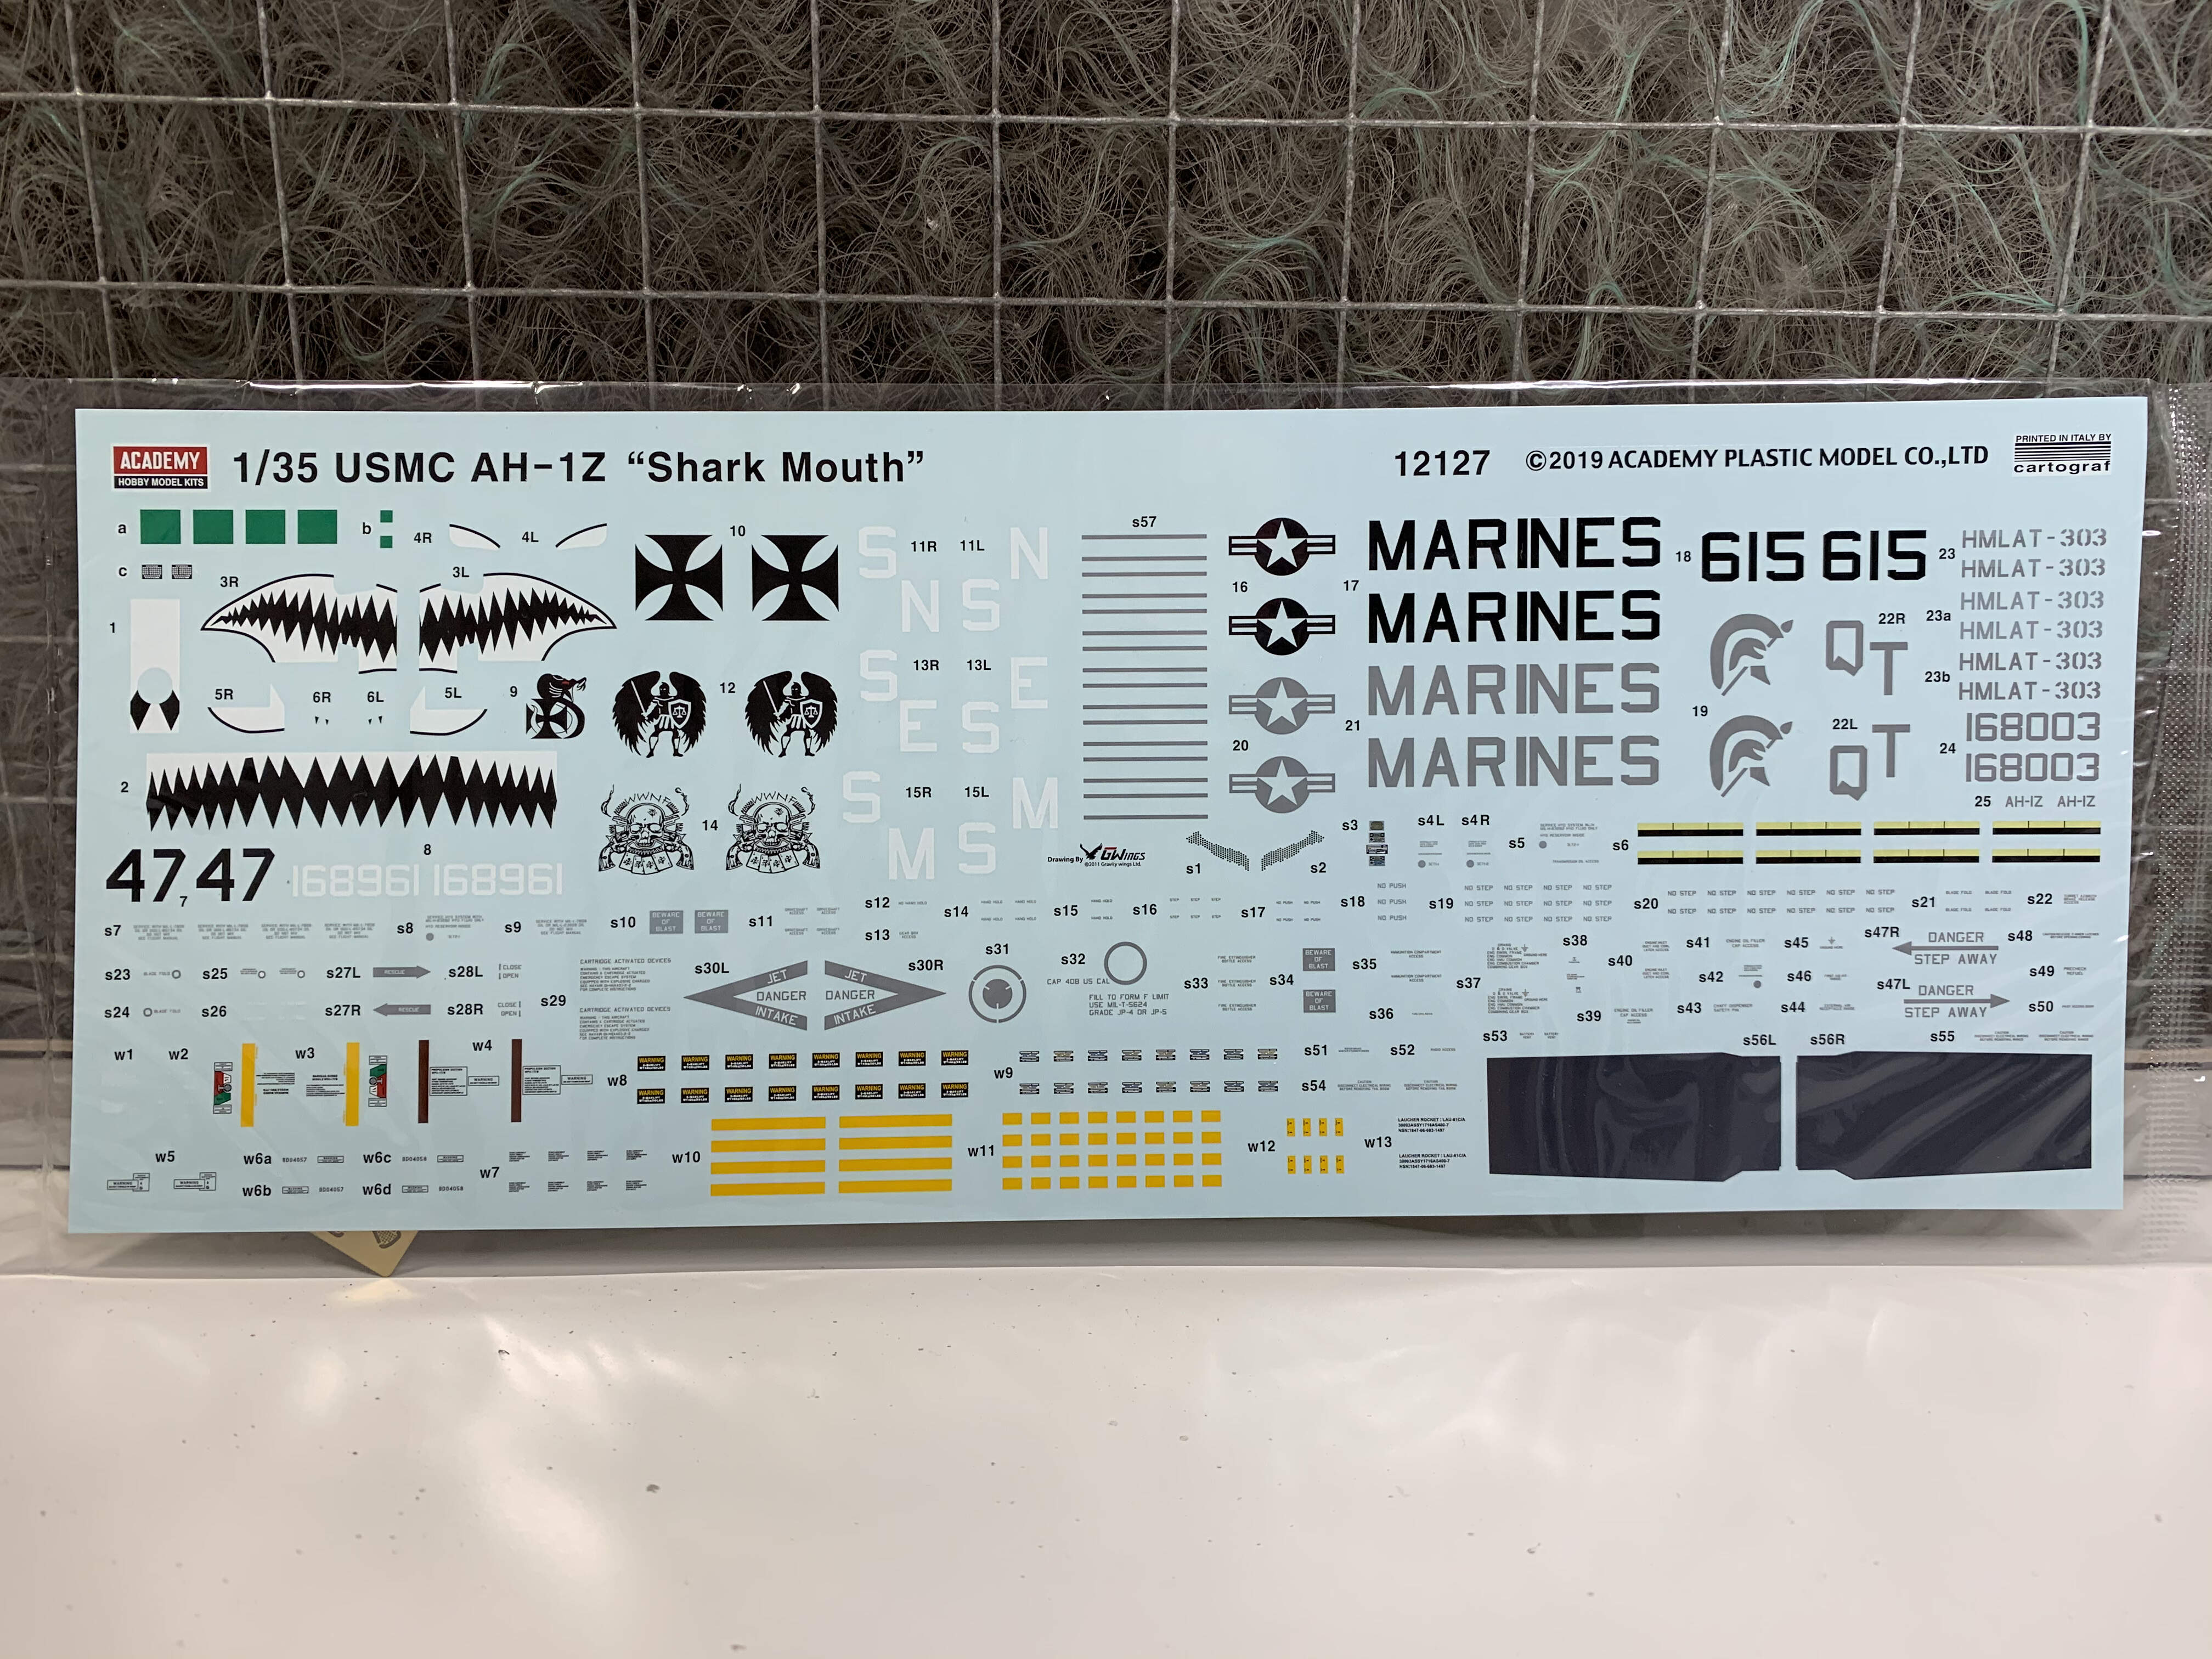
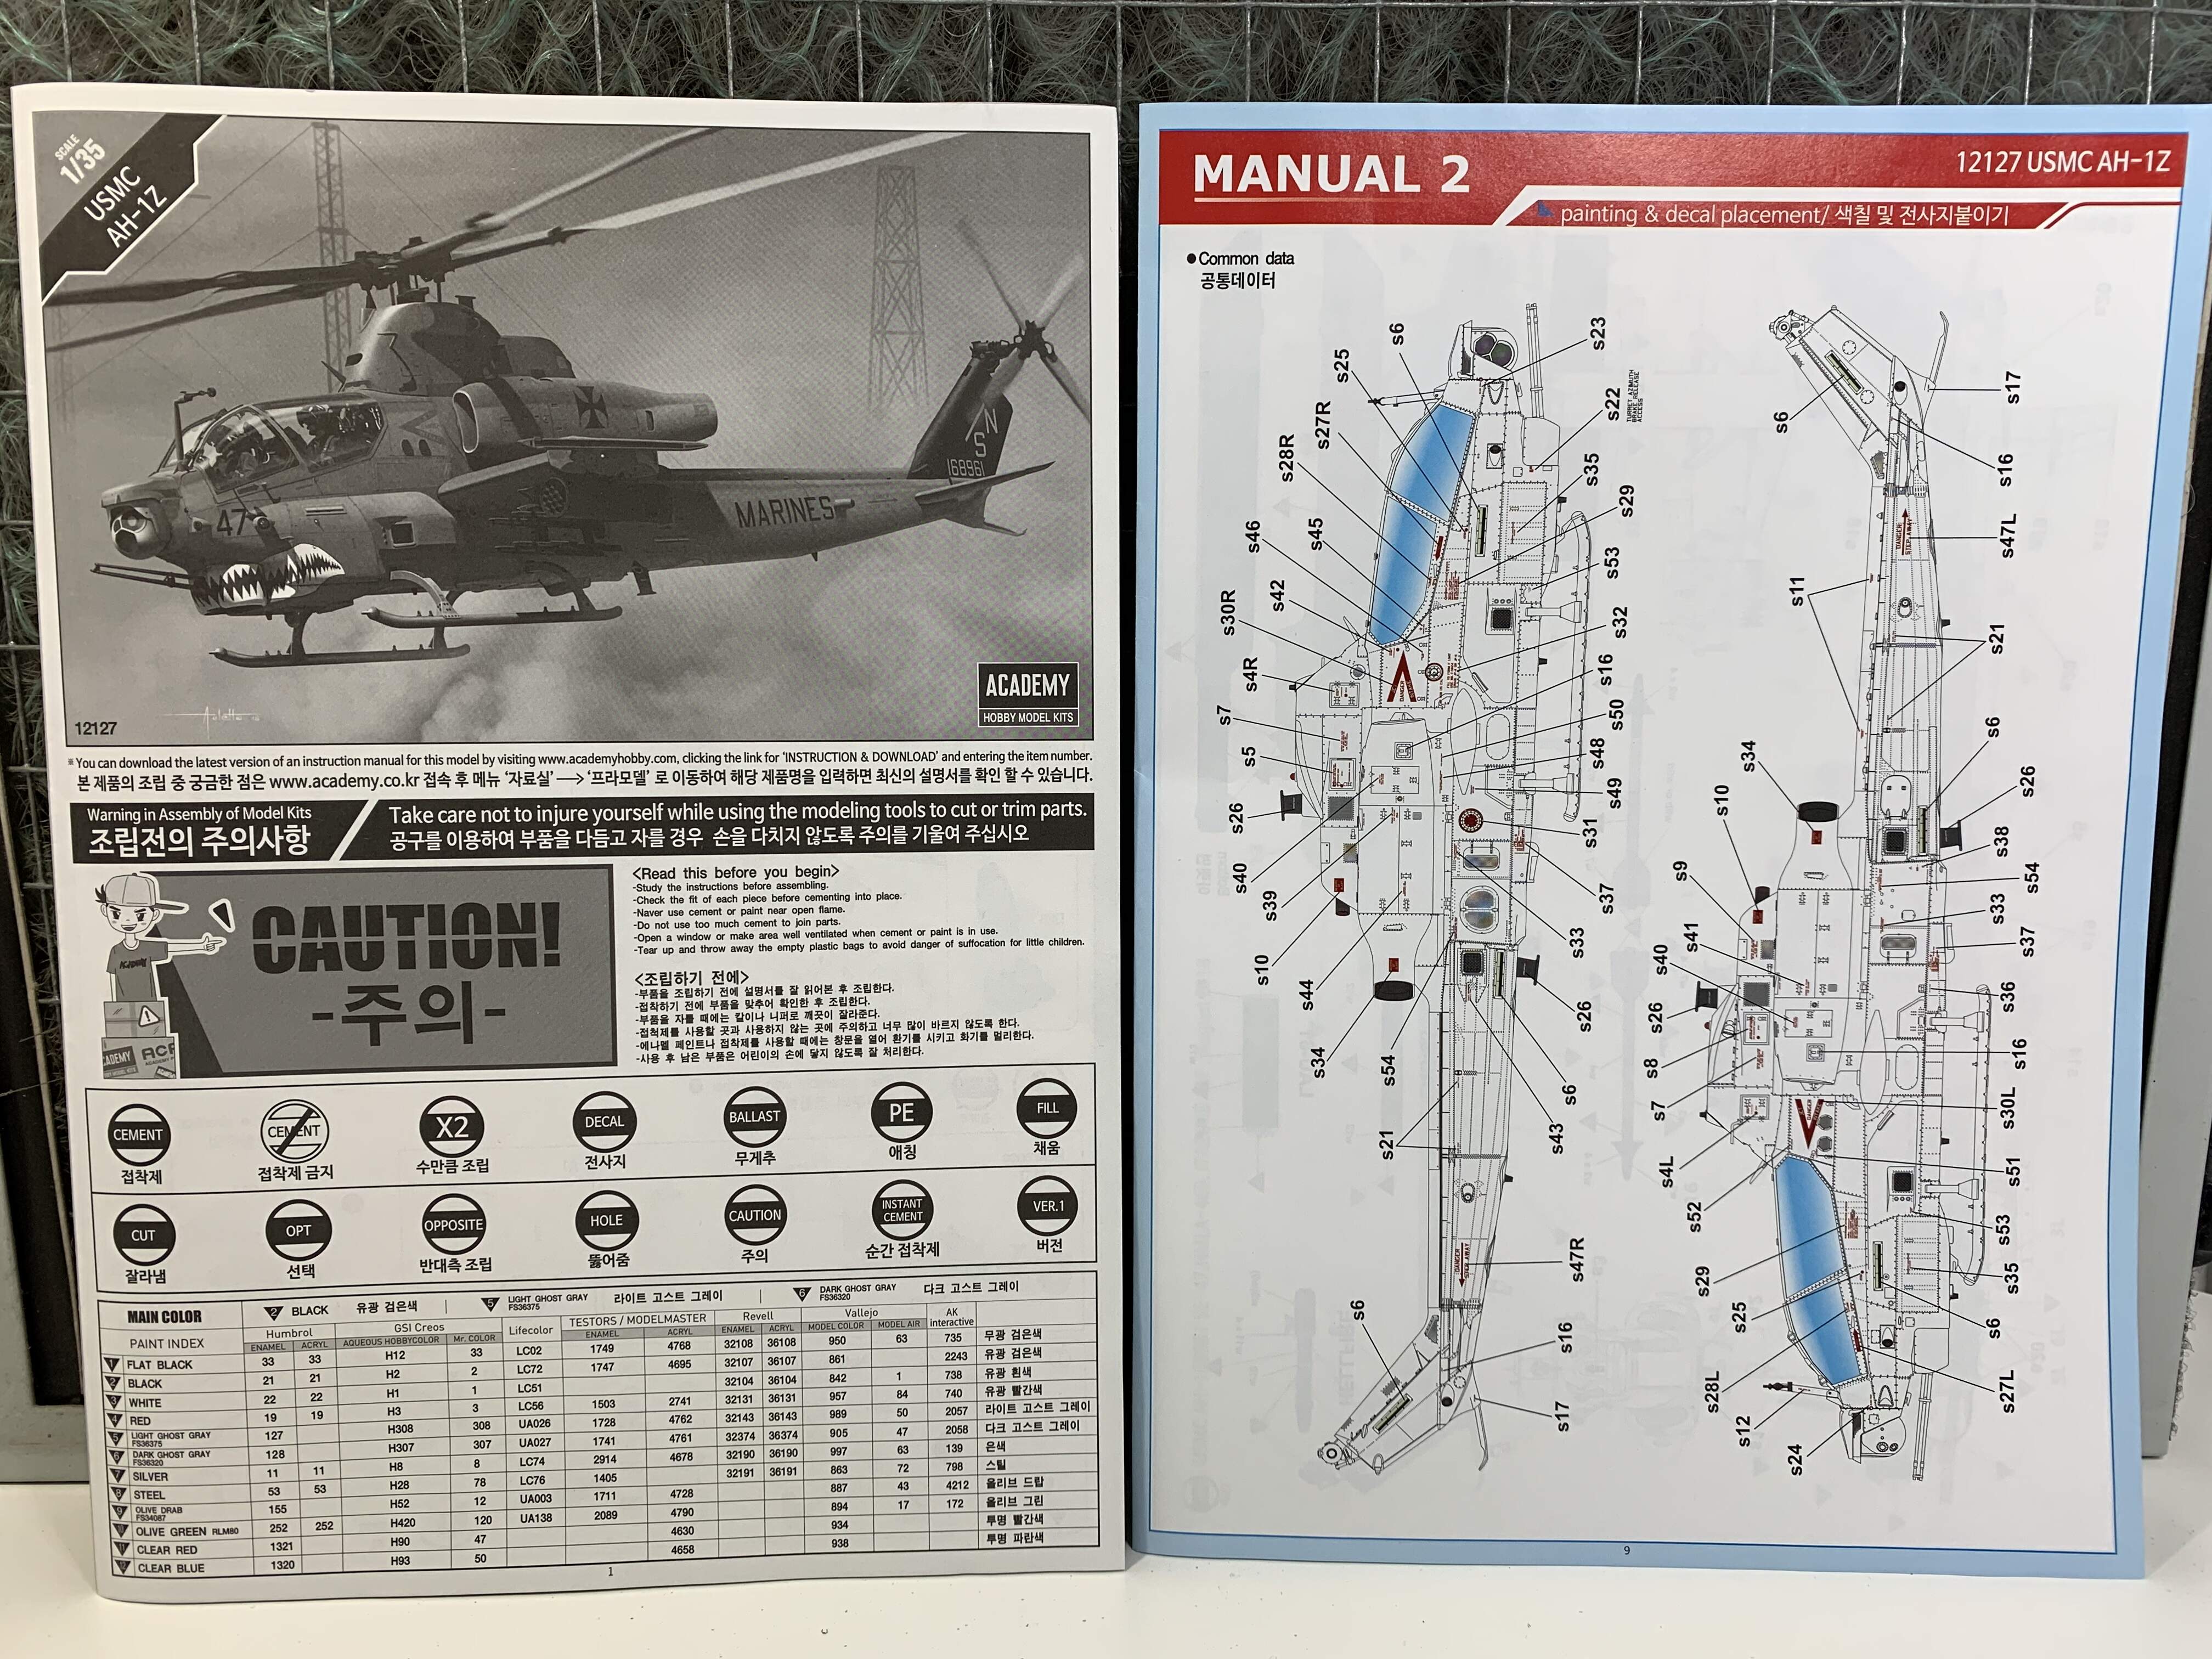
Think I’m going to go with the shark mouth Ryan, the kit gives three options for that but all seem to be the same helicopter at different times. However I do like the fourth option, which is plain with mostly ghosted markings, which is one of the things I really like about the grey two tone schemes… so I guess the honest answer is I don’t know yet!
Cheers, J.
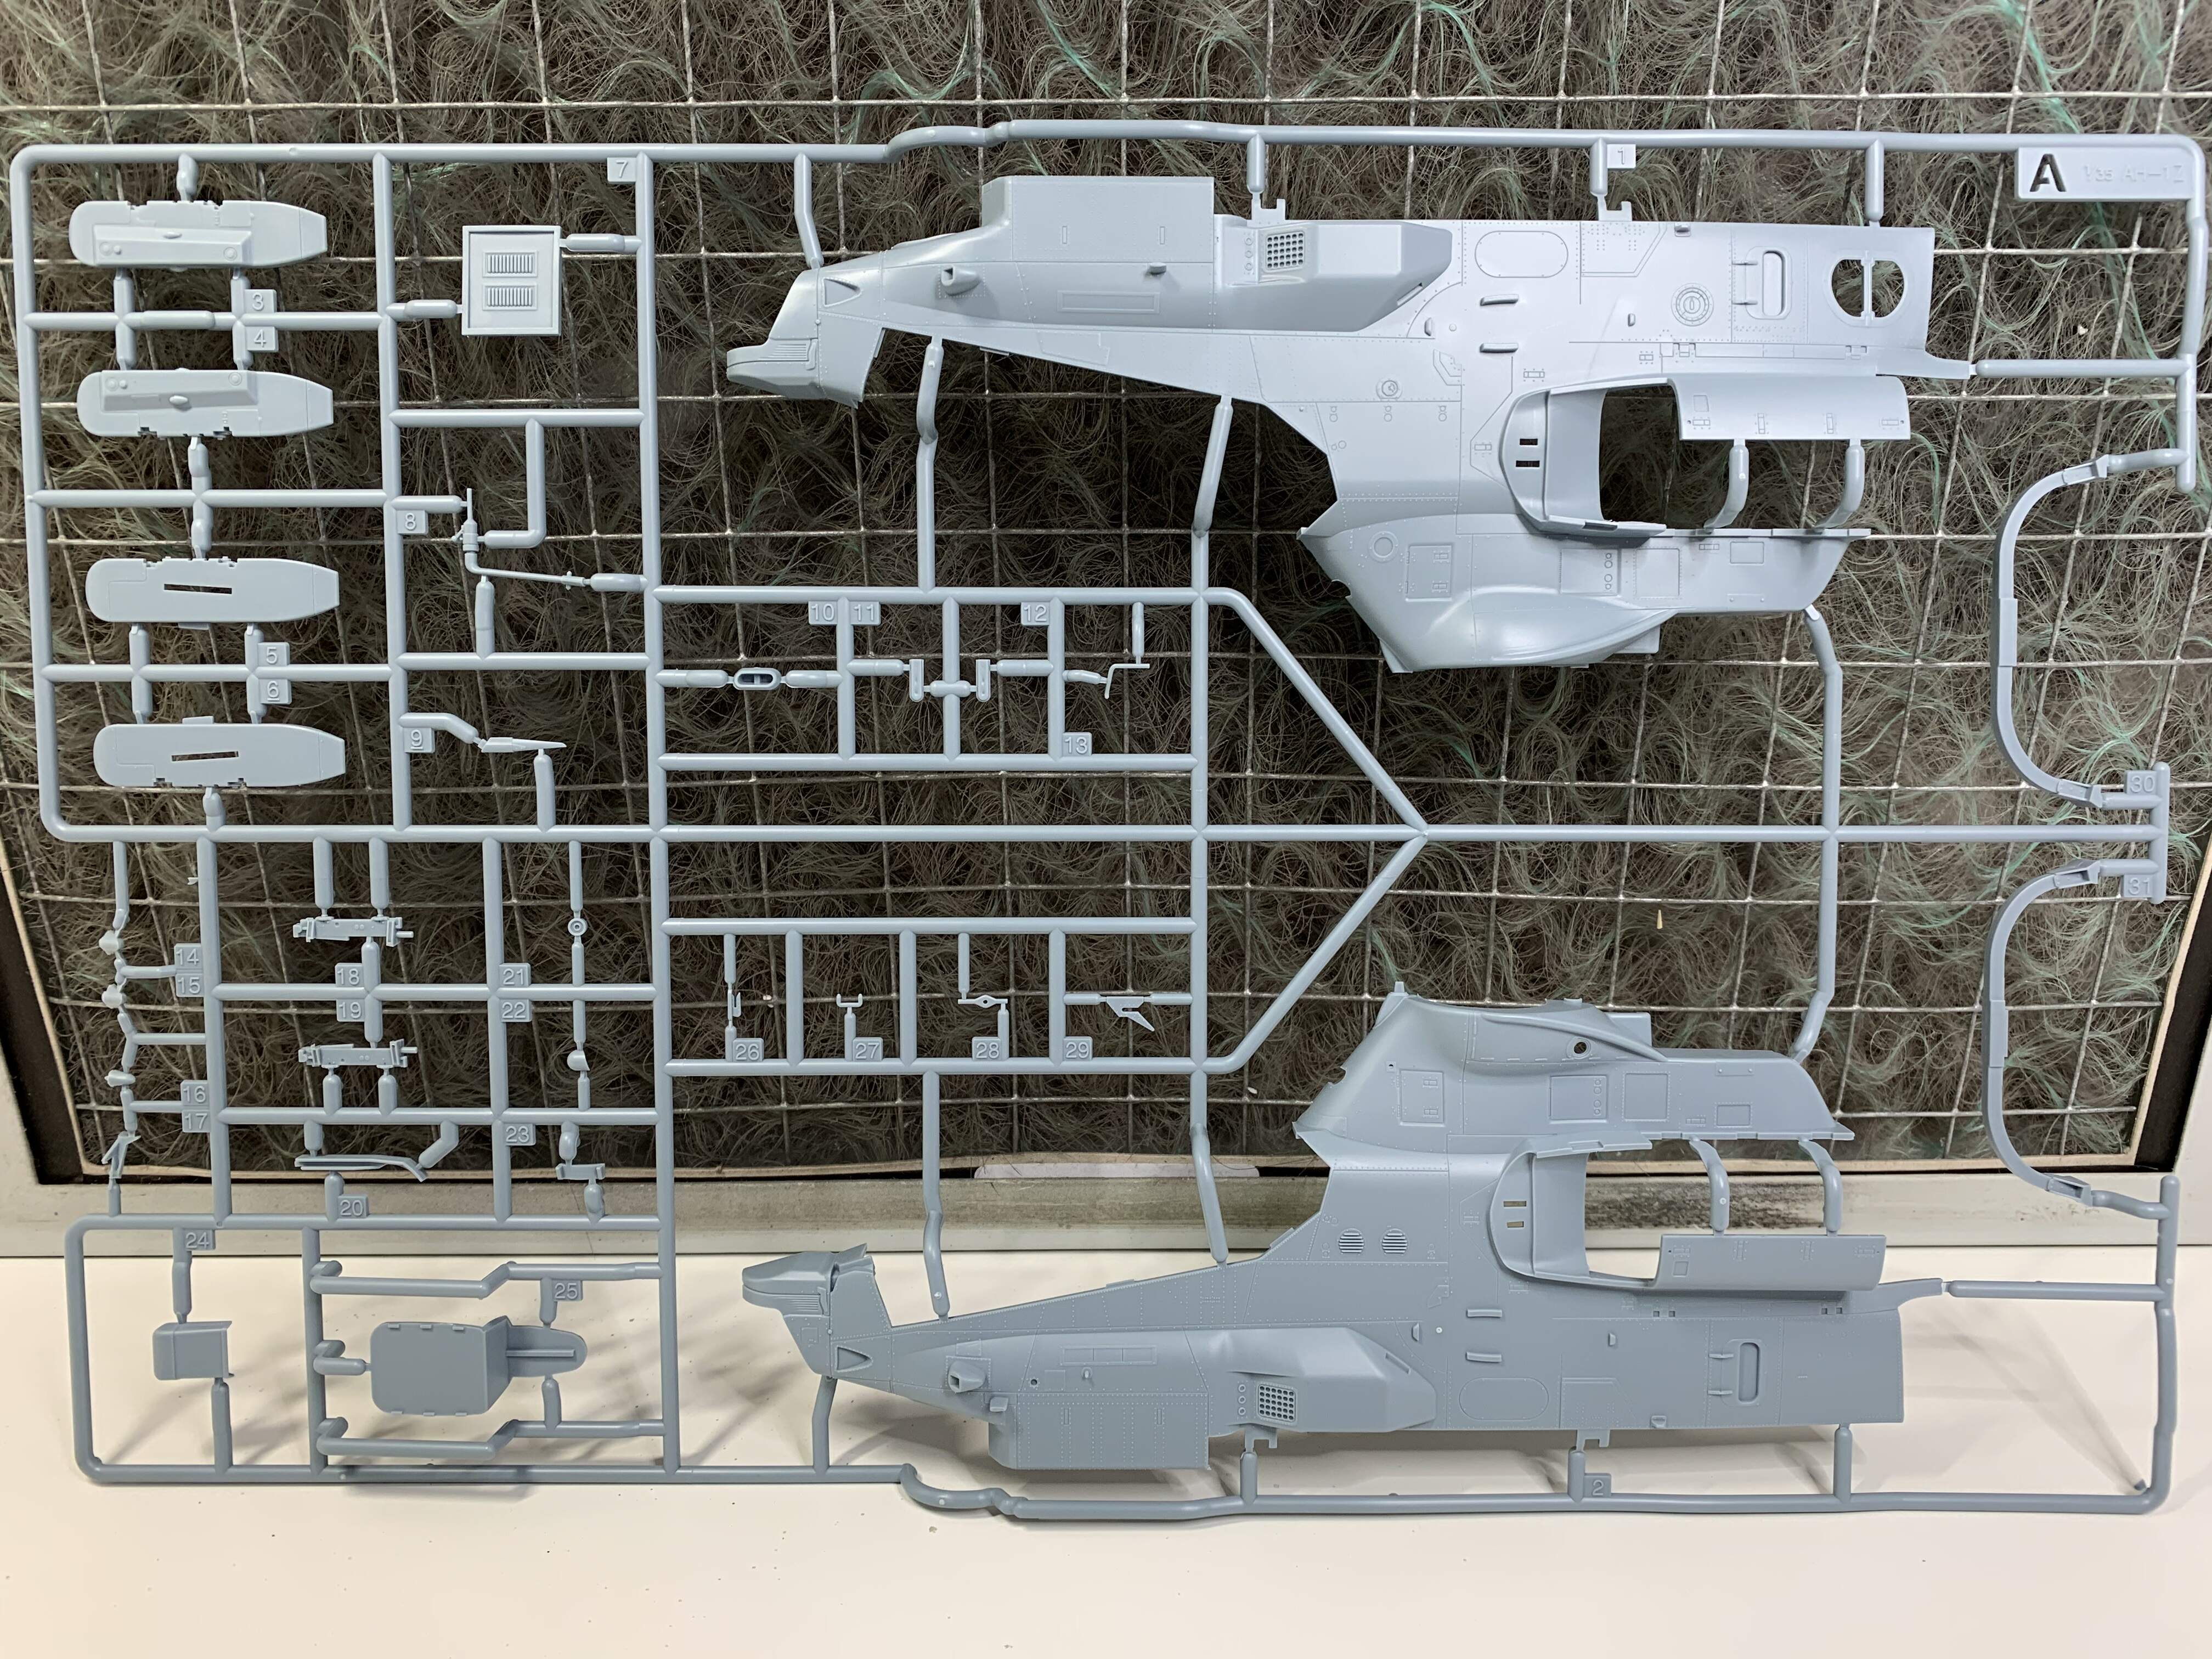
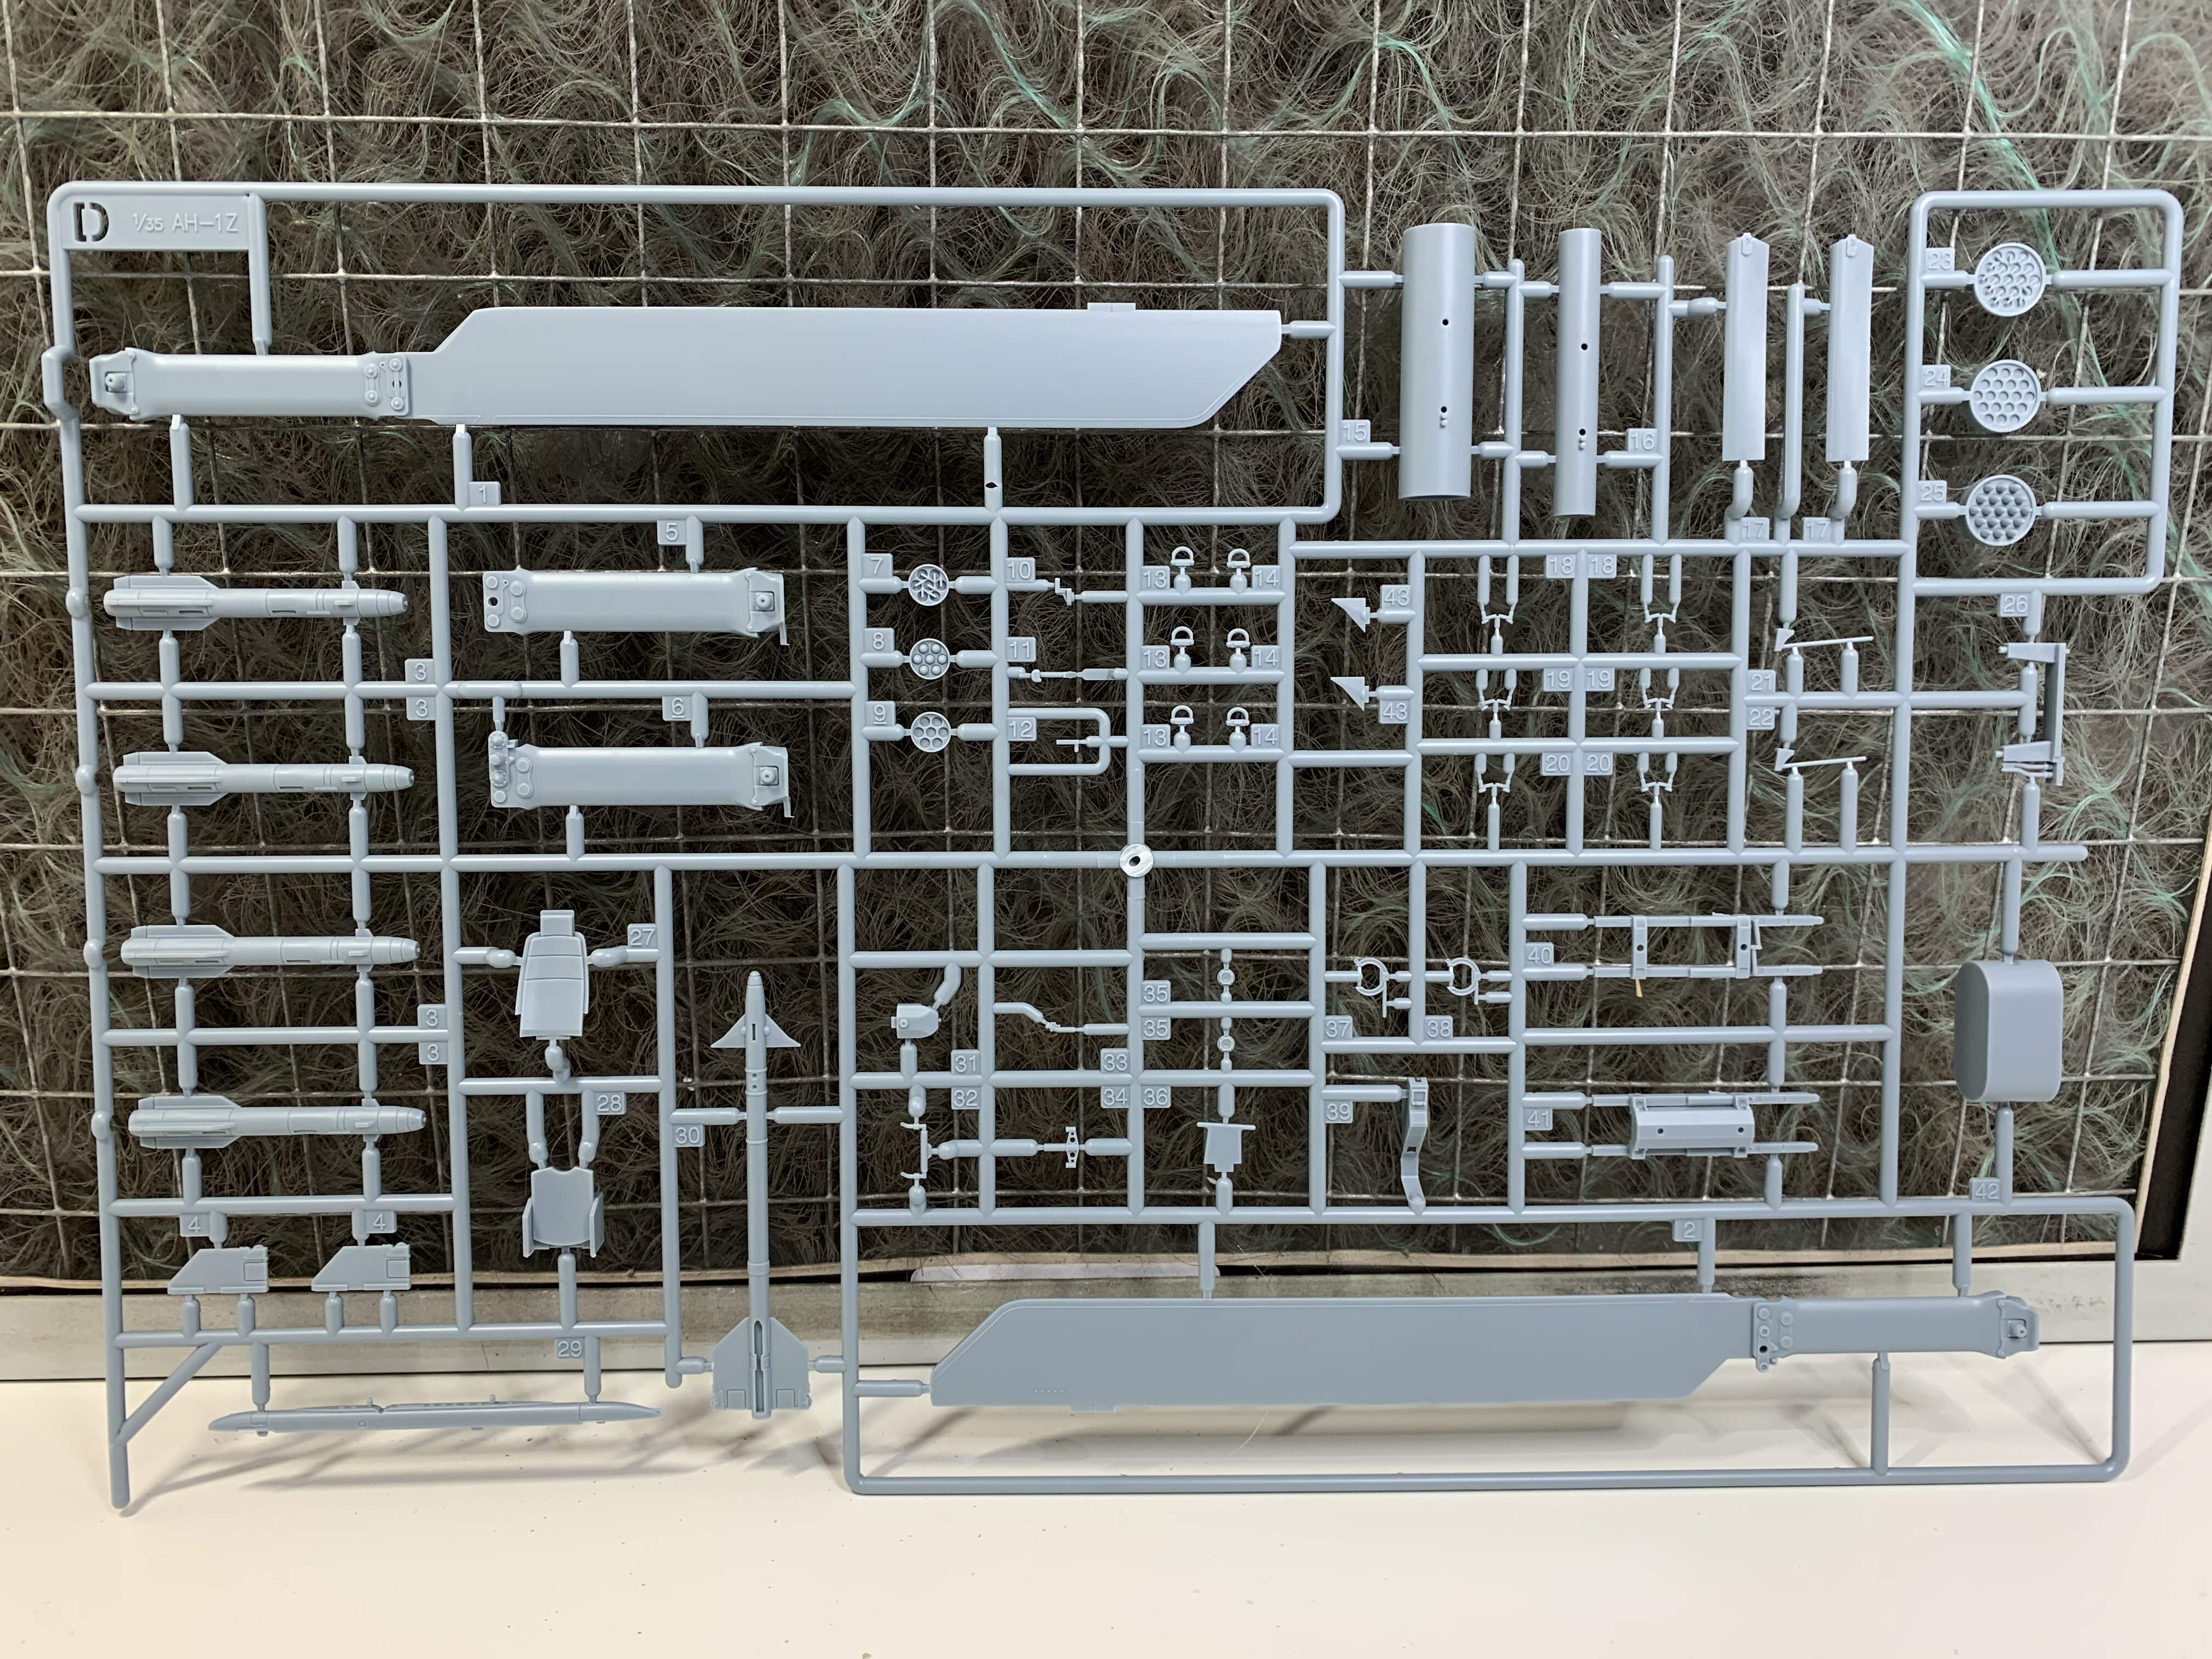
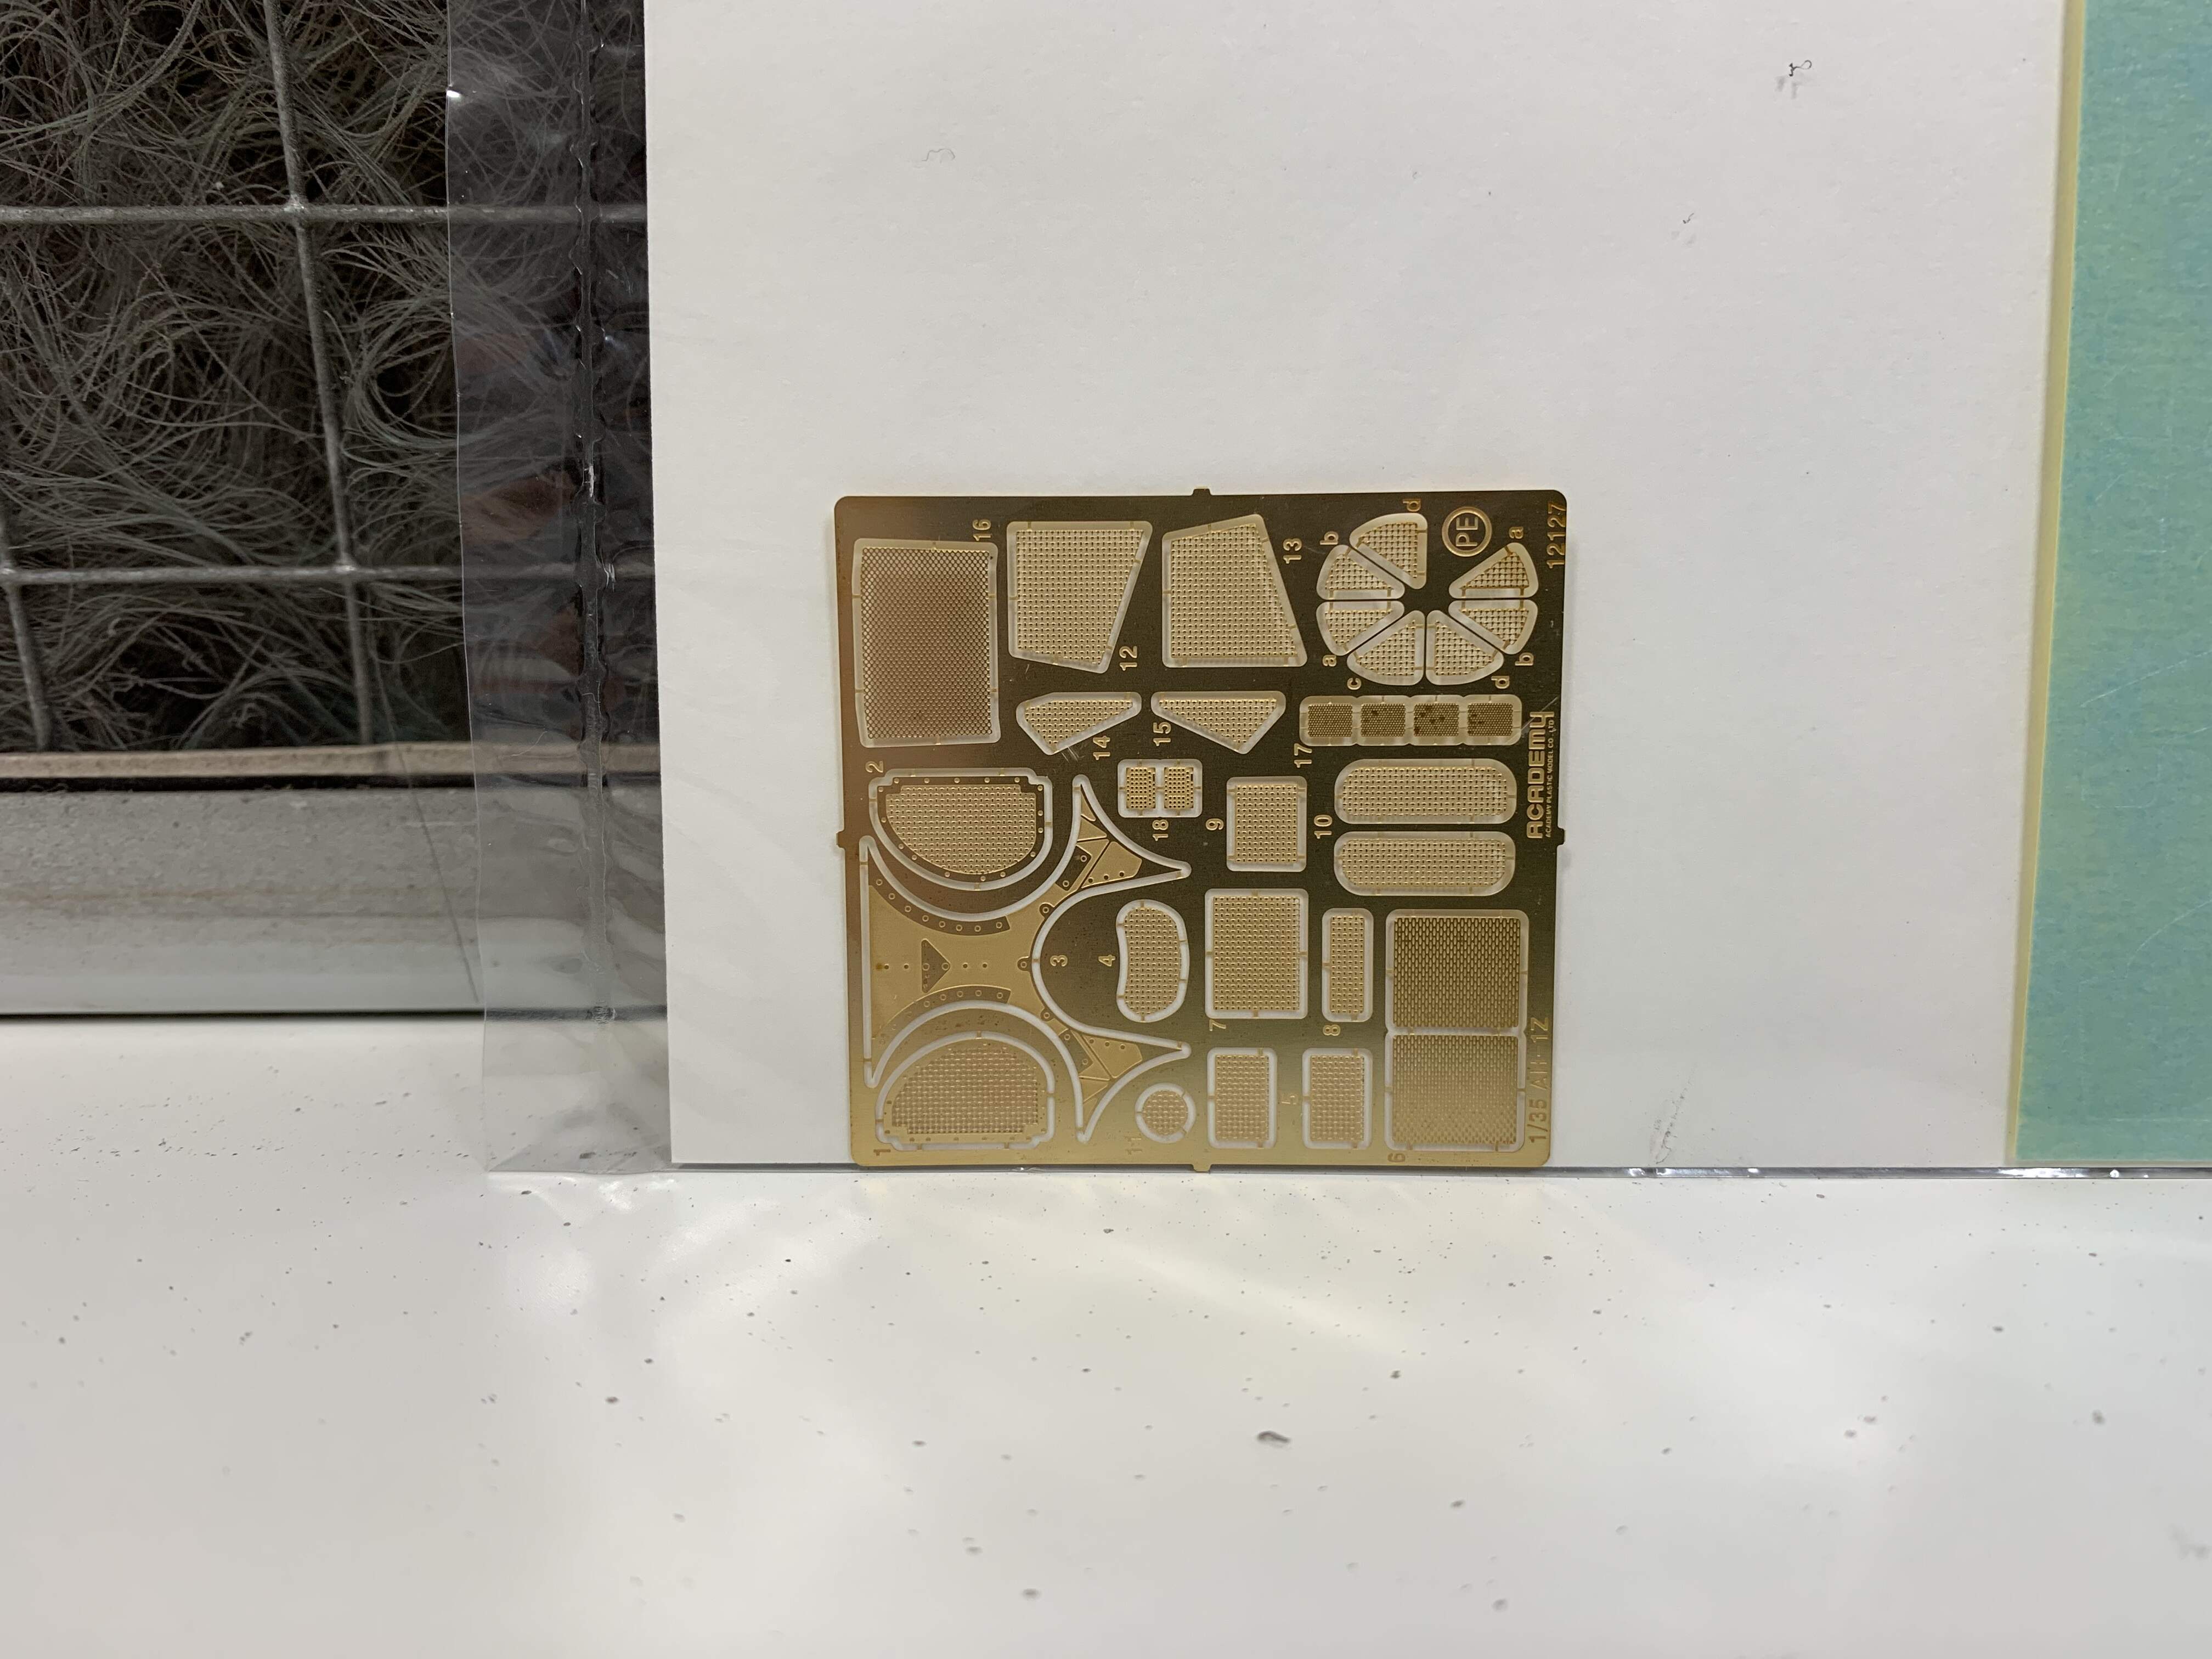
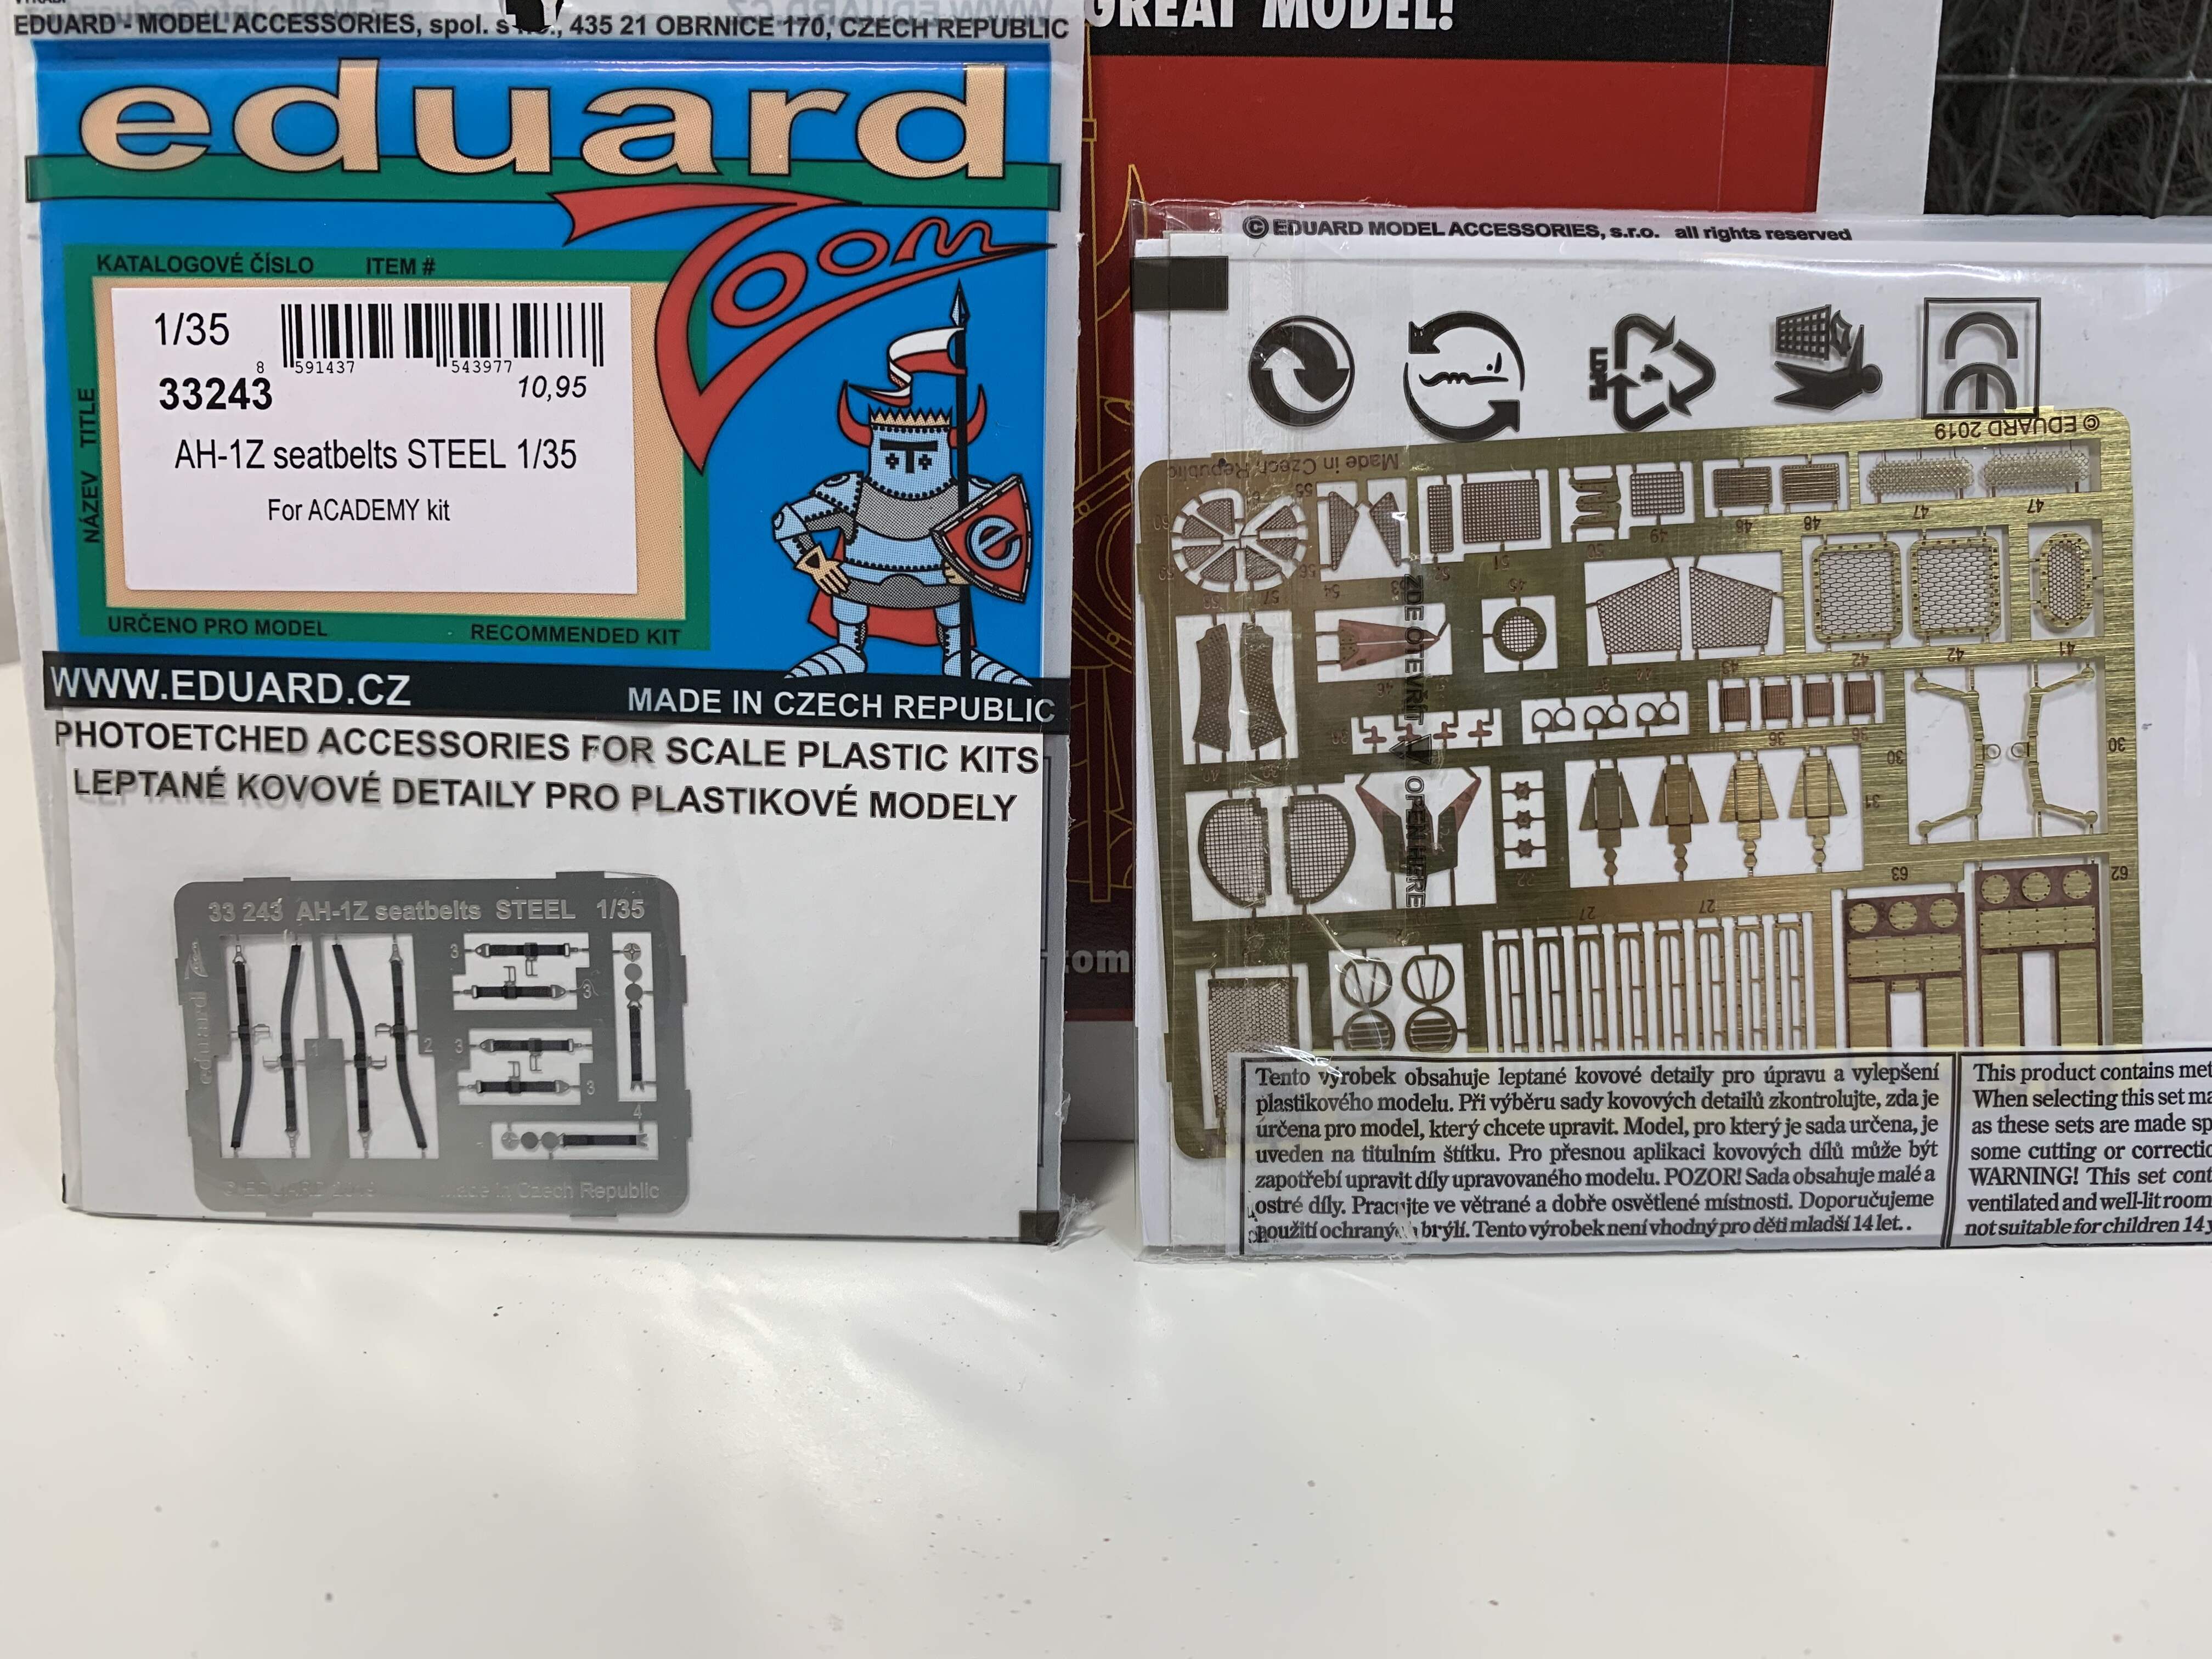
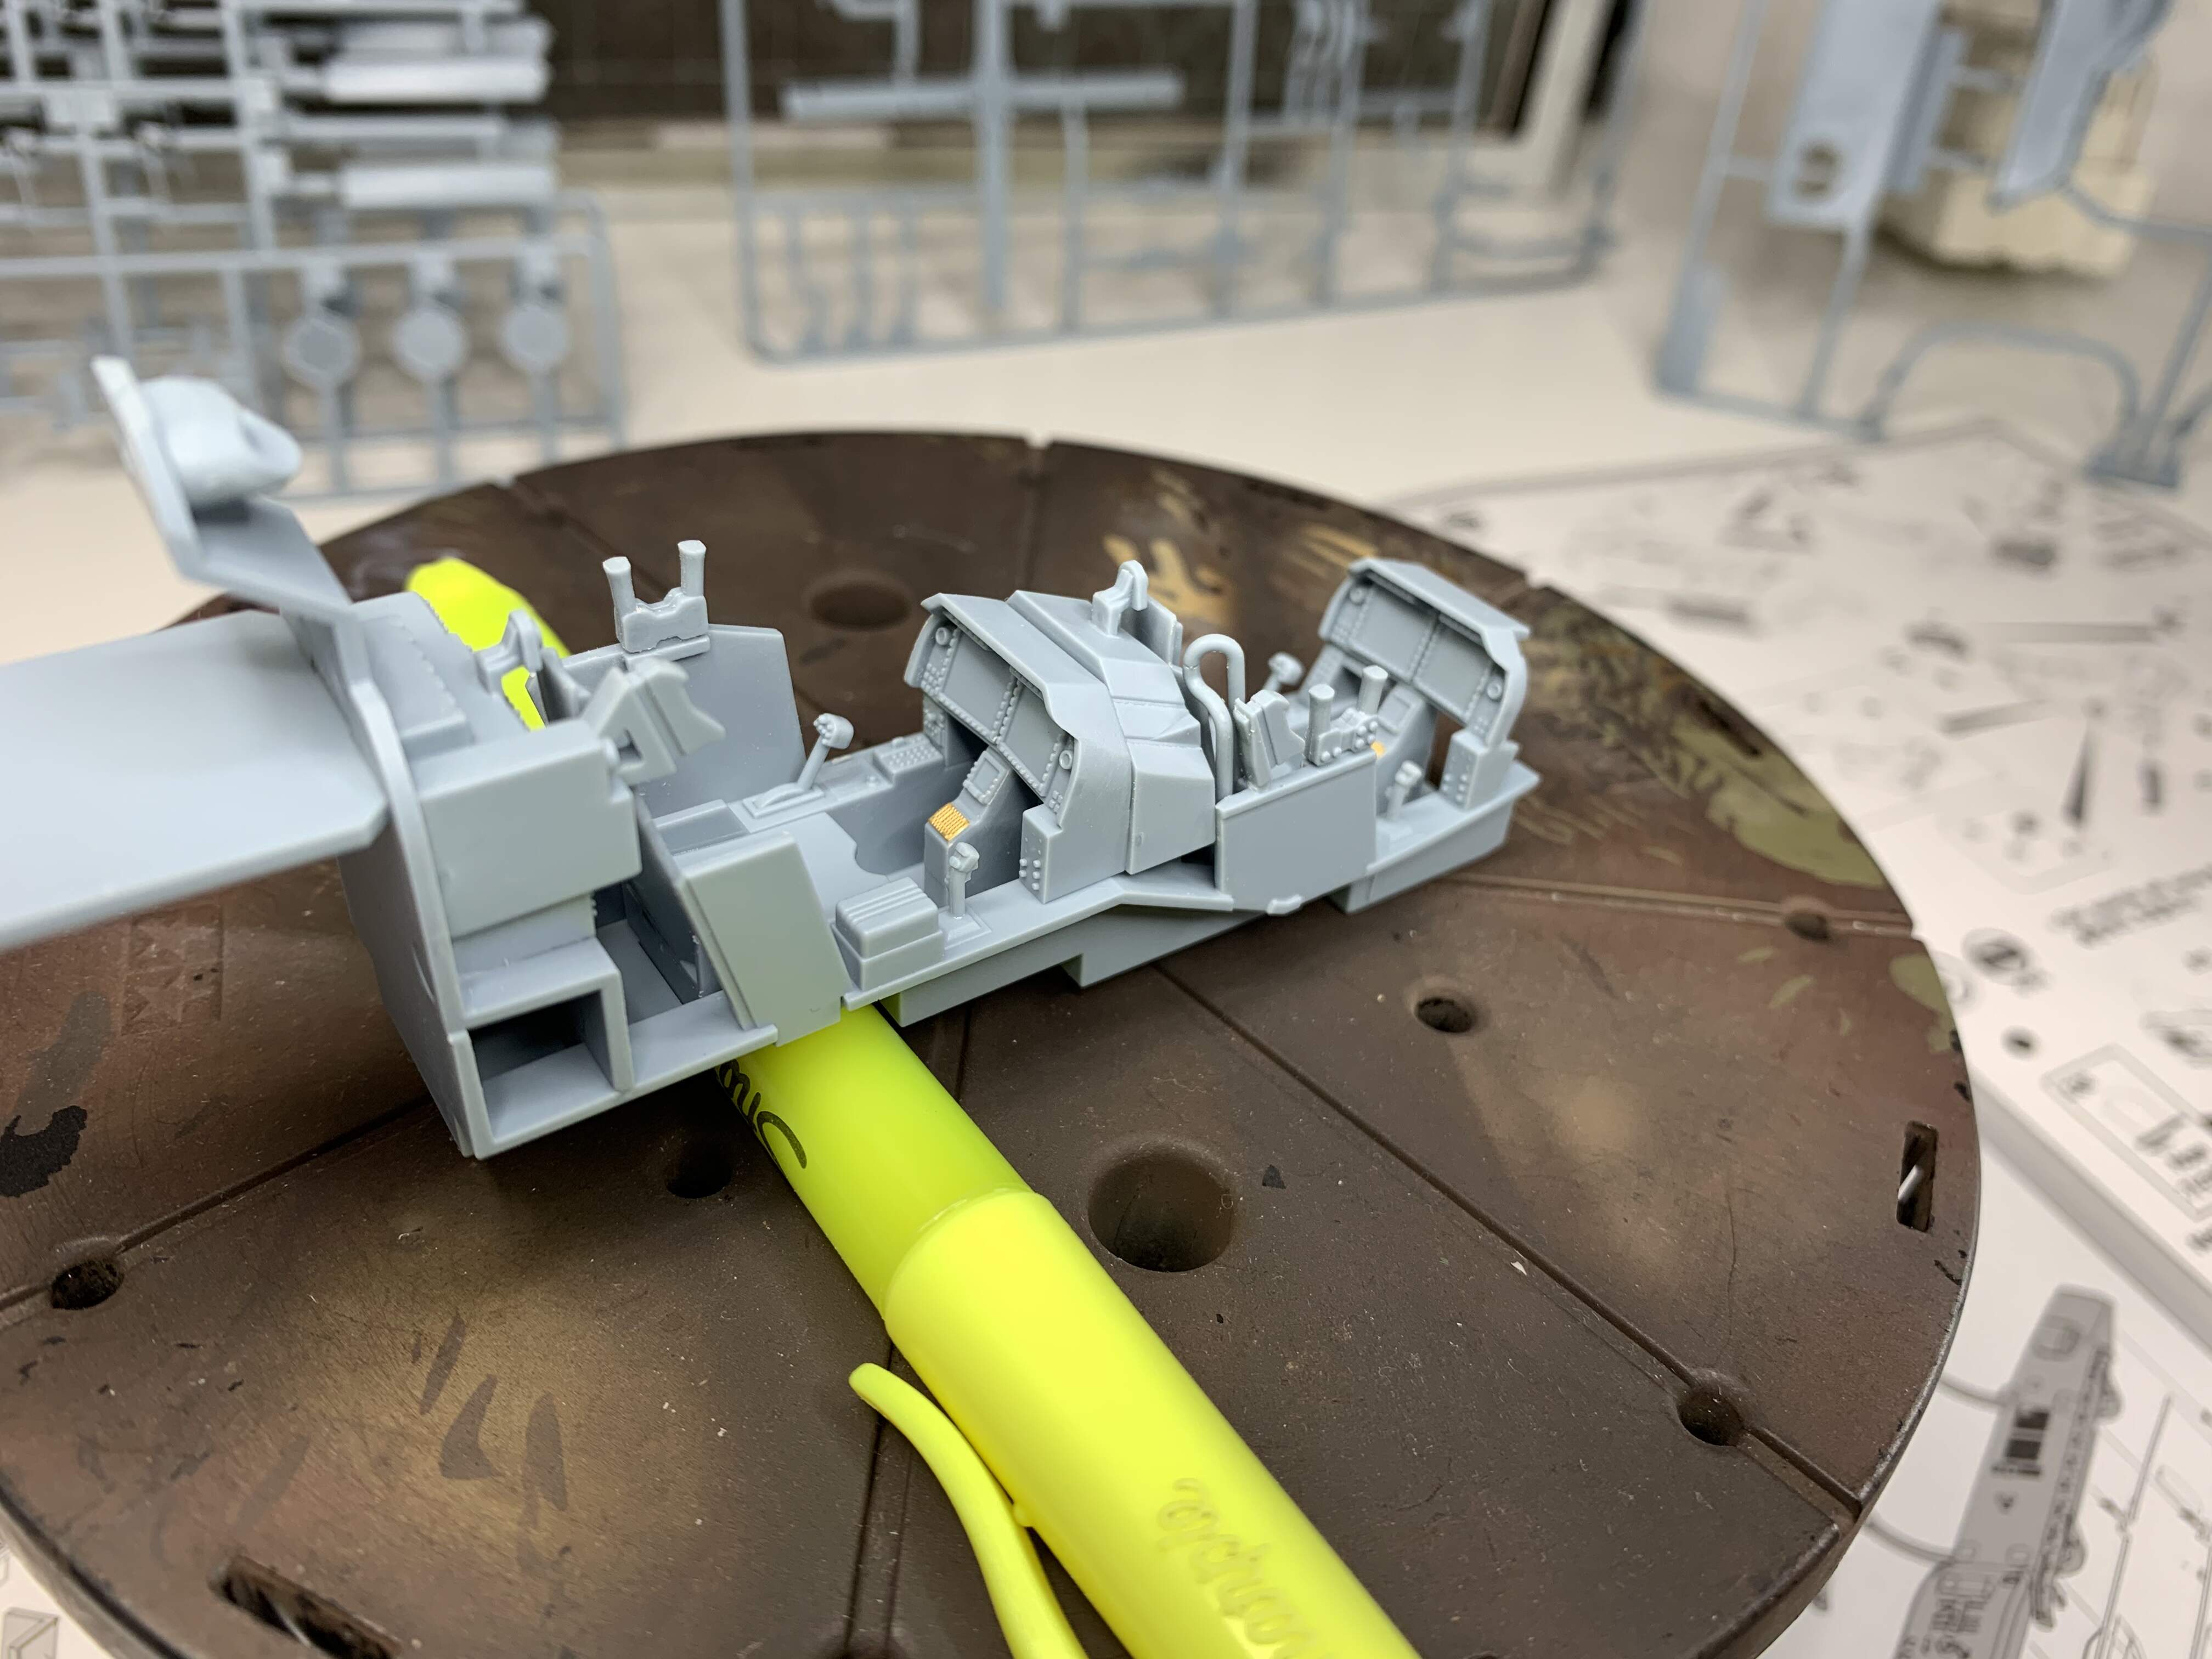
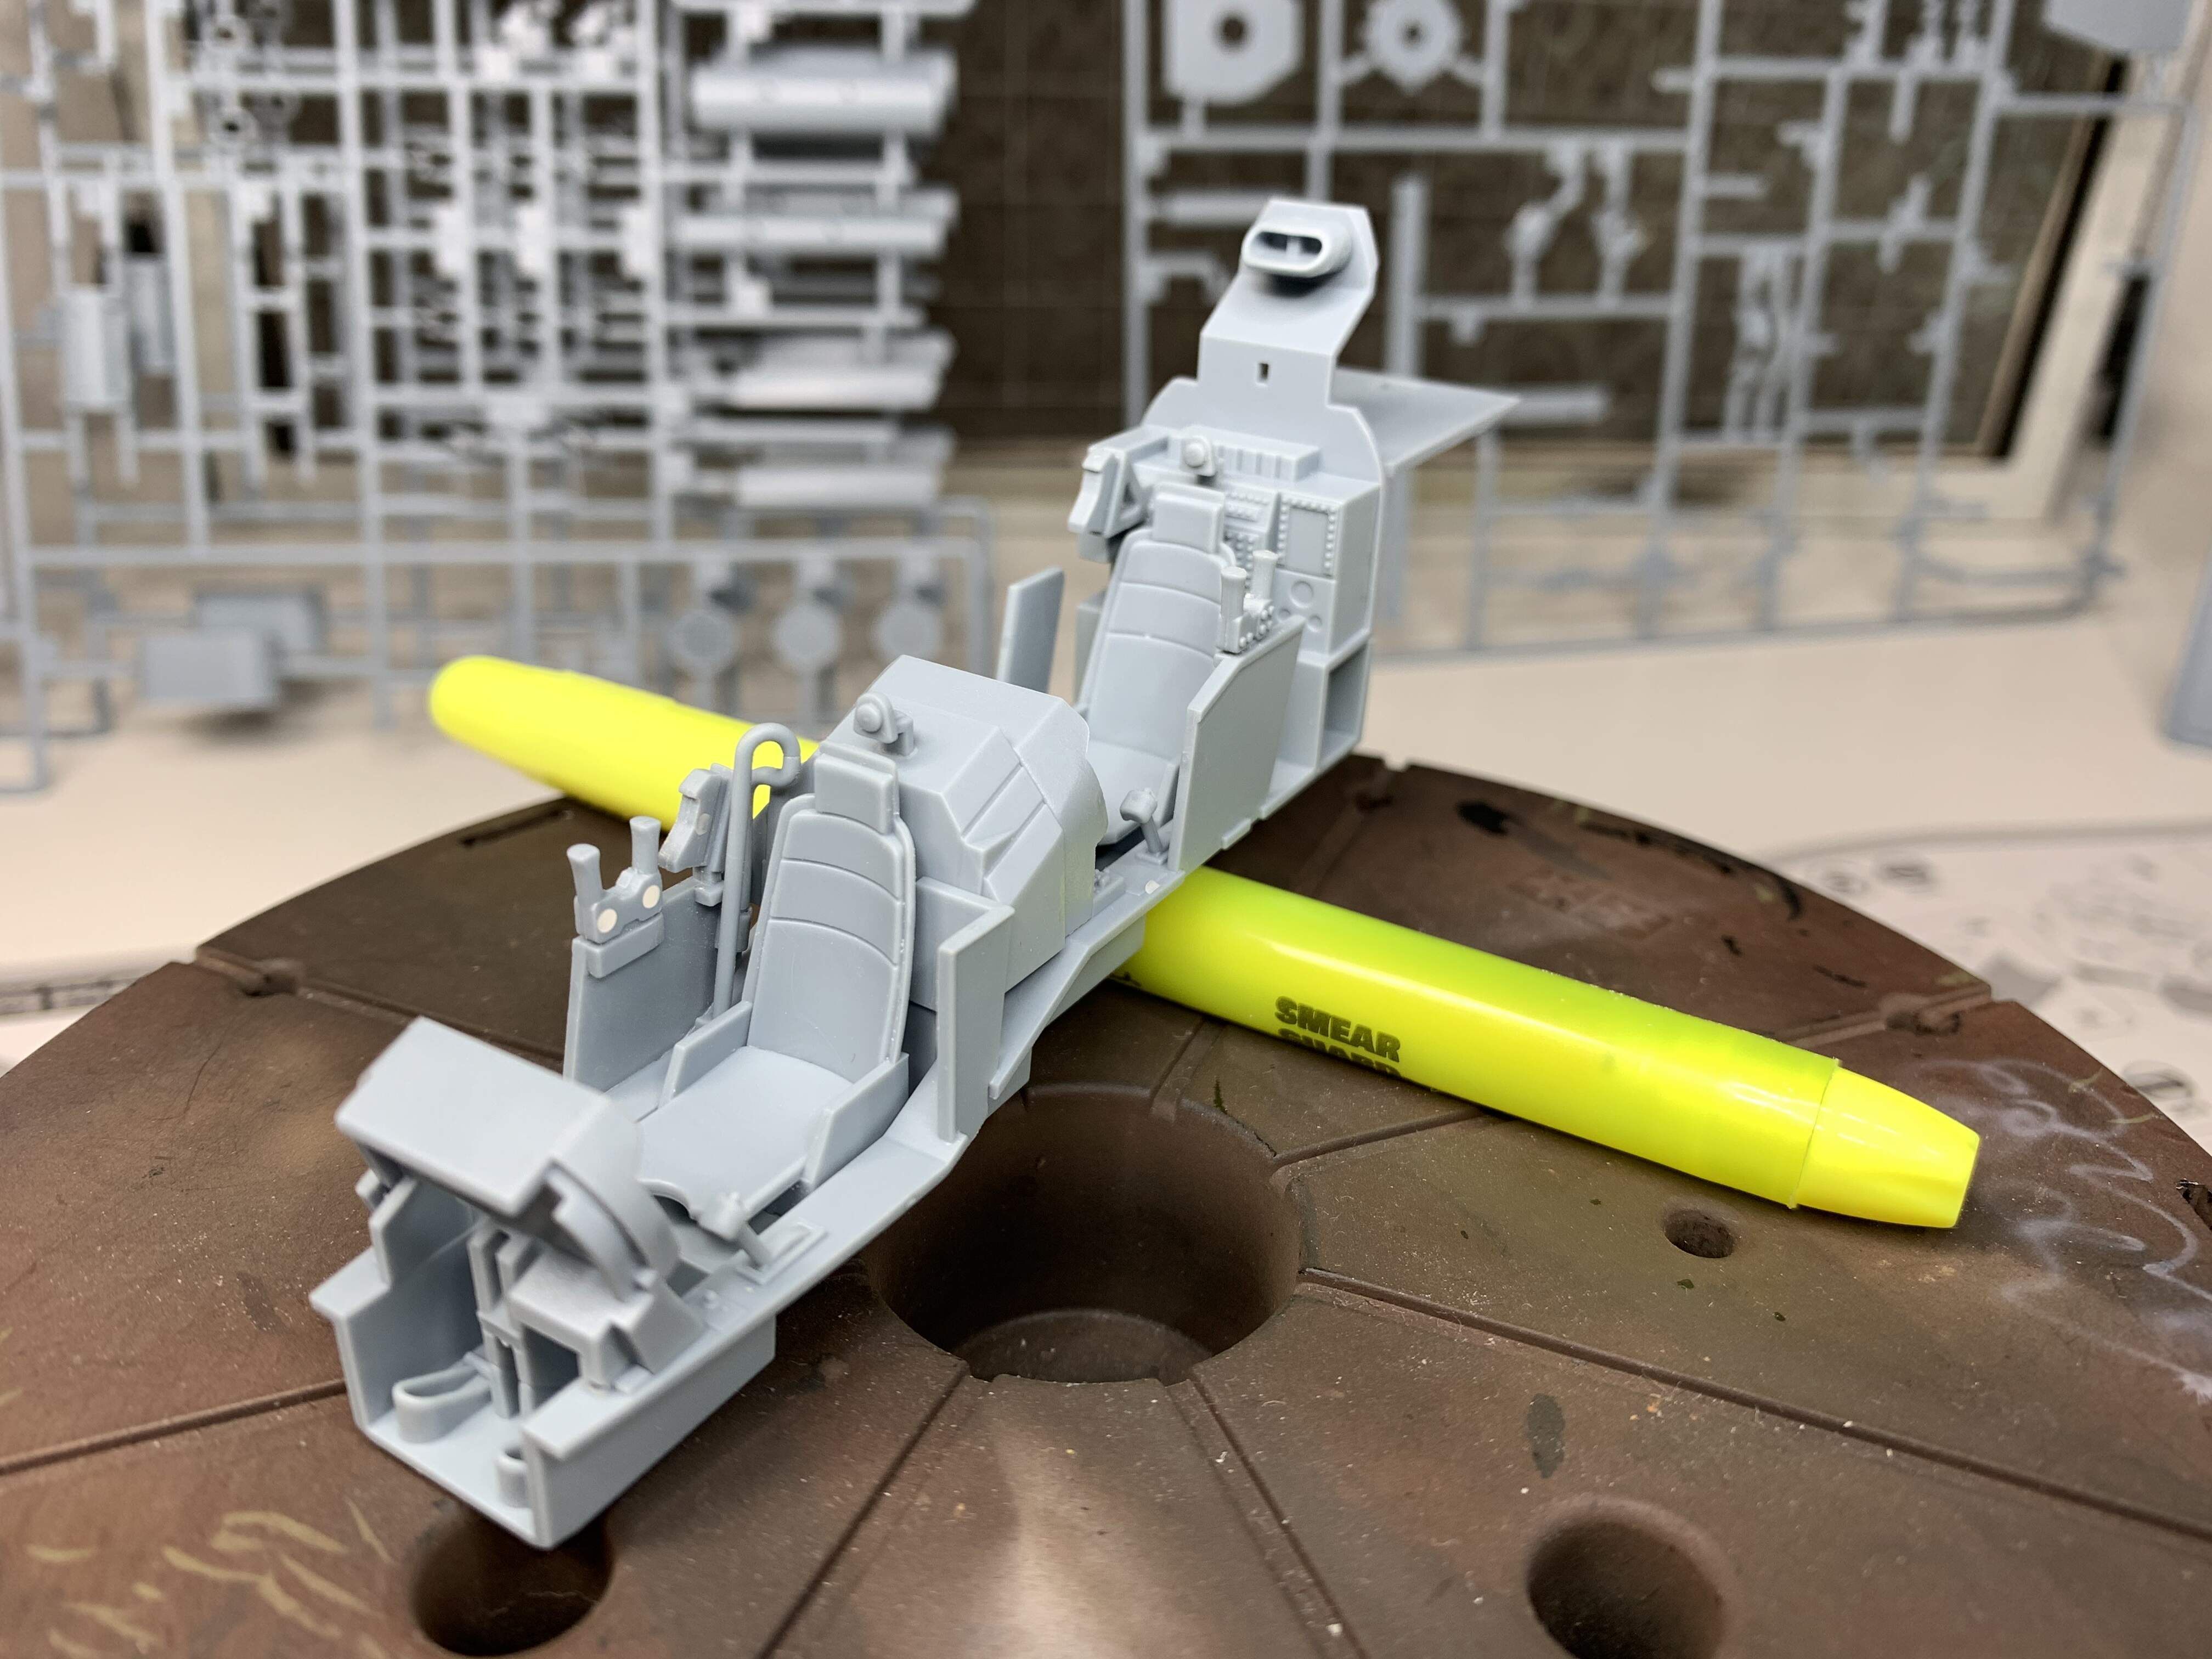
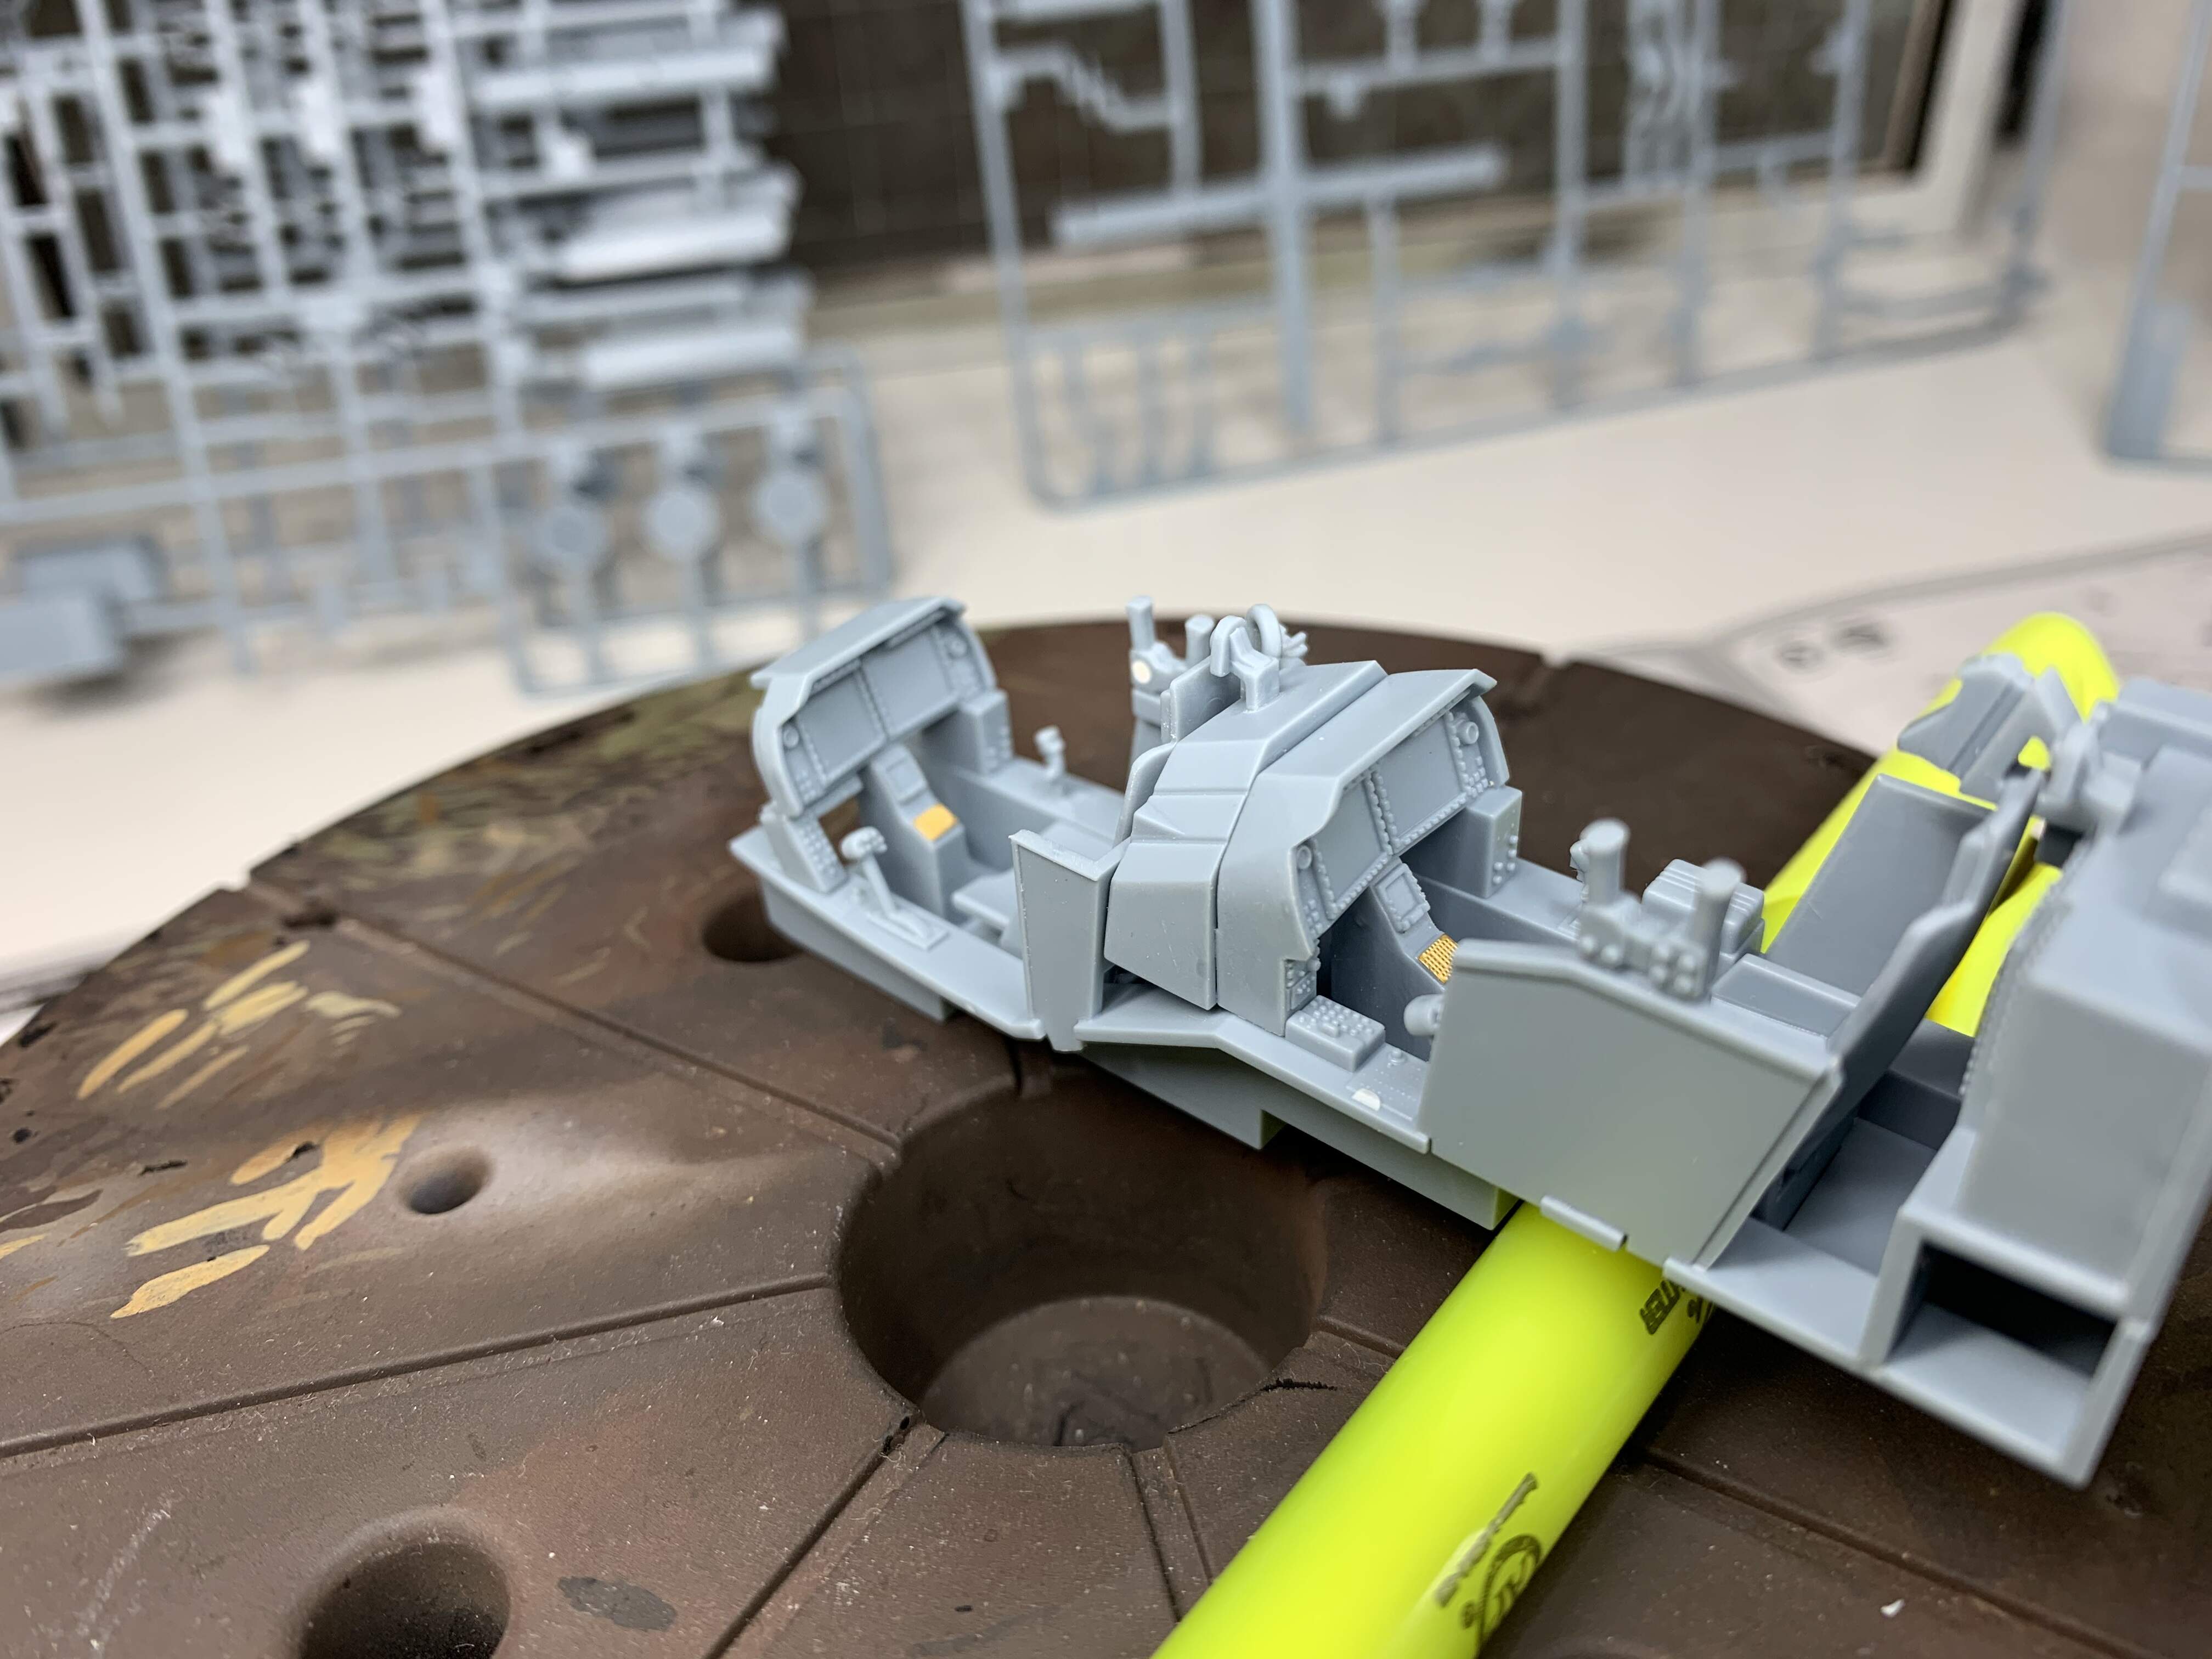
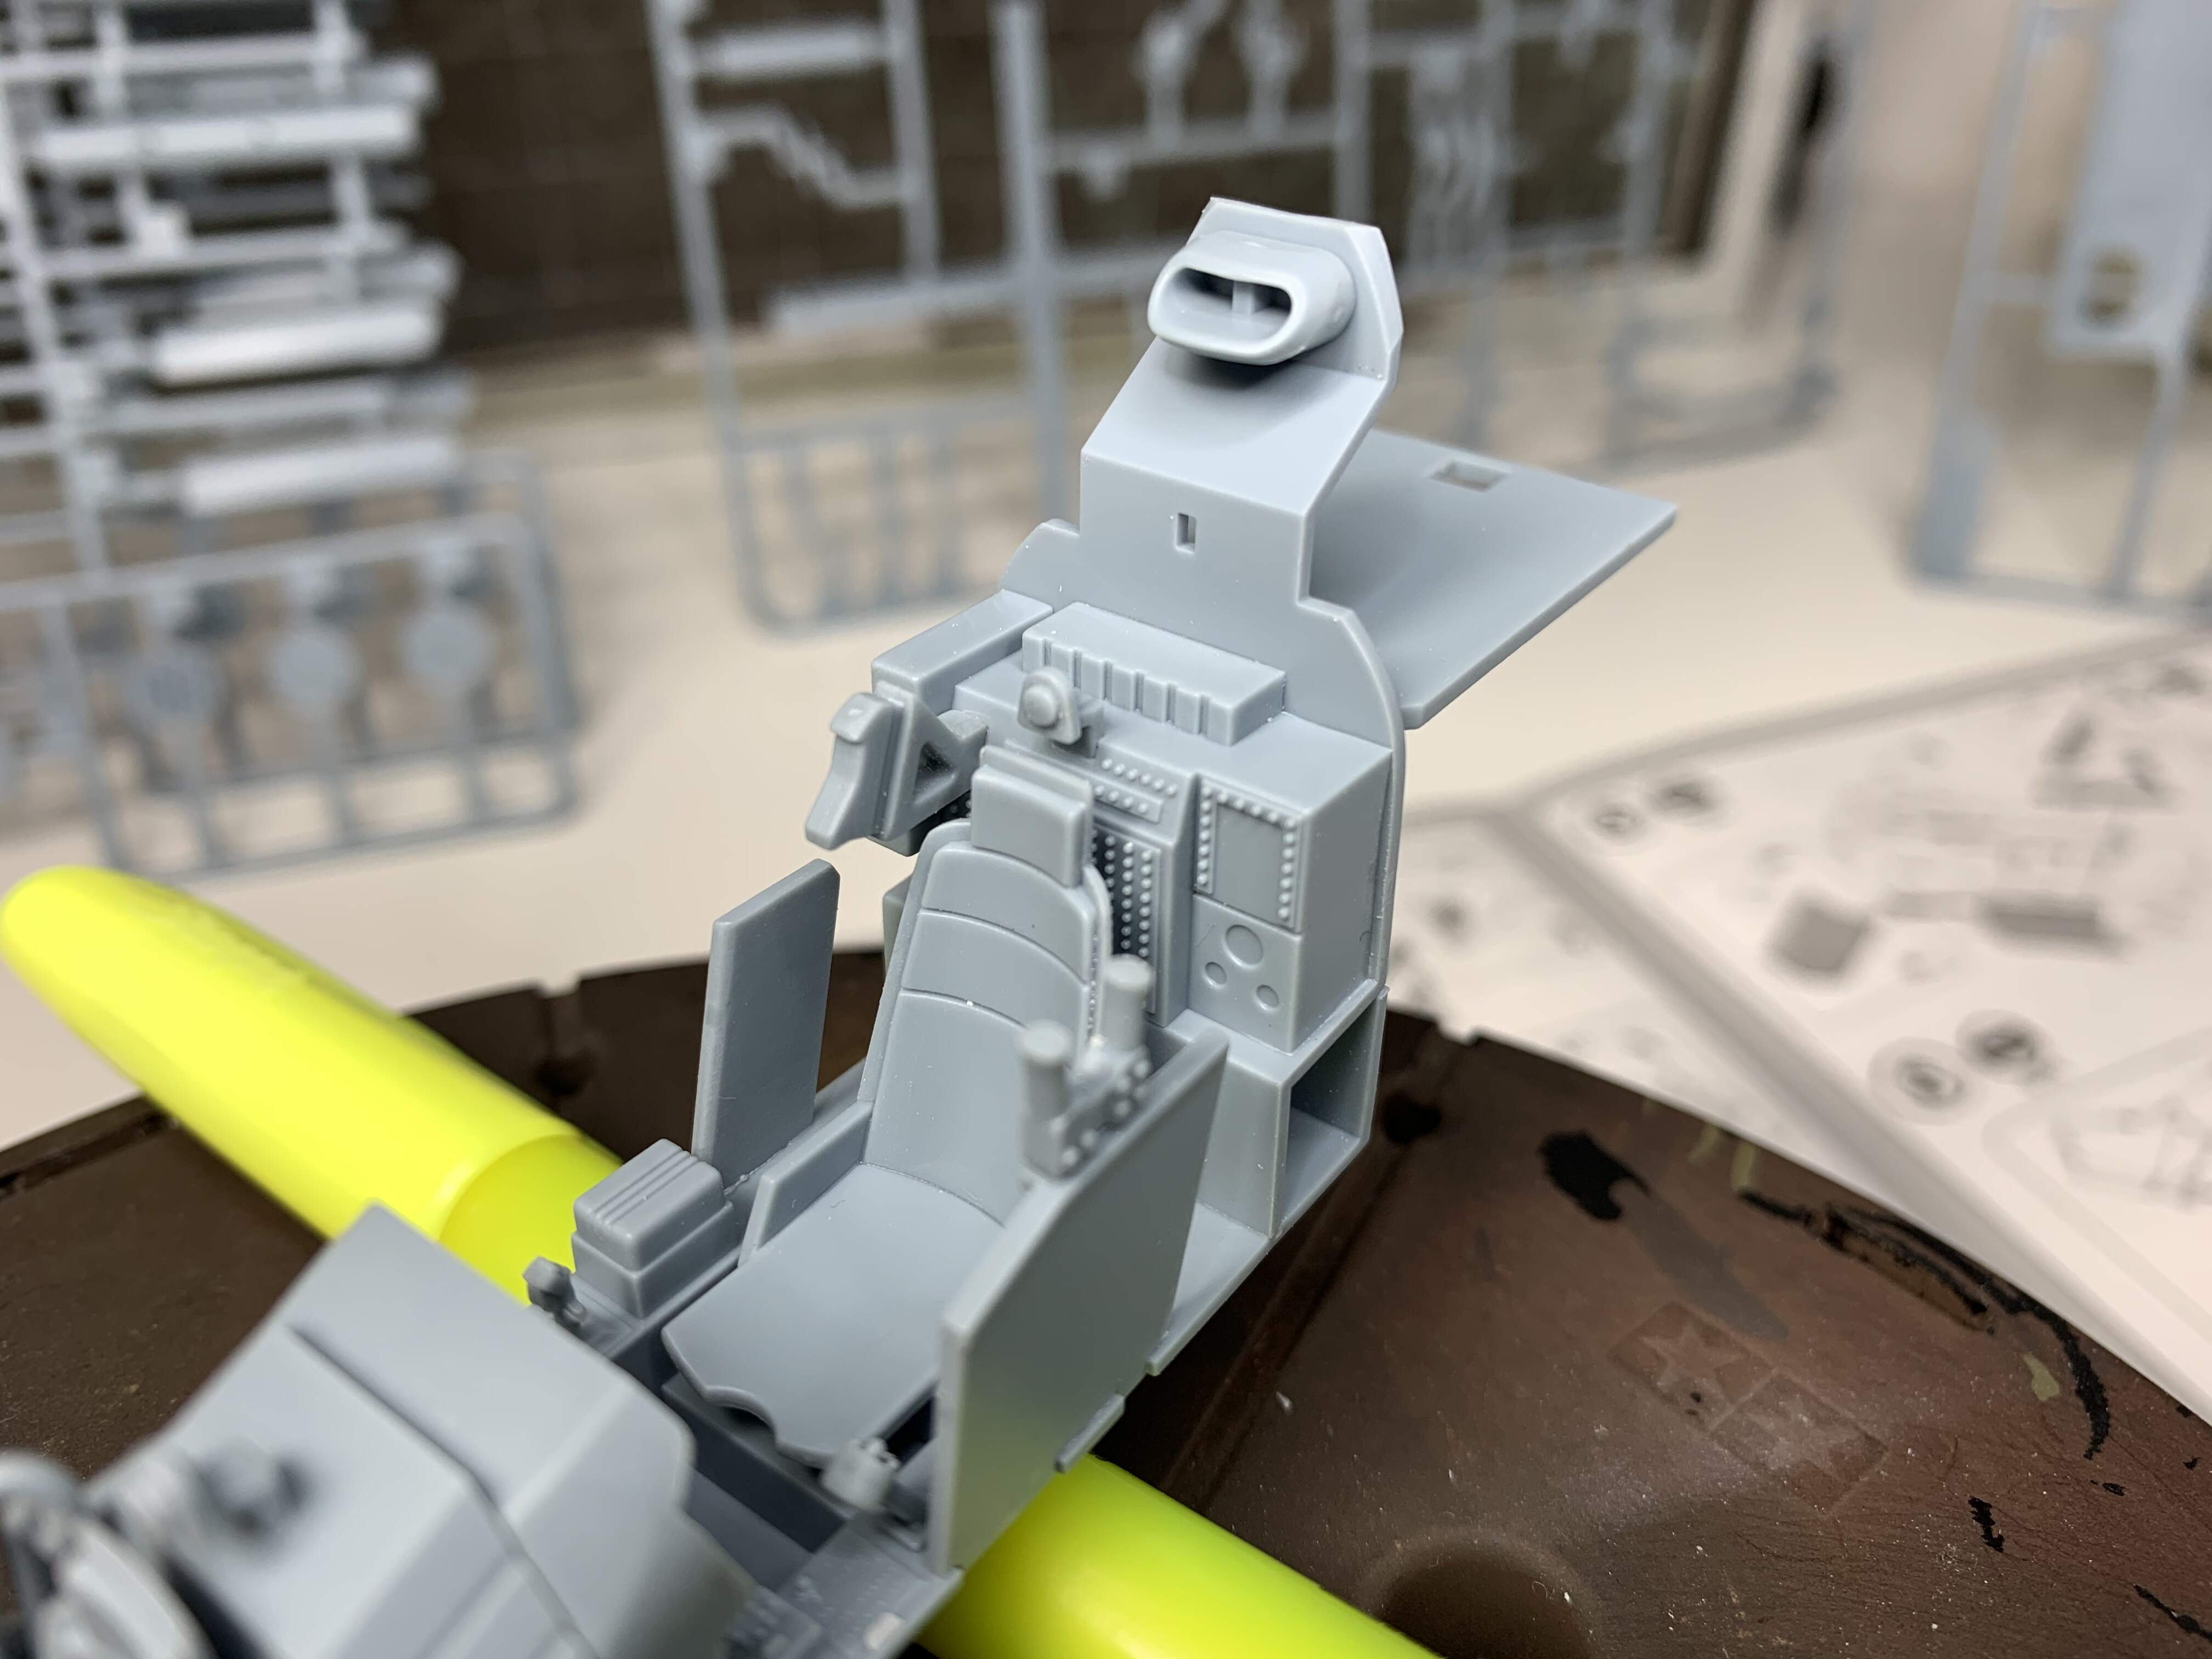
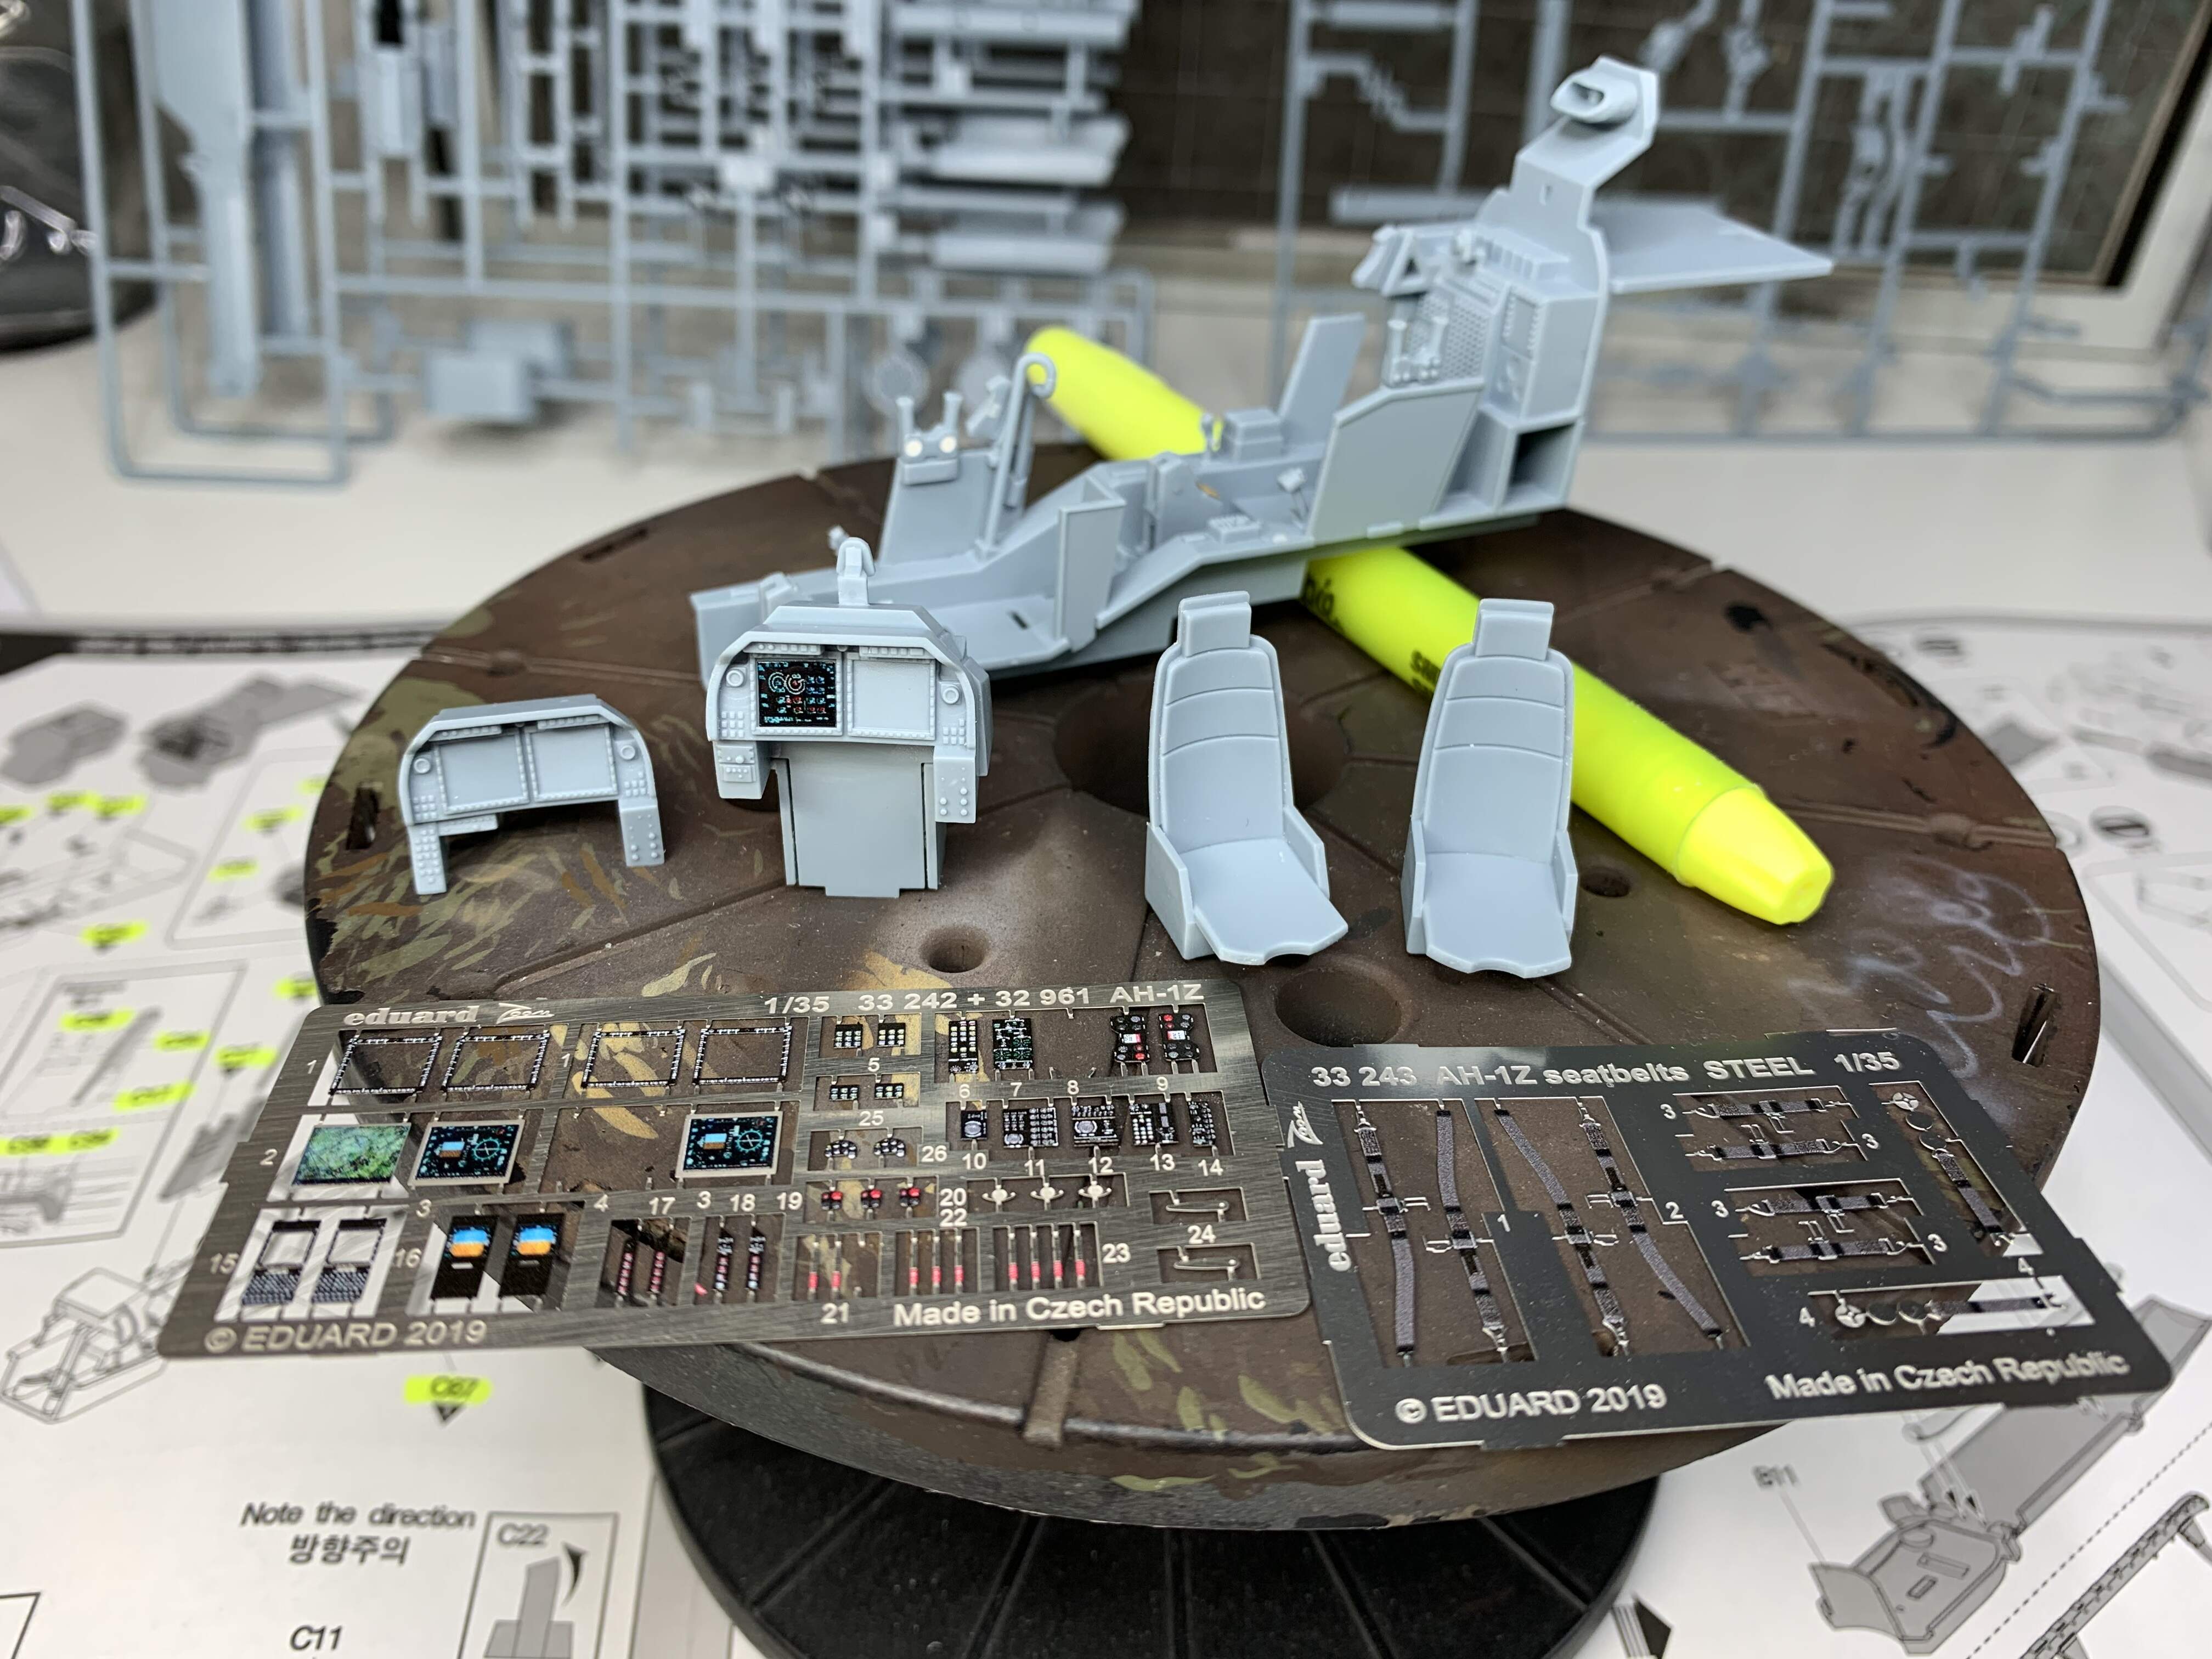
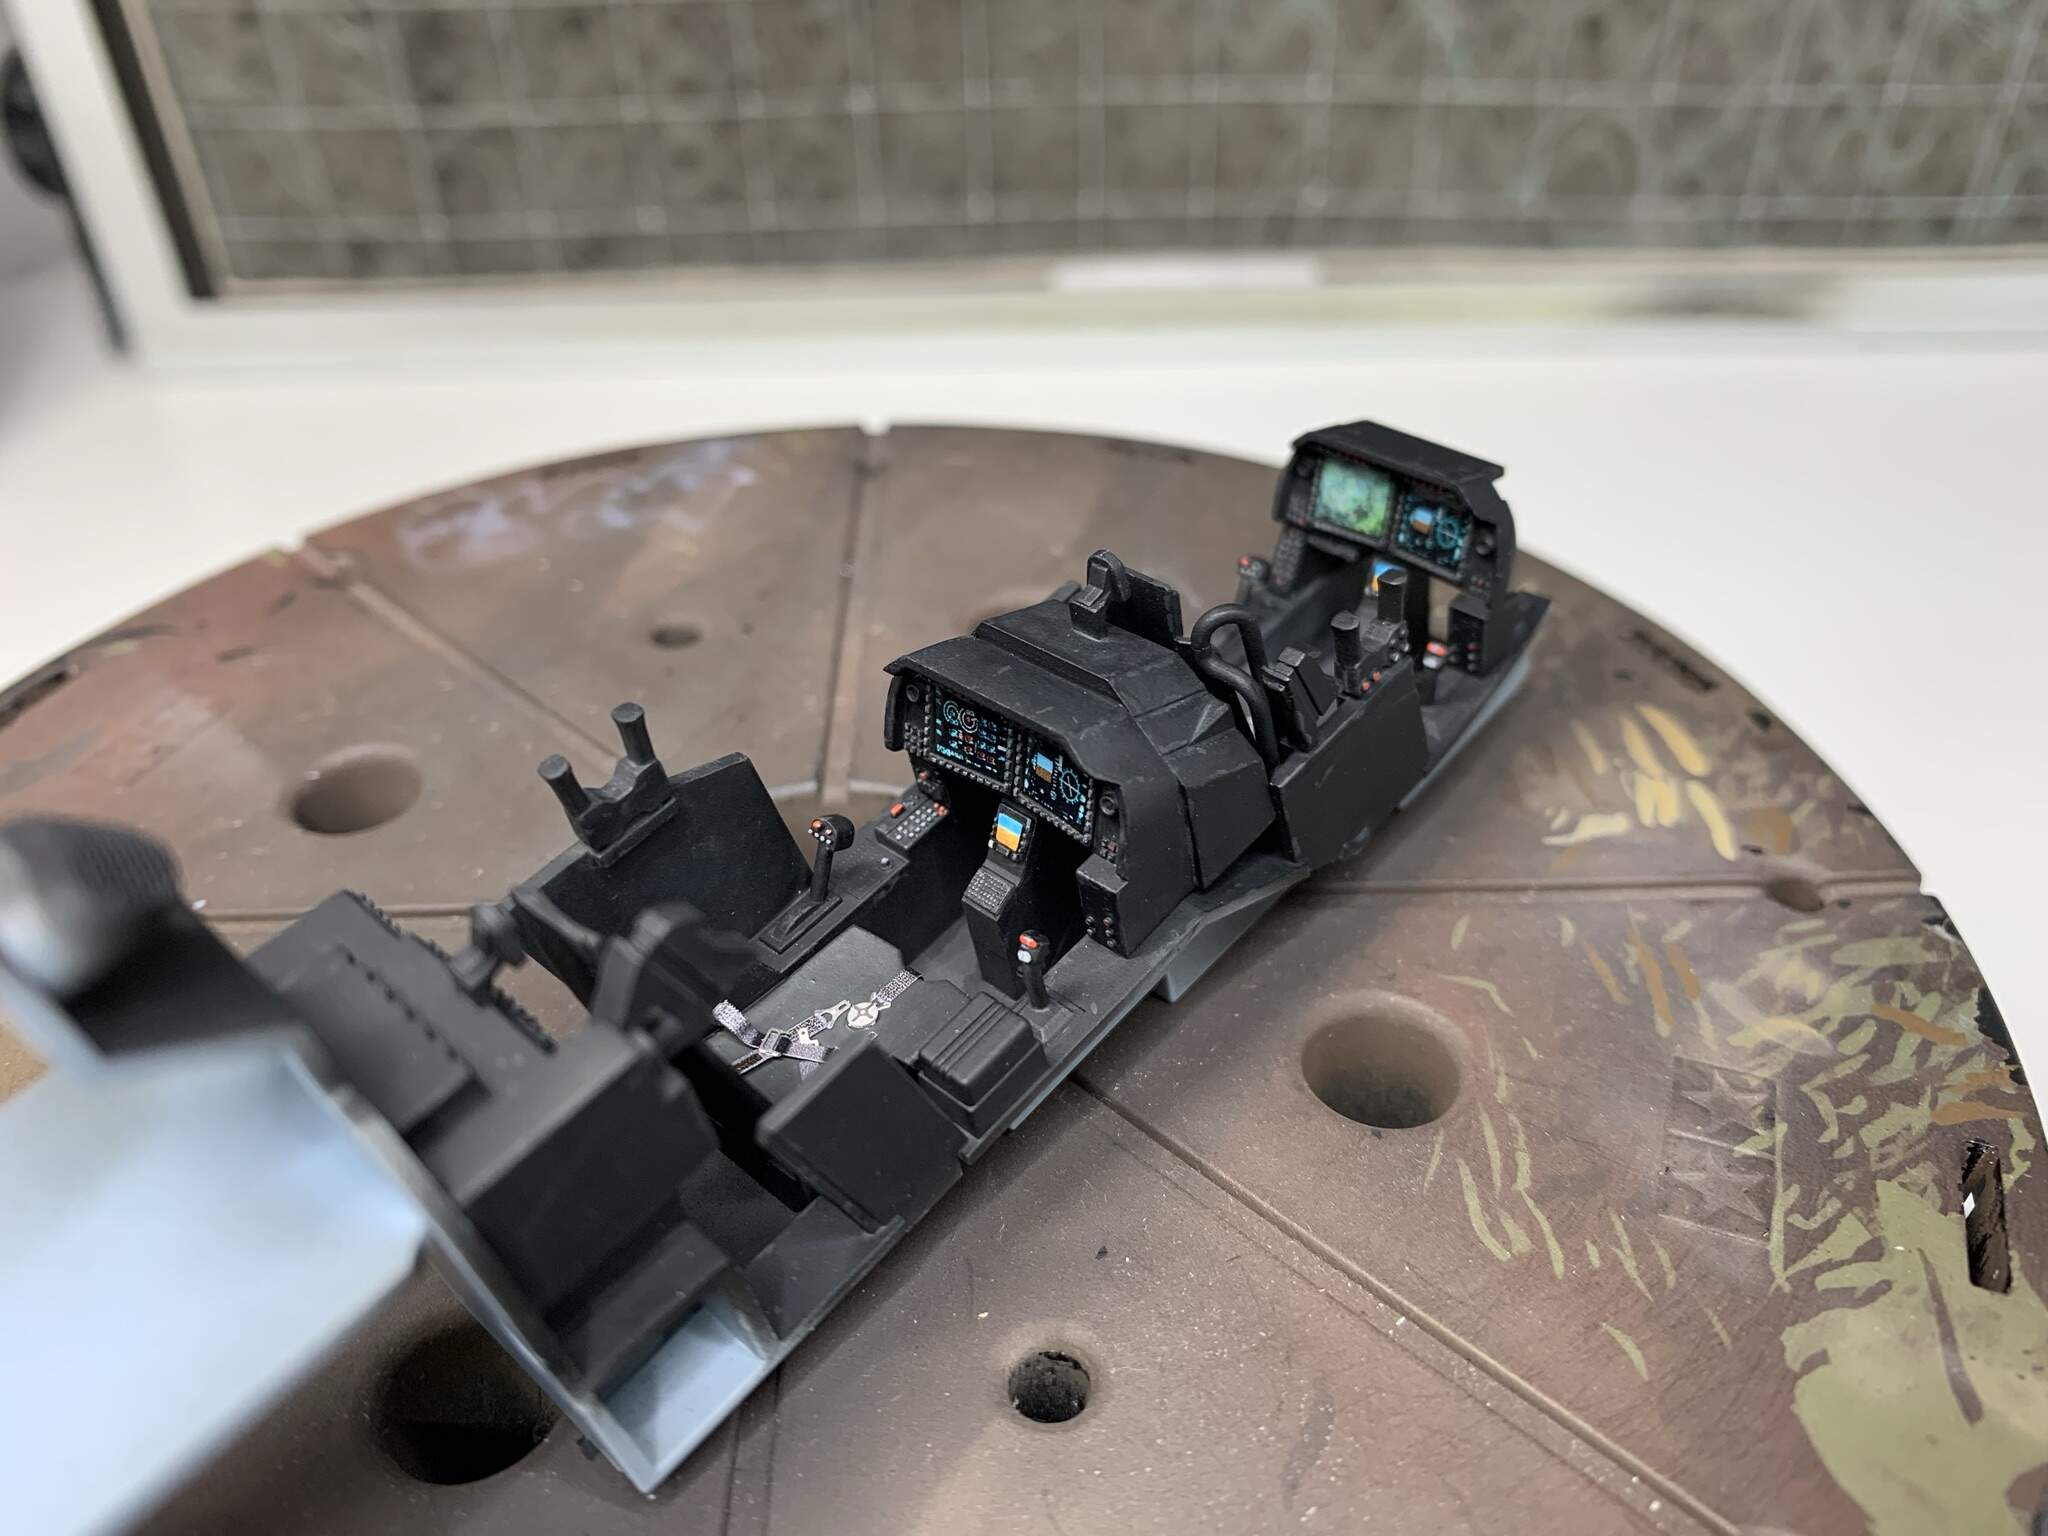
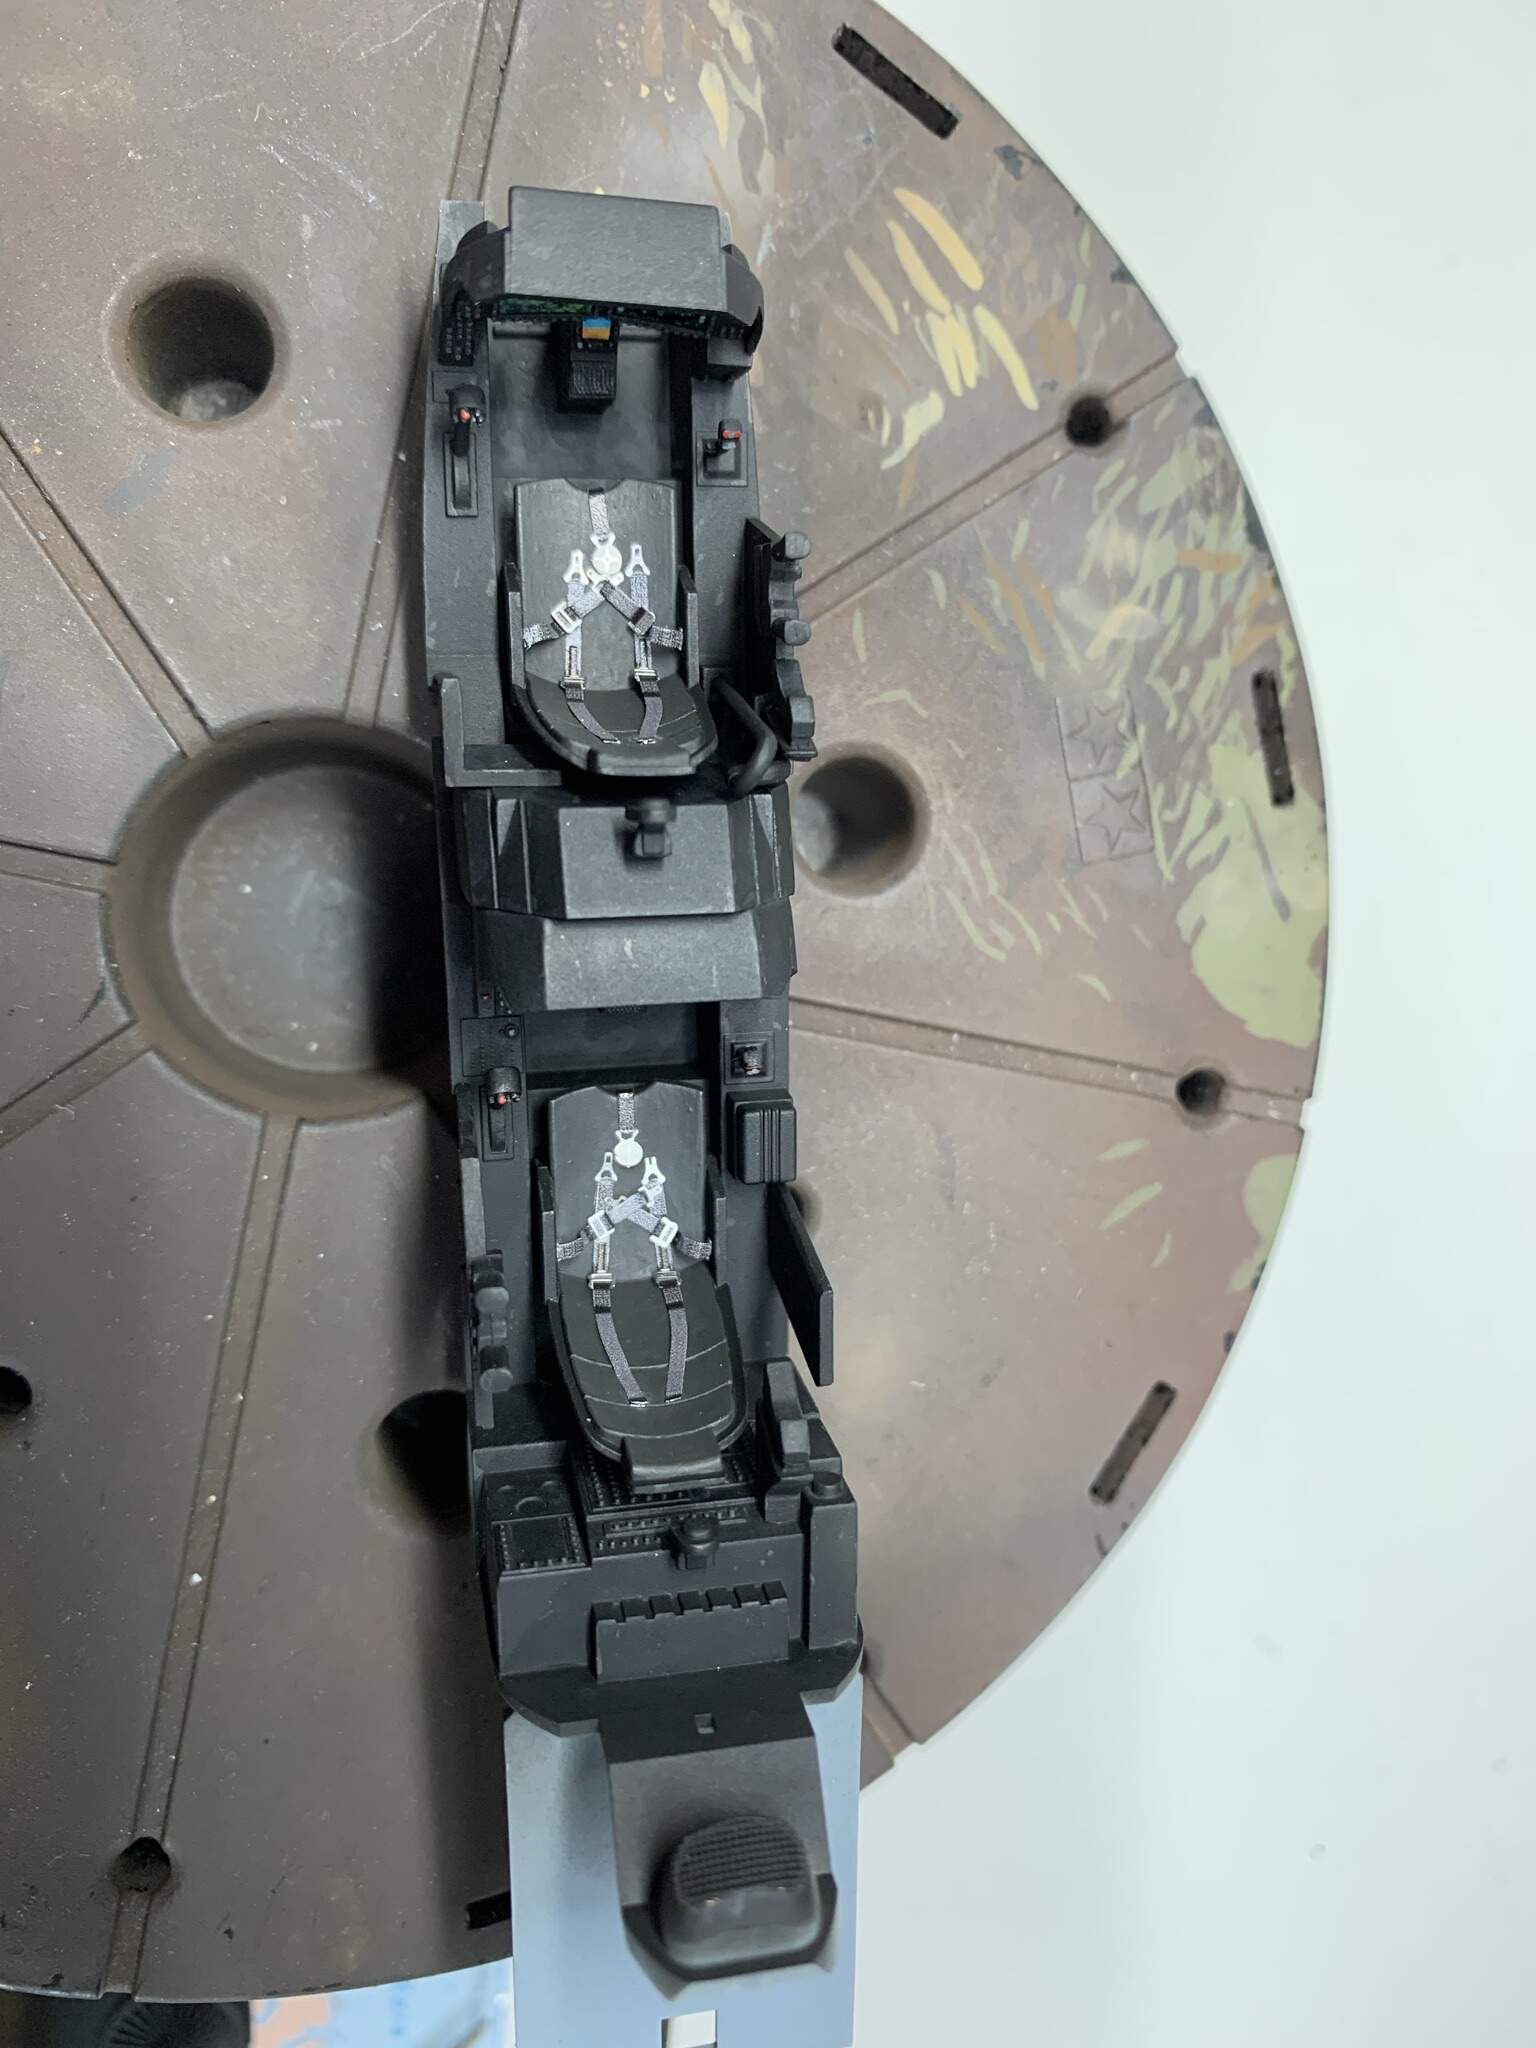
Cockpit started on the AH-1Z. Decided just to use the screens from the eduard set, and the seatbelts of course. I can’t bring myself to start removing the quite nice detail on the kit for rather flat detail on the eduard set, lovely though it is.
Quite a few ejector pin marks to deal with but the plastic is nice to work with. Some ejector marks to remove on the inside of the fuselage half’s and then time for some black paint.
Cheers, Jim.
Its a really nice kit and some of the kit supplied etch is better than Eduards offering. Like you I was reluctant to remove the raised kit details too.
Keith
I understand. Seems strange a new helo changing units so soon but that is what Academy is saying. Most Marine helos are not usually that colorful, I do like the 303 option with the muted markings.
Great start Jim. Looks very nice… Once more I will be following along 
Yeah Ryan @Tank_1812 , I would maybe have been looking at aftermarket options for schemes, but as the kit decals are by cartograph I will be sticking with them. What did you go for? The in box review from modelling news has some nice actual pics of the included schemes in a rather good review.
Thanks John @Johnnych01 , it’s a pleasure to have you on board. I like to keep the same scales on display together so am really pleased this can go alongside the tanks!
Jim,
I think the kit decals are a decent options. The photos show them to be correct. Just seems strange to me for a helo, to be in three units with the same number (47) in such a short time period. Usually those things change per unit.
Aye, that seems strange to me too. It seems to have given Academy an easy route to claiming so many marking options when it looks like three of them just have the unit markings changed… I bet defence budget cuts had something to do with it!
[quote=“iwatajim, post:10, topic:7588”]
I bet defence budget cuts had something to do with it![/quote]
Could be, all units are part of MAG-39 CA, must have been doing a one year deployment and keeping the birds in location (Oki) and rotating personal. I thought with other units, they left the unit in place and rotated the personal ever so often. Oh well, look forward to your build either way.
Well today I’m more in favour of the shark mouth scheme, but let’s see what tomorrow brings!
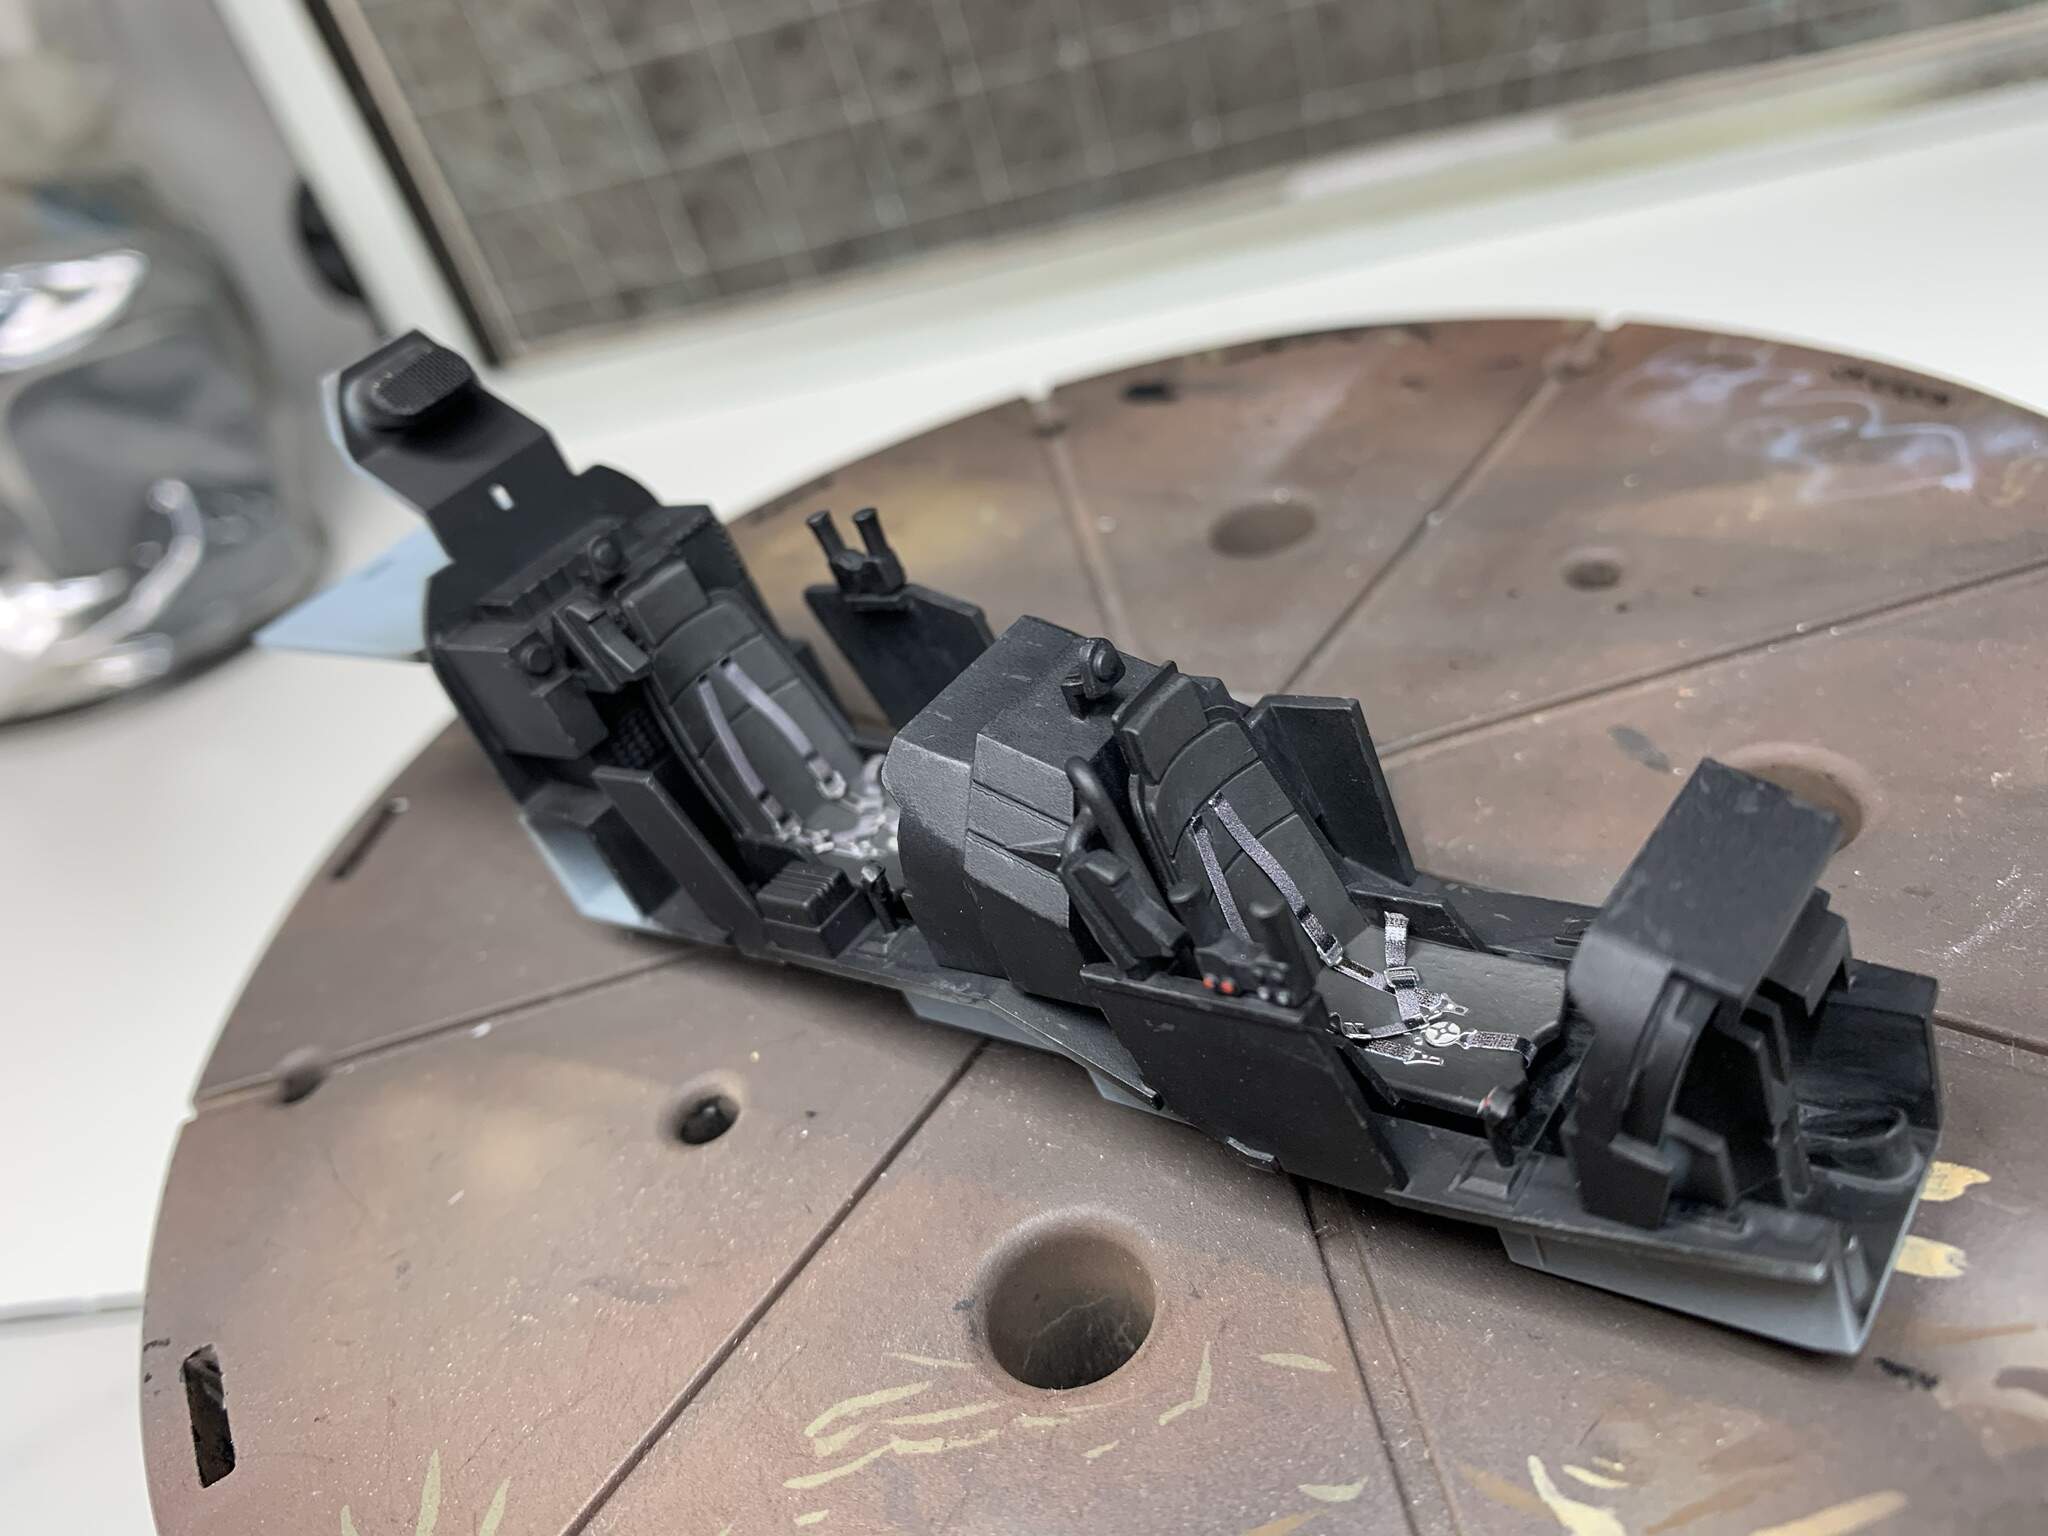
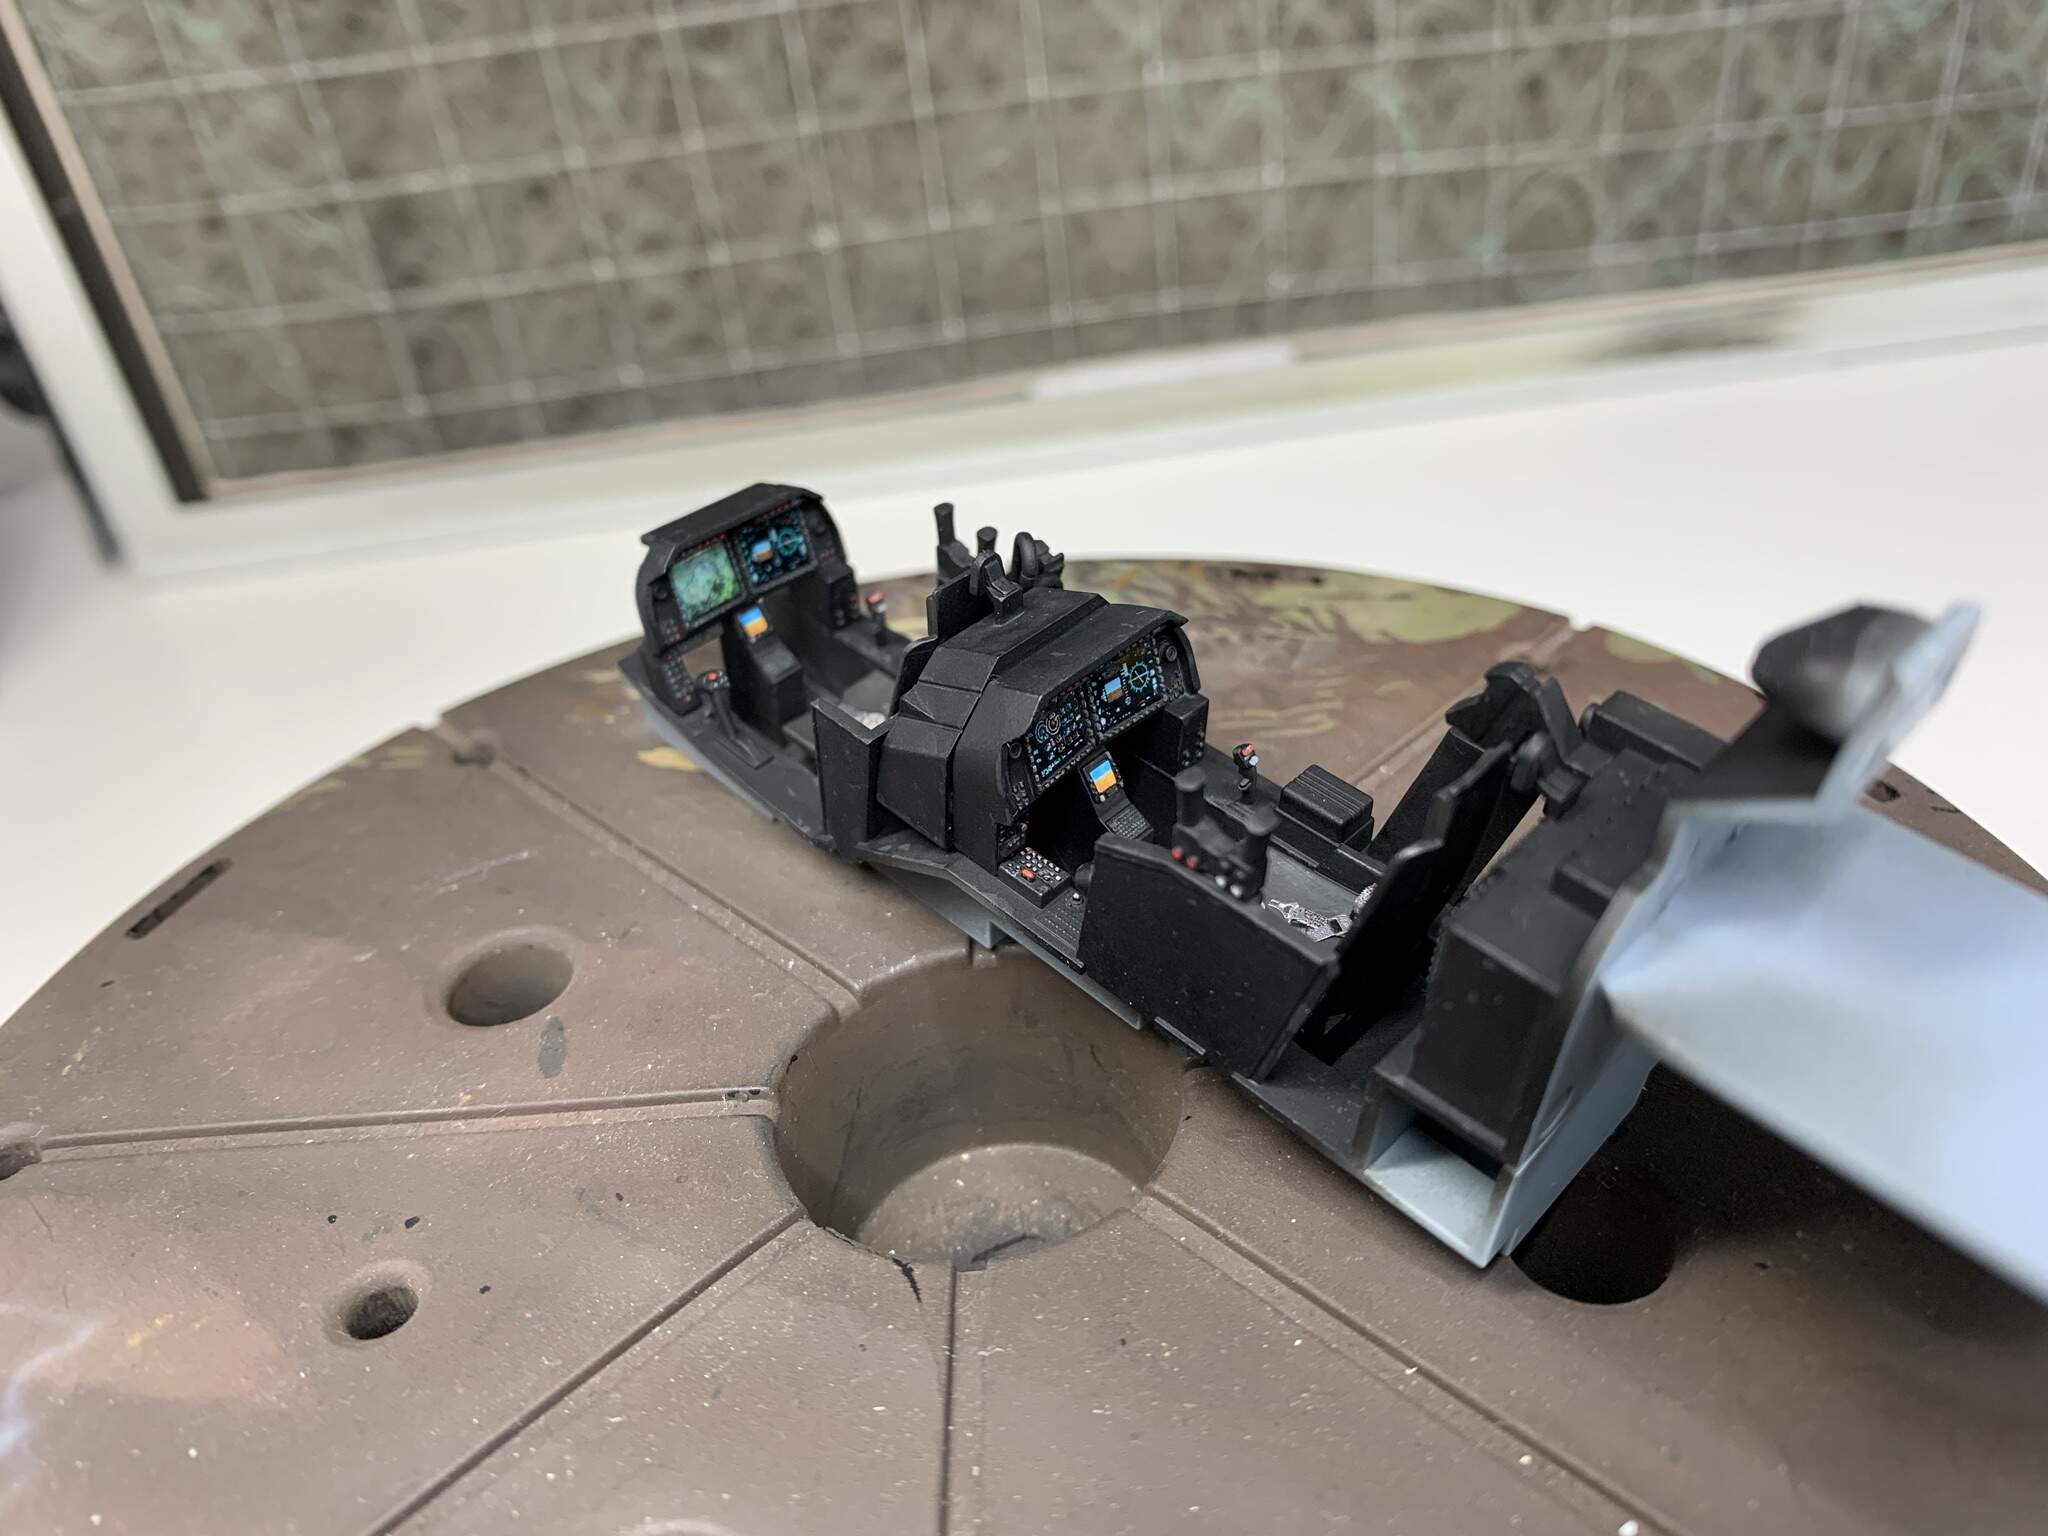
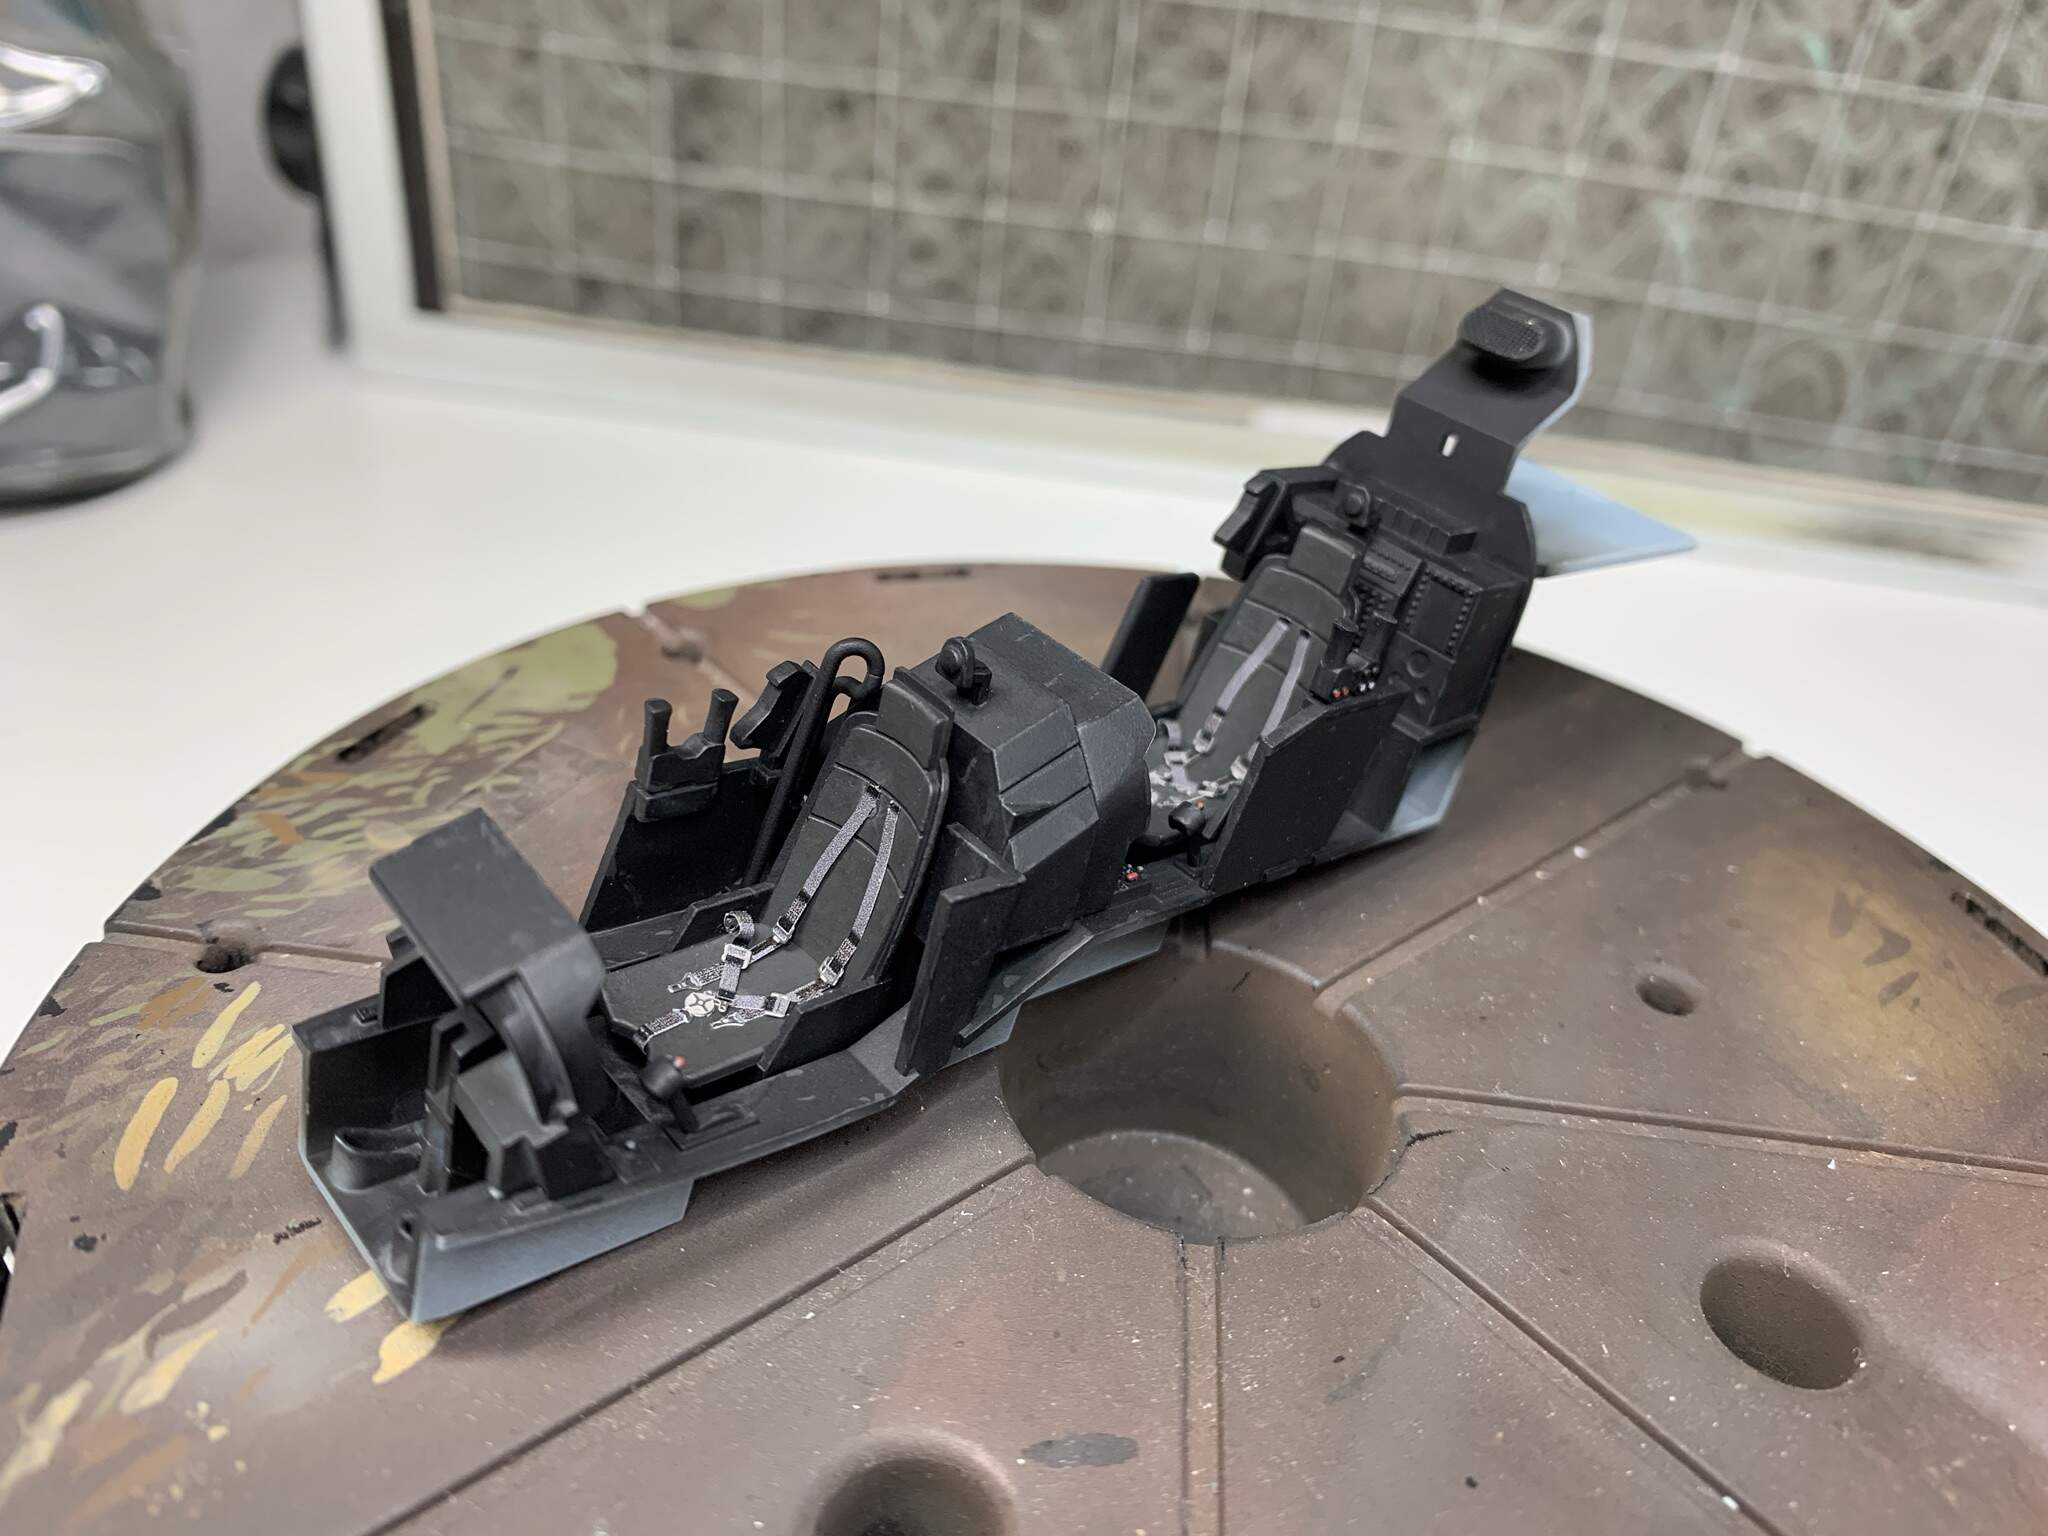
Cockpit just about finished. Painted black, then wear marks with rubber black which looks much more pronounced in pics than in real life. Was going for rubbed marks rather than chips, if you know what I mean. Used the same rubber black for the seat fabric and added some texture with brush before it dried, AK 3rd gen acrylic stuff. Added the eduard screens and seatbelts and picked out the details. Didn’t use white as I felt it was too stark so mixed up a light grey for that. Also did a very light wash with abteilung starship filth oil paint to lighten up the black slightly.
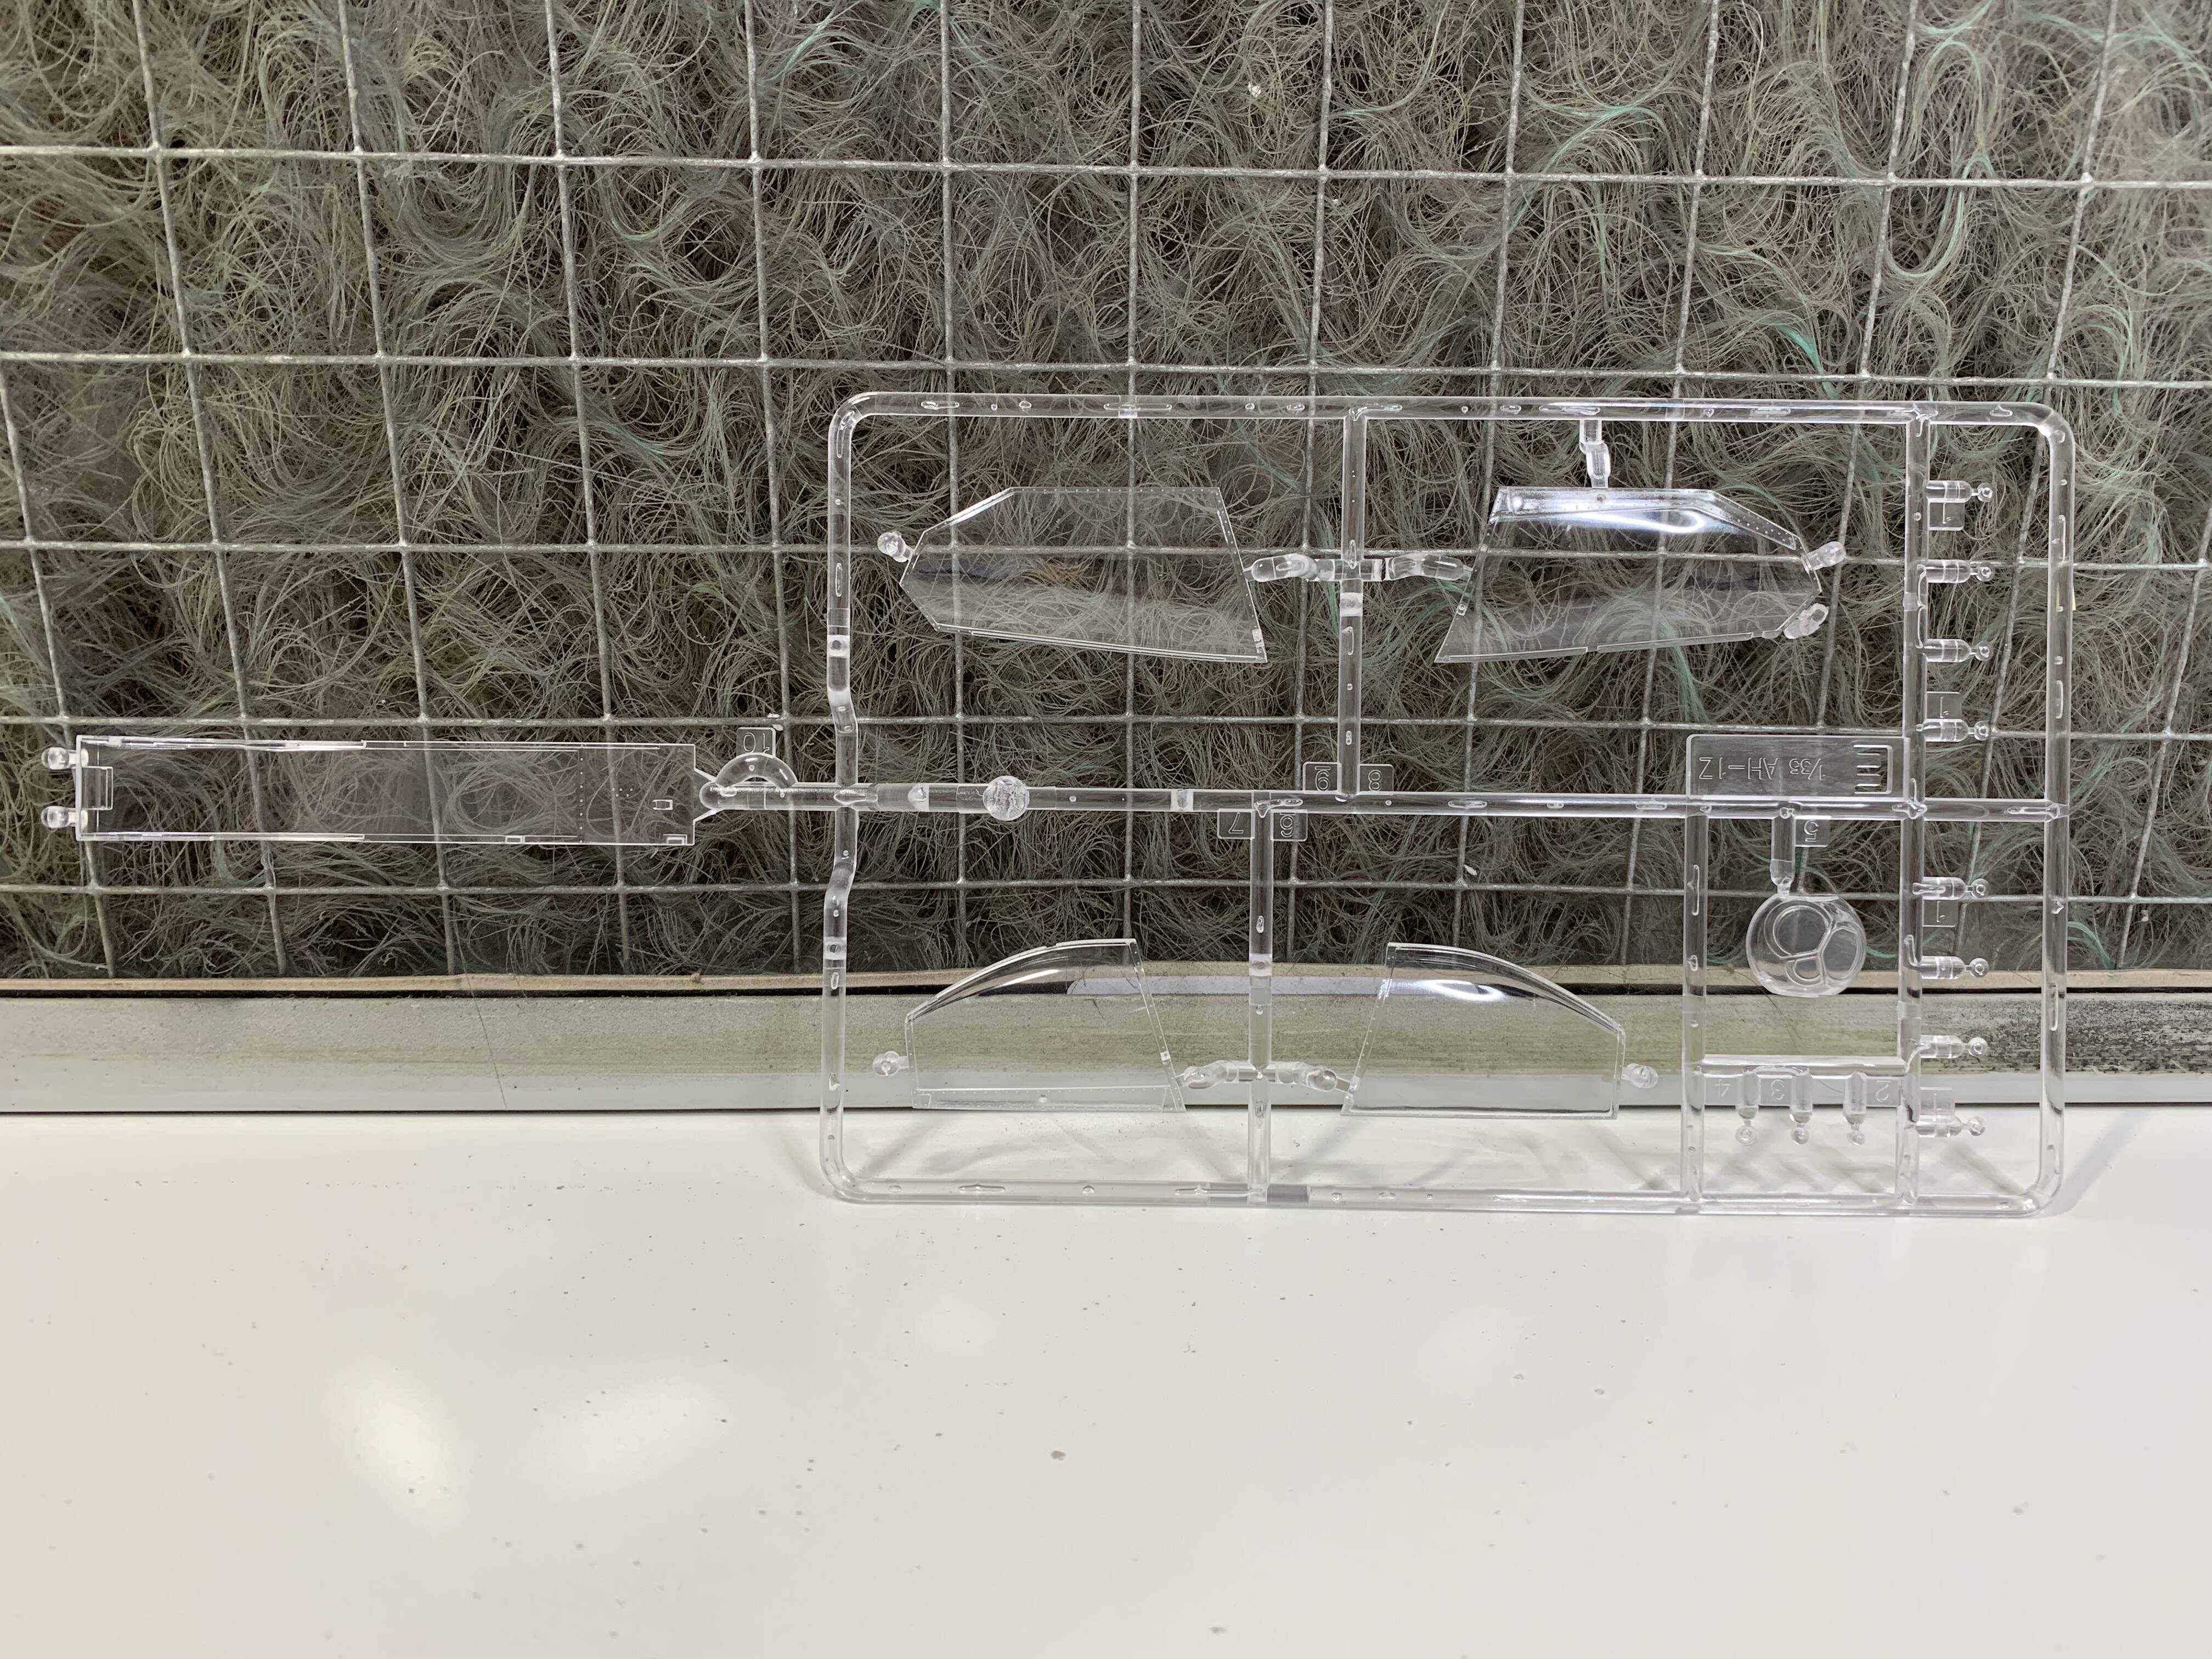
Have been looking at the sensor/camera gimbal on the nose which gives a plain plastic option or clear option, however there is no detail inside, and at this scale that won’t work. Thinking of scratching something as there are nice reference pics, but may just paint the inside of glass with clear colours…
Cheers, Jim.
Looking good so far.
Thanks Gino.
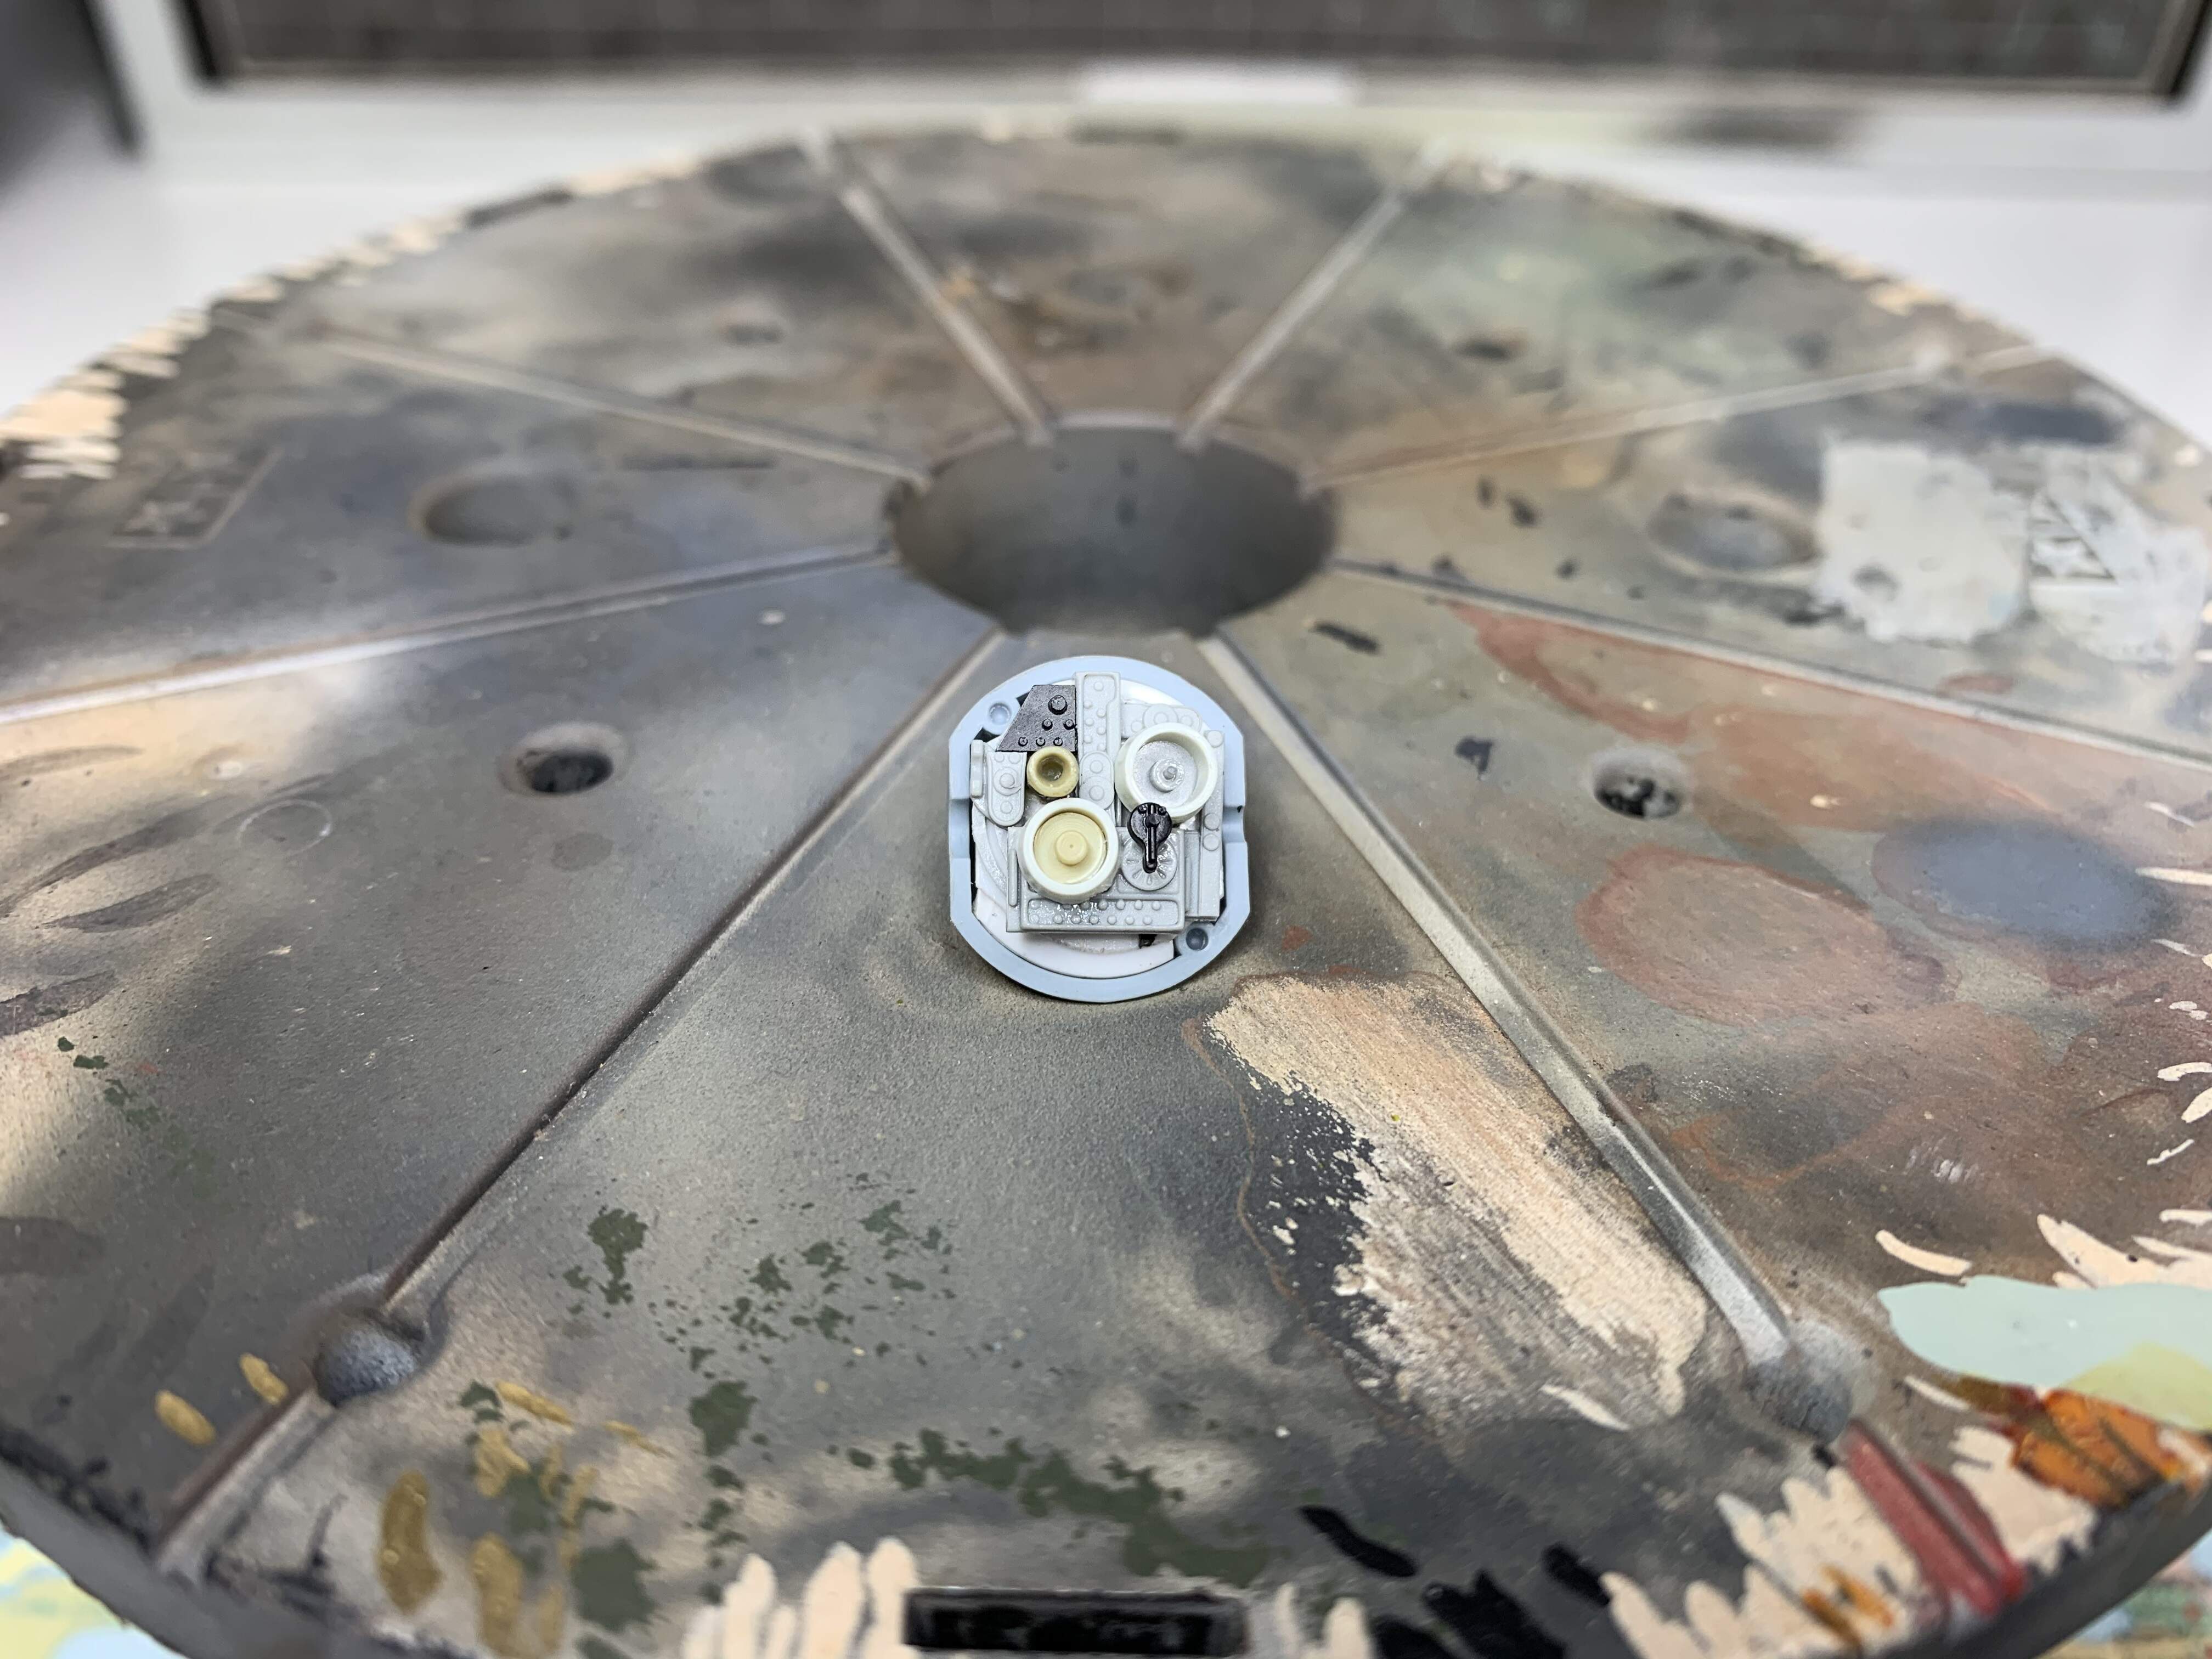
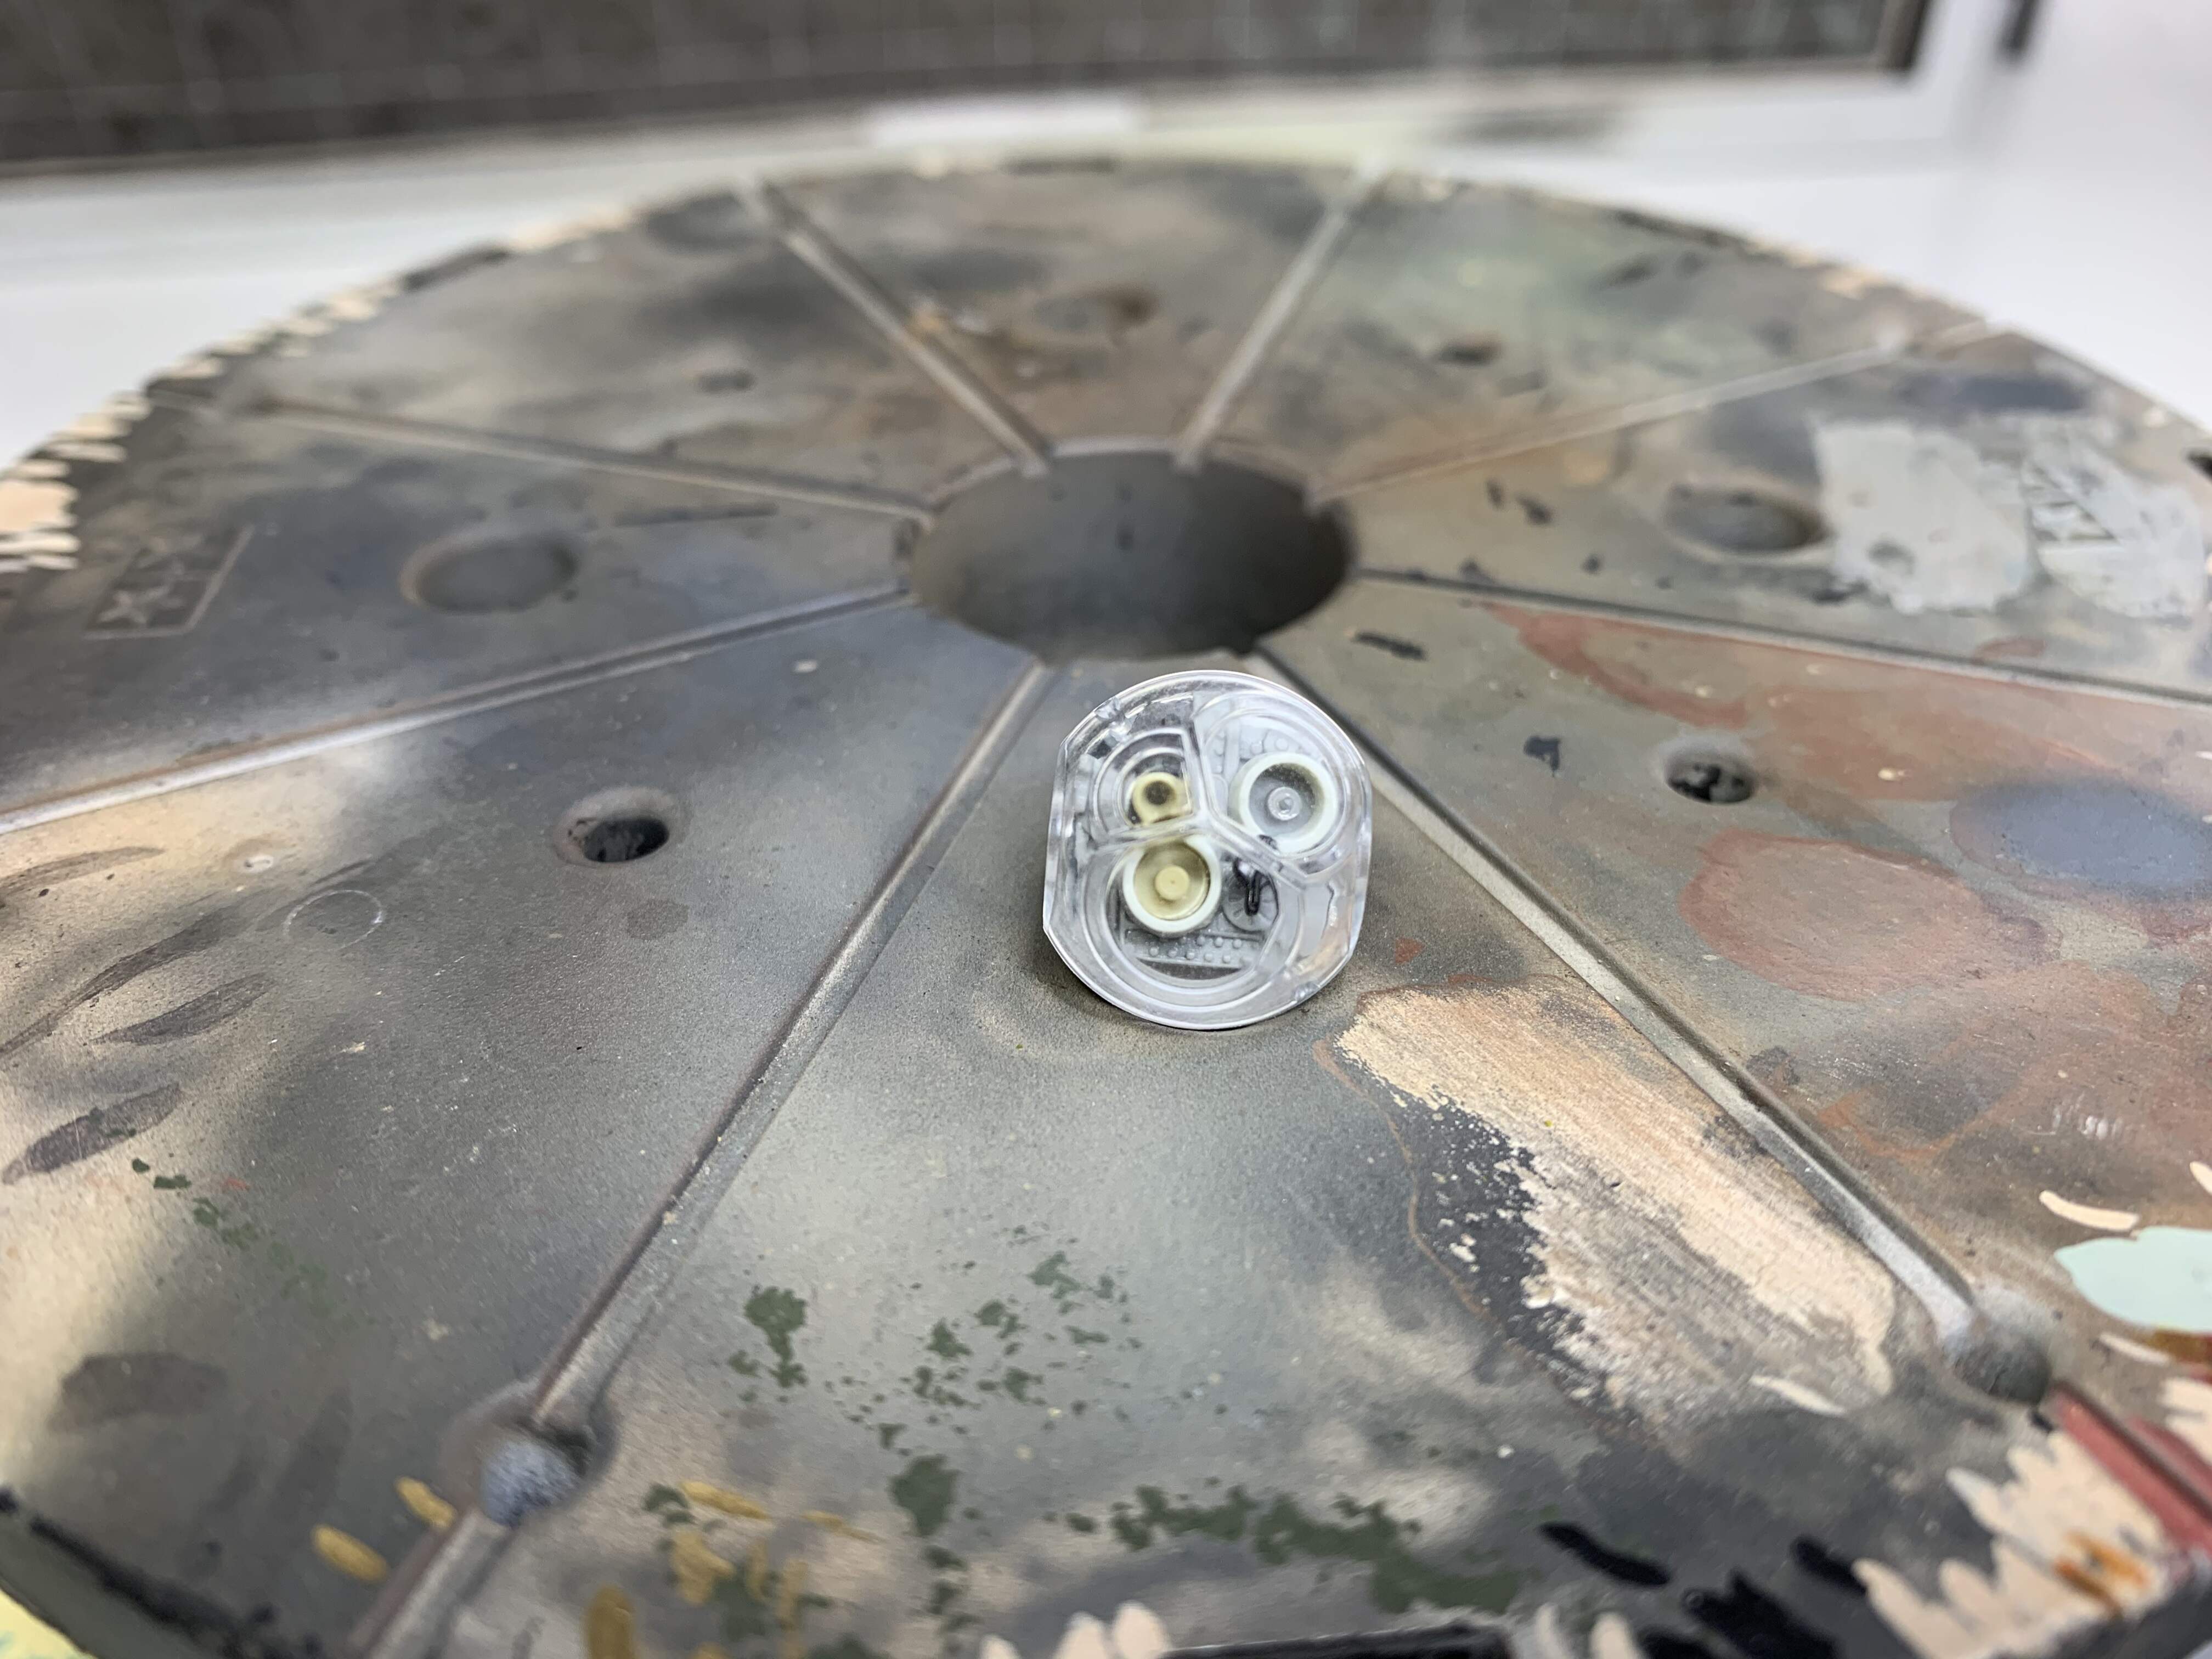
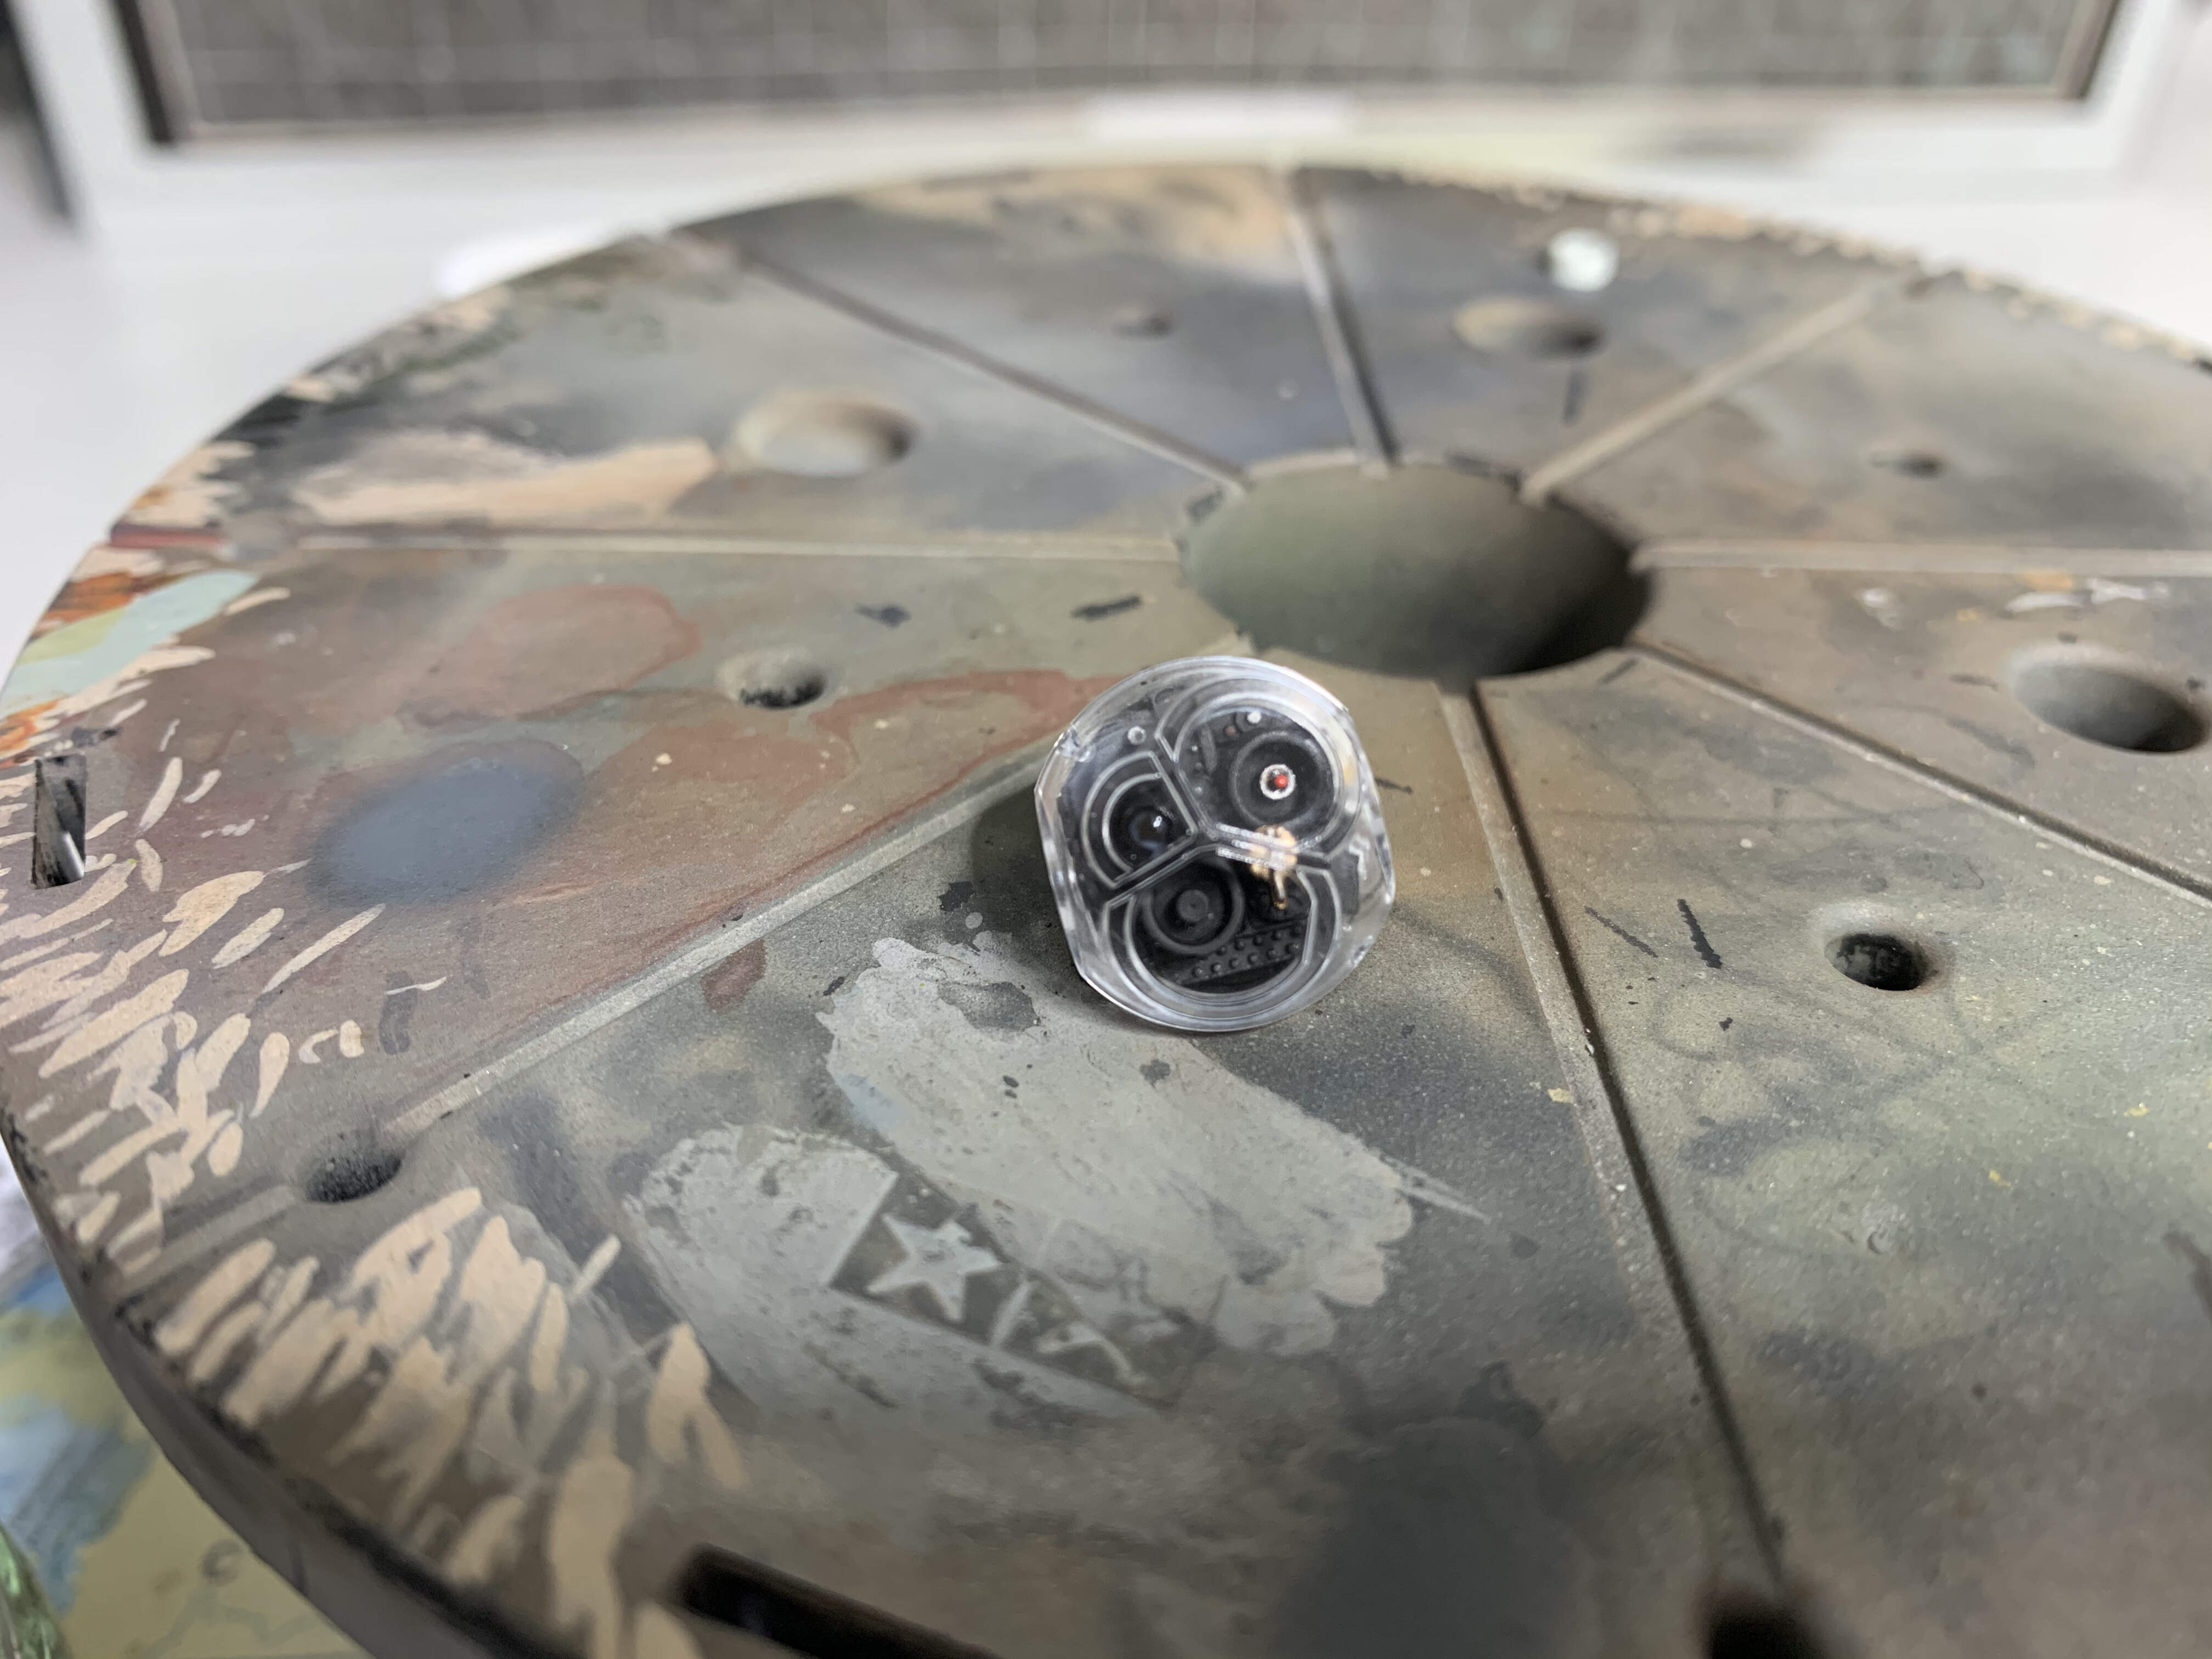
I decided to scratch an interior for the optical sensors. The lower one won’t be seen but the top two are very visible. So I raided the spares box, cut some parts up and stuck them on. The small camera will be getting a clear glue lens once painted. If I did it again I would try to get the parts closer to the front but once all is painted it should fill the space ok.
I’ve included a pic of the real thing to show what I was aiming for. The piece for the lower sensor is just to fill space as I’ve no idea what this would look like.
Thanks again, Jim.
Show off …  only kidding mate. That looks really really nice. super detailed and looks the part … lovely job
The targeting ball looks good. Nice job on it.
Thanks John @Johnnych01, I called it scratch building but I just cut up nicely shaped bits and stuck them together!
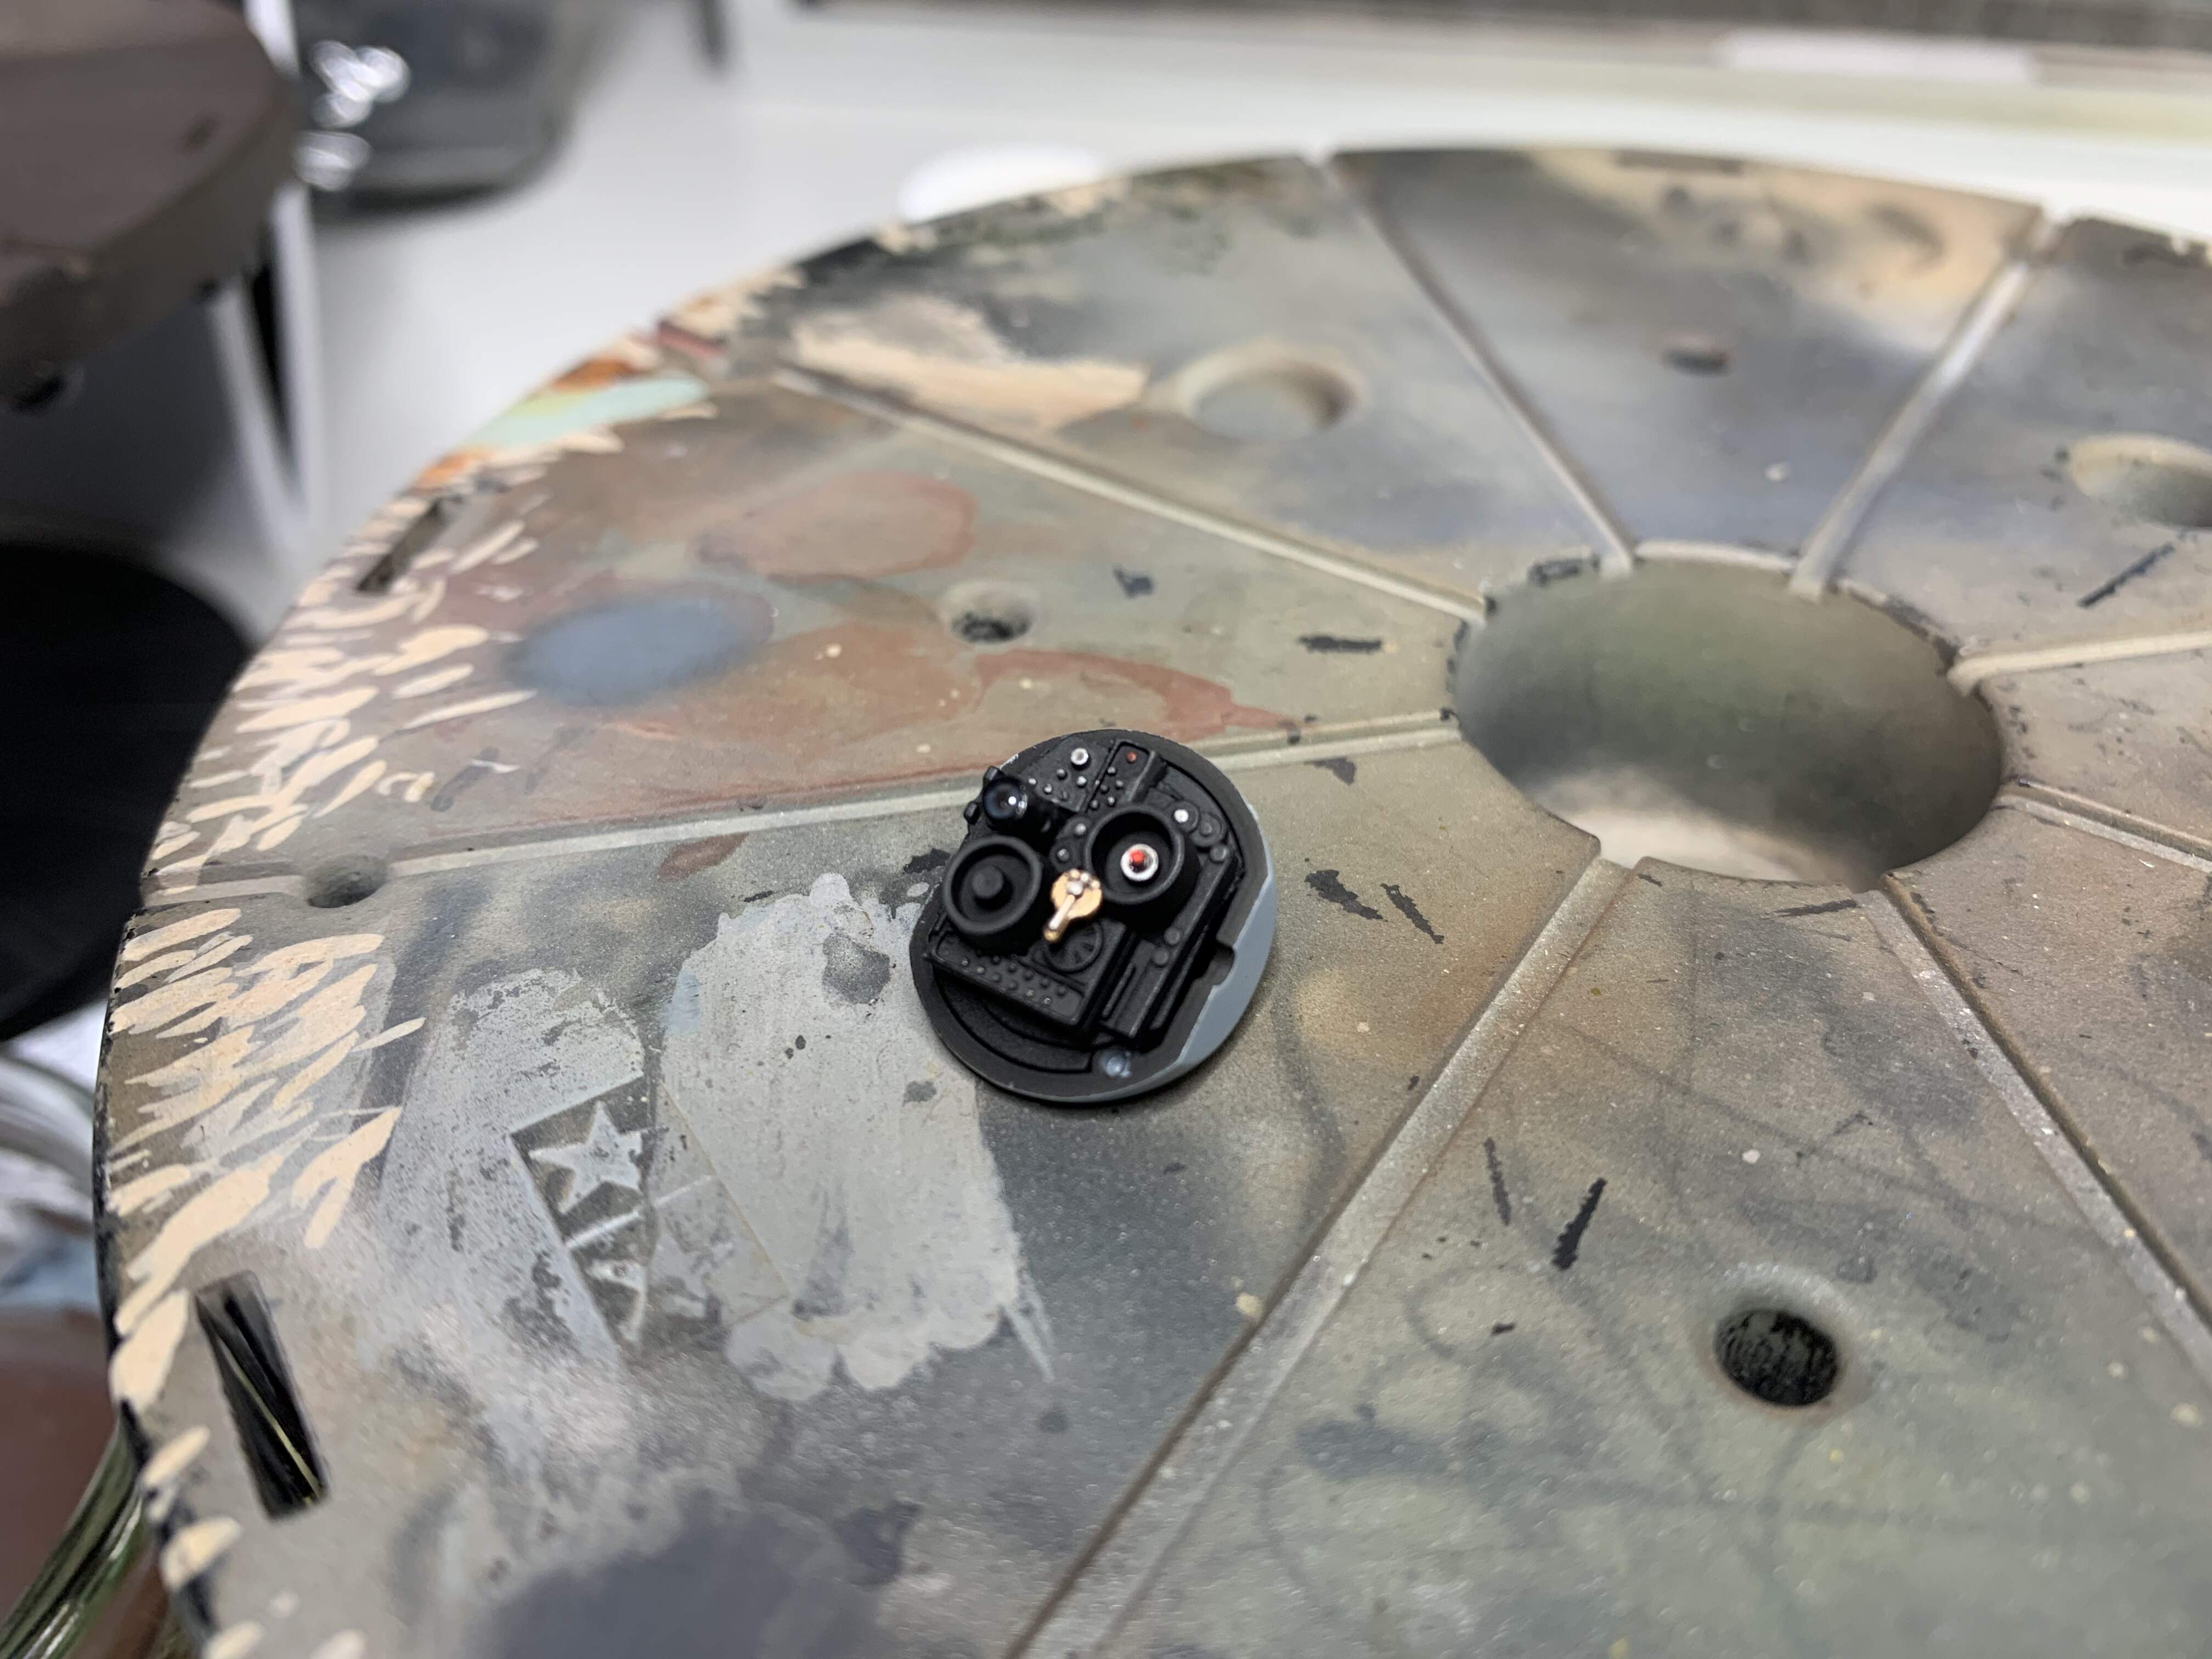
Thanks Gino @HeavyArty, I’ve now added some paint. The two halves have a really nice friction fit, and there is a seam there anyway so I think I can keep the ball separate from the mount for painting the main colour.
Cheers, Jim.
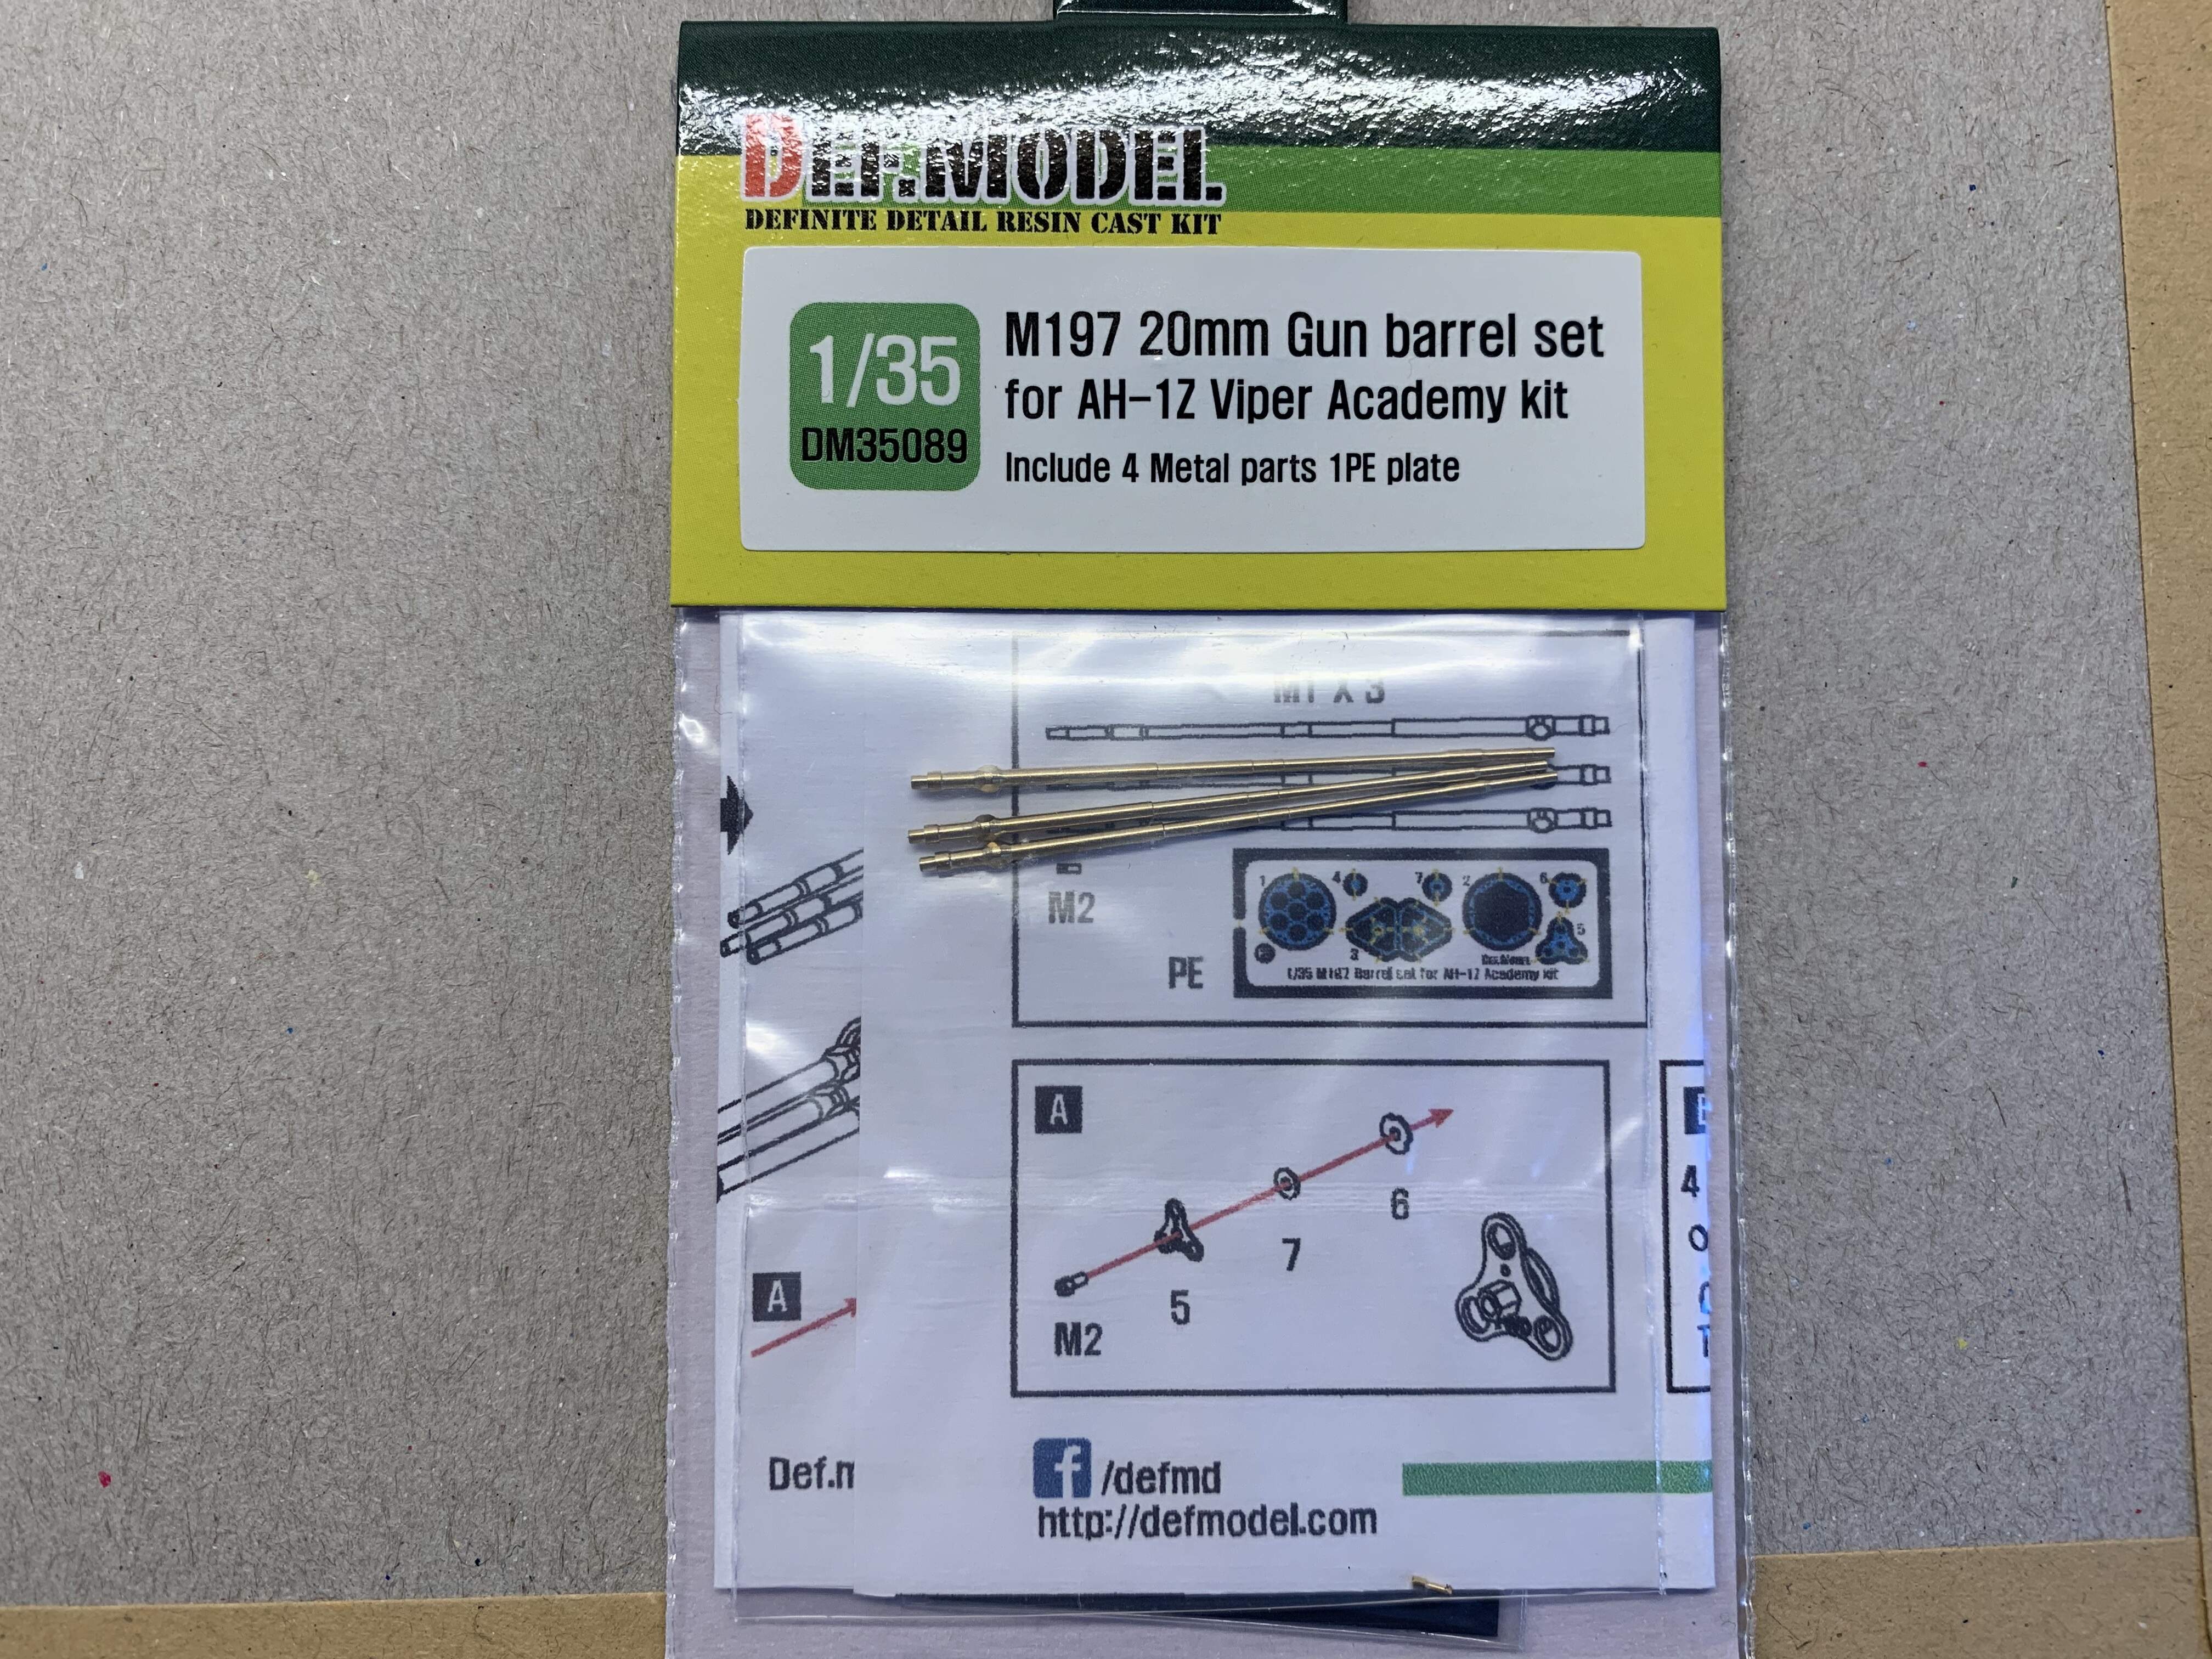
Been working away steadily on this, joining and filling and sanding mostly. However, I couldn’t face trying to clean up and drill the plastic gun barrels, so I was very happy when this arrived today, they look rather nice.
Cheers, Jim.
I’ll second that.
Def Model products are great. I haven’t had a bad one yet.