Flingin Paint! Steady ar she goes mate, slow speed ahead!
Boy, it’s only been nineteen months since I’ve done any figure painting. Missing a bunker season of “sniffin paint and gluin them fingers together” can get to ya, if ya know what I mean. But, whether it’s been six months or nineteen months I pretty much have to relearn my prior techniques every season. Call it a warm up before the workout. No worries, this will be a crash course of sorts. Remember, I have my trusty can of “Easy Off” oven cleaner just in case.
I always try to incorporate new techniques with each new set of figures. There’s a heck of a lot of incredible talent out there to learn from, all having their own way of flingin paint, so I study their work and try to learn from “them”.
Worth mentioning
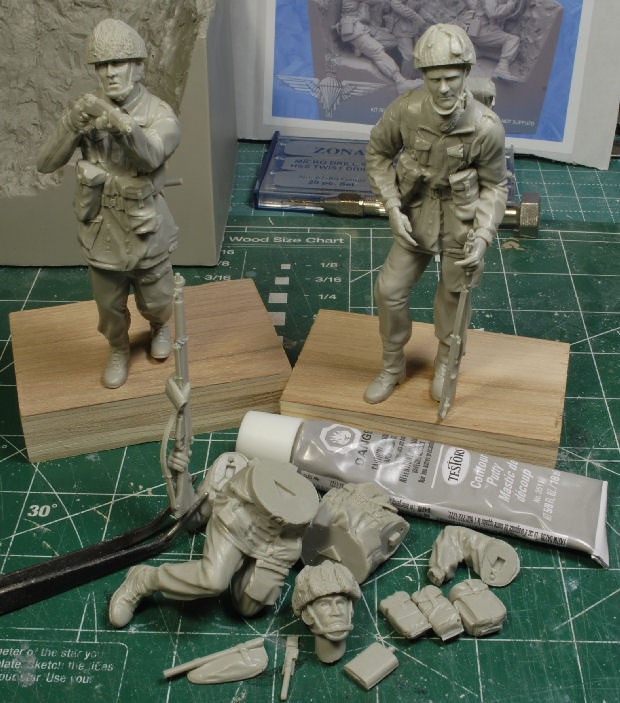
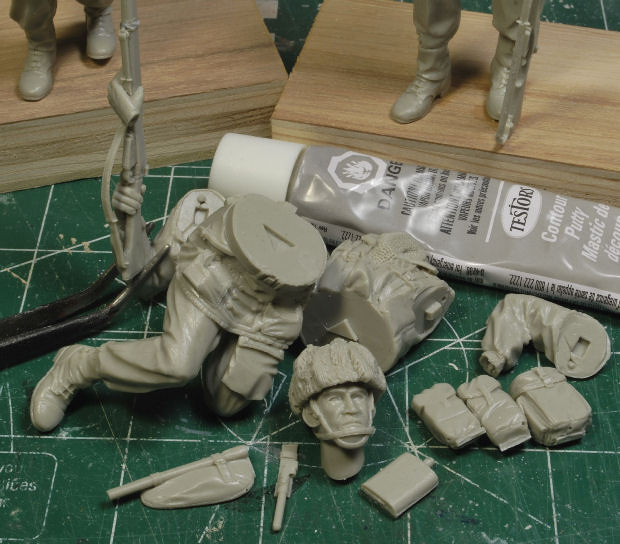
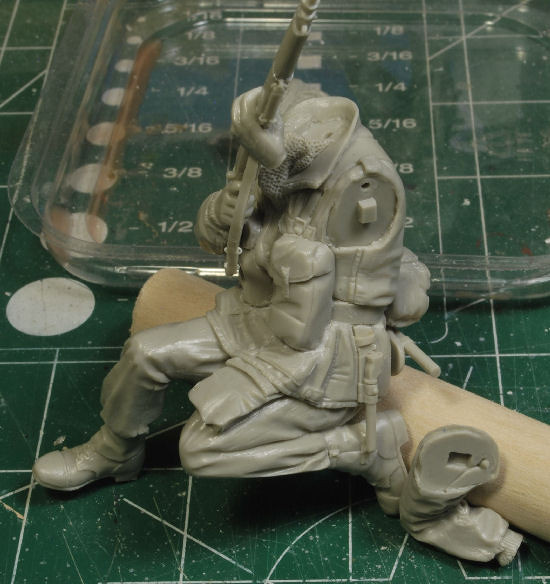
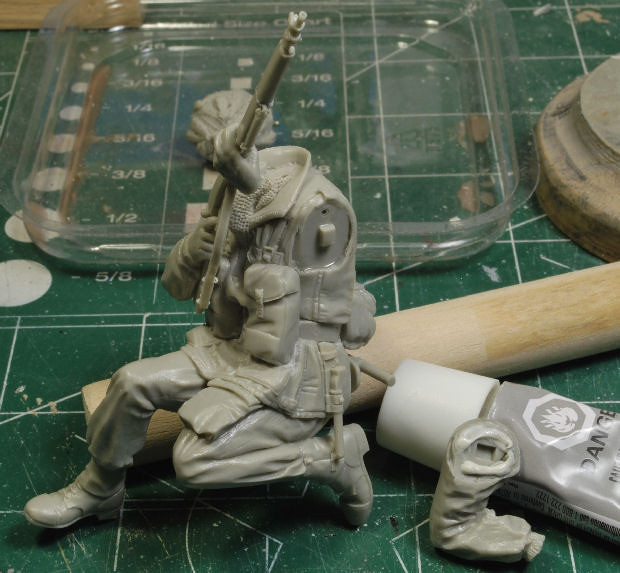
I’ll be starting back up where I left off at the end of my last bunker session. I’ve mentioned this before in my Sub Gun Deck SBS; During the Fall/Winter of 2018-19 I started working a new technique I picked up from a canvas oil painter. Strange, I know, but the concept is the same, just in an incredibly smaller scale.
The lessons I’ve learned from watching the oil painter “Daria Callie” seem to work well so far, at least for me. The only difference is the blending, or not blending, of the oils in the process. One key noticeable difference in how she paints on canvas and how most of us paint faces on resin. Most of us oilers use an acrylic color base before we apply the oils. Daria uses a grey base tone to keep the neutrality of the colors more readily visible during the painting process. I see her point.
Note: I do not use this technique for uniforms or gear, only on faces and flesh tones. This is my weakest link, so this is my focal point needing of much more improvement.
I’ve worked this technique several times now and it seems to work well for me, as long as I remember to use an acrylic primer for the flesh tones or seal the oil based primer before working the oils. Why? I use thinner quite often when I work the oils and the primer can disappear on you quick if you neglect to seal it. The oils will have nothing to cling to and off it goes with each stroke of the brush, yikes! I gotta remember that,…
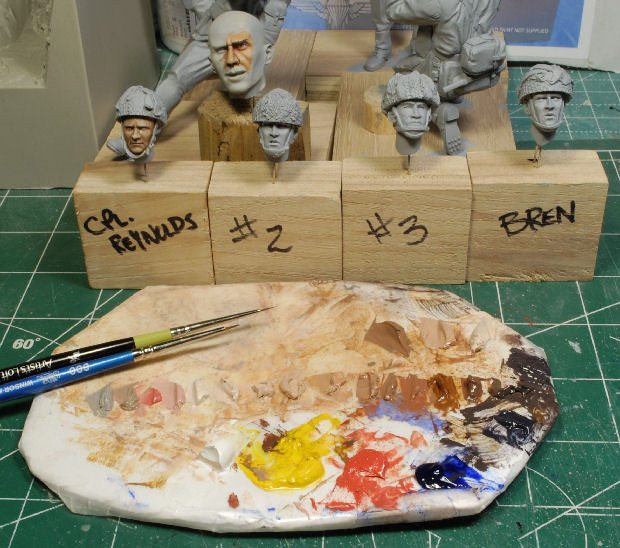
Palette and the line-up
So, here’s the palette for the flesh tones with numerous blended tones to choose from. Taking notes from Daria’s videos I start with the five basic colors; Cadmium Yellow, Cadmium Red, Burnt Umber, Ultra Marine Blue, and Titanium White. Yes, even on this little palette I used a small palette knife to mix the tones, works just fine. My palette is just a piece of thick poster board covered with wax paper. After each session I place the palette in a cheap plastic sealable container and into the freezer or refer it goes. This keeps the oils workable for an extended period of time.
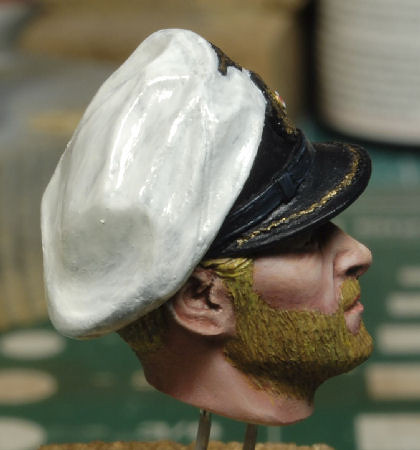
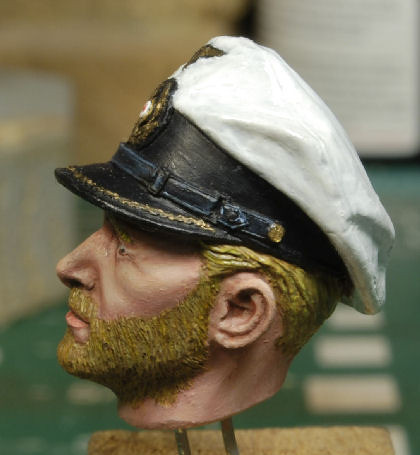
As you can see I have “'Ol One Eye” in the background for moral support. He was my first attempt, trial run if you will, at using this technique. I was impressed with the results and also how quickly he began to take shape. Sweeeet!
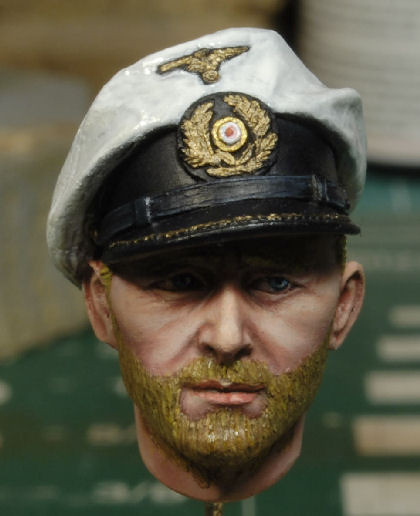
The Sub Gun Deck Captain head was done using Daria’s technique as well. So, if you can get past the visible brush marks, lol, you can see the flesh tones look acceptable for a serious first run. Still more work to be done, of course.
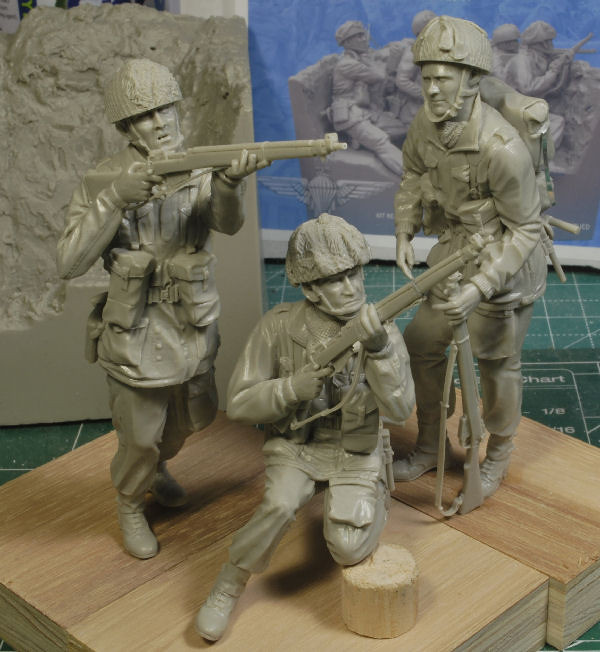
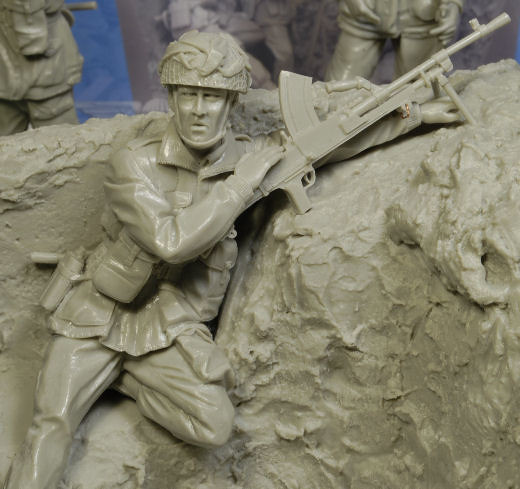
First up to bat are the faces, always. Painting the faces first gives me the confidence right up front. Large scale figures will show you all your mistakes and will shout at you quickly, lol. I’m not afraid to start over to correct a blatant and obvious boof. I’m still learning and I’ve got a long way to go to get to where I’d like to be in this Sport.
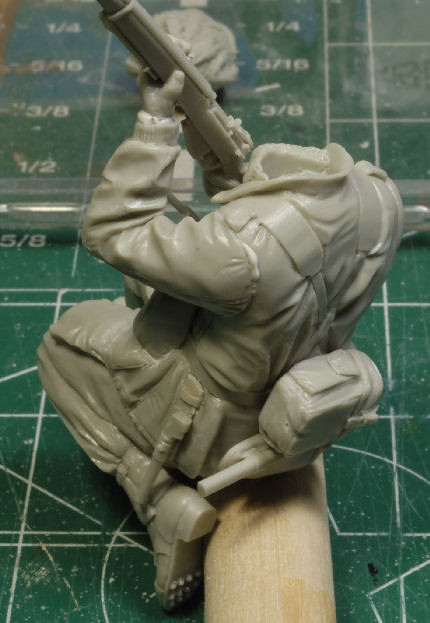
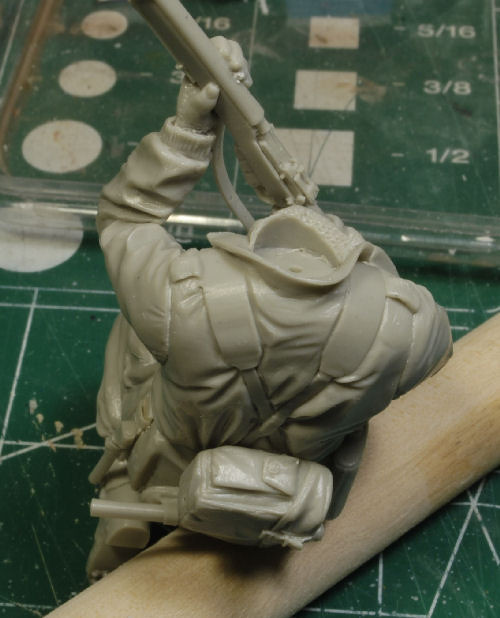
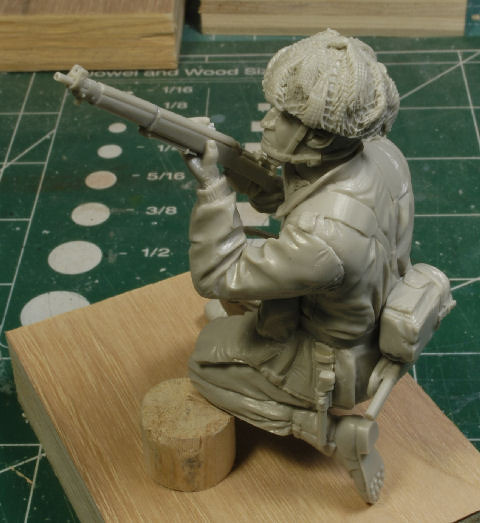
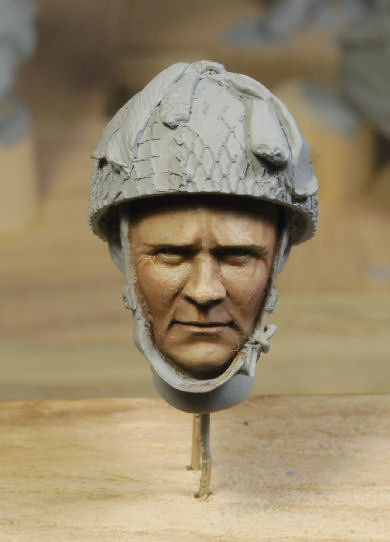
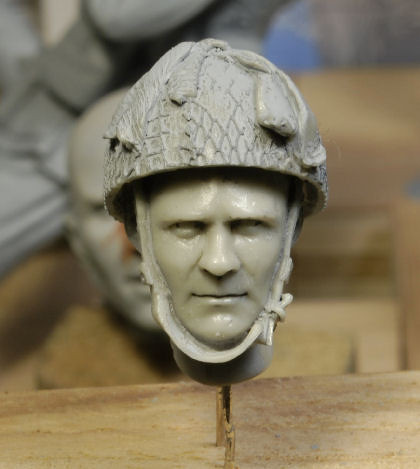
Corporal Reynolds was my first choice, he has a great expression on his face, IMHO. I got a ways into the process of oiling and realized I had not sealed the oil based primer, doeee… I tried to fix the mistake, but you can’t get oil to stick to resin worth a hoot without that primer under it. Heck, I already jacked it up, so why not keep going, get the bugs worked out and see how much I’ve lost over the past nineteen months.
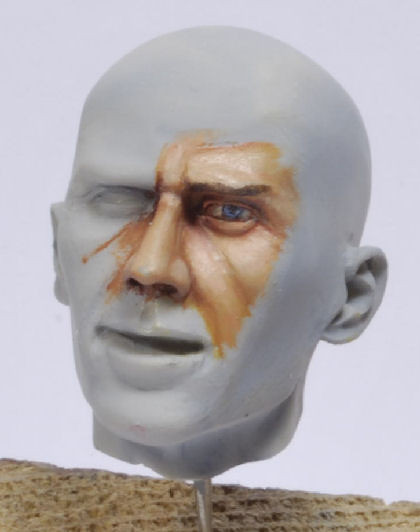
I might add that I acquired a set of number six reading glasses. They’re dang near as thick as Coke bottles, but boy howdy, I can now see the fine point of my brush up close without having that Optivisor hanging off my head. Working into the eye sockets is much easier now, so I just might see some improvement in my weakest area. I’m optimistic.
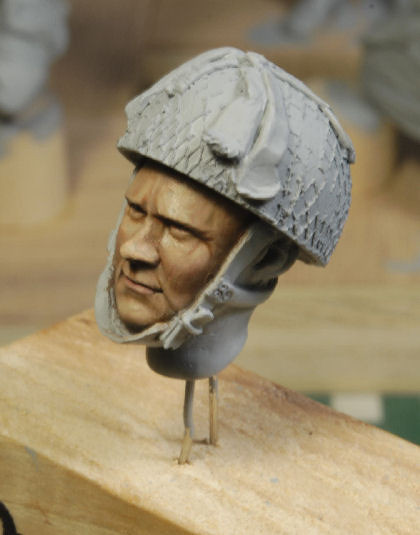
Looking closer at the top and sides of the nose, temple areas, and under the eyes you will notice the small spec areas of missing primer. It looks horrendous up close, lesson learned, once again. But, over all, the tones are looking decent and the blending appears to be working ok. I think I’m getting warmed up. I still have brush strokes to clean up, but I see progress in a positive direction. Good practice run, wouldn’tcha say?
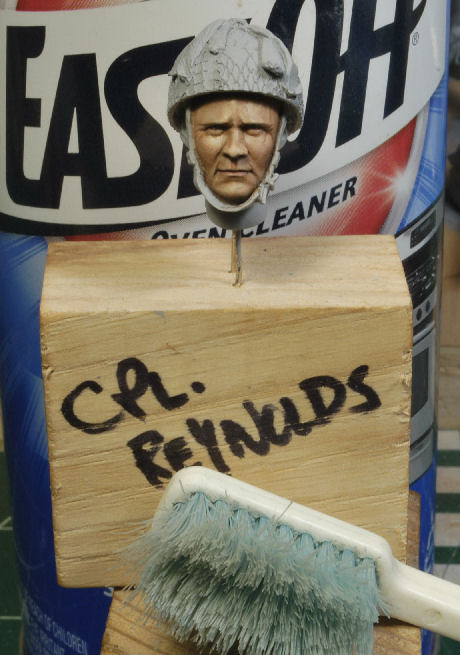
Ok, off to the shower you go buddy! Well, I toldja, it’s only been nineteen months… Ah, no worries, we’re still having fun and that’s what it’s all about. If you’ve never used oven cleaner before it’s an easy process. I don’t wait long before I scrub off a coat of paint. Just make sure you try to get all the paint out of the crevasses and eye sockets, under the nose, etc. Try to get right back down to the resin, you don’t want any paint build up to deal with later.
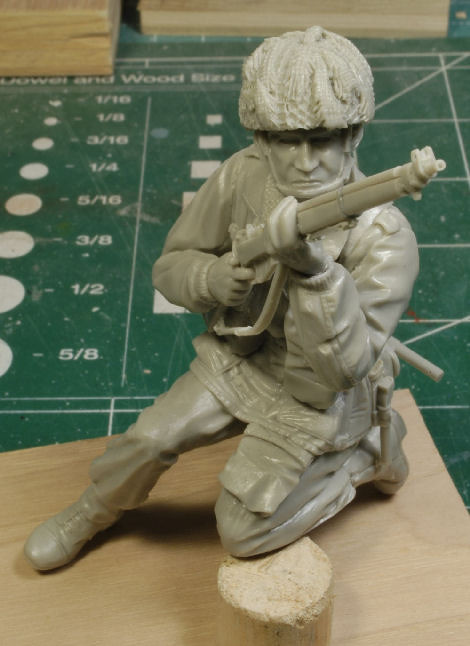
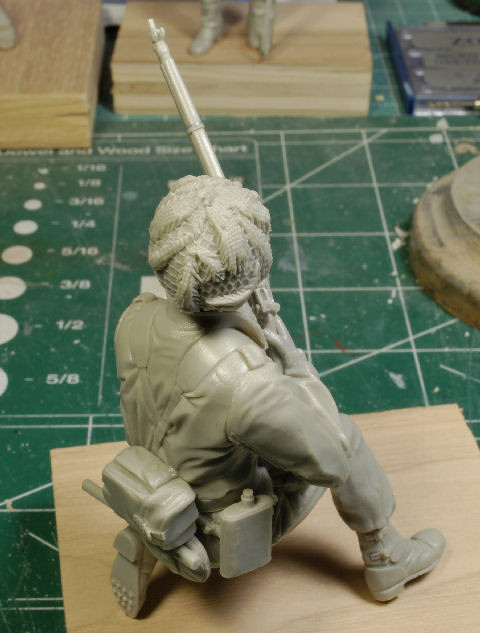
Ok, Cpl. Reynolds is all cleaned up and ready for a serious run at putting down some paint.
Let’s see if I can bring the Cpl to life. Remember now, faces are my weak point. I intend to make them my strong point. Isn’t that how practice works? Yep, here we go…
More updates to follow once the paint starts flyin again, and thanks for watchin. Cheers, Ski.