Aoshima 1/350 IJN Light Cruiser Tama (1942)

I wanted to go ahead and continue my Aoshima 1/350 IJN Light Cruiser Tama (1942) thread here on the new site. Sine it is not realistic to bring the old thread over I will just start from here and provide an overview of her current status.

I have begun working on the bridge and am almost done with the rear aircraft handling facility.

Here she is.

!

IMG_2221|666x500

Last but not least, I replaced the kit provided deck winches with the Infini Model IJN Deck Winches, in my opinion they are a definite improvement.

When I get some time off I will finish up the stern aircraft hand facilities by adding the brass strip to the deck. Once that is added and the walls are weathered I will add it permanently and then finish up the bridge.

Thanks for looking in and as always, comments, suggestions and criticism are always welcome and appreciated.

David

5 Likes

Great to see this one moving along, Dave :slightly_smiling_face:

Already I’m on board for the show :blush:

1 Like

Russell

Great to have you on board!! I hope to get her moving a little faster. We’ll see though!

1 Like

Odd looking ship. Great job with all of that PE work.

Mark :beer:

1 Like

Mark,

Thanks - she is one of the IJN 5,500 ton light Cruisers. She will look less odd as I begin to add more of the deck fittings - hopefully the time for that will come soon. Available bench time has been fleeting for the past couple of months due to everything going on.

Thanks for looking in

David

Looks fantastic David. Following for sure.

Thank you sir - glad to have you aboard for the journey!!

David

I am glad I see the TAMA continued here. Was already afraid she is sunk before completion :thinking:

watching with interest your progress here :eyes:

Cheers

Thomas

Tama is definitely taking shape. That deck winch in particular
is awesome!

:astonished:

Thomas - Thanks - she has not sunk but she is defiantly in drydock without adequate dockworkers to complete her. Let hope that changes soon.

Tim - Thanks - I agree on the deck winch, very much an upgrade!

David

I have seen the posts regarding moving old threads to the new forum and agree that without some historical postings some may be confused or left wondering how a builder got to the point they are so with that in mind I am adding the link to my Tama thread on the old site. Hopefully this link will still work once the old site is archived.

https://modelshipwrights.kitmaker.net/modules.php?op=modload&name=SquawkBox&file=index&req=viewtopic&topic_id=281165&page=1

David

David,

great to see this build continued over here! And she looks fantastic so far!

I know the problem of dry docking without sufficient workers present only too god…but I’ll definitely follow, great work!

Cheers
Jan

1 Like

Jan,

Good to see you, been way too long. Thank you for the kind words. I had a shift of dockworkers arrive today so I will have some updates later!!

David

Hey everyone

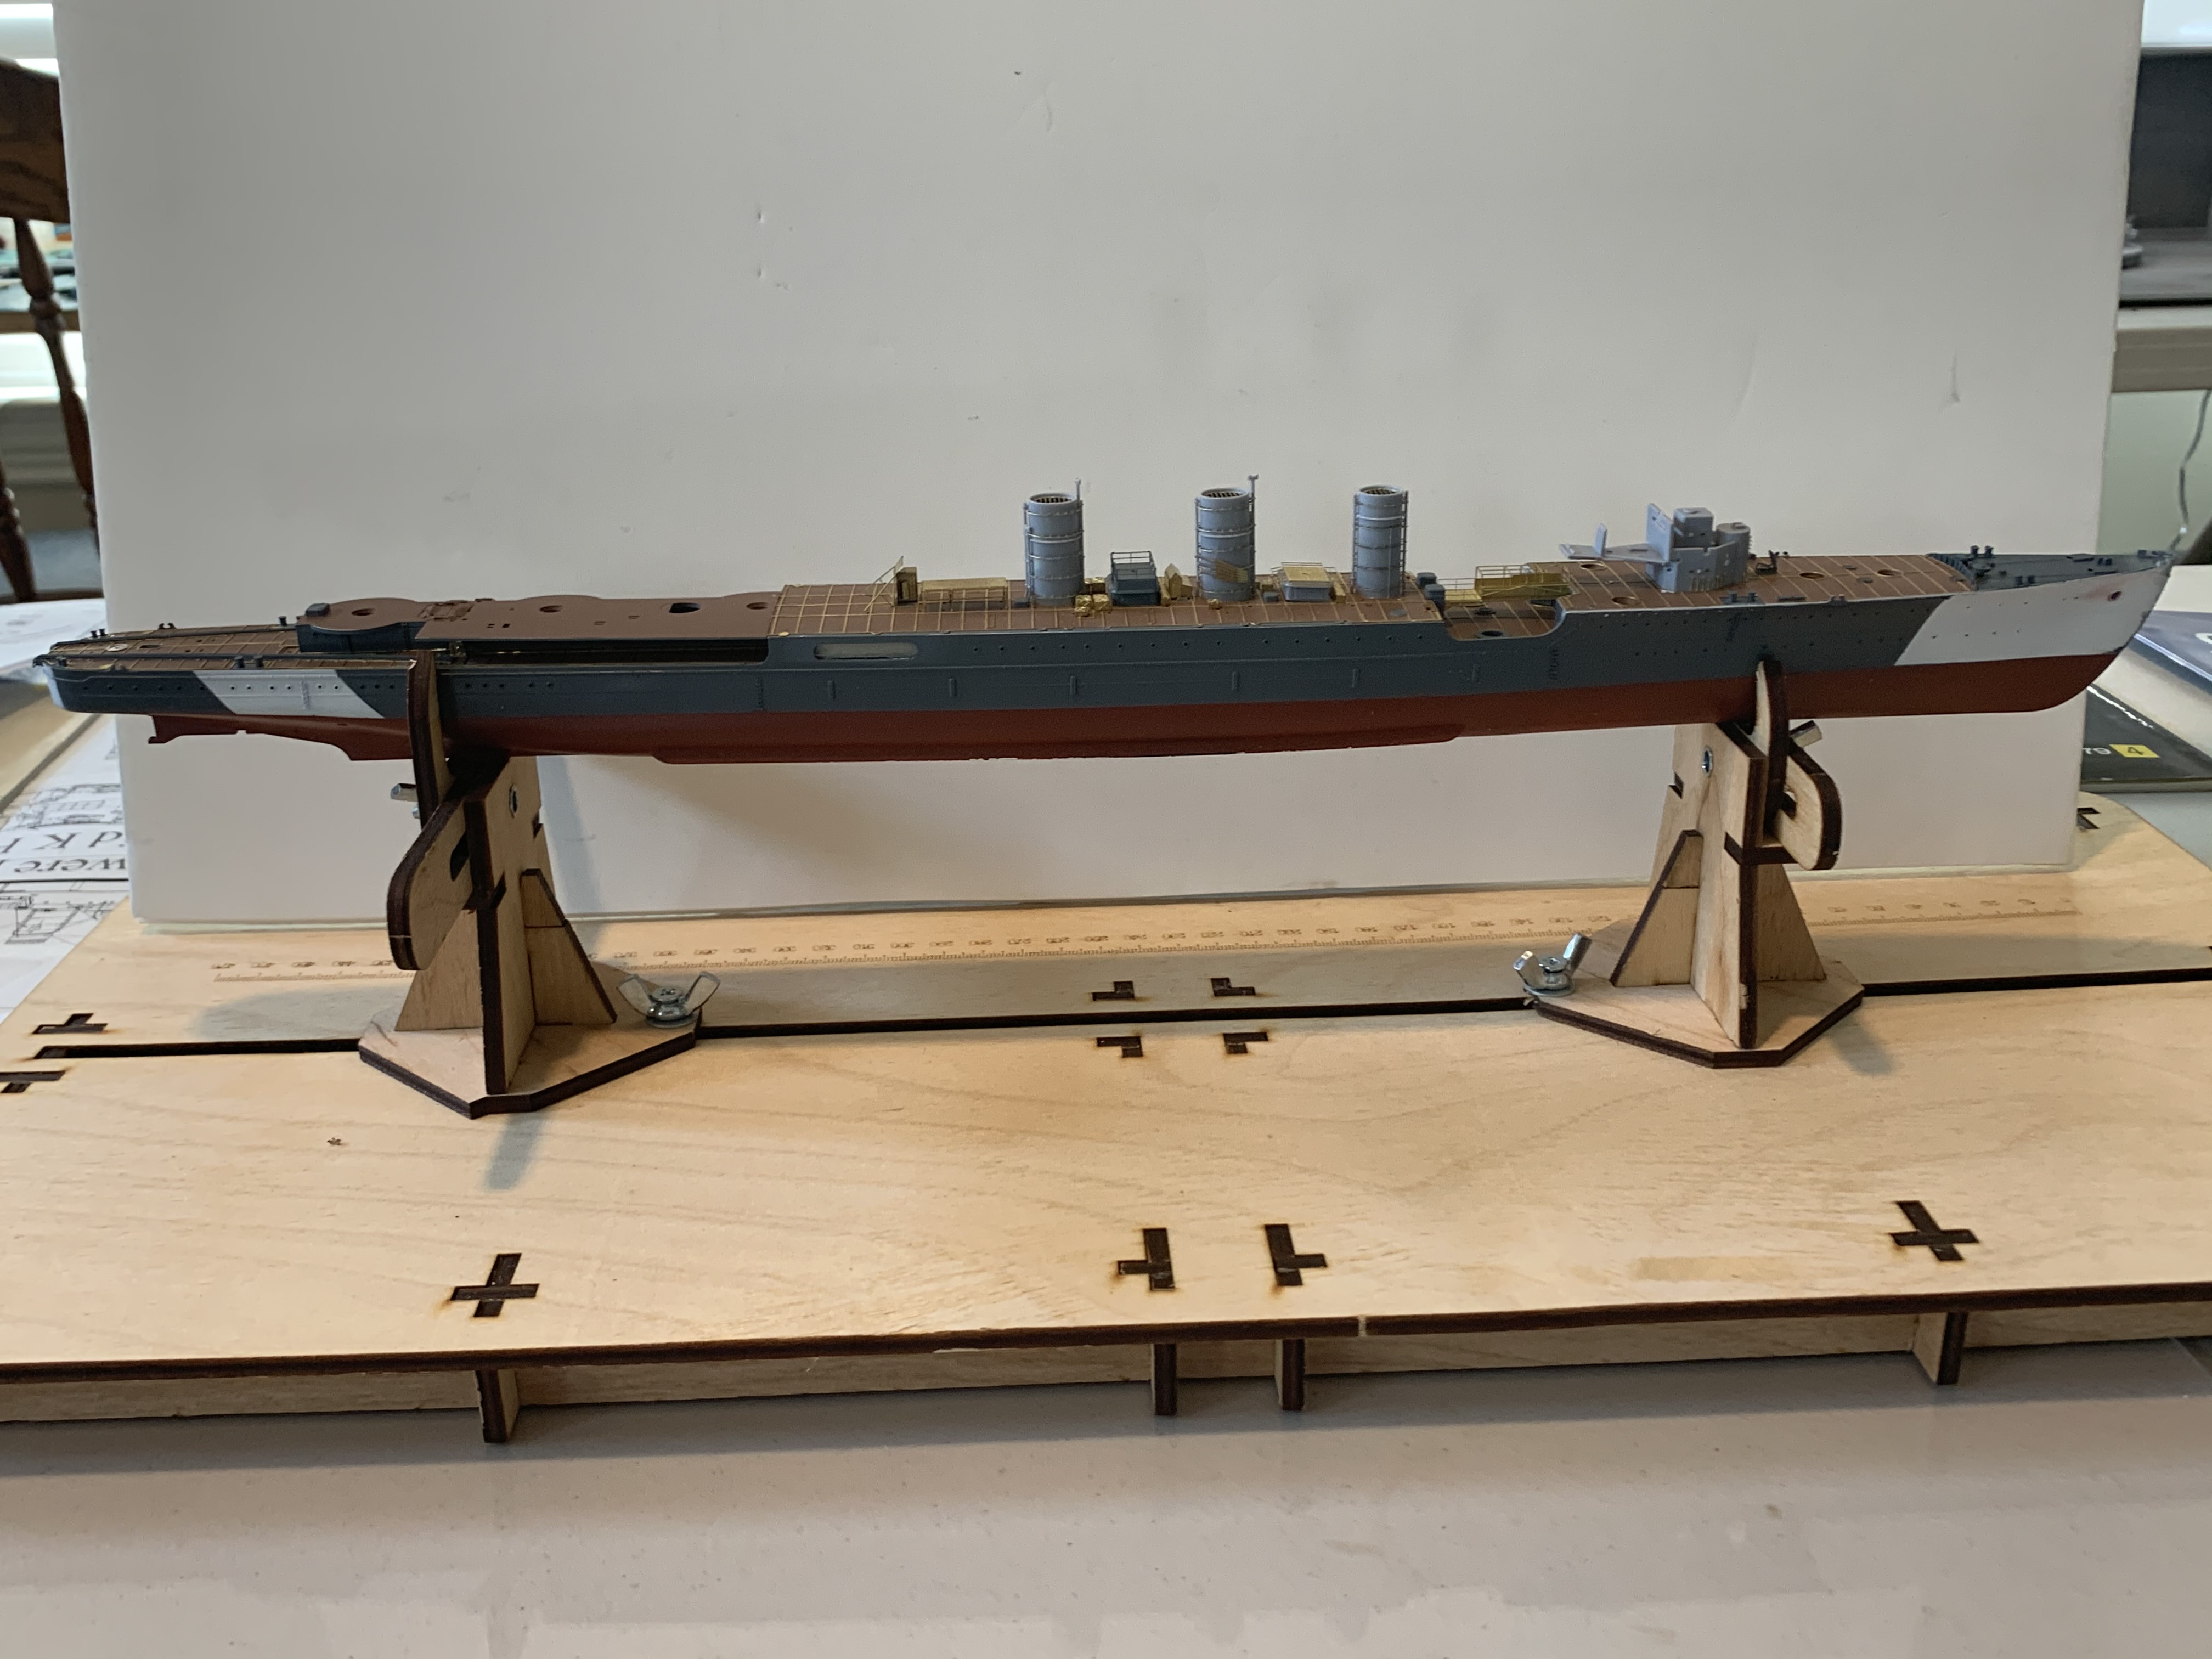
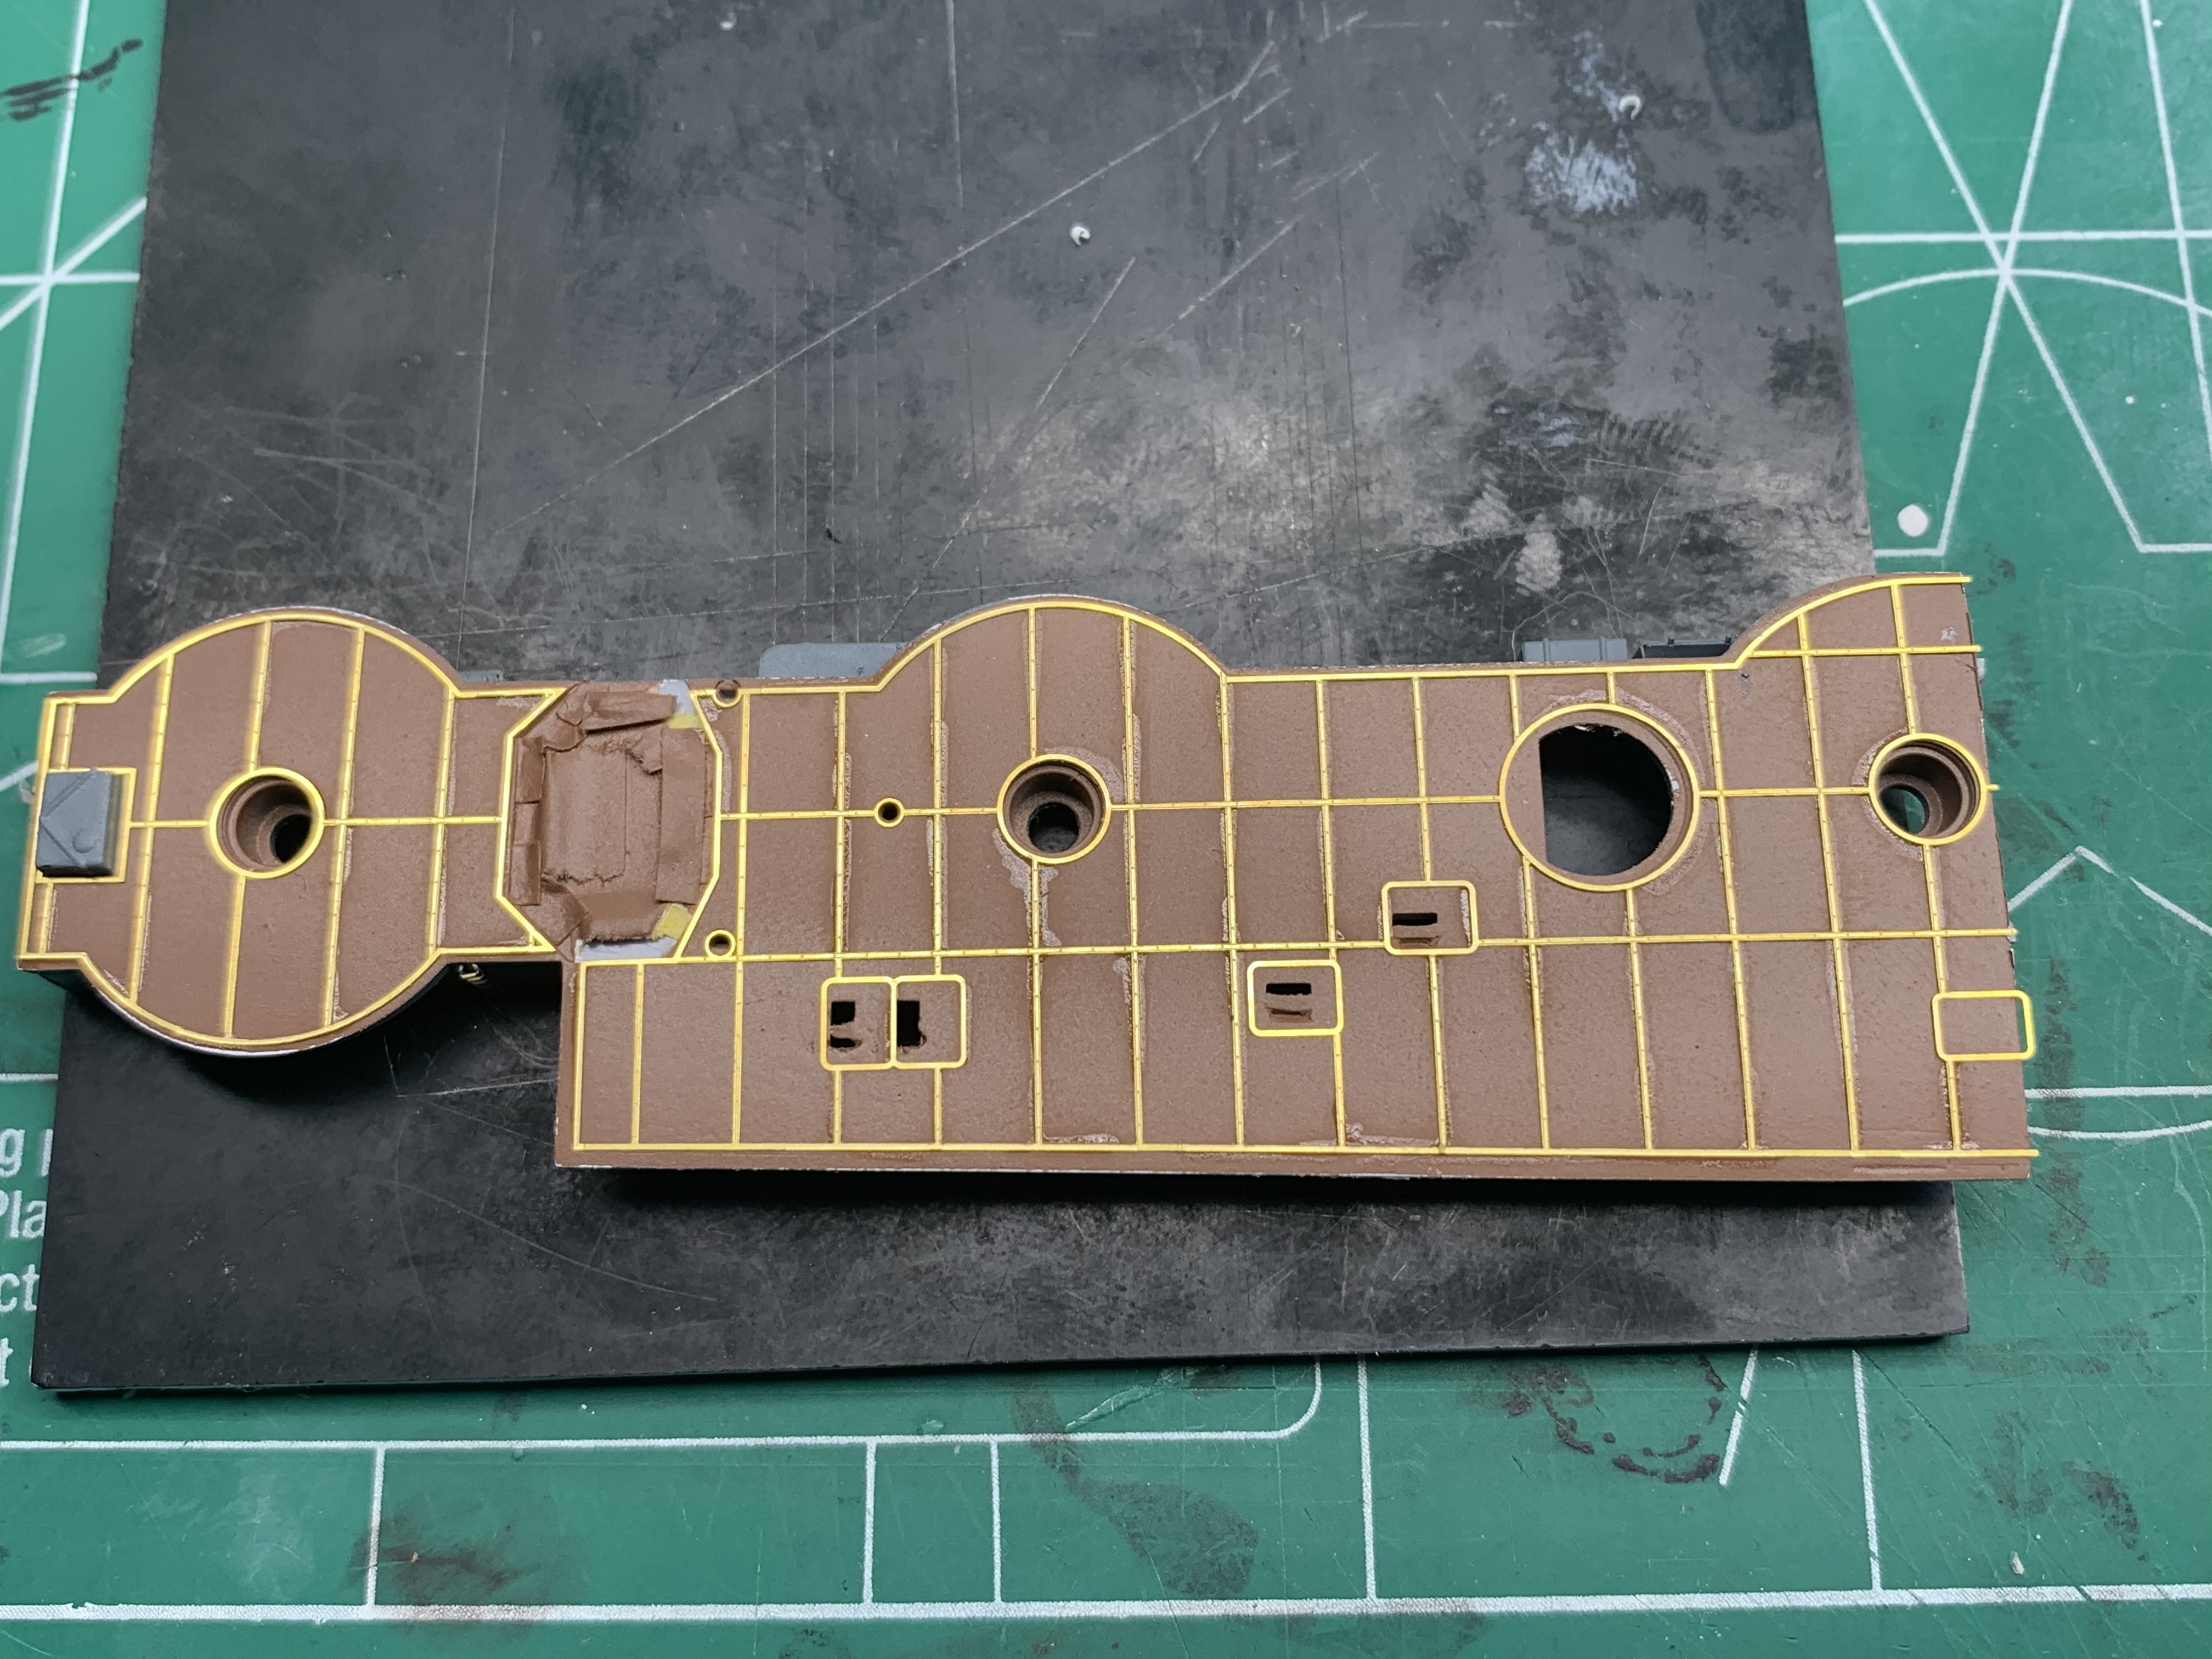
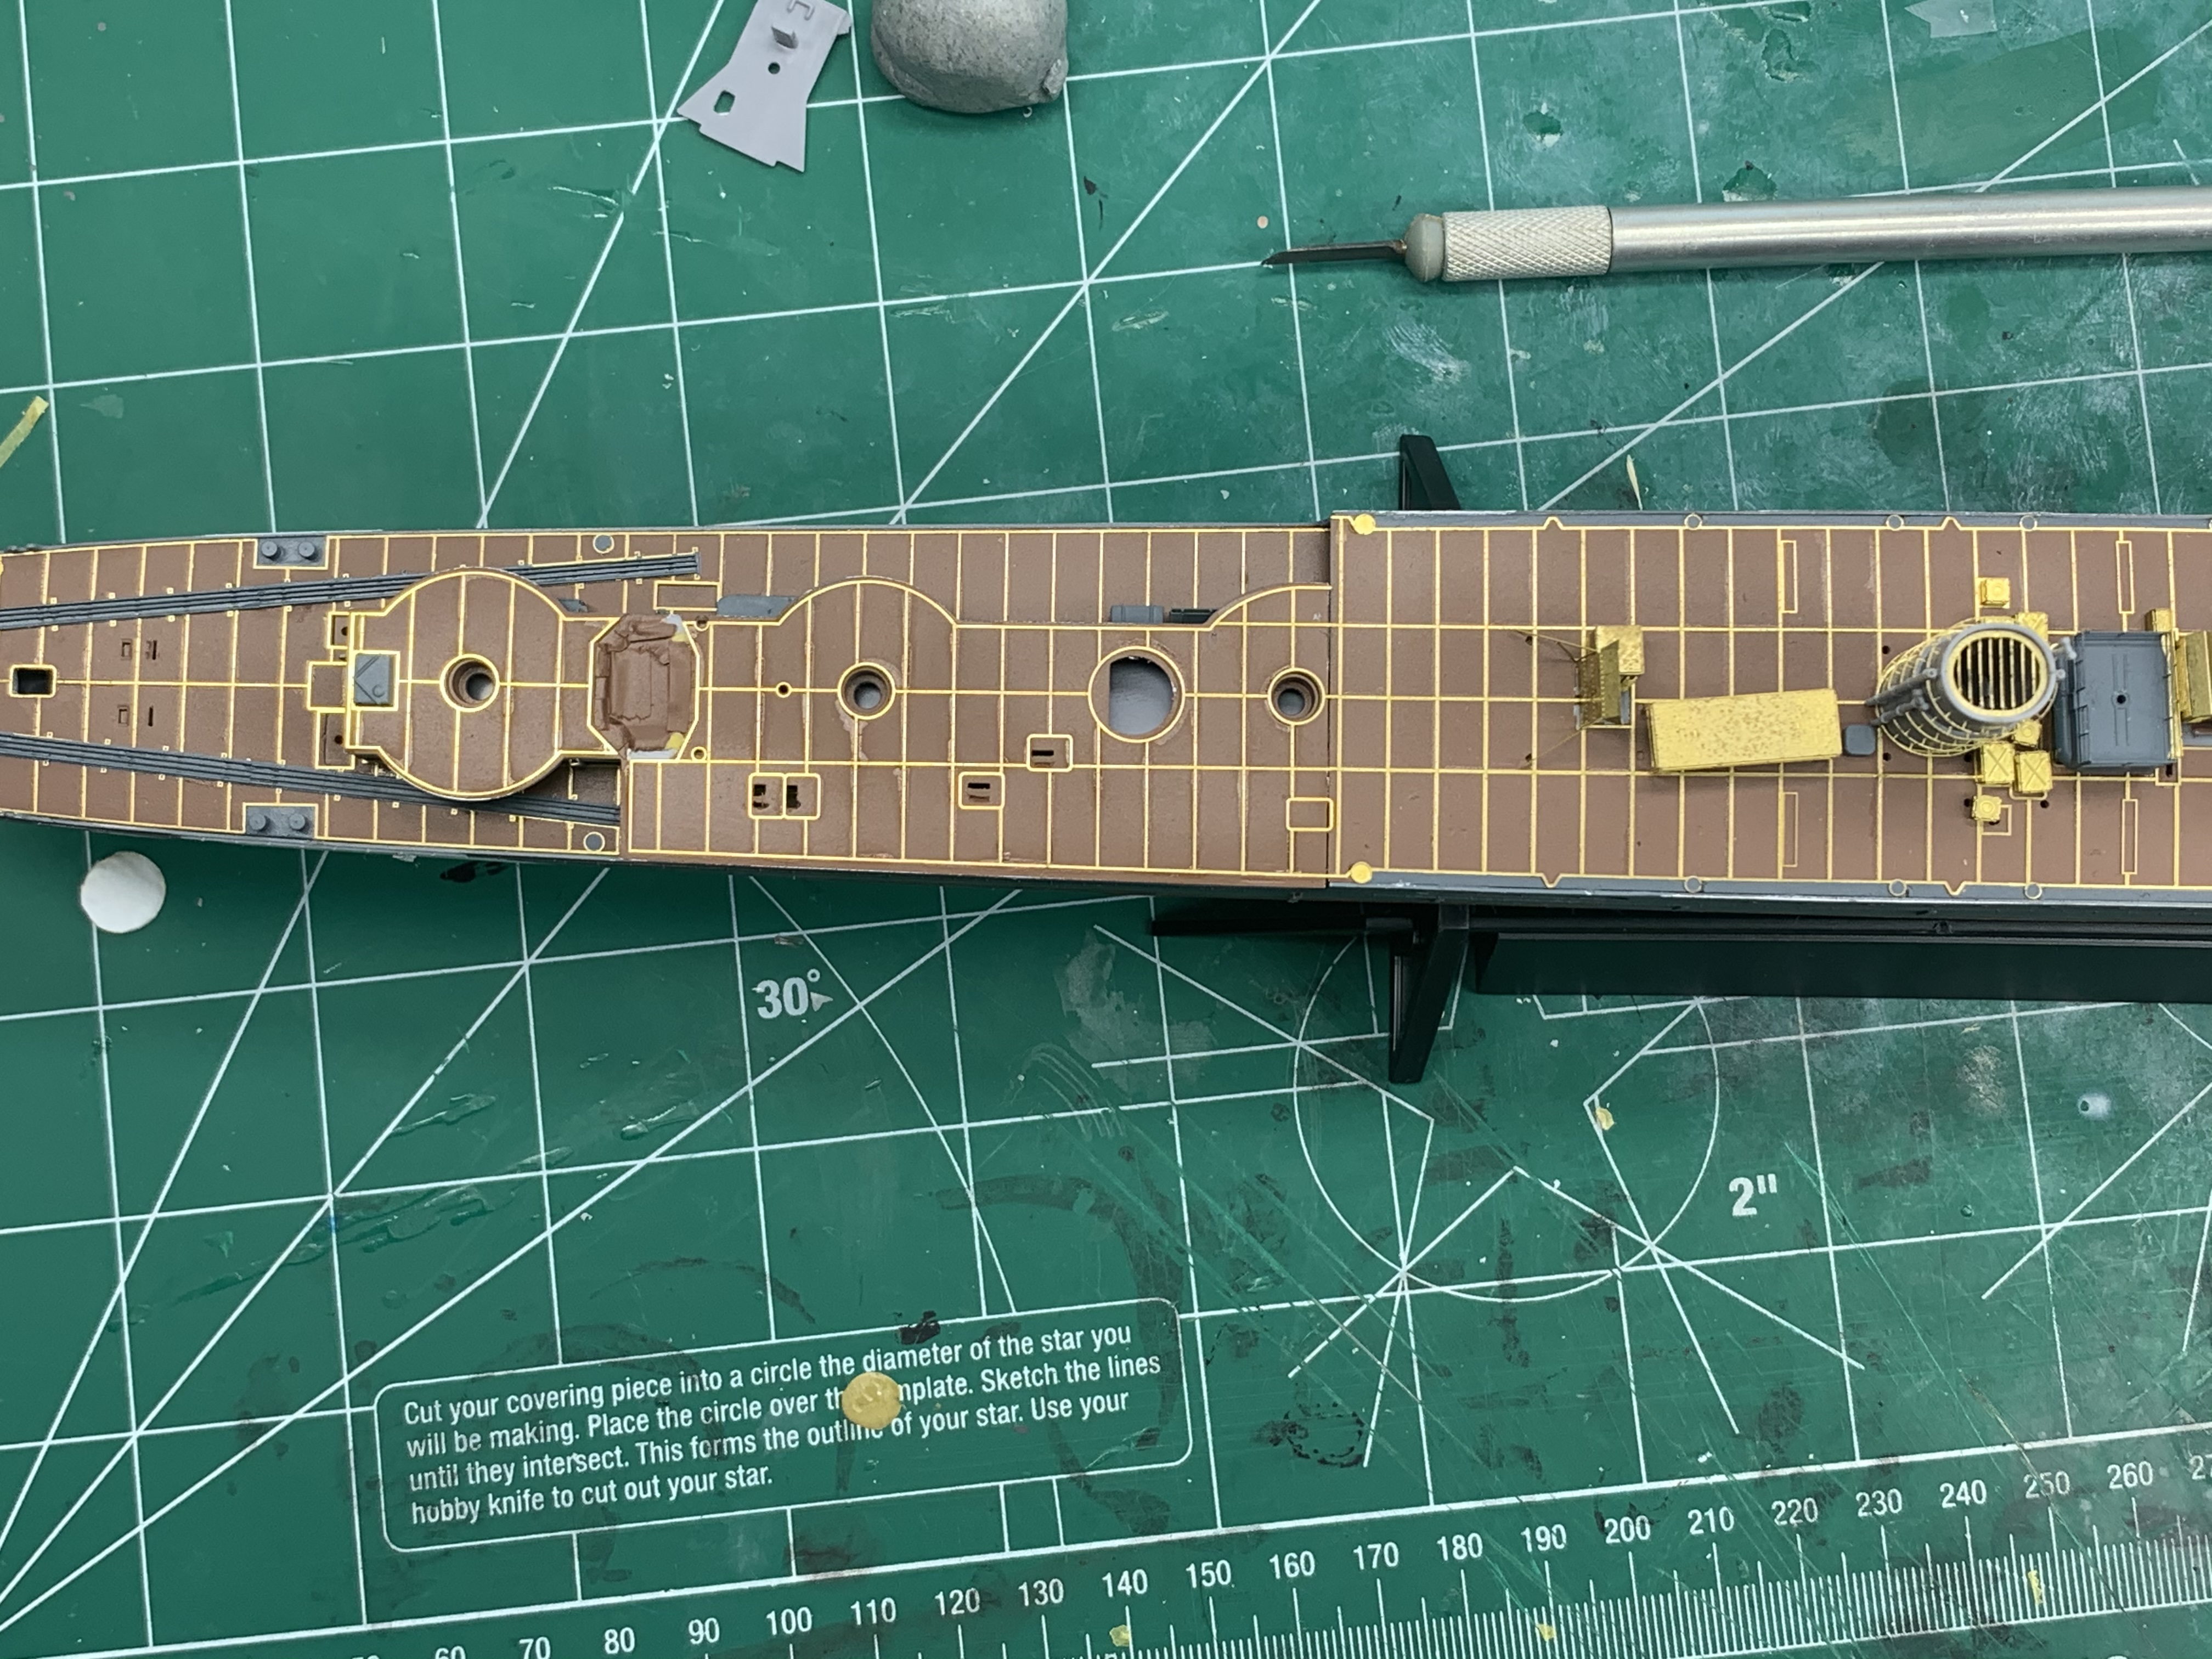
So a shift of dock workers arrived on Sunday and got down to business. The primary focus was getting the aft upper deck completed

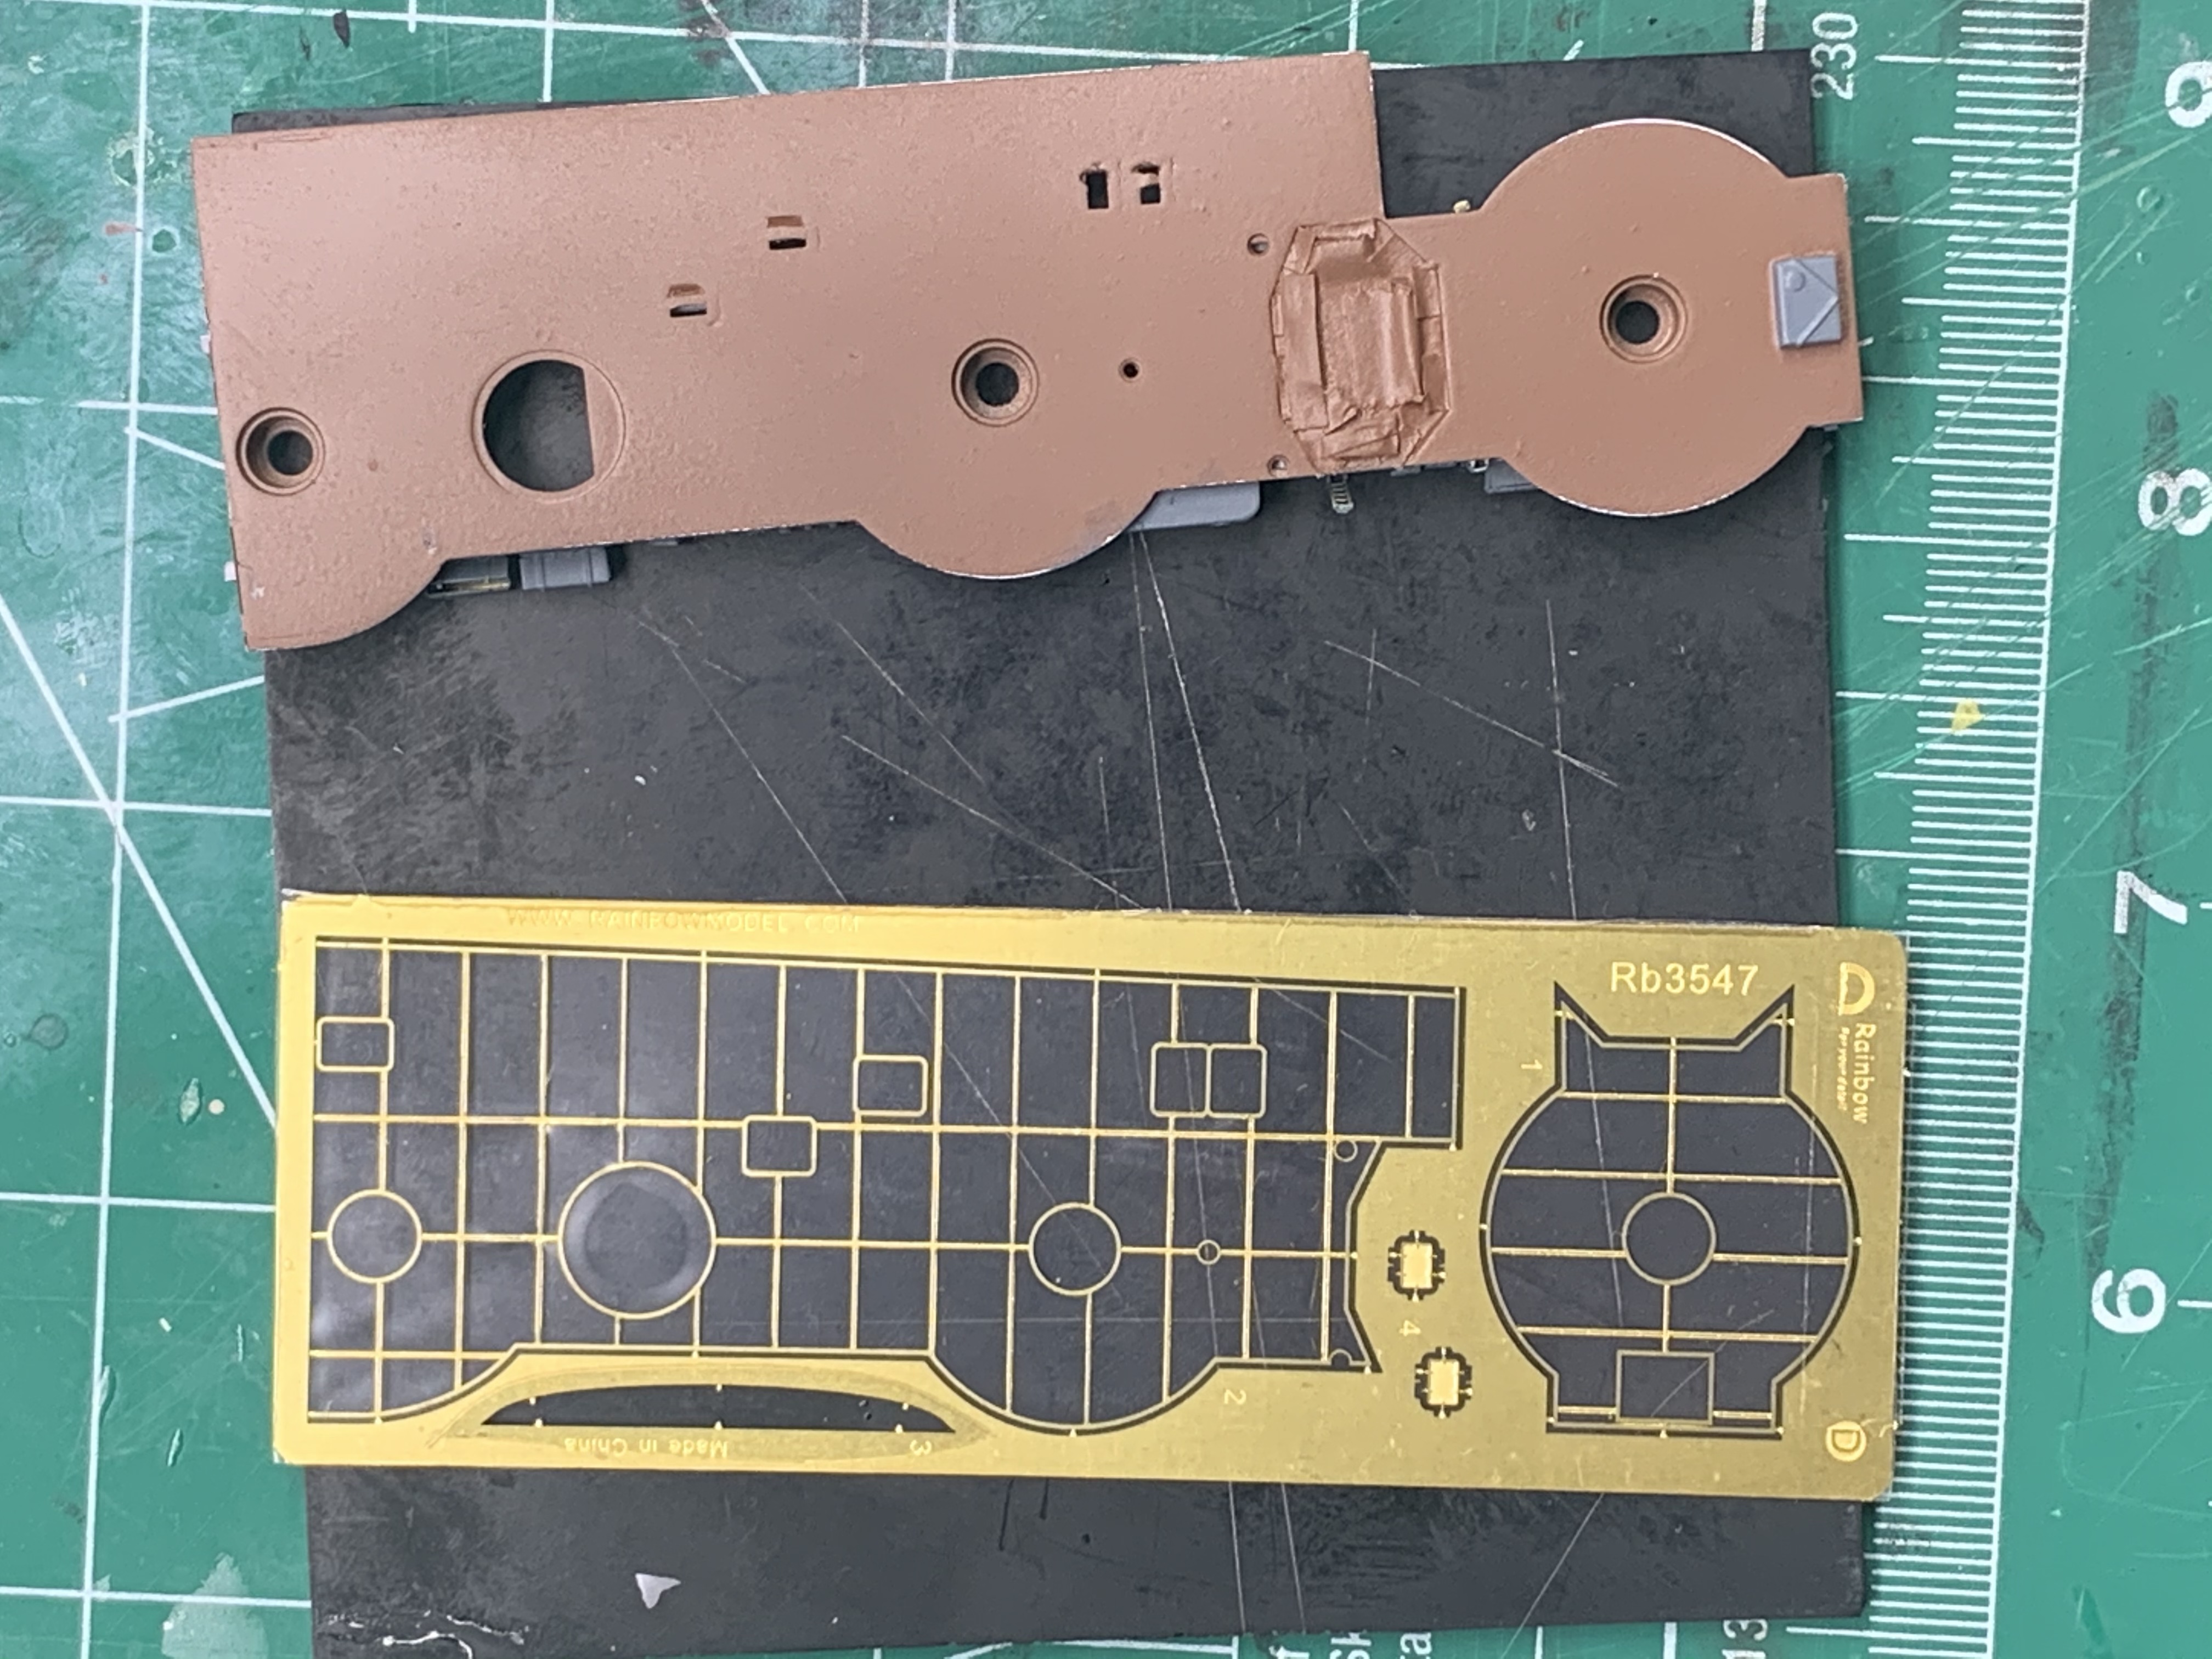
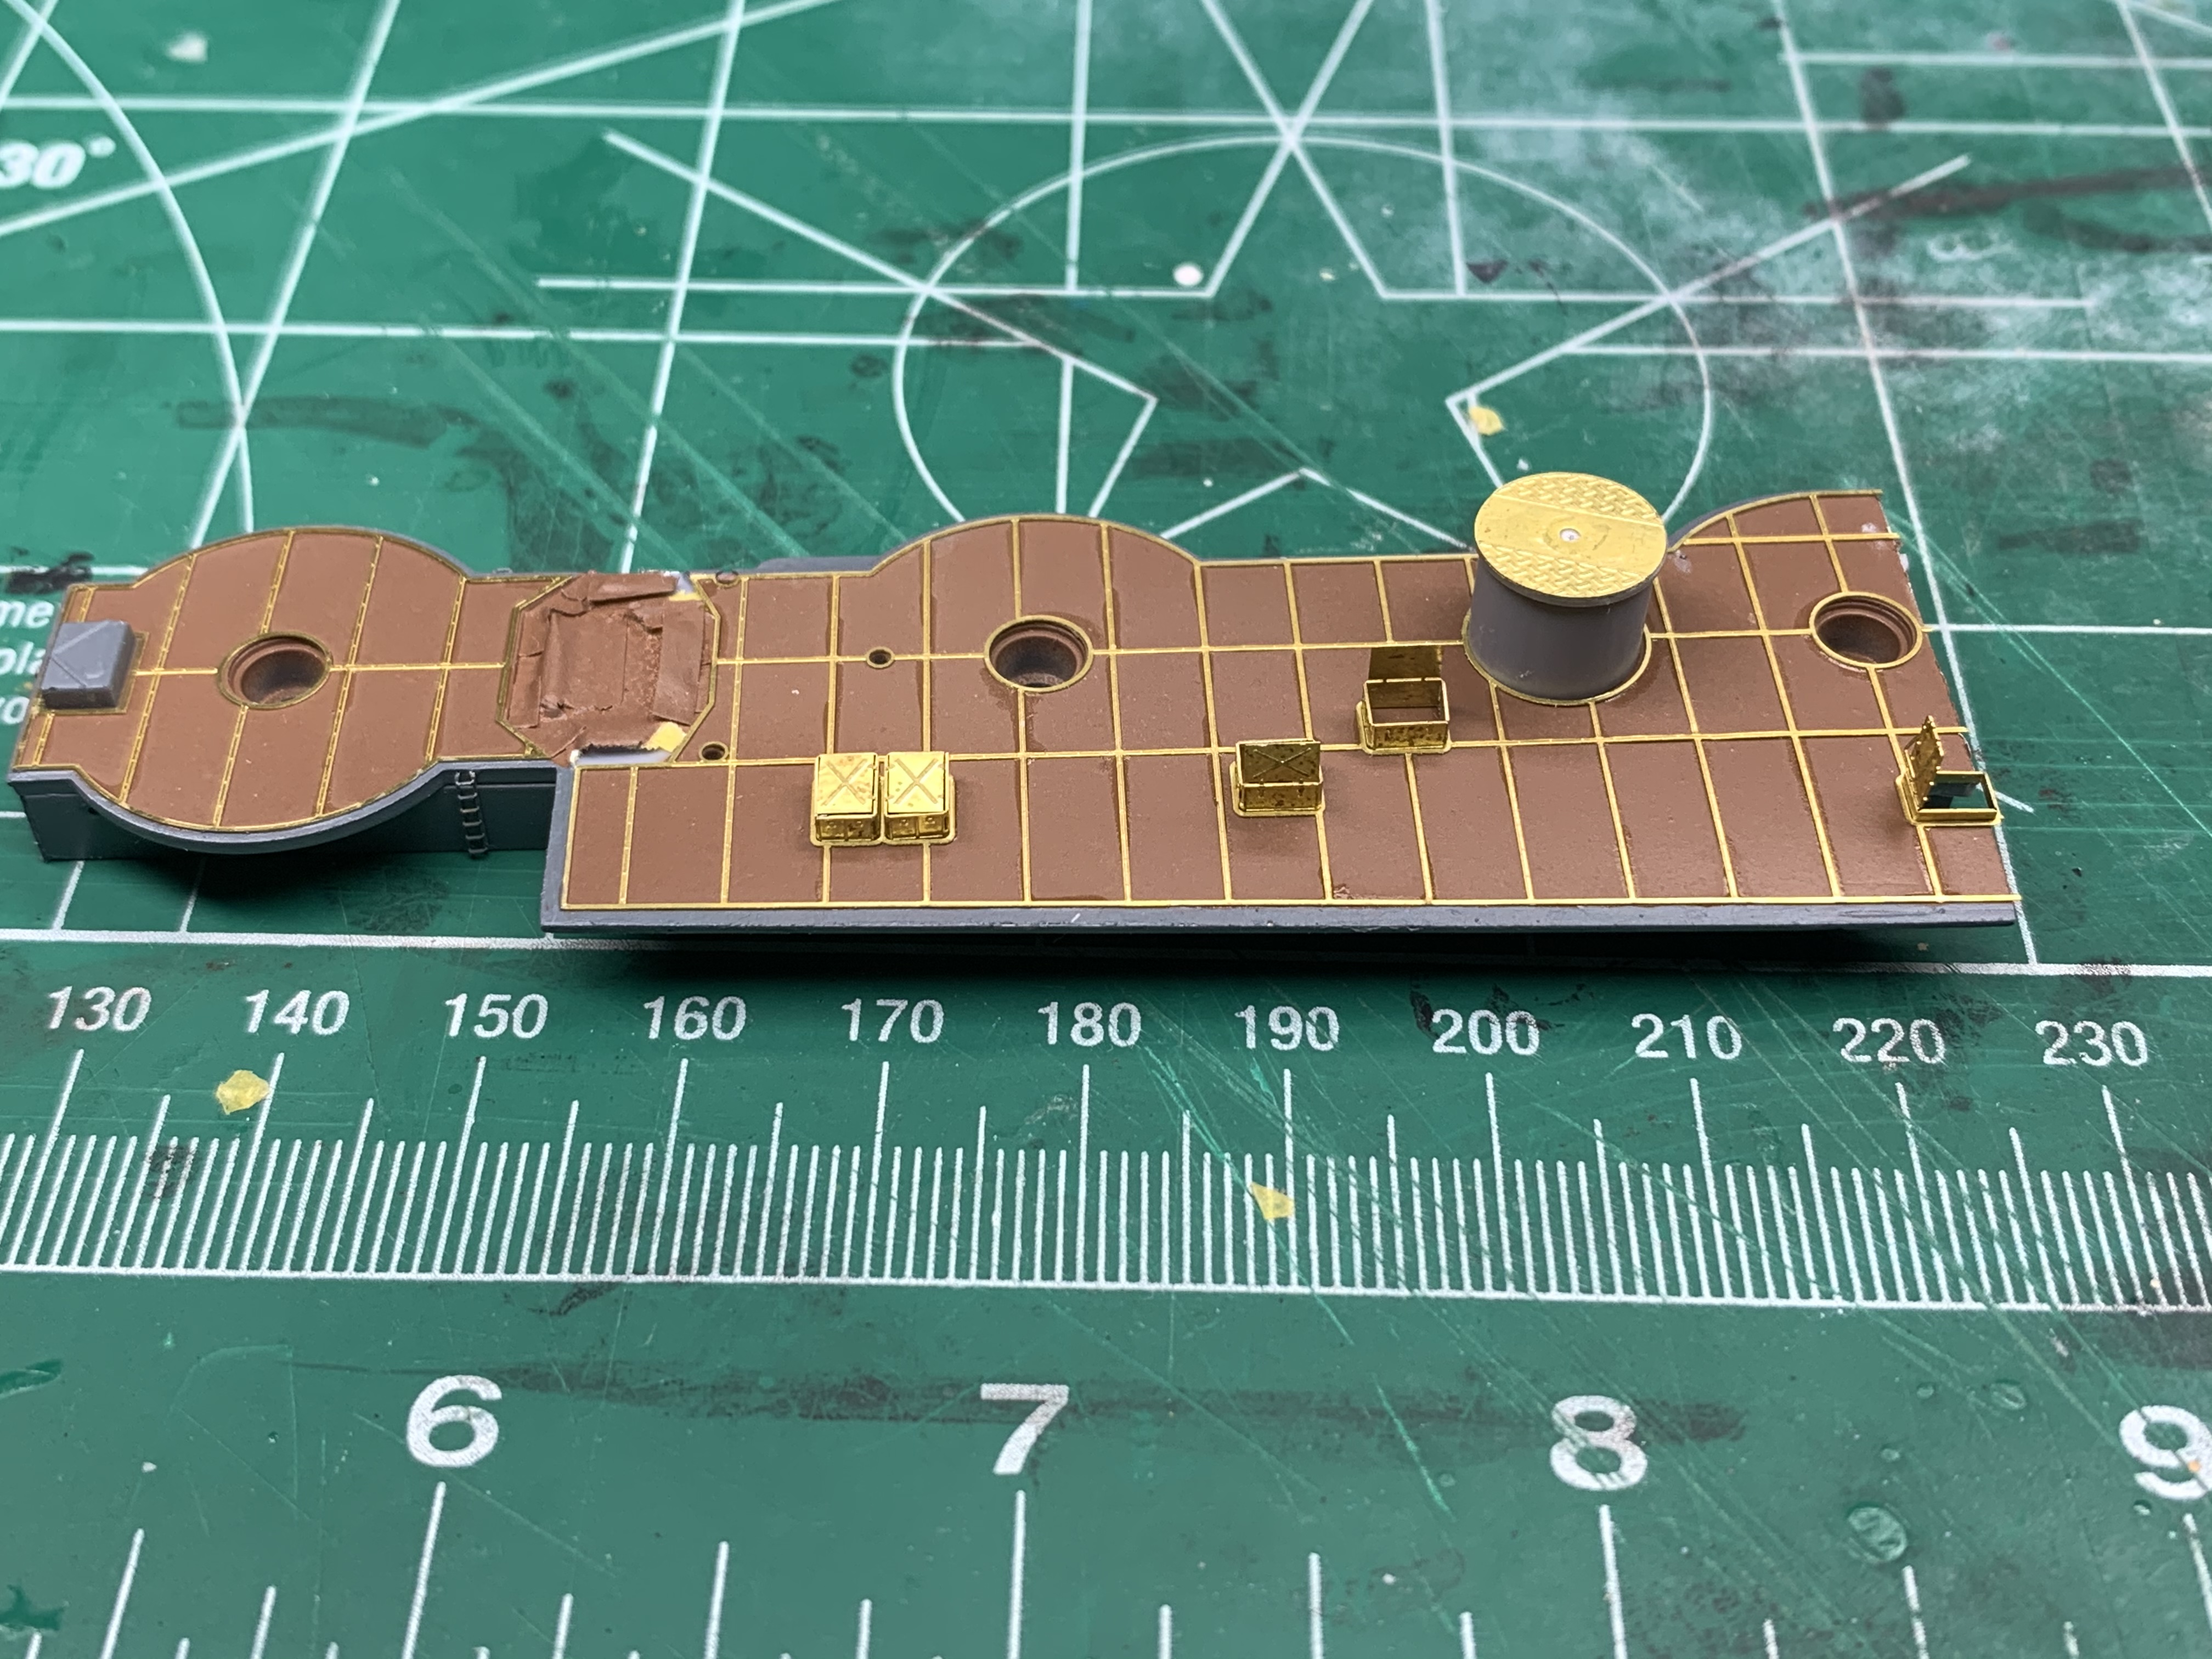
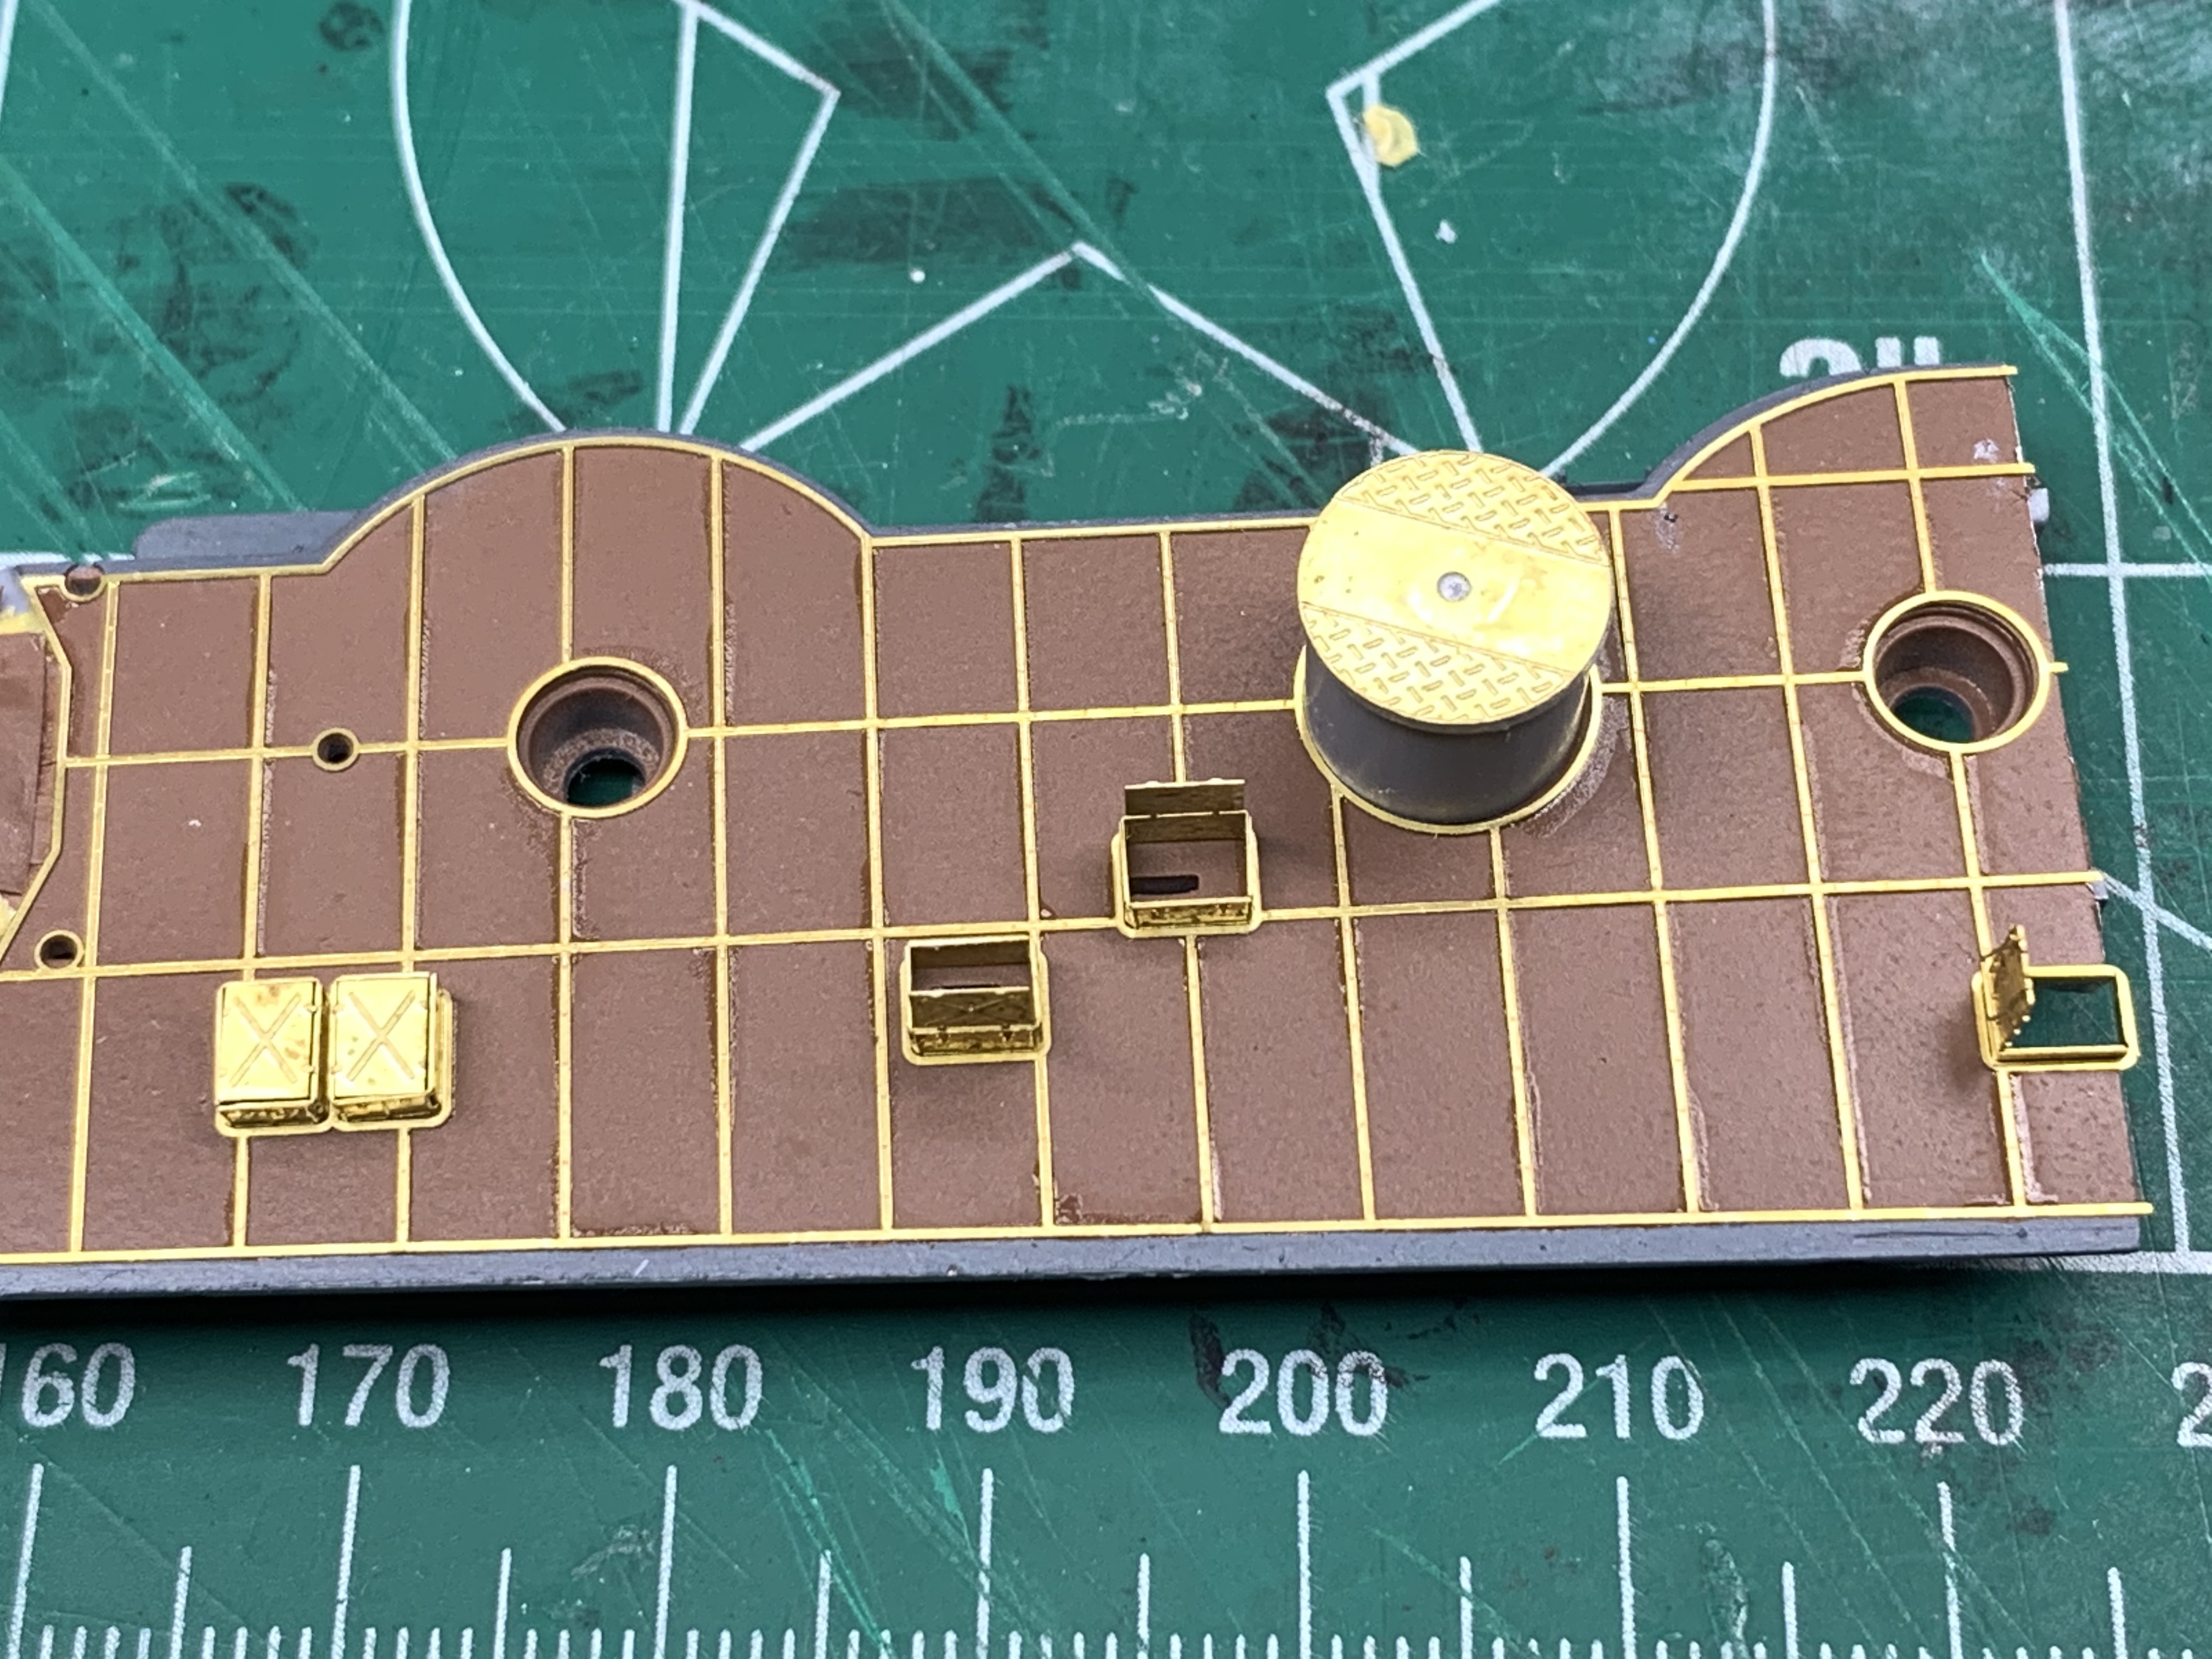
As with the rest of the linoleum deck Rainbow provides a nice brass strip set up that is complete. Alignment was a little troublesome but worked out in the end

I used the same method as before, lay the strip, secure with tape strips and apply thin CA to key locations

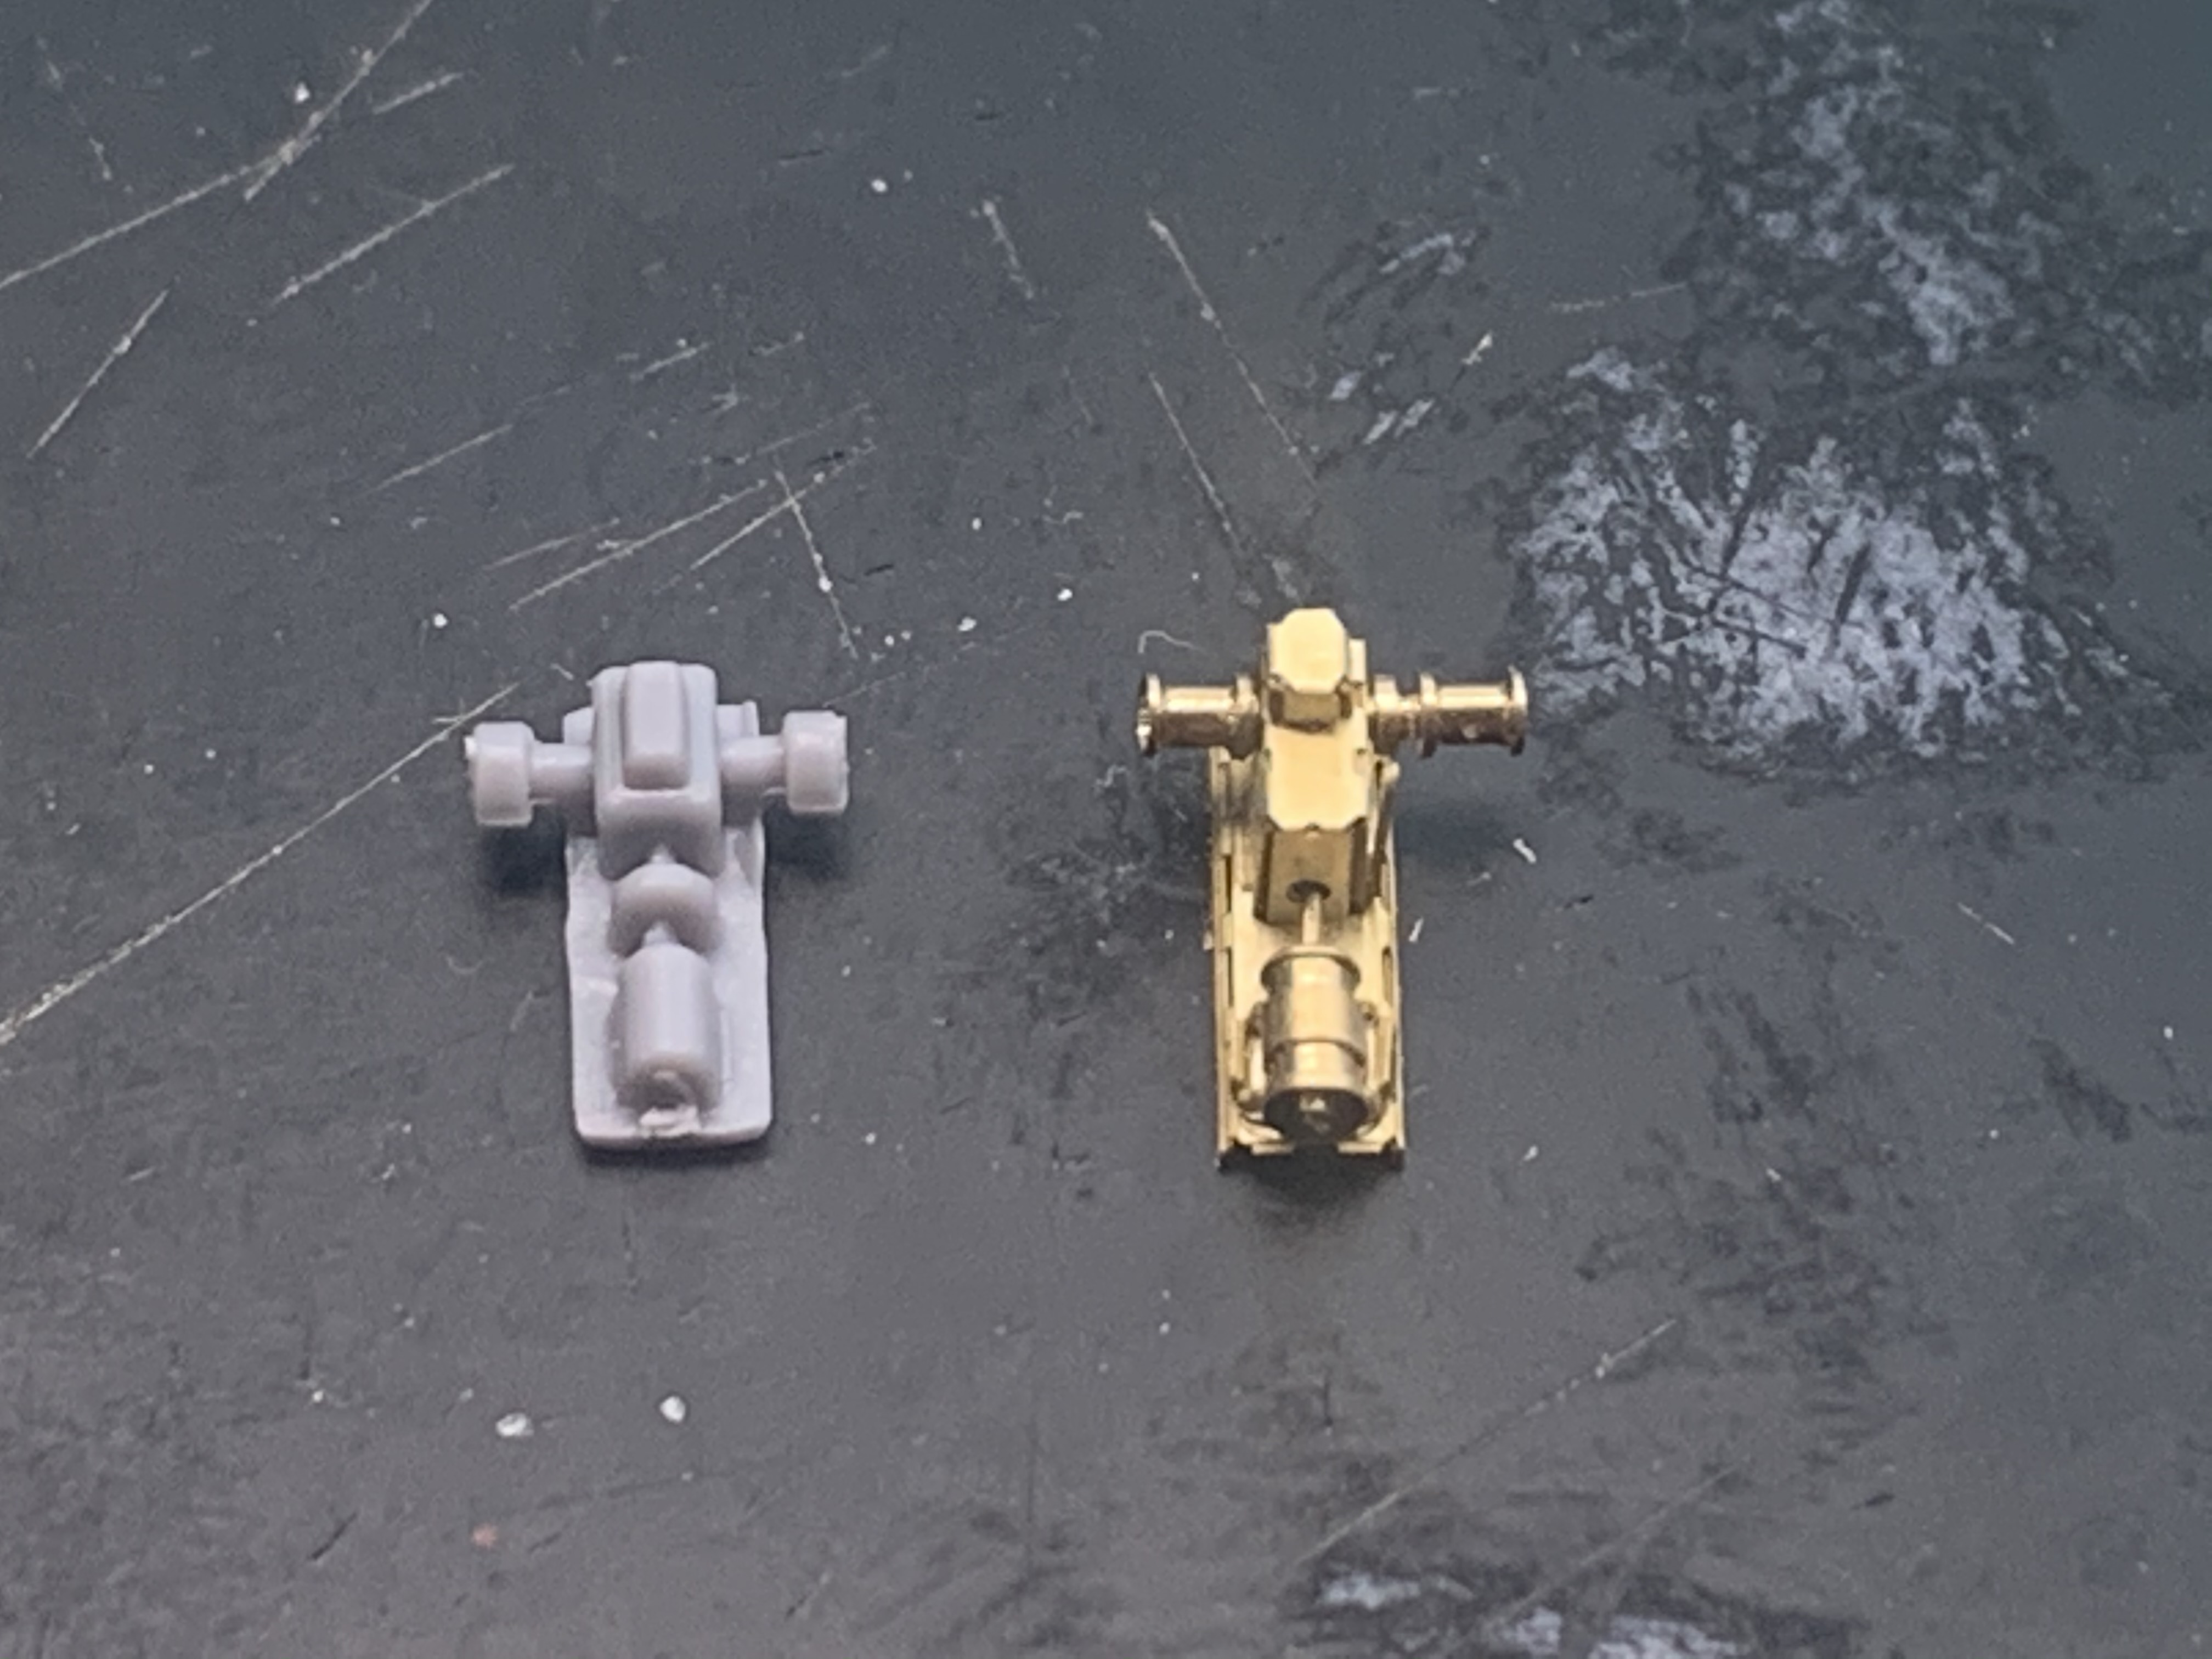
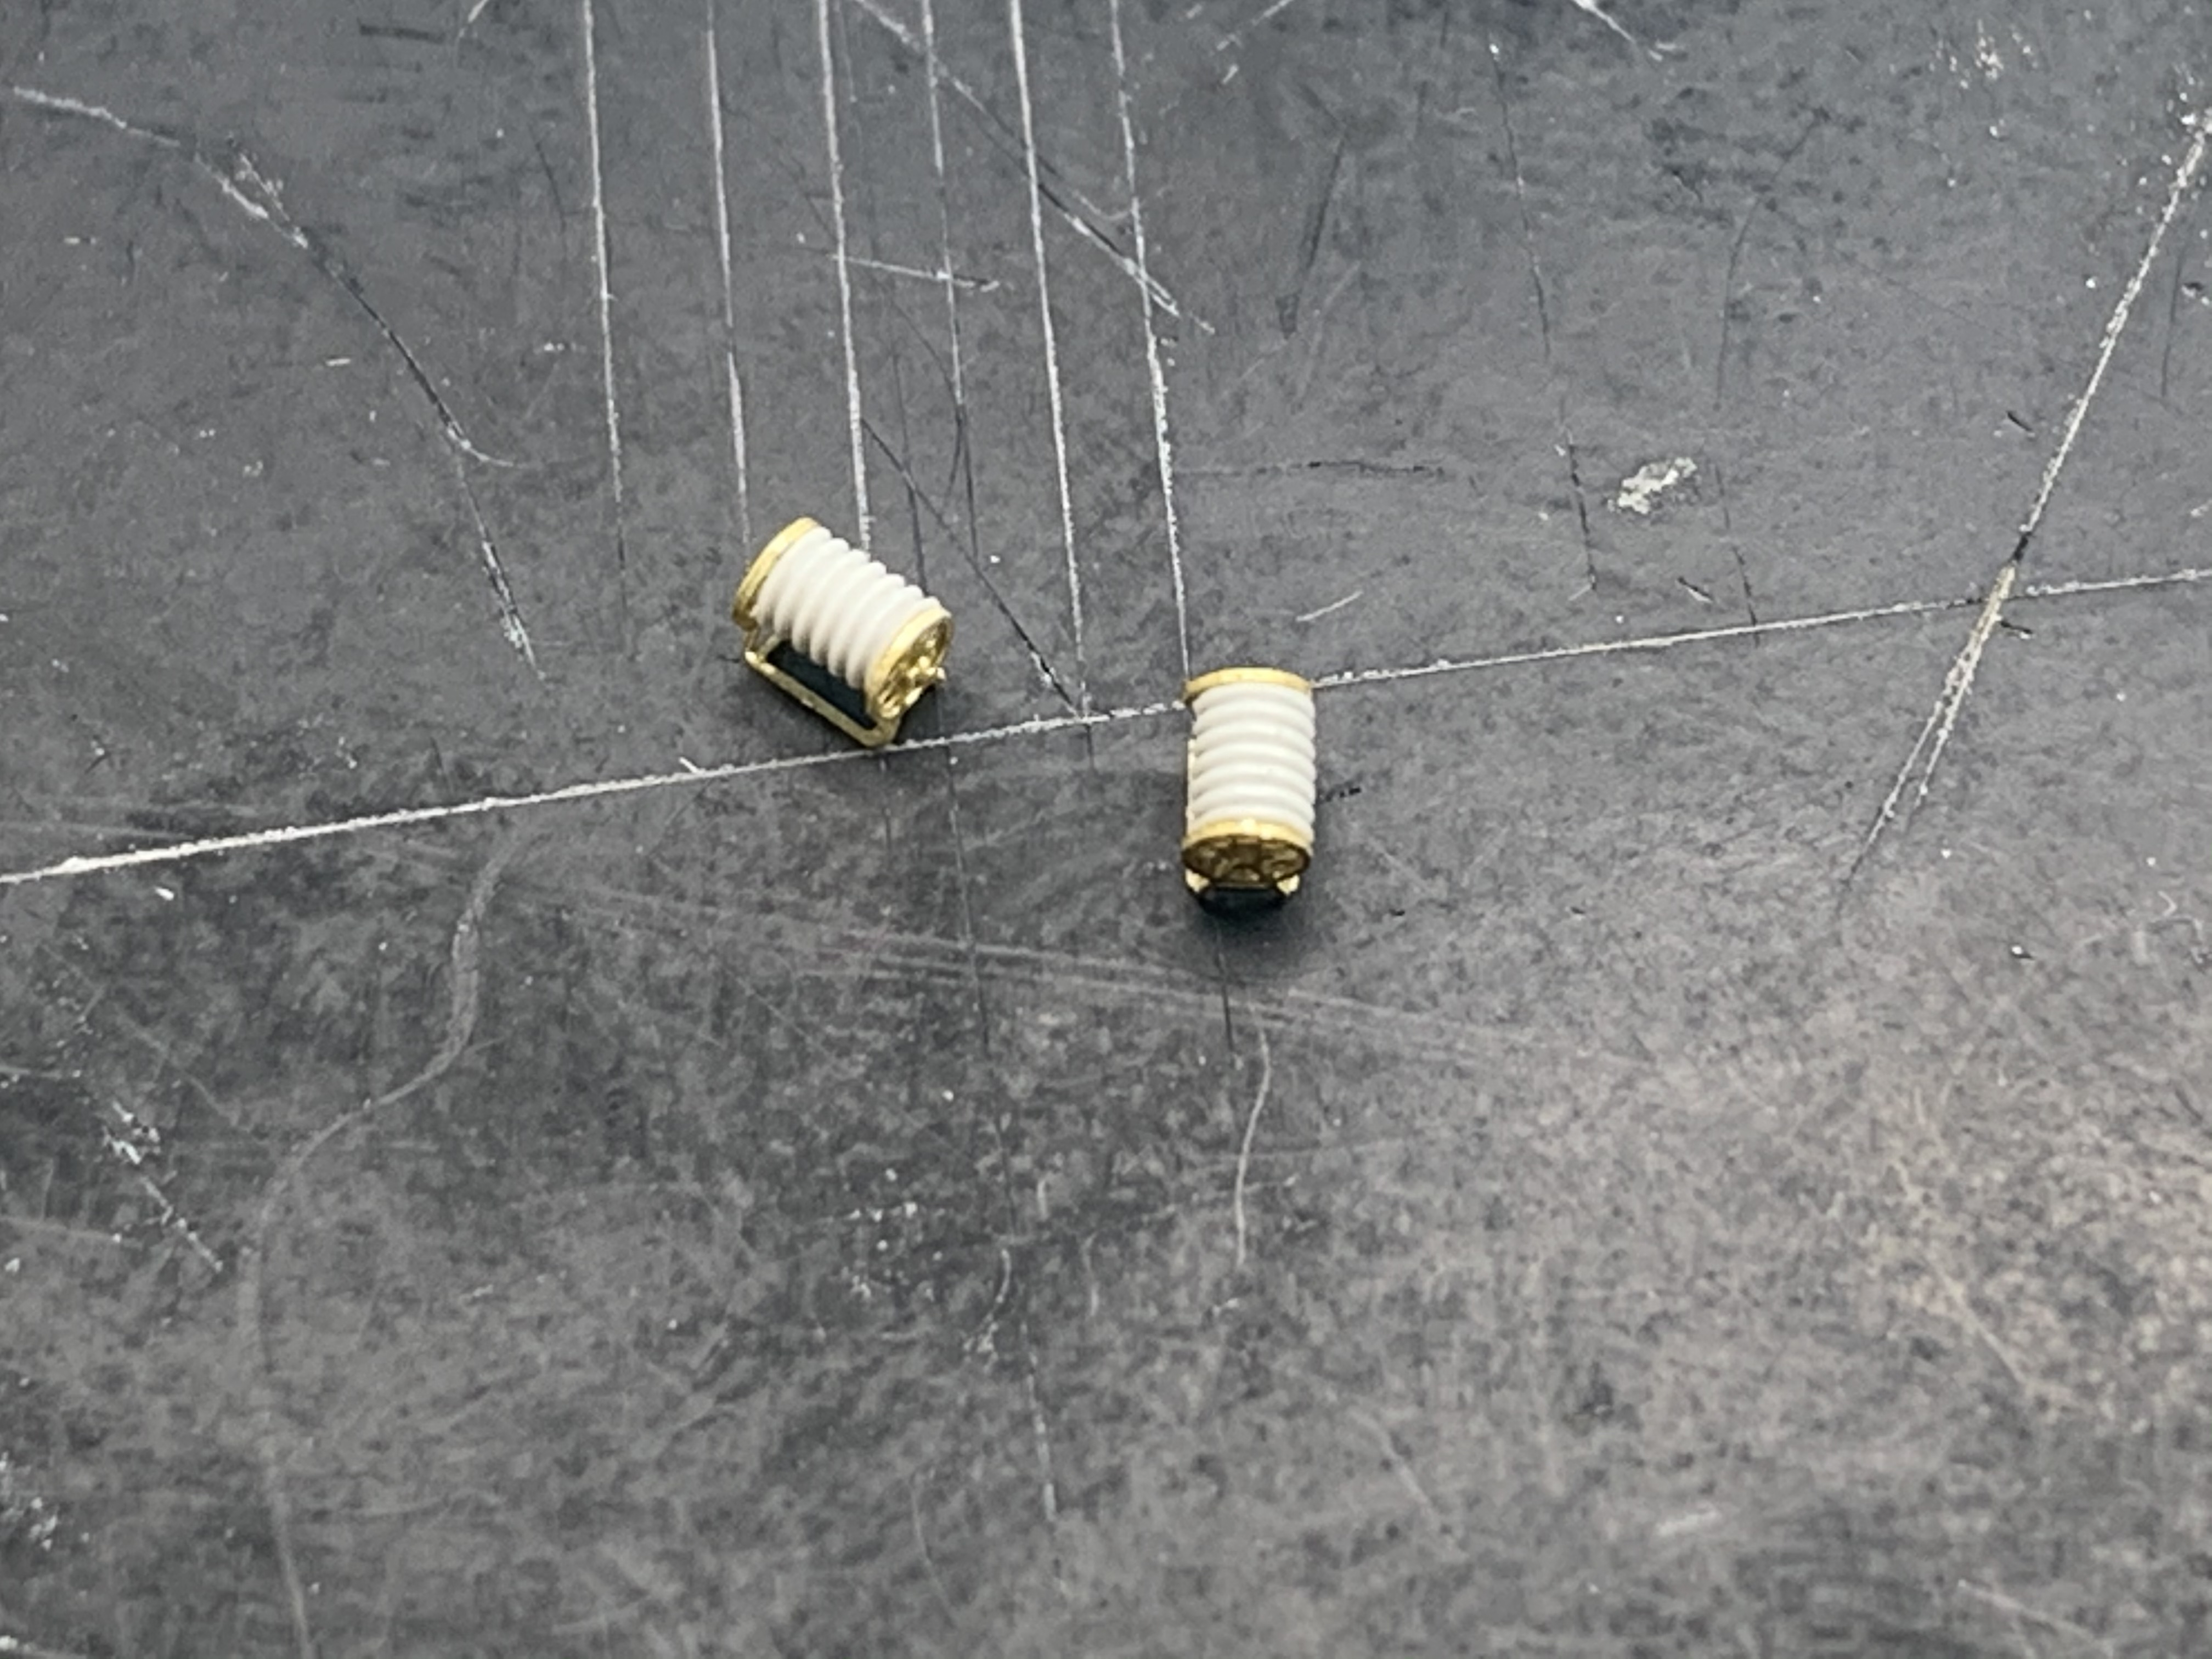
While that was drying I moved on to some fiddler bits. I had intended on using some cable reels left over from a previous build but they ended up being too big

So I used the Rainbow cable reels and added Very Fires resin cable. Worked perfect

These will be placed on the side walls one painted

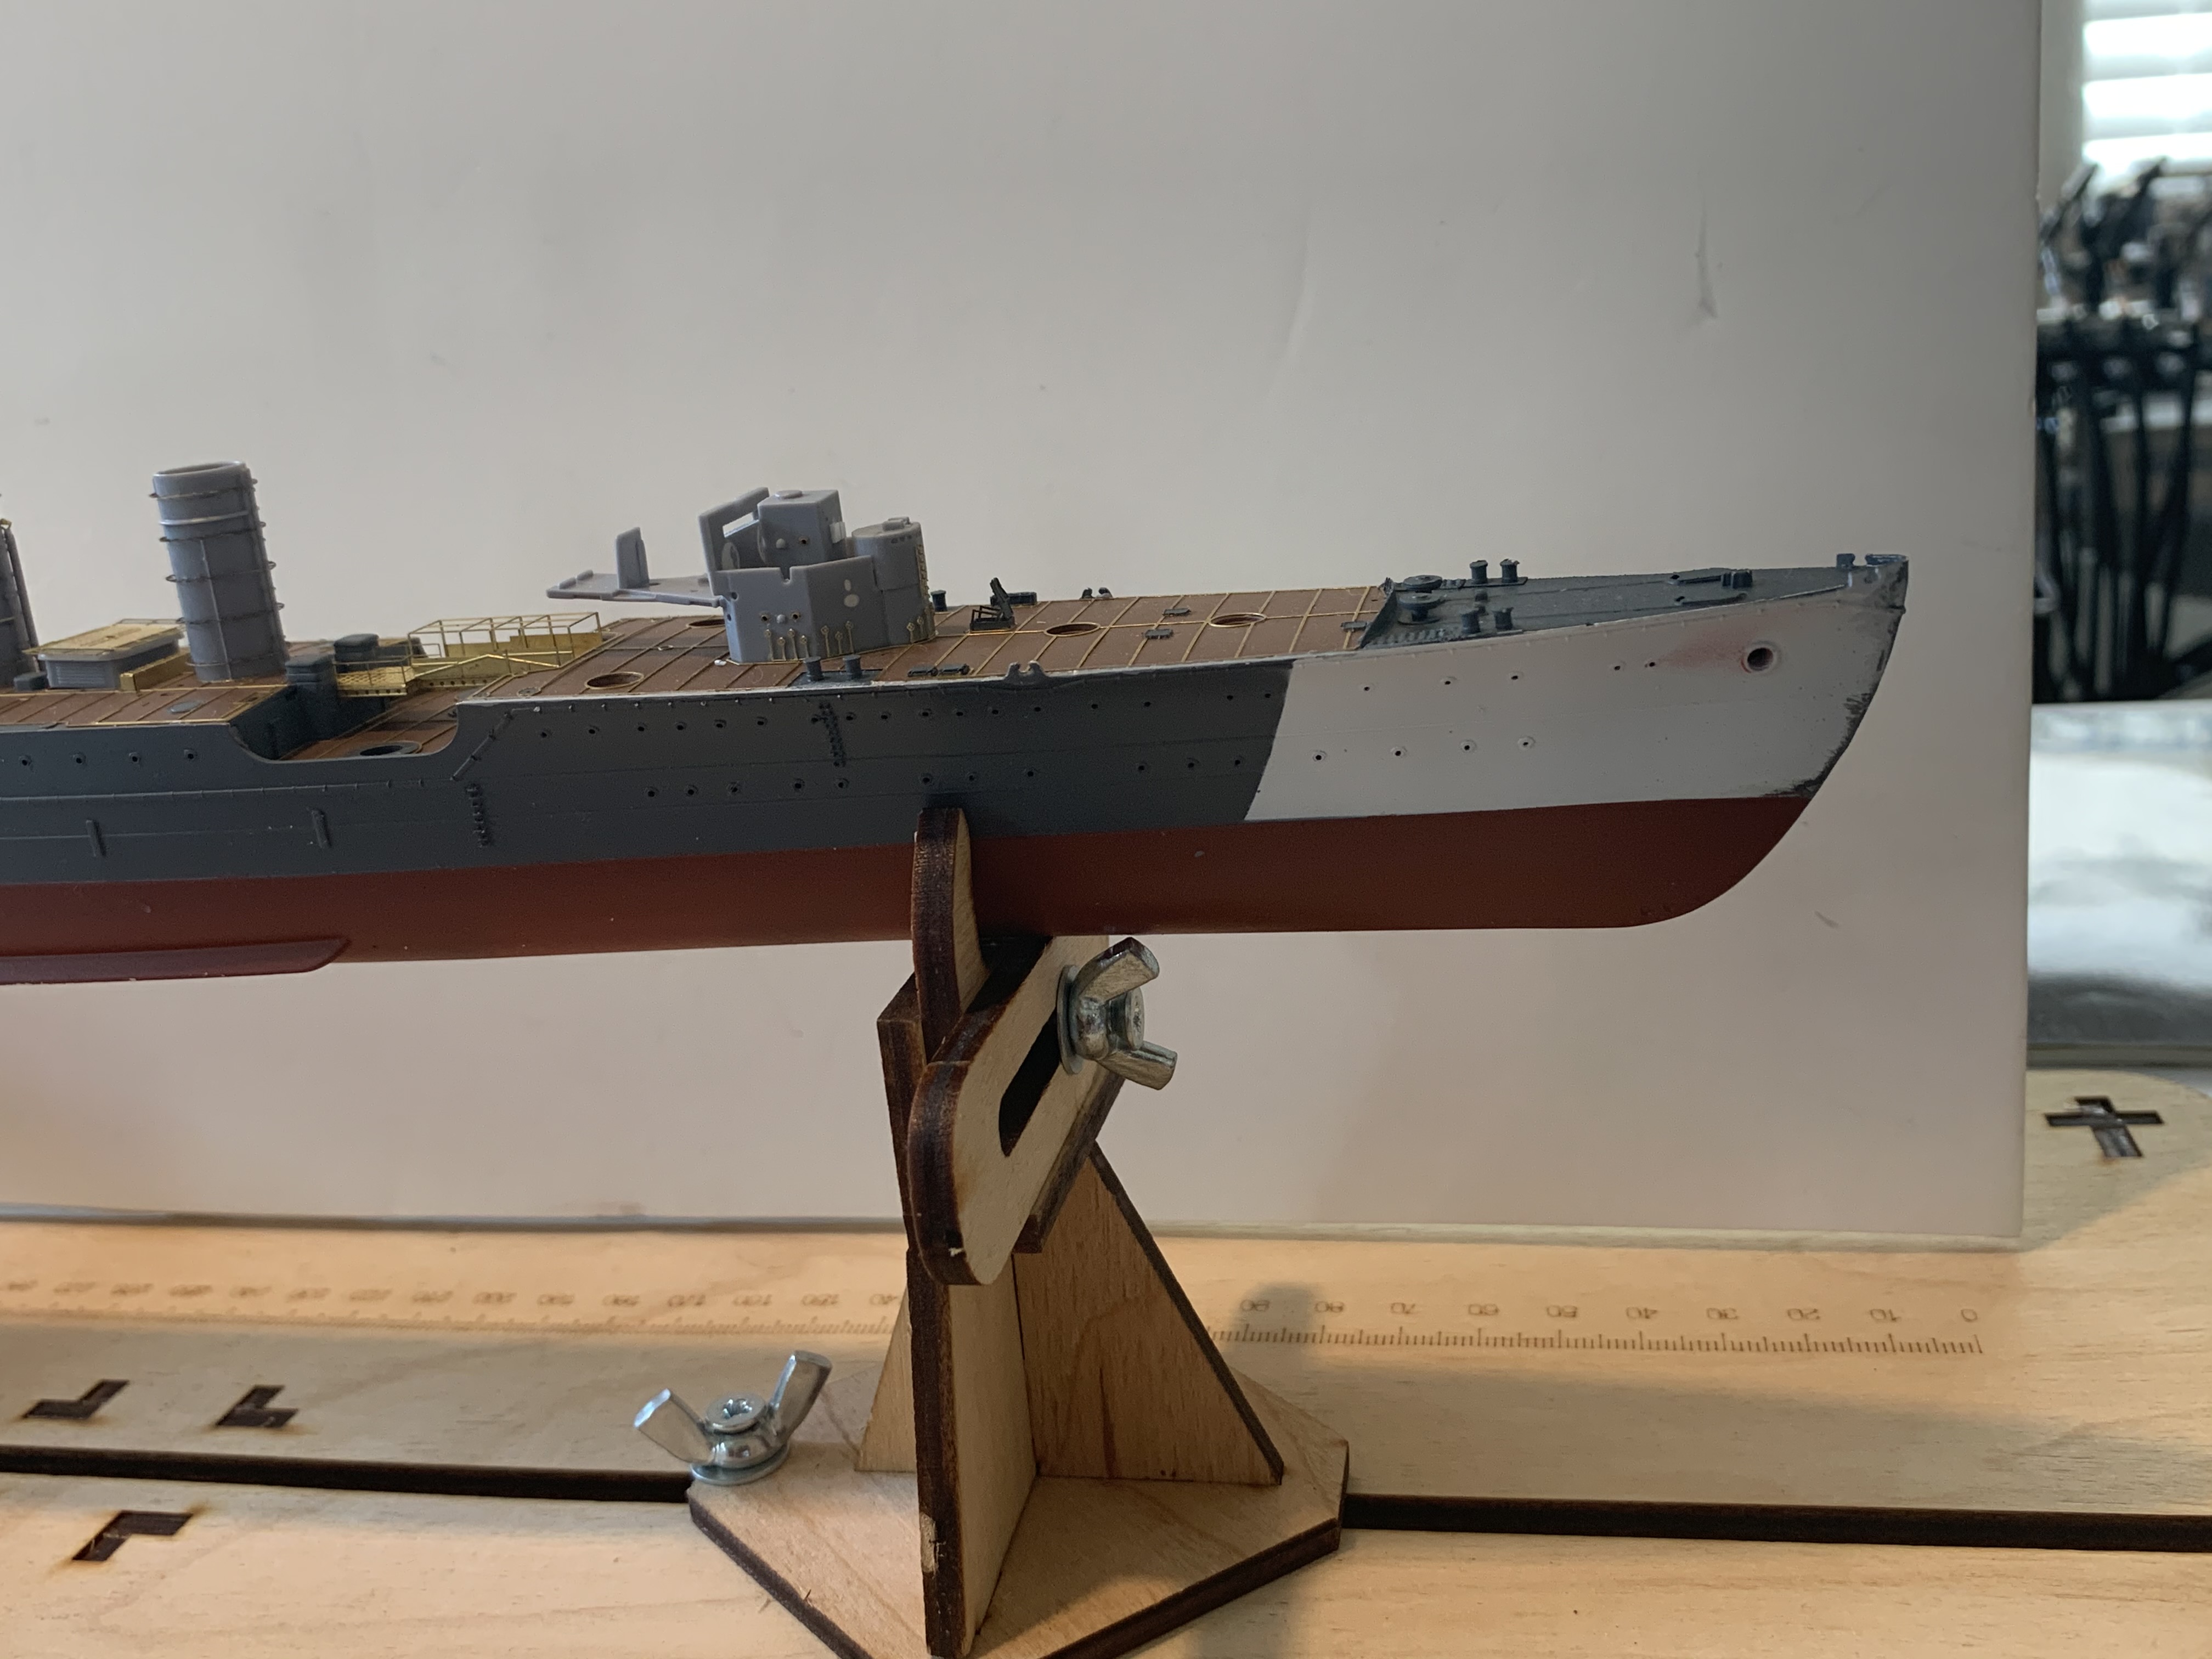
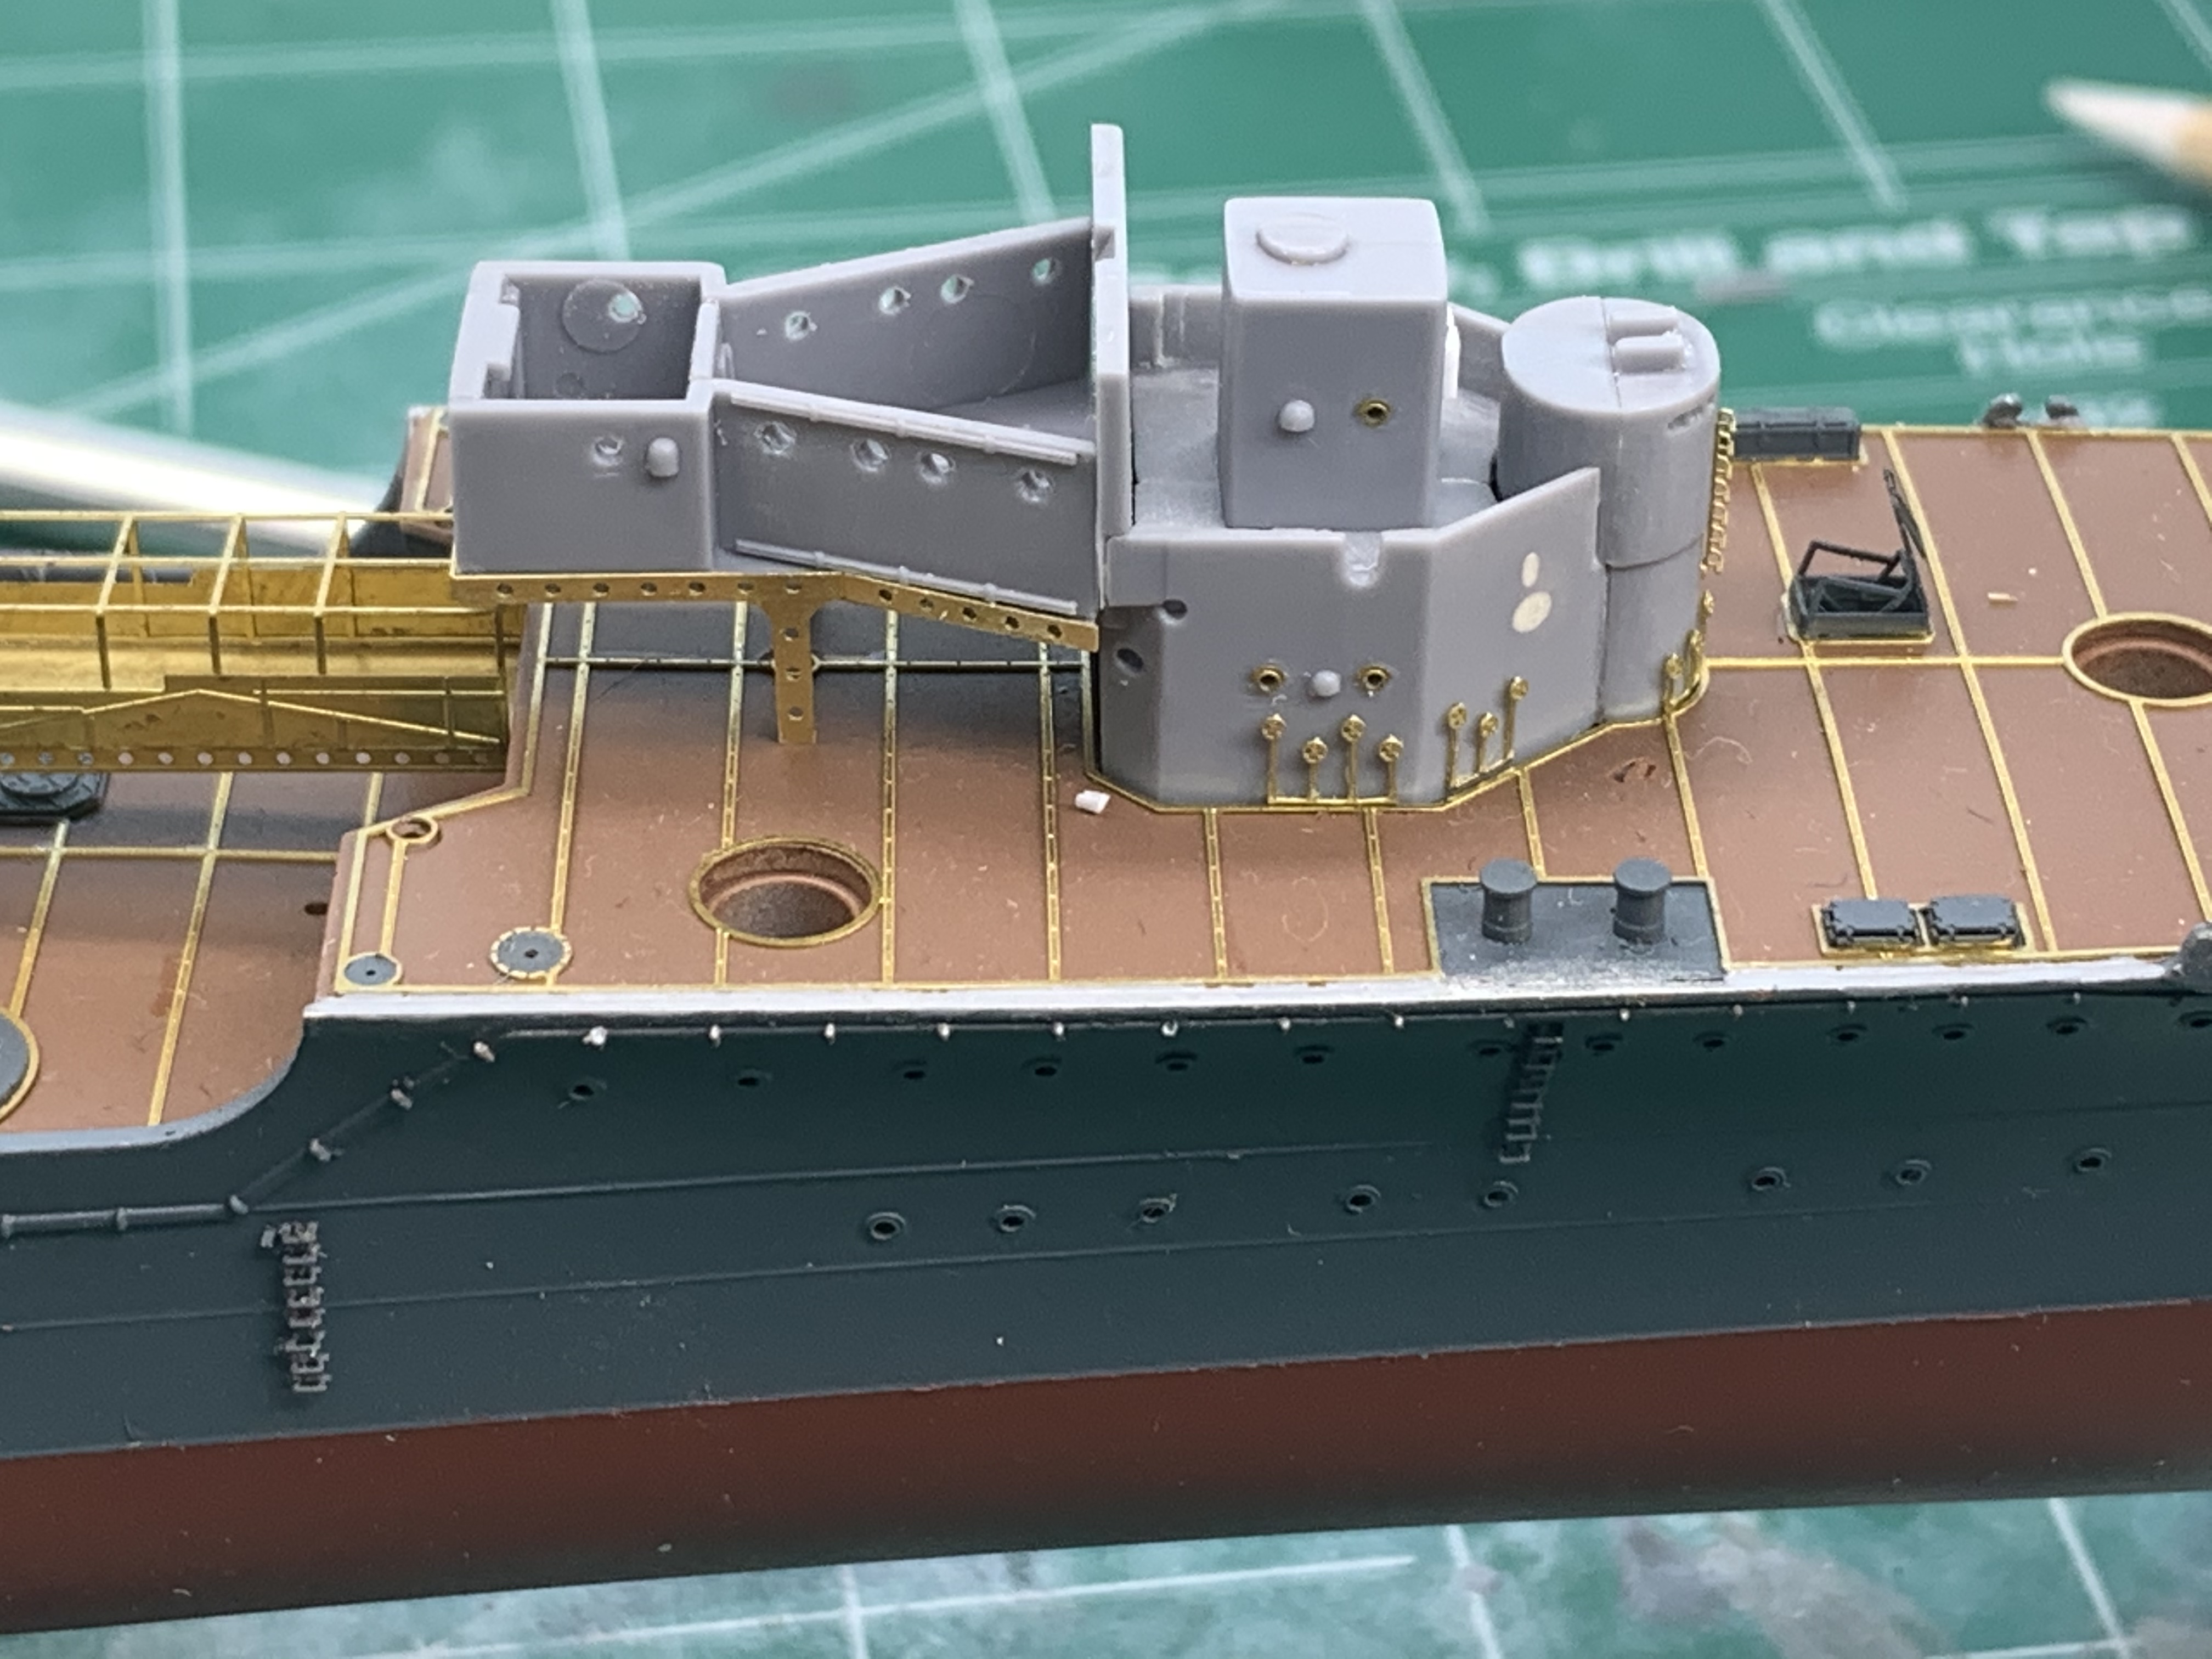
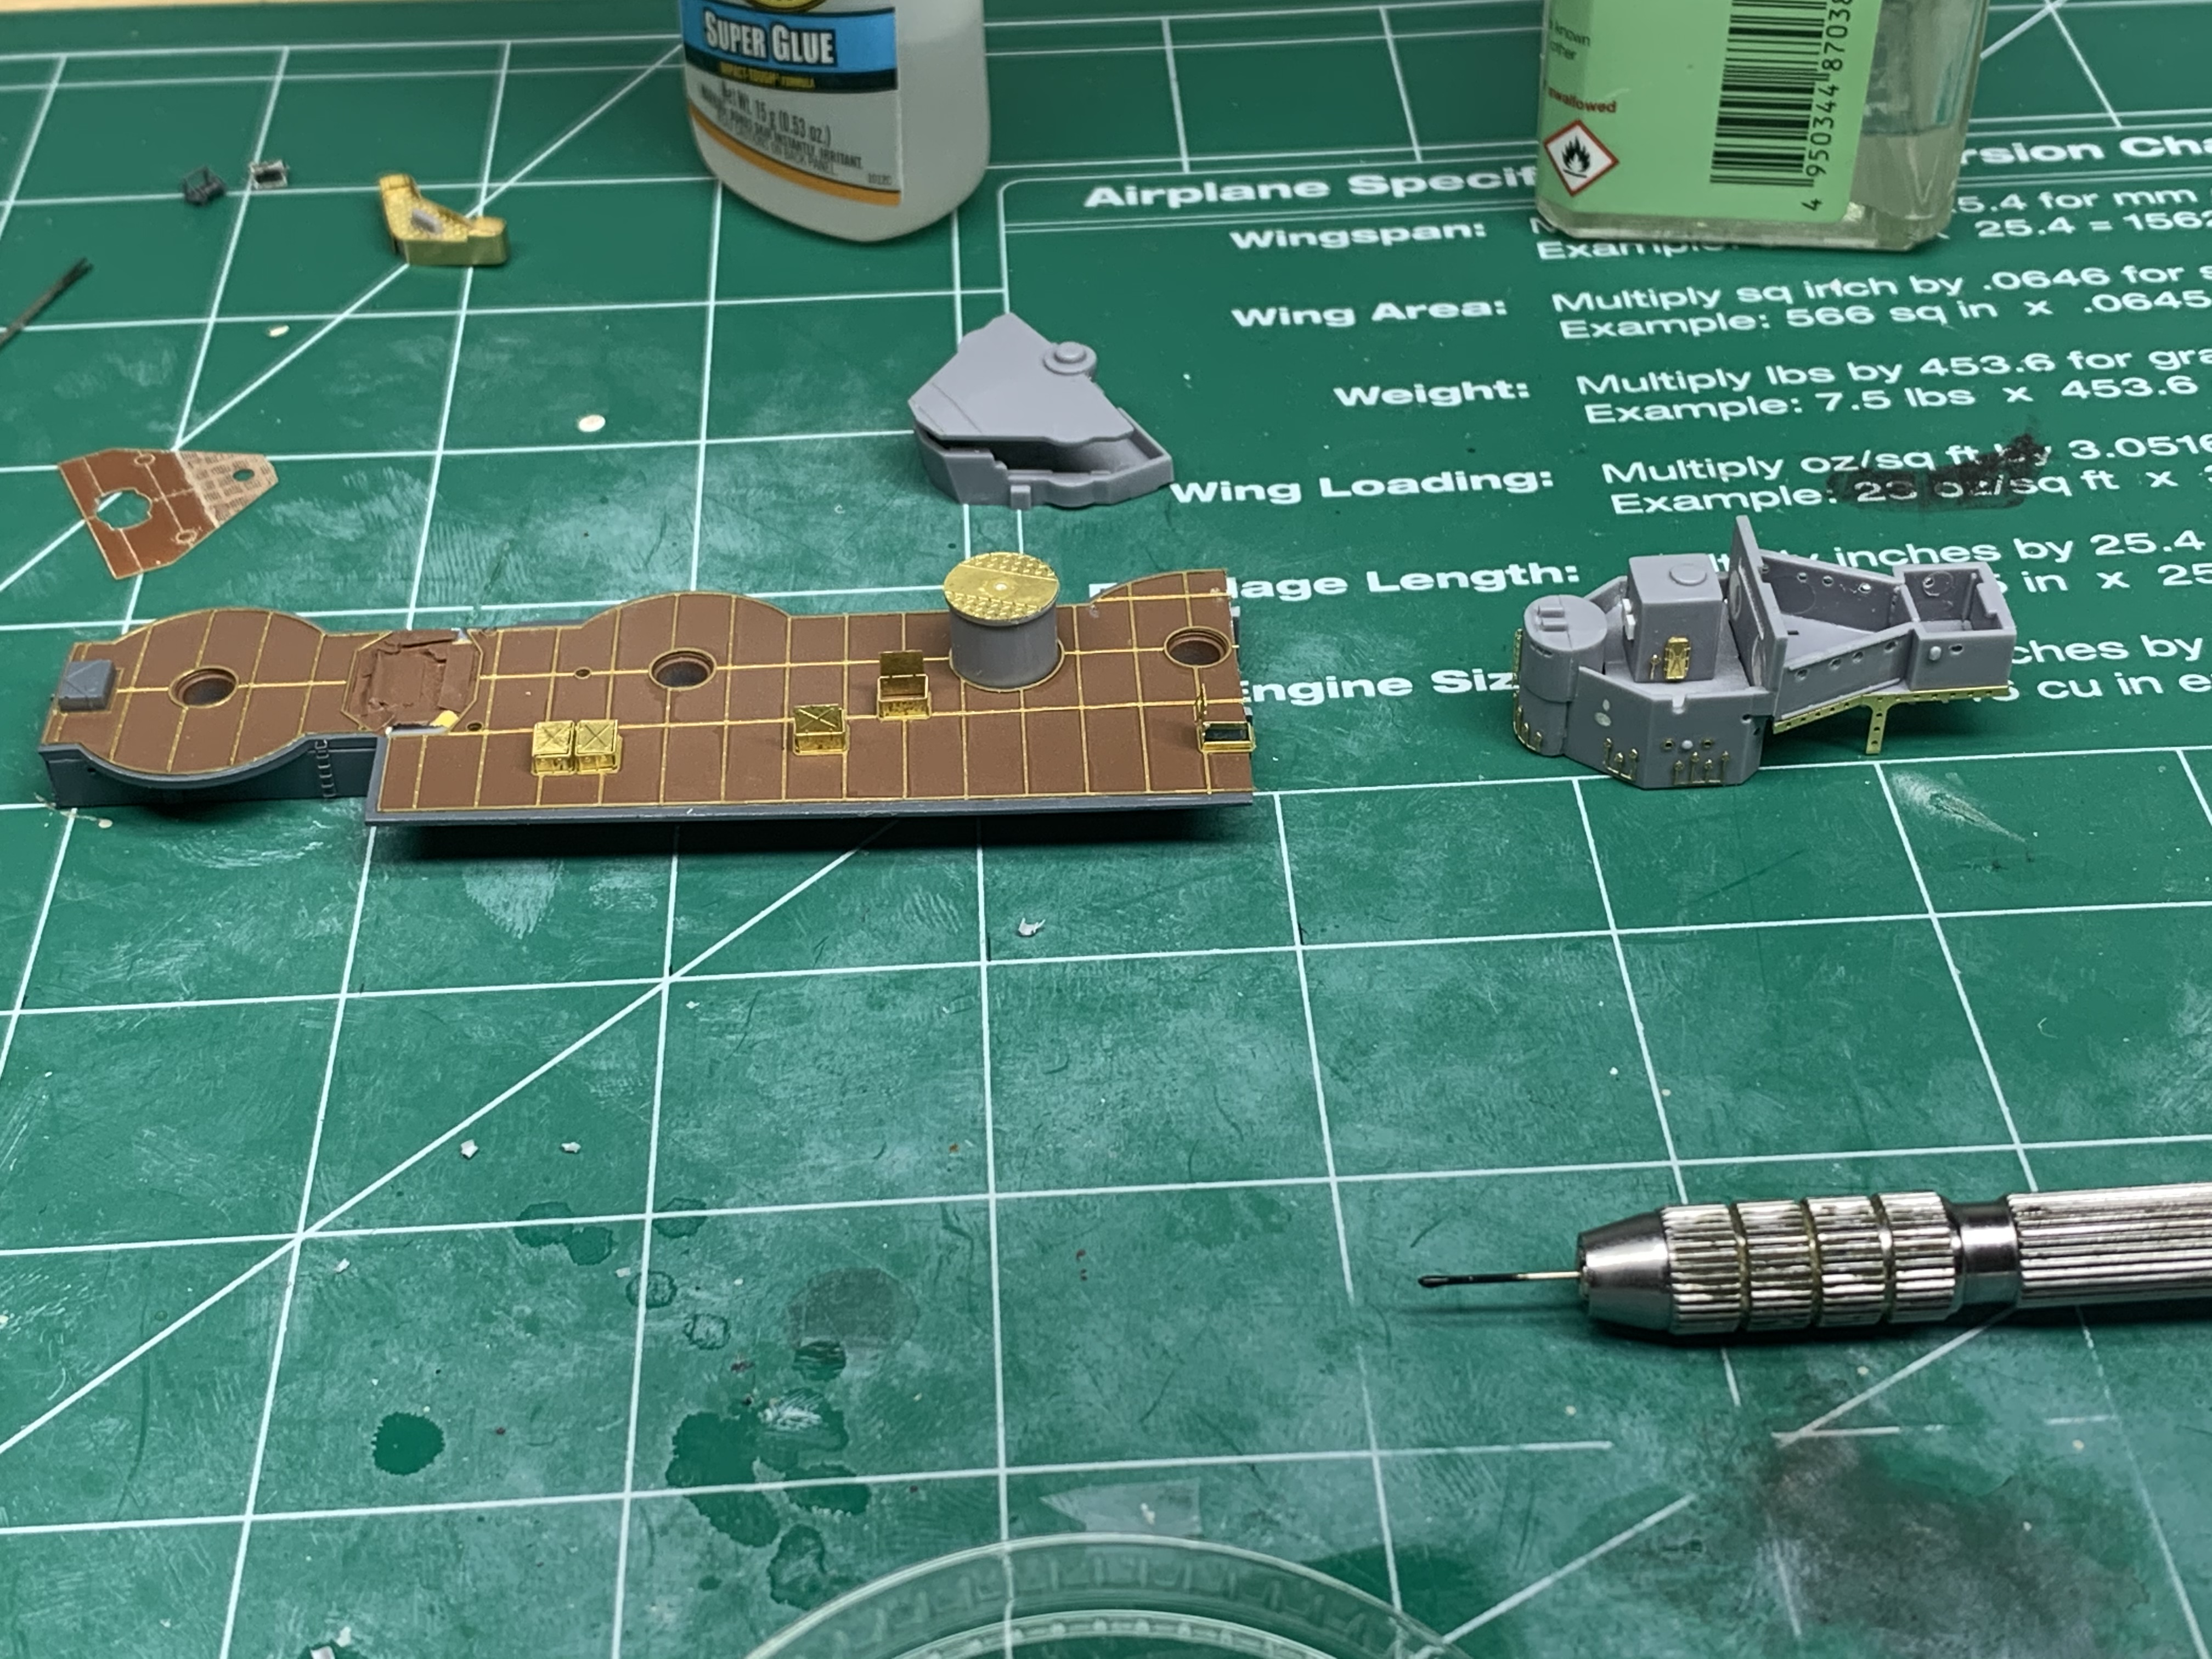
After that I moved back to working on the bridge. I focused on the rear structures this week and added the PE supports.

The supports work out great and settle in the deck without a gap. Was concerned about that. I also drilled out the portholes which will be replaced with PE on the next workday

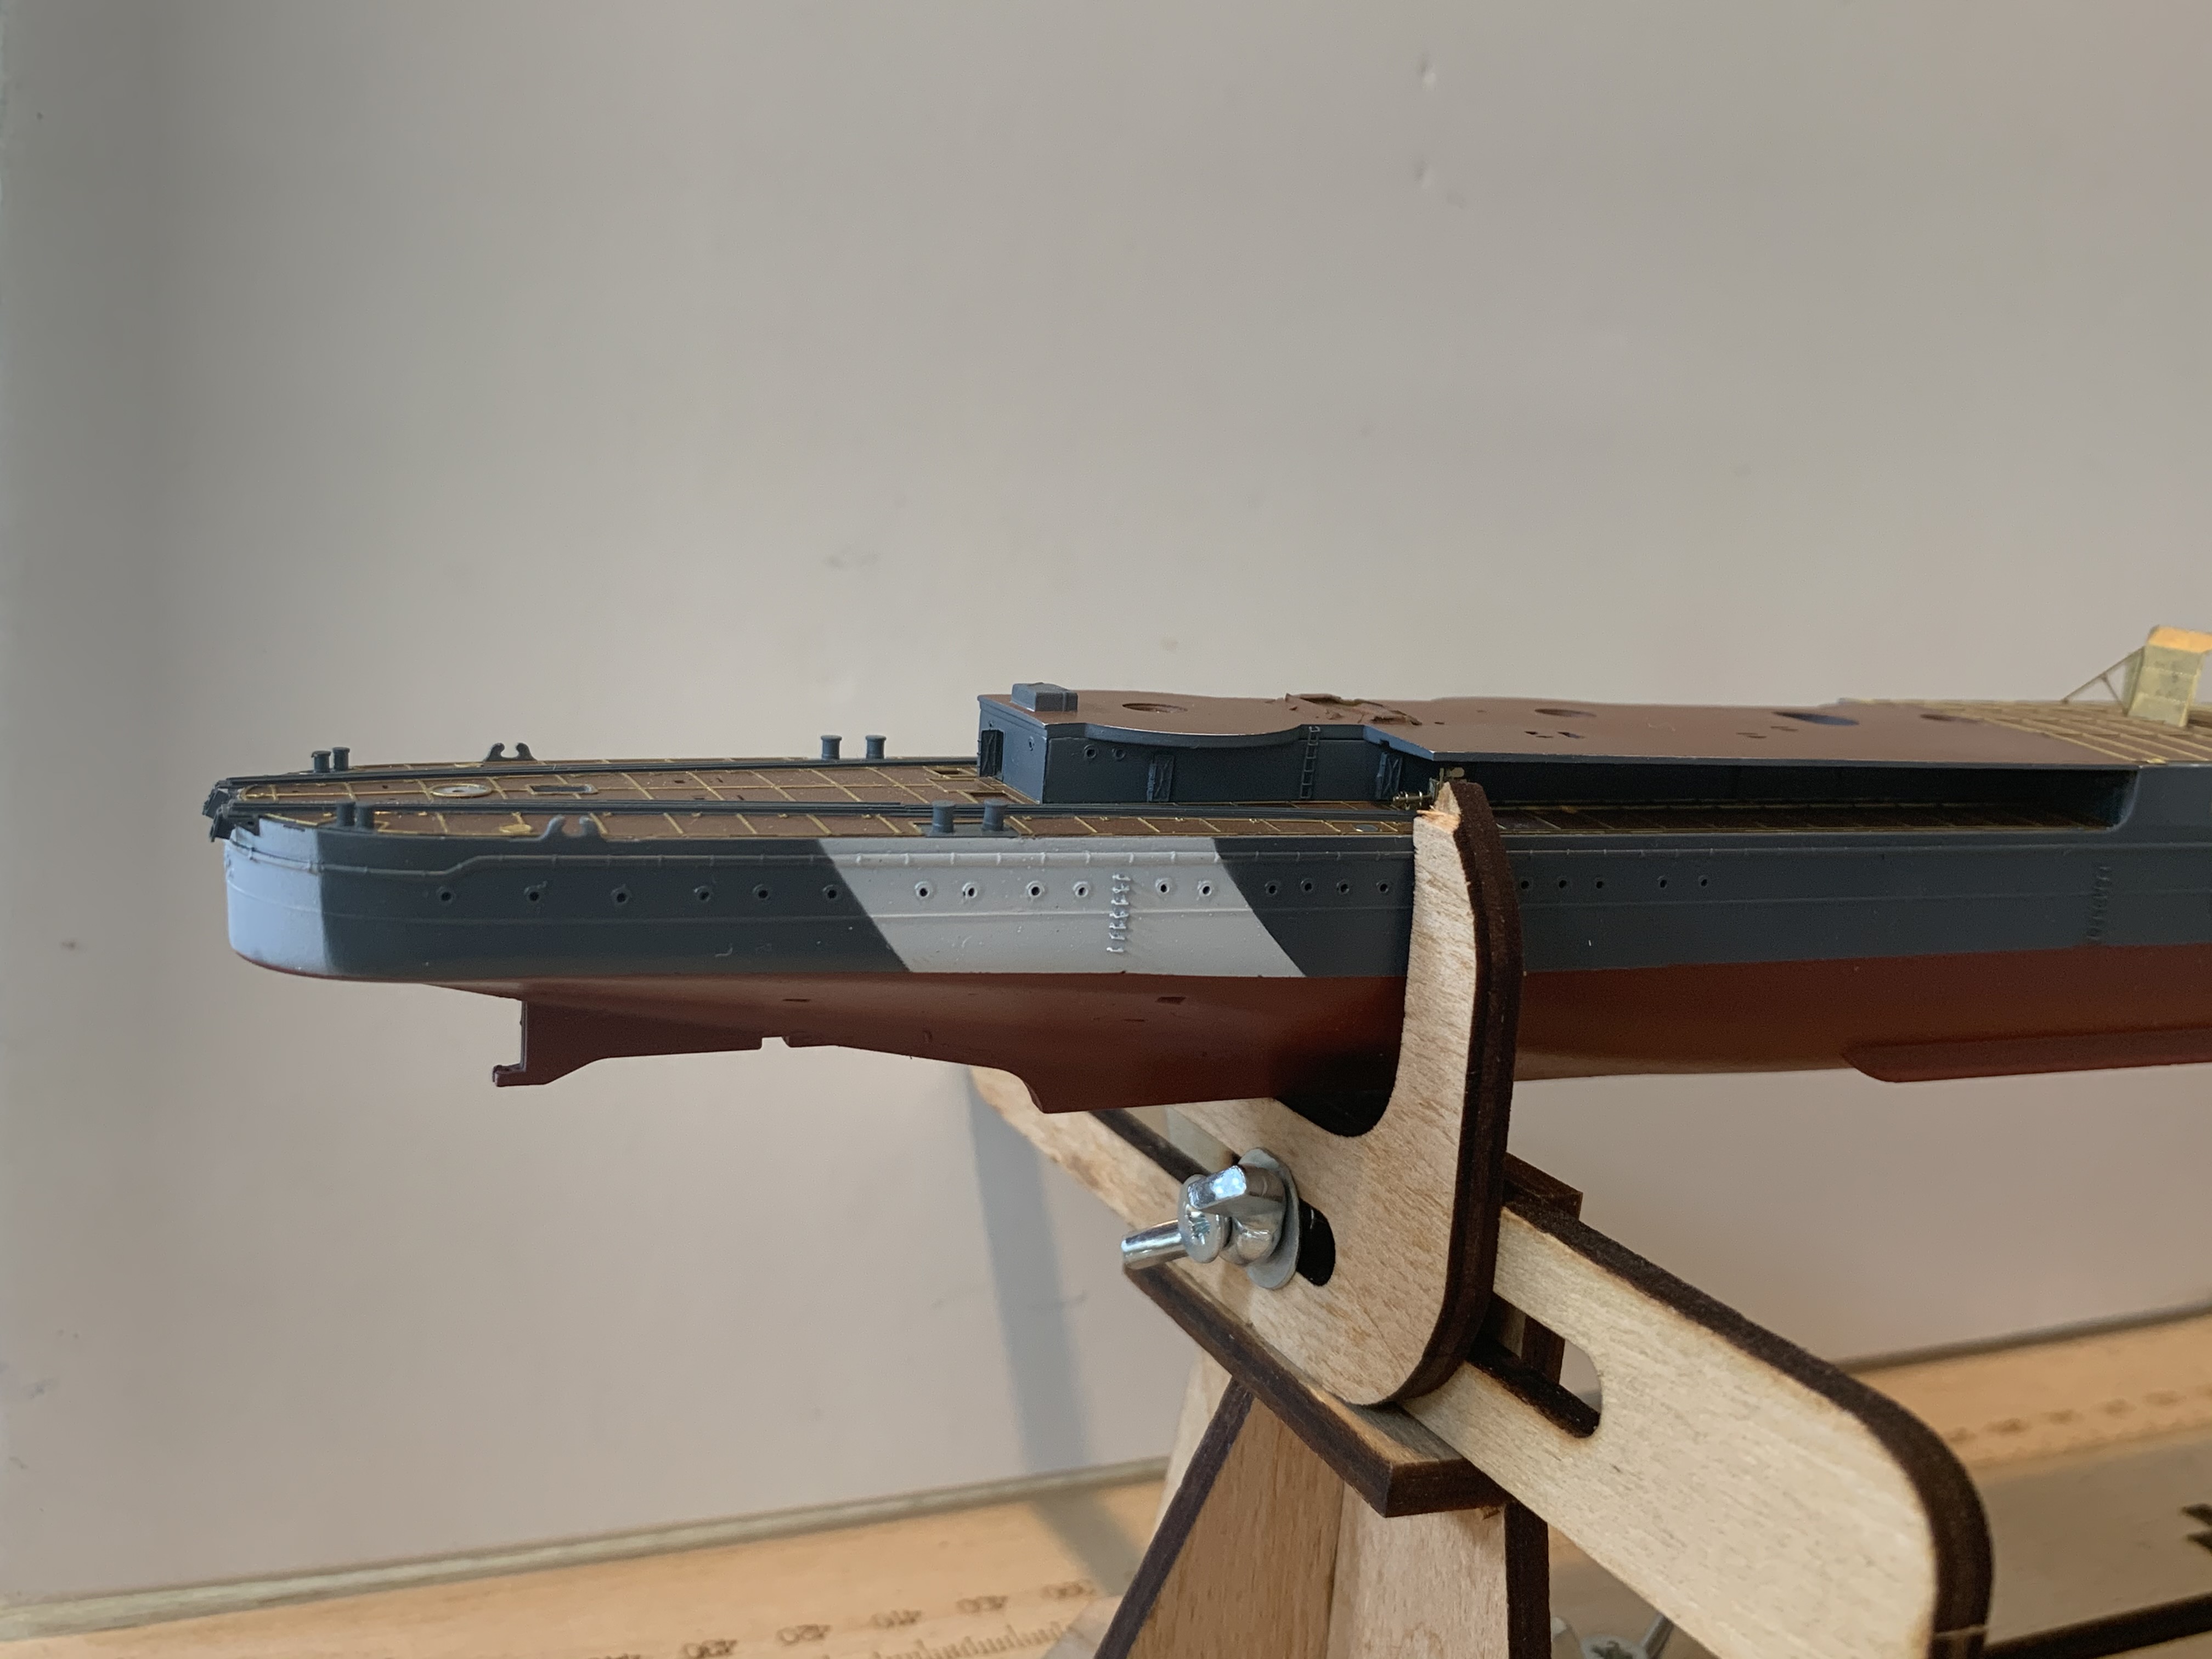
After working these it was time to remove the tape and dry fit

Brass strip lined up nicely

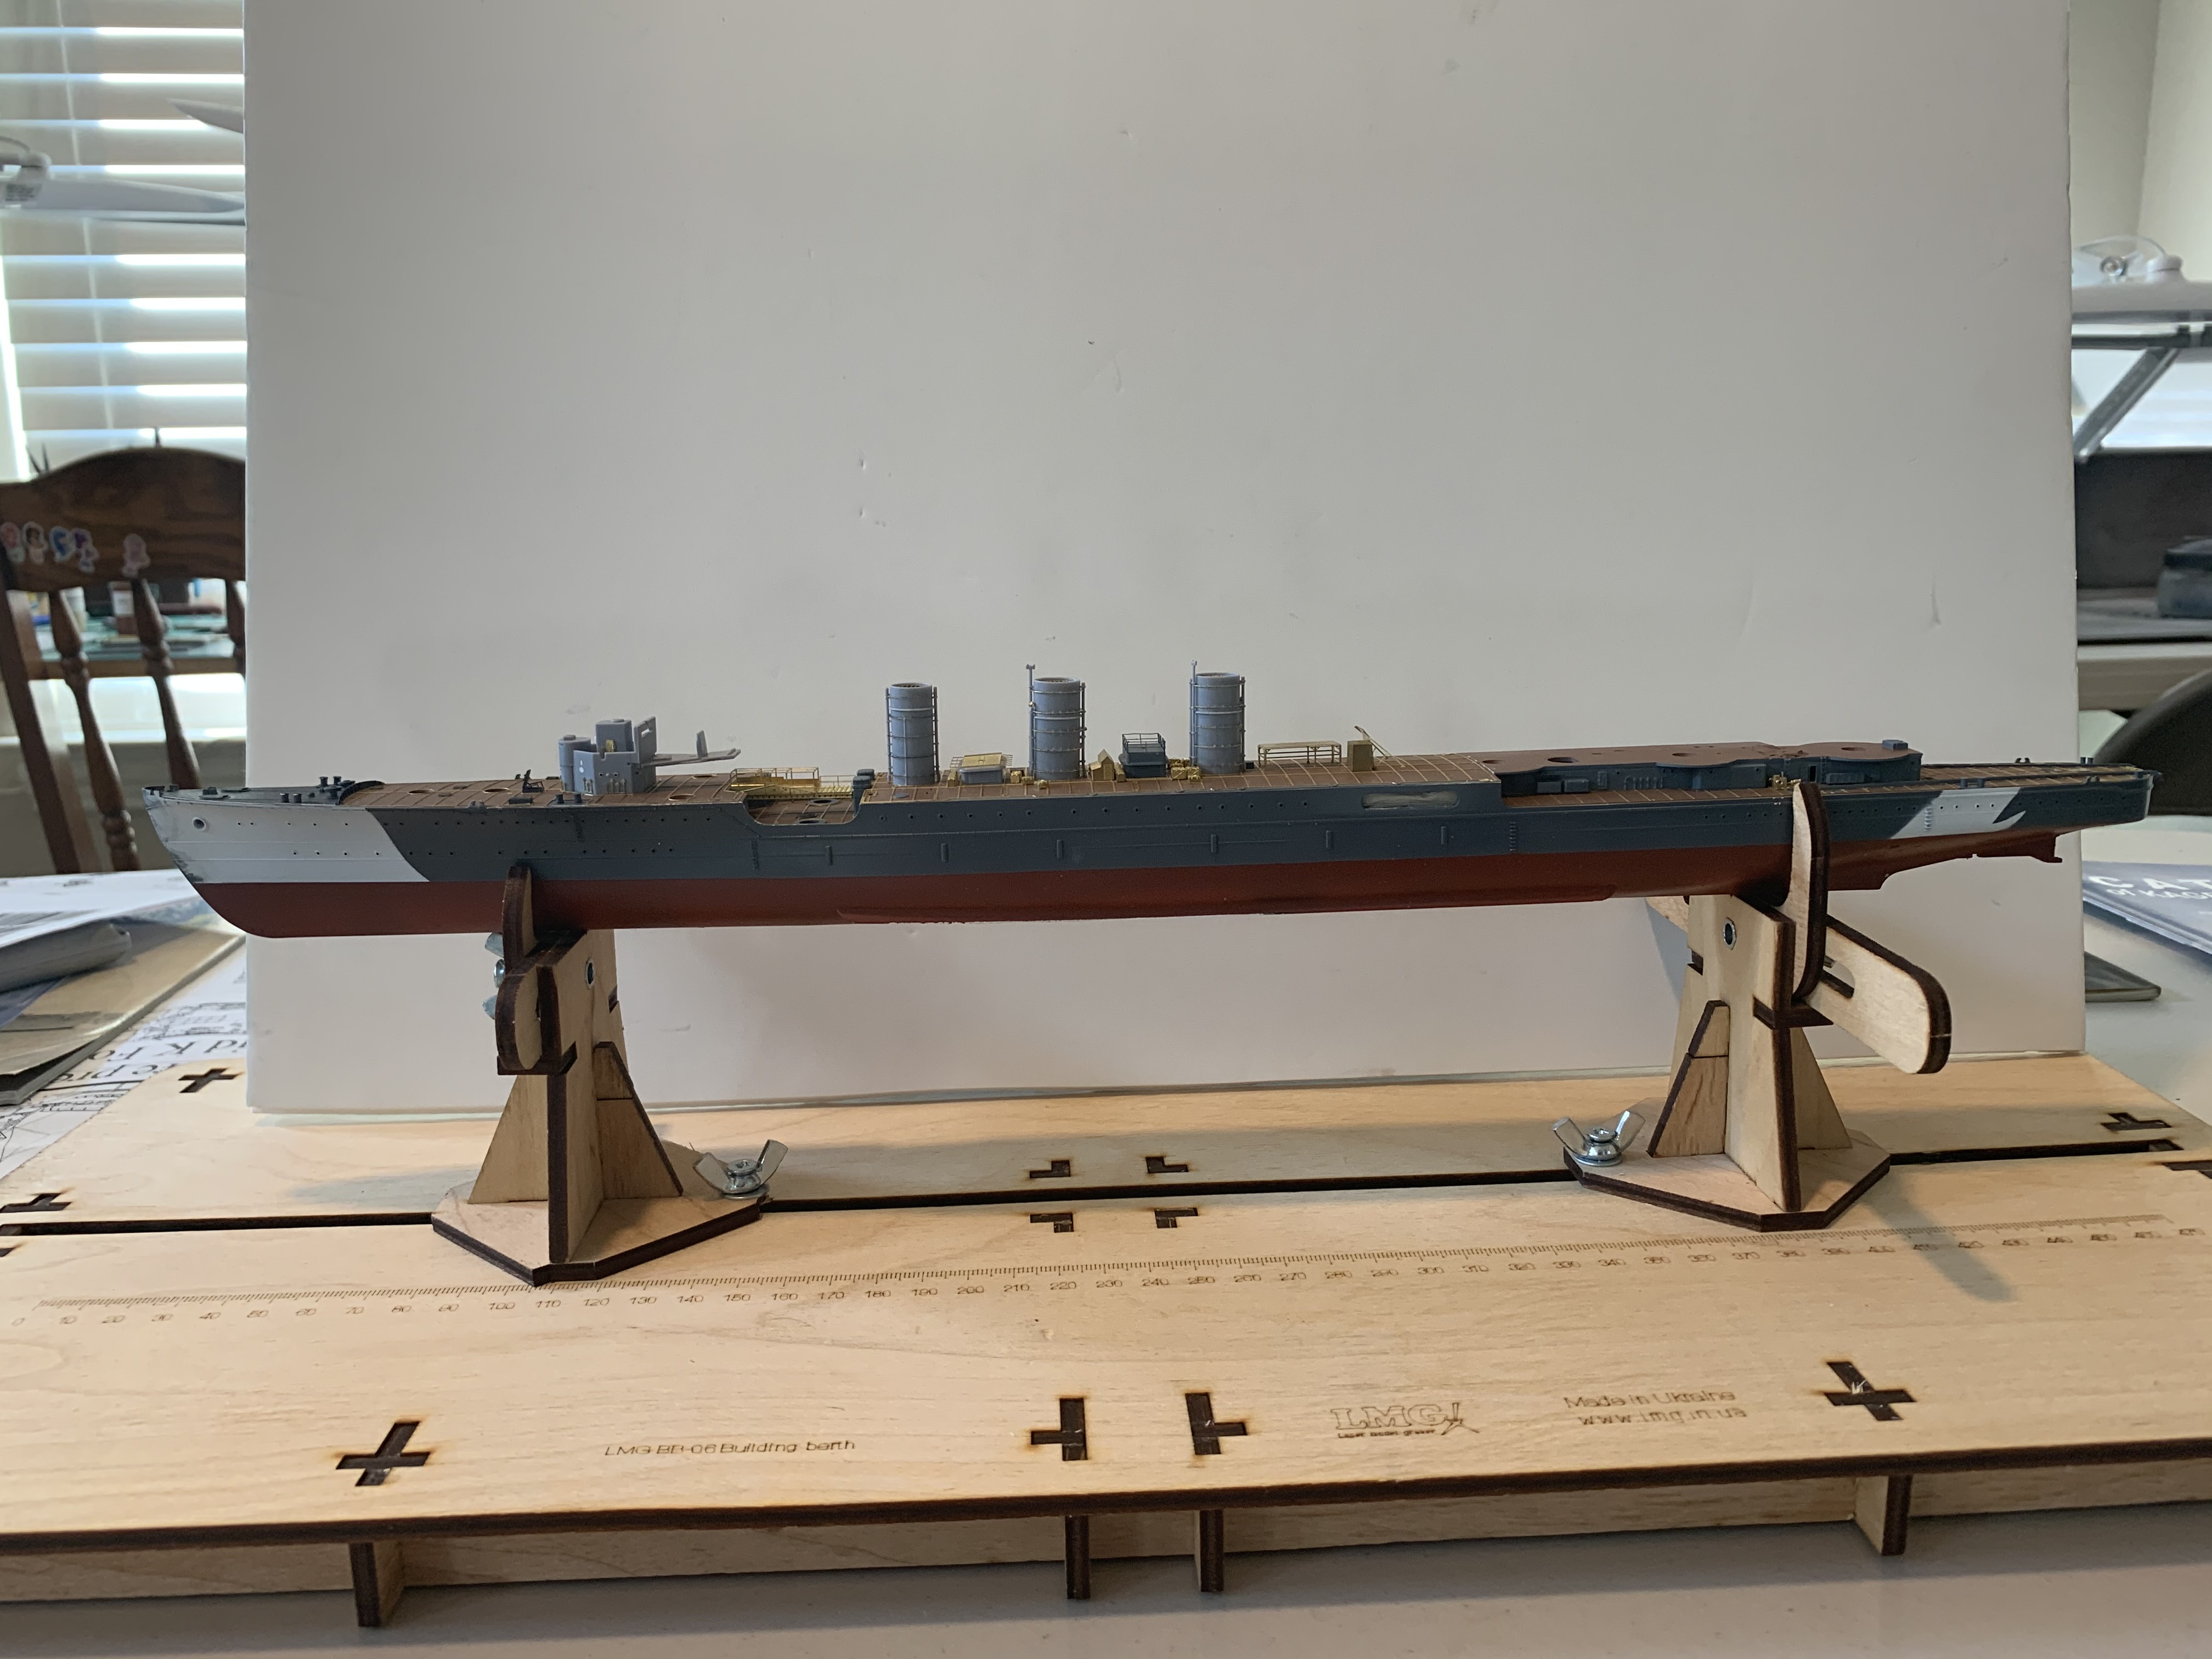
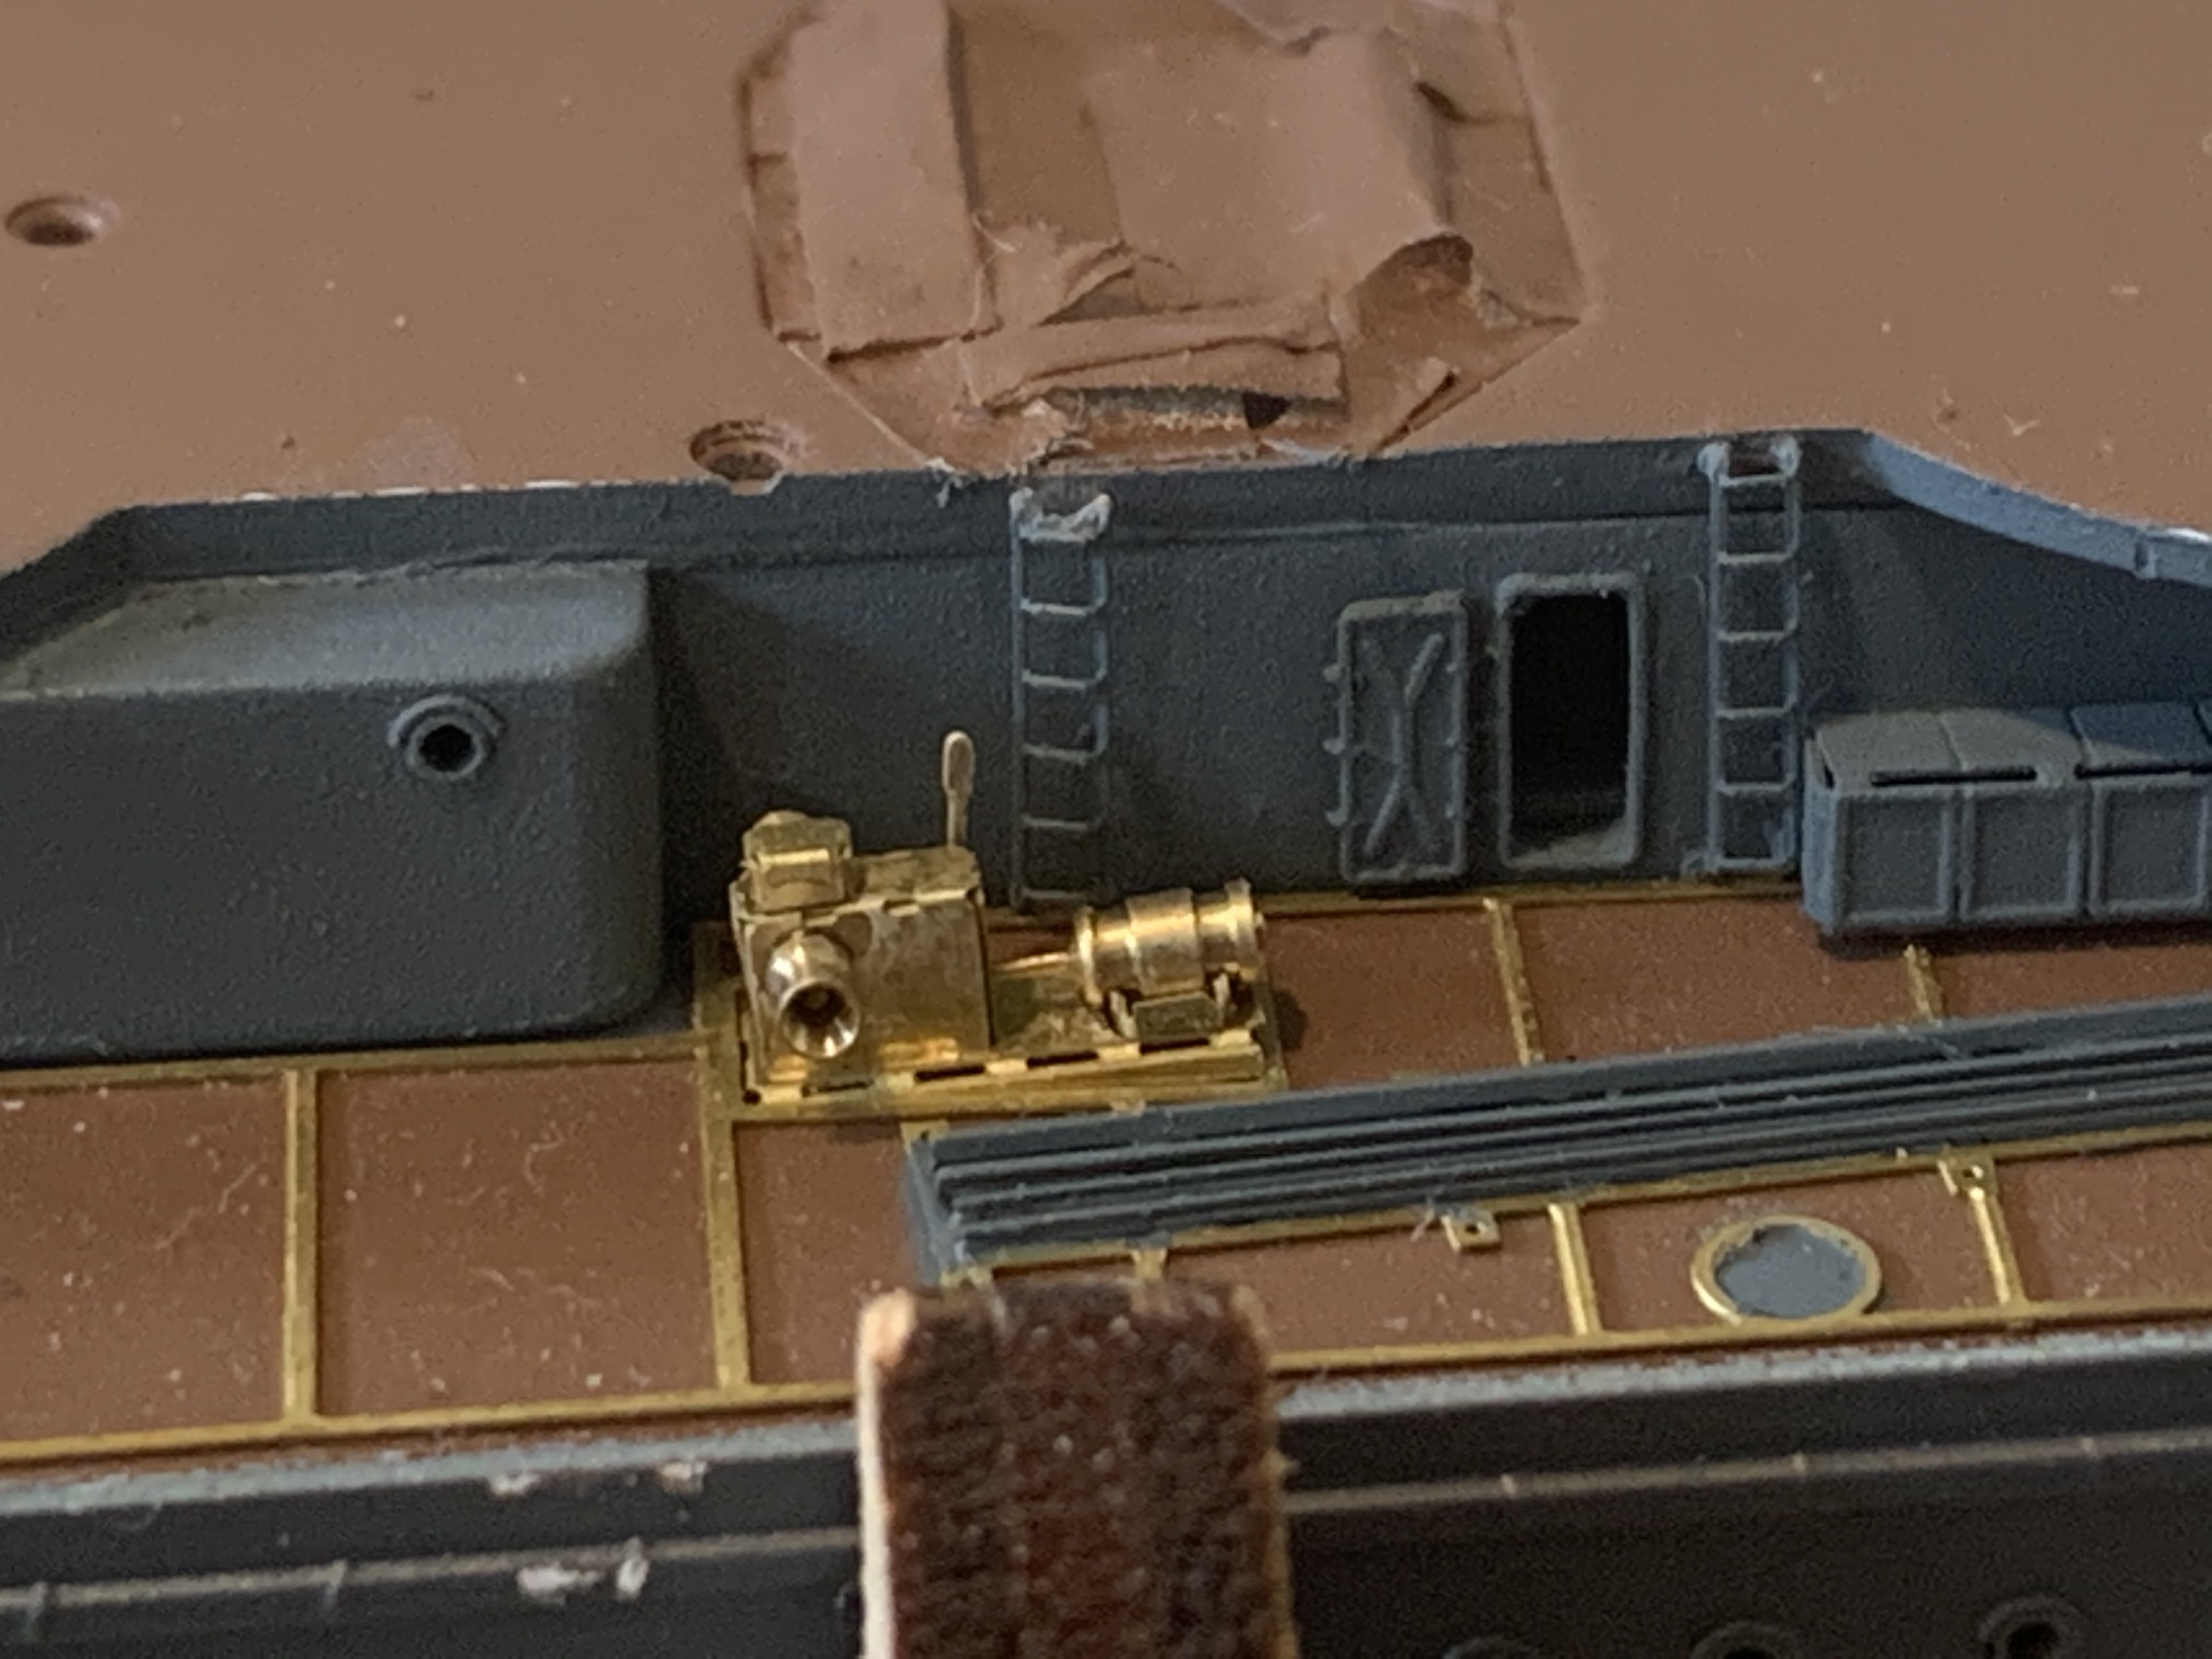
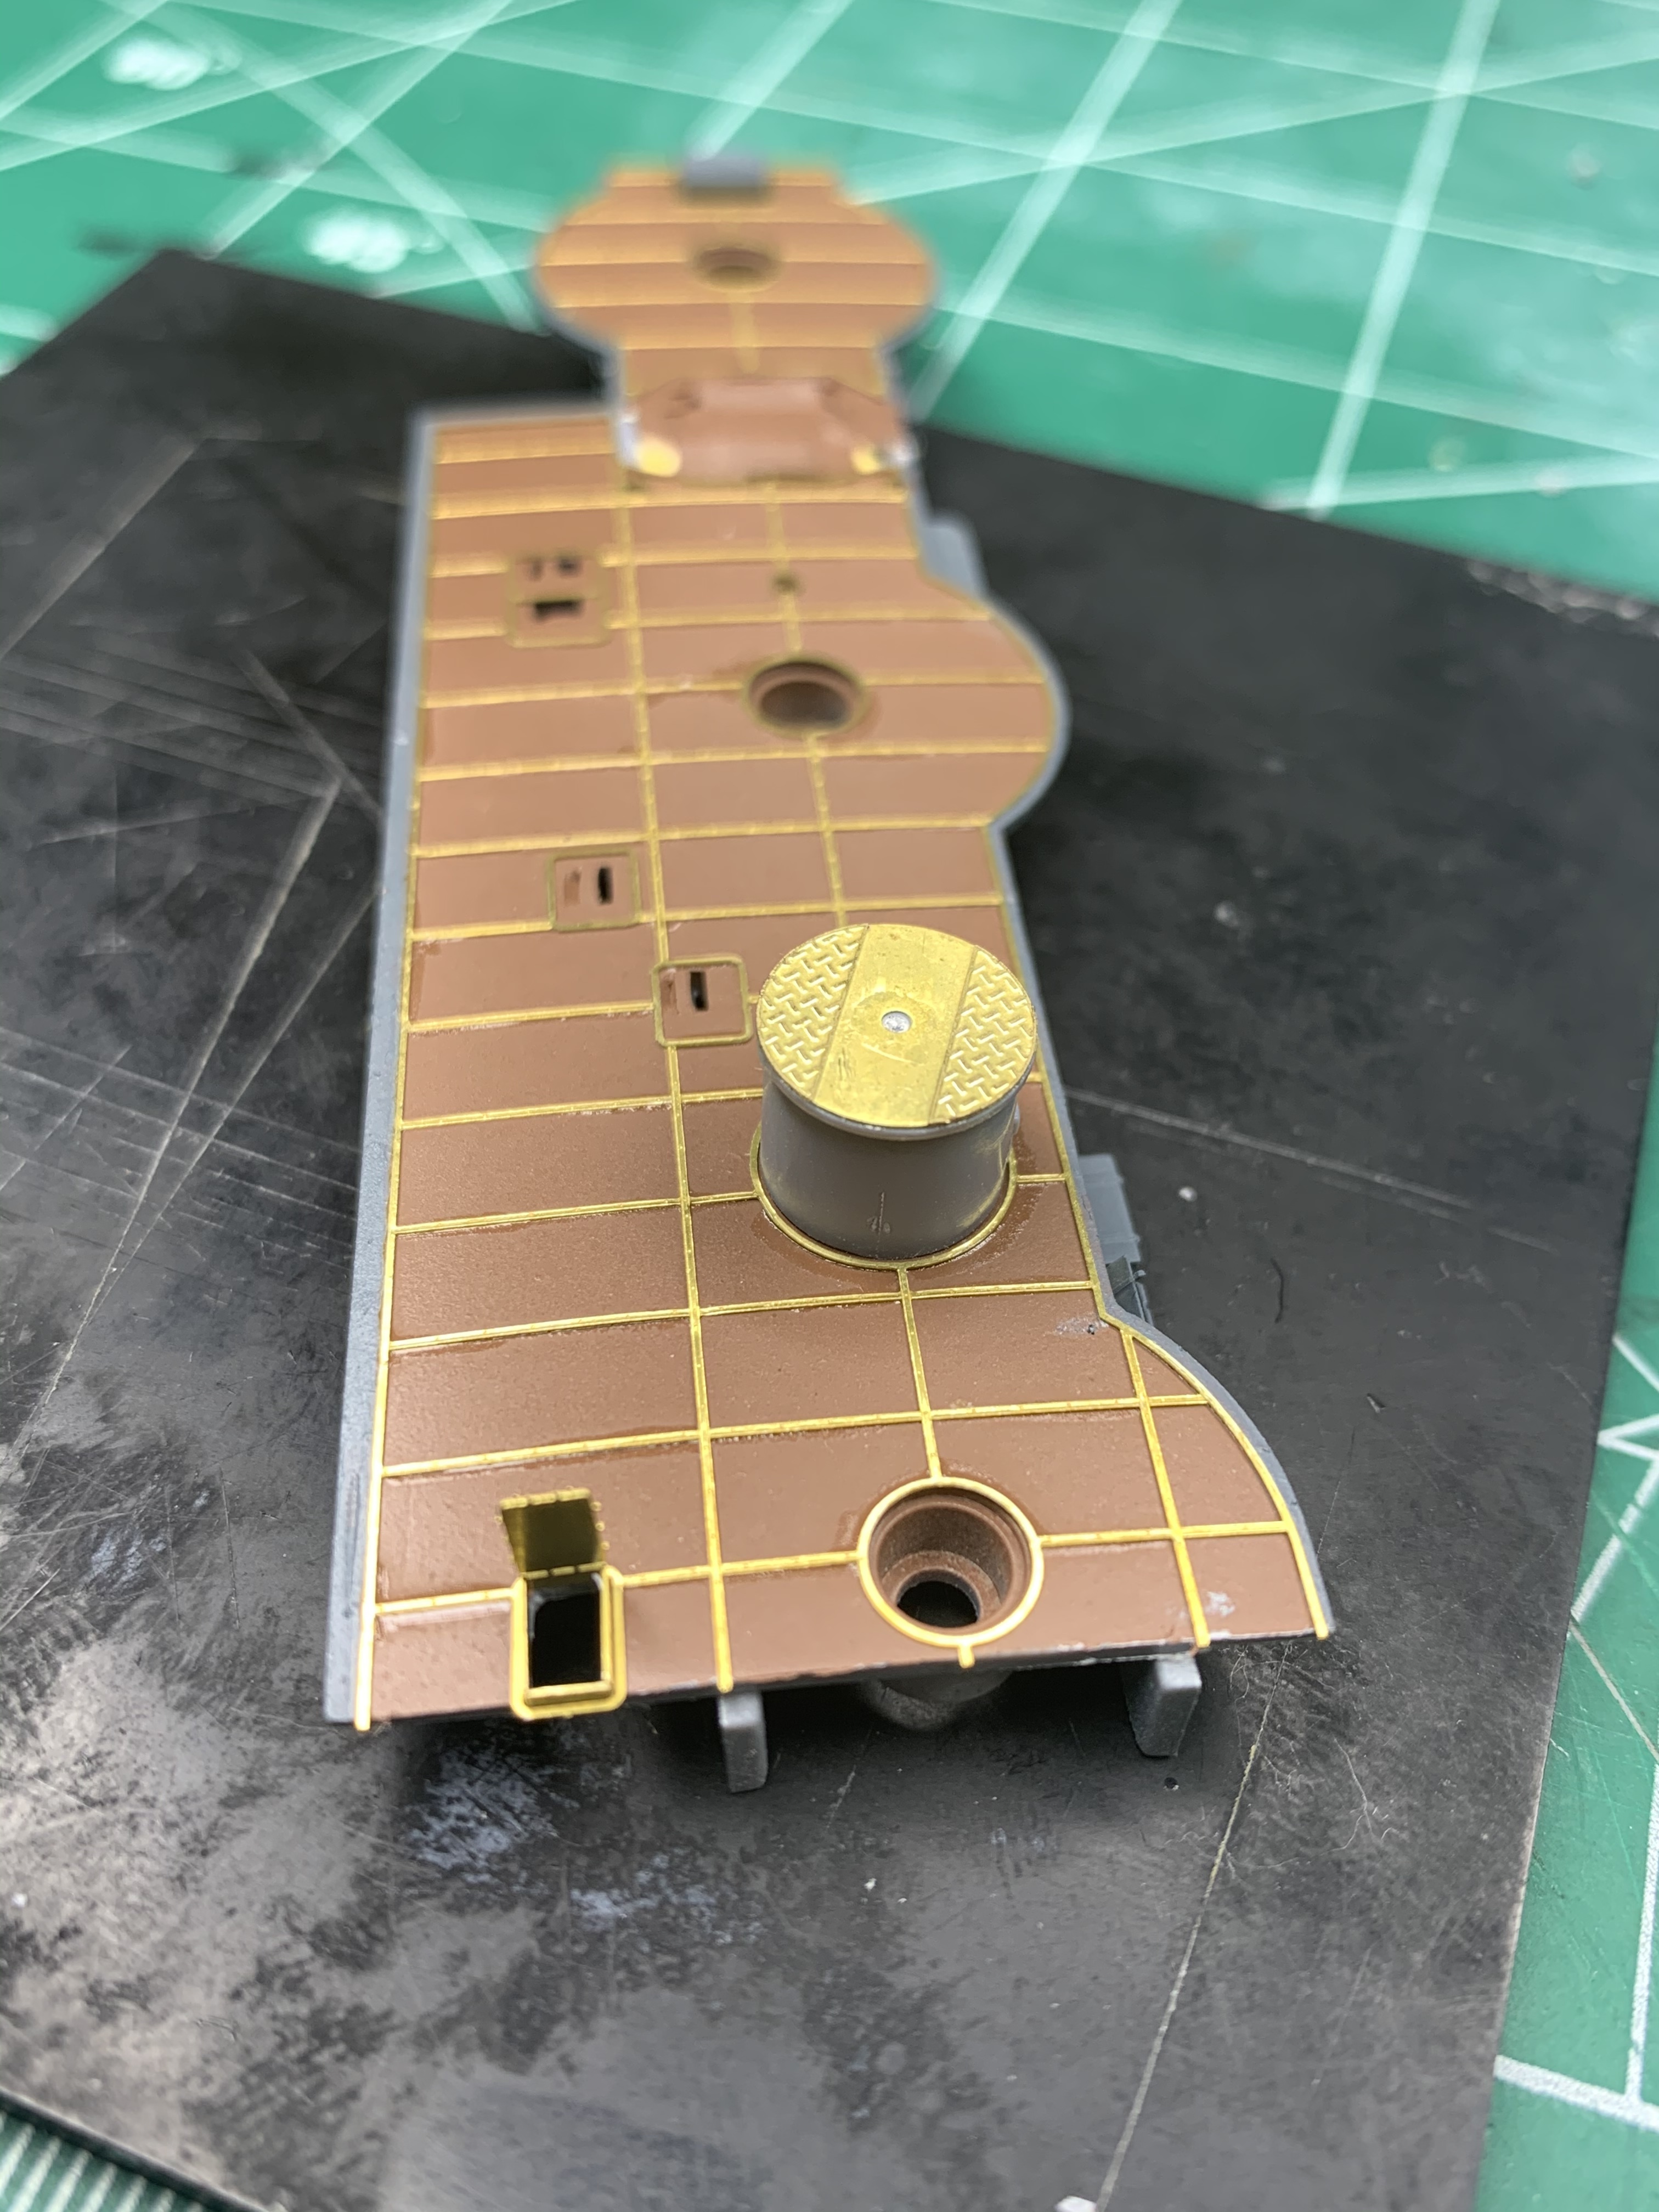
I then worked the aircraft catapult base. Due to some brass strip alignment issues I had to remove the placement tabs on the bottom of the catapult base. Now it fits flush to the deck

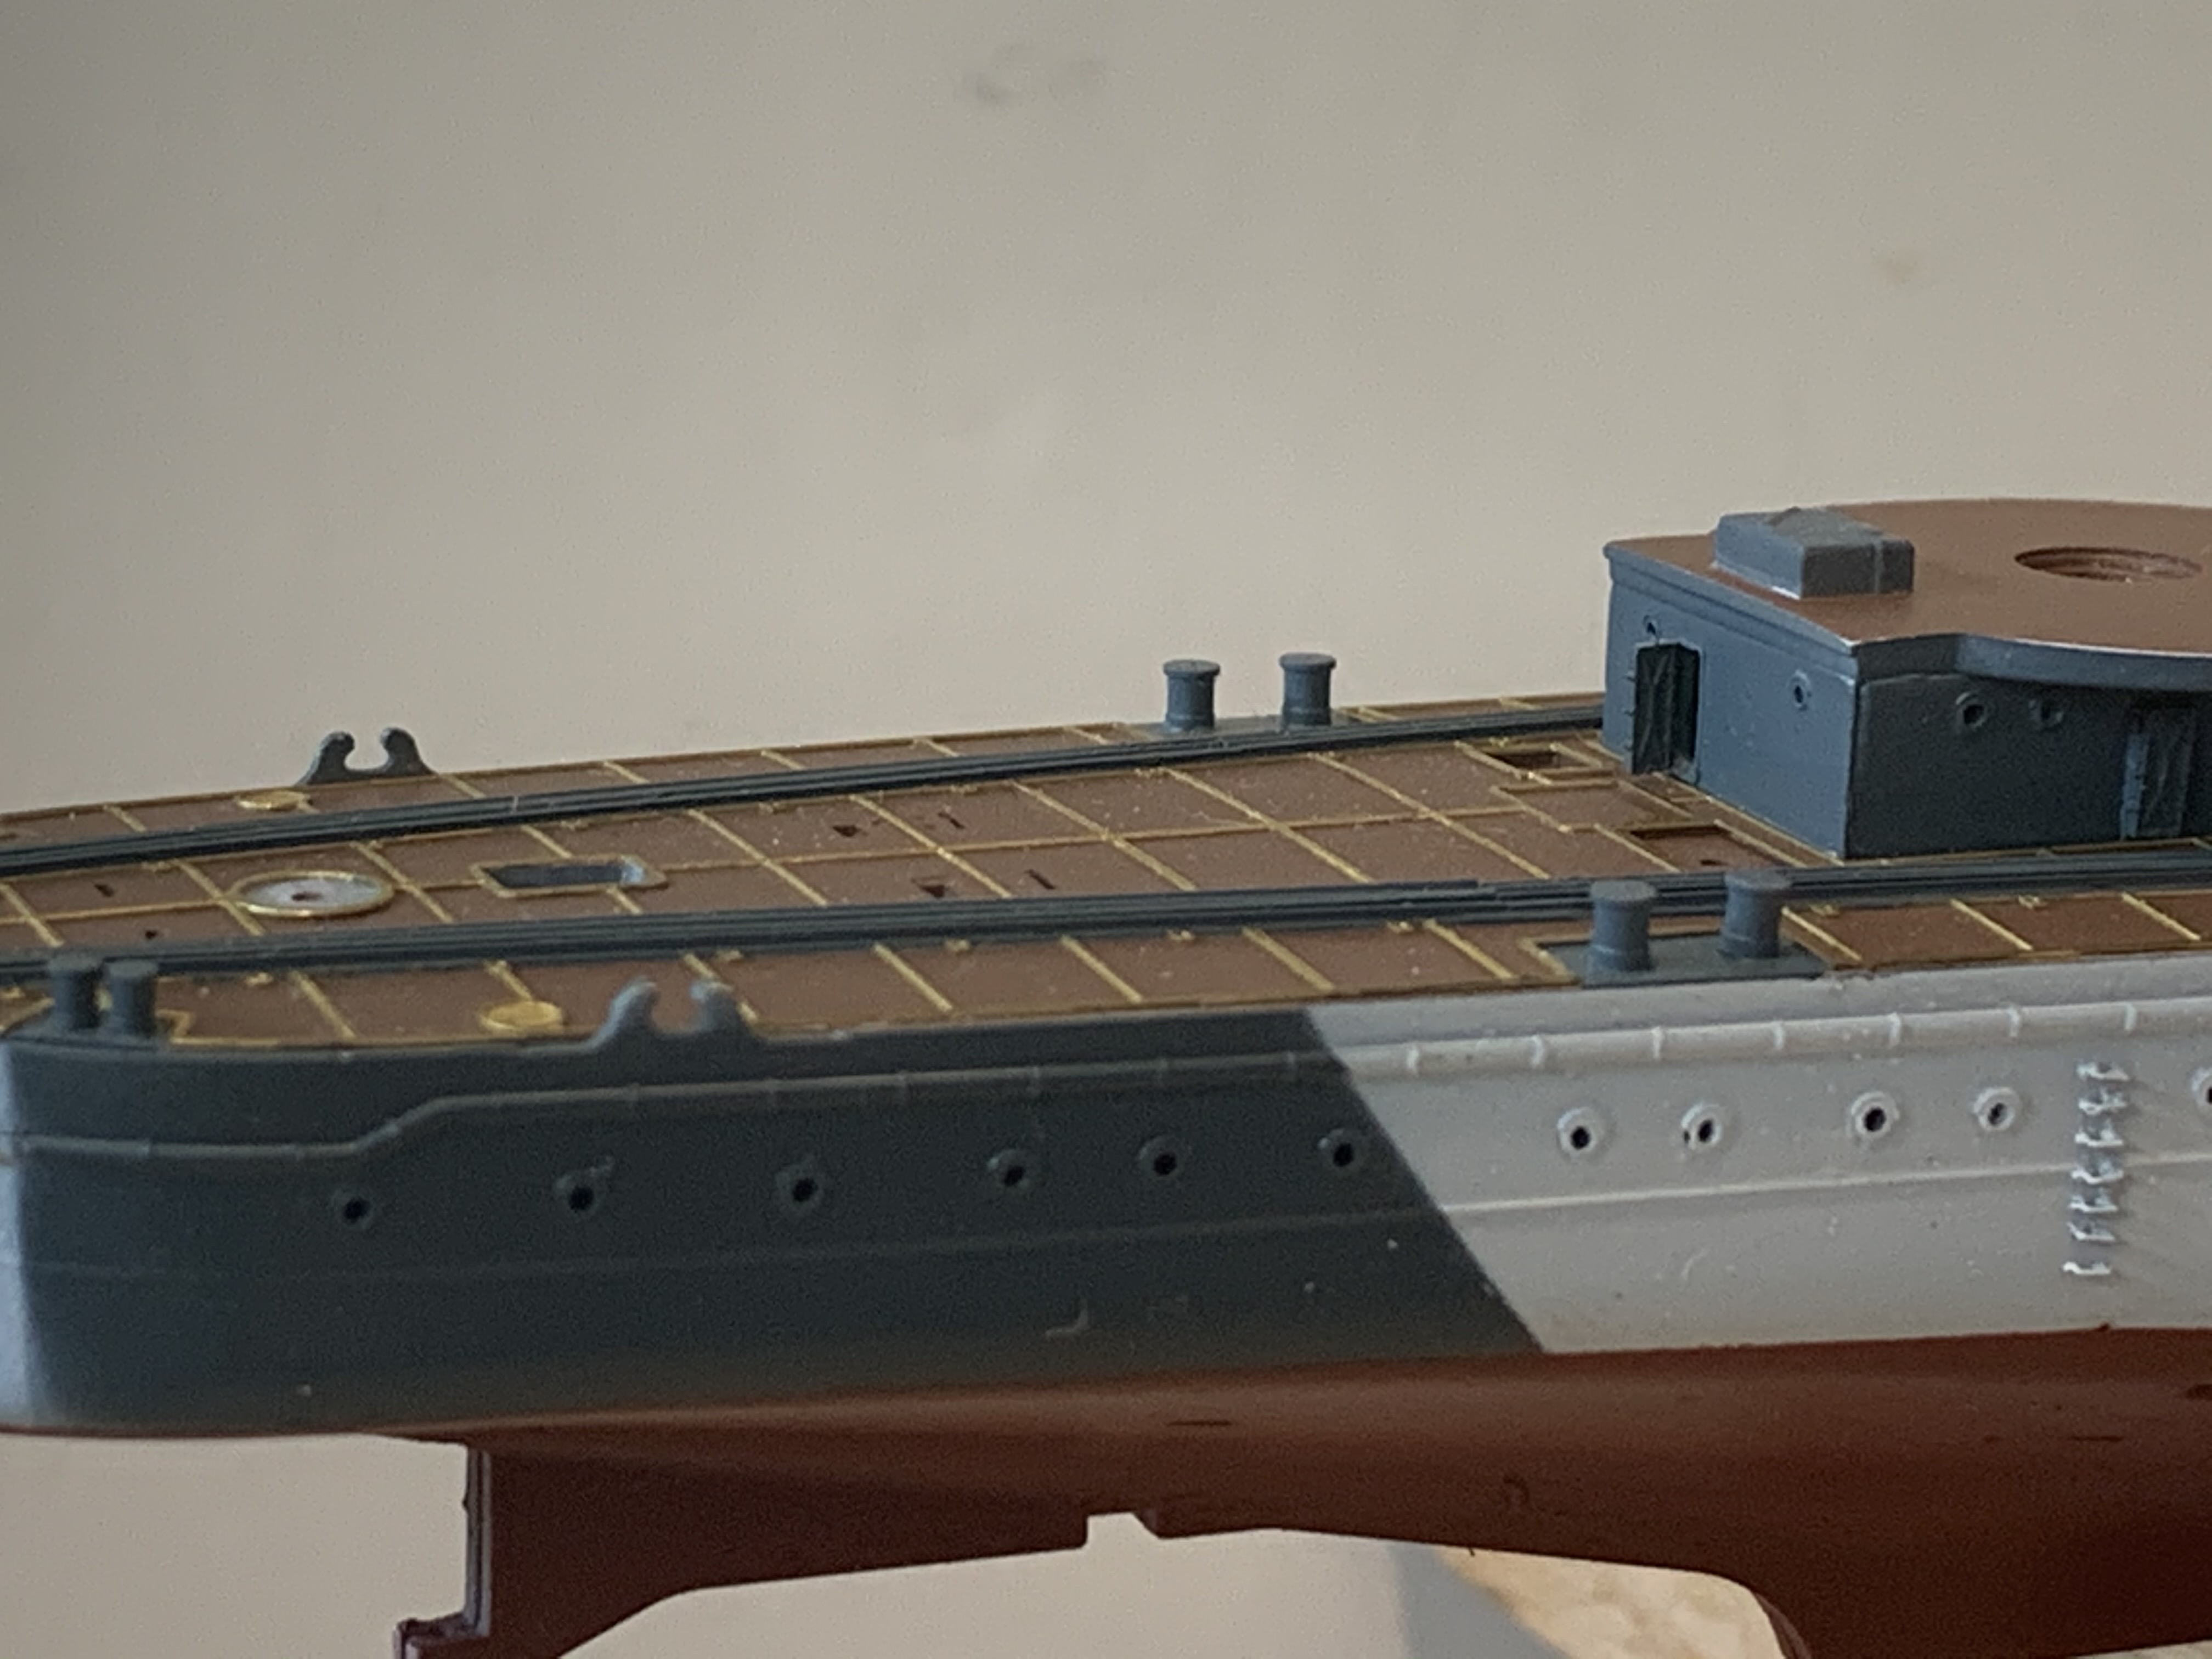
I also realized I wanted to have the deck hatch open so I cut the plastic in order to add a stairwell later on

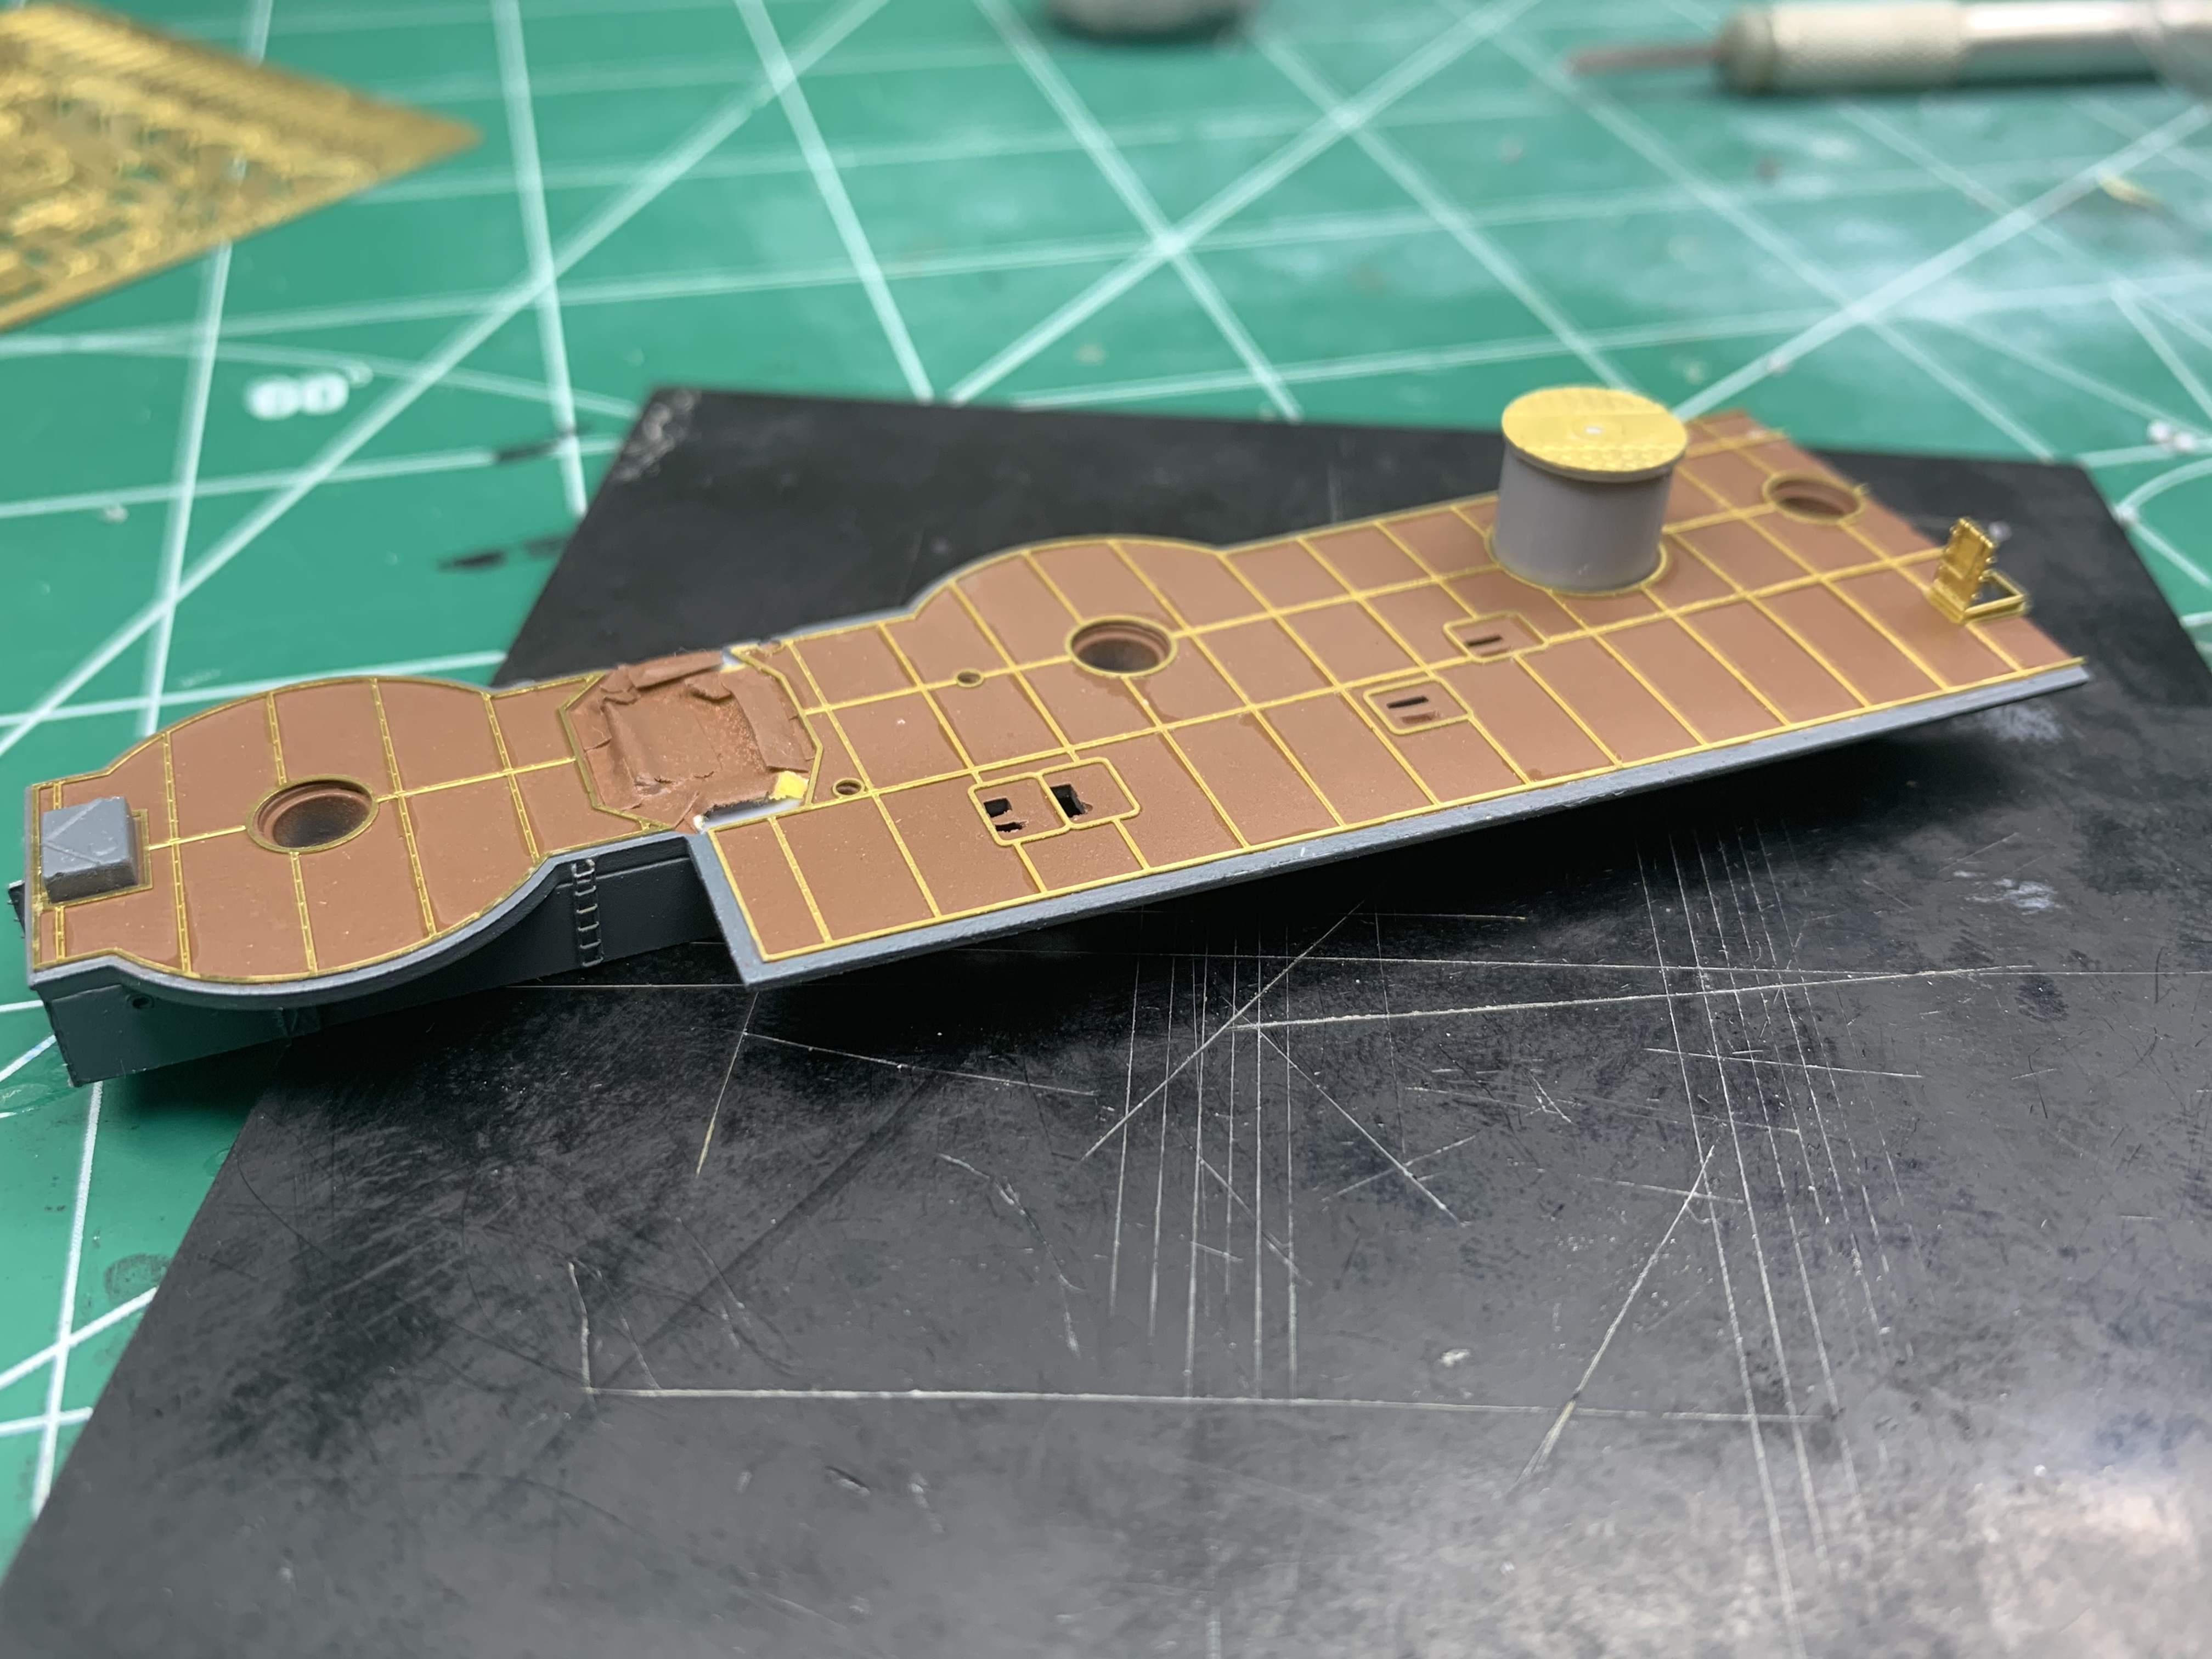
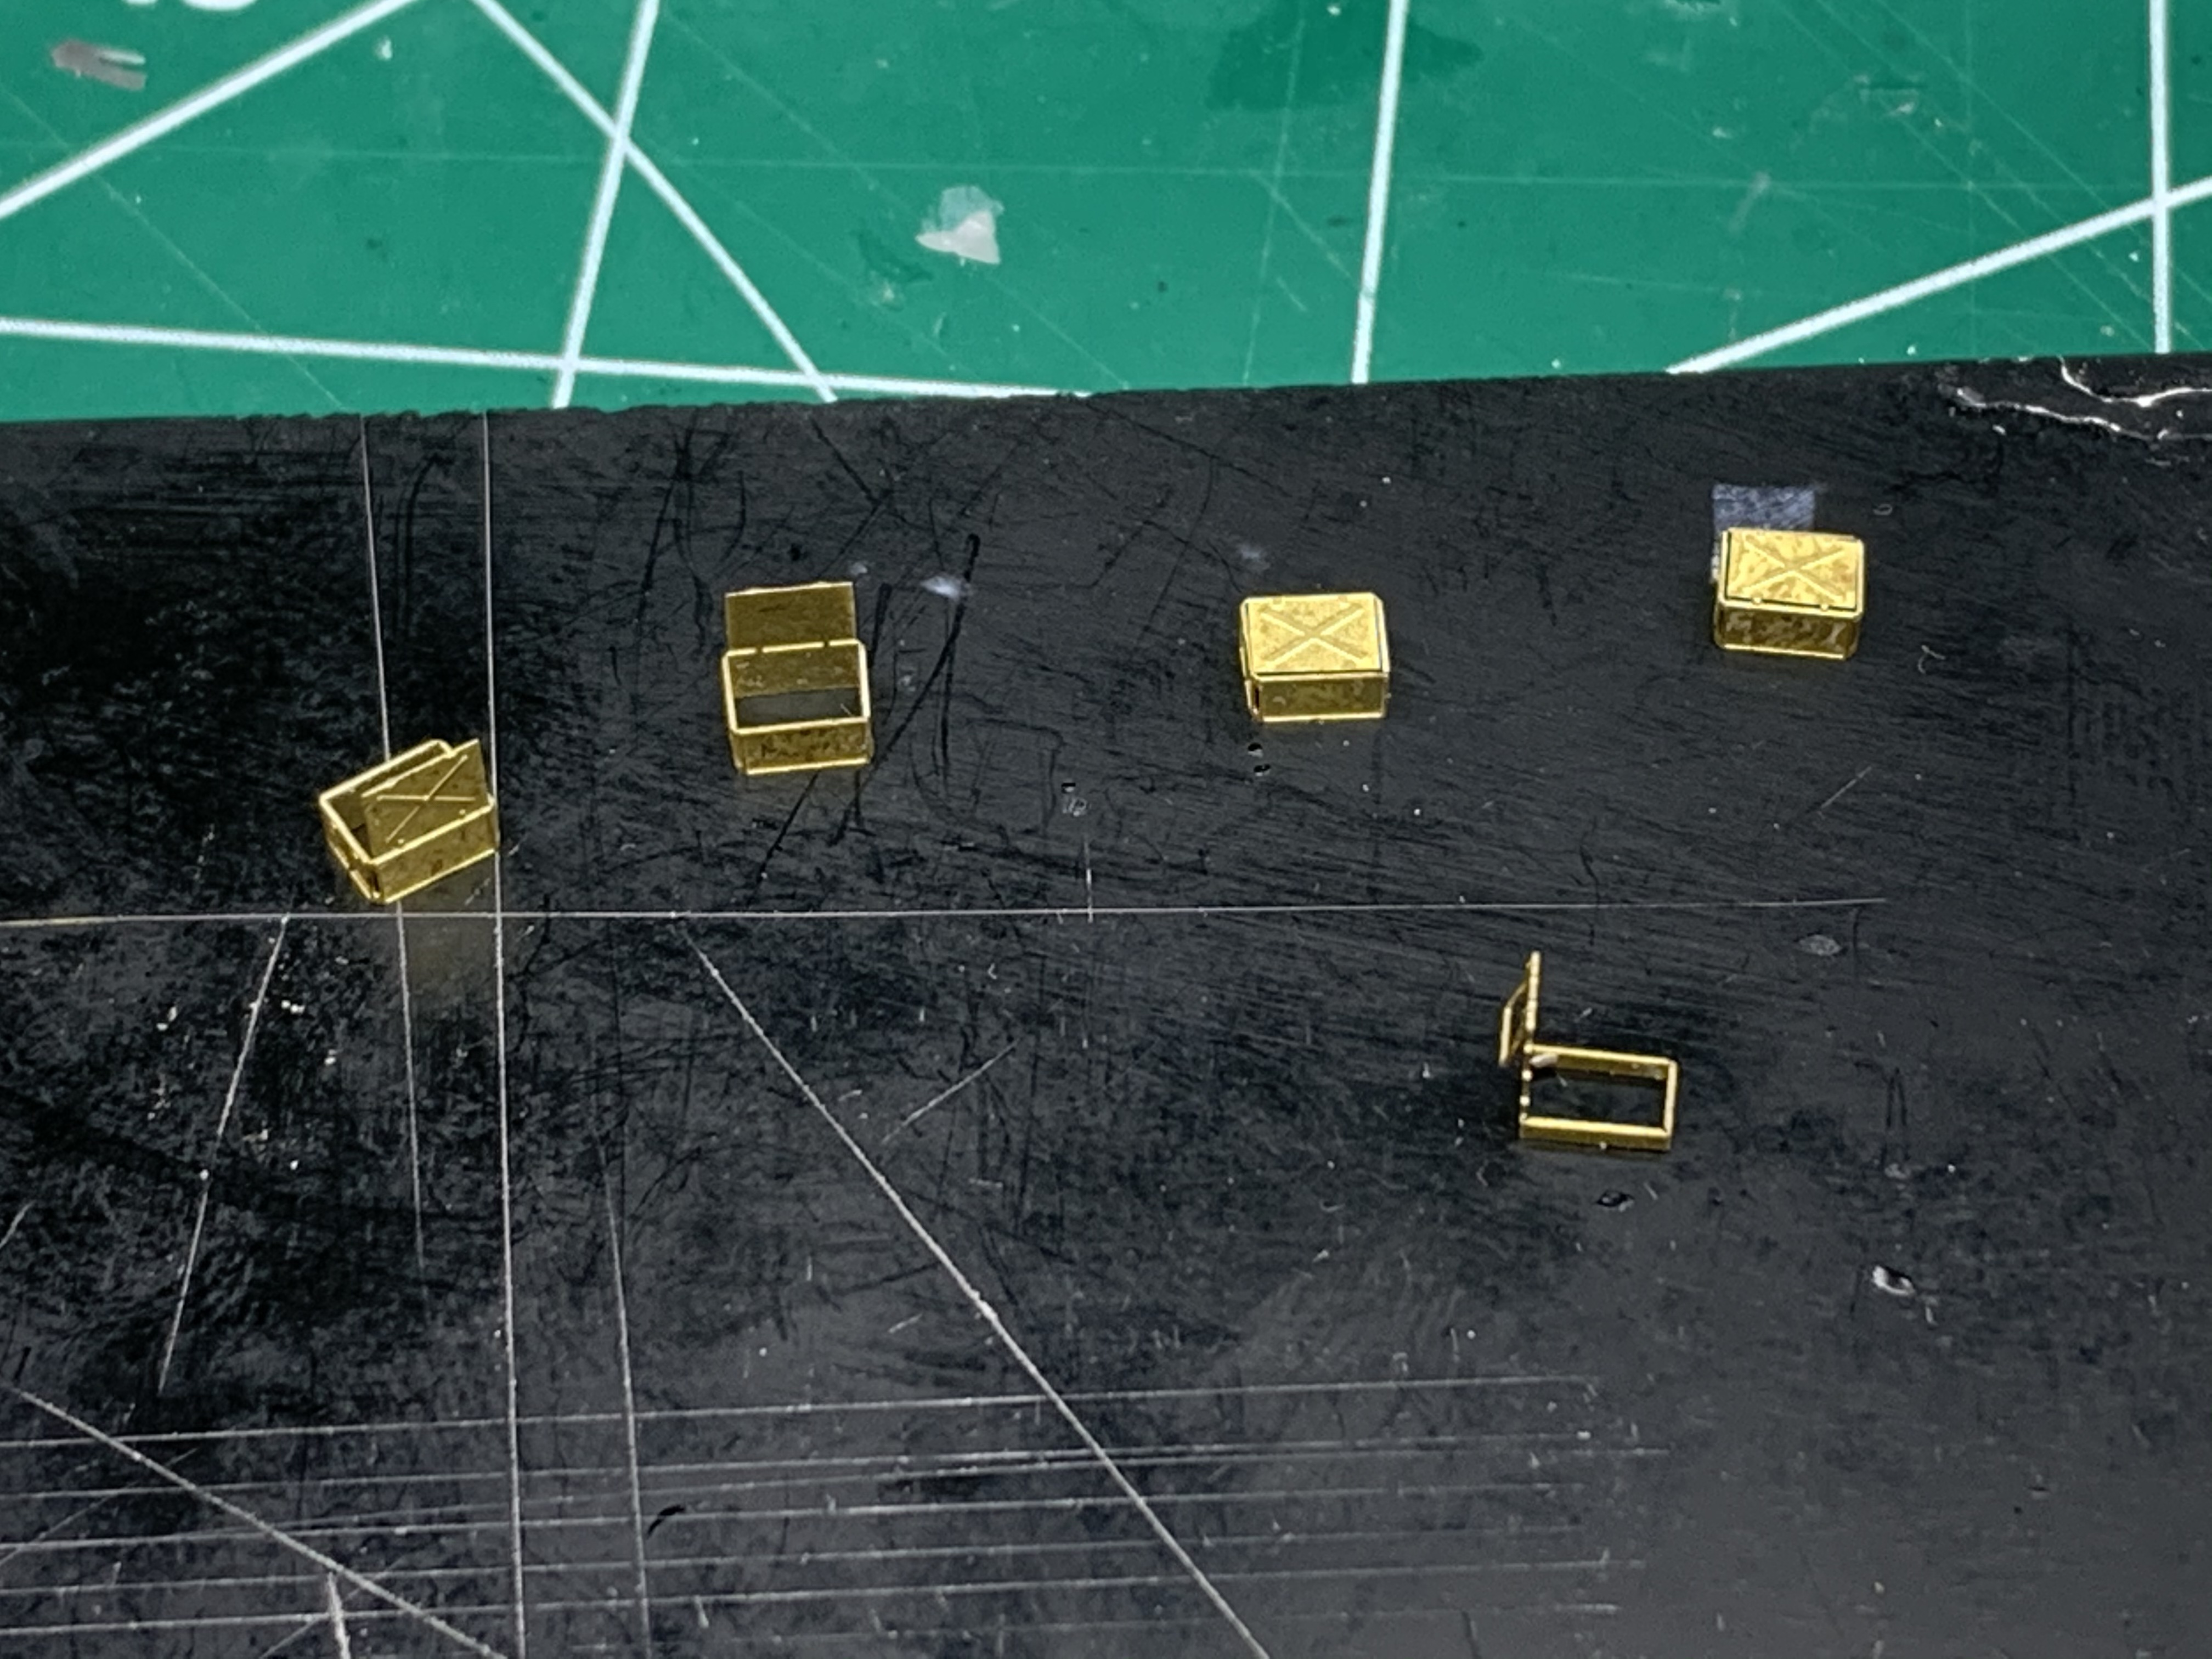
After that I moved on to some fiddle parts, storage bins and the deck hatch

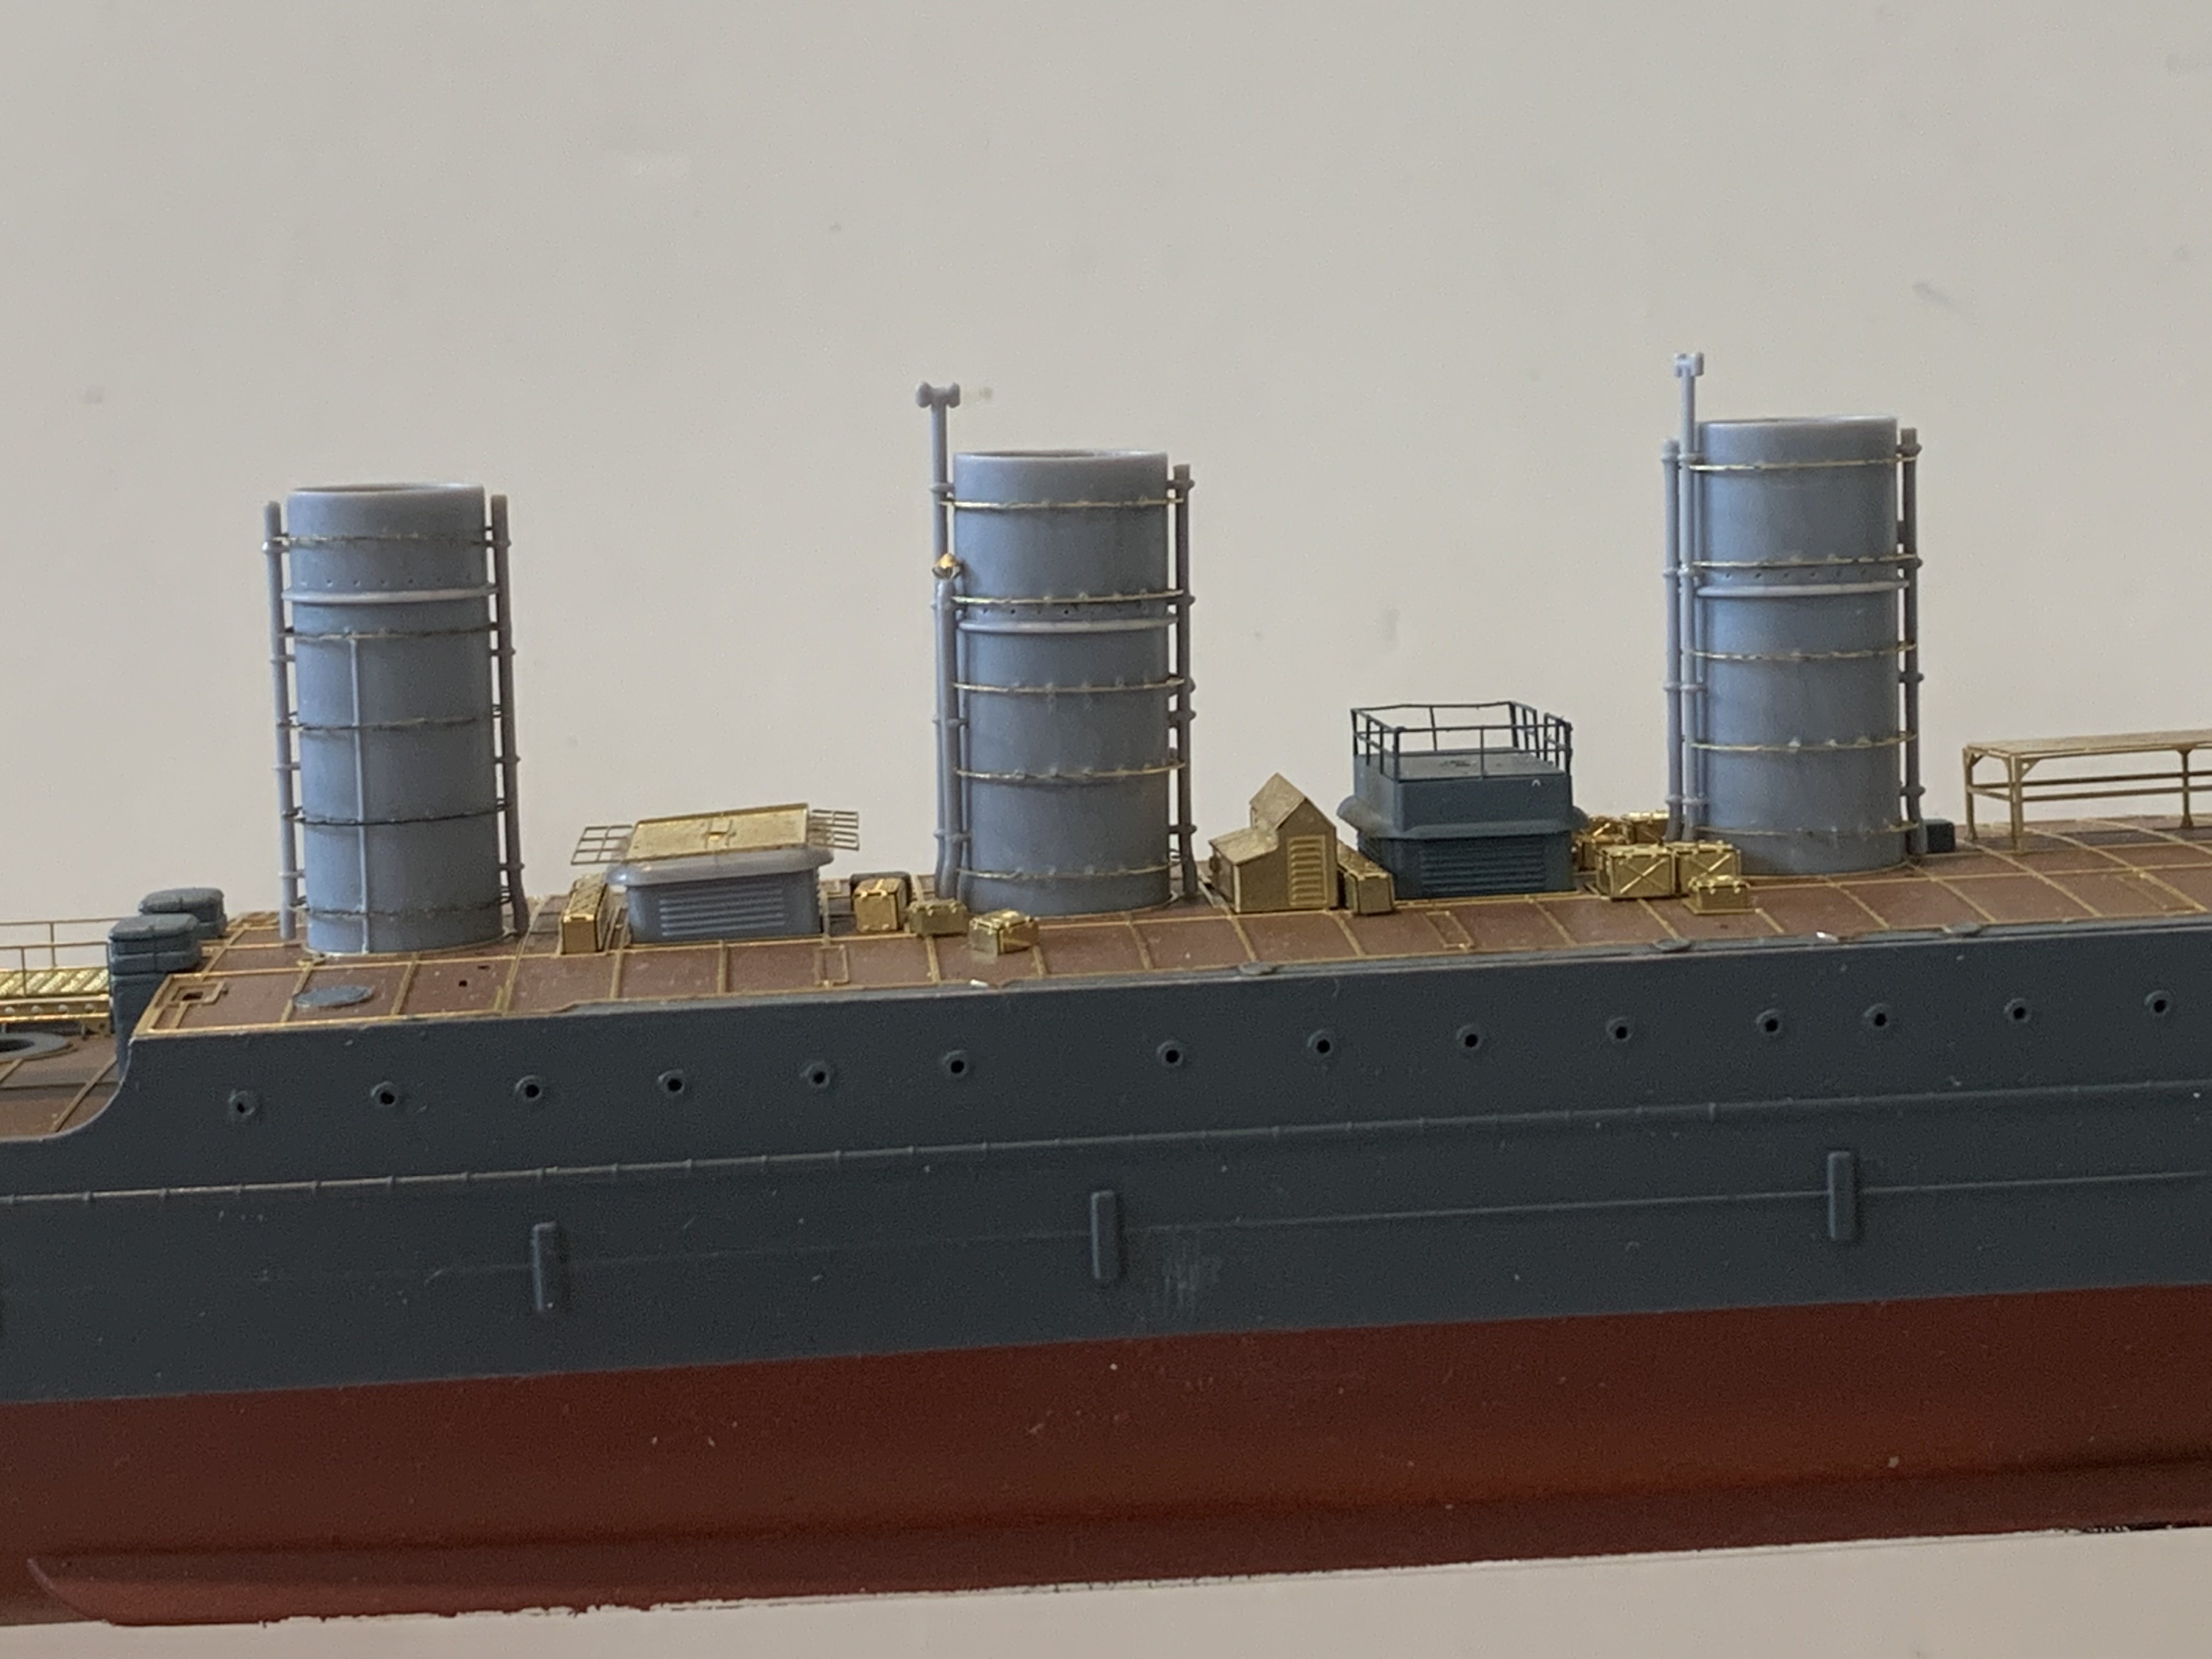
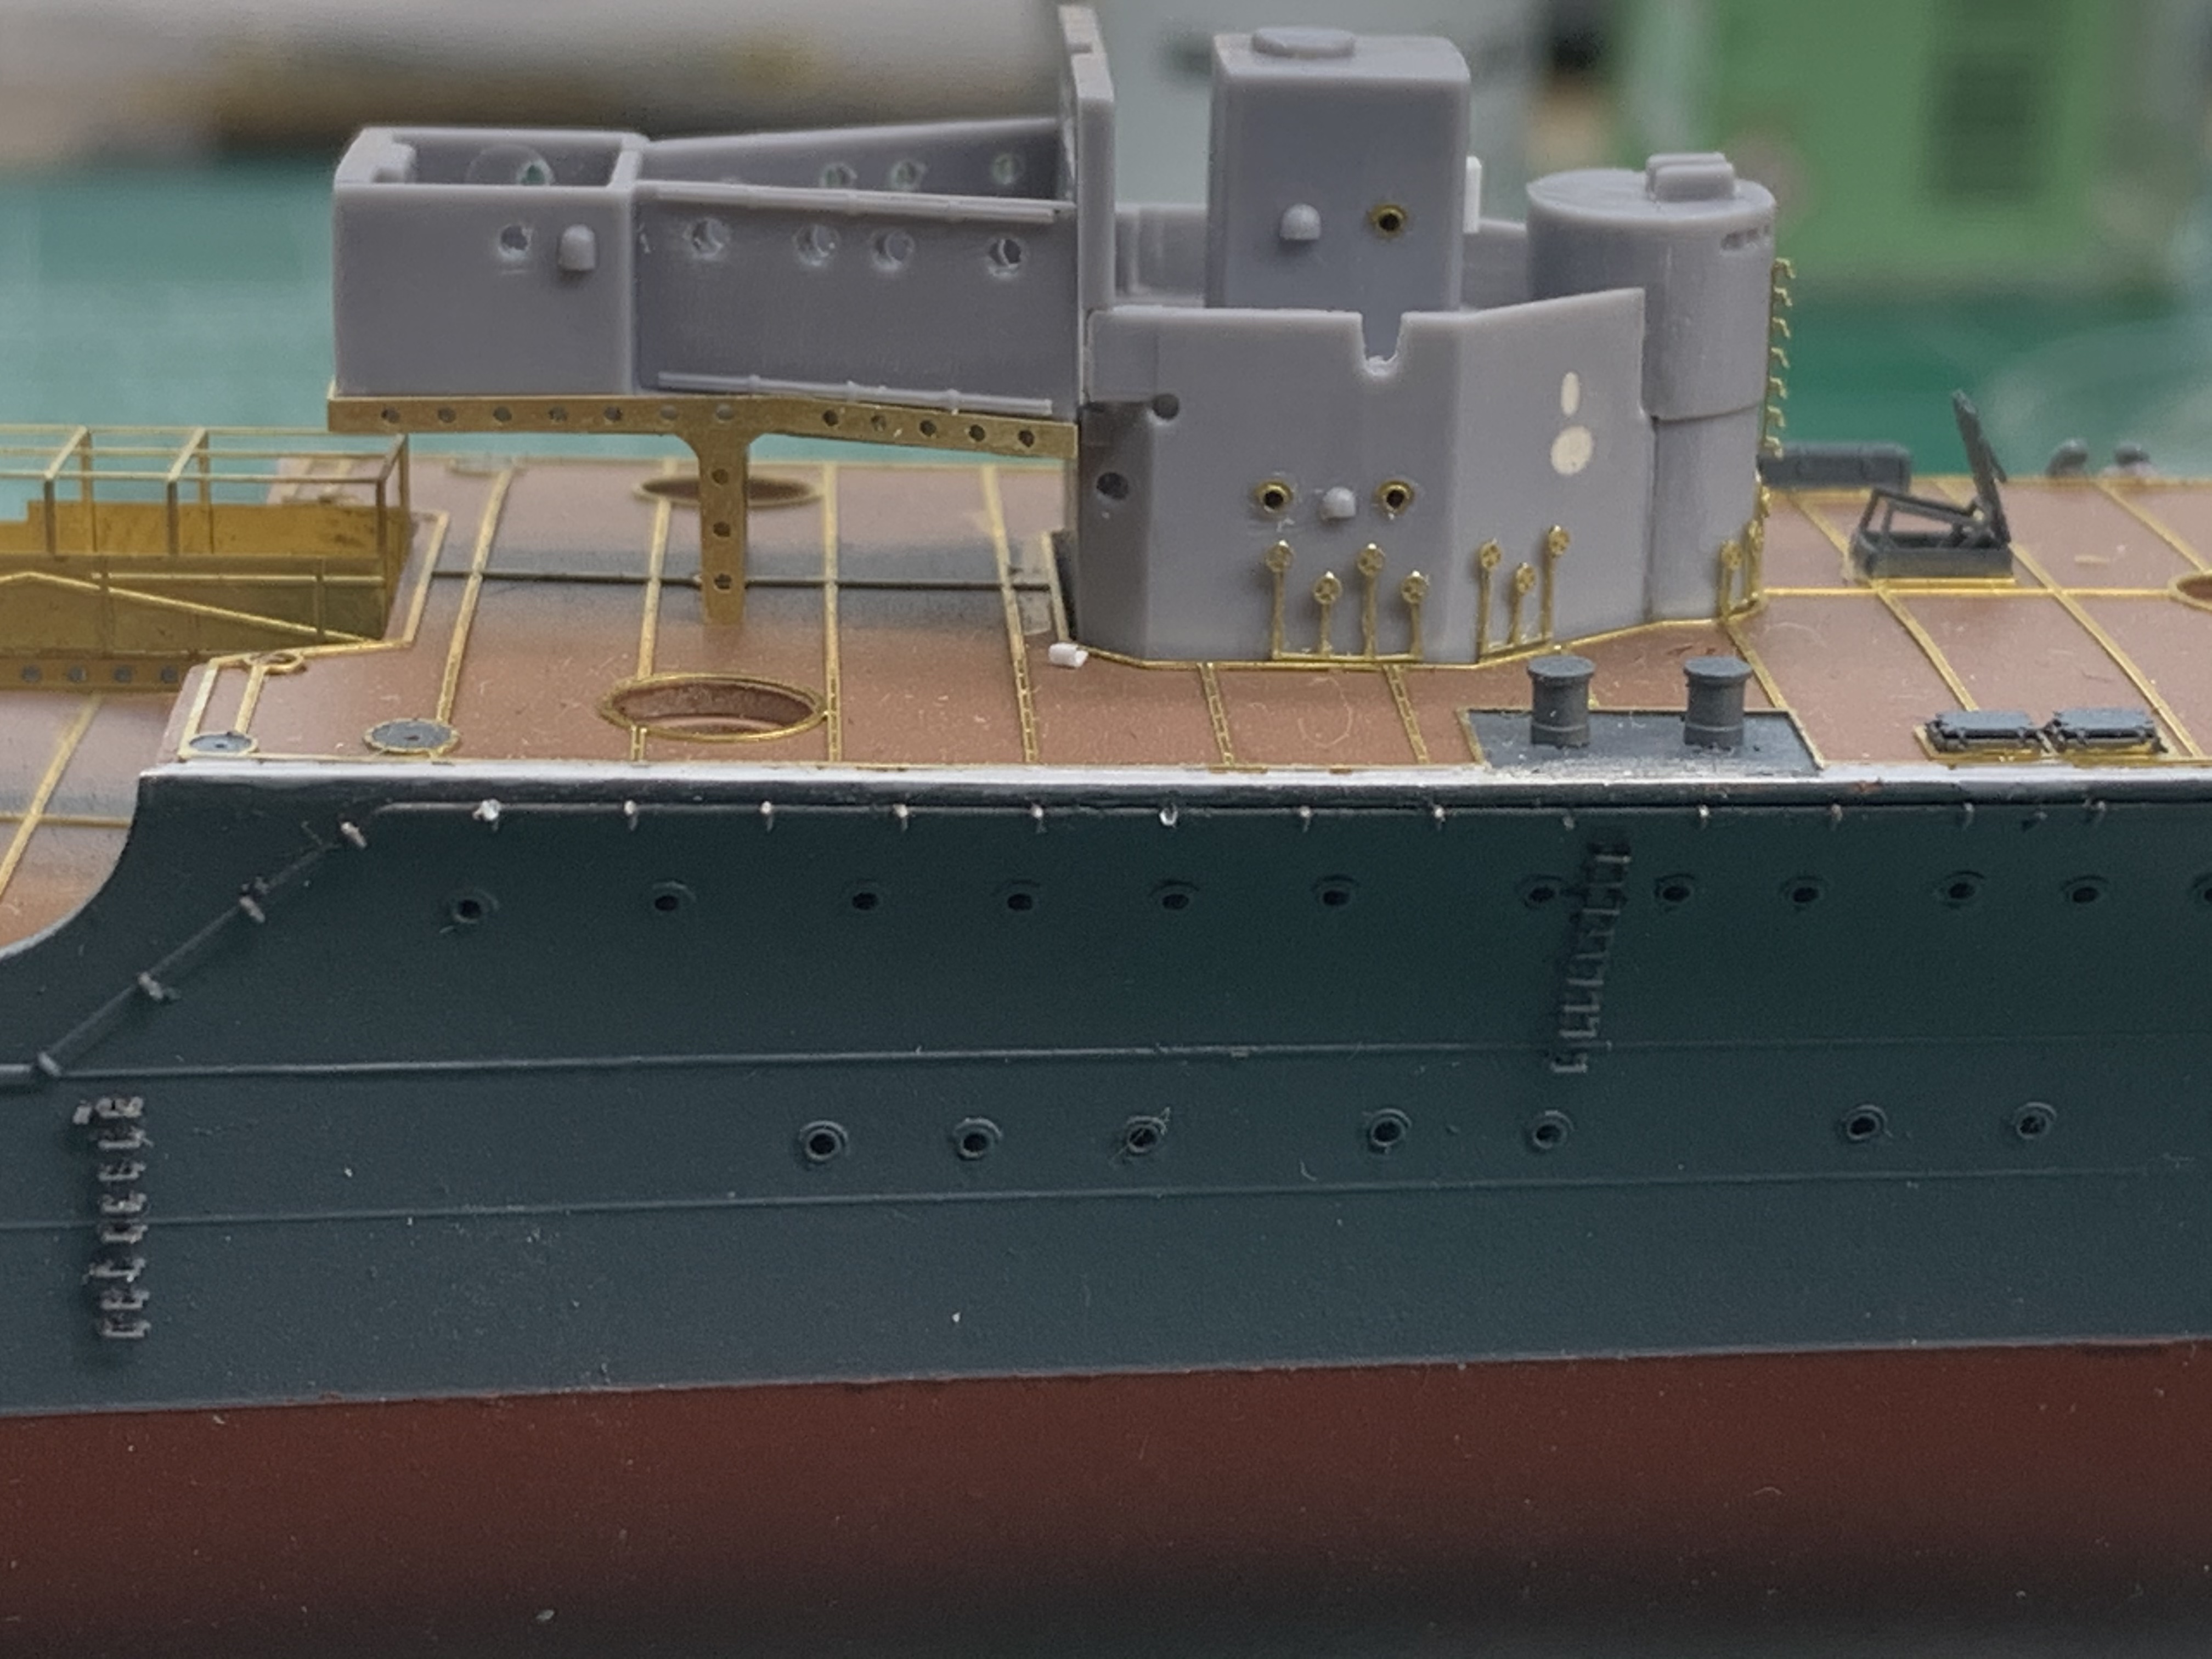
And as a final view. Here is everything dry fitted

Well that’s it for now, next scheduled day is not for two weeks but I’m gonna try and sneak a bit of time in every so often

Thanks for stopping g in and as always comments, suggestions and criticism are always welcome

David

2 Likes

Hi Dave,

apparently your returning dockyard workers are highly skilled and motivated! Great job and a fine update! Looks really nice, and very fine etch work!

Cheers
Jan

Jan,

Thanks for the kind words, I threatened them with reduced rations if they didn’t produce!! LOL

David

Whee-O that is a lot of PE! Great job installing all of it.

Mark :beer:

Mark,

Thank you - there is still more to come!!

David

Hello David,

This is a really impressive modeling work.
It looks really respectful that the handling of the etching parts.

Akio

1 Like

David, I must say that you have been doing a superb job on this kit and I stand
in awe of the patience you have with all the PE being added!
WOW!
Cheers,