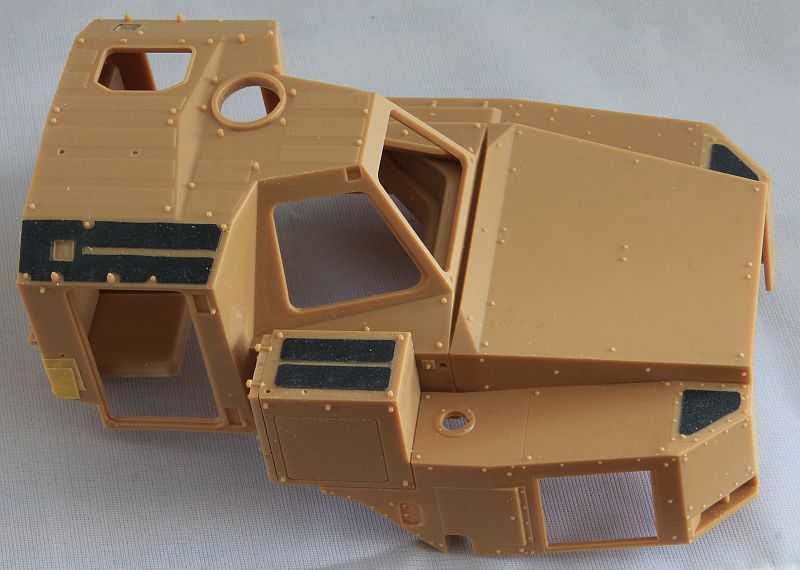
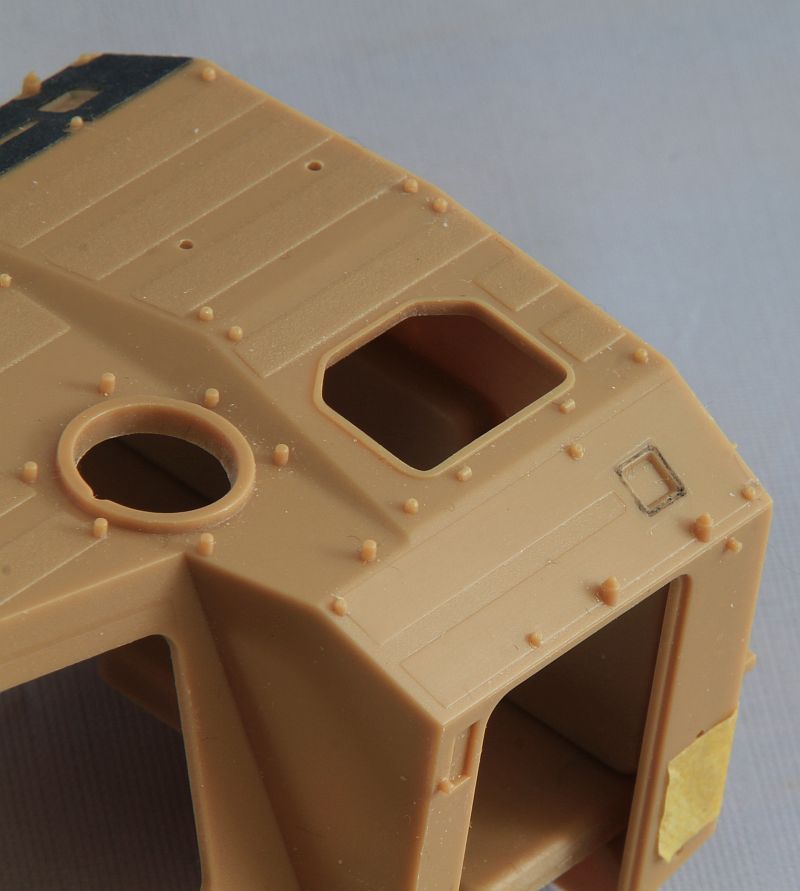
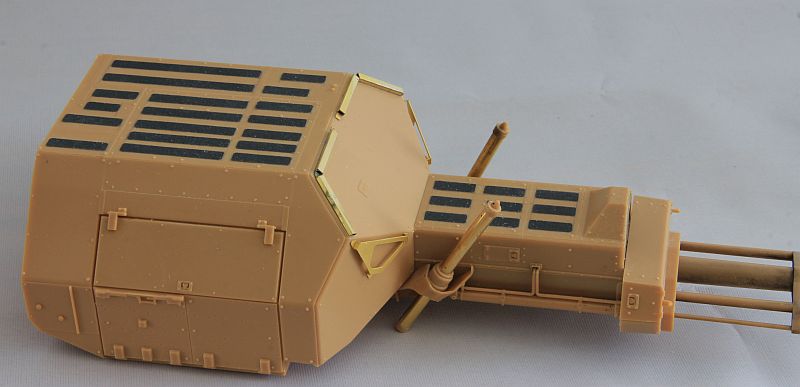
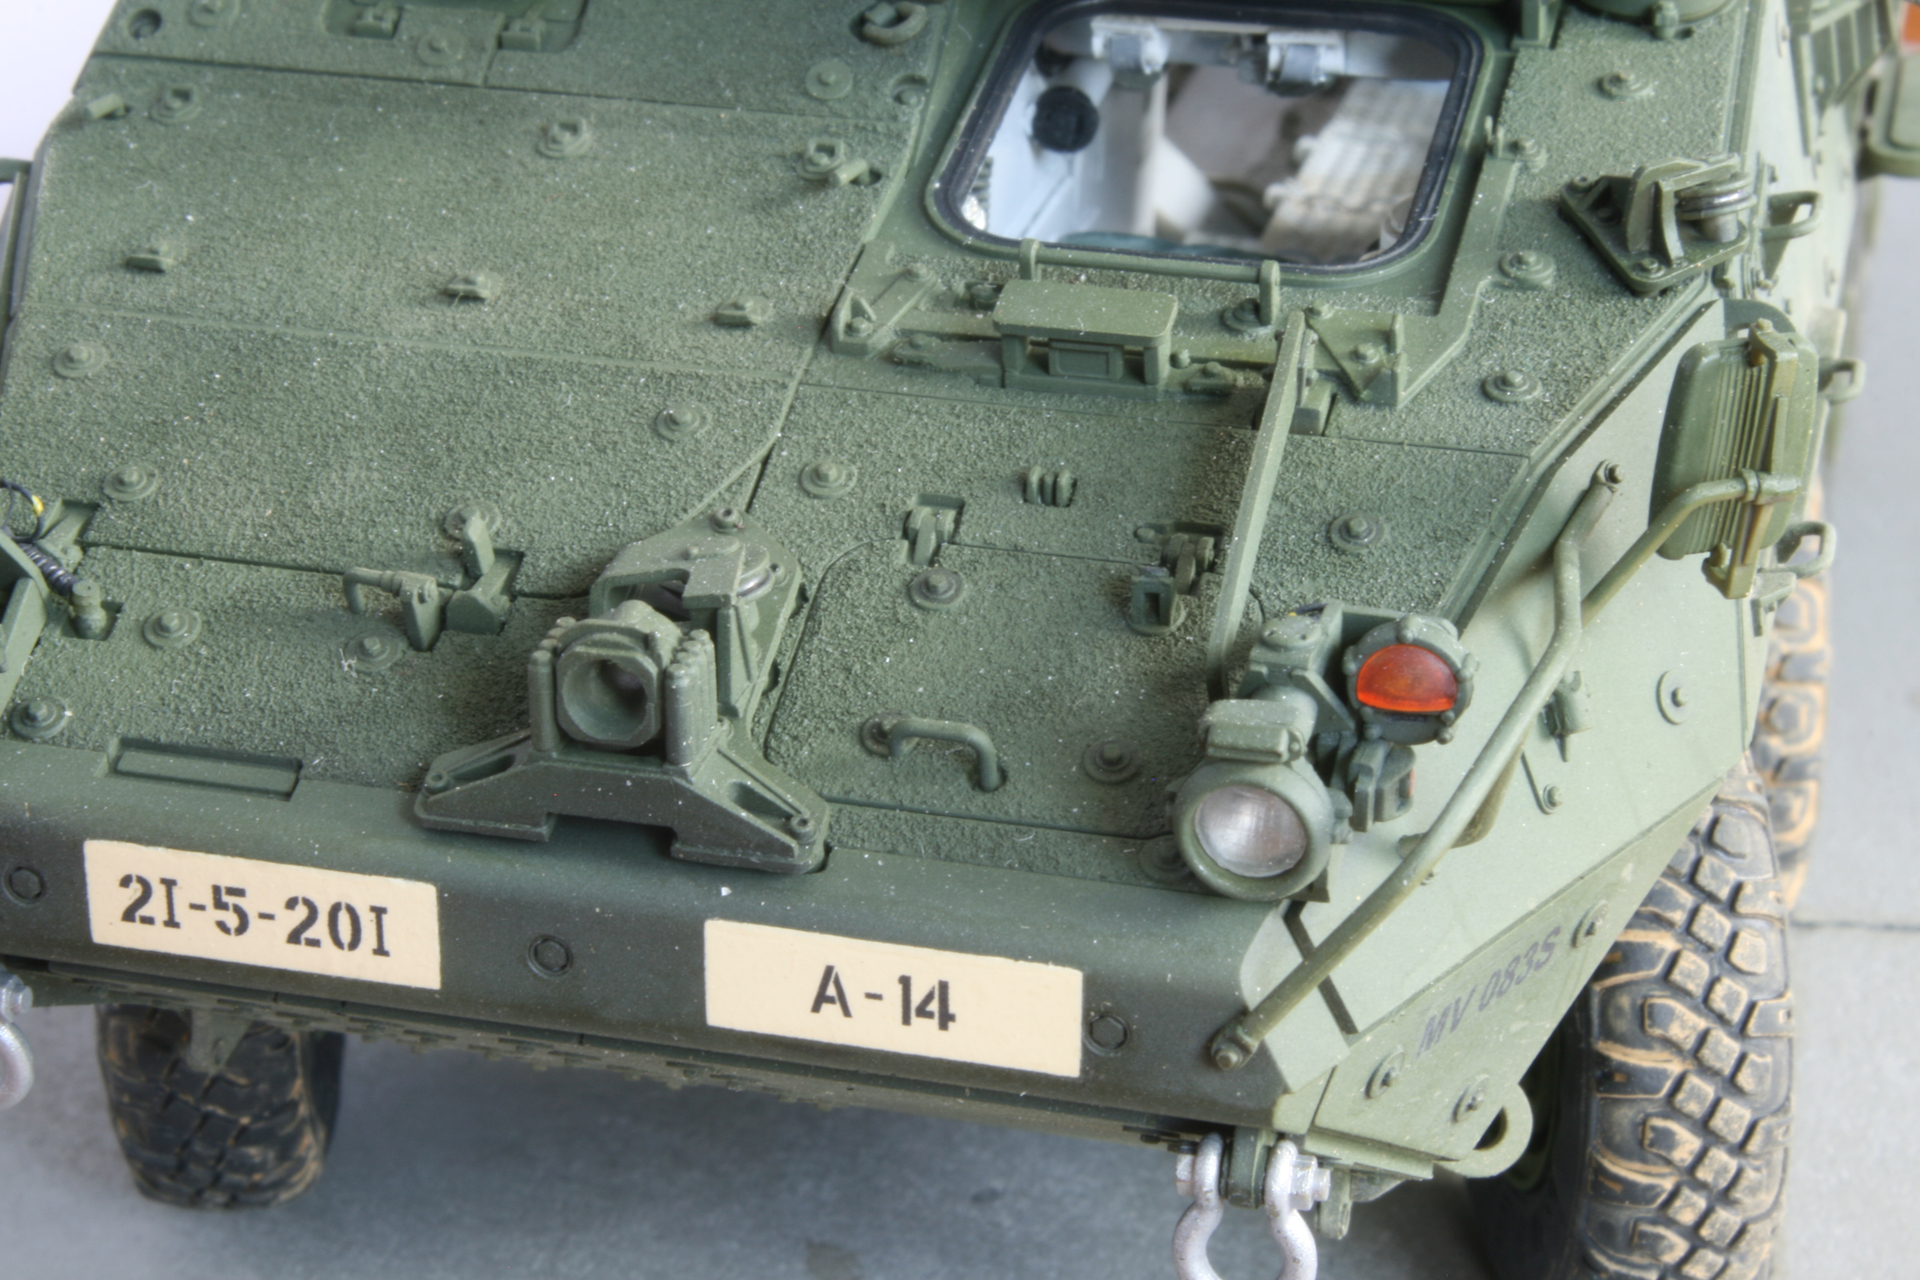
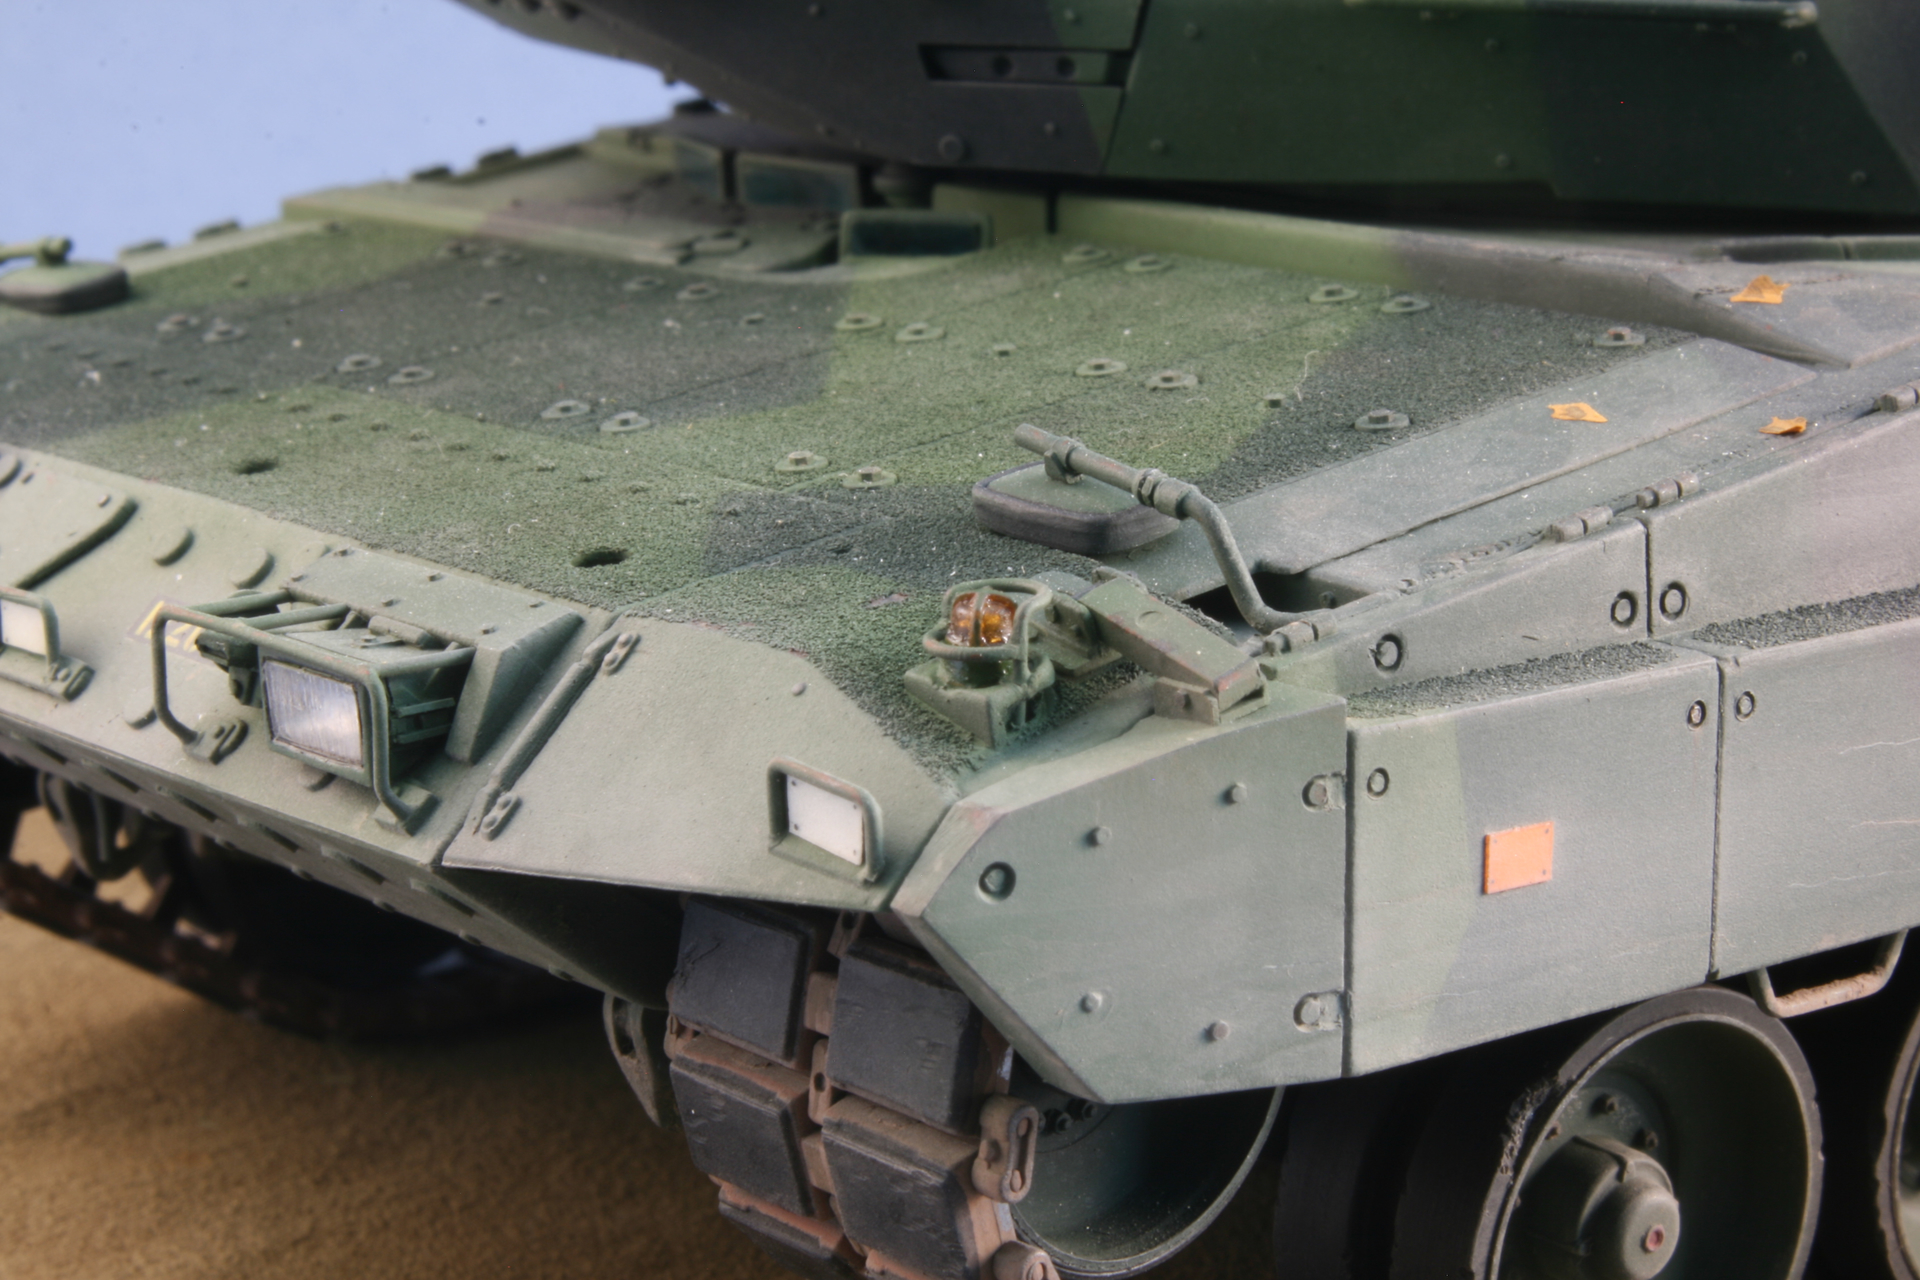
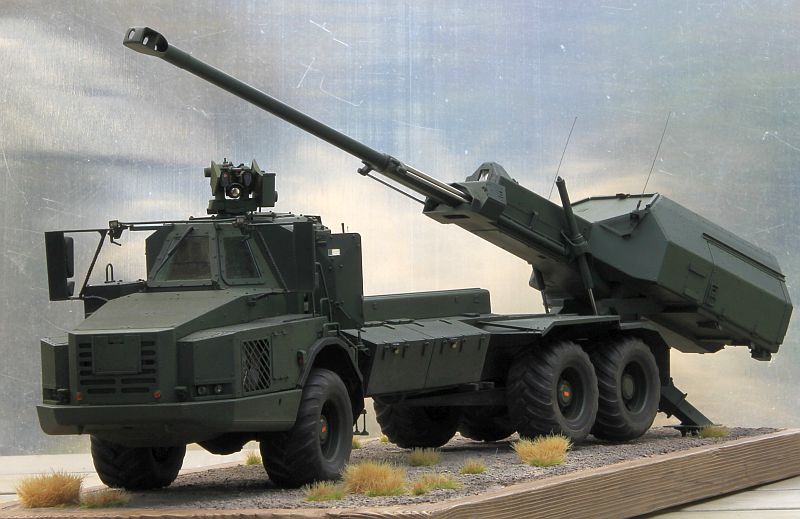
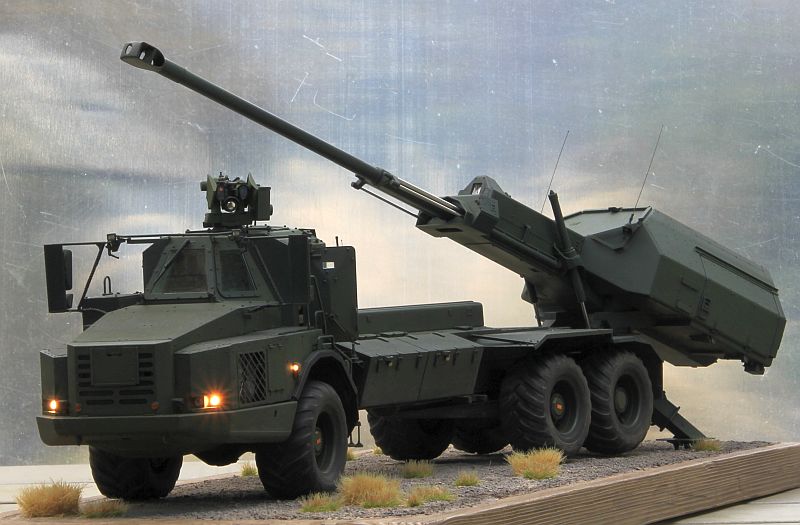
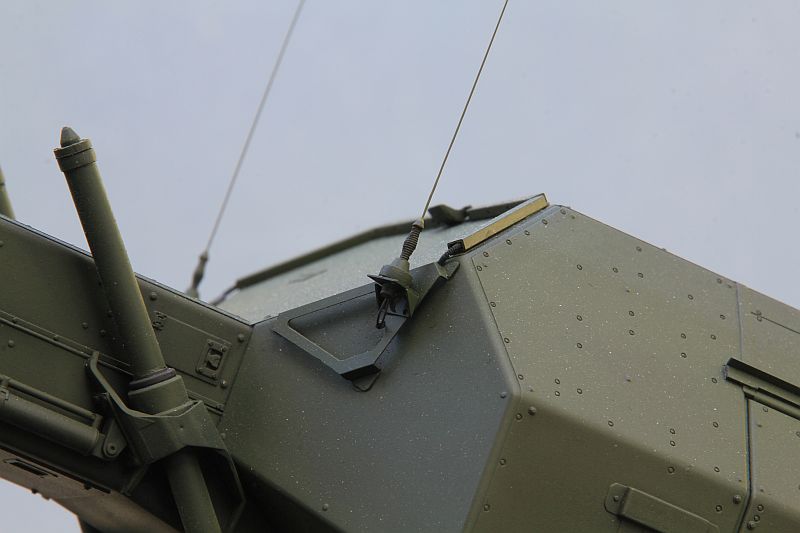
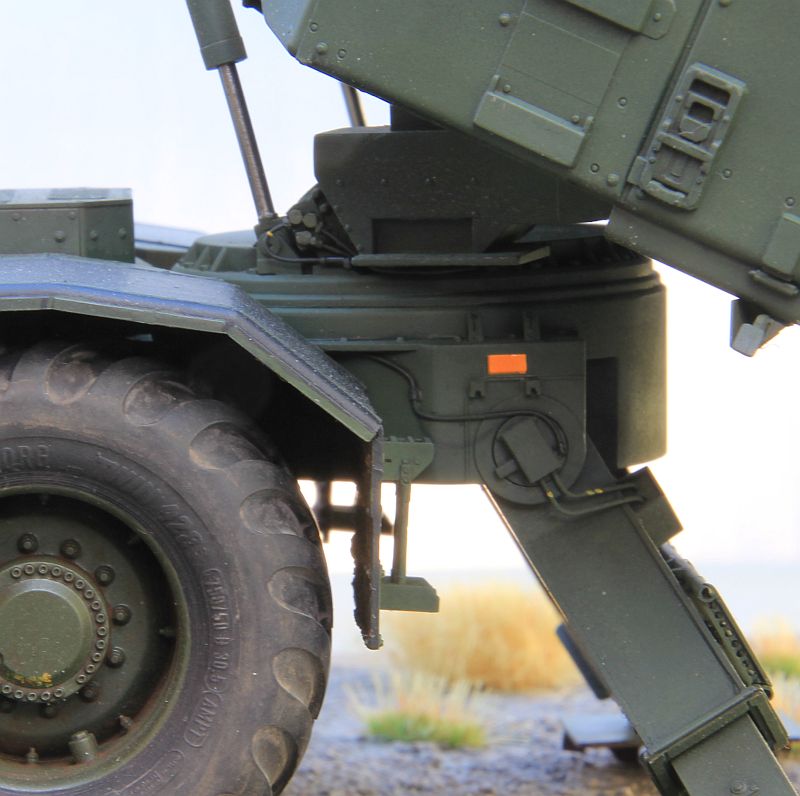
This is a kit started building in April the year. The kit is great but as always, there are a few things that could be improved. The antislip structure is one such thing. There a few places that are missing the structure while the antislip panels are marked as on top of the cabin roof just above the doors. The antislip structure on the hood/bonnet and front wheel house is also missing in the kit.
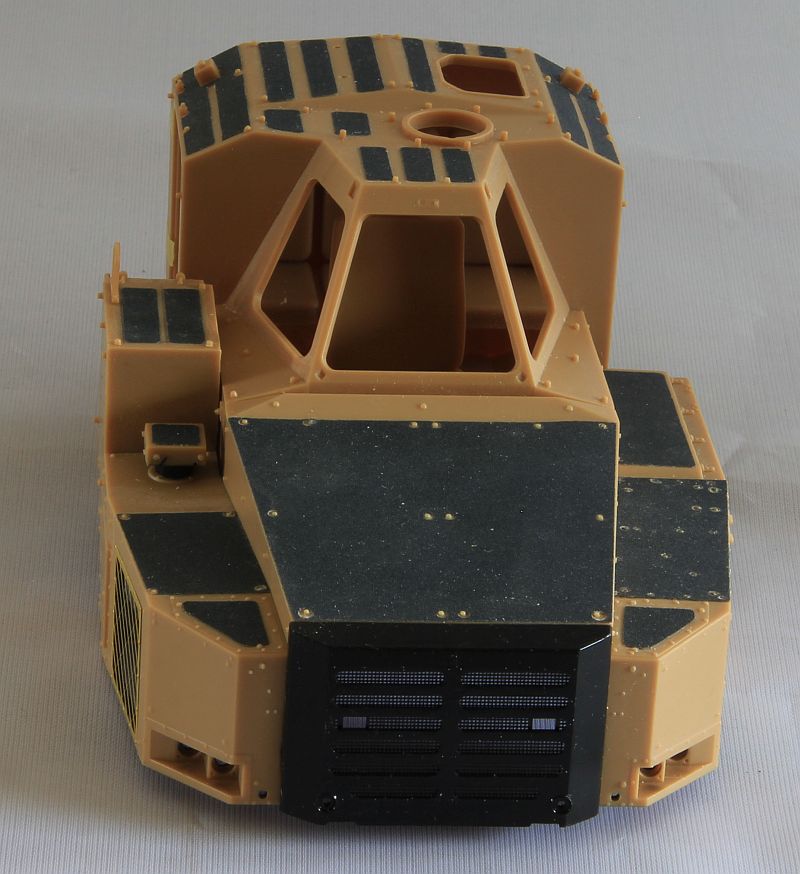
I removed all of the kit antislip in order to have a consistent structure on the kit. I have replaced it with 400 grit sandpaper where the paper backing is removed, -it did take a while…
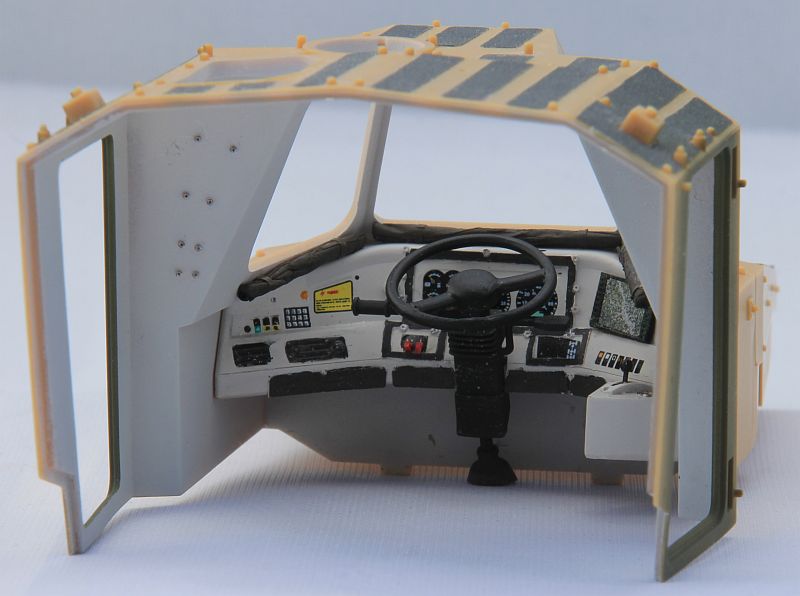
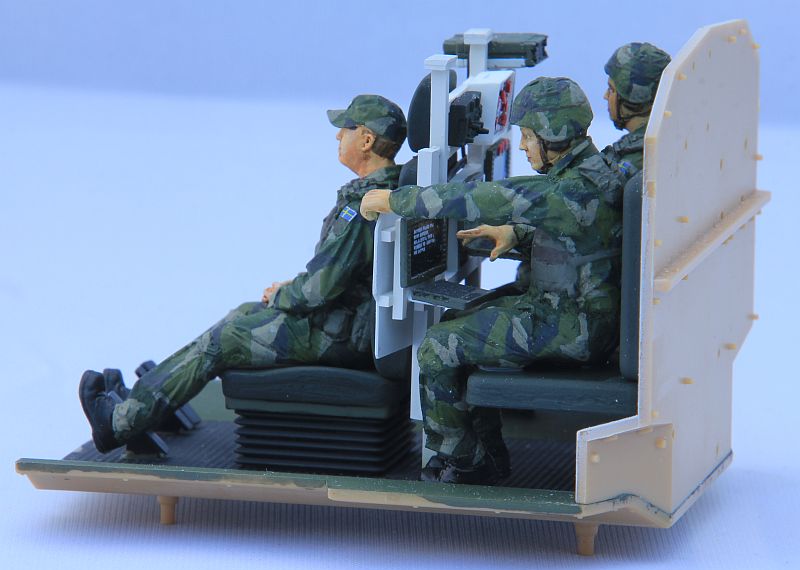
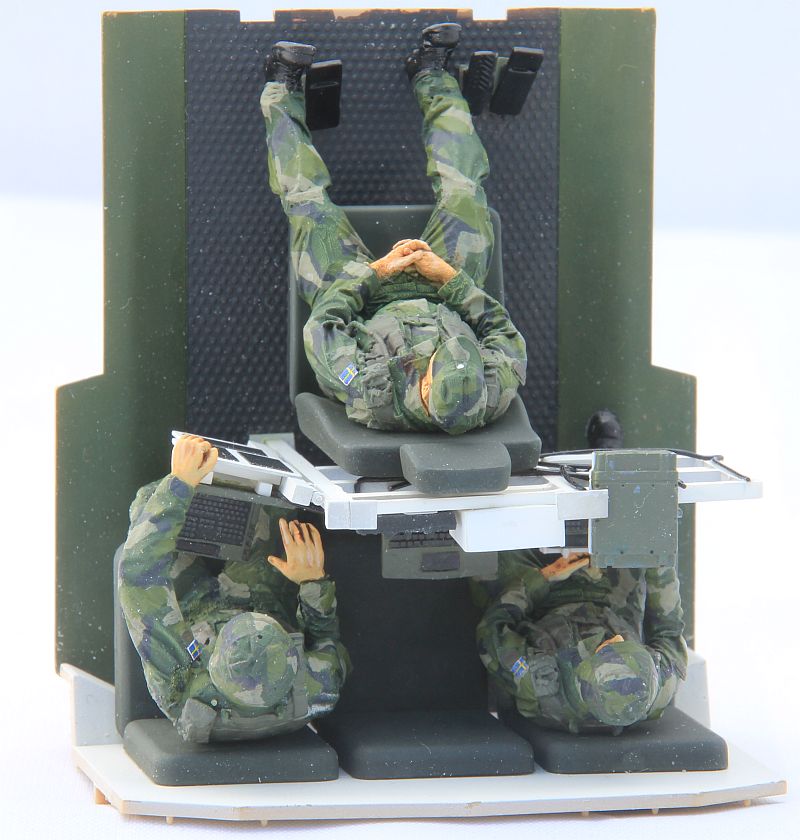
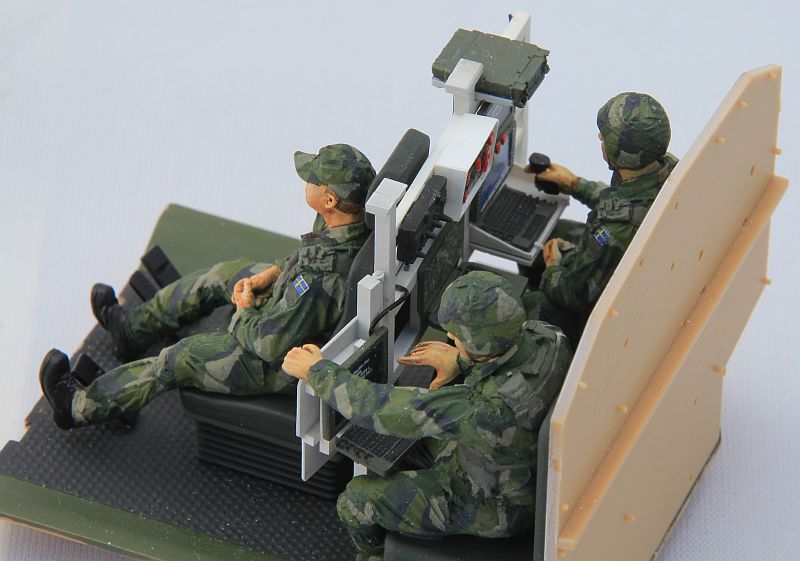
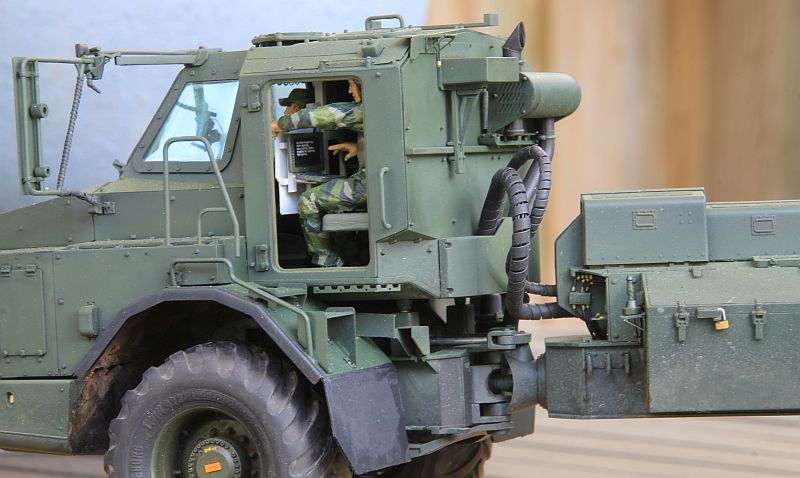
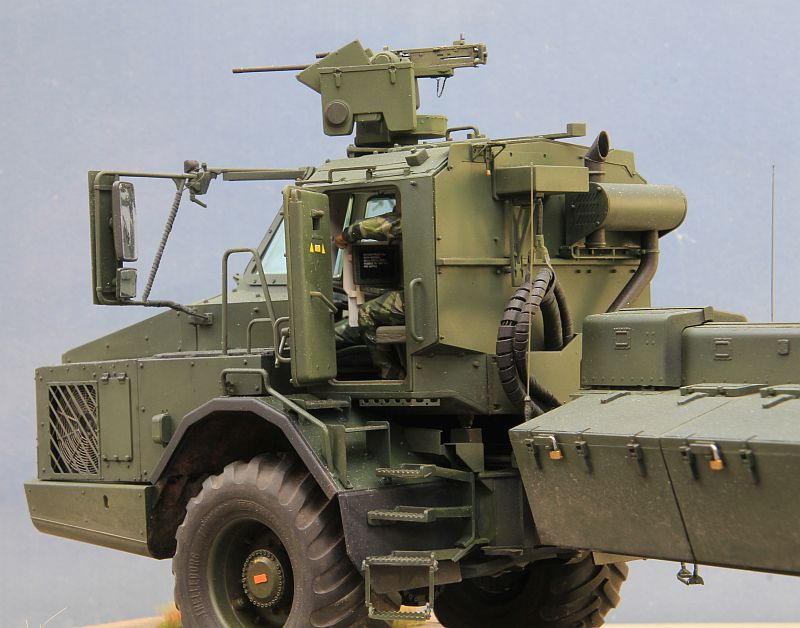
The kit is unfortunately missing some of the interior. The driver is well provided for, but the operators only have three seats and no equipment. I decided to scratchbuild this. It is not fully correct as pictures are scarce. I have populated the cabin with three 3D-printed figures from Speira. I have modified the figures alot.
I have modified the driver instrumentation per images found on the web, -some frames around the main instruments and a monitor on the right side. The kit stearing wheel is also way to big, so I made a smaller one.
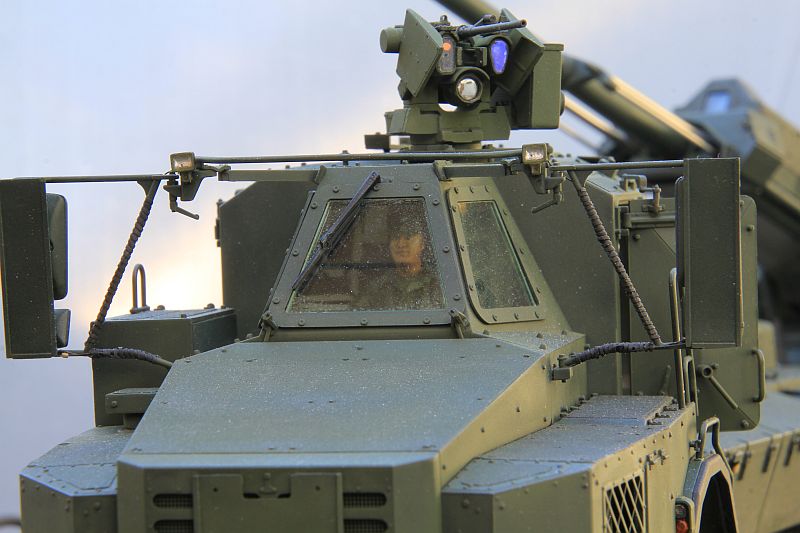
Archer can easily be operated by three men. The guy on the right is operating the remote weapon station while the guy on the left is feeding fire mission cordinates on his station.
Thanks Robert, The sandpaper method is something I use regularly. It is particularly good for simulating adhesive antisplip strips, which the Archer is full of. The Hood part was a bit tricky as it is quite large and has proven difficult to get to stick. I believe it took about a weeks worth of evening work, say 20 - 25 hours or so.
As said, there is a fair amount of antislip strips on the Archer
I measure them carefully and make notes of the size in the instruction before scraping off the kit antislip. I do use pieces of box cutter knife. I mill them into different lengths with my dremel so that I get in between all the delicate nuts and bolts.
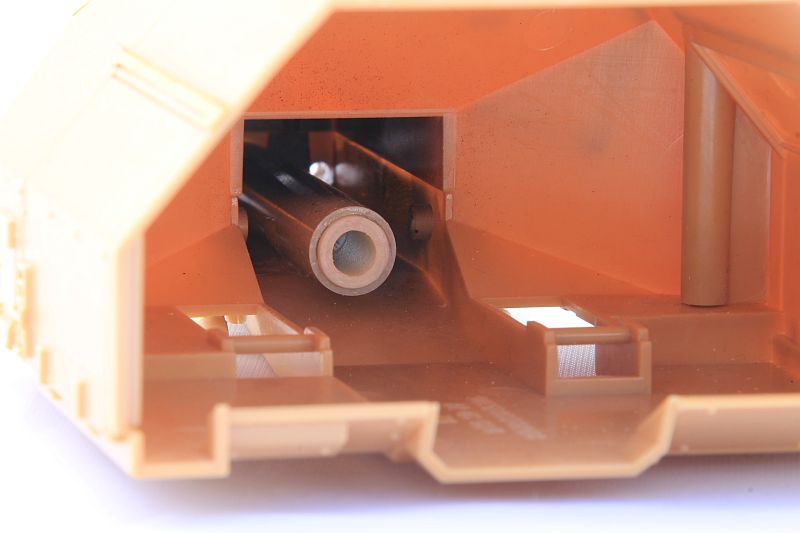
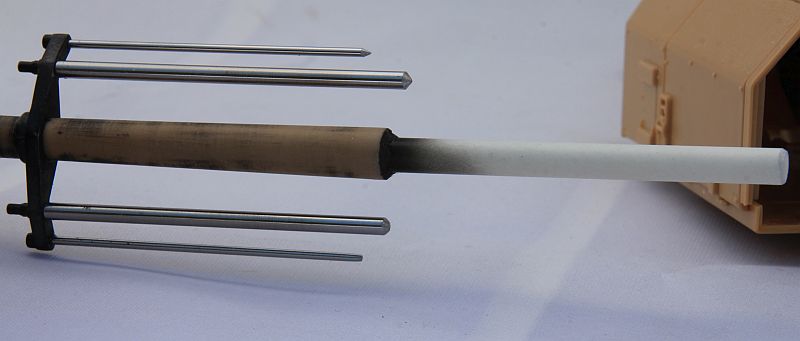
The gun barrel is a bit flimsy in the extracted position. I decided to do something about it. A tube with an inner guide in the “gun house” and an extention of the barrel.
Hi Robert,
sorry for the late reply… I had to image-google Merkava MkIV.. I would not recommend the sandpaper method for the antislip I saw on the MkIV. The other method I use regularly is masking all non-coated areas, spray it with repositionable photoglue and then sprinkle 70 mymeter (0.07 mm) particles over the area. I then gently shake of exess particles and just as gently press down the remaining particles. The Idea is to have one uniform layer of particles over the surface. I then remove the masking tape and seal the hole thing with Tamiya X1 (gloss black)
I did on a Stryker and a
When I did it back when I was still building I used glue and model railroad sand and sand that I found in my work boots. I did a MkII and it took a viewers choice in a local ipms show in south Florida. I started a MkIV using the same process but I couldn’t finish it due to health reasons.. had the whole thing masked off with thin line tape and touches of mask all the turret took forever to mask off those steps the hull was easier to do. Today I only watch and enjoy works of others..
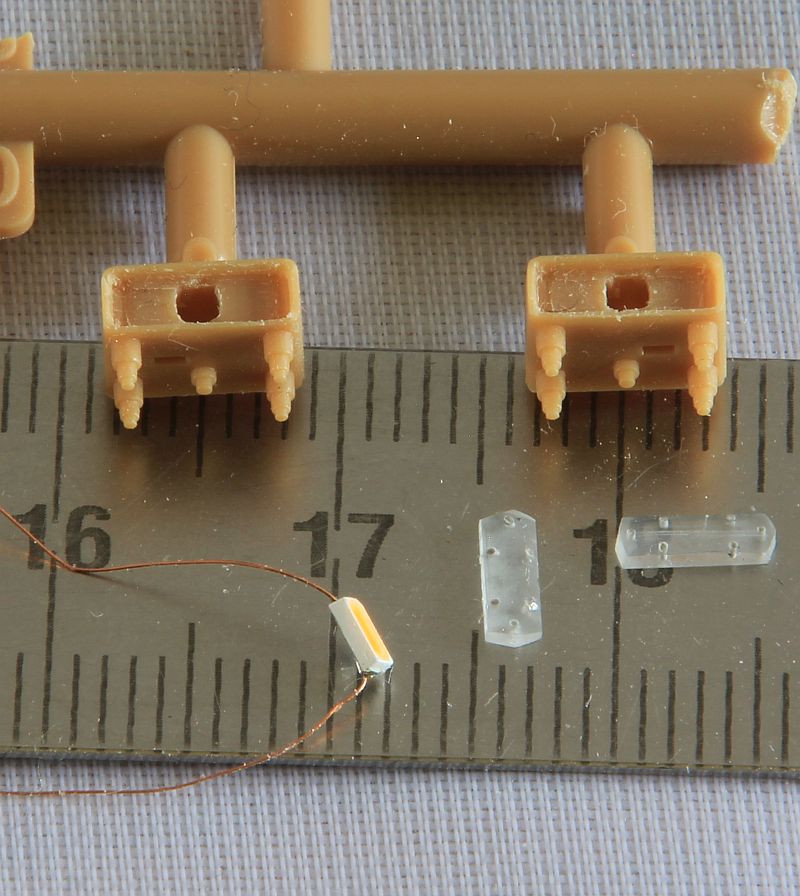
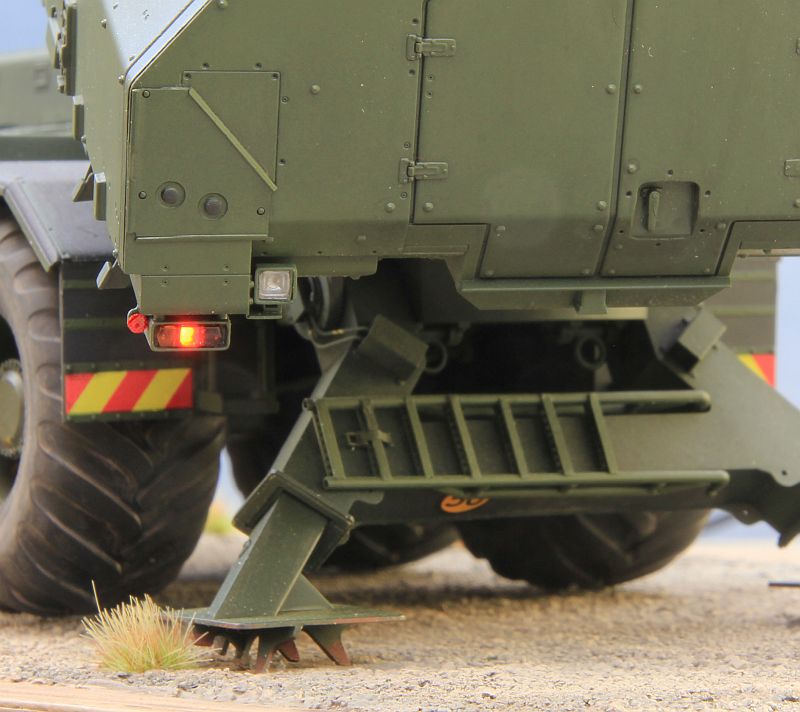
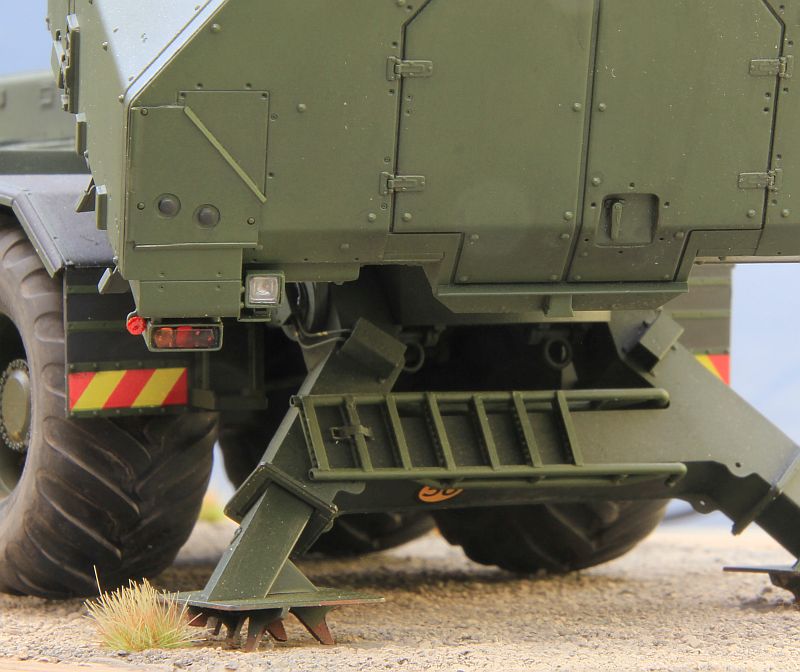
This is the rear light fixure. I removed the molded “lenses” and have scratch built new “lenses” from clear plastic. The leds are the smallest SMDs I could find. They will be mounted from the hollow rear. I have drilled a 0.5mm hole in the middle cable lead molded in the kit part. The wire is a lacquered 0.1 copper wire. Some careful soldering was needed here.
I will apply 6 of these SMDs on the kit, headlights and position lights on the front as well as the rear lights shown.
And are you going to light up the interior . If so try wheat bulbs again from the model railroad suppliers they’re fun don’t really heat up and not to bright as to over power the effects of lighting
There will not be any light in the cabin, -this time. I did play with the thought on having light in the monitors but decided not to.
I do have incadescent wheat bulbs in my “lighting stash” but find it easier to regulate the light output on leds. The quick and easy way is to add a resistor in series with the led. The more proffesional way is to use a pulsewidth modulator. I did use a couple of those on SciFi project (USS Voyager) some years ago. The LEDs I am using on my Archer are warm white to match the color temperature of the head lights.
Hi all. The Archer factory have been silent for a while… -a lot of other non-modelling related that had to be done.
Things are again moving forward. Quite some detailing of things missing on the otherwise marvellous kit. I have weathered the kit on the underside and next is some pin-washing on the rest of the vehicle now that it right side up. I need to mention that I have used 3D printed wheels from ScaleX of Ukraine. The kit wheels are tolerable but do have some issues…
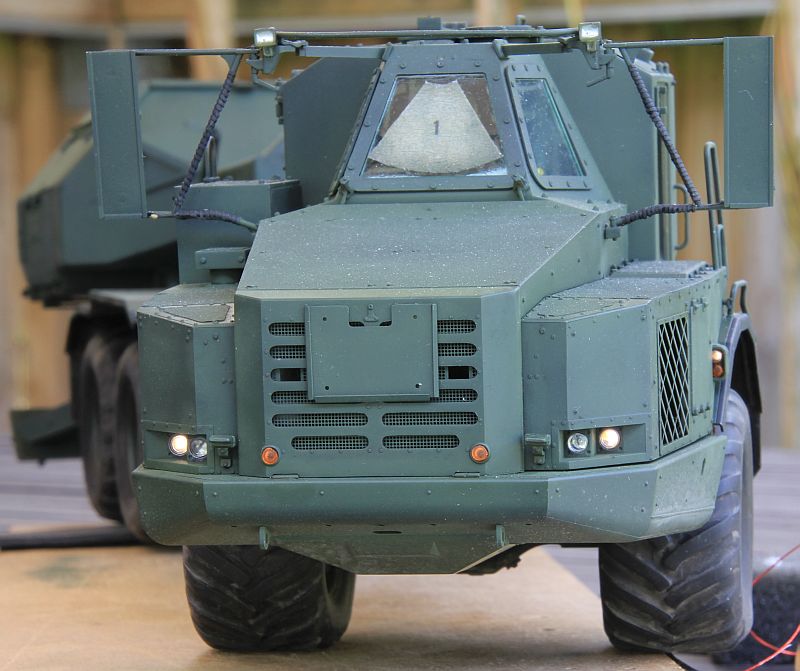
The led-lights are working. Half beam and position lights in the front.
The rear lights are molded in solid plastic on the kit, so I had to make my own clear “lenses”
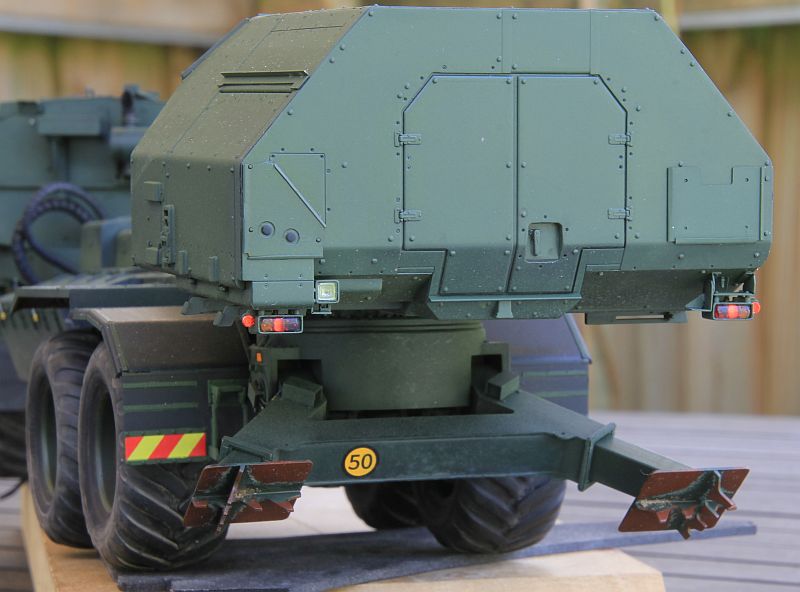
And here is how it turned out. Barely visible in full brightness outside, -but it will be fine indoors.
There is, as said, some amount of cables and hydraulic hoses missing in the kit. Some can be seen here. I still need to build the “mitella” supporting the two spiral cable collectors (also missing in the kit), -however the support hanger is indeed included by HobbyBoss.
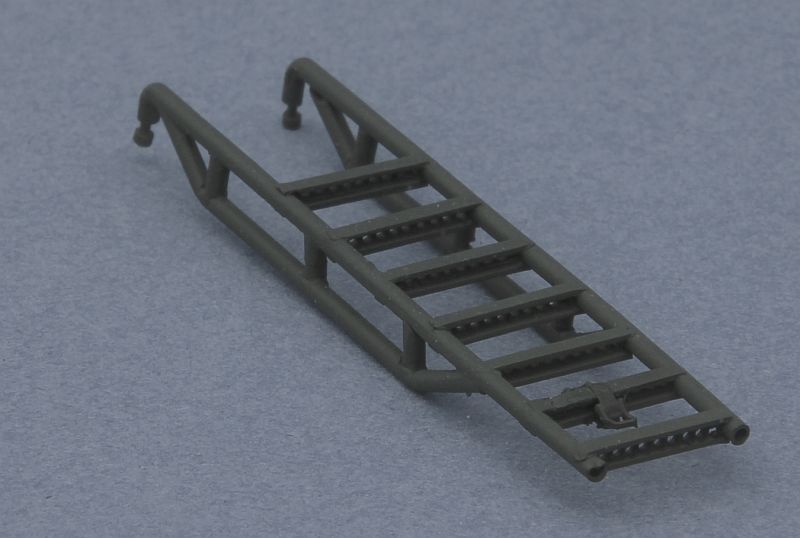
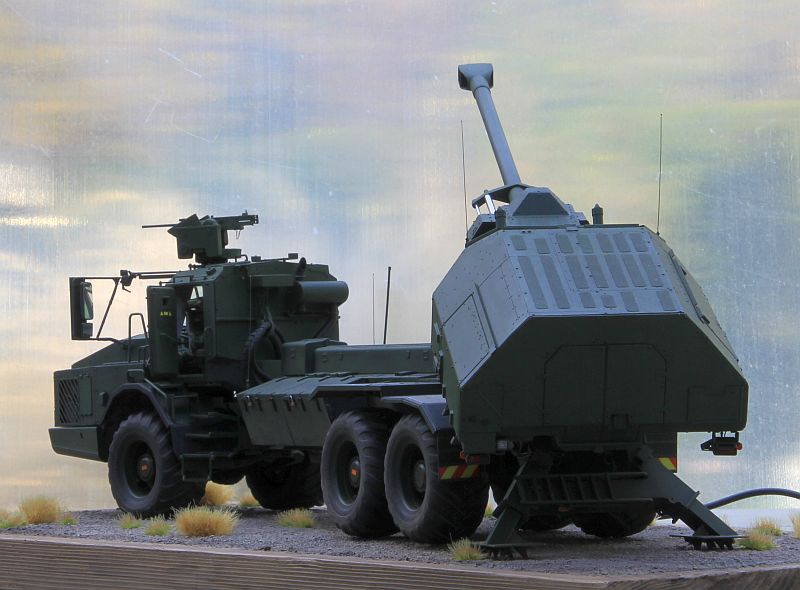
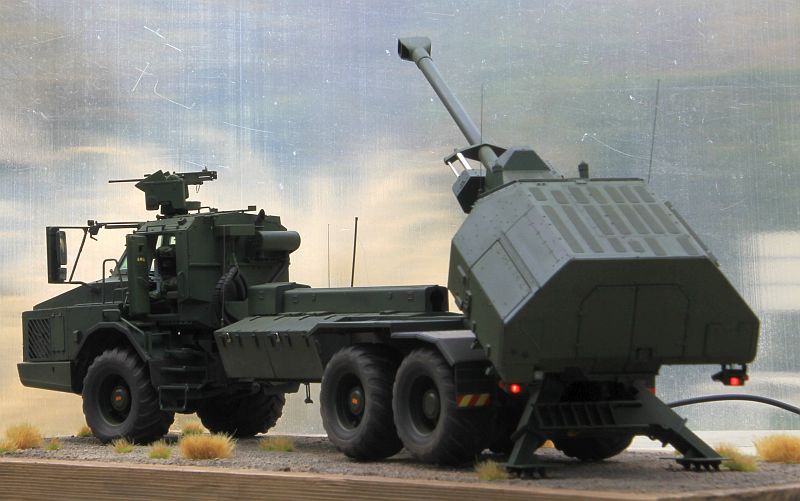
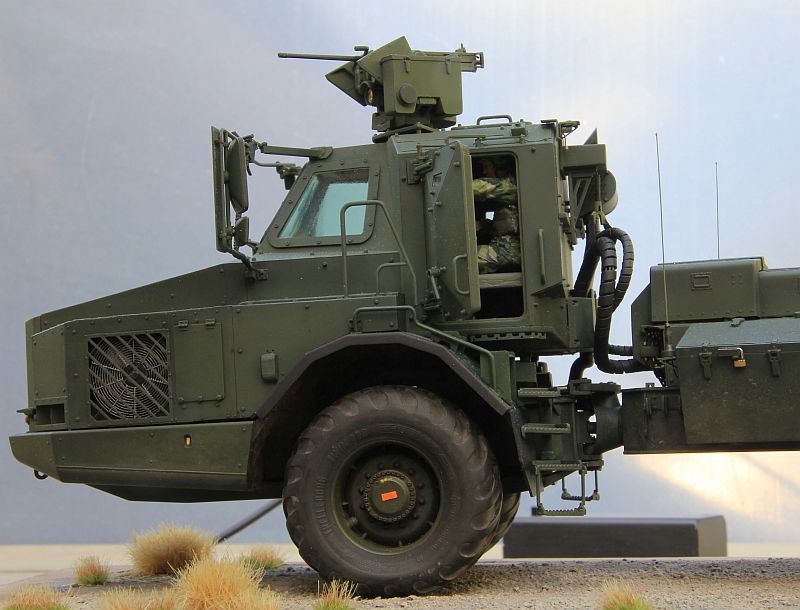
The left side door will be glued in place as will the two delicate ladders to the cabin and five antennas once I have secured it to a base. The angle and length of the rear support legs will be fixed at the same time.
Some more work done on the Archer. A little bit of terrain to stand on. Note that the rear support legs will take the load of the rear wheels. I have therefore used one set of round 3D-printed wheels for the two rear axels and another set of wheigted wheels for the front axel.
The driver can bee seen. Also note the cables to mirror heaters and utility spot lights bundled to the mirror framework. I used 0.4mm masking tape to achieve this.
Left to do is to arrange snow chains on the hooks behind the cabin as well as some touch-up and weathering.
Thanks for looking…
Feed-back is always welcome.
/Ingvar
Fantastic attention to detail Ingvar- the figures, the lighting and going for non-weighted wheels at the rear- they all add up to an impressive piece of work.