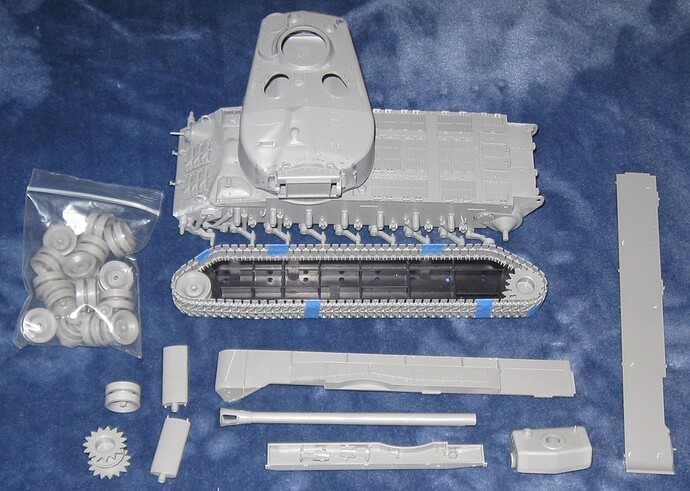
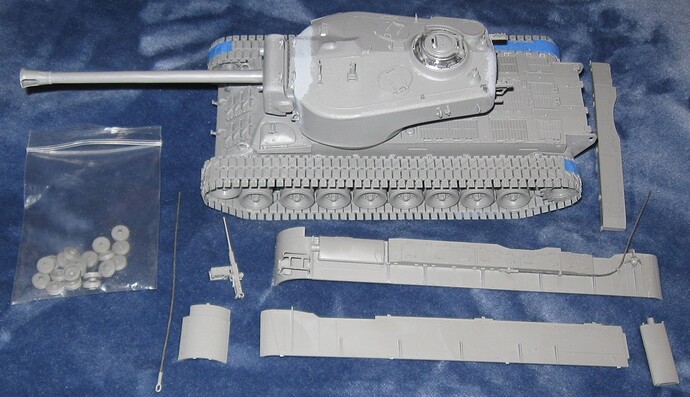
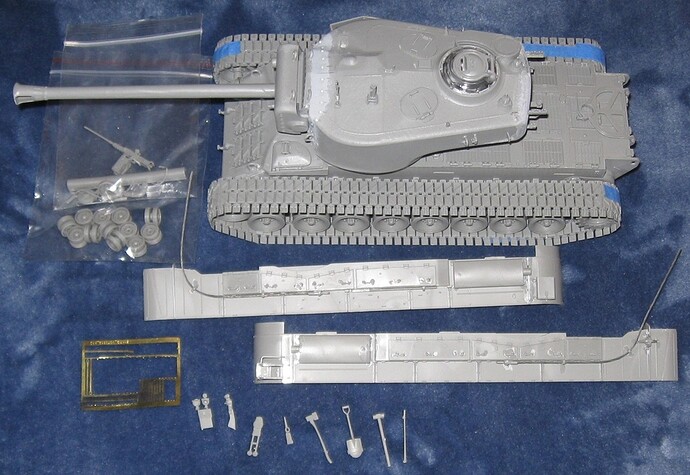
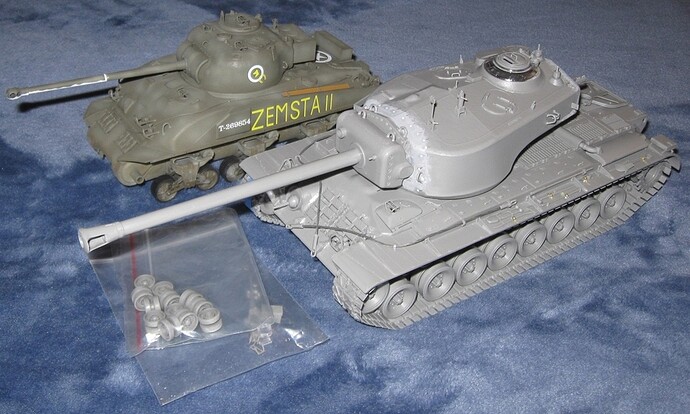
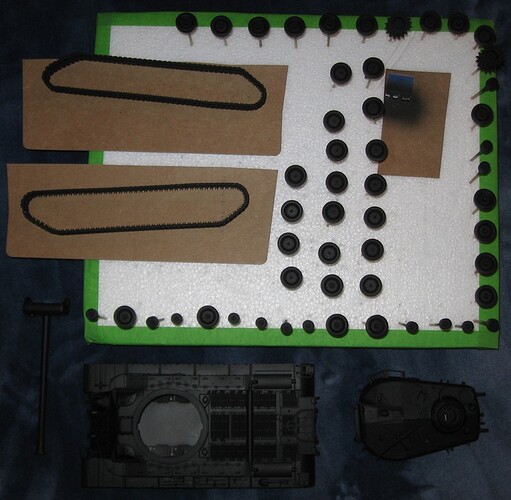
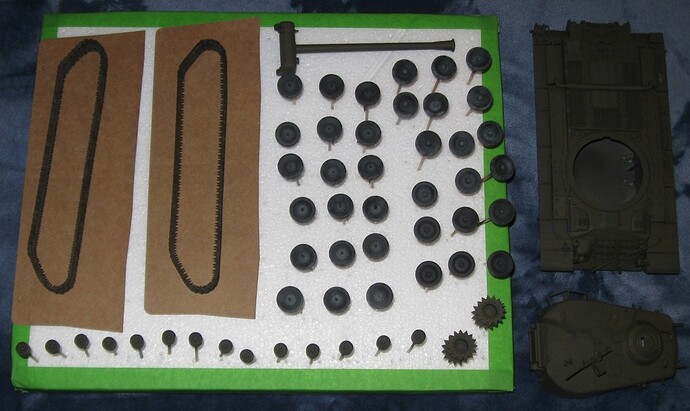
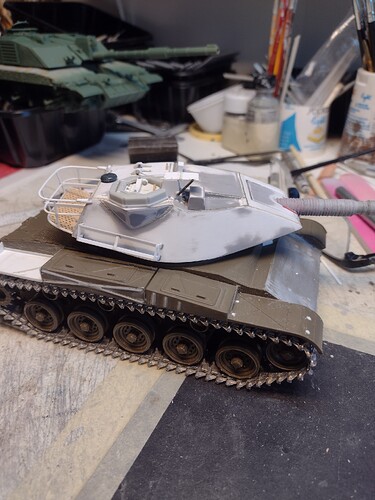
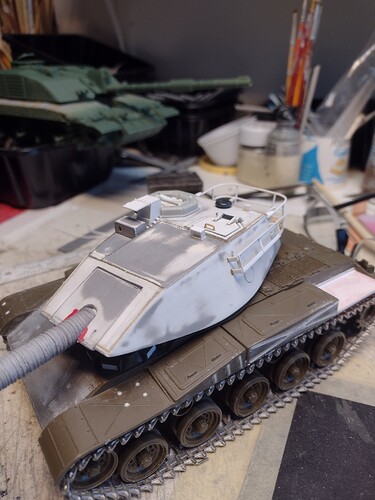
That’s a lot of road wheels…
I have progress on the Stingray turret. I was at that point where I was “afraid” to do anything in case I got better info later and found out I’d done something wrong, but I bulled through rather than be stuck. I may very well find out I’ve erred, but modeling is better than not modeling.
Hatches are about done, sights and periscopes done and I even got a ventilator cover on. Next should be the turret basket, gun tube and side racks. Also, the tracks showed up so I got them on too. Woo hoo. Weld beads are stretched sprue.
 IMG_4315 by Russel Baer, on Flickr
 IMG_4313 by Russel Baer, on Flickr
 IMG_4312 by Russel Baer, on Flickr
 IMG_4311 by Russel Baer, on Flickr
I made the hatches workable in case I want to add figs later.
Takom 1/35 American T30 heavy tank, Day 4 (4)
The pleasant model building vacation ended on Day 3 with the turret. When the upper turret shell came out of the mold, the walls pinched in as it cooled, such that it cannot mate with the lower turret piece. To fix this rather serious problem, I made vertical channels using sections of sprue, then lodged horizontal spreaders into the channels. Five such spreaders pushed out the turret walls, resulting in a perfect fit with the lower turret piece. After flooding the connecting surfaces with glue, I squashed them together, causing a lot of melted plastic to mushroom from the joint. After this dried, the join was sanded. No filler was needed. The fit is perfect. No cast texture was sanded away.
A separate plate forms the back wall of the turret. This also fit almost perfectly. Almost.
A fourth piece forms the front of the turret. This one has significant fit problems. In the process of filling and sanding all the gaps and ledges around the piece, all mounting bosses for the canvas cover were sanded away. Completing repairs will require texturing all the sanded surfaces, then adding back the mounting bosses. This process is time consuming and frustrating. Please note: if you a build a T34 with the canvas cover, you will not encounter this problem.
Day 4 was spent working on the turret and building one track run. Since the model includes a track jig, I decided to give it a try. The jig includes pins that slot between track guide teeth, ensuring proper track spacing. When these pins proved completely infuriating, I shaved all the damn things off. Once that little annoyance was dealt with, the jig worked rather well. The track run pictured uses one extra link.
While not the super easy model I hoped for, it should turn out okay. Fingers crossed.
…
@barkingdigger Thank you! So far, I have only said a few naughty things while building it. Well. Okay. More than a few naughty things.
![]()
I had an idea about what to do with the original hull I was using, maybe too much?
 IMG_4318 by Russel Baer, on Flickr
 IMG_4319 by Russel Baer, on Flickr
It kind of looks like a baby M103.
The recoil from the gun would be - entertaining… ![]()
I was thinking a 105 with a giant muzzle brake. ![]()
Takom 1/35 American T30 heavy tank, Day 5 (5)
After texturing the front and back of the turret with Mr. Surfacer, all detail parts were added. That was a rookie mistake. Mr. Surfacer for texture should come last. The turret still needs another round of light sanding and bosses for the canvas cover.
Fearing the worst, tracks were removed from the jig and placed on the model. Actually, they broke in three places, were glued back together, then placed on the model. Sure as the sun rises in the East, they did not fit. It was necessary to add a second extra link.
The second run of tracks was started on the jig but finished on the model. This run also required two extra links.
Both runs are slightly too long. The idler wheel cannot be positioned making it difficult to remove the slack. My hope is that primer and paint will add just enough extra volume to cause everything to snug up. Also, the tracks should shrink slightly as glue dries.
The first fender was also completed. Fender parts require a fair bit of sanding to remove ejector pin holes.
Construction should finish up tomorrow. Tools will need straps. Fitting those may take a while.
I can’t remember the tracks on mine, but I’m not surprised you had to add some links. Is it a case of how close they are spaced? There should be a slight gap between links, so if they are pushed up against each other it reduces the overall length.
I tried to maintain spacing as per how the tracks actually work but the links kept falling apart. Link end connectors are not designed to strongly grip pads when spacing is maintained. Some selective scrunching was needed to keep everything together.
That accounted for one extra link. When transferring the completed run from the jig to the actual tank, a second link was needed. Somehow, the actual model ended up more widely spaced than the jig.
Back in the early 2000s, when I decided to pick up model building as an adult, I built a bunch of 1/72 scale tanks with link and length tracks. I vaguely remember encountering this issue on a regular basis.
Takom 1/35 American T30 heavy tank, Day 6 (6)
New cast texture on the front and back of the turret was sanded back to achieve the correct look. The results are pretty good. Mounting bosses for the canvas mantlet cover were added back. This proved much easier than expected.
The second fender was built up. Both fenders received some putty along the bottom to fill unwanted positioning holes. All remaining parts were cleaned up and prepared for installation. Brass tool straps were sourced from the spares box.
There is a somewhat serious mistake in the instructions. The model comes with two gun travel locks, one for the 120mm, one for the 155mm. The instructions call for the installation of the latter, but make no mention of the former. If you build the T34 variant, make sure to use the other travel lock.
Almost there! If fender installation goes well, construction should finish up tomorrow.
I manned up and did the gun tube today, had all day since the wife is out of town for a family reunion. Model time!
I hacked up a Takom Chieftain barrel that I had laying around and used a muzzle brake from a Trumpeter Centauro. The bellows is stacked rings cut from plastic tube and formed using my cordless drill as a hand-held lathe. I coated the bellows in MrSurfacer but it still needs a little cleanup, but not too much since the real thing looks a little irregular in the pics I have. Other than that I’m pretty happy with it.
 IMG_4324 by Russel Baer, on Flickr
 IMG_4323 by Russel Baer, on Flickr
The whole thing has brass tube inside it to keep all the different parts straight.
And purely for fun, I knocked up a gun for the Baby M103, Toon Tank, whatever it ends up being.
 IMG_4325 by Russel Baer, on Flickr
It makes me giggle.
Those are both looking good - I like the idea of a brass inner sleeve.
Takom 1/35 American T30 heavy tank, Day 9 (9)
Day 8 was spent making minor upgrades and completing about 4 hours of masking, mostly on road wheel contact surfaces. Day 9 included two airbrush sessions, one in the morning and another in the evening. This allowed enough time to apply two and sometimes three coats of primer for increased durability.
Priming revealed that cast texture around the front of the turret was not sanded sufficiently. Another round of sanding and priming is required for that area.
Takom 1/35 American T30 heavy tank, Day 12 (13)
Most of the base coat is on. Tracks are painted with some airbrush effects added. One day was lost to real life.
And then…disaster. A small one. This thing is huge and I ran out of olive drab. Painting will resume when more paint arrives.
Right Chaps, as I’m close to being all "Bundeswehered" out, I need something as my next project once my 1960s “What-If” is completed.
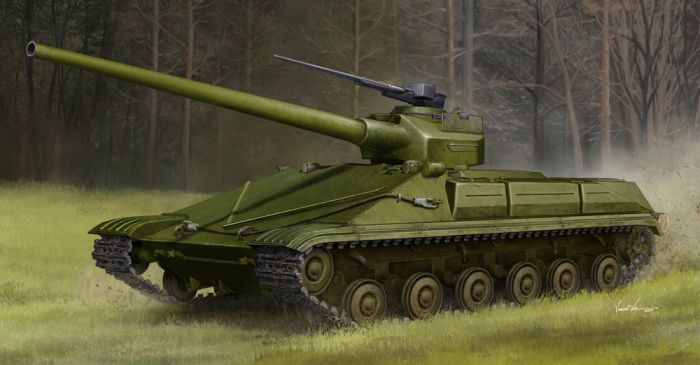
Whilst my campaign rate is atrocious - ie mostly epic fails - I like the premise of this one, and had thought of tackling a couple of MBT 70 projects (I think I’ve still 3 in my stash!), but then something from the opposition - as in Cold War - came up in my ever fertile brain, and as it’s in the stash, I thought I might give it a go:
By Trumpeter - their Object 450, aka T-74.
Lots to finish on my M103/RU 251 project but I think this one will be next in the queue…
I got back on the sales tool, figured if I waited until I found better pics I’d never finish. Working with what I have, I did the turret basket and side racks. I also made up the circular port on the turret left side and cleaned up the upper glacis, getting ready to add details there.
@BootsDMS - Brian that’s a nasty-looking beast! Can’t wait to see it get built.
@rfbaer - fine progress there - I like the basket!
I think I have the turret done. Some details are purely conjecture, others approximations based on crappy pictures but all on now. I can see differences in both basic construction in the pics of Thai Stingrays vs the pic I have of the original demo, may be due to quality of the pics of may be the differences between very early production (pre-production?) examples and actual in-use examples. Either way, it’s time to move on to the hull.
Hatches are pinned and operable, partly because I may add figs later, partly because I like doing it. Wind sensor and 50 cal are from a Takom M60H kit, smoke discharges from a Tamiya Cr2. Rear lifting eyes came out of a Tamiya Bradley kit. I’ll prime it again to check for booboos.
Pics so far. The gun tube is removeable but the mantlet is in for good.
 IMG_4352 by Russel Baer, on Flickr
 IMG_4353 by Russel Baer, on Flickr
 IMG_4354 by Russel Baer, on Flickr
 IMG_4351 by Russel Baer, on Flickr
Thanks for looking!
That is very nice work!
