Think I’d have to threaten them with cold weather, the threat of death, or capture from Russians while trying to paint the vehicle to get the full effect lol.
Thanks for the tips and a change of thought
Think I’d have to threaten them with cold weather, the threat of death, or capture from Russians while trying to paint the vehicle to get the full effect lol.
Thanks for the tips and a change of thought
“Cold weather, threat of death and capture from Russians”?
Sounds like something from Hogan’s heros! 
Hey all, I’ve been reading up on German camo, and cam across camos of this type:
I think I’m going to try something more like this as it seems interesting to my eye! Does anyone have any period photos of this camo (doesn’t have to be on. StuG IV)? I am looking for an actual reference to follow from
Dear God, that’s funny!
I would not use World of Tanks as a reference. People in the WoT forums have been complaining about the German camo schemes for years with no improvement.
Fair enough, I wasn’t going to straight up use the world of tanks one as a reference but was curious if there were similar camo schemes used
For me, the issue with WoT is that they get them sort of correct in that colors and proportions are fine but the patterns never seem to match anything you see in photos from the era.
And even though a lot of camos seem random, the Germans had a set of best practices to follow to make sure the vehicle’s outline was broken up properly.
Also don’t forget a lot of artist renditions of camo are based on photos and if you’ve looked at many pics on the web it becomes obvious the artists are making educated guesses. tl;dr In other words if you get close you’re fine. Don’t sweat it.
I found this profile. It looks interesting but very hard to paint.
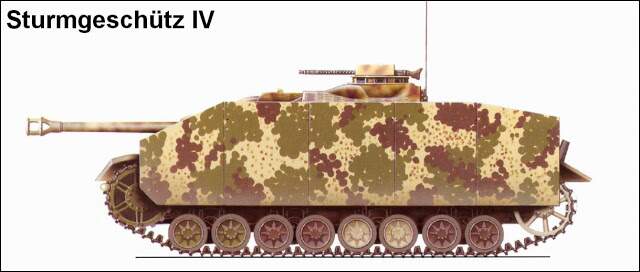
This is actually not too hard; just need a hole punch or small circles of masking material for the dots. Basically start with your tank in 3-color camo, place clusters of the dots of masking tape on the green and red areas, and then overspray the vehicle again in Dunkelgelb, especially around the masks. Here is a model finished in this manner:
http://www.missing-lynx.com/gallery/german/jagdpanzeriv70vbm_1.html
They have masking stencils for this pattern.
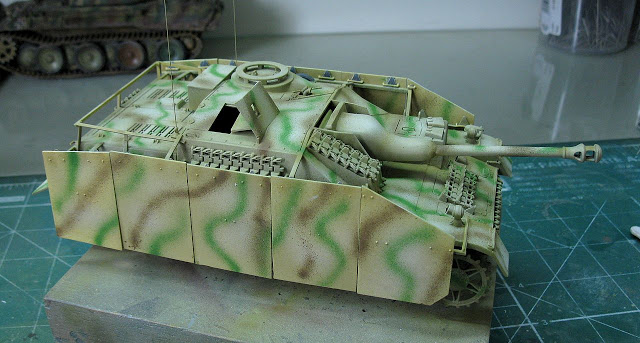
I have made something similar.
Model was sprayed with brown and green patches and then home made stencils aplied over those patches and sprayed with dunkelgeb colour.
Stencils were made by cutting masking tape using circular template.
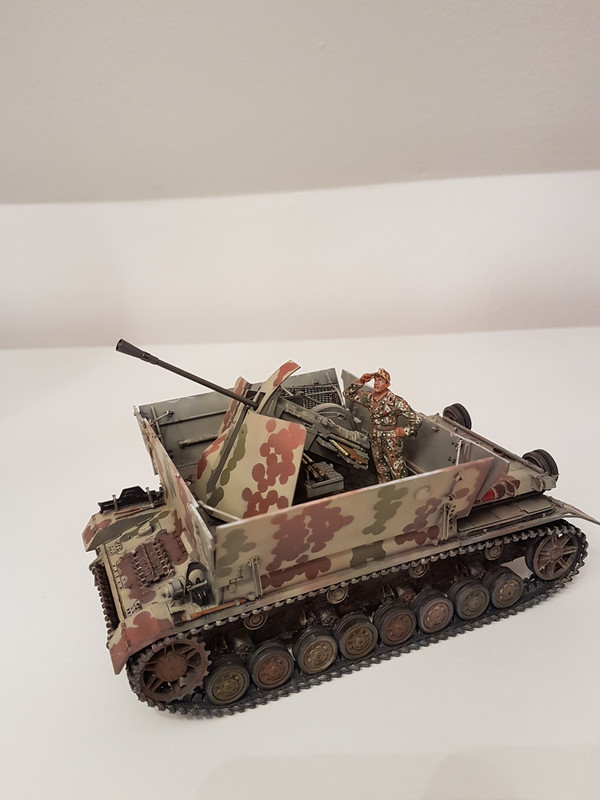
Great result, can I ask what paint you used and what pressure you sprayed at? I want to create a similar effect but, my lines are a bit wide, I know that I need to get a bit closer but, lower pressure seems to result in faint lines, I try to build up layers but, by the time I’ve got the correct depth of colour, the lines almost merge.
Paints used were AMMO of MIG diluted with their own thinner, airbrush used was Badger Vega 600 which is single action and pressure about 20 psi (apx. 1.5 bar)
As mentioned, you’re good. StuGs were not very tall vehicles, making it easy for somebody with a spray gun to reach from top to bottom. Also don’t worry about the feathering at the edges differing a little. This all depends on the angle of the spray gun to the surface being painted. It’s easy enough to keep an 90 degree angle when working at eye level straight in front of your body. It gets a little trickier when you have to bend over and reach the bottom of the vehicle, or stretch out when working the top. Getting these things finished in a timely fashion was more important than getting them finished to “Jimmy, the neckbeard model show judge” standard.
Thanks Igor, I can see that my pressure is lower than yours and maybe thats why I’m not getting enough paint on in each pass? I normally use just over 20 psi for spraying primers and base-coats so, that could be why I’m getting the results that I do. thanks for replying 
Be careful with these disc schemes. In contrary to the other schemes, these were not freehand done in the field. These are factory applied camo schemes. If you don’t get these right according to how the factory did them, anybody saying “that’s wrong” has a legitimate point. It’s up to you how much that would bother you though. If you’re fine with something that looks like the original, but isn’t exactly like it, no worries then. Others don’t get to decide how you have fun or what you find acceptable.
At the time I decided to go with this paint scheme Uuschi camo disc stencils was unavailable on their site and too expensive on other sites so I have decided to improvise avare of fact that is not the most correct camo pattern.
It was kind of experiment which proved wery well for me.
No worries, I love the way you finished the model, Igor. 
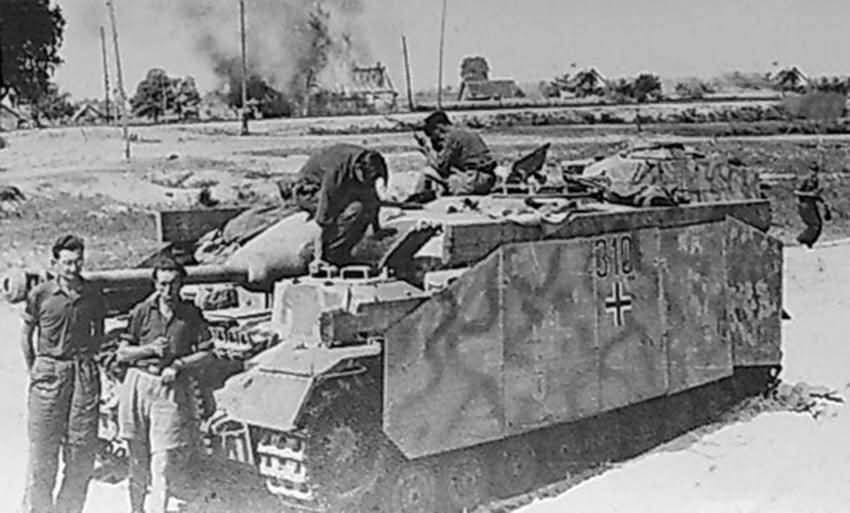
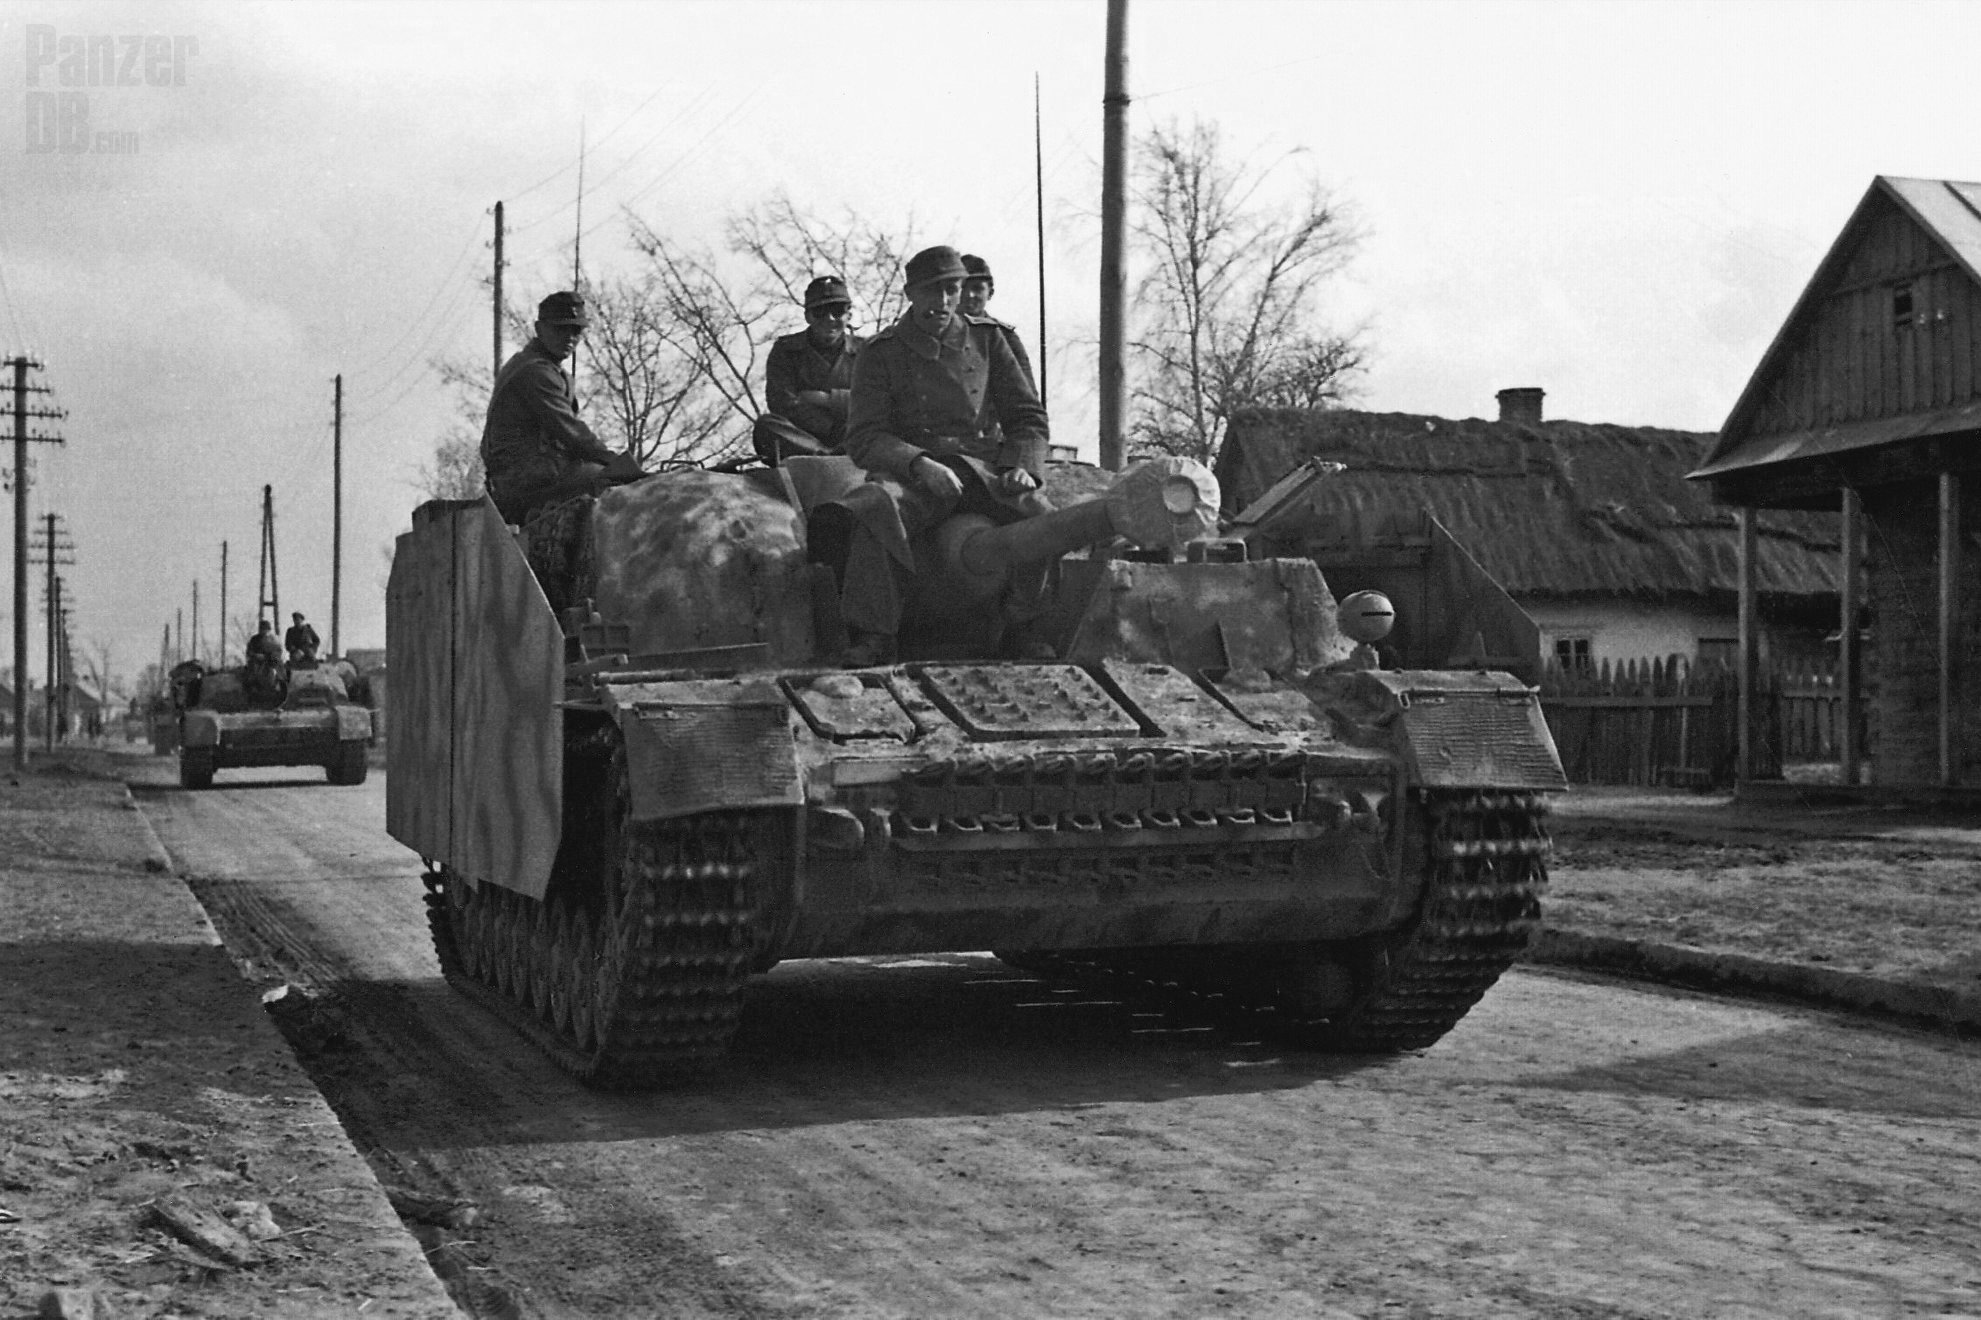
Okay after perusing the inter webs for a while I have a camo scheme I am thinking of depicting. And more or less depicting the scene in the picture since I plan to use the Miniart panzer grenadiers as tank riders.
This tank is supposedly from Sturmgeschutz Abtrilung 177 sometime in 1944. I had a few questions, would this camo be mostly dark green, and does anyone know what it would have looked like elsewhere on the vehicle? I like the way it looks on the Schurzen but I am having trouble visualizing how it would have continued. Would it have been a bunch of disconnected wavy lines or more of a dry clay pattern like this?