While the weathering of my Puma was curing I started this model of the ultimate version of the Chieftain. The cast is really nice with many tiny details like foundry marks. The fit is good so far. You still get the huge attachment points to the sprue.
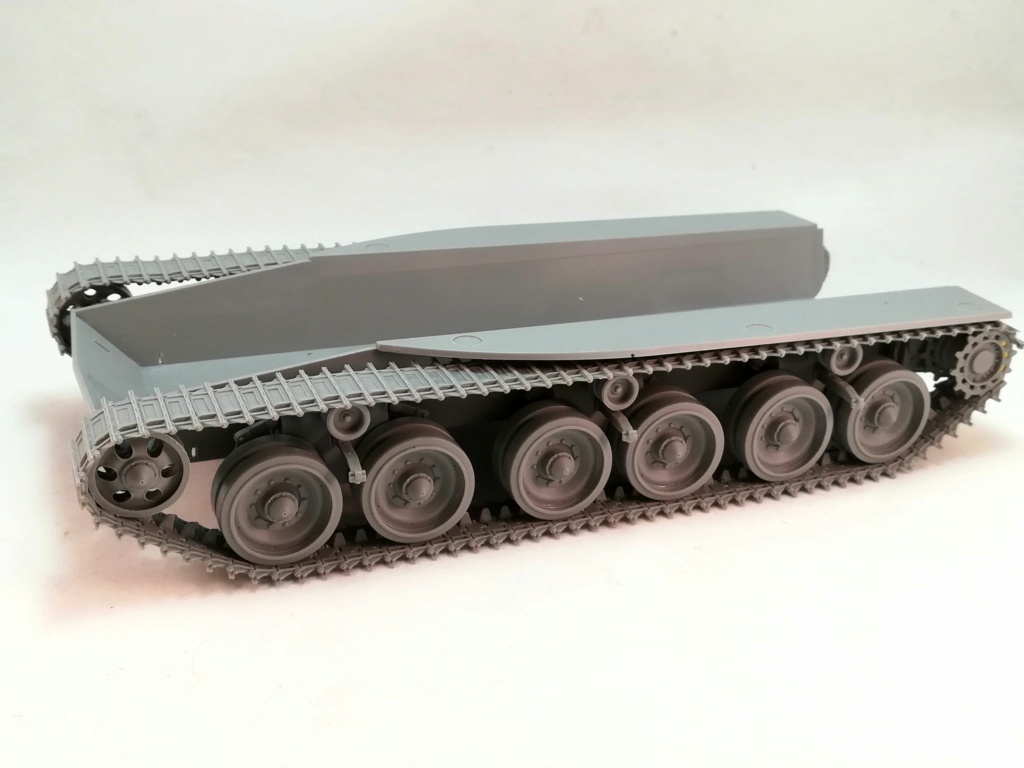
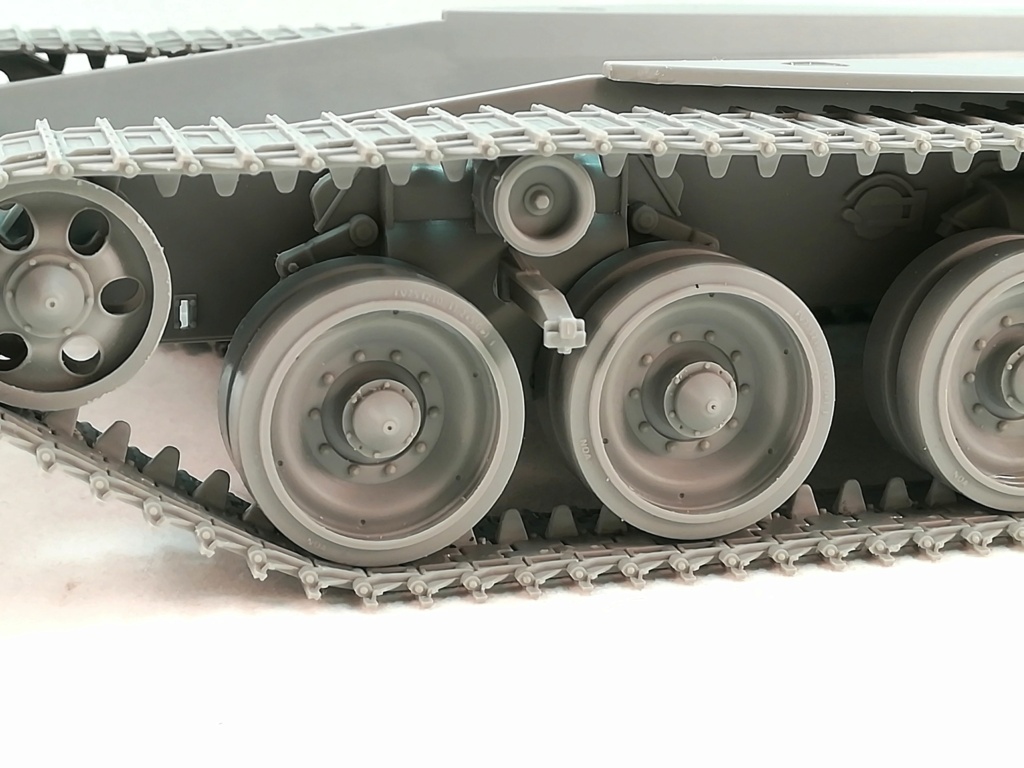
I’ve already assembled the running gear. Each outer wheel needs 4 parts which is time consuming. The tracks are the individual links type and require 97 links according to Takom. In fact 2 more will be needed.
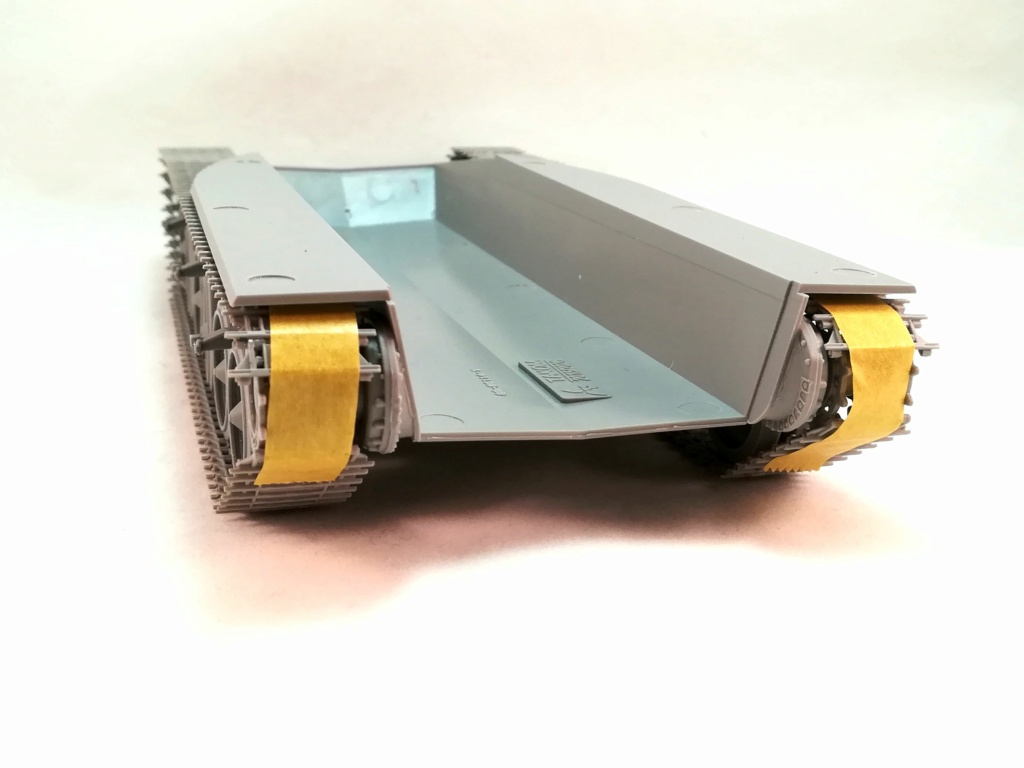
I need to paint the lower hull and the running gear prior to continuing the build.
Concerning the camo scheme I’ll go for the green and black one of a BAOR tank. I don’t feel comfortable with painting the white chevron on top of the turret of a BATUS tank.
Nice work on those tracks Olivier. I found that by attaching the rear hull bulkhead and the side plates to the upper hull on my mk10 I could keep them removable from the running gear to make painting easier. The front and rear joins just worked really well for this, in fact I still haven’t glued the finished piece! Just had to clip the ends of the side plates into and out of their location points on their brackets when assembling or taking apart.
Hi Olivier
I don’t know if you saw my MK11article in a recent issue of Steelmasters but i could send you some before paint photos that shows what you could improve if you’re interresting.
An excellent kit this Takom one.
A+
Stéphane
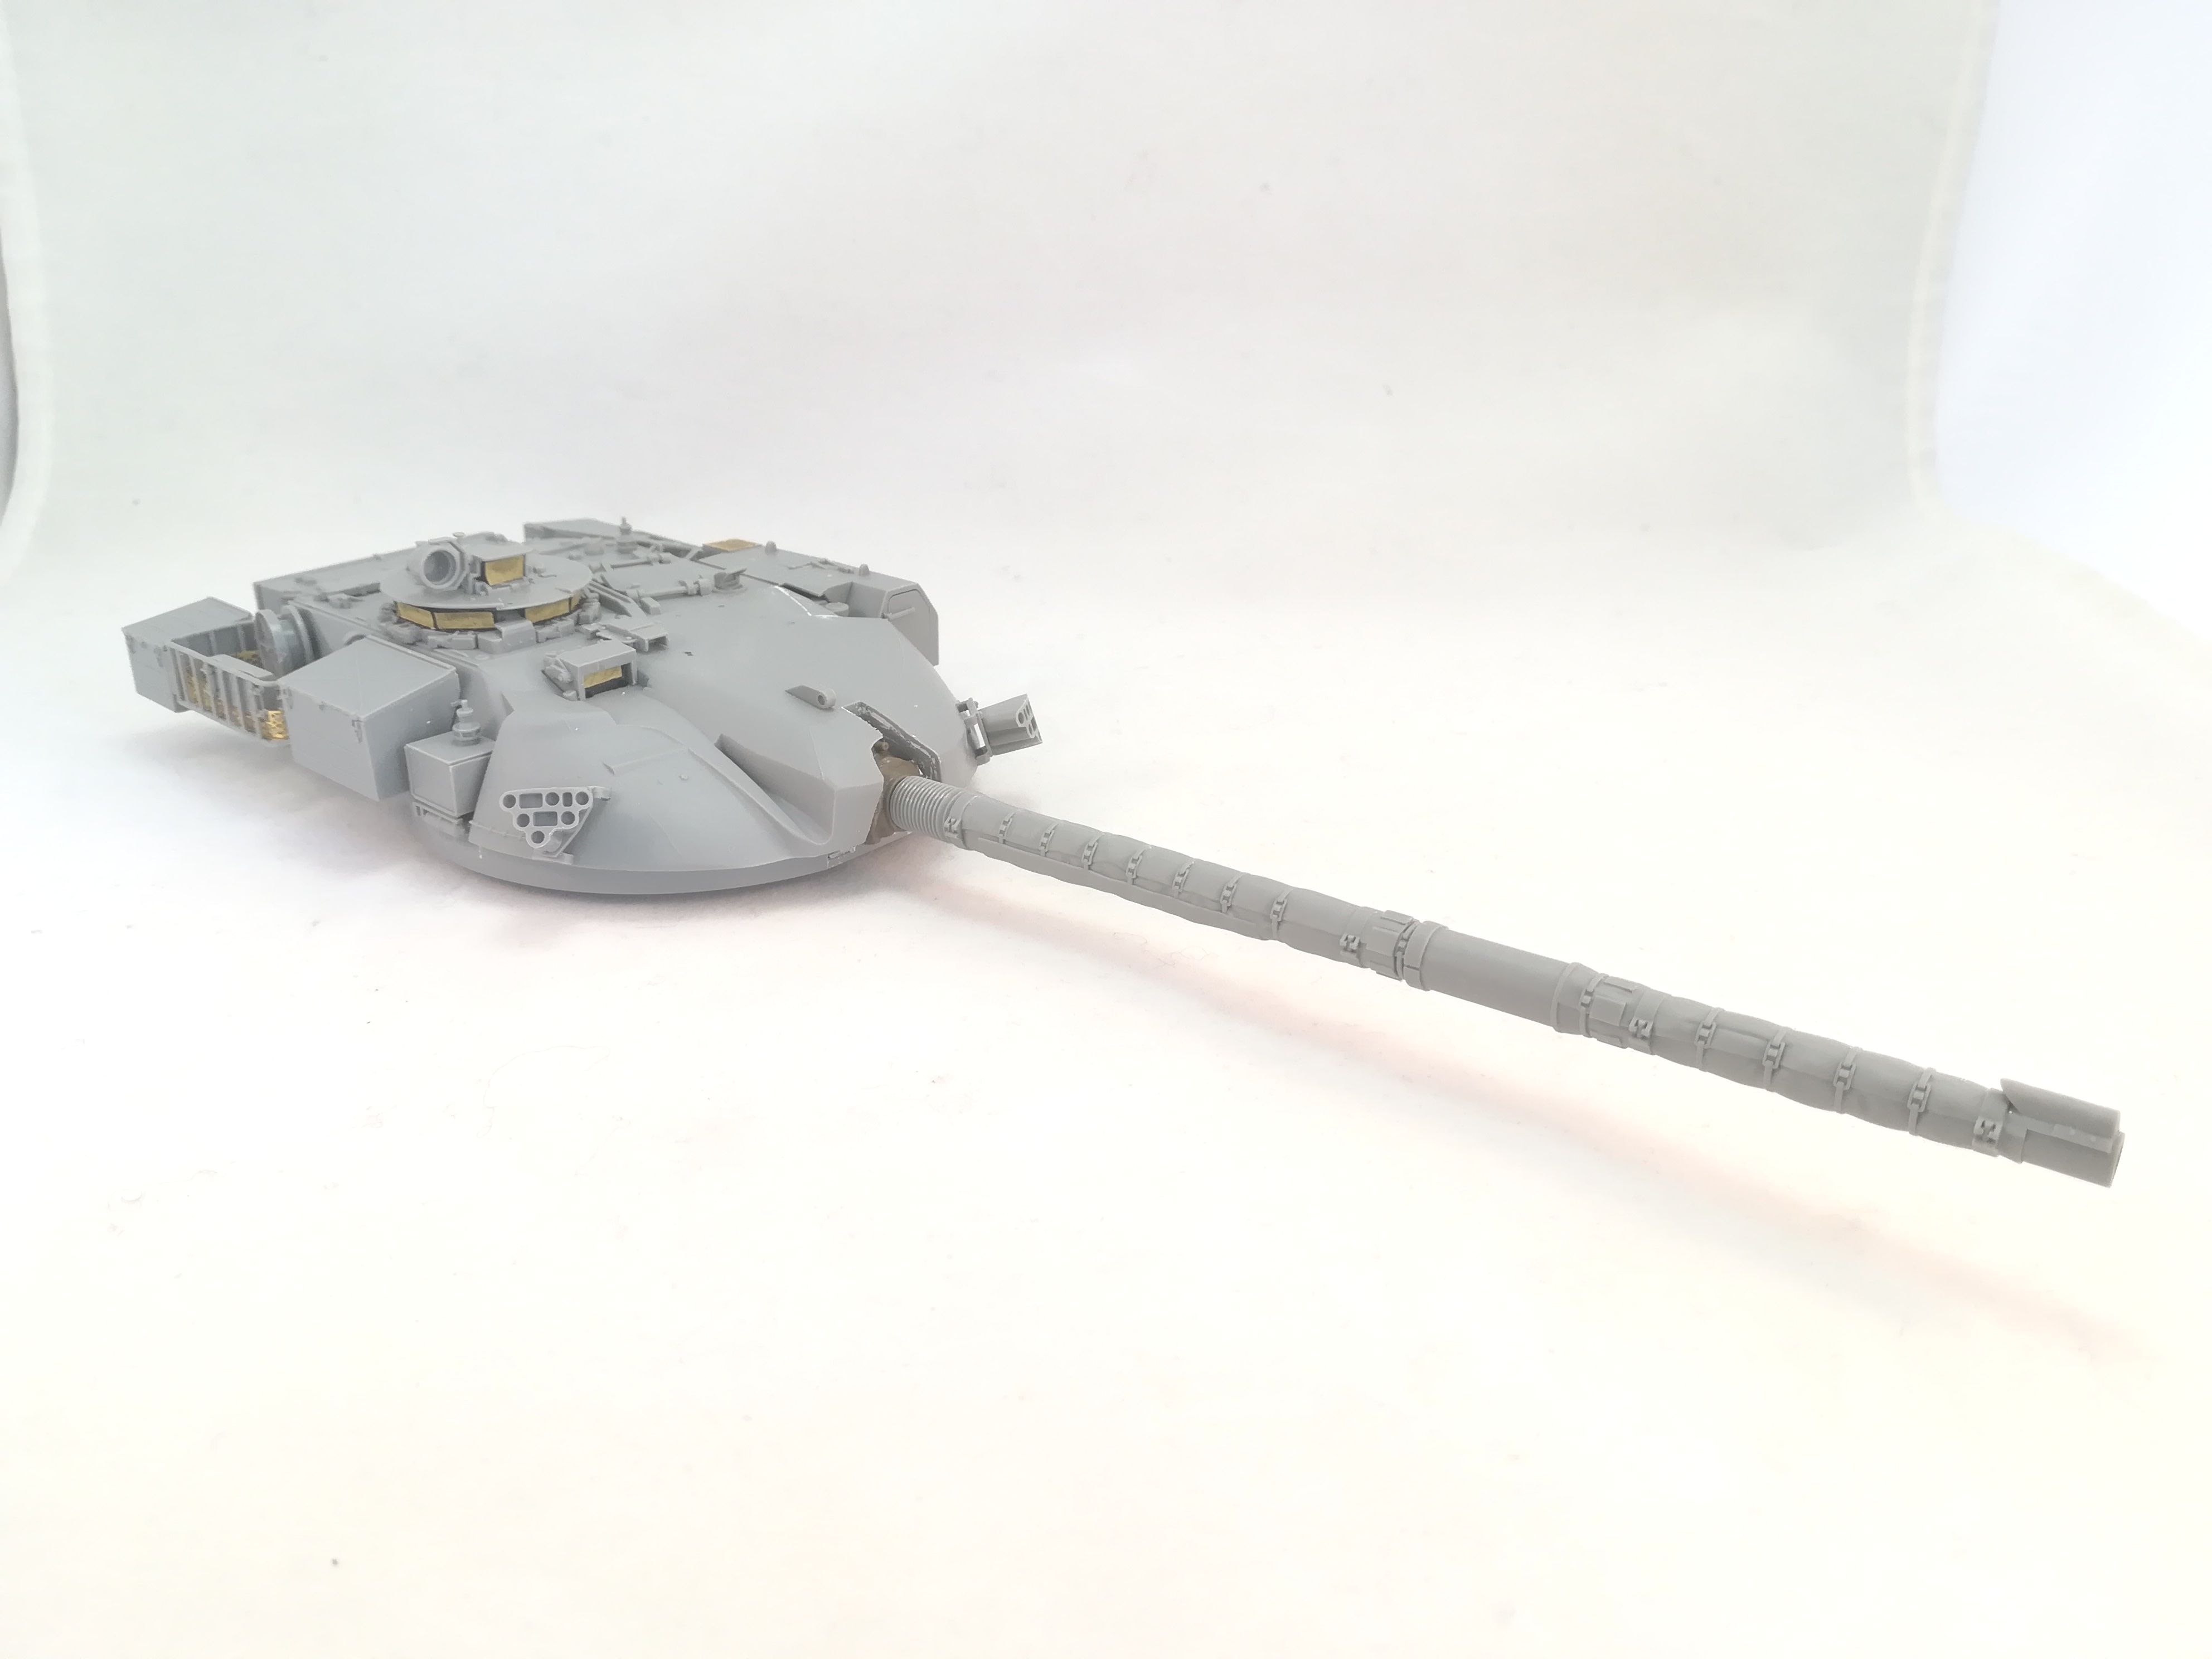
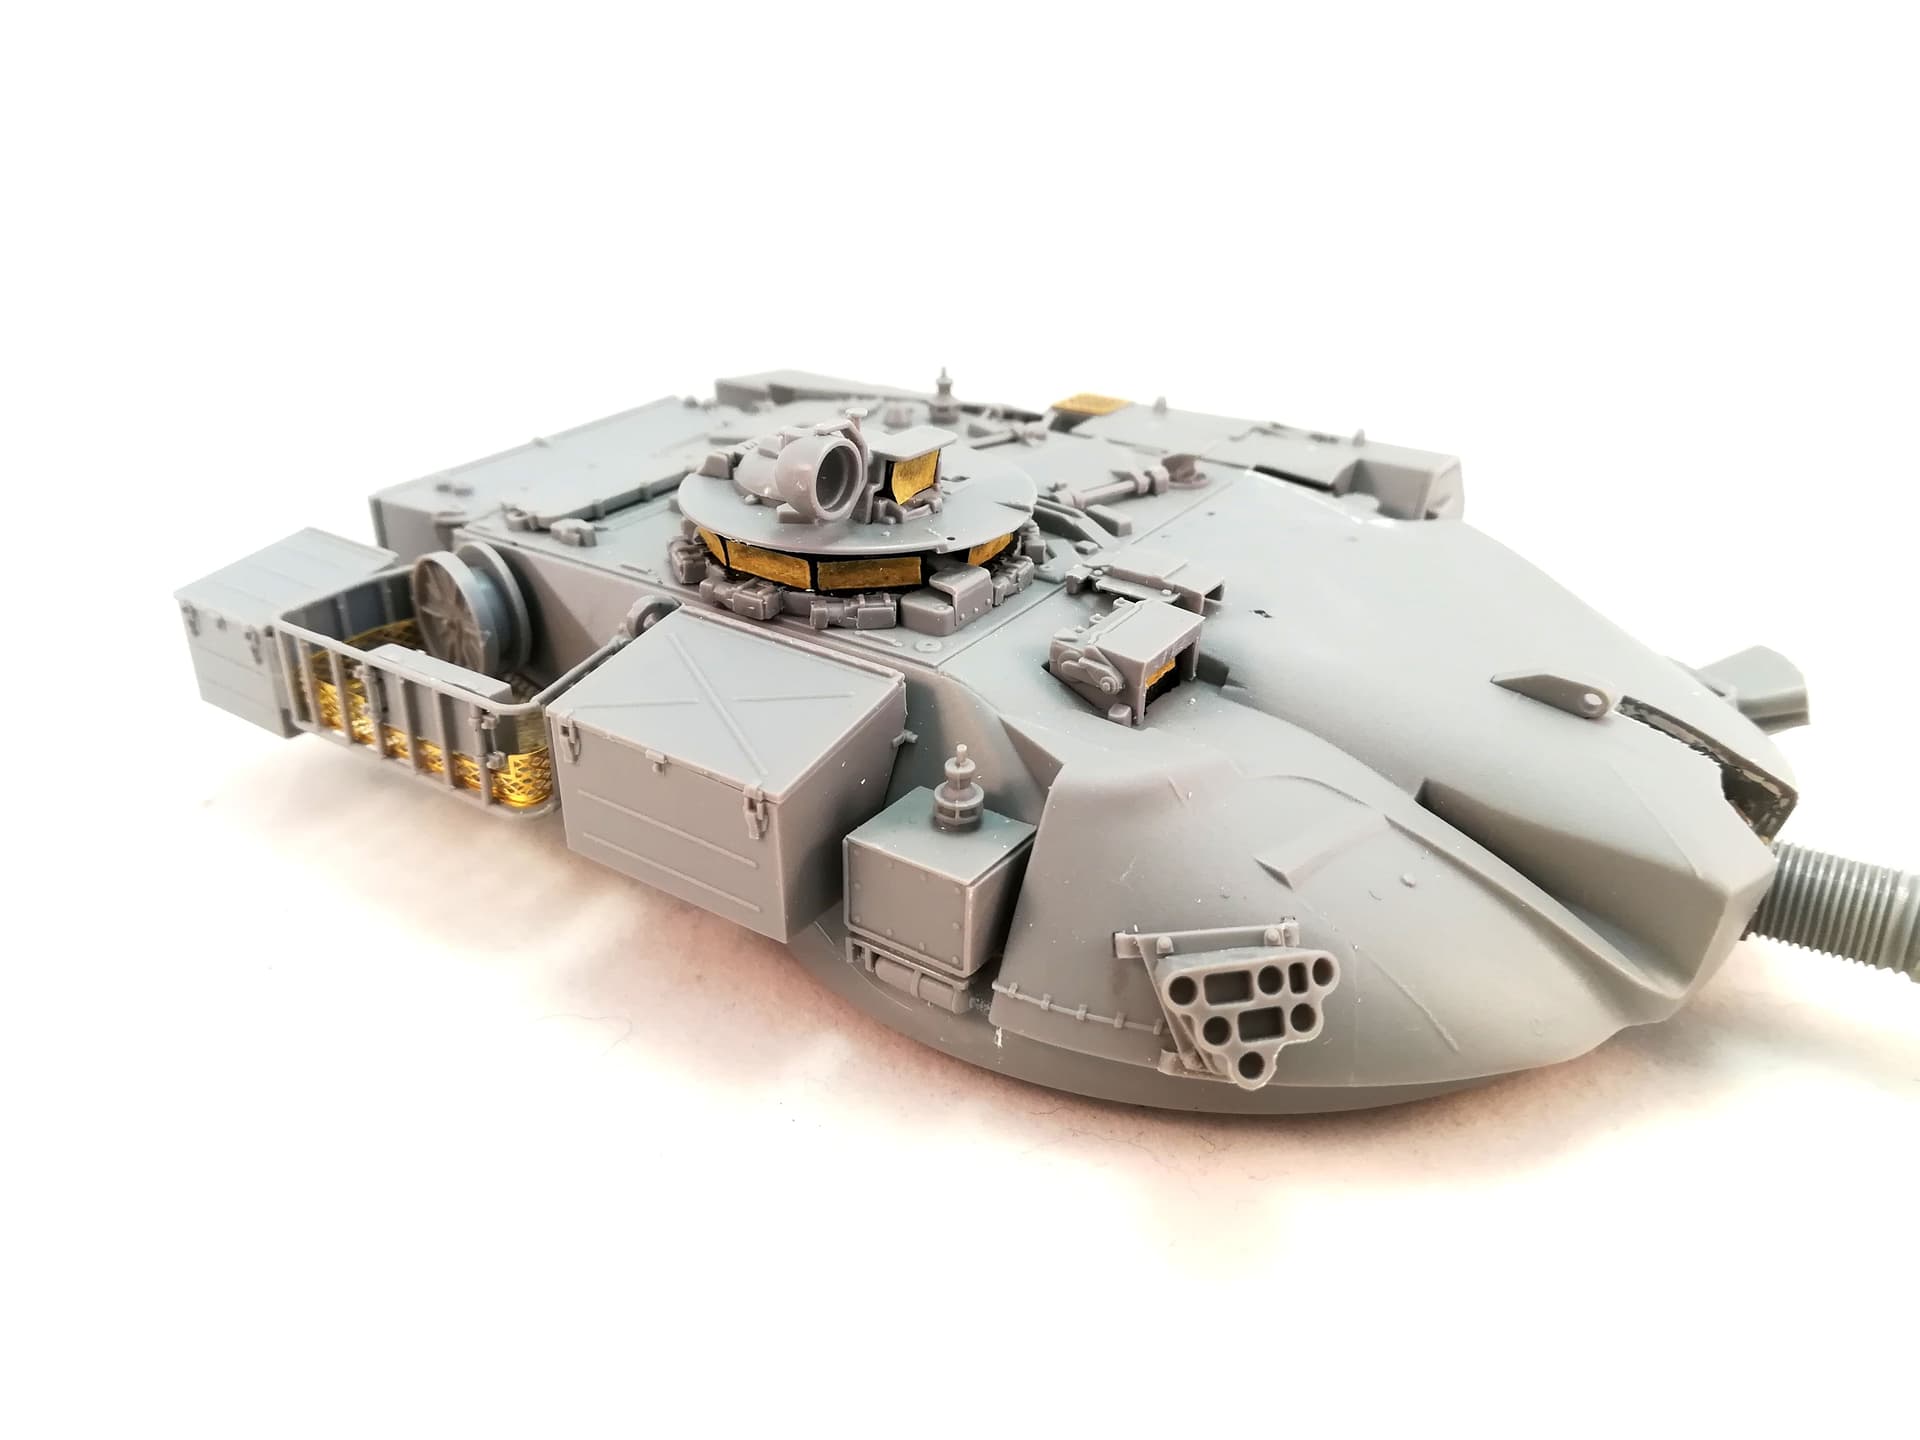
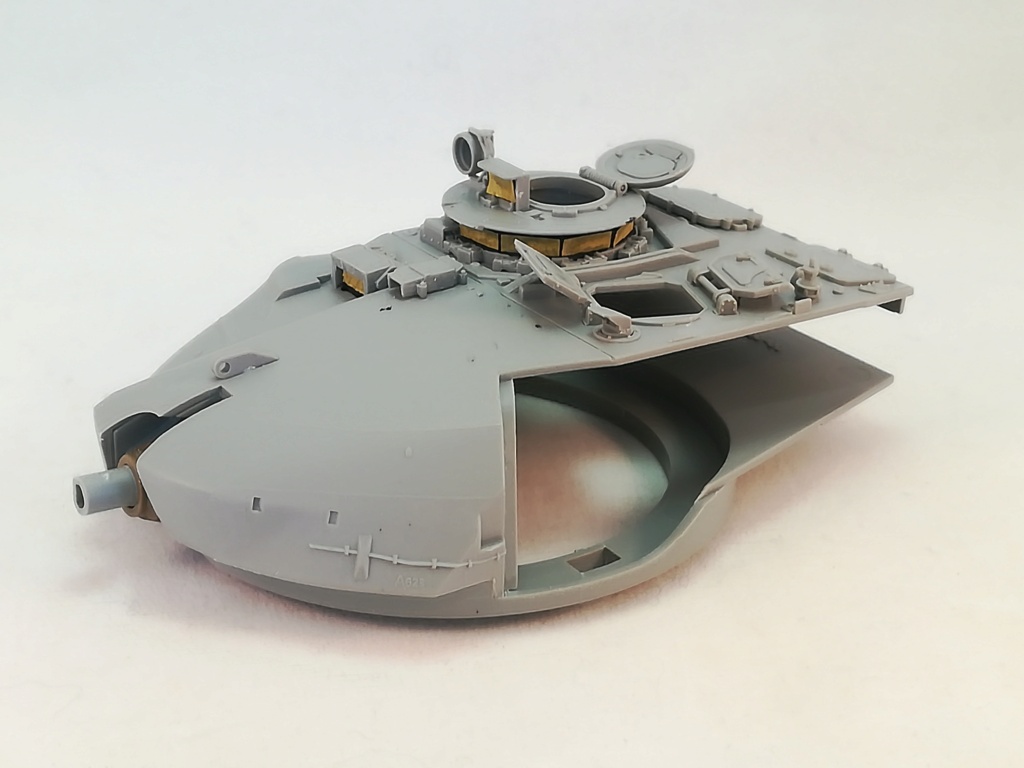
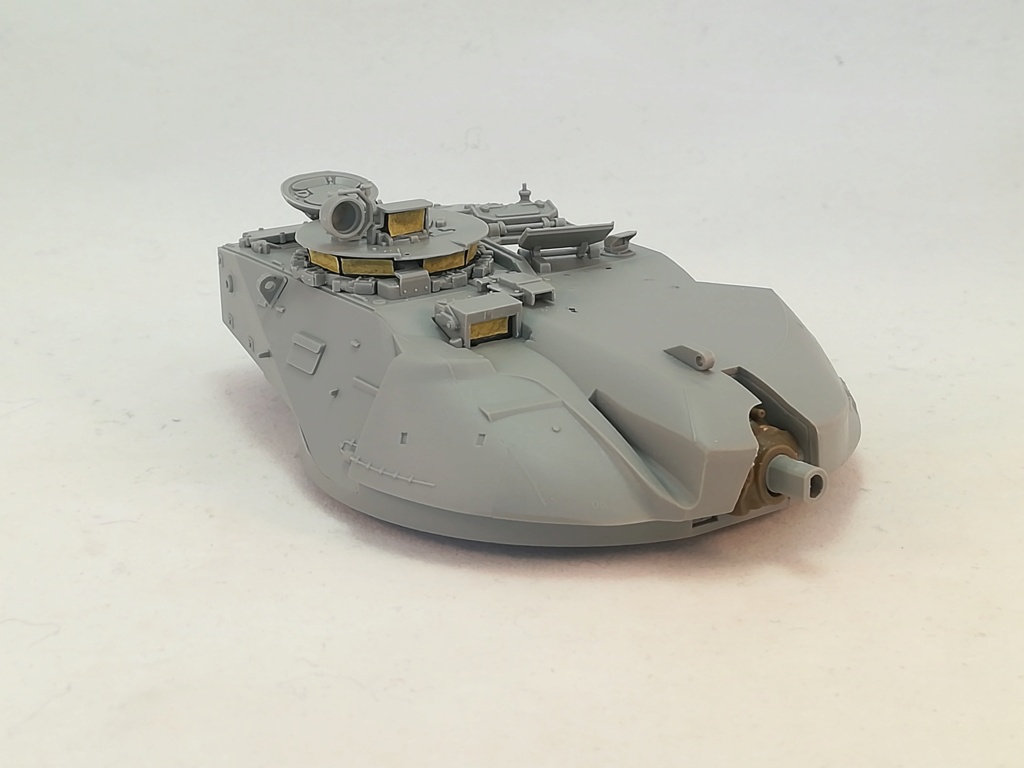
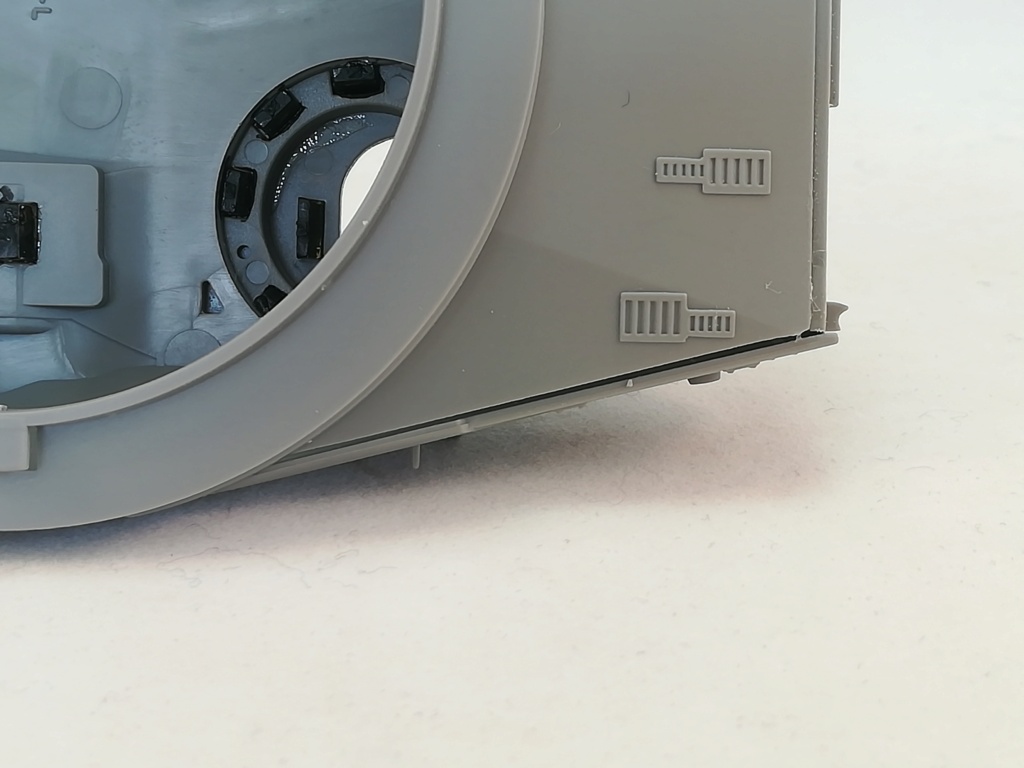
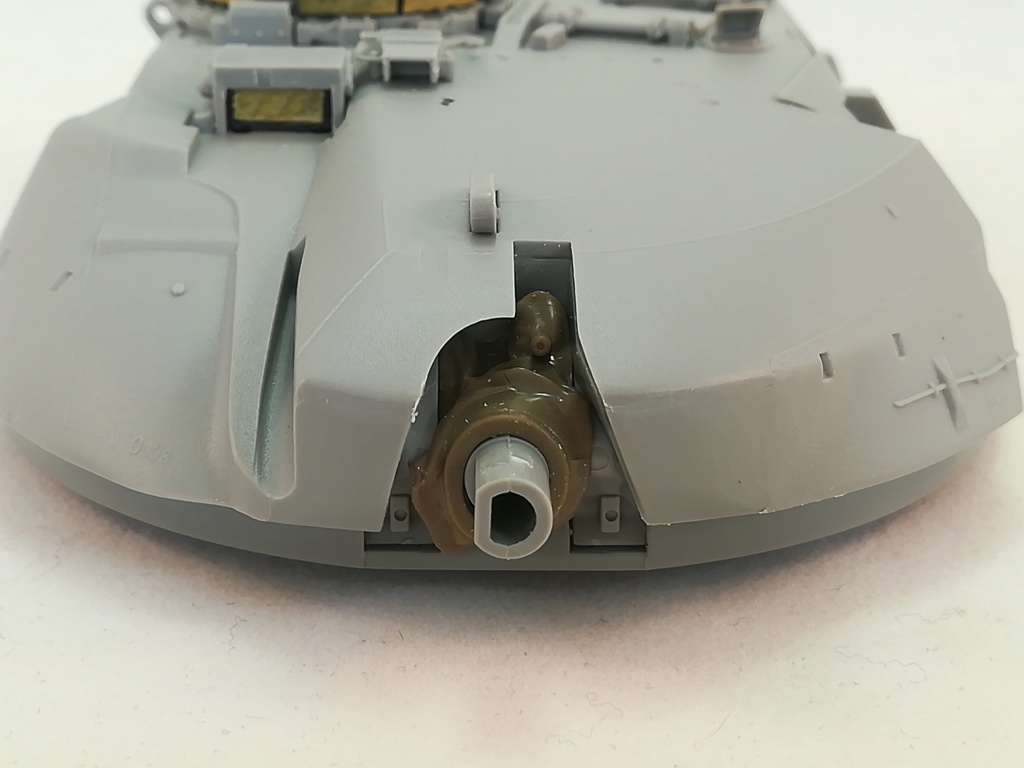
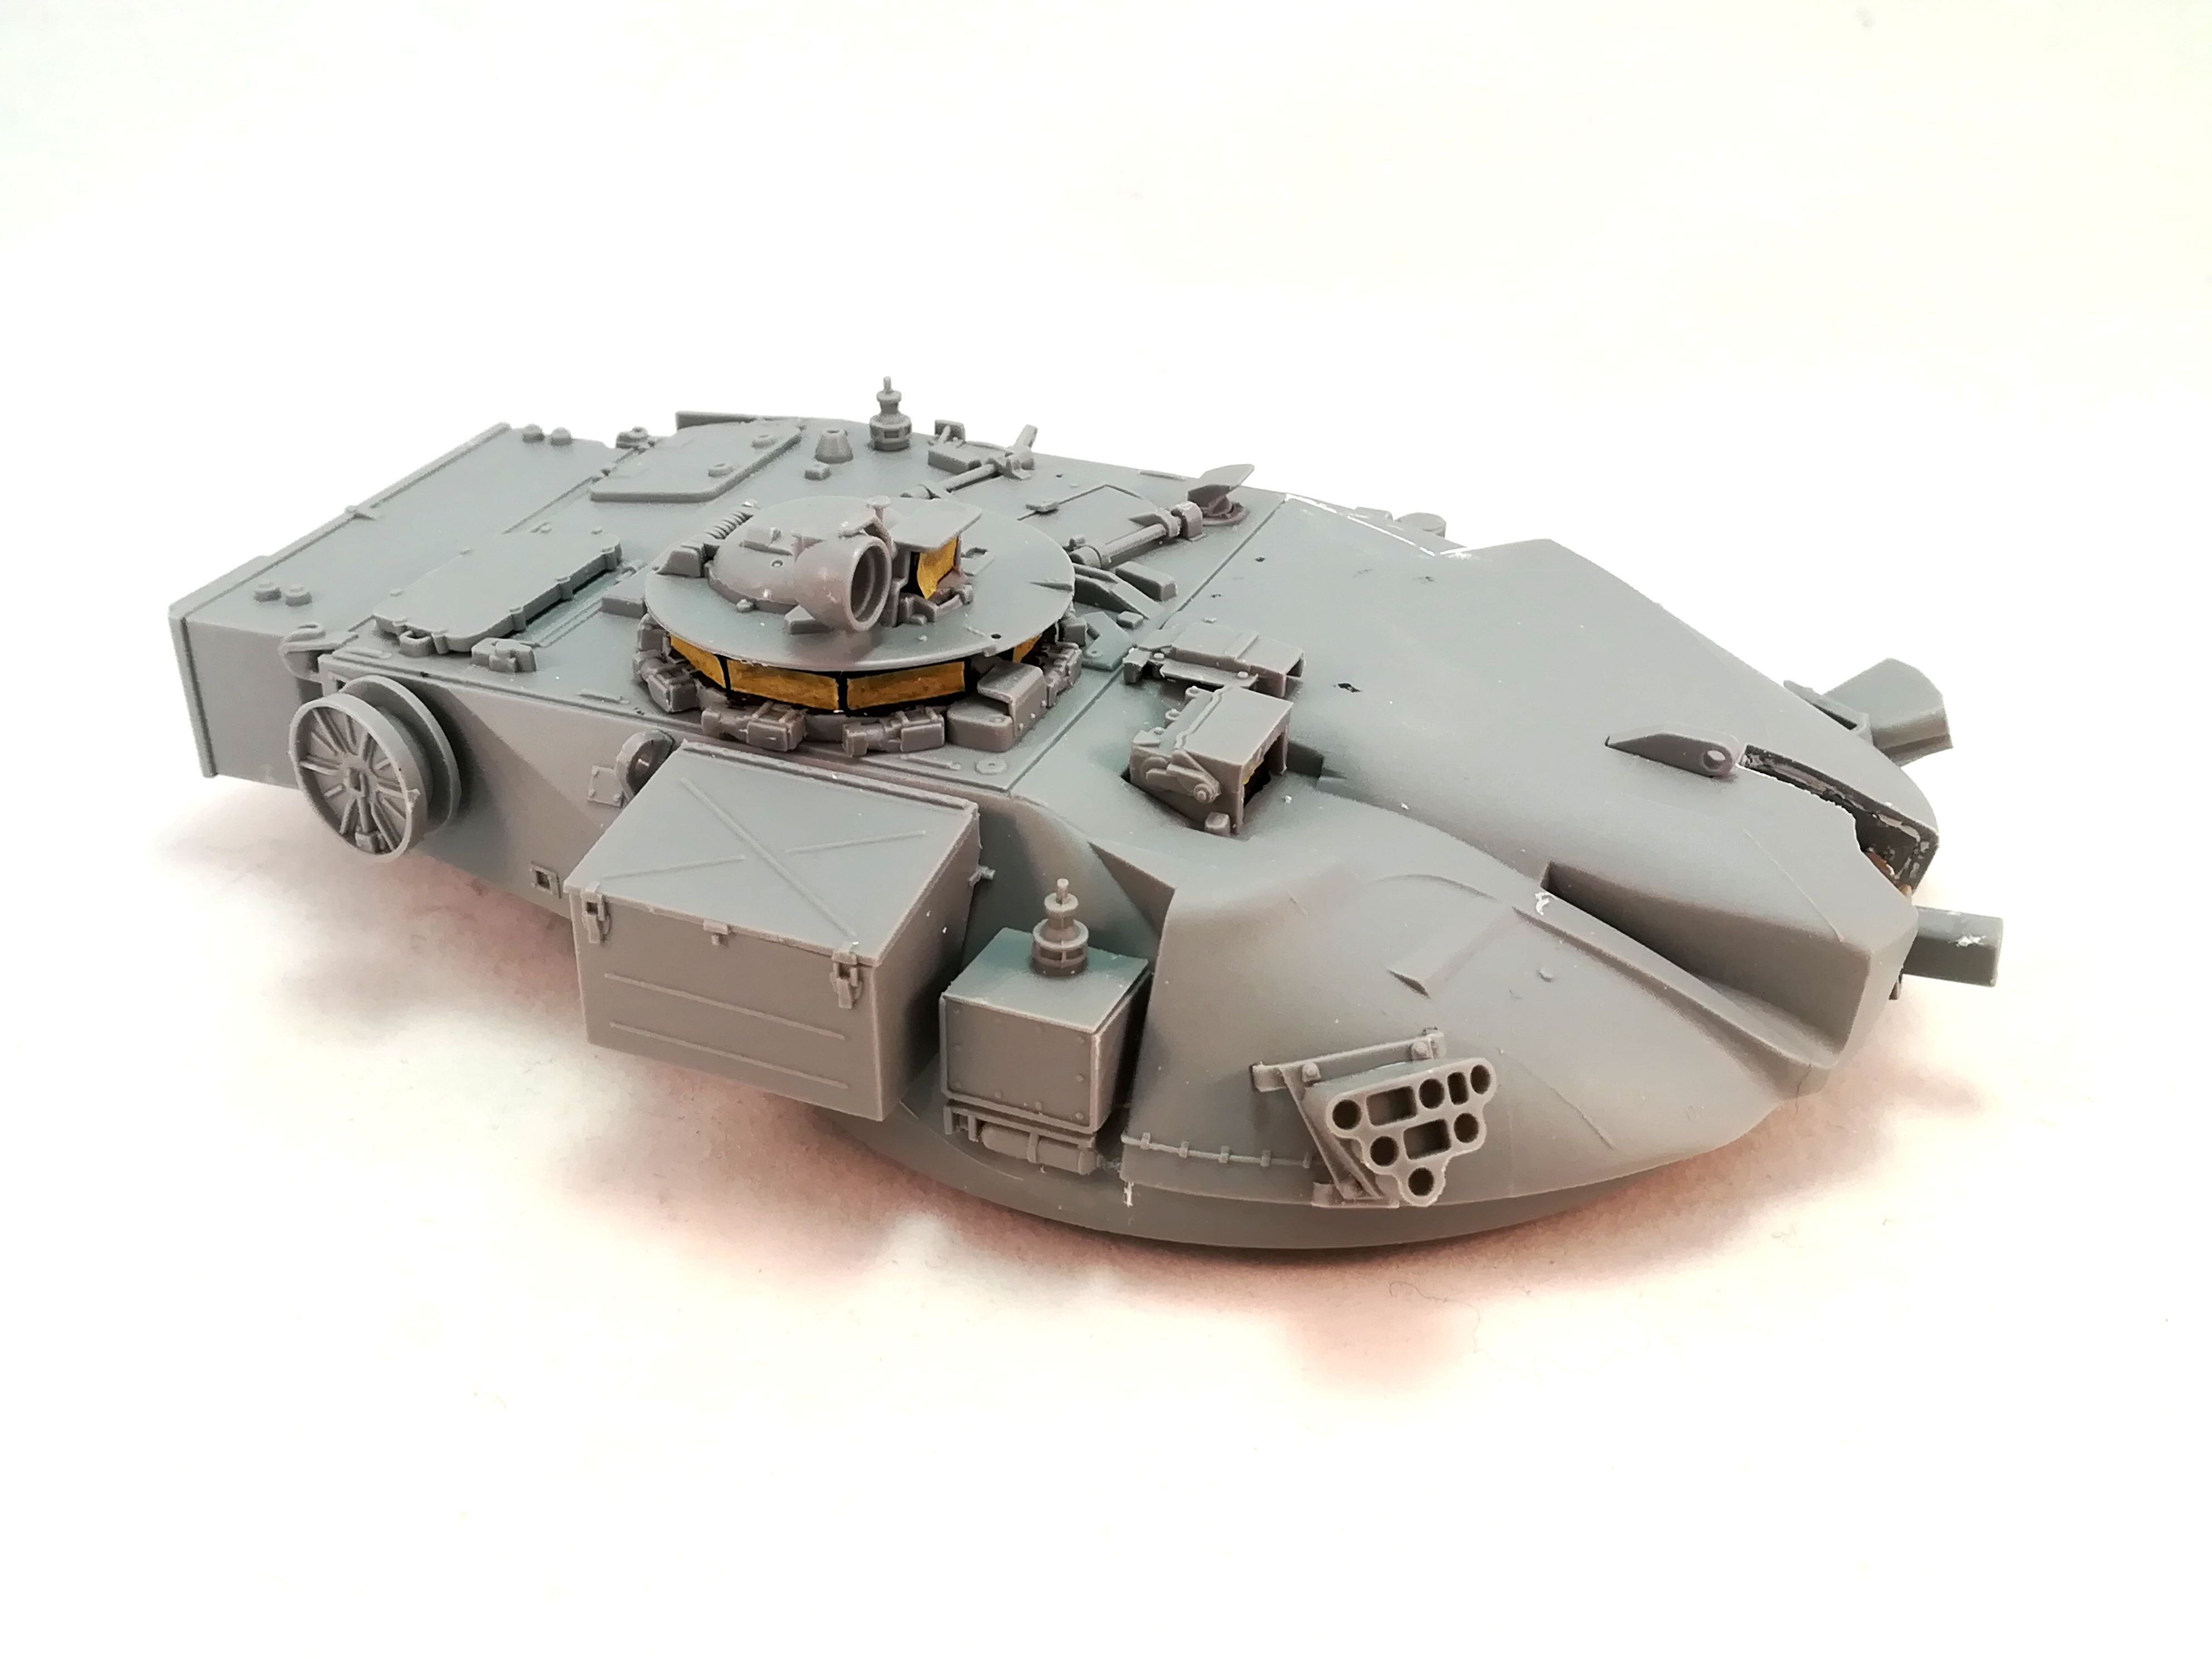
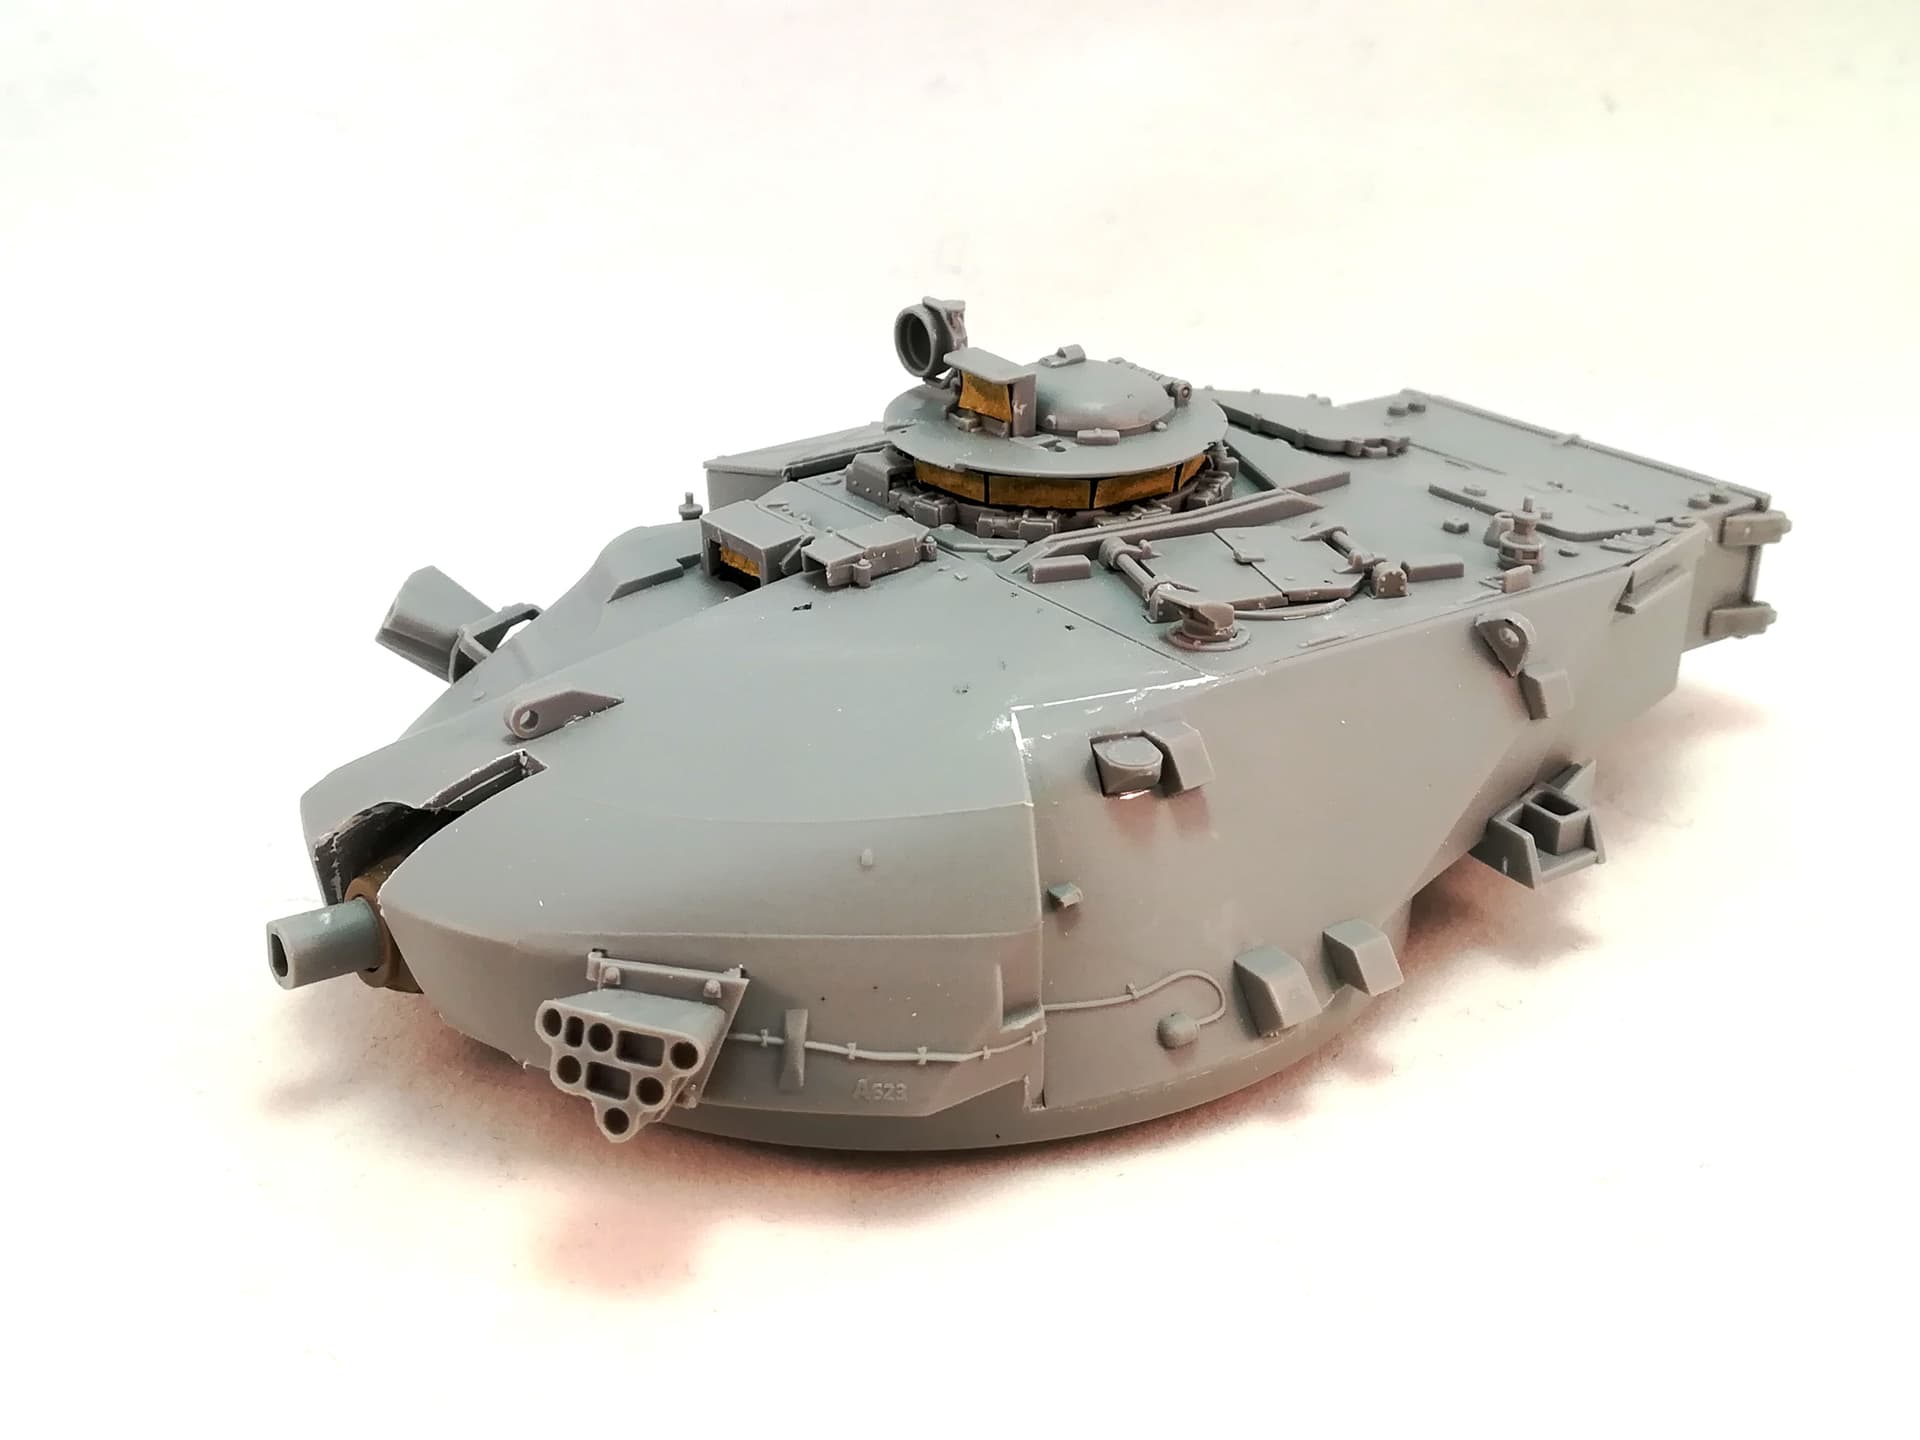
I’ve made some progress on the turret. Due to the design there are some fit issues and filler will be required.
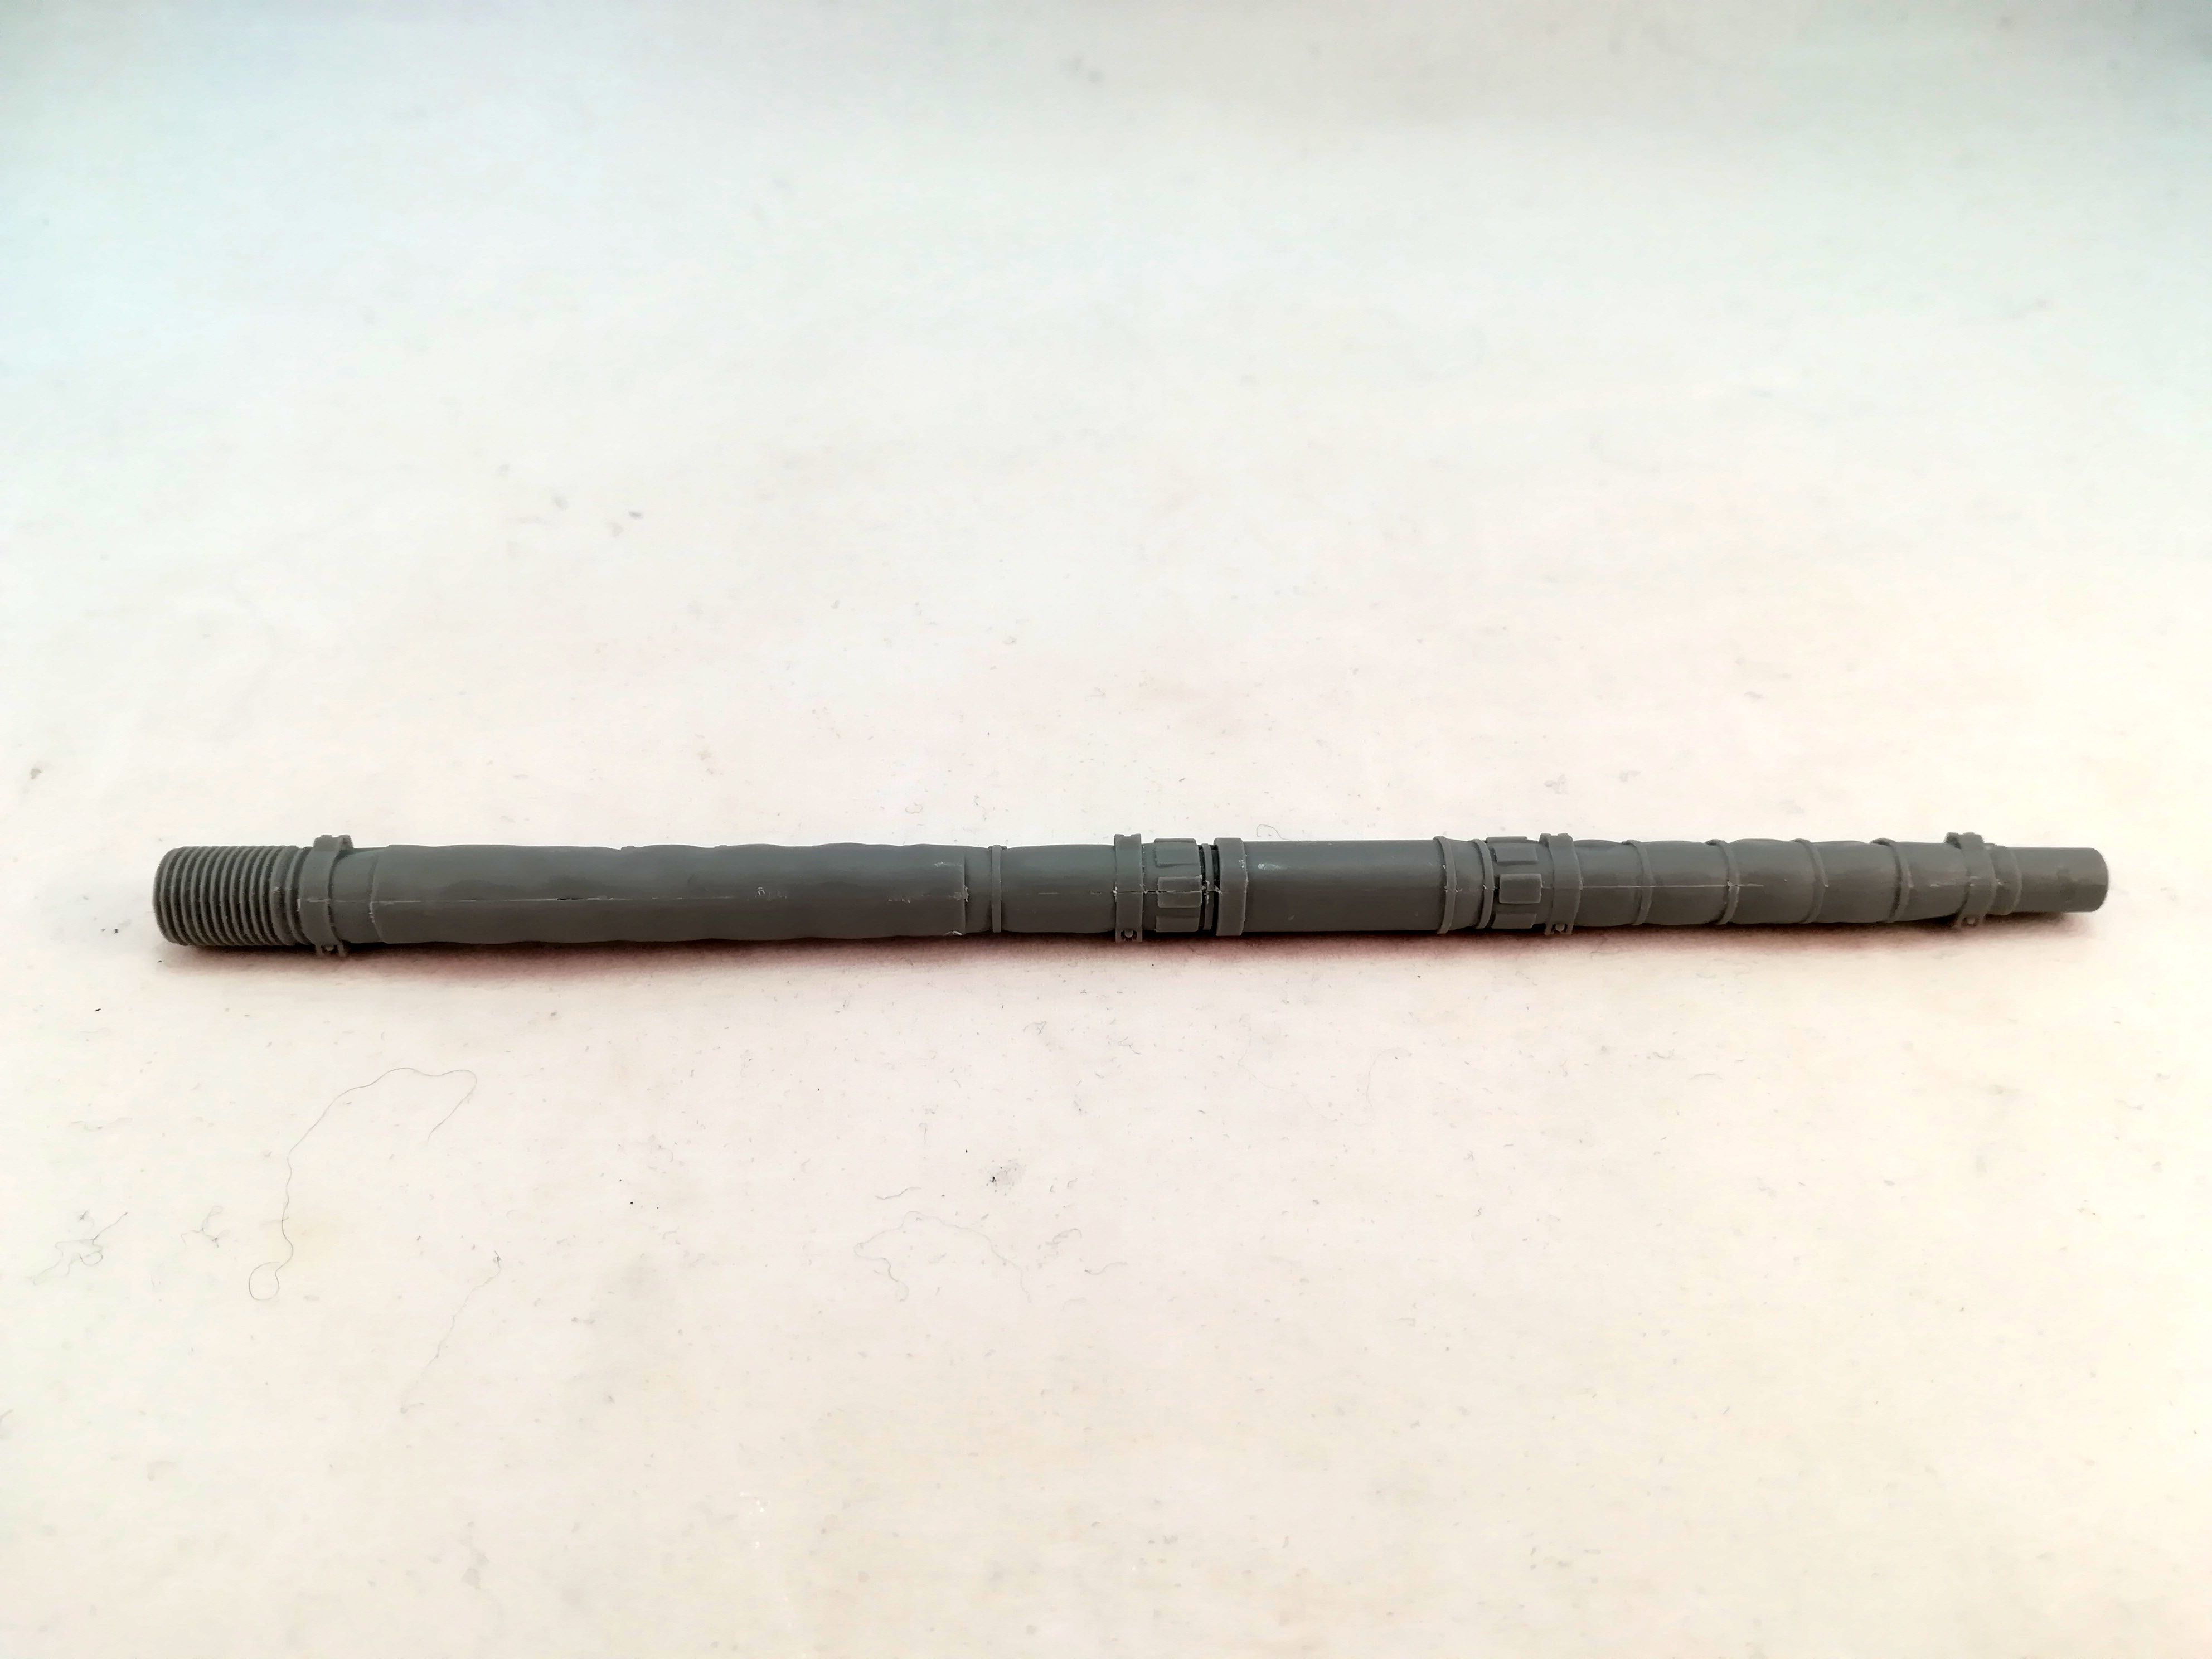
Takom designed the muzzle as a 2 part assembly. This is not a true issue per se but the attachment points couldn’t have been worse located.
On a sidenote, the polycaps used to keep the gun mobile are useless as the dust cover is fixed.
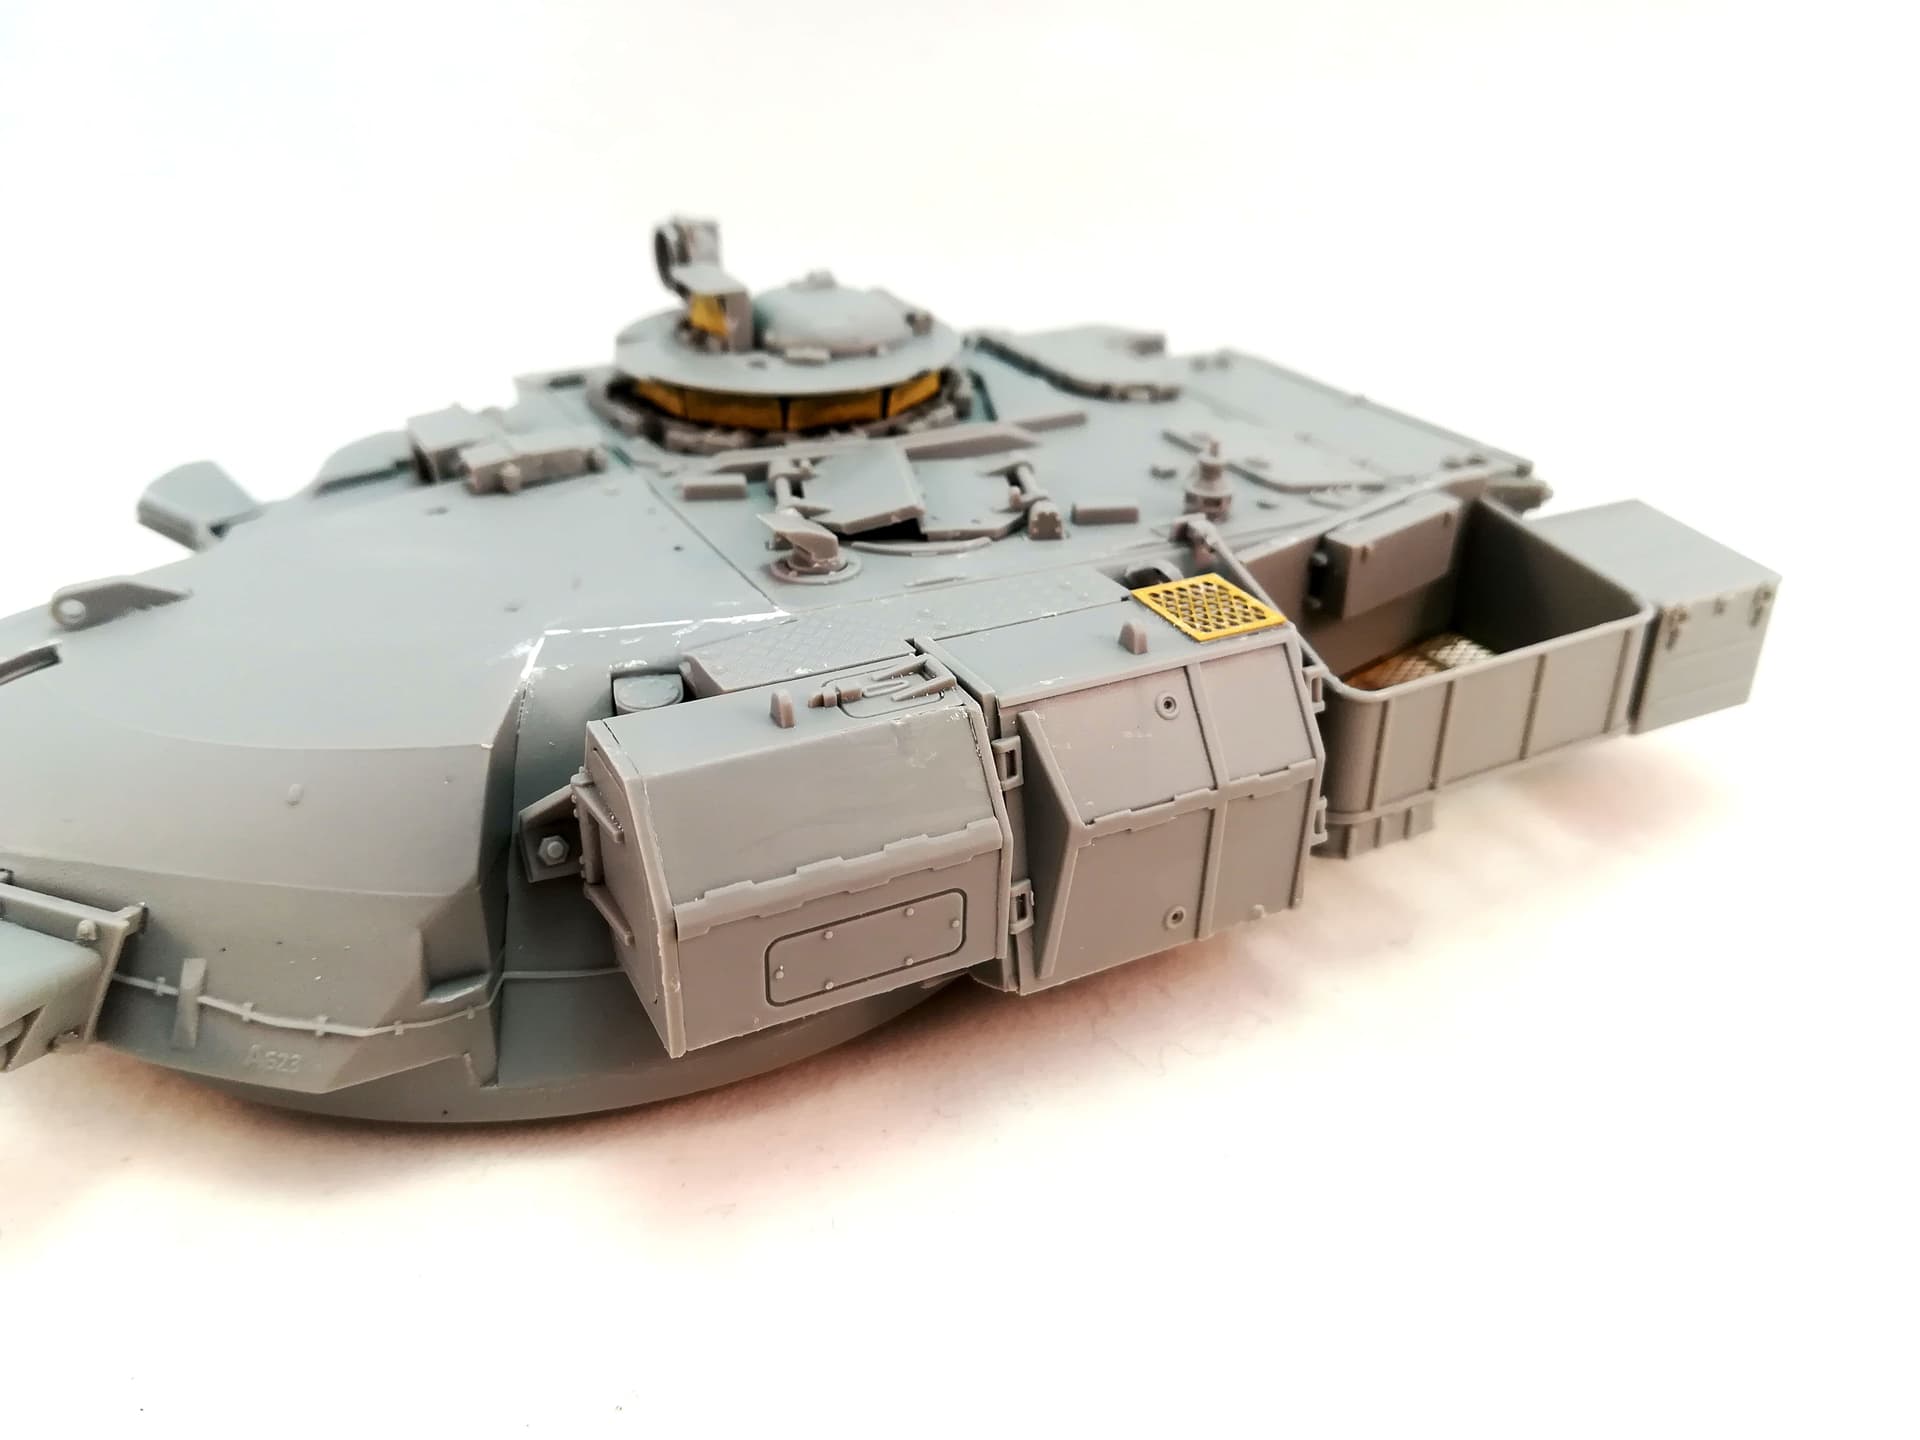
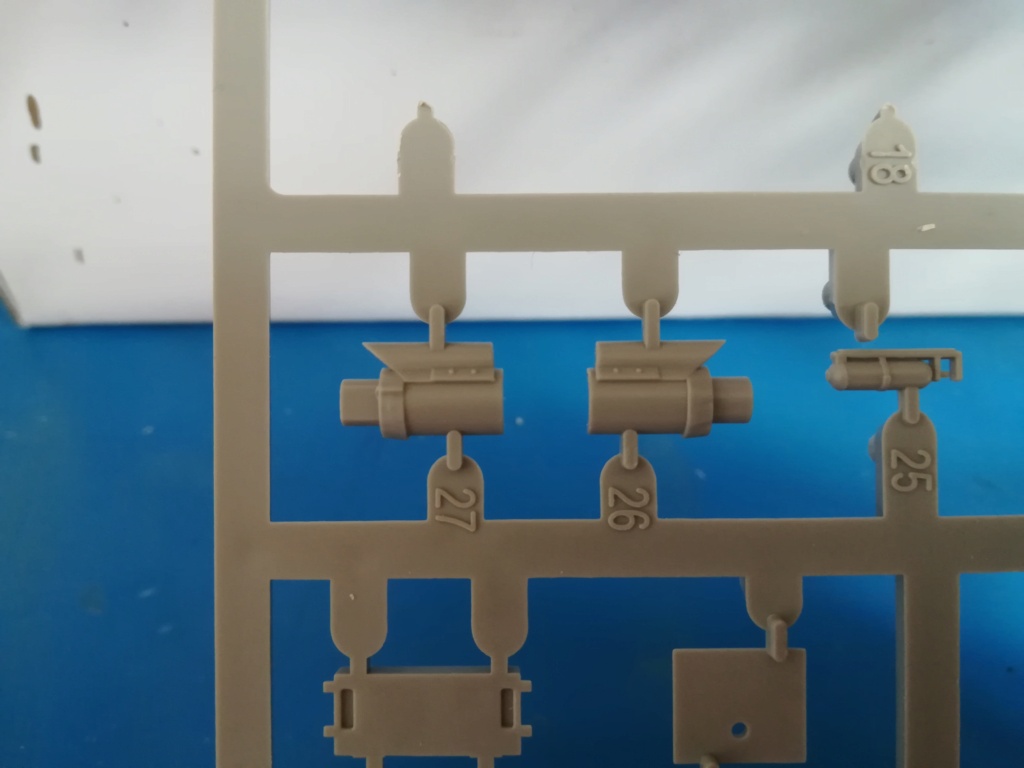
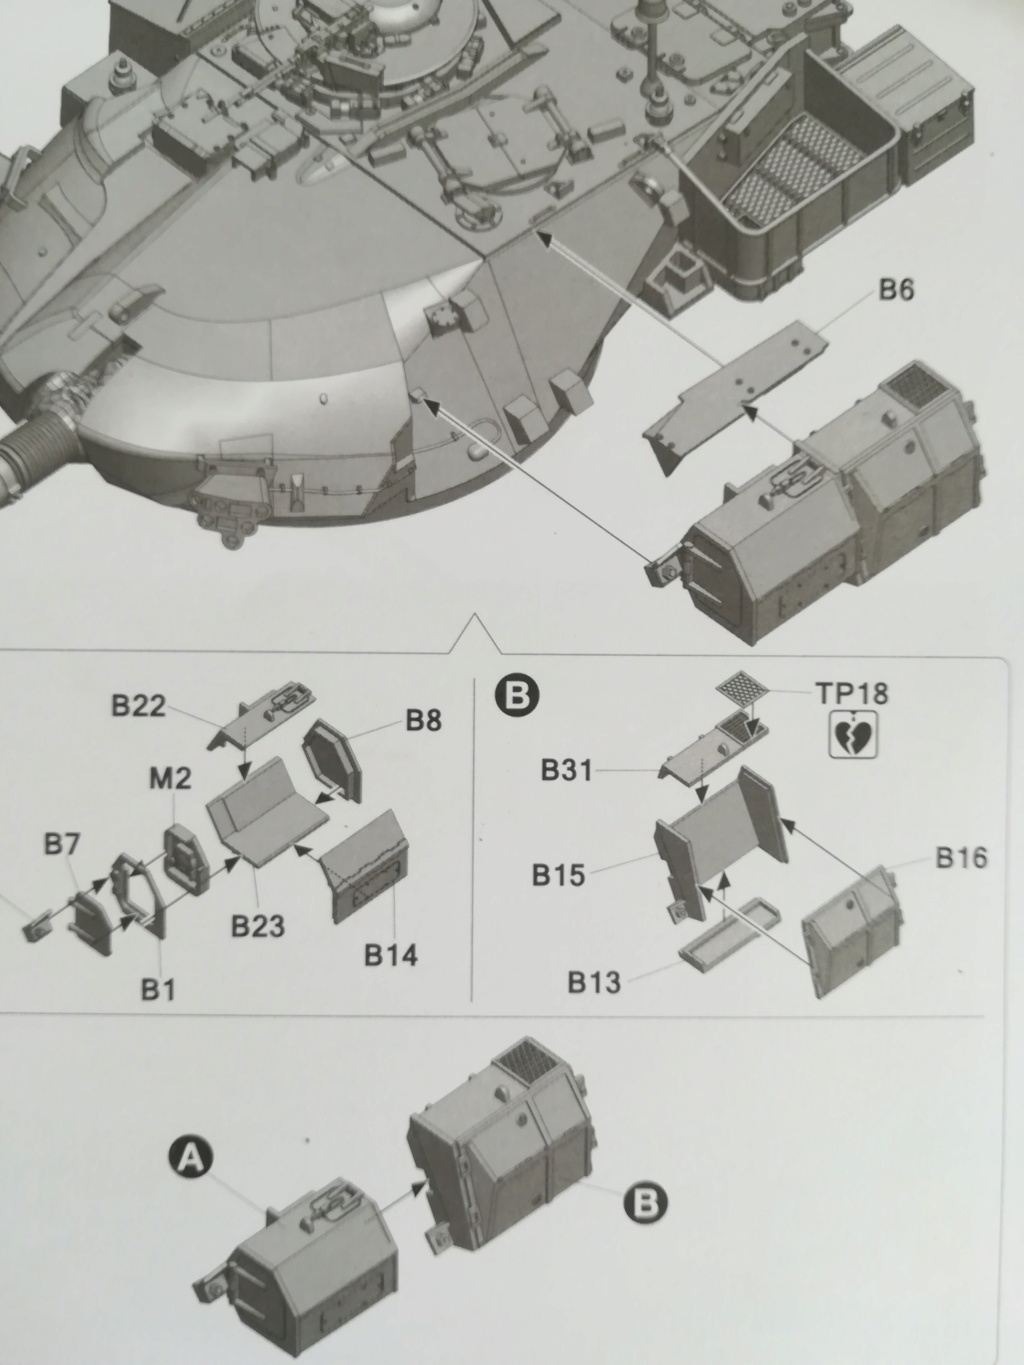
John, here are pictures of the instructions for the TOGS assembly and of the front part.
Thanks for the updates Olivier. It’s a shame kits like these still have fit issues. And I cannot fathom for the life of me why you would do the muzzle in 2 parts. That’s absurd. And is a potential reason along with the fit issues that I wouldn’t get it.
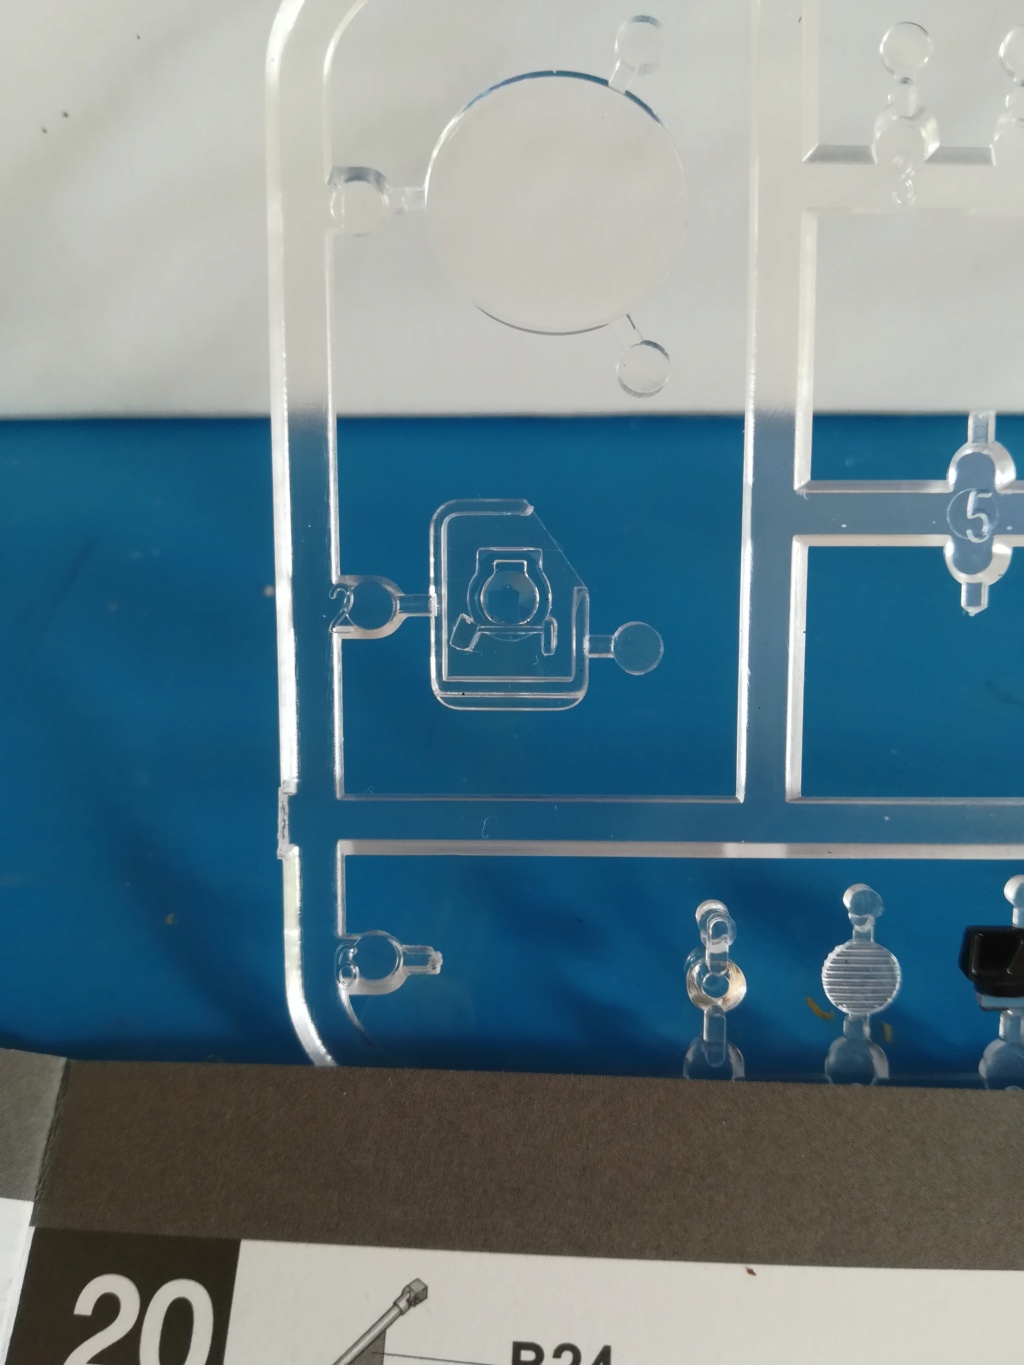
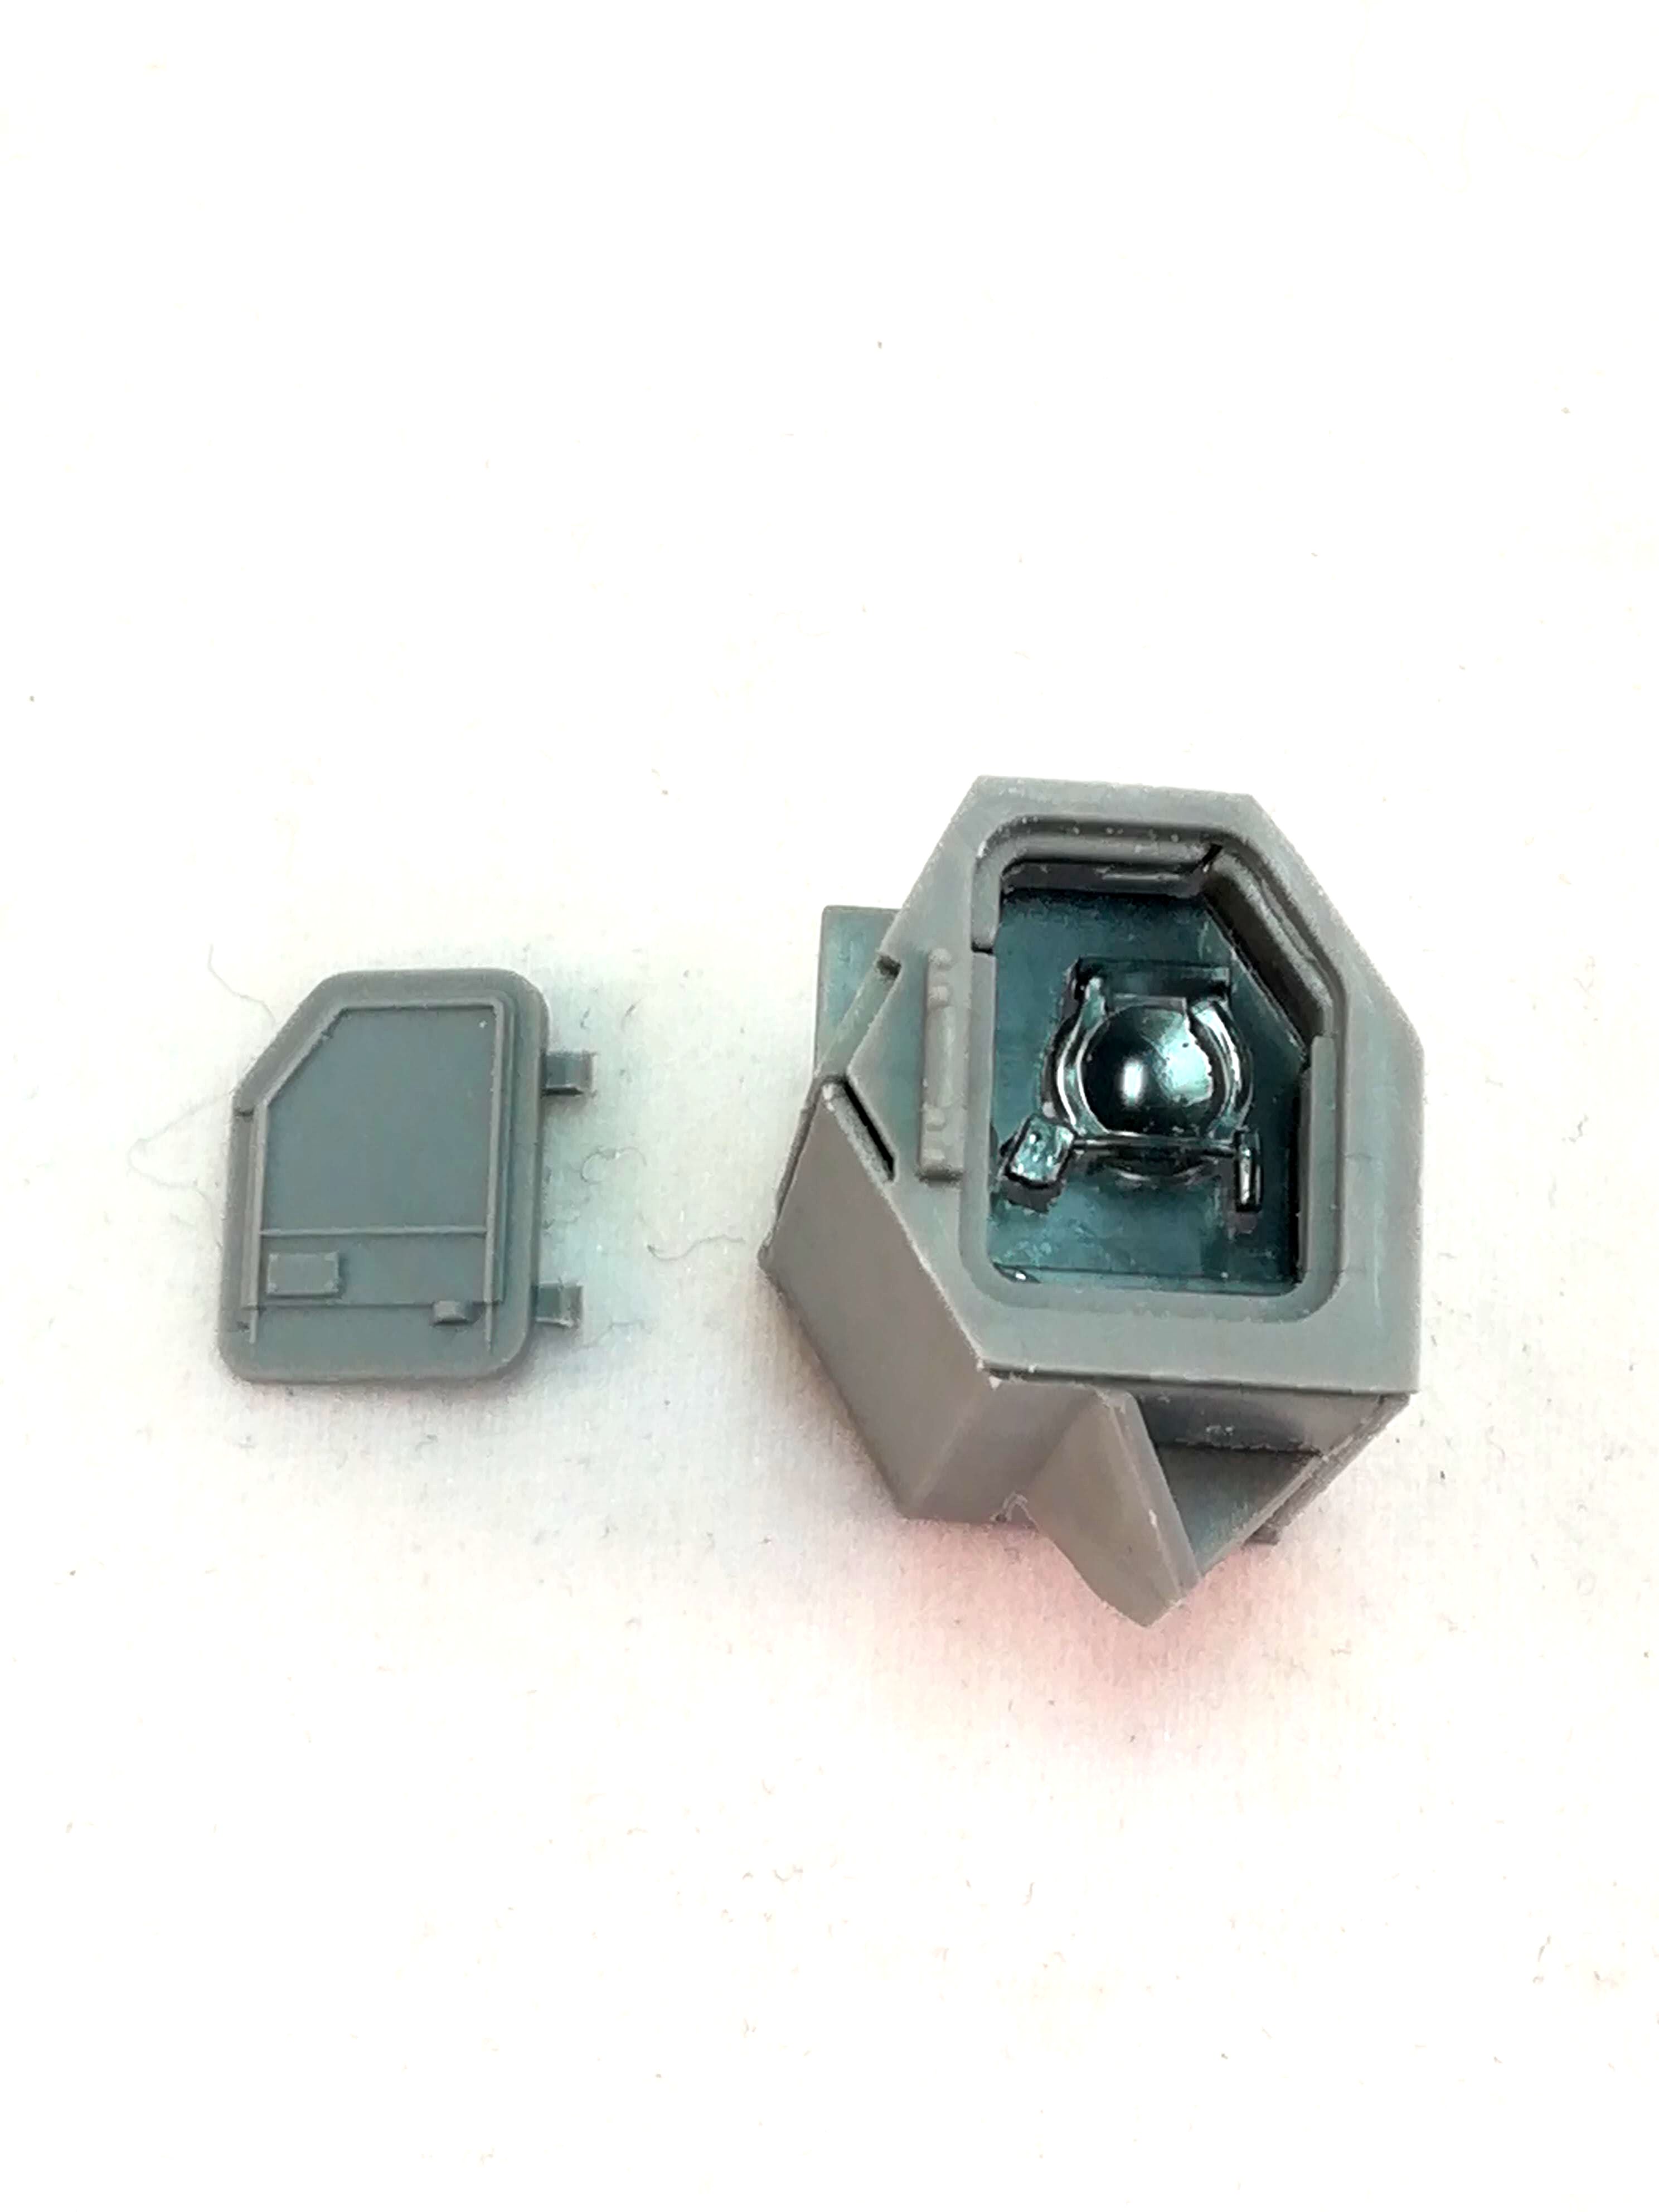
The way they have done the TISH is a bit iffy, but I suppose at least you have the option of having the door open. Am interested now how the turret turns out … I hope it’s not to much of a problem…
I modelled mine closed as it really doesn’t look good once built. I suppose I could have scratched something better looking than their approximation of a TISH but it was significantly easier to close it up.
Close it …. Although they attempted to add the TISH (Thermal Imaging Sight Head) it really doesn’t come near the real thing in looks - it’s a pretty basic effort (as @Maximus8425 pointed out)
You have done a nice job with the turret Olivier and how it looks once you fixed those fit issues you told us about…
Is the barrel a 2 piece one as well like the muzzle ?
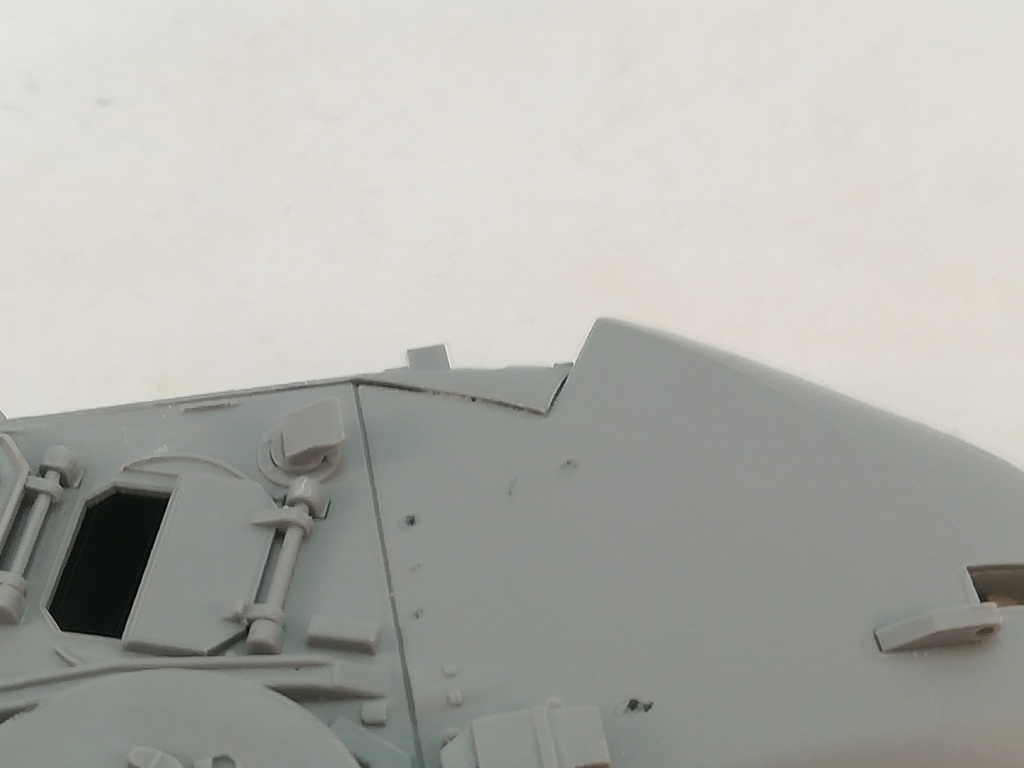
Yeah I agree with you on the seam, and you’ve done another nice job with it . Thats the problem with the thermal sleeve and aftermarket barrels, how would you replicate that ? Well done so far
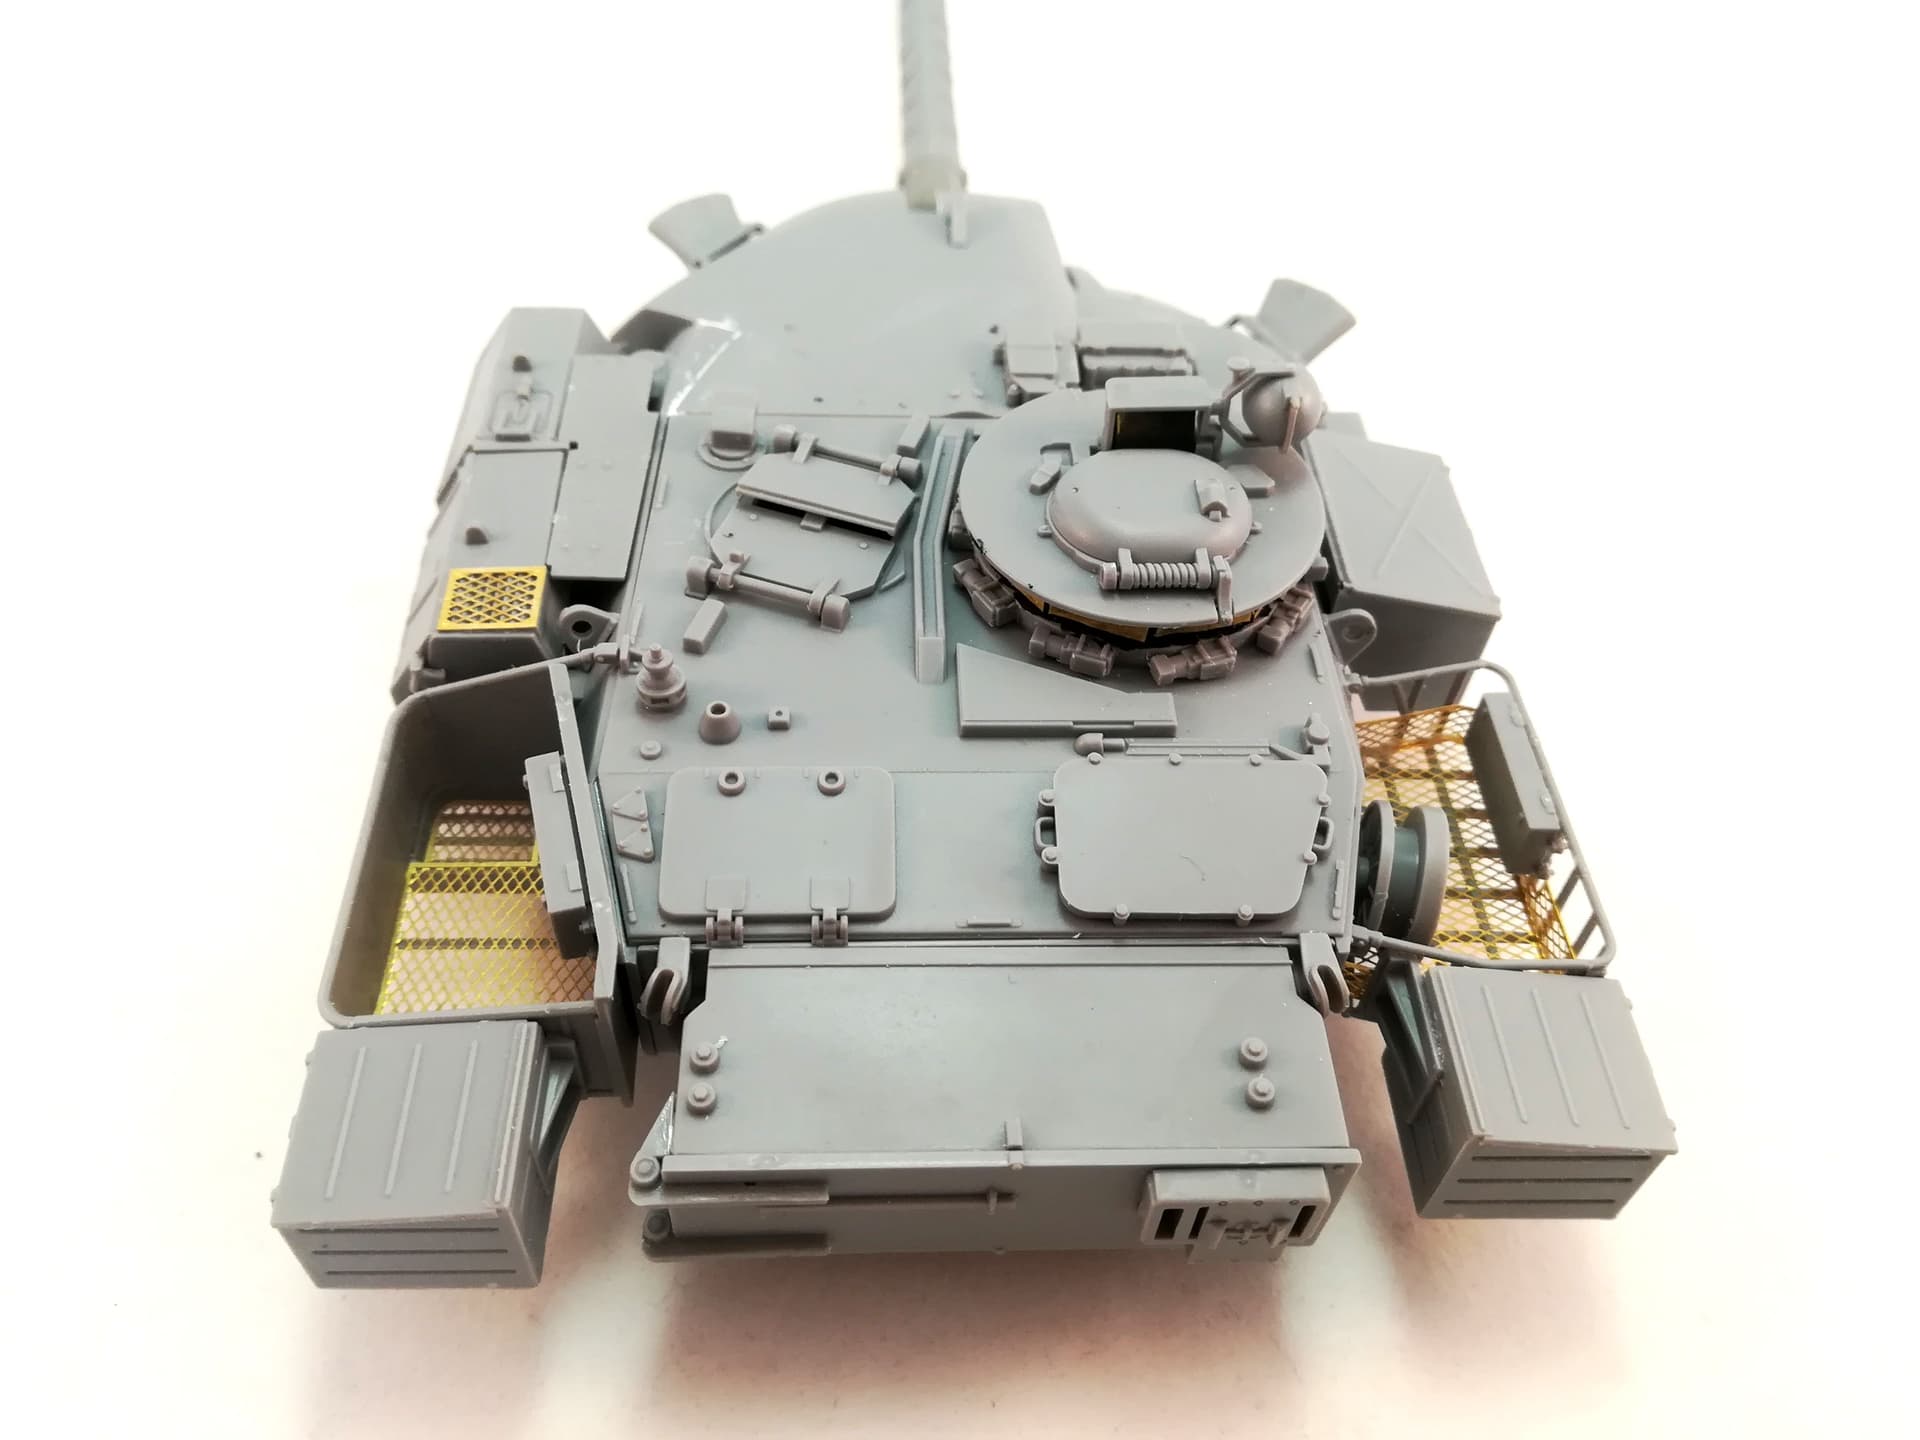
The GPMG looks a bit small when compared to MAG58 or M240 I have in the stash. The cradle is molded with the MG and you get 2 separate parts for the support.


 . Although they attempted to add the TISH (Thermal Imaging Sight Head) it really doesn’t come near the real thing in looks - it’s a pretty basic effort (as