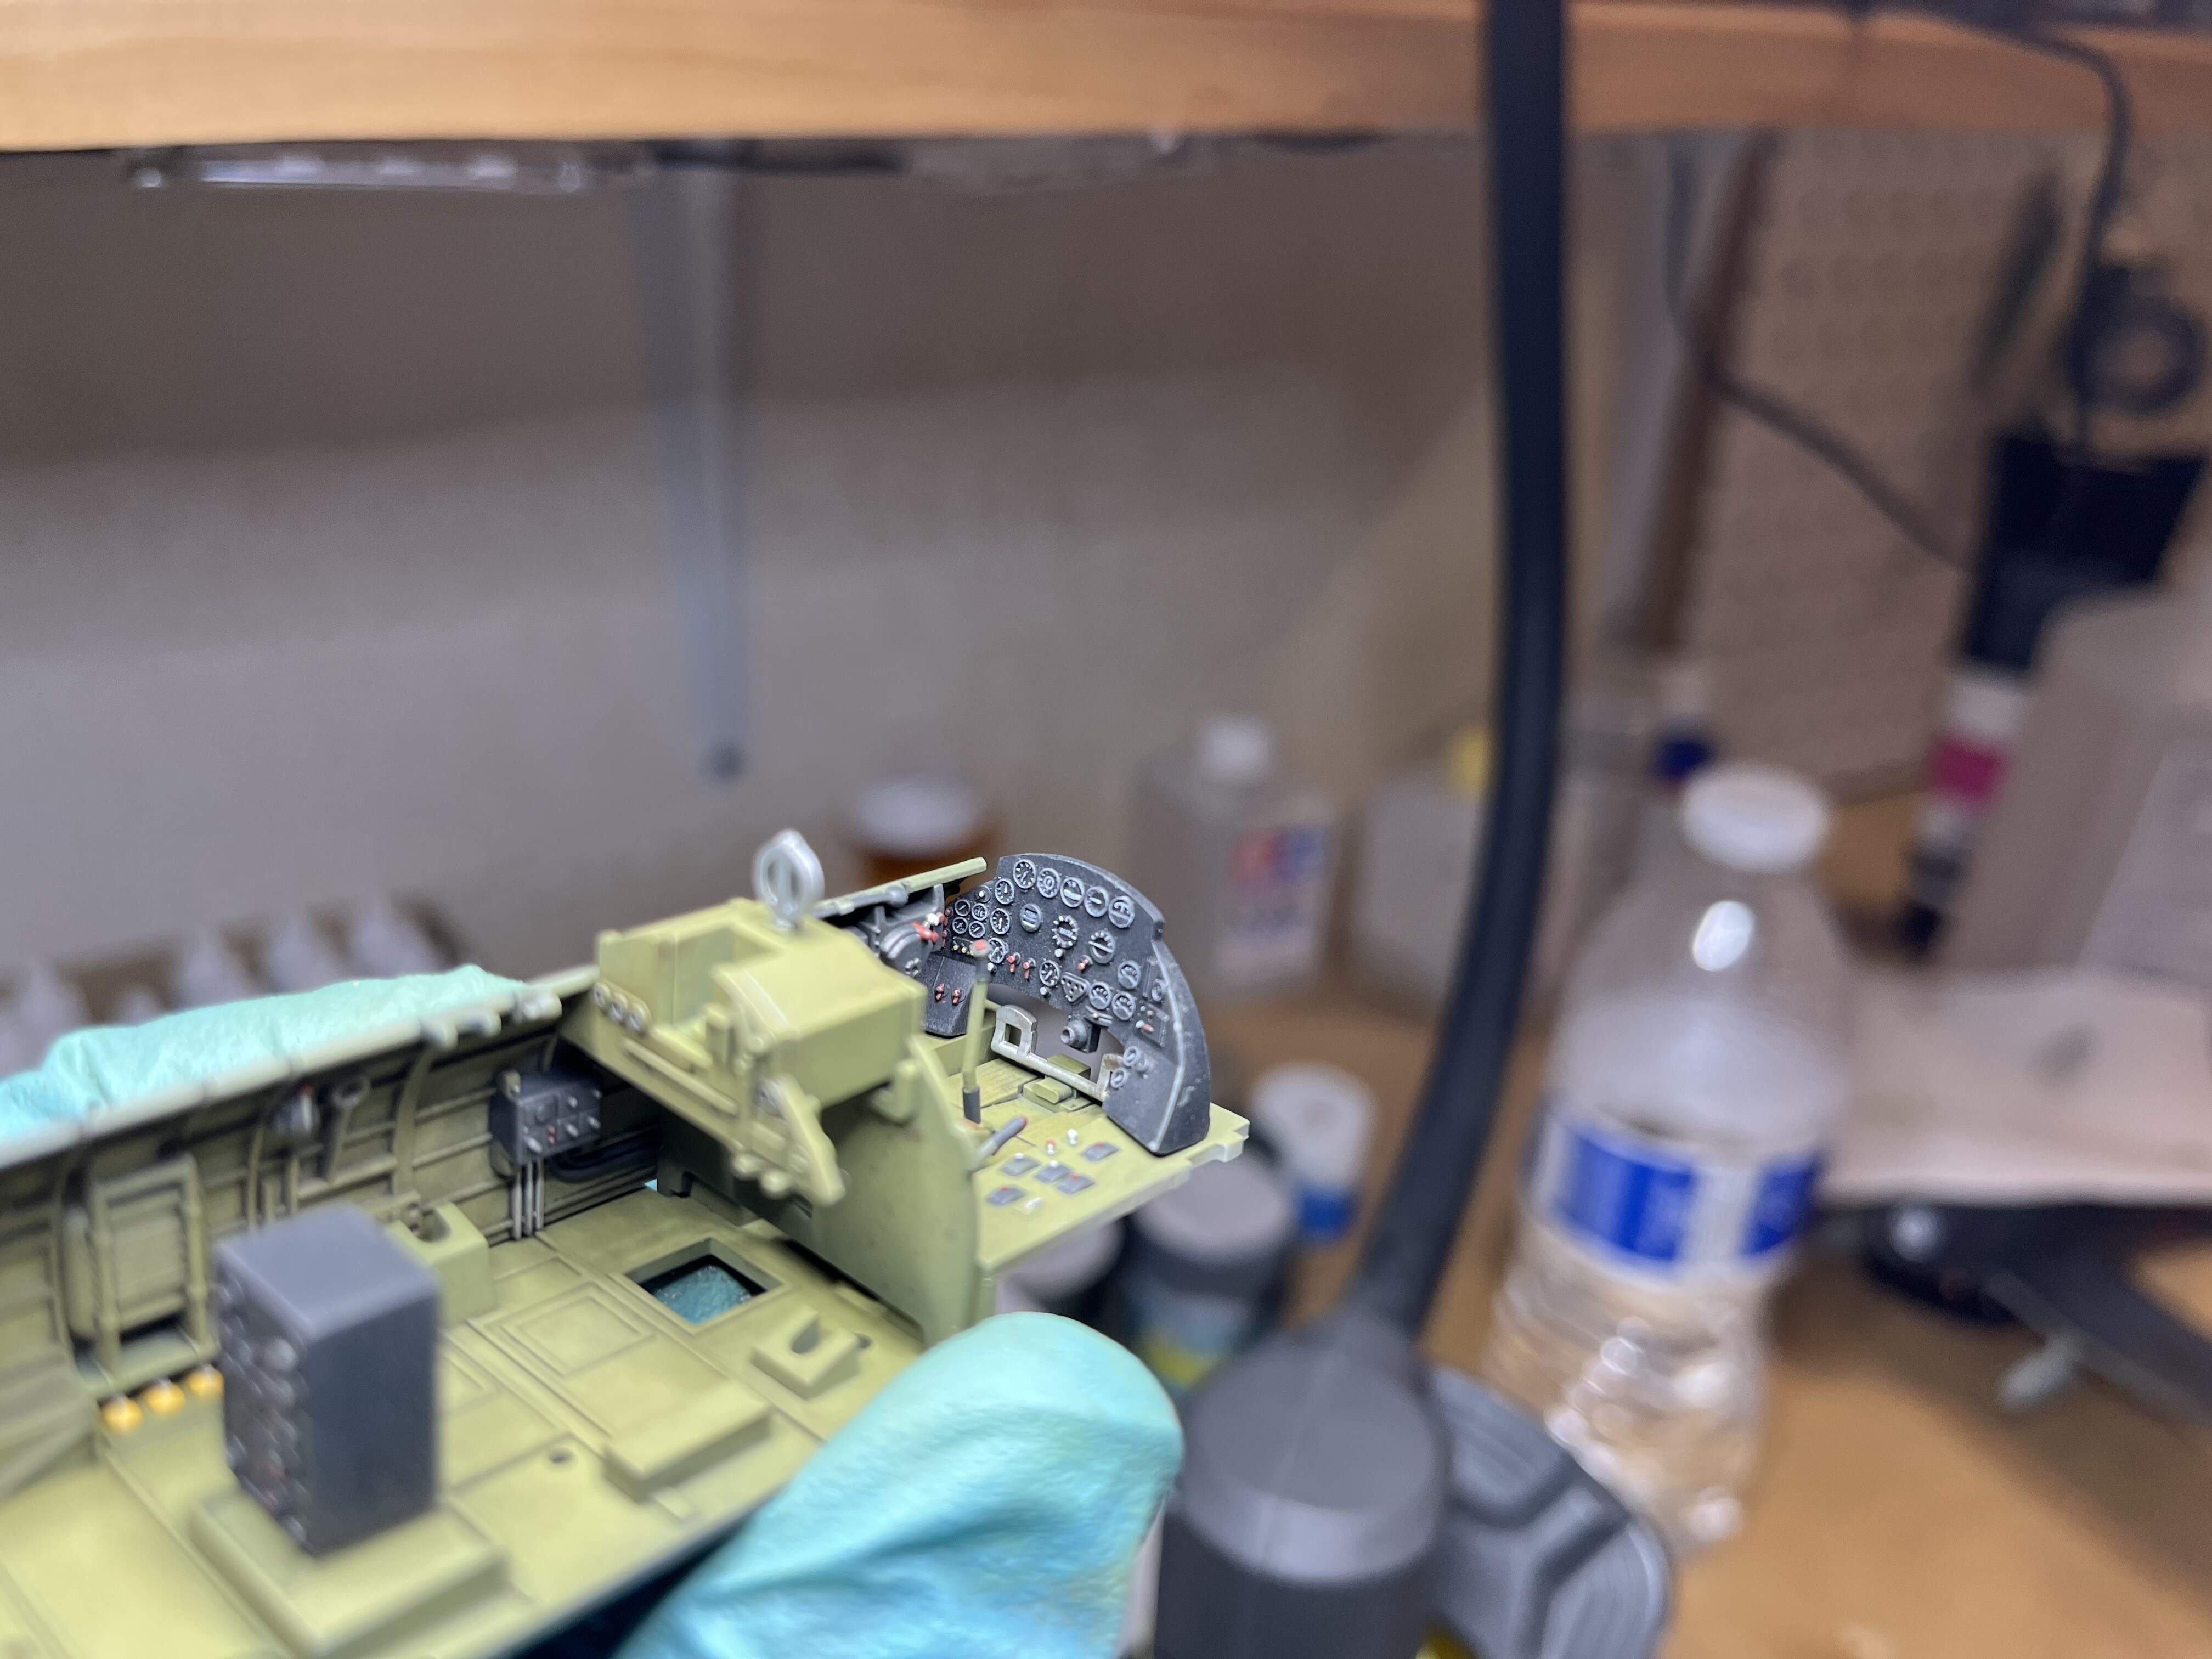
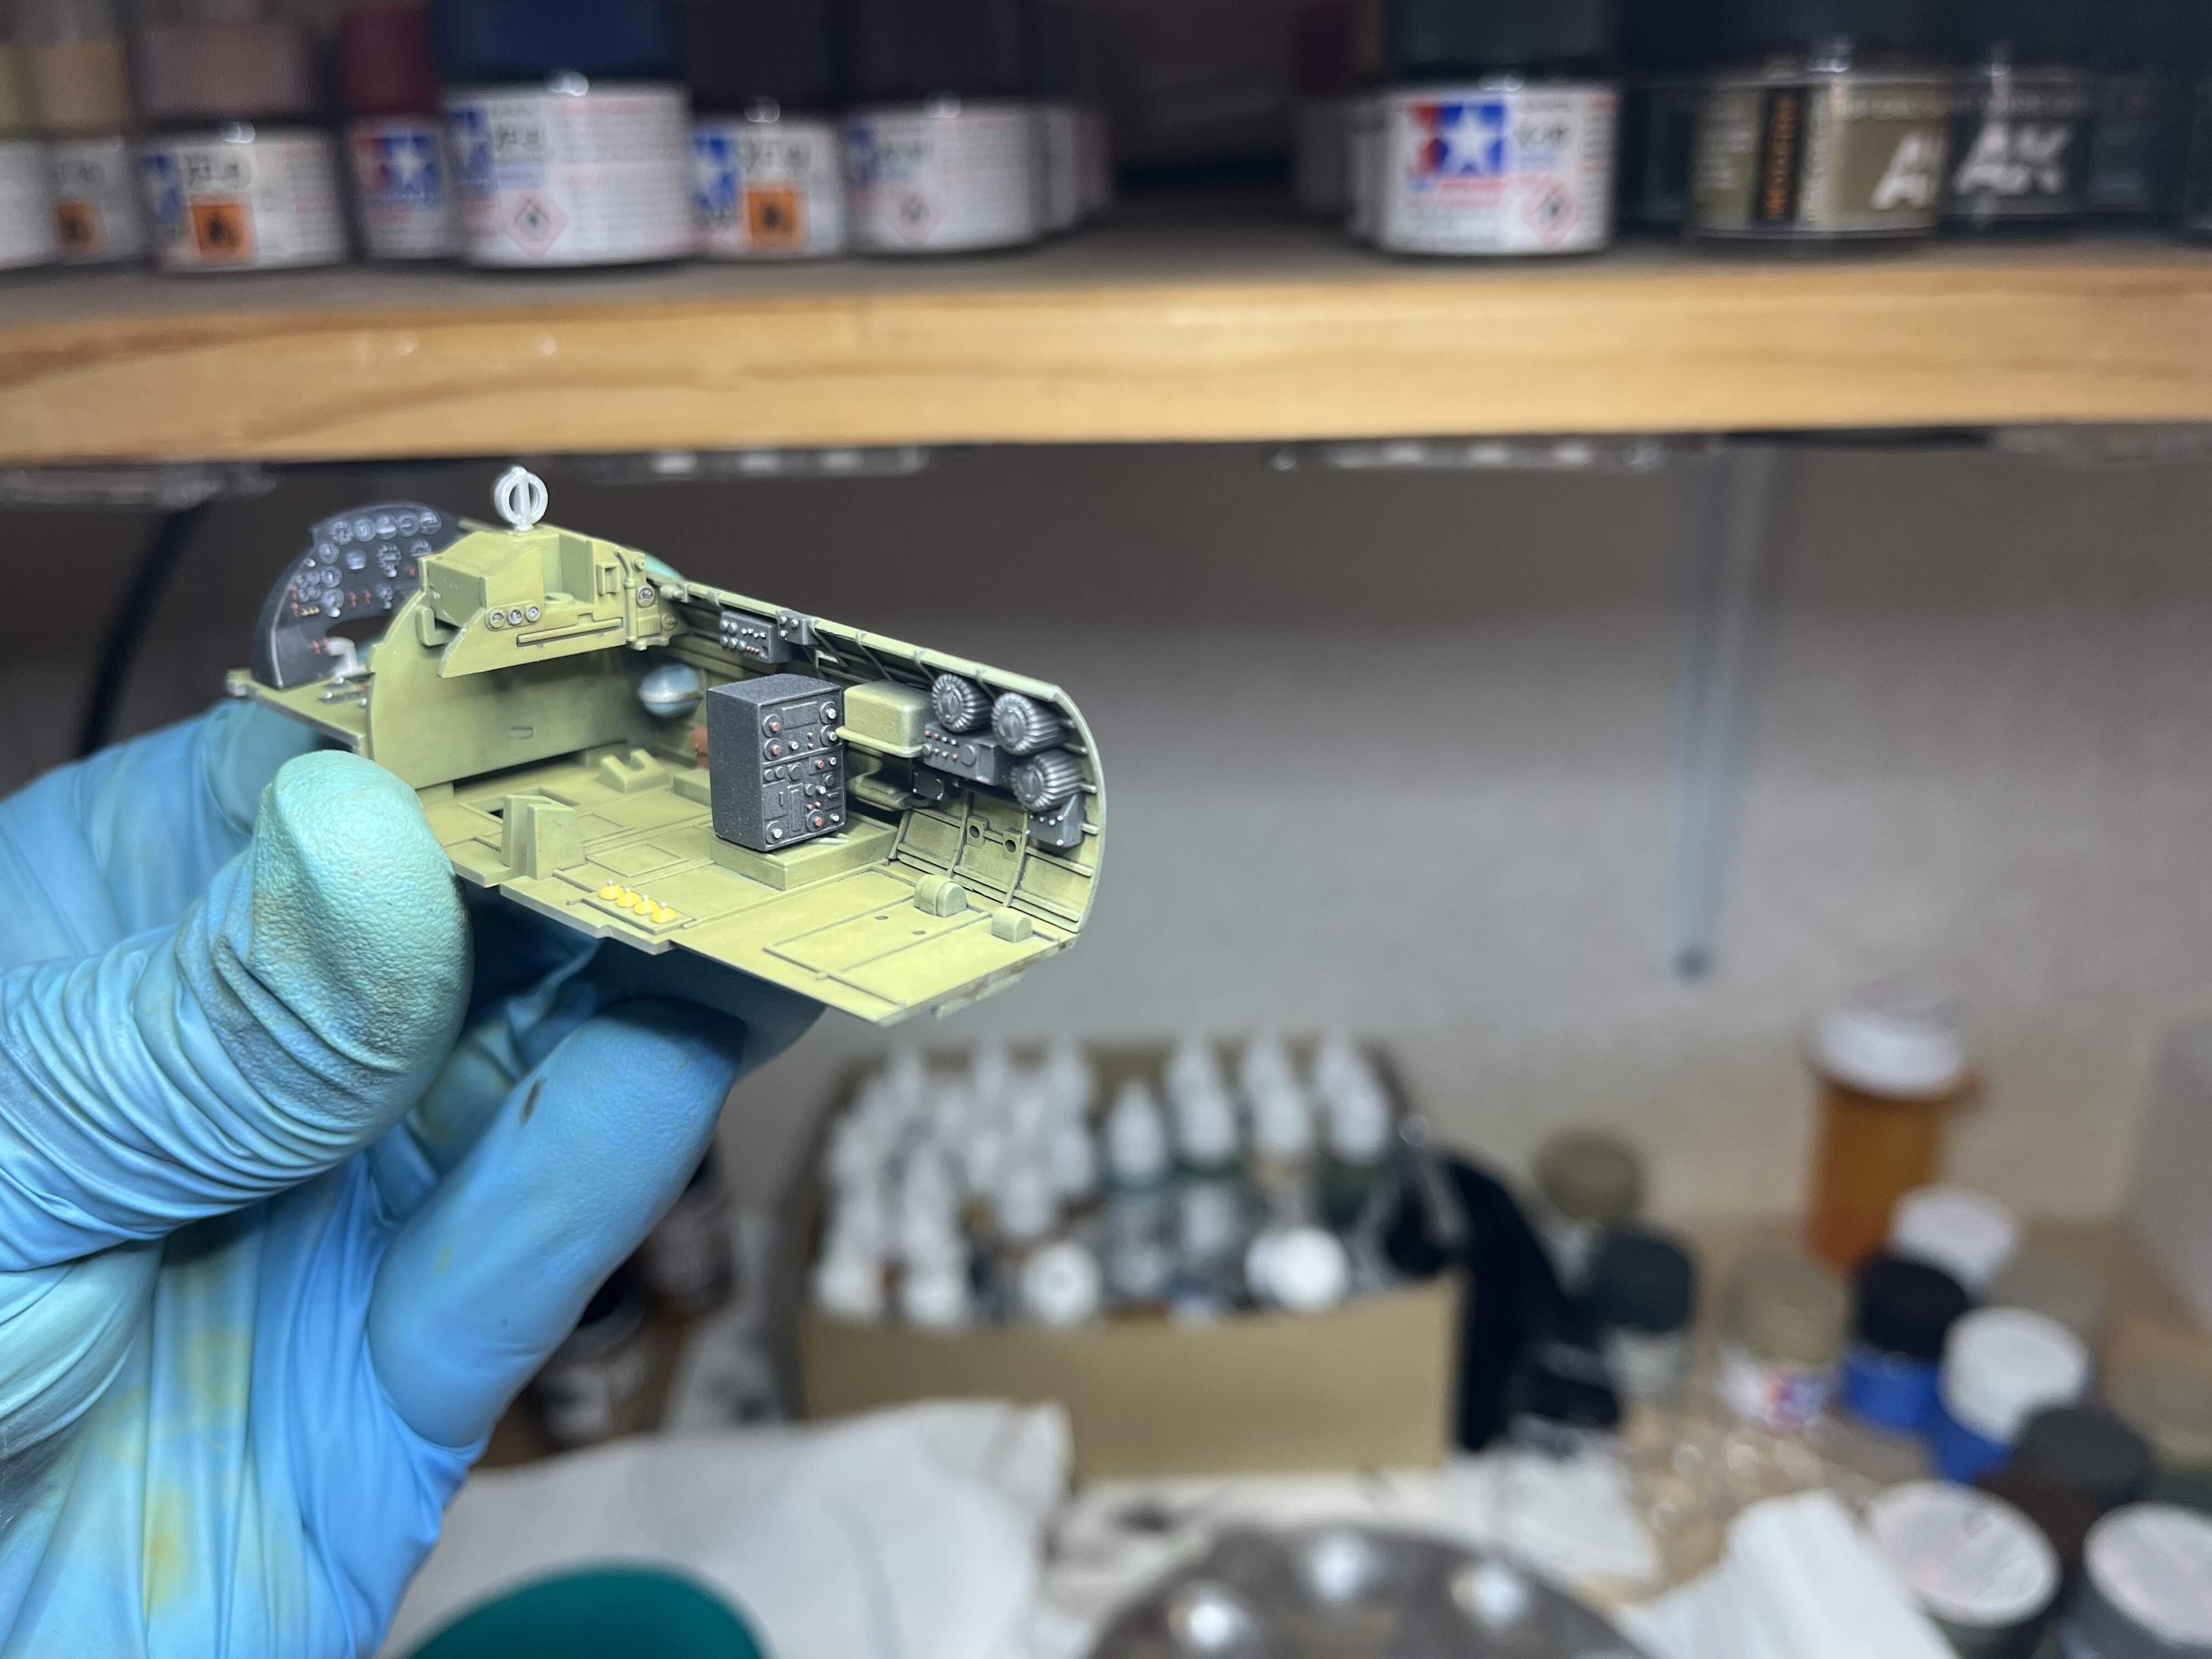
I am working on the Hasegawa Nakajima Jill. I am pretty happy with how the cockpit turned out
I would like to show it off, but trouble is the kit comes with a one piece canopy. I was thinking of cutting it into the appropriate sections so it can be shown open. I think this will be easy enough with a razor saw, the trouble is the canopy on this bird is designed so the sections slide under each other.
since it was molded as one piece, my concern is that the resulting sections will be too thick to slide under each other. I am curious if there is a method to work around this without lots of sanding of the underside surfaces followed by lots of tedious polish? For anyone who follows the IJN/IJA campaign, you’ll know I spilled glue on the lower wings of my Jill and had to buy another kit to replace the wing. The silver lining is I have two shots at the canopy fix
3 Likes
Check to see if Dead Design or Rob Taurus offer a vac canopy for this kit .
You could “vacuum form” your own from clear sheet styrene.
Looks like dead design does make one, but it is quite pricey 
@Tank_1812 how would I go about doing this? Do I need special equipment?
As others mentioned vacuformed canopy ideally aftermarket would be my best suggestion.
Cockpit looks great to me! Very well done!
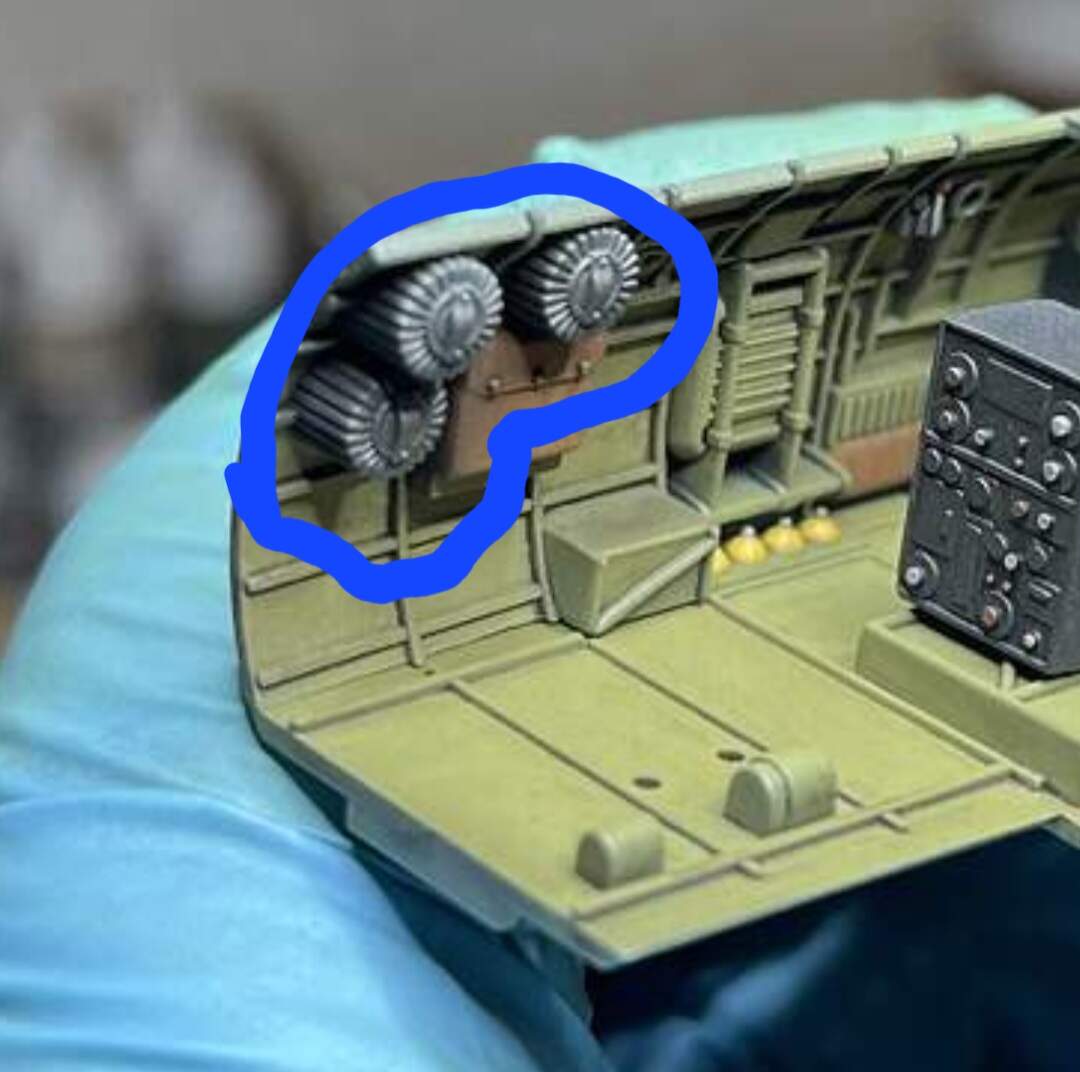
Curious, what are those three silver looking gear do-dad’s  circled in blue
  ?
?
I think I may have found a vaccuform on evil bay for $7! Will investigate further.
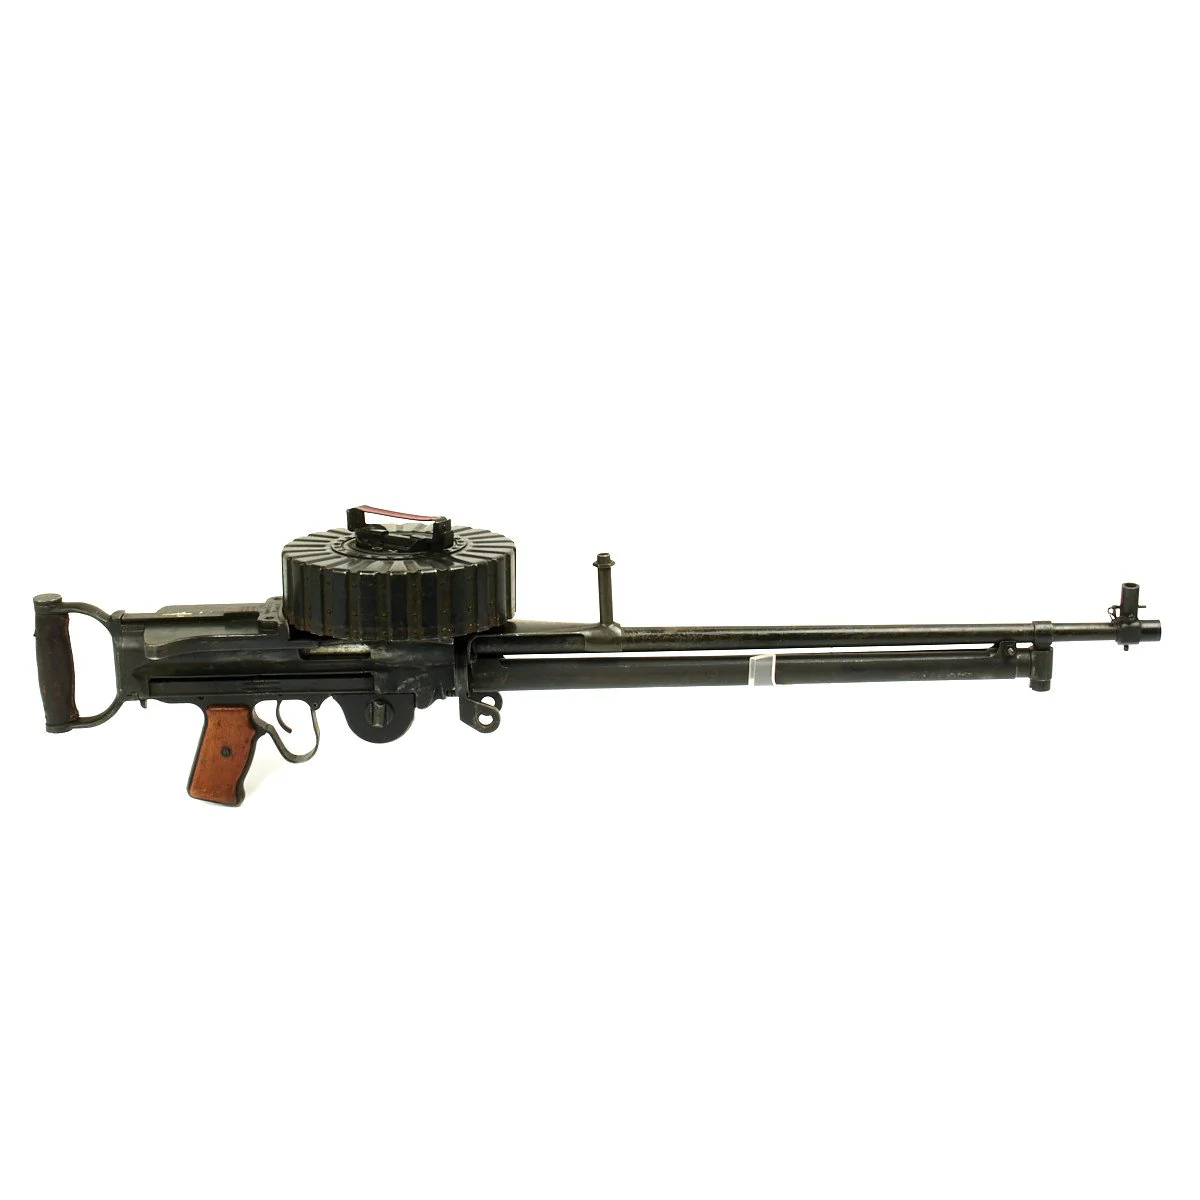
Thank you! I think it is my best cockpit to date. Those would be drum magazines for the ventral and rear facing Type 92 machine gun.
They come off quite silver in the photos but they are black dry brushed with graphite
2 Likes
There is a machine you can get but if using 0.005 clear plastic I would think a hair dryer might be enough to bend the plastic to shape.
I would cut strips for each section, with plenty of extra to trim to fit. In theory you wouldn’t need to add anything for the frame as the plastic would mold to it but it would plan to cut additional small strips for the frame work. Lay/hold the large strip over the canopy and with the hair dryer on hot wave over til the plastic bends. May need to polish the exterior with high grit sandpaper (1000+) depending on the clarity afterwards.
If the part has the same thickness for all sections, they should slide one into the other without much trouble. Maybe a bit of sanding on the edge of the cut.
Check the inside if it is srtaight or the sections are separated, I can not see it from the photo
The Dead Design canopies are very good - only my opinion of course but they are worth every penny. If you do go that route check to see that the offering for this kit includes open canopy sections- most do .
As you recognize, your cockpit looks very good indeed and well worth the effort/ expense of a vac canopy or thinning and rework of the kit piece.
Since I have a spare to ruin, I might try to go the cutting and thinning route first. If that fails I may look at the dead design canopy. They do look
Quite nice. Hopefully I can find one closer to me. The one I found was only $10 but shipping was another $13
DD does look nice.
Squadron has its own vac canopy.
2 Likes
Used a Squadron vacuformed on a P51D, long ago. It was like a soap bubble in clarity. It was also thin. Not a plane modeler but the Squadron canopy was sweet!
1 Like
Good to know! I did have my eye in the squadron canopy
1 Like