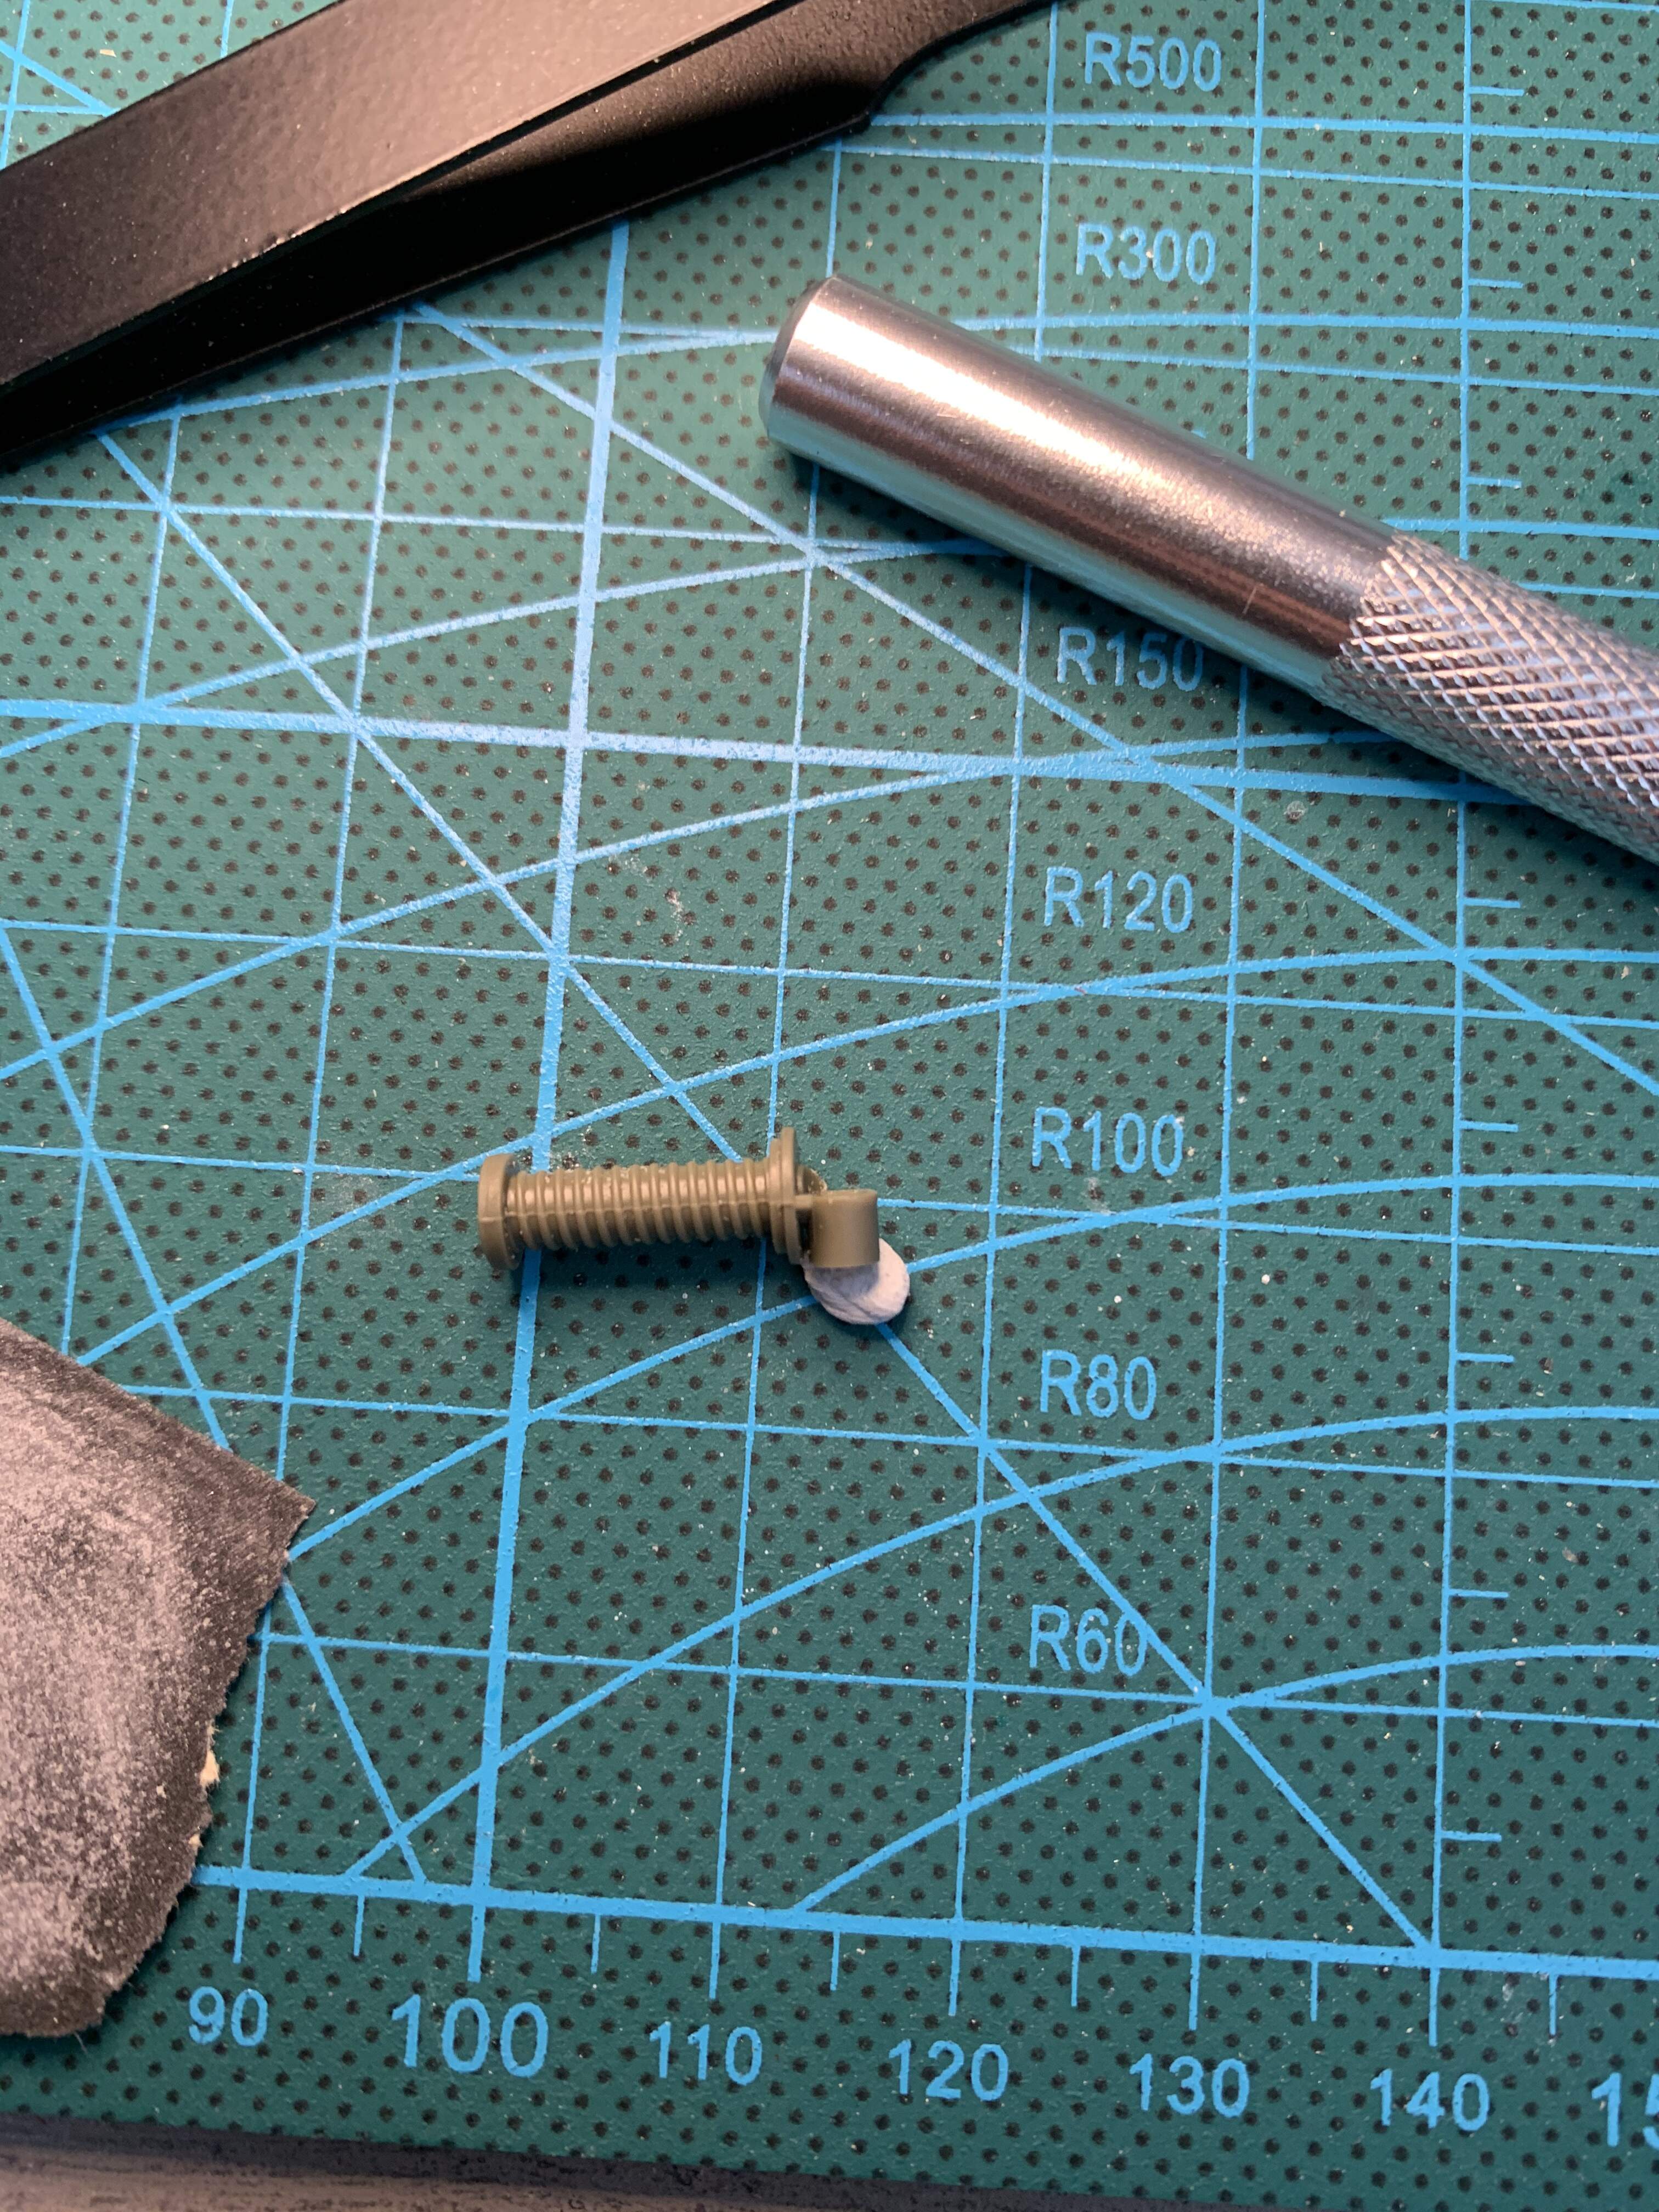
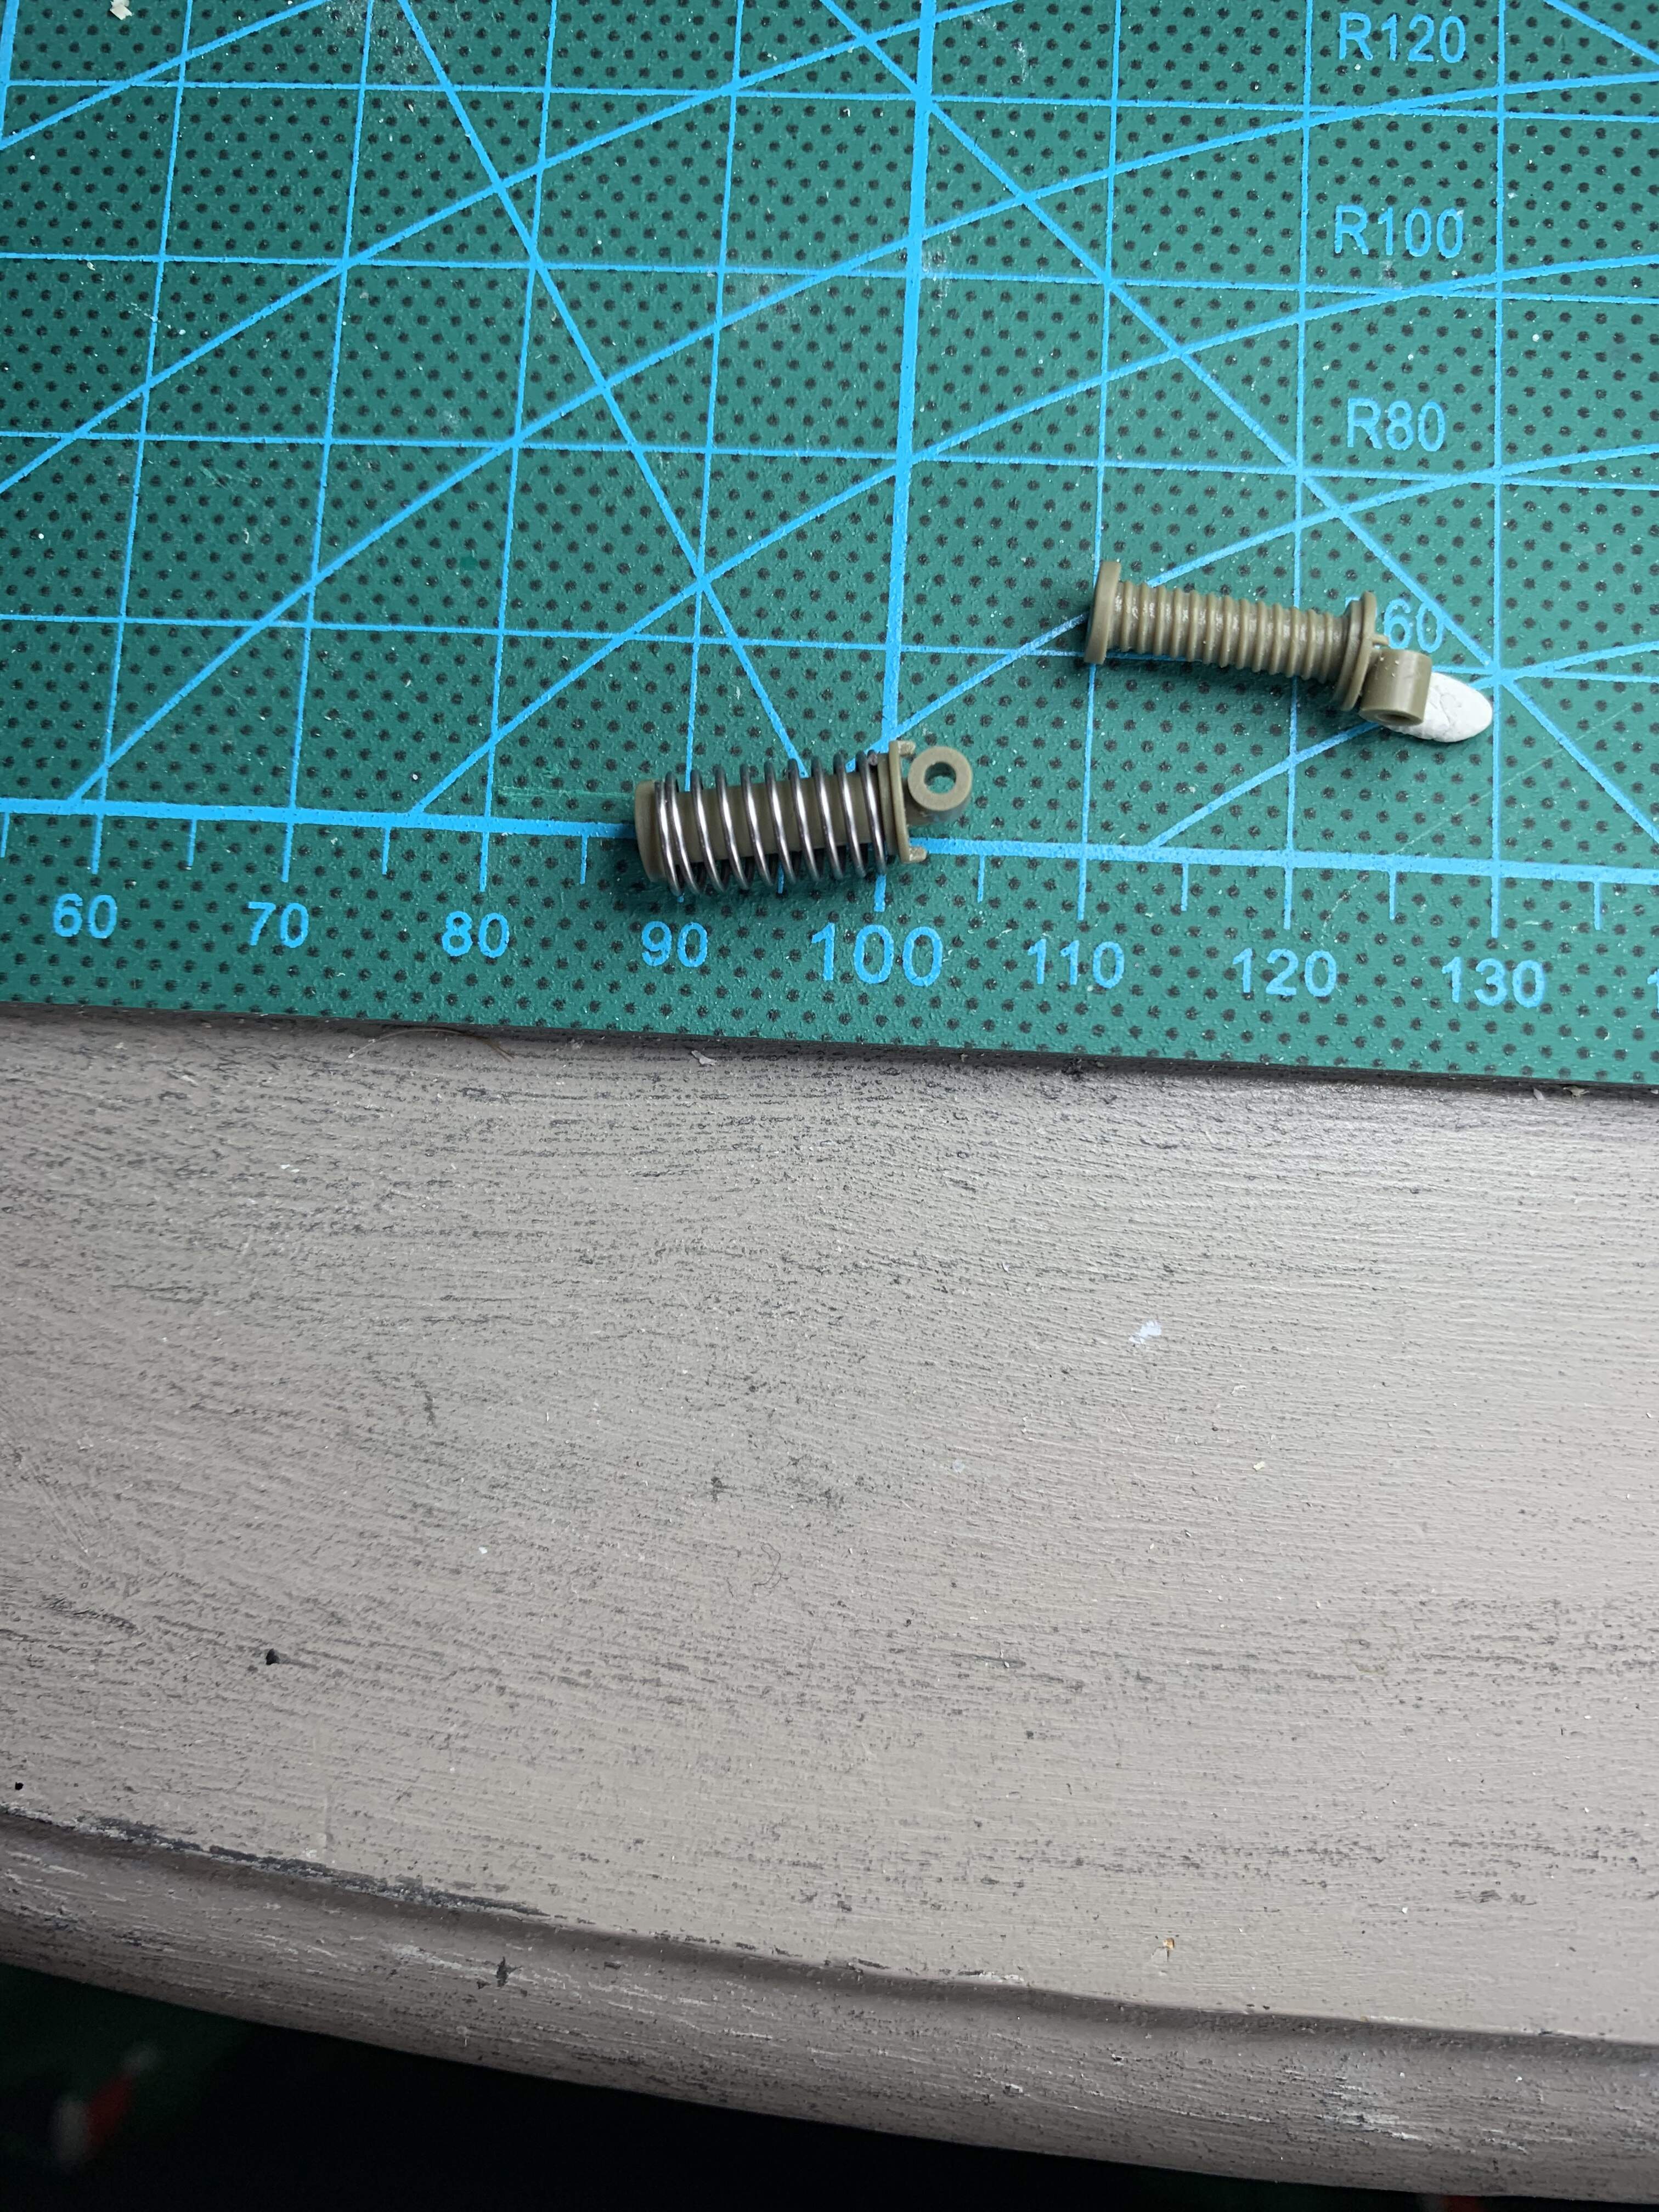
I am building the AFV club Churchill Mk III Dieppe version and I am working on the suspension. So far the kit has been great. But I have run into a minor issue. Each of the 22 suspension arms has a mold seam running up the side between the “spring”. Normally I don’t have a problem with mold seams, but these ones are in fine detail. The seam is pretty small but I am checking to see if anyone has an easy technique for this. So far I have been flicking the tip of a #11 blade carefully over the seam along the grove, but this is producing not great results. I am trying to remove the seam without causing more clean up than the seam originally made. The top picture below shows the seam and the bottom, one I’ve tried to clean up.
2 Likes
For that job, I’d probably use the following tools and get into zen production mode:
• X-Acto No. 11 blade
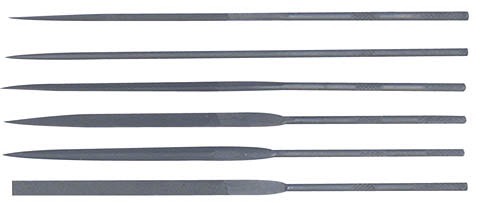
• Small triangular needle file
• Small square sanding twigs

• Place a damp paper towel on the workbench to catch and wipe-off shavings.
• Extra Thin Cement to melt-down the fuzzies
If all else fails, head for heavy weathering products. The guys around here seem to like that. 
—mike
1 Like
Usually, if the mold seam is not too pronounced, you can smooth it out enough by brushing liquid cement across is perpendicular to how it runs. A few swipes of liquid glue and it will practically disappear.
2 Likes
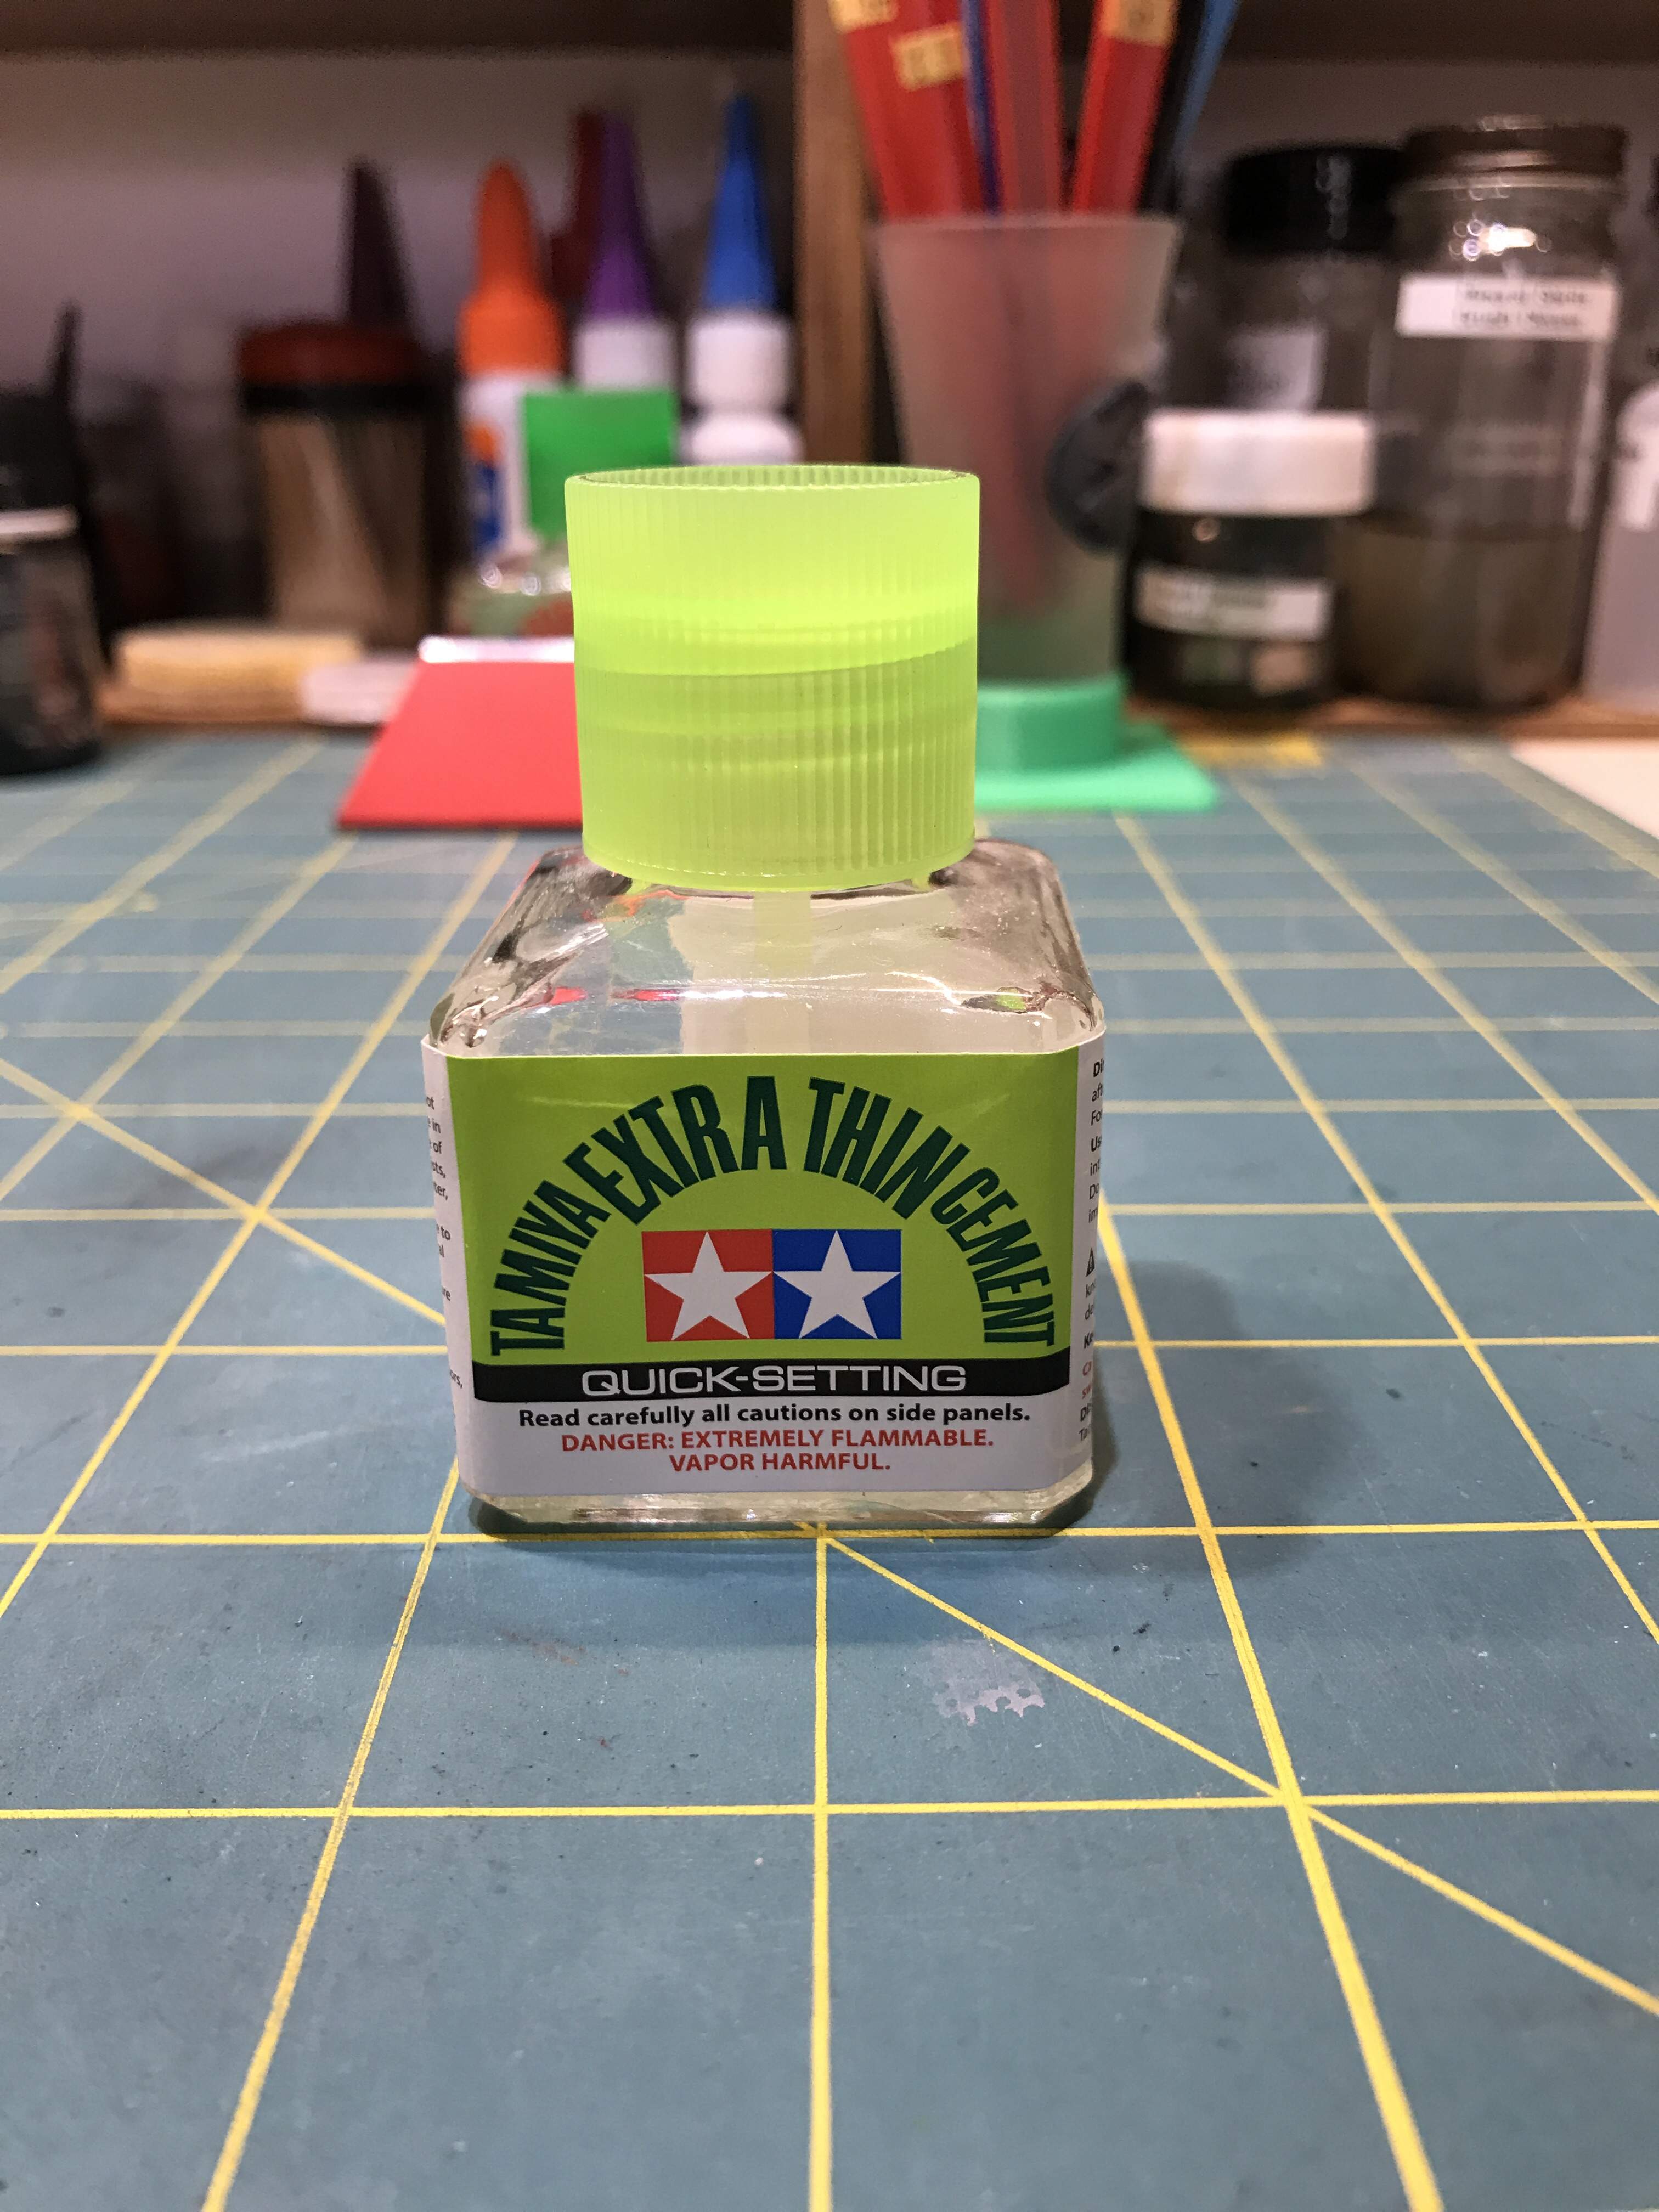
Try a piece of 320 or 400 grit sand paper folded in half to get between the springs. The v shaped fold, and patience, works great for things like that. You can also try some sponge backed sandpaper. These will sometimes conform well enough to take off the seam with minimal effort. If you end up with fuzzies, or roughness, this can be smoothed quickly with a bit of Tamiya Extra Thin Quick Setting cement. This is the stuff with the light, almost fluorescent, green top. It dries so quickly it is almost useless as a glue, but works great to smooth out imperfections in tight spots.
Rick
5 Likes
Great thanks @justsendit @HeavyArty and @taylorrl. The main issue I am having is fuzzies and such left behind after clean up. Thought about liquid cement but didn’t want to ruin anything. I’ll give the blade followed by sand paper and triangular file a try with the quick setting cement to clean up the rest. I accidentally bought the quick setting but paying attention so it’s good I have a use for it now
1 Like
Hope you don’t mind… I’m borrowing the Extra Thin Cement idea and adding it to my post above for future reference. Thank’s, guys!
—mike
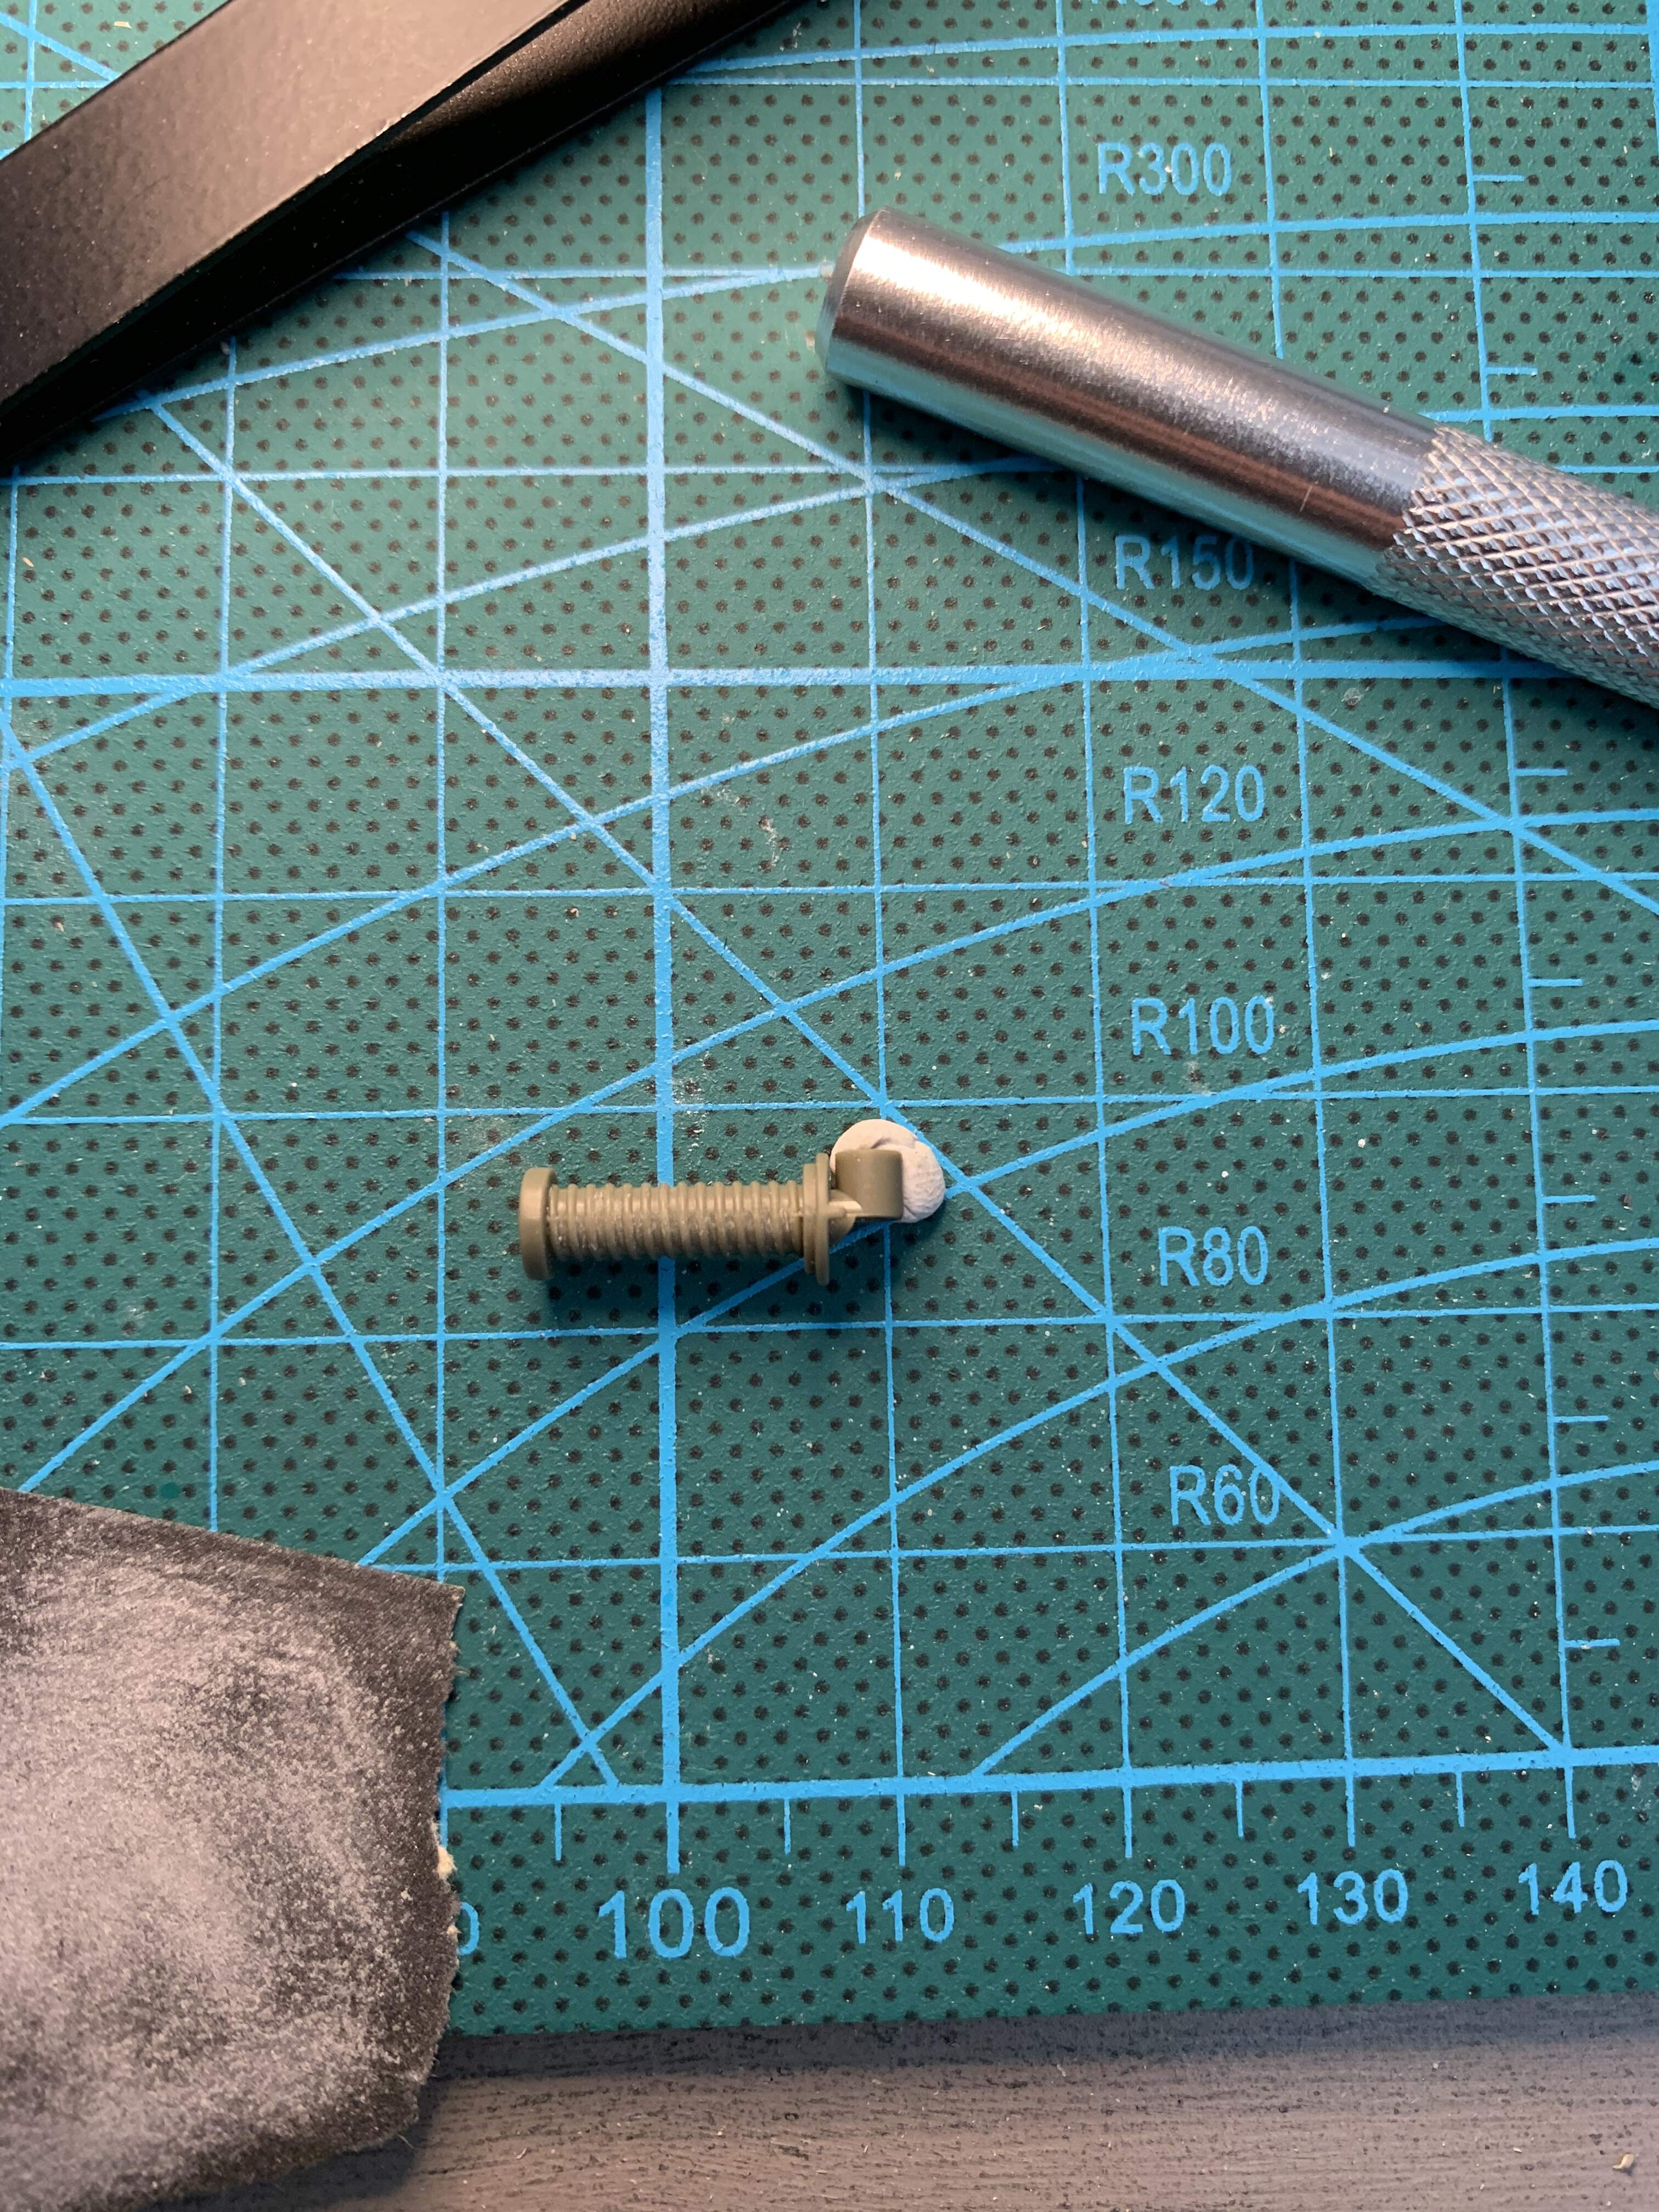
It works wonders! I just tried it and the fuzzies completely disappeared. Here is a cleaned up one, going much faster than what I was doing. A couple flicks of the #11 perpendicular to the seam and the some quick setting!

Should have also mentioned they get another spring over top, so they won’t be super noticeable but I am a little ocd about this stuff
3 Likes
Ahhhh… much better! — with or without the outer spring. Mould-seams are the modelers’ curse. I especially hate the ones that resurface after primer! 
—mike
1 Like
In addition to the above tips, a bottom of the barrel nearly worthless panel line scriber like this one can be useful for getting between fine spring coils to remove mold seams.
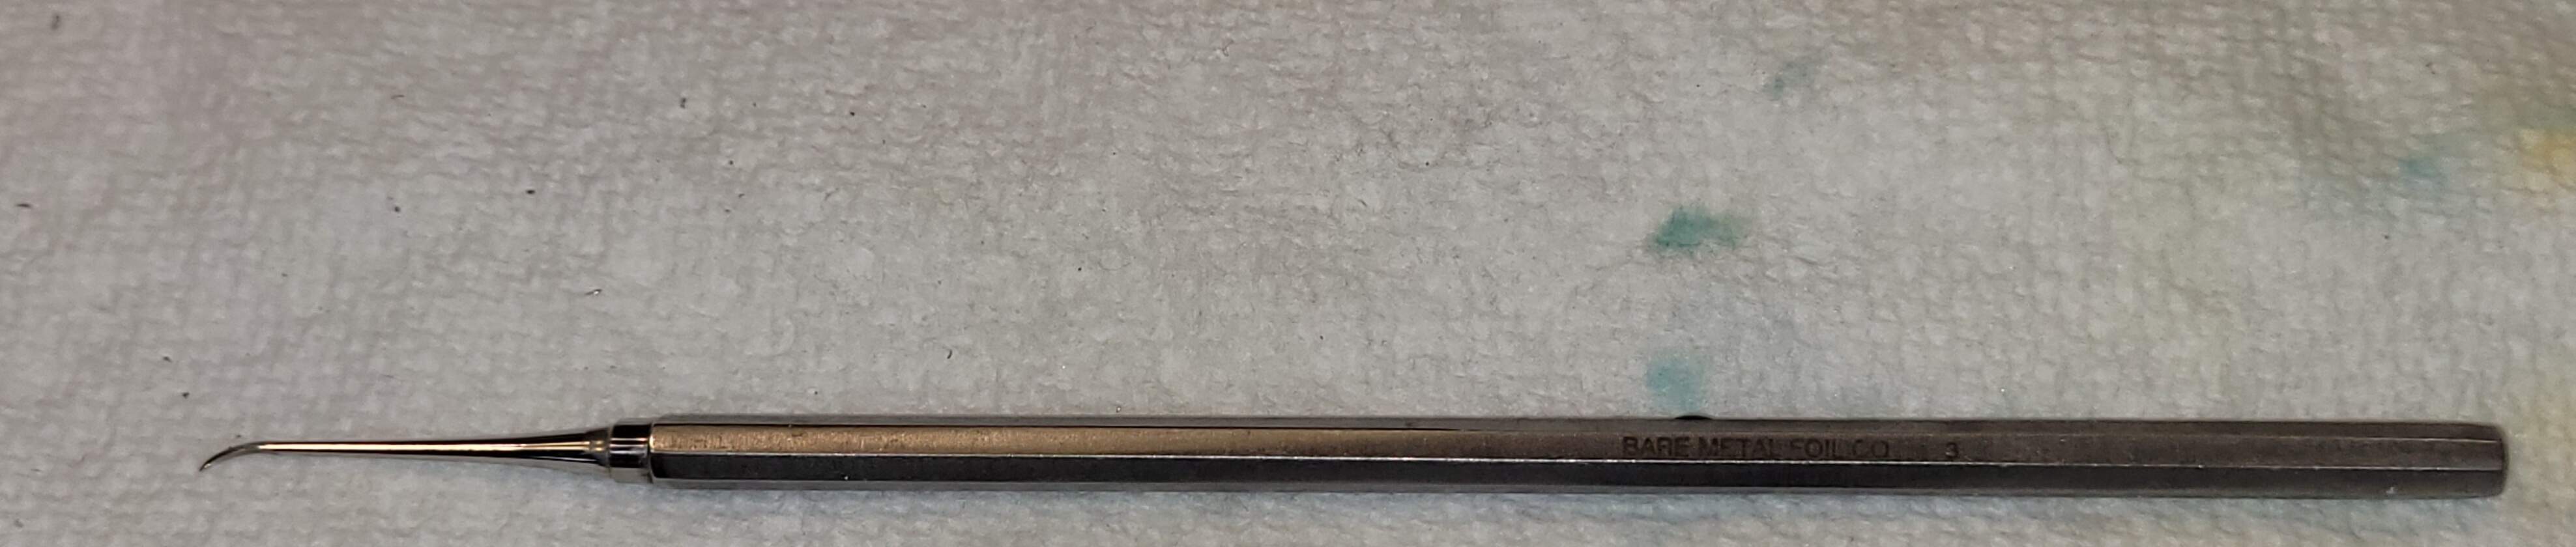
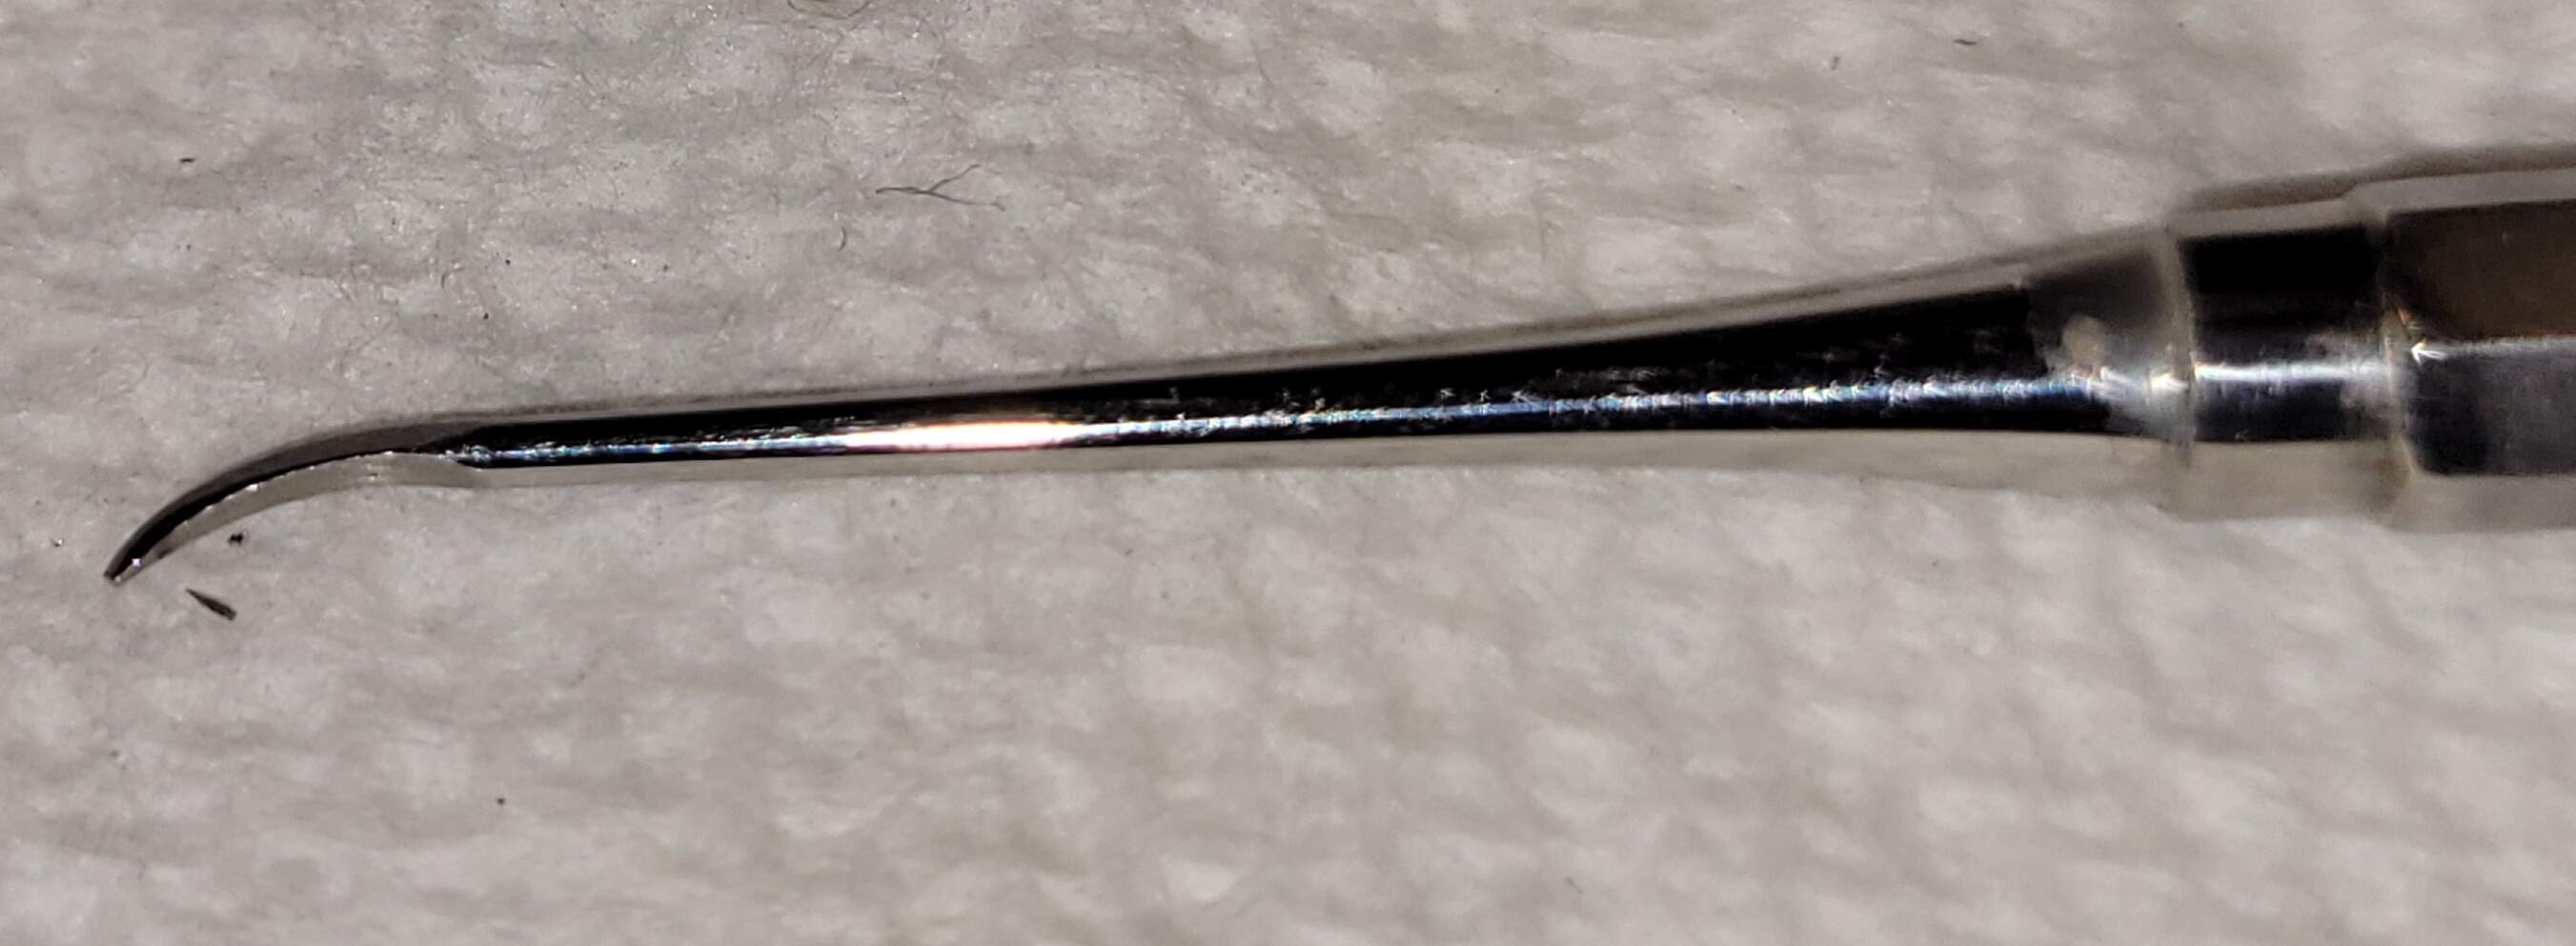
A light brush of LC suggests to clean up the fuzz.
1 Like
FWIW, I 4x0 steel wool to buff out tooling marks after carving, trimming, sanding, drilling, filing, etc. The liquid cement trick does work, but it has some practical limitations. I find it best for very small and delicate parts that might be damaged by the buffing.
Liquid cement, when used with care, can be really rather wonderful. Here’s a picture of some tool clasps from my Tamiya Jadgtiger, all done with a fine brush, a steady(ish) hand and some MekPak

1 Like
Nada here por vu
1 Like