Watching with interest. Enjoying your build.
The exhaust extension comes in the HKCW upgrade and has gone on this evening. I’ve put the side lights on, kit ones on the rear as they were better than the etch set but etch front ones as the kit versions are incorrect. This is bringing back a lot of memories, I learnt my 76mm gunnery on a Saladin, never crewed Scorpion though my unit had them in Recce Troop. I’ll post some more pics tomorrow when the light is better.
1 Like
As promised last night a brief update. The exhaust shield came out far better than I thought it would. I think I should have annealed it over a flame as it was very springy. That being said I think it is holding it’s shape quite well due to that springiness. I’ve held off adding the number plate bracket and a few other things as at times I’m like “Hulk smash” when handling stuff. I think it’s a left over from my Armoured Corps days where finesse wasn’t usually a requirement.


10 Likes
I believe that the Saladin kit was graced with the unofficial title “Best of the Black Label series”. It is looking good so far.
3 Likes
Very nice work. The PE looks fantastic.
Finesse and Chieftain or Chally track changes … Does not mix well lol … Now where’s that sledge ![]()
PE looks great though Max… Especially that heat shield… Looks bang on the money ![]()
Just for some background info chaps and not intended as a thread hijack you might be interested in this (includes CVR(T) and others):
2 Likes
And here we are now. Not a lot of movement really, fiddly stuff like wiring on the rear lights and number plate bracket. Front lights put on and the .30 tripod with a scratched third leg as the kit part only has the two trailing legs. I added a foil securing strap as again there isn’t one. The extinguishers are very basic with the rear plate missing on the bracket so I added that with scrap etch from an old used fret.

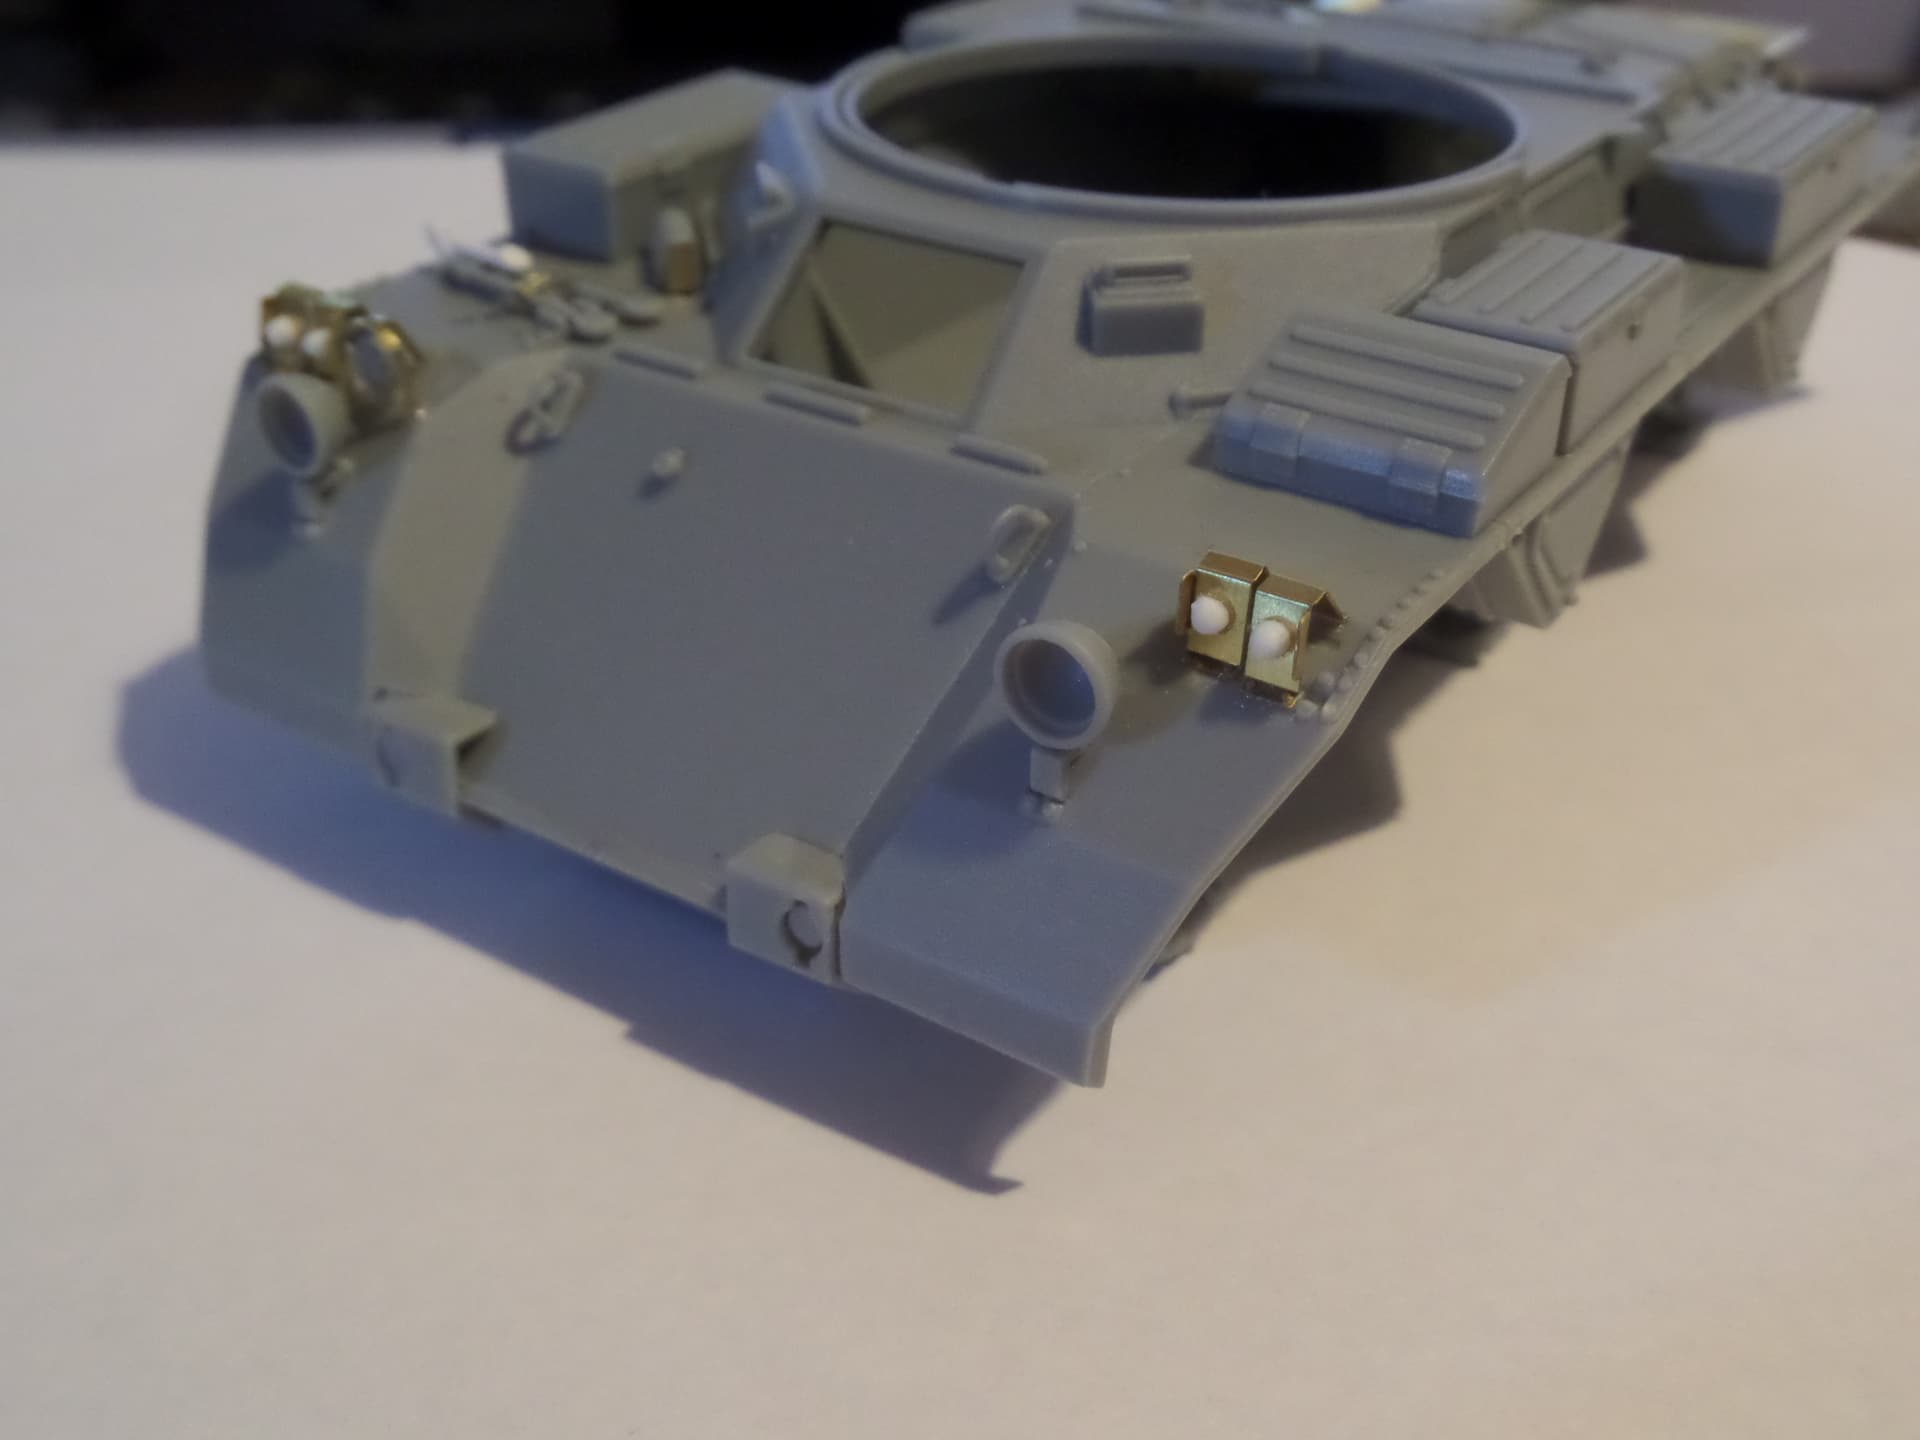


9 Likes
Looking good here; all useful stuff for when I start mine.
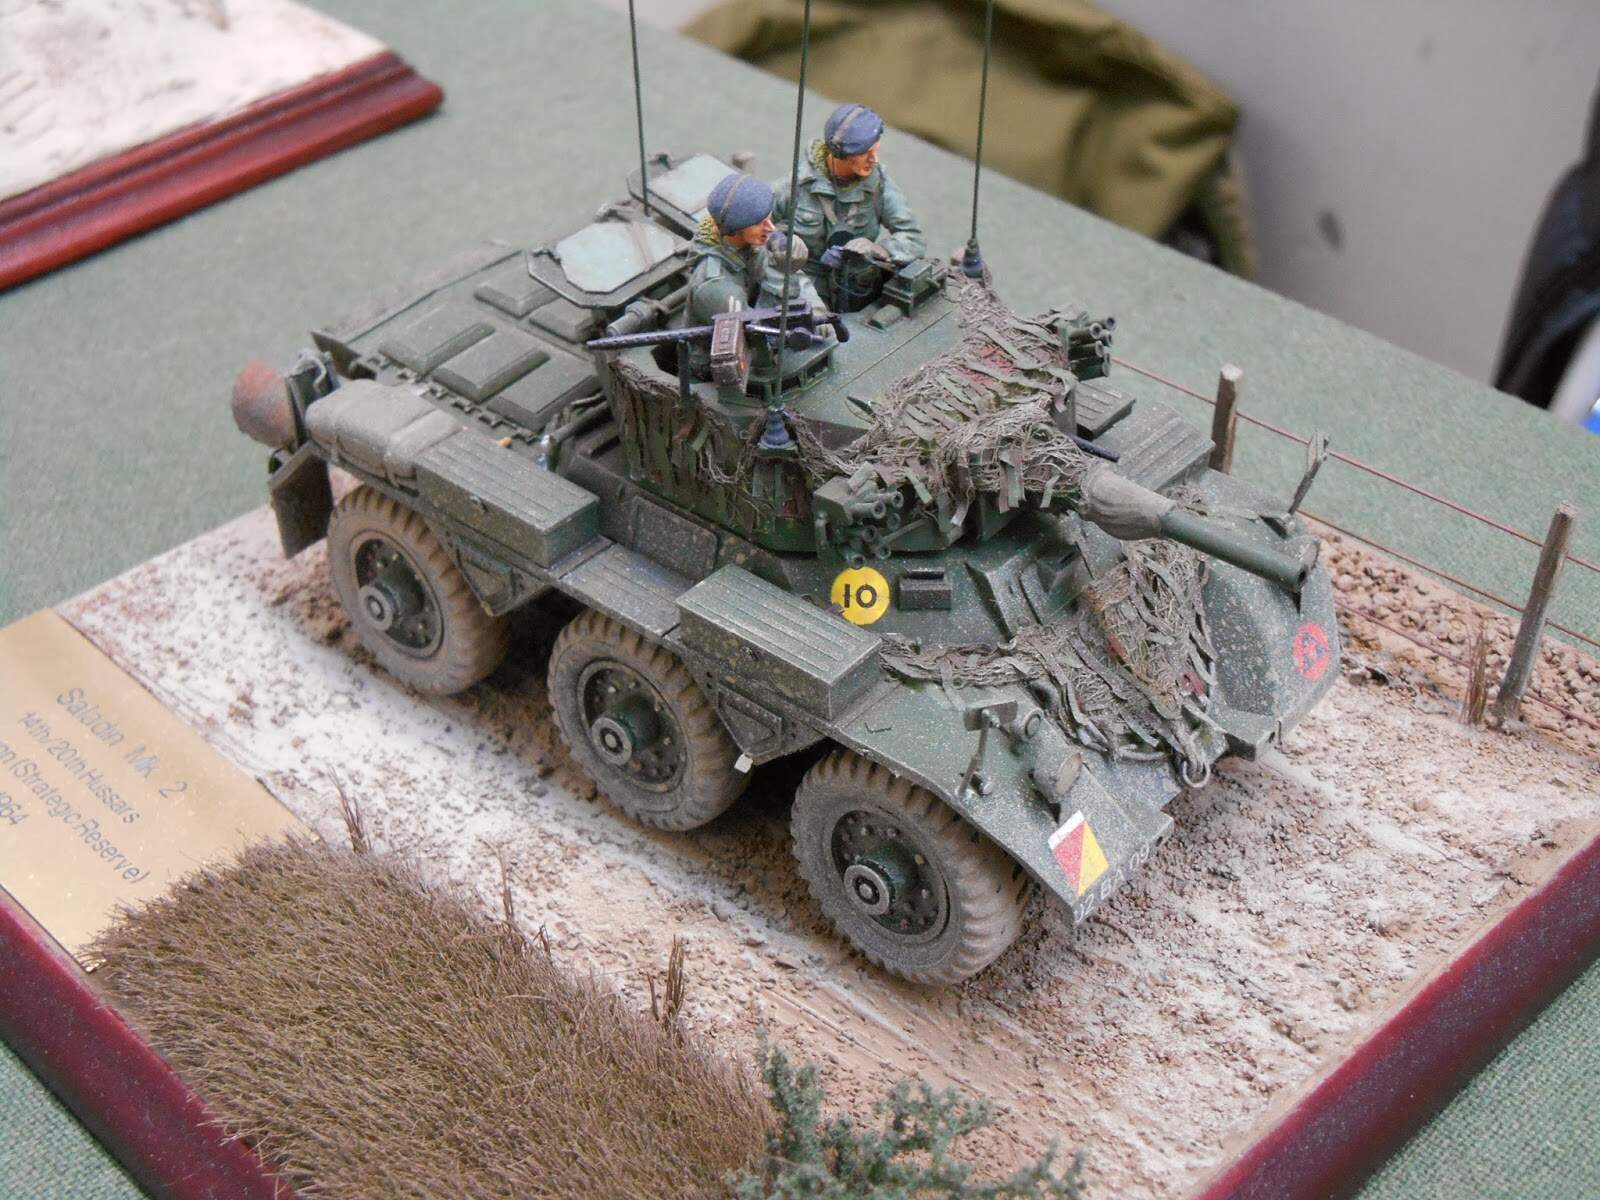
A few years back I built the Firing Line resin version, though depicted it as in 1964. Not too bad a kit at all.
I haven’t built any fully resin kits yet. Most I’ve built was the .50 turret on a Husky TSV and it was quite complicated to do. The resin was very brittle also. The resin parts on this kit are quite forgiving but the barrel has a slight curve to it which I’ll have to sort and it tapers from the mantlet to the muzzle. 76mm barrels are a constant diameter all along it’s length so it will need careful sanding.
Nice update with some neat detailing and extra little scratch parts. All goes towards giving that real look 
That’s interesting (re the barrel); the Firing Line jobby was a white metal casting and around the size of a scale 155mm howitzer! I replaced it with a length of simple plastic tubing, which of course had no taper. I was unaware that the real thing had no taper, so unwittingly I now find out that I was on the right lines! Here it is just for interest - again, not a thread hijack I hope:

The older-type Hessian strip camouflage was a bit of a trial and I realise I have’t quite pulled it off. I think I built this around 10 years ago.
10 Likes
Cheers Johnny, got to get amongst my photos now as I need the vehicle number and have a look what decals I’ll need. I think I’ll prob have to print one or two. That looks spot on Boots, the camo looks good to me. I’ll be doing light weathering as although we did exercise now and then the majority of the time we patrolled the SBA’s. Here you can see what I mean about the barrel on this exceptionally pristine example.

2 Likes
Thanks; that’s a pretty good pic. I like the extra stowage cage - hitherto I’d thought these were sort of unique to Aden and the like. It looks pretty good in black and green.
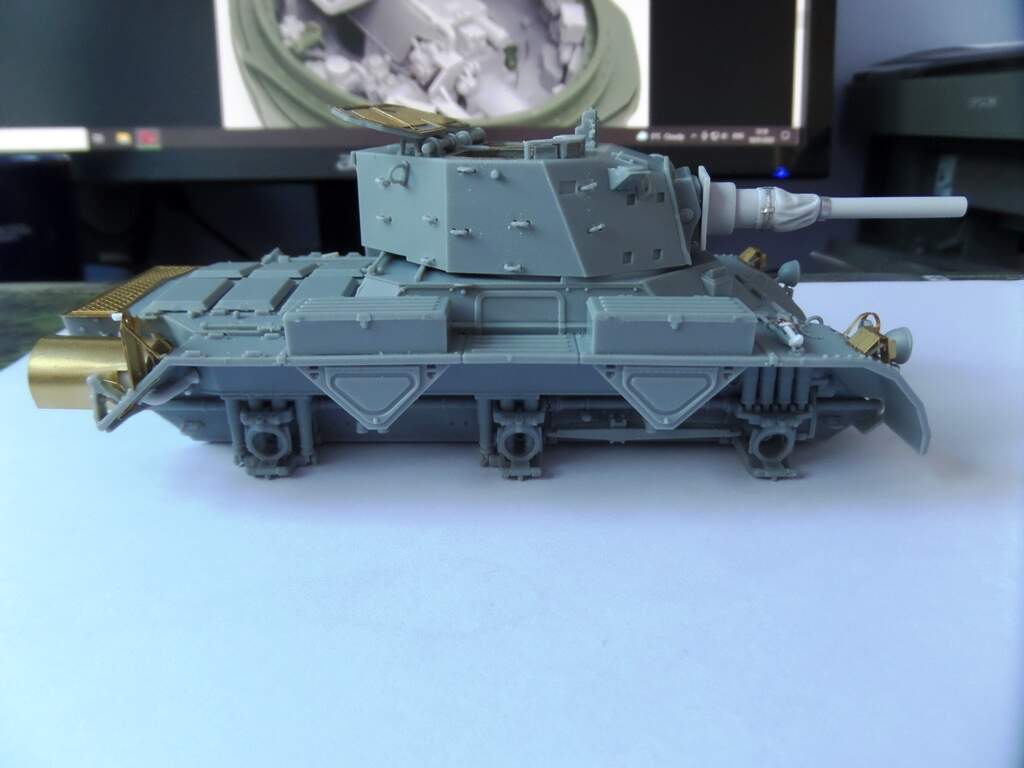
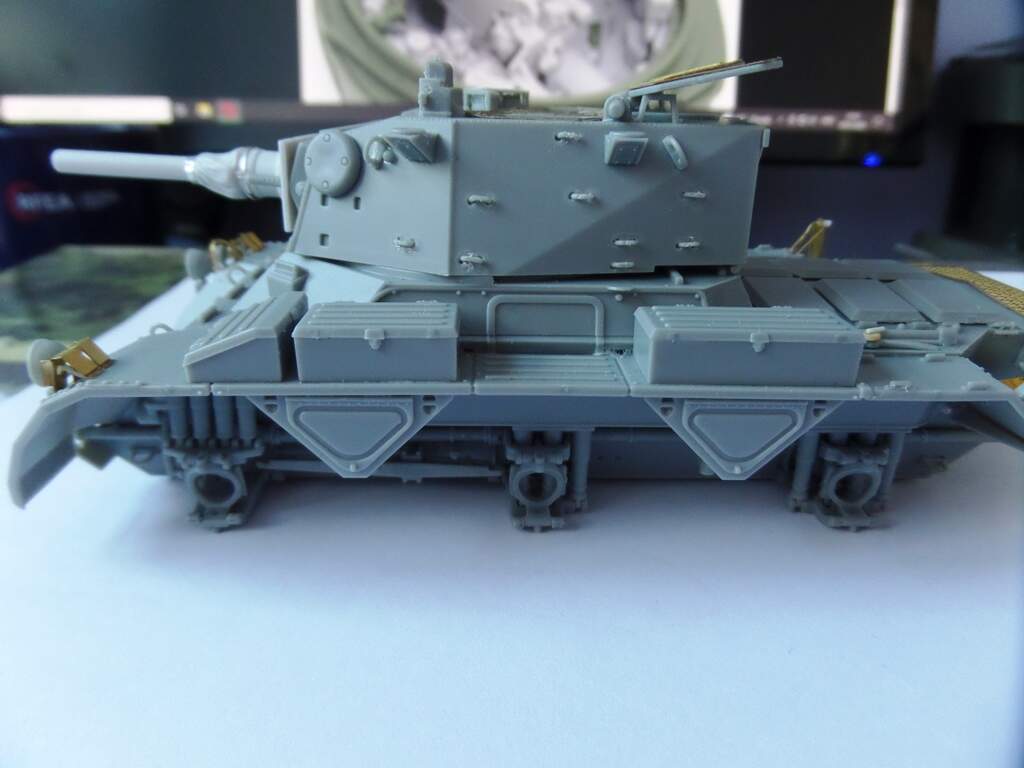
Started on the turret just to give myself a break from the hull. As you can see even after gluing the turret loops in it leaves gaps, so they will have to be filled and I imagine that will be tedious. Oh well. I’ve glued the etch onto the hatches which does improve the look, there are locking catches to be put on each one also. The barrel is a big improvement with the canvas cover which I have improved a little with foil. It needed straightening and sanding to a constant diameter down it’s length. I’ve taken some Clansmen antenna bases from my Takom 432 kit to replace the kit Larkspur bases. I remember our Saladin’s had Clansmen installation kits with a Larkspur harness. Doable because the two systems were designed to be interoperable to a degree.


8 Likes
It has a good look with that turret fitted Max. But those turret loop holes … wow … they are more like chasms than holes … dont envy you that one mate sorting them out …
Those little changes you made to the canvas cover take it up a notch as well and a nice even sanding finish on the barrel … great work
Mr Hobby’s “Mr Dissolved Putty” will probably help on those turret loop gaps (applied with a paintbrush).
I was contemplating swapping them with wire but thought again as I would end up with even bigger holes I think. The HKCW etch is good but there are loads of bits I have no idea what they are for as they aren’t picked out in the etch instructions. So is that putty runny enough to be dripped into the holes and left to settle if I place the turret on it’s side Boots? That would possibly get rid of the need to do a lot of sanding after.
I would think that Mr Dissolved Putty would do the job well enough; you might need to apply a couple of applications. It does seem to sort of coagulate with age and mine isn’t as runny perhaps as it should be. Of course, their other well-known product “Mr Surfacer” would probably work as well; it comes in different grades however and I regret I’m not fully genned up on those.
I should think Mr Dissolved Putty would work; any touch-up sanding would be minimal. I’m loathe though to sugest you down tools while you search around for some just on my say so(!)
Another answer might be good old “Tippex” - the correcting fluid.
or you could try a small drip of superglue from a cocktail stick ? … thats what i use sometimes