March 26, 2016
. . . . . And I couldn’t fit the subtitle “A Model Shipwrights Noobs Adventure!”
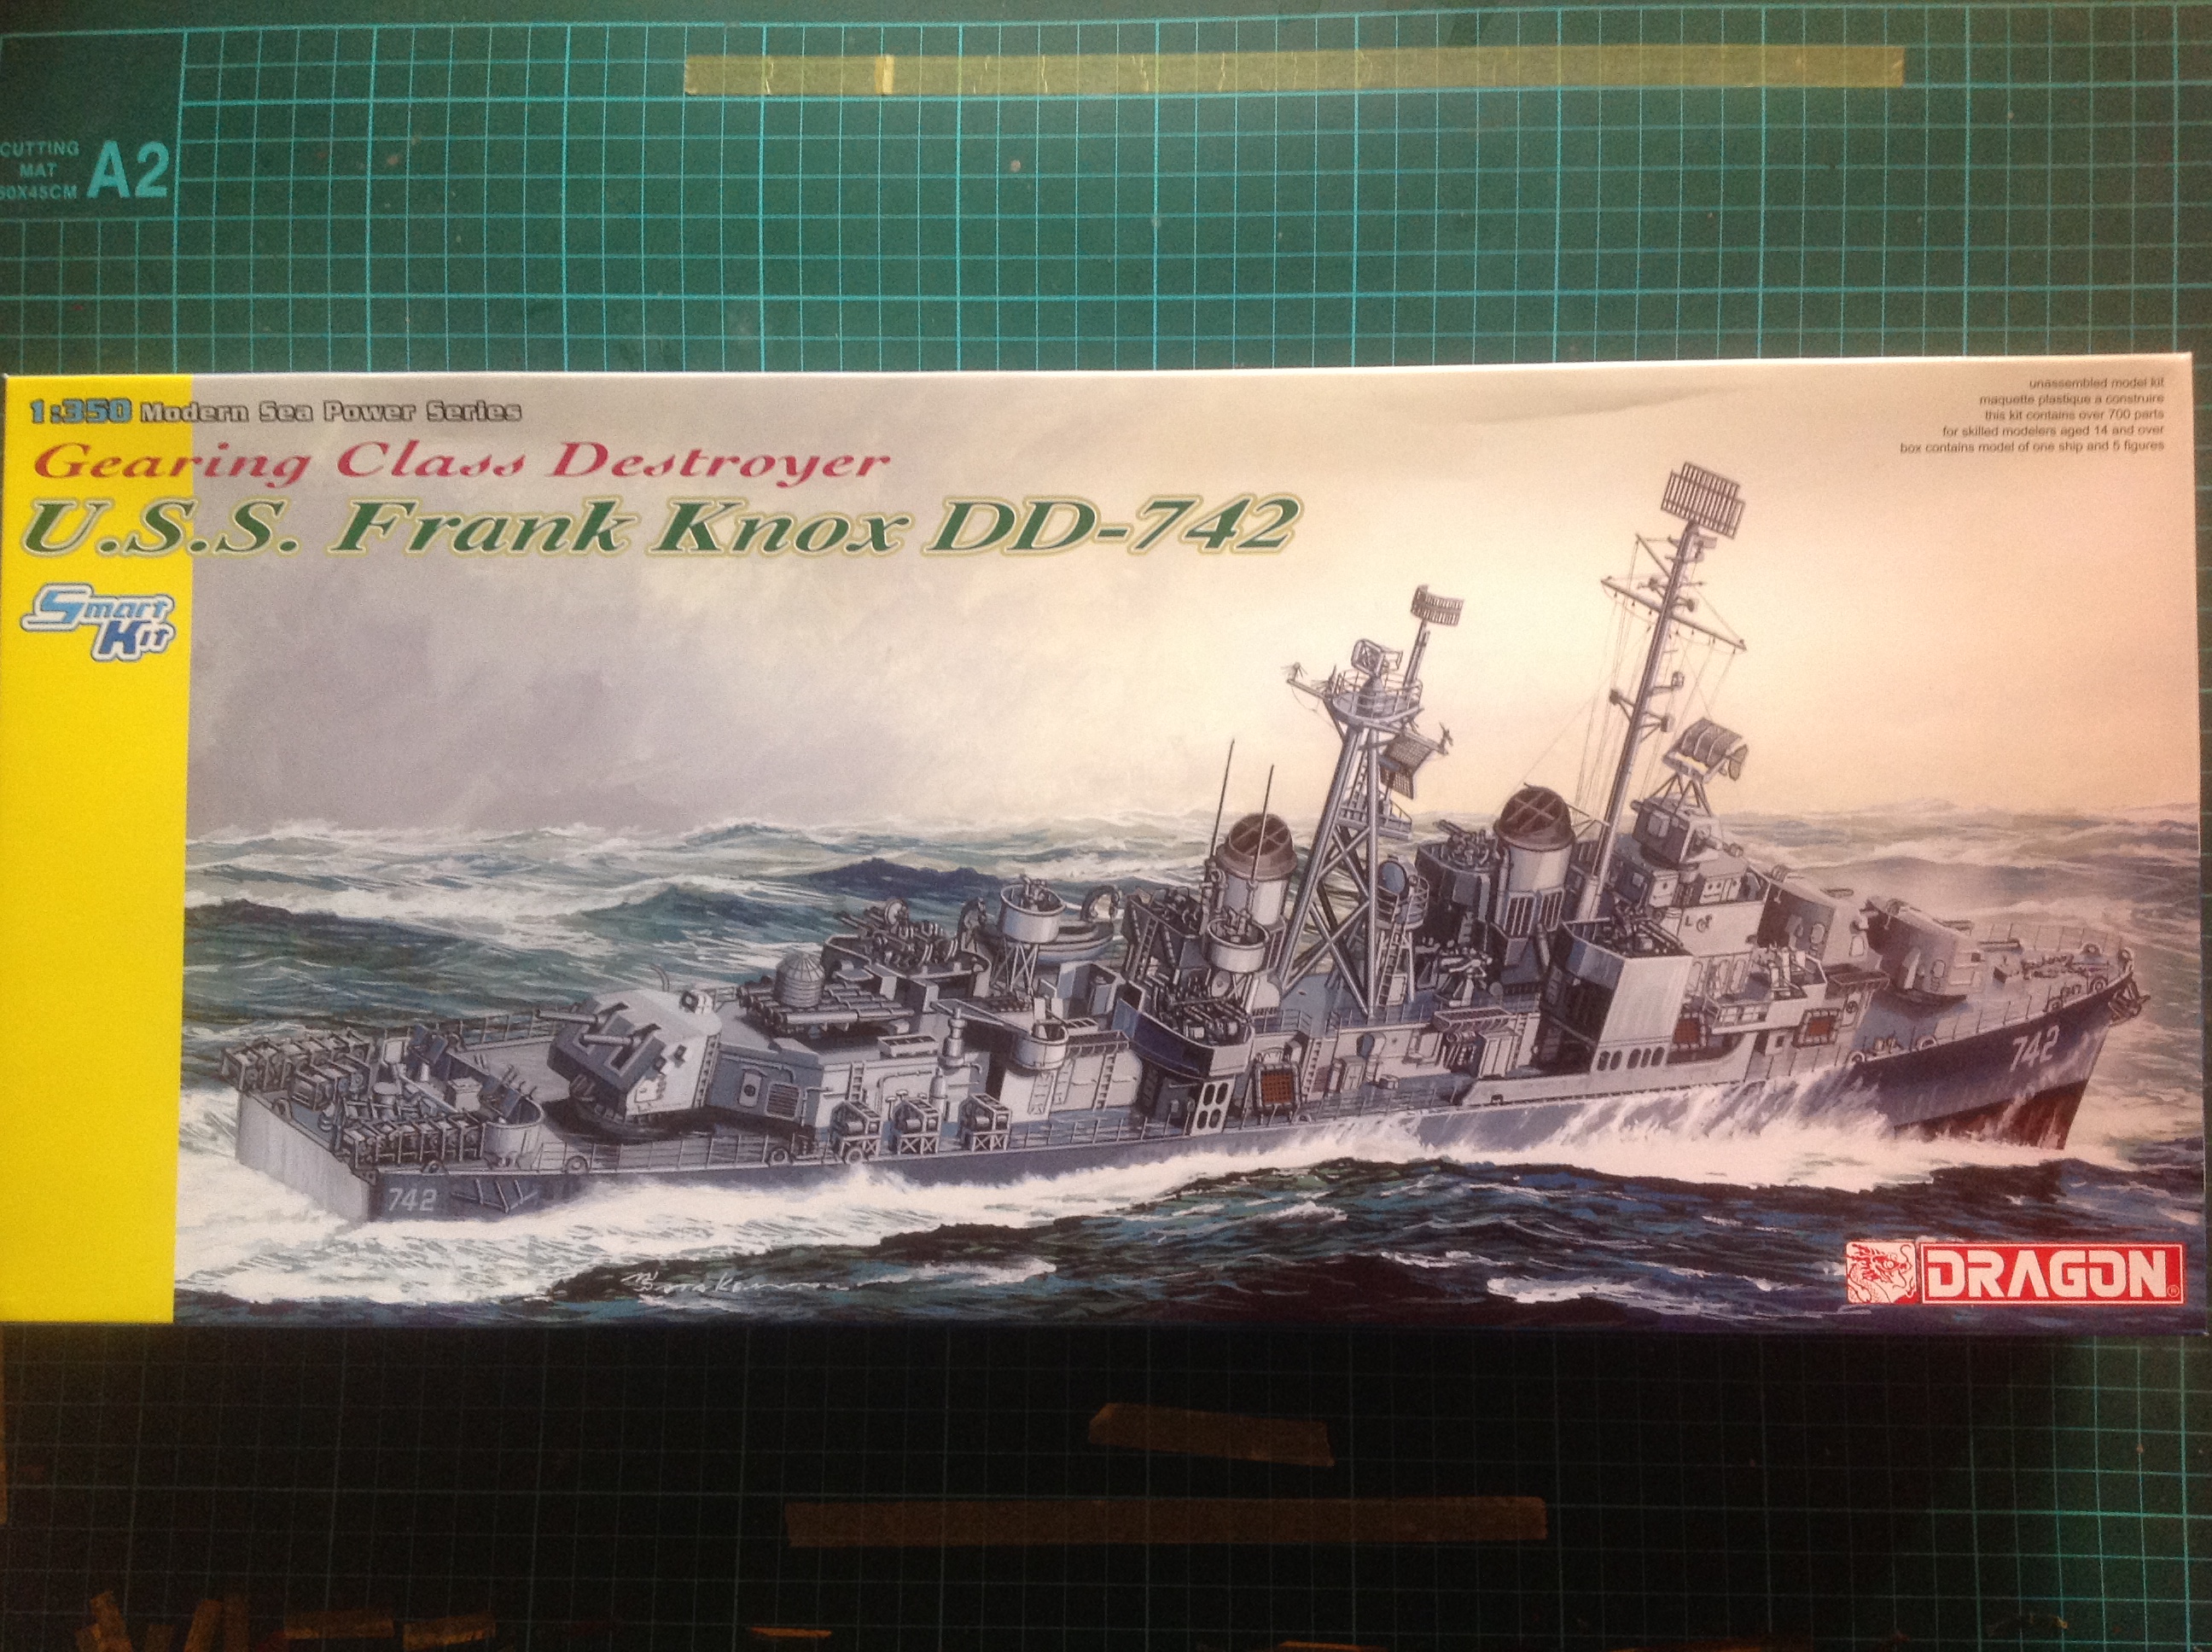
I have been a (virtually) silent observer here on the Shipwrights forums for a few years now and decided to overcome my reluctance and dive in, so to speak! I recently purchased the final chapter in the trilogy and now there are no excuses.
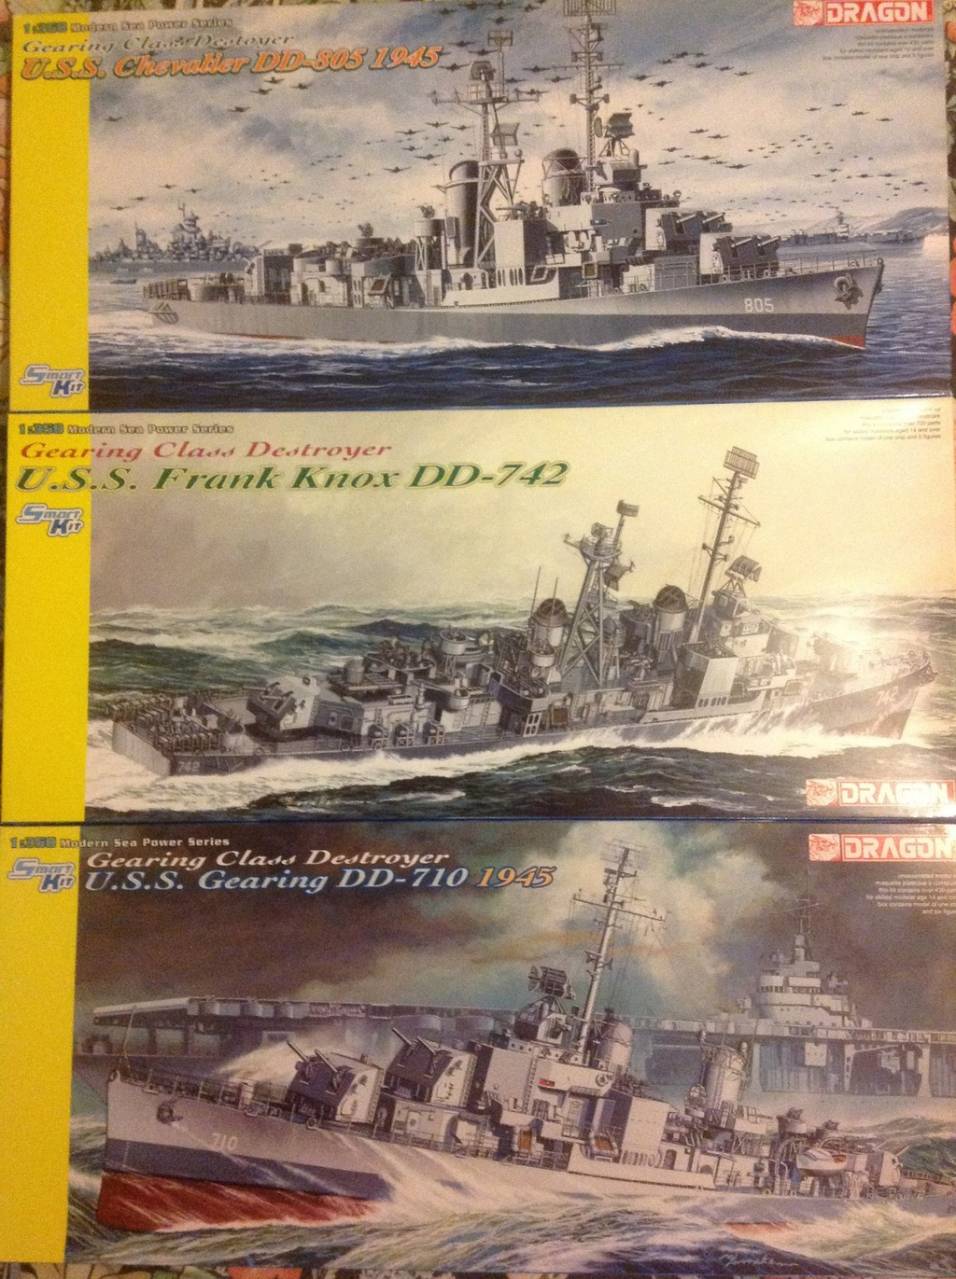
I chose this series for several reasons. Price wise they are very reasonable for the detail and inclusions, the only glaring omission is the railing. I like to build in themes, so having three very similar vessels will fit my quirky habits. They are relatively small, so I can fit them in to my limited display space together when they are finished. I have read a few reviews and they are recommended as decent kits for beginners in this field. There don’t seem to be any major difficulties or fit issues in the process. I am not scared of ill-fitting kits, having built some absolute shockers in the aircraft genre, but I really didn’t want to face this type of headache in my first trip down this road.
Now, all of that being said, I will be going very slowly and carefully on this project, so please don’t expect regular updates or massive progress reports. I will be fitting these in between commitments to Group Builds over on Aerscale and Automodeler. I like to work on subassemblies and put as much together as possible before I get to the airbrushing stage, and along the way I am going to be learning the terminology, the names and functions of the various parts of the vessels, and the best sequence for assembly and painting. What you CAN expect is lots of stupid questions! Following a few of the build log threads here I am absolutely amazed at what you guys achieve, the quality of the builds and the level of detail is just stunning, and the exchange of information, assistance and cameraderie is second to none. I am here to learn and improve my skill set, so please don’t hesitate to throw any comments, suggestions, critique or criticism in wherever warranted.
Who knows, maybe following along my fumbling path might persuade some more Wingy-Thingy or Muscle car nuts to try their hand here!
I have a couple of days off now and a few hours free time, so hopefully I can crack open one of these kits and introduce the styrene to the Xacto and Tamiya Extra Thin!
Happy Easter and thanks for checking in.
Cheers, D
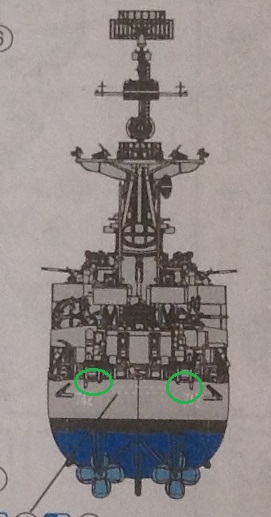
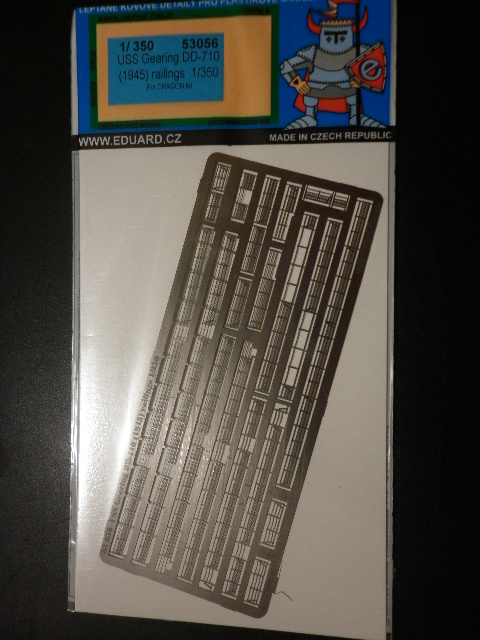
Oops, almost forgot my first question. I don’t want to go down the whole super-detail PE set path, is the Eduard Gearing PE railing set ( part number 53056) suitable for all three of these vessels?
Happy Easter Damian! Look at that…a triple threat! Looking forward to seeing you have your way with this! Enjoy!- Todd (TRM5150)
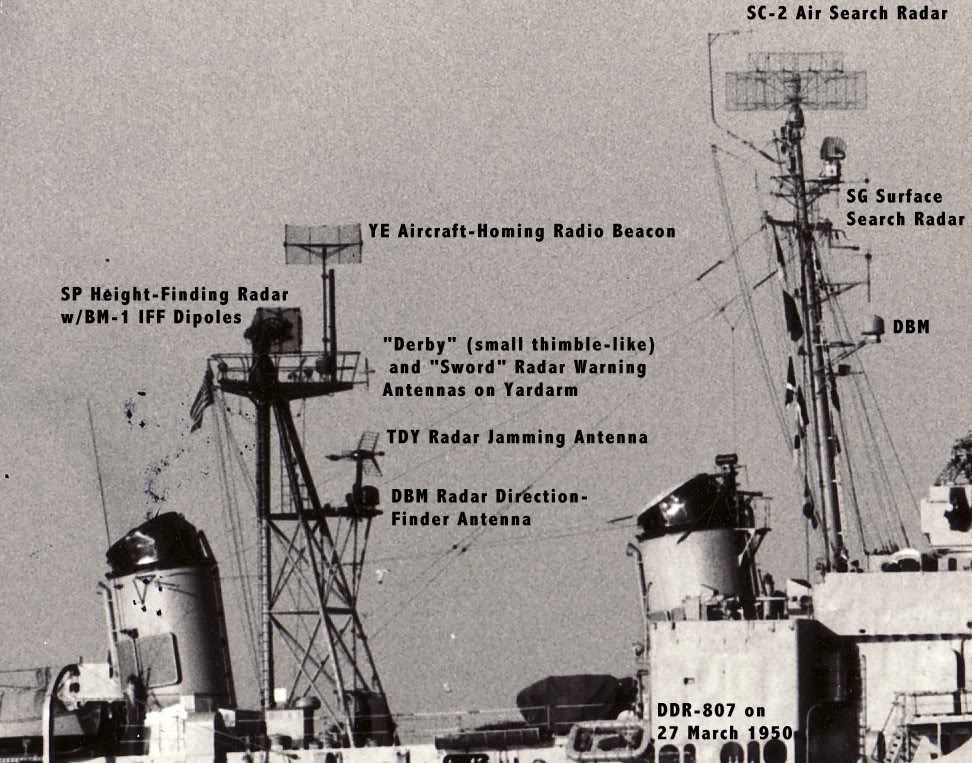
Good luck Damien. A triple build will something different to watch. I don’t know anything about the Gearing class so I’ll be interested to know if there are different mouldings between the kits. -
Michael (Cosimodo)
Hi Damien, Have fun with these three, I have build Gearing and it was a very enjoyable build indeed. - Si (RedDuster)
Subscribed!! - (damoore46)
March 27, 2016
Thanks for the warm welcome and the interest guys!
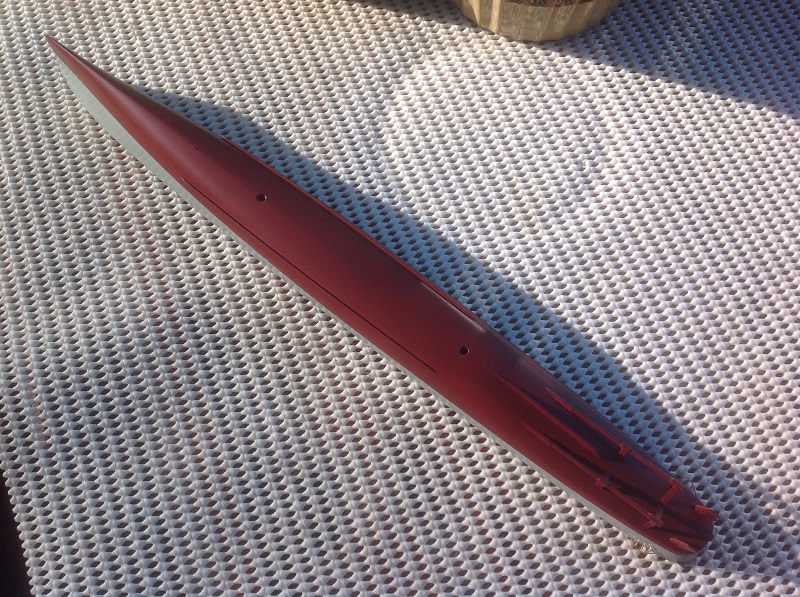
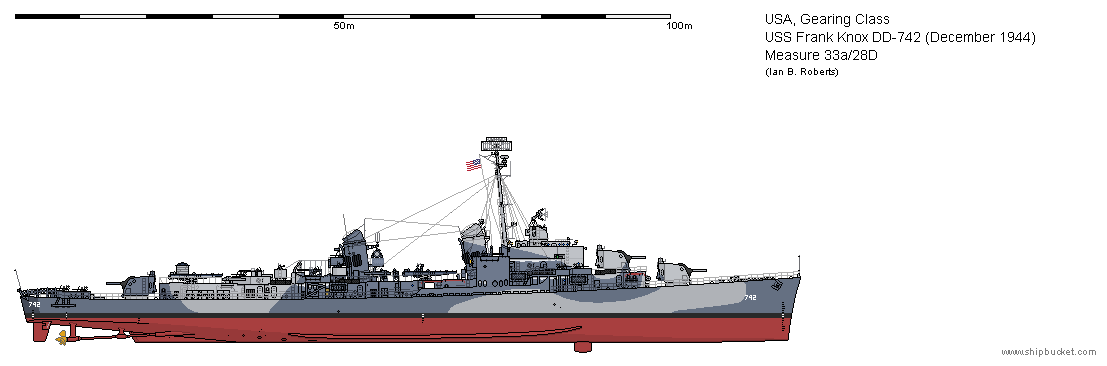
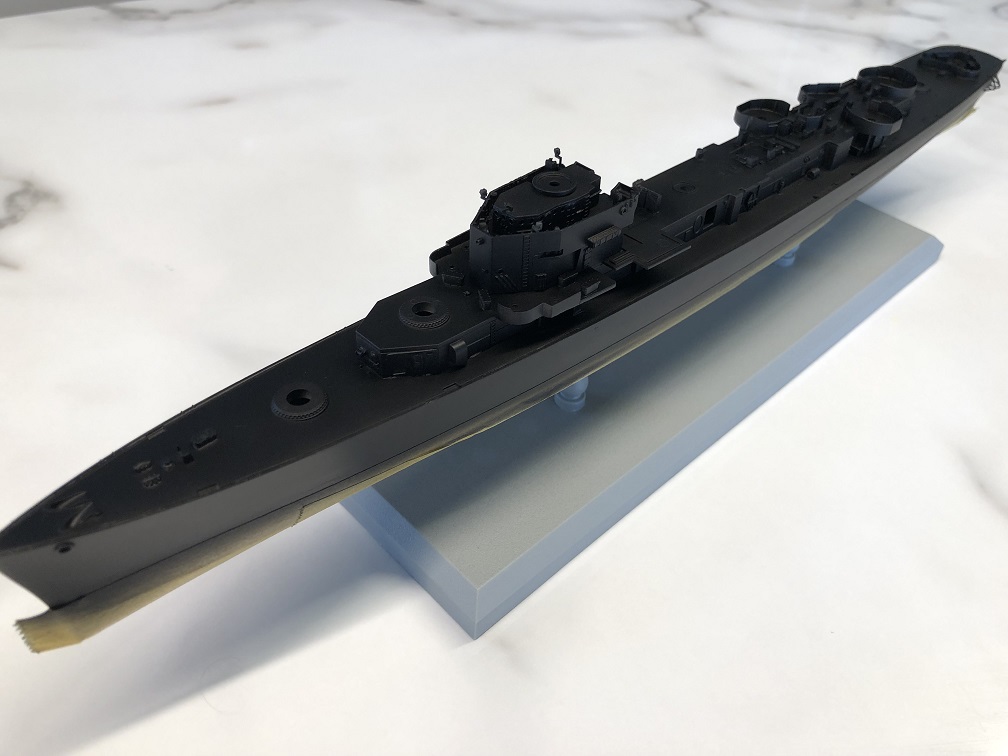
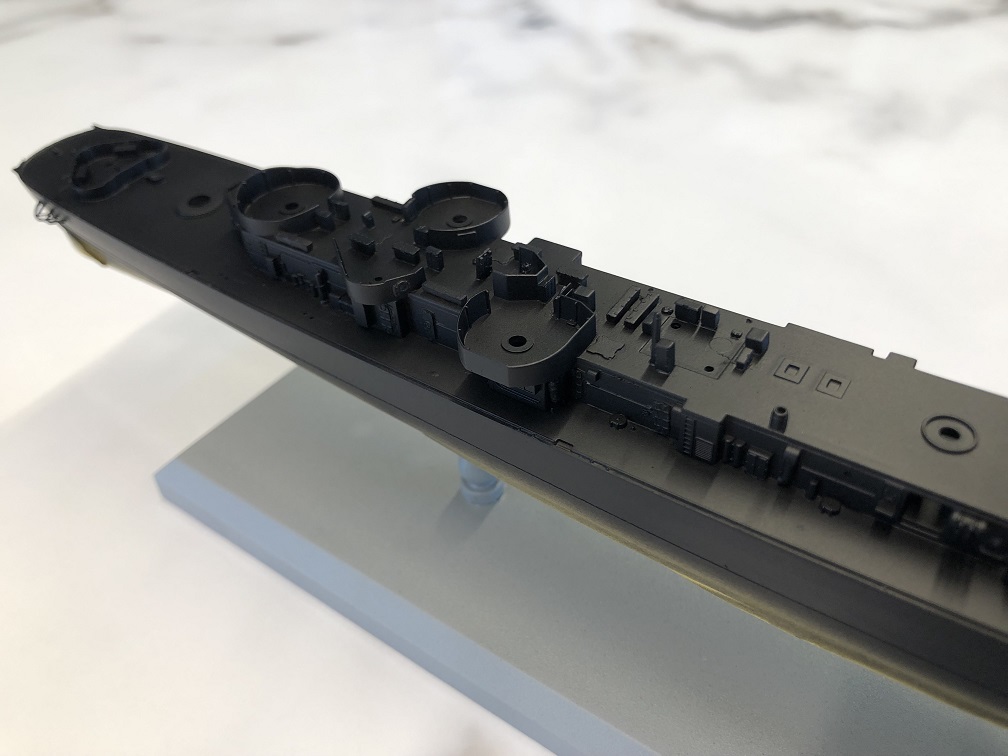
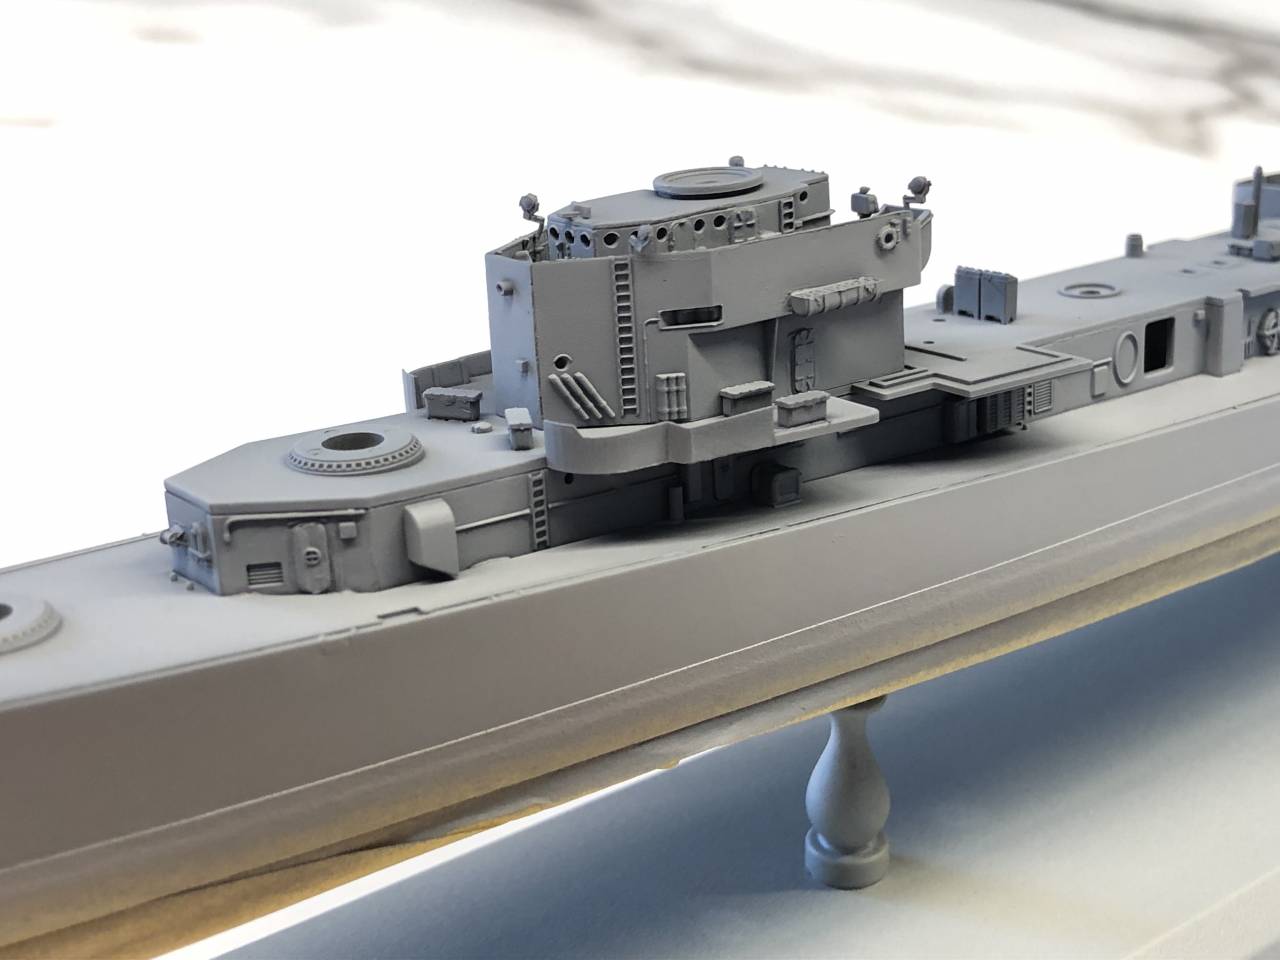
I had a bit of a browse through the boxes last night and I think I have settled on the Gearing to get the ball rolling. Looking at the profiles the Chevalier and the Frank Knox are almost identical, but the Gearing doesn’t have the central superstructure so it isn’t quite so scary for me ![]()

While reading some reviews on these kits a couple of reviewers found discrepancies in the sprues so I thought it would be best to do a quick inventory. The Chevalier and the Gearing were fine, but the Frank Knox has a couple of issues.

There should be 2 x Sprue “M” but there is only one.
There are 2 Sprues marked “H” but they bear no resemblance to the sprues on the instruction sheet. They look similar to Sprue “M” but quite a lot bigger, and have parts to make up a couple of turrets.
This will be a customer service test as I purchased this kit a couple of years ago from a local online store. I will email them today and see what sort of response I get.
Cheers, D
Hey Damian, I never knew we shared this ‘floaty’ secret. I have a couple of 1/350 tubs in my stash which I hope to touch on this year. Do you solder? It’s a great skill to have for shipbuilding as brass masts will stand the test of time better than the kit supplied plastic masts. If you need railing, BNA has heaps. On a personal note, railing is the hardest thing for me to do without stuffing up.
Best of luck on your builds! I’ll be following. - Gaz (GazzaS)
G’day Gaz. Thanks for checking in mate! BNA is generally my go-to for after market accessories, they seem to carry good stocks and their service is great. I do have a soldering iron but I have never used it on brass, just repairing electronics. Another aspect of the hobby for me to try soon!
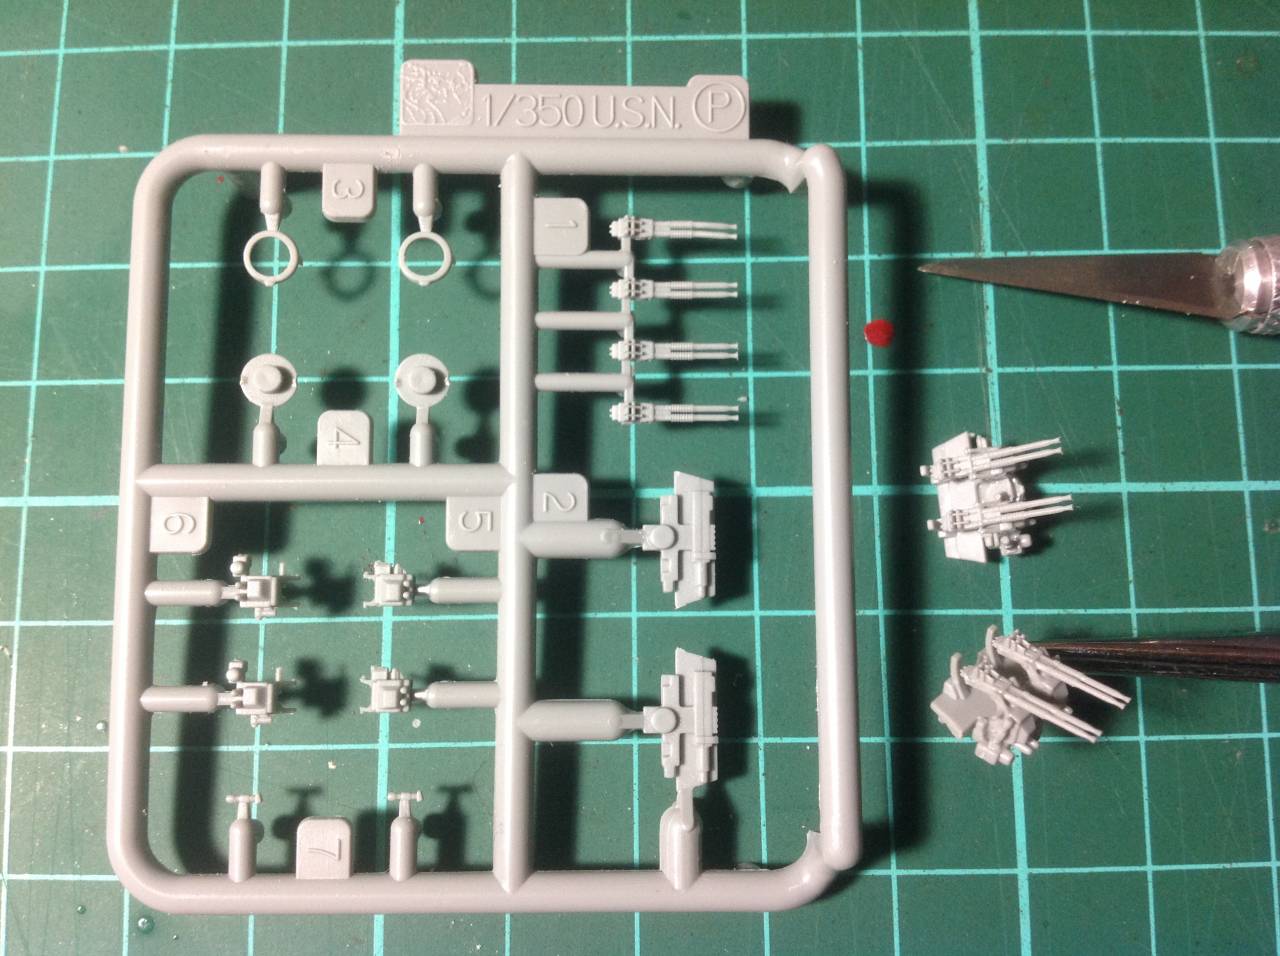
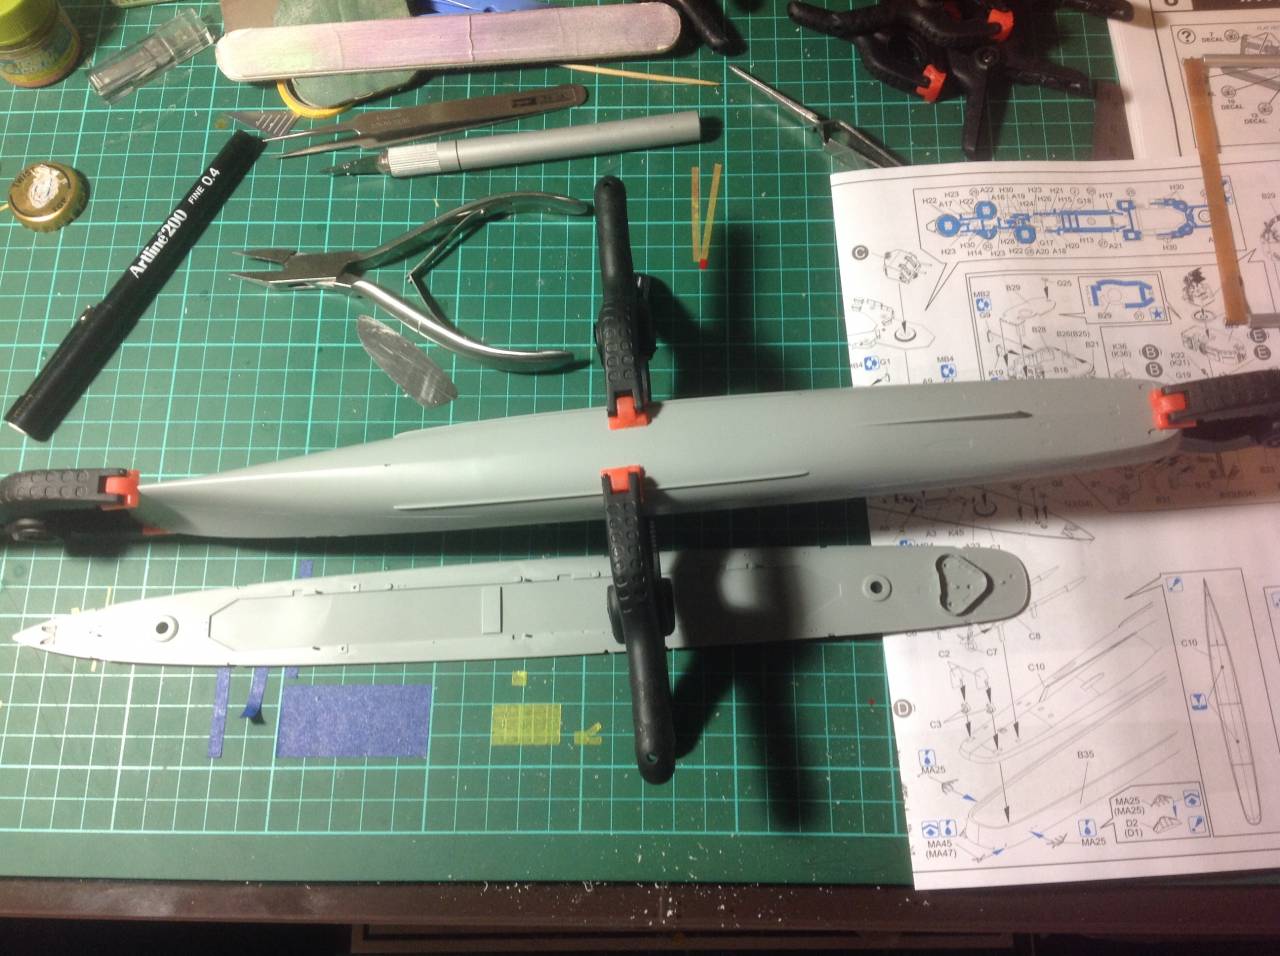
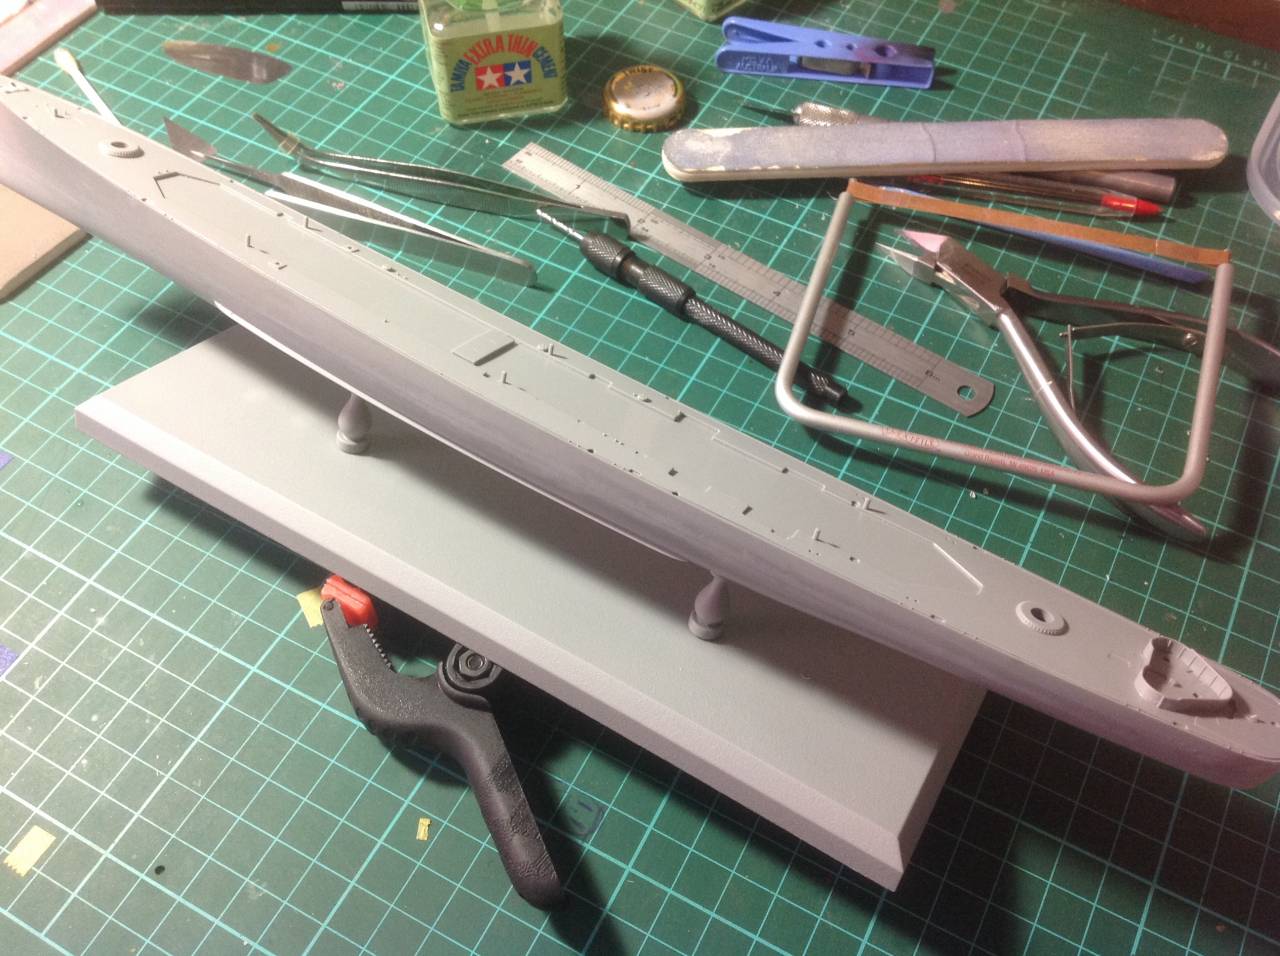
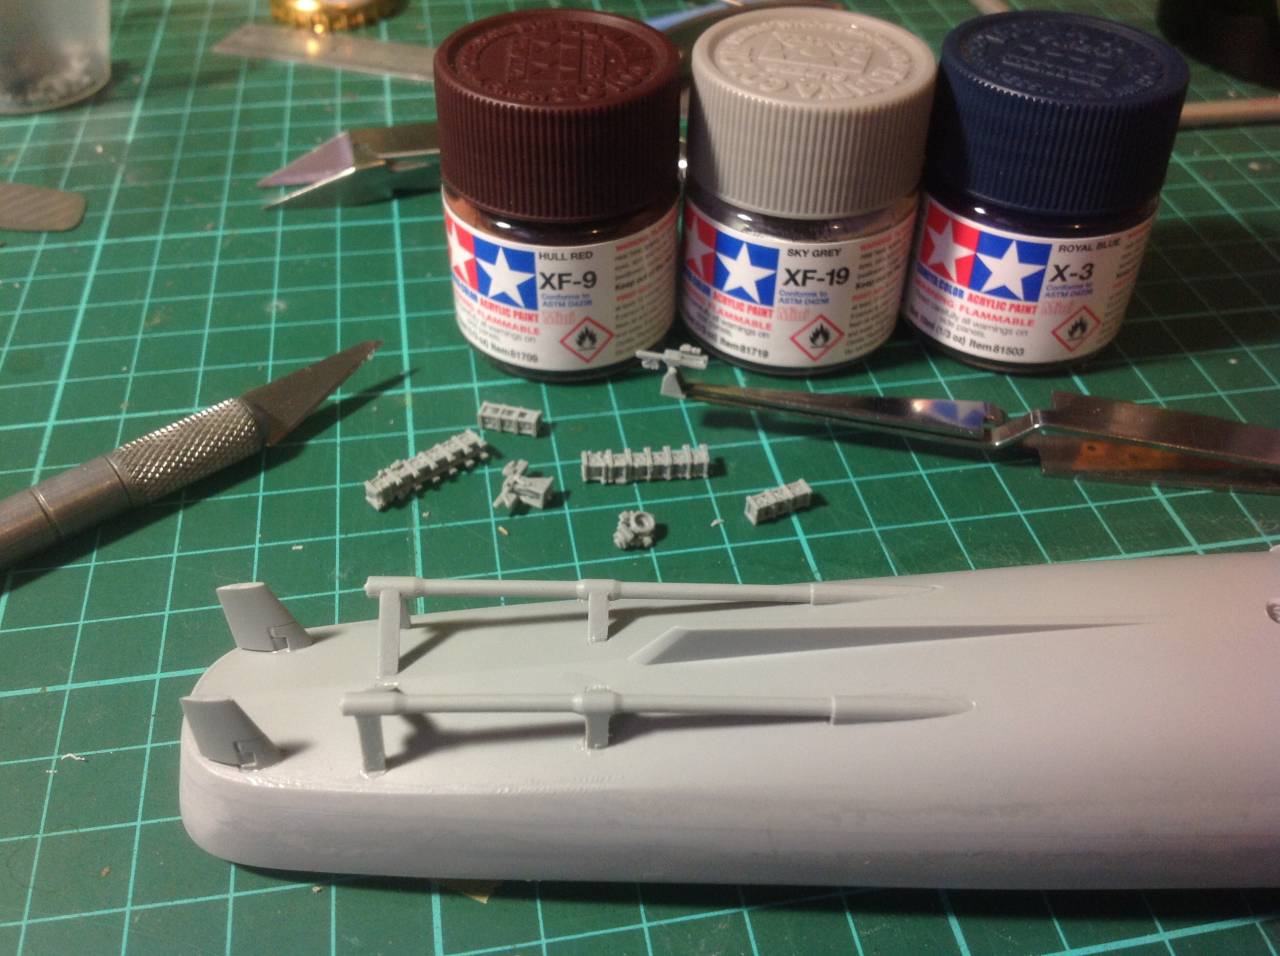
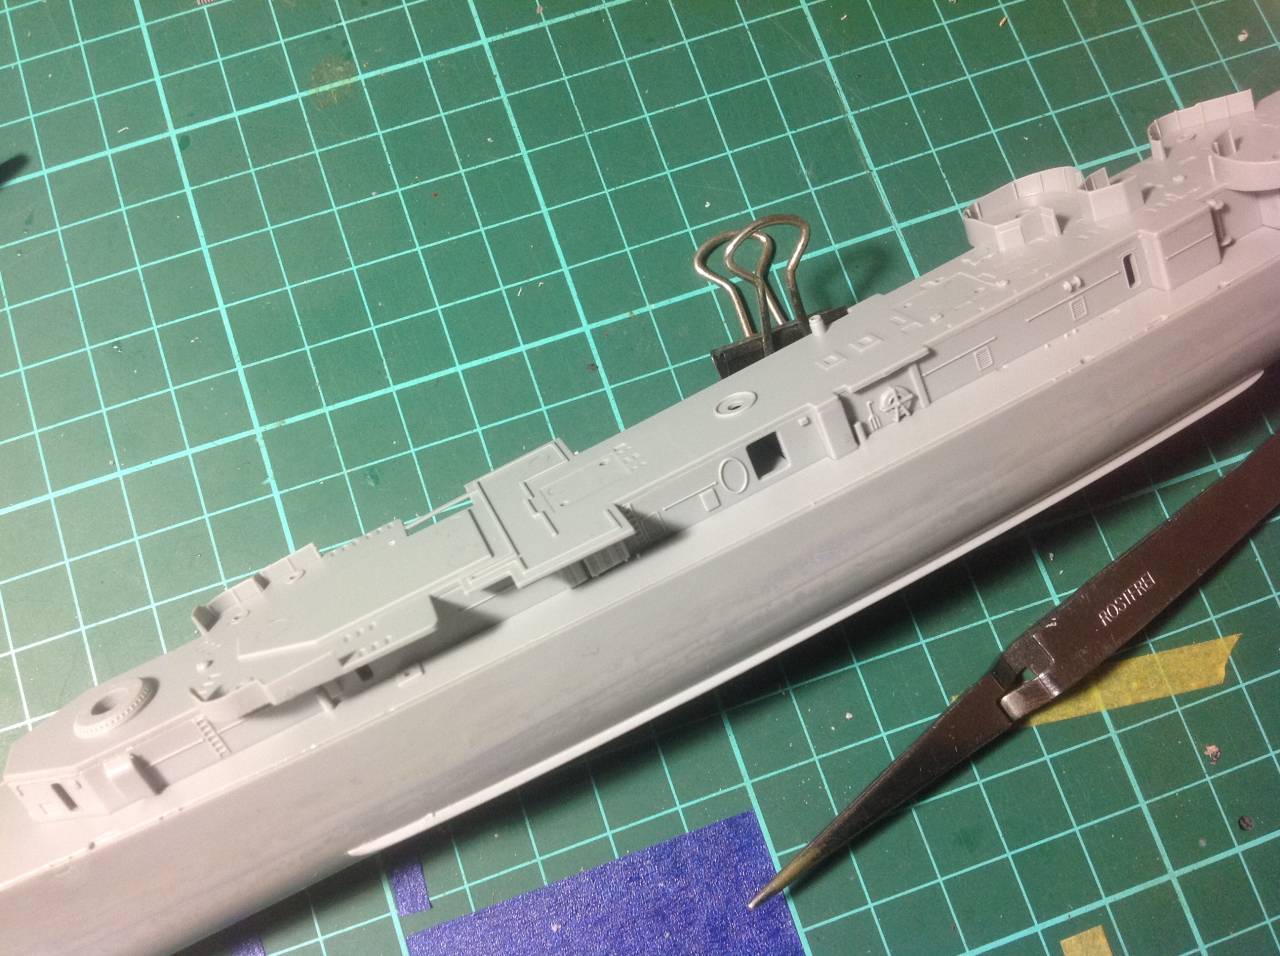
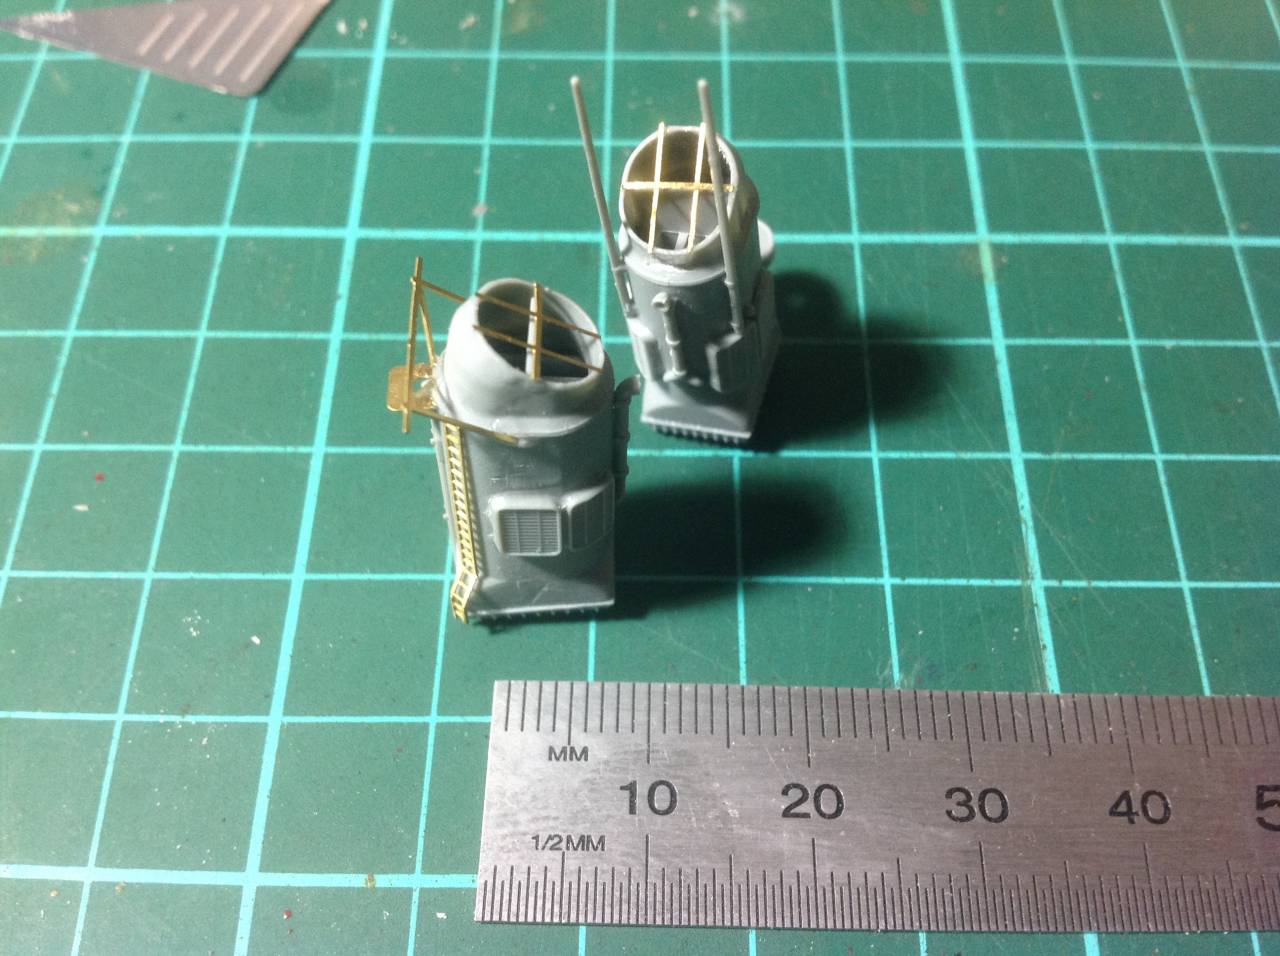
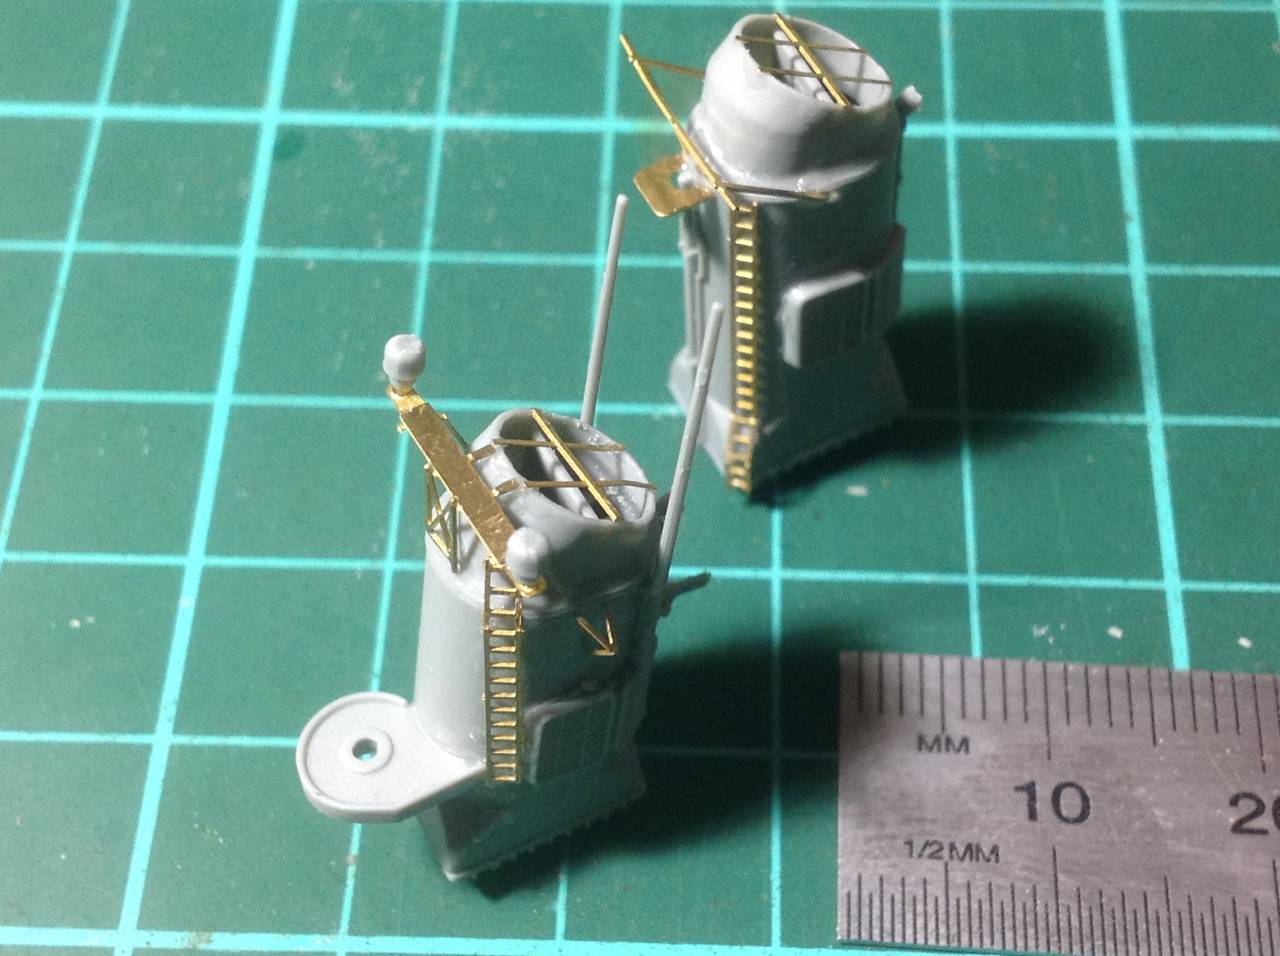
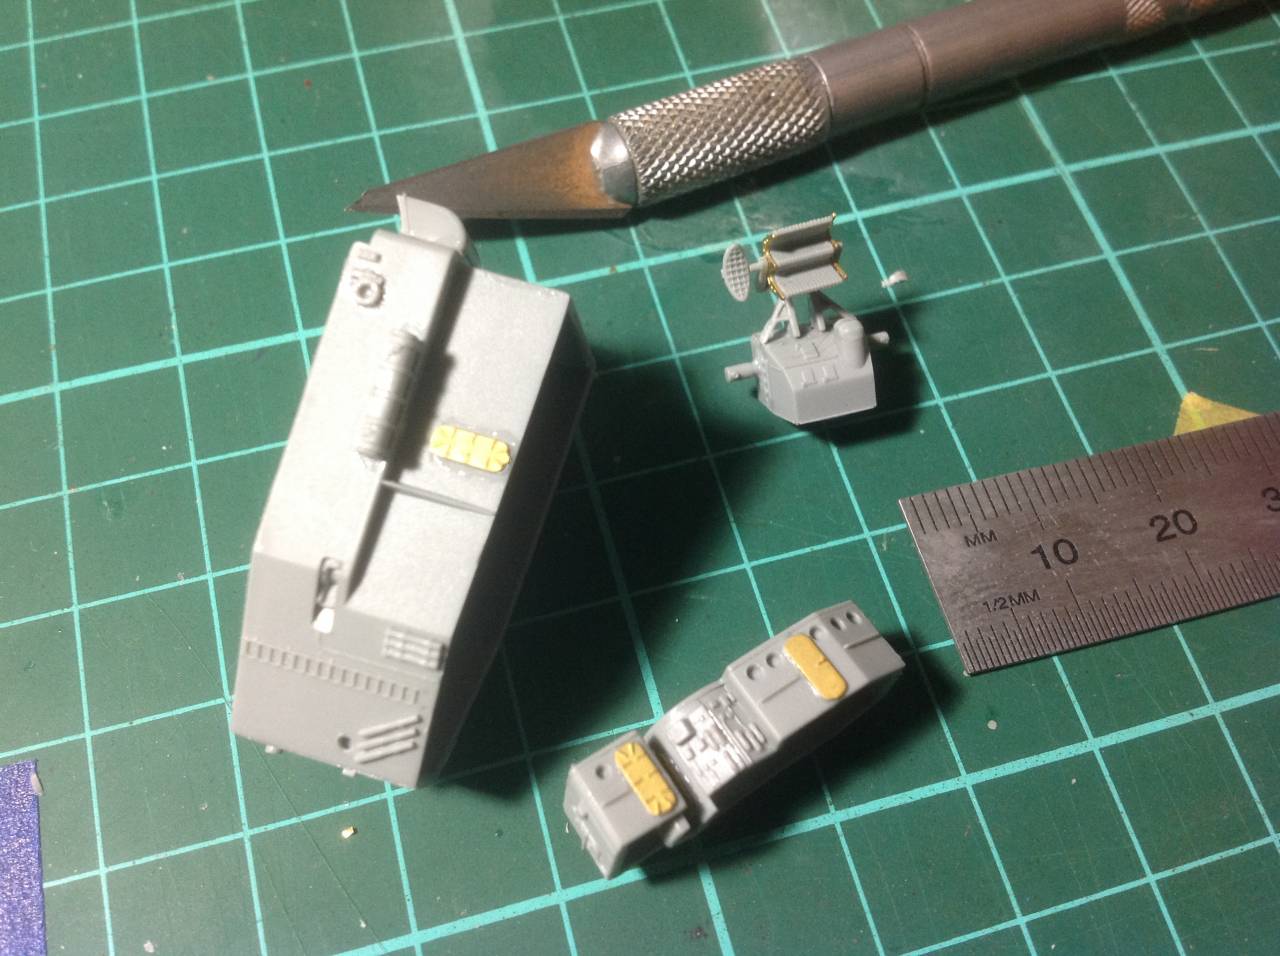
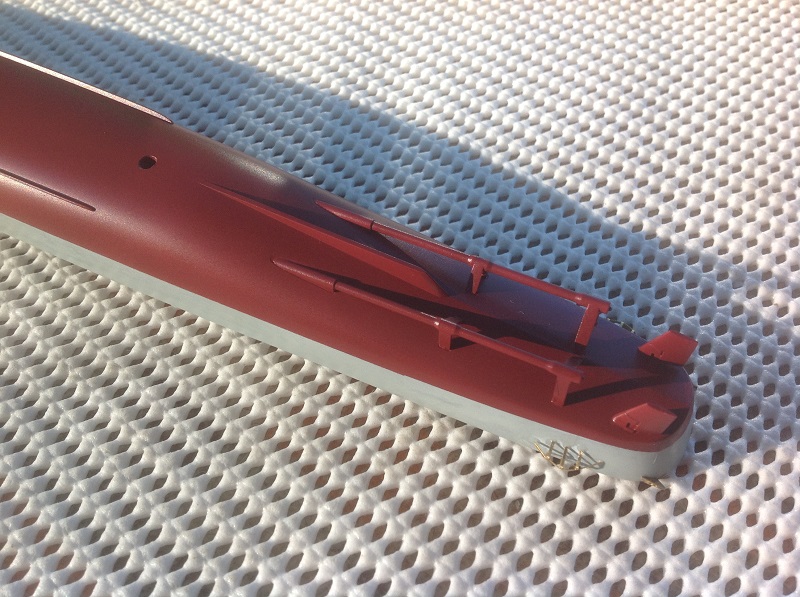
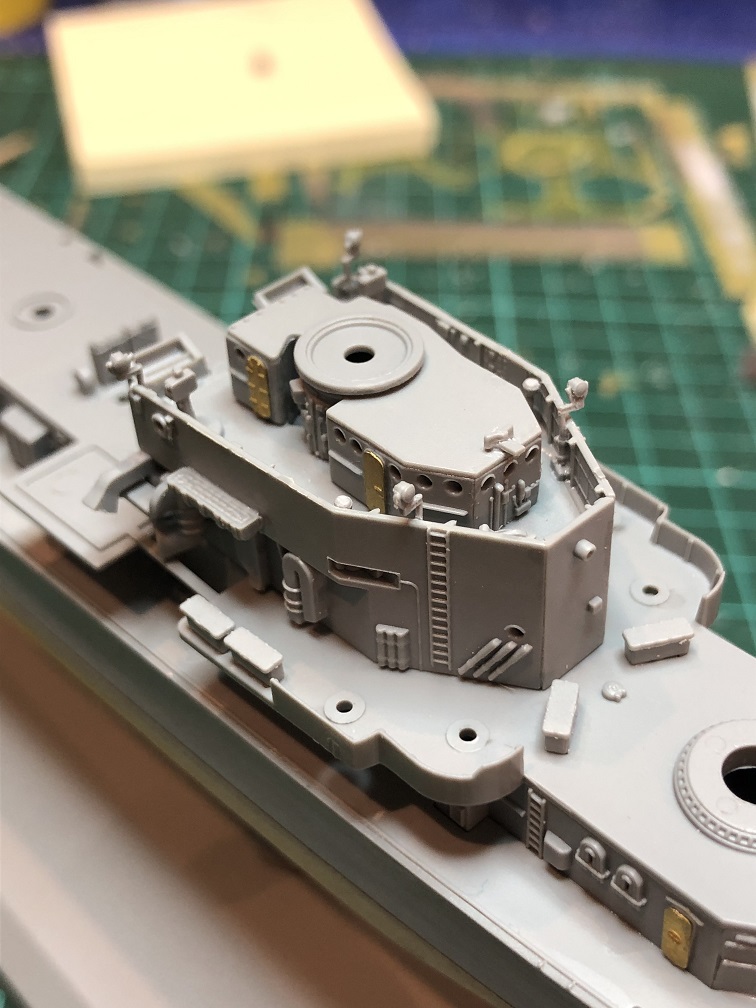
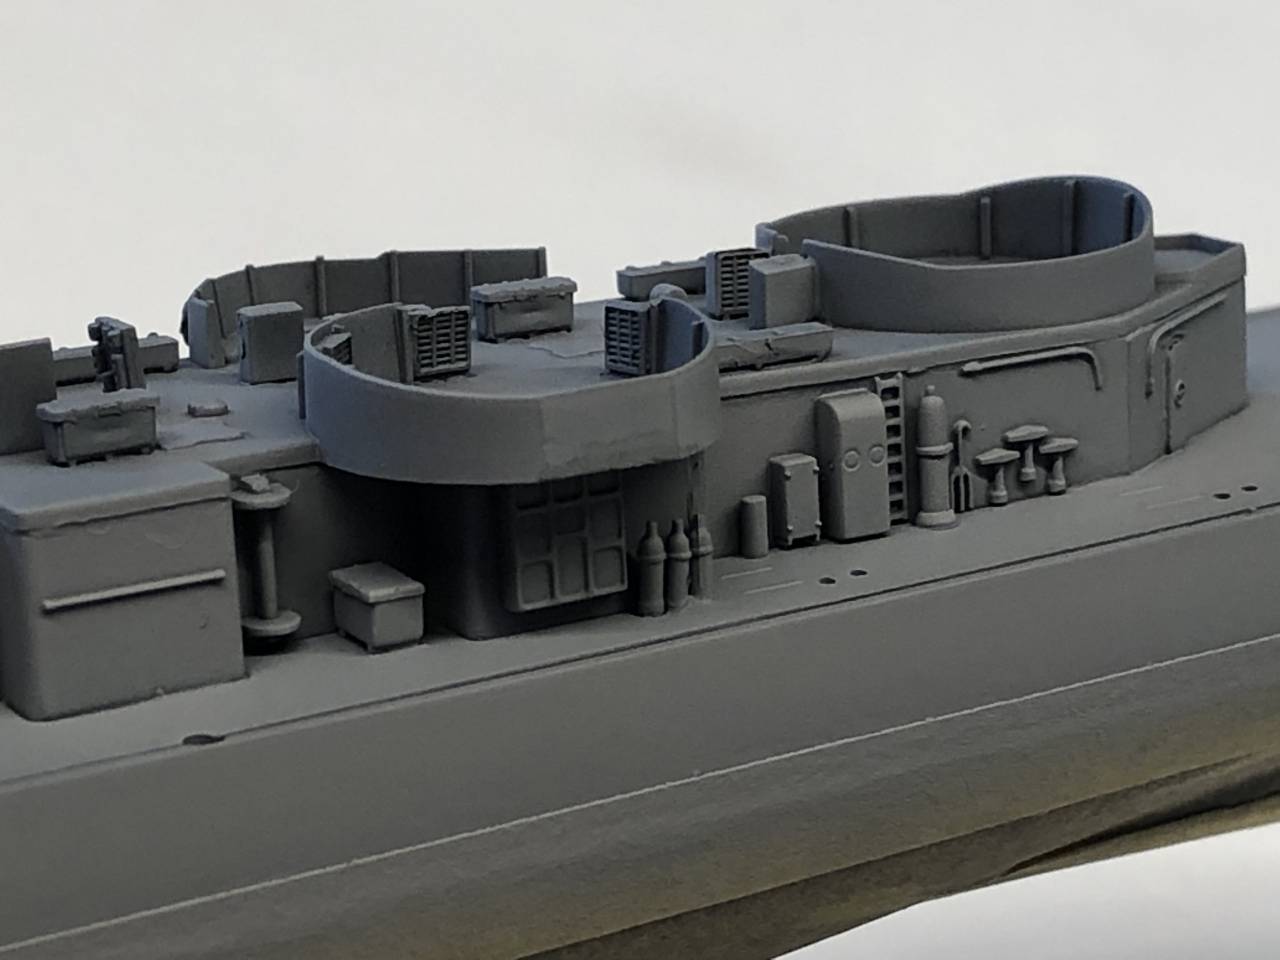
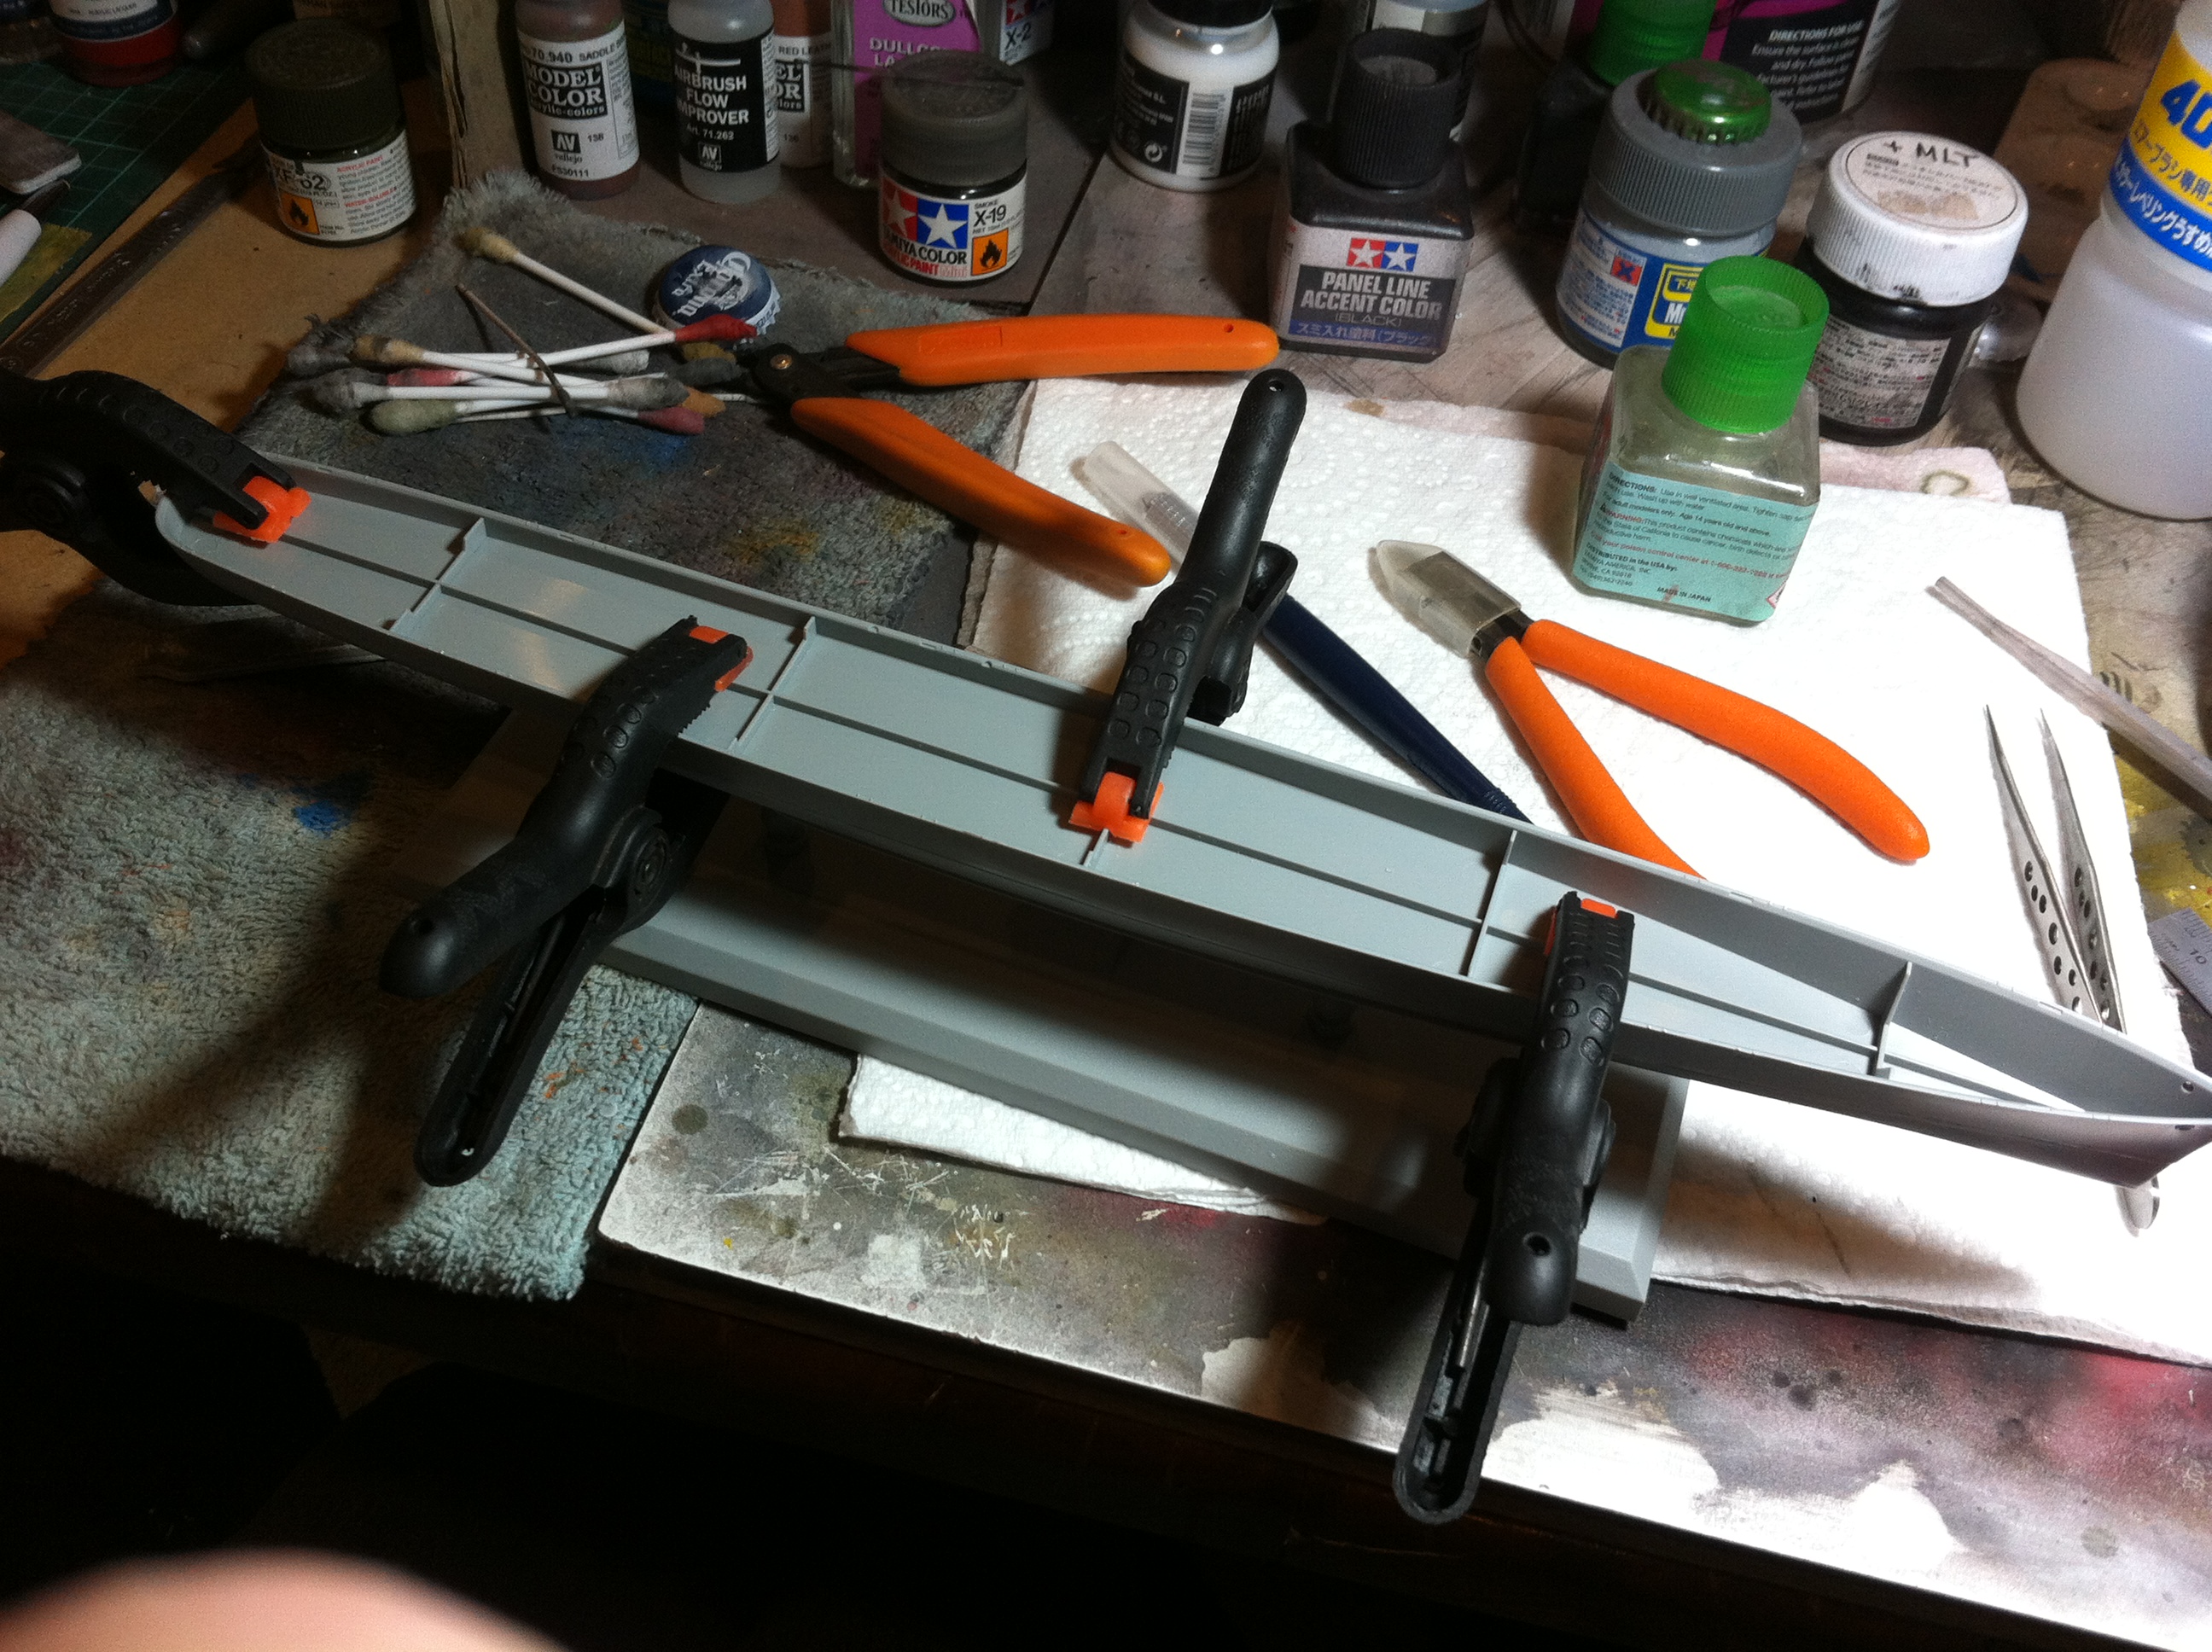
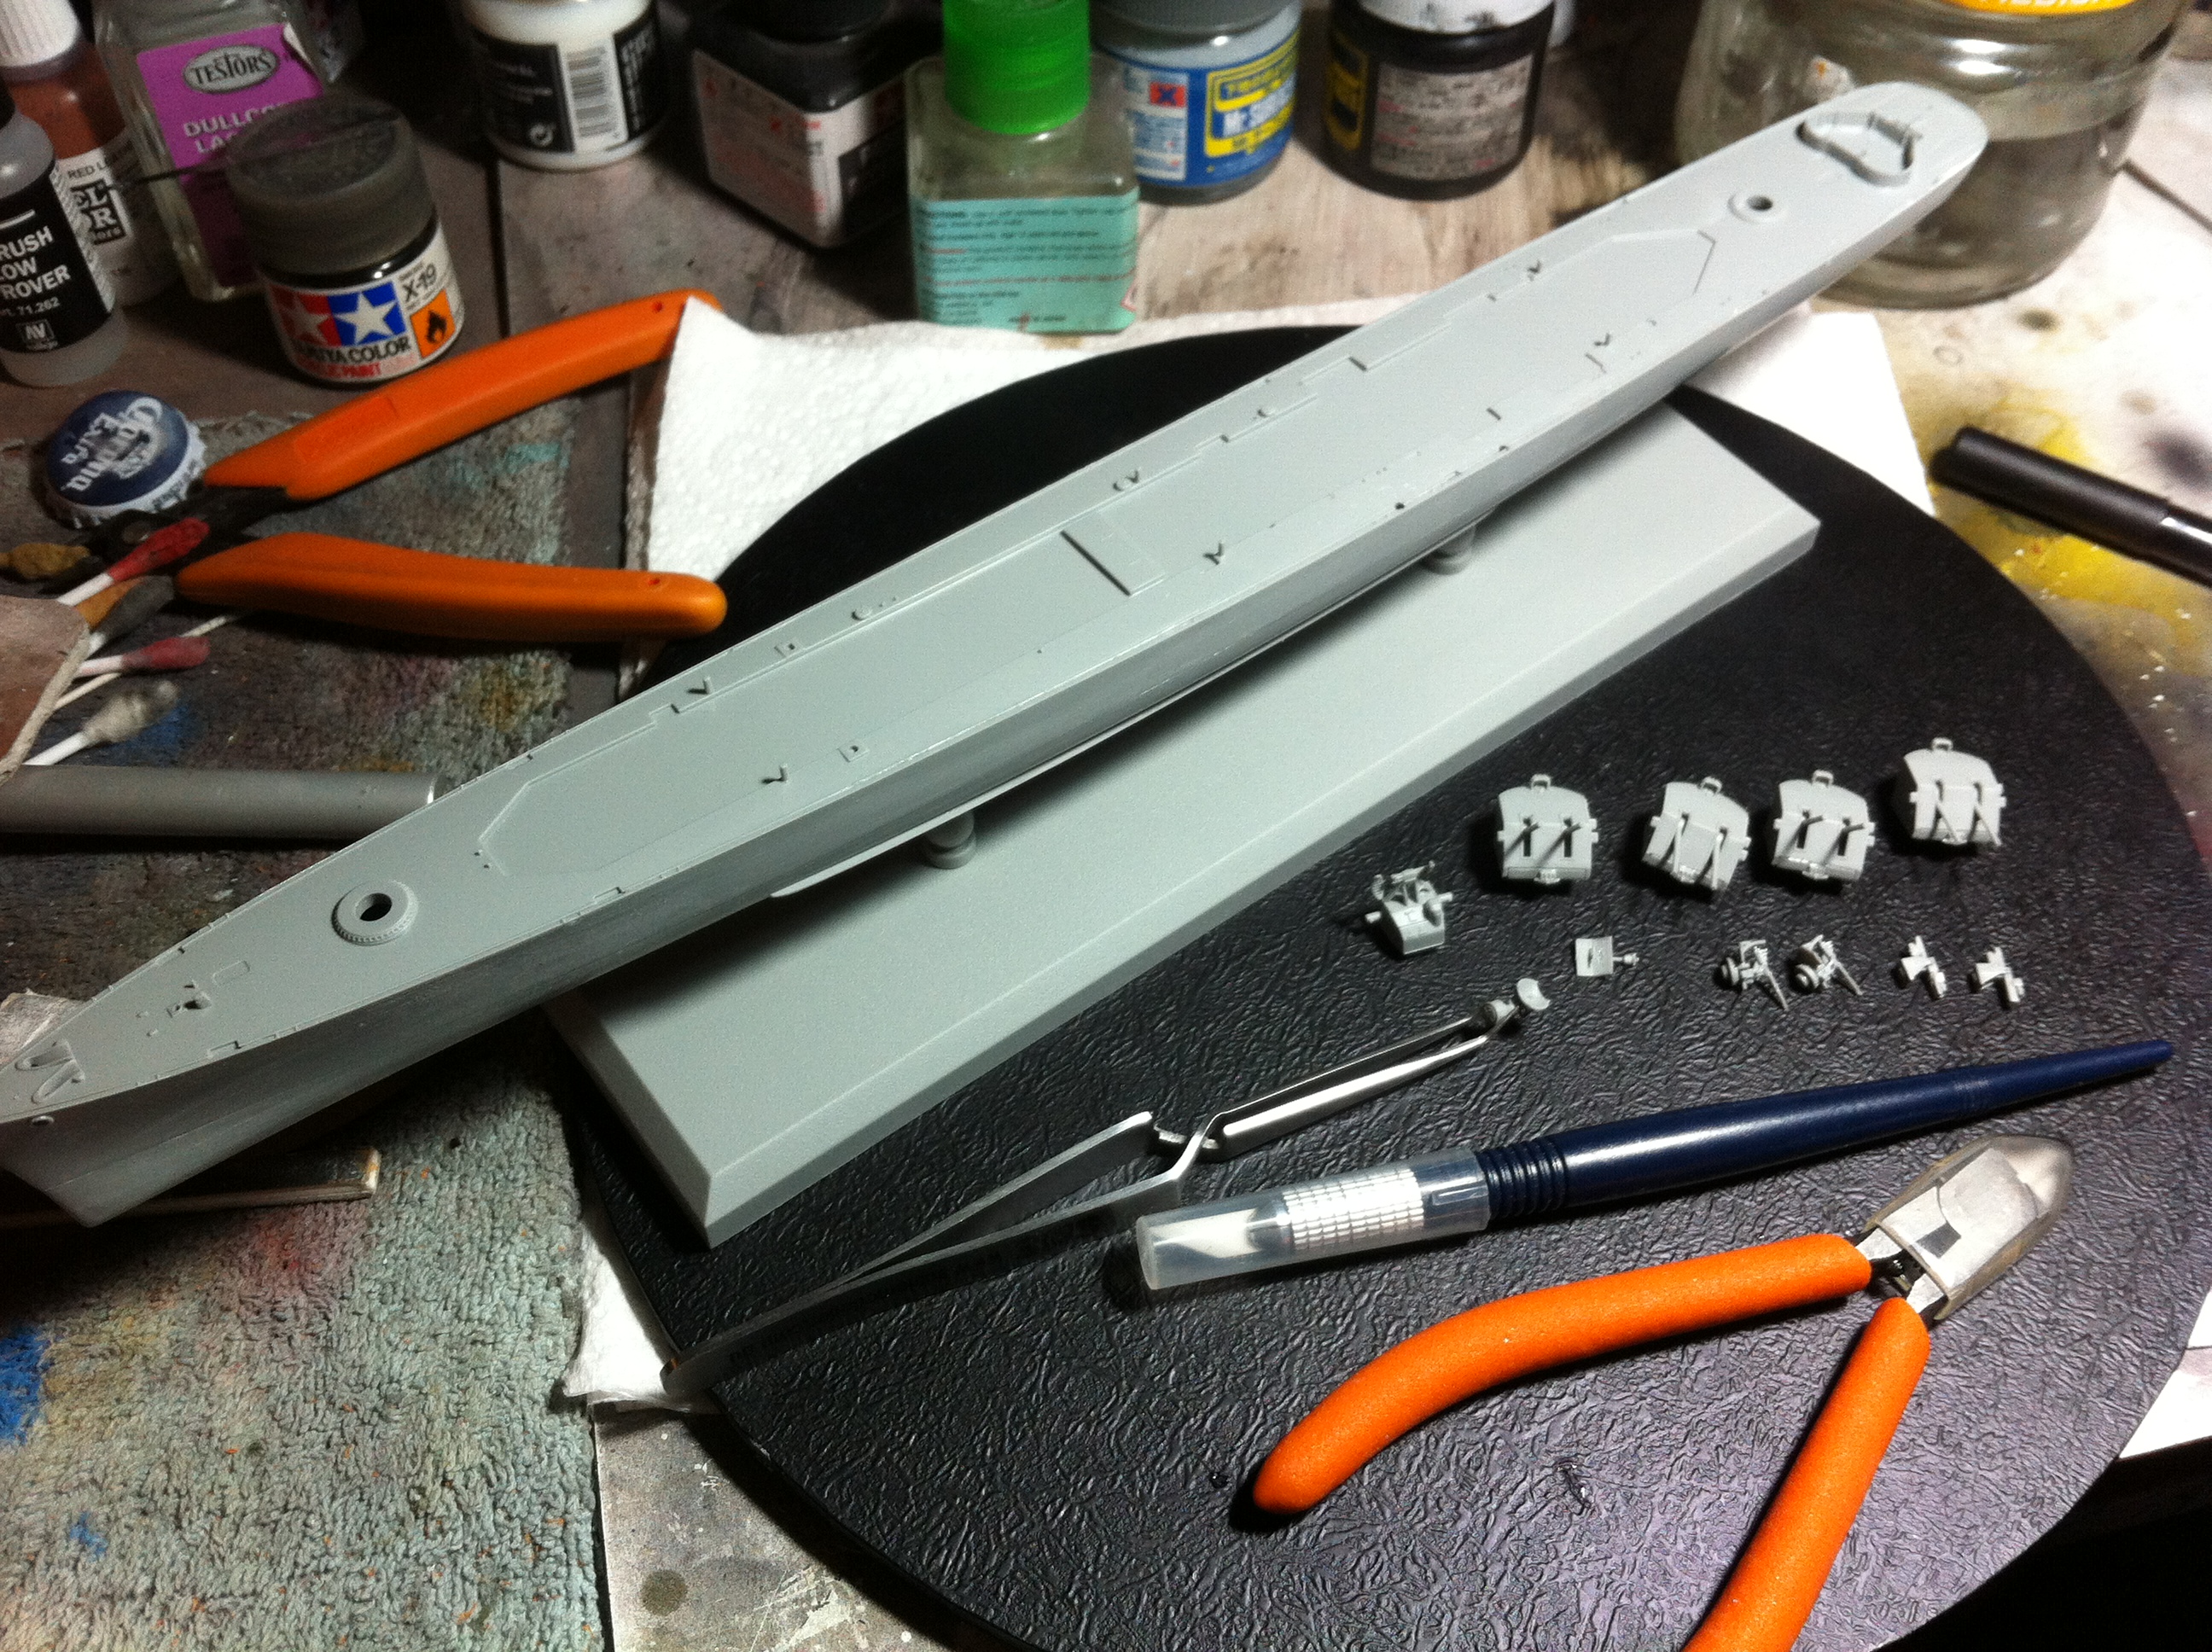
And so styrene meets Xacto, razor saws, Sprue cutters, assorted holding devices and Tamiya Extra Thin.
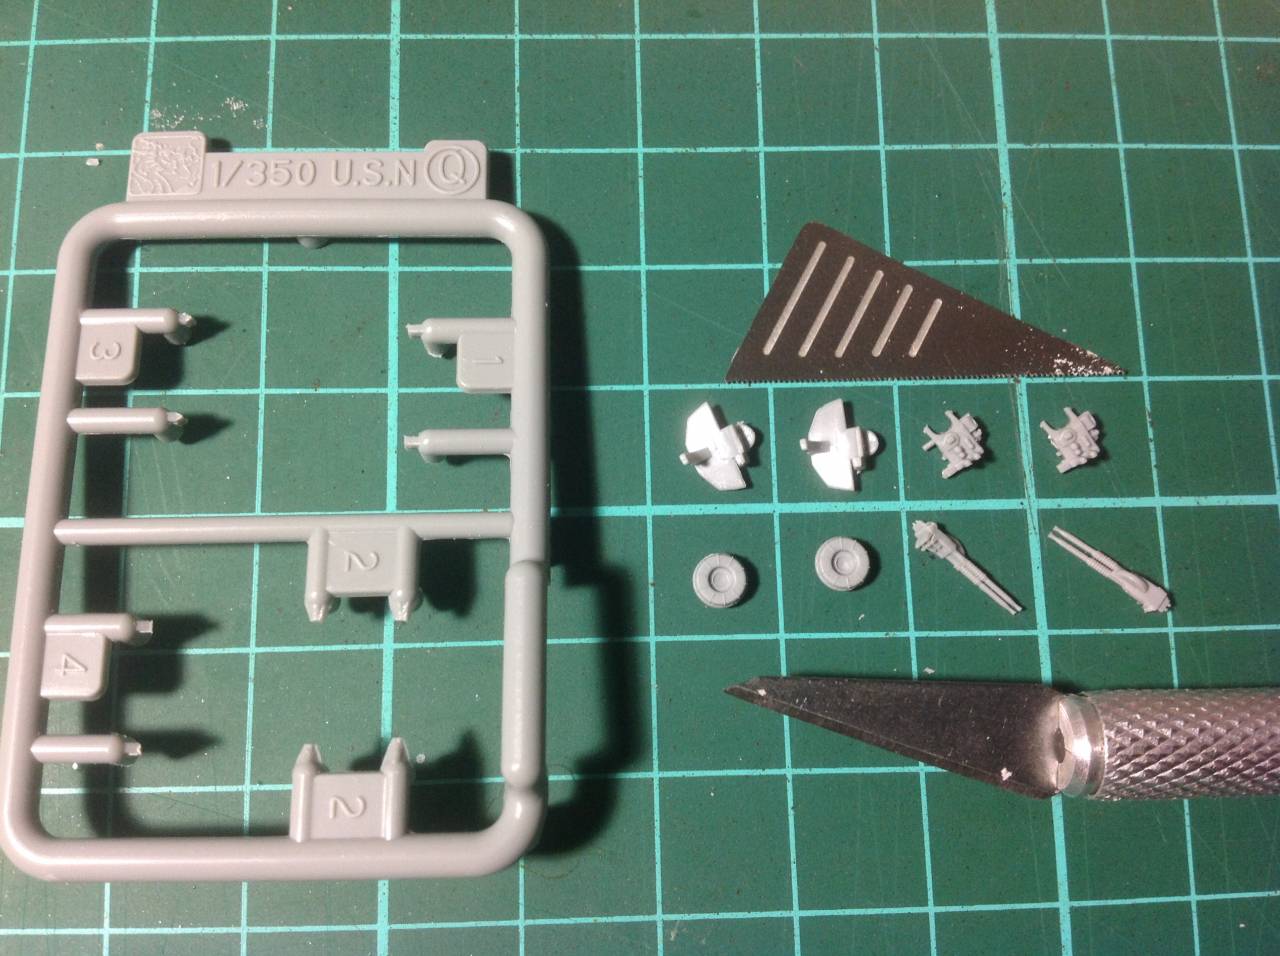

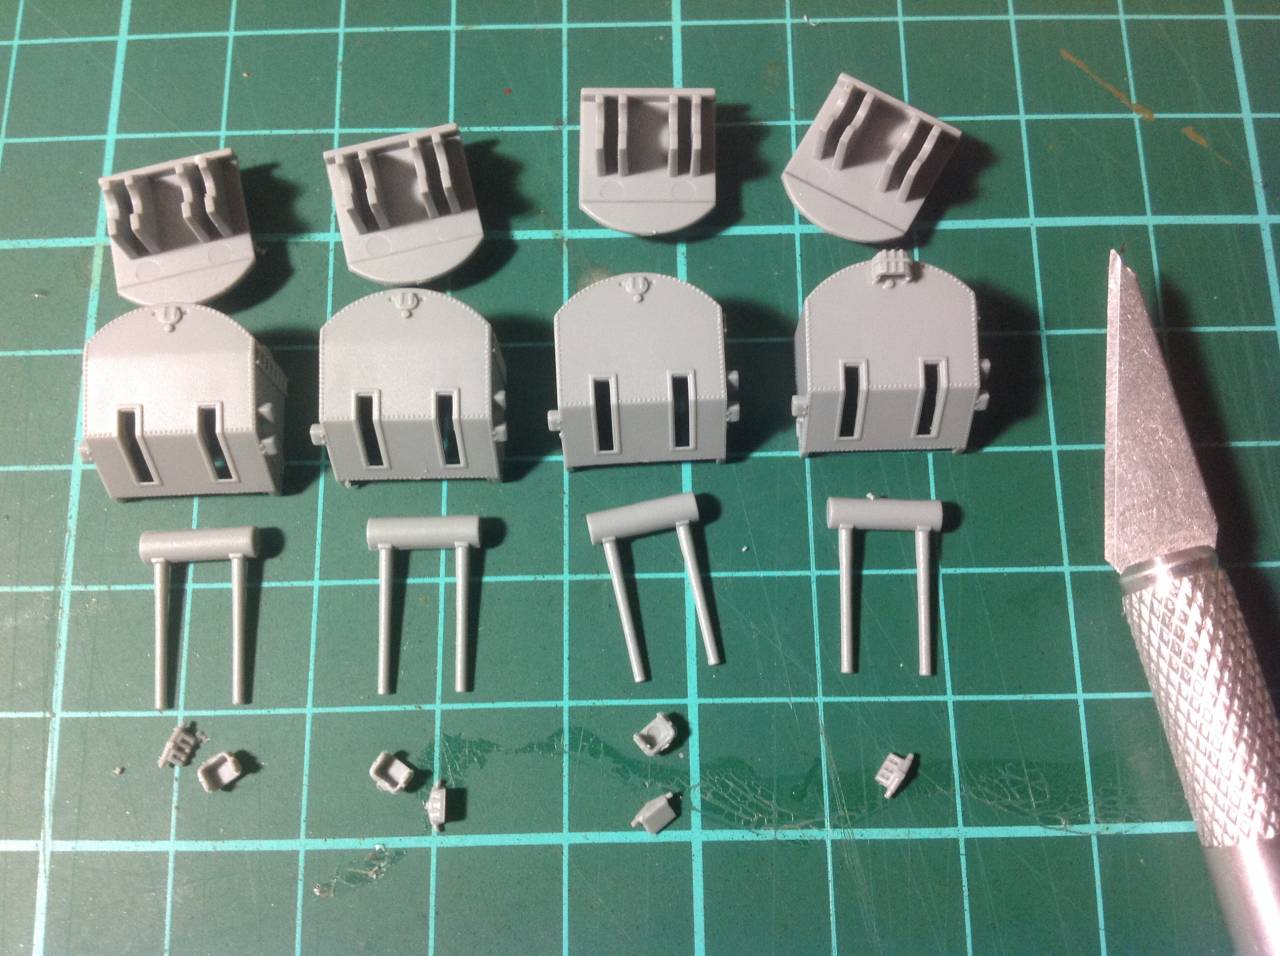
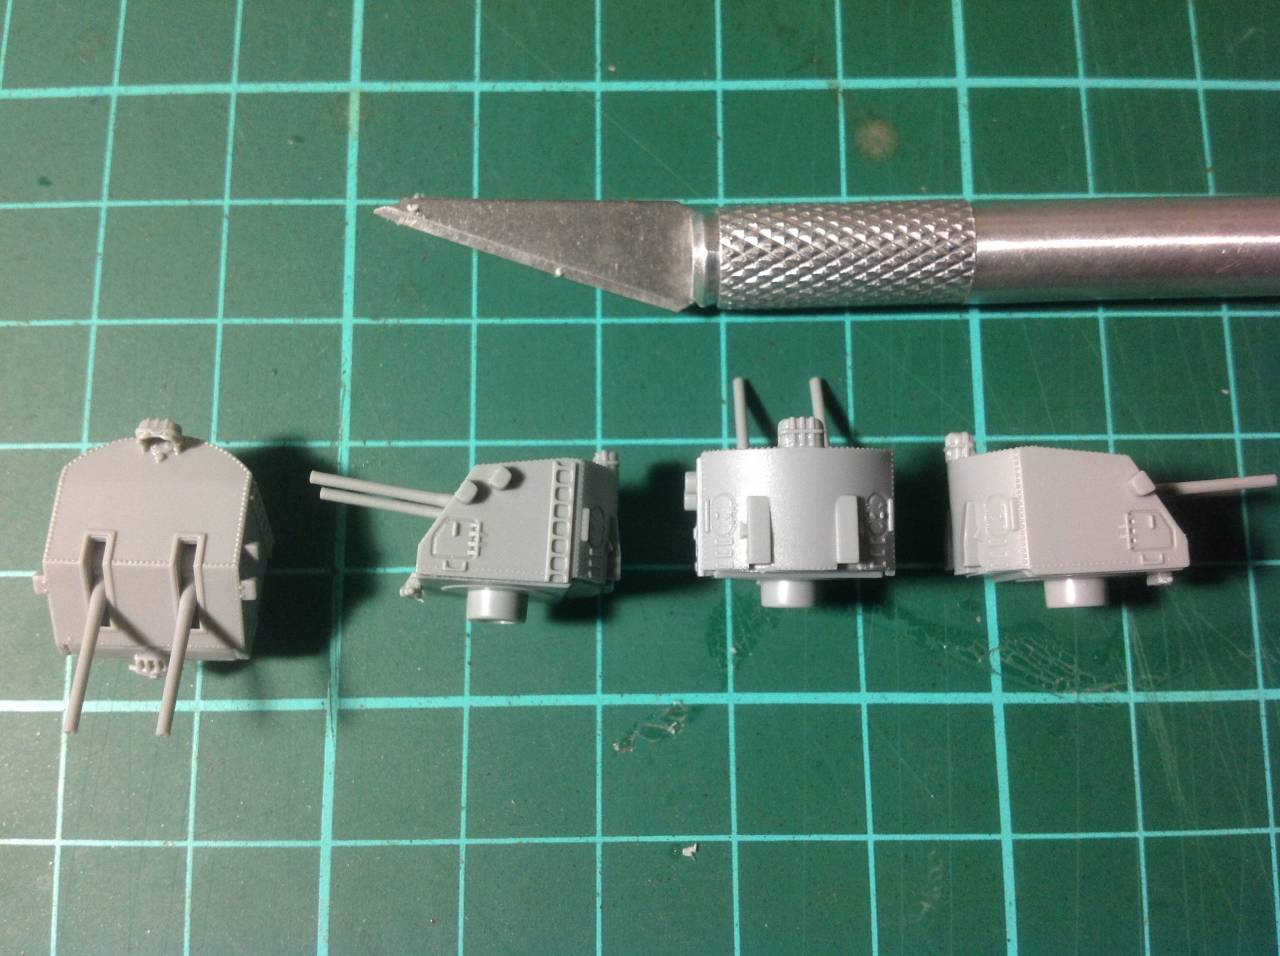
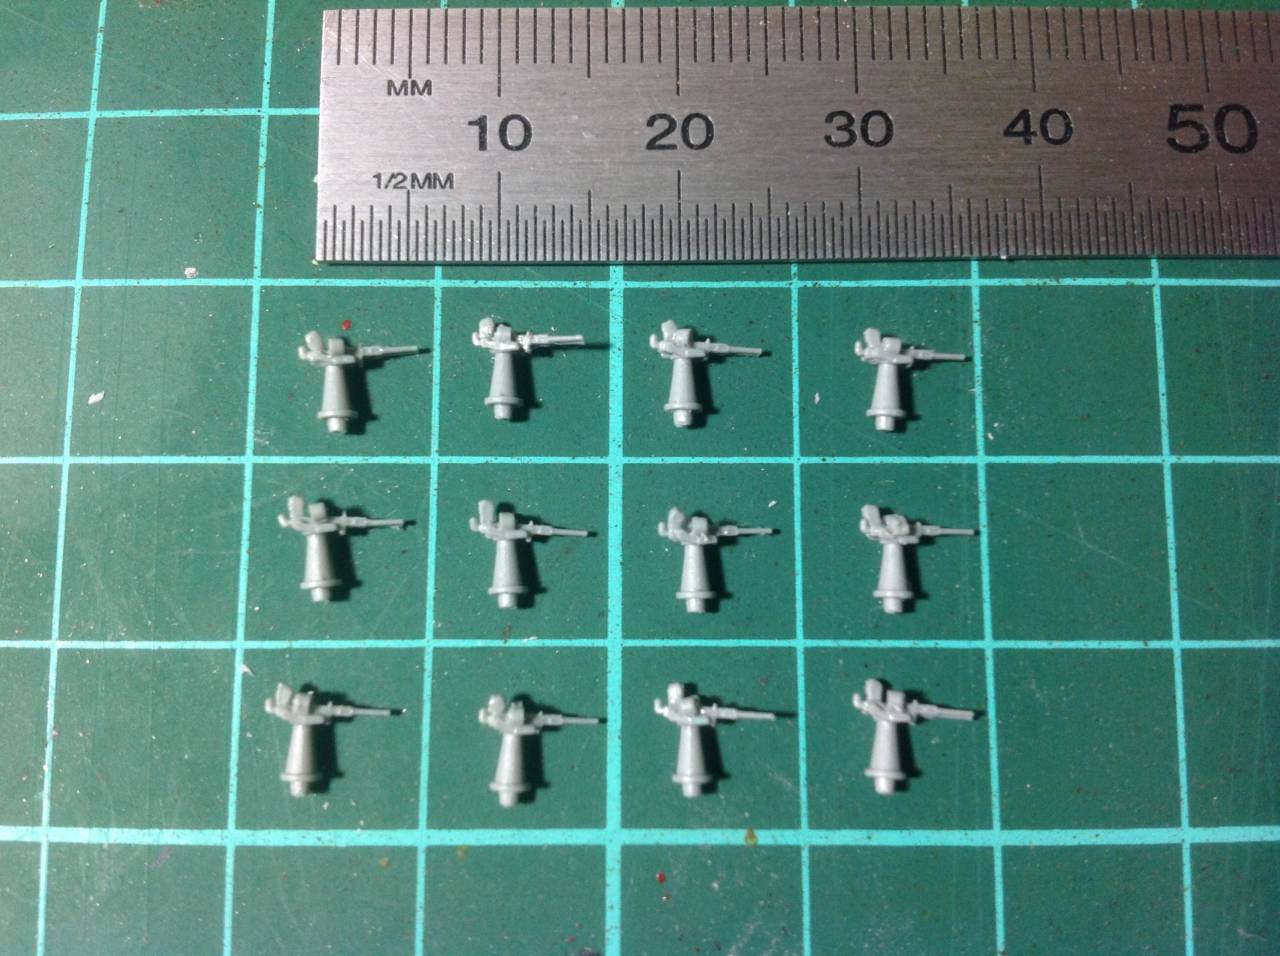
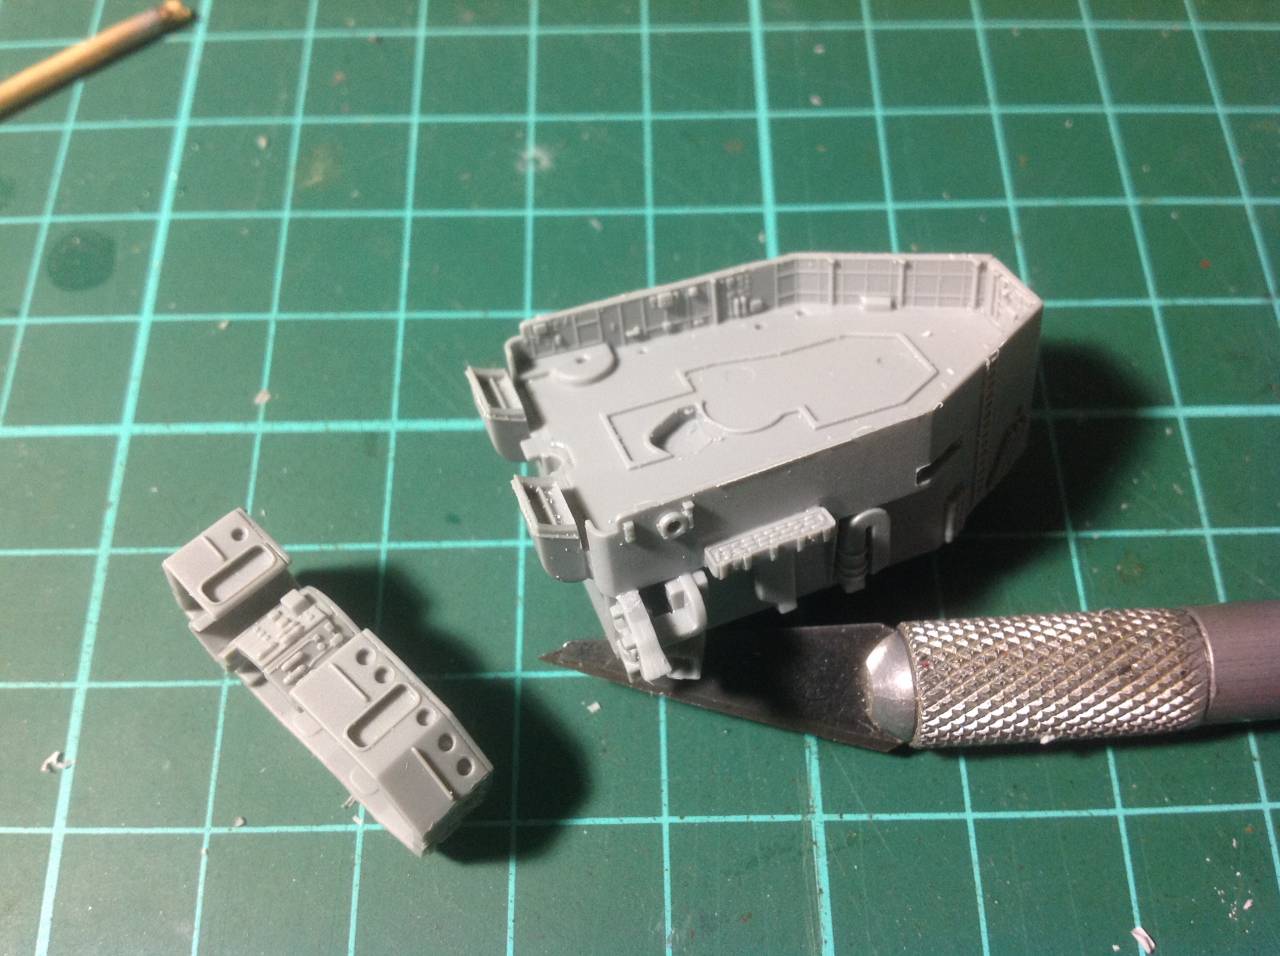
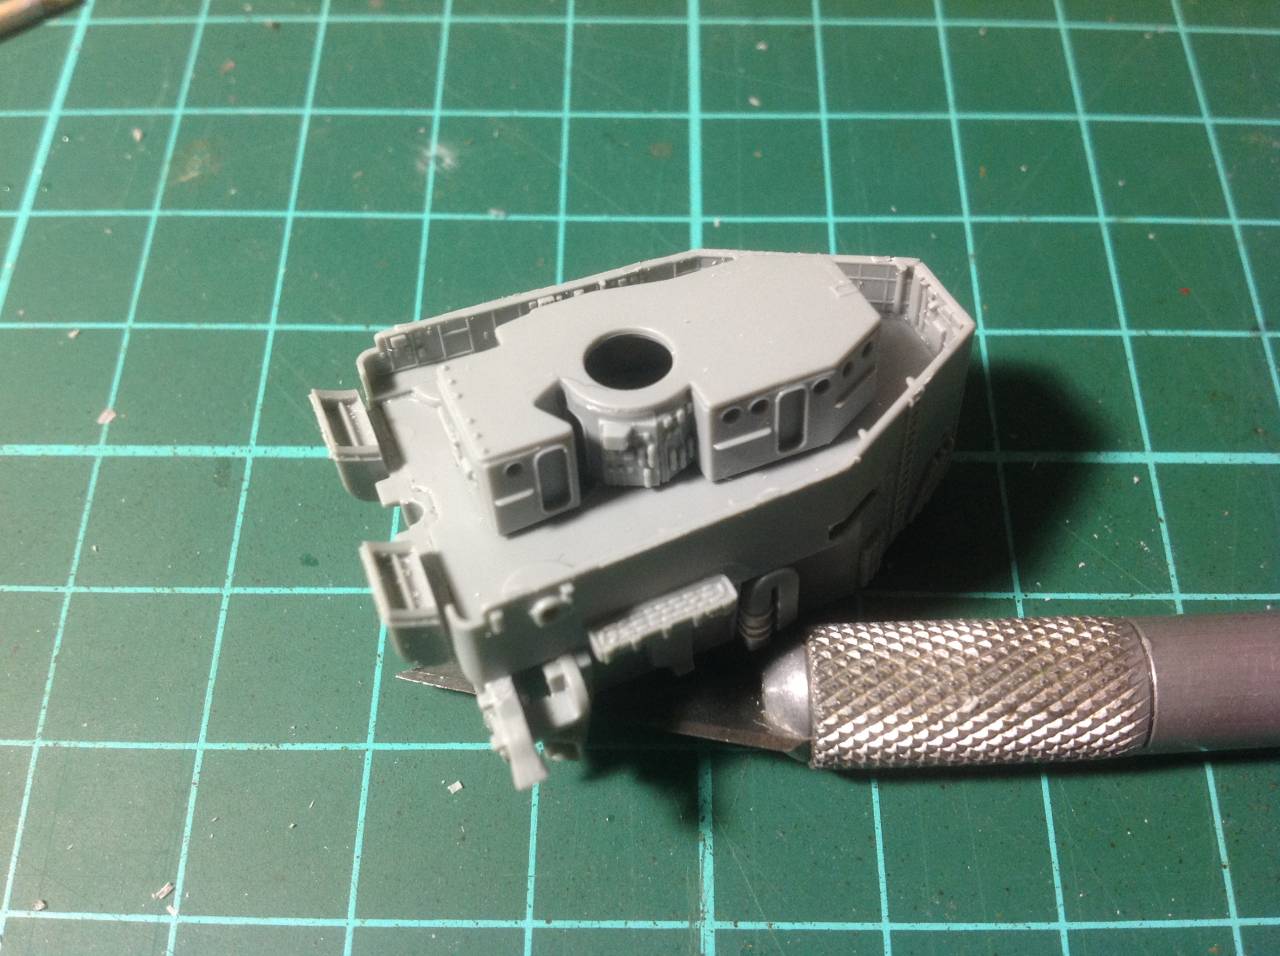
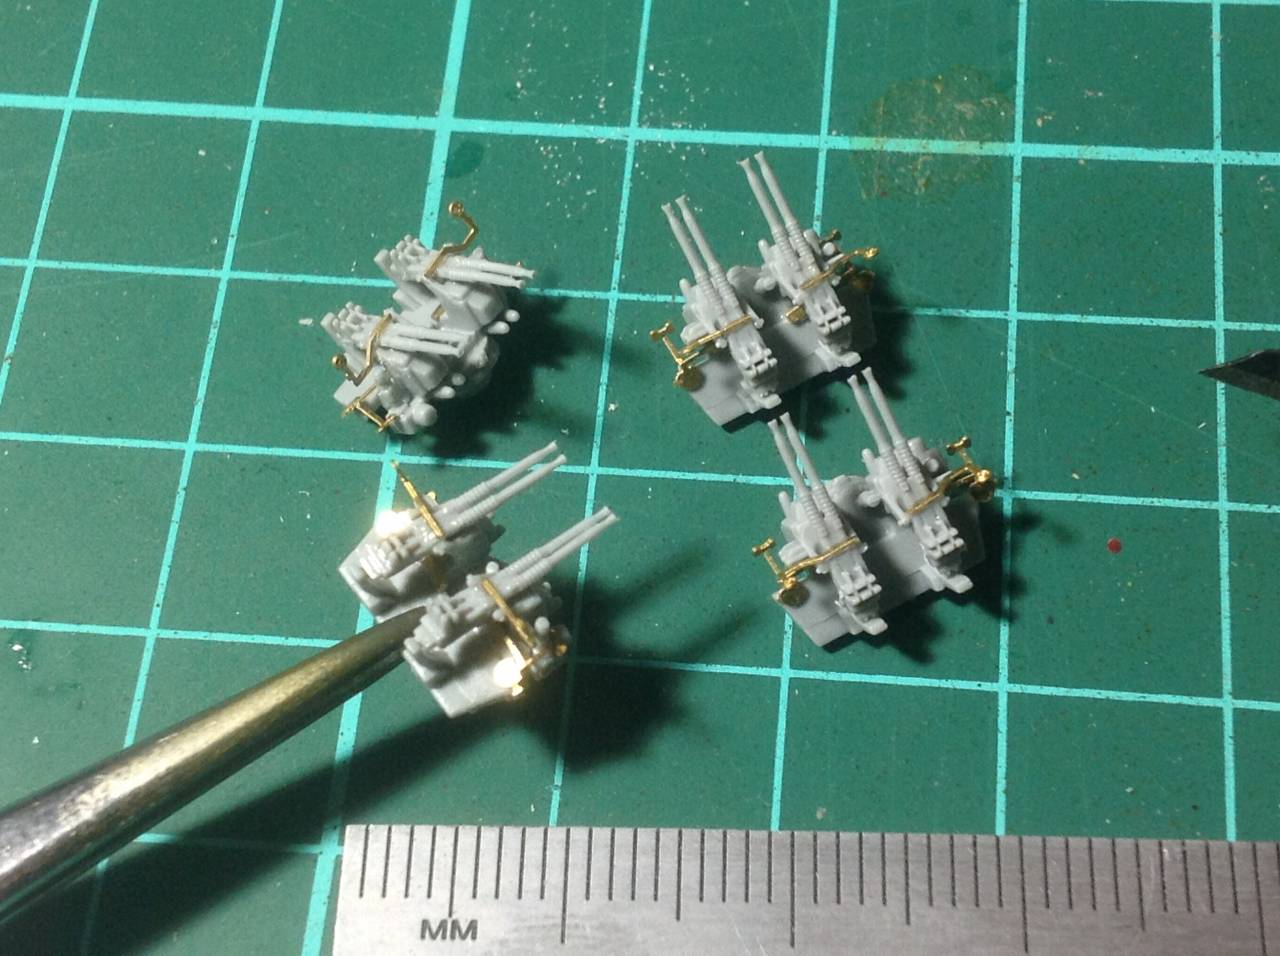
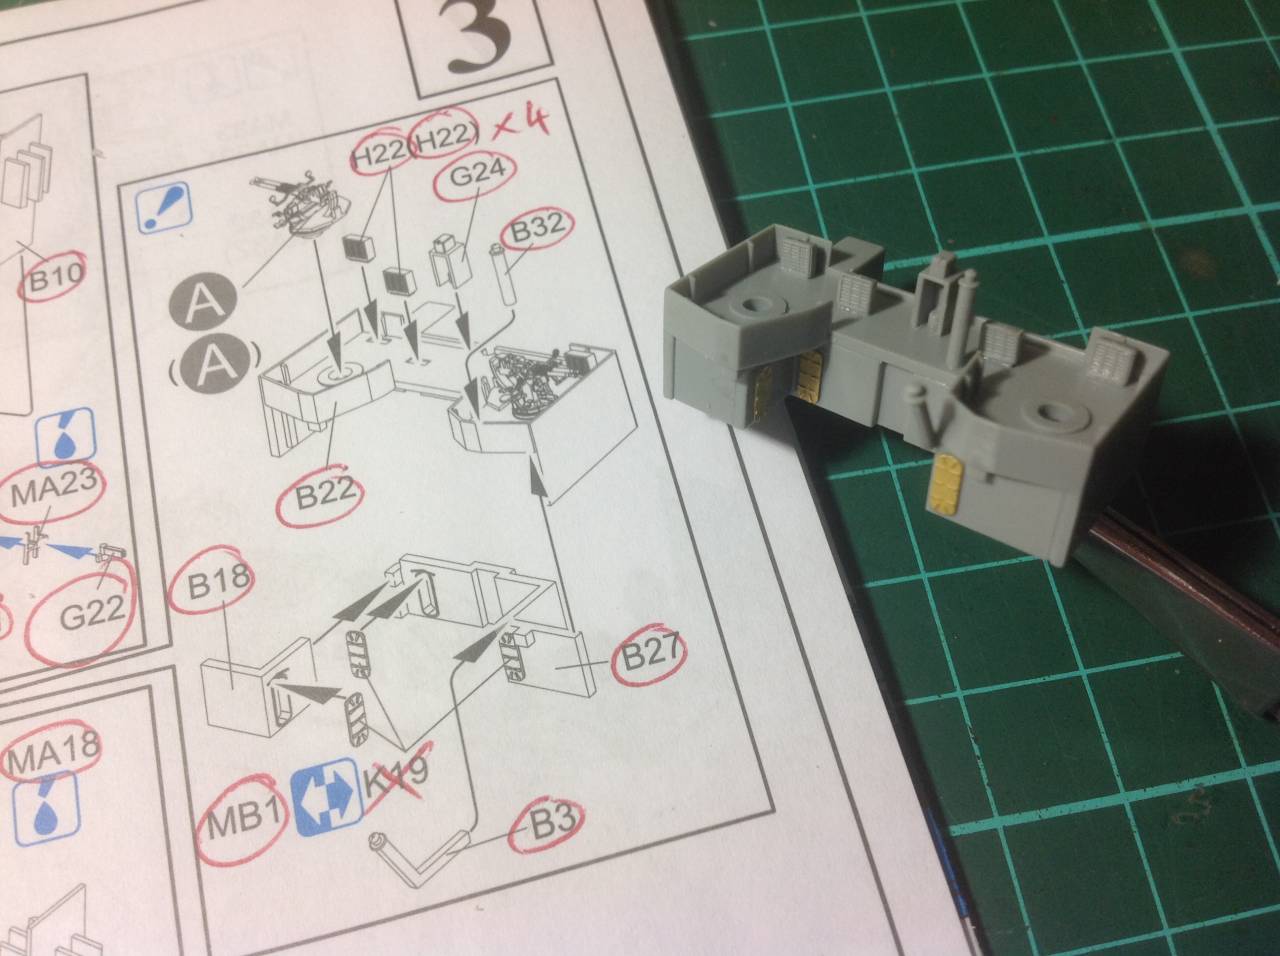
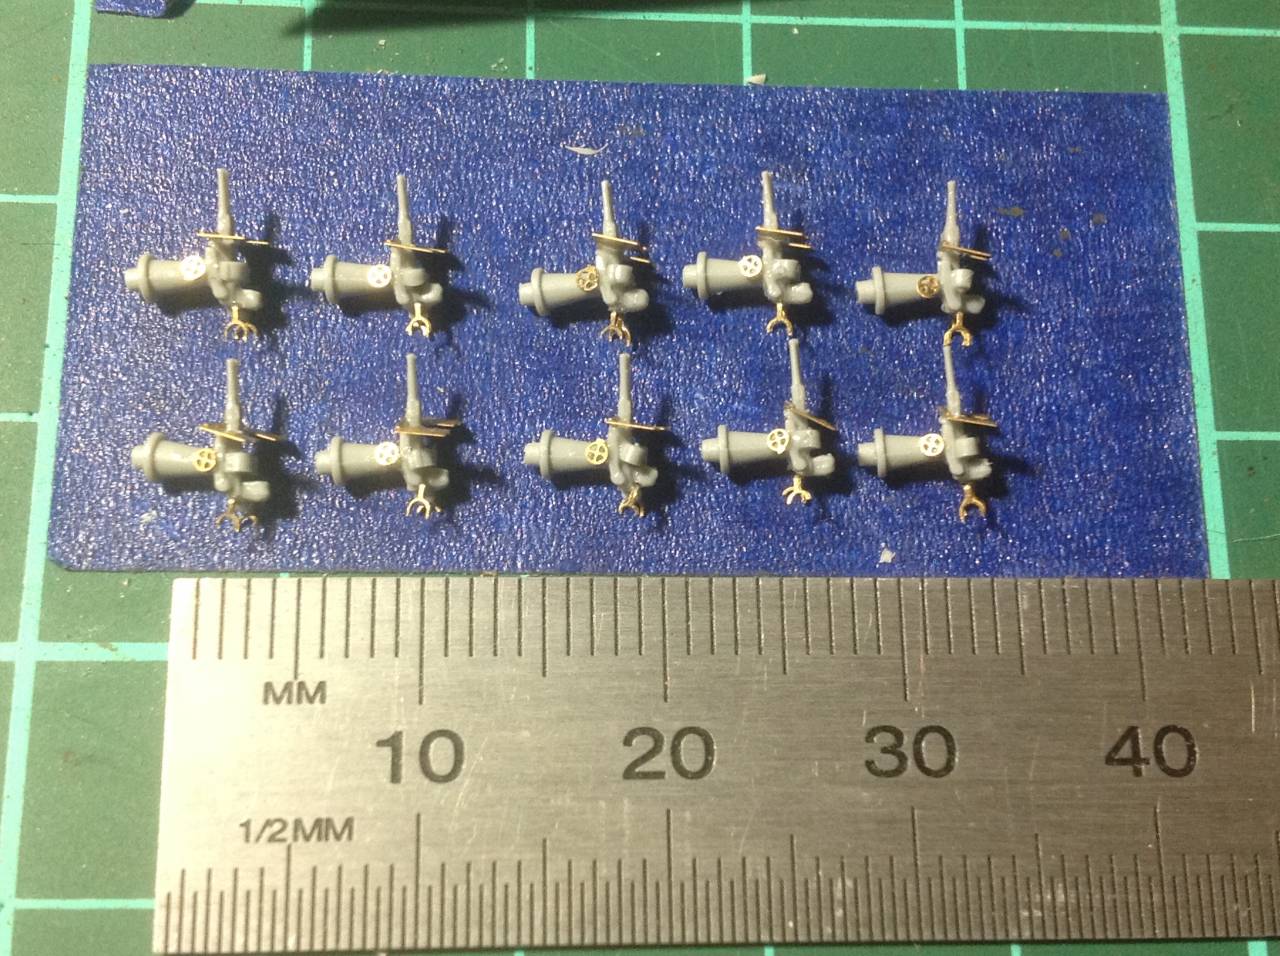
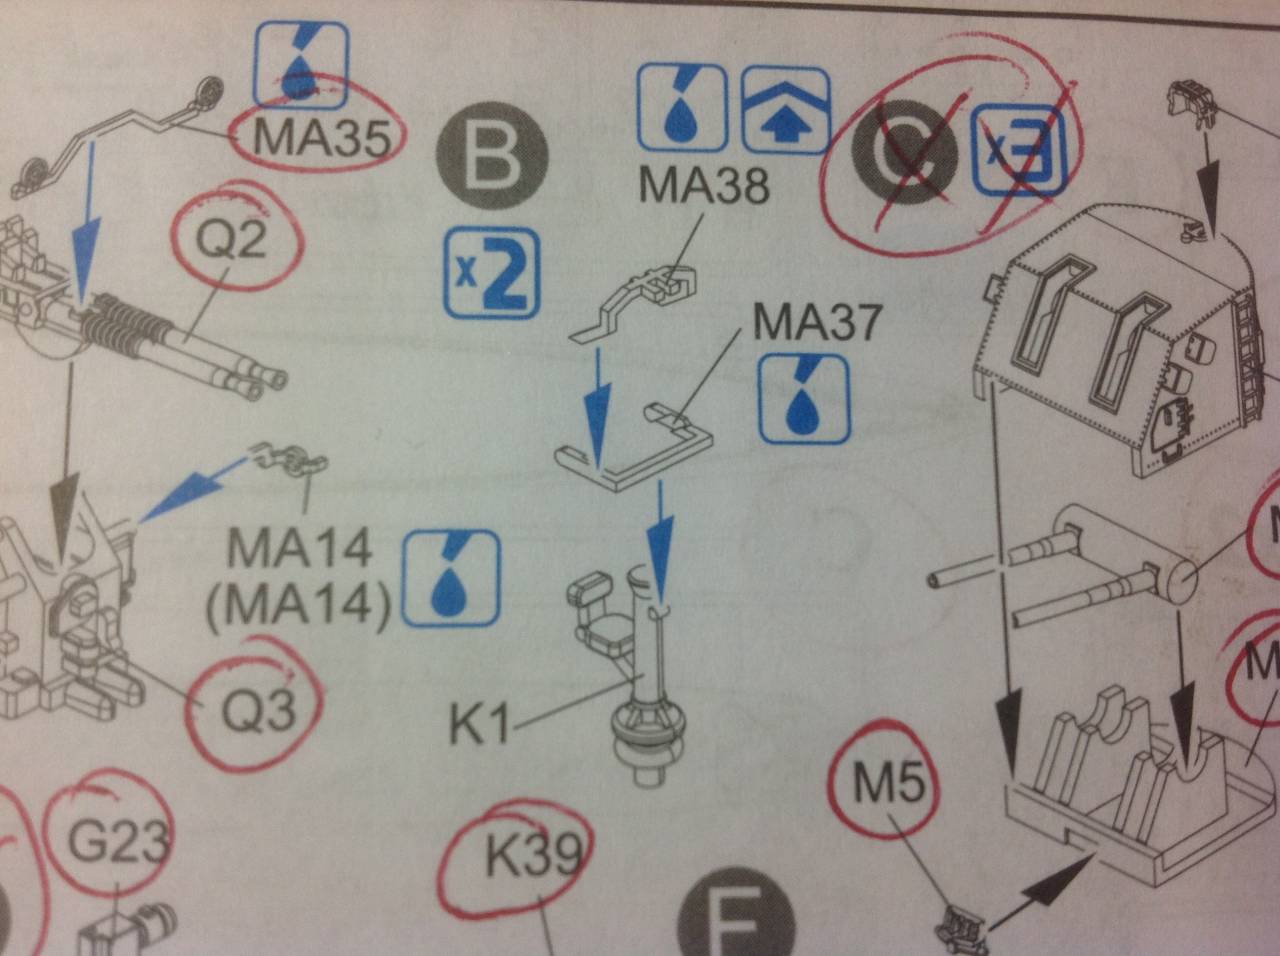
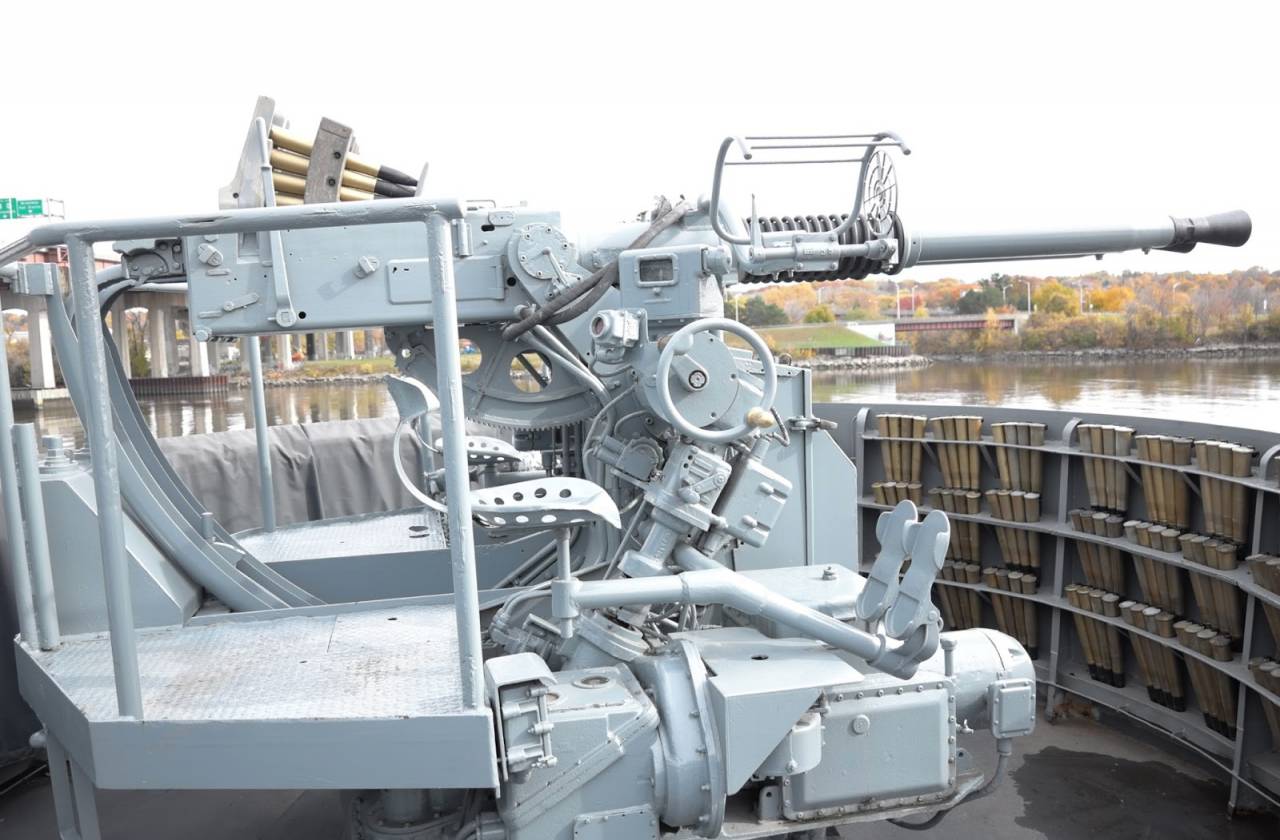
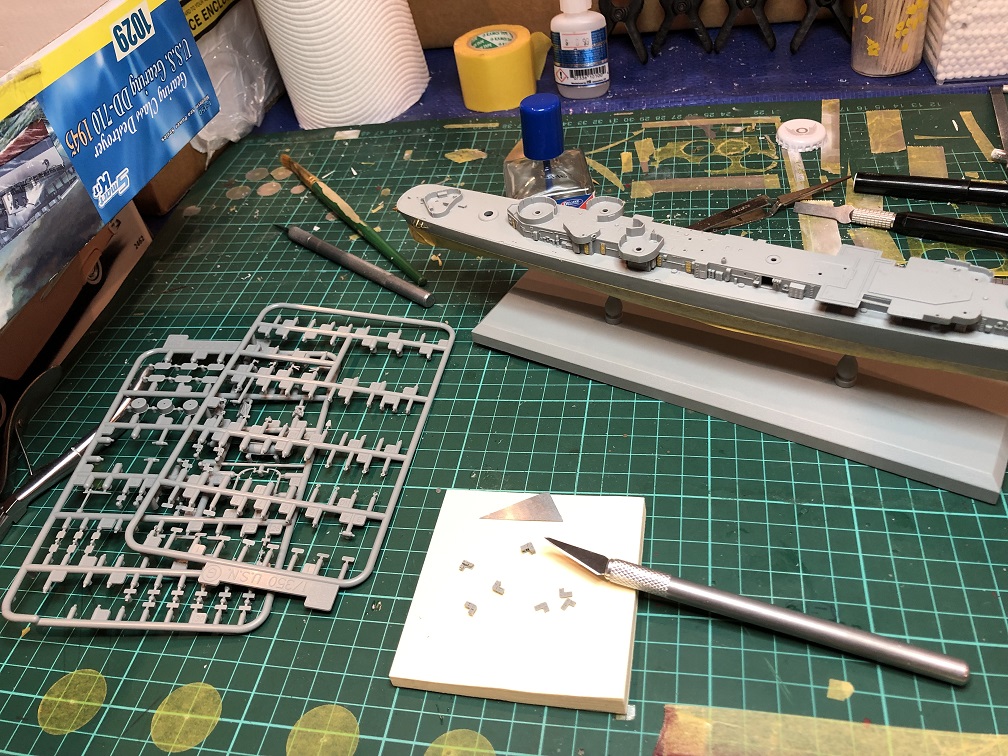
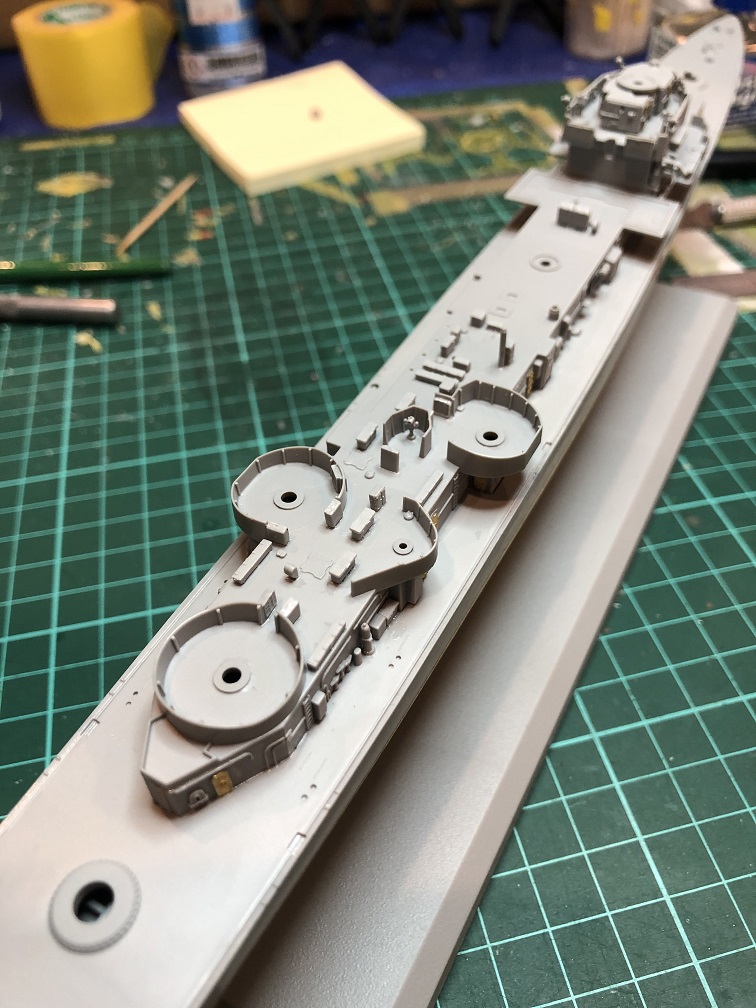
Instructions, Part 1, Step 1, Assembly “A” x 2. There are still 4 PE parts to add to this, so I haven’t glued the guns in place. The PE parts to add are seats and footrests, sights and what look to be handles to elevate the barrels. What caliber are these?
Is anybody interested in me posting images of the actual instructions here?
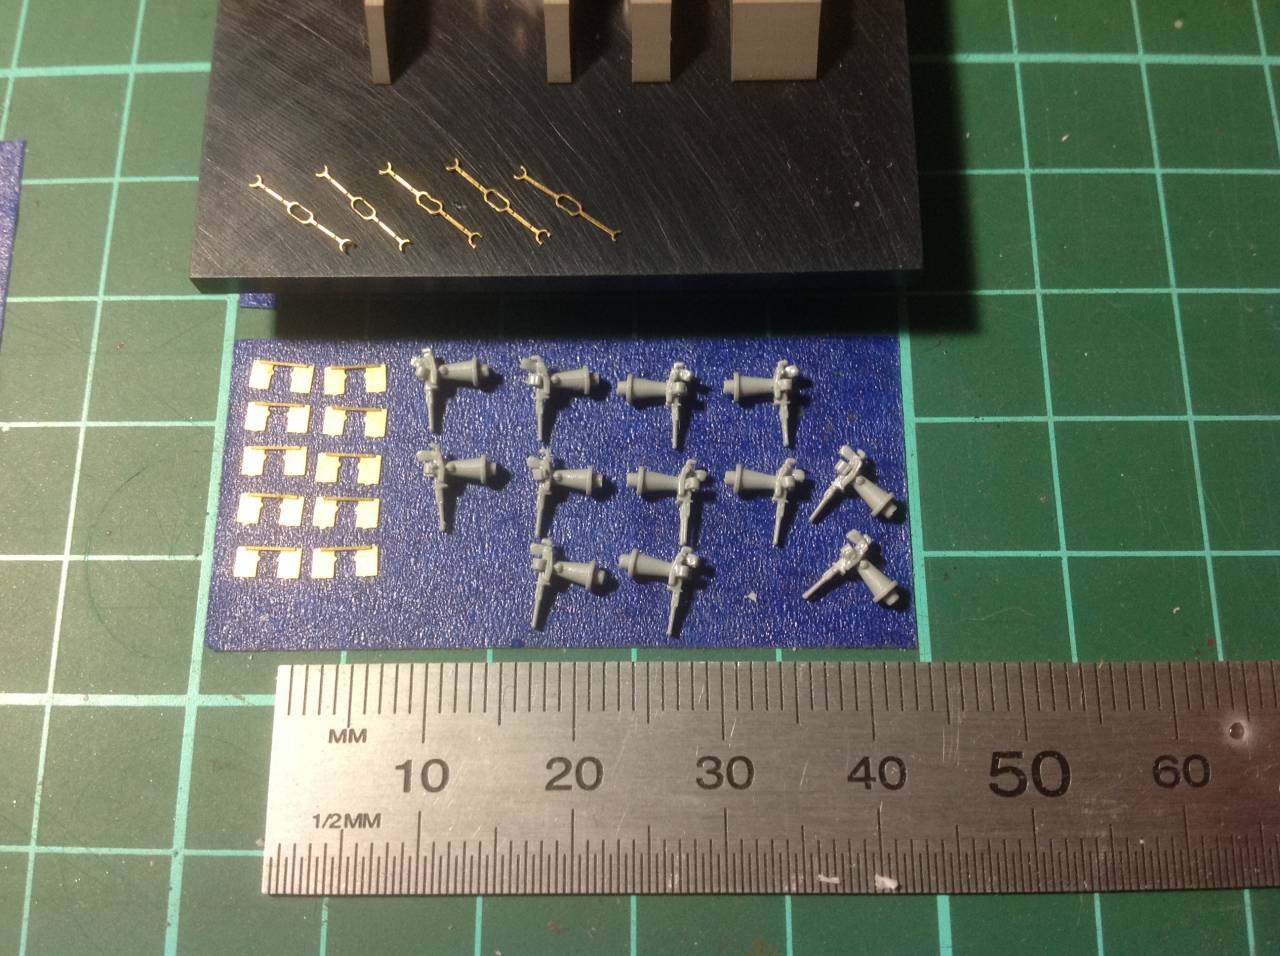
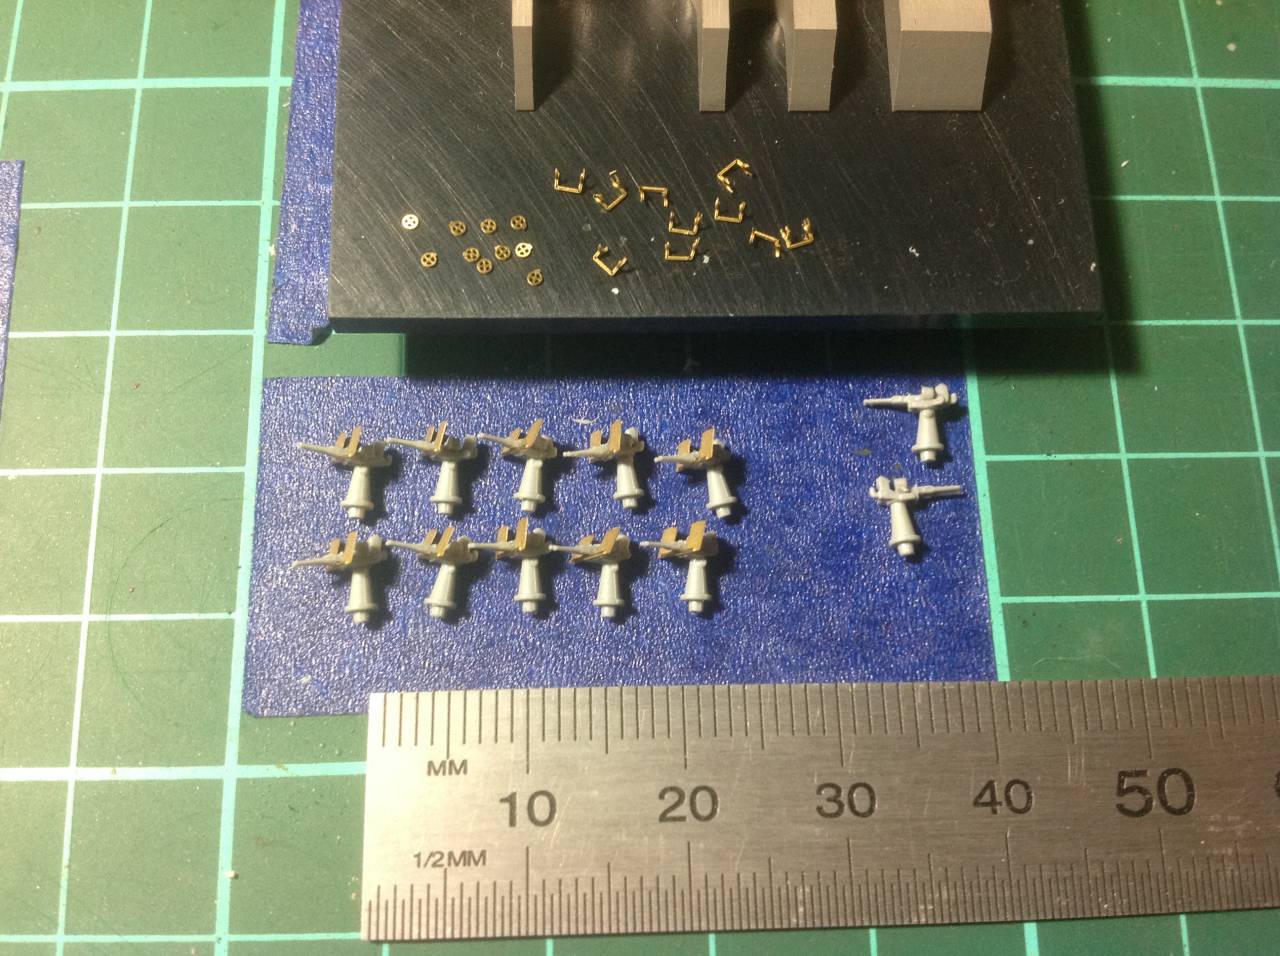
There are multiples of most of the assemblies in this stage, up to 10 of some, so folks must have a preferred method of storing and labelling them for protection and ease of selection in later stages. I was thinking a small fishing tackle organiser, which I have plenty of, but is there any risk of reaction between the plastics?
Like I said earlier, expect plenty of noobish questions as I get started here.
Cheers, D
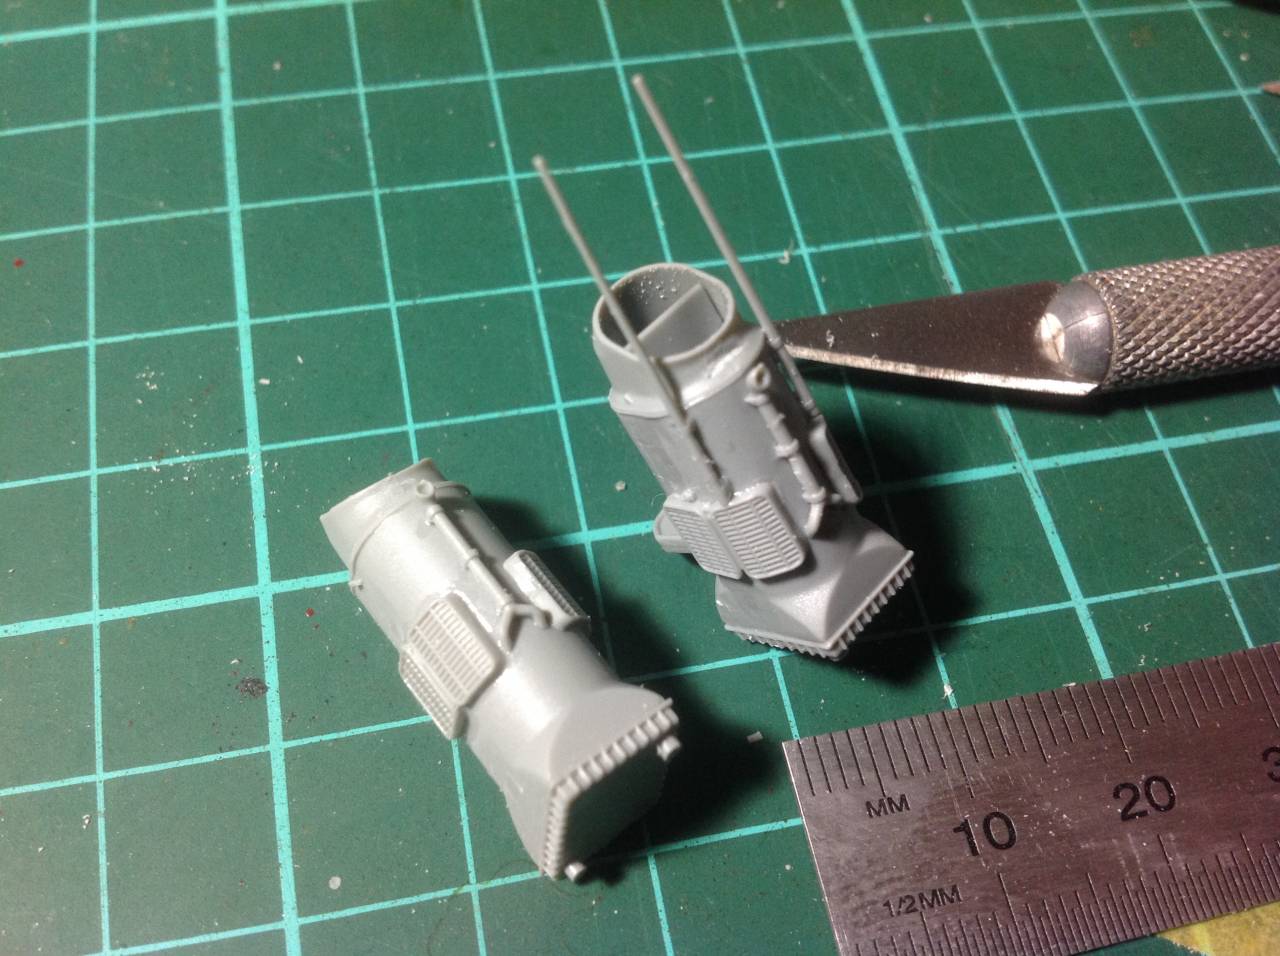
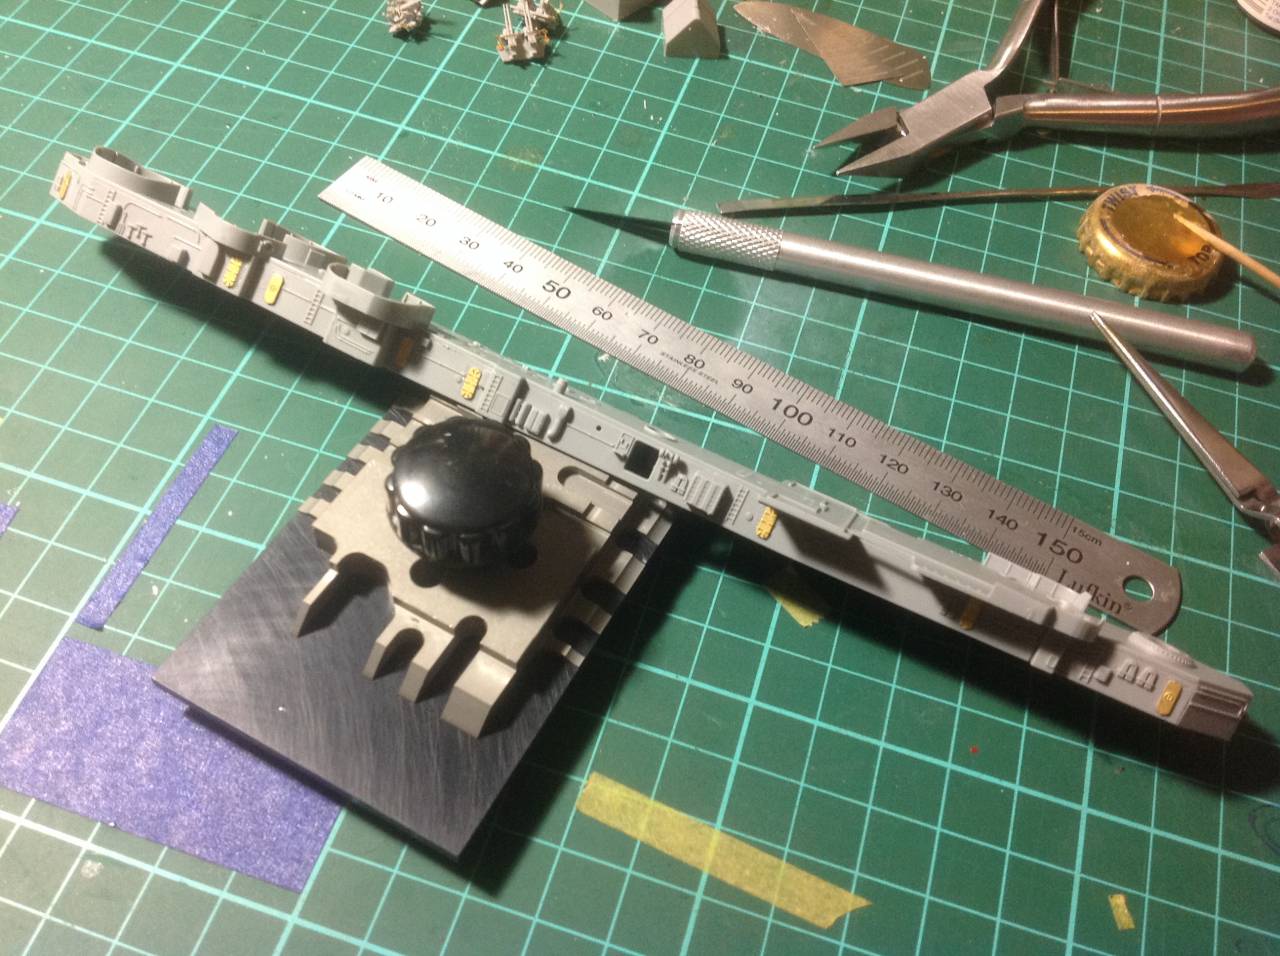
Edit:Damn, these parts are small! I’m used to handling the fuselages and wings of 1/48 fighters that don’t disappear into the carpet and I can actually feel them between my fingers. This is going to take some real focus!