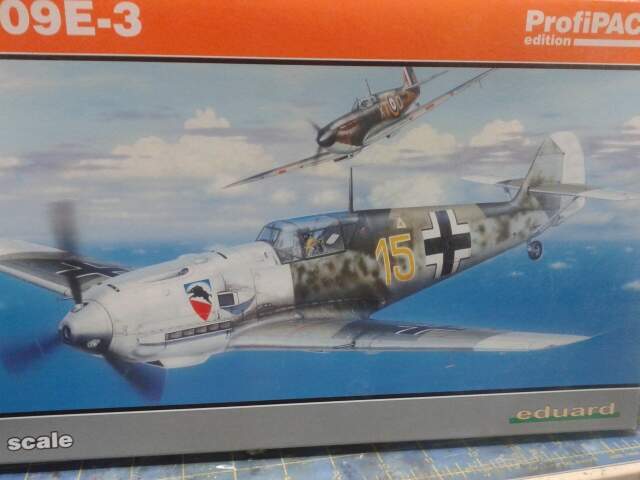
I decided to pull this kit that has been sitting on my shelf for several years. thought it would be a quick problem free build since it was a profi pack along with eduards reputation of well engineered kits. well i was wrong
.
This kit is very poorly designed. no locator pins anywhere, fit issues with the top and bottom wings, and although i knew about deciding whether the engine is to be displayed or not before the build, the directions are a little abstract about the order and what parts not used. plus if you will not be displaying the engine it still has to be used to mount the exhaust and prop. ok, fine but it just lays in the fuselage, no mount pins to locate it properly. just glue it to the bottom of the fuselage. i don’t have much confidence the prop assembly will fit right, it probably will end up being glued in place. also i don’t know why eduard didn’t have a separate exhaust insert for the closed cowl version instead of having to fit each individual exhaust pipe through the fuselage in order to attach them to the engine block. also the way the instrument panel assembles is a poor design, i ended up having it mounted to high up in the cockpit to allow the gun cowl to sit down onto the fuselage. i had to snap the whole fuel tank/gun mount and upper ip out and cut the panel off, remount it in the cockpit and discard the fuel tank and gun mount., they don’t tell you in the directions they need to be removed. so now i have a gap between the upper IP and the fuselage. i almost threw the whole thing back into the box and went on to something else, i still may. we will see
sorry for the long winded rant but i just had to let anyone planning to do this kit some of the problems.
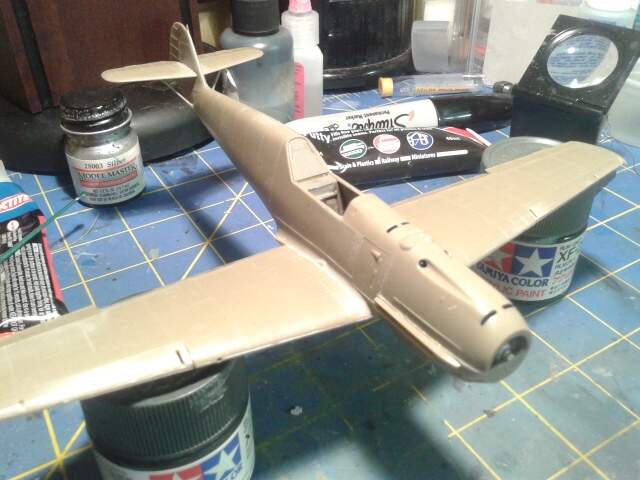
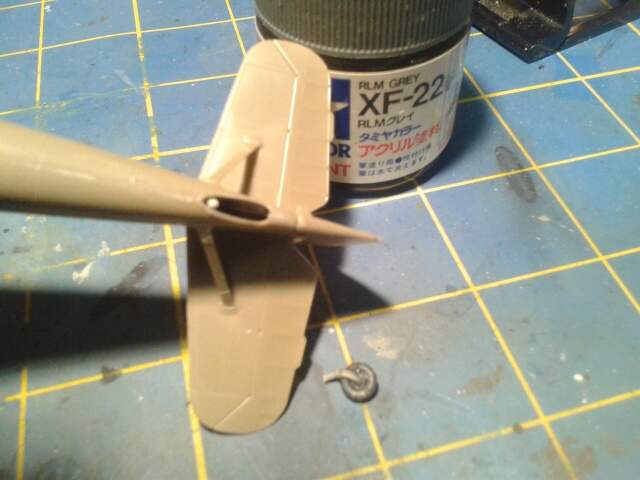
so the fuselage is all assembled and i am just about ready for primer and paint
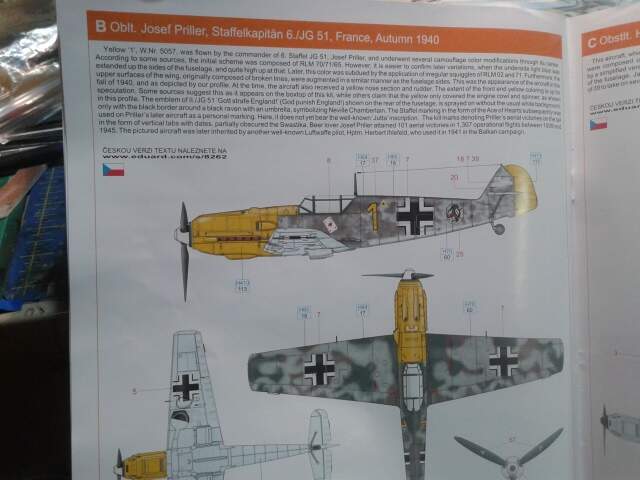
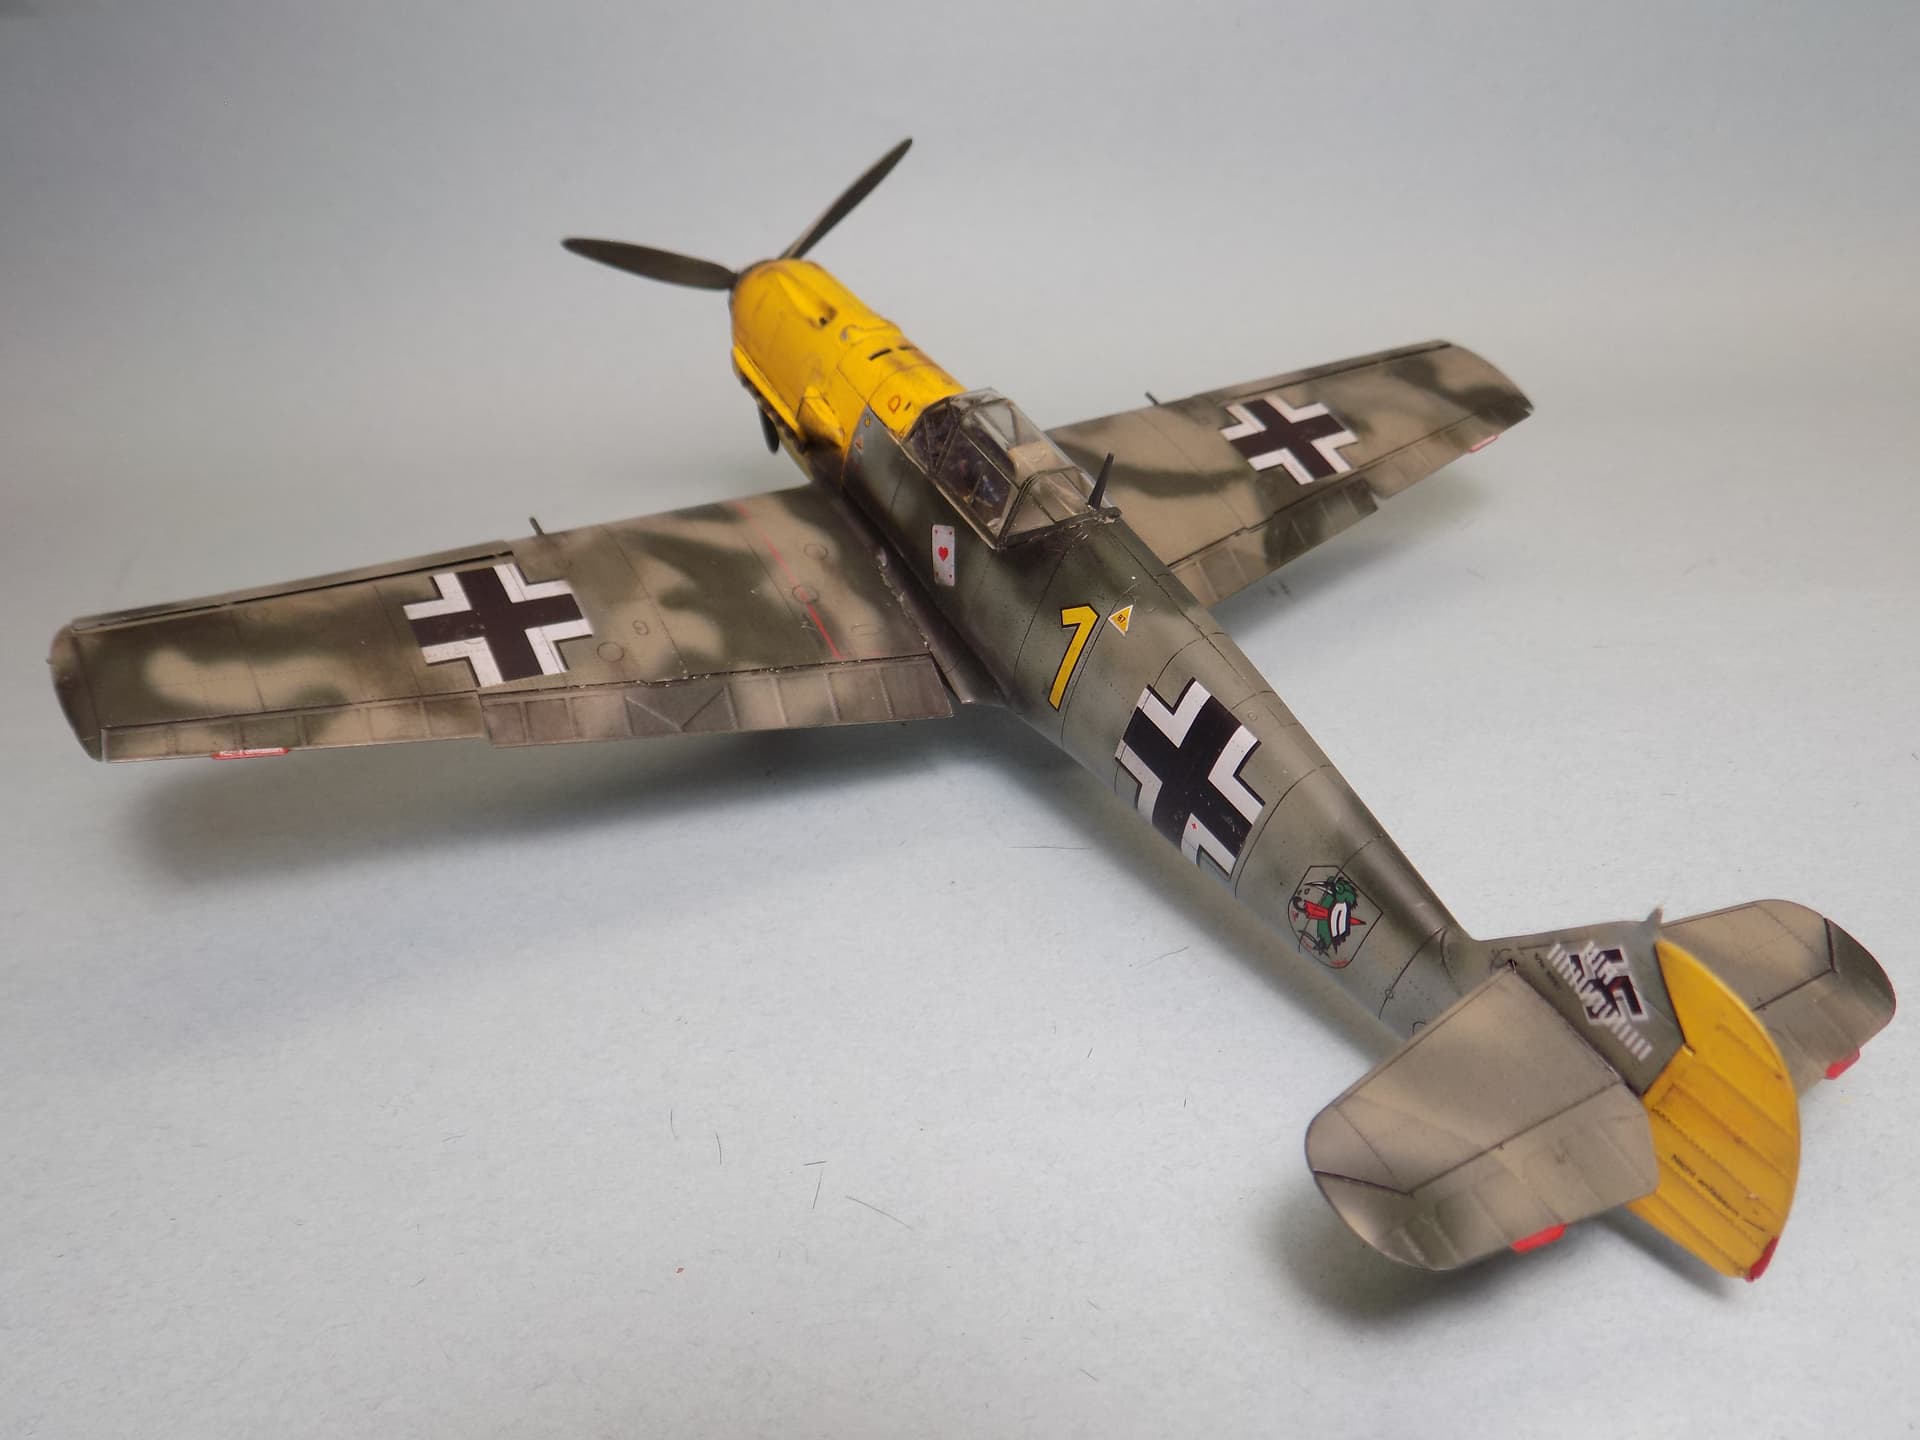
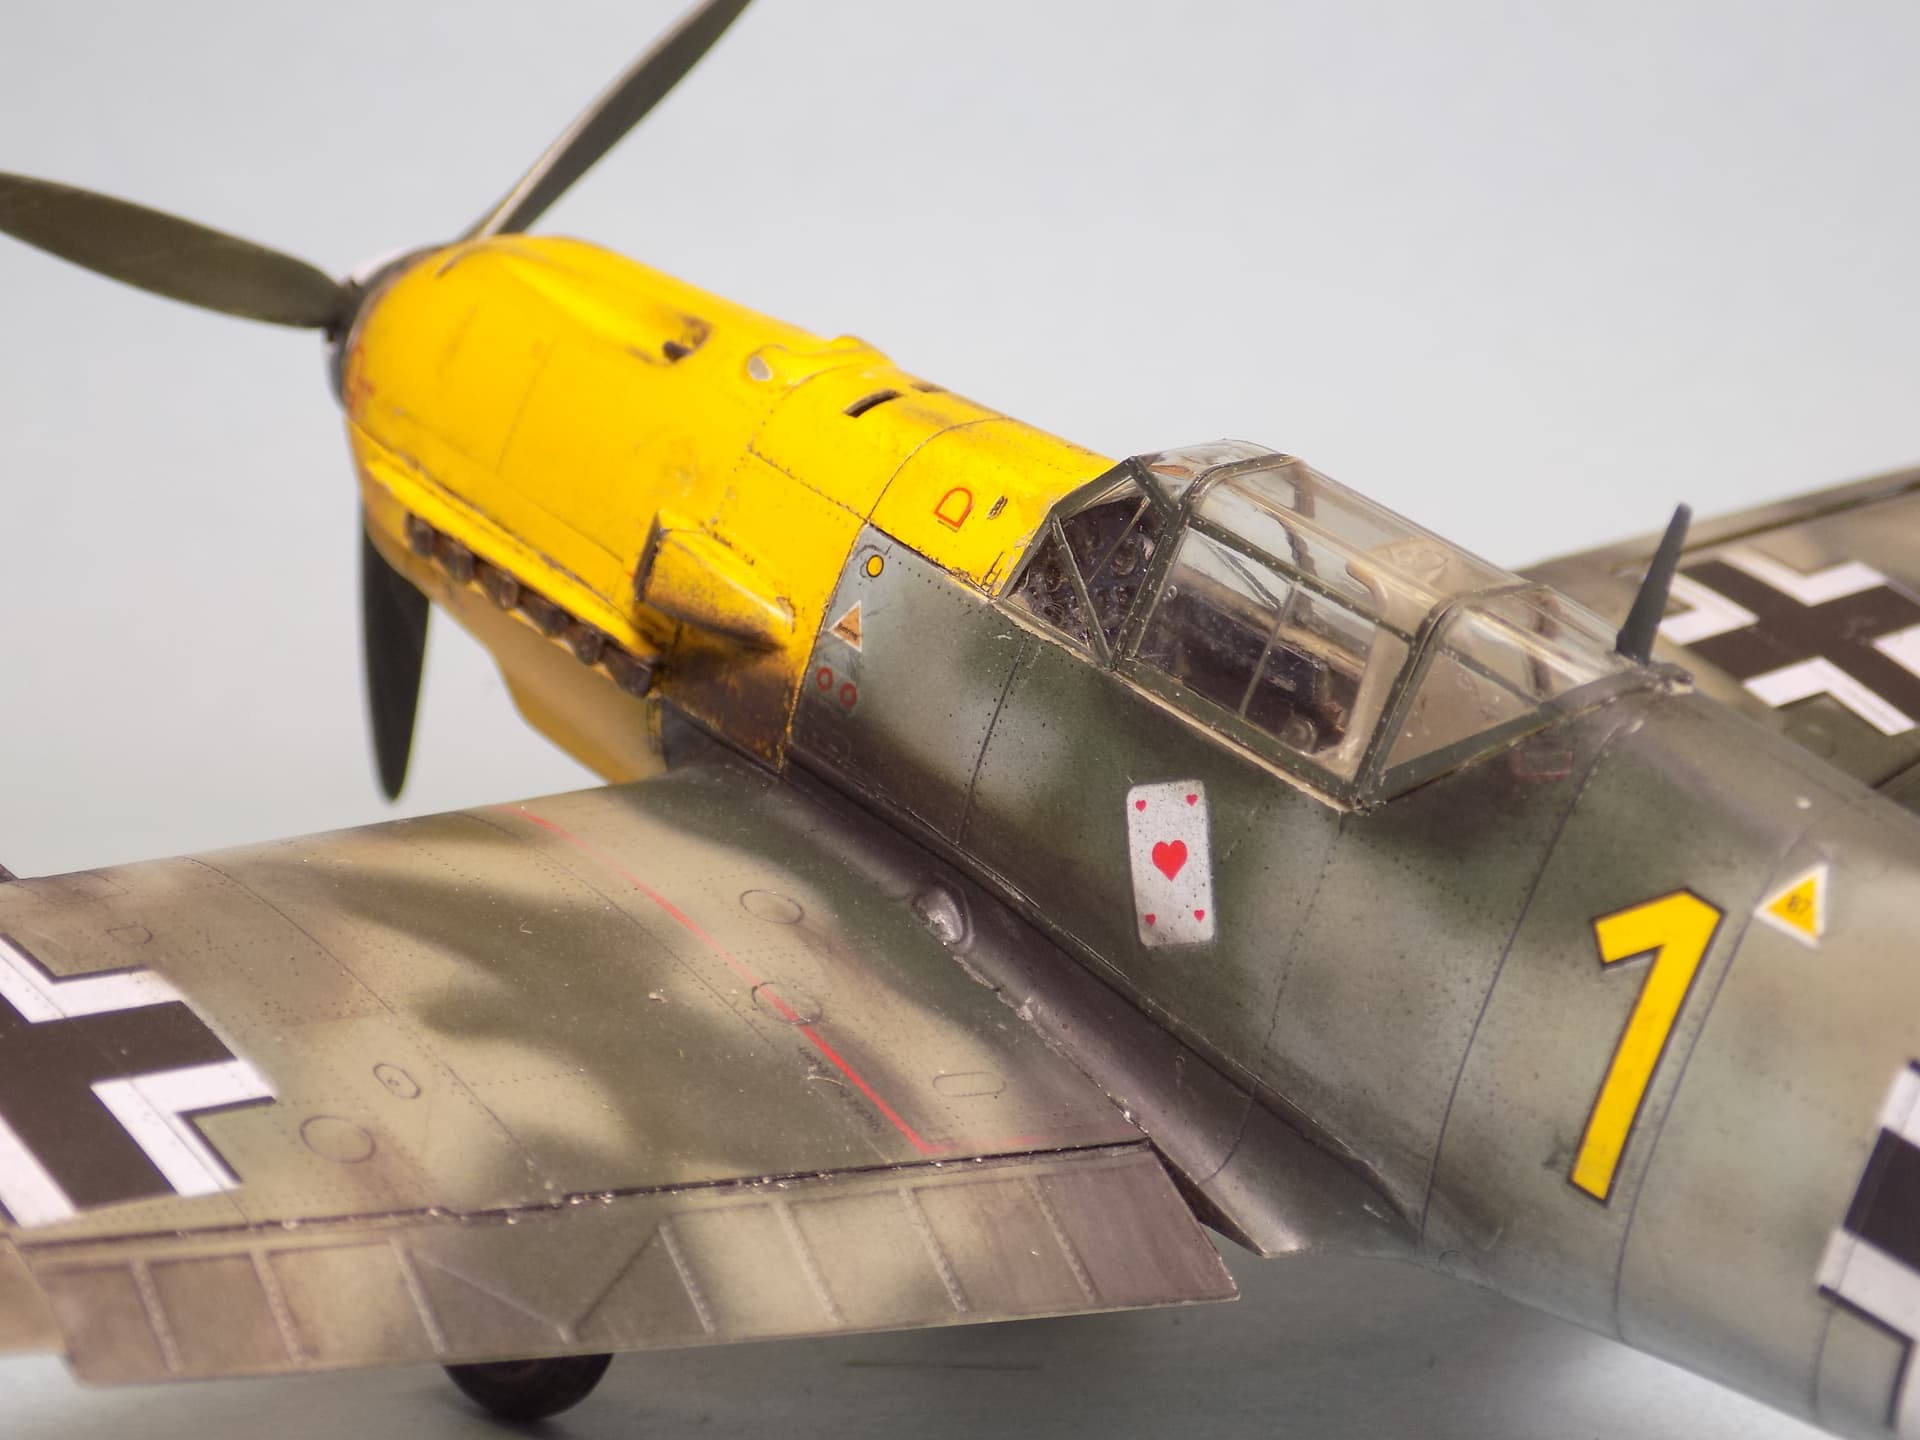
I decided to challenge my airbrush skills again and do Josef Priller’s E-3.
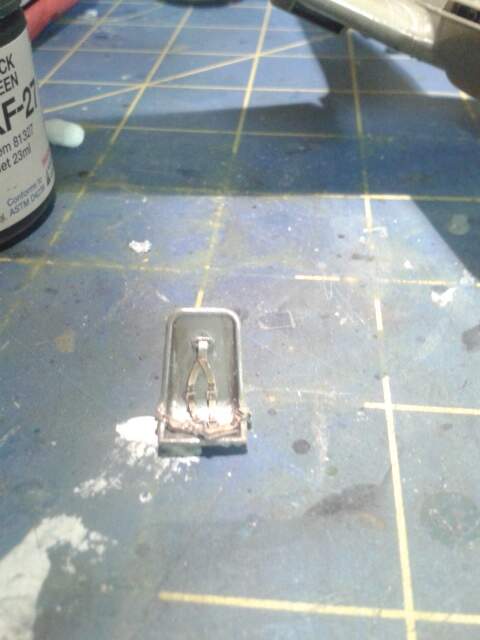
BTW can anyone suggest the best way to fix this? of course i snapped the tail wheel off, why wouldn’t i ? can’t think of a solution that isn’t going to be messy.
Hi Joe - sorry for your troubles. This is supposed to be fun . Regarding the broken tail wheel, perhaps you can drill into both pieces with a tiny number drill bit and insert wire reinforcement and CA or epoxy .
You’ll get it - I know what you can do .
Cheers - Richard
It’s always worth to check the net for reviews about a kit before buying it. Even if it’s just an in-box one, if it shows the instructions one can check how the kit maker thought about the details.
Eduard kits, mainly their latest ones are great but it doesn’t mean that all of their previous ones are those too. In case of the 109 series for example they completely changed the front section in their G versions, only two years later. Left out the engine, simplified the overengineered exhausts, etc. When their E kits came out (about a decade ago) the general modelling trend was the “more parts the better”. For now it thankfully over and the gazillion parts for just the part count’s sake went into the bin.
Absolutely spot on László. If I want to build something less fiddly then Eduard later Bf 109 G’s or their recent quarter scale Fw 190 A’s are a breeze to build
yes the newer 109s are great. i built their f model and it went together nice. i have one of their early 190 kits and hax=ve been putting off building it. i can just imagine the headache that will be.
Richard, yes i know about the pin trick, have used it with varying results, i was just tapping the more knowlegable here to see if there was another option. i fear the wheel shaft may be too small to pin.
If you want to build a Fw 190 showing off all the internals, then the older Eduard Fw 190’s are fine for that. If you want a no nonsense build definitely go for the latter releases. In my experience they are the easiest kits to put together with or without PE. Highly recommend their Weekend Fw 190’s
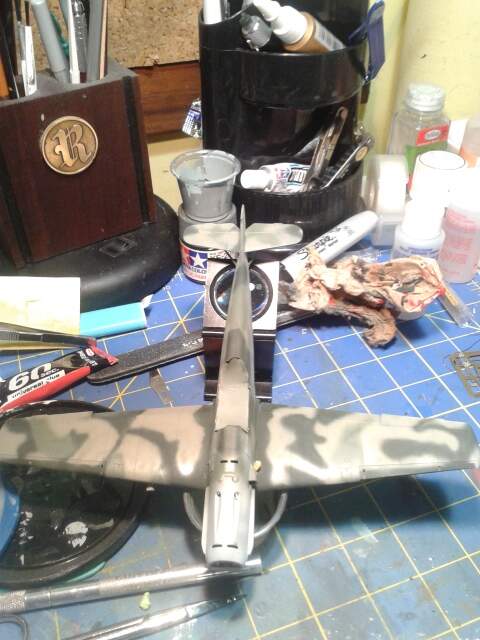
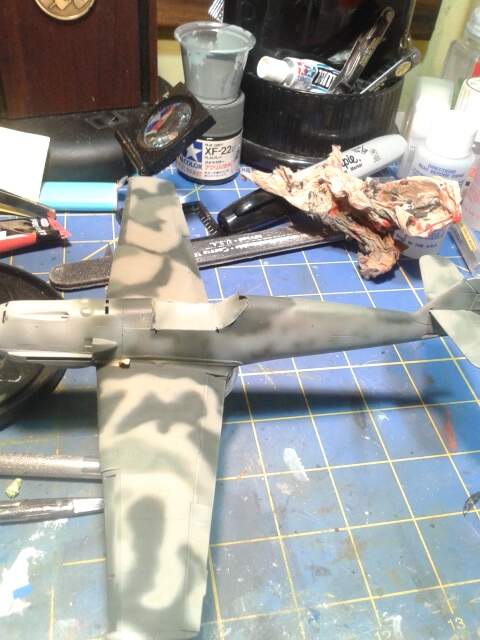
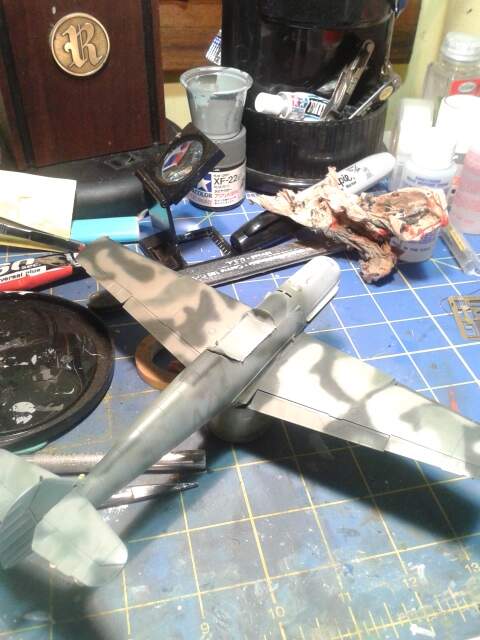
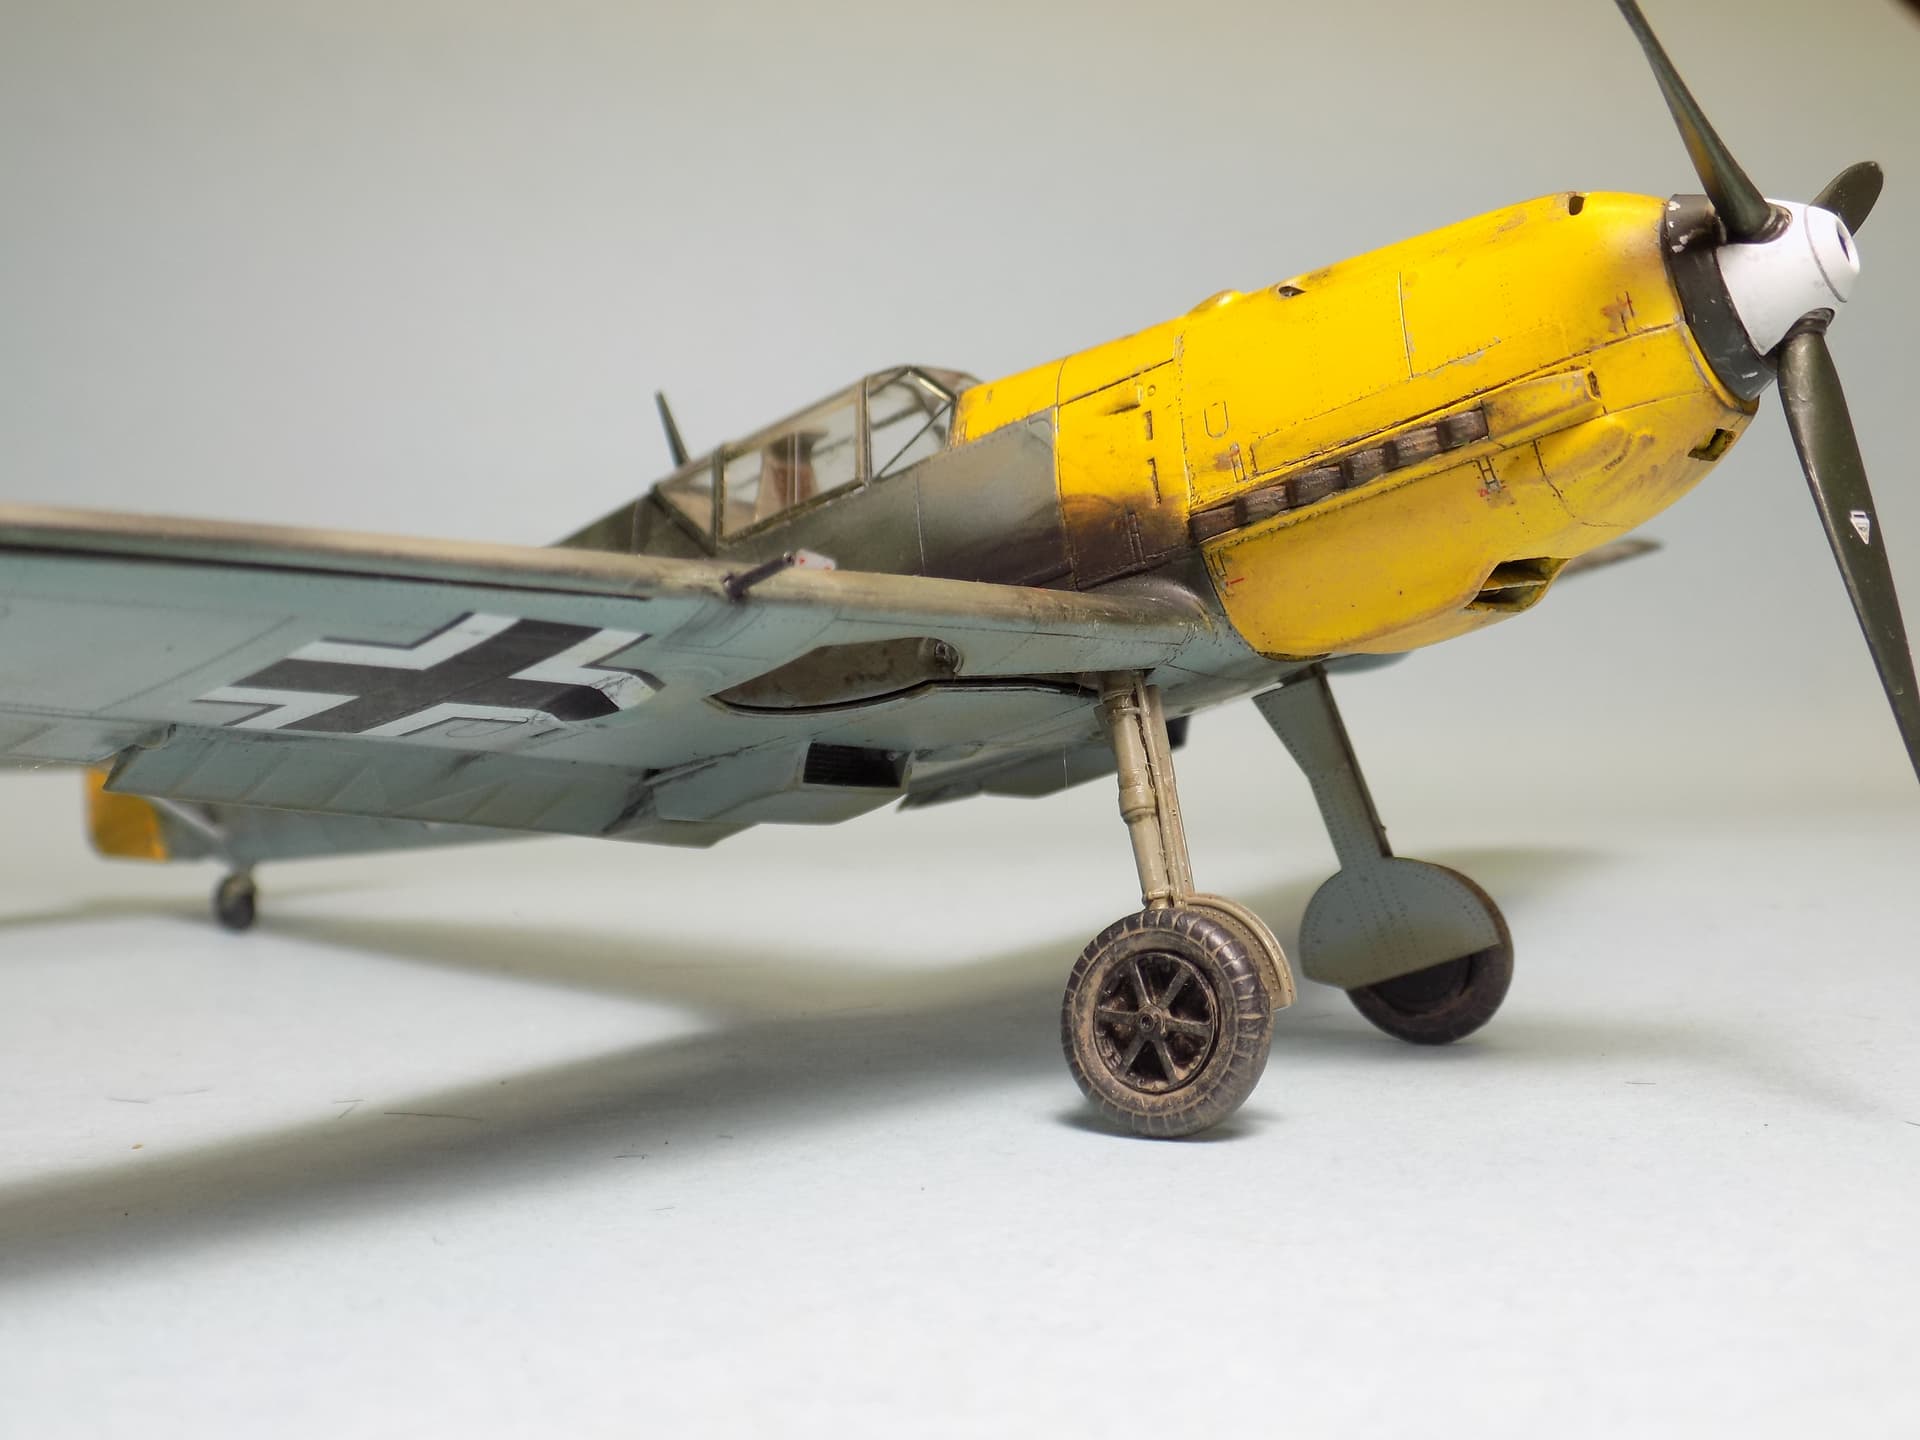
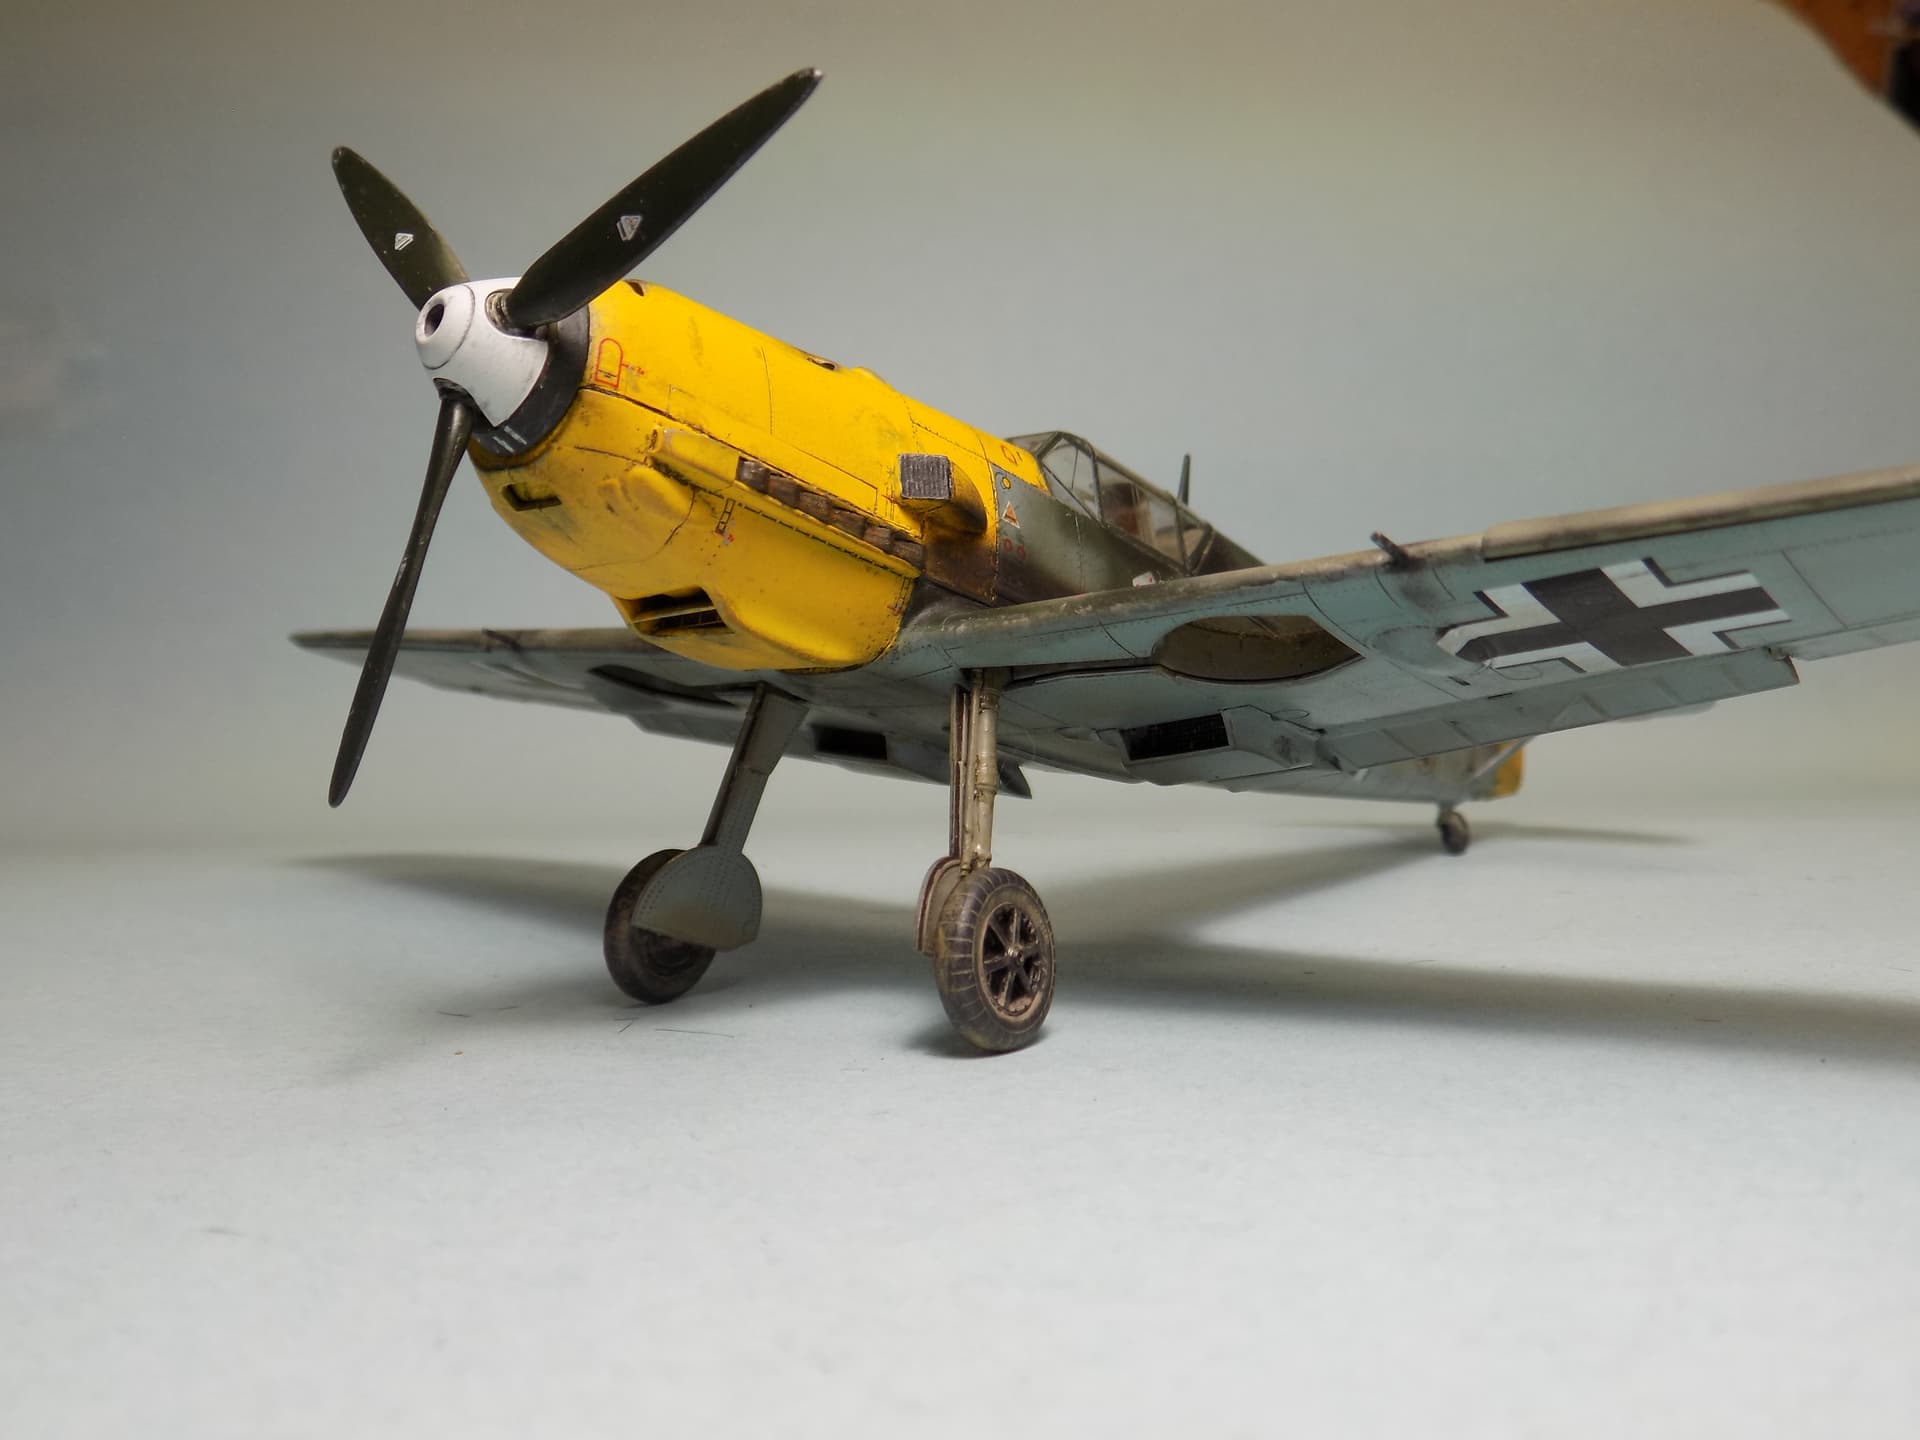
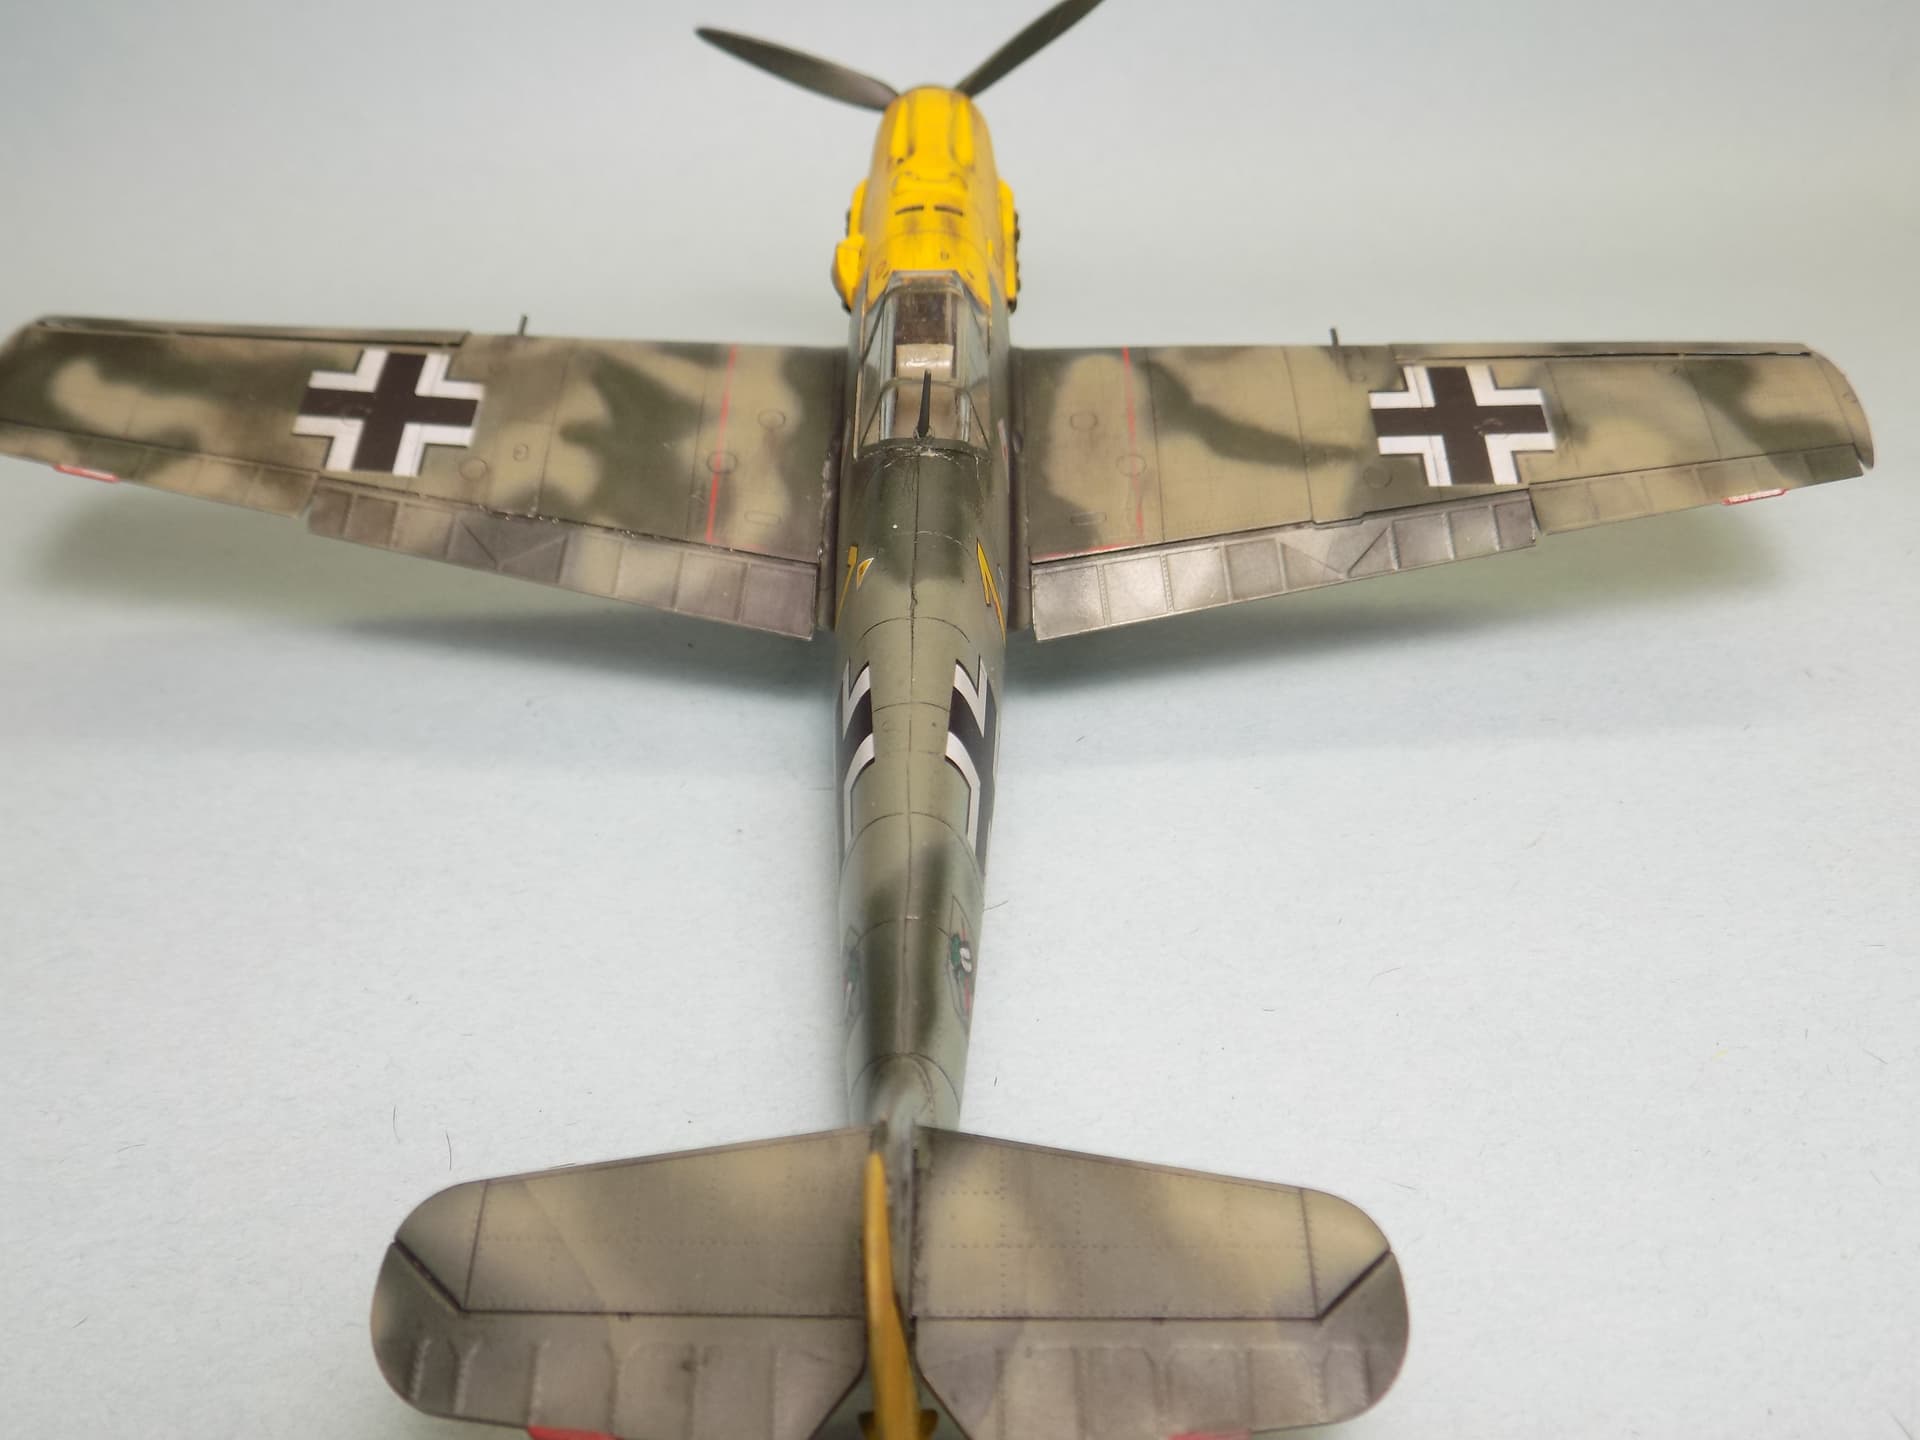
Well I got most of the painting done last night. just have to spray the yellow cowl and rudder. not that happy with the way it turned out, not very good at following freehand the way the markings are on the diagram. maybe i should have traced them out first but i was concerned the pencil line would show through, also the pencil is hard to see on the darker paint.
Thanks HG.
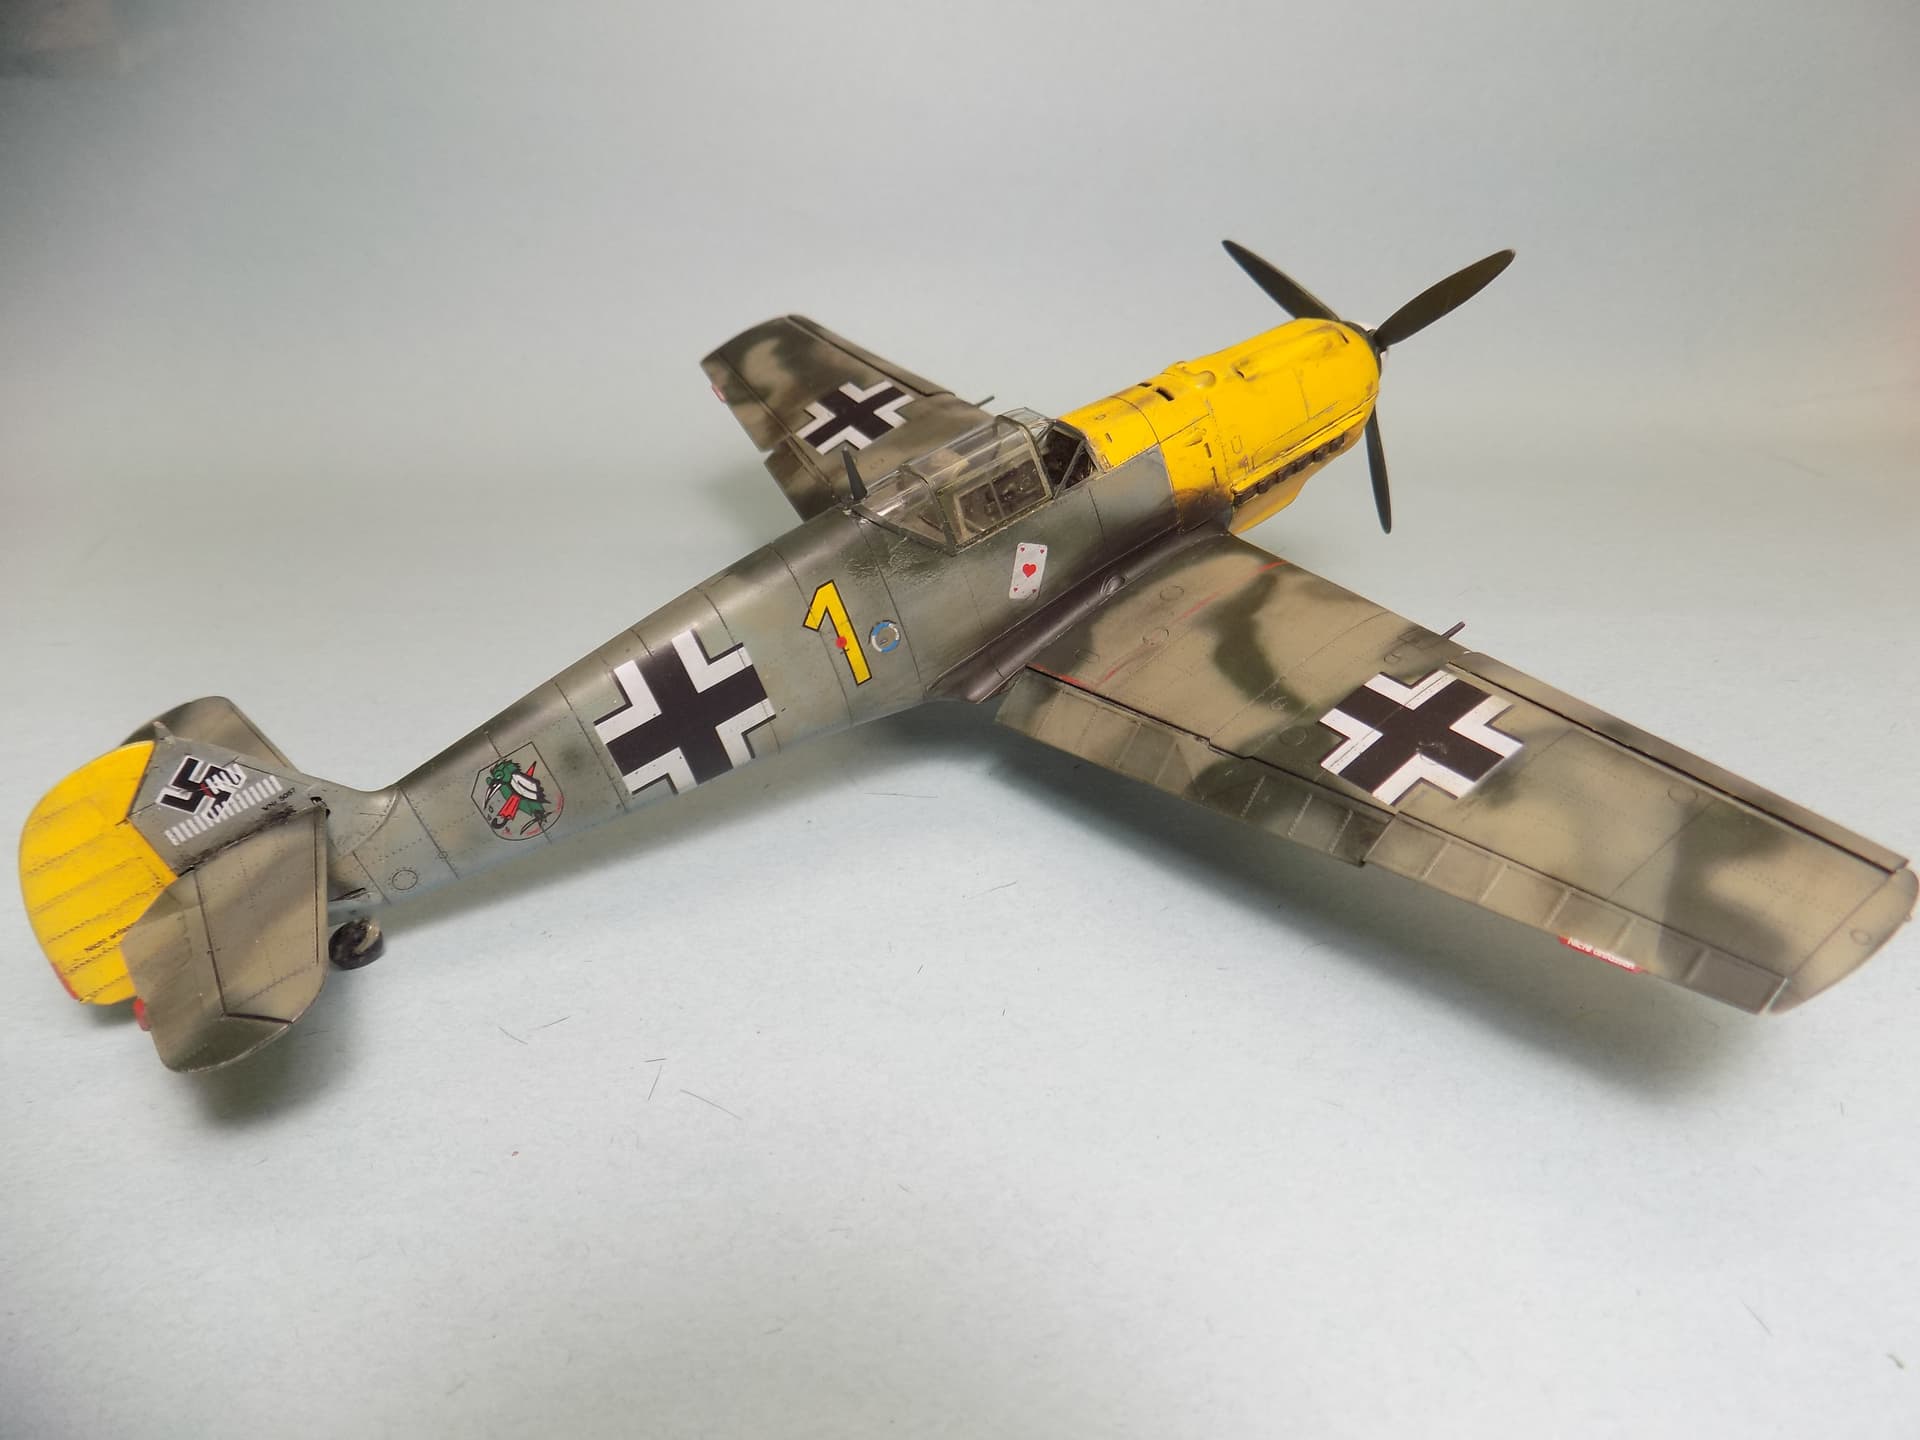
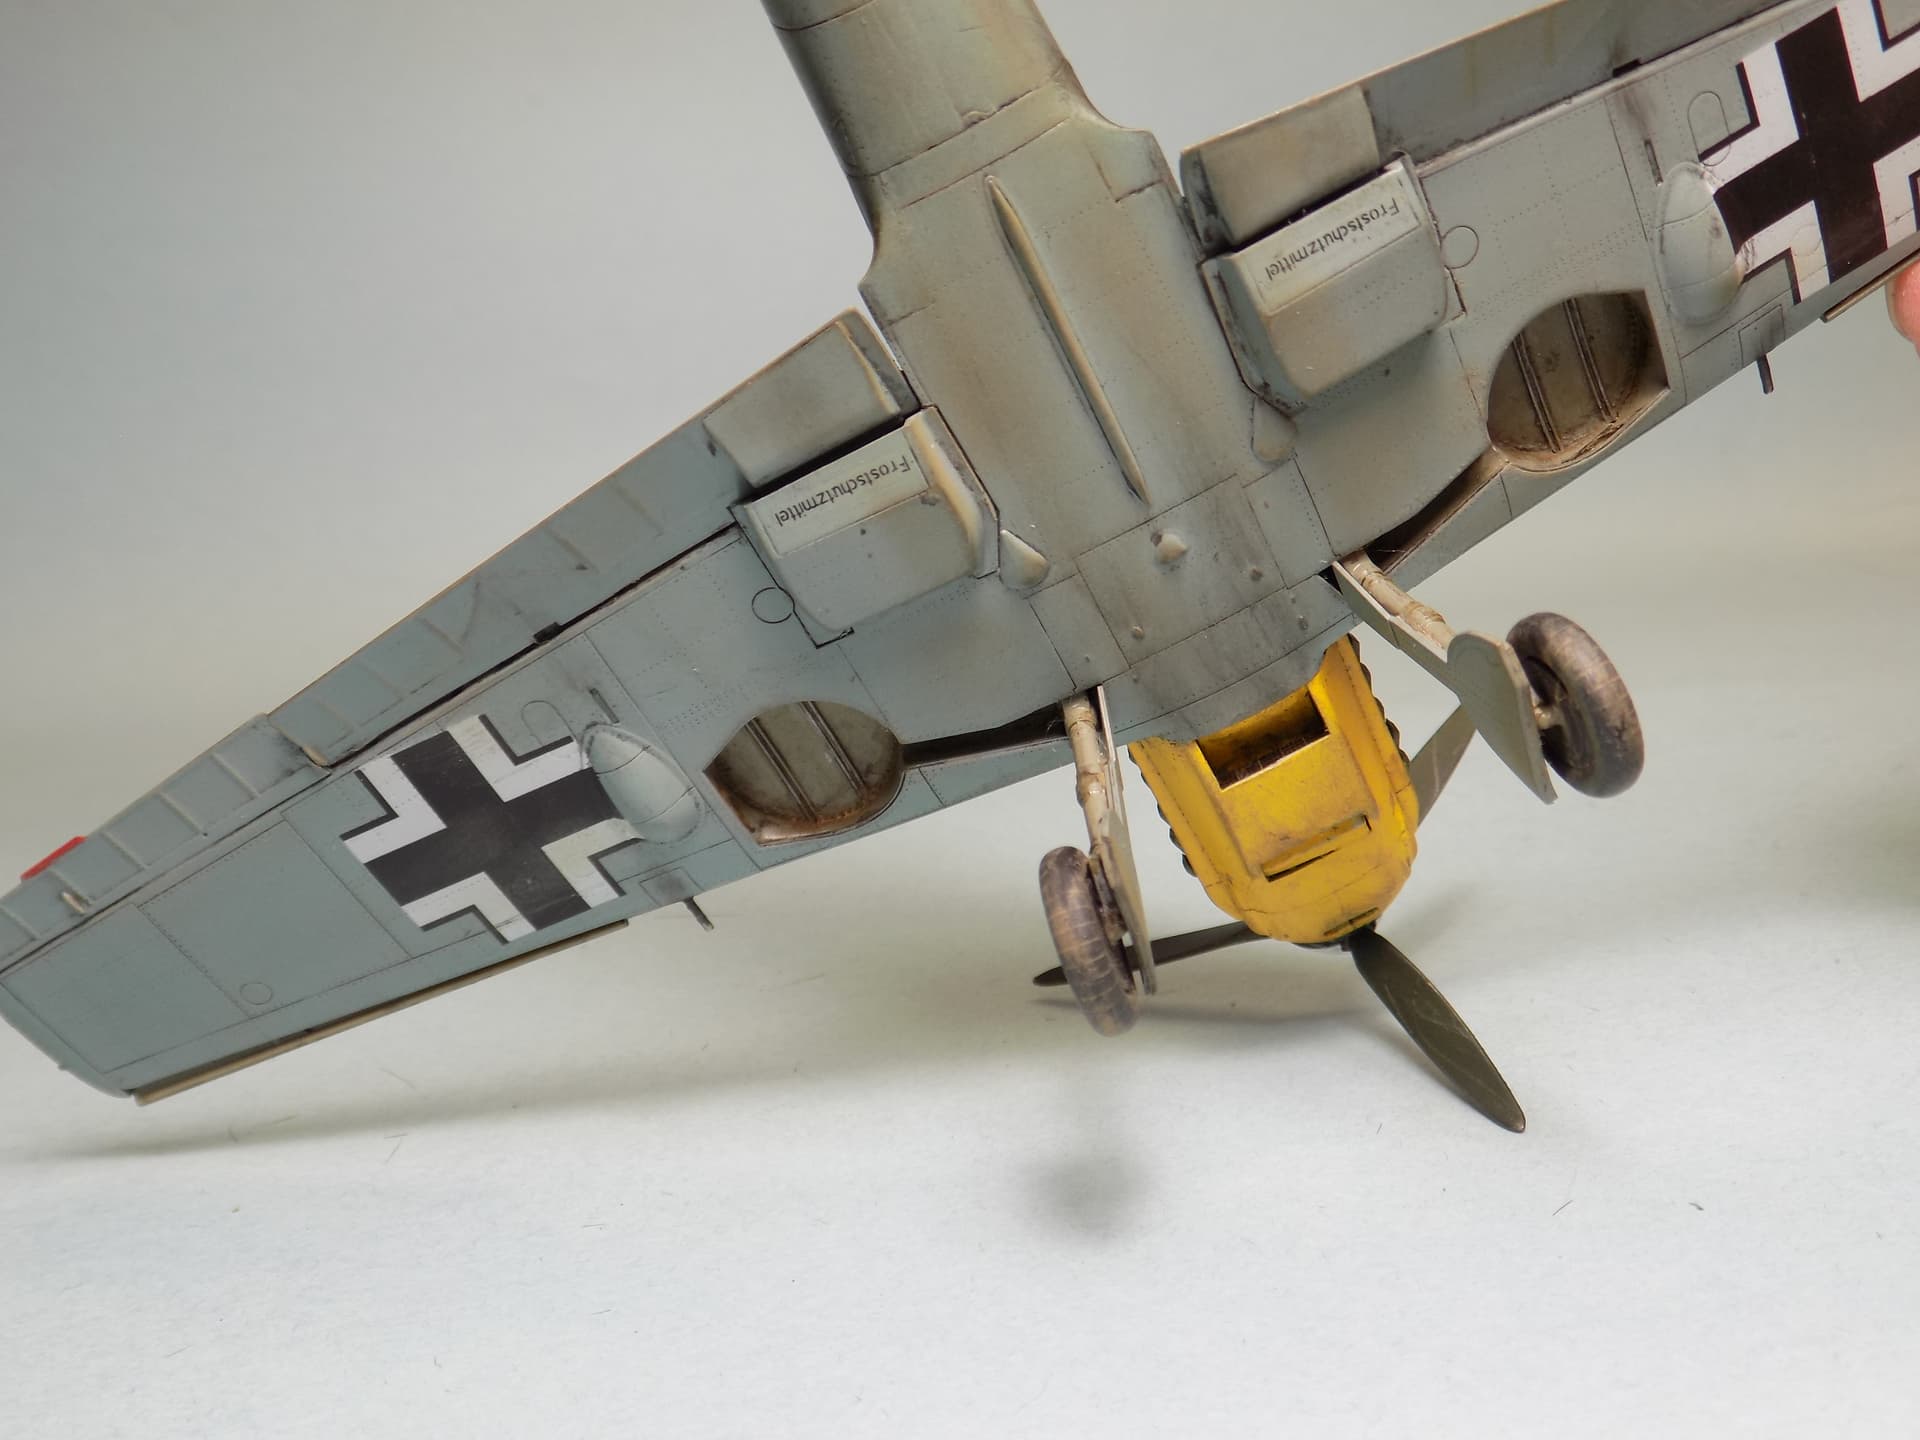
Here it is done. I used syringe needles for the wing cannons, i lost the kit cannons.
gunze,tamiya and model master paints. still needs the aerial wire, i lost the wire mast too. need to find a correct size in my spares box.
Can’t say much good things about this kit. fit was not that good.
one thing that i can say i liked was the canopy masks. first time using eduard masks. best canopy i ever done,
Yes the canopy looks great. The paint job is very good too and I like the weathering. Could use a few paint chips on the pilot entry area. Top shelf after the antenna installed.
thanks HG. actually there is some paint chipping on the wing root. it got covered up by the exhaust staining. i used the tamiya pigment set. i can cleah some off with water. i’m not too good at chipping around the cockpit sill and sides. never can get it to look realistic…
haven’t decided what i’m doing next. maybe something in blue