Have you looked through all pages of the assembly instructions? I haven’t opened my kits yet to have a look.
1 Like
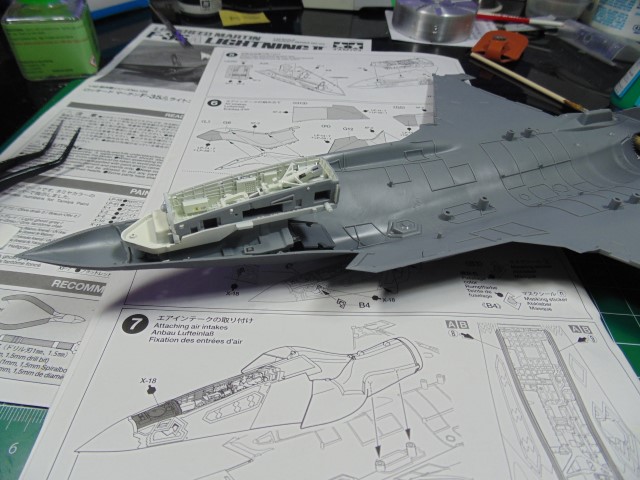
Building it as we speak. Intakes are not fun, but you’ll manage.
What’s not fun about them? They seem to fit well. Is it the painting?
Could always add FOD covers, would probably need to leave the pilot out then.
1 Like
The intakes are fun to do, but you don’t see the front of the engine after all the work.
It says right on page two of the instructions, that those parts are not used on this kit.
It really is a great kit. Sadly I have to wait Finnish decals, 2025-2026 earliest. Or I will build several kits and now start the first one.
2 Likes
Hi Friends,
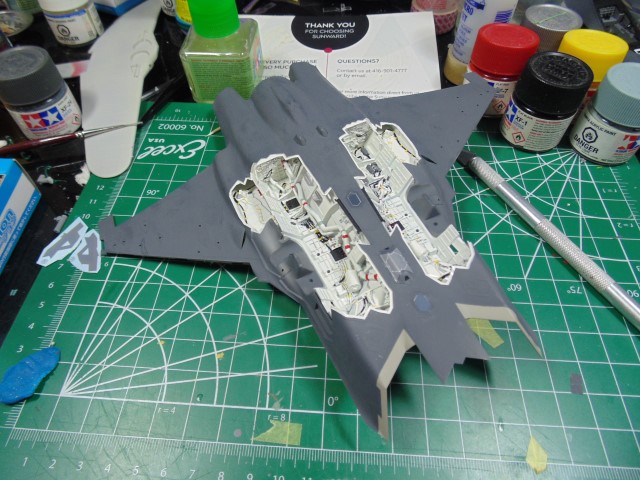
Some decent progress on an amazing kit.
Some hand painting needs doing.
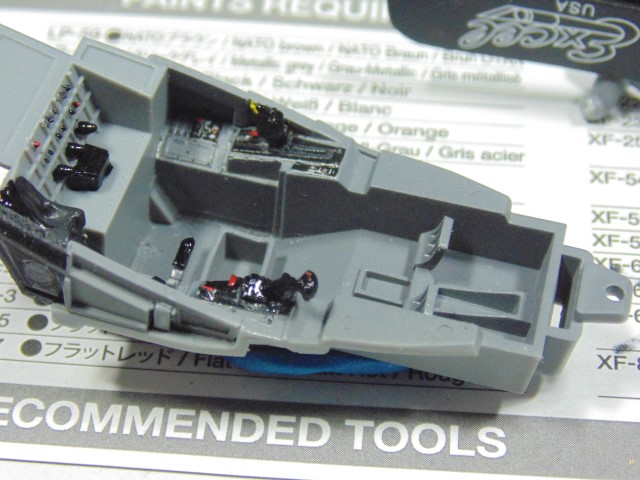
The decals are excellent.

Parts fit like a snap together.
Cementing them from the underside I found was best.
Still on the fence if these areas should get a greasy weathering being it’s a newer aircraft.
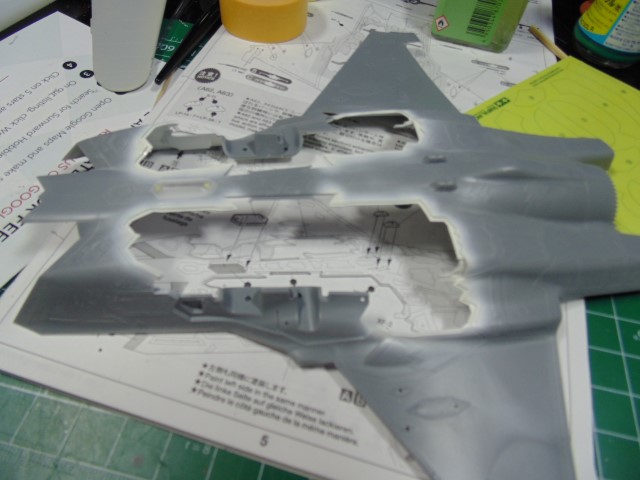
The detail is great.

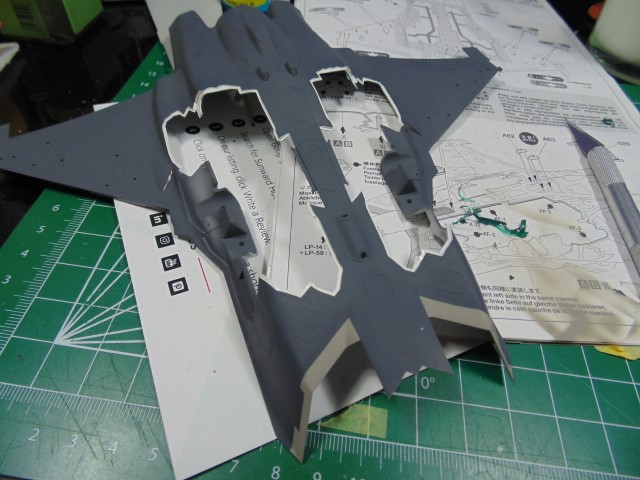
Painting the intake parts is a total waste of time.
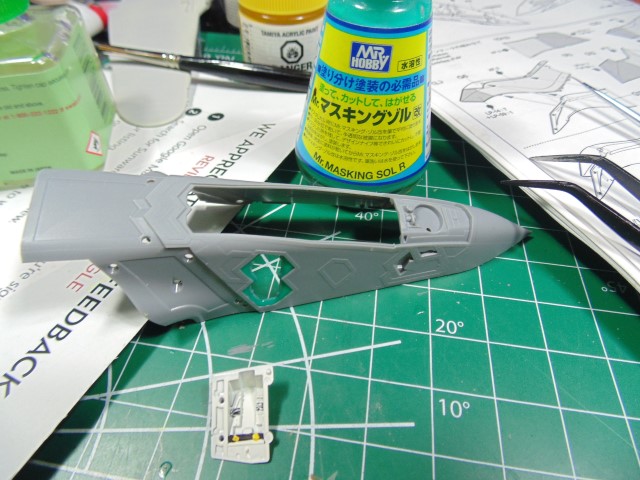
Consider using some friskers/masking fluid on detailed points. Sure, it will take some time, yet worth it.
The masking templates are terrific, but always slice inside the dark lines for the best fit.
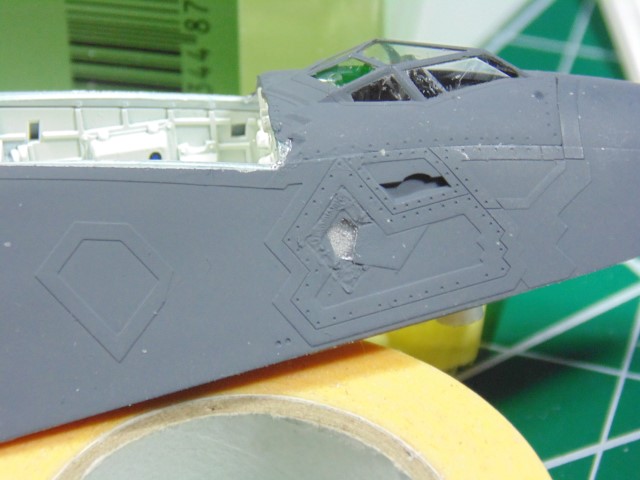
Yes, I need to do some minor paint touch-ups, but you get the idea.
More touch-ups need doing.
I’ll be sharpening a toothpick/cocktail stick to push back the overspray.
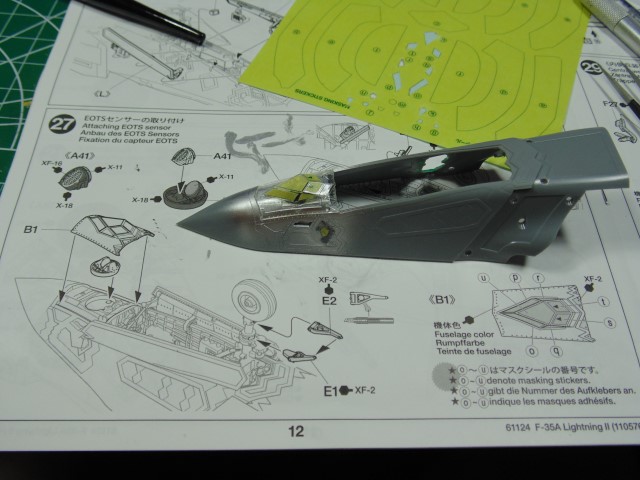
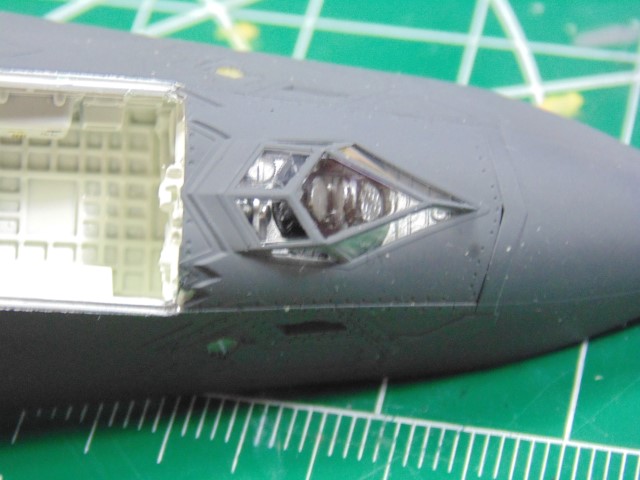
Super cool detail when the masks come off. Do remember this is 1/48.
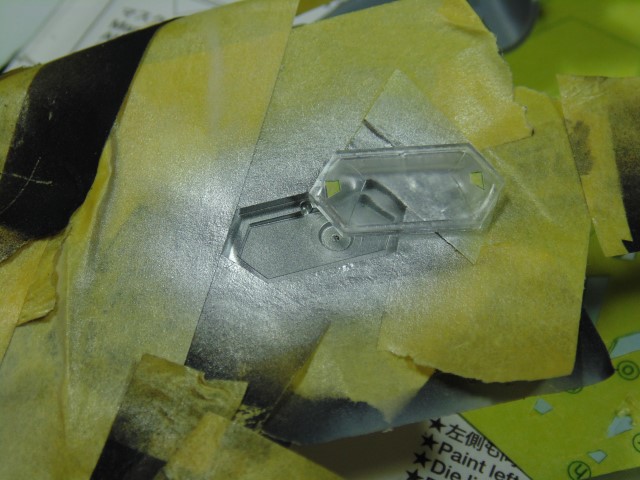
For the belly sensor array it was best to spray the silver, ask the part then cement it.
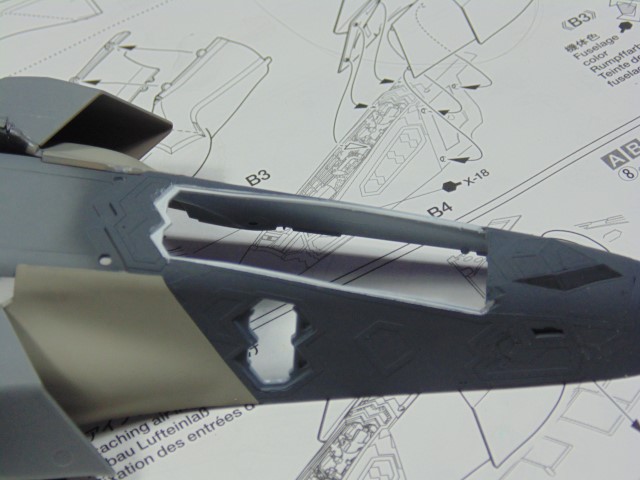
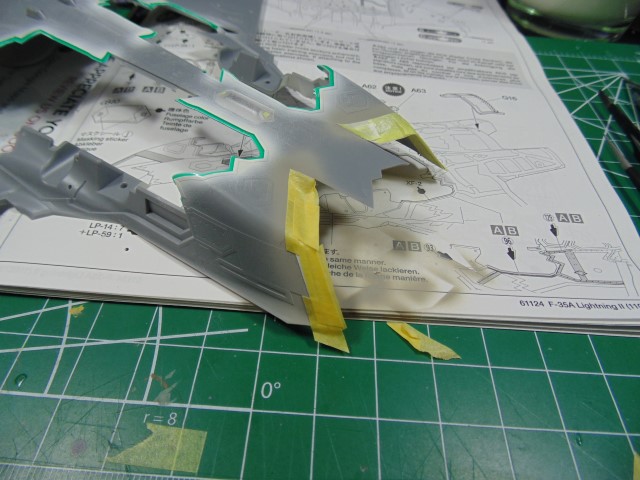
I hate overlapping layers of paint, but sometimes you can’t avoid it. These edges need a white coat.
There are curves, so follow the instructions and paint the inside to get those angles white.
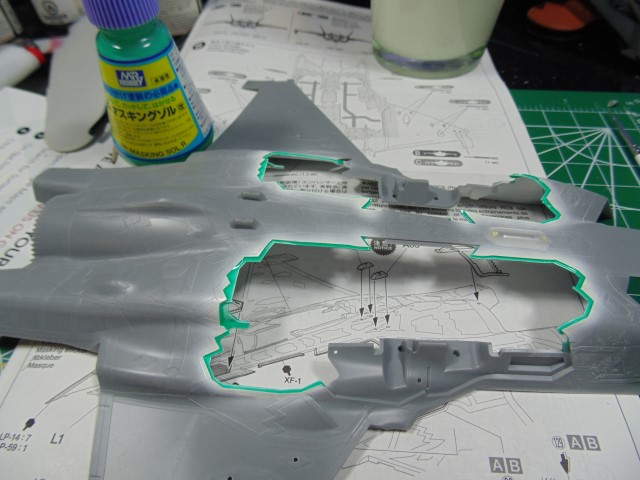
Once the paint has hardened (24 hours) use some masking fluid to protect them.
Hope this wasn’t too boring.
Massive thanks to Sunward Hobbies https://www.sunwardhobbies.ca/ for sending the kit. I pay for my paint, tools and supplies. These guys and gals get what I need super quick. Please consider supporting a family owned and run hobby store.
8 Likes
Great update HG, this kit looks super detailed. And the detailing tips you give are useful to everyone … thats a massive help. This will certainly be an impressive final kit. Was the toothpick for the over-spray for the clear parts or normal bits ? Lovely work on this.
2 Likes
Thanks John.
It sure is detailed. I sliced my fingers, literally, 3 times on the bloody thing. Little suffering is good for the soul… right?
3 Likes
so they say … if thats the case, my soul must be running at A+++++++ lol
3 Likes
Updates look great……I really don’t want to get one (A model, B/C yes) but you’re making it very tempting.
The aircraft has been around 7 yrs, that said I would think about a very light brown/grey type wash just to help subtle bring out some detail, nothing heavy or stark imo.
1 Like
Looking really good. And great tip about the masking fluid in the edges of the bays.
1 Like
I’m going with the Denmark version because I’ve never built a Danish aircraft. Yeah I know it’s a Lockheed. You get to choose. ![]()
1 Like
Thanks Spitfire! Using the SOL R sure saved time masking with tape.
1 Like
Then I think technically I don’t think they have any yet (Fall this year) but training with them. Could be wrong but doesn’t really matter. The light wash was highlight the plastic detail. Personal choice either way. ![]()
1 Like
Nice work, but in all honesty: these raised panel sections really put me of. This is not something that I will ever build
2 Likes
Thanks for having a look and commenting. Just enjoy the show.
5 Likes
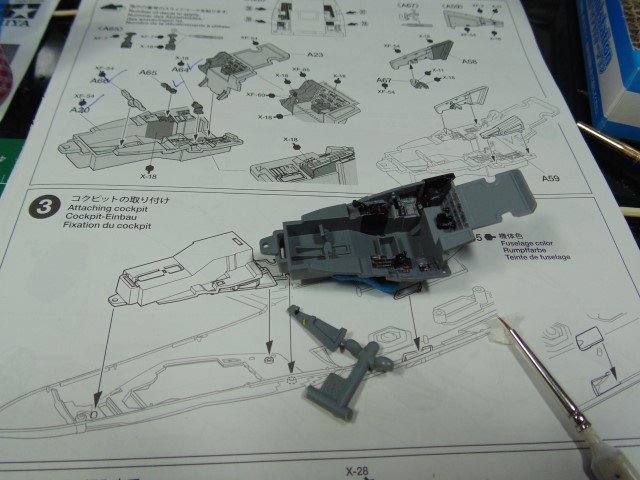
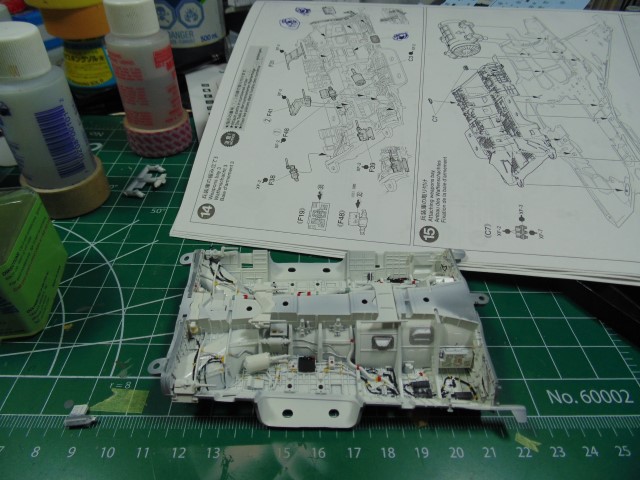
Hi Friends,
Some updates.
I pulled the masking fluid off and had to smile.
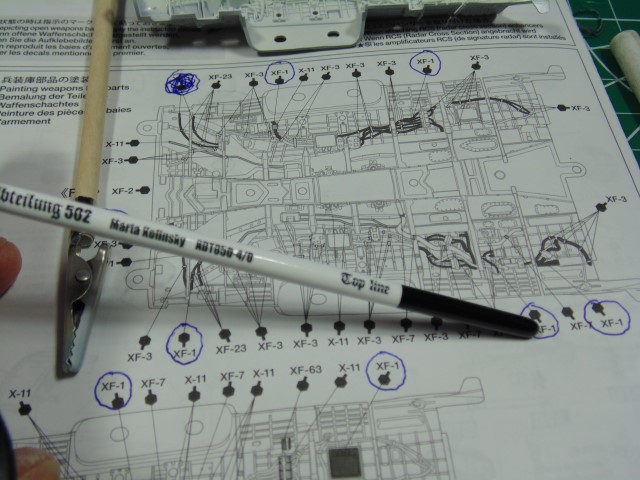
Now the fine painting. Do one color at a time and mark each off so you don’t loose track.
Consider using a decent paint brush. It will save you time, and Lord knows there’s a lot of time left on this one.
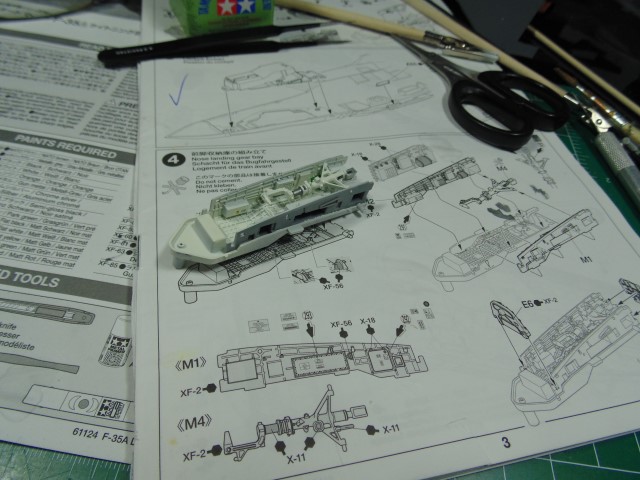
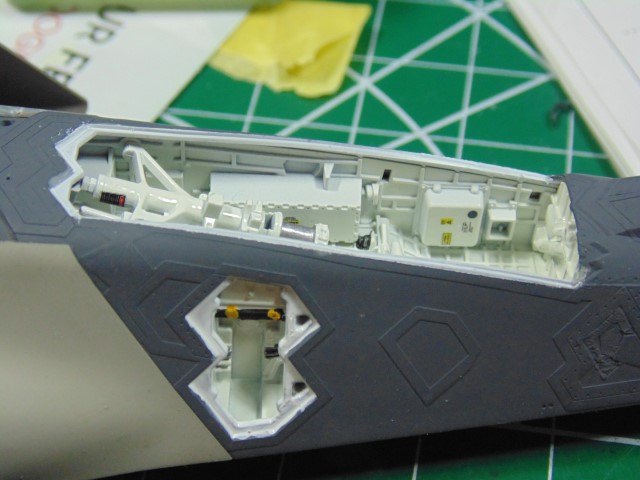
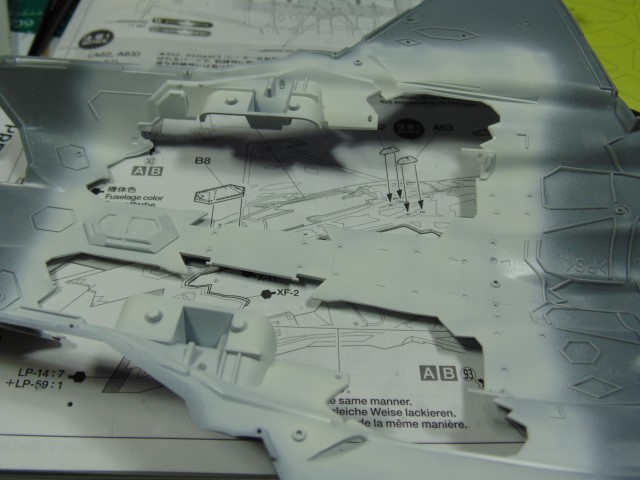
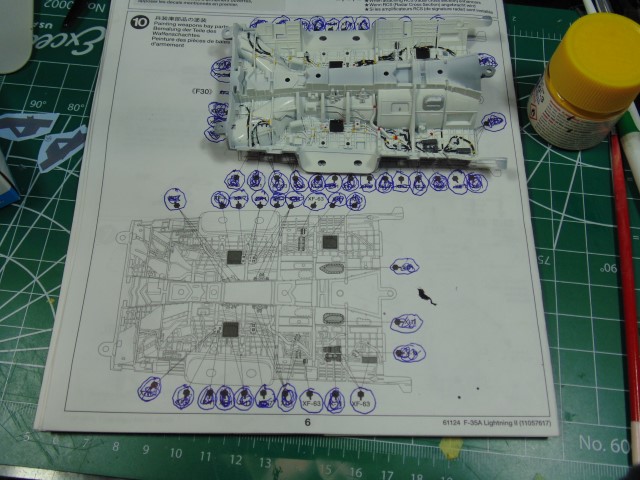
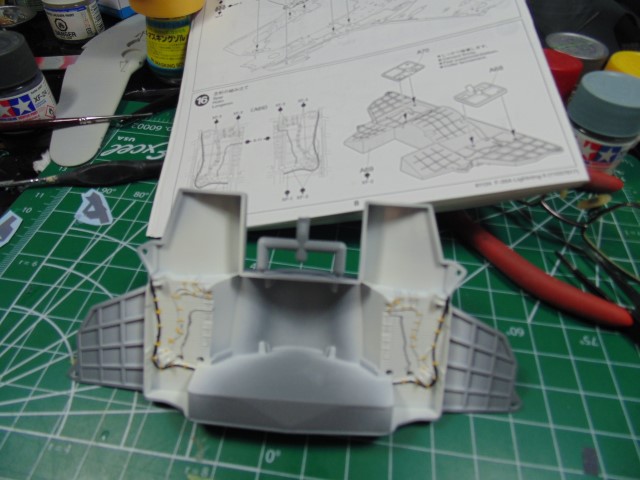
Step 11 has the interior engine work. Later, I’ll drybrush this during the final weathering process.

The detail is astonishing.

And a close-up. Touch-ups to come, but I won’t bore you with that.
The other side.
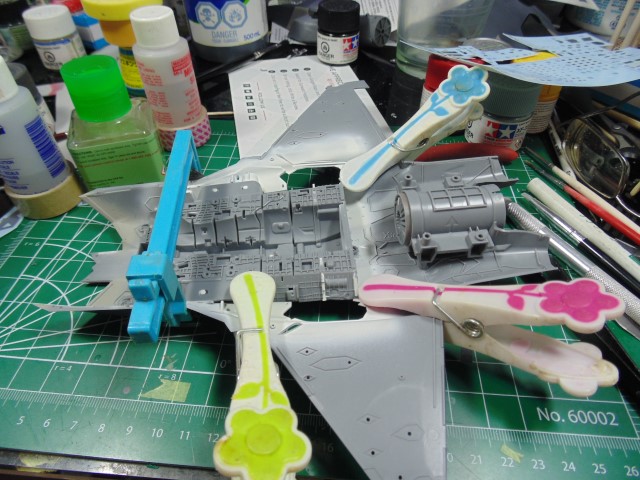
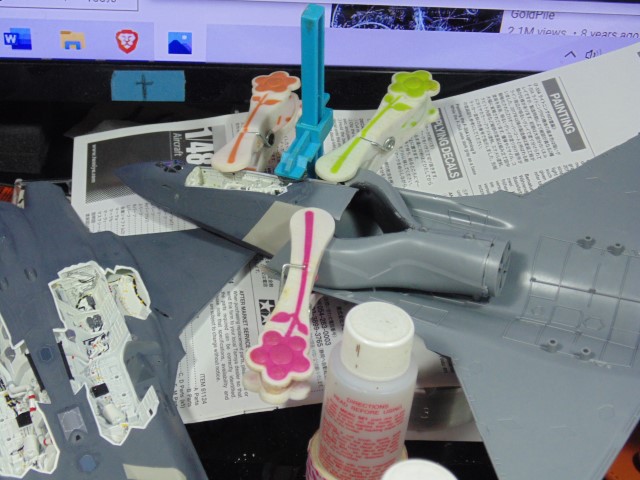
Clamp the critical areas down.
The spars need special attention with painting and fit.
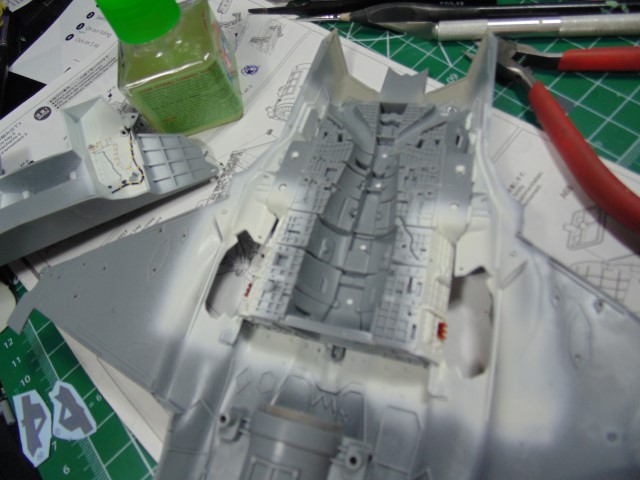
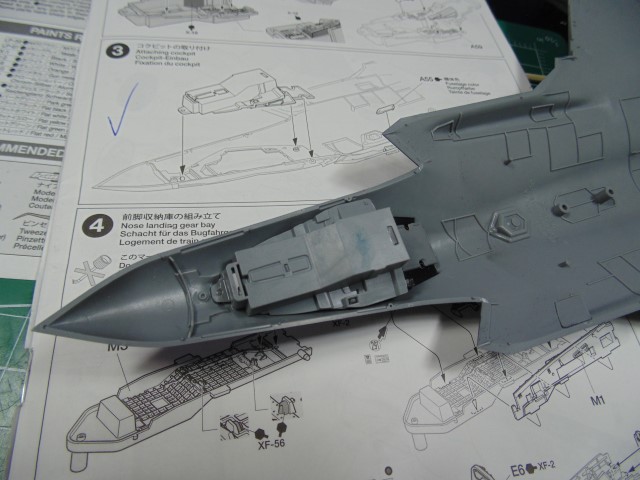
Paint the parts once they’re glued. A couple of bits need to be looked after and add a nice bit of colorful detail.
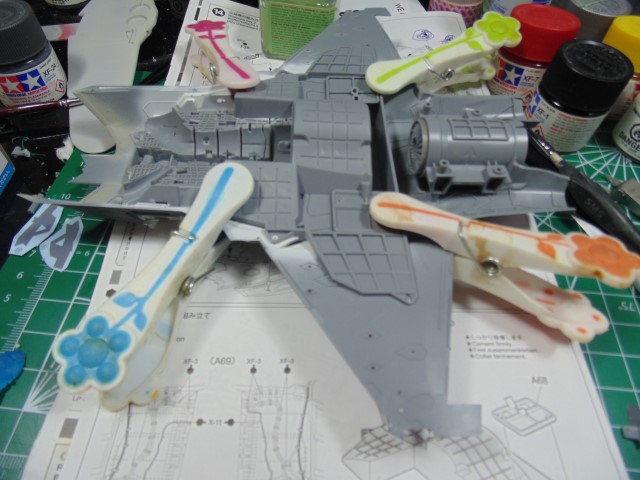
The four points of connection need some help with bedding down.
The pure white of the Tamiya recommended paint adds a touch of contrast, as you can see.
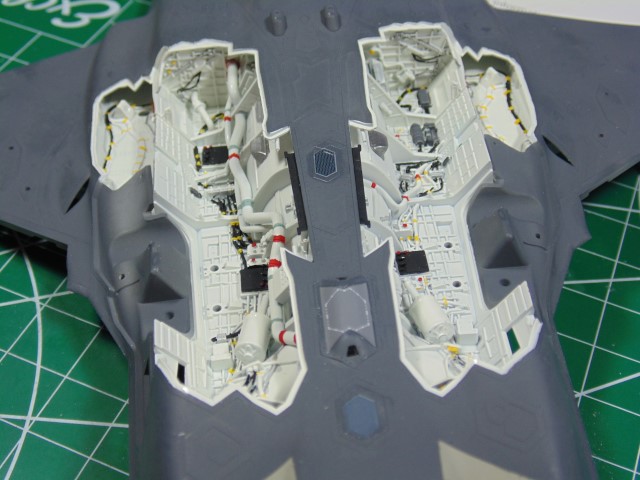
I could have easily taken a zillion more pictures. Such a treat to see time well spent.
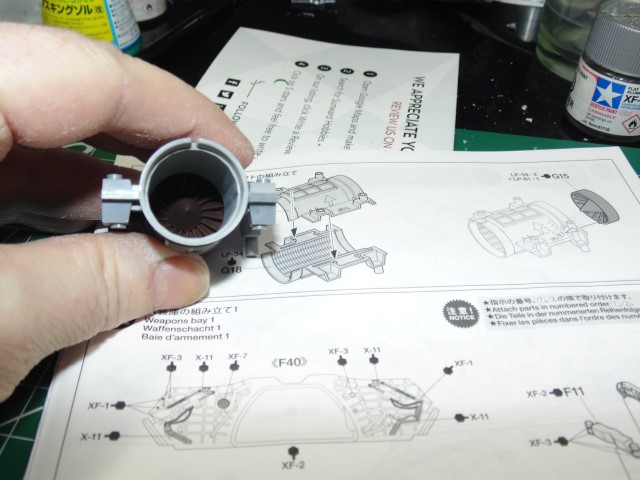
Let’s connect some more components.
More when time permits. Huge thanks to Sunward Hobbies for sending this kit for the build review. Please consider purchasing from them at https://www.sunwardhobbies.ca/ and supporting a family owned and run hobby store. It’s where I buy my supplies from.
God bless and best of health everyone.
8 Likes
Looks amazing HG ![]()
Will you apply a pin wash to help all those lovely details “pop”?
1 Like