Sure am considering it.
1 Like
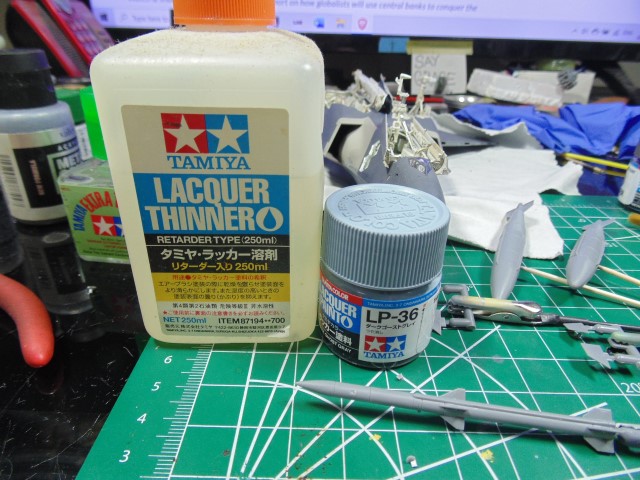
I loathe the smell of enamel thinners though.
3 Likes
The details make be amazing … But the painting lifts it a lot higher. Looks amazing … And you deserved that smile ![]()
2 Likes
Abteilung make odour free thinners ![]()
1 Like
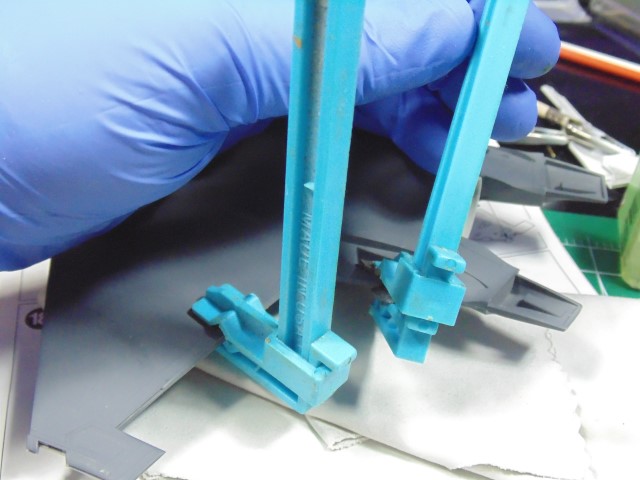
I only have a single observation. Please use more masculine clothes pegs.
3 Likes
Masculine ones are tricky …
scary ones maybe …
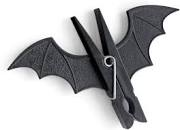
![]()
P.S Edit ---- Yes, I am bored at work lol
2 Likes
@HGBARNES can you tell us a bit about your painting procedure here? This seems like a complex bird to mask and paint. It looks like you’re doing some/all of it during assembly?
Noticed the intake leading edges were masked and painted already…
2 Likes
Thanks to everyone wishing me best health,
Bit of a lengthly one since I have some…
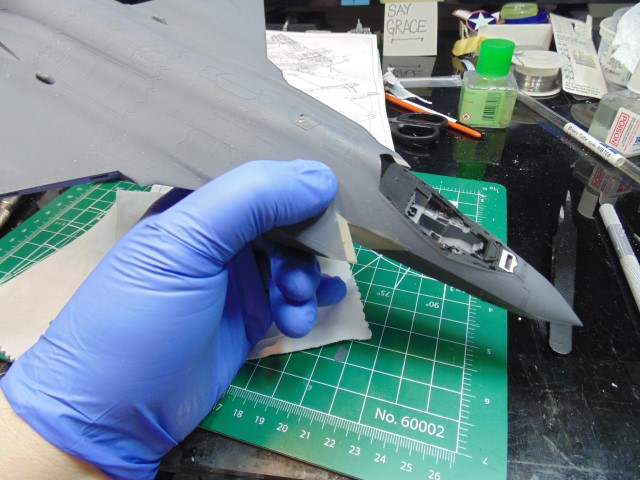
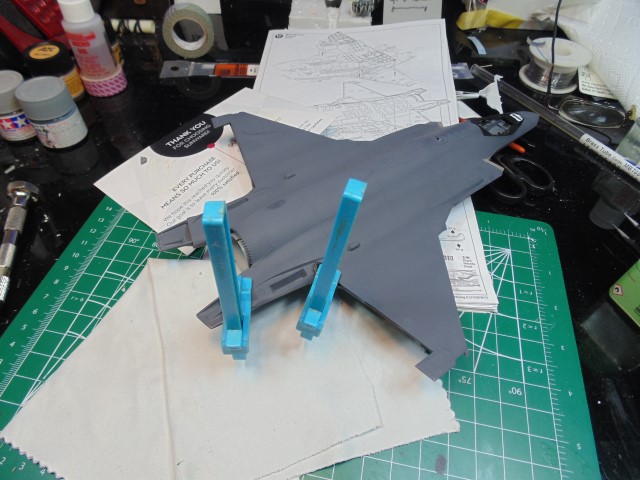
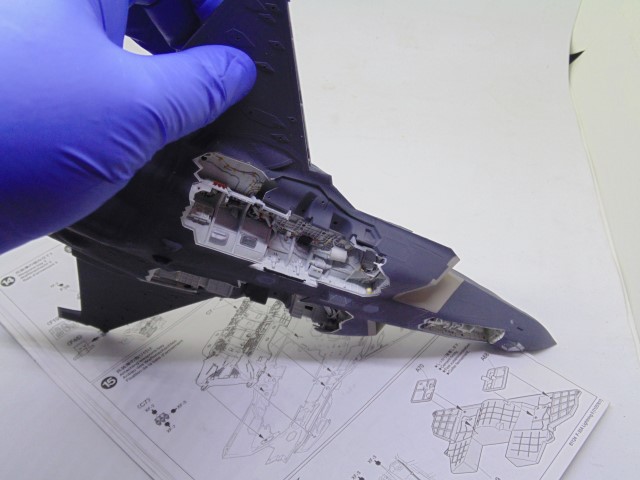
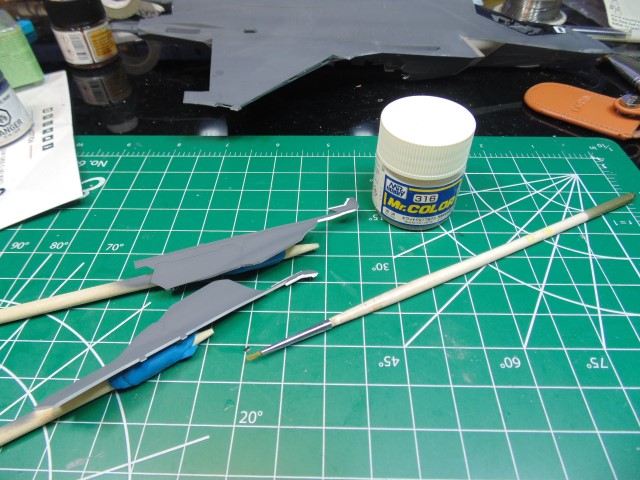
wear gloves and use a soft surface during the build.
touch up the paint at the last stage because there is so much handling left to come.
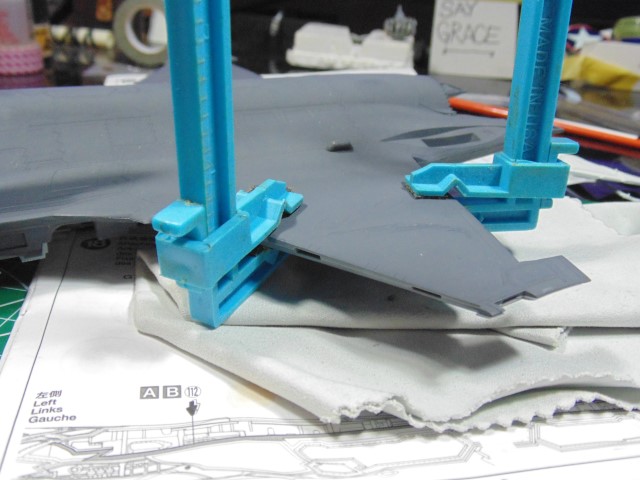
even though the fit is excellent, some points need attention.
just walk your way around when cementing.
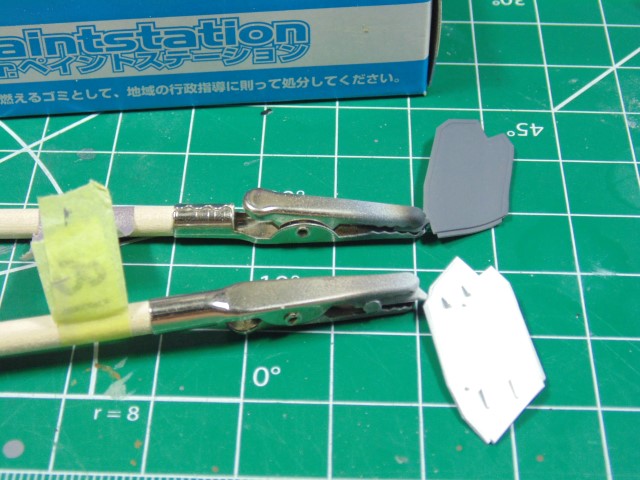
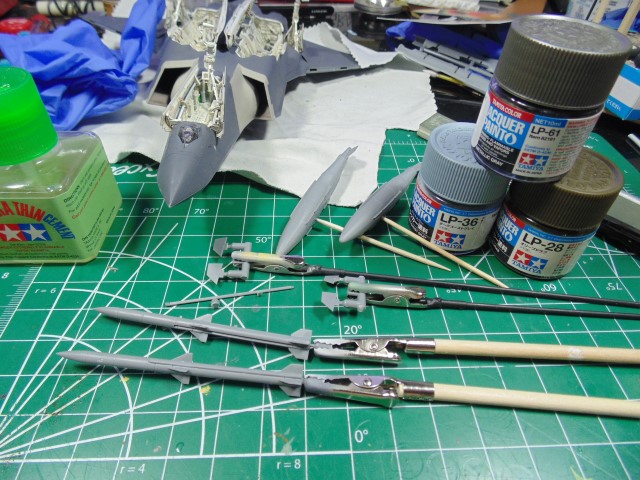
I use dozens of different claps.
The wings needed just a little help. Maybe it was me not dry-fitting them.
Sure, it looks like a toy now, but soon will have a different appearance thanks to some guy named Russel hee hee.
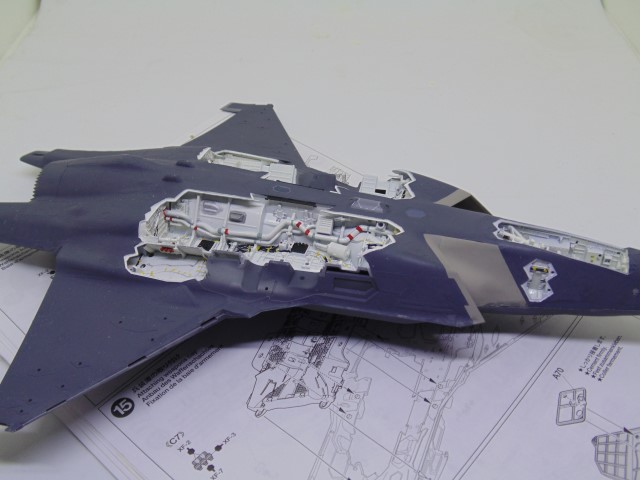
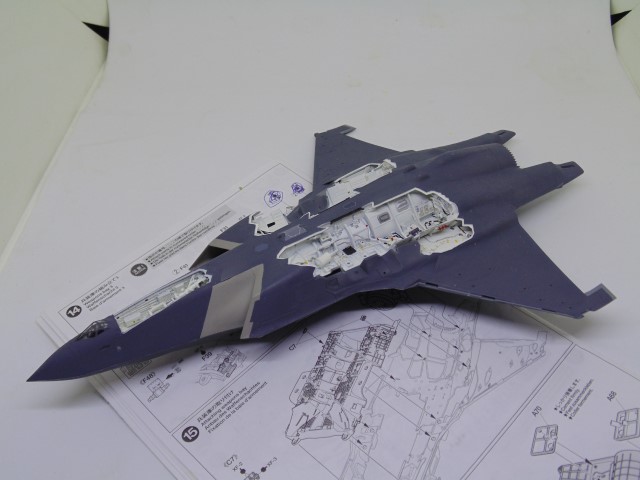
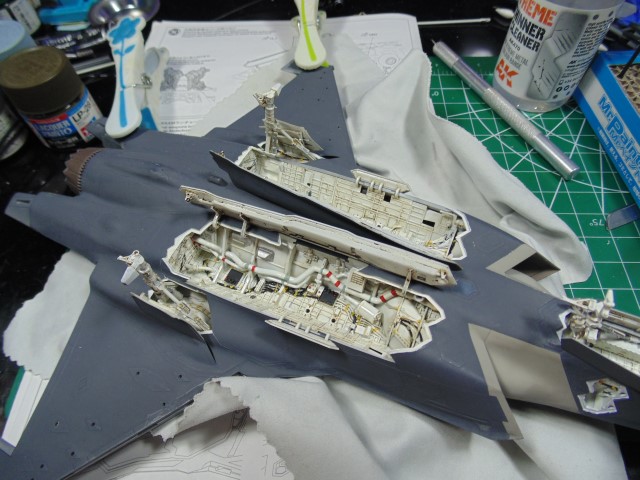
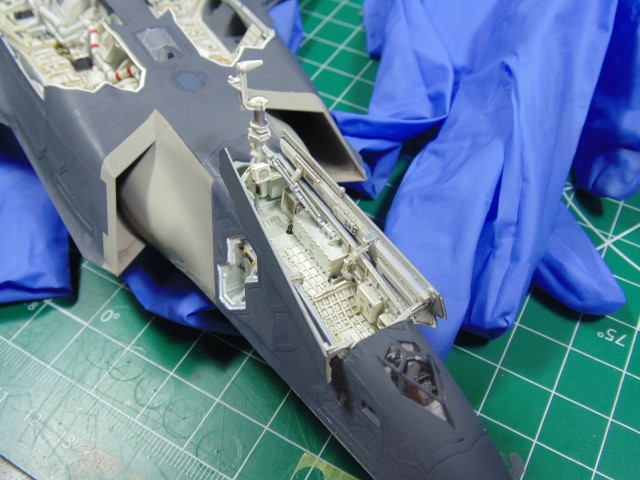
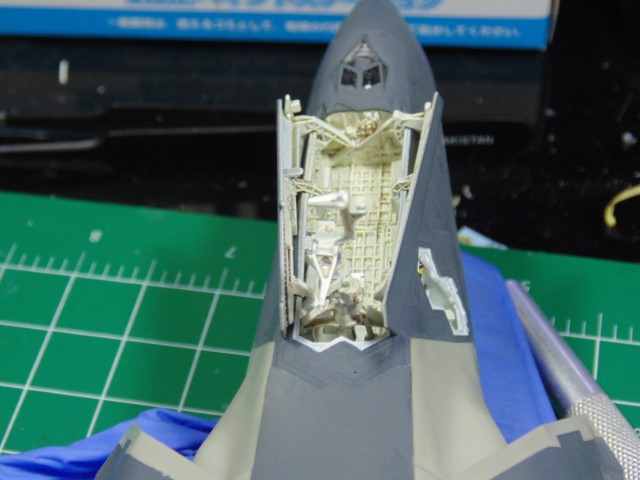
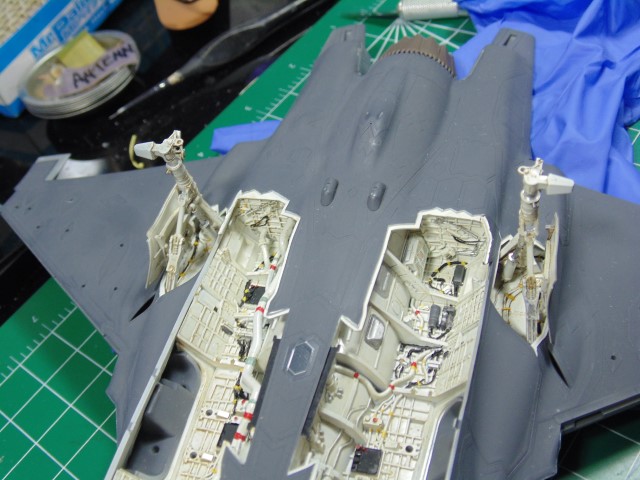
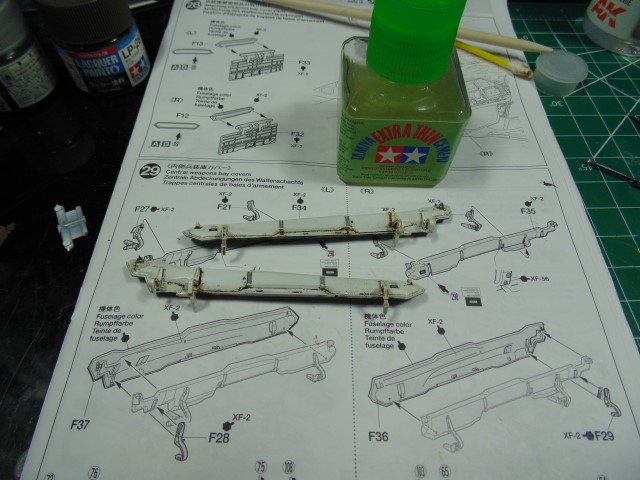
The detail in the bays is truly stunning.
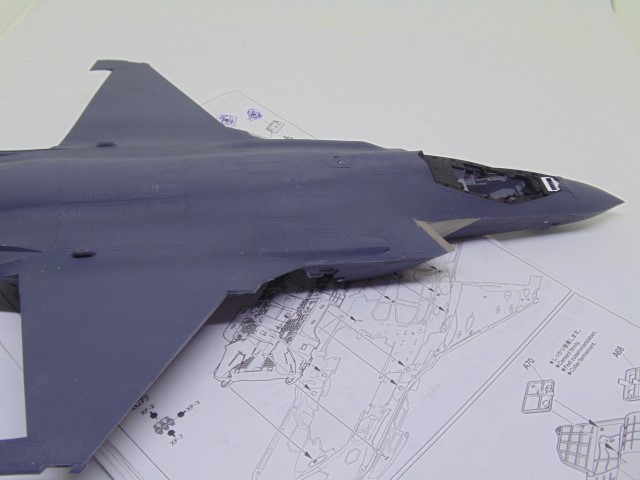
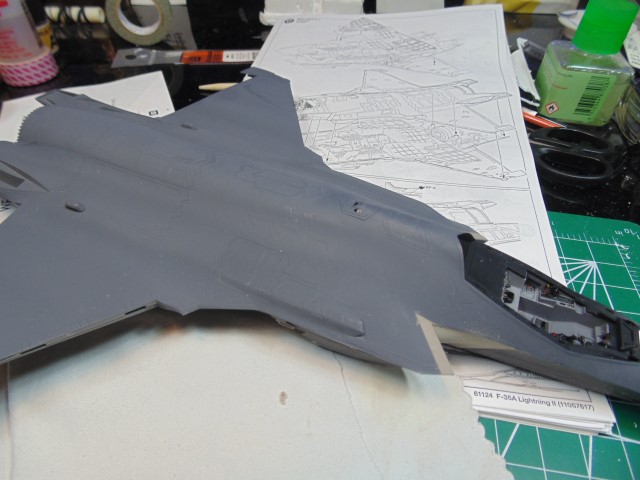
Top view, yet needs touching up.
The instructions are excellent! No need to paint where you don’t have to.

Of course you’ll have to do some fine sanding.
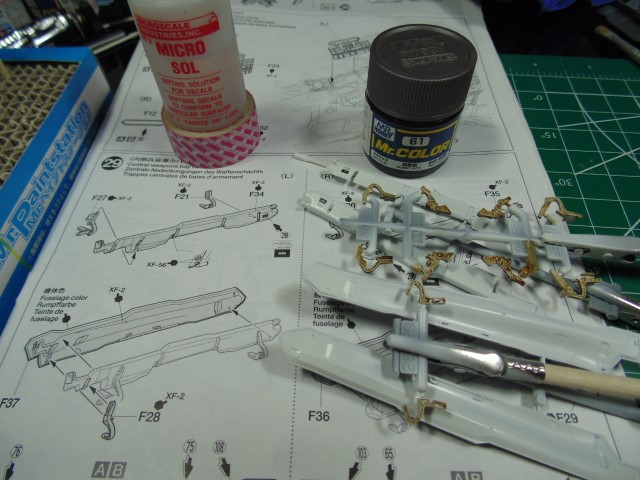
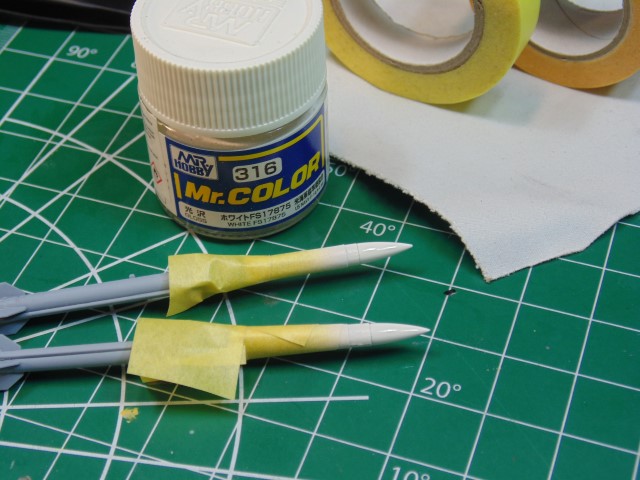
You can get Mr. Color 316 from Sunward Hobbies and make sure you shake the jar for a few minutes prior to adding the thinner mix in your airbrush. I find 316 takes a wash better and cleans up that wash quicker after a few hours of drying.

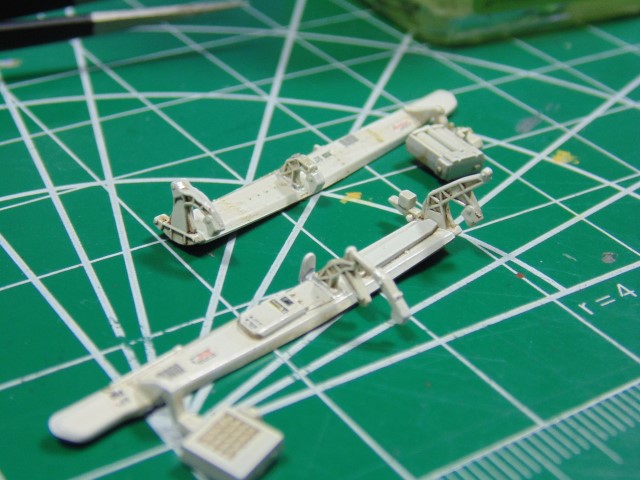
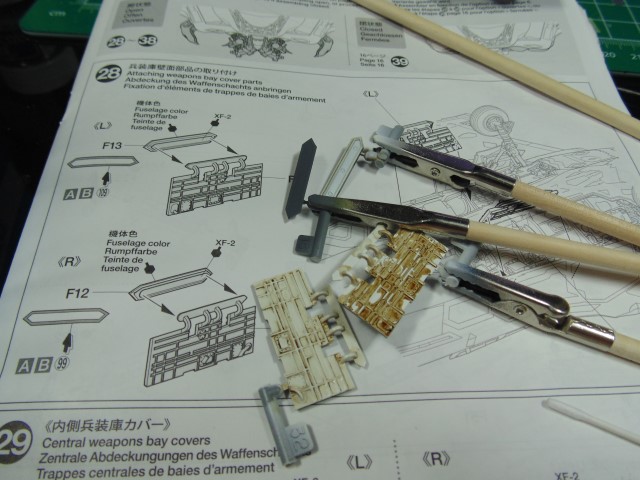
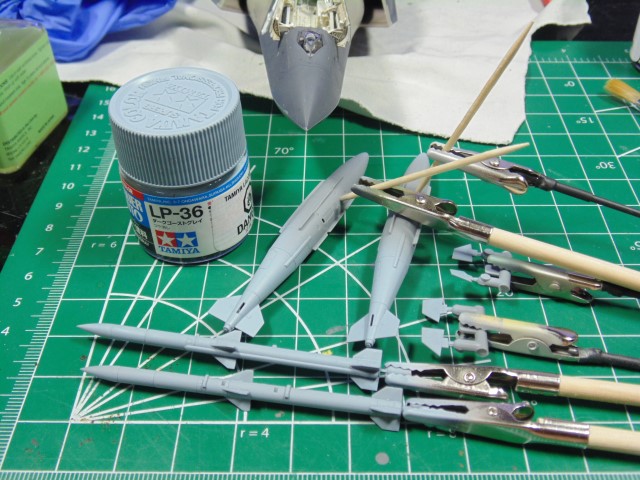
These parts are a joy to assemble.

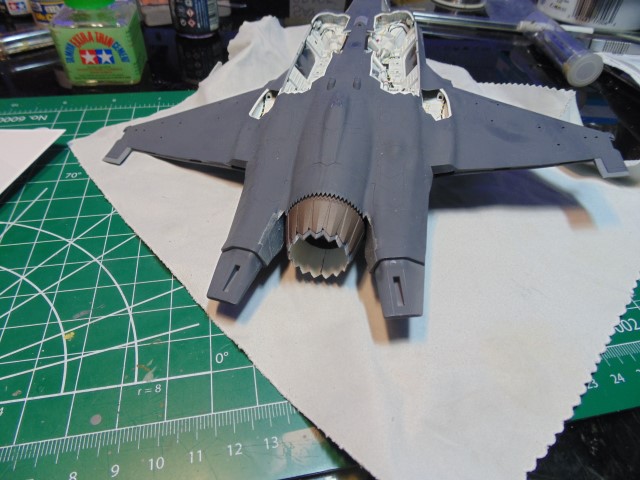
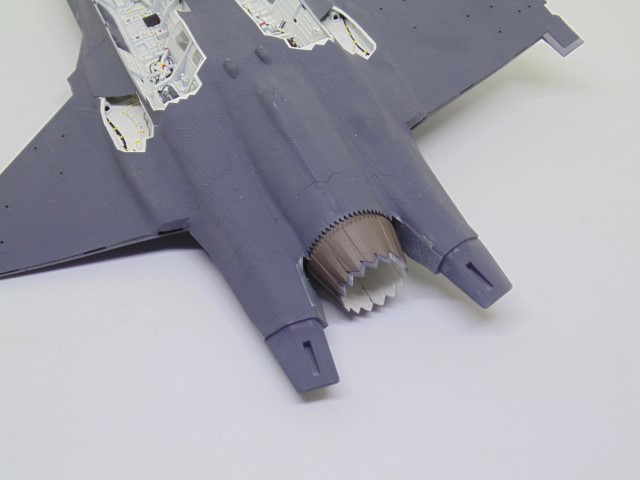
There’s plenty left to do, but man oh man look at the guts of this thing.

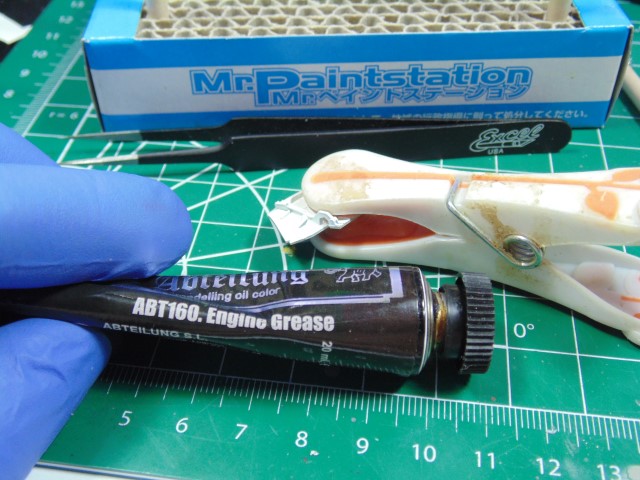
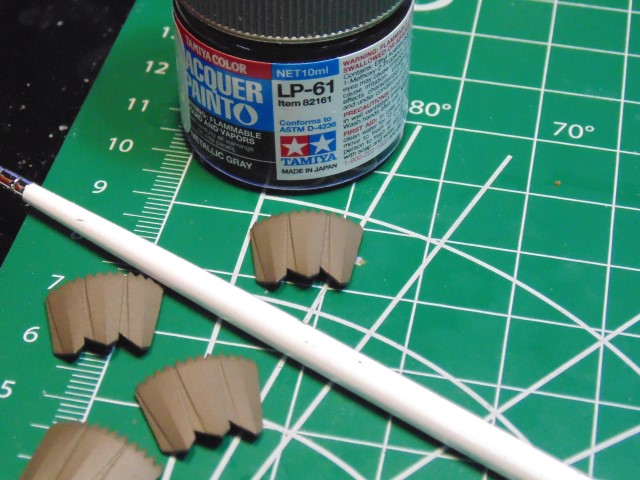
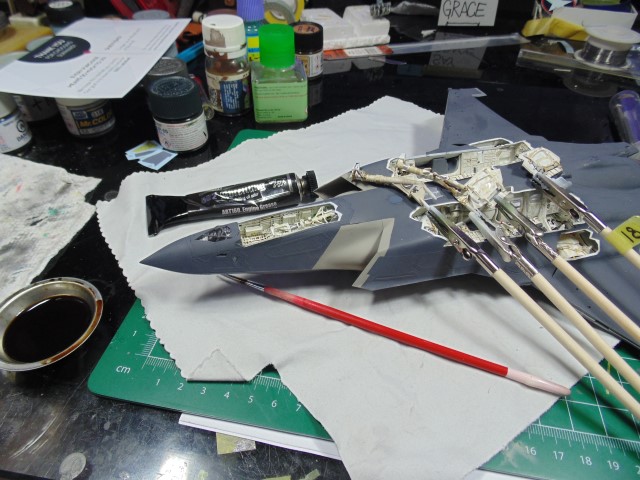
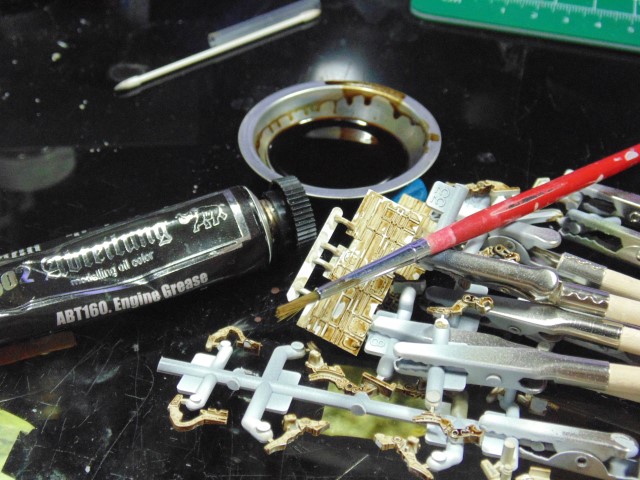
Using a different mix then the instructions for the engine nozzle. I wanted an undertone of metal.
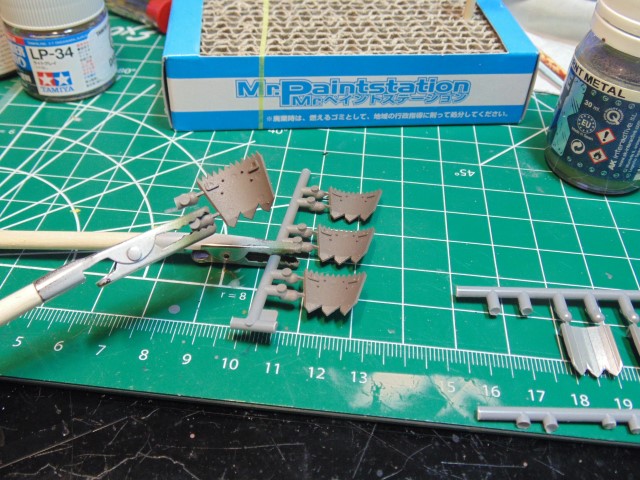
All the parts got a metallic hint on their backside.
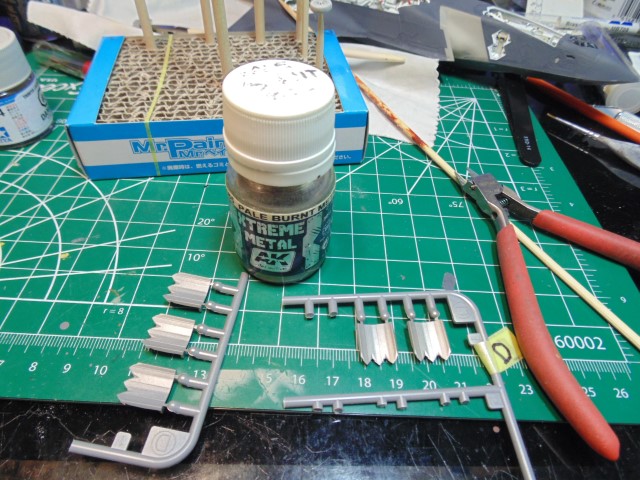
AK sprays great at low PSI and cleans up in a jiffy.
Beside the engine nozzle are the sections needing heat protection. The decals are not metallic enough from the pictures I’ve researched.

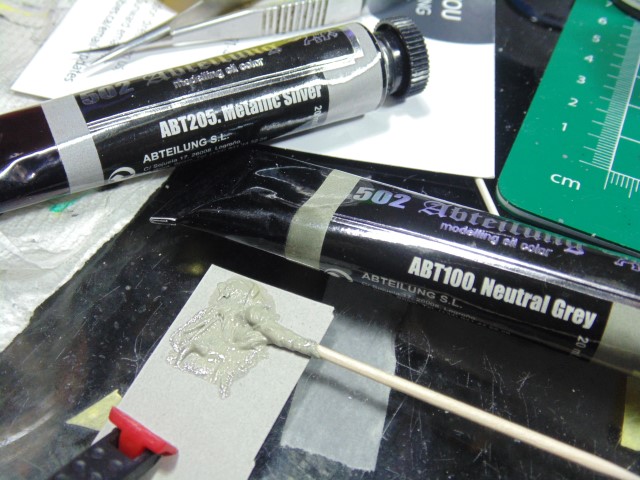
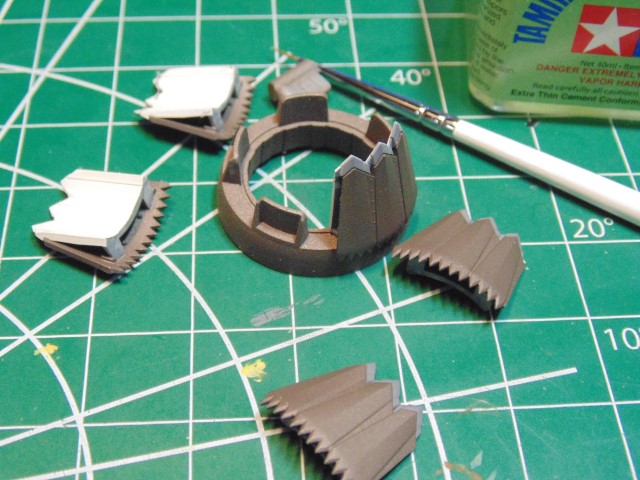
Here, I’m feathering on some 502 mixed oils with an AK weathering brush.

Nozzle parts painted with a mix of colors.
Just dry fit them.
The fit is so tight you can pull this item off when doing touch-up paint work.
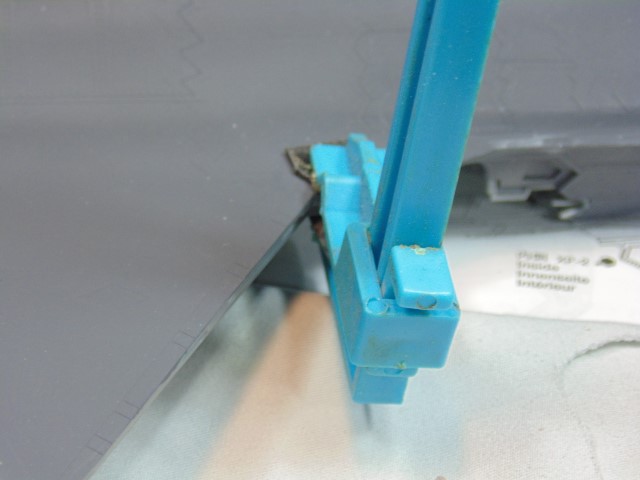
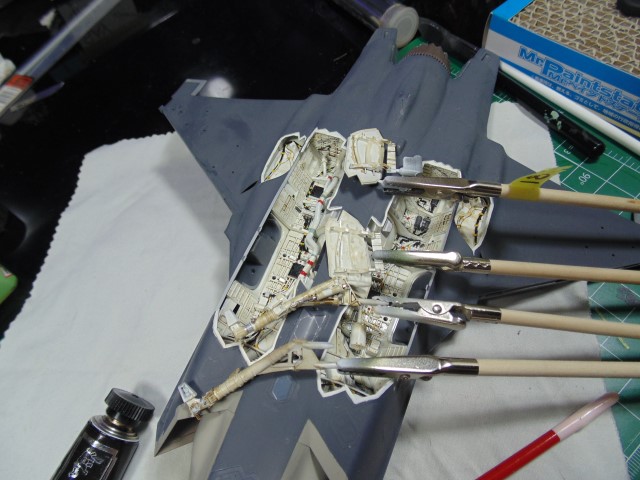
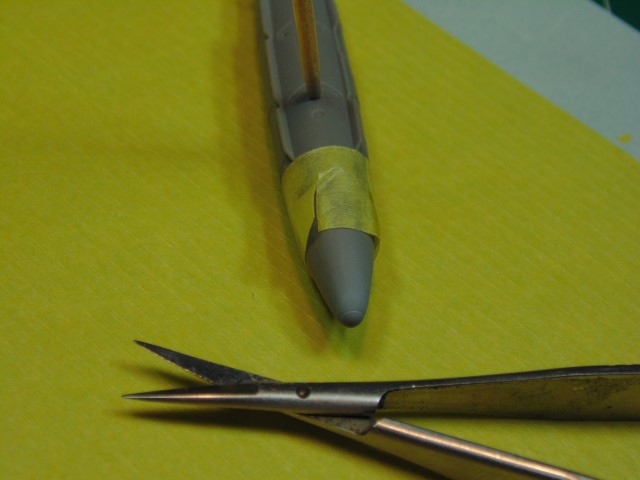
Use masking solution over your fine details.
Don’t worry about the crack lines, they can always be blended with weathering or a simple stroke of a brush.
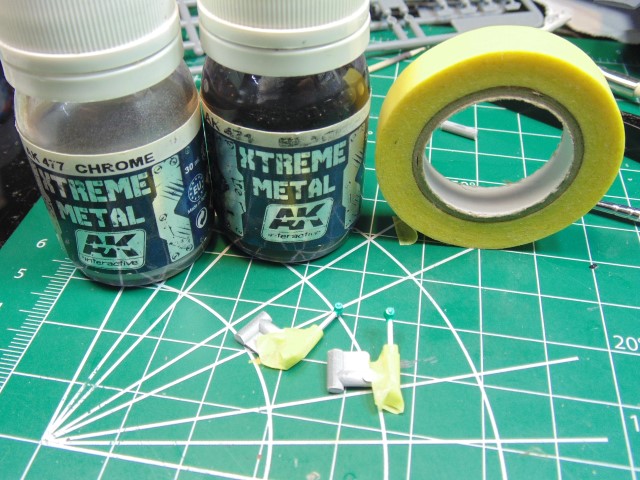
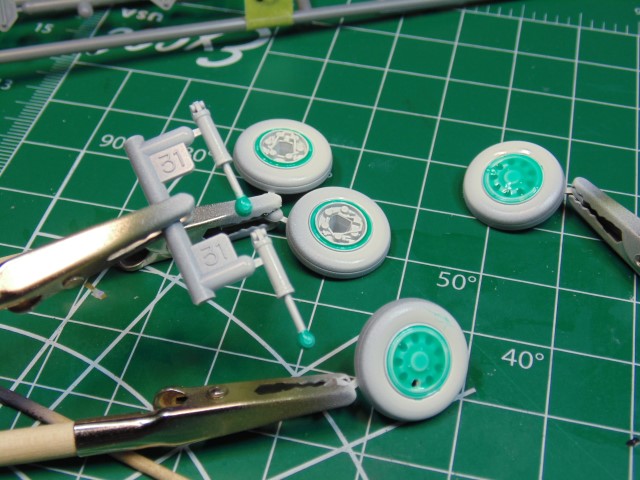
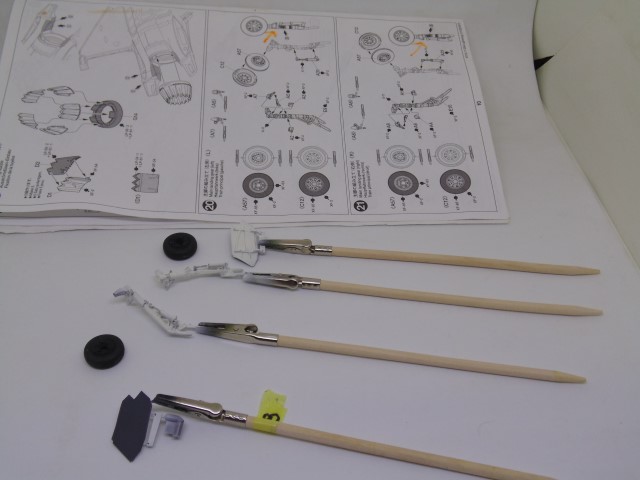
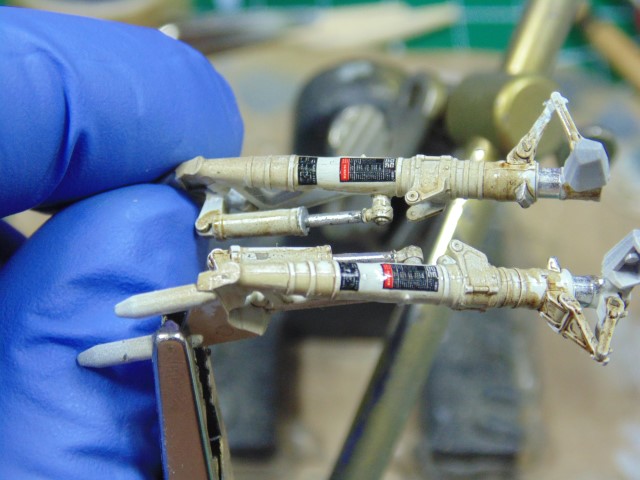
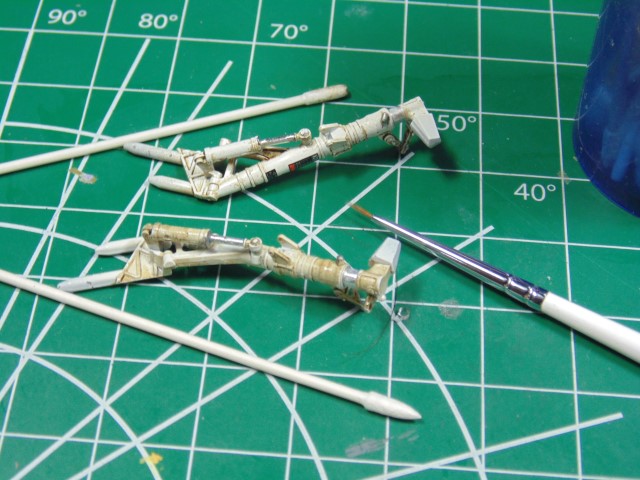
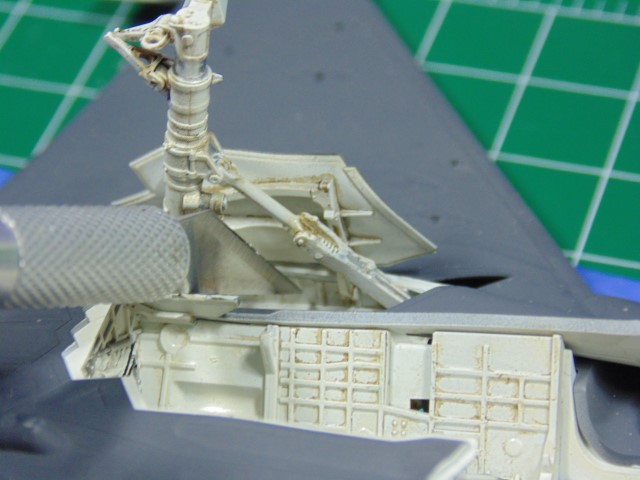
Chrome on the strut pistons.
If you clear coat intricate parts to be slathered in masking solution make sure the paint has hardened and the clear coat has hardened.
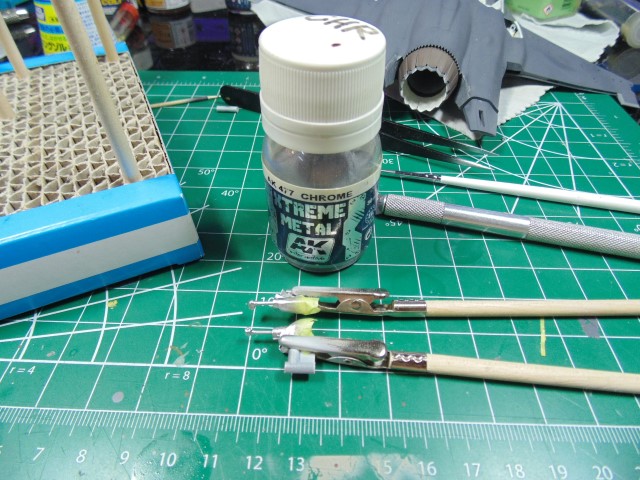
More pistons.
So many wonderful details in this kit.
Yes @Russelle she will get a look as you wanted.
Plenty to do before though.
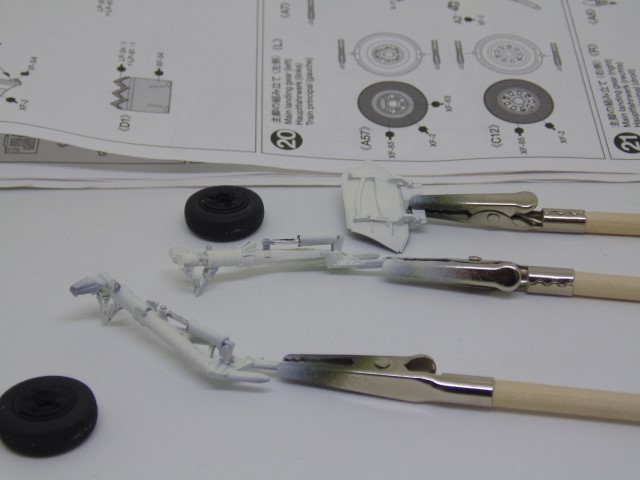
Please forgive the lousy light on the chrome.

The oil wash will fix all the tiny imperfections of my Parkinson’s disorder.

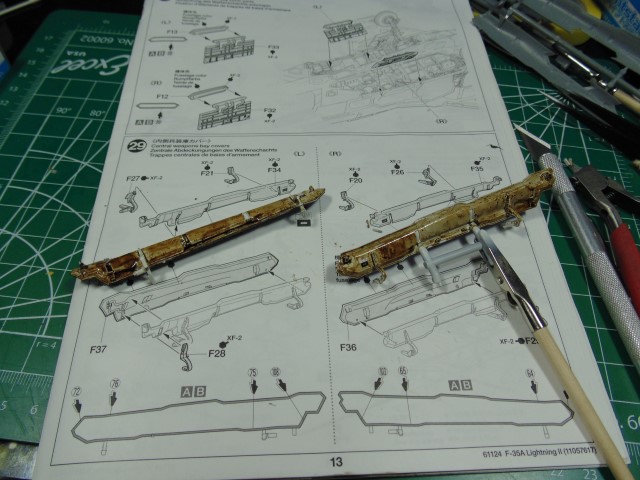
Here’s a teaser of the oil wash.
Guys and Gals, please consider visiting https://www.sunwardhobbies.ca/ and supporting a family owned and run hobby store. It’s the place I buy all my supplies from.
More when health permits.
6 Likes
Good stuff as usual. ![]()
Look forward to the next installment when your able and hope things go well to make that sooner then later.
1 Like
HG this is looking truly amazing! Great progress, indeed! ![]()
Glad to see the Abteilung get a go. Did you give their thinners a try?
Sorry to hear about your PD. Have you got it under control?
My dad has had that for three years now and it’s been a tough road for him…
2 Likes
Thank you Ryan!!!
Slow going at times, but I’m a fighter. LOVE your work!
1 Like
Thanks Russelle,
It looks like a hobby store and a supplement shop in my studio. My PD is far different than others. A normal brain dispenses certain chemicals on regular basis. Mine, however due to a head blow, builds them up then releases them like popping a balloon causing my violent tremors. Strange part is that it ramped up higher cognitive functions… go figure. Gotta’ see the good in the bad I suppose. Regardless, here you go… as requested!

The bays are done to. You’ll have to wait though for those pictures. Thanks and send my best to your father… I feel his discomfort.
5 Likes
Great intricate in depth updates HG… Always a pleasure to tune in for a new update. Put yourself first and and do this when your able. Hope everything is ok.
Best. John
1 Like
Thank you John. I can’t grasp how many modelers you inspire with your kind and thoughtful comments, again thank you brother! This condition has been with me since a kid and young jasper. In these past few decades though it’s manageable enough to write a 700 page novel, here and there, plus make items I hope will bring a few smile to others when they show up in the post.
Just for you… shhhhhhhhhh ![]()
8 Likes
Hi Friends,
Time for a quick update of a seriously fun project. Before that, let me make a shout-out to Jim for providing us the platform to display our projects. Please seriously consider supporting KitMaker… I do!
Naturally the ugly comes before the pretty.
Don’t let the oil wash go too long without being feathered. Usually takes around six or seven hours for the enamel thinner to flash.
It will turn to a clumpy mess if you wait the next day to blend it.
You decide if you want the oil stains to go over or under the decals. I like a smooth surface, thus the top of the decals will get oil stained.
Its subtle but that’s the point.
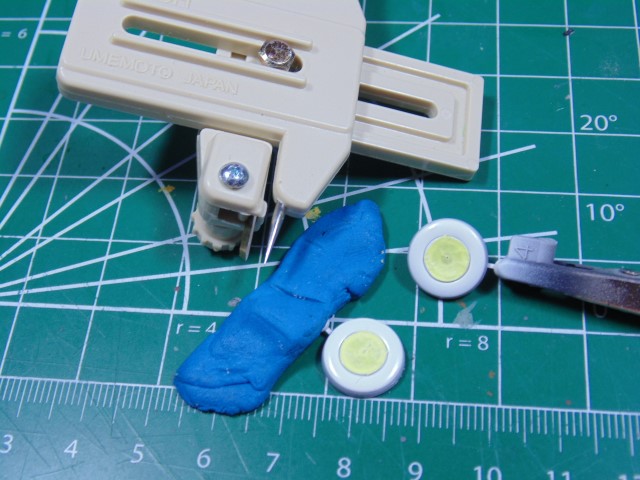
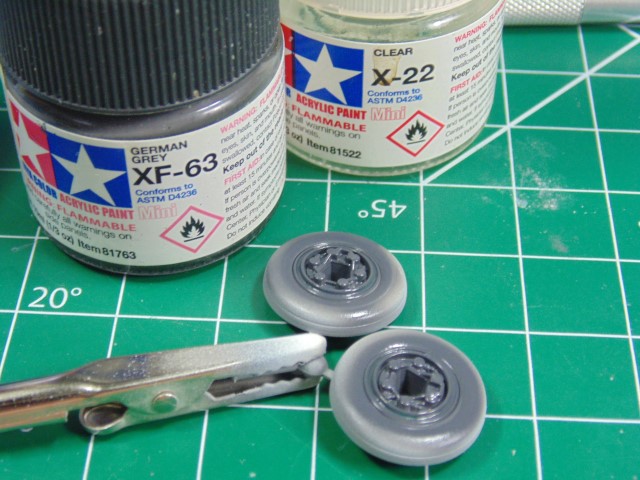
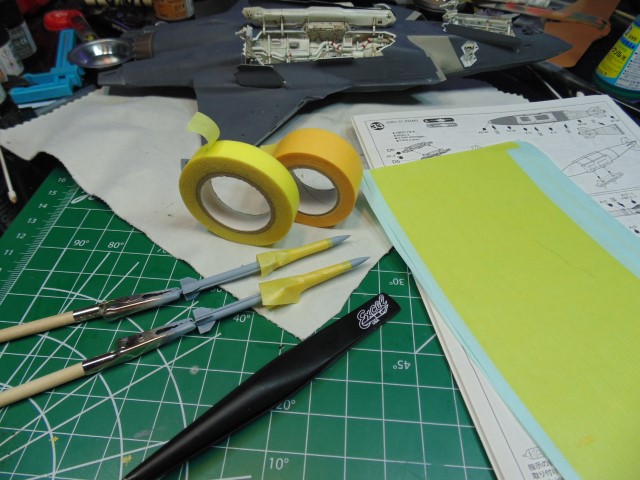
Now for the wheels and tires. A basic circle cutter will do the trick for masking.
Again, sprayed with Mr. Color 316, then the decals were applied and finally the engine grease oil wash.
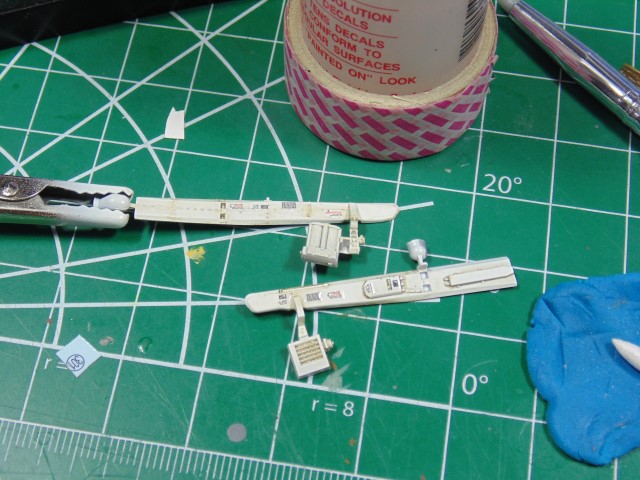
A closer look.
And another angle at the subtle effect.
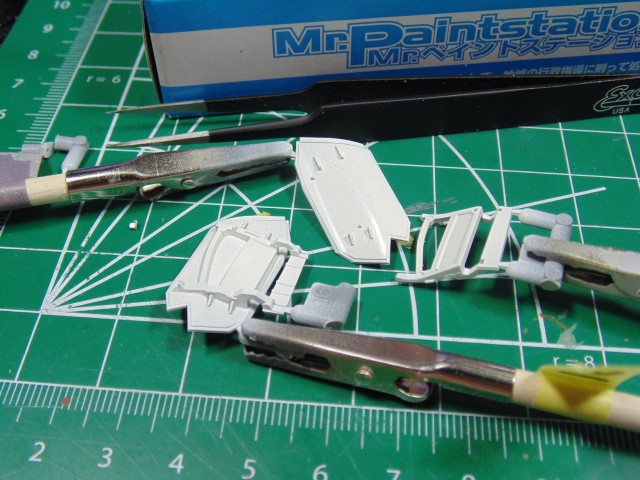
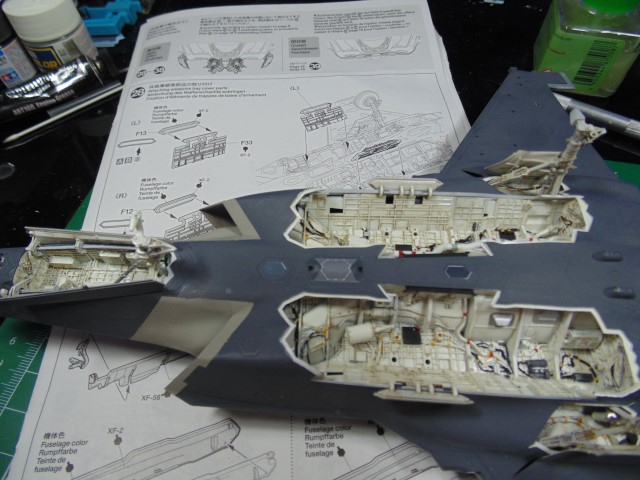
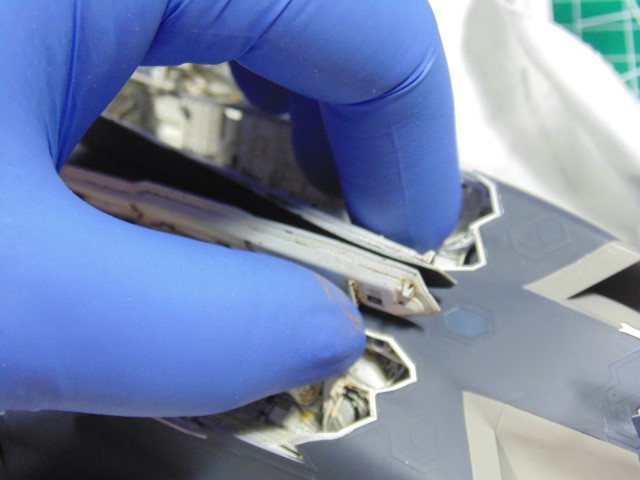
The small parts are amazing and fit like a charm. Yikes, hope I didn’t jinx myself.
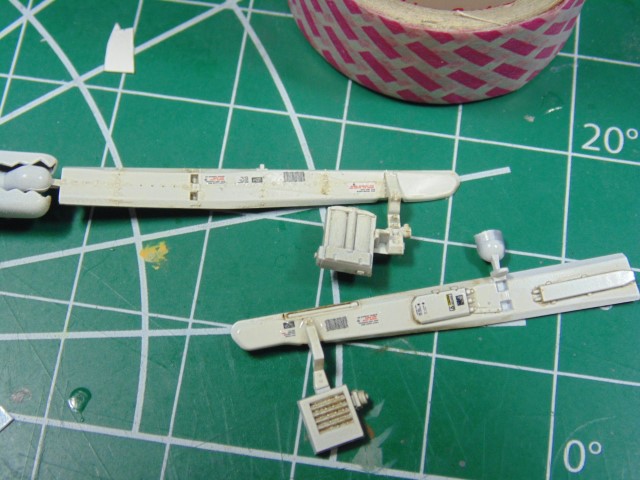
No absence of detail on this kit!
Be mindful of the delicate connection points and how the sub assemblies link up. The instructions are terrific, yet you need to be gentle with all the doors.

That’s enough of my ranting. Hope you enjoyed the short update. If you have any questions let me know.
Massive thanks to Sunward Hobbies for sending this kit. Please visit them at https://www.sunwardhobbies.ca/
God bless.
8 Likes
Great update. Those weathering colours over the landing gear look brilliant, as do the bays.
1 Like
Thanks John,
I questioned if there should be so many greasy tones (six in all) for such a newer aircraft, yet an aircraft mechanic friend pointed out that it takes just a few hours for filth to build up, hence going with this look. Plus it looks less cartoonish, if you catch my drift. Kindly.
2 Likes
Yeah, I think the only time they are truly pristine is the second they roll off the production line. It really doesnt take long to get a thin layer of crud over everything. The weathering also just adds more depth and in this case, shows the details better, if it wasnt for that, looking into those LG bays & doors, would be like looking into a snow scape … and even with the extra bits of colour on the pipework, it would still be massively white there … top marks ![]()
3 Likes
Good stuff HG. That little bit helps to make the detail pop and easier to see. ![]()
So I’m about to start this bad boy and have an idea.
I’m making a RNLAF F-35A so don’t need the RAM tape decals as i think they are just for the USAF F-35A, but there will be certain areas raised on the planform around the RAM edges which will need a lighter colour.
Ref photo - Lockheed Martin F-35A Lighting II - RNLAF 323 Squadron Photograph by Jason O Watson - Fine Art America
I work with acrylics, VMA mostly. The idea I had was to put the base layer and highlights down in the normal way but then spray a coat of semi gloss clear coat over and then do the raised areas with enamels - drybrush the edges and then fill them in, with the thinking that you could use enamel thinner to neaten off the edges afterwards.
Would def be neater and less time consuming than trying to do it with acrylics, no?
Any other ideas on how to approach it?
Would masking it be an option?
1 Like