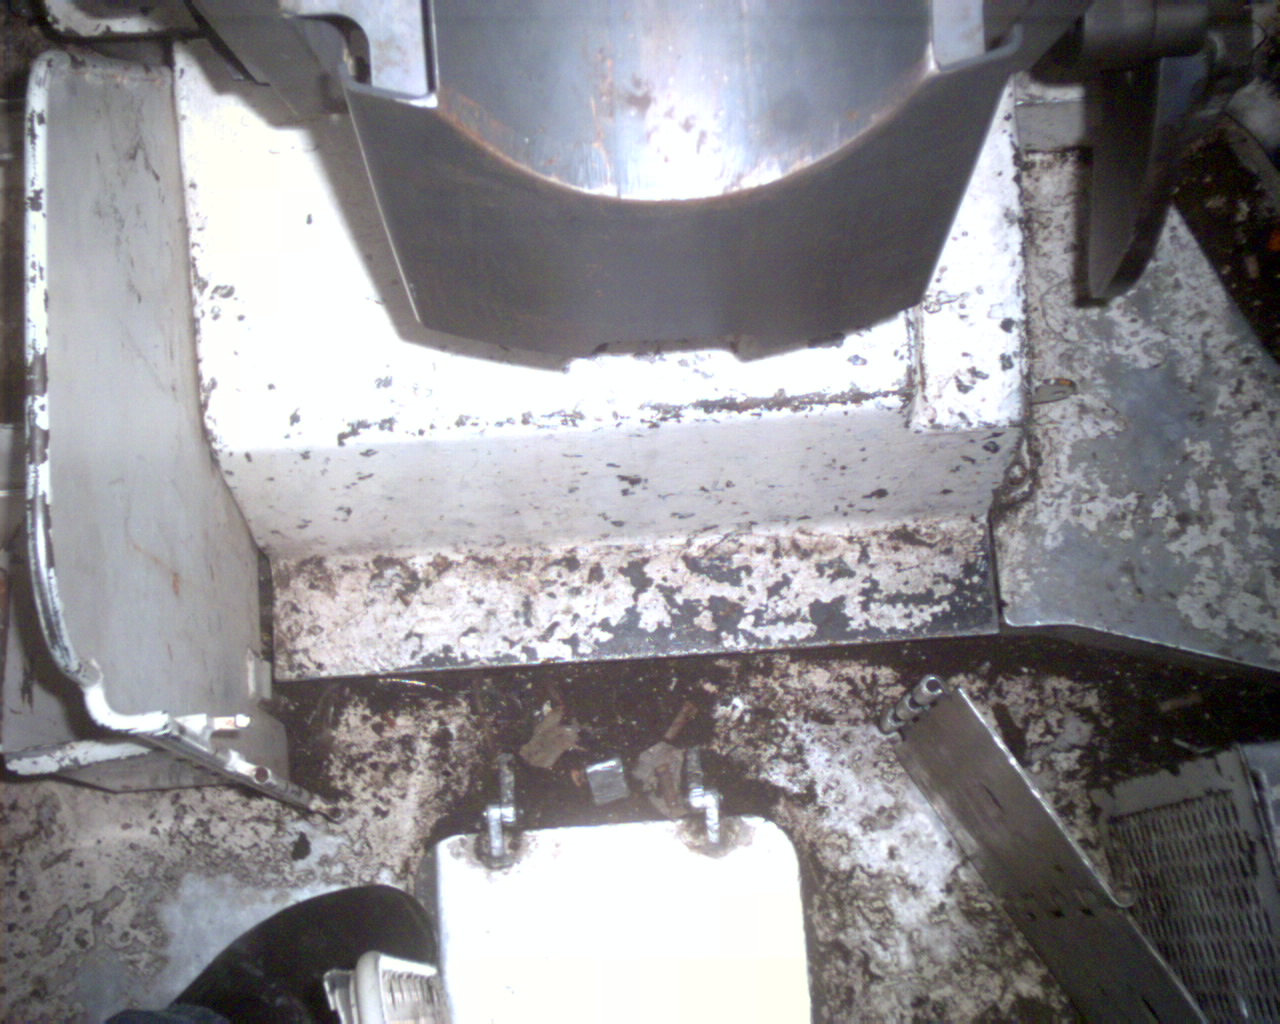
here’s the turret floor under below the breech of an Abrams http://data3.primeportal.net/tanks/rob_mccune/m1a1/images/m1a1_012_of_586.jpg
so it can get pretty beat up . I believe the T55 has rubber mats on the turret floor, though.
Looking really good!
Everything looks proper for a vehicle in use. During operations they will not be pristine, but cared for. Use restraint on any chipping. Just a small bit of dry brushing here and there on some high wear areas will do the job.
Consider the weathering as an opportunity to push some contrasts in order to highlight all that great detail. Sure, too much and you cover up stuff, but too little and the details don’t stand out. I know there’s always the argument about absolute realism, and such, but, IMO, in the end, you have to present to the viewer what he or she expects to see before they can suspend disbelief and perceive what they’re looking at as a true representation of the prototype. Anyways… just an opinion.
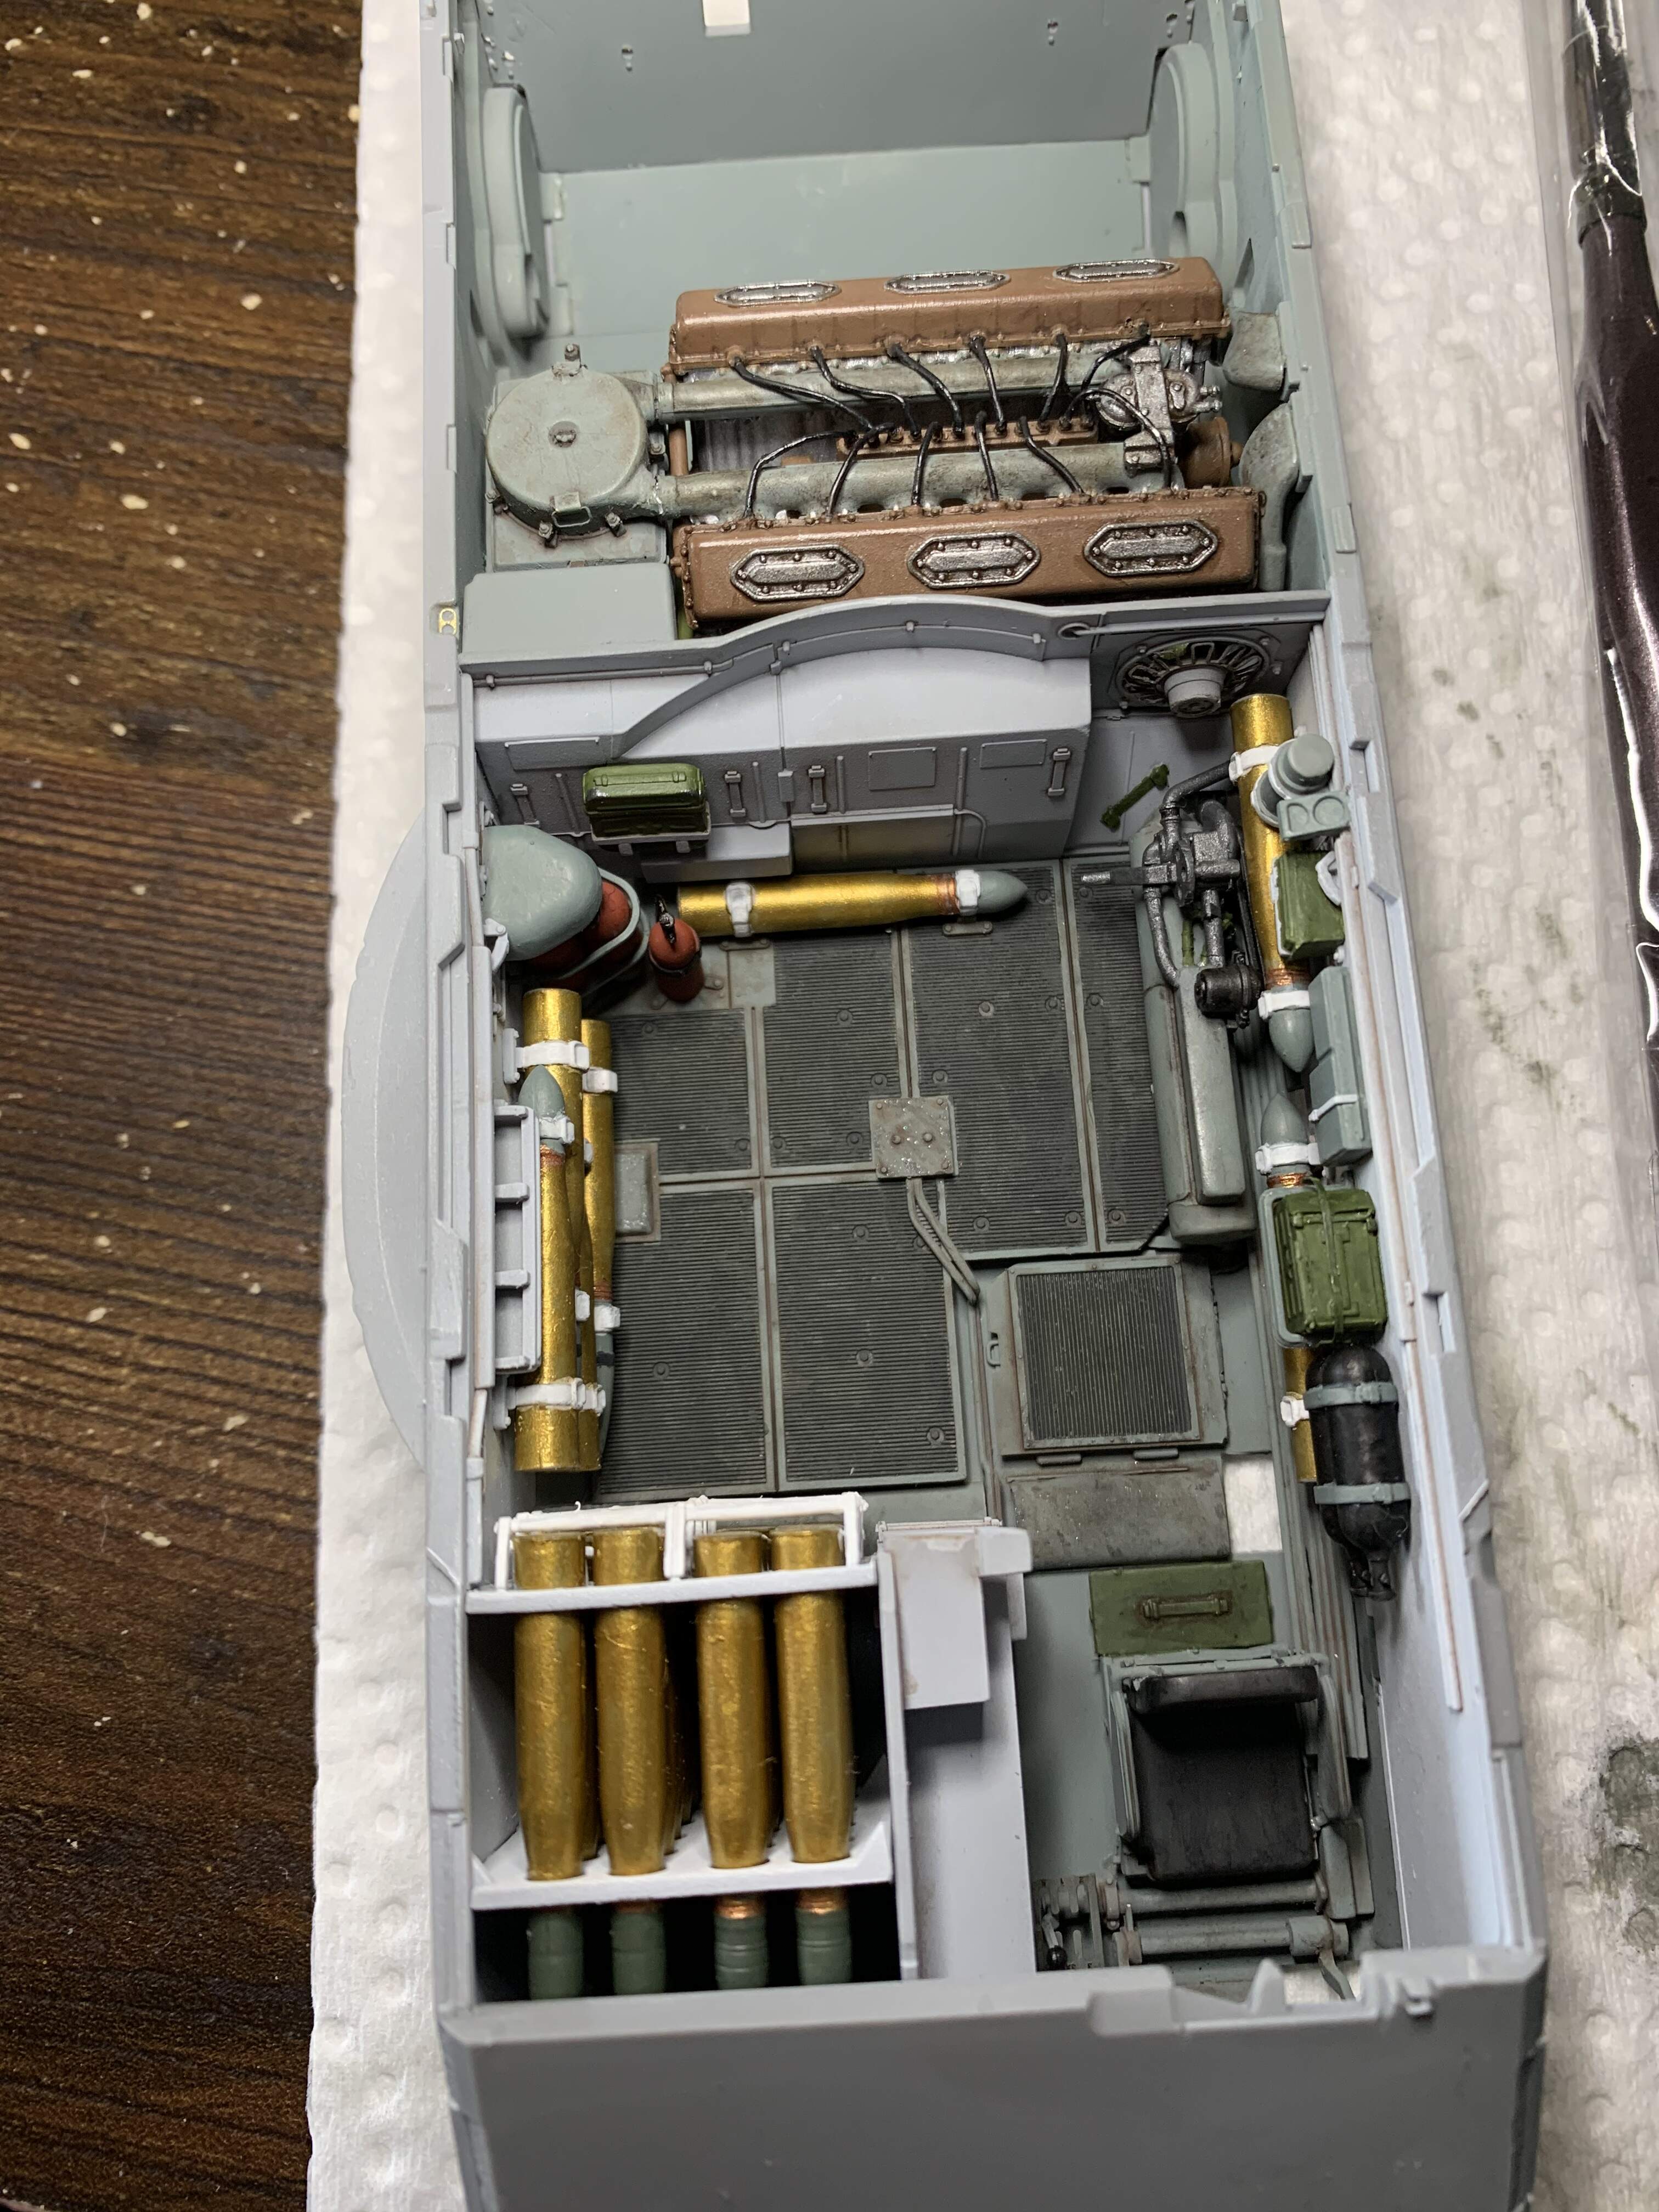
I am reluctant to say this coming into the thread so late, but the corrugated areas of the floor are actually rubber mats over the metal panels added for slip protection.
Anyway, here’s how I handled the interior on my MiniArt T-44 build to show what I was trying to describe, above, contrasts to emphasize details.

3 Likes
I can probably fix the rubber mat issue. Your model looks really good. I have some learning to do I see! Yours blows mine out of the water
I just went back through the instructions. They never call out black for the floor mats, but they shade them darker than the floor so they are for sure rubber… 
I should be able to go back and fix it fairly easily thankfully. I also have the hull glued together now, but not the top on it so I have easy access to the interior still. Will probably try to do more weathering to make the details pop out.
1 Like
Thanks for the props, but I have been building models for over 50 years, so I have an experience advantage over a lot of other folks.
You have some really nice stuff going on, though, so don’t sell yourself short. My only real point was to try to find opportunity to push those contrasts between lights and darks and dull and bright colors. Absolute realism might suggest a pallet of pretty much all dark tones and colors, but then there’s not enough contrast to “pop” the details out to the foreground.
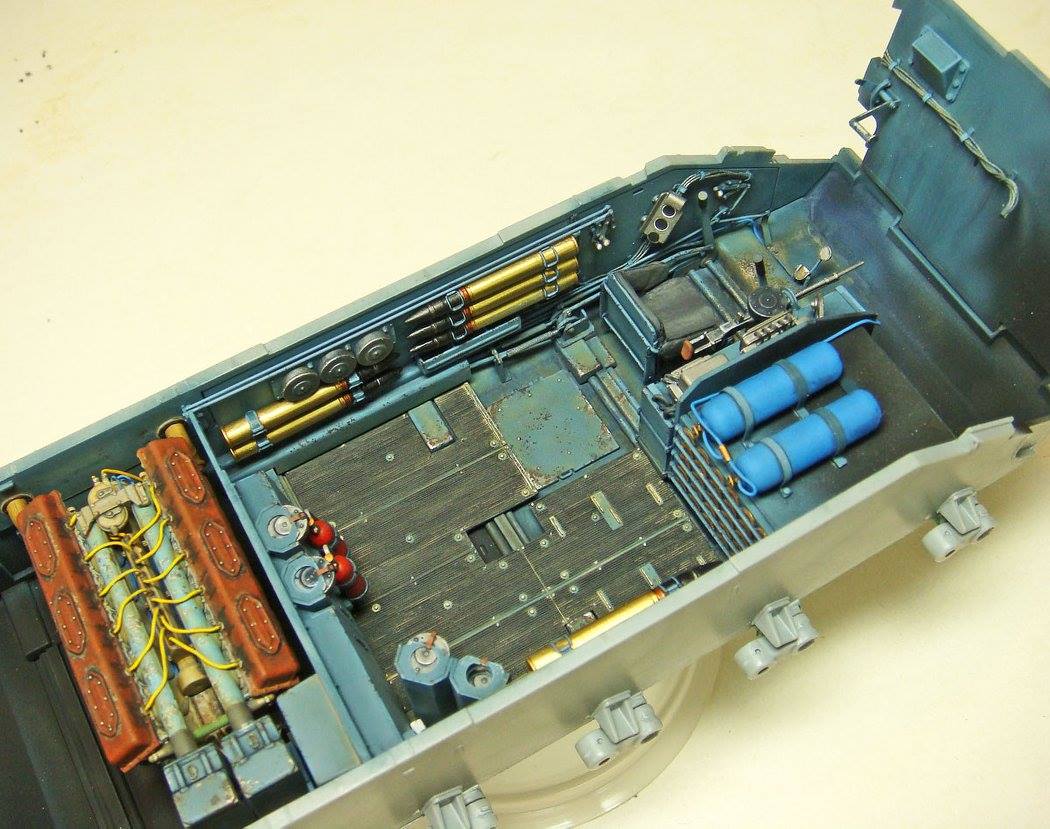
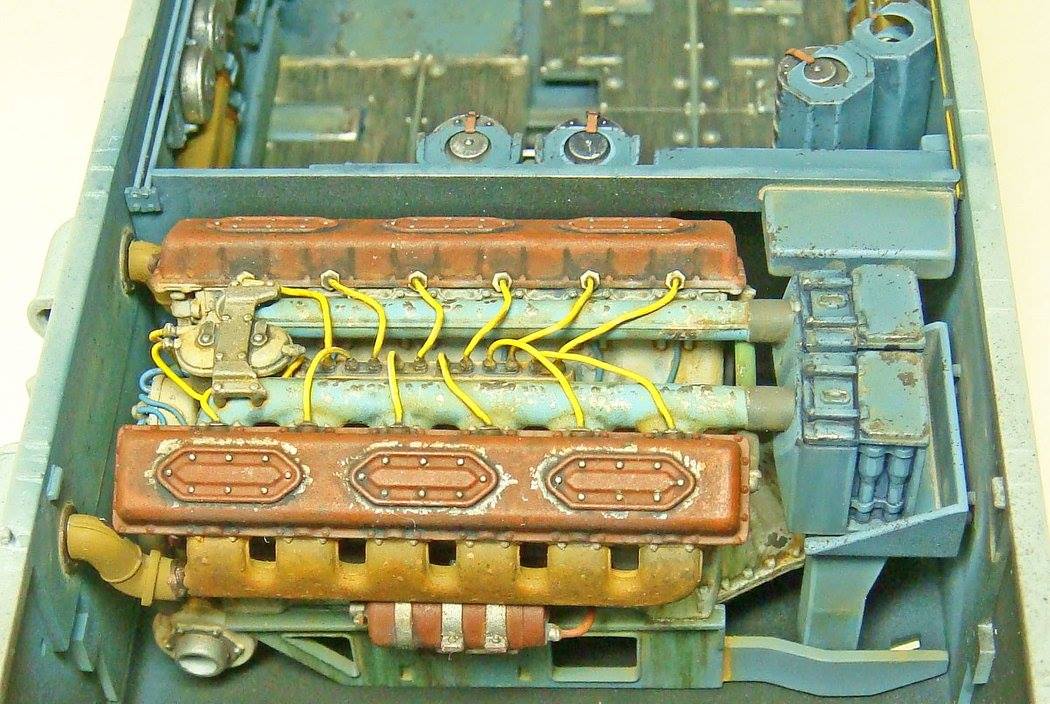
Also research can help. The Soviets (and presumably the Russians still) used a system of color-coding for the various mechanical systems - yellow for fuel lines, blue for compressed air and engine air, reddish-brown for oil / lubricating, grass-green for cooling water. To be totally accurate, this system was not absolutely applied to 100% of their vehicles, but it does give you a plausible and accurate way to introduce some brighter colors into the mix. More research shows that the common color for instrument panels and clusters and radios was a “hammer-tone” silver, so again, another way to introduce some contrasting colors.
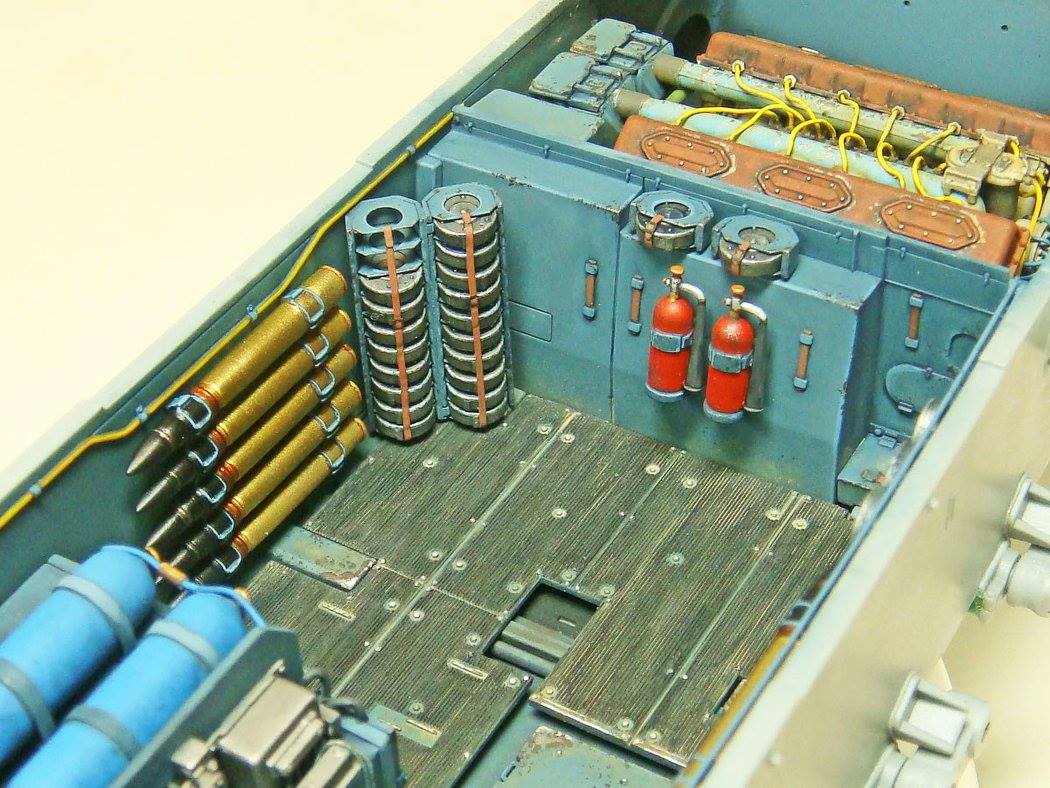
Were the leather straps still in a natural leather color or were they painted over? I don’t know, but it seems pretty clear that the straps were made of leather, so another contrasting color for the mix…
And so on…
Again, all this is just my opinion and building style preferences. However, to my eye, being able to see and perceive details in scale under natural light levels (which do not create shadows as sharp and dark as if the natural light was concentrated to compensate for the miniature size of the areas of details) requires that we paint in those contrasts by adding our own shadows, highlights, and color tone differences (when our references allow or suggest them). This is why figure painters paint in the shadows and highlights, and why the same “scale lighting” issues apply to other scale models (again, IMO).
Back to your original question about how much to weather. I don’t really consider “weathering” to be some sort of separate process or concept from the rest of the finishing. It’s just a continuation of the finishing process until I’ve reached the final look I was after. As such, there is no “too much” or “too little” weathering. There’s only “does my model look like I want it to look”?
Weathering is definitely my weak point. I am worried i will always go to far and ruin all the hard work.
I am decently happy with this build. It was probably overly ambitious tackling this. I used to build when I was young and then took a 4 year break when life got in the way. This is only my second build in 4 years. I’m loving the interior kits they sure are fun.
FWIW, I’d suggest trying to stop thinking of weathering as a separate thing from the rest of the finishing process and to start considering how your finish simply continues to a final desired look.
I incorporate a lot of finishing steps into my build at a very early stage (sometimes even while basic construction is still going), and many of those steps might be considered “weathering” by some other modelers. The key is to have a mental image or vision for the final model as early in the project as possible (ideally even before you cut the first part off the sprue). Then, all the steps and processes can be understood as a continuum towards that final goal, and this approach then makes it easer to see and find opportunities to incorporate or blend finishing and construction together, as appropriate. The same attitude will then help to see that there is no hard and clear distinction between “finishing” and “weathering.” They are one and the same.
1 Like
Outstanding work mike ! I have a similar style to yours and I agree wholeheartedly with your philosophy; I strive to get to the level you have too lol. The details pop so vividly on your T44 which makes it easy for the viewer to see all the components of the tank etc.
Didn’t realize the Soviets/Russians used so many colors on the interior. Here I am thinking mostly white like most other countries did. Very informative
1 Like
Nonsense, at least IMO. You should be “decently happy with this build” because you’ve done (and are still doing) some really good work.
Admittedly, none of these MiniArt “Interior Kits” are especially easy, but - again, some of my own modeling philosophy - I like the challenges and find that doing “hard” builds does a lot for my learning and skills curve.
So, “overly ambitious”? No way. There’s always a “bail out” for a total flop, and even small mistakes improve skills and craft. In fact, I’d go so far as to say that most improvements in skills are the result of learning from mistakes rather than being satisfied with successes. And the harder it is, the more mistakes you make, the more you learn.
I’m always looking for new modeling challenges, and fairly often, I’ll cross over to build models in other genres simply because I am unfamiliar with the subjects and techniques that are common in that genre but not in armor (which is what I mostly do). I’m always learning something that I can apply to my first love, armor, with these detours.
Heck, right now, I’m building a fully rigged WWI biplane. I haven’t built one of those since I was 9-10 years old, and I’m having fits with some of the techniques. But, I’m learning new things and building my skills, so all is good. Some might say that I’m being more than just a little “overly ambitious,” that I should have started with something that didn’t require so much rigging, or that I should just stick to building it out of the box with little to no rigging, to which I say, “Nonsense.”
1 Like
Thanks. The important thing is to have fun I guess! Thanks for pointing out that rubber mat. I would have been kicking myself later.
Should be easy enough to fix, most of the mat is exposed for easy painting. Then more weathering before putting the top on
Fixed up the mats. Made a rubber mix out of 3 parts Vallejo German tank uniform and 1 part Iraqi sand. This added some nice tonal variation to the interior and looks much bette. Thanks again for pointing his out
1 Like
That’s looking real good in there Mead. Personally I might add a bit more stuff in the crevices and nooks of the flooring, but that’s just my personal preference. I was on APCs, so us grunts tended to track in a bunch of stuff.
Thanks!!
Yeah I’m thinking I’ll add some more dirt, chips around things that are handled frequently like the ammo rack, and pin washes around some of the details to make them pop
There some interior photos at this link to give you more ideas for colors and wear spots.
1 Like