I agree. Airbrushing is a necessary evil. My latest problem is an inability to get a fine, narrow (1/16 inch) spray pattern. I draw back the needle while keeping the airbrush moving, then I get a sudden burst that spreads out like it’s from a spray can. This happens using Humbrol well-thinned with mineral spirits, at 15, 20, and 25 psi, through Badger, Iwata, and Paasche airbrushes that have been thoroughly cleaned, with new needles and nozzles. Fortunately this happens on my test piece and never on an actual model. I’m convinced I need to go with what works for me: mask everything, never, ever try to freehand. I wish I could freehand, but as far as I’m concerned, freehand airbrushing is either an engineering mystery, or it is literally magic. Suggestions (and therapy) welcomed.
for fine lines I find it best to work close to the surface and thin the paint more than you normally would. You must also dial back the pressure. Using Tamiya paints I find around 5psi works best for me. Good luck.
To get consistent thin lines (with no splats) you need an AB that allows you to restrict needle movement. Usually this takes the form of a dial at the back end that forms a backstop to the needle. You play around with the pressure and movement until pulling back “full” gives the line you want, then you make sure you’ve pulled before the AB crosses your model so you are getting a steady line throughout the stroke. It’s the action of pulling back that allows a drip to be splatted out, so you need to make sure that happens before you point it at your model!
(And if you cannot restrict needle movement other than by fine finger movement you’ll have trouble every time your finger slips even slightly - hence the need for an adjustable stop…)
Well thinned paint and 5 PSI, start shooting before you get to your model, and you will have your 1/16 line.
Check tat your thinner actually works well with Humbrol.
Mineral spirits is a rather vague product, it can be good, it can be just about average or it can be downright wrong for Humbrol enamel.
It may look as if it thins the paint but in reality there are small clots n the mixture.
To test the thinner you need a solid white surface that will not react with paint or thinner, white saucer or just a sheet of glass/akrylics with white paper underneath.
Place a small drop of paint on the surface, add a few drops of thinner and stir it a little, thin some more.
Watch closely to see if the paint turns into a fine haze or if it goes grainy.
If it turns into fine haze then you have the right thinner, otherwise you can use that thinner for washing paint brushes.
My favourite for Humbrol enamel is balsam turpentine (usually extracted from pines)
This stuff thins Humbrol like magic and it also managed to salvage an old tin (H 15, Midnight Blue) that I (yes it was 100% my fault) had turned into jelly by thinning with some low grade mineral solvent, I think I had used kerosene (yes, I was young and stupid) it thinned the paint for a little while and then it all turned into jelly (never thin in the tin).
Ten years later I found balsam turpentine and tested it on that tin of jelly and it worked ![]()
OK Monday morning. A headache. But we modelers must soldier on. ![]()
So today I ran a couple of tests.
3 clean paint cups.
Into the first I put 20 drops of Mig Ammo Oxide Red primer. (I have 2 bottles. This is the ‘old’ bottle). Then 7 drops of clean tap water. Mixed and let sit.
Into the second cup I put 20 drops of the same primer and 7 drops of Mig Ammo thinner.
Into the third cup I put 20 drops out of my newer bottle of the same primer. And 7 drops of Mig Ammo thinner.
I let them sit for approx 30 minutes.
First cup had approx 7-8 small ‘lumps’ on the bottom of the cup. Potential clogs.
The second cup was the same but with fewer ‘lumps’. (Note I poured the primer in in the same order as the cup numbers).
The third cup was much better but still had 3-4 very fine ‘lumps’ in the bottom.
Now another 10 minutes.
Some images.
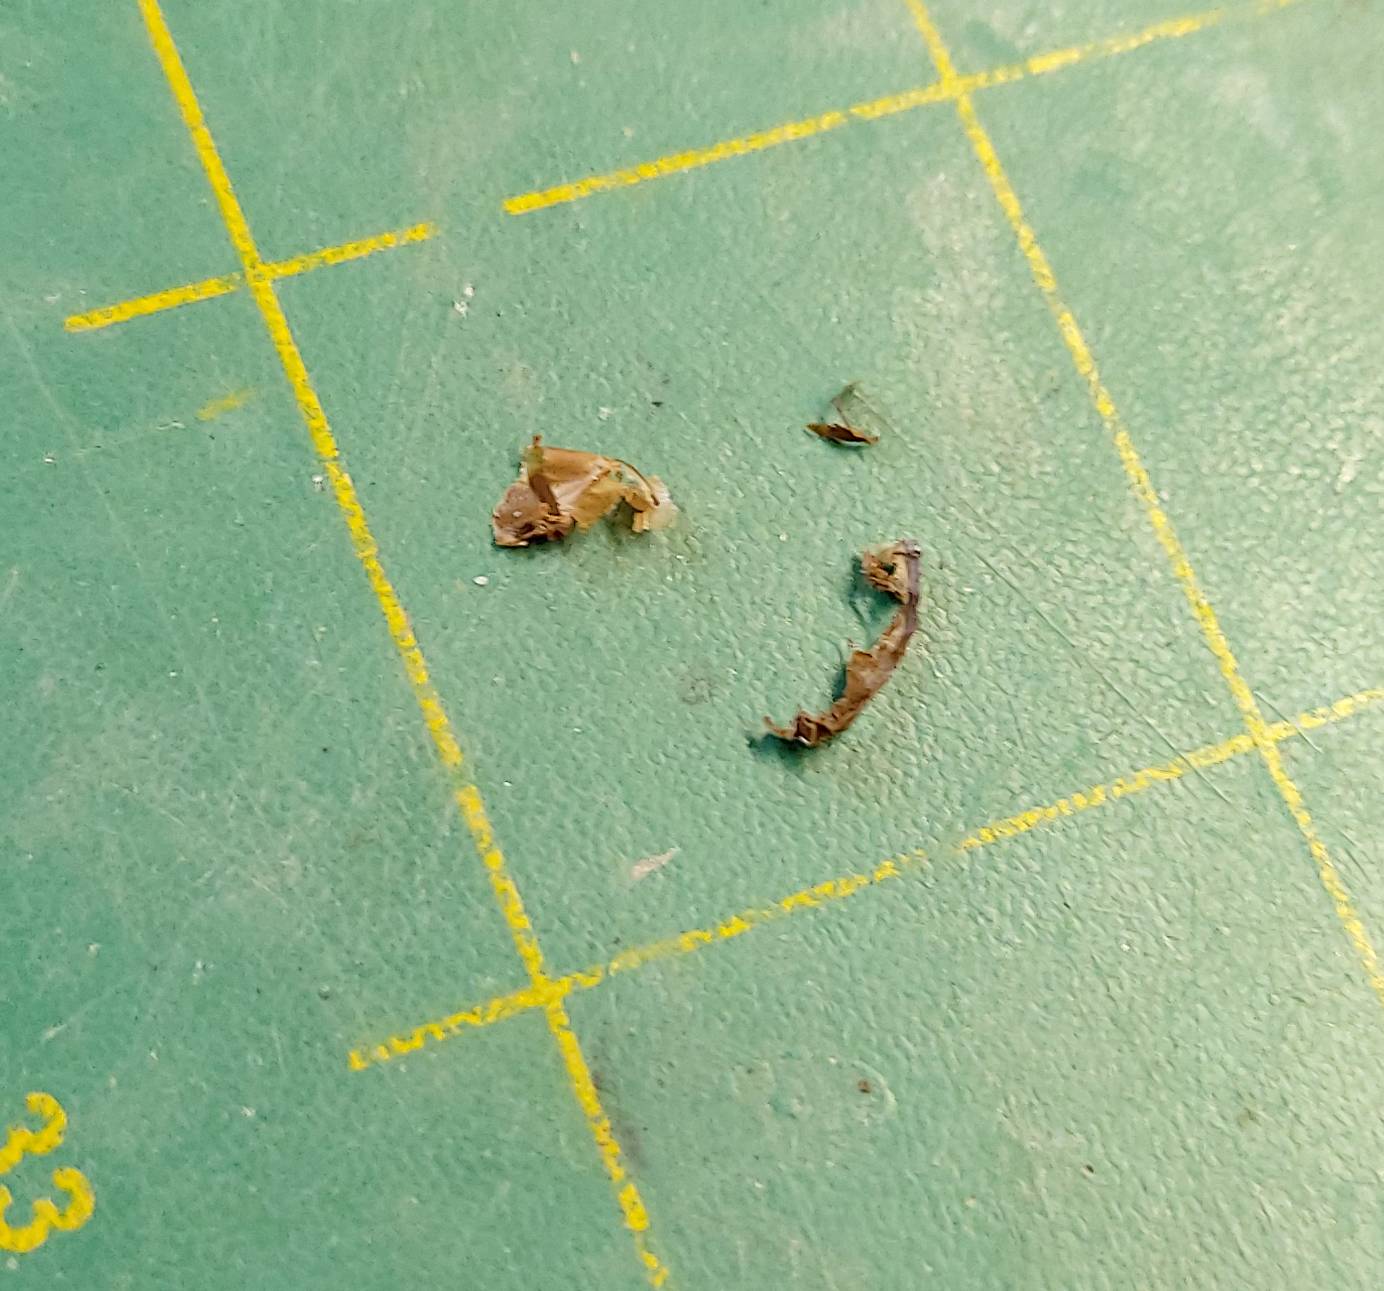
This is what I found under the lid. (It’s wet because I rinsed it).

More of what came out of the lid “before” I rinsed it.
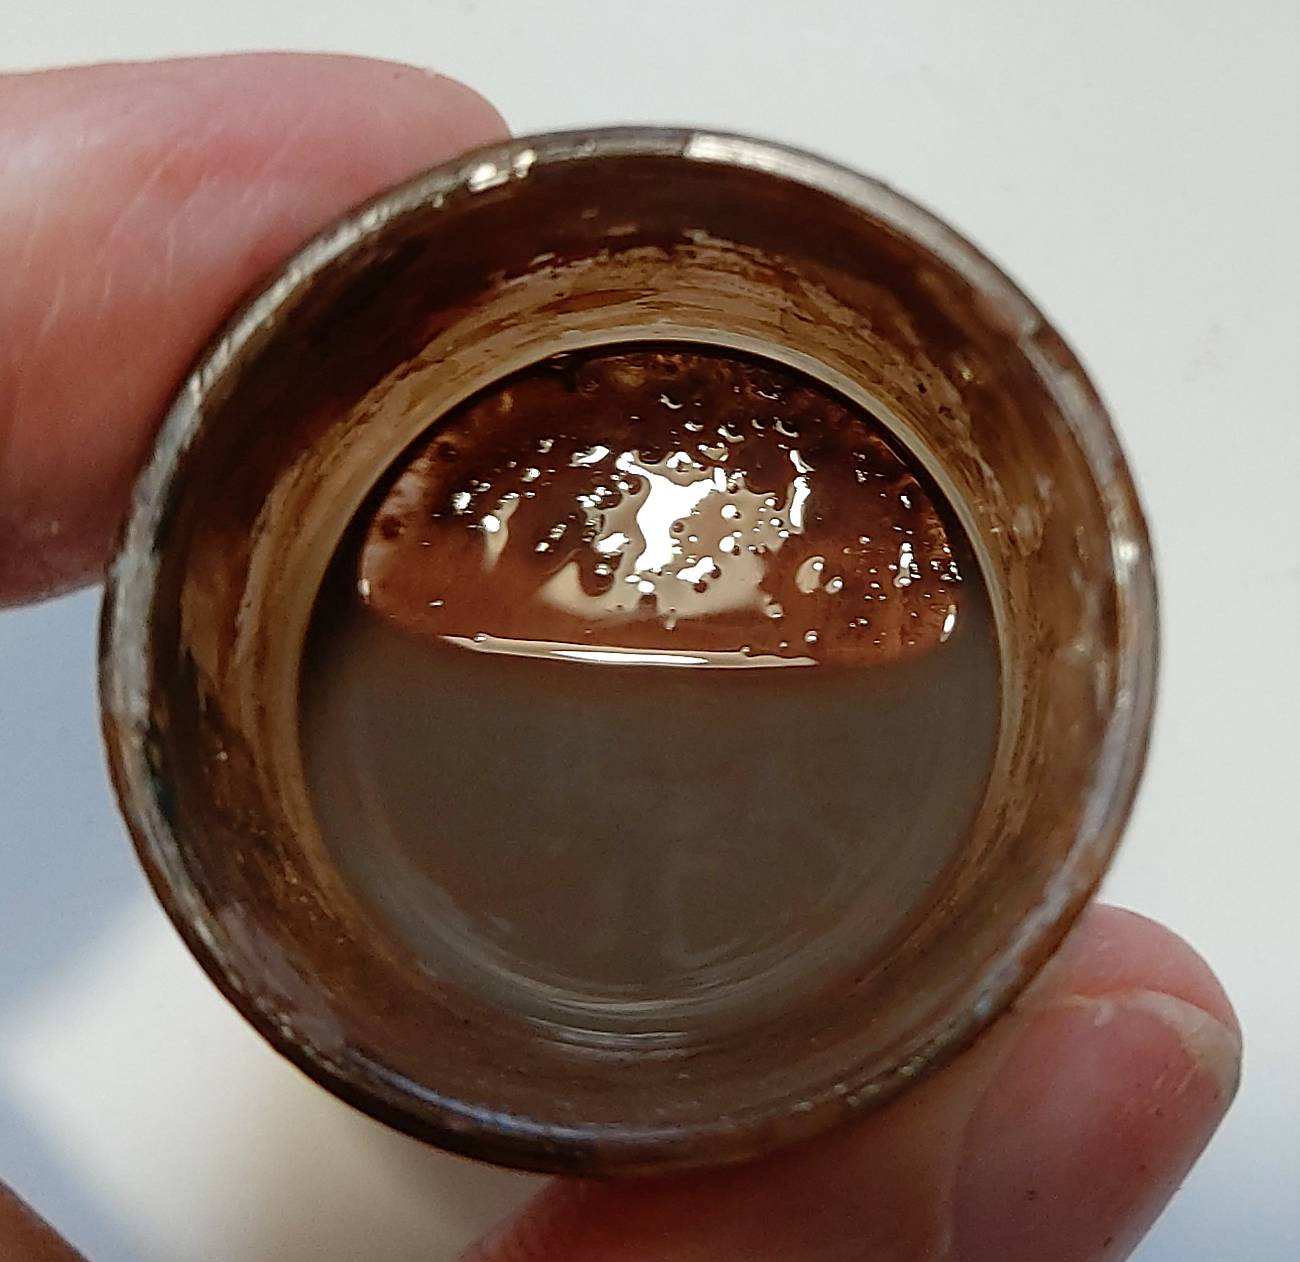
Now this is after 30 minutes of ‘old’ bottle thinned with water.
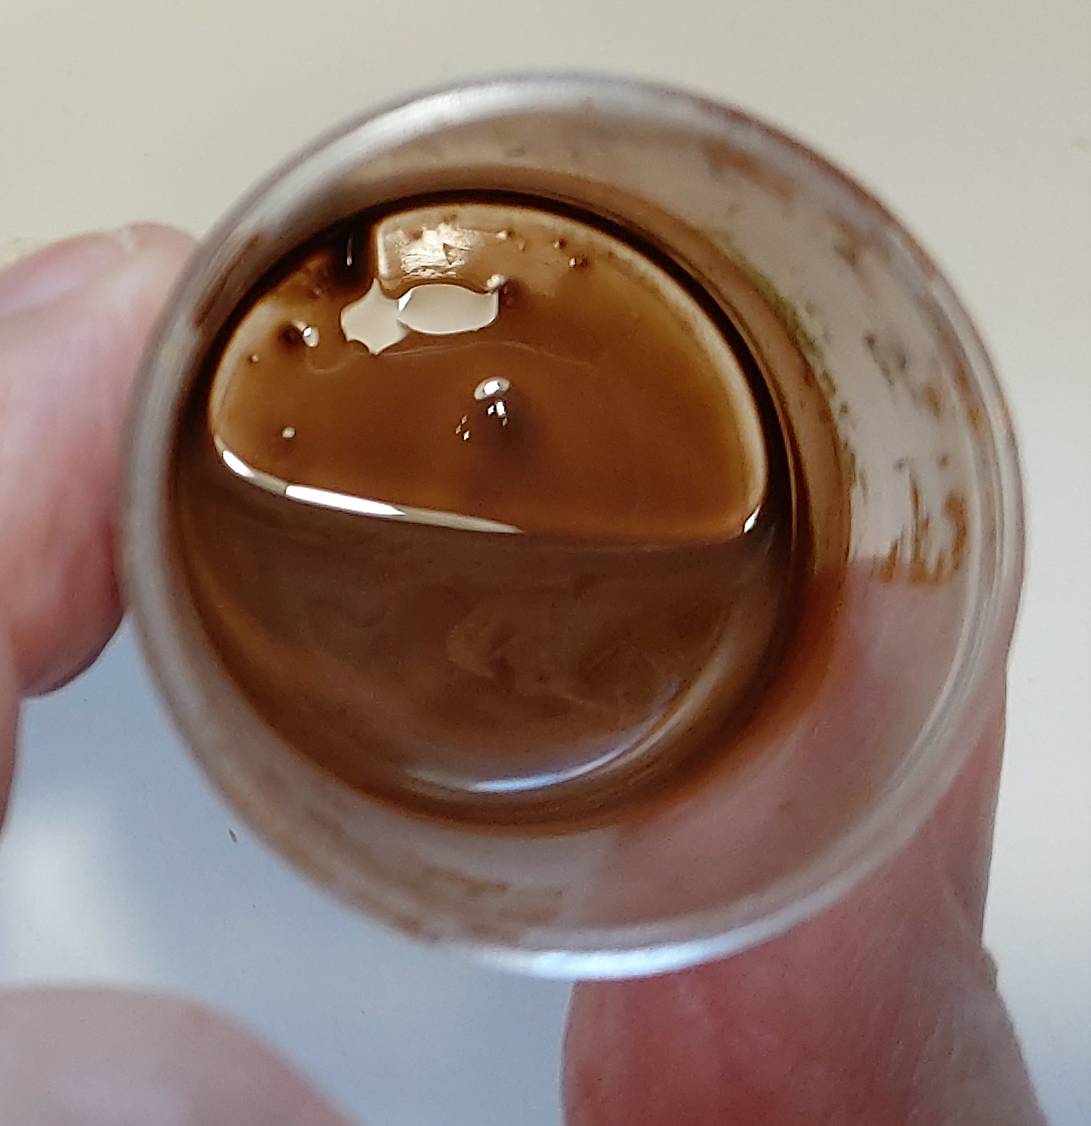
This is the primer thinned with Mig Thinner.
This is the ‘new’ bottle thinned with Mig Ammo thinner.
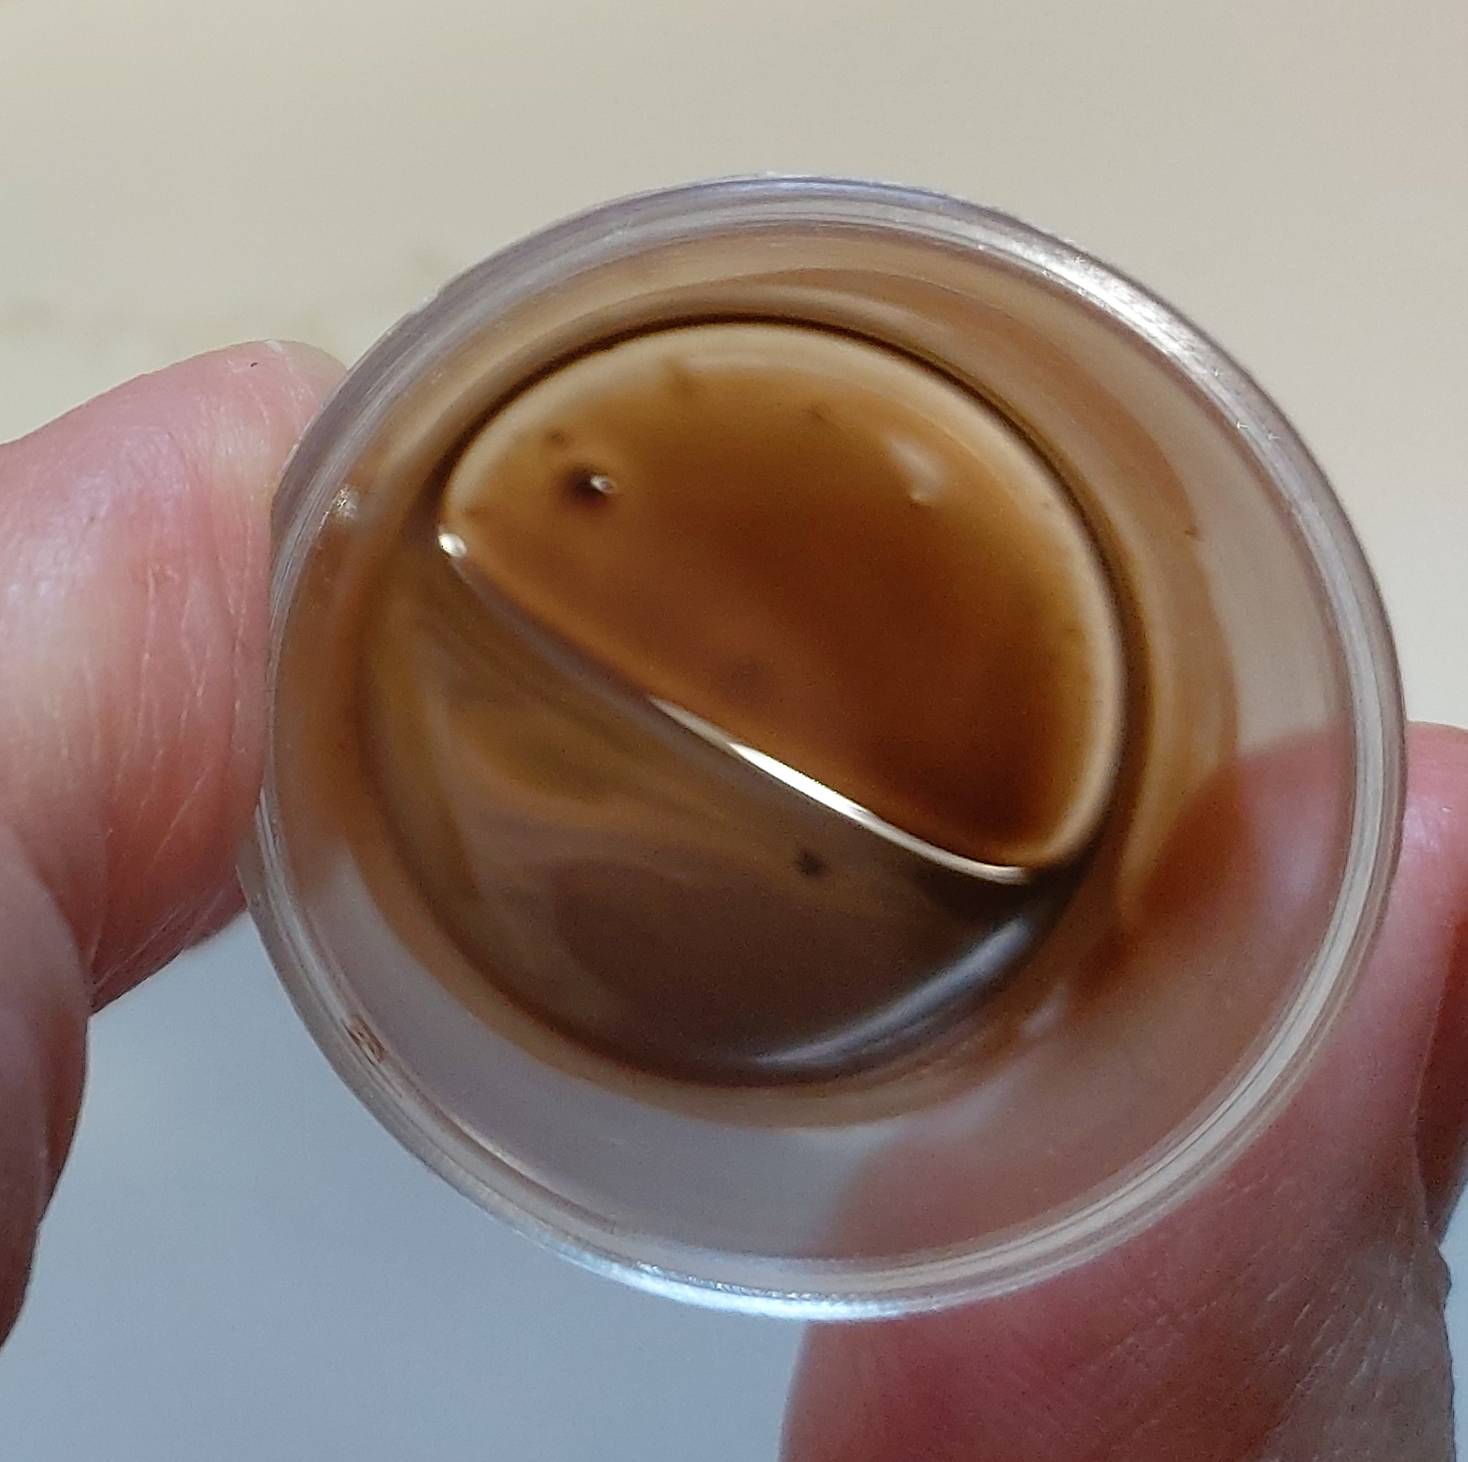
SO conclusion!
Both bottles of paint have lots of crap in them. The old bottle more so.
BUT. I was astonished at how much crud was in and around the bottle cap. I wipe the top every time I use it. But who thinks of taking the top off and wiping inside the lid?
Yes I shook the $%$# out of them. (Right arm reminded me of my teenage years if you know what I mean ![]() ).
).
Solution? Hmm strain the paint every time. That soon becomes a PITA. Change paint supplier? I have some AK and so far it seems fine.
Is it just the primer?
Thoughts?
strain every time. Just as automobile painters do. If you care.
In our latitudes, water-based acrylic paints can freeze if not properly stored or transported. Then similar problems happen to them. There is only one recommendation: throw out this particular bottle of paint.
AK Real paints thinned with Tamiya lacquer thinner.
Bam!
OK some feedback.
I strained the above samples. Sprayed like a charm. Then I mixed a new batch as per my attempt yesterday and sprayed for about 5 minutes before the blockages started.
So thanks to those who suggested I strain everything. Yes a PITA but not as bad as cleaning an airbrush all the time.
But it’s not the whole answer. Mig Ammo is simply drying too fast in the airbrush.
Now an observation.
Mig Ammo have an issue with their primer bottles. Lids. I have another Mig Ammo primer I often use. Sand/Fresh base. Just for interest I removed the whole cap. And the below image is what I found. See the red line and the scum build up in the lid. If I was to shake before use that scum would well have ended up in the paint and eventually in my air brush. For comparison I removed the caps on my AK primer and there wasn’t a sign of any drying.
FWIW the weather here is now around 30c every day with humidity 90%+. So weather may well be another factor.

Have you tried Vallejo Flow improver? I find it works pretty well. I make a mix of flow improver and thinner in a separate bottle. I put the mixed flow improver in the cup first, then use a clean paint brush to dip into the paint bottle for the color. Then use the brush to mix the paint in the airbrush cup.
I notice this on the outside of my bottle of ‘One Shot’ primer but, once dry, you can just pull it off. I’ve never noticed it affect the paint though it could surely do so if there was a lot inside like you show in the pictures and I agree they do need better caps on their bottles. One more thing though- I don’t thin the One Shot stuff- for me it sprays fine right out of the bottle with a 0.4mm needle setup.
Did you play tennis as a teenager?
I have had occasion to curse my airbrush also, but I accept it’s probably operator error. As a result, I’ve become obsessive about cleaning after spraying and even between colours if there is a large contrast. Being old school, I still use Humbrol enamels, which I’m reliably informed have quite coarse pigments making them unsuitable for spraying. Despite that I still get reasonable results. The cost of paint prohibits me from having one kind for spraying and one for hand brushing (figures etc). I use proper Humbrol Thinner for thinning and reserve the white spirit for cleaning as it is cheap. I can hand spray, it’s almost mandatory for three colour German camo and can get quite a fine line with a finer needle and needle jet. My airbrush is a Badger 200. It’s what I’m used to but I’m sure there are better airbrushes out there nowadays.
FWIW - this helps avoid clumped paint in the bottle and contamination in my experience…
I always want to make sure the pigments haven’t settled out in the bottom of the bottle or tin and mix the paint well. When getting paint out of the bottle I always use a pipette to reduce mess. Putting the tip of pipette toward the top just in the paint instead of near the bottom can help avoid contamination that tends to settle toward the bottom of the tin or bottle.
Likewise making sure the lid, cap, threads on bottle are clean before resealing helps reduce contamination from getting into the bottle etc.
Also “warm” paint sprays better than cold. Placing the paint under a incandescent light to gently warm the bottle a little bit above room temp helps tad as well.
I mix in the cup on the airbrush and have issues with MiG Ammo One Shot (its rebadged Stylenrlz isn’t it?) but when it works it is superb stuff. I do use it a lot. It is my go to primer, but as I say isn’t without its issues.
I find it dries super fast on the tip even if you keep air running though the whole time but with no back pressure. You have maybe two minutes, maybe less before the flow starts to die and you need to pull the needle out to clean it. You have maybe ten more minutes and two needle cleans before it clogs completely and you need to clean the whole thing as you deffo don’t want to leave that stuff in the brush - it is a nightmare to clean out, especially the higher pigment white and black.
I find there are a couple of things you can do to mitigate this - a bit.
1 - put a couple of mls of water in the brush and run it through the brush before you add the primer into the cup. Running it through through a wet airbrush, nozzle and needle gives you a fair bit more time on the tip drying and clogging front.
2 - keep a wet sponge (a really dense dishwashing type like you buy from the supermarket) handy and every few mins press the needle tip (gently) into it, wiping it clean. You’ll see lots of dry and semi dry paint clods coming off, again, this will give you a few more minutes before tip dry. I end up doing two or three wipes in one base or primer layer and it really does help. One of the nasty habits of these types of primers (and especially the Mig and Vallejo ones) is that they are a nightmare to clean off the nozzle once dried fully. Forgetting to clean the brush tip/nozzle properly after using this primer is a mistake you will only ever make once.
3 - sounds obvious but drying retarder really helps. If you think about it you (likely?) aren’t going to put a base layer of pre-shading over your primer for a few hours anyway so adding drying retarder into the primer cannot hurt. Instead of the one drop you’d use for your base coats etc I give it a nice glug. It doesn’t affect the finish and makes it a comparative breeze to clean after. I tried using Vallejo thinners to see if they help and they don’t mix well in the cup, even if you mix it thoroughly in the cup for some reason it doesn’t go properly together fully and you can be left with an inconsistent covering.
4 - there is a counter argument for mix in the cup vs a plastic shot glass or similar. The consensus is that in the cup is a bad idea and you are better off doing it separately. The reason why I do it in the cup, (aside from the fact that I am lazy) is because the paint does not stick to the chrome in the cup as readily and i clean it thoroughly after every load. The thing with plastic shot glasses is that the paint dries really fast and if you mix a batch of one colour up and add in bit by bit to the airbrush cup, you can get dried paint in the cup that way. As others have stated up-thread, this will spoil your session in a hurry. By mixing it in the cup you will get less dried paint in the cup, if that makes sense.
5 - I have a suspicion that a well oiled needle is less susceptible to tip-drying. I am not a chemical engineer so i am not sure of the chemistry of it, but I do find when I have just deep cleaned the brush and oiled the needle, it sprays better and you dont get as much tip dry. Could be a coincidence, but I certainly can see a pattern.
I hope this helps.
I agree with you that when they don’t work, airbrushes are the most frustrating thing about our hobby, but even these mercurial machines can be made to toe the line. Good luck with it matey.
What do you lubricate the needle with after cleaning?
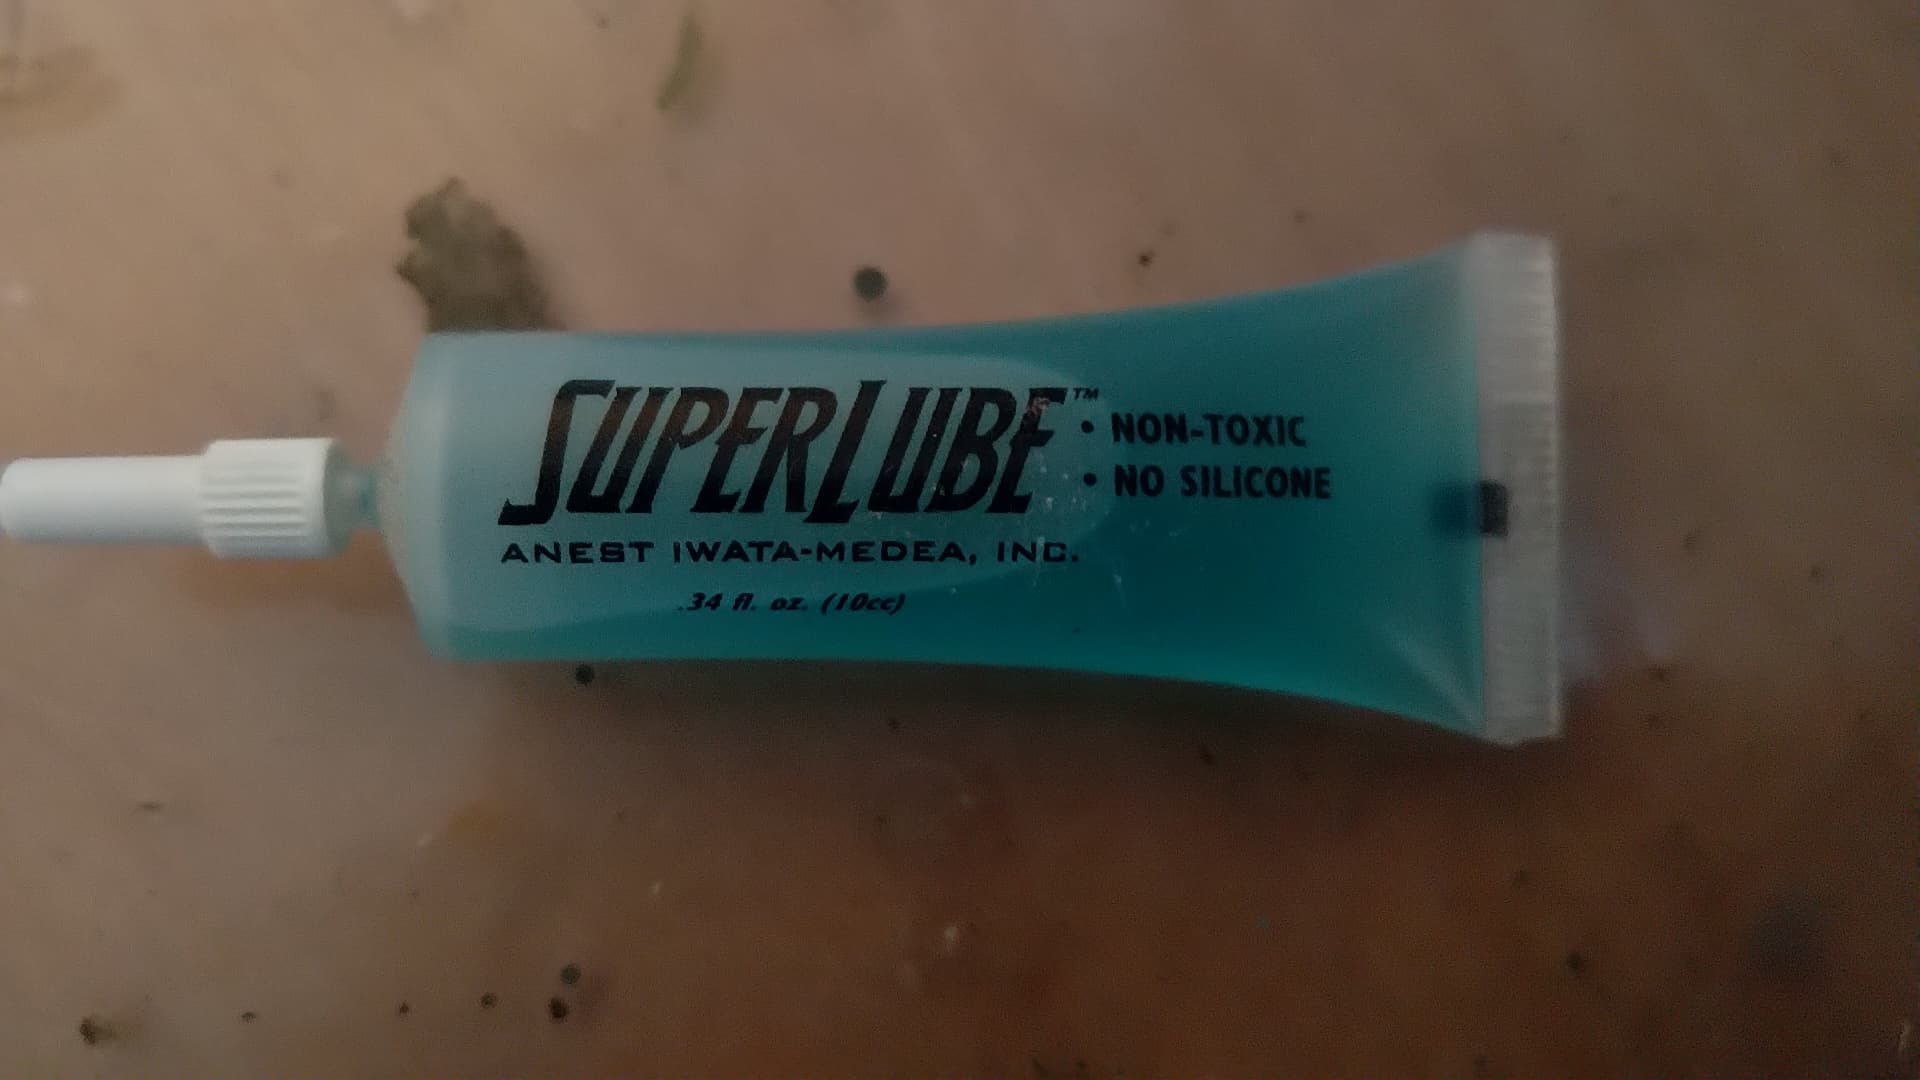
Thank you very much! I had never heard of lubricating airbrush needles before.
I don’t do it myself, that lubricant is found in the Iwata cleaning kit and I use it on my on trigger when it gets sticky.