All very good thoughts and suggestions. For me I try to find a Tamiya color if at all possible for the base. I do use AK’s modern Russian sets also. I’m comfortable with washes, streaks and light dust. In my opinion that’s the absolute minimum that’s to be done… otherwise it just looks toy like. When I think of or say weathering I’m talking about mud, chips, scratches and rust. That’s the stuff I really suck at. My attempts turn out horrible and look very unrealistic.
4 Likes
For the kind of effect you’re trying to simulate take a look at the Armor Modeling in the Ukraine thread to get an idea of how mud, grime,etc. build up. Also, look at construction vehicles while you’re about to see how weathering accumulates.
4 Likes
Darren, I have the same struggles with those techniques here’s what’s been helpful to me. Hopefully, it will be useful.
There’s always lots of ways to do stuff etc. Nightshift has many excellent techniques videos on his YouTube site showing quality techniques for mud, chips, scratches and rust. If you haven’t seen them they are worthwhile. Likewise, ColDemonPL.
Nightshift - Let’s build a US Army Truck
FWIW - Here’s my tiny bit of insight on mud, chips, scratches and rust from watching the the two YouTube’s mentioned above. Others will have different thoughts etc.
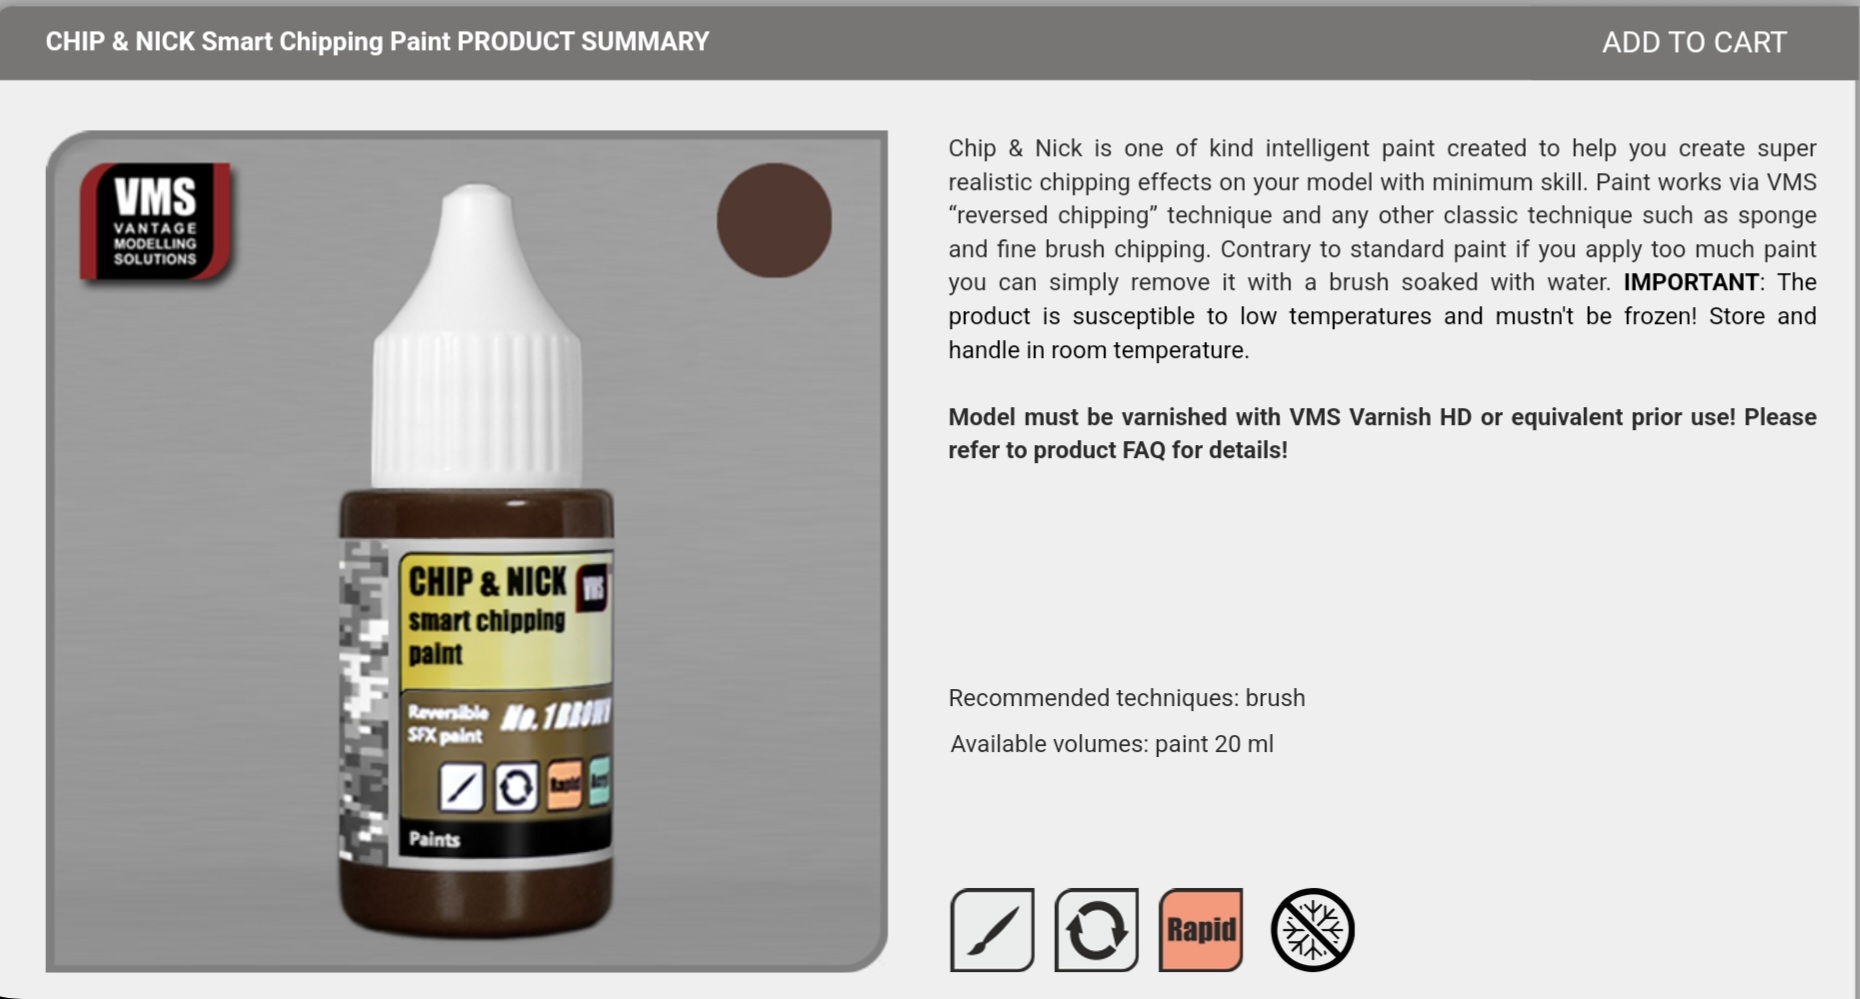
- Chips & Scratches - one easy & effective way to do those is with VMS Smart Chip & Nick paint. They say after gloss coat but I do it directly on the paint after the paint has cured for several days. It’s applied with a small pointed liner brush. It will go where it’s not wanted but a clean brush dampened with water can be scrubbed over the just applied paint to remove unwanted spots.
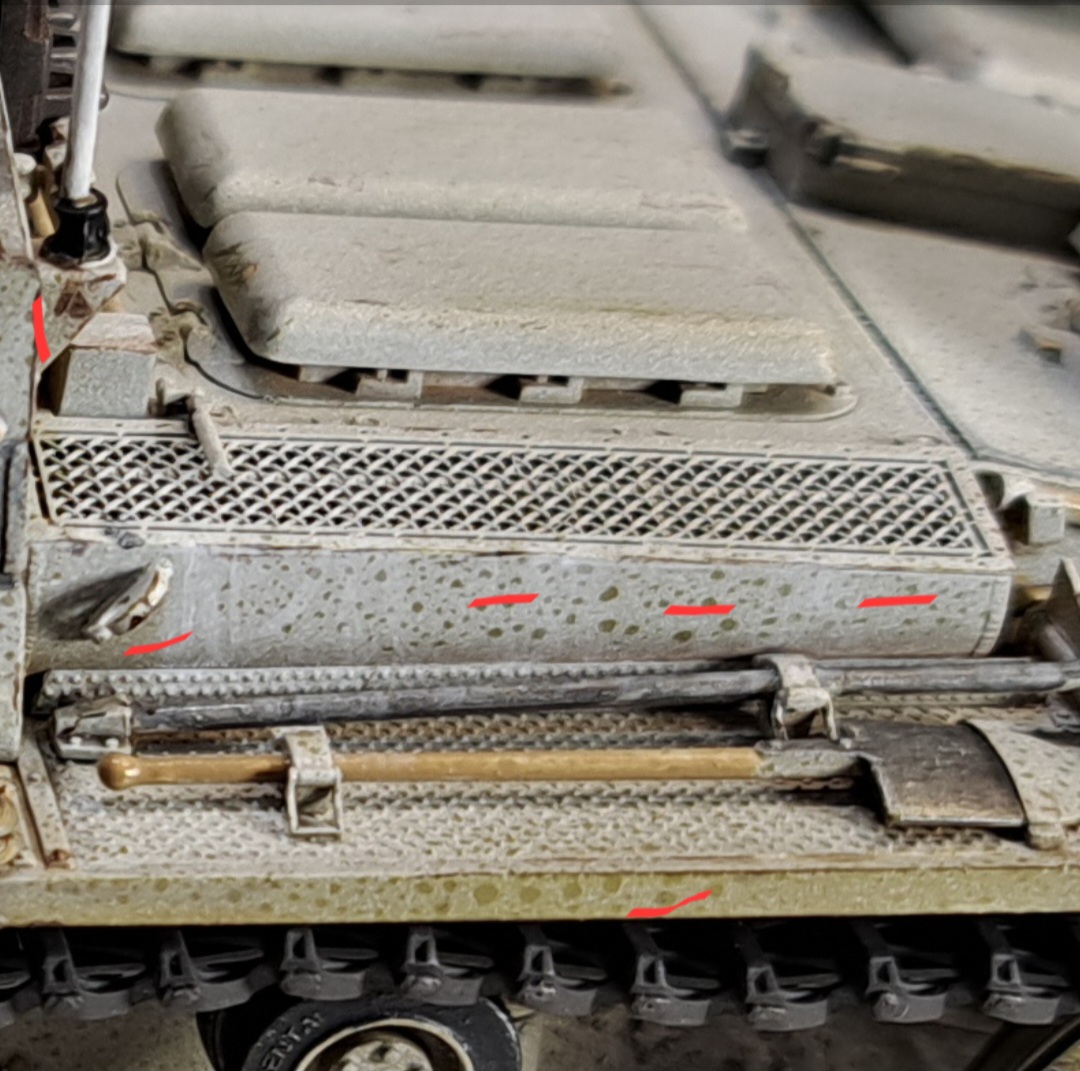
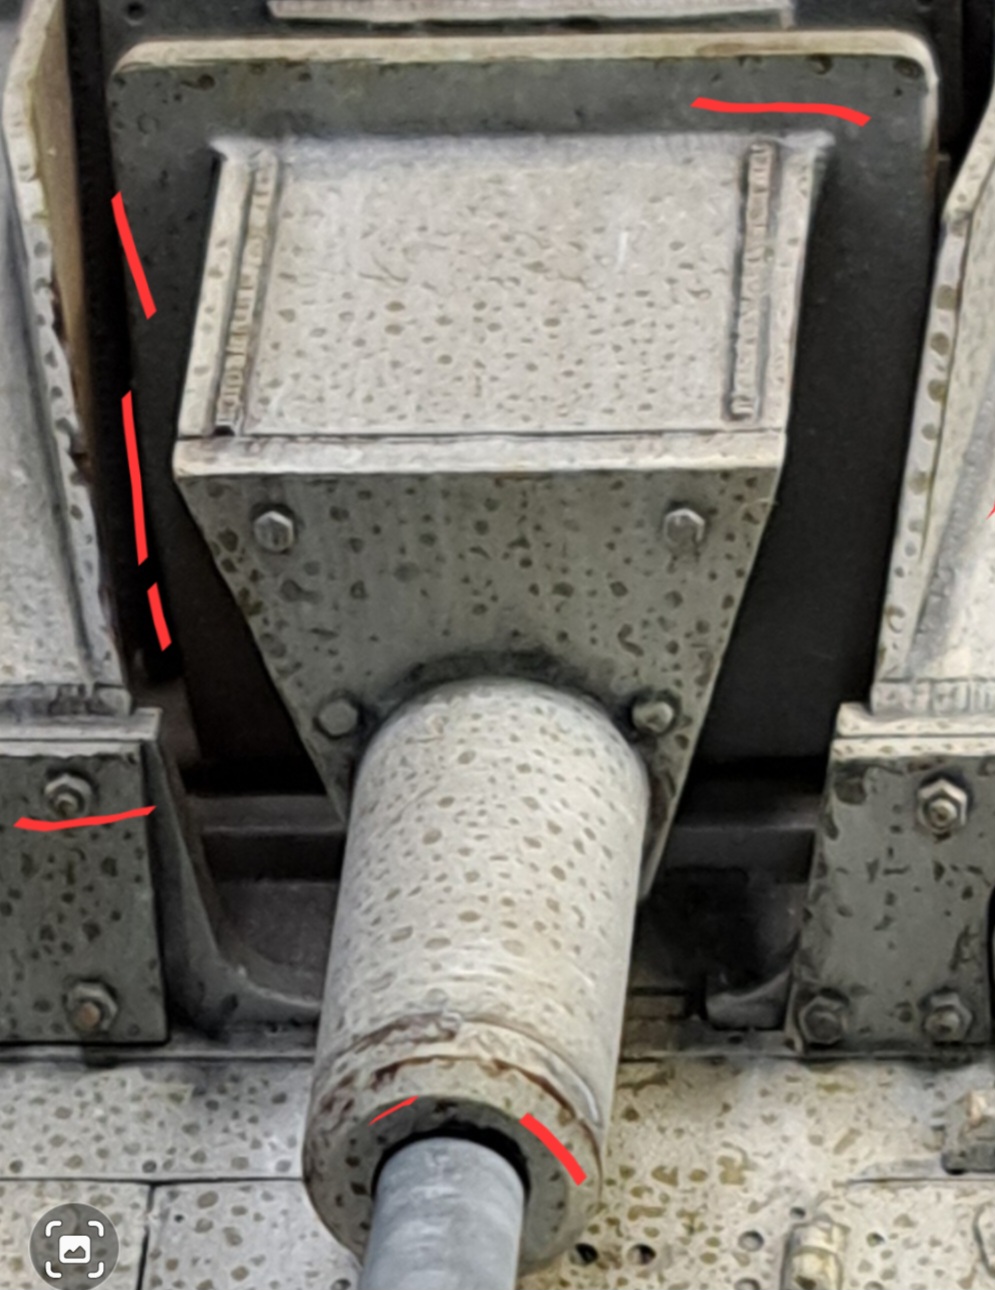
Scratches & chips applied with VMS are marked red.
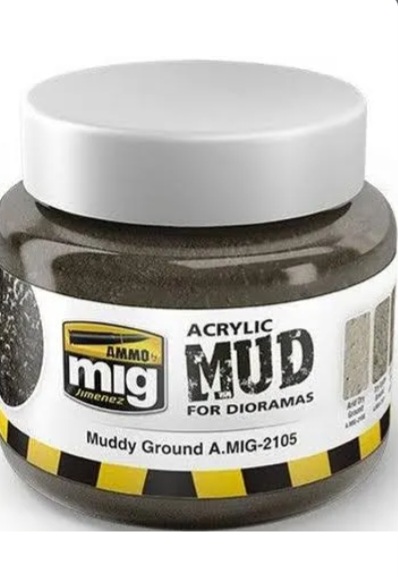
- Mud - Mig’s Ammo Mud works pretty well. I think its way to thick to apply to a model out of the jar. I like to add water to thin it down to gritty paint. I’d rather apply twice than one heavy coat. Basically, lightly brush in place. Flick out the over sized pieces that stick. Add washes, drybrush, splatter techniques etc as desired. Personal preference is less is best.
- Rust - one of NightShift’s video’s really killed this technique. Paint a gray base and apply washes or glazes of brown & orange over the gray base. I think this is in the weathering track links video for the Tiger 1, IIRC.
The mufflers are done according to NightShift’s technique for painting rust.

HTH
7 Likes
Darren, I gotta agree with you. I love the build. I’m a builder. I’m very good with an airbrush. I can paint. But when I get a tank painted and decaled, and realize I now have about another two weeks of work in finishing and weathering, I dread it. I don’t agree with The Spanish School, so I don’t go for that look, they can keep it. But I do compete in model contests, including the AMPS Internationals, so my models have to have “The Look” and be the latest and greatest. Sometimes it’s all about keeping up with the Jones’s. The latest technique by Nightshift sweeps the hobby and everyone has to do it. Other times it’s basic modeling - washes, filters, etc. but man, it can get burdensome. Even if it goes right.
Concentrate on the stuff you’re good at on your current build, and practice the stuff you’re not so good at on old builds. You’ll get better!
4 Likes
If you hate it, don’t do it! Simple. It’s your kit and this is a hobby supposedly to be enjoyable. I too don’t weather, much, because I’m showcasing vehicles I like.
3 Likes
You say that you do like the “painting” part of the process, so perhaps a slight change in the way you look at the job might help.
I don’t consider that “weathering” is a separate “thing” from “painting.” To me, painting and finishing is a continuum, and I incorporate what many think of as “weathering” right into the entire painting and finishing process. Weathering is not a set of separate steps that come after anything. For me, a “weathered” finish is a final goal, and all of the entire painting and finishing processes are combined to achieve that desired outcome.
I might actually start “weathering” early on in the construction phase by doing things like adding base soil and earth textures onto places that might be hard to reach in a thorough and comprehensive way if I wait until all the construction is done. I usually begin my “base color” painting with earth colors and tones over the areas that would be heavily “weathered” in real life, blending those into the factory colors that are applied later (or vice versa depending on the topology of the model).
And so it goes… Finishing steps might include pre- or post-shading of the factory and earth base colors followed by markings (decals and / or stenciled on) followed by semi-transparent glazes (i.e. “dust”) which has been applied over “hard chipping” with "soft chipping (scuffs, marks and worn areas of darker base colors showing through the “dust” glazes). I might add washes and stains under glazes followed by more washes over those glazes. Pigments and other textures may also be added in stages over washes, with washes over them, or with other differently colored textures over the earlier ones. It all just depends…
But, my point is that perhaps it might help to look at the finishing process as something more “holistic” rather than as separate stages with “weathering” as something that is done on top of and following the “base painting and decaling.” It might also help if you take a few minutes with pen and paper and, starting with the mental image of what you want the final look to be, plan out a series of different processes or techniques that you will layer, one on top of the other, working out from the raw plastic to that final vision.
Write these steps down, perhaps even make note of the particular colors that you might use, in a sequence that you can follow - checking each off as you’ve competed it. Do this little exercise even before you start building the model so that you can incorporate these finishing steps along the way WITH the construction, as it might seem most logical to do so.
Then “paint your plan” in a, “Plan the finish, then finish the plan,” or some such. So, don’t look at weathering as the final “chore” to be done before you’re finished with the build, but rather look at the entire finishing process as a series of coordinated steps running from step 1 all the way to step whatever. If you have a plan in mind, then the “anxiety of the unknown” and worry about what should come next is much less.
“Learn to Stop Worrying and Love the ‘Weathering’.” (Apologies to Stanley Kubric and “Dr. Strangelove”…)
3 Likes
Actually you can use airbrush to paint the dust, enamels and acrylics. It doesn’t need to be really rusty.
3 Likes
This is a very good approach. While I(we) may think of them as separate steps I take a very similar approach. Knowing what you want the final product to look like when you start will give you focus for the rest of the build and give you a goal to work towards. The “process” is not as complicated or difficult as it seems. You probably didn’t master AB after just a few attempts(after 40+years I’m still learning) so weathering is no different. Practice and experimentation like everything else in our hobby will eventually yield satisfactory results.
Sorry Mike I meant to direct to the OP.
5 Likes
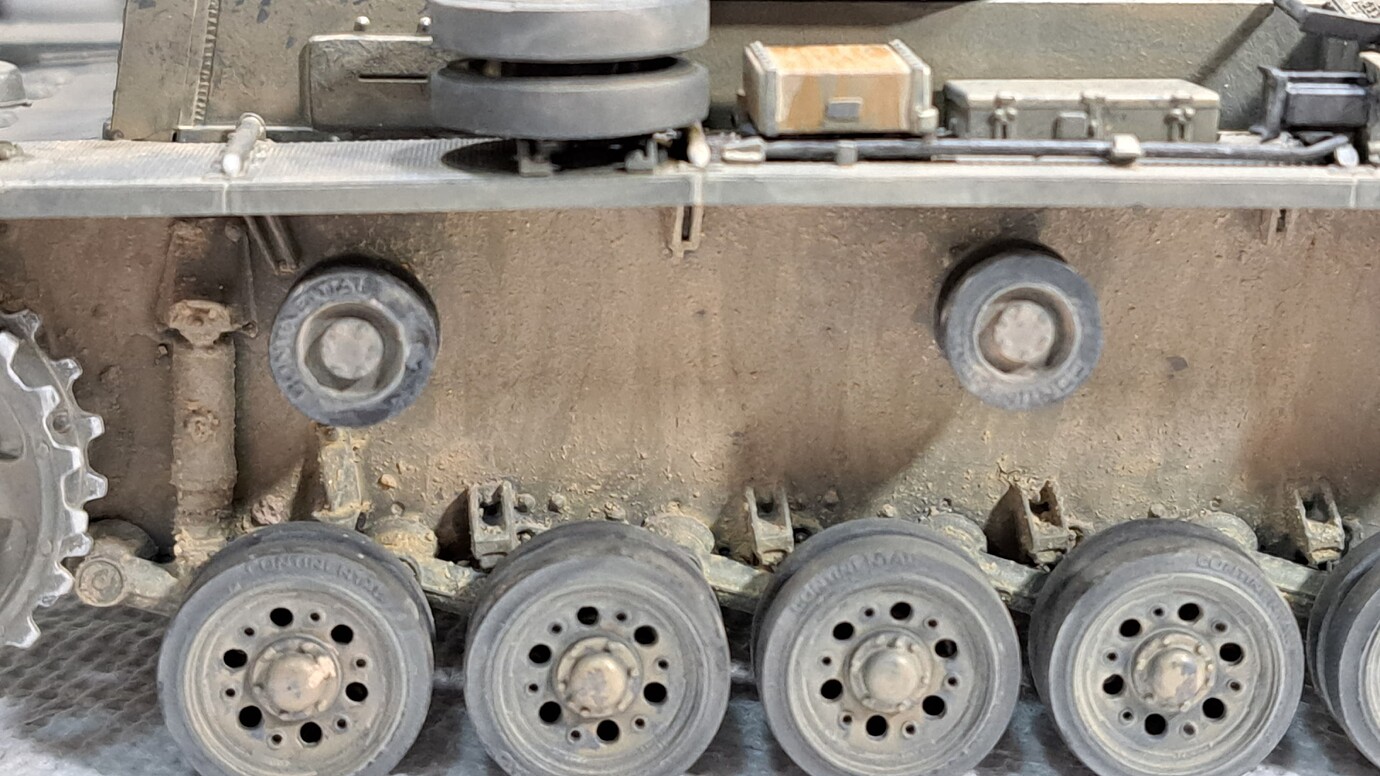
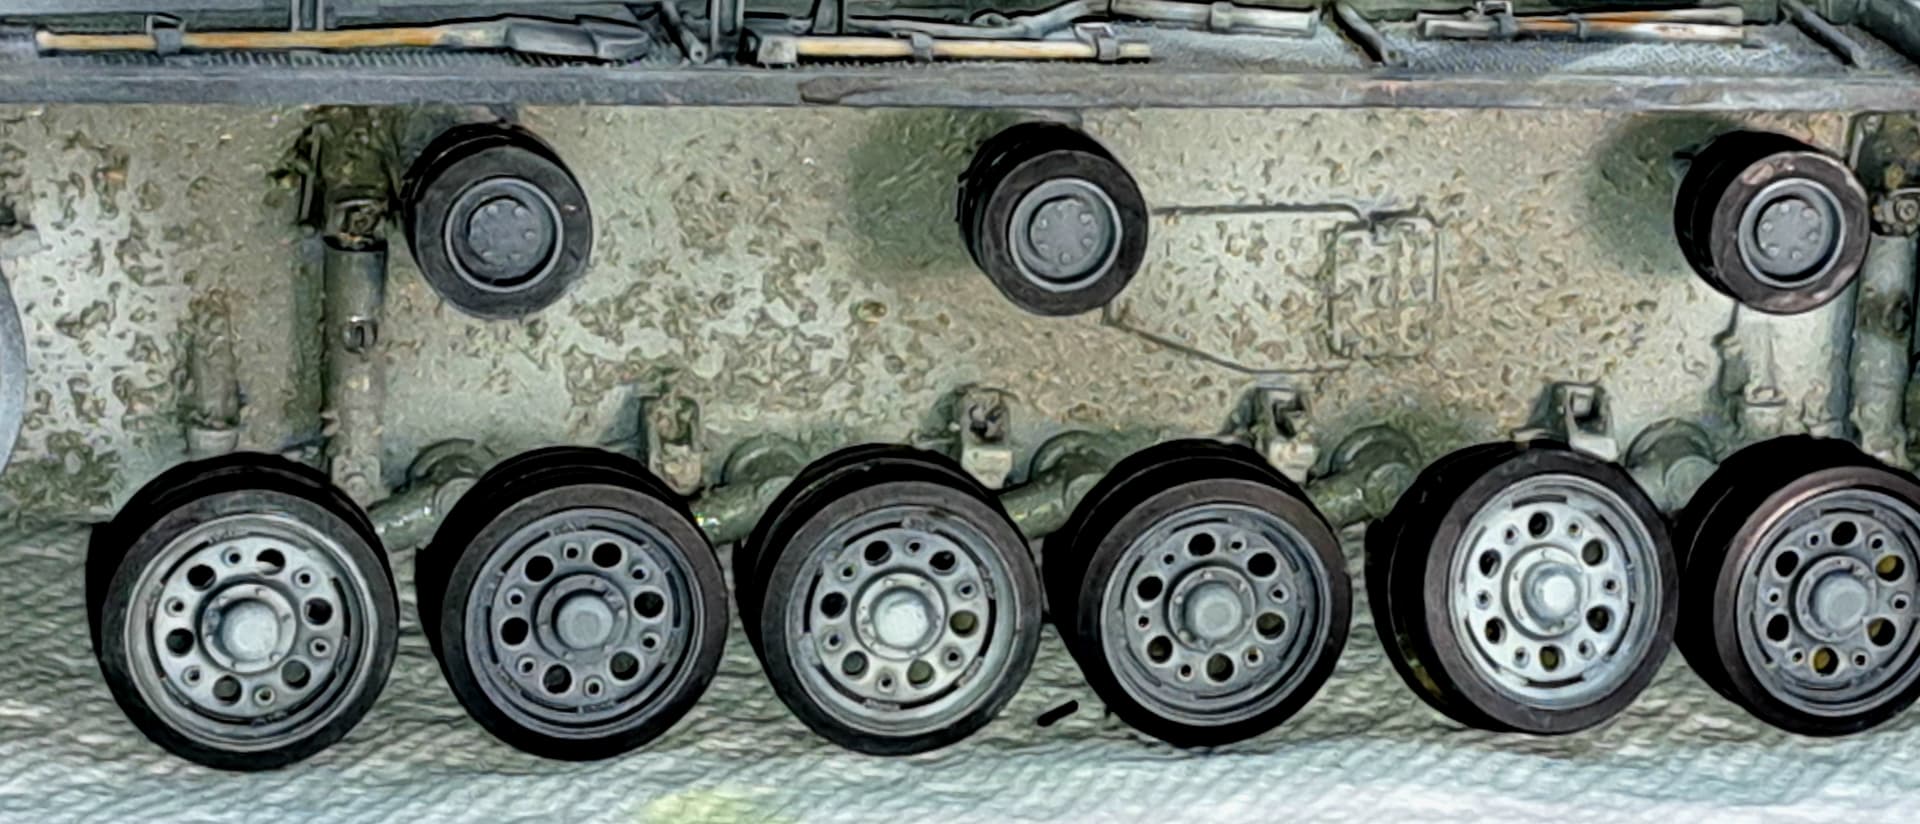
I’d say my way is closest to yours Mike. I often weather the running gear/ suspension early in the project if it’s an area that’s difficult to get to upon the finishing phase. I like the Spanish School generally speaking but feel some techniques are overdone, but overall I like most of it. I’m still basically a wash/ dry brush (lightly) and pigment guy. I’ll do some light chipping in the areas that are most prone to it and that’s about it.
4 Likes
I agree with this technique as well. Sometimes I’ll use my airbrush to apply a light uneven dusting effect.
4 Likes
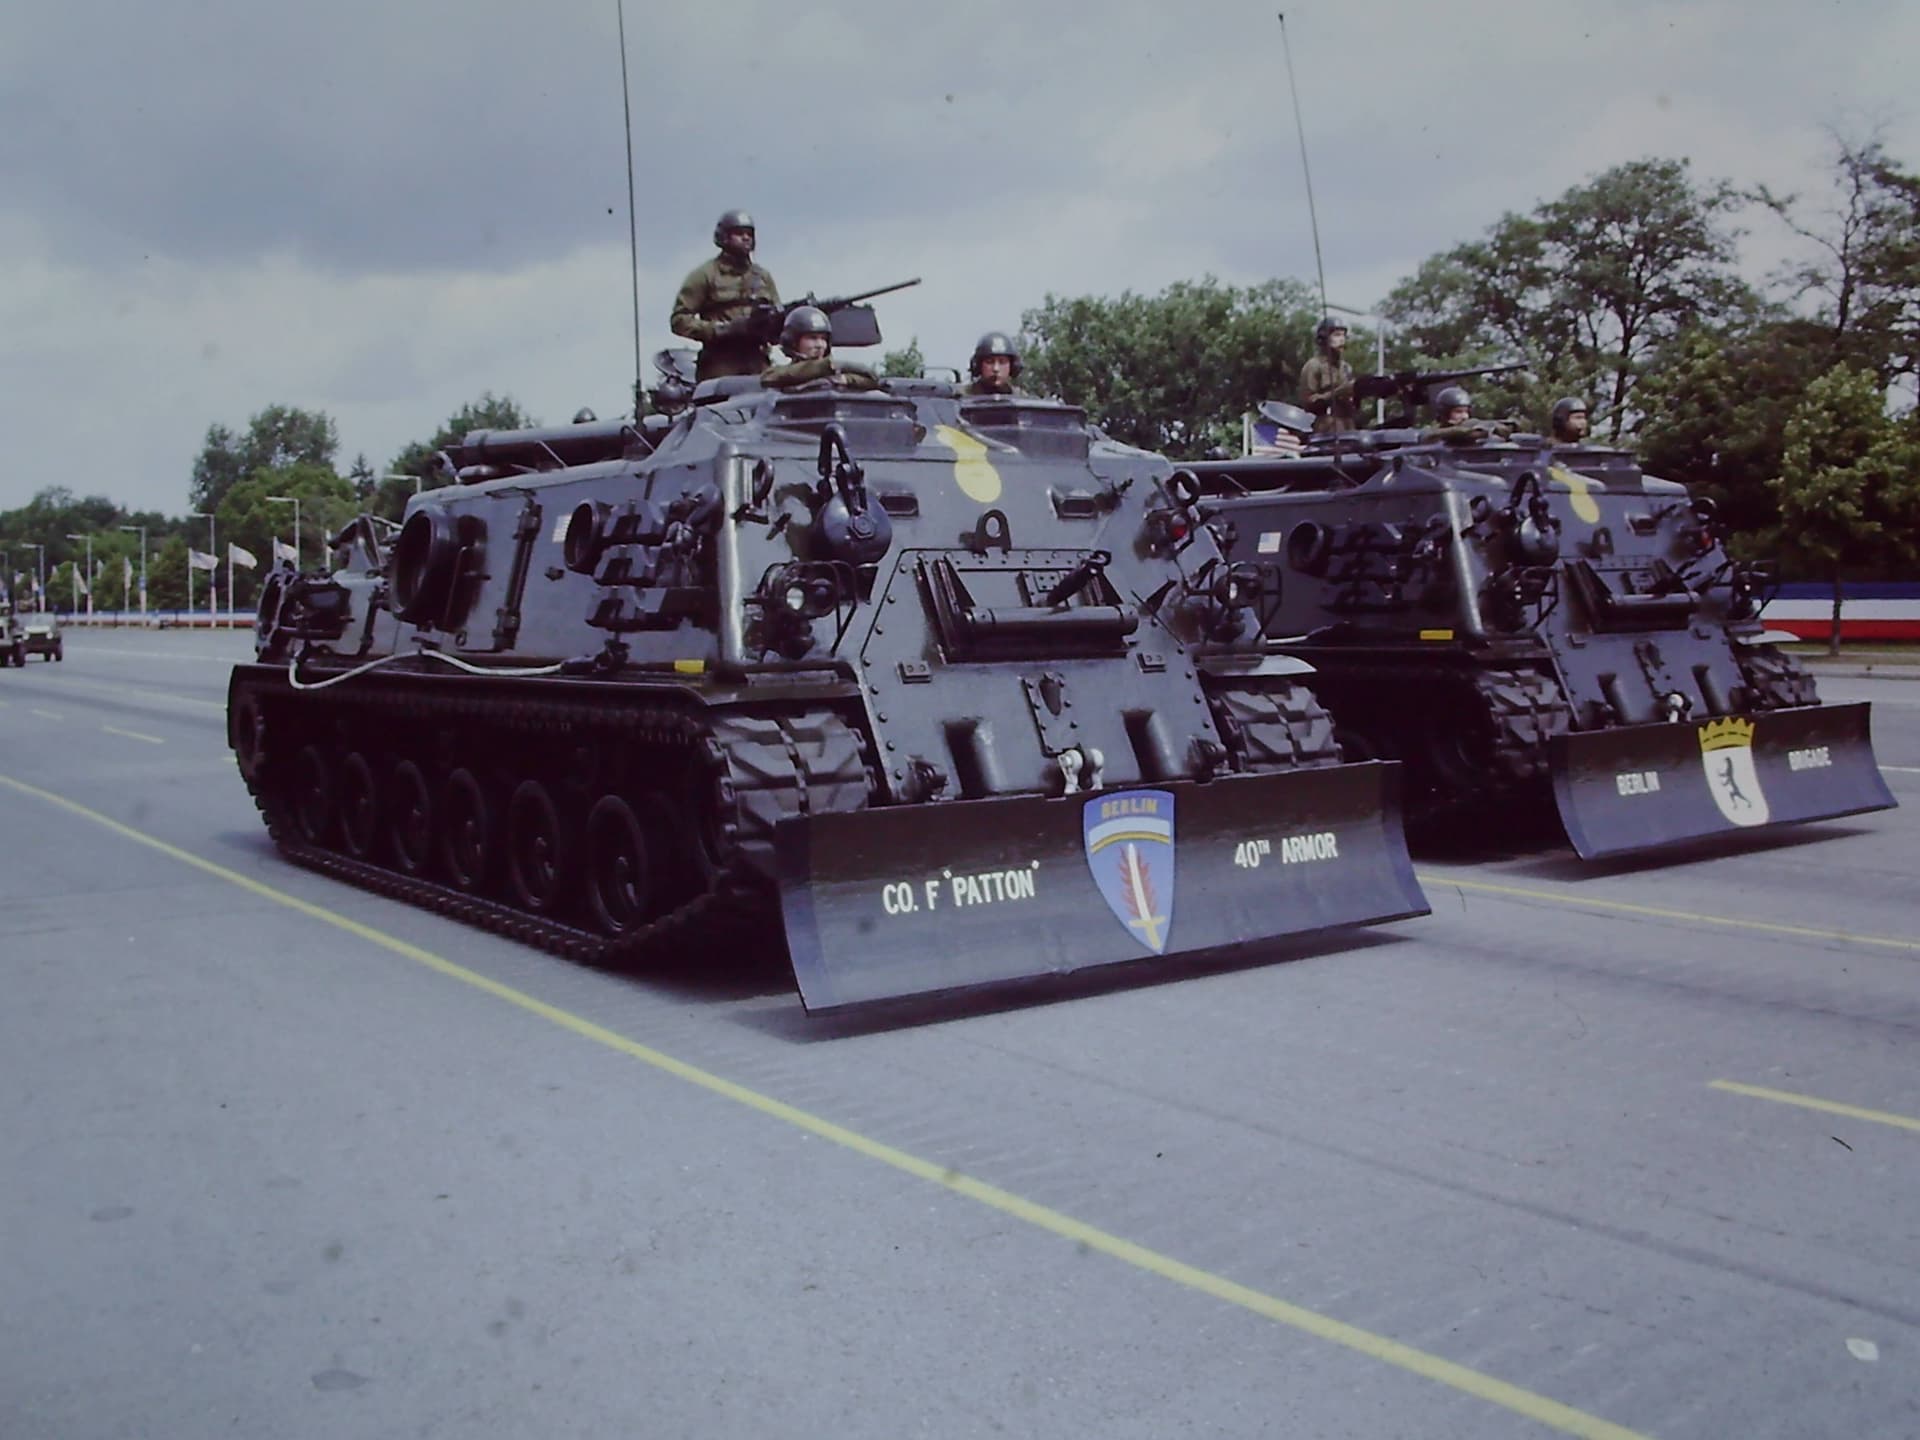
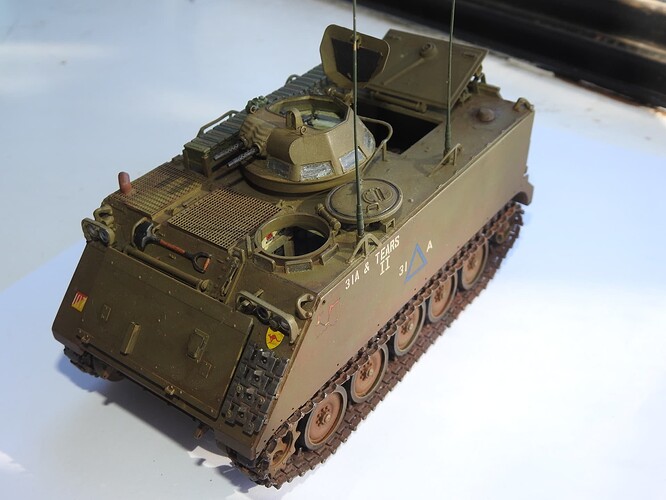
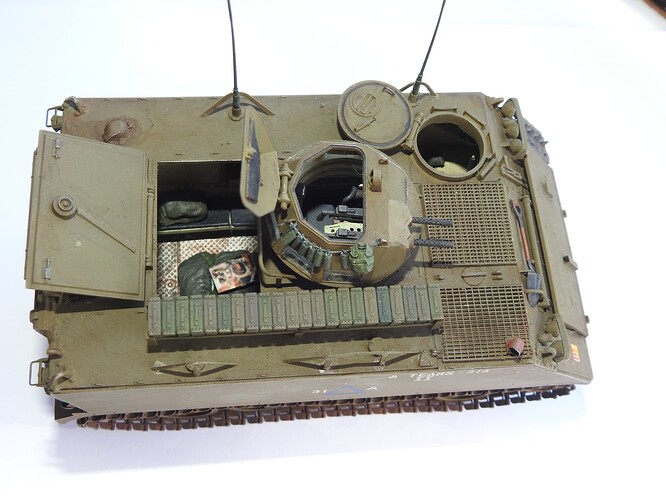
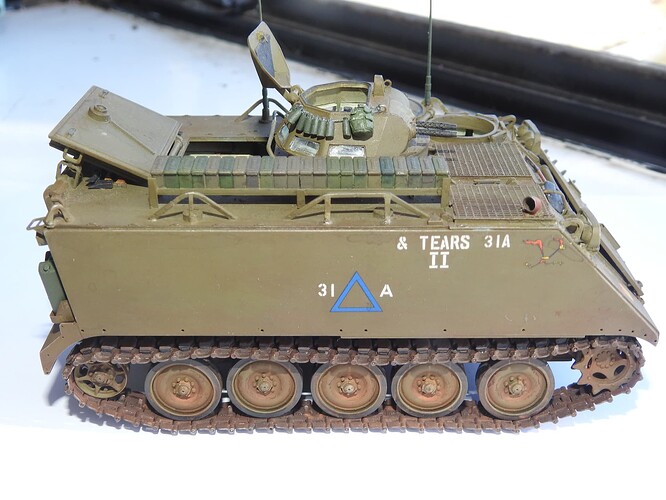
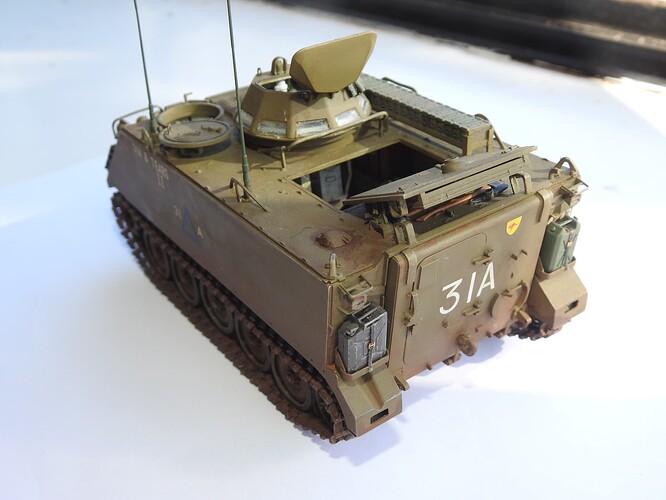
You could just spend the next year doing nothing but Berlin Brigade subjects.
I did that once.
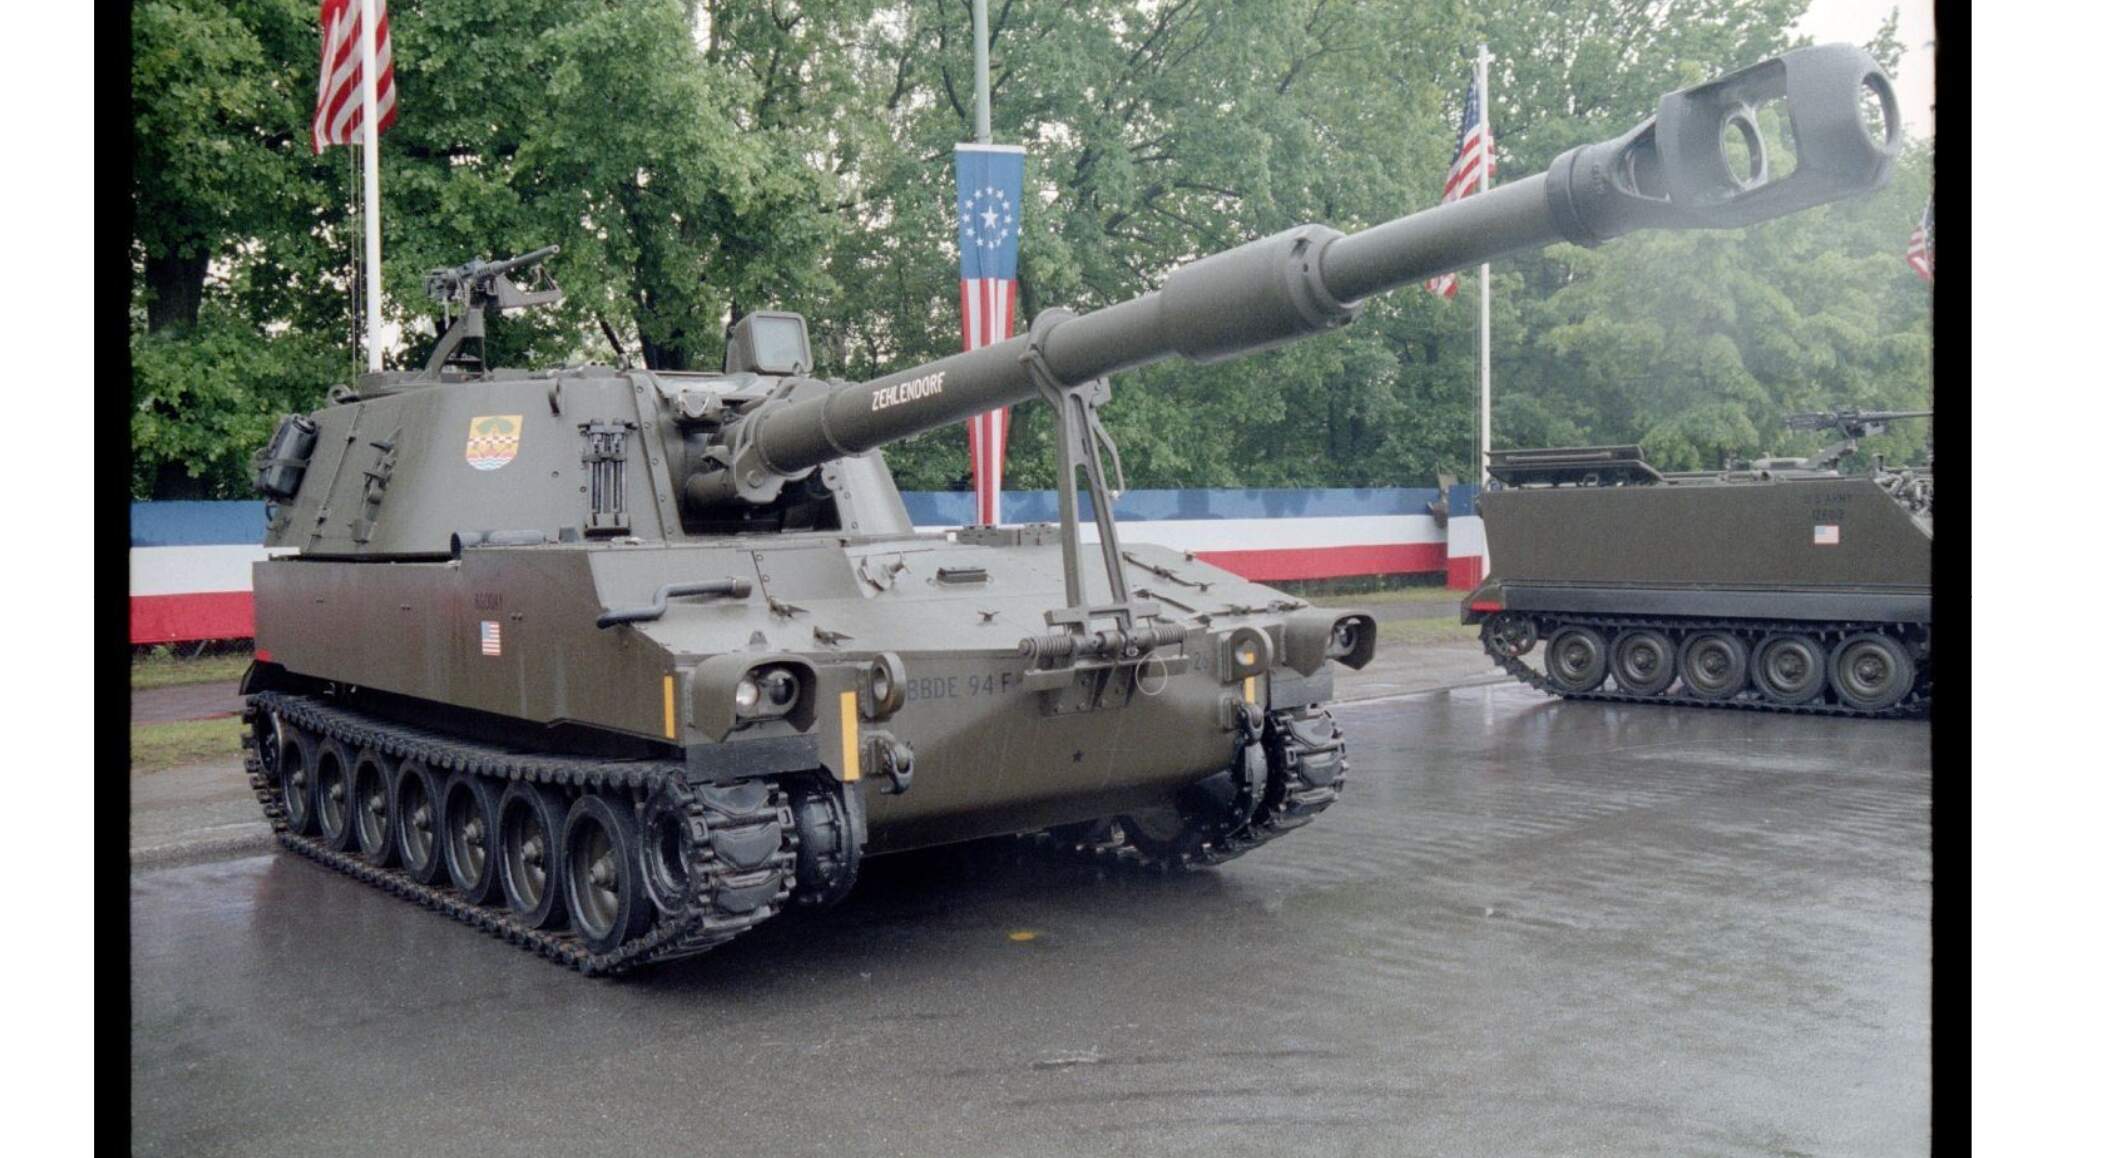
From Prime-Portal:
3 Likes
Yes so true Robert.
2 Likes
All good! I pretty much understood that was your intent (and even if not, still no harm).
To be honest, I only seldom write out some sort of comprehensive “finishing” plan, but the first few times I did, I found that it was a very worthwhile exercise which helped me to visualize how each step in the overall finishing process was going to contribute to the final look. This also helped me to understand some efficiencies that I could make. For instance, why bother painting the overall factory colors on the bottom and lower hull sides if those areas were going to end up as completely earth colored? Another efficiency was with applying 3D earth textures. Why build up the basic structure with expensive pigments when I could lay down the foundational mass using artist acrylic gel mediums, paint those earth colored, and then just use the pigments for the final surface textures, colors and top visual effects?
Painting multicolored stenciled markings was another area that I learned to make easier and more efficient by spending a few minutes thinking through the potential process and then devising a deliberate plan. Again, it’s usually much easier and simpler to paint an area, apply reverse (negative) masks over that, then paint the surrounding areas than to try to cut and position complicated positive masks followed with large areas that needed protective masking. It also helps to figure out, say, that you have several areas to be painted white and do all of those in one session and mask them than to do each one, one at a time. Hard-edged camouflage patterns are easier and more efficient to mask if the sequence of color application is thought out beforehand.
And so it goes…
Nowadays I generally lean back on the experiences gained from those earlier, more deliberate finish planning sessions and can now usually carry the entire process (or at least the majority of it) in my head. I still occasionally resort to putting it down on paper, often so that I don’t forget to do something at a particular stage in construction or final assembly. (Also making notes on the kit instructions about tasks that I need to go back to or places where I want to do some initial finishing steps, etc.)
2 Likes
I used to do stuff on the fly ie, starting a build without really knowing what paint scheme or the degree of weathering I wanted to achieve. Knowing the end game you want for me really made a difference. It especially sharpened the focus of my builds. It’s rare any more that I get bogged down not knowing what mods I want to make or how I want to paint. I find the whole process goes much smoother and I seldom get bored or stalled with a project.
4 Likes
I usually spend about a week weathering but done in phases of 2-3 hours first the base of diluted black and brown ink when dry dusting with powders, stated using Concrete Colour Oxide example (https://www.mitre10.com.au/buy/concrete-colour-oxide) I have 4 colours around $10 aust each mix and match the colour/s I want dilute with water and apply. I reckon they will out last me (warning: experiment on an old model first once they are on they are on and the only way to remove is by scrubbing or stripping). I slowly start to build up the effect I’m after with a mixture of diluted inks and oxides and graphite, both pencil and Derivan Liquid Pencil. till I get to something I like
7 Likes
I think, if I may speak in generalisations, that many of the modellers who dislike weathering are the ones who excel in the build phase. IE: they build a fantastic model and then worry about ruining it with something that is by its nature a little bit unpredictable and esoteric than the more binary approach of attaching styrene parts together, adding extra detail.
I think a lot dislike weathering as it can hide the painstaking work they have done. I know for me, I dont mind weathering so much because I suck at the build phase and really only start to get into a model in terms of enjoyment once I get the airbrush out.
6 Likes
I’m that way with painting. Not that I’m particularly excellent in building, but at least I can usually get it to look something like the vehicle it’s meant to portray. And then it will sit in the box for years before I get the courage to spray paint at it. Weathering is fun, I just need to get over the painting hump first.
4 Likes
Soap box ![]() Sidebar
Sidebar
FWIW,
I remember dreading the painting stage, back in the 80’s. The terrible choice between a rattle can paint jobs with the nasty bug bomb finish or two hours of flustration with my finicky clog and random problem prone Badger interal mix airbrush.
Pure misery.
The difficult to replace seal requiring the special tool was bad in the airbrush but I didn’t know that until much later. Plus I really didn’t know how to maintain an internal mix airbrush very well.
Enter the Paasche H which is nearly universally scorned these days for its lack of sophistication, simplicity, being single action,
external mix and ease of operation. However, the H proved an excellent starter airbrush. Easy to clean & reliable, the H proved trouble free and I stopped dreading paint time.
After learning the basics, none of the dozen abd half airbrushes that followed proved difficult to operate. Paying the tuition of some time and cost of a easy to use airbrush proved well worth it for me.
The Paasche H still proves useful enough even with an Iwata Micron B on the work bench, it’s stayed attached to the compressor as one of three active airbrushes. The H is always useful to load with solvent and use to clean the other airbrushes by washing out the color cup, spraying down the needle etc.
Off soap box ![]()
5 Likes
I don’t hate weathering, I just don’t really do it! My “weathering” consists mainly of a “dust coat” after the painting is completed. Before doing this I drybrush a silver/black mix onto salient features, where paint would get worn off, corners, steps etc. Also areas that are likely to rust get special treatment, e.g. exhaust systems. The dust coat after spraying is then dry brushed to bring out the features and I may revisit parts with a carefully focused wash with a small brush. But that’s about it. There is reason behind the madness. 1) Having paid good money for a detailed kit, I don’t want to hide it all behind layers of mud etc. 2) I model German WW2 and tend to stick to the Western campaigns. Western Europe generally had a good metalled road system, which even tanks used as much as possible to economise on fuel. Heavy thick mud, snow etc with the exception of the Ardennes, mainly belong on the Eastern Front. 3) IMHO the Spanish method is based too much on “artistic” effects and observation of earth moving machinery and scrap dumps. Period paint contained lead and was not water based as it is today, so was a lot tougher. Military vehicles, especially German ones in the later years of the war, had a short service life, sometimes only weeks. Many of the AFVs in the Ardennes had only been issued as late as November, so didn’t get time to be battered. But in any case it’s down to personal preference. I did do a mud coat on an Sdkfz251, which was specifically based on a photo at Tarnopol in 1944. It came out OK, but I didn’t really like the result and only did it because it was factual and because I had other examples of that vehicle.
8 Likes
Best comment, I’ve read today! Major thumbs up!
…plus cartoons, anime & delusions
10 Likes