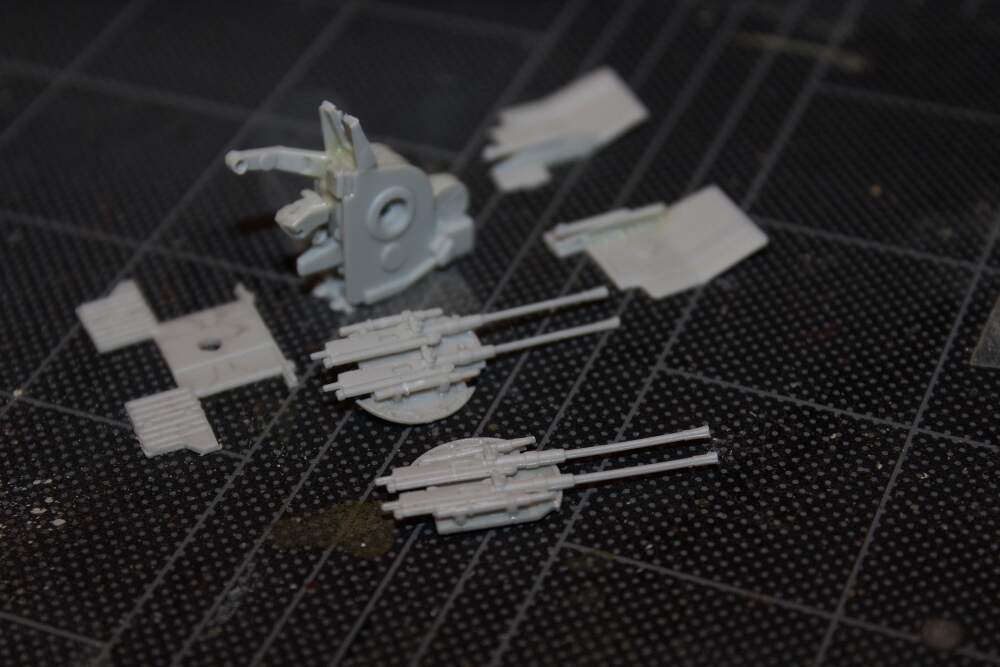
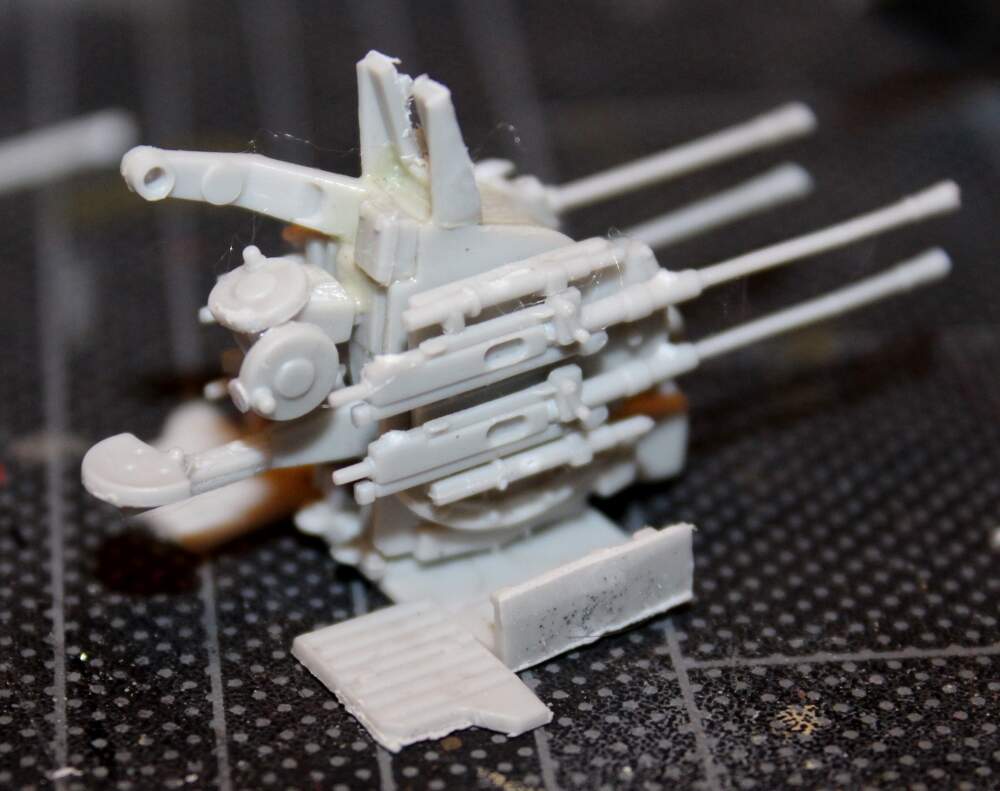
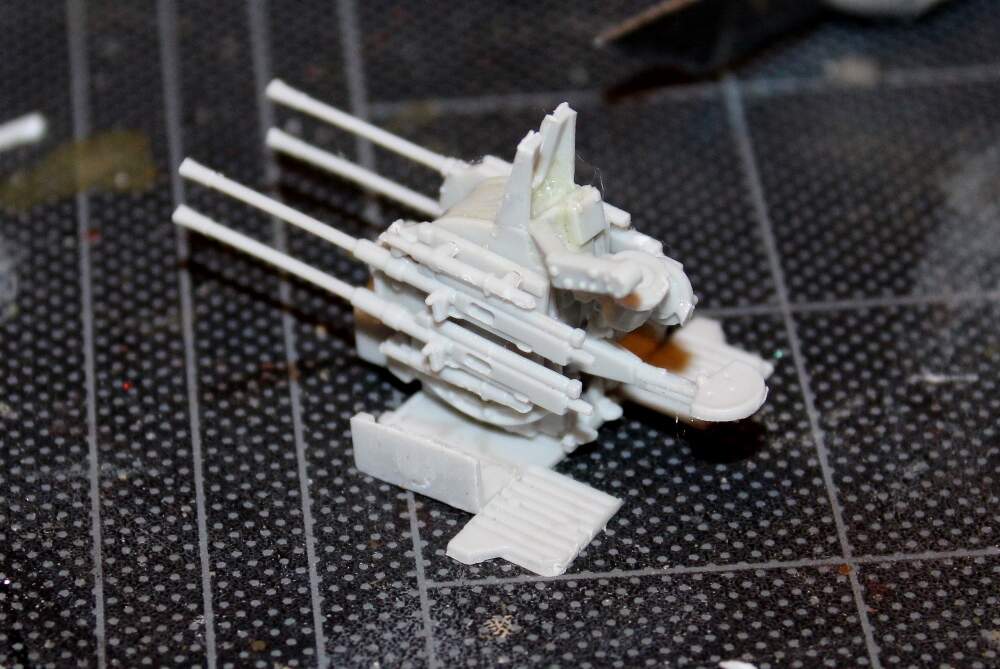
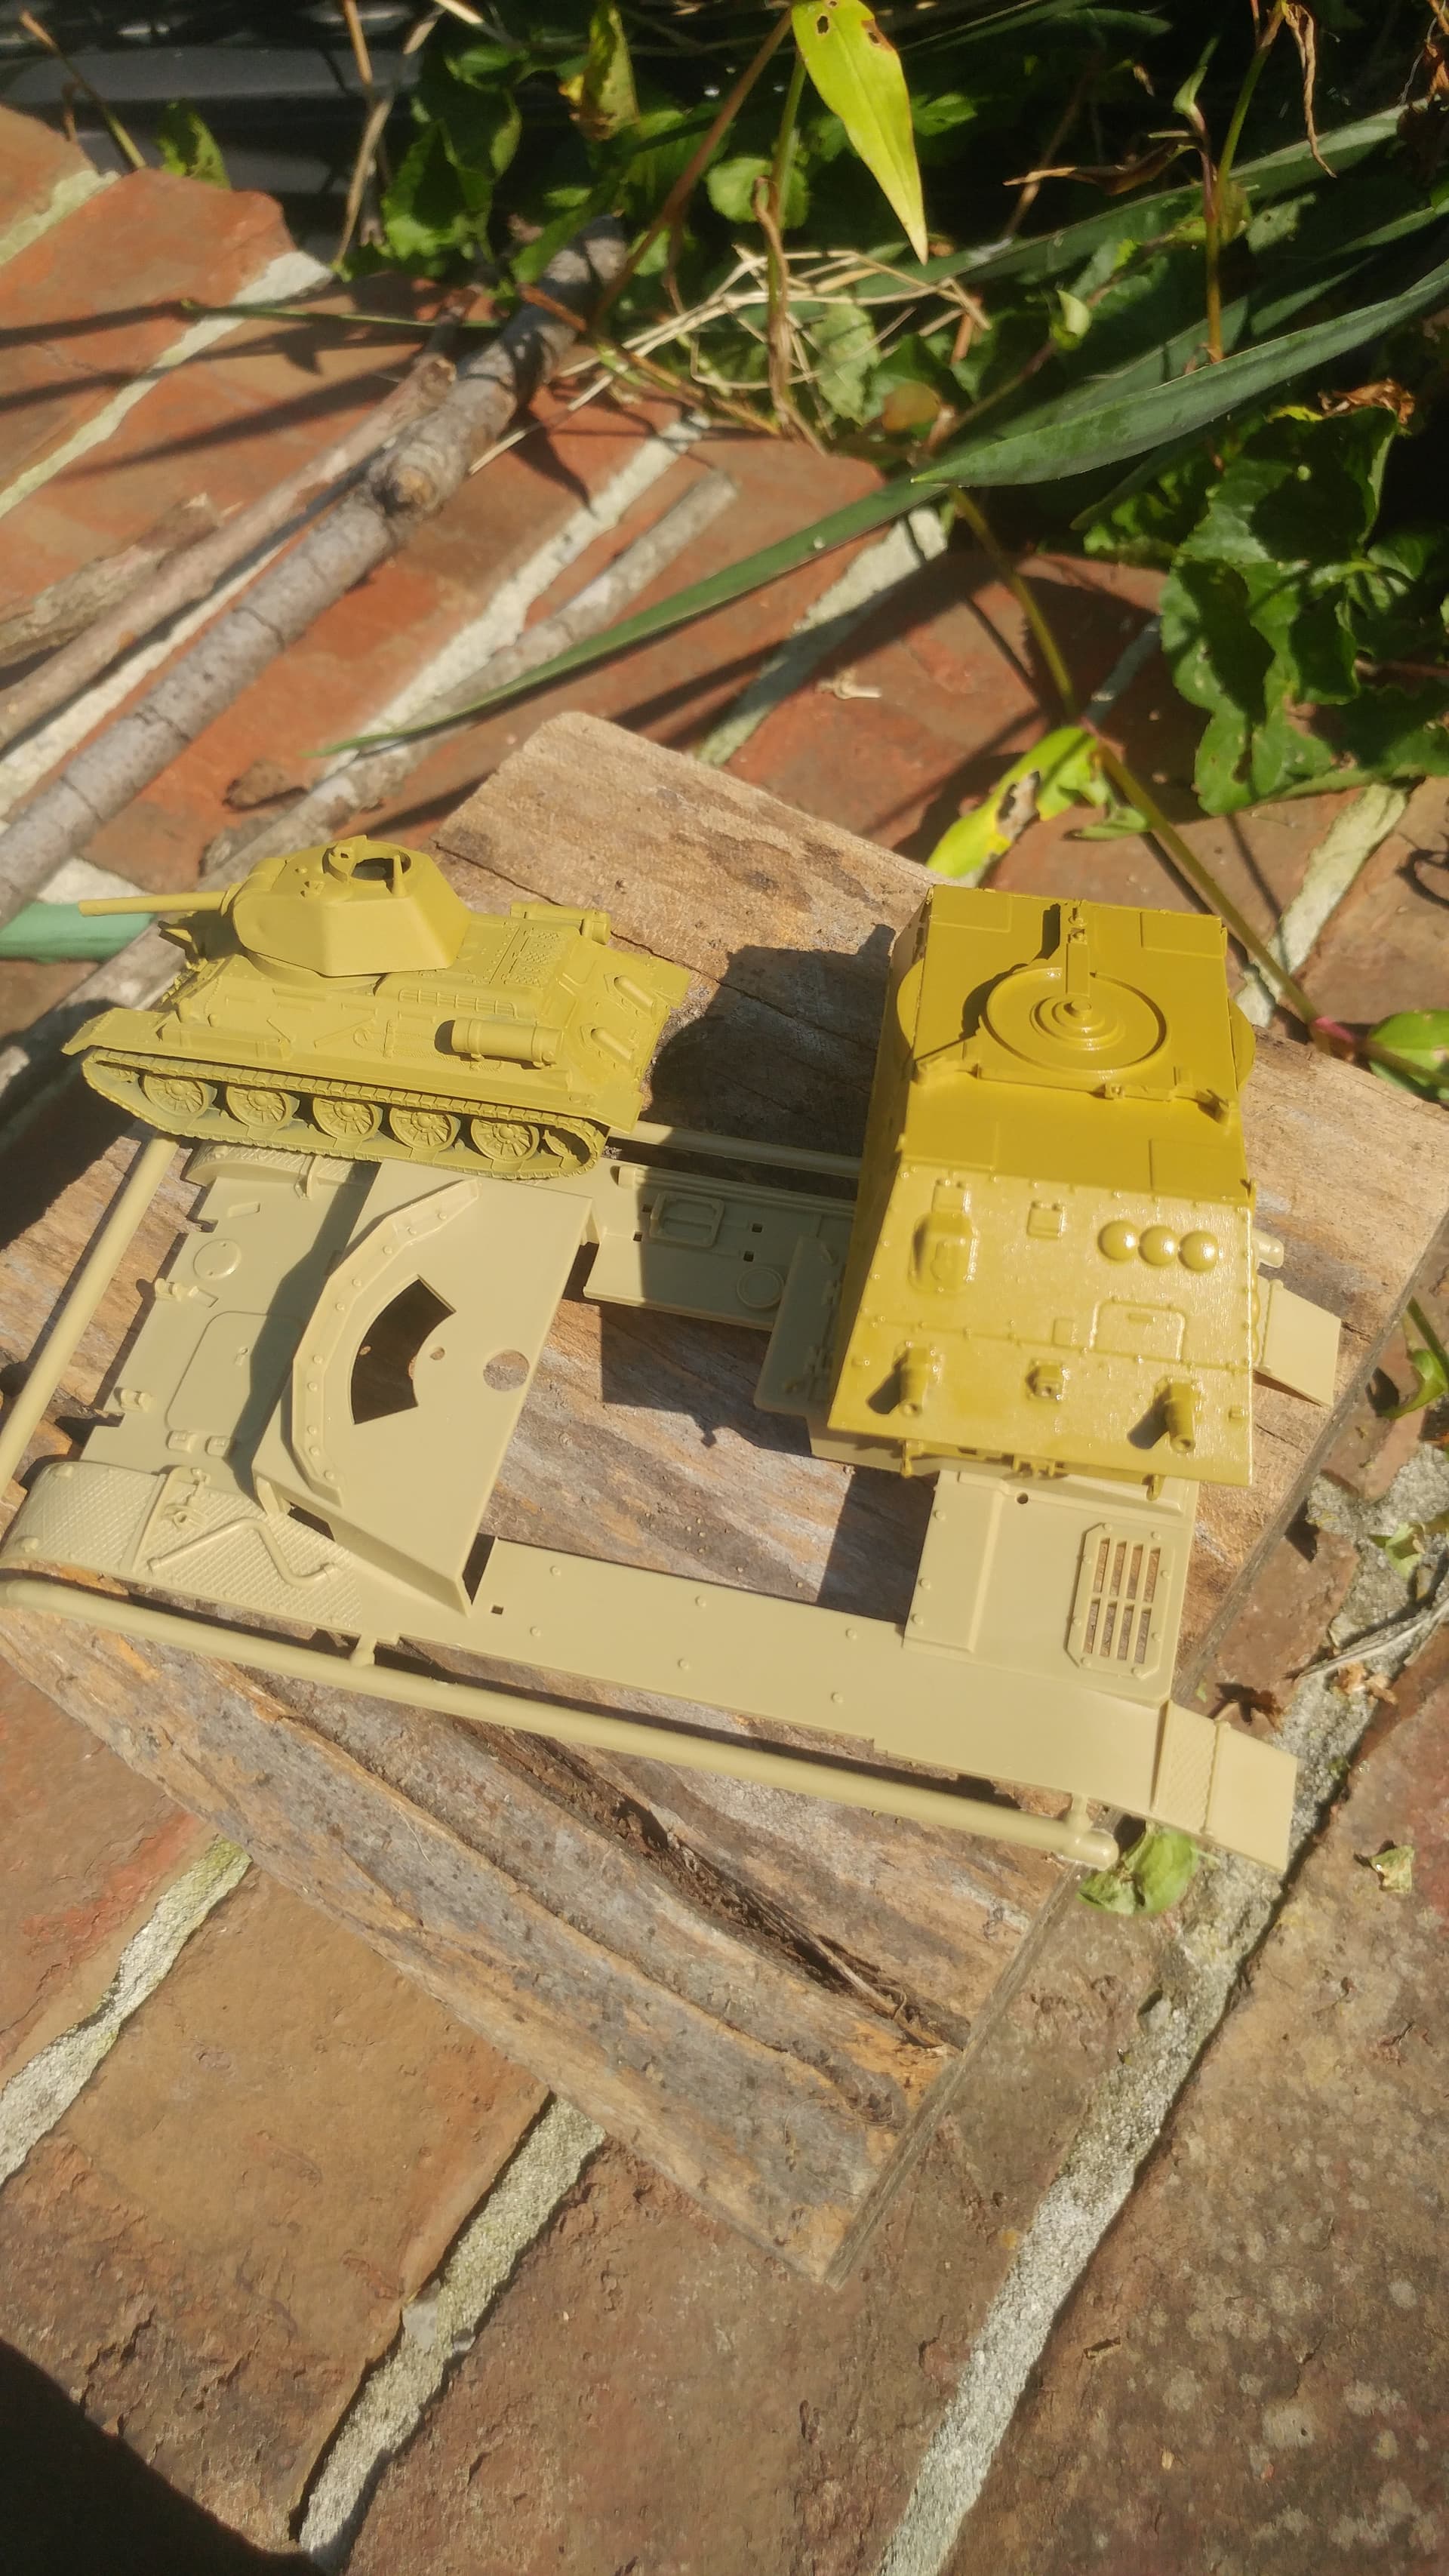
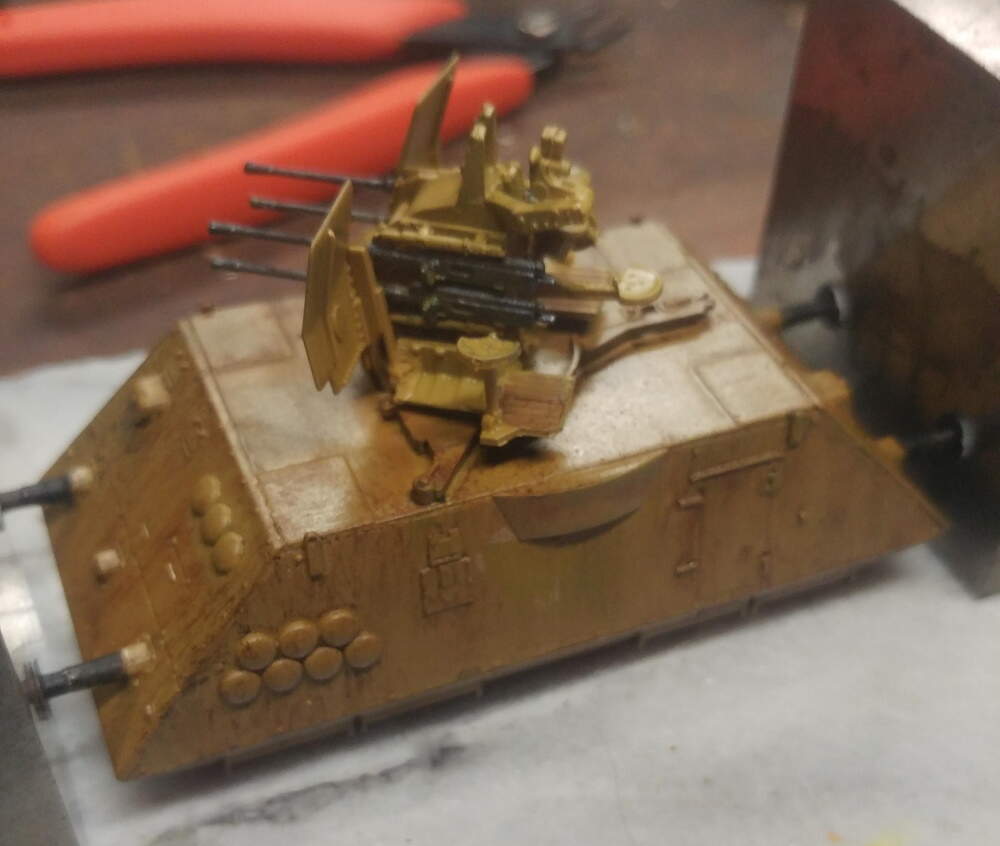
Hey there, anyone remember me? The chaos of the past few months may be passing and I had time to start cutting and sanding and gluing again. Tonight I started on the Uni Model Flakvierling. Interesting model. Over 24 parts without the ammo clips and the photo-etch; over-engineered in my opinion, but detailed. However, fit is not the best. Molds misaligned. Almost every part requires carving off seam lines and flash, and sanding. The plastic is soft, too. Found some problems in the instructions and on the sprues. Nipping the 20 mms off the sprue bowed the barrels, breaking one off, and warping another. Two distracted hours later, here’s most of what I accomplished.
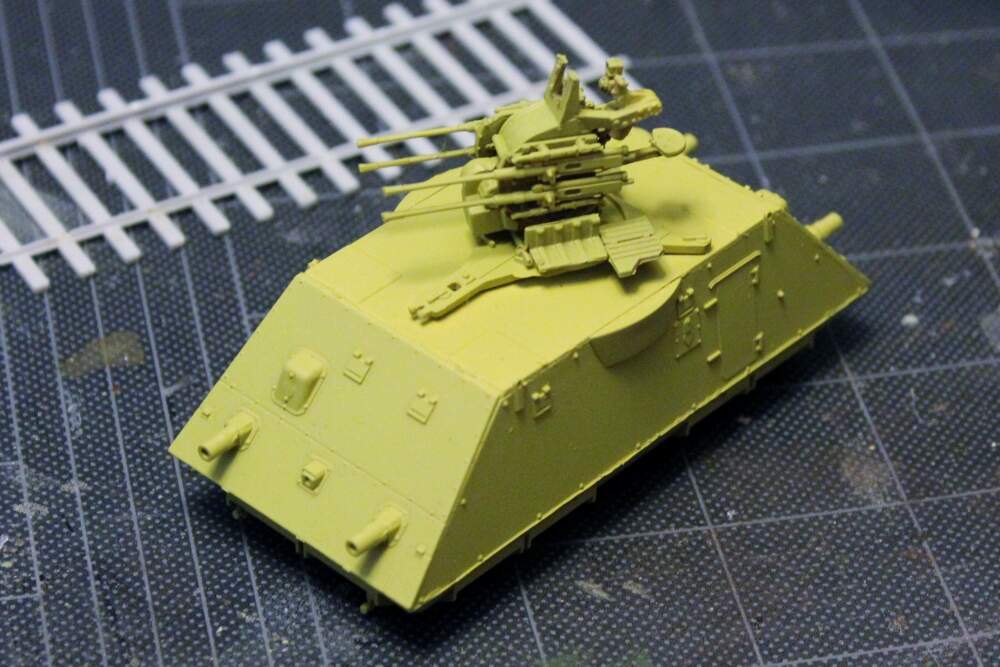
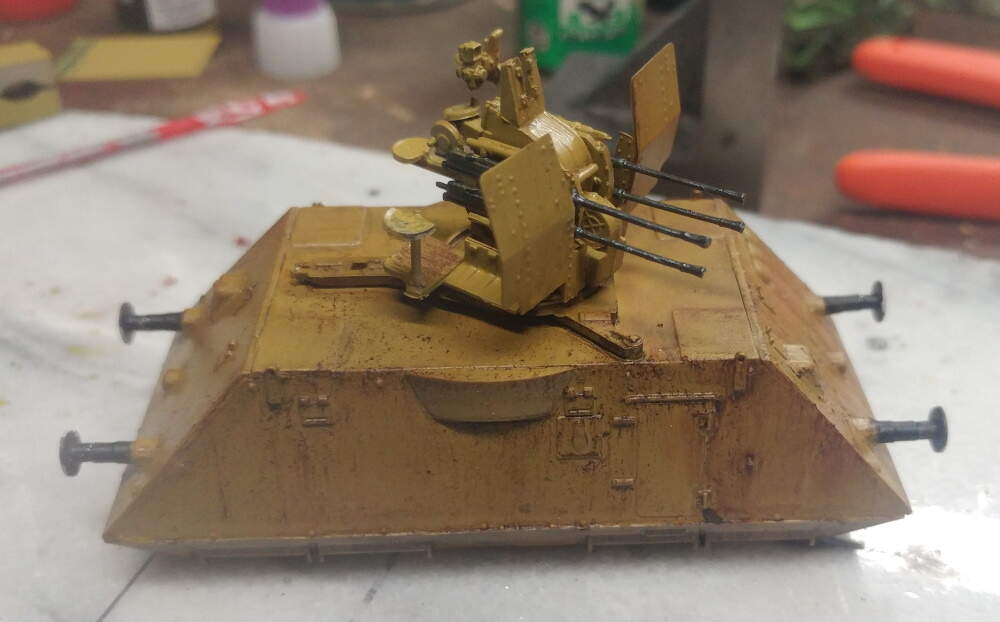
I tried a technique I am dubious of and sprayed a dark color on the car and flak gun. Then I shot both components from above at a sharp angle. Unfortunately, everything got covered dunkelgelb. Oh well, that’s what washes are for.
The Flakvieling is detailed but the misaligned parts, soft plastic, and consequential fit problems made its assembly less enjoyable. That and the failure of Uni Model to include/retroactively provide the advertised/illustrated photo-etch fret. An example of fit problems is the hood intended to fit over the motor unit, it will not fit because motor unit is too big.
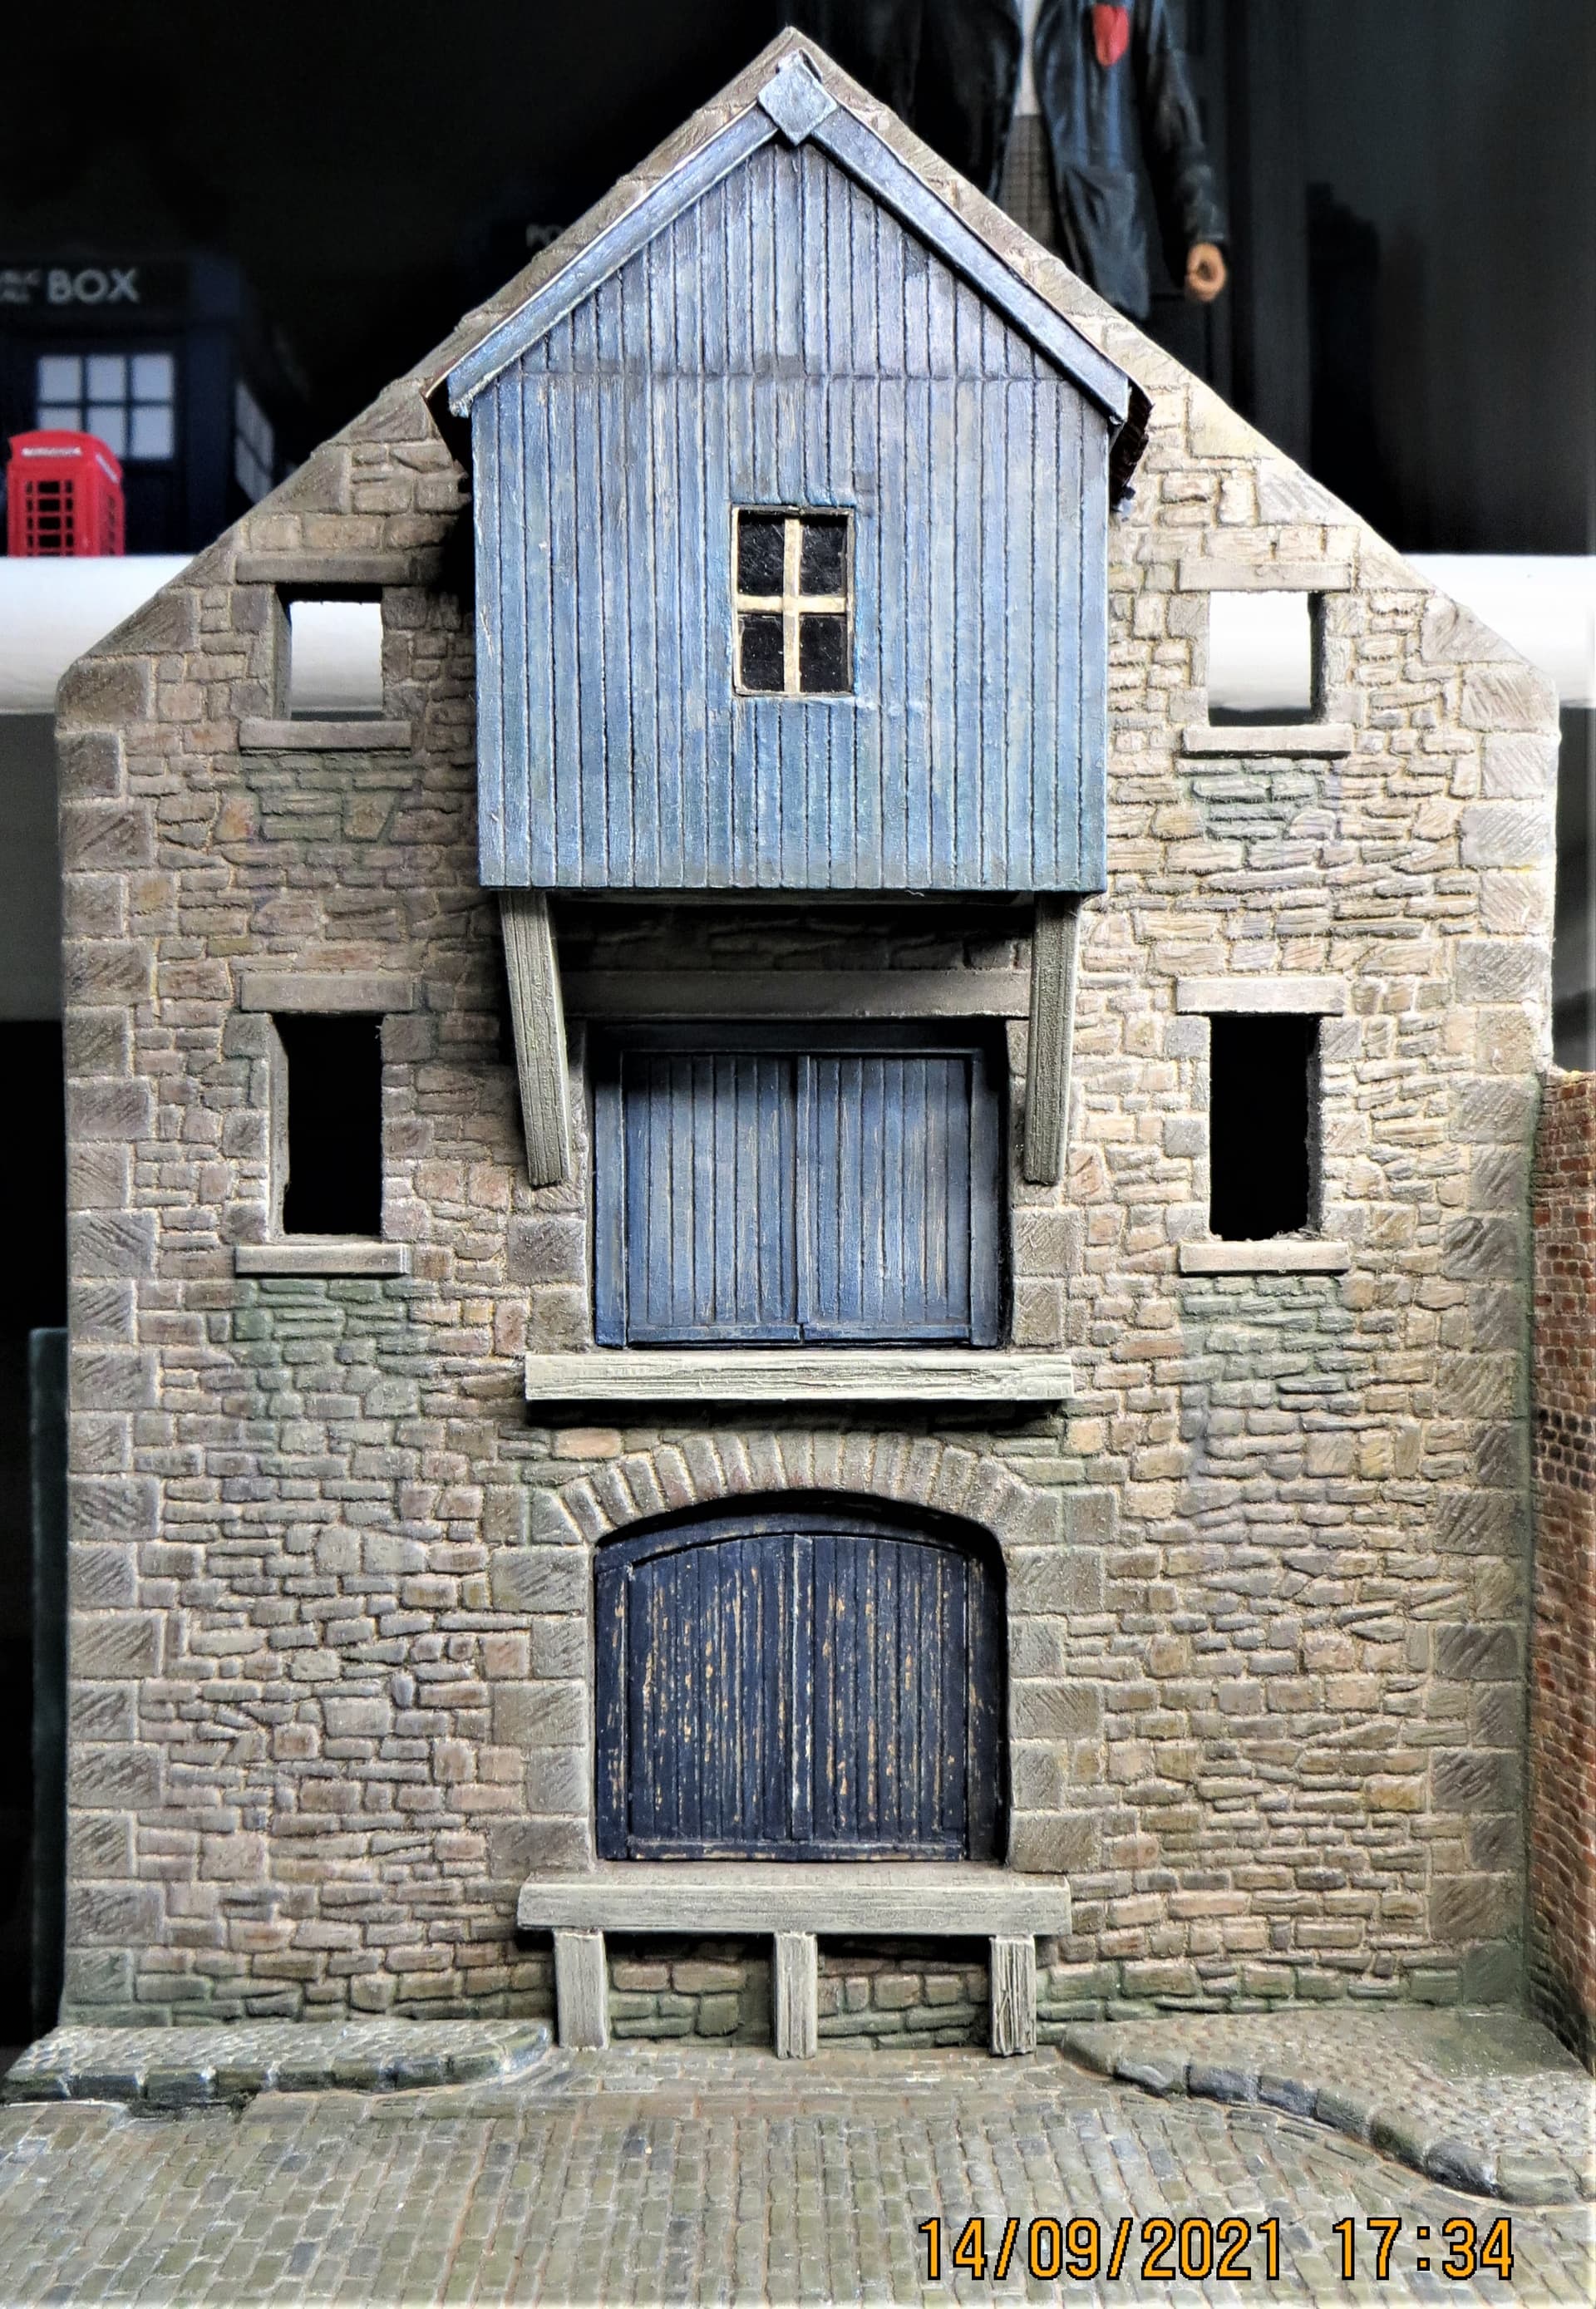
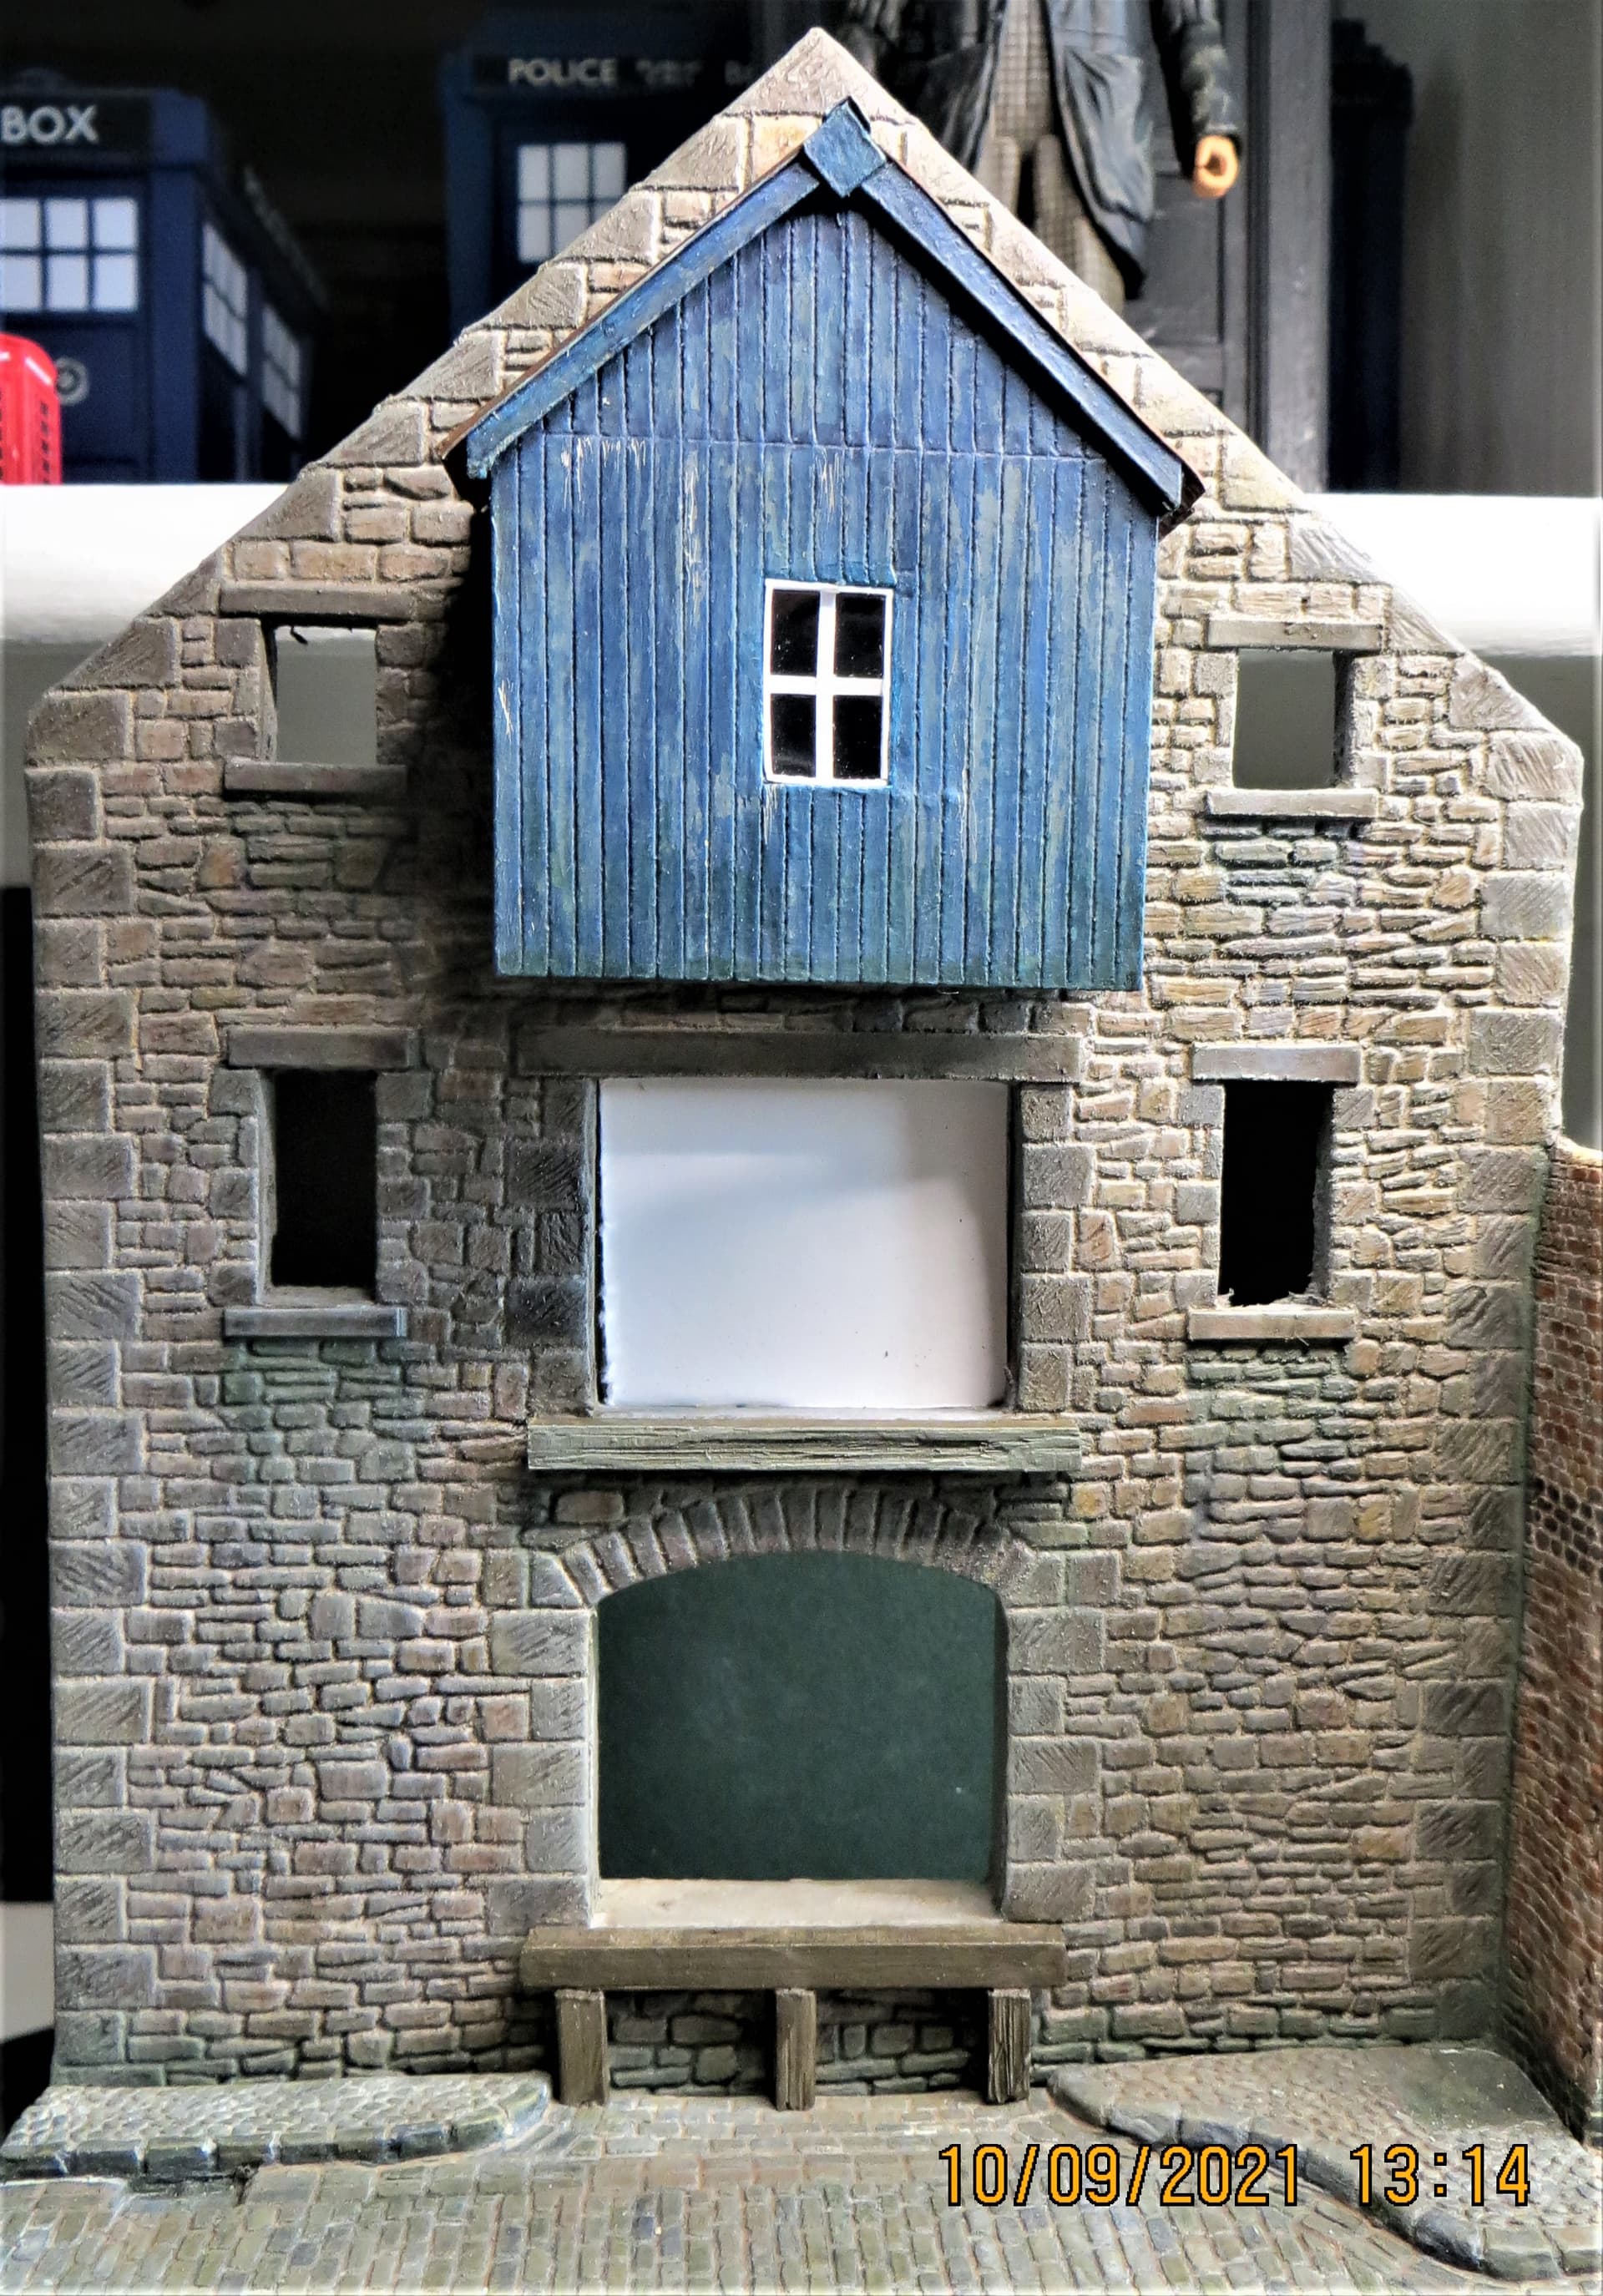
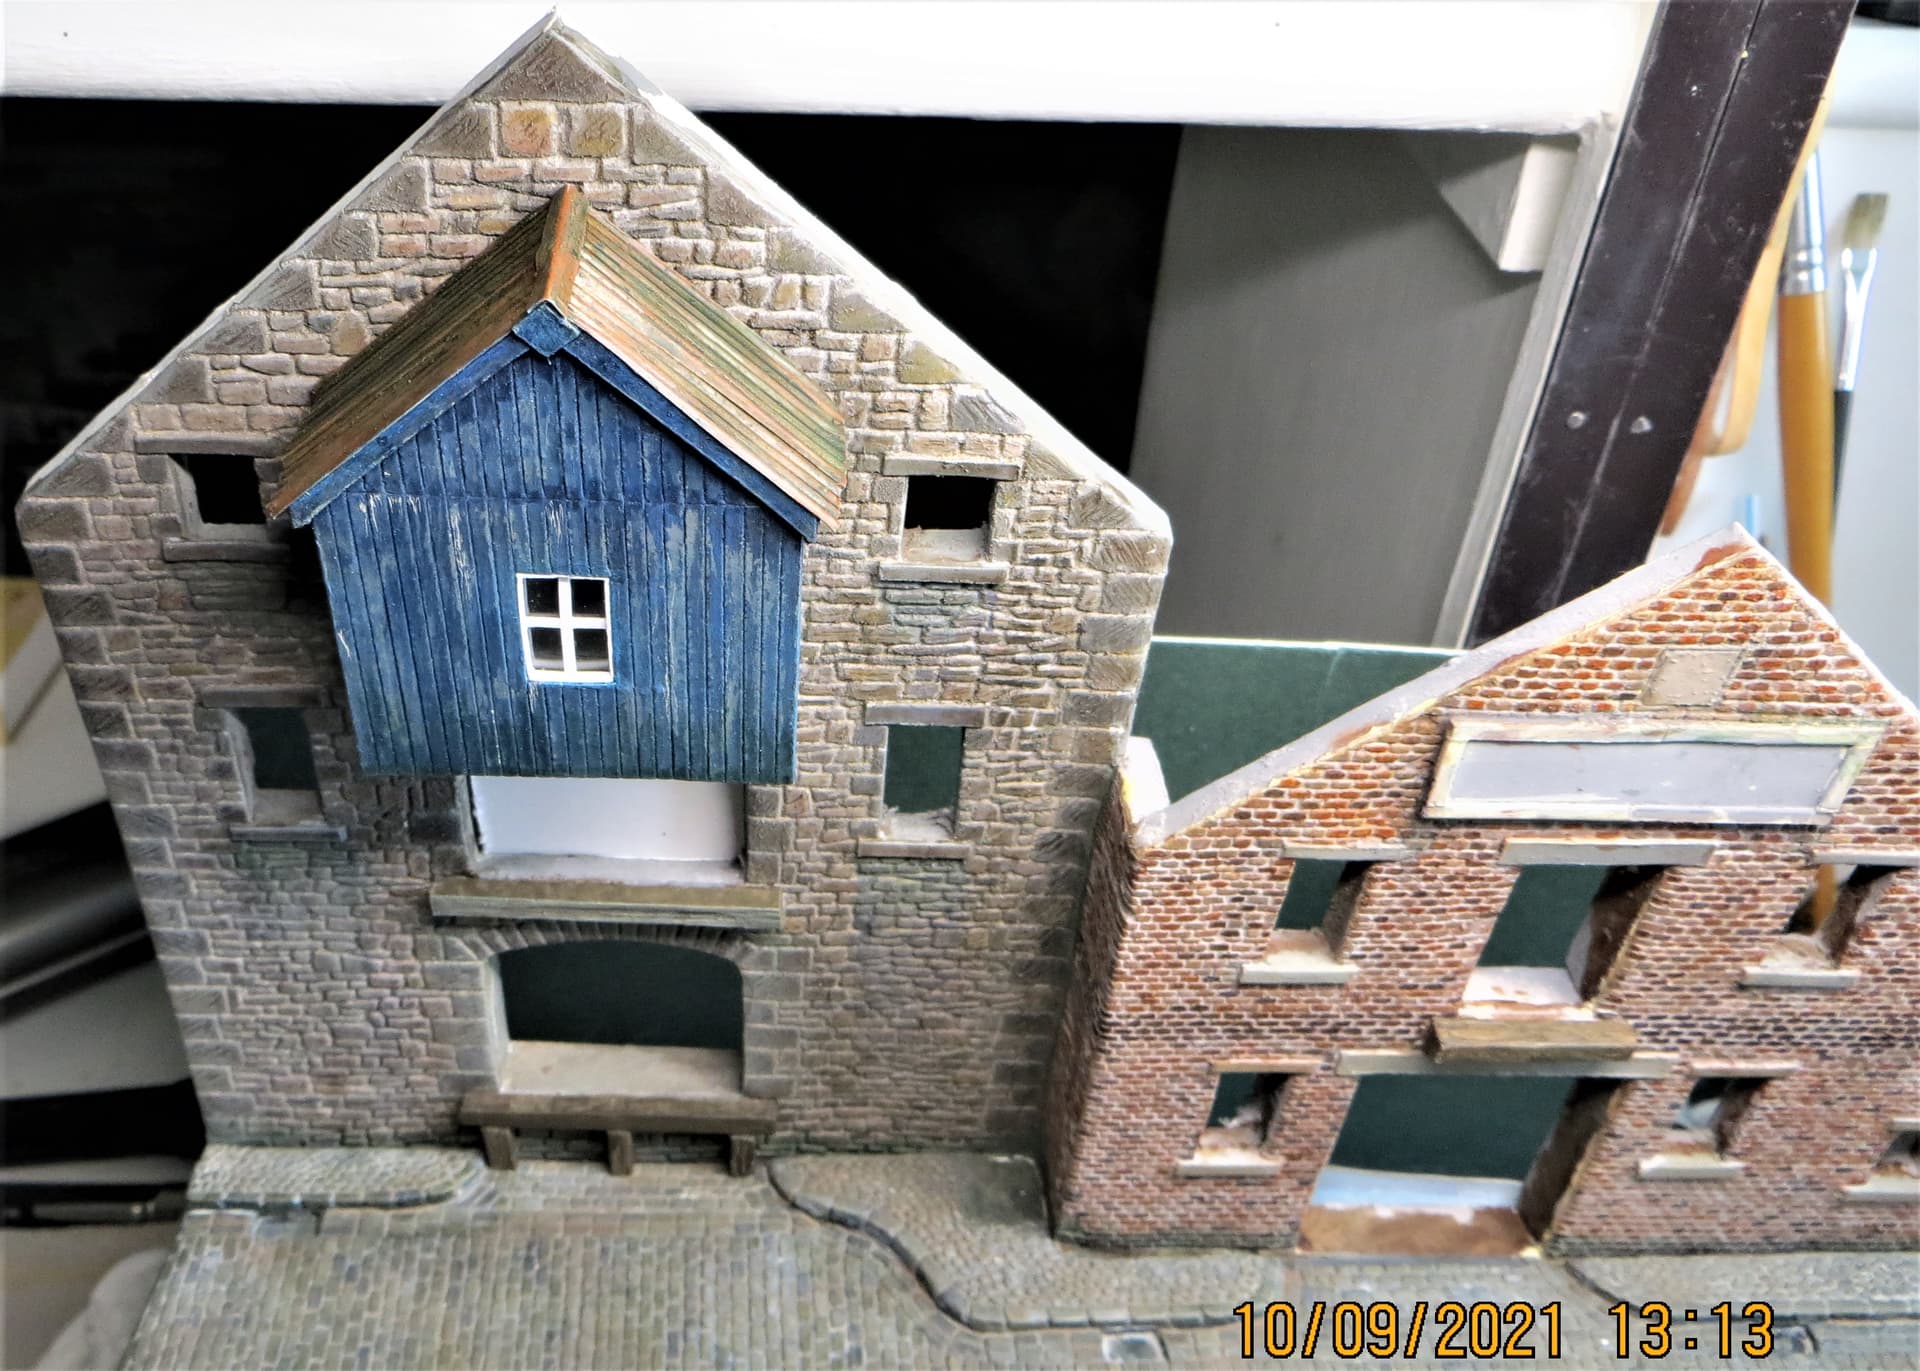
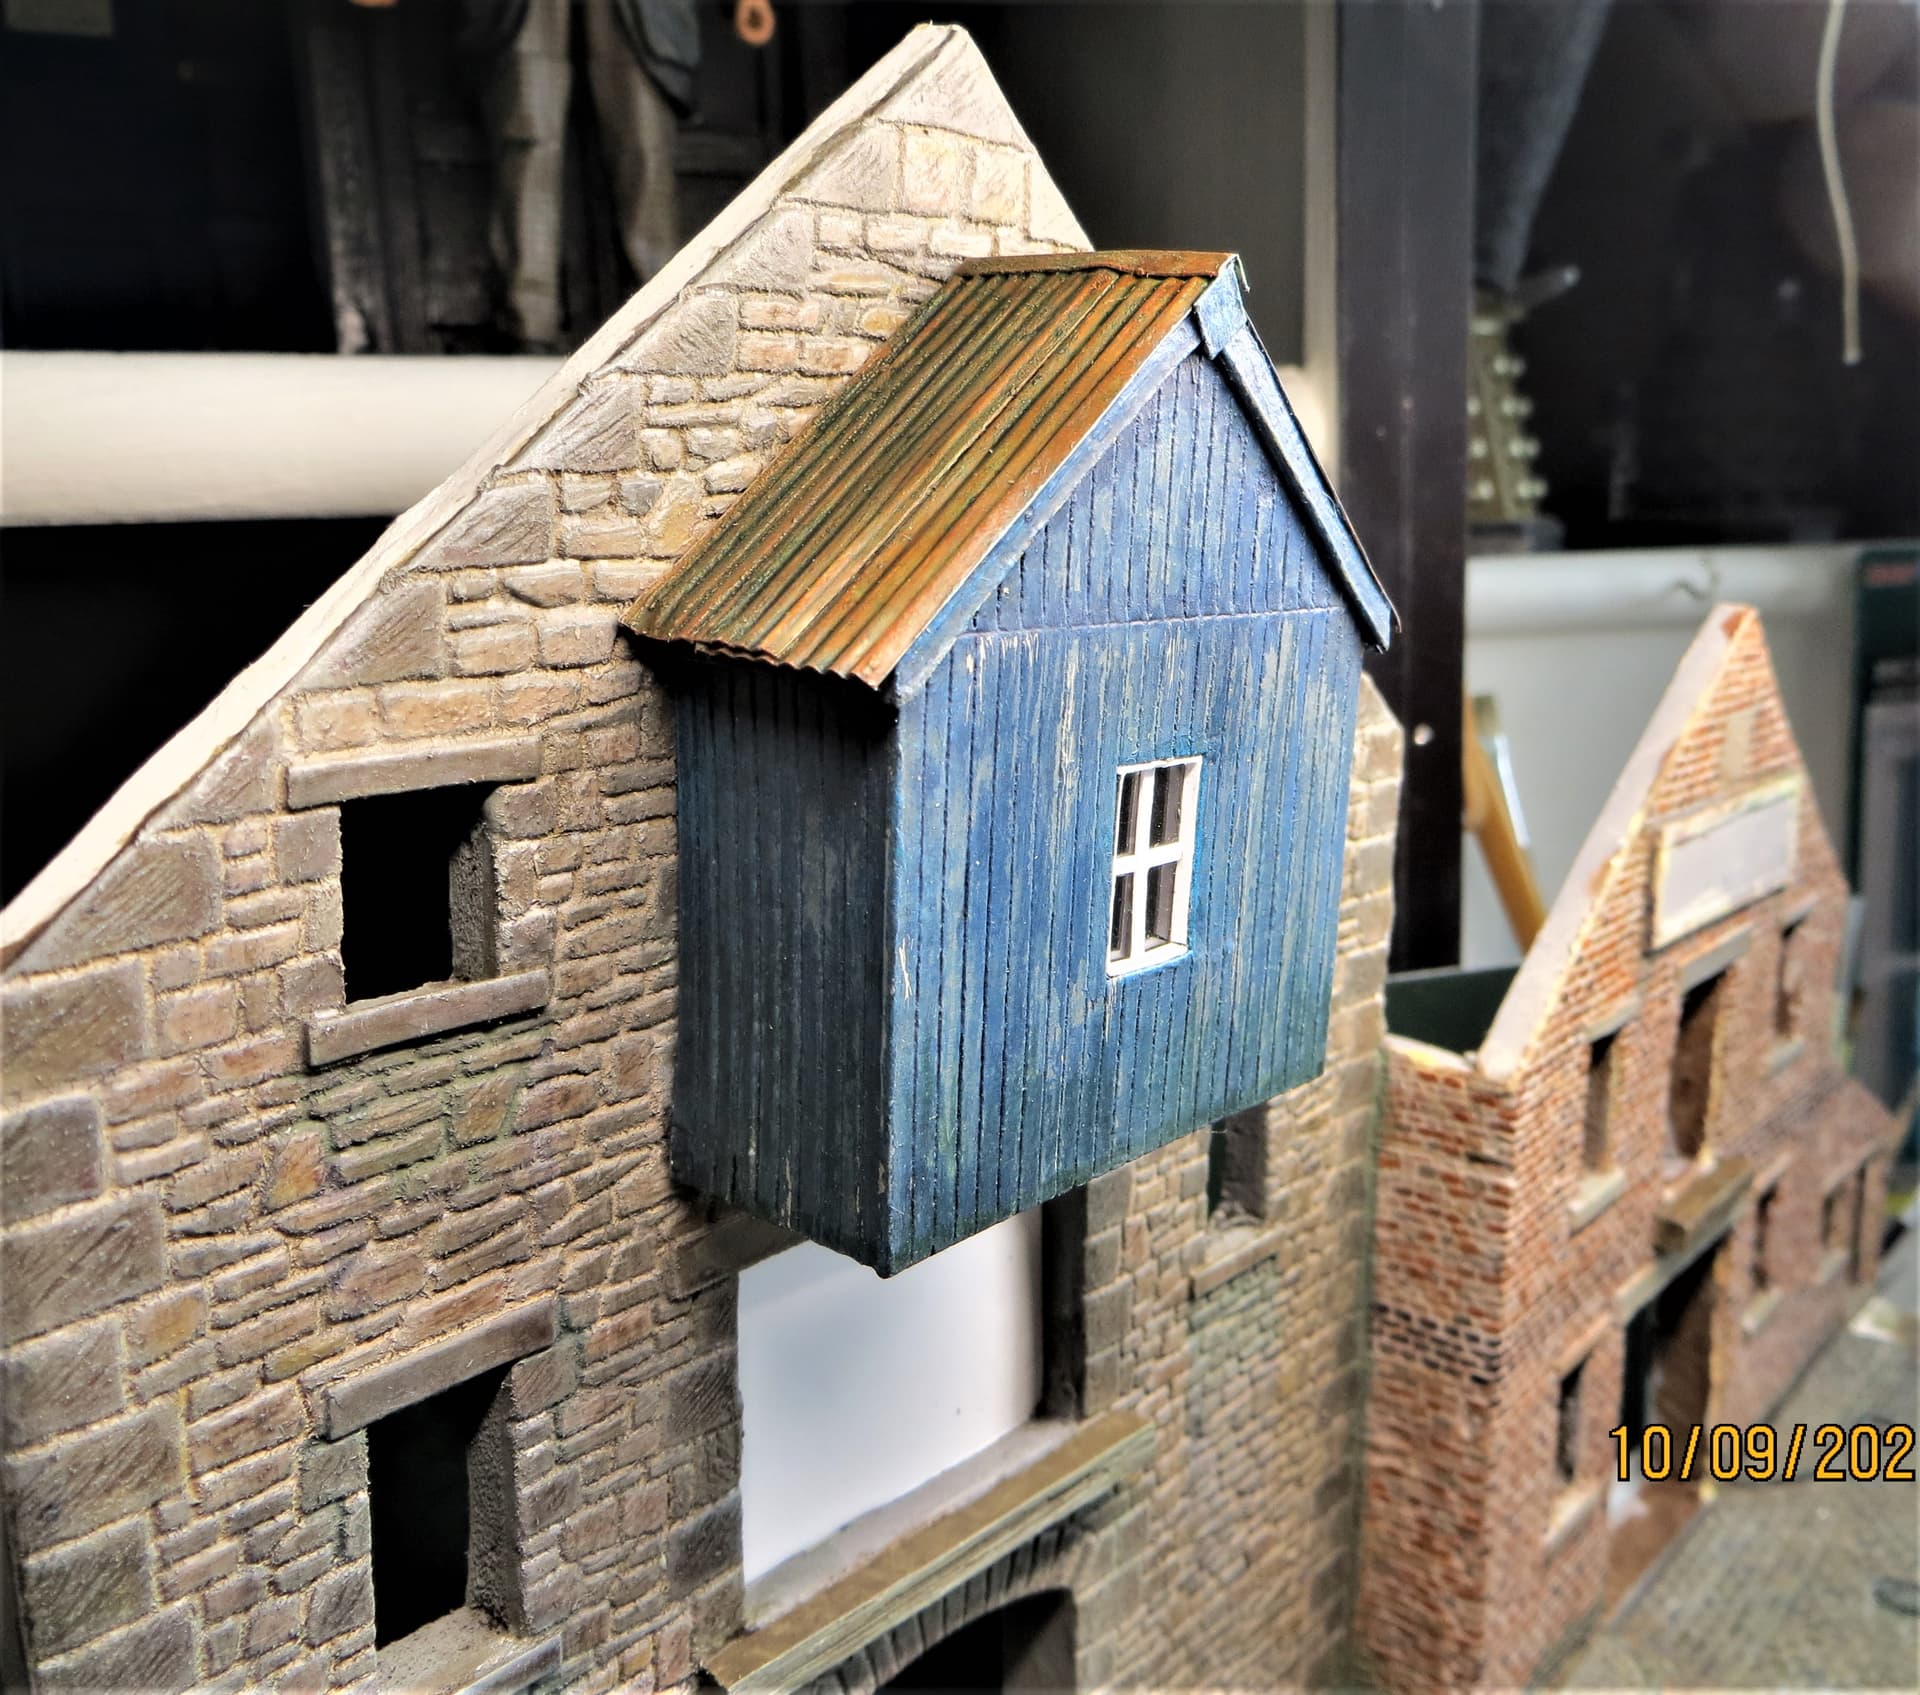
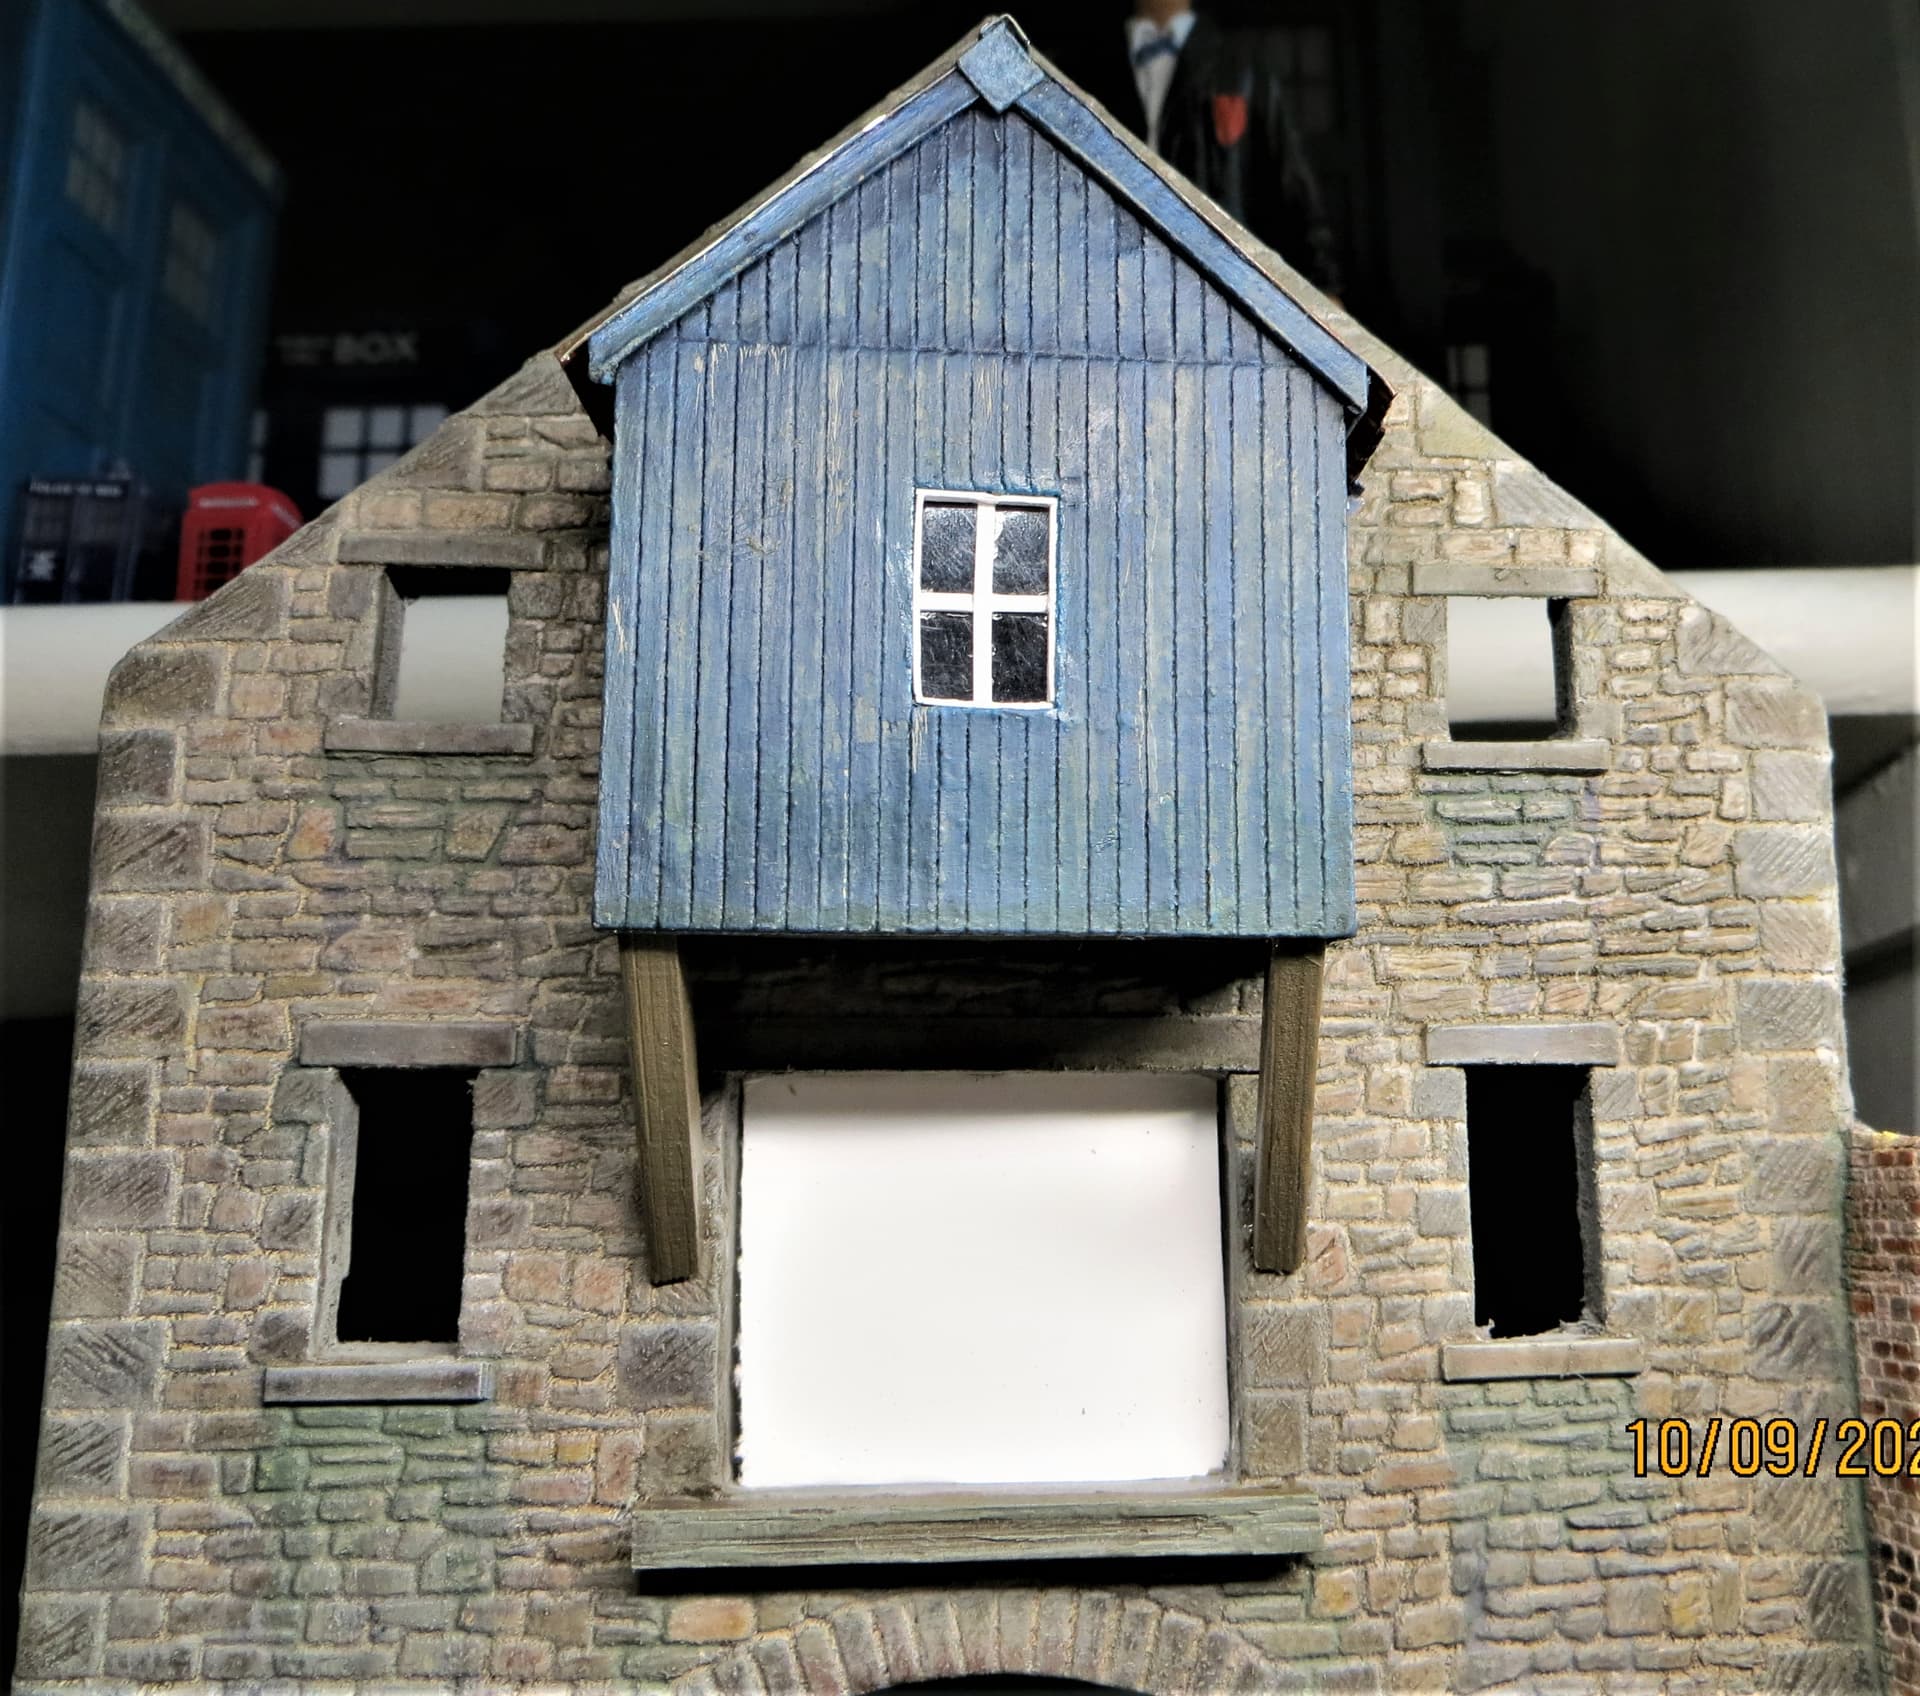
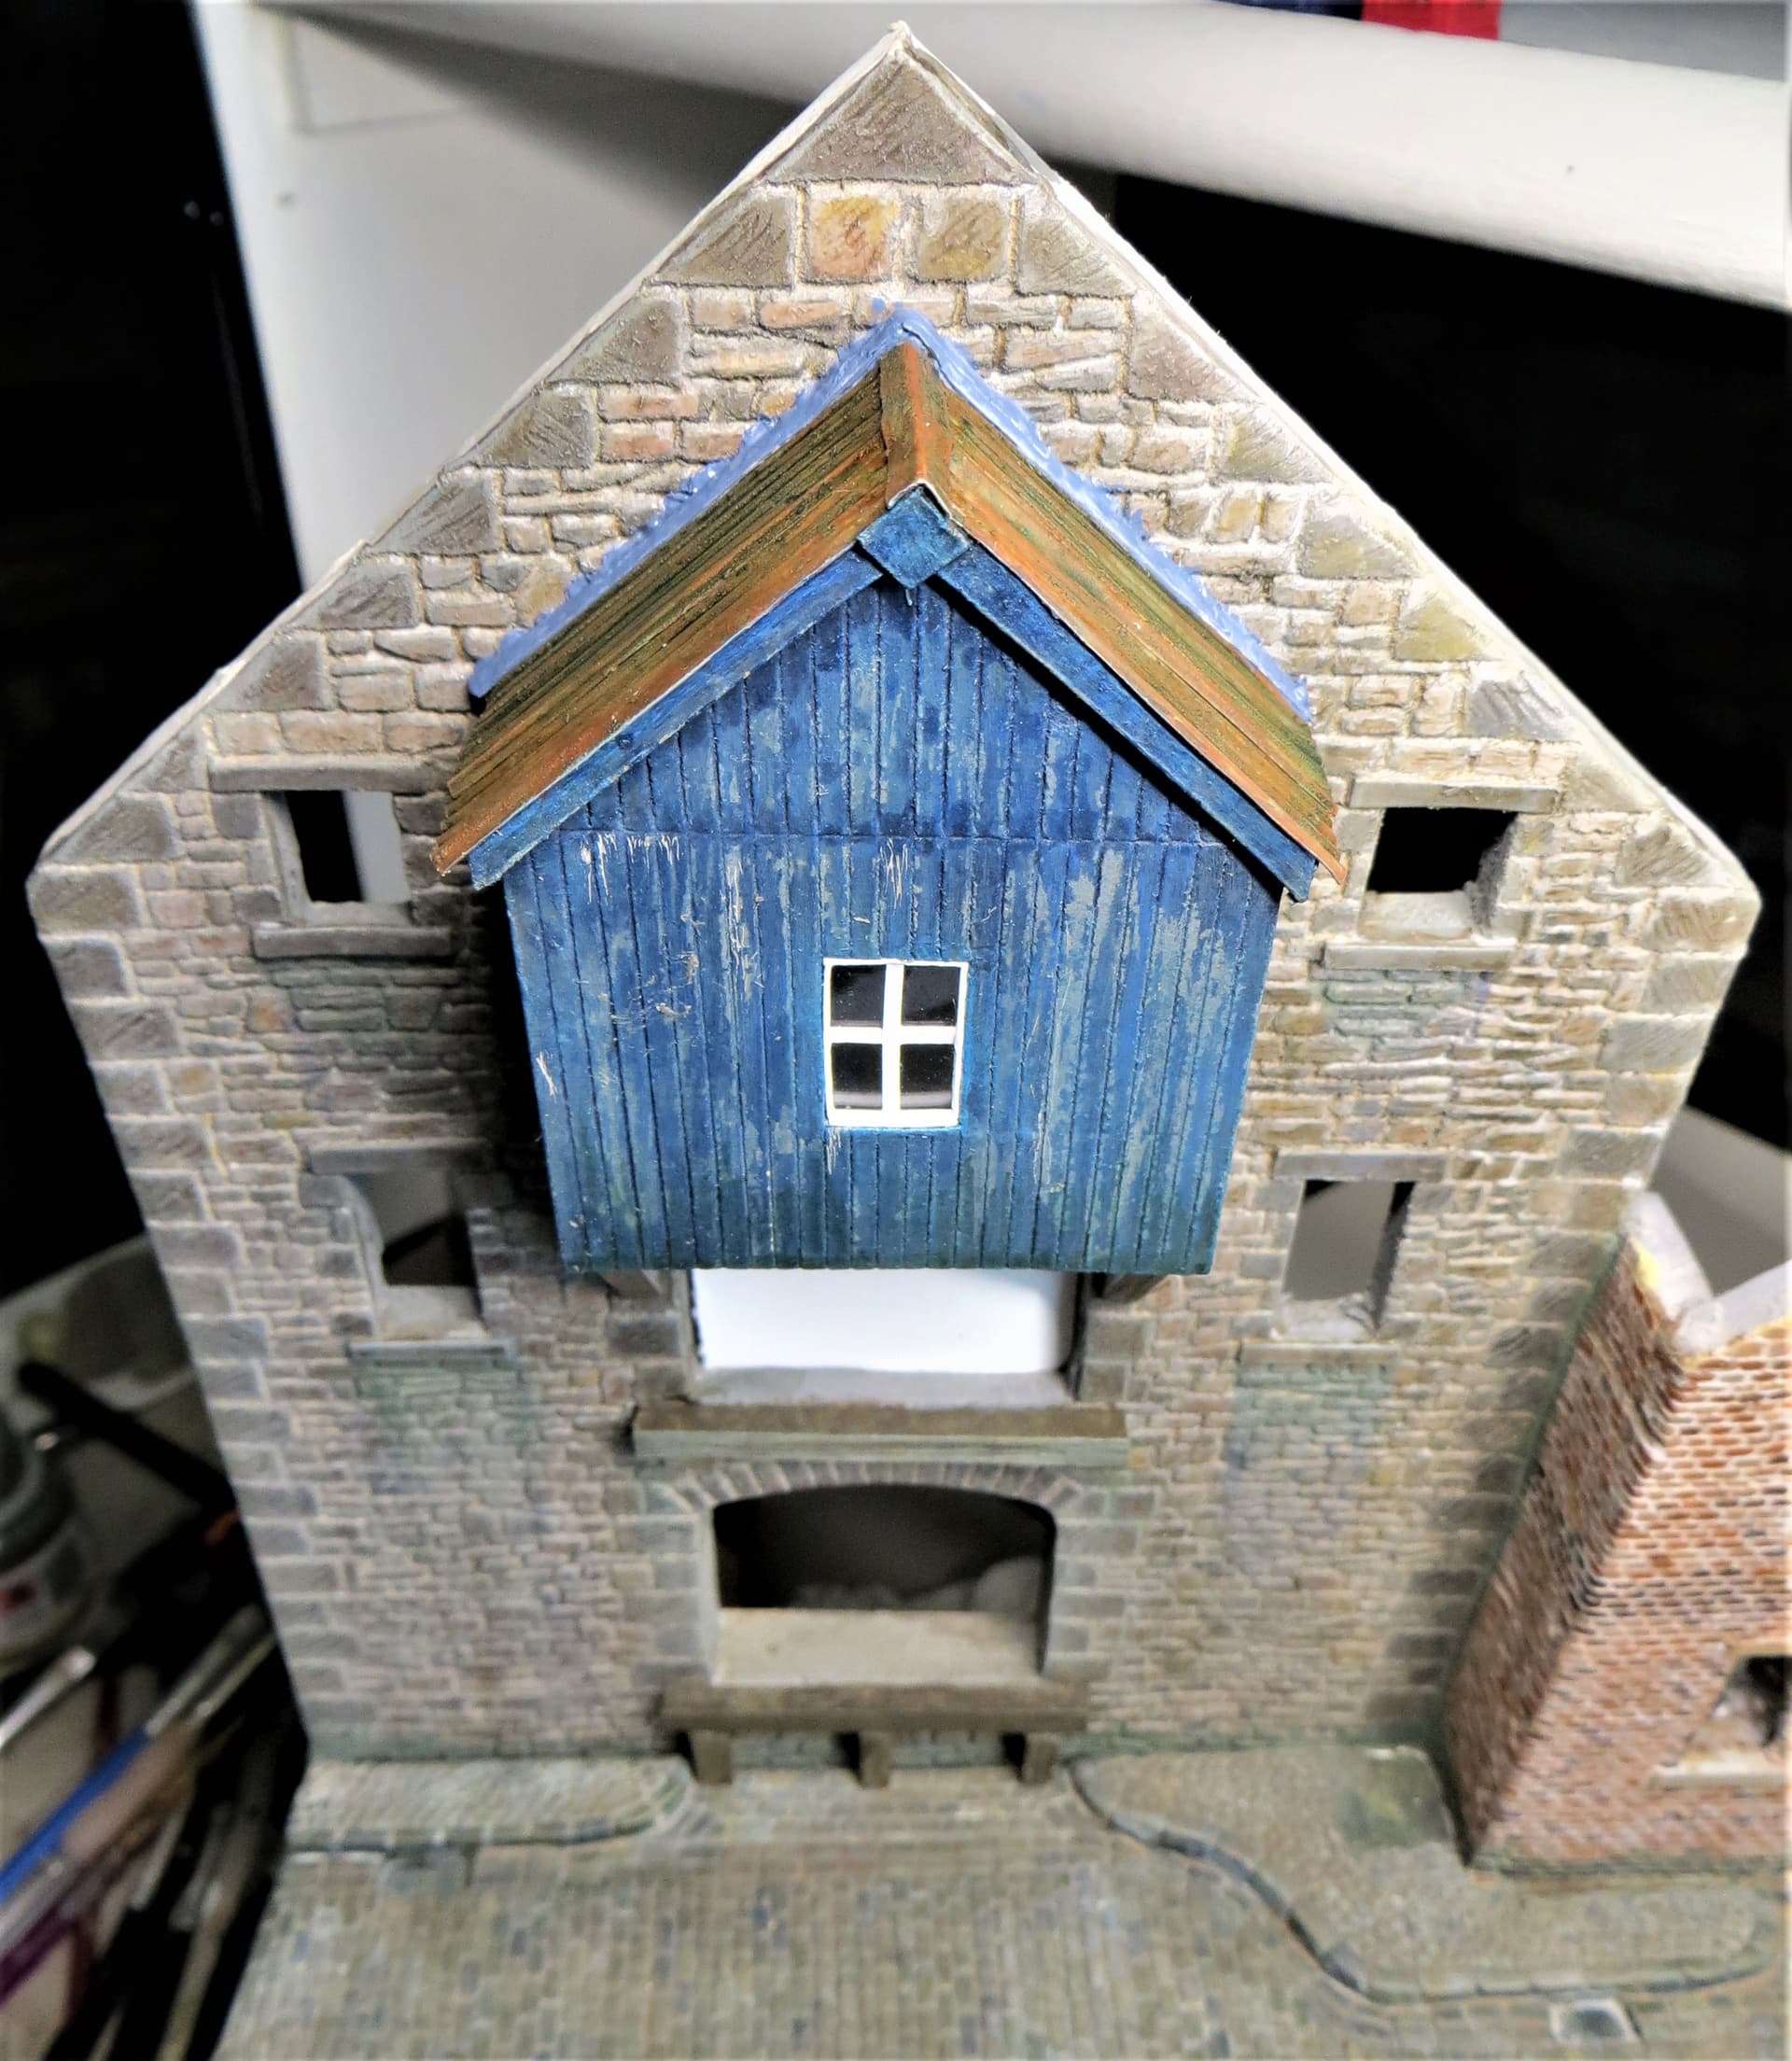
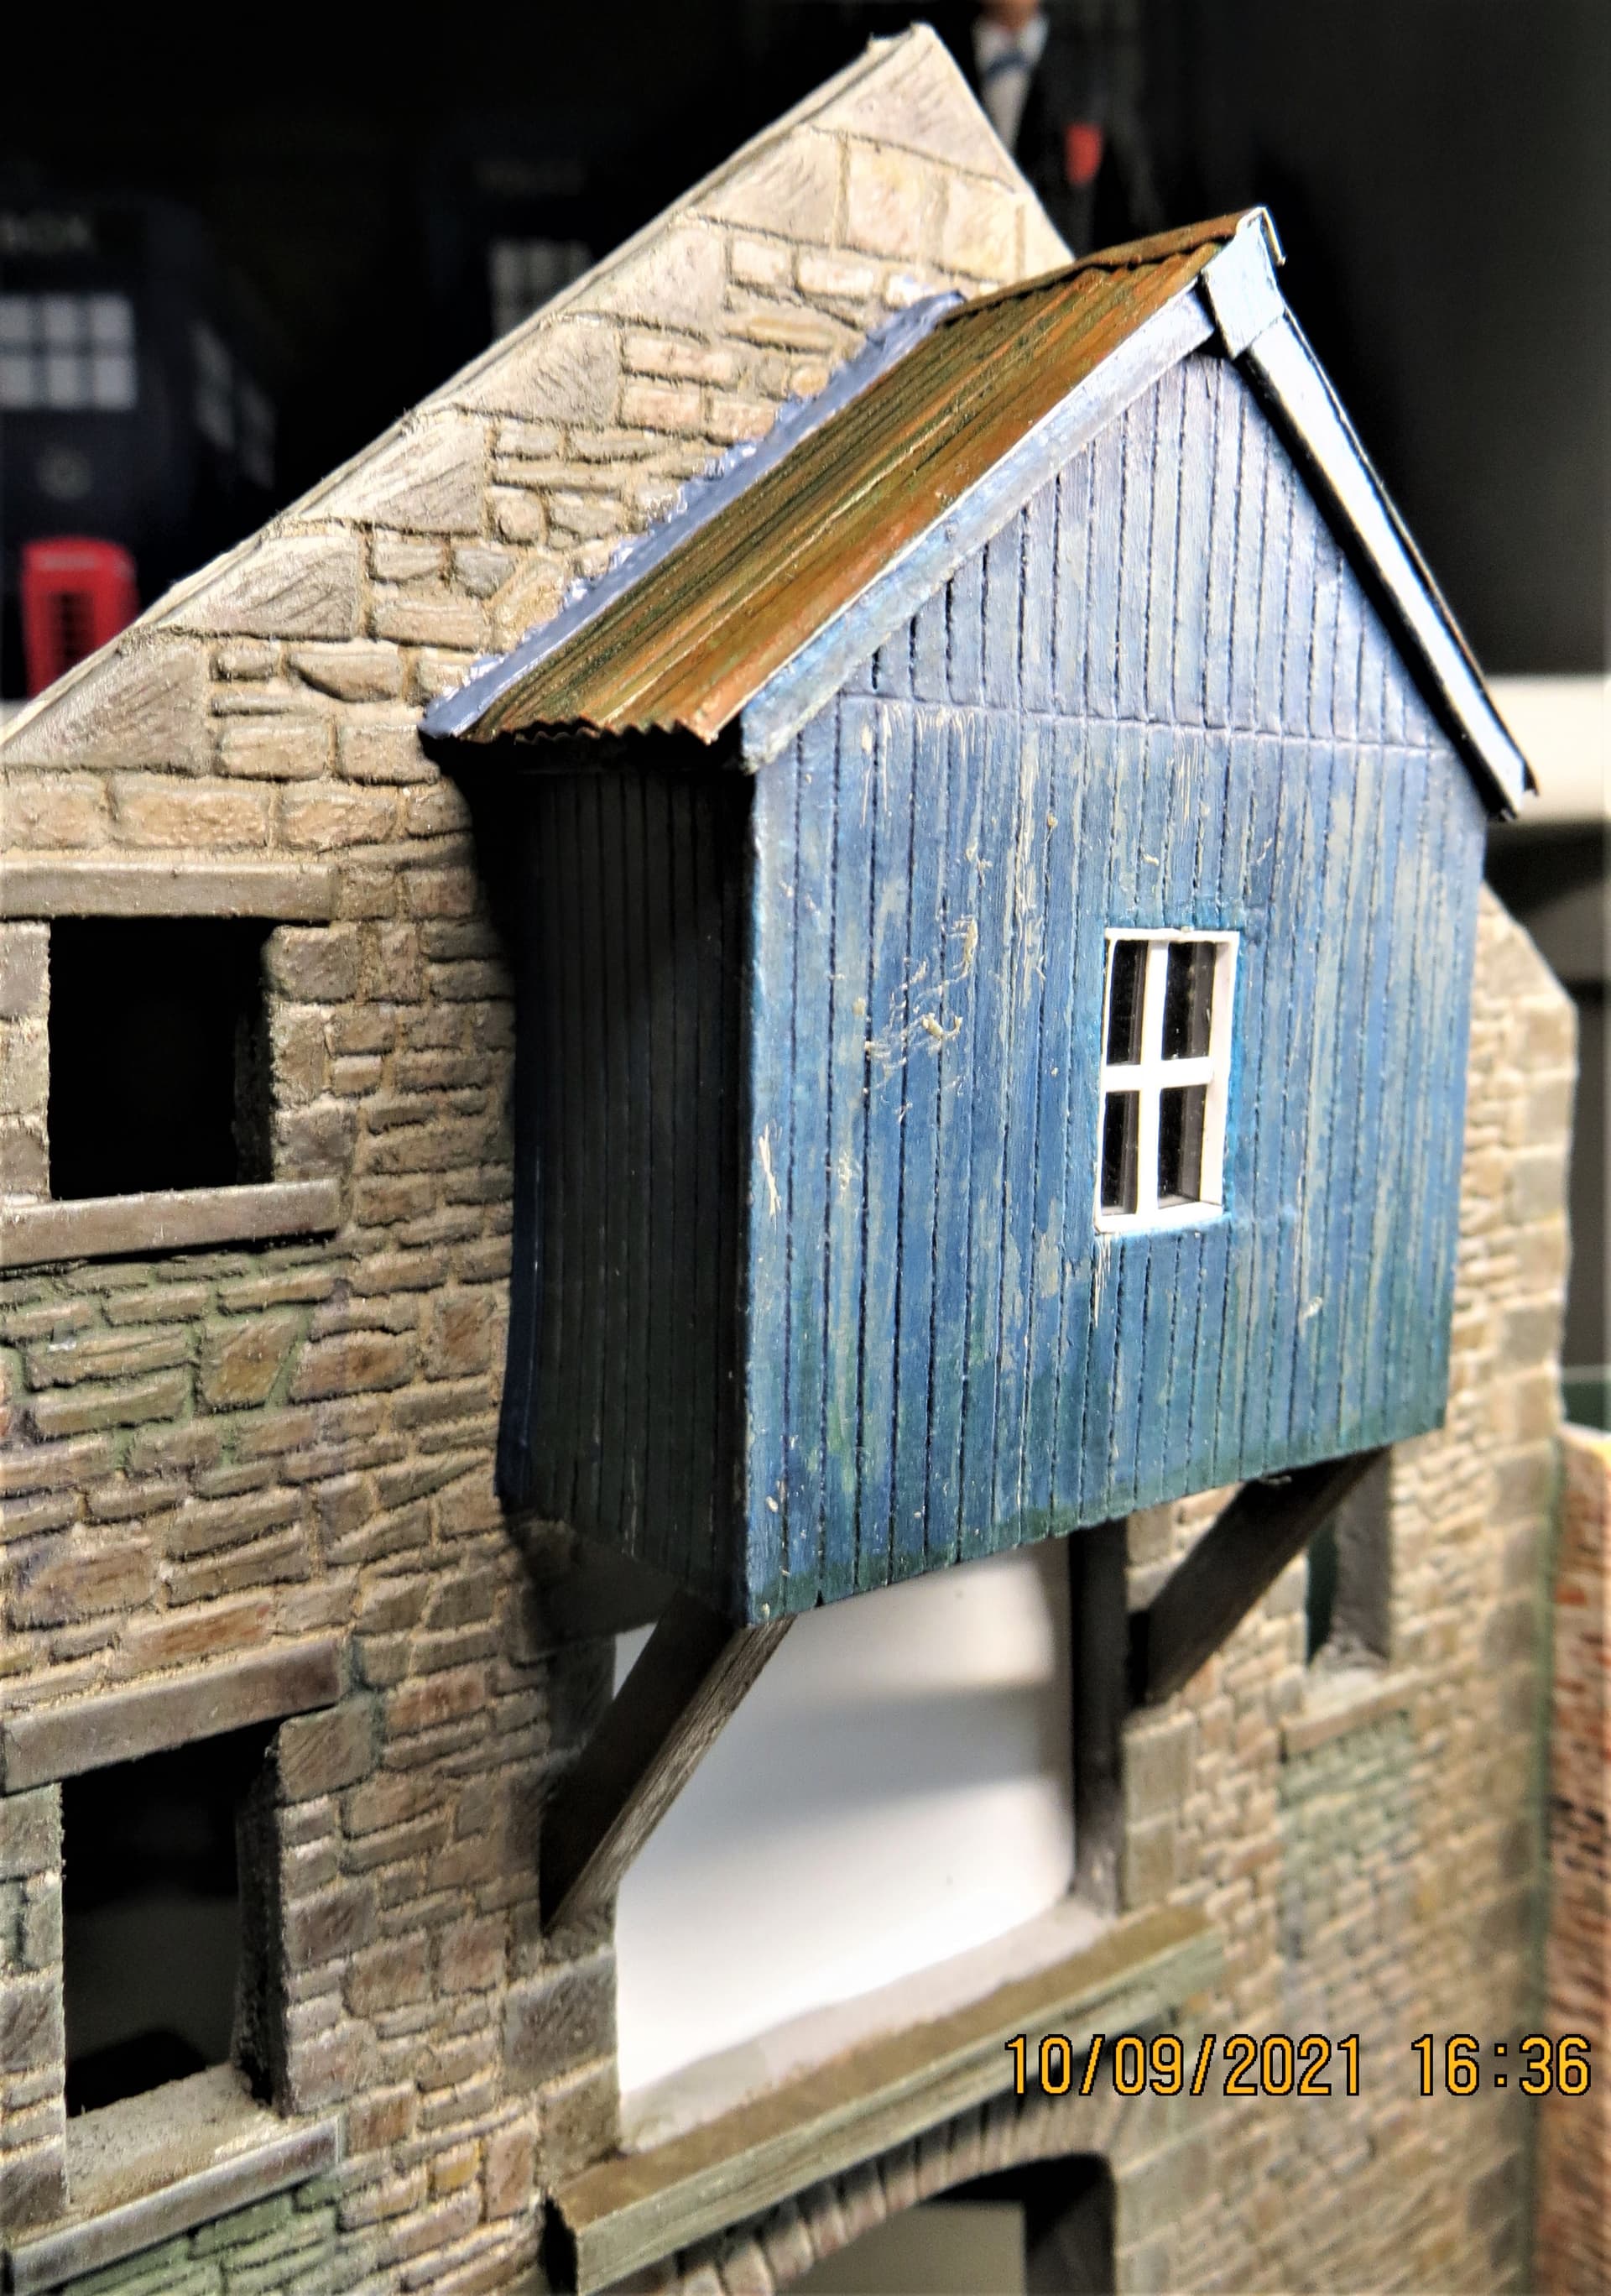
Decided to add the ‘flashing’ between the ‘crinkly tin’ and the ‘stonework’ and the angled supporting beams to the bottom of the ‘lucam’ whilst I had a few moments. I’ve only block coloured them at the moment, they still need weathering, etc.
So, here’s where we left off last night. I thought the dunkelgelb looked too yellow, so remixed it. Maybe a bit too brown for late war, but I figure depot had some old stoke to use up. It is still too yellow but I am hoping the weathering will help. For comparison, it is posed atop a 1970s Tamiya model.
Next, mount the fiddly parts and add a film of sooty grime and track dust.
The flak mount shields were a bear to attach. Uni Model moulded only a tiny protrusion jutting from the gun mount, with only a pin-sized pin to attach the shield with. Thank goodness for superglue!! A fragile assembly.
I really like it - rail-bound stuff was subject to some different weathering conditions to tracked vehicles so should look different, very convincing. I’ve usually faded down dunk with washes of flat light/mid-grey first but your alternative looks mighty fine. Bird poo…? Or were these wagons typically covered in tarps when off-duty, I dunno
I too had a failed attempt at pre-shading on my braille scale Cromwell Fred, , so you’re in bad company with me, .
However dubious you are of the technique, your armoured railcar certainly hasn’t suffered, I really like the weathering, and the distinction you’ve created between the weapon and its platform, very nice touch, .
Cobbled together two sets of doors out of old greetings cards, the arched head set still need to be faded and weathered. I still need to make two sets for the ‘brick’ façade, I’ll paint them a different colour, so as to give a bit of contrast.
Does anyone know whether such buildings would have had any external ‘decoration’, e.g. building numbers, or any other adornments that I might add for interest?
Any, and all suggestions welcome and appreciated, .


 .
.
 .
.
 .
.


 , so you’re in bad company with me,