Italeri 1/35 M4a3 Sherman Calliope

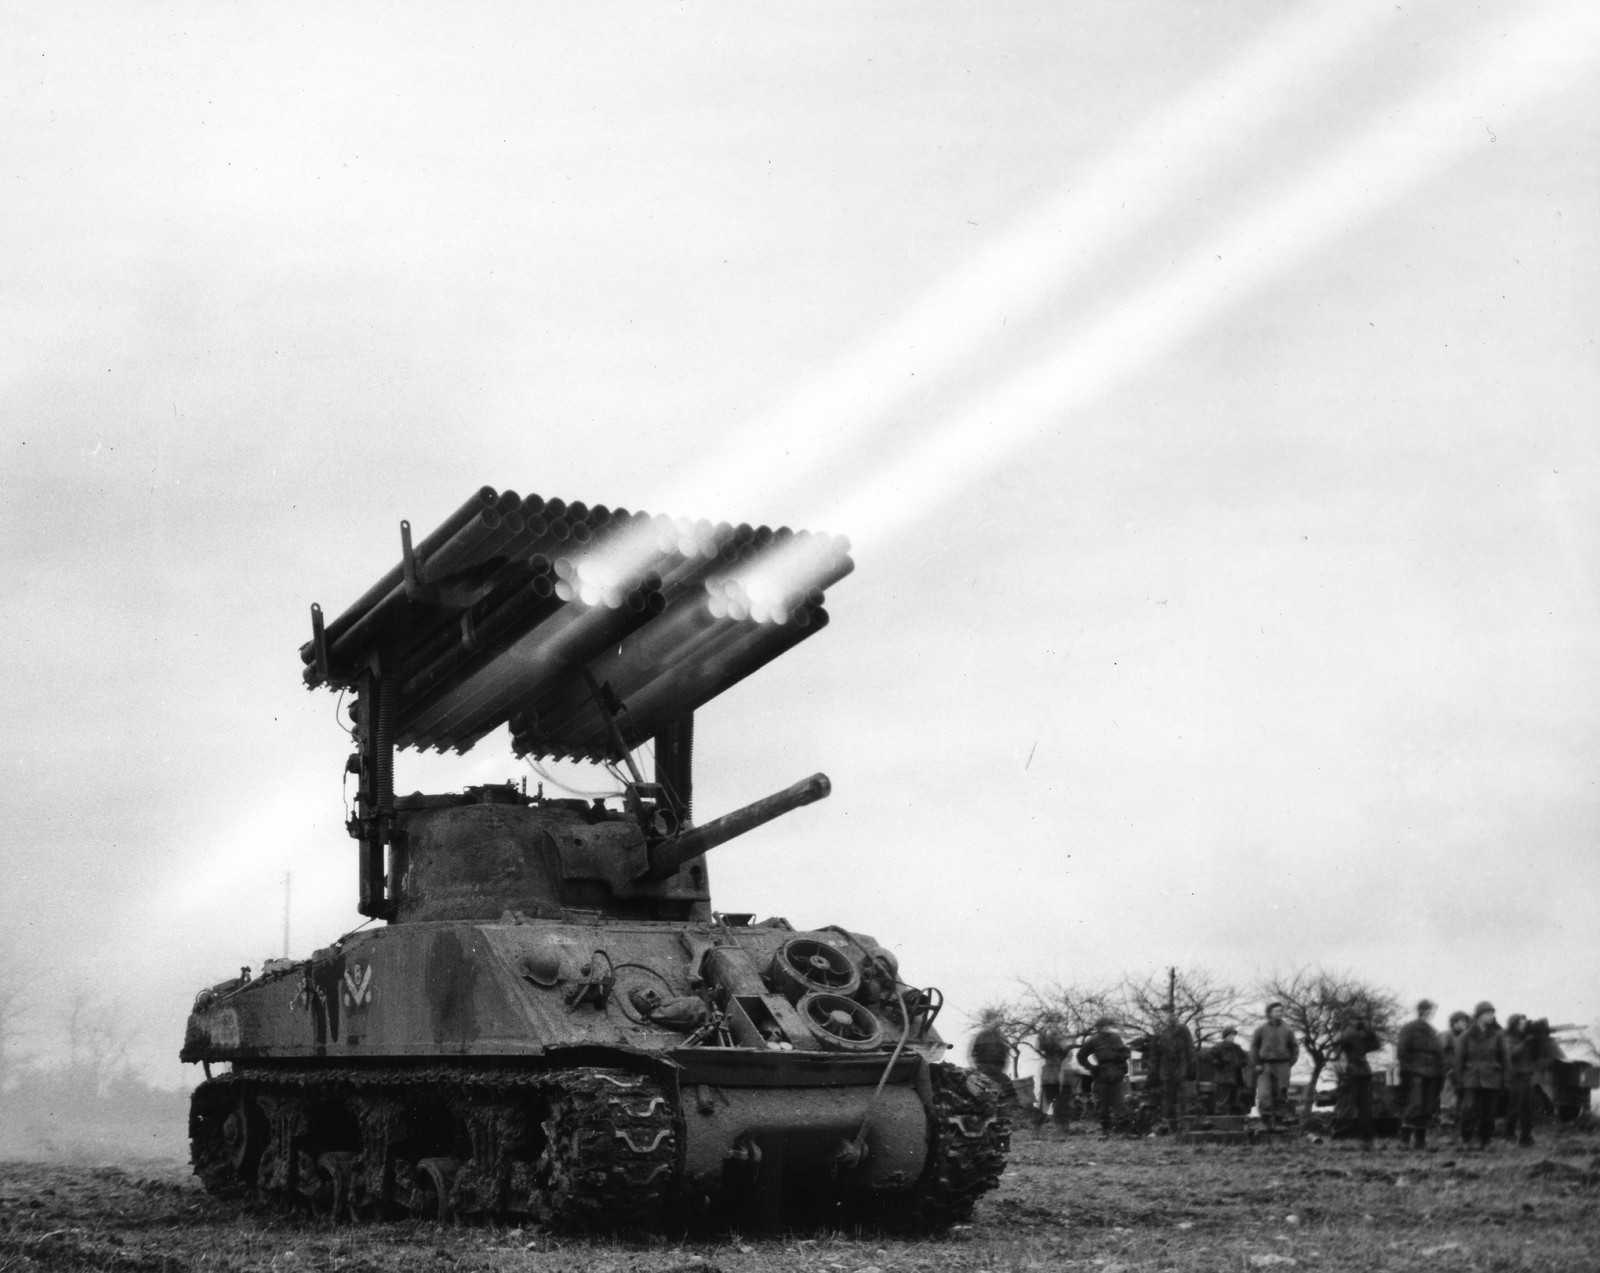
This thread will be a continuation build log of my Italeri 1/35 Sherman Calliope. I started this build around August of last year for the SPT campaign but I never got around to finishing it.

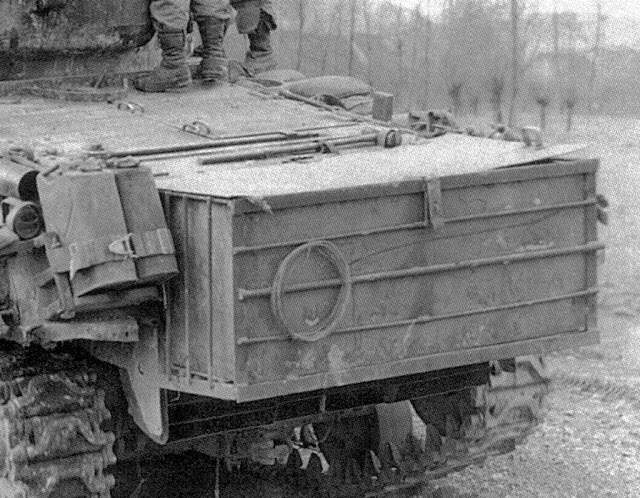
I did alot of research before starting this build and I discovered some unusual modifications to the tanks, like a big stowage bin on the rear as well as a blast deflector on the engine deck as well as a extender to move the antenna to clear the launchers. I scratch built all of them out of copper sheeting and strip styrene. I also scratch built a sight of the top of the turret as well as replacing the springs from the loaders hatch with some guitar strings and wire. Weld beads were made using Apoxie sculpt and stretched sprue. I made the Cast texture with a mix of Tamiya Extra thin and Tamiya gray putty. I will add some more texture to the turret soon.
Imgur
Imgur
Imgur
Imgur

With some primer.
Imgur
Imgur
Imgur
Imgur
Imgur

Then I started some of the small wirings.
Imgur

Finished!
Imgur
Im aware this isnt completely accurate and the wiring looked a tiny bit different but it was close enough for me. The total wiring took 8 hours.

It was at this point I paused the build as I kinda ran out of steam for it. A couple weeks ago I started a bit more work doing some grab handles, then the whole turret assembly fell and shattered on the ground! I was able to repair most of the damage but one of the hatch springs went flying away to never be seen again and the weld beads around the launcher and turret will need to be redone as the launcher broke from the turret. It only needs a bit more work before painting.

One problem is though the tracks that came with the kit dont have the duckbills the most Calliopes had so I need a proper set, but I dont want to get the thousand piece bronco tracks plus the duck bill set so does anyone have any spare Dargon DS tracks with duckbills from there Sherman kit they could part with? I hope to have the next update soon!

15 Likes

Wow, a lot of fine scratch work here.

1 Like

Great work on the upgrades! I’m definitely gonna follow this one!

1 Like

Thanks guys! I love the Calliope so I though why not go all the way with the details! Not sure if it was worth it or not…

It’s def looking like it’s worth it. Yeah, go all the way

1 Like

Thanks for the encouragement. :sweat_smile: Dont hold your breath for updates as Im starting school again tomorrow and between all my homework and golfing I wont have to much modeling time. :pensive:

This will be off topic but, Is school in your area still ‘distance learning’ or a conventional classroom environment?

1 Like

I always wanted to build one of theses when I was a kid. Maybe someday.
Looking good

1 Like

The school in my town, the Hot Springs High school is doing online, but from what Ive heard its pretty dodgy and there having problems getting everything to work right. Fortunately I go to NMCA which is a 100% online high school. So it luckily means I have a bit more modeling time as I dont have to go to school and back etc.

1 Like

By the way here is a pic of the container on the Shermies rear. I still need to add some more details to mine. As you can see I left the spare track holder empty to add the two jerry cans in this picture.
image

4 Likes

I am a bit puzzled. Why did you install the applique hull armor on a wet stowage M4A3? That was only seen on the M4A2’s produced for the Marines and the Soviets.

This is a beautiful build Ezra! Your scratchbuilding work is absolutely outstanding!

I applied it following a couple reference photos I found online, and if im not mistaken the M1a3 “Cold stowage” Im building had the applique armor on the hull.

Edit: You were correct about the armor. Thanks for that info!

Thanks Matt! I hope to finish it in time to take to vegas for the IPMS nationals!

Oh how did I miss that detail of the add on armor? Yeah, Cold Stowage was a M4A3 75mm wet. No add on armor. You might want to go back and fix that detail.

Haha we all make mistakes @Stikpusher . Like me with the armor! :sweat_smile: i will try to remove it as soon as I can. In that picture of Cold Storage it looks like it has applique turret cheek armor, like if you look close you can see the outline. Any confirmation of this? Also is that a painted over star on the hull?

Yes we all do make mistakes. That’s where we learn more.

I don’t think the Cold Storage had external cheek armor. The 75mm Wet , high bustle turret was supposed to have that added armor in the casting, as well as the loaders hatch. And yes, the hull side star is painted over.

1 Like

Some small progress. I was able to rip off the Applique armor fairly easy and once I do some sanding it will look fine. With another coat of primer on it gives me a nice base to keep scratch building onto. The sharp eyed among you will see that I added the jerry cans to the back and all I need to do is add a little buckle. Next Im going to take care of the tools adding some straps and what not.
Imgur
Imgur
Imgur
Imgur

7 Likes

Good recovery Mav! :wink:

1 Like

It’s looking great dude !

1 Like