Hi all, I recently received Meng’s Jagdpanther G1, kit TS-039. This was for a ‘future’ project, but I had hit a mental block building my Tamiya Stug III Ausf. B, and thought id peek inside the Meng box. That turned into more than a peek, and it seems this is now occupying my bench, and the Stug is in the drawer.
This is a great kit from what I can see so far, so thought id share the build.
The box:
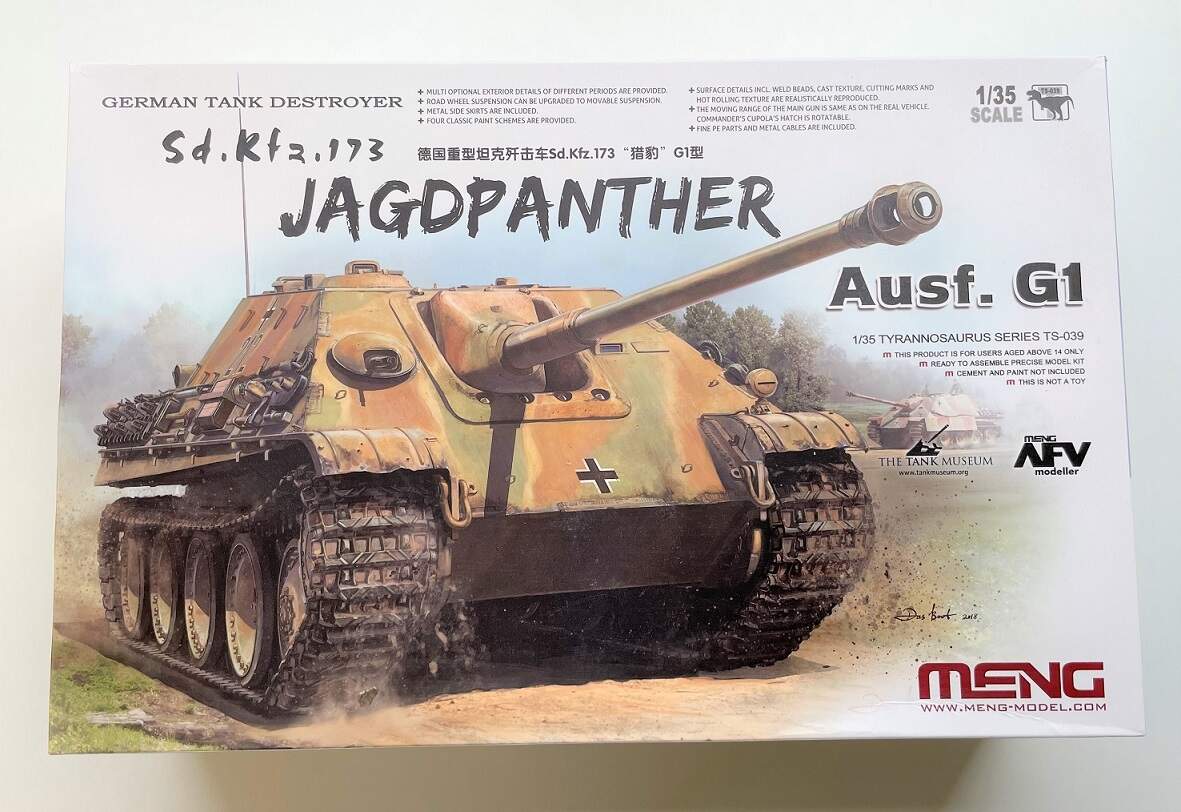
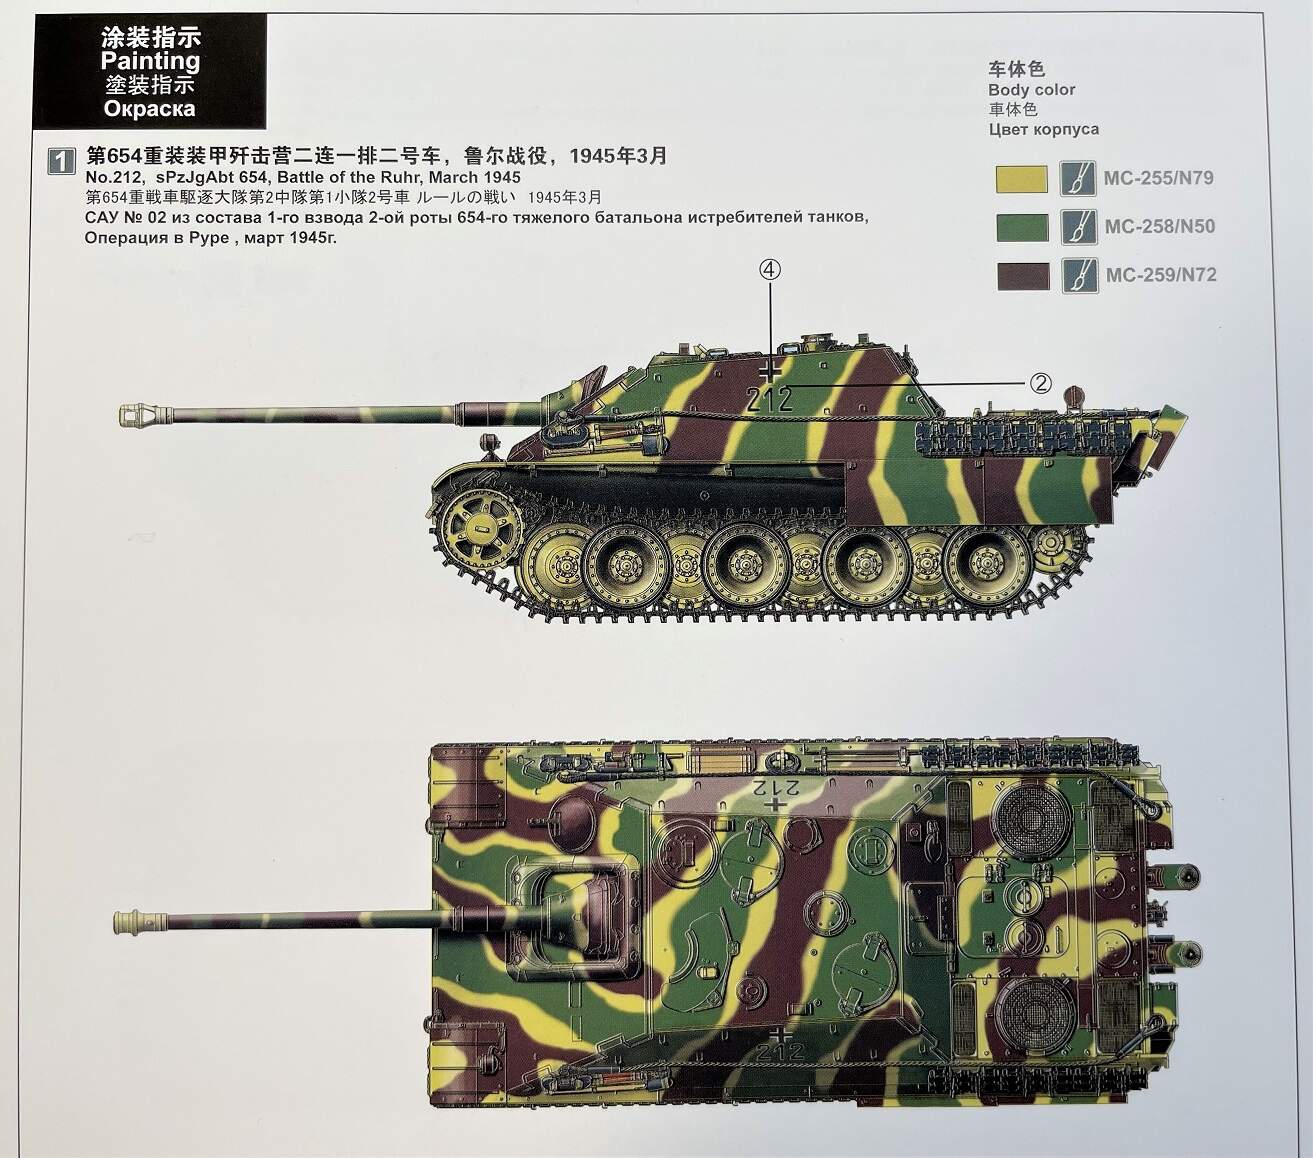
Meng offers plenty of differing parts in the box, there is a myriad of all sorts, and there are 4 main options for the user to build. I have chosen option 1, which is a late G1 variant, as shown in the image below, indicated as from the Battle of the Ruhr, March 1945 (each of the 4 options has a full color gloss printed sheet showing, top view, both sides, and front and rear views - I have cropped out the front/rear, left side from the below).
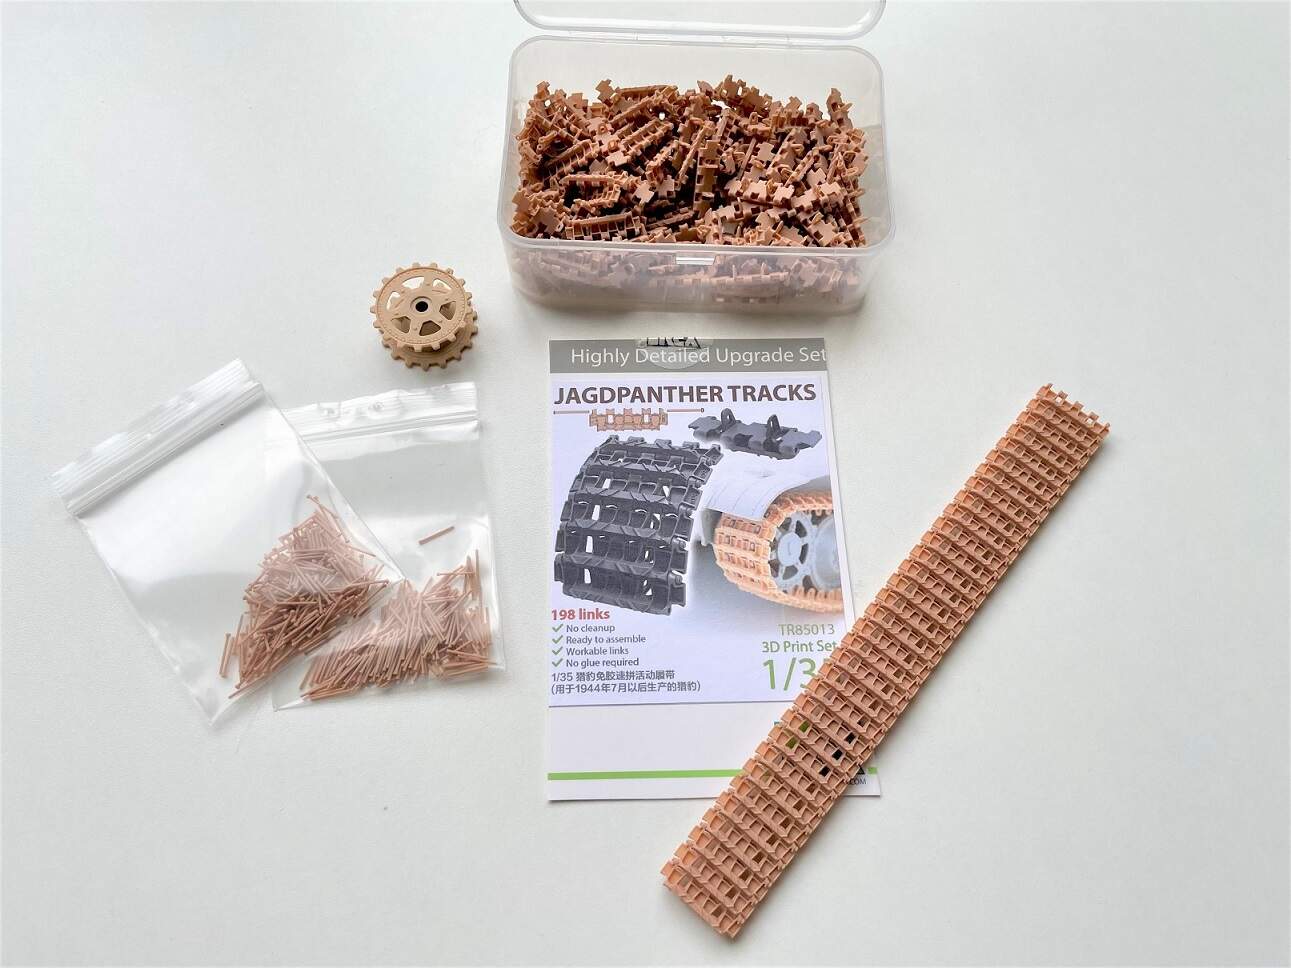
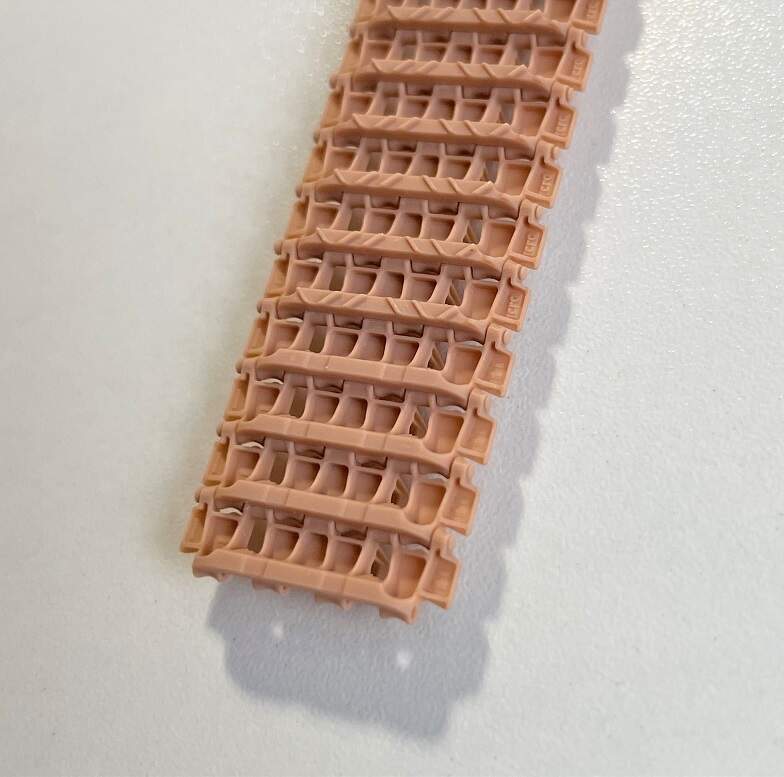
The first thing I did was to purchase some aftermarket tracks, as below. These are the first TRex printed tracks I have received, and some people may remember the first image below from the ‘what the postman brought’ thread, where I gave them a glowing thumbs up. They really are game changers, so detailed, and importantly, so easy to put together. No glue needed, and the pins never fall out as they ‘click’ into place.
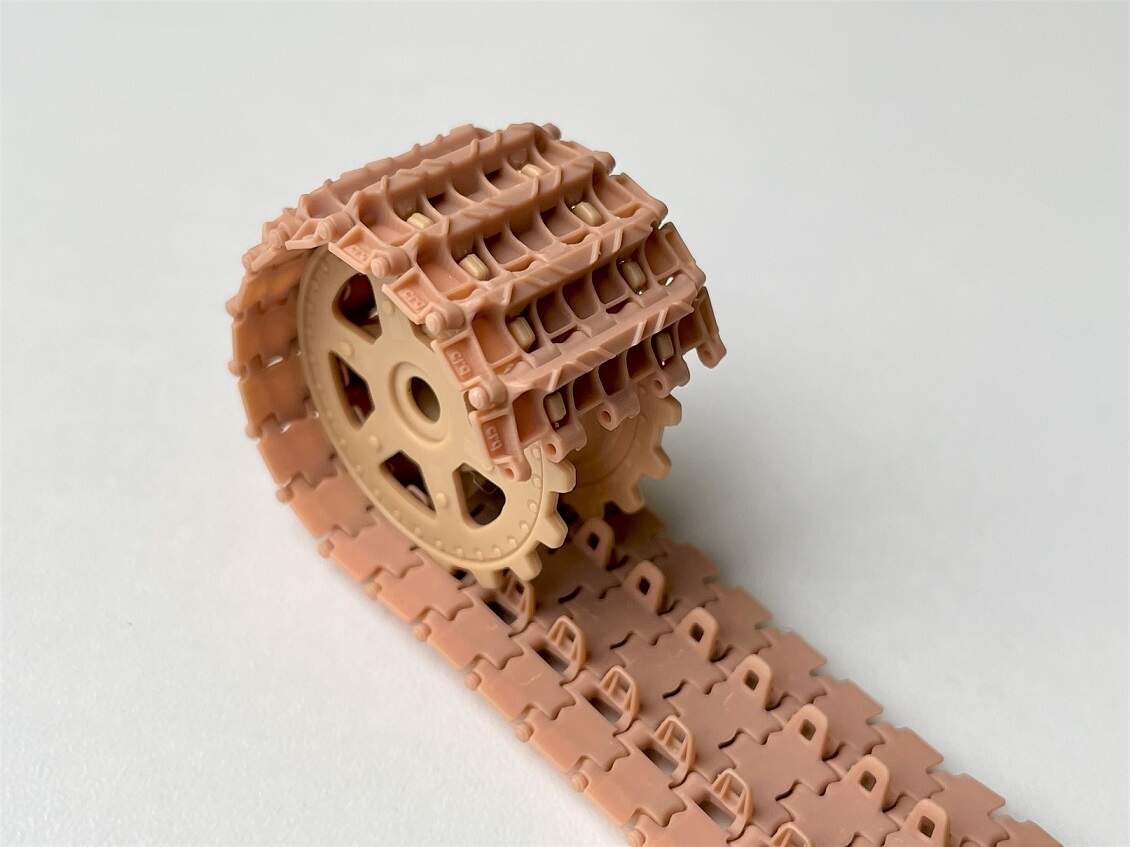
They fit really well onto the Meng drive sprocket, super exquisite detail:
HOWEVER, building up the track run I noticed a lot of the track pieces supplied were missing the chevrons on the face of the track (the little raised ridges on the track surface). I put these oddball parts aside, and eventually after building 79 links per track run, I ran out of the proper parts. I don’t know how many links are required per run, but its definitely more than 79! (note, I see that the Meng instructions call for 87 links per run). So I have carried on and am now connecting the links without the chevrons, as can be seen below, the lowest 4 links in the image so far are the incorrect ones without the chevrons. Its a little disappointing, but in reality ill just fit the tracks so these oddball links are on the underside, and no-one will be the wiser. Despite this… these tracks are still awesome.
The kit supplied tracks are quite probably very adequate (individual links), but they require you to glue the guide horns on as separate pieces (two horns per link = 348 guide horns to tidy up and attach!).
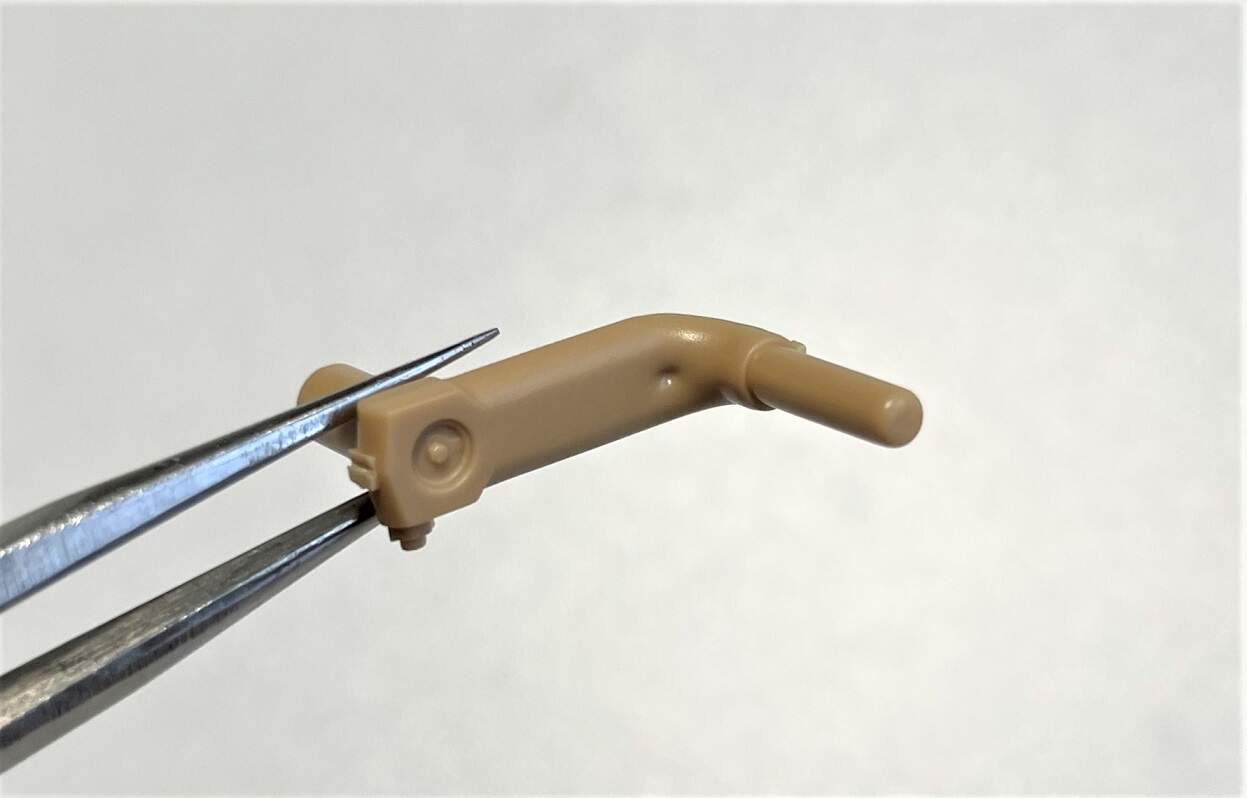
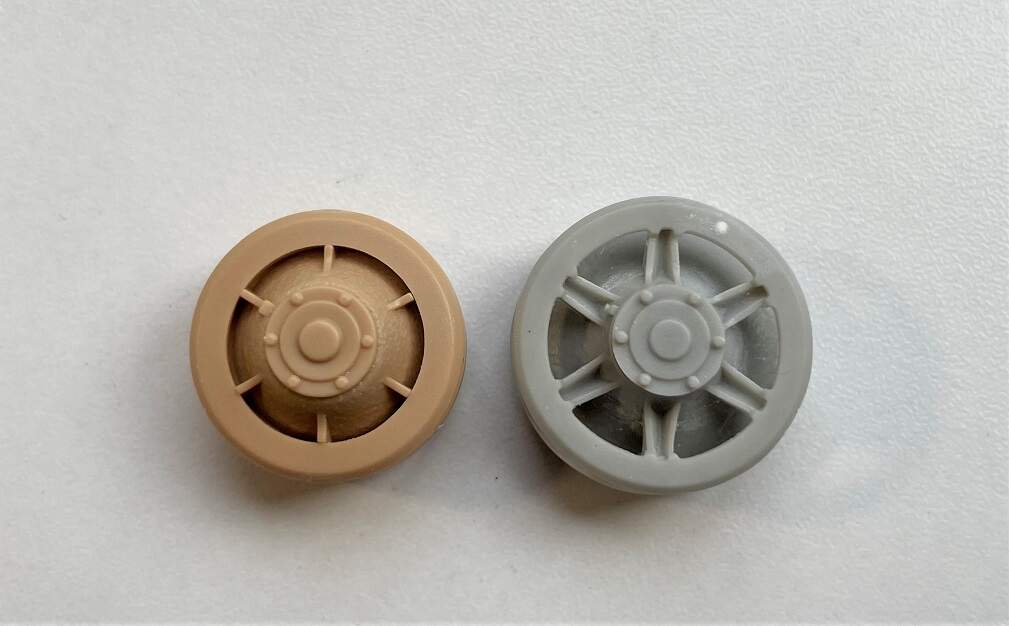
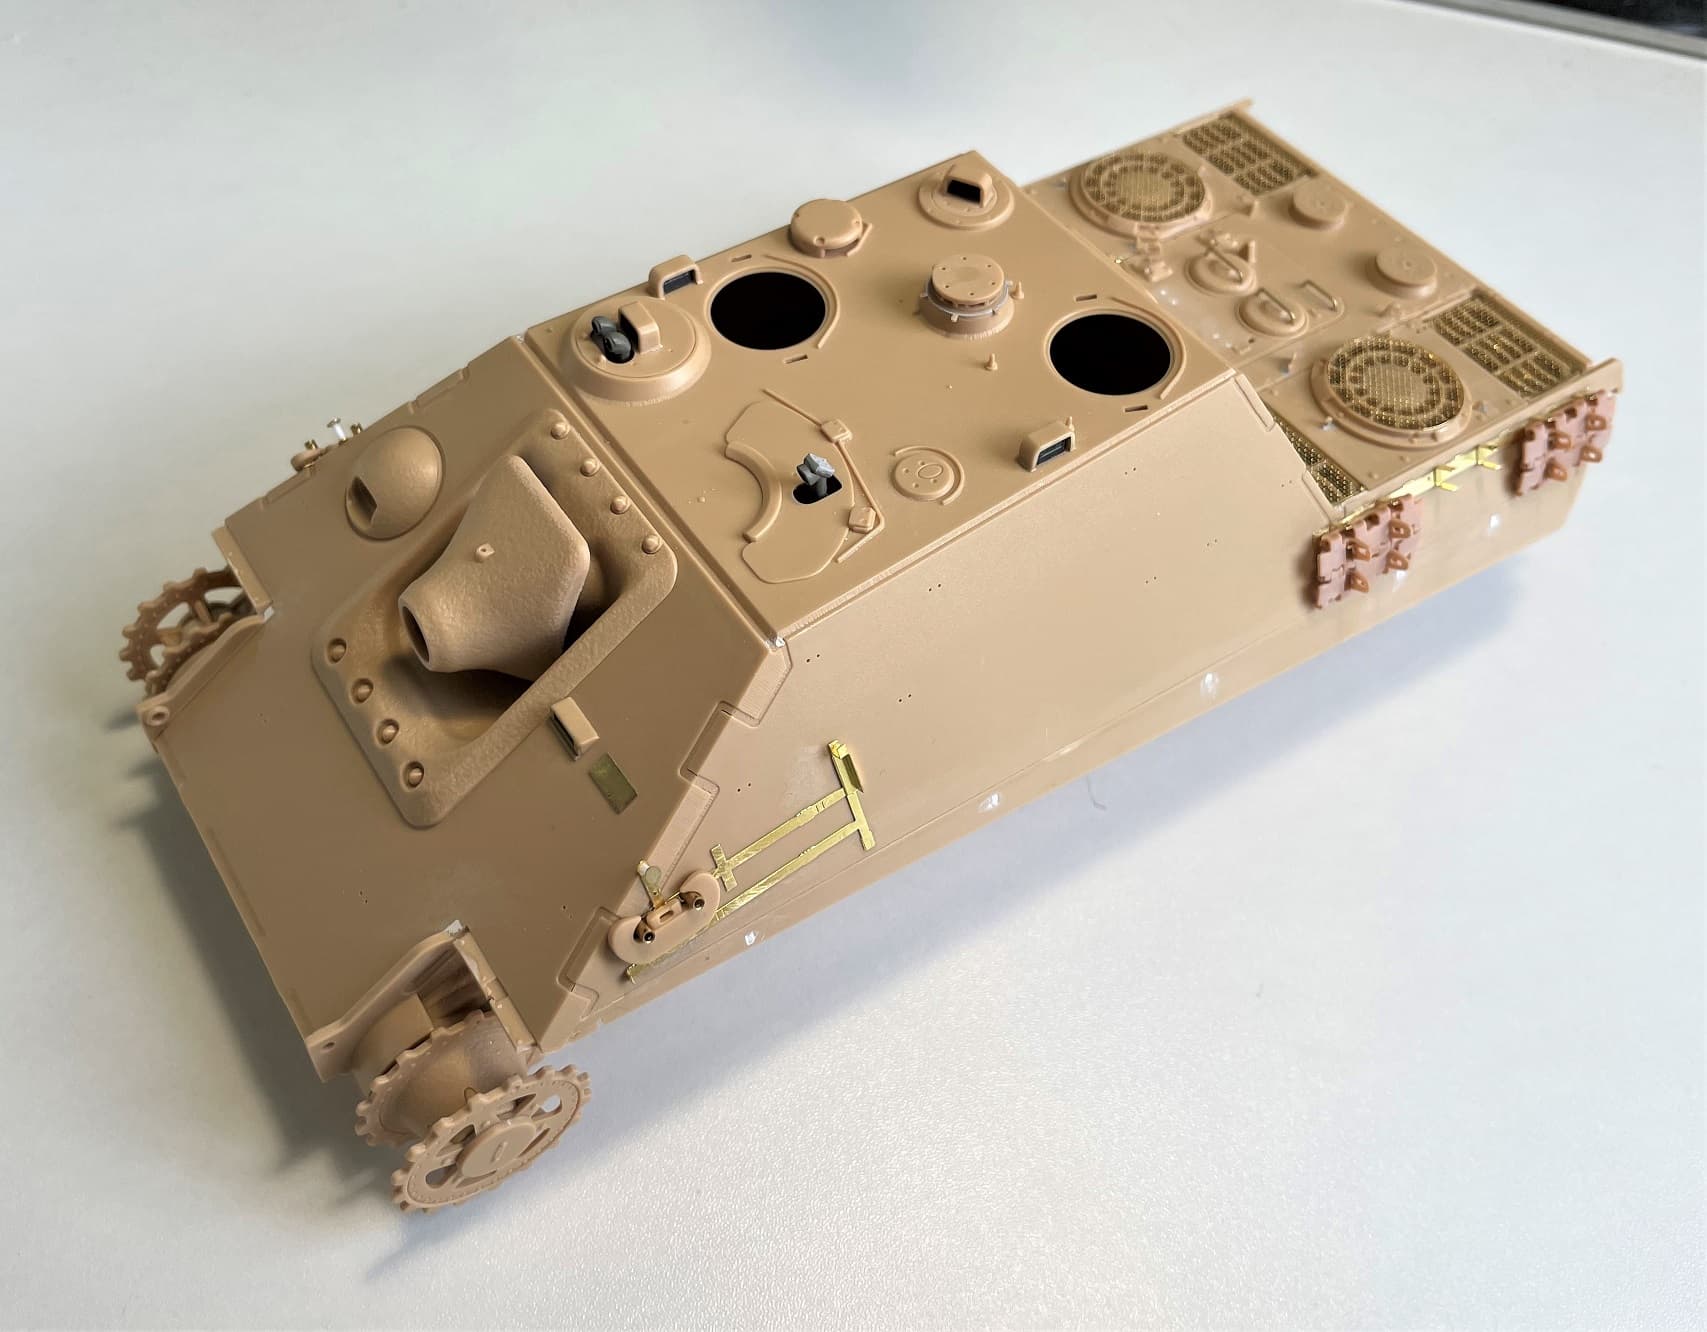
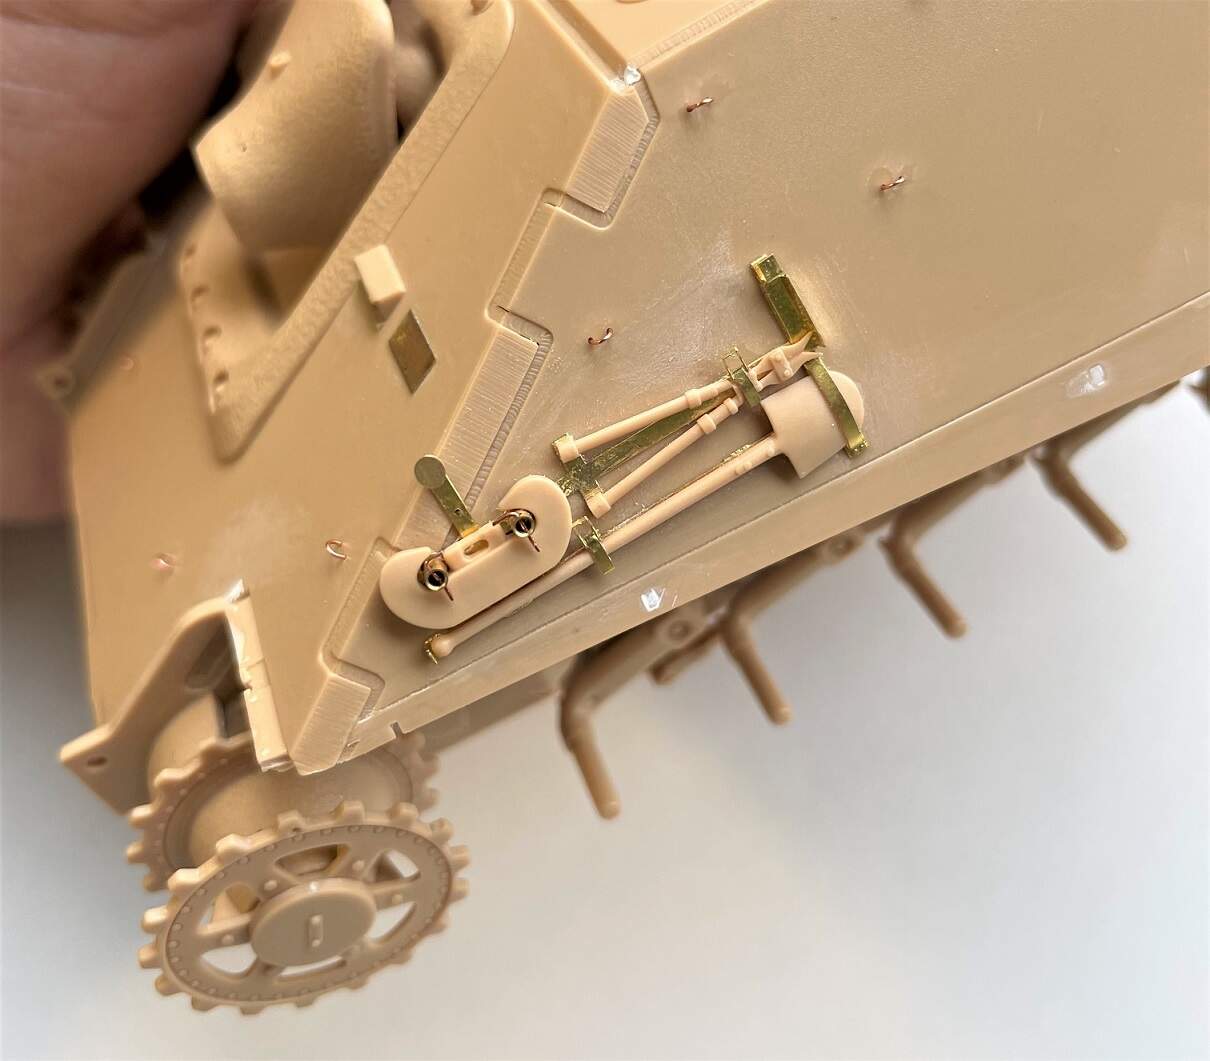
Back to the kit itself, the mouldings seem to be very good quality, I haven’t seen any shorts, or mis-matched mouldings as yet. One unique thing I have noticed is that each of the road wheel suspension arms is made up of two pieces, not one. When glued together, there is a bit of a seam that could use filling and sanding as below. On the left is the part after filling / sanding, on the right the same part before its secondary part is glued in. It looks like a sinking issue dictated the need to make in two parts, and to be honest, the filling and sanding process is probably a waste of time, as once in place on the hull, the back of the arms isnt seen at all.
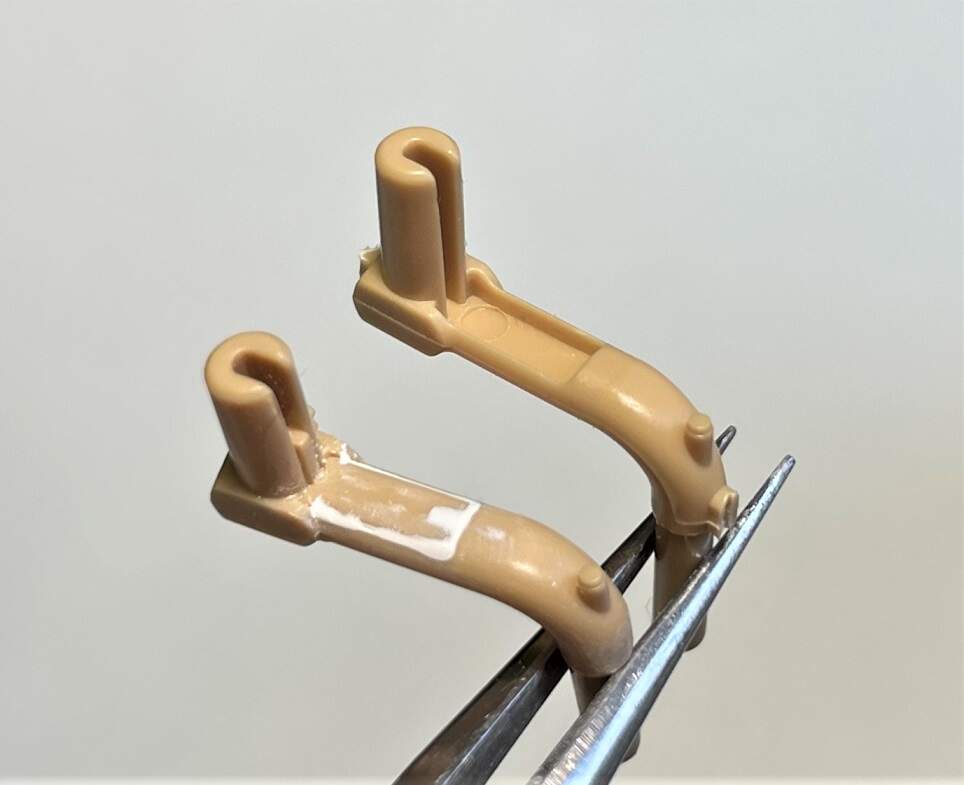
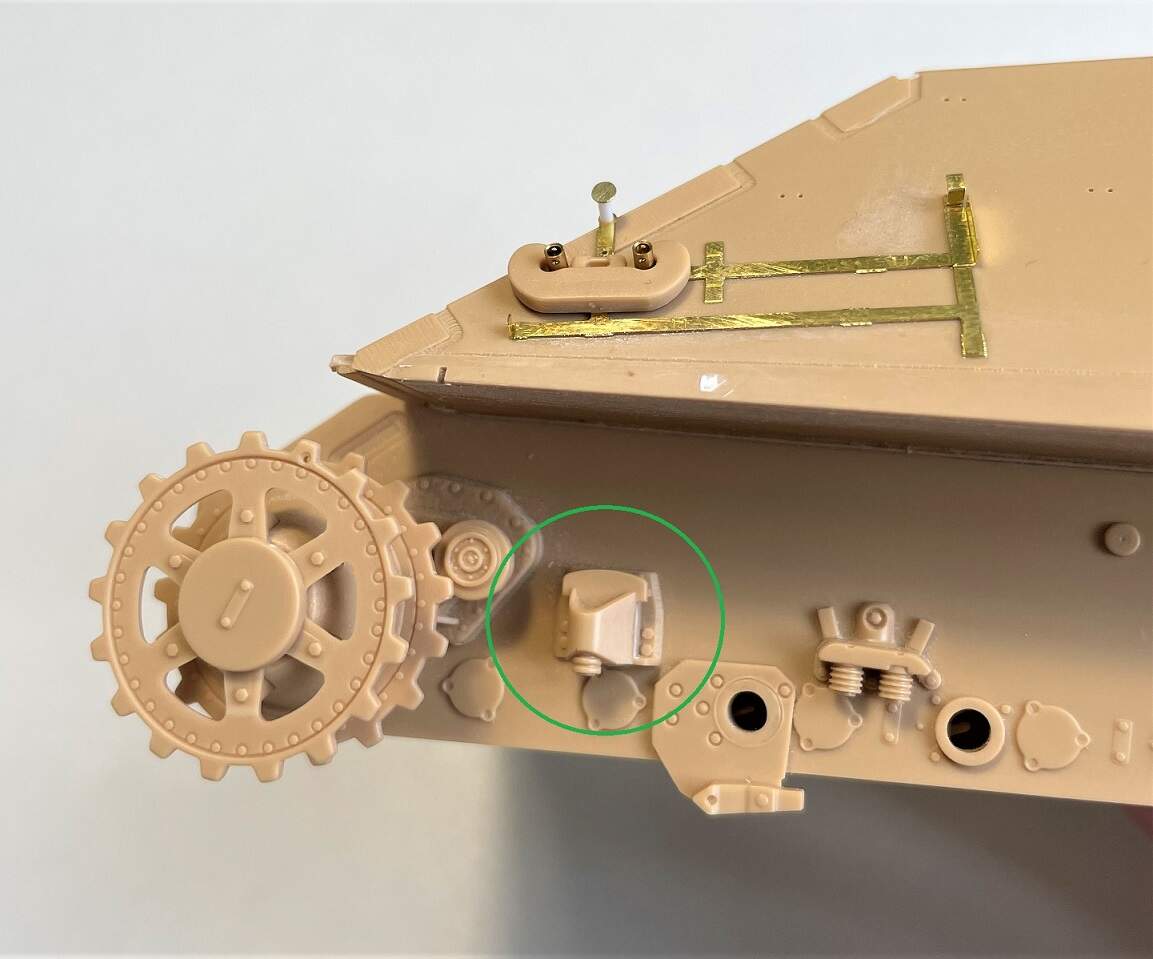
The only moulding issue I have seen is a small sink mark on some of the suspension arms, at the 90 degree bend in the arm, as shown below. Not really worth any attention or remedy, as it will be totally unseen once the road wheels are fixed on.