King Tiger Anneliese

This is what I am currently working on. It’s the famous “Anneliese” from the 503 Tank Battalion, in 1/48 scale.


The tank itself is basically done. I am working on the figures and extras to go with it. Then I will tweak up the mud and weathering to tie it all together.
I still have more photos to upload. I am not really doing a build log, so no step by step, but some in progress photos. Right now I am working on the crew faces. I am not very good at painting figures, and even worse now because of my eyesight. So far they are coming out OK.
Ken.

5 Likes

Looking really good!
Cant wait to see it finished.

Very nice looking model!..Did you apply the zimmerit using putty and what
figures are you using?
Cheers,

Thanks for the kind words. The zimmerit is from Monroe Purdue; it is laser etched paper, really great stuff.
Ken.

OK, I won’t go into this too much, because there is another thread on this subject, but I find that many modern kits are to pricy for my budget. Additionally, in my experience, with a little work and maybe some modern aftermarket bits, you can take an older kit and have come out really good. This is one of those.

This is the old 1/48 King Tiger from Bandai, made in the 1970s. It was pretty much cutting edge when it came out, and was the only thing available in that scale for decades. It is one of many kits I inherited from my dad, so it holds kind of a special place in my heart. It’s kind of a collaboration between him and me. He had the interior basically finished, and had started on the outside, with the suspension done and some painting. I would finish off by completing the exterior.

This is the interior pretty much as he built it. He did a really nice job on the Bandai engine. I added the radiator and cooling fan units to the engine bay, I found them on shapeways. The driver is a Bandai figure that came with the kit.

Bandai only provides the rear set of ammo racks, leaving most of the hull empty. I added a second set of racks to it. I found the red paint he used to paint the racks, the shells he had already painted up, so I just added them.

The turret interior is all his. The turret had gotten pretty broken up, especially the gun mount, so I had to do some repair work to get it all back together again. Once all the parts were back in place, I added some dirt to cover up the repairs. Unfortunately, most of this is hidden once the turret is put together.

2 Likes

:+1:t2:

Cheers,
C.

As I have already stated, this kit was top of the line when it came out, and can still look pretty good, but when I went to add the zimmerit I discovered the the true horror of this kit. On comparing it to the modern Tamiya kit, and the Monroe Purdue zimmerit, which is sized for the Tamiya kit; I discovered that every dimension and angle was wrong. Off. Incorrect! Every one. Not by much, and you would probably never notice unless you measured everything, but that is what you have to do when you add pre-cut zimmerit, especially if the zimmerit is made for another kit.
Now I am assuming that the Tamiya kit, given their reputation, is accurate. When laying out the zimmerit panels on the model, the panels would be too long, and need to trimmed down, or too short, or both, on the same piece. The worst was the turret. I started with the left side, because there is a cut-out for the bulge on that side, which limits your ability to adjust the fit. The zimmerit panel fit ok (not great) everywhere except the front, where it was too short and did not match the curve of the turret front at all.


I cut the front part off the panel and glued the rest on. Then I discovered that if I took the right side panel and turned it upside down, the curve lined up pretty well. So I cut the front off the right side panel and glued it to the front left. I glued the remaining part to the right side of the turret, and filled in the front part with an extra panel That MP included in the set. The joint was then covered with the spare track blocks. The piece for the gun mantlet just did not match up to the shape and compound curves at all, I ended up doing that piece with Milliput. I also used milliput to fill gaps and other imperfections.
The piece for the front slope (glacis plate) was too short, so I chipped up the bottom edge to show wear and tear. Also, the hole for the ball machine gun did not line up, so I had to recut the hole and fill in part of it.
The rear plate is a mess. The exhausts are placed too high and too far apart. This messes up the alignment of everything else. I ended up cutting the zimmerit panel in half and slipping it in top and bottom, redoing the openings to fit what was there, then chipping and chopping it up to show wear from working on the engine.
Once all the work was done, it looked pretty good.
Ken.

1 Like

Grauwolf: most of the figures are from Royal Model. They make a resin set with the winter uniform, it is available in several scales.


The guy in the radio operators hatch is from Blackdog.
a problem I ran into is that the hatch openings are too small, the RM figures, in their bulky winter clothing, did not fit (even the Bandai figures would not fit through the hatches, and they came with the kit). The two half figures had to be filed down to get them into their hatches. The busts wouldn’t fit at all. So I substituted the Blackdog figure for the radio op. As an experiment, I have grafted one of the RM busts onto the lower body and arms of an old Lindberg figure. We’ll see how that turns out.
Ken.

2 Likes

Ah yes!..I have seen these…a little pricey but heck you get what you pay for…Excellent sculpting!
Cheers,

I really needed the winter uniforms to do this right. Otherwise, I would have just used what figures I already have. But there is a really good photo of the crew in the winter uniform, so that is what I am doing.
Anneliese_314_1

As I said earlier, the Bandai kits were really great when they first came out, back in the 1970s. Even today, this kit has a few advantages over the Tamiya kit. First off, it has an interior, with engine. The interiors of the old Bandai kits were, for the most part, fairly accurate. Their biggest error was one of omission - they just left a lot of stuff out. All of the hatches on this tank can be posed open or closed. Additionally, the transmission access plate (where the drivers hatches are) is a separate piece and can be left open to show the drivers area. All the tools are separate pieces, some of the Tamiya parts are molded to the hull. The cupola is well molded, with openings for the periscopes. The roadwheels are good. Even the gun is OK. Unfortunately, the tracks suck. The tracks are thick, ugly, vinyl “rubber band” tracks, typical of 1970s kits. The quality of the Bandai tracks varied considerably between kits. Some, like the Panzer III, are pretty good, these are not. They are thick, stiff, have very little detail on the outside, and none on the inside. I knew they would be the first thing to go. I replaced them with some Friul tracks. Awesome! Very little cleanup and went together like a dream. Getting them on was tough, I broke several roadwheels and one idler, but I got it done, see photos above. It looks so much better with those tracks on; lets face it, on a tank, tracks can make or break it. It’s too bad the model companies didn’t understand that back then (and sometimes don’t seem to understand it now)!

Photos of the real tank show it being repaired. The right track is removed, and the engine deck is opened up. Radiators, fans, and other engine-related parts are stacked up un the rear deck and on top of the turret. I am showing the tank after these repairs have been completed, and the tank sent back into combat. I figured that the radiators and other bits would have dripped oil, grease, cooling liquid, dirt and grime on top of the tank, so I really dirtied this area up.

Since it has gone back into combat, I added some fresh shell impacts.

1 Like

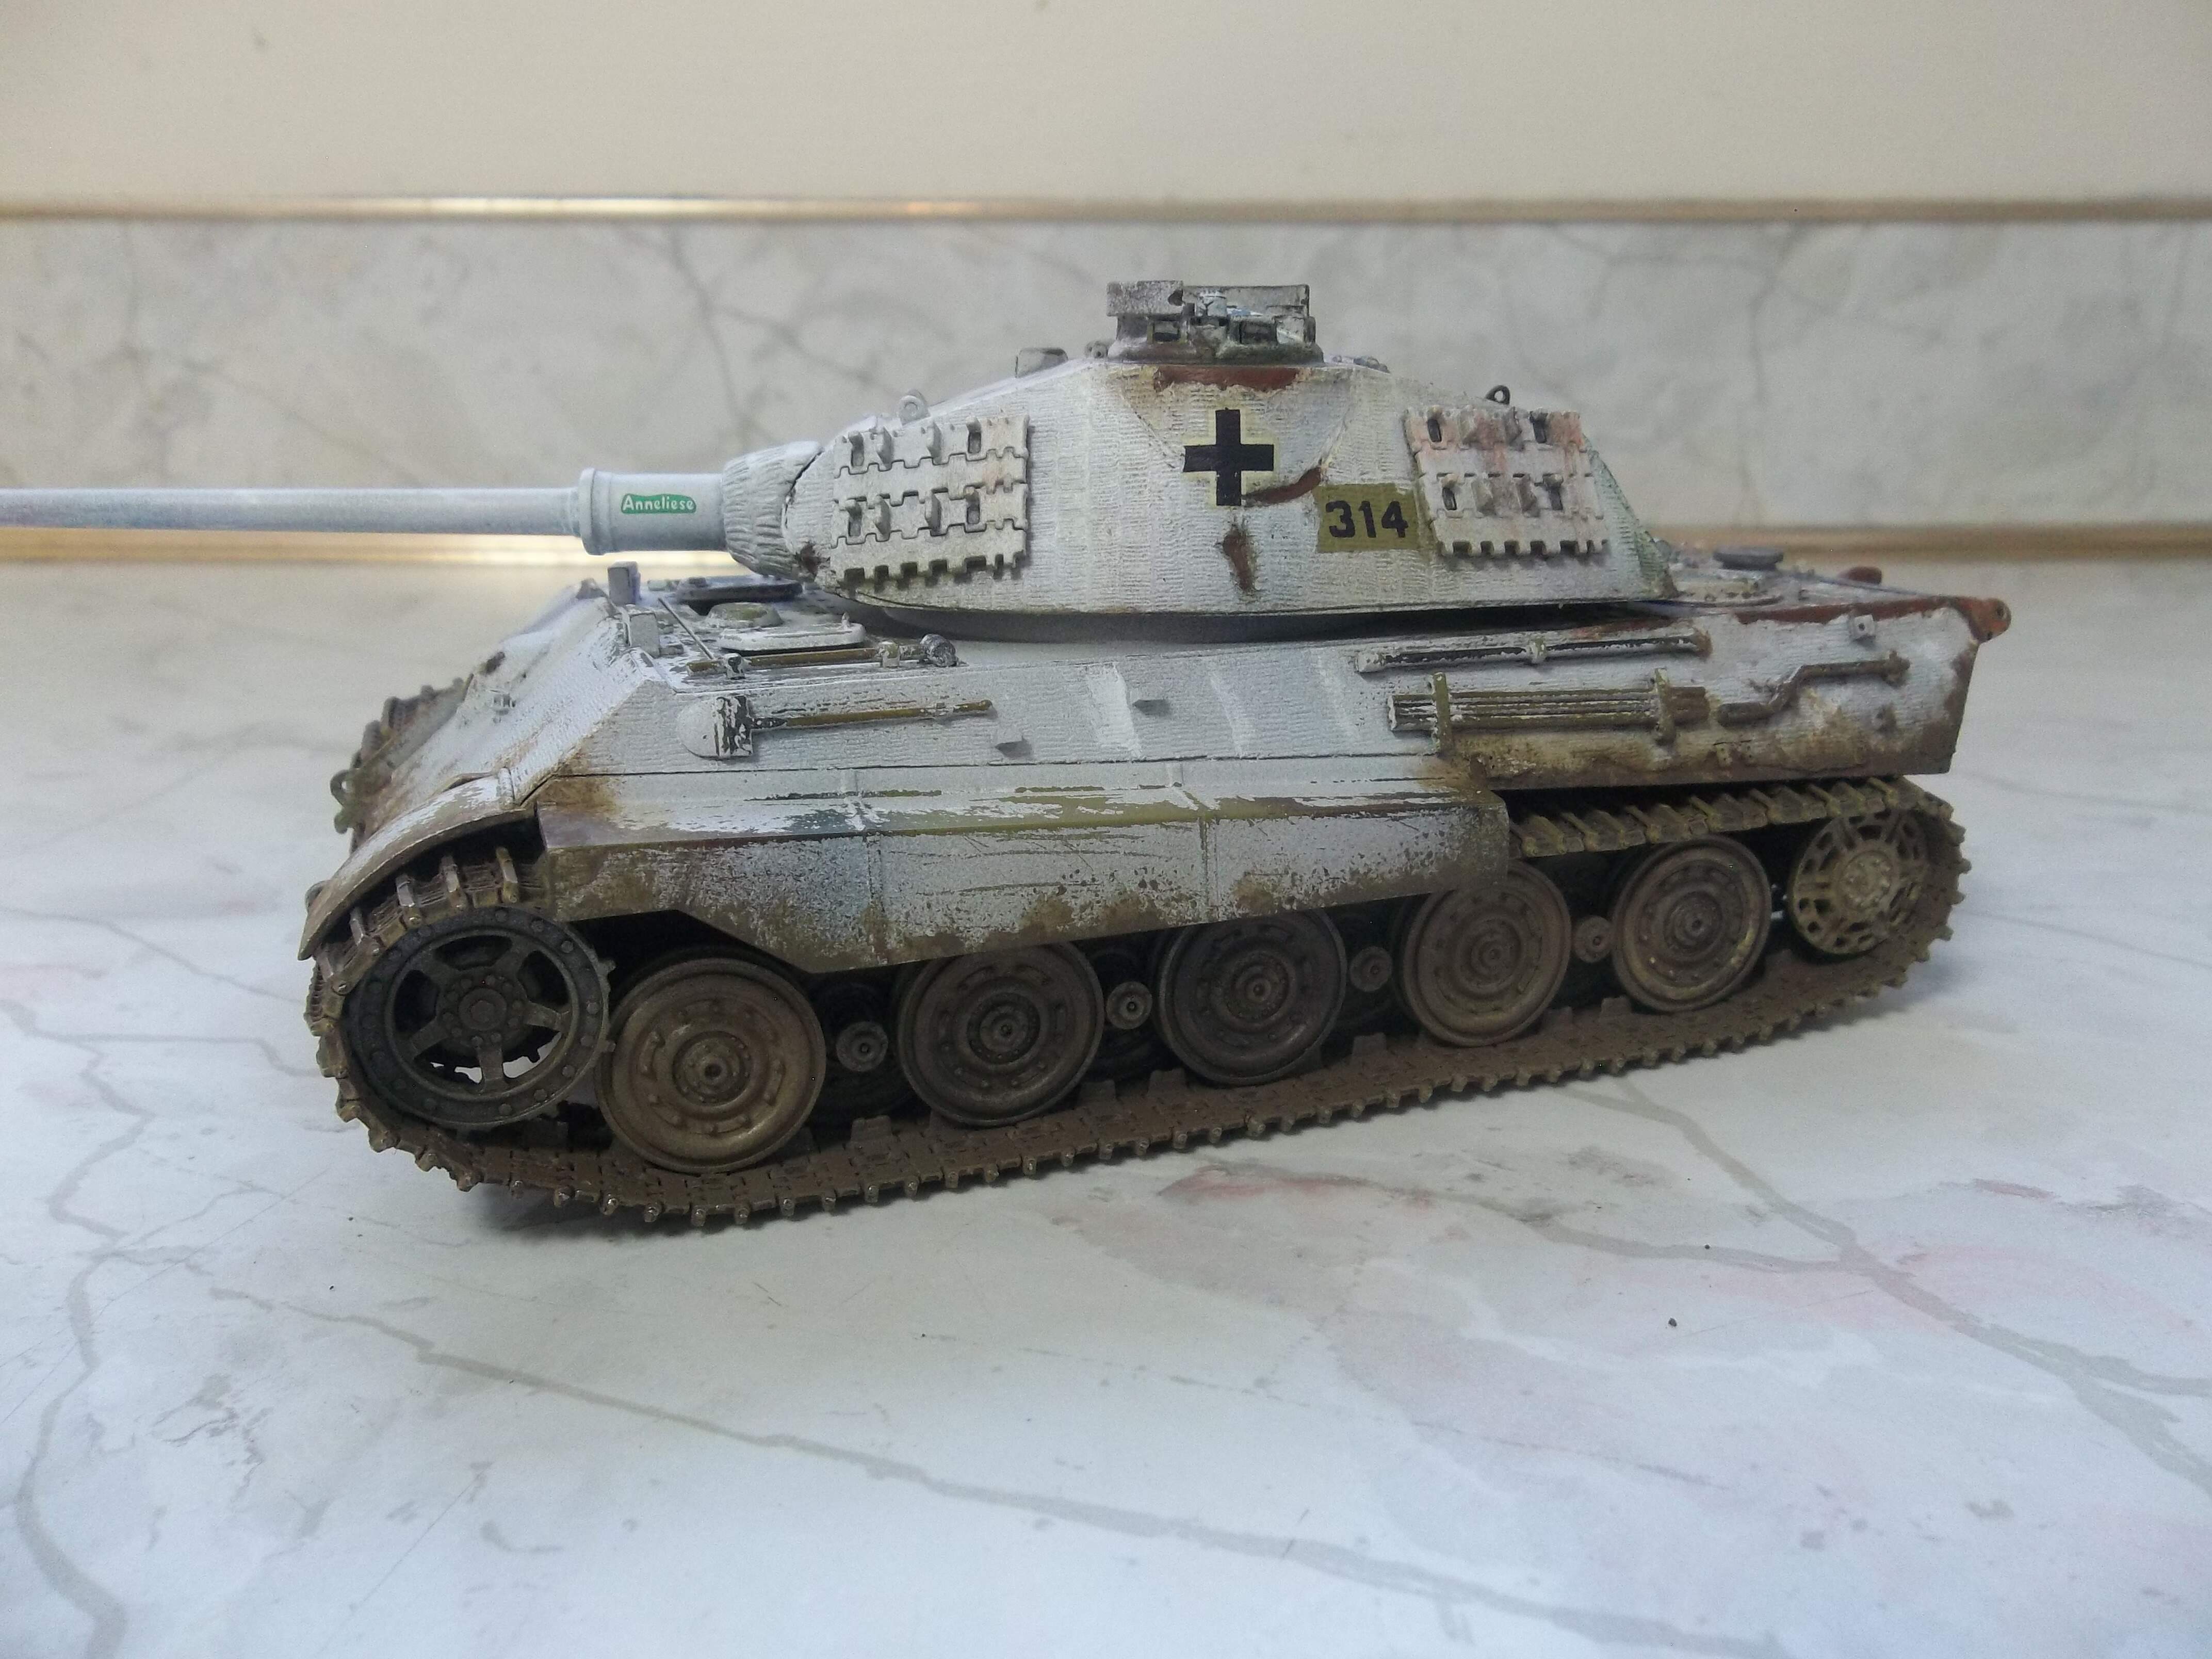
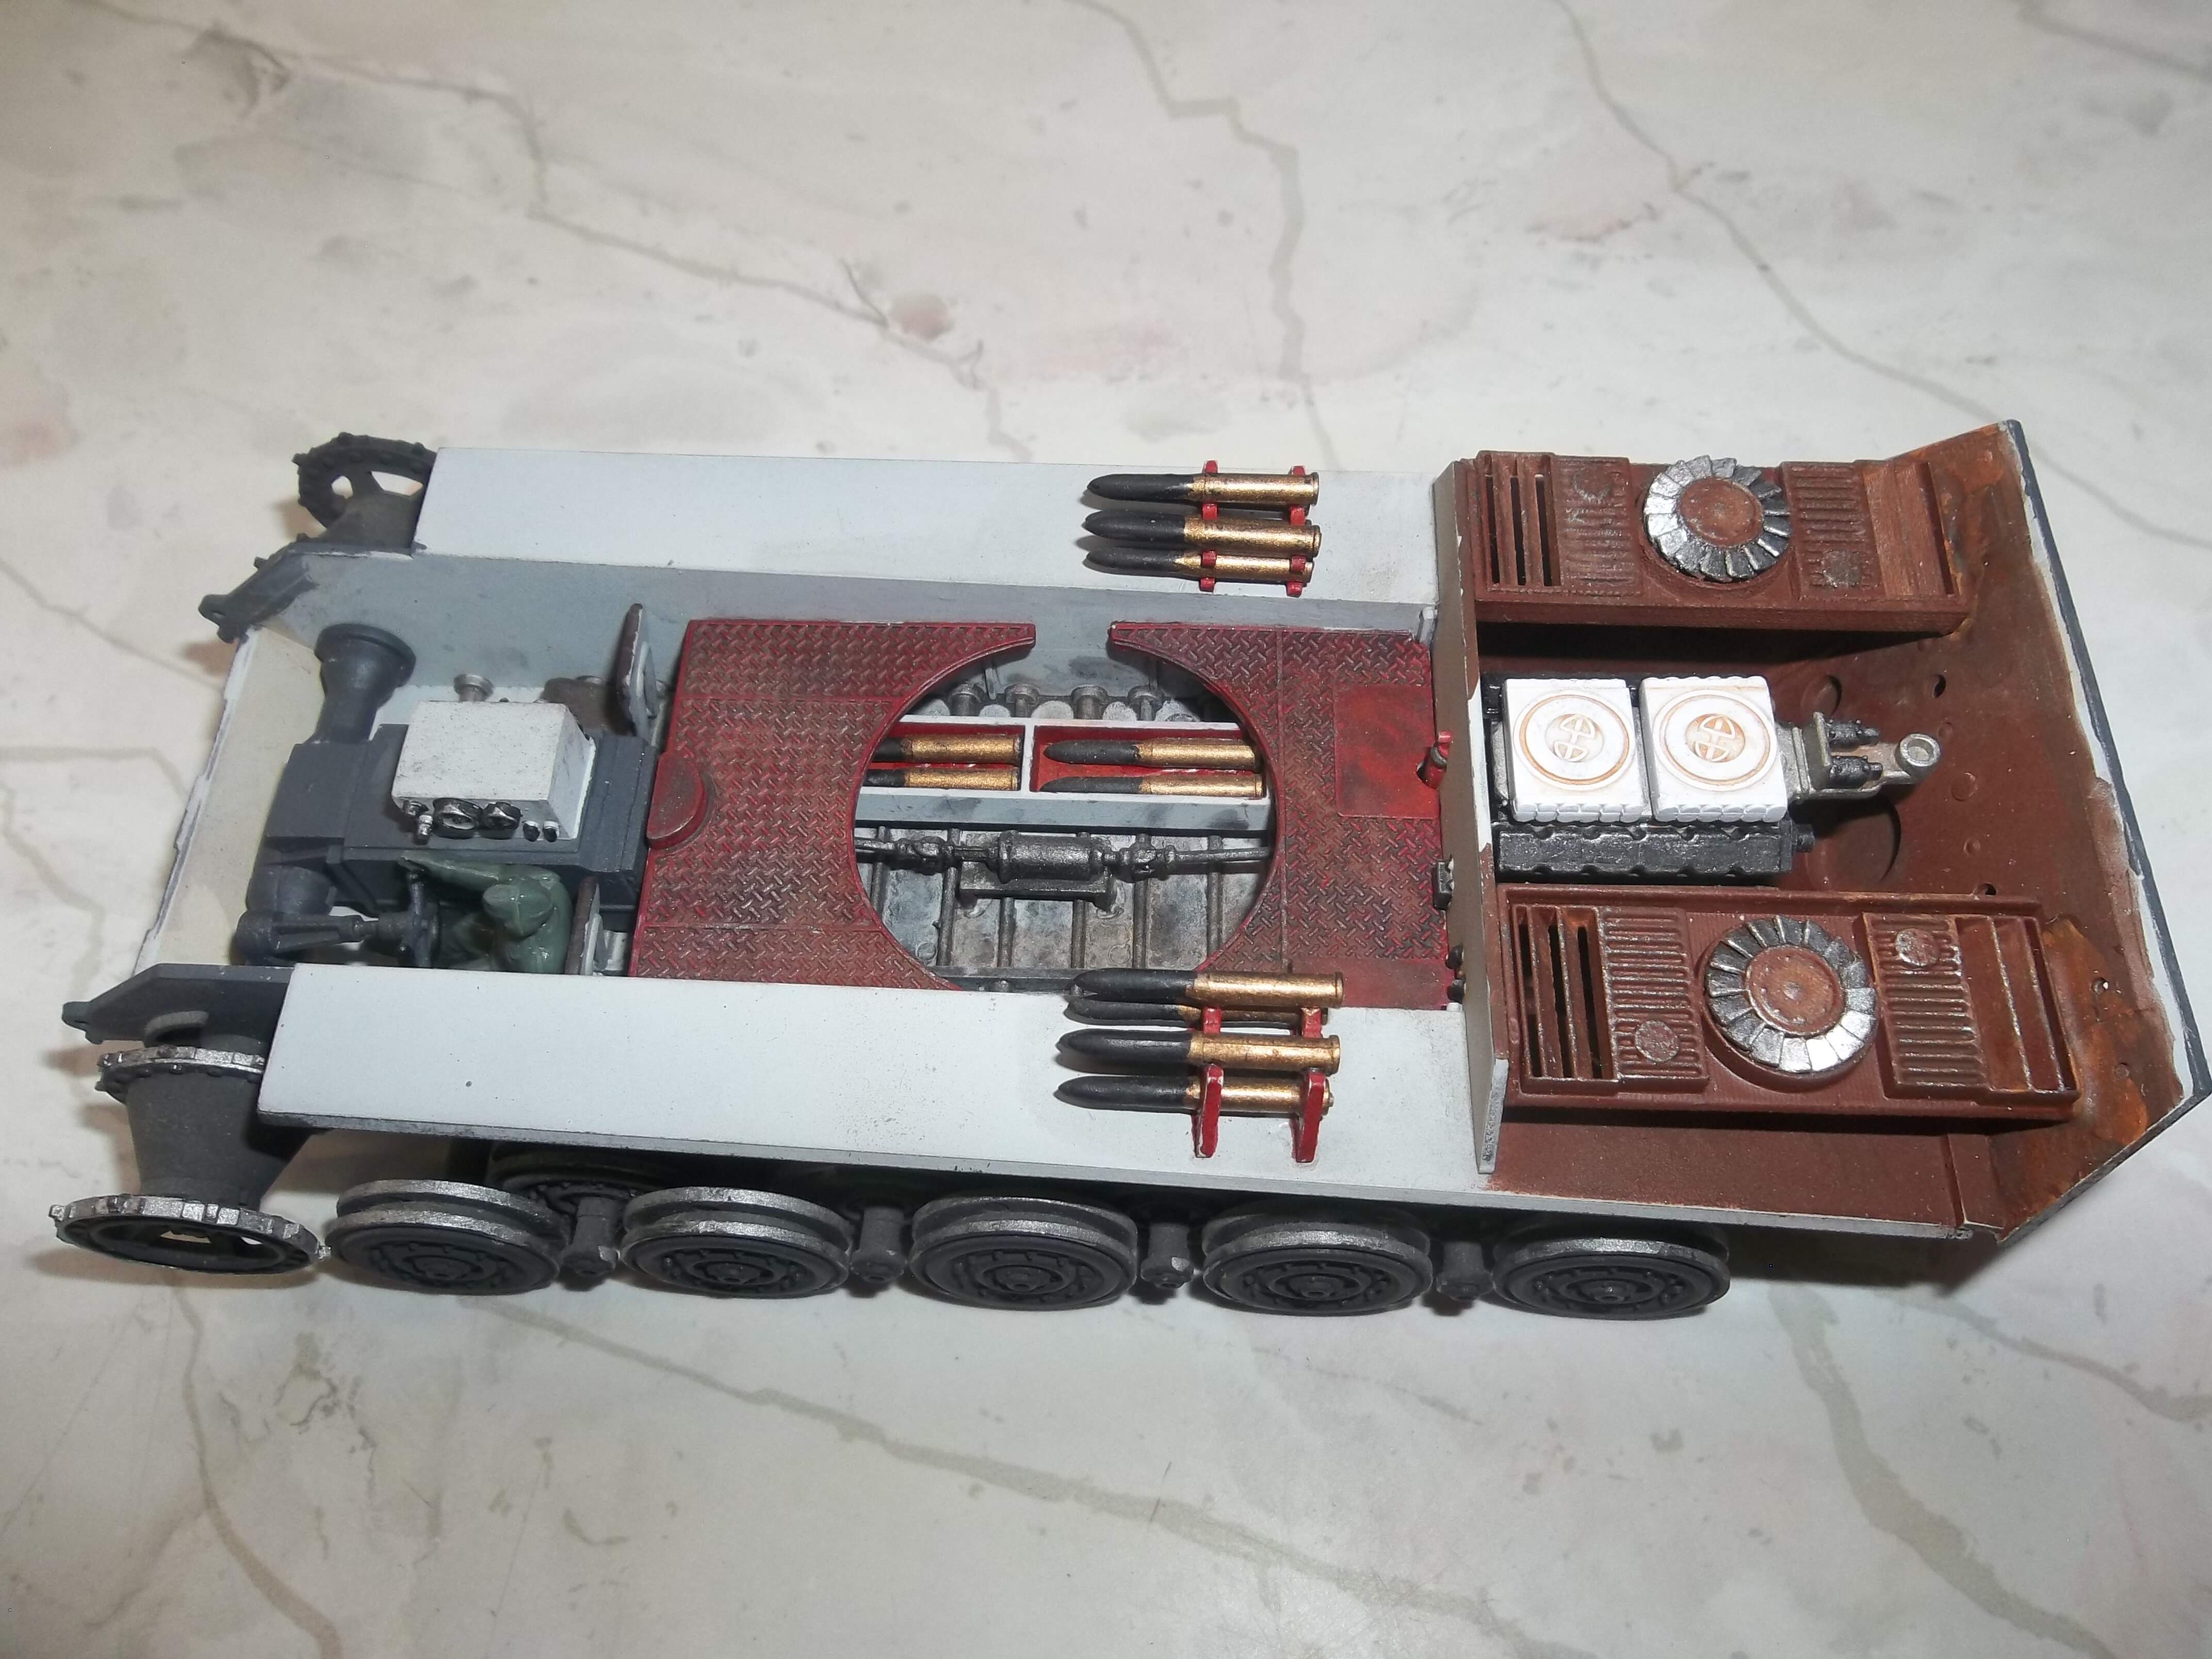
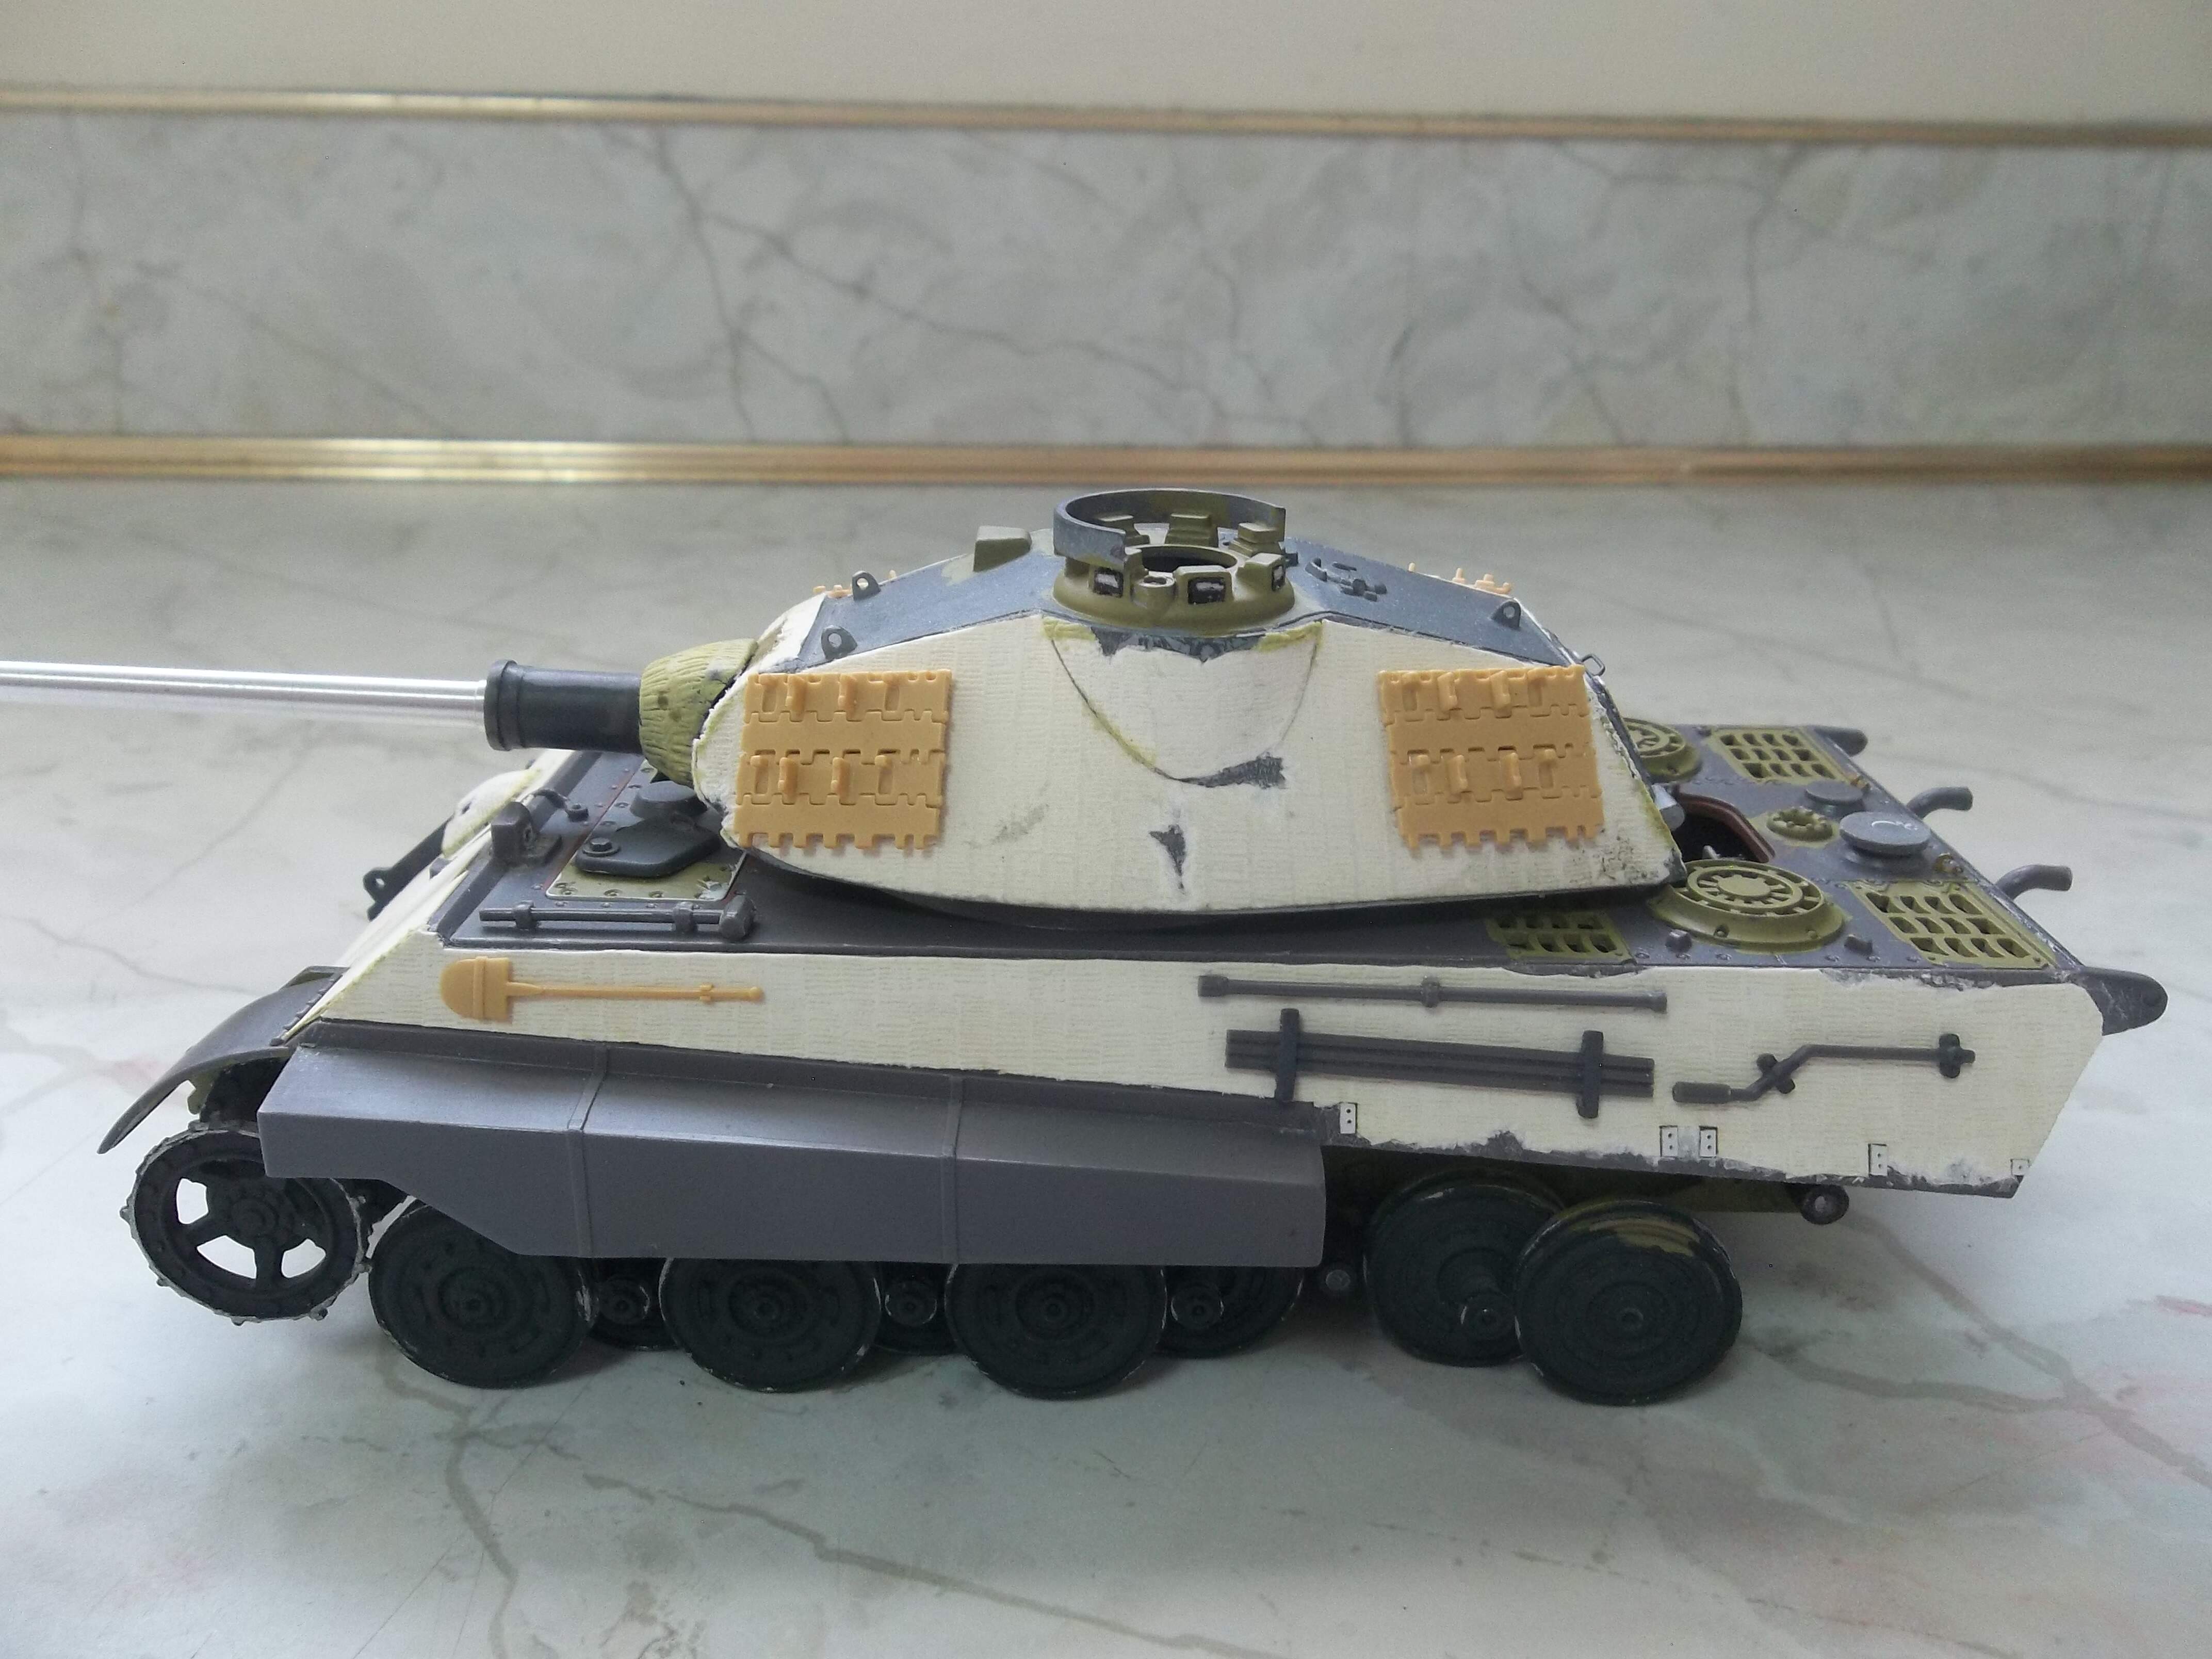
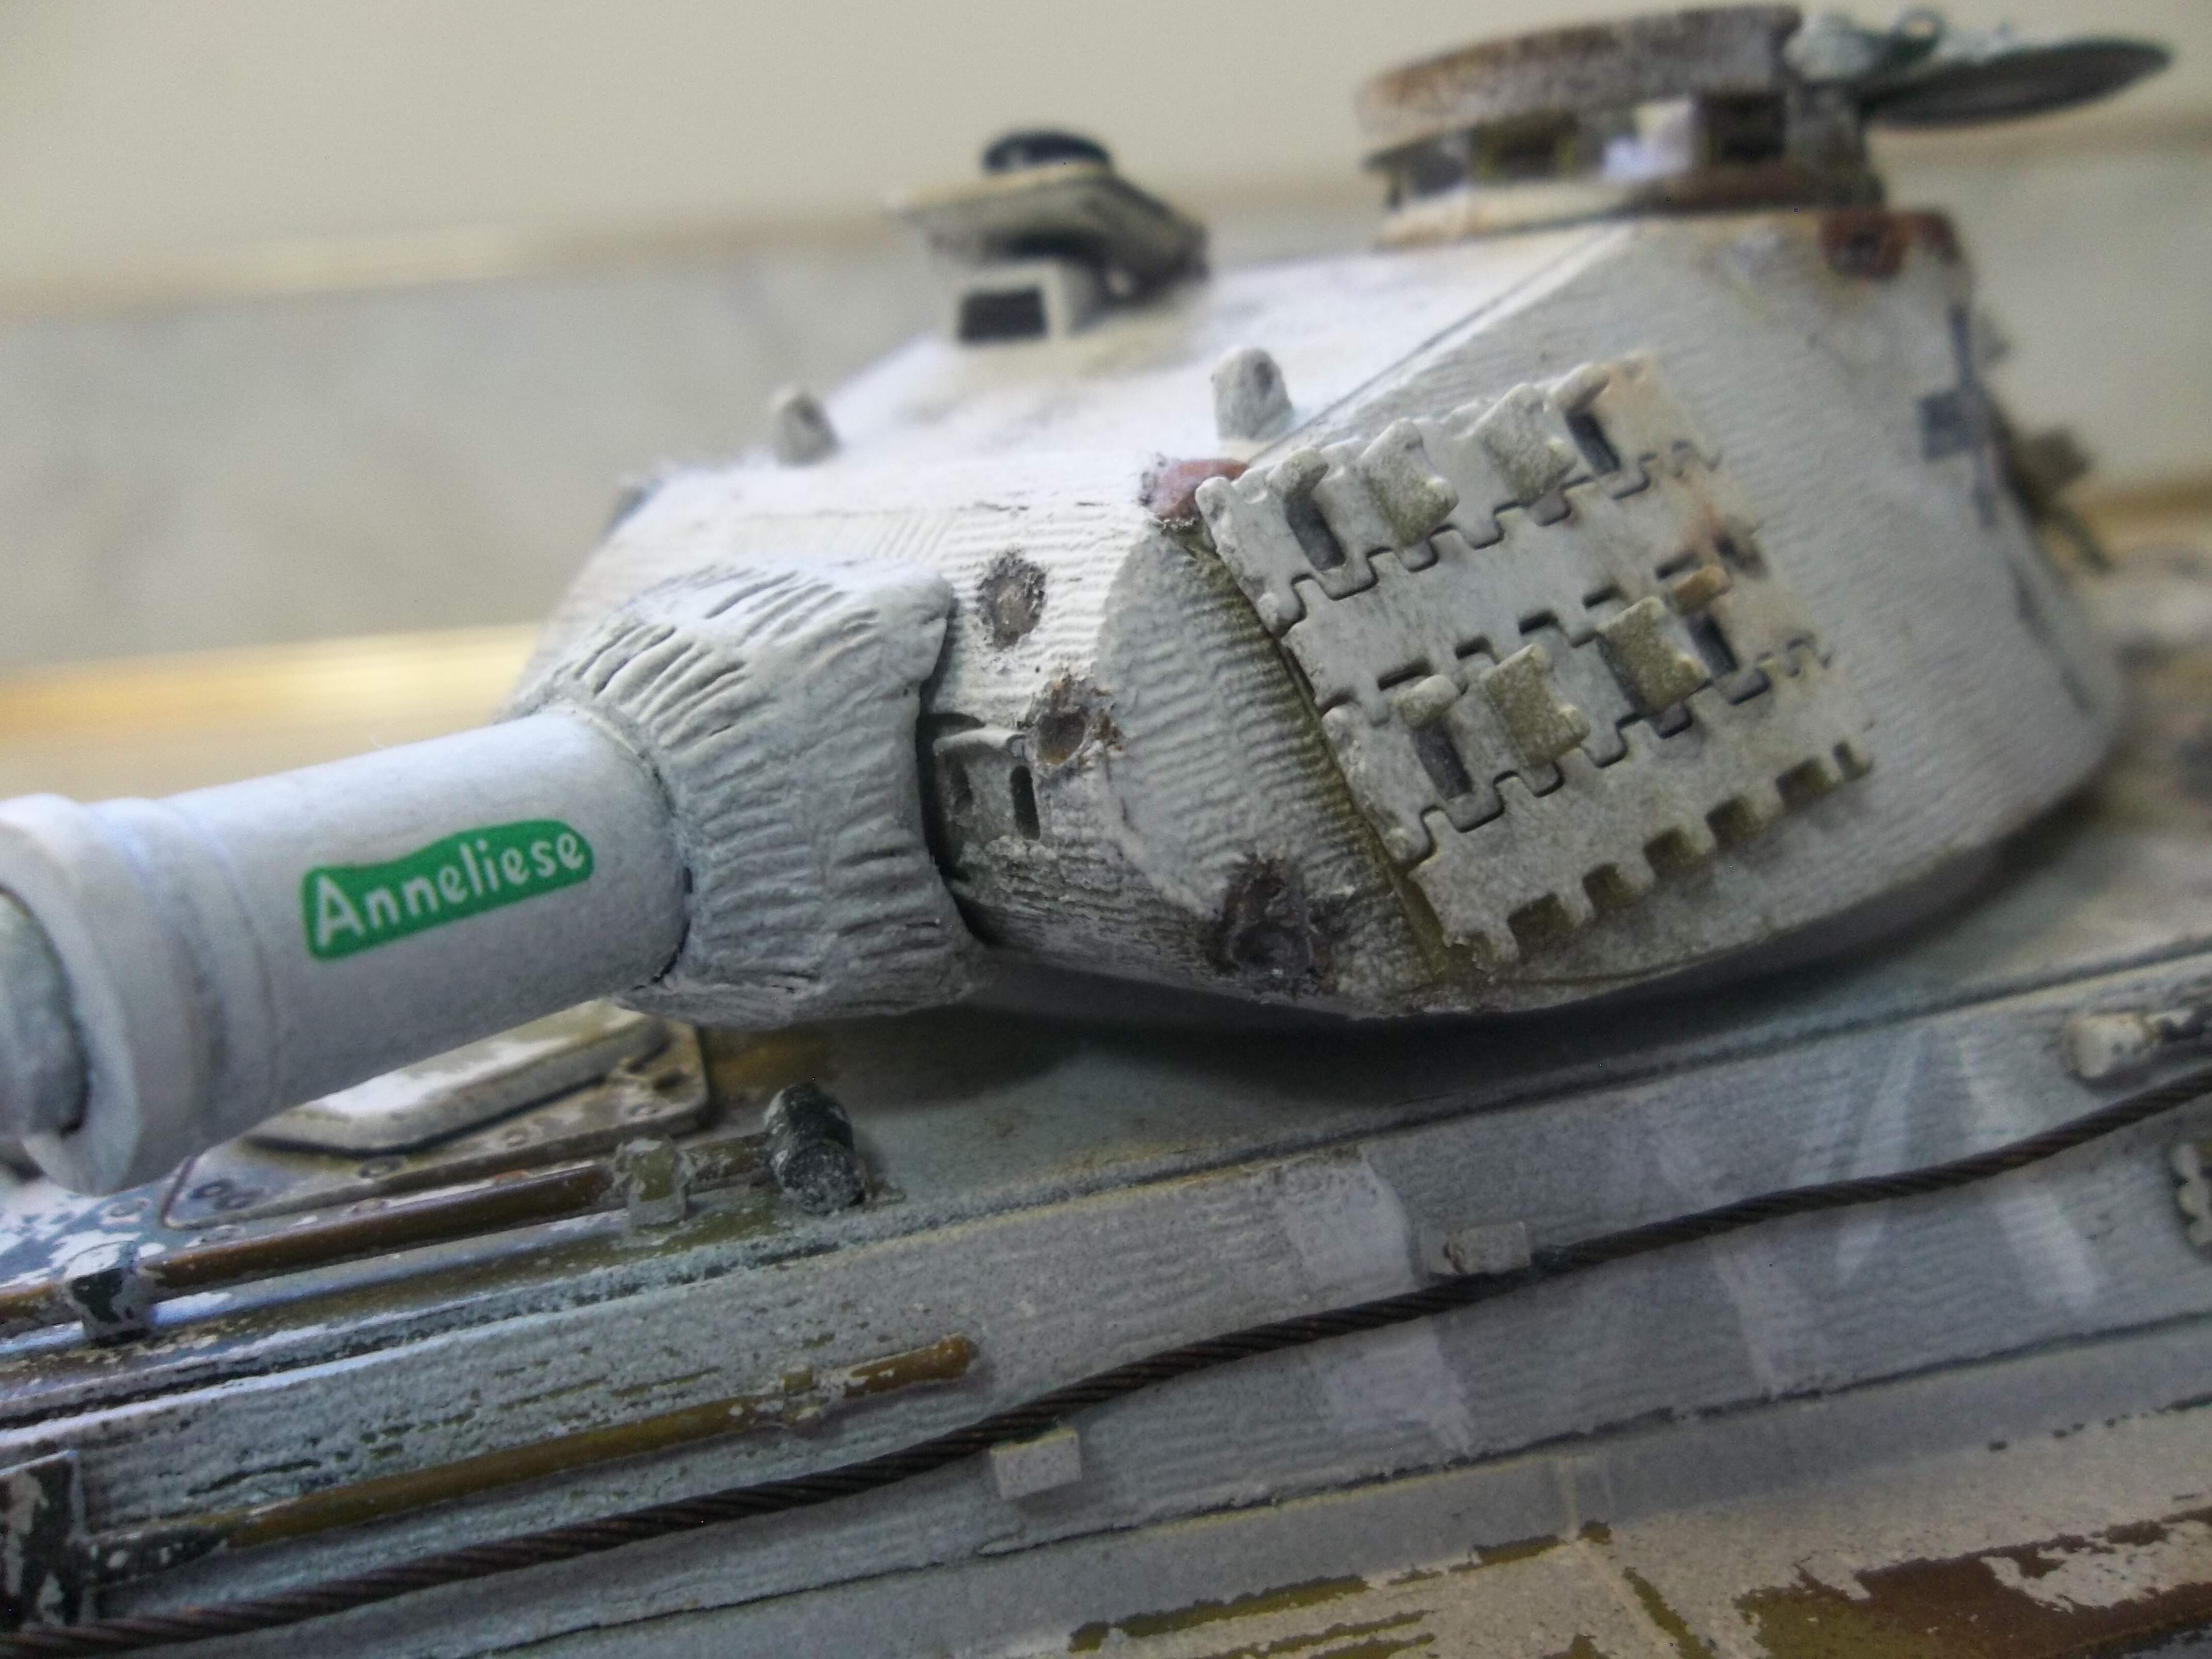
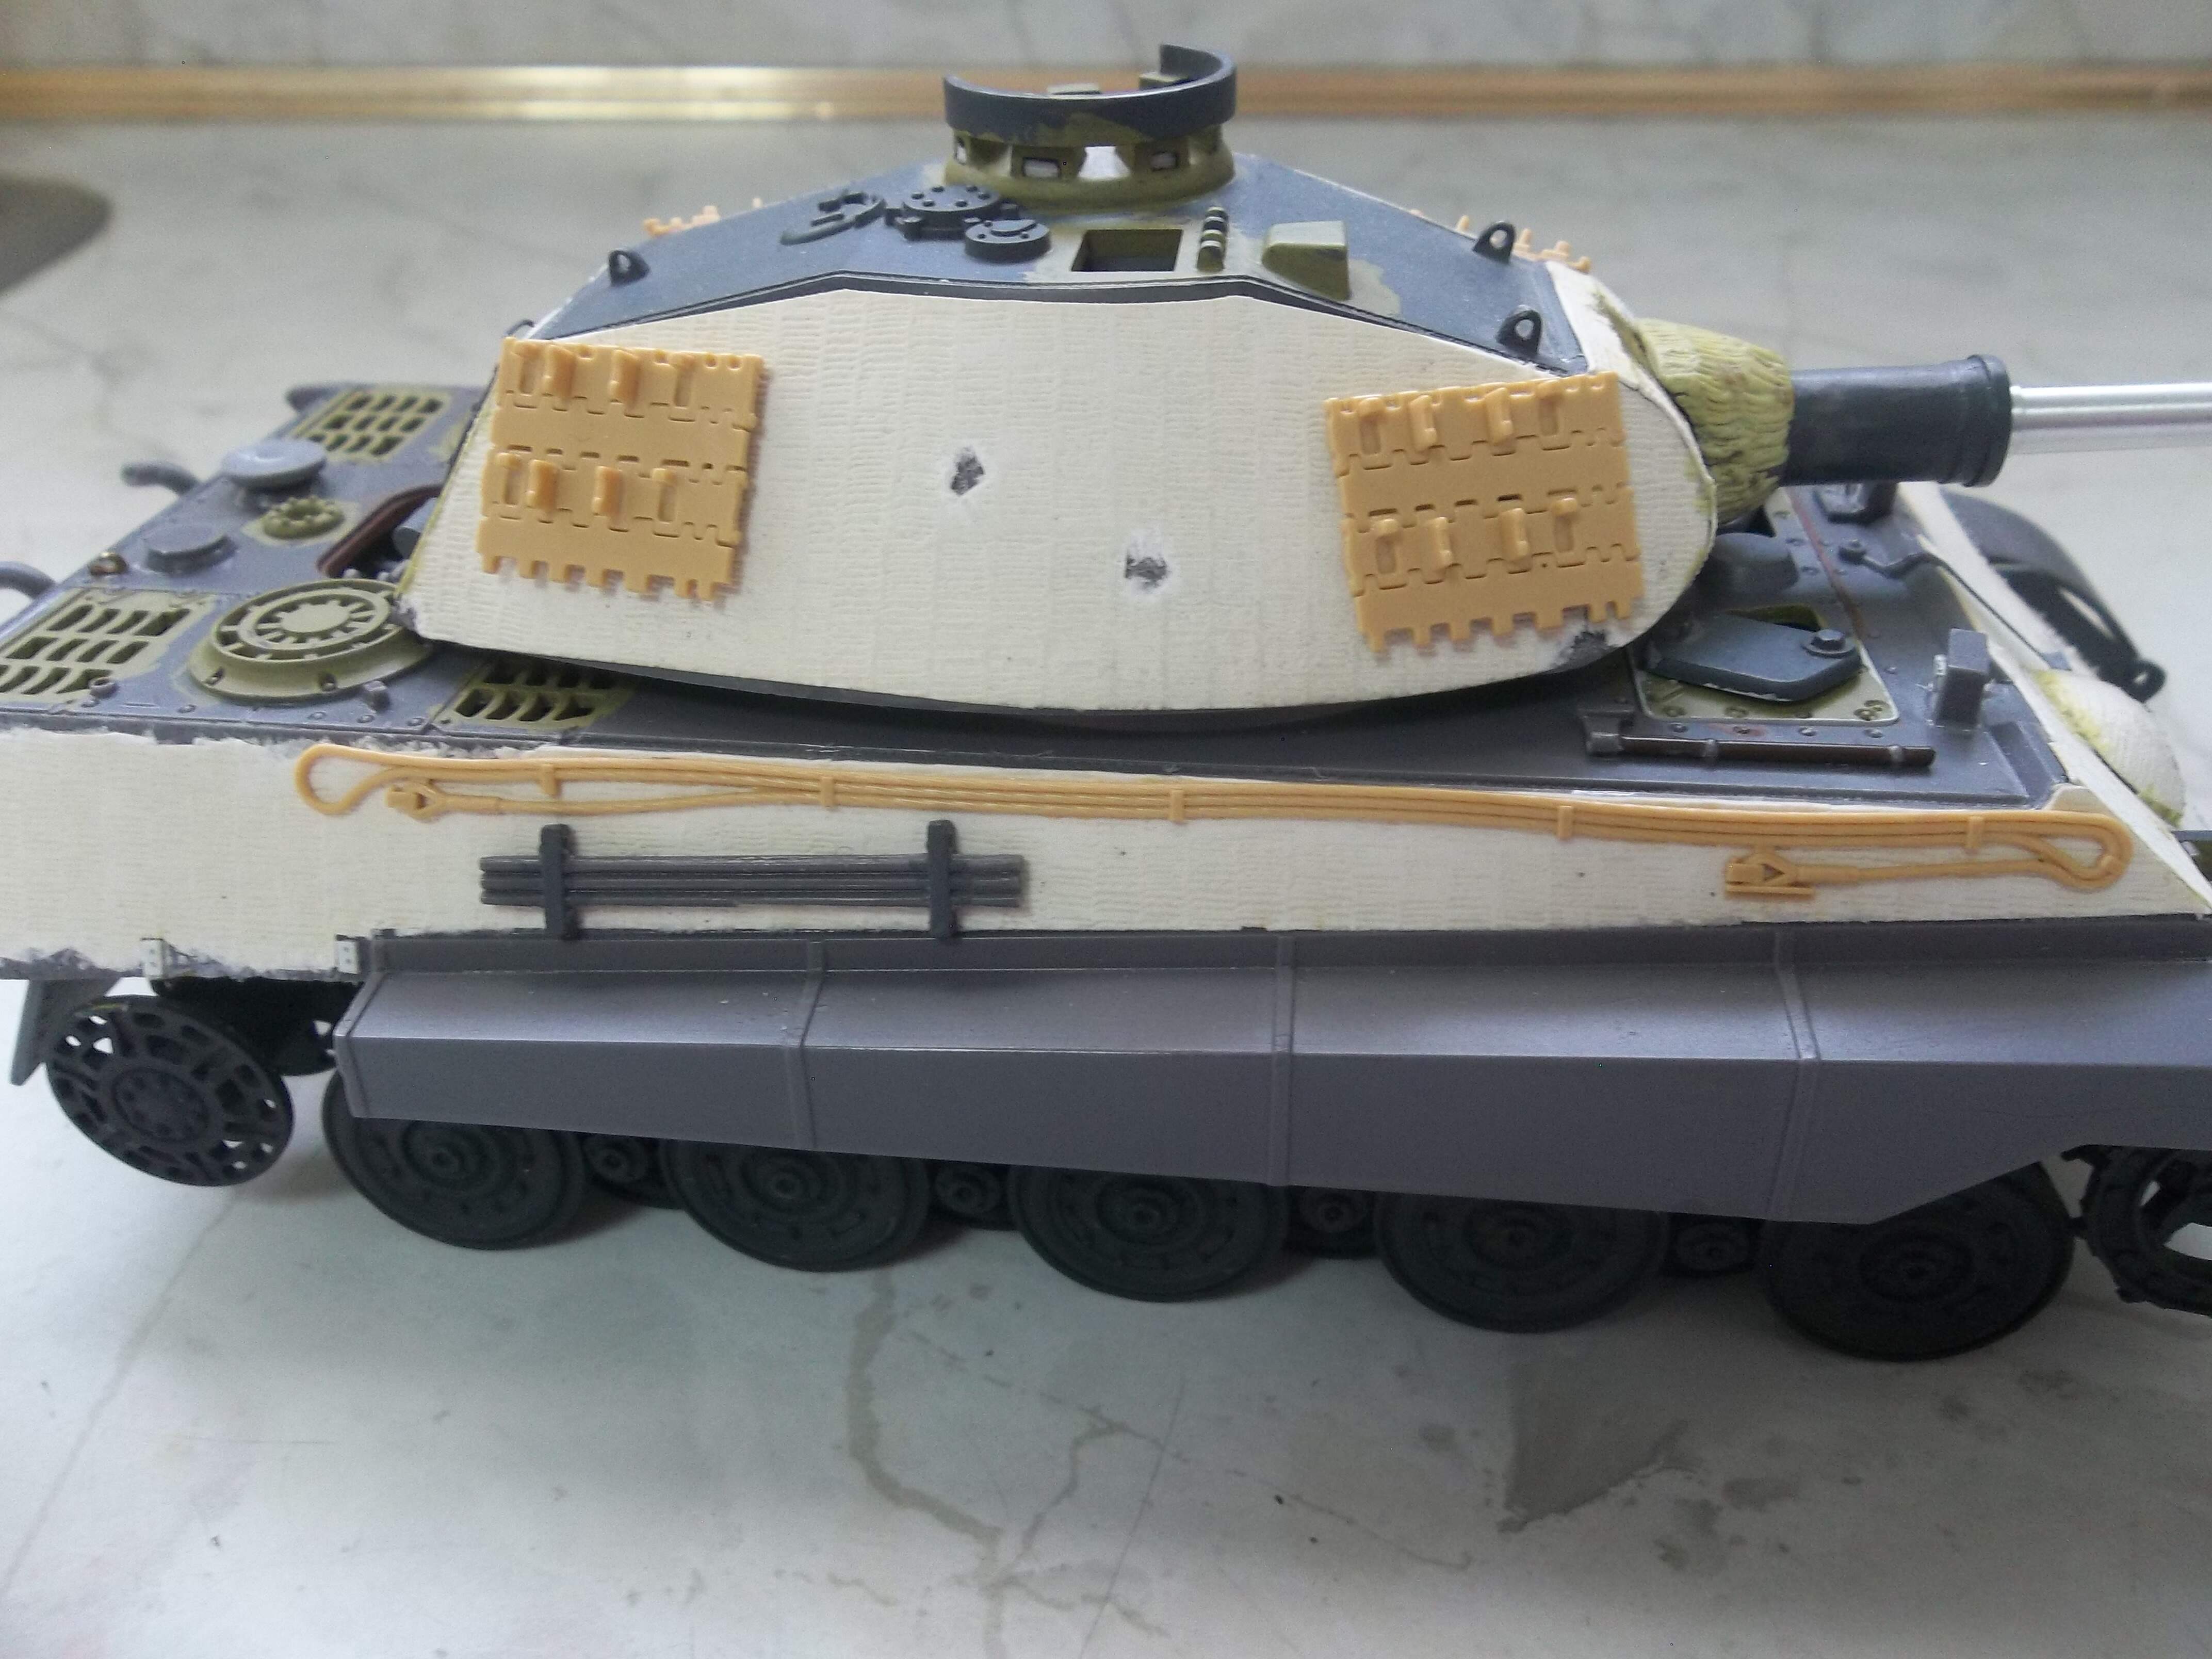
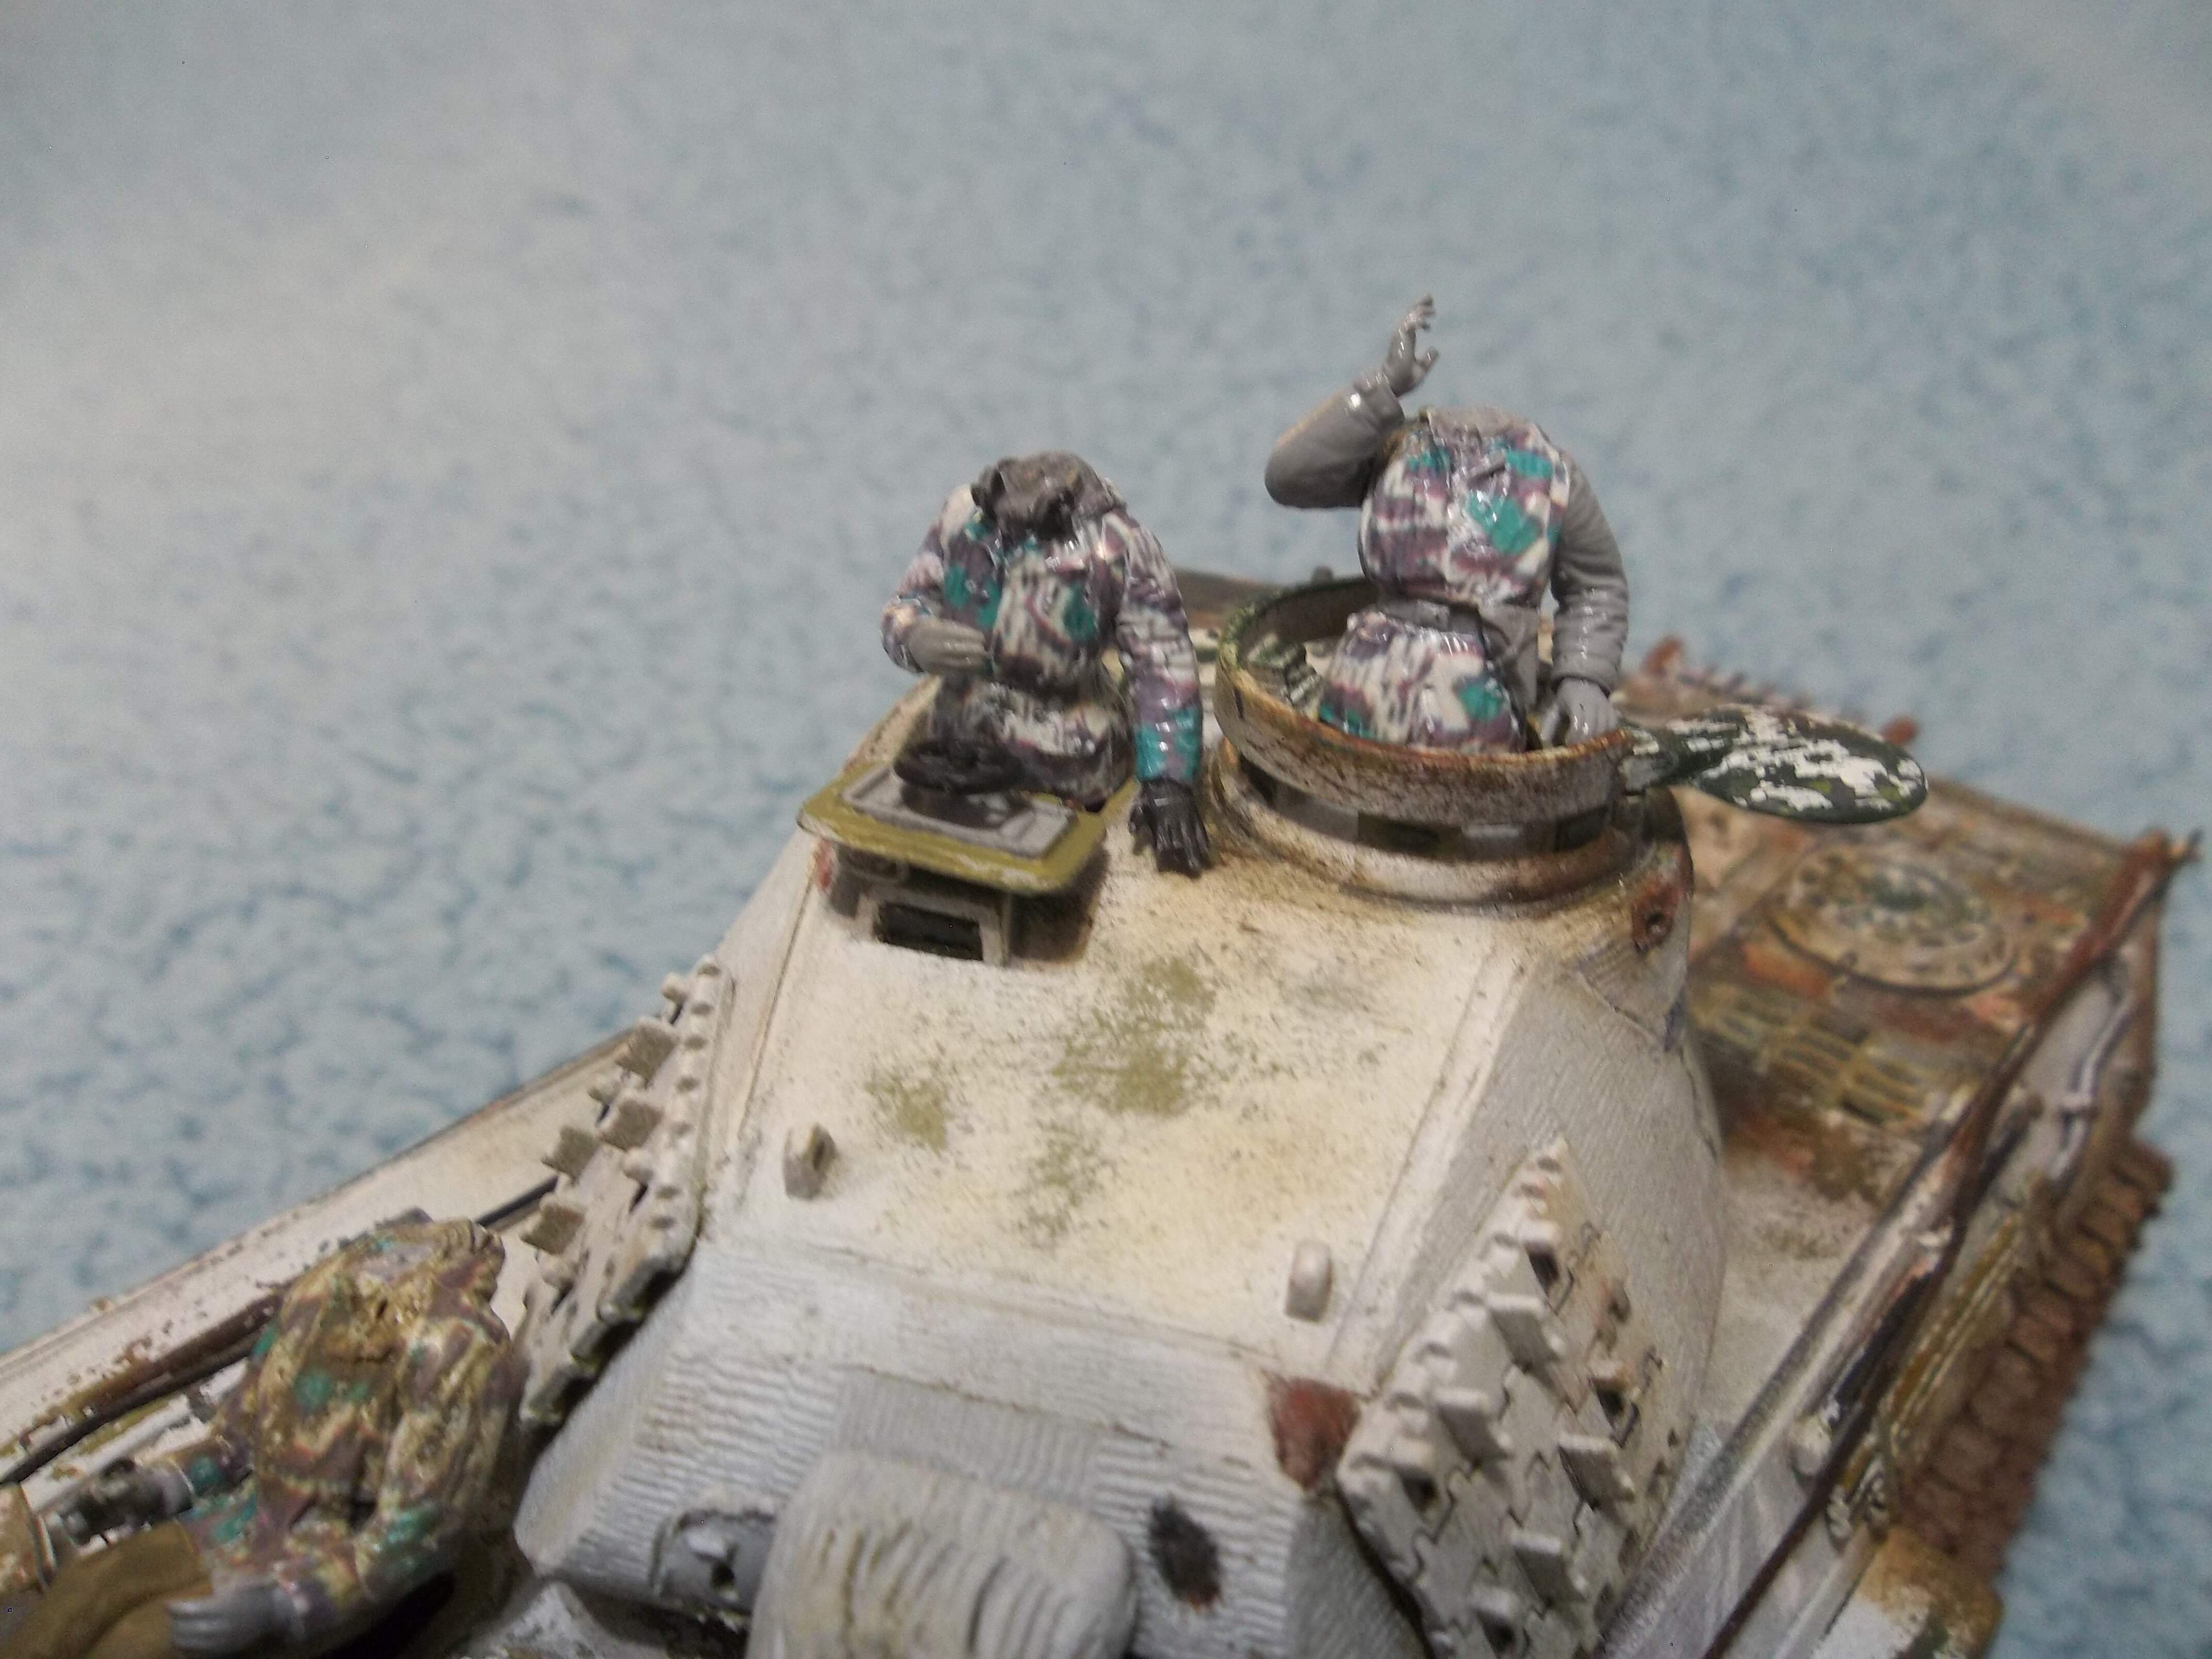
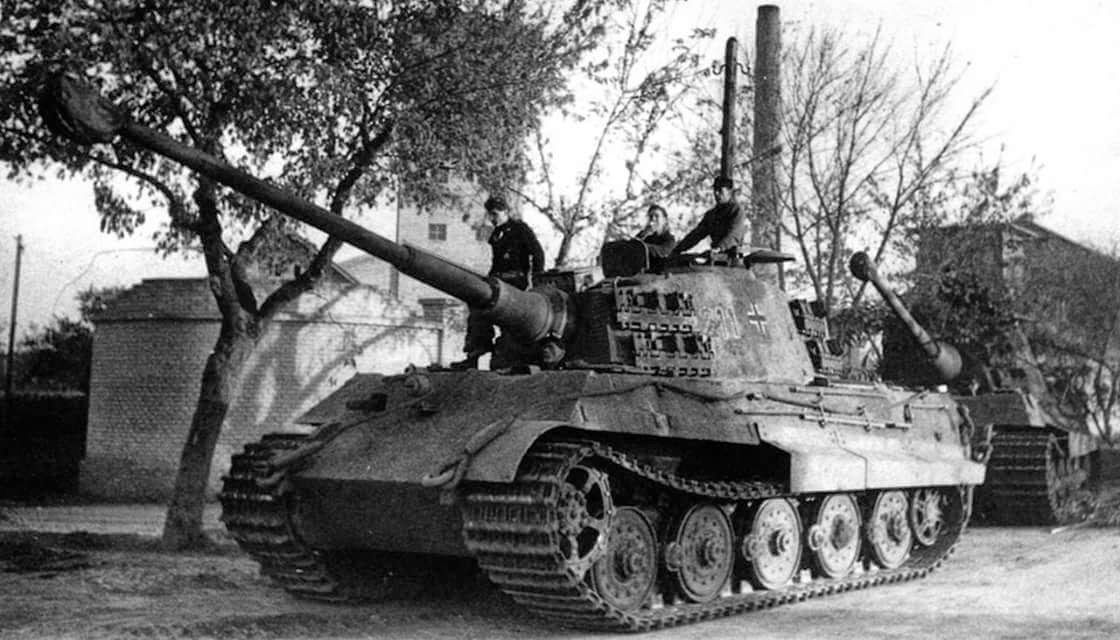
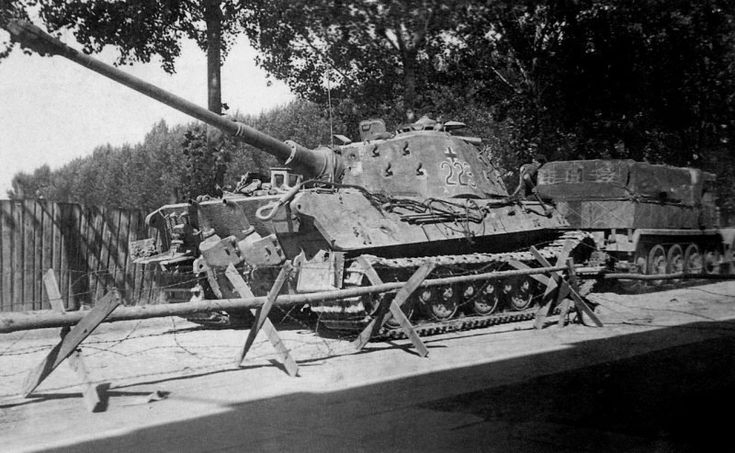
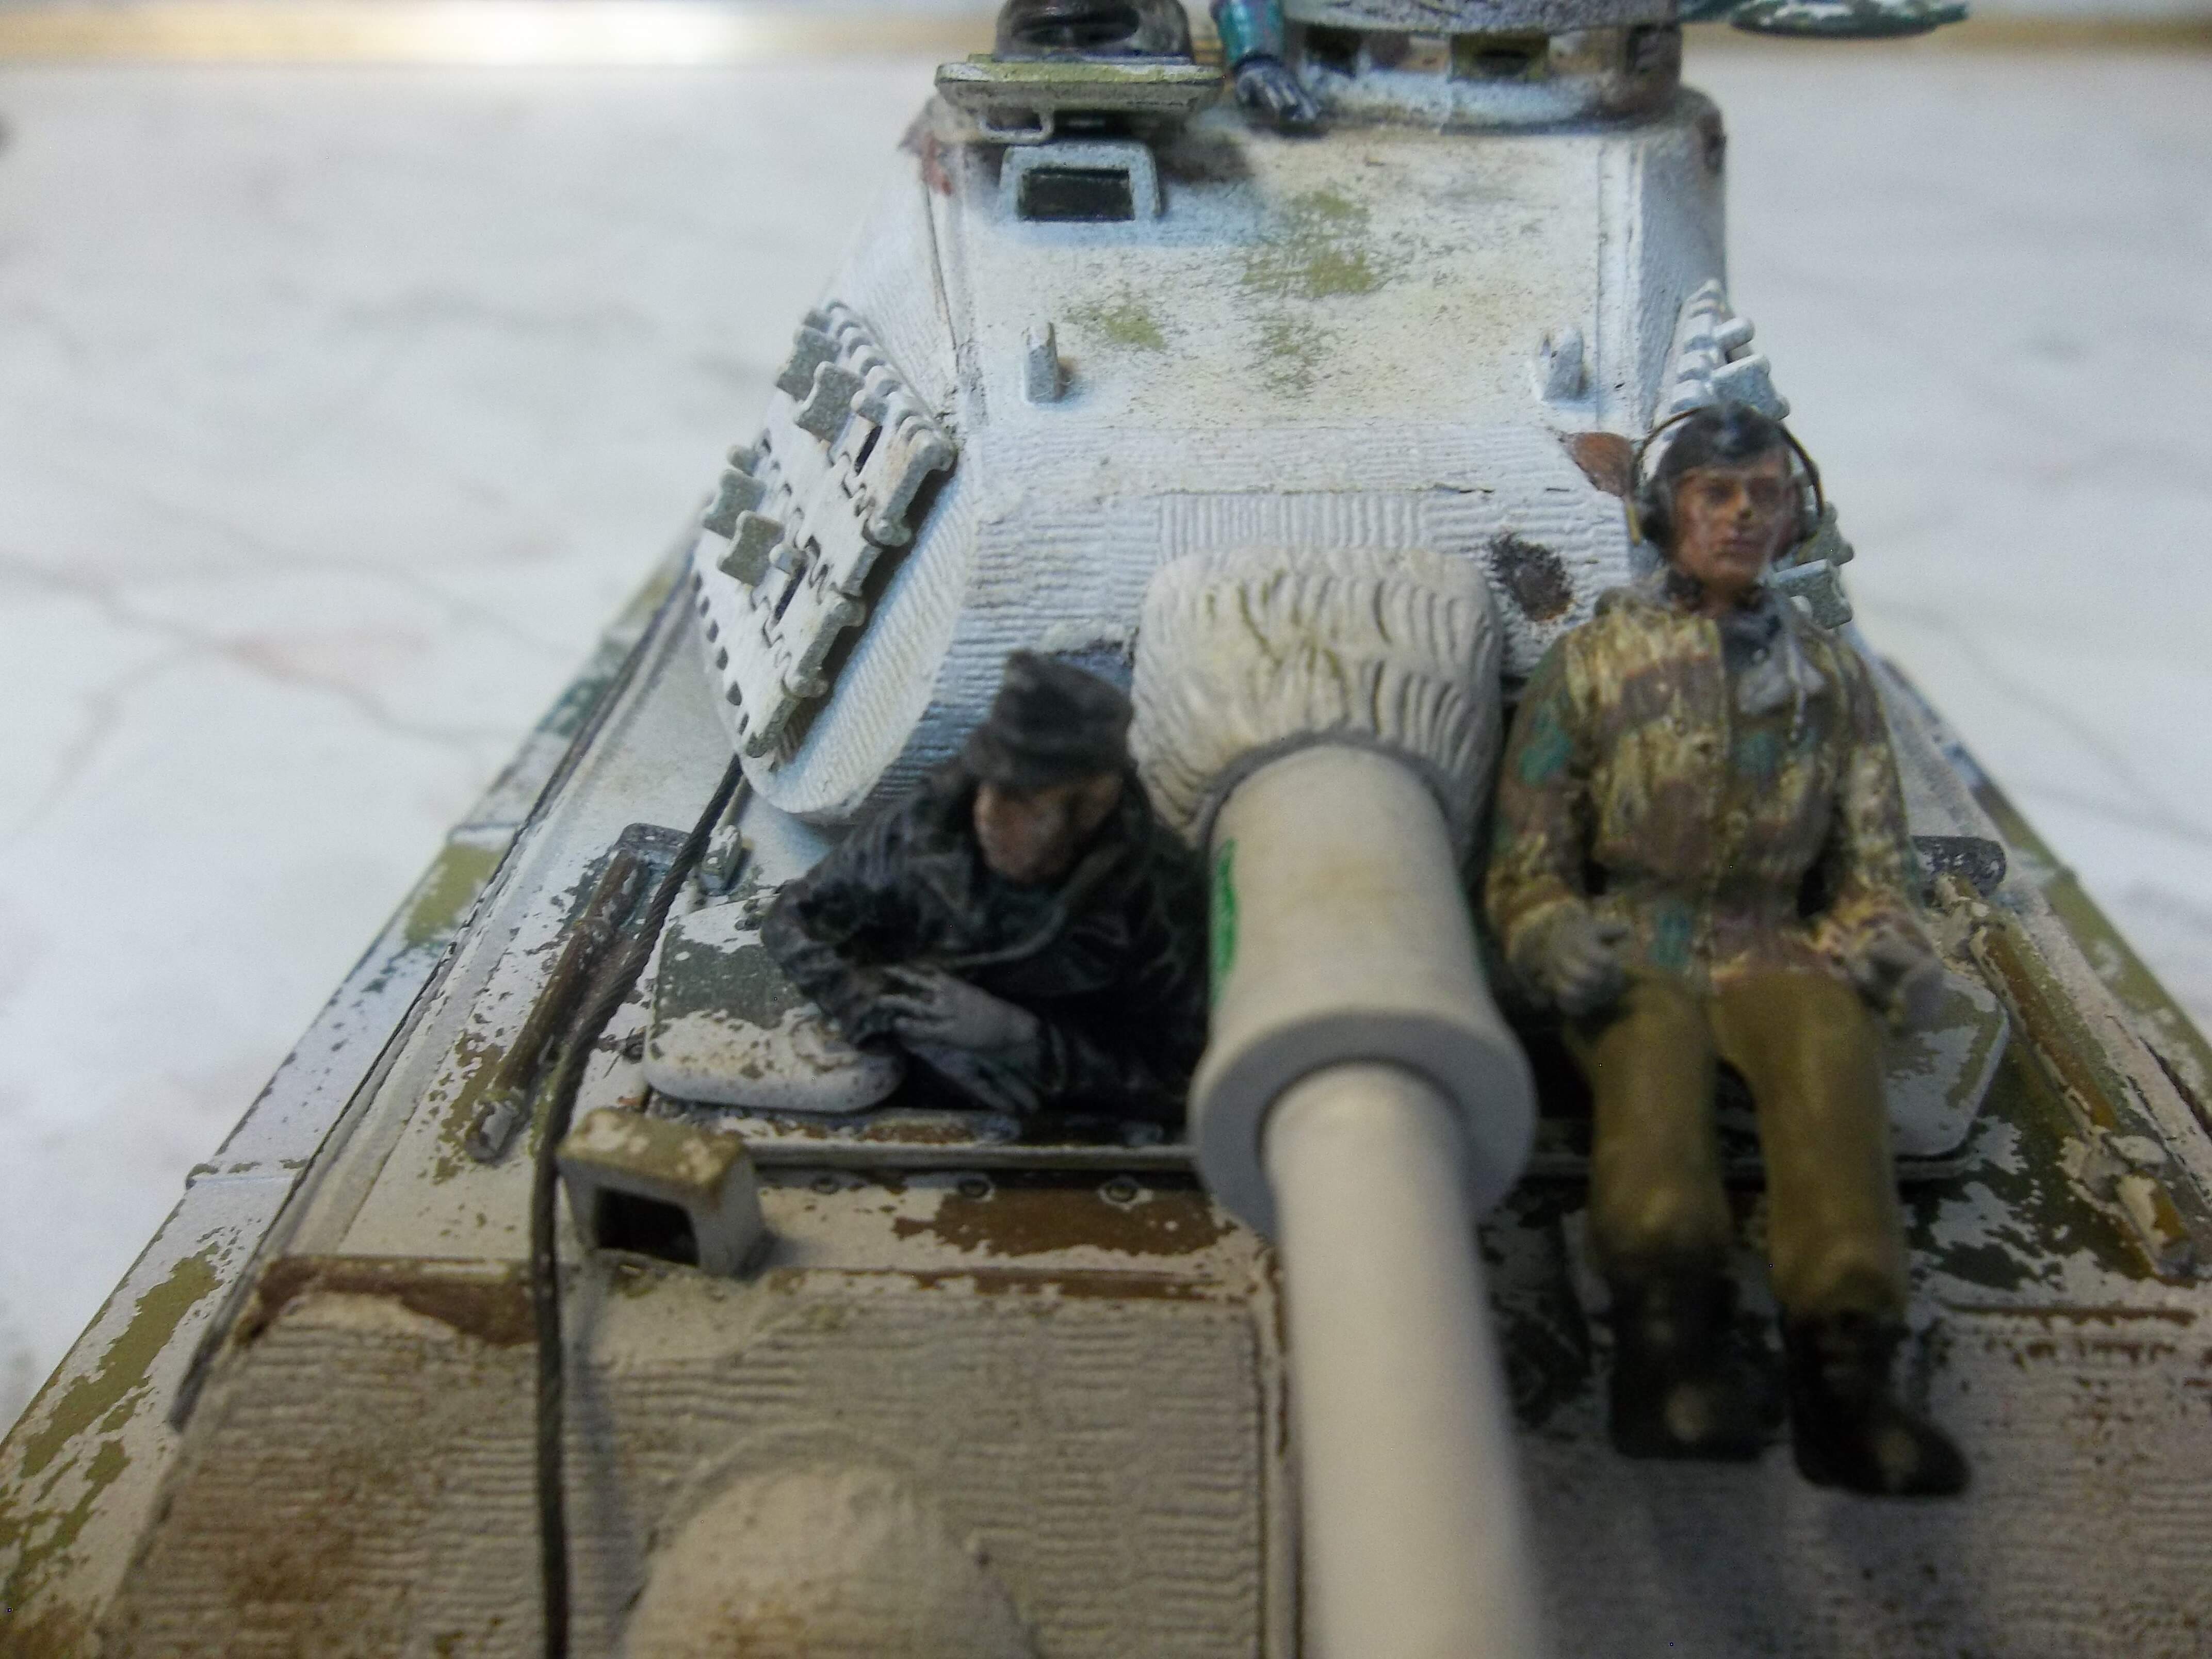
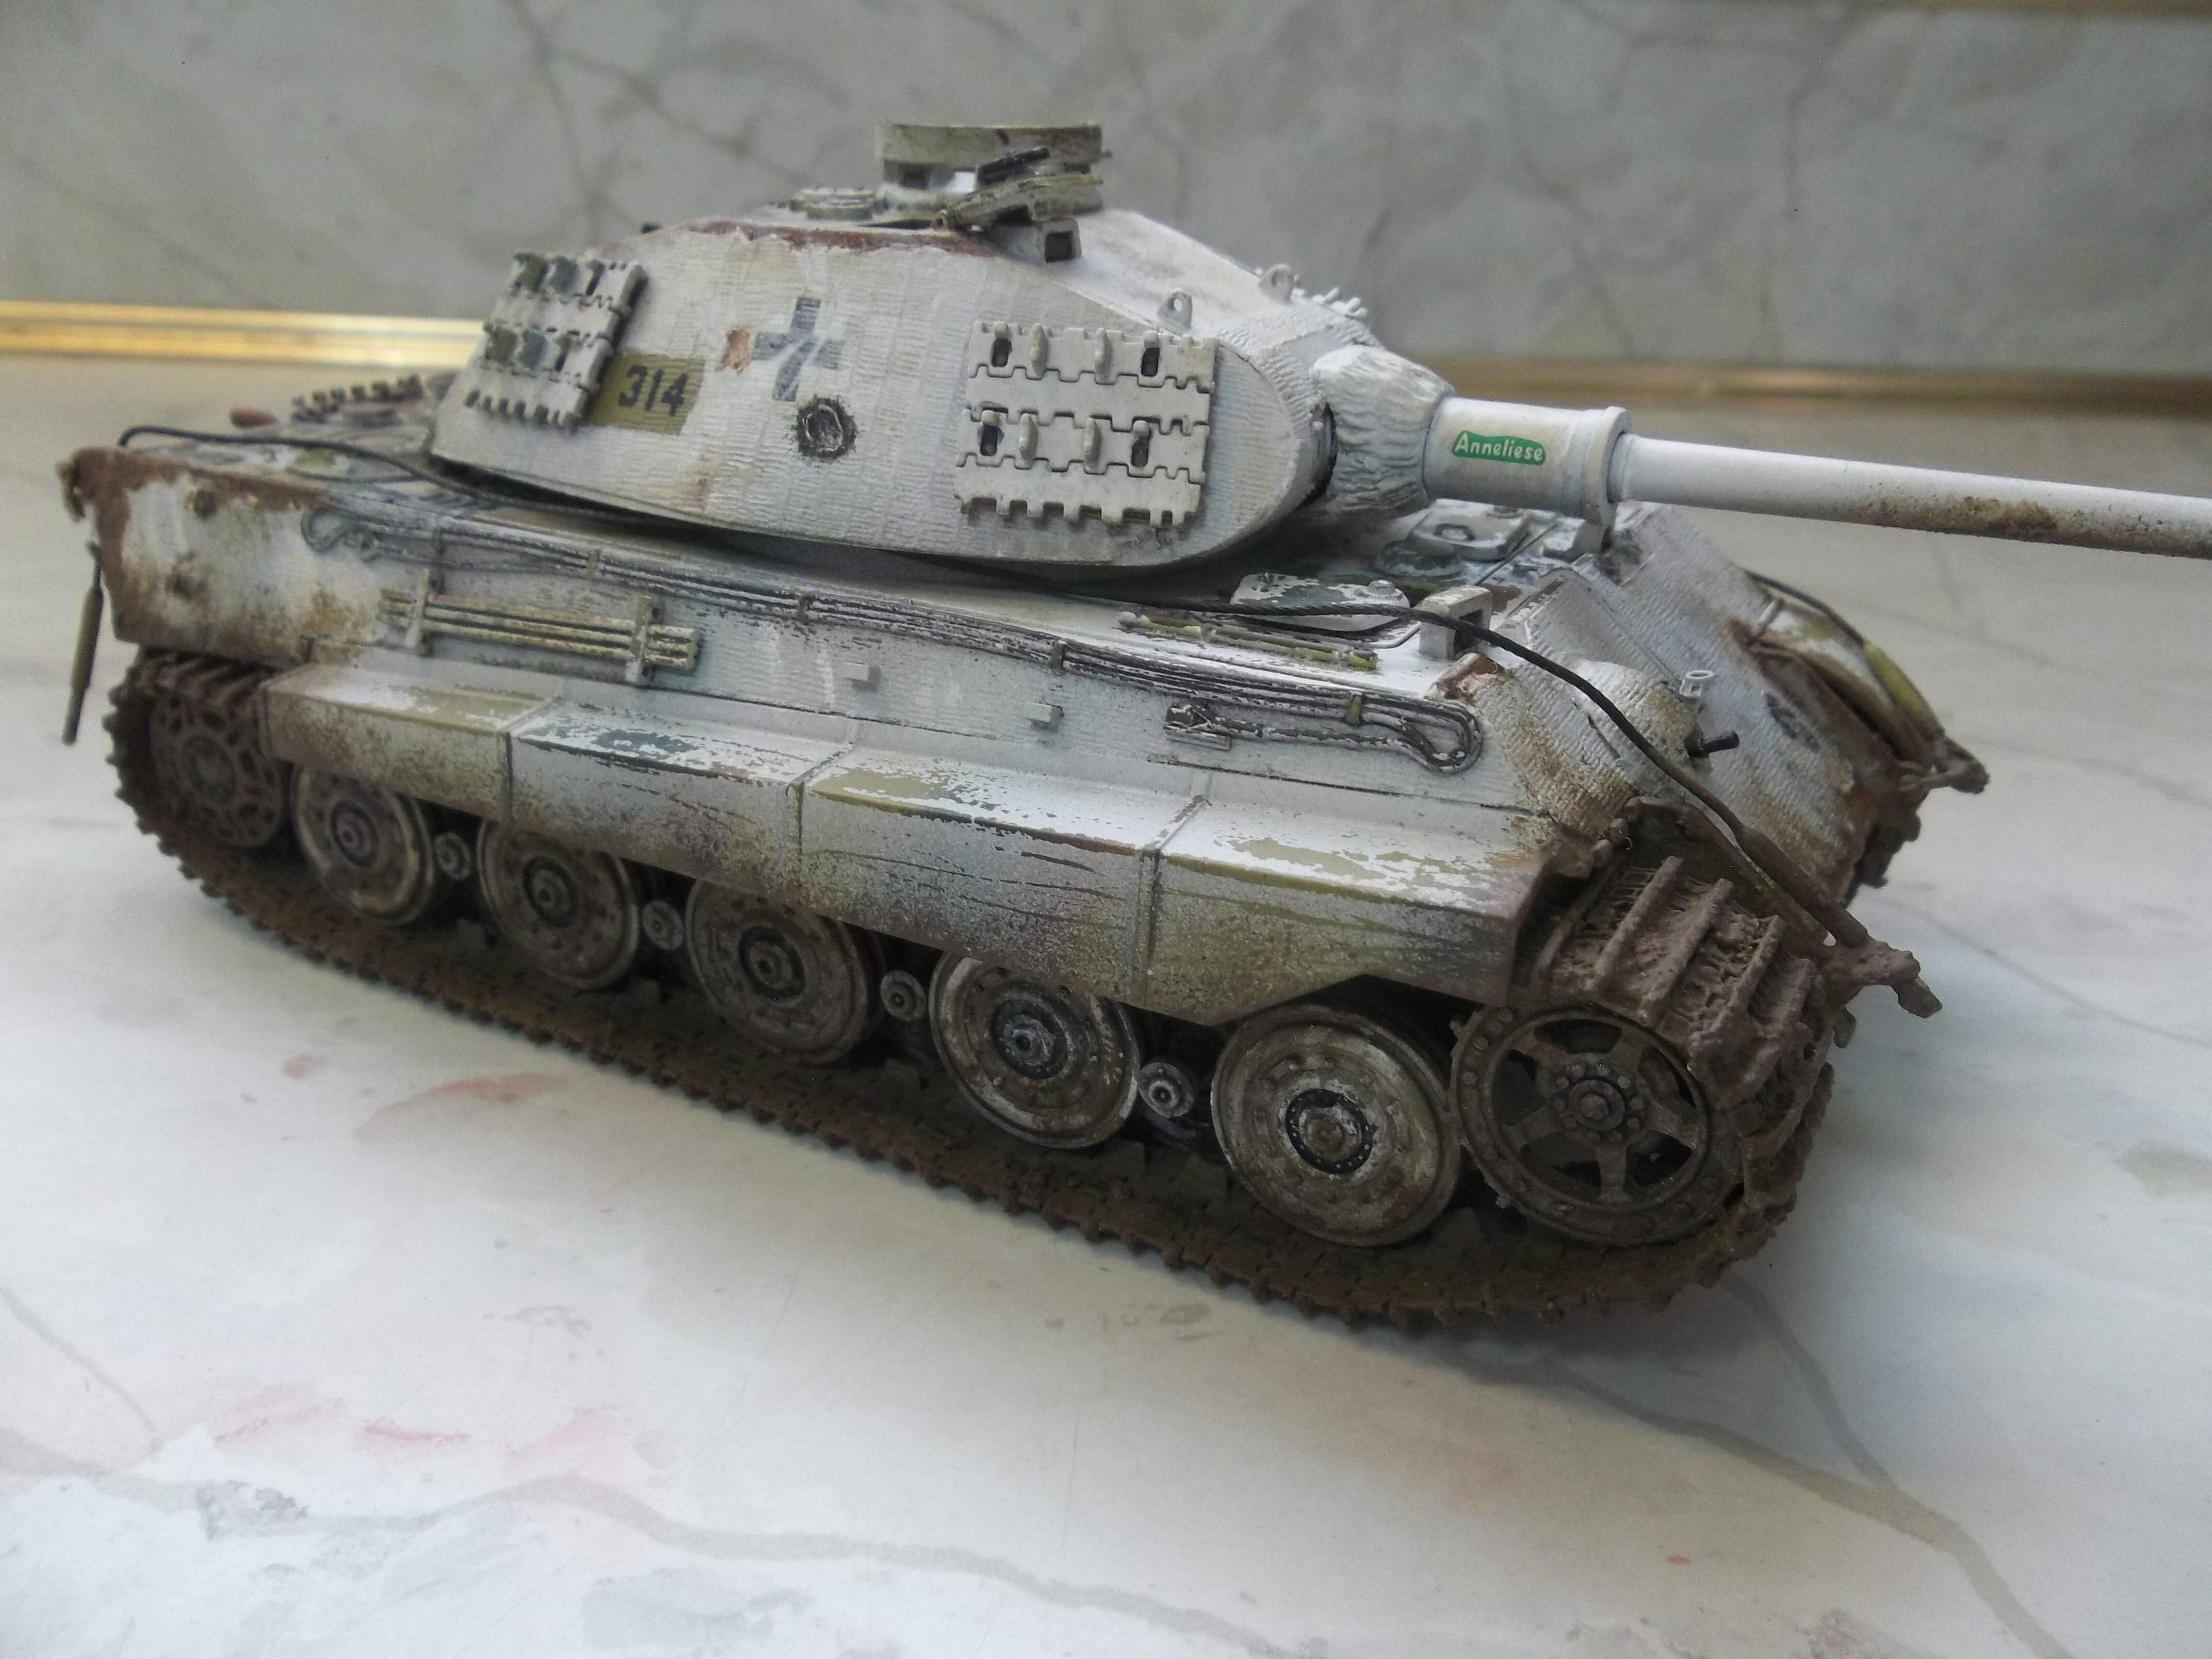
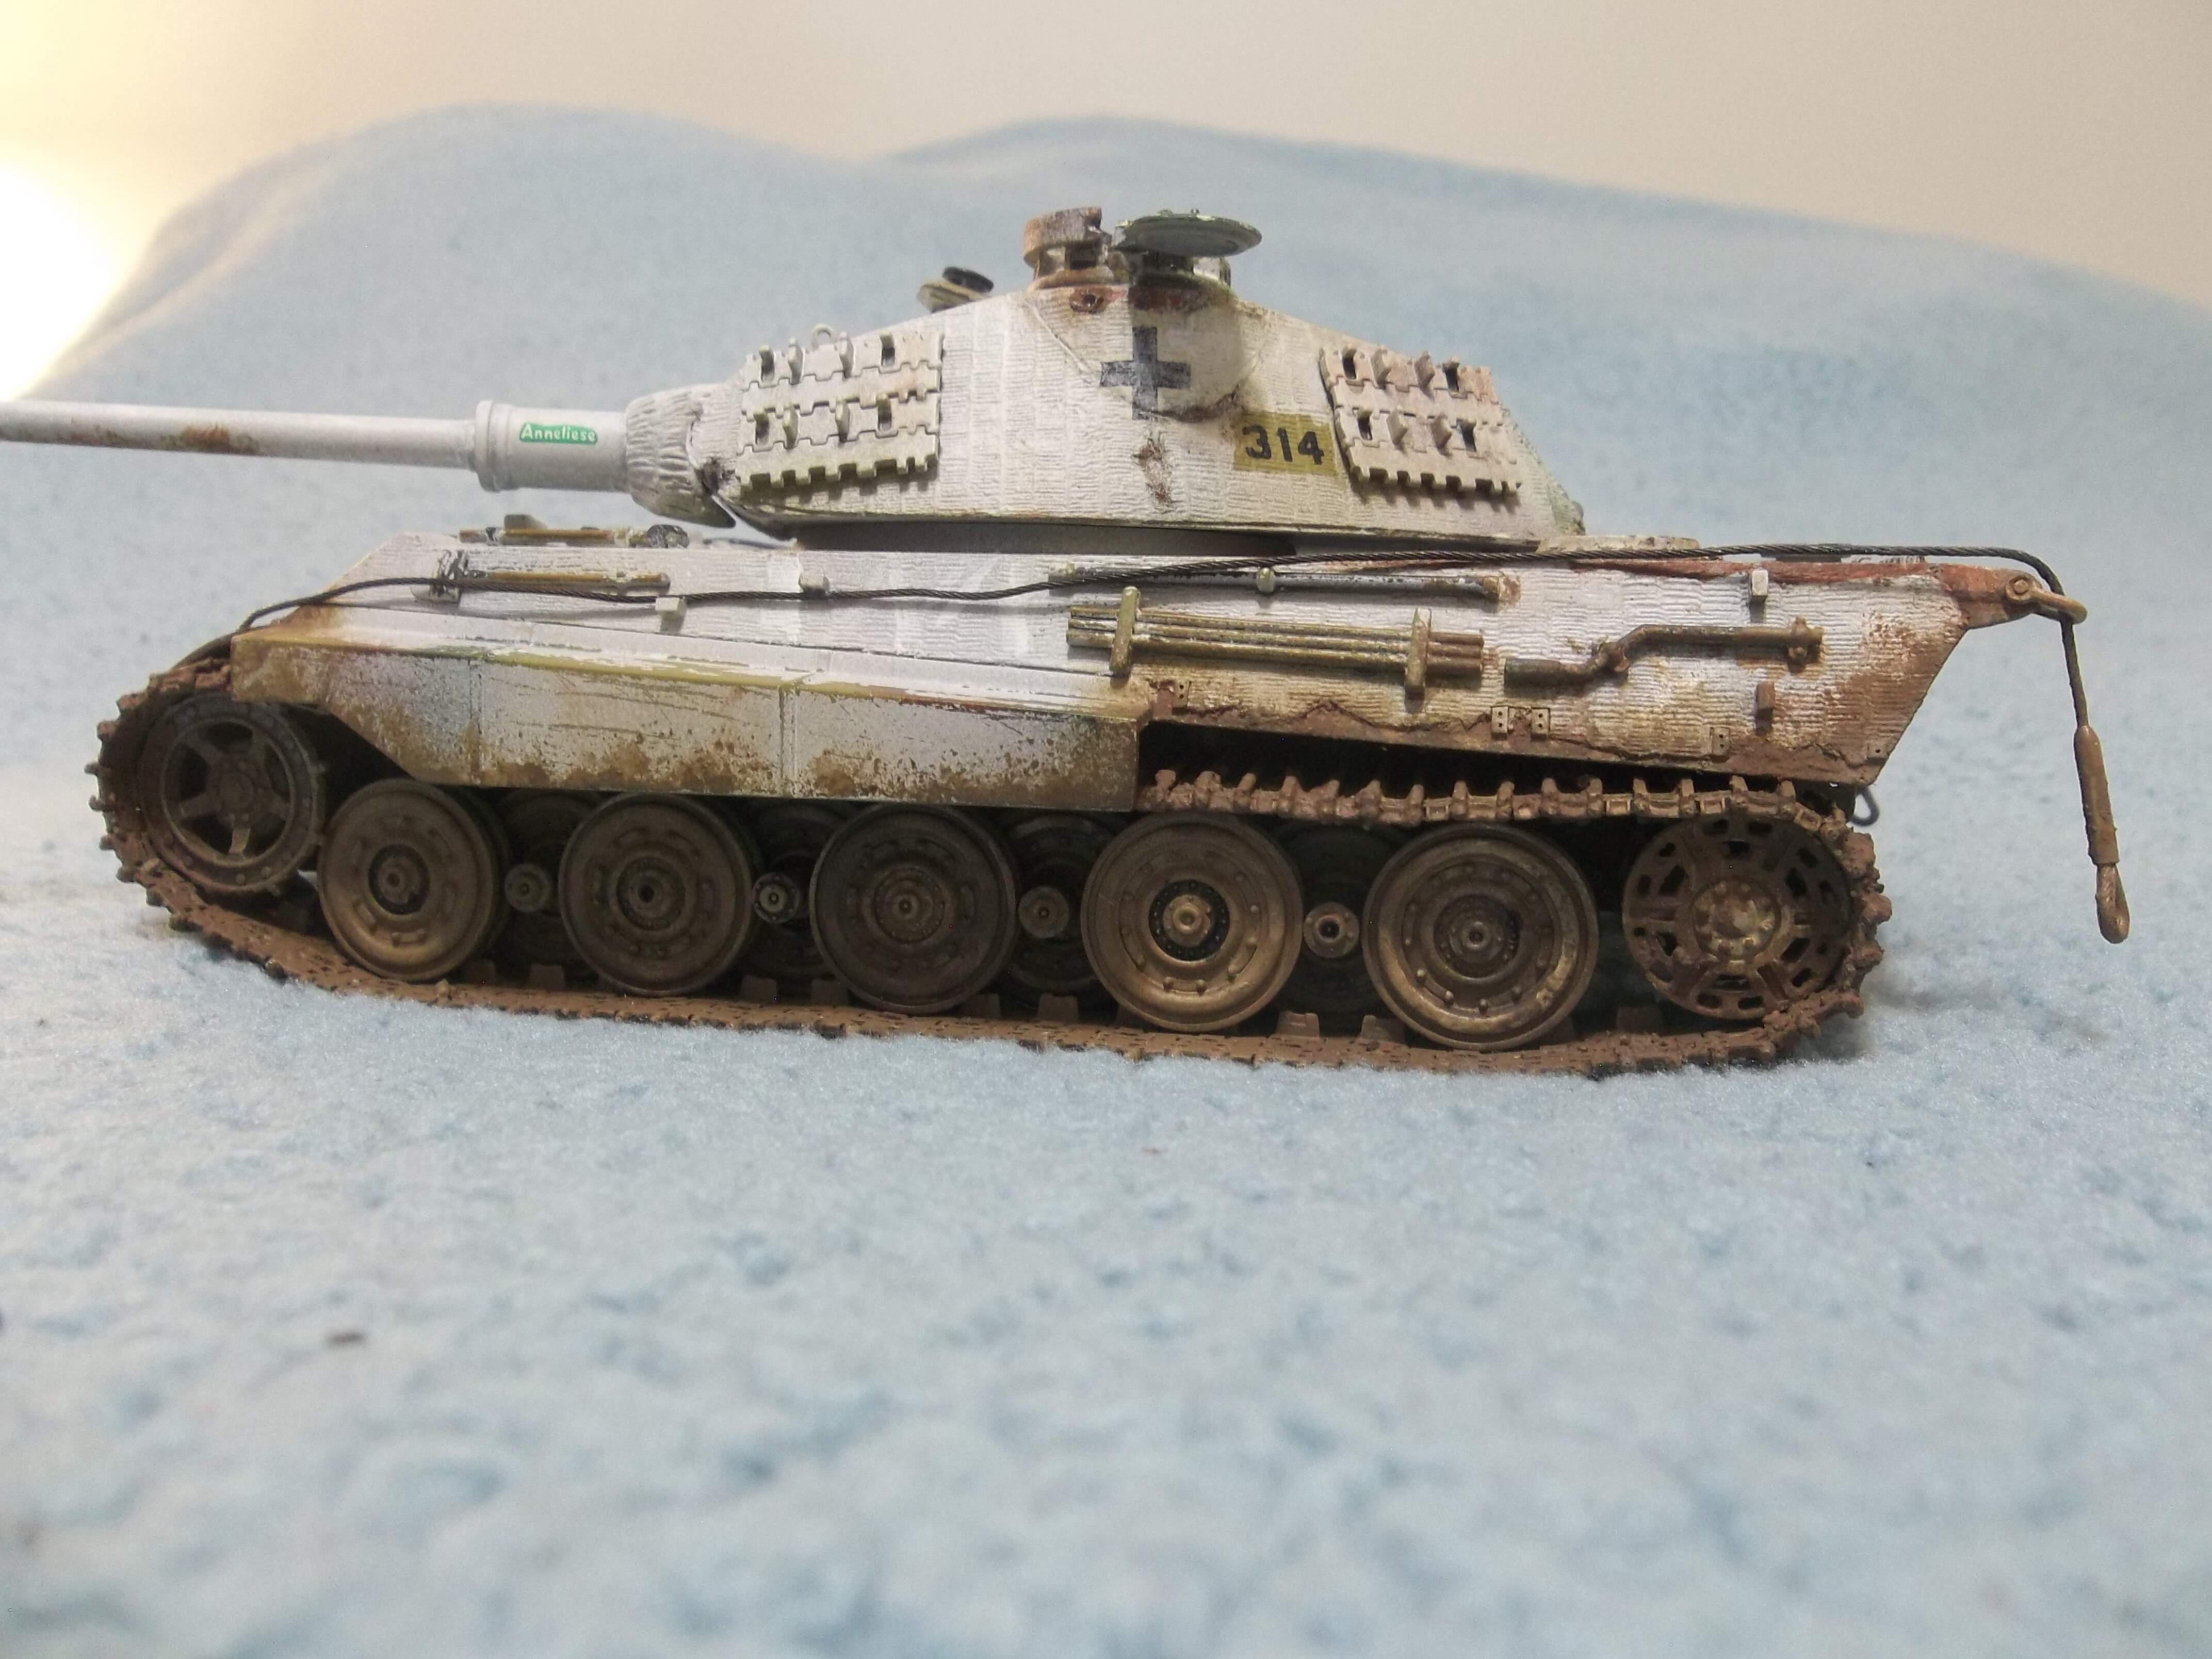
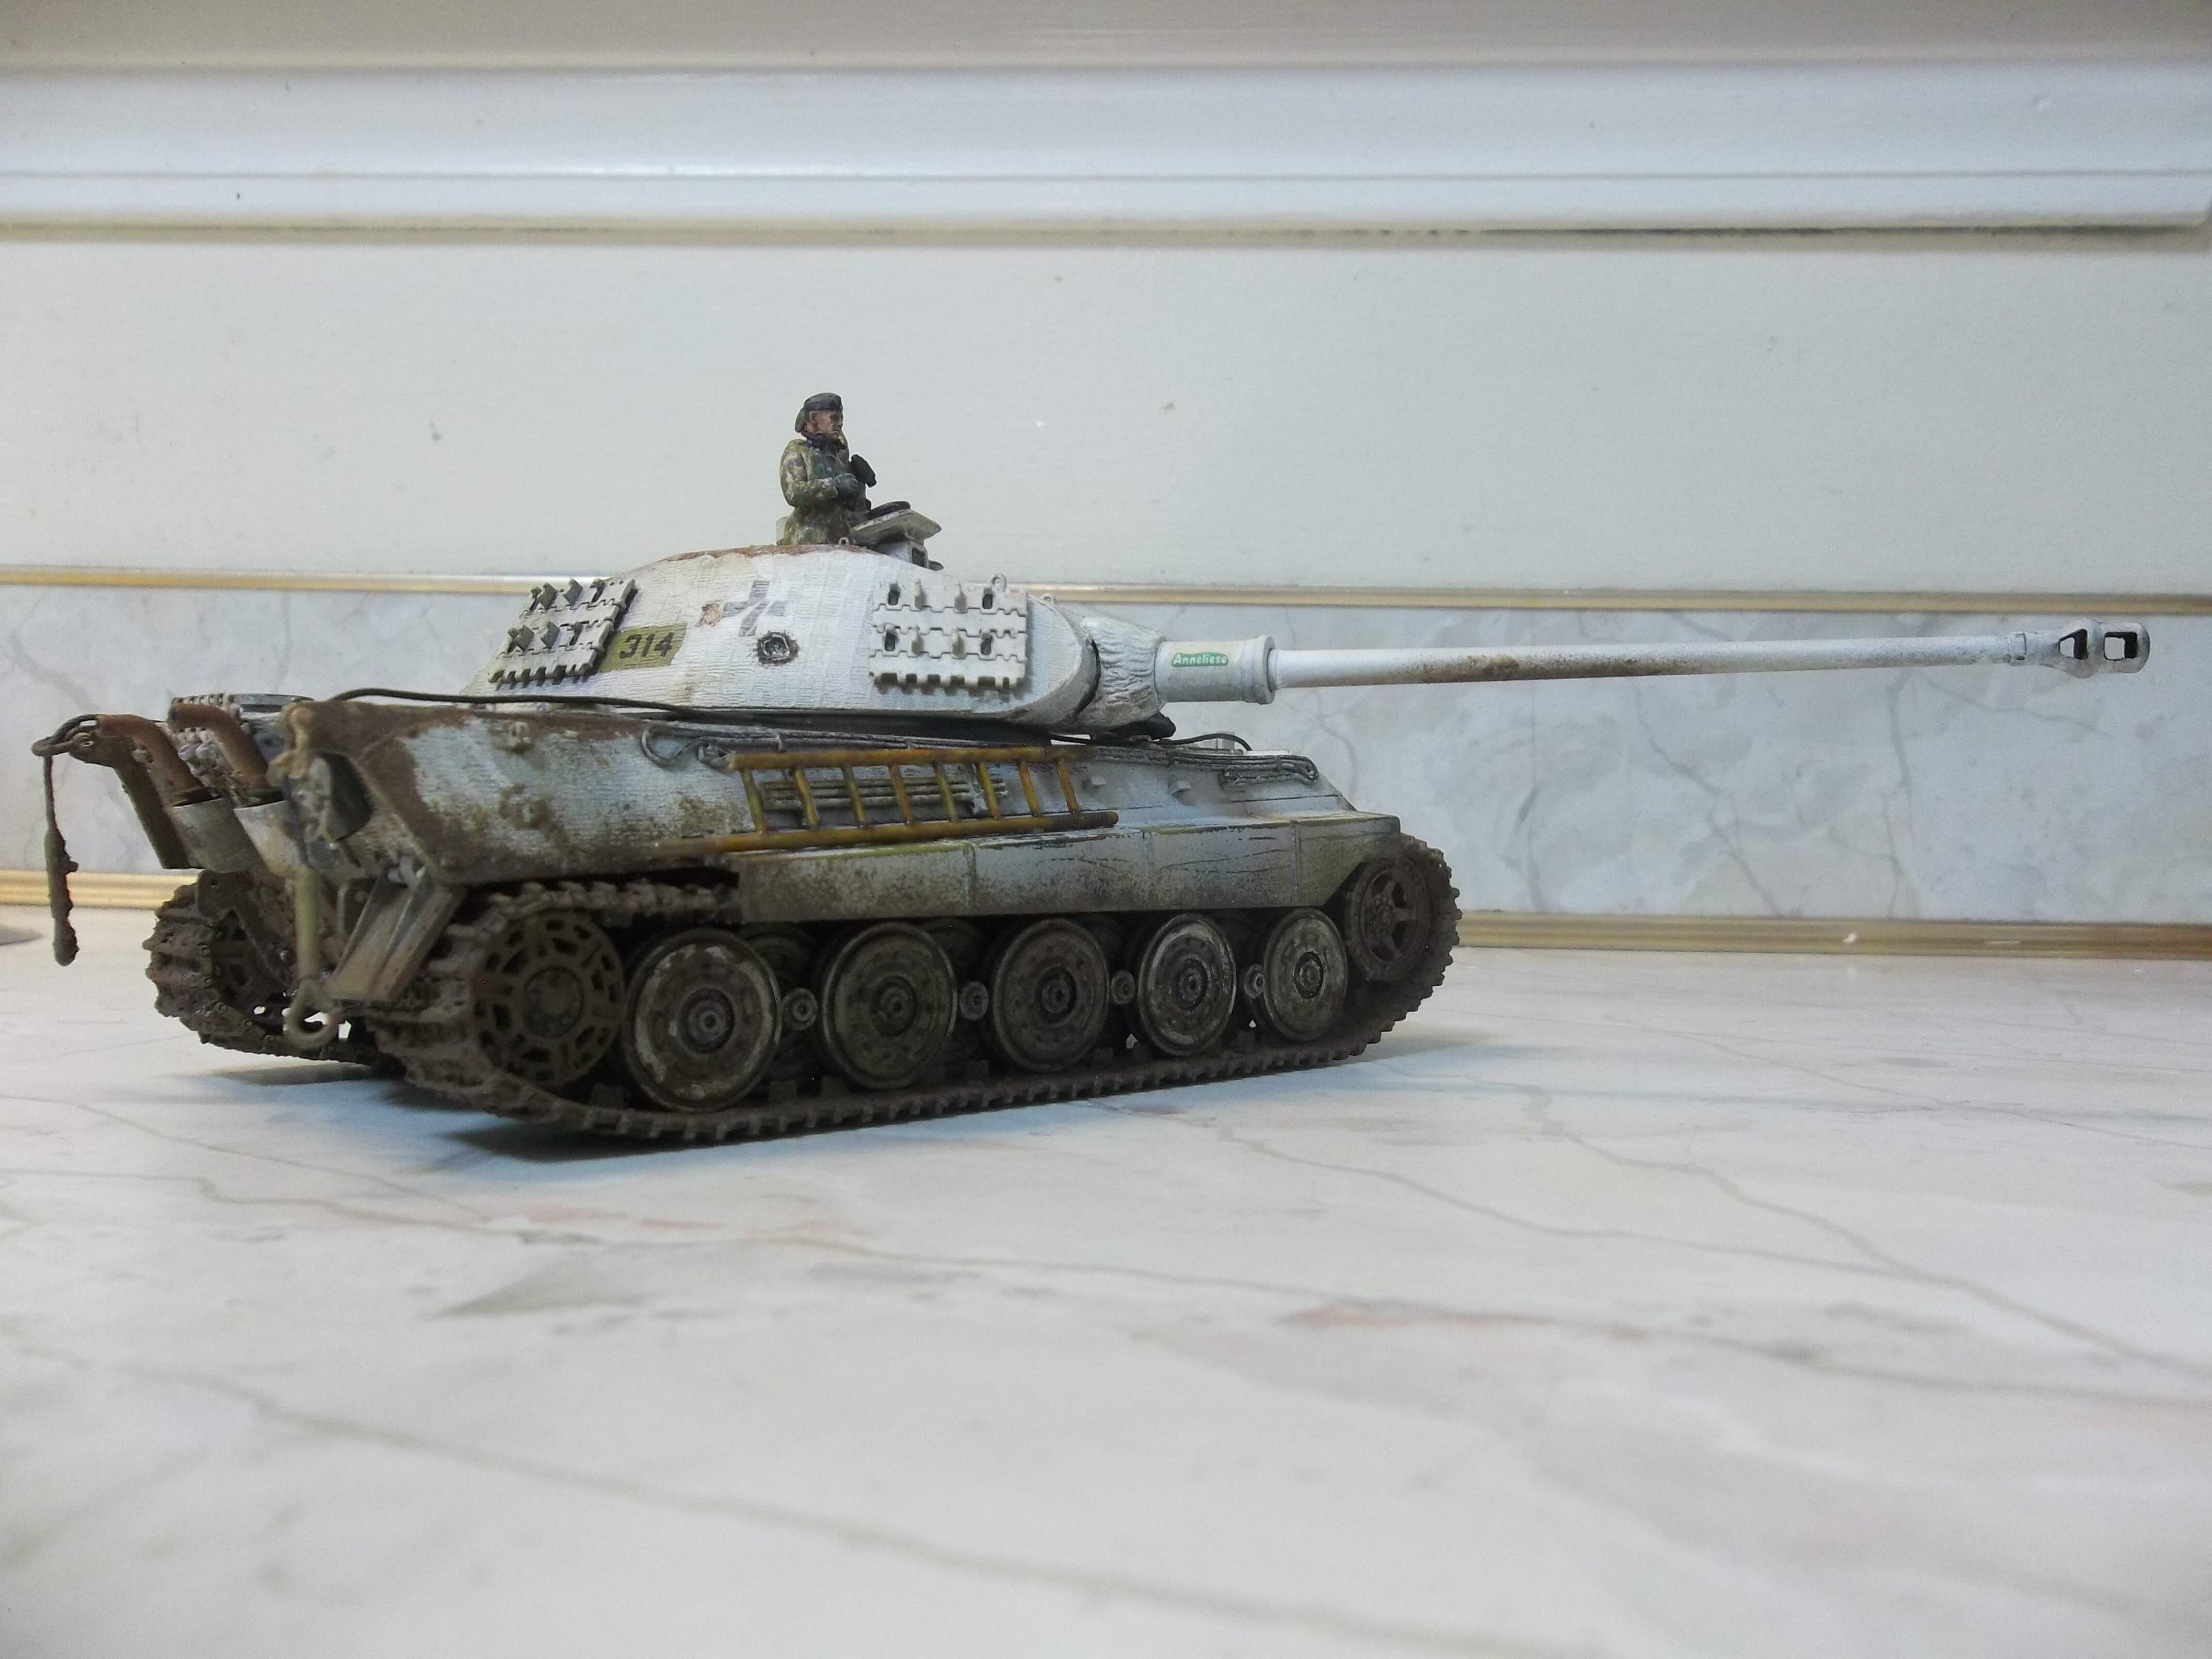
The main gun that comes with the kit is OK, not great, but usable; and my dad did a pretty good job on it. But it is the later two piece gun, and Anneliese had the early one piece gun. So I ended up replacing it with a really nice brass and aluminum piece from RB. Originally, I wanted the gun to be movable, but the new gun was just too heavy, and kept falling down, so I had to glue it in position.
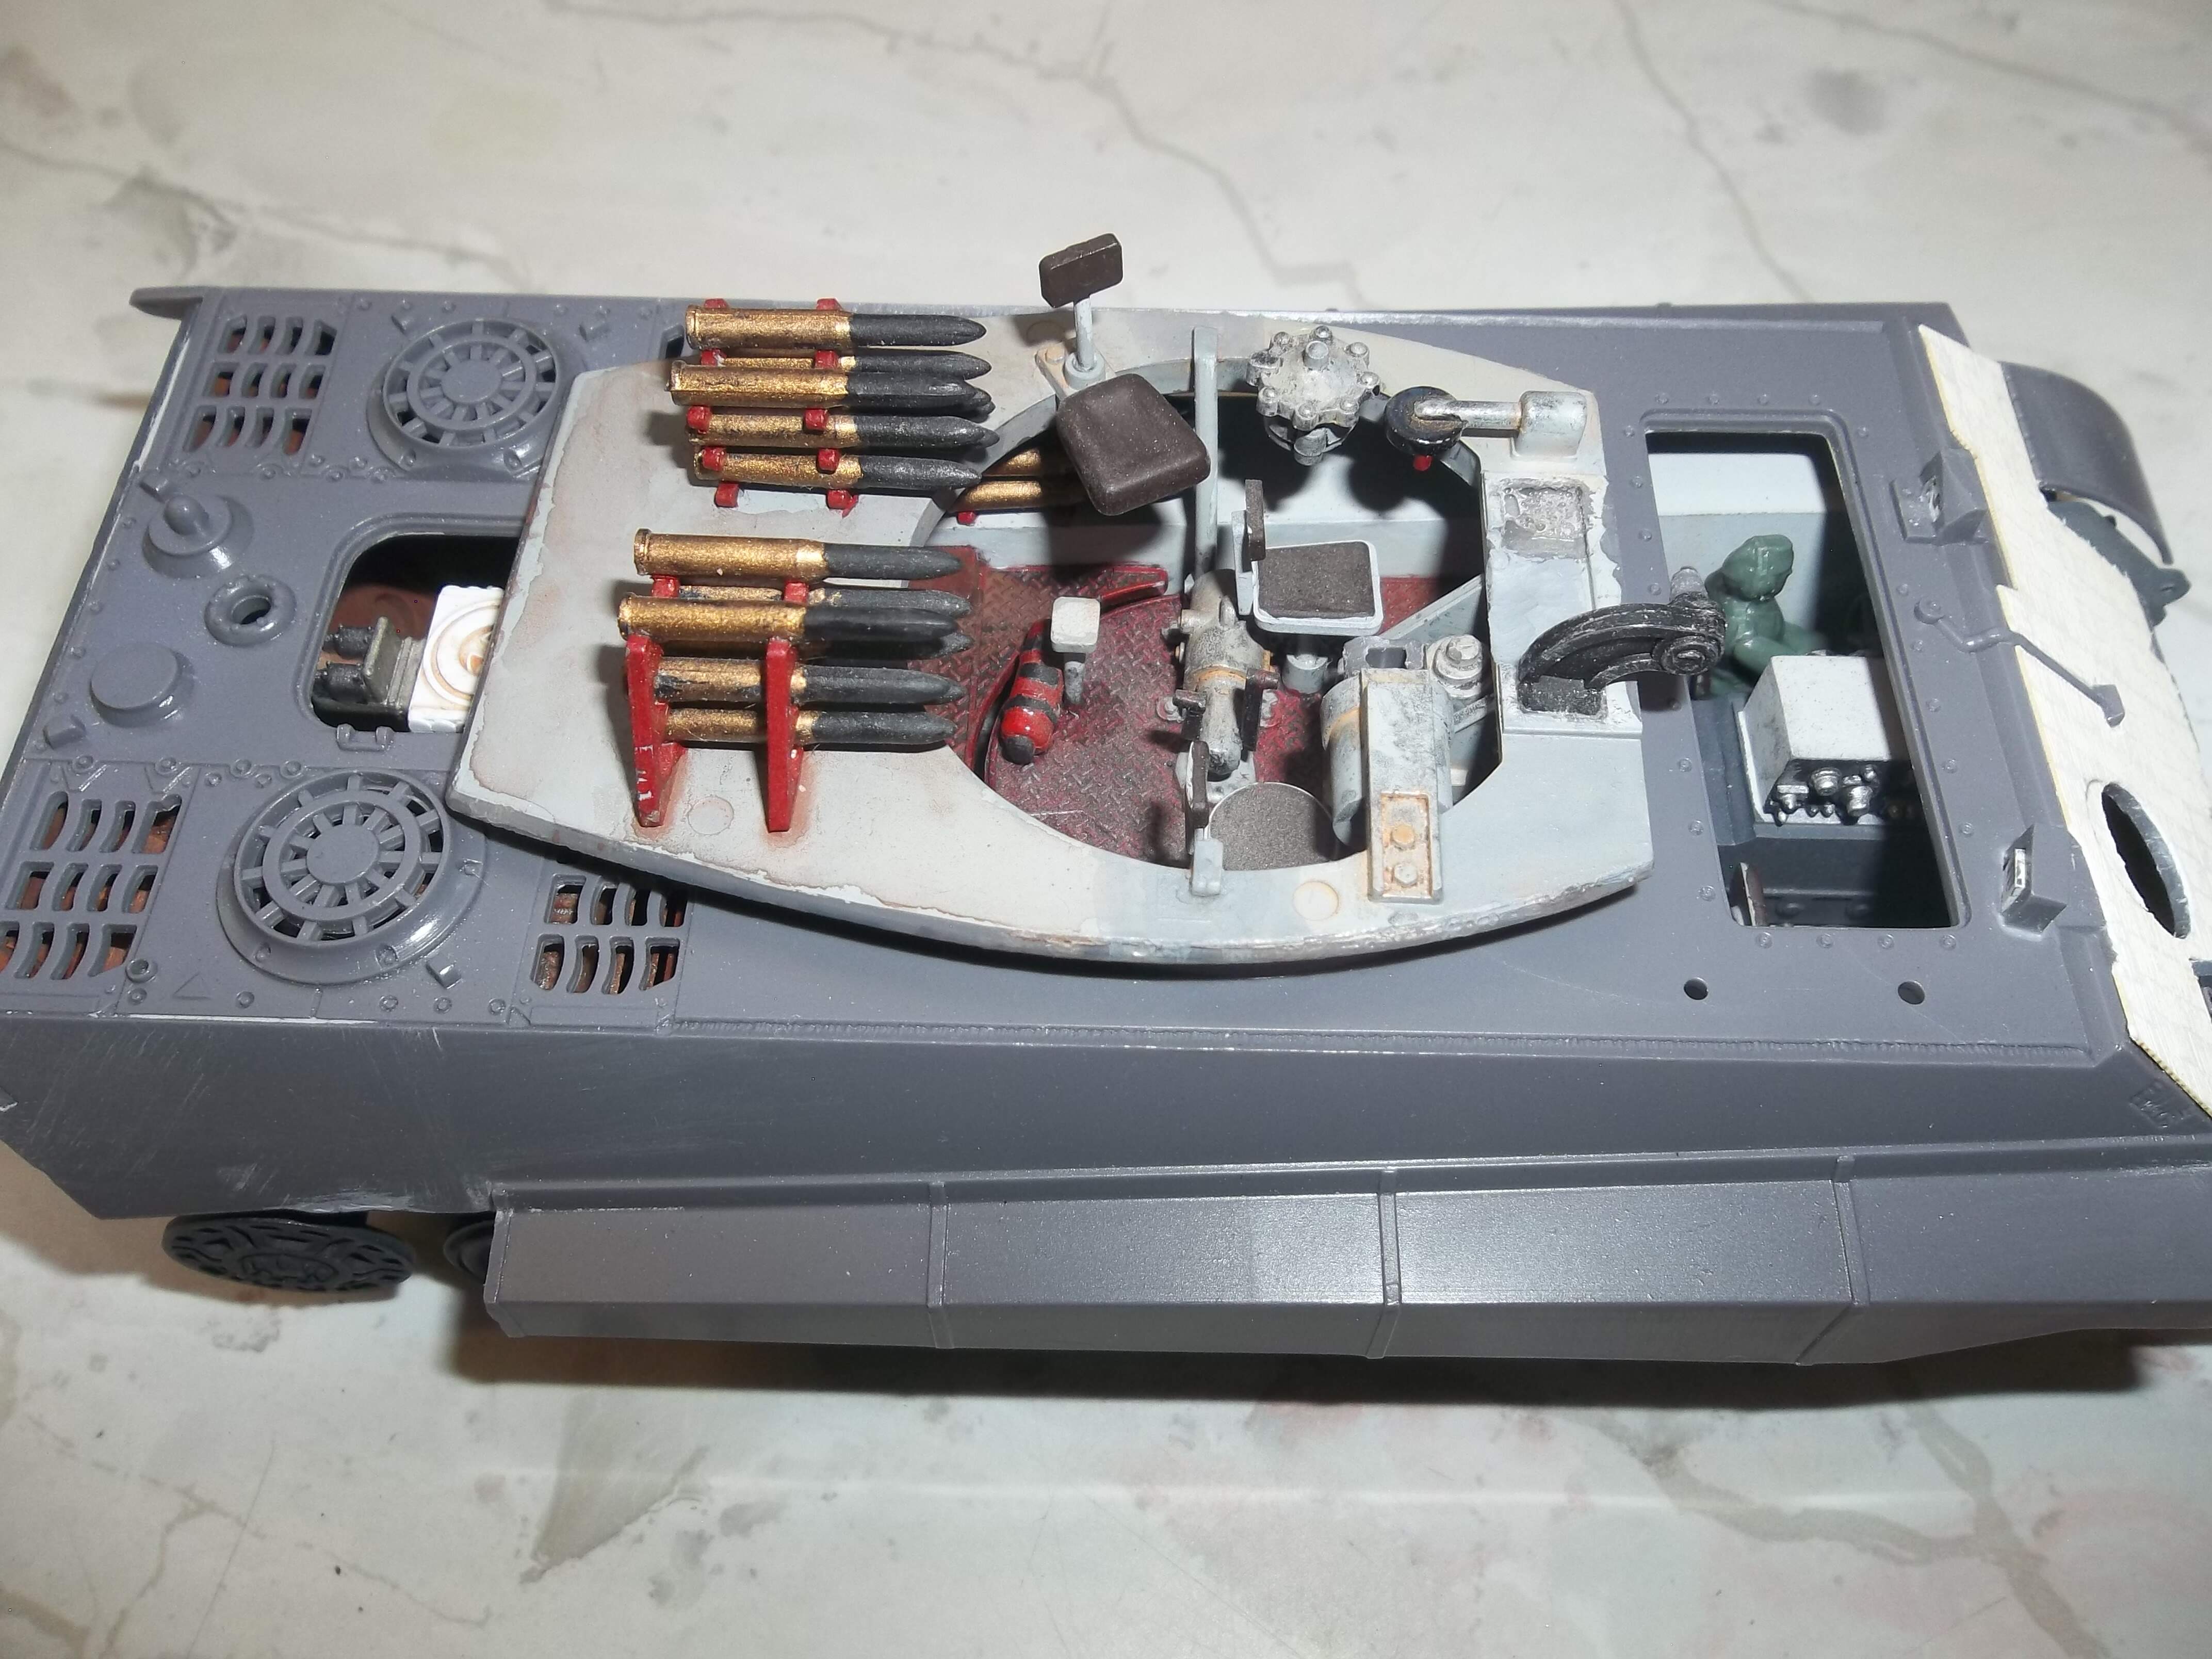
The key to upgrading an old kit like this is to add (more)modern parts: whether they are aftermarket items, taken from other kits, or scratch built. On this build I did all of these. For the aftermarket stuff, besides the Monroe Purdue zimmerit, Friul tracks, and RB gun barrel, I used some bits from a detail set by Artworx Models, tow cables from Eureka, and jerry cans from Bronco and Blackdog. I also used bits from other Bandai kits, a Tamiya King Tiger and Mobelwagen, and a Trumpeter 1/72 King Tiger.

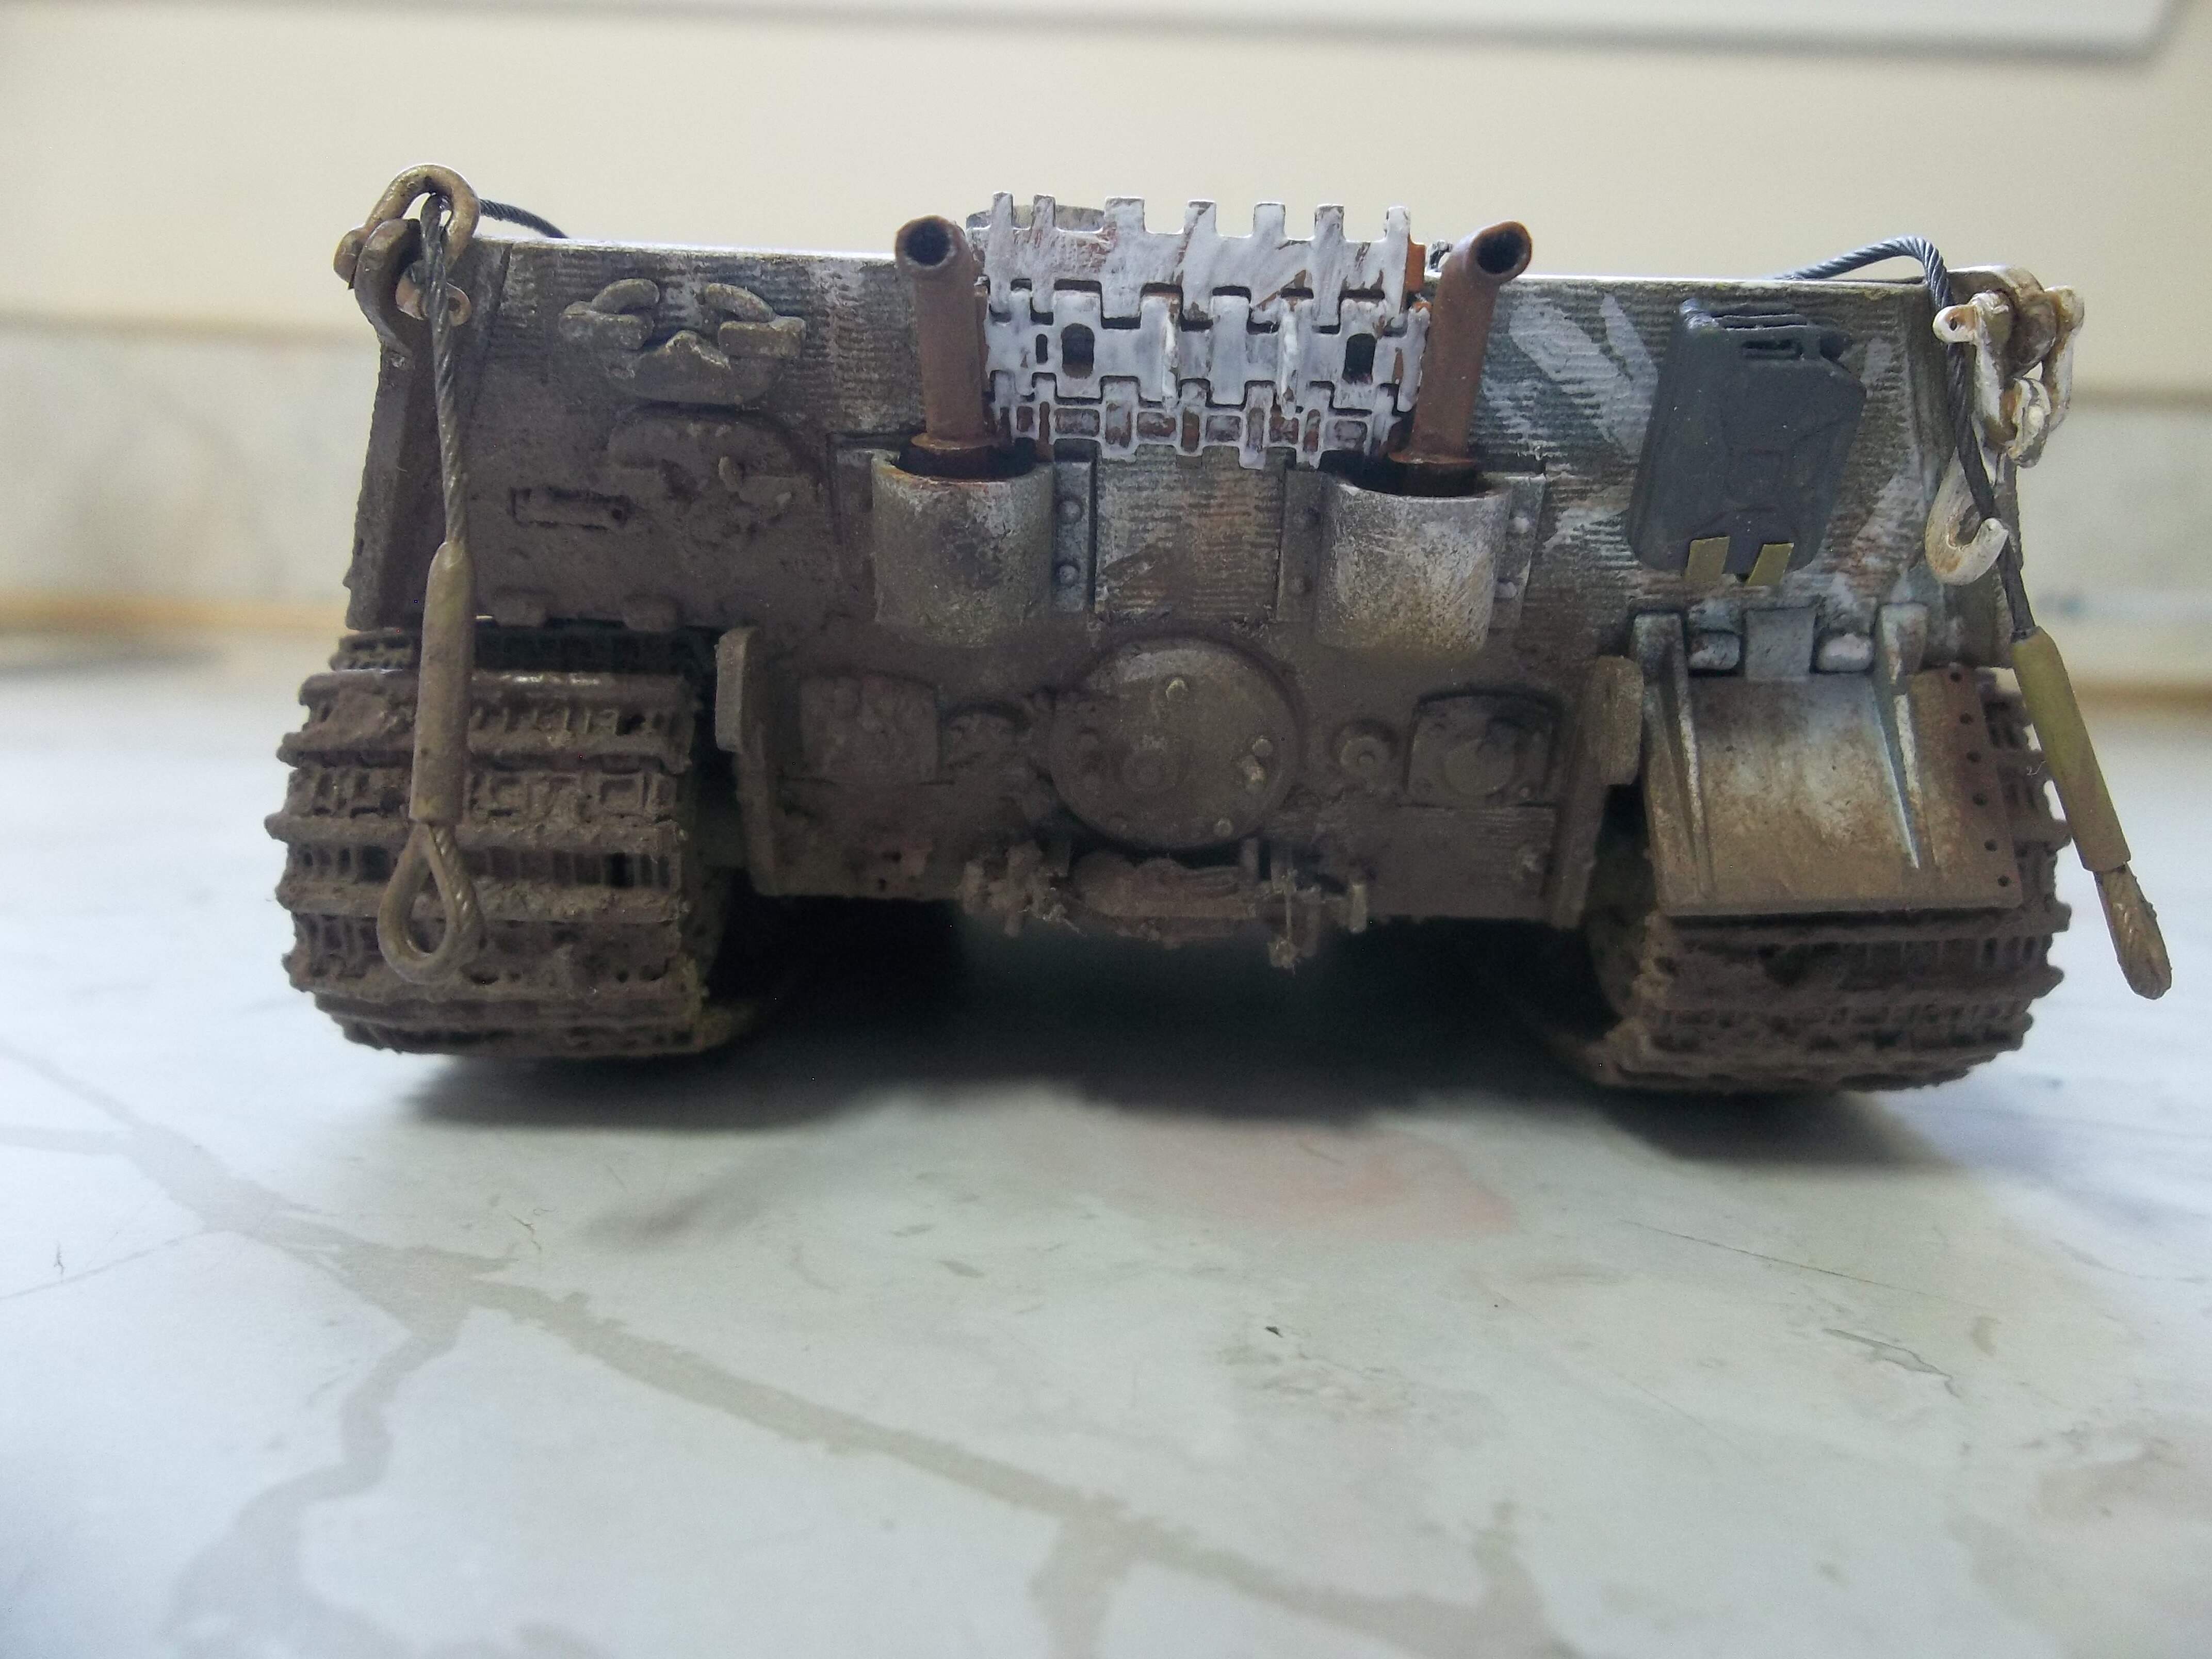
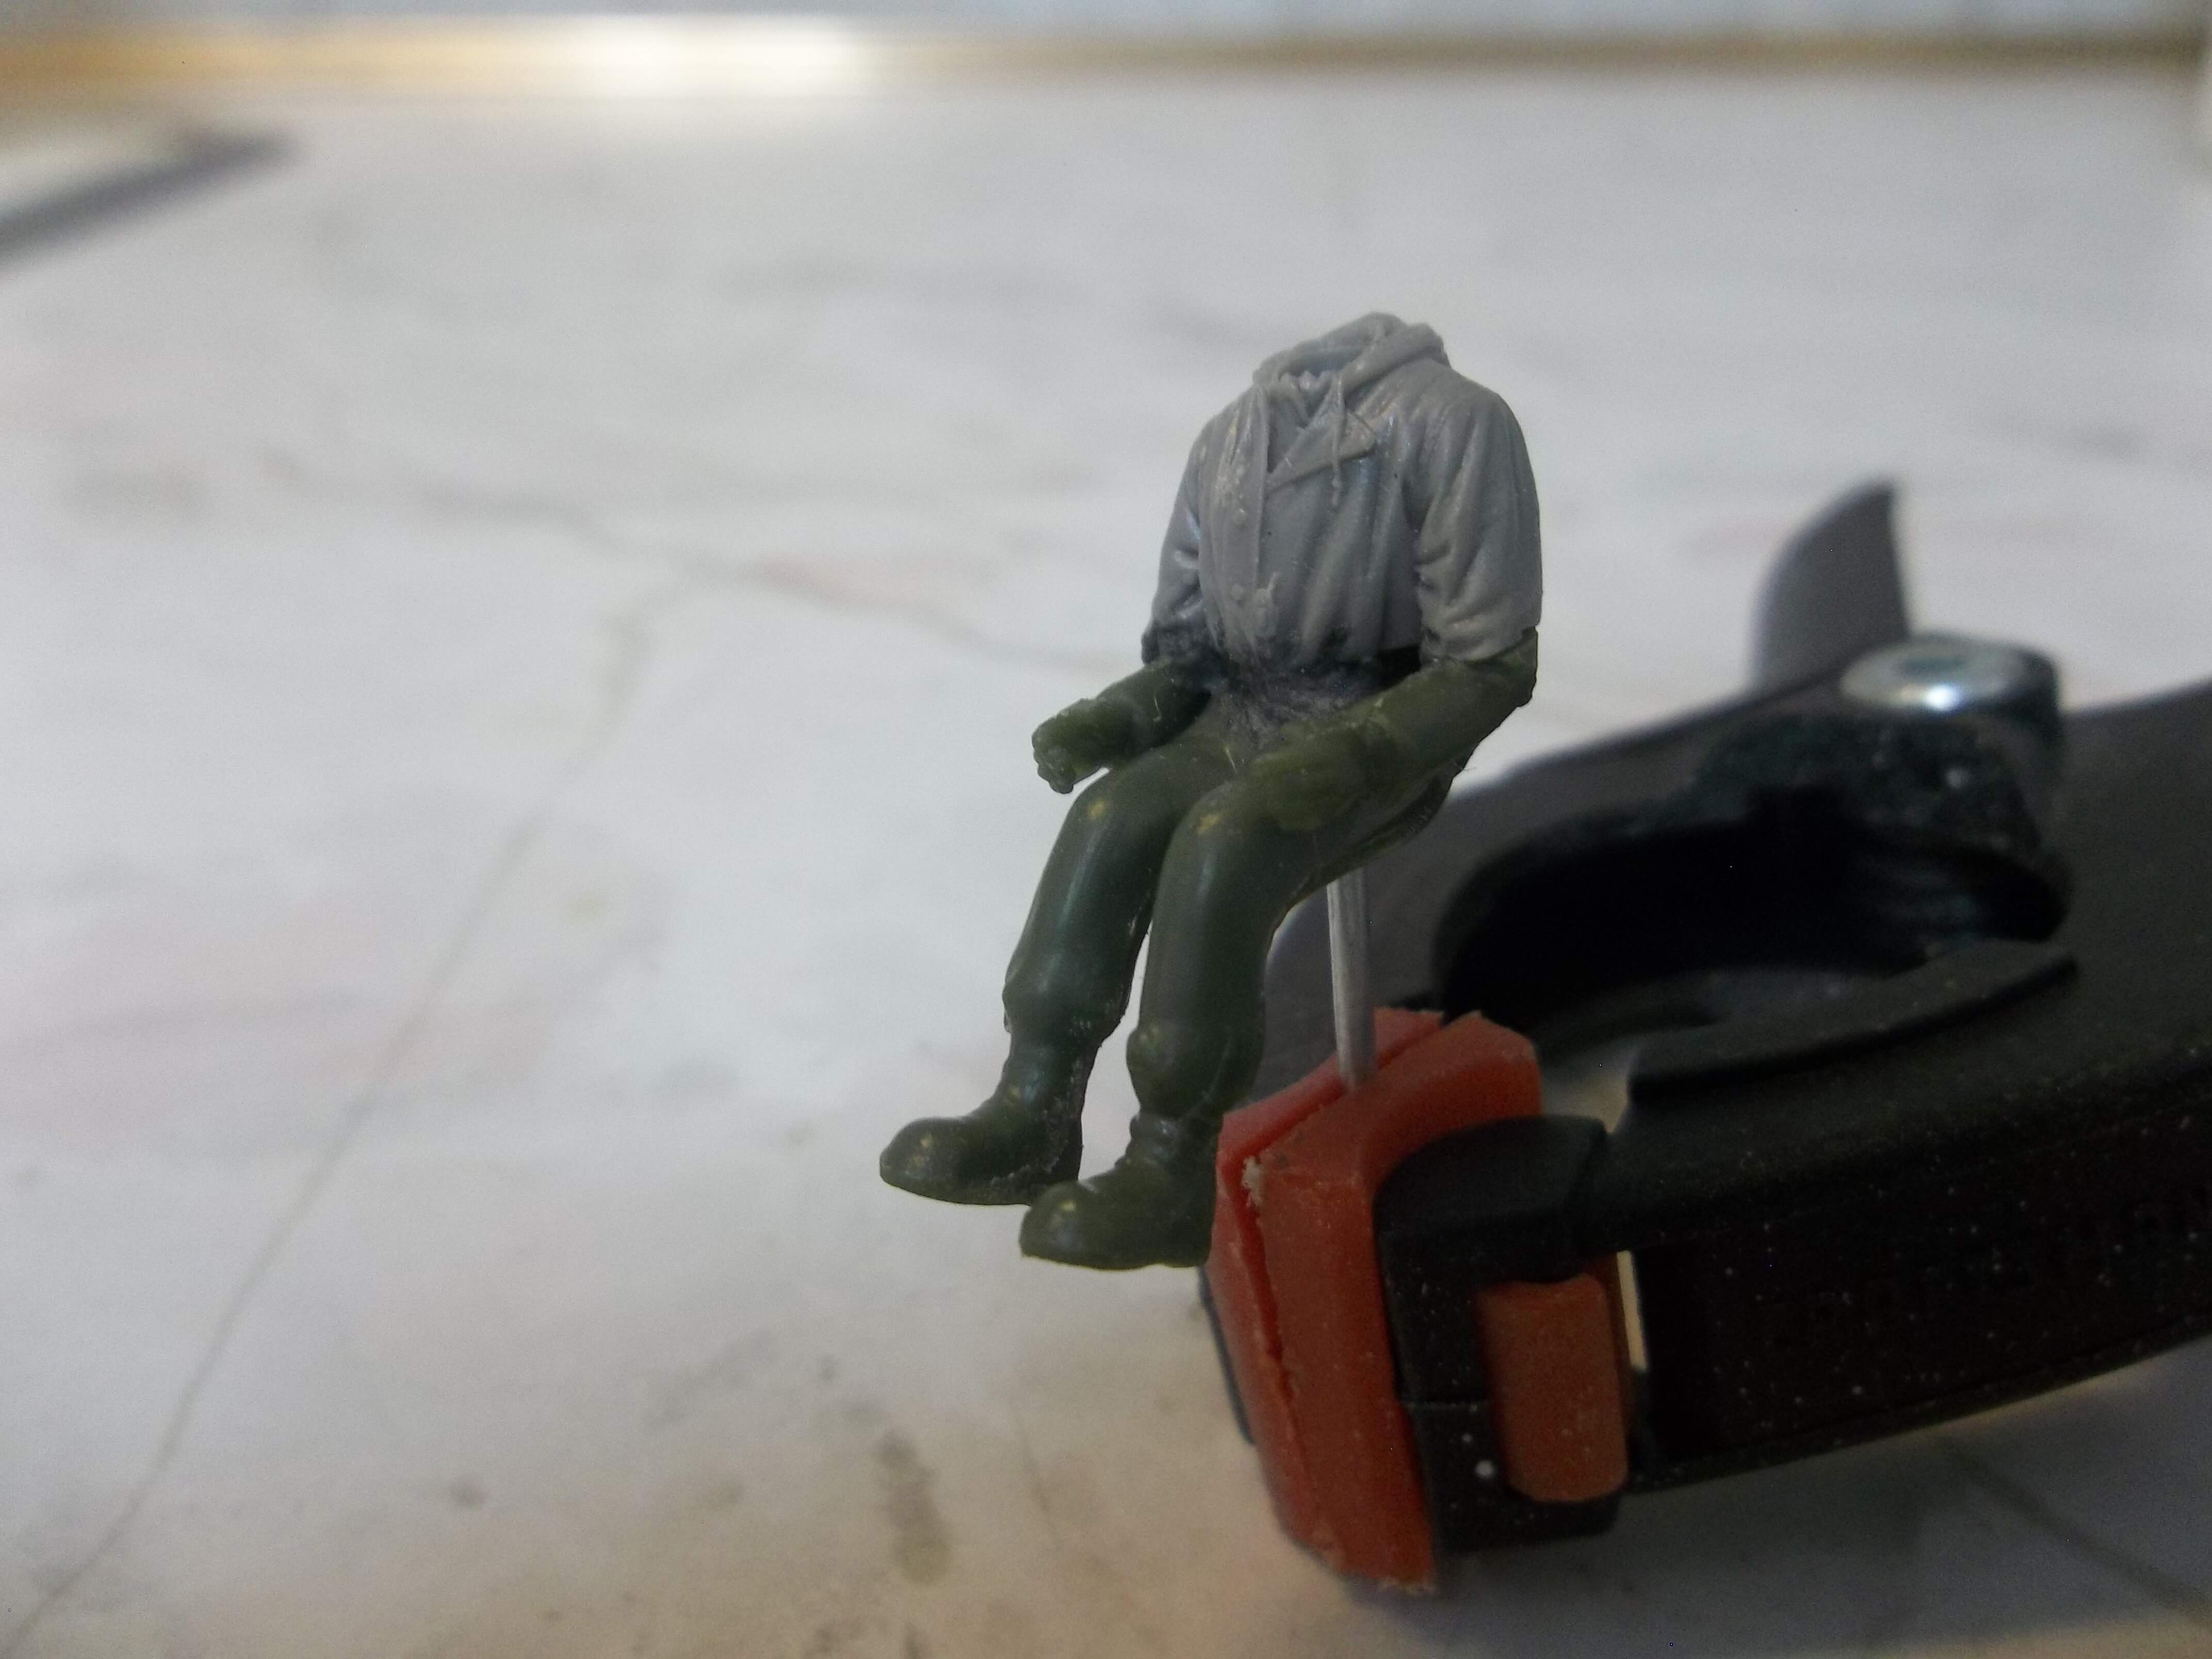
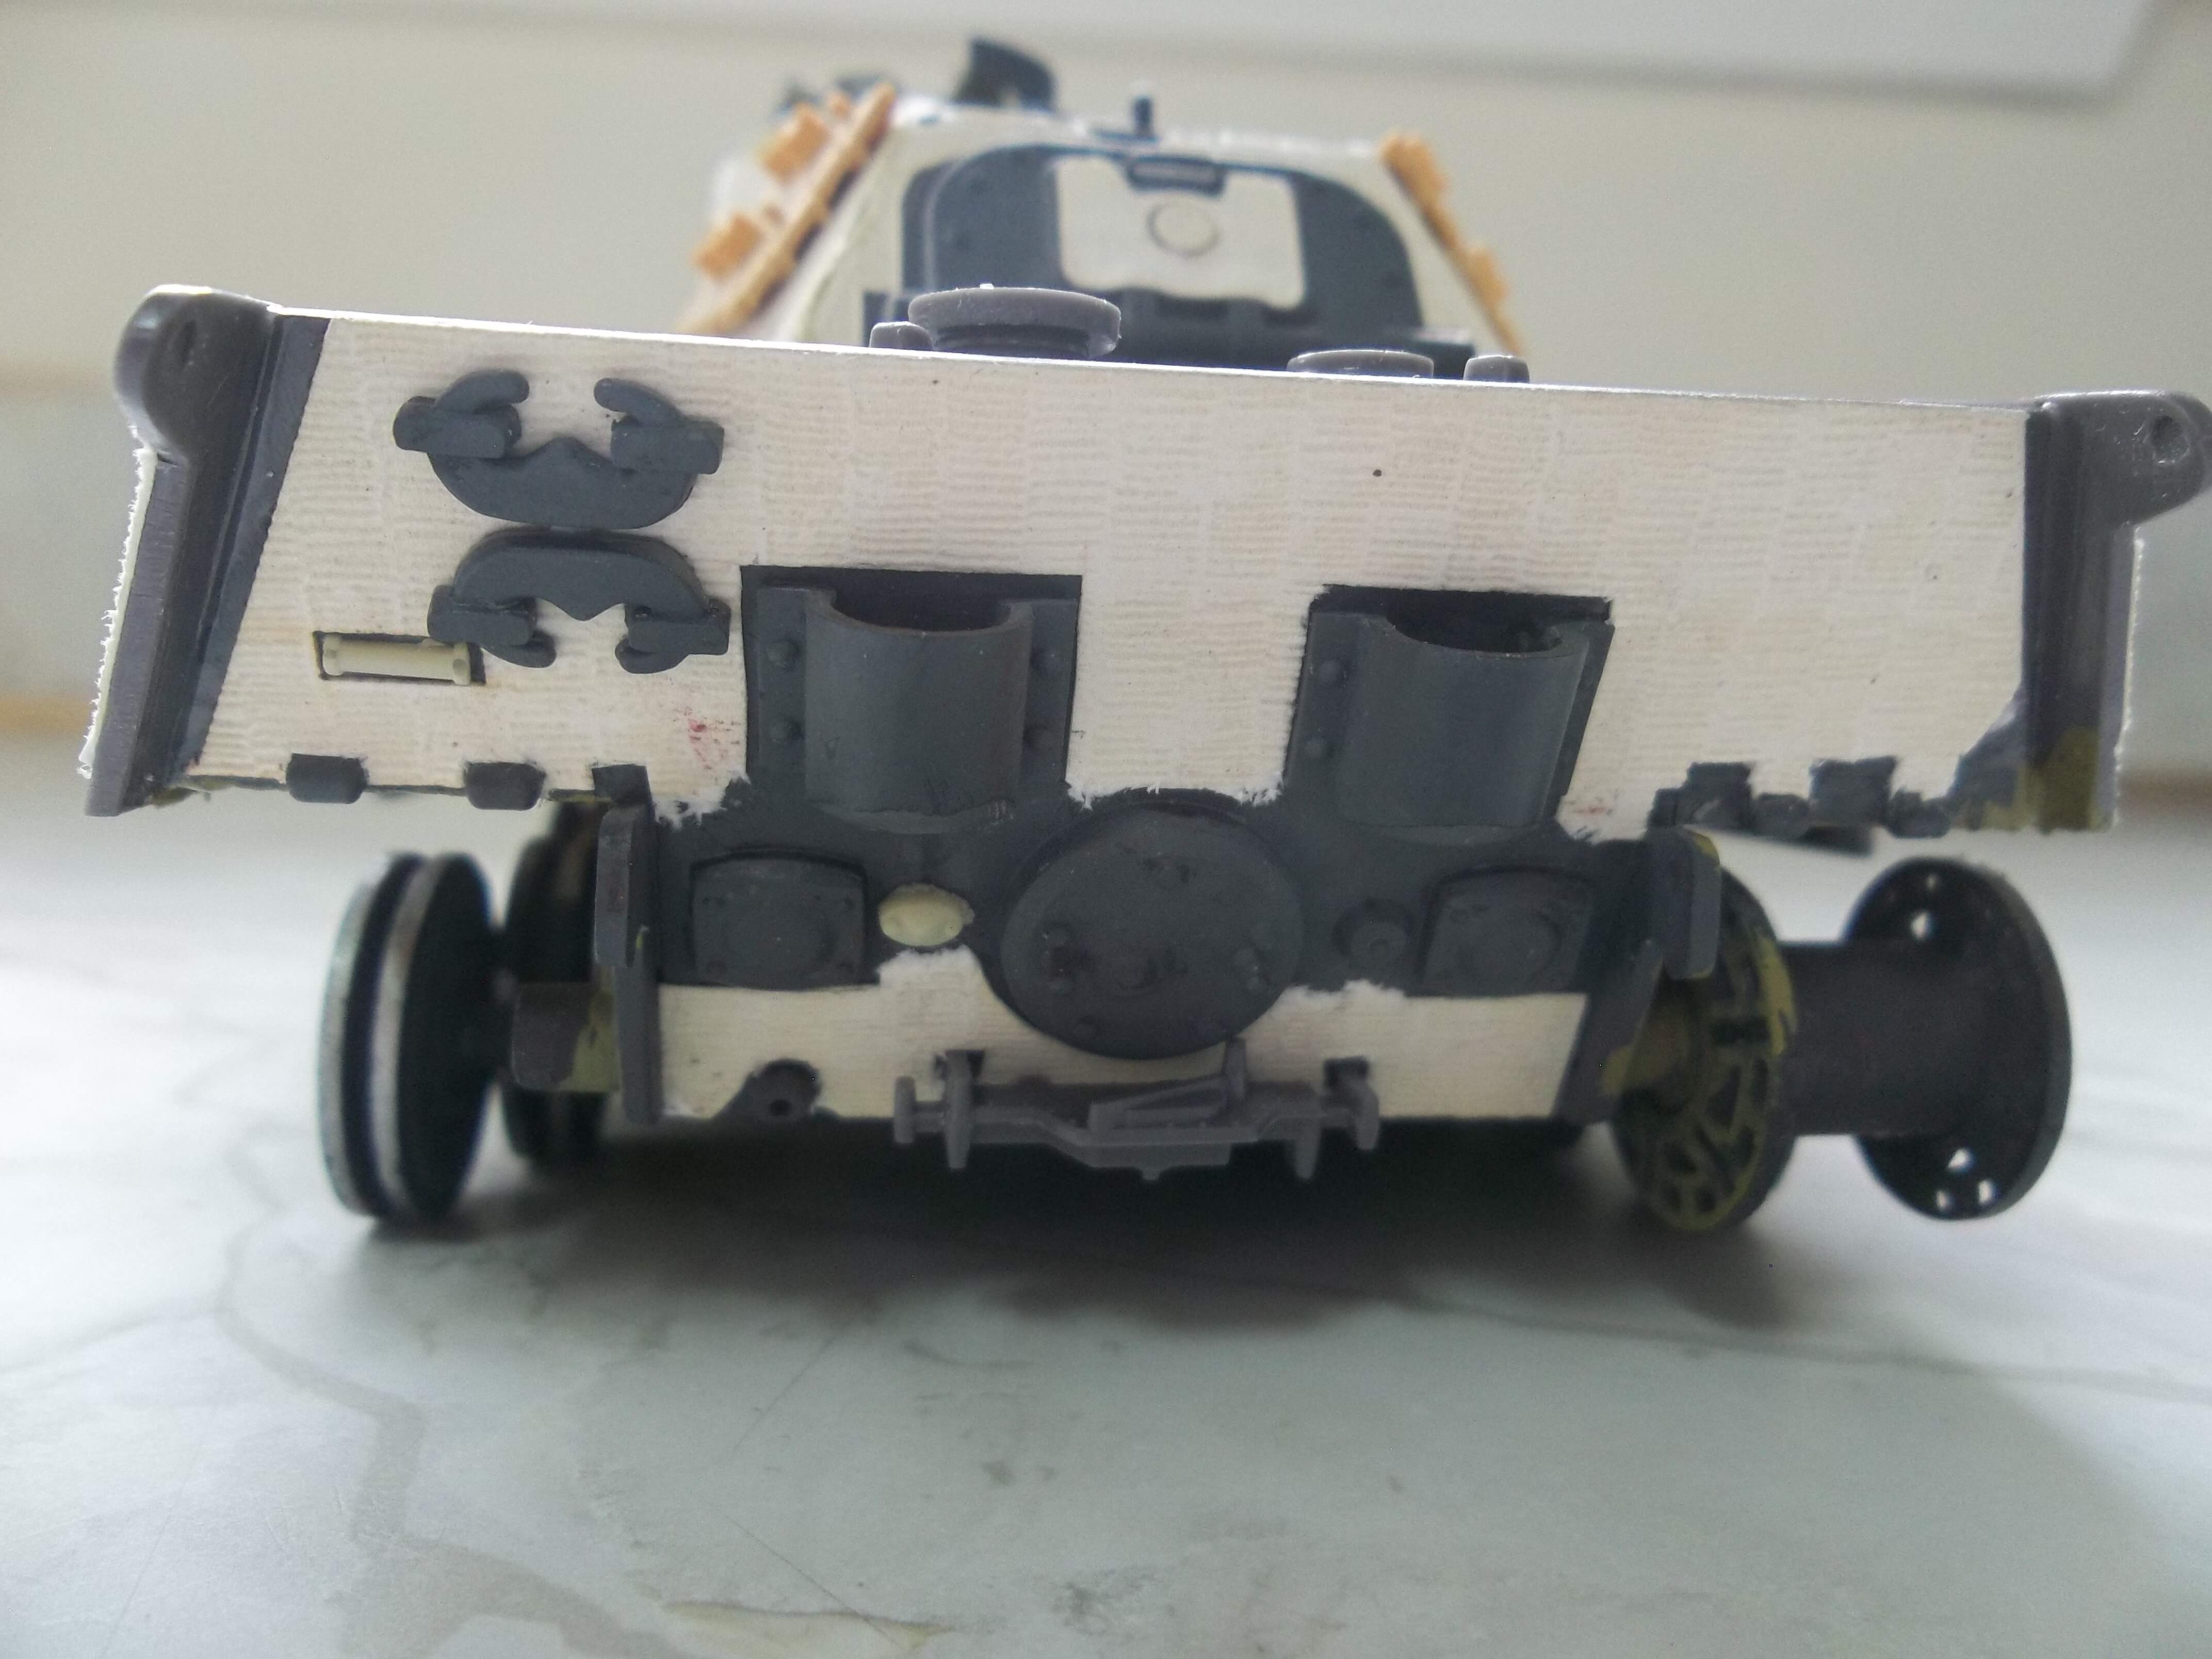
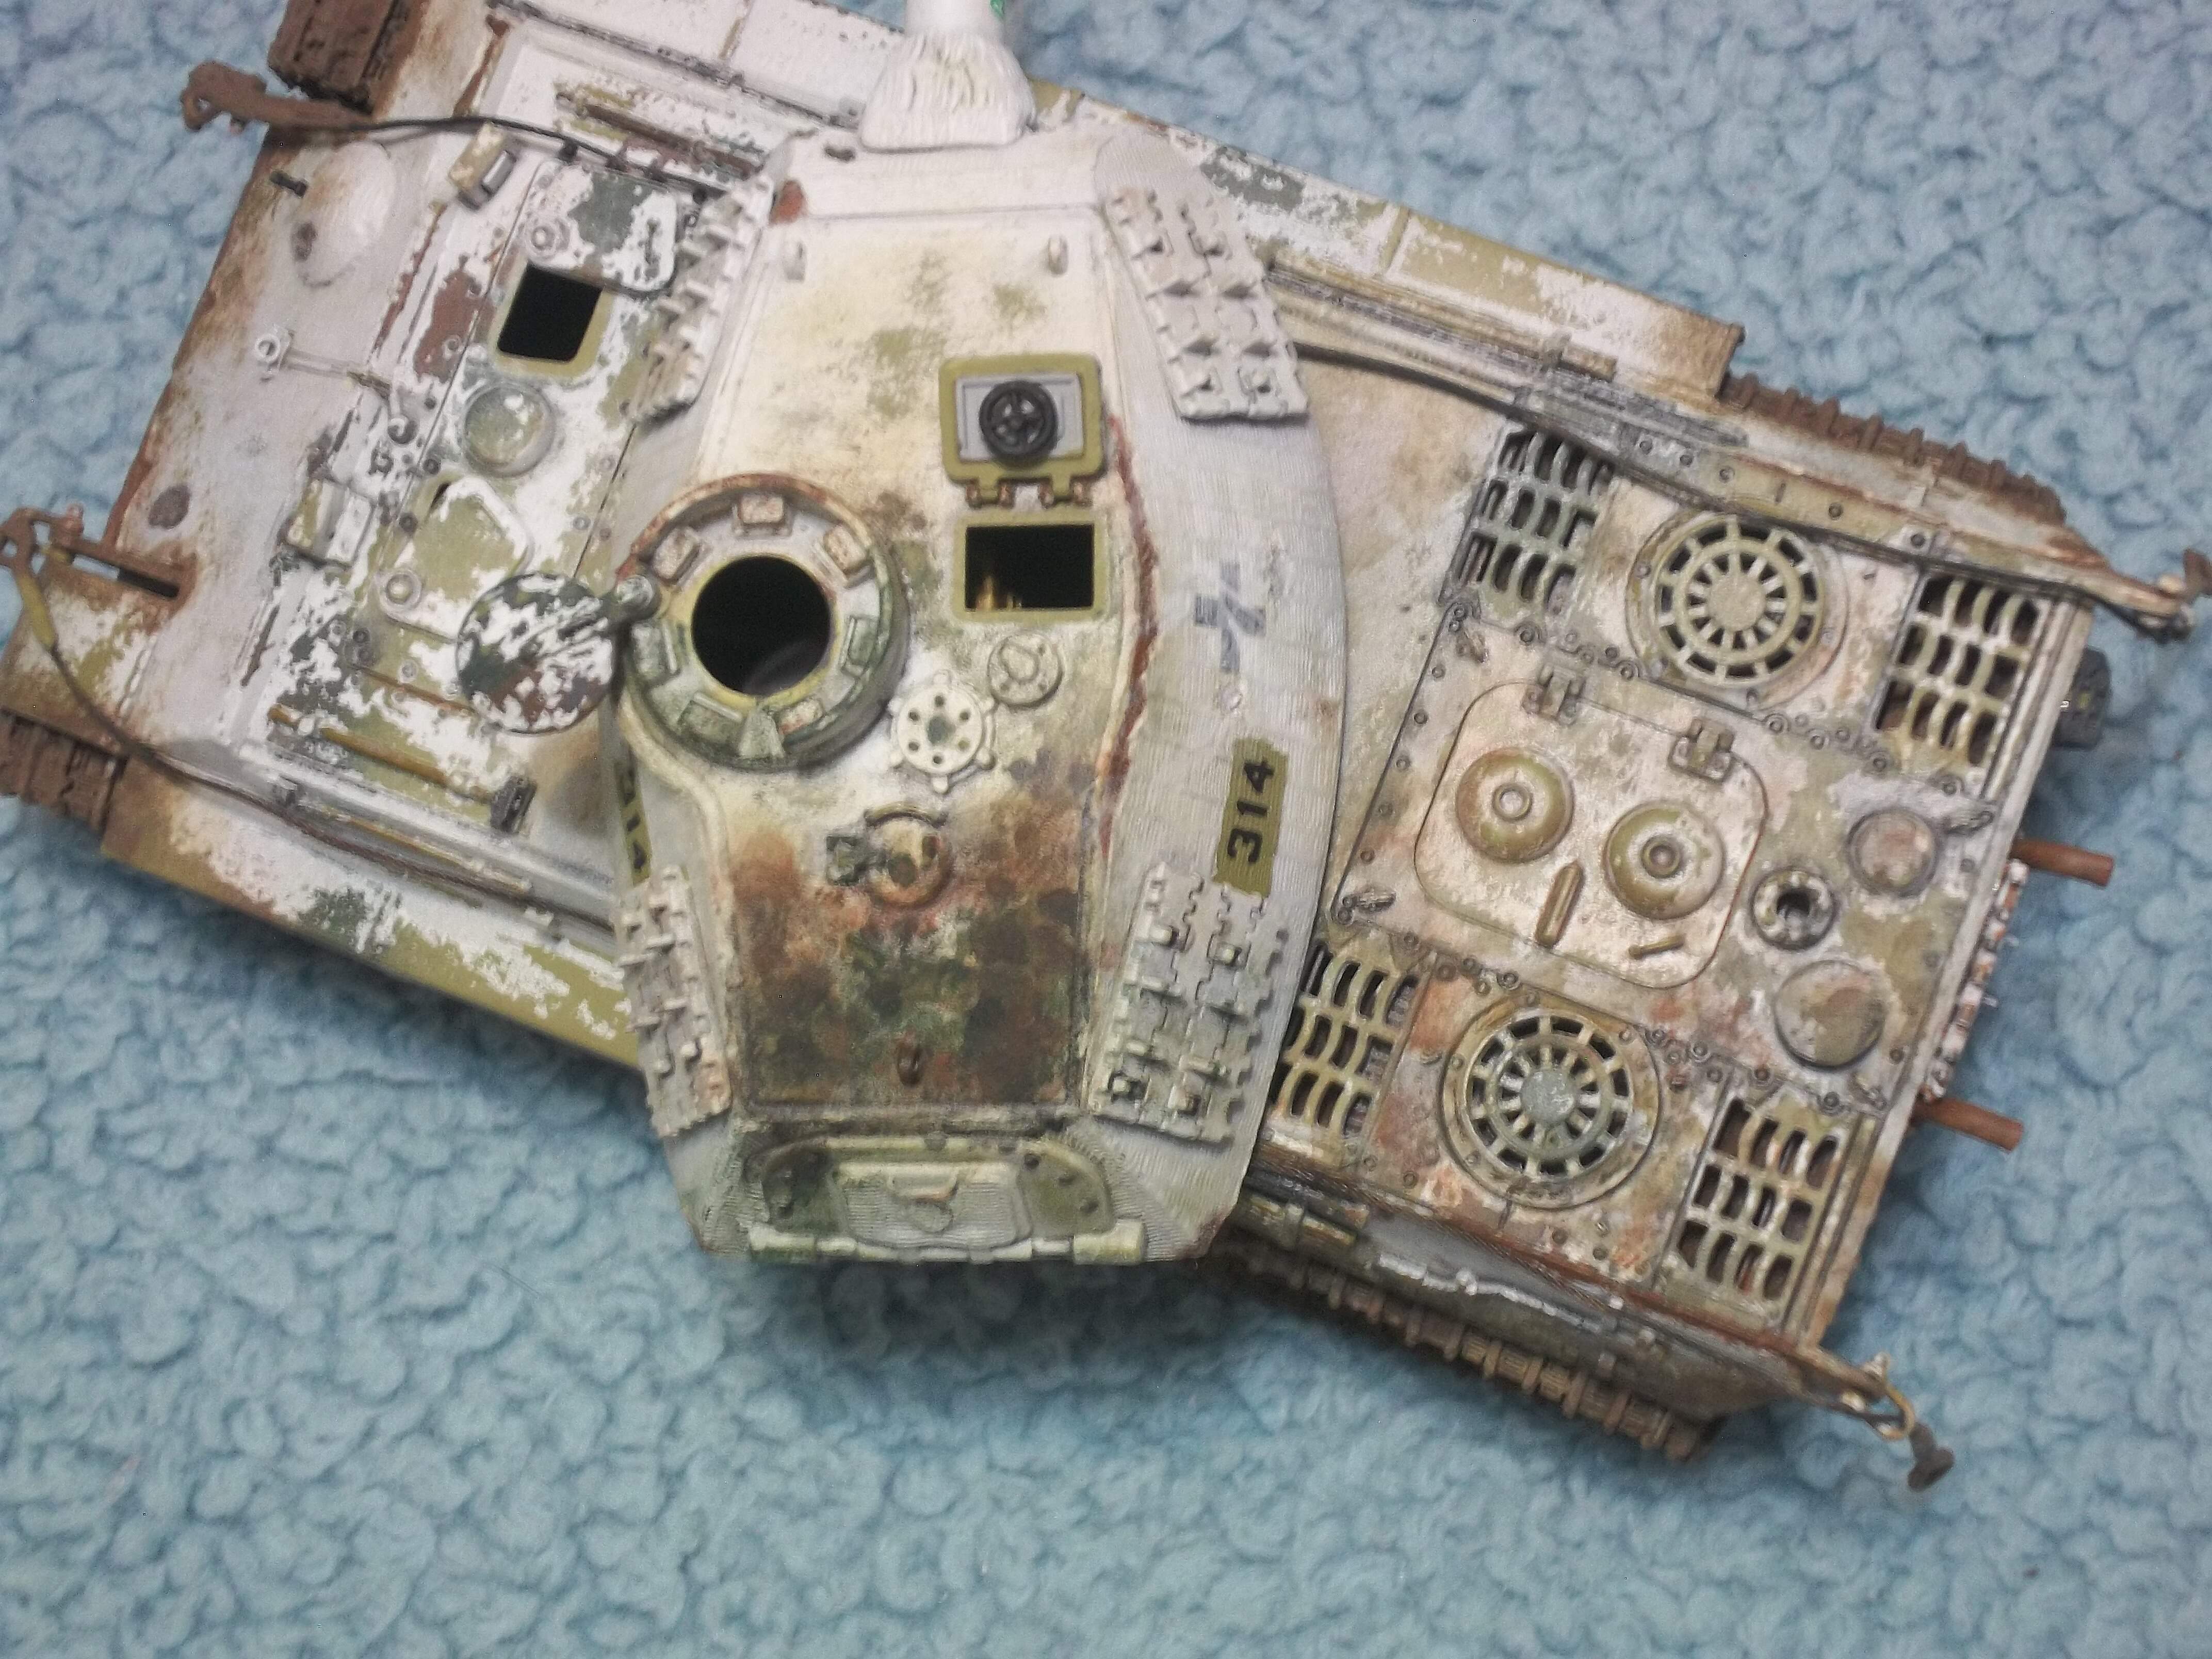
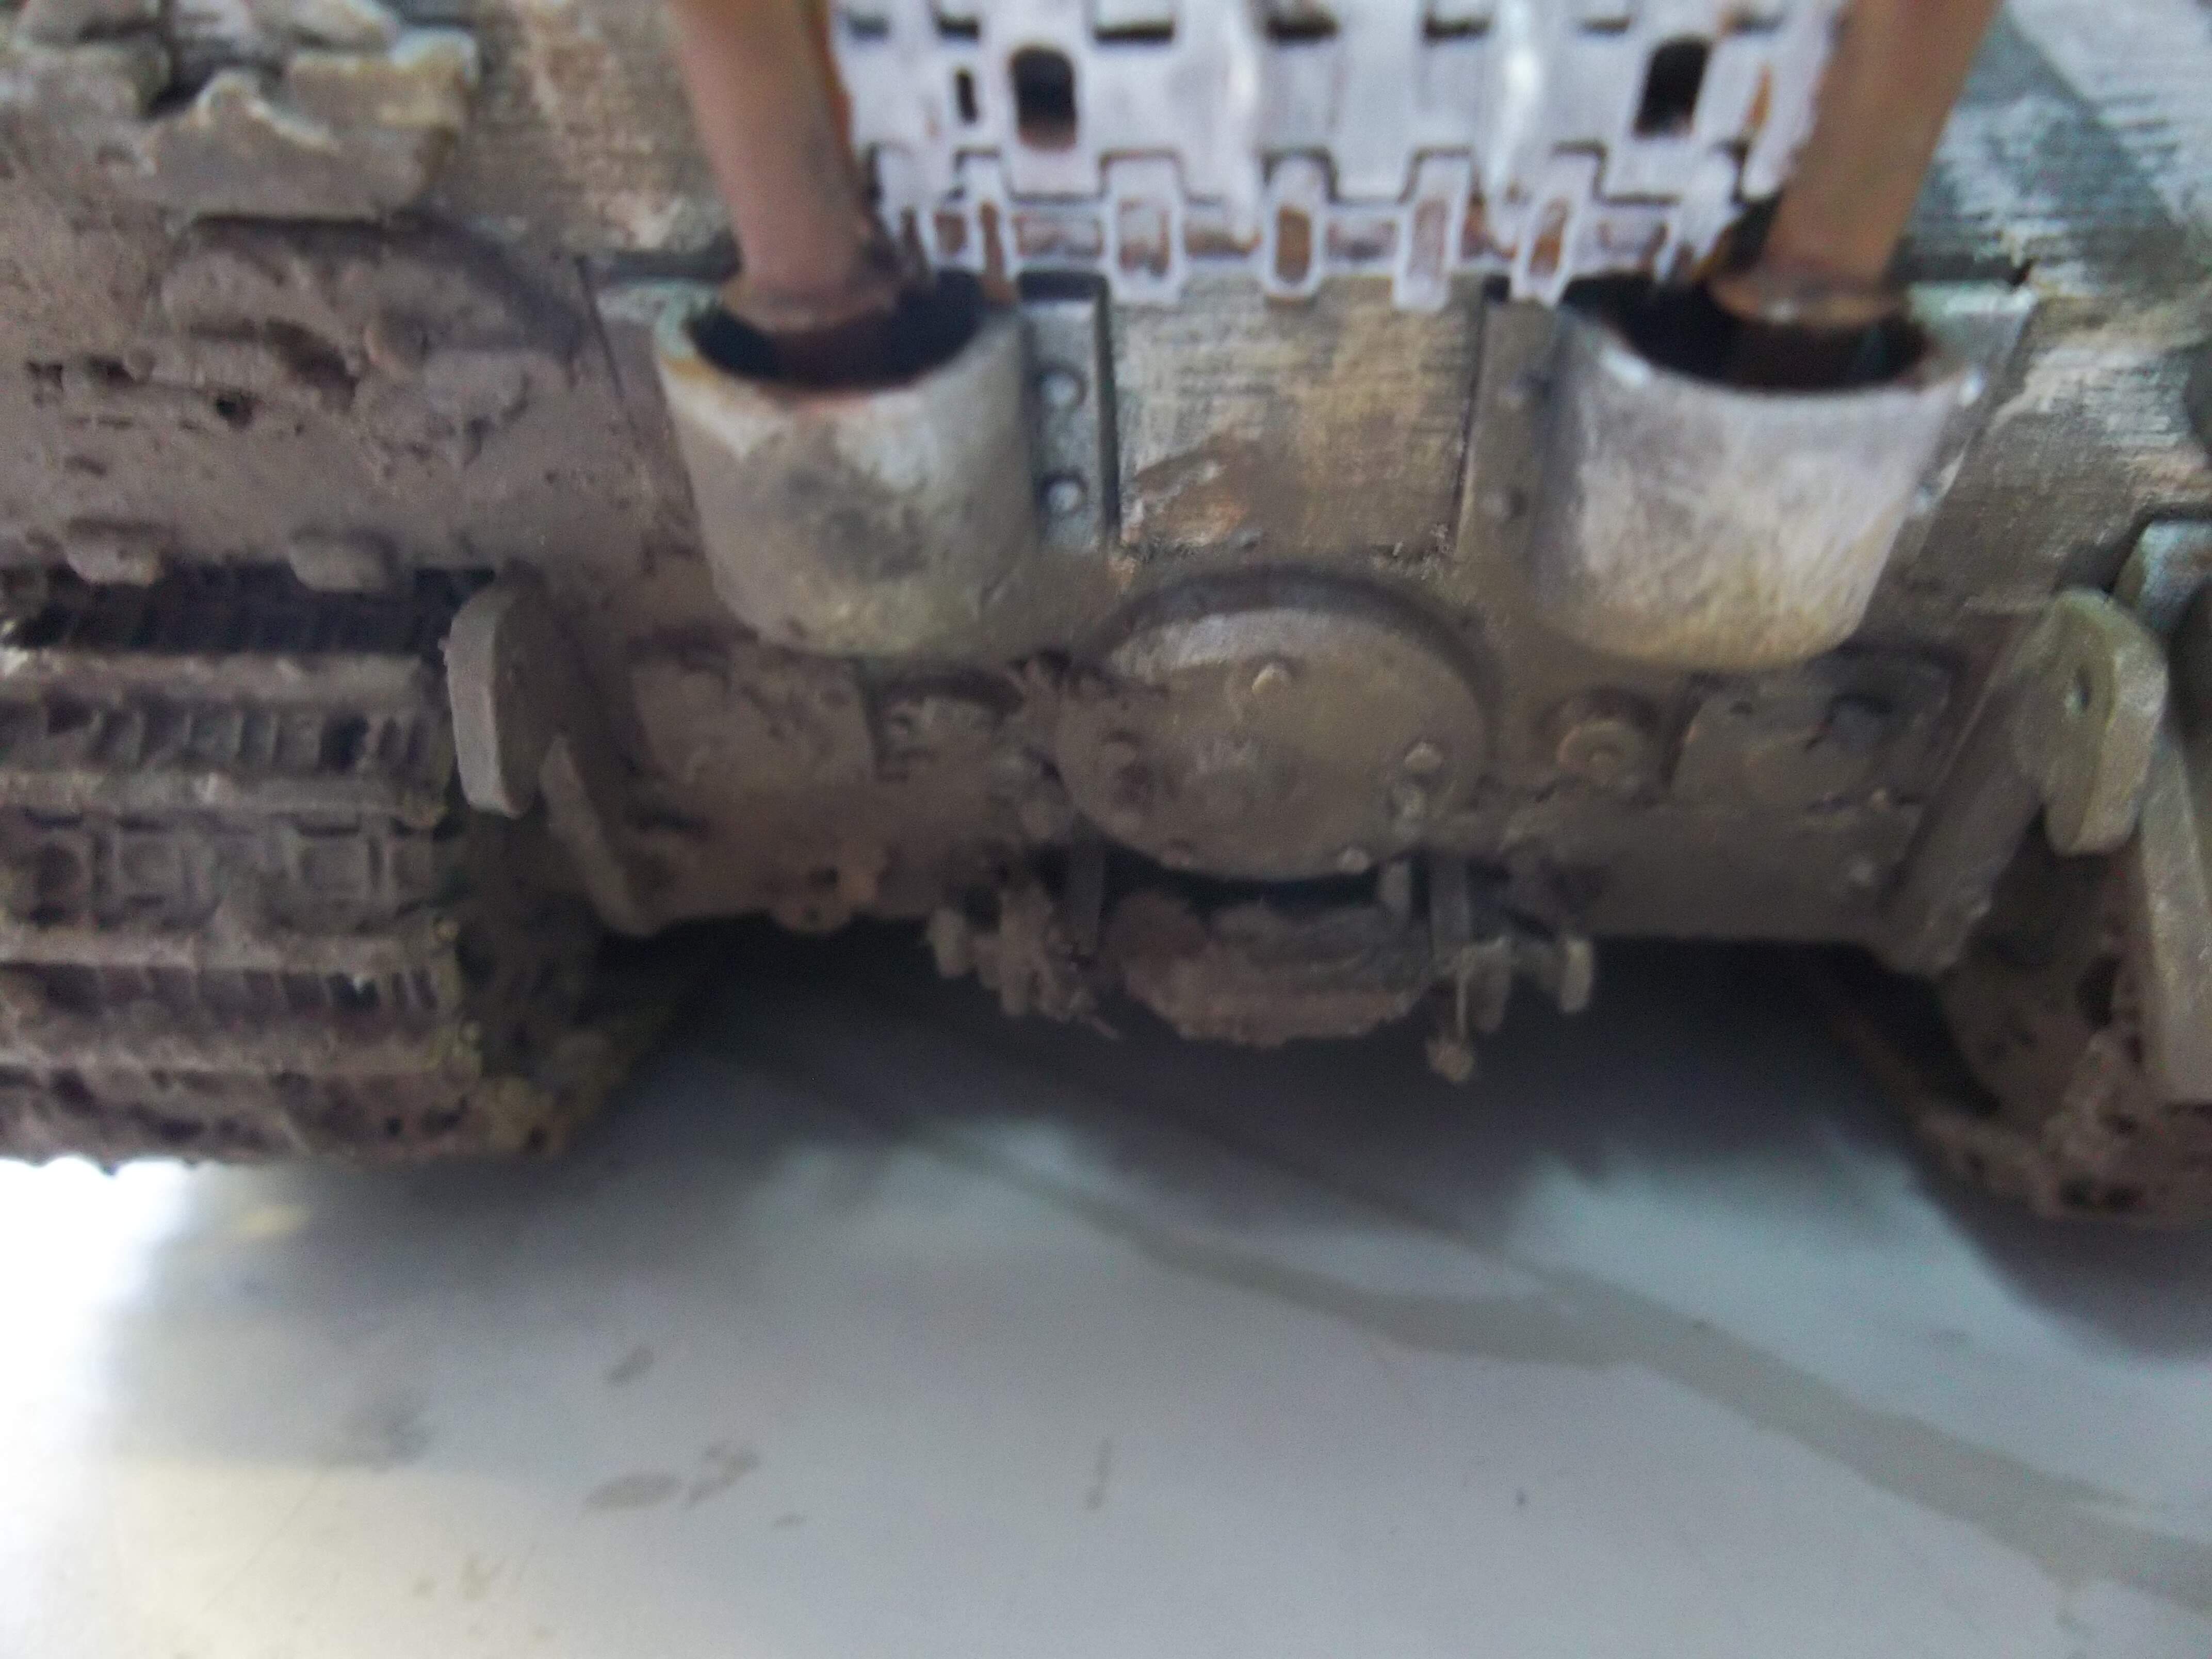
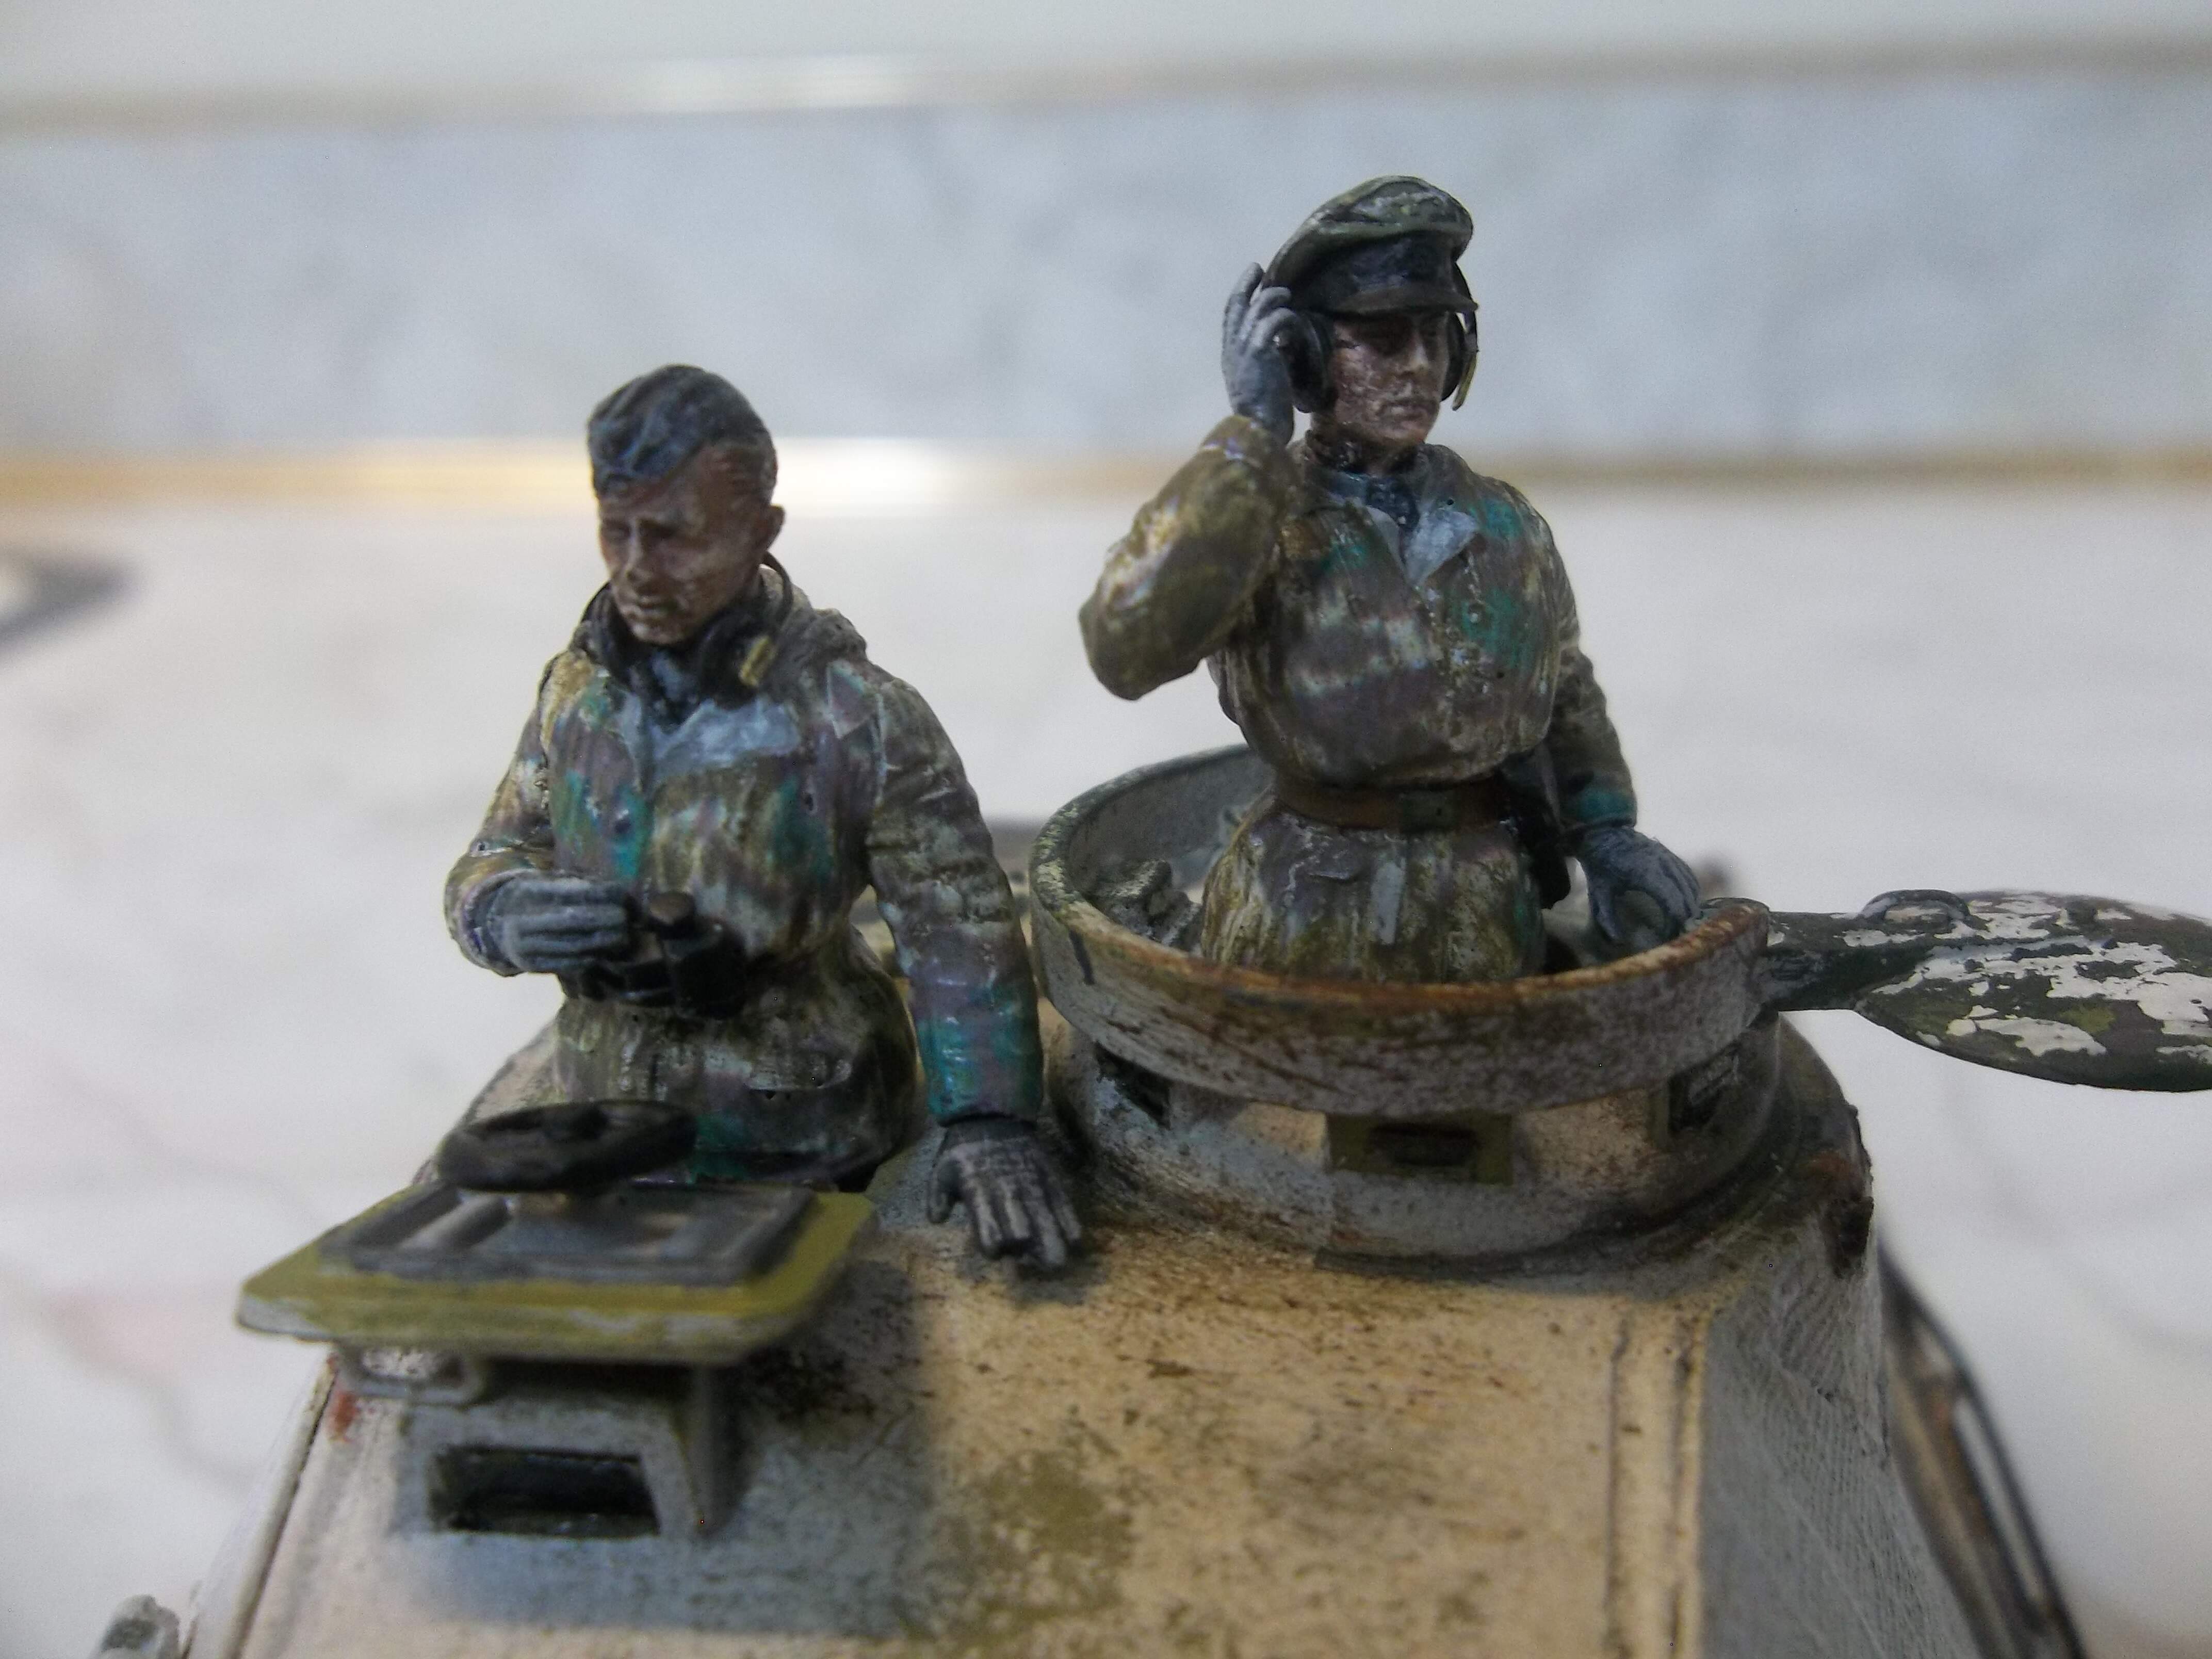
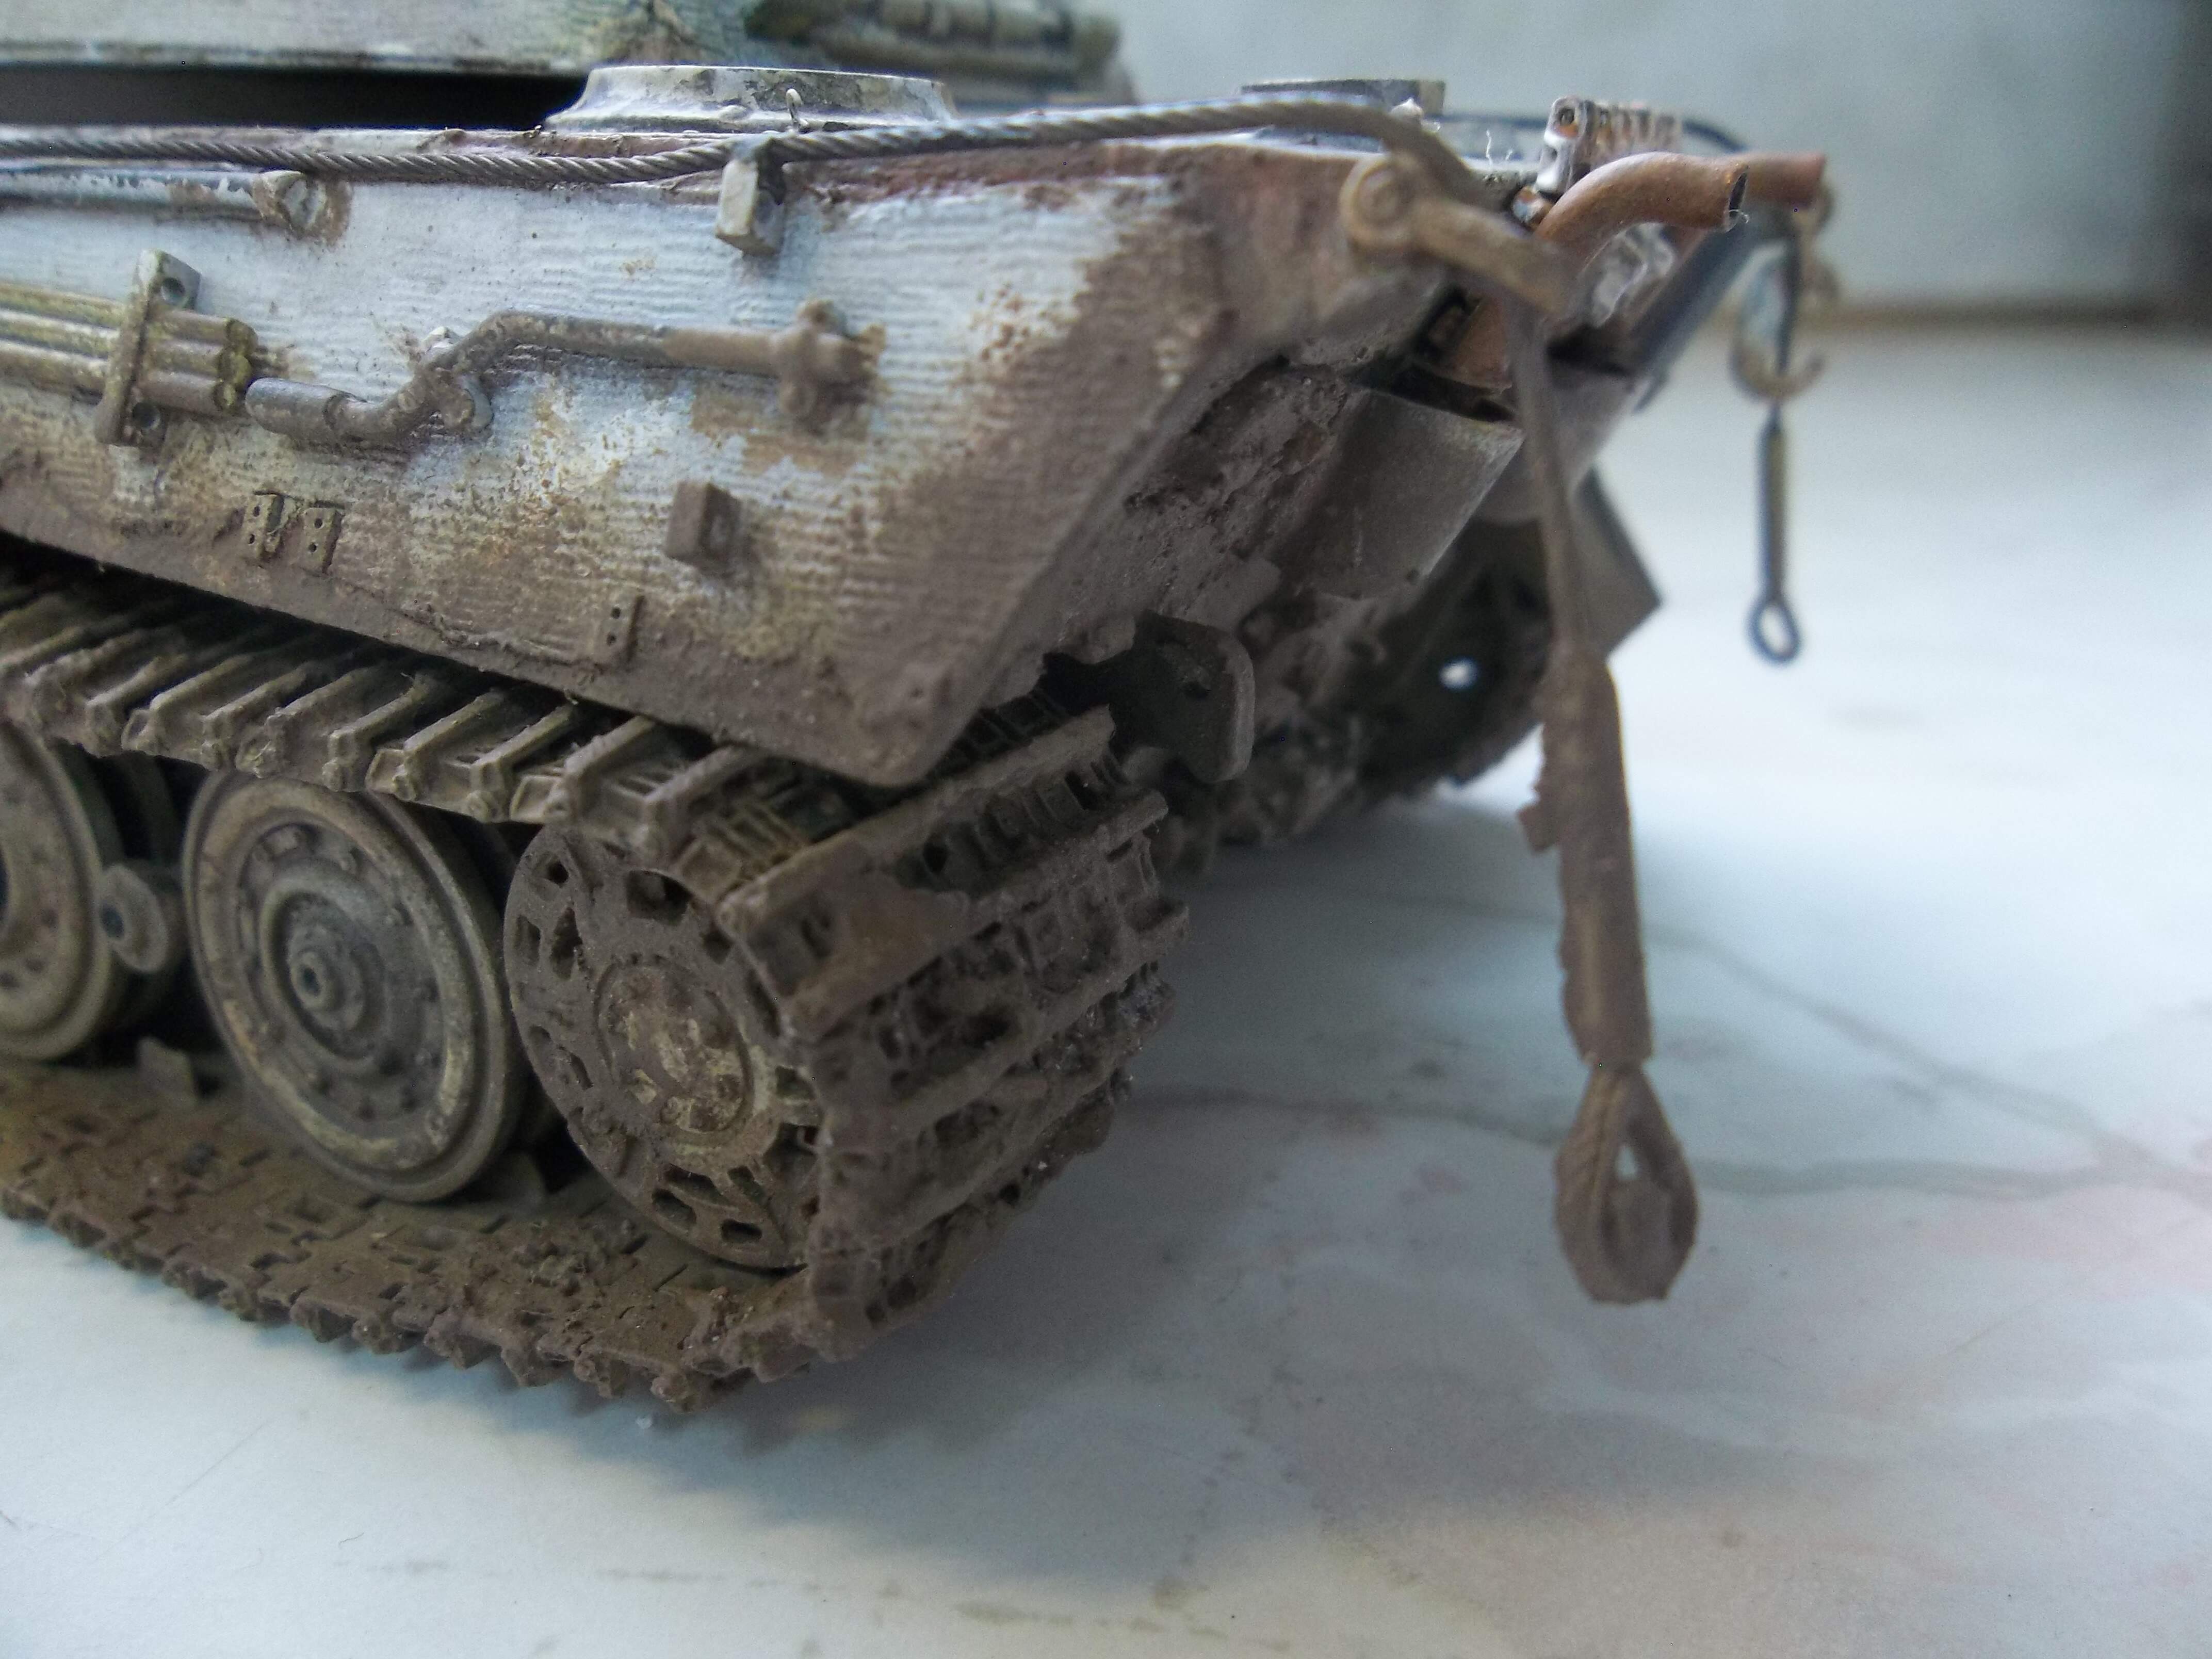
The only thing mounted on the left side of the kit was the tow cable/cleaning rods. The tow cable was ugly, and I wanted to reposition it anyway, so I cut it off and just glued on the cleaning rods. The tank did not come with a track changing cable, so I added one from a Tamiya King Tiger. There was no axe included, and the hammer was mounted where the axe should be. I moved the hammer to the other side, and added an axe from another Bandai kit. The spare track blocks are also from the Tamiya King Tiger.

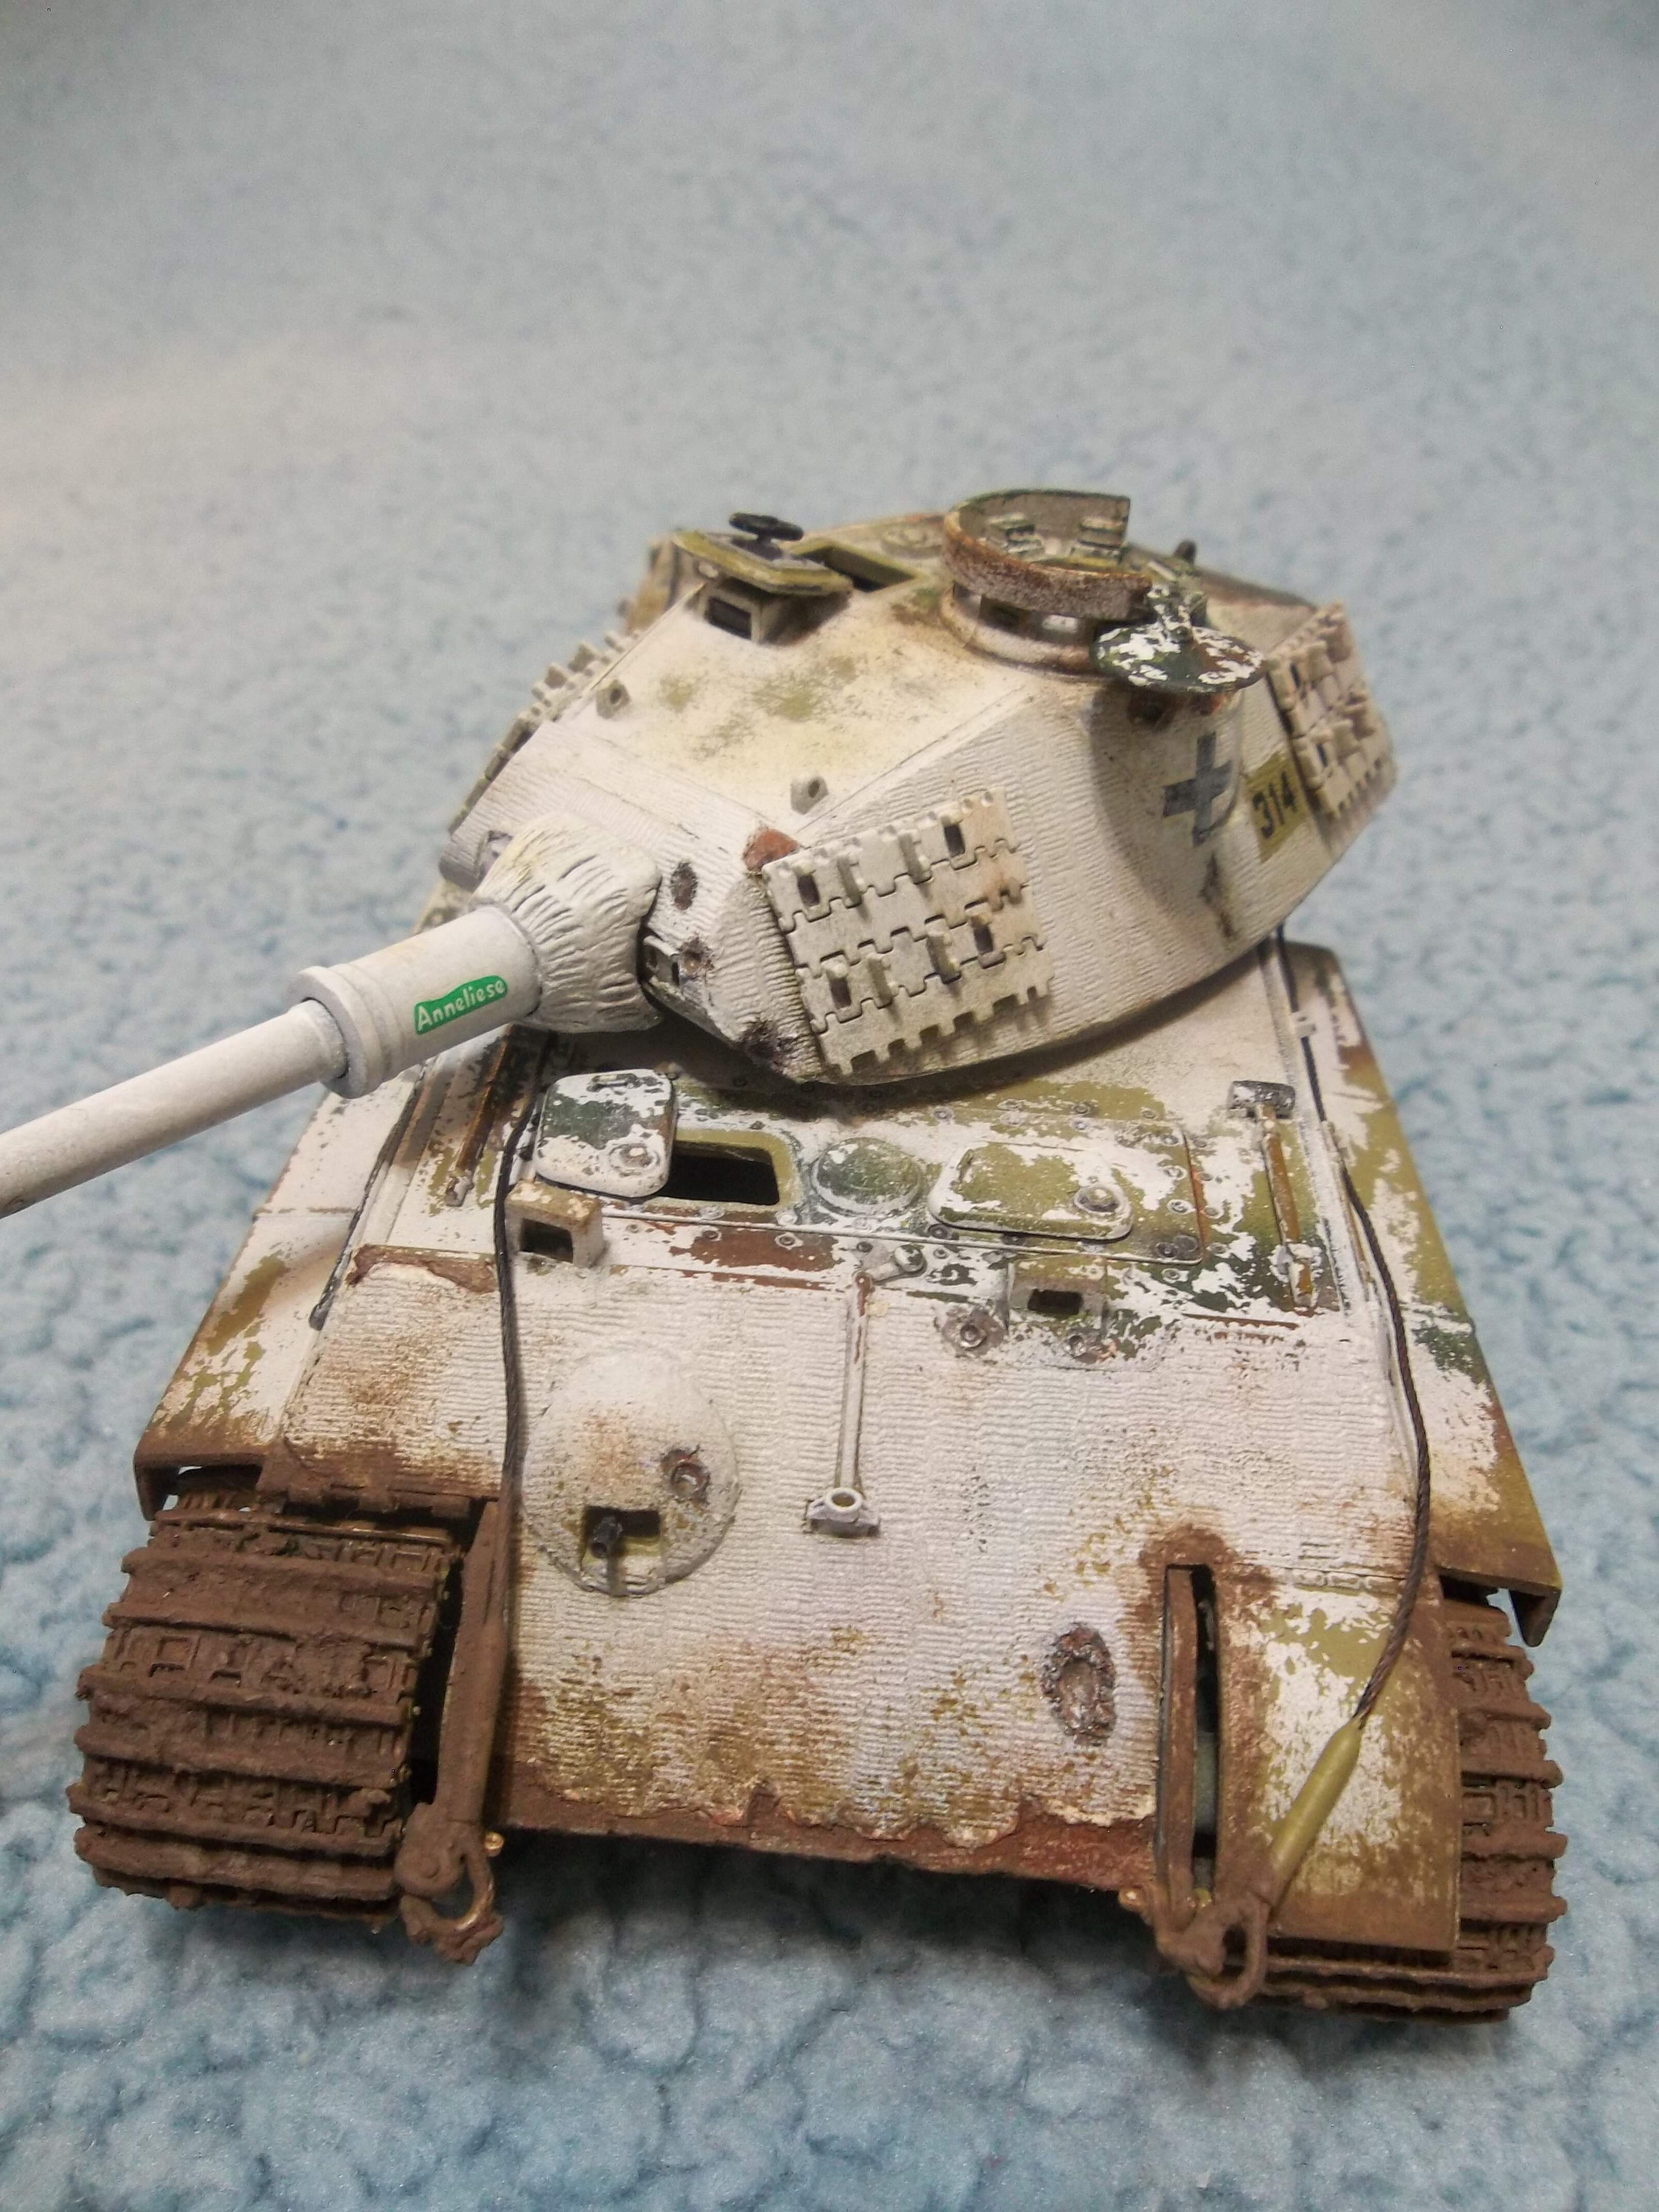
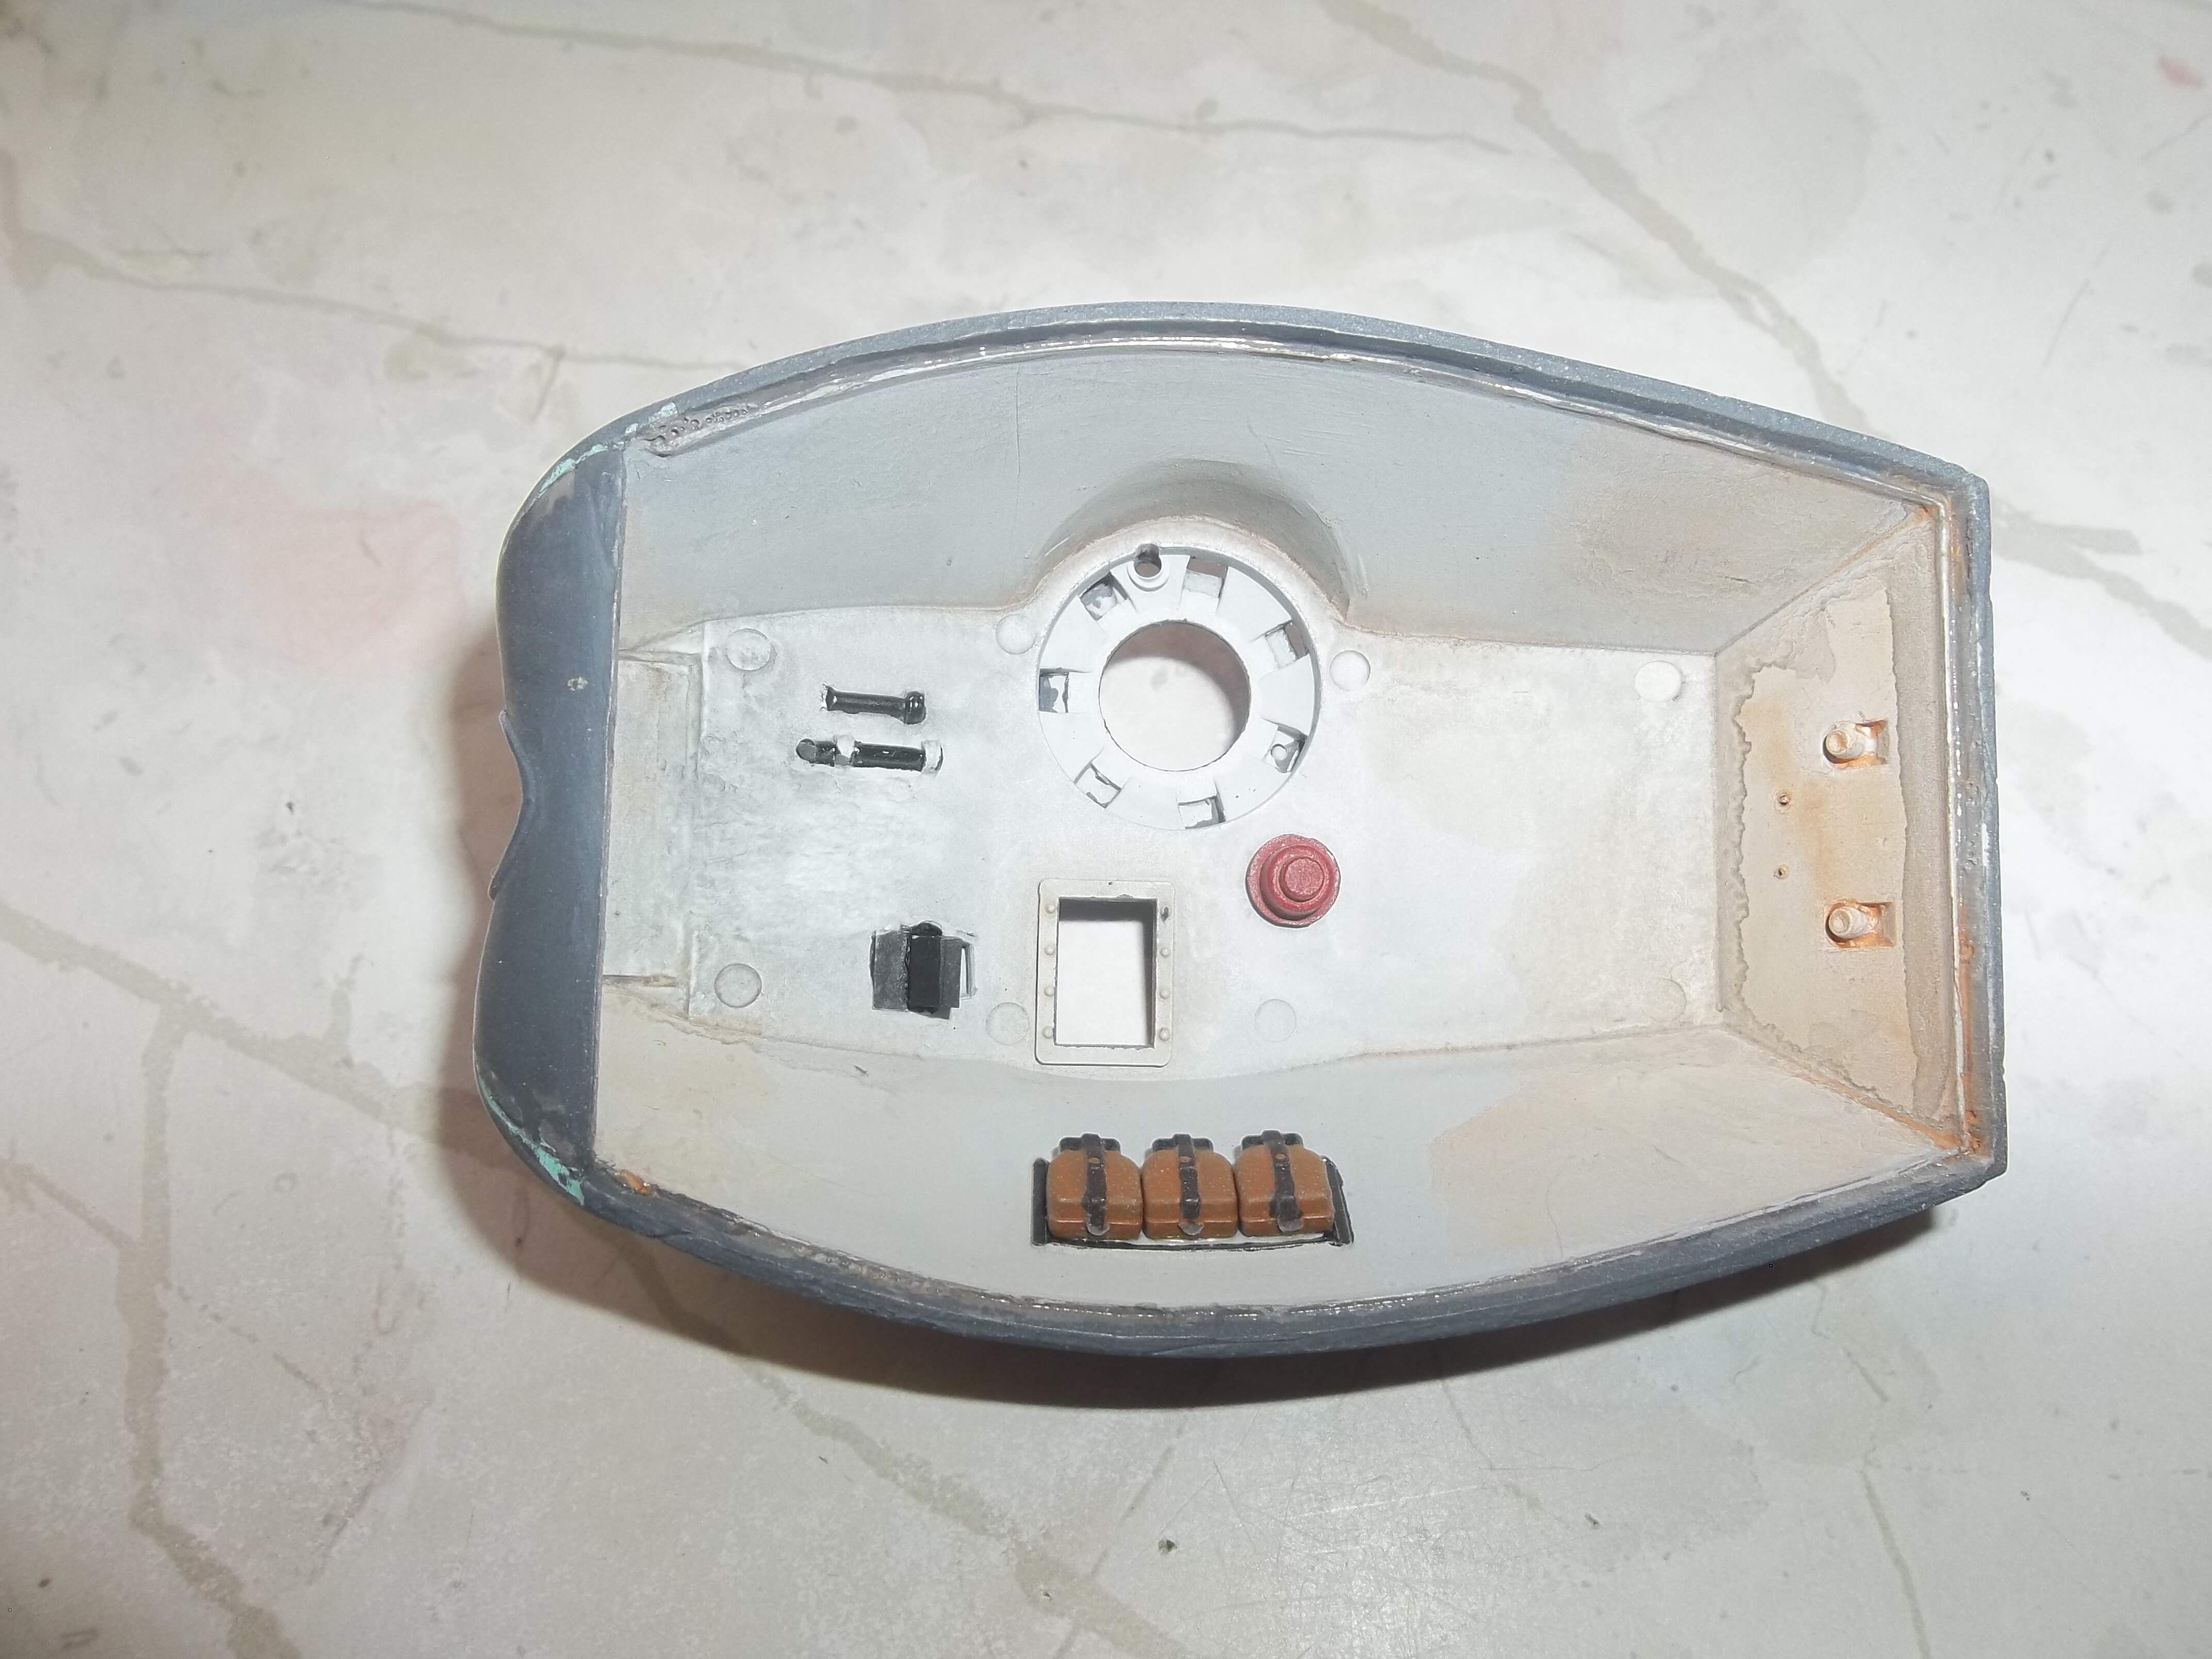
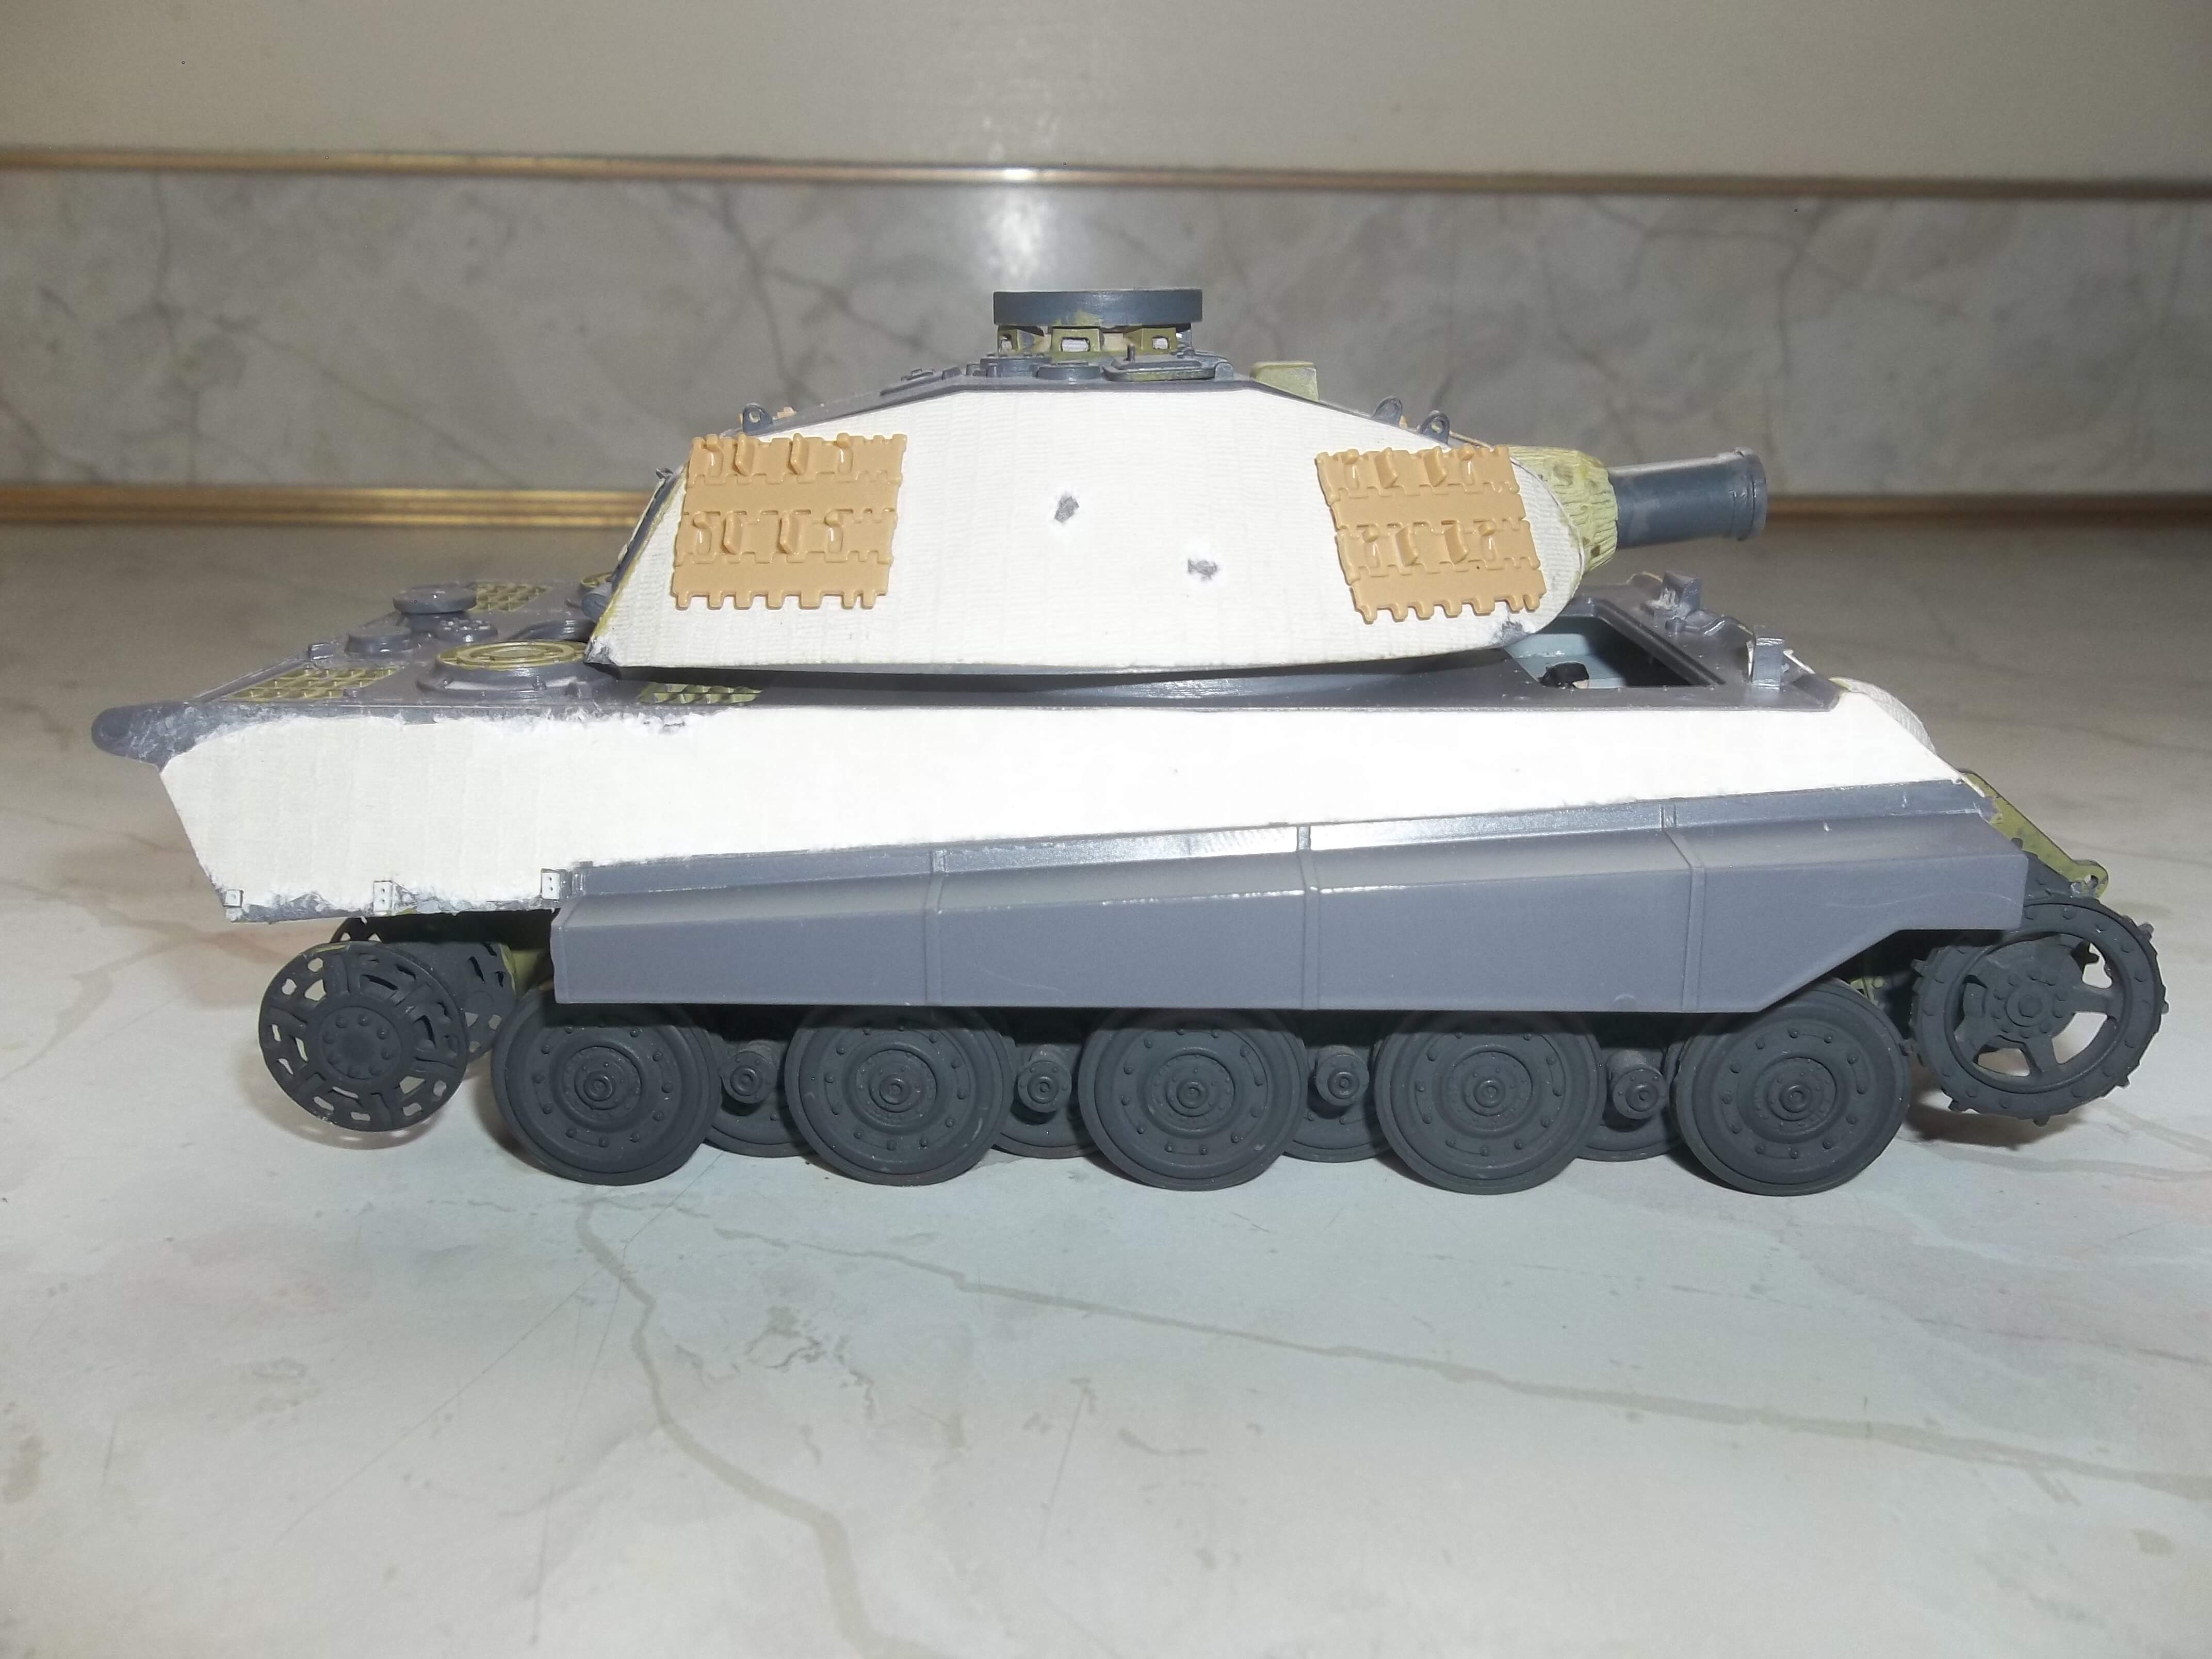
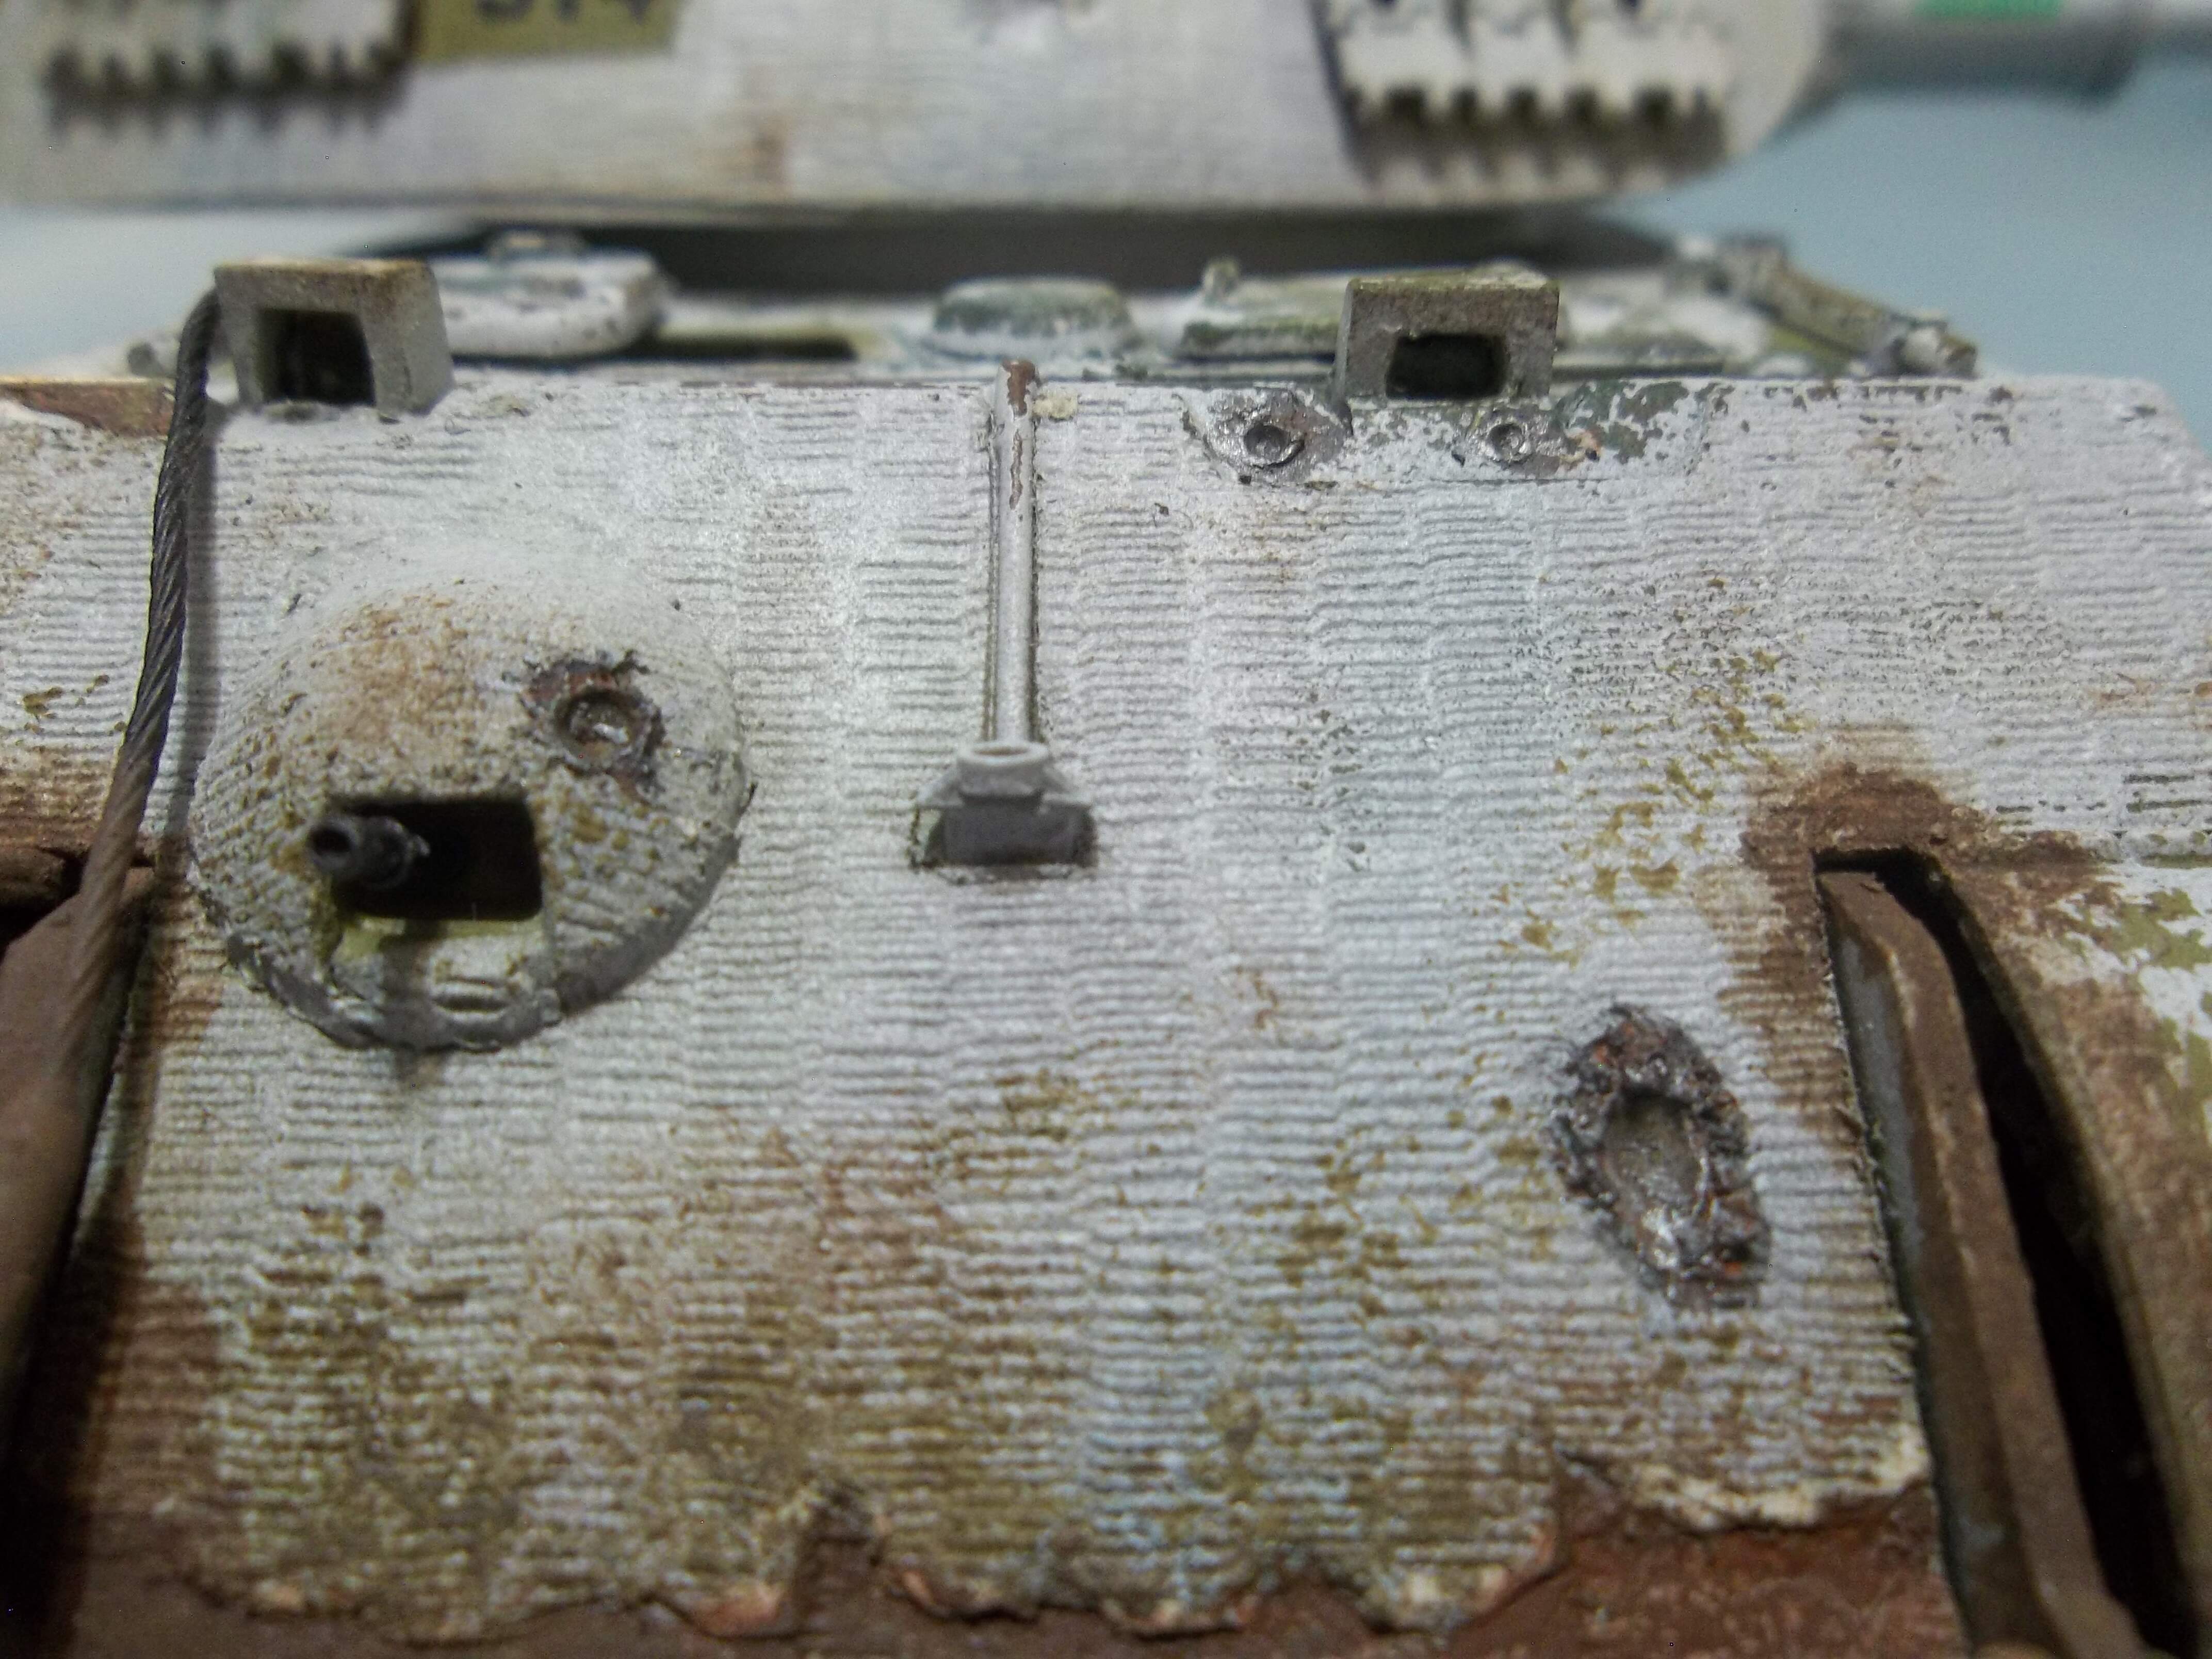
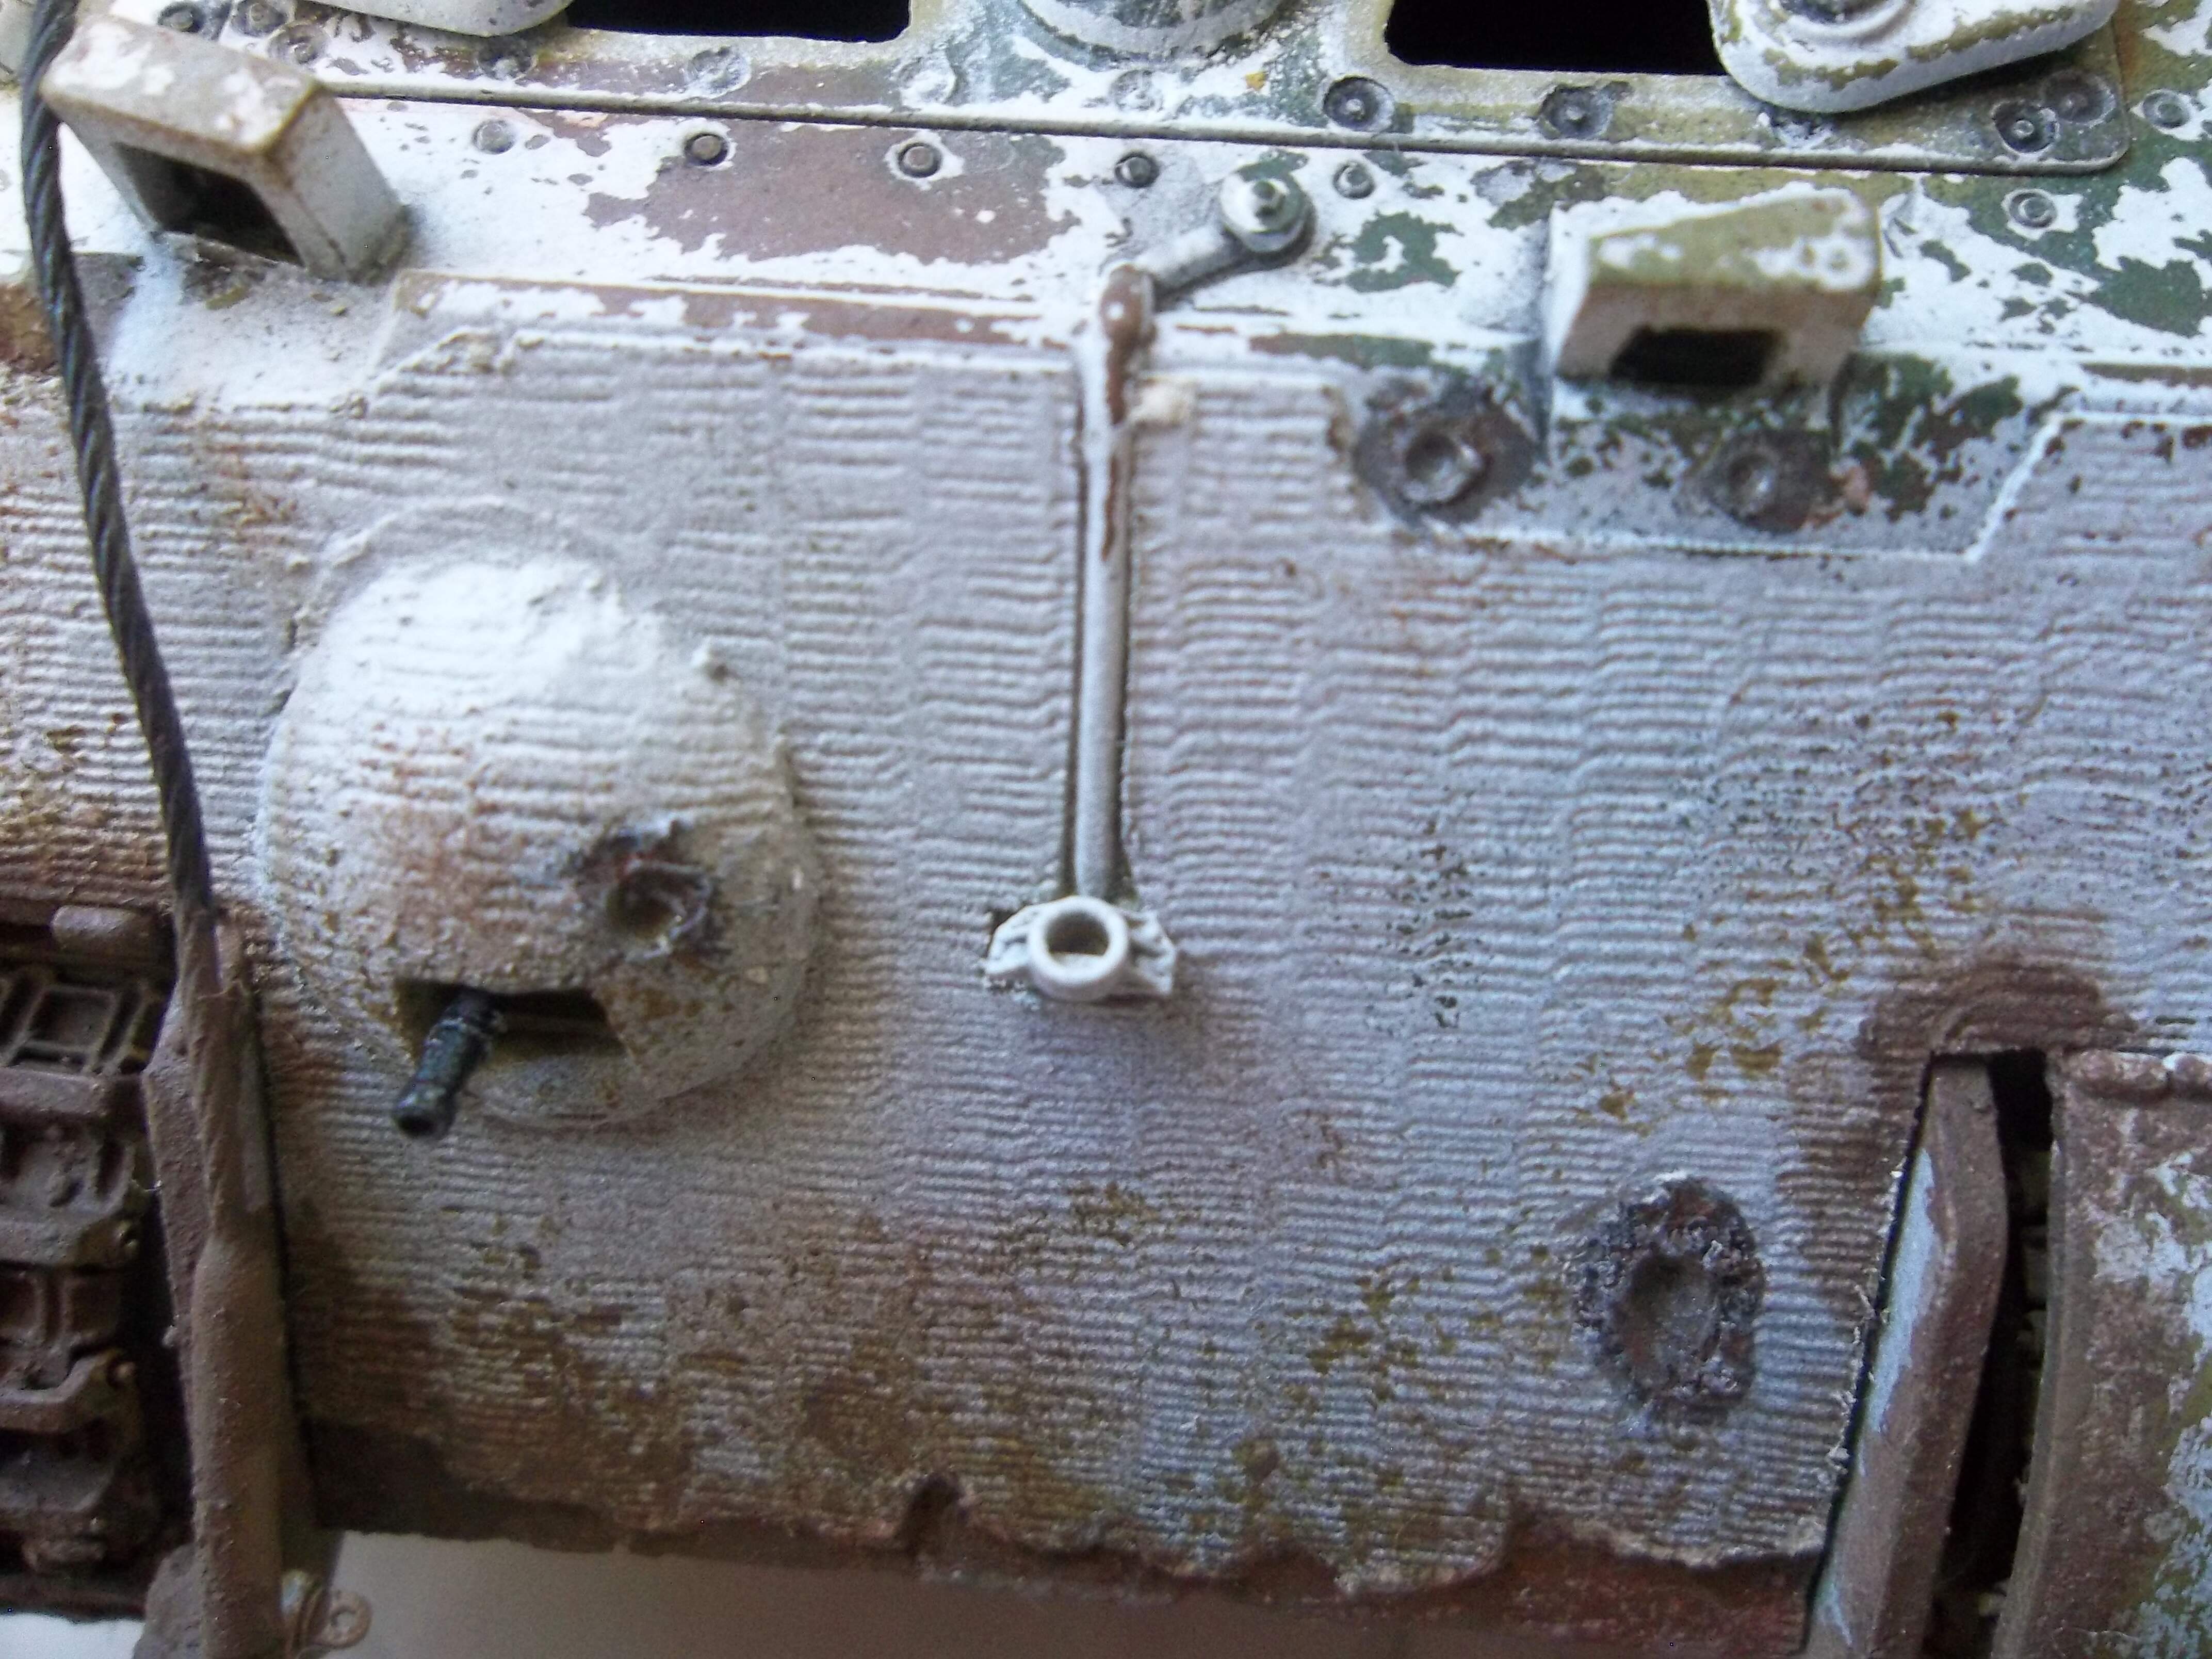
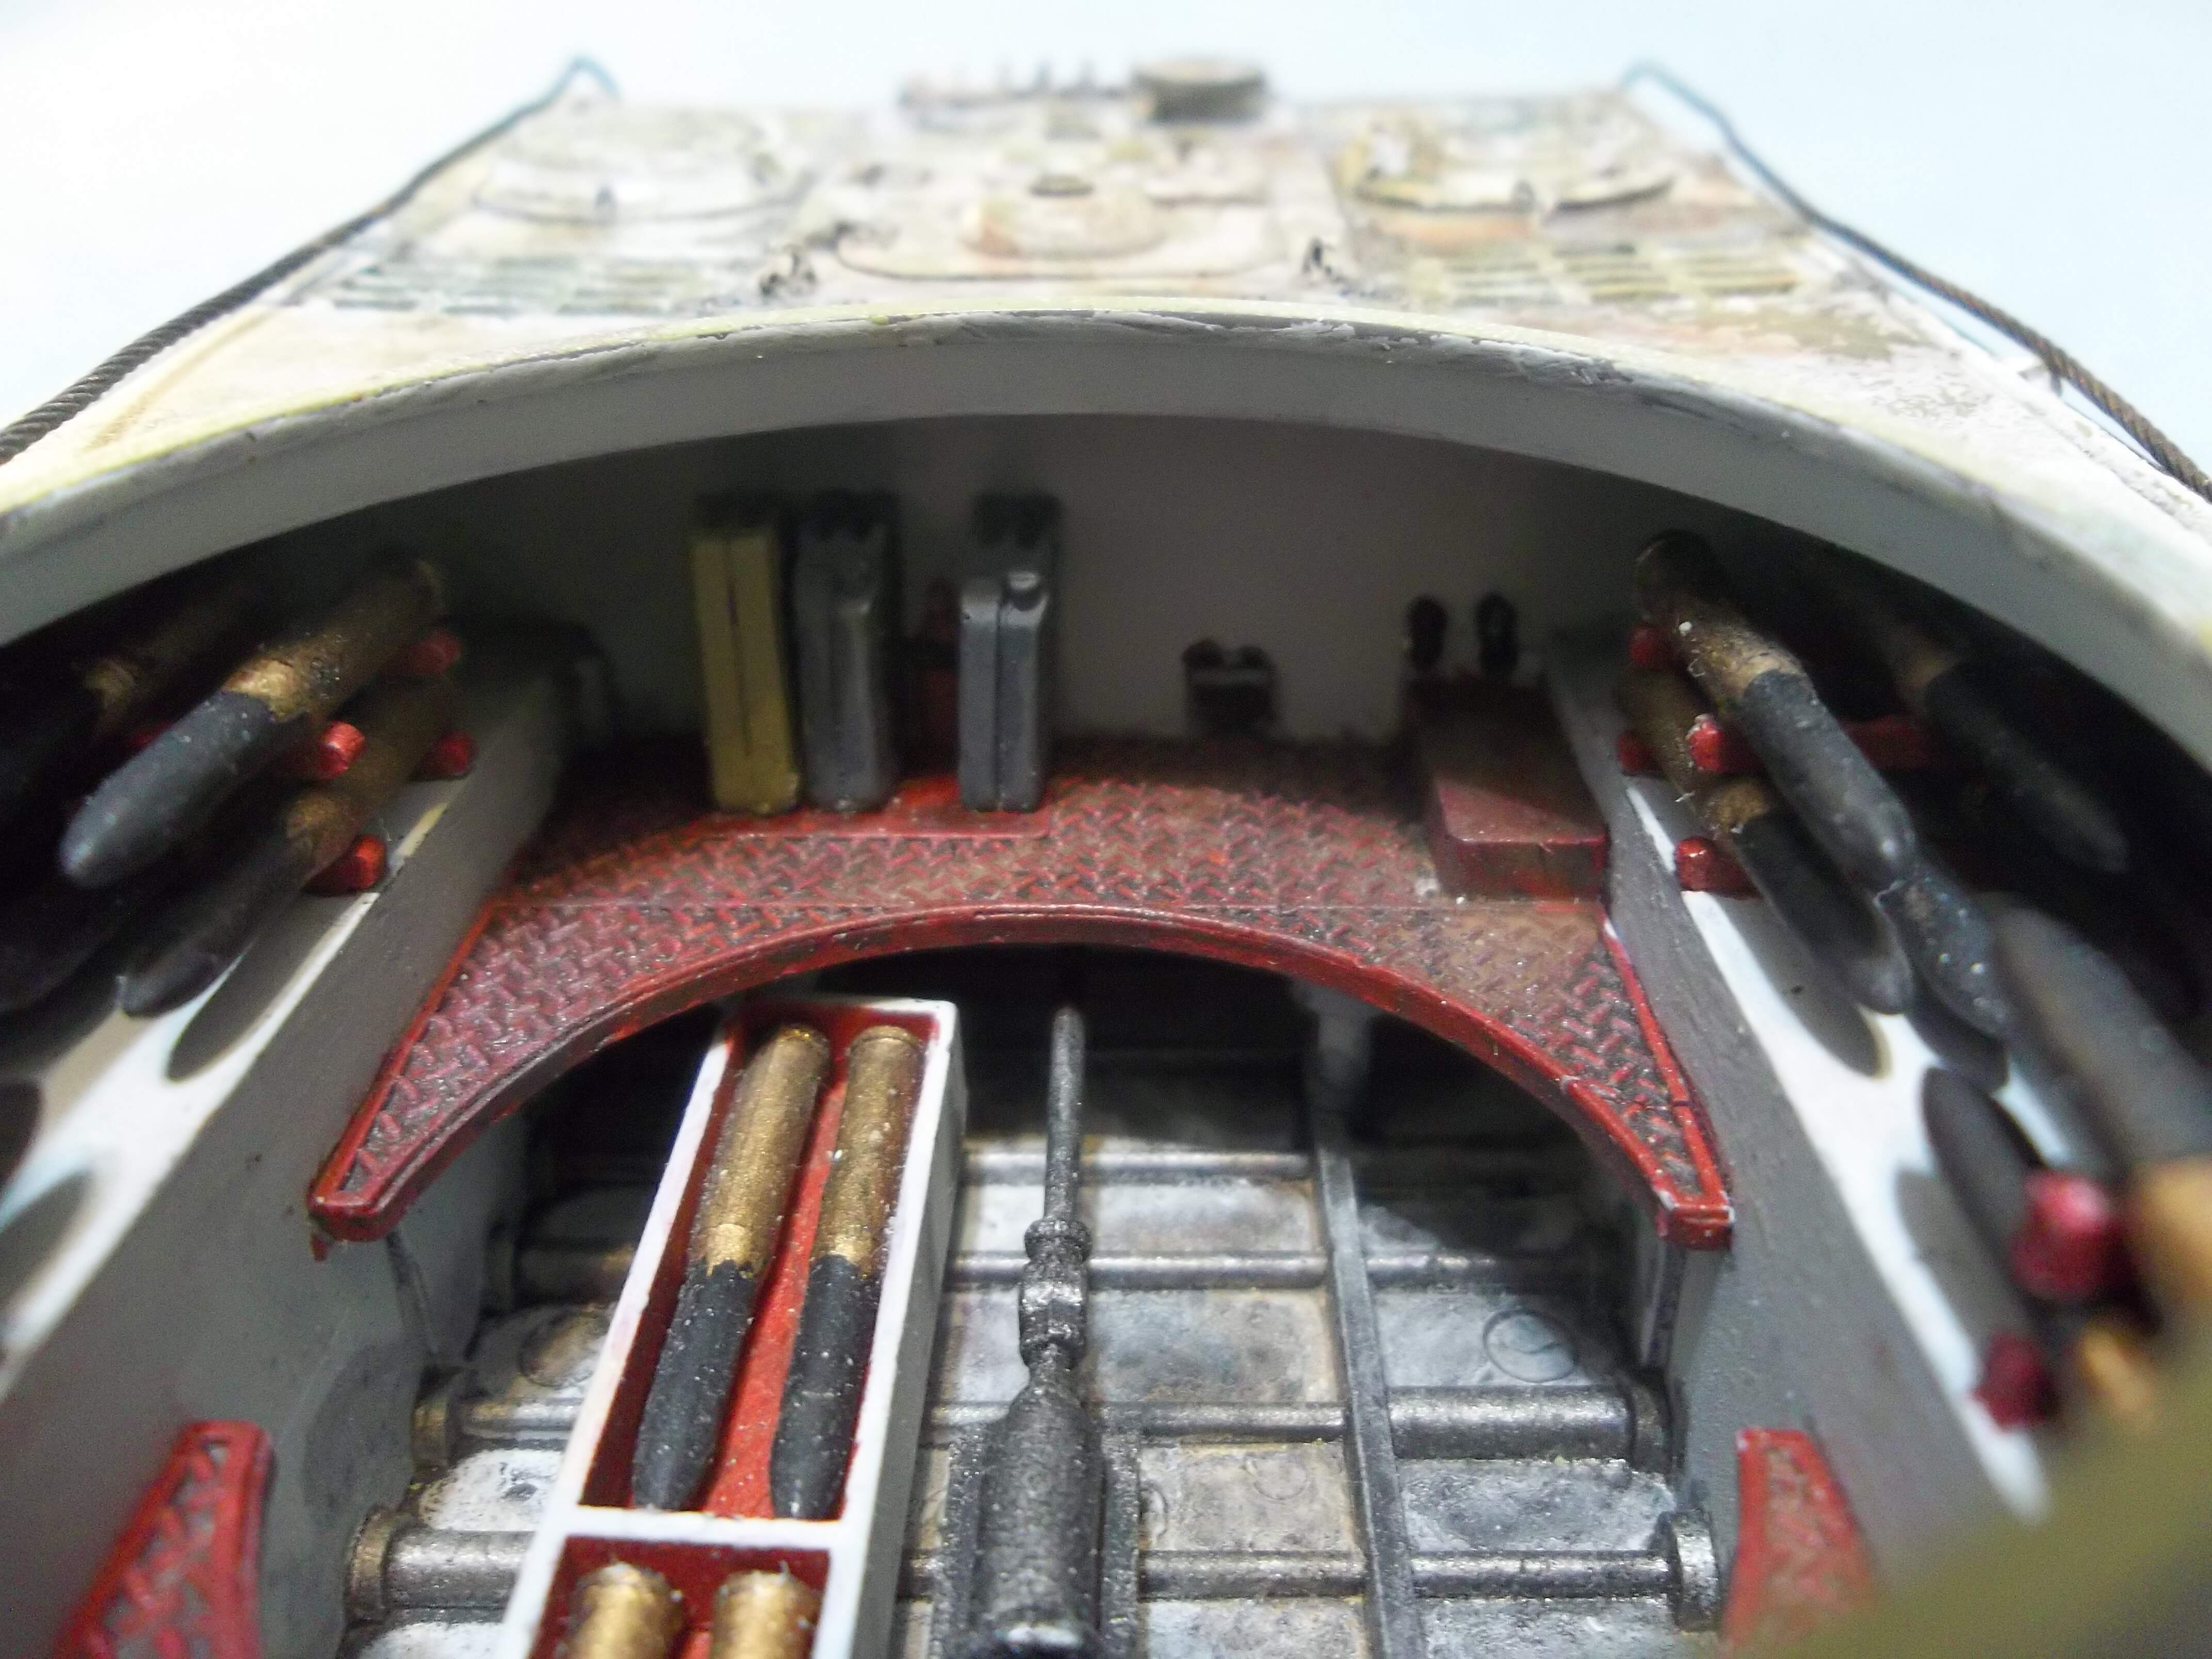
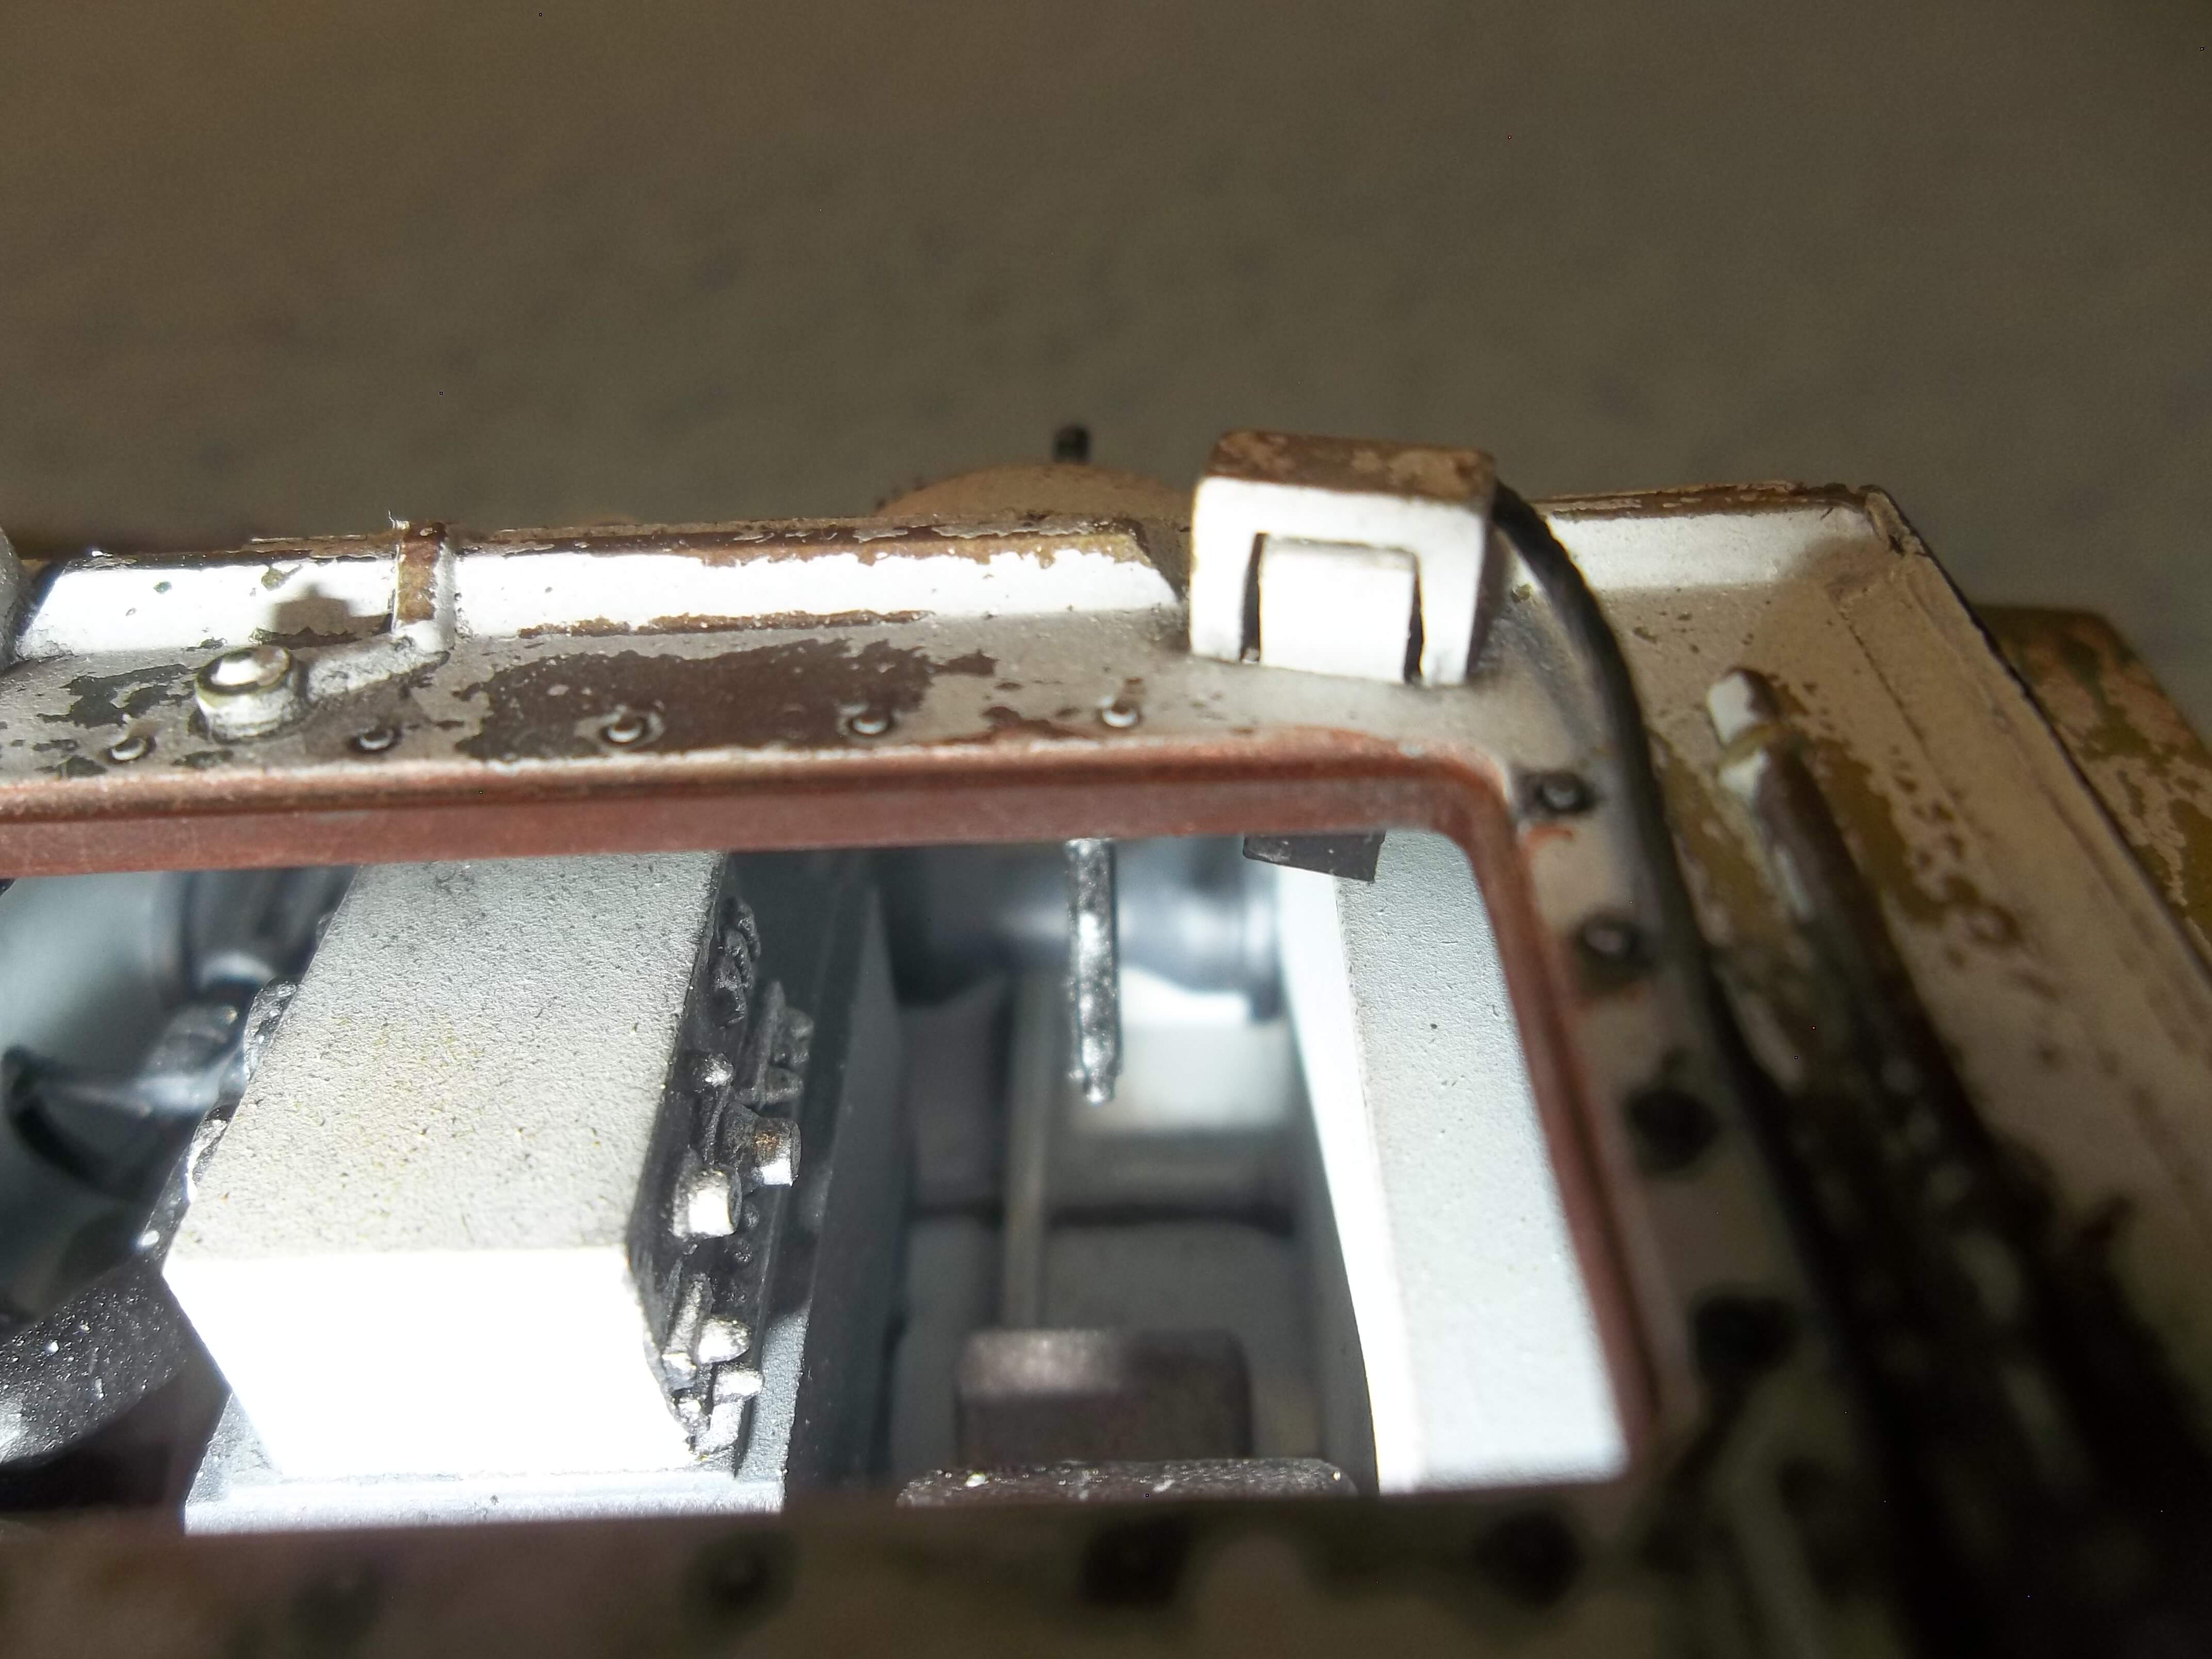
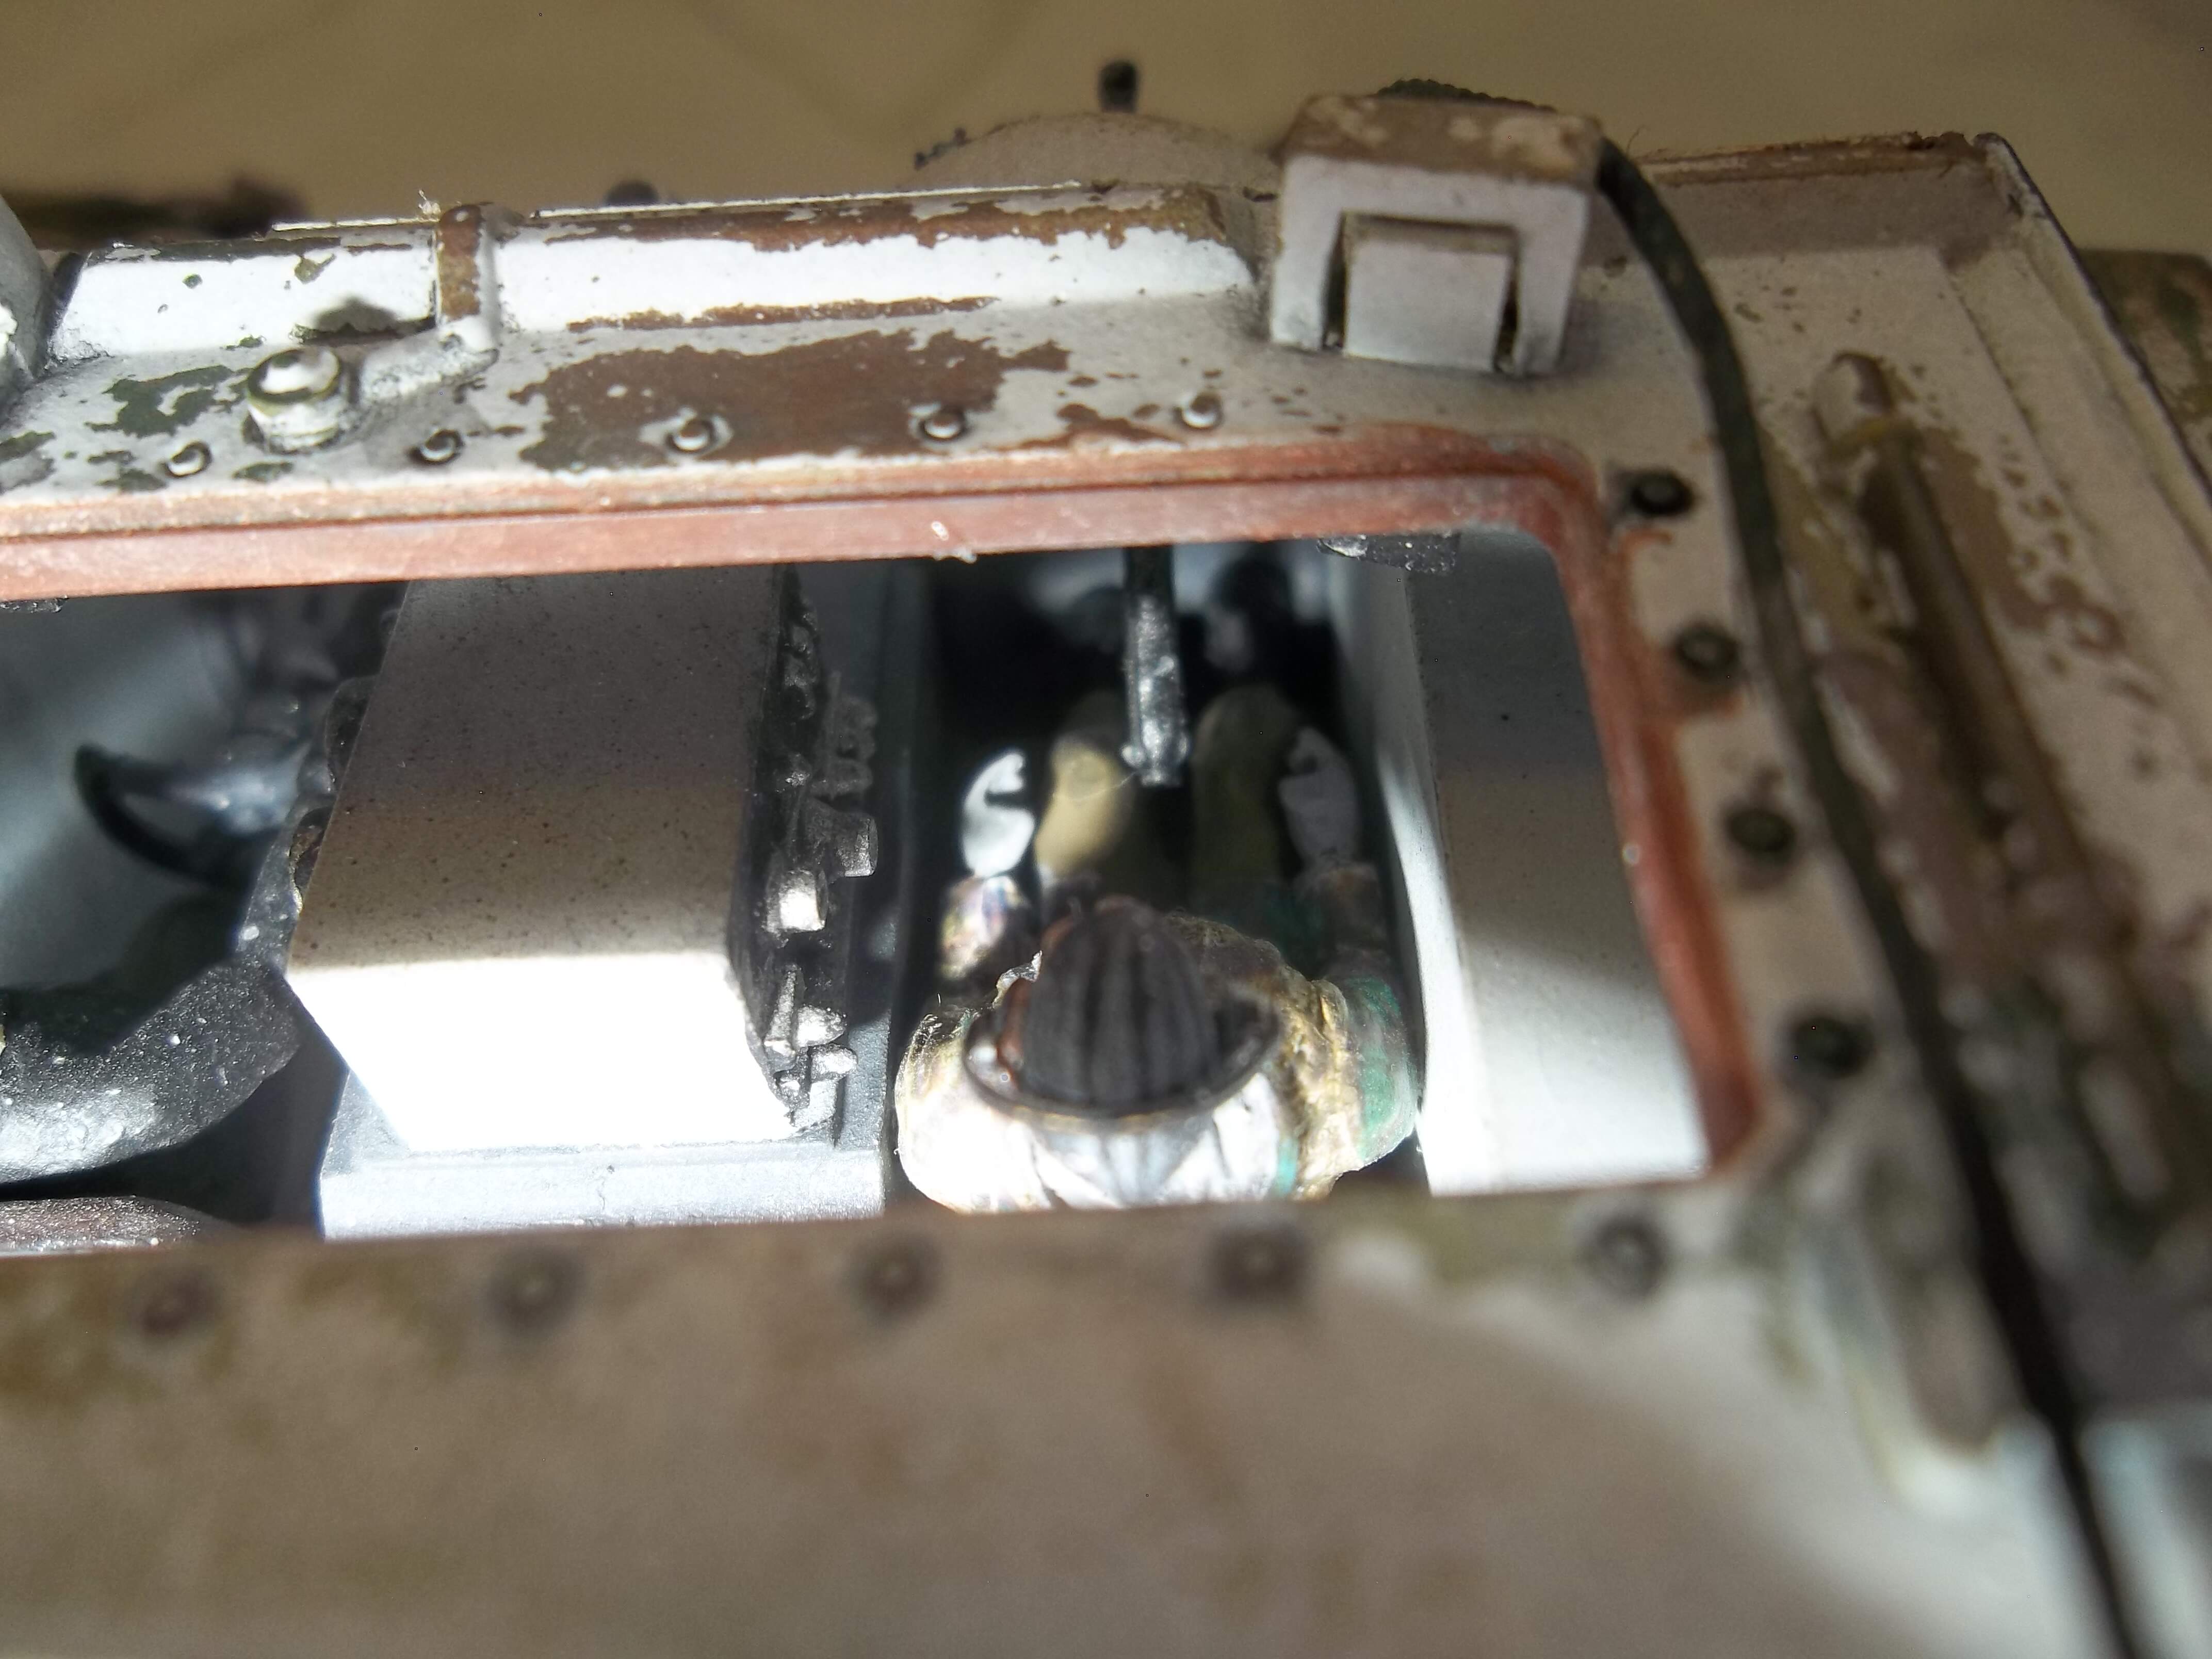
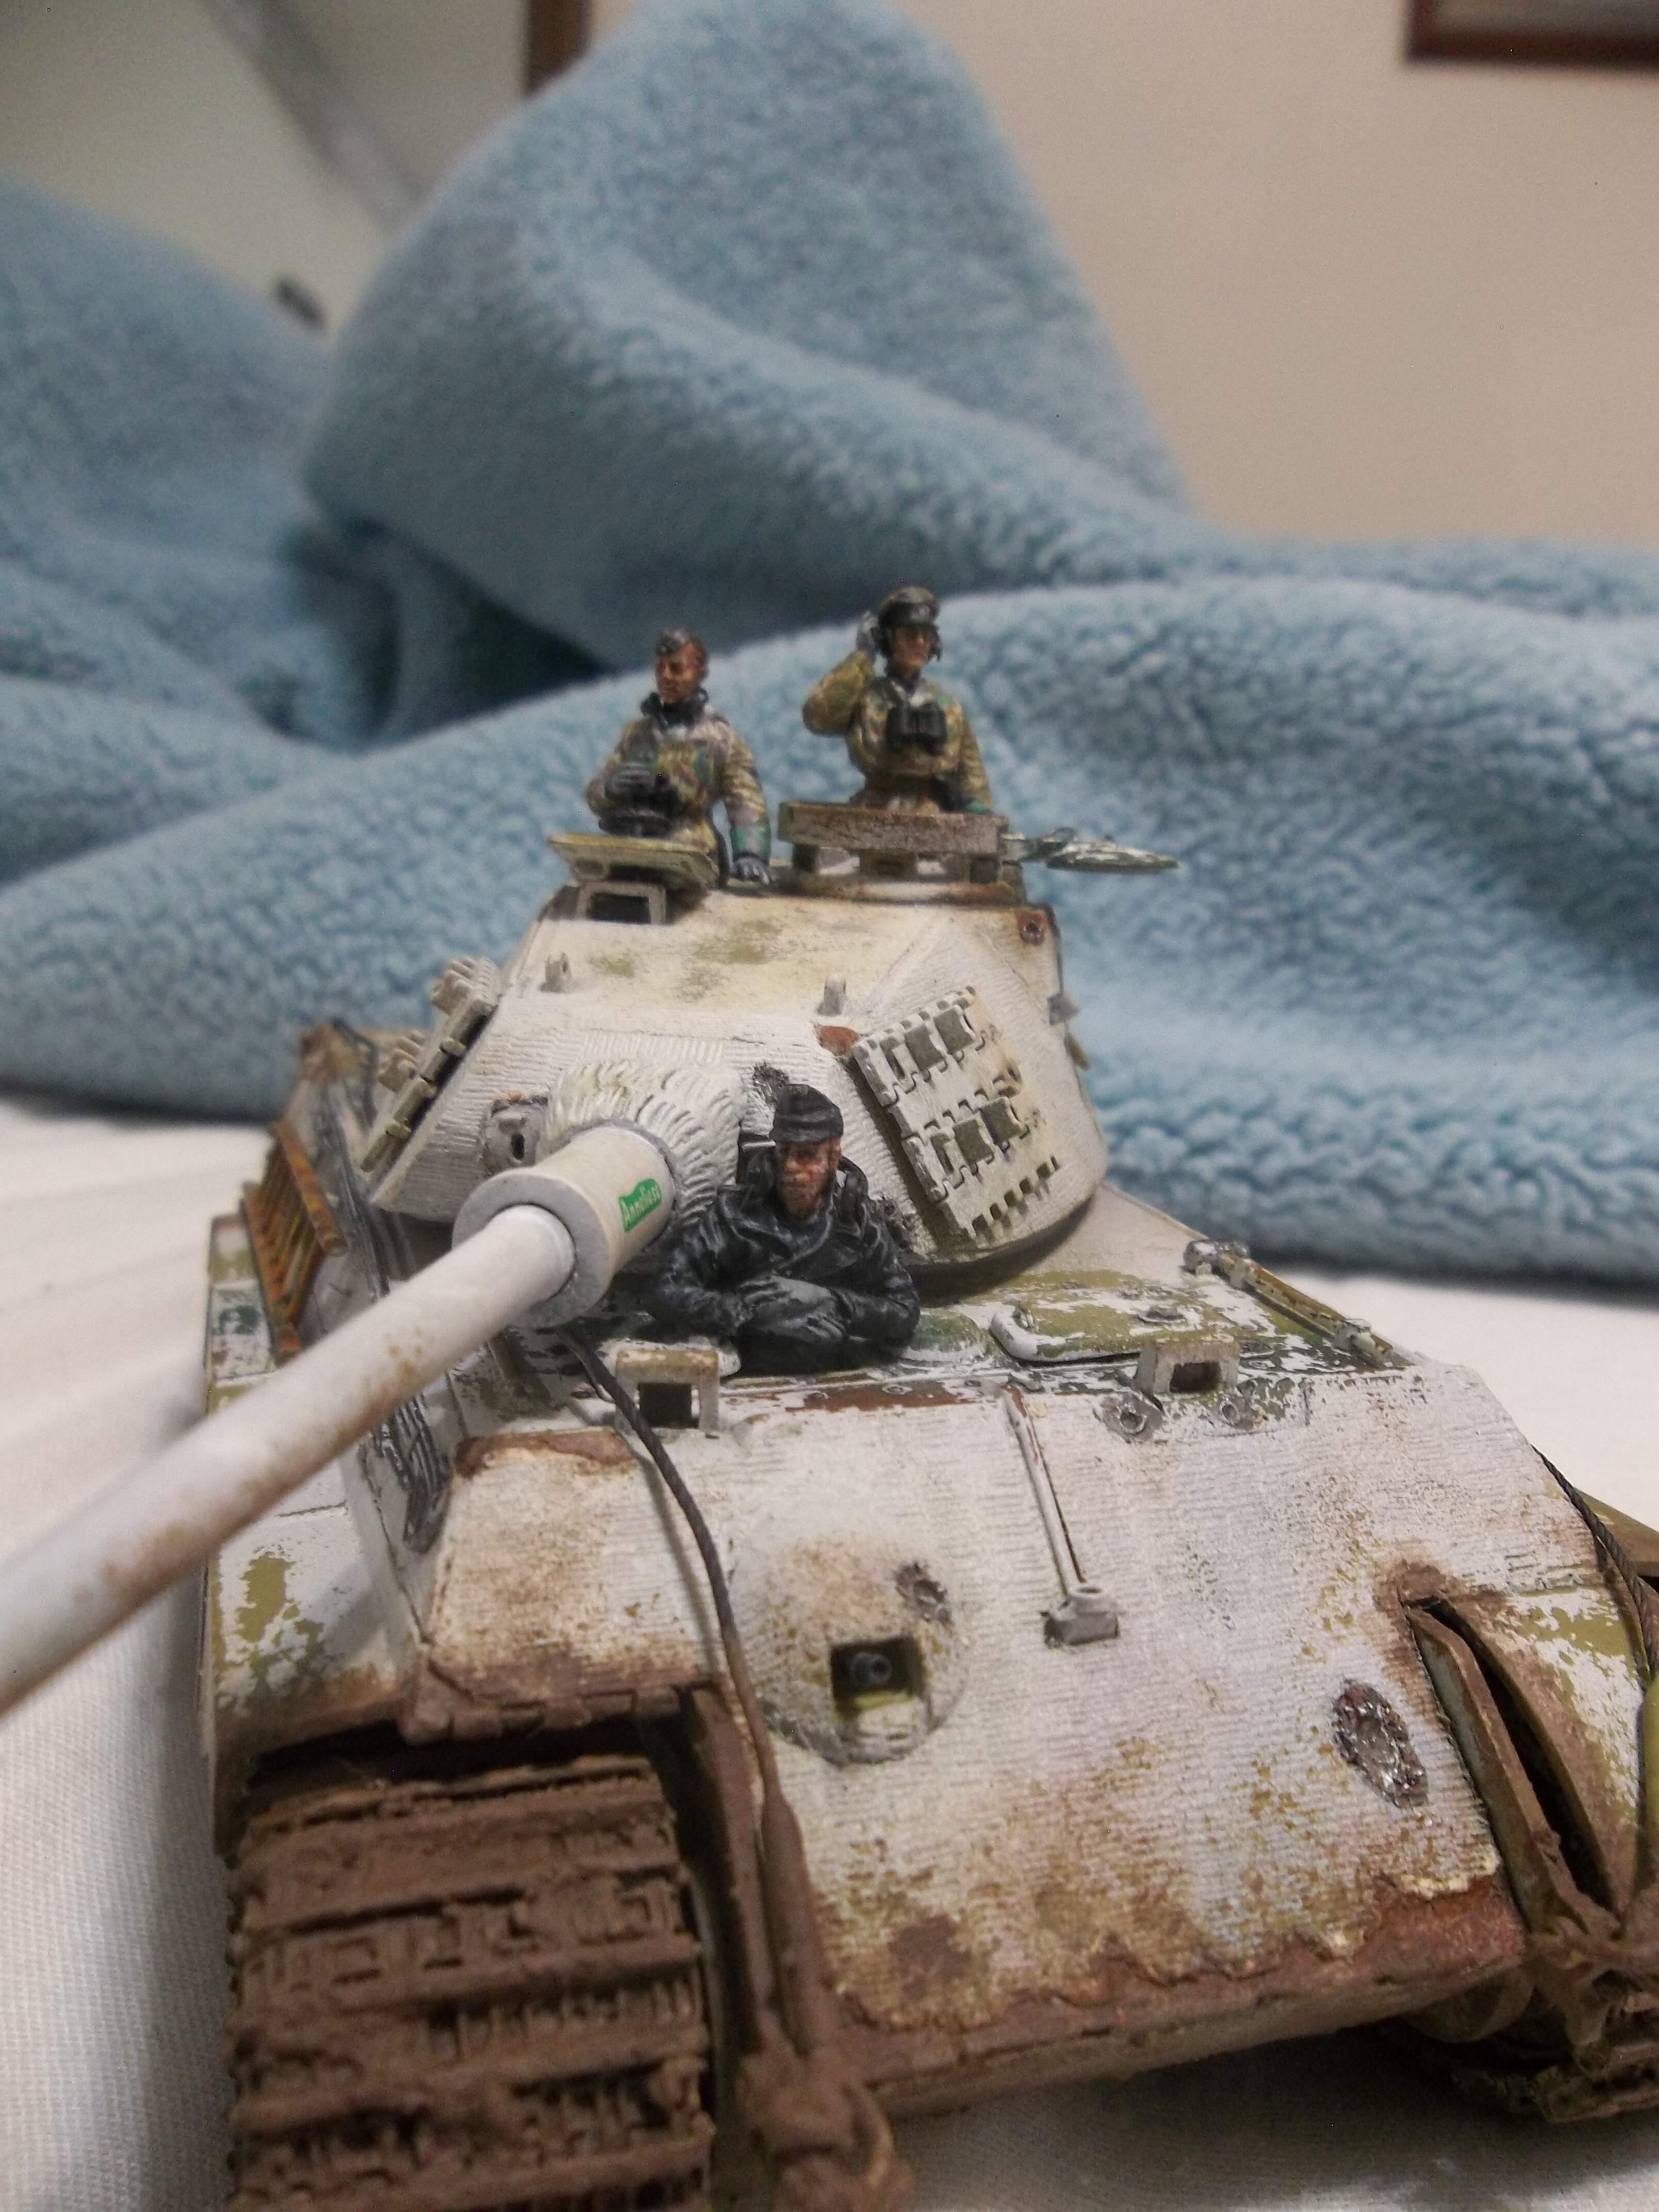
The mounting bracket for the headlight is a resin bit from Artworx. The Artworx detail set is very nice, resin and photo etch; but much of it is so tiny, I can barely even see it, let alone work with it. So I am only using a few small bits here and there.

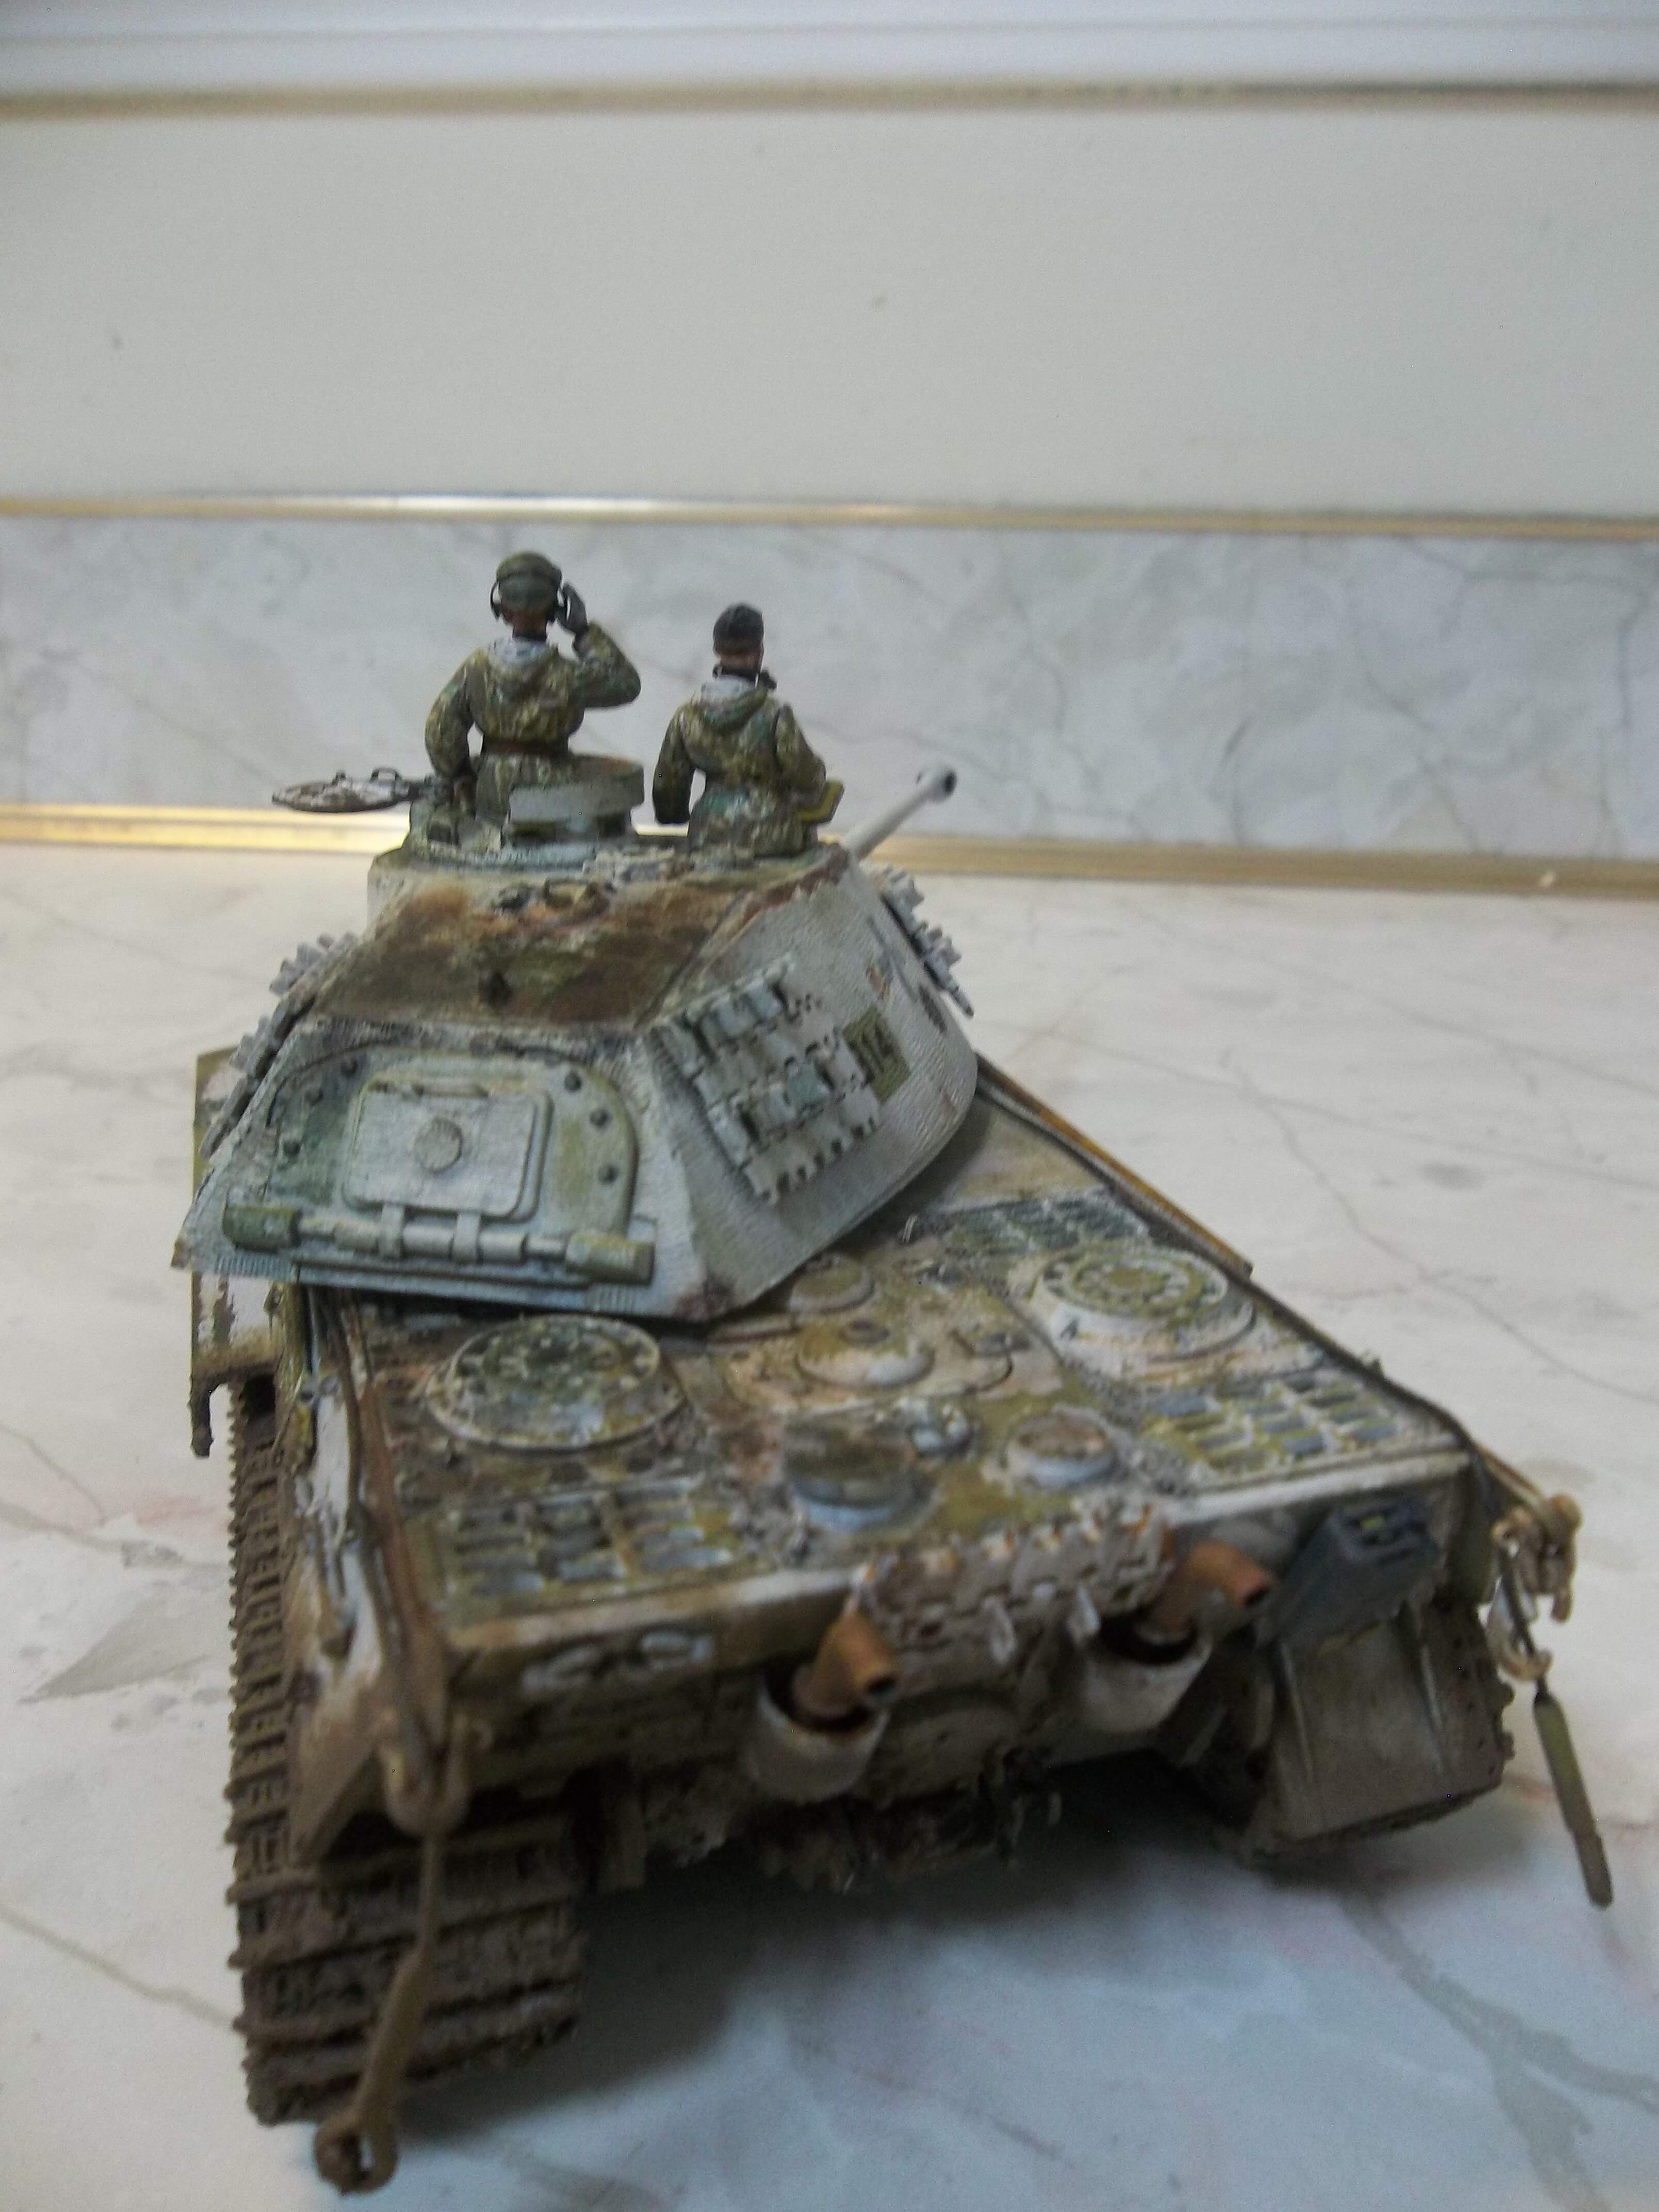
On the left side, besides moving the sledgehammer, I added the cleaning rods and engine hand crank from the kit. The kit had what looked like a ramming staff for a Panzer IV where the crowbar should be, I replaced it with a more suitable Bandai part. The kit comes with a shovel, but it is wrong for the King Tiger, I replaced it with one from a Tamiya Mobelwagen.

On the engine deck, I added some PE lifting eyes from Artworx. The set also includes some nice mesh screens for the louvers, but I left them off. Anneliese does not appear to have them.

The jerry can on the rear is from Bronco, it’s a little gem - four plastic pieces and some PE in the middle. The bracket is thin metal strip. The jack at the bottom is from the kit, with some Artworx brackets for mounting. Then I went and covered it all up with mud. The spare track blocks between the exhausts are Friul; they barely fit because the exhausts are so far apart. The exhausts also got a little flange from Artworx.

1 Like

Still working on the crew. There is no way I could ever paint the camo on these uniforms. I don’t know how they did it for the photo on the box. So I decided to try something new.

1 Like

More photos. Not only is this tank an old model, I am using some old paints on it. The basis for my mud mixture is some good ole Pactra Flat Earth.

I add some ground up pastels, and maybe a drop or two of a different brown, and slap it on. I did not put any thick mud on the bottom of the tracks, so it would sit level.

The placement of the tow cables is based on a couple of photos of the real thing.

The instructions call for three jerrycans inside the fighting compartment, but the kit pieces were missing. I replaced them with some resin ones from Blackdog.

I also added a Verlinden MG34 to the front, even though you can barely see it.


The crew figures are almost done. They are looking really good (at least to me), but the close up digital photos really show off my lack of face painting skills. They look much better to the naked eye!

I am thinking of adding some more shell impacts. Reading the combat reports from the 503 Tank Battalion, the got the crap shot out of them. They would take hit after hit and just keep fighting.
What do you guys think?
Ken.

4 Likes

I like the model as is personally.

It’s very easy for shell impacts to detract from a static display model unless executed to near perfection.

Below is a link to one of the few models, I’ve seen that are able to do a shell impact that adds to the appearance of a model tank.

Nightshift - Realistic Shell Impacts

Of course it’s your model and you should finish the King Tiger in a manner that’s pleasing to you not anyone else

My shell impacts are based on his video, great stuff.
Ken.

OK, it’s been a few days since I updated this, mostly because of work. Don’t you just hate it when work interferes with something important like model building!
A few tweaks to the tank. I added one more shell impact on the right side of the turret.

I added a little more dirt and mud, and glued the machine gunner in the right hand front seat.

I think he came out rather well. The decals for the name and turret numbers came from a Trumpeter 1/72 King Tiger. The green background on the name is a little too bright, but I can’t do anything about that. The Balkenkreutzes are from the Bandai kit. At this point, I am calling the tank done. I still have a little more work to do on the figures, but the tank is done.

2 Likes

Alright, I am officially declaring this one done! The figures are finished and mounted. They are not glued in, so I can show off the interior. I also added a ladder. It’s from a Bandai field works set. The ladder matches one seen in the photos.

It may not be up to todays standards, but I am happy with how it came out. And I think my dad would be too.
Ken.

4 Likes