Rescuing the Kingtiger Porsche 1/35, hee,hee: Two days ago I saw a Kigtiger Porsche in poor condition, he started the hull very bad, finally I gave an offer to the ex-owner and now is mine; the kit was began with hull bad worked and it not have tracks, sprocket wheels and more pieces, yesterday I started the re-construction of it. (Missing tracks for now).
I started it in September/2020.
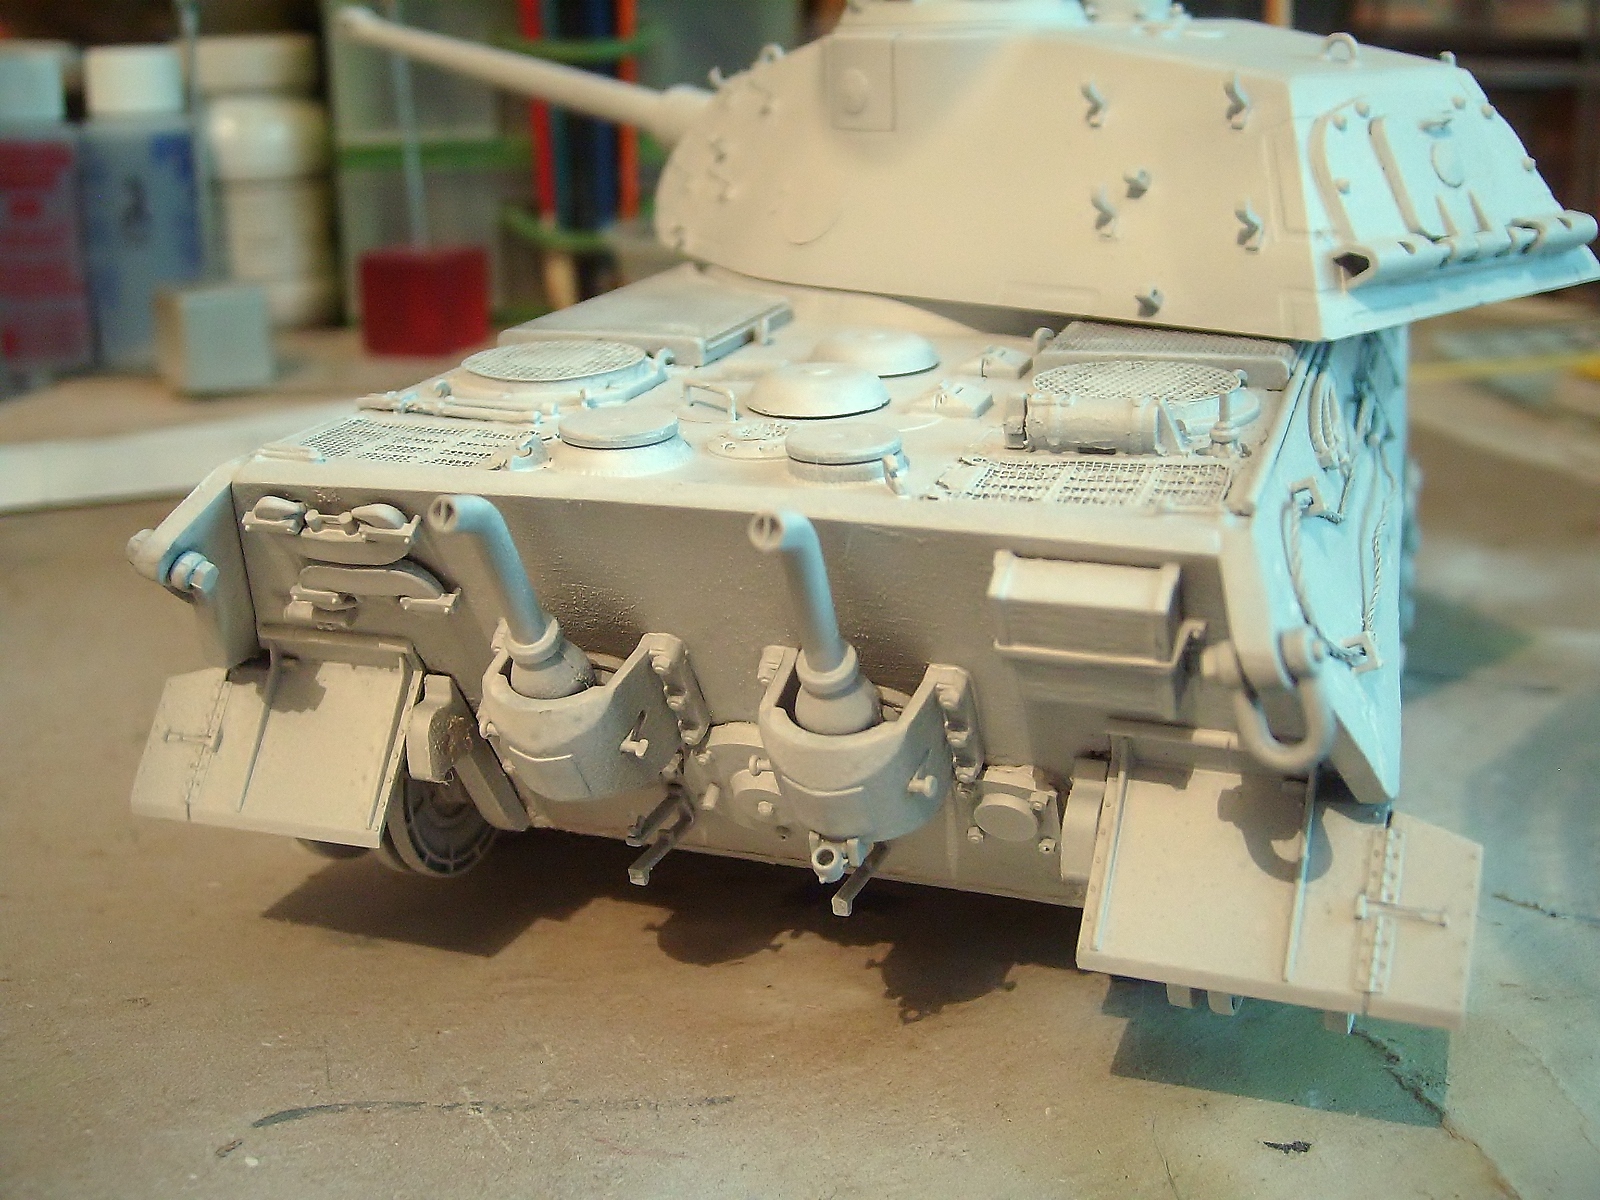
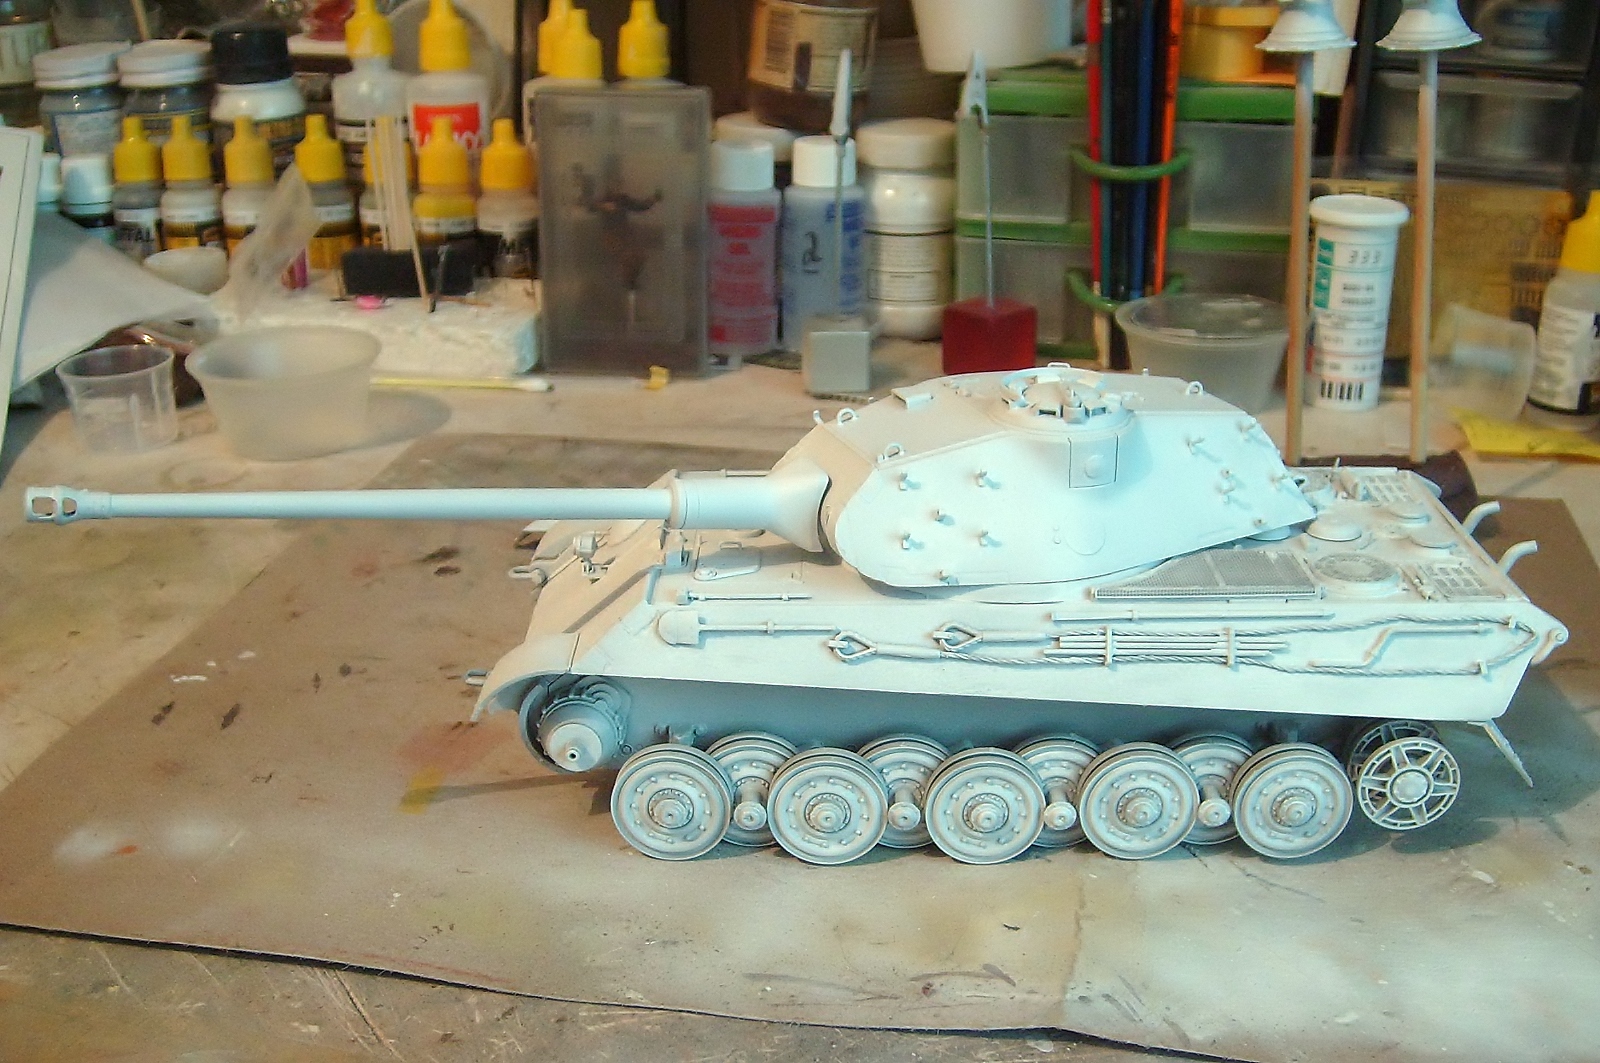
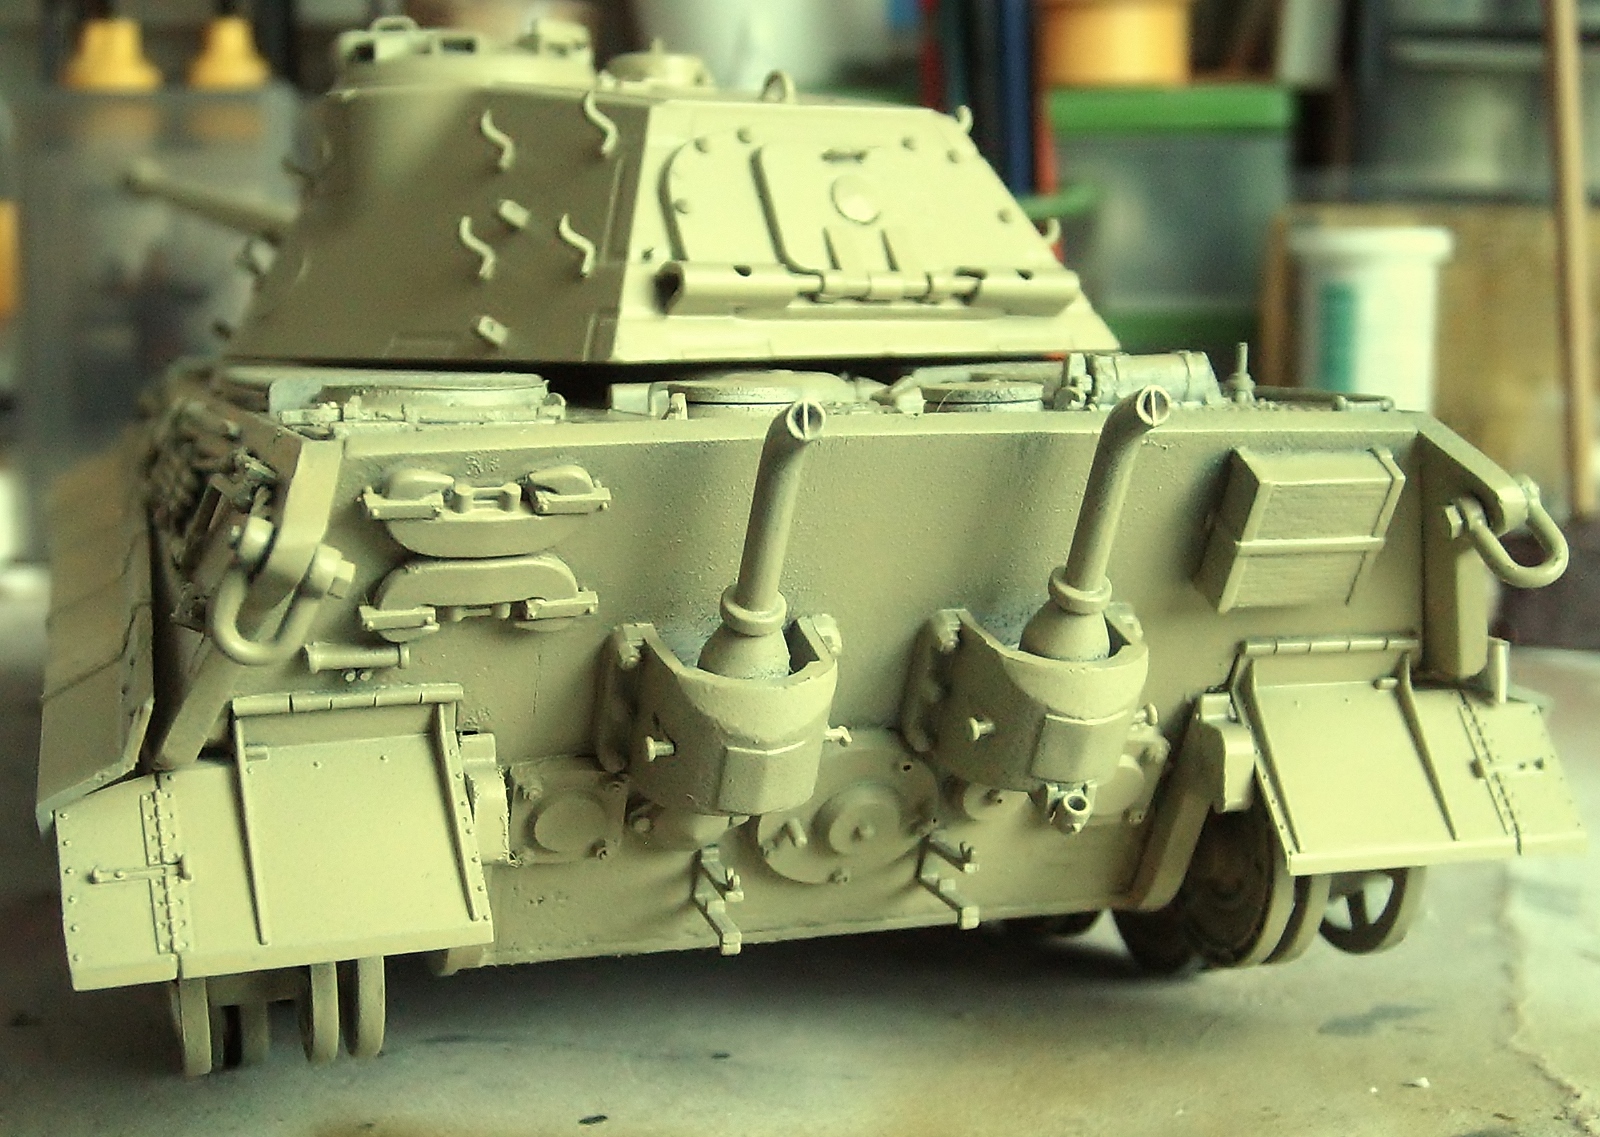
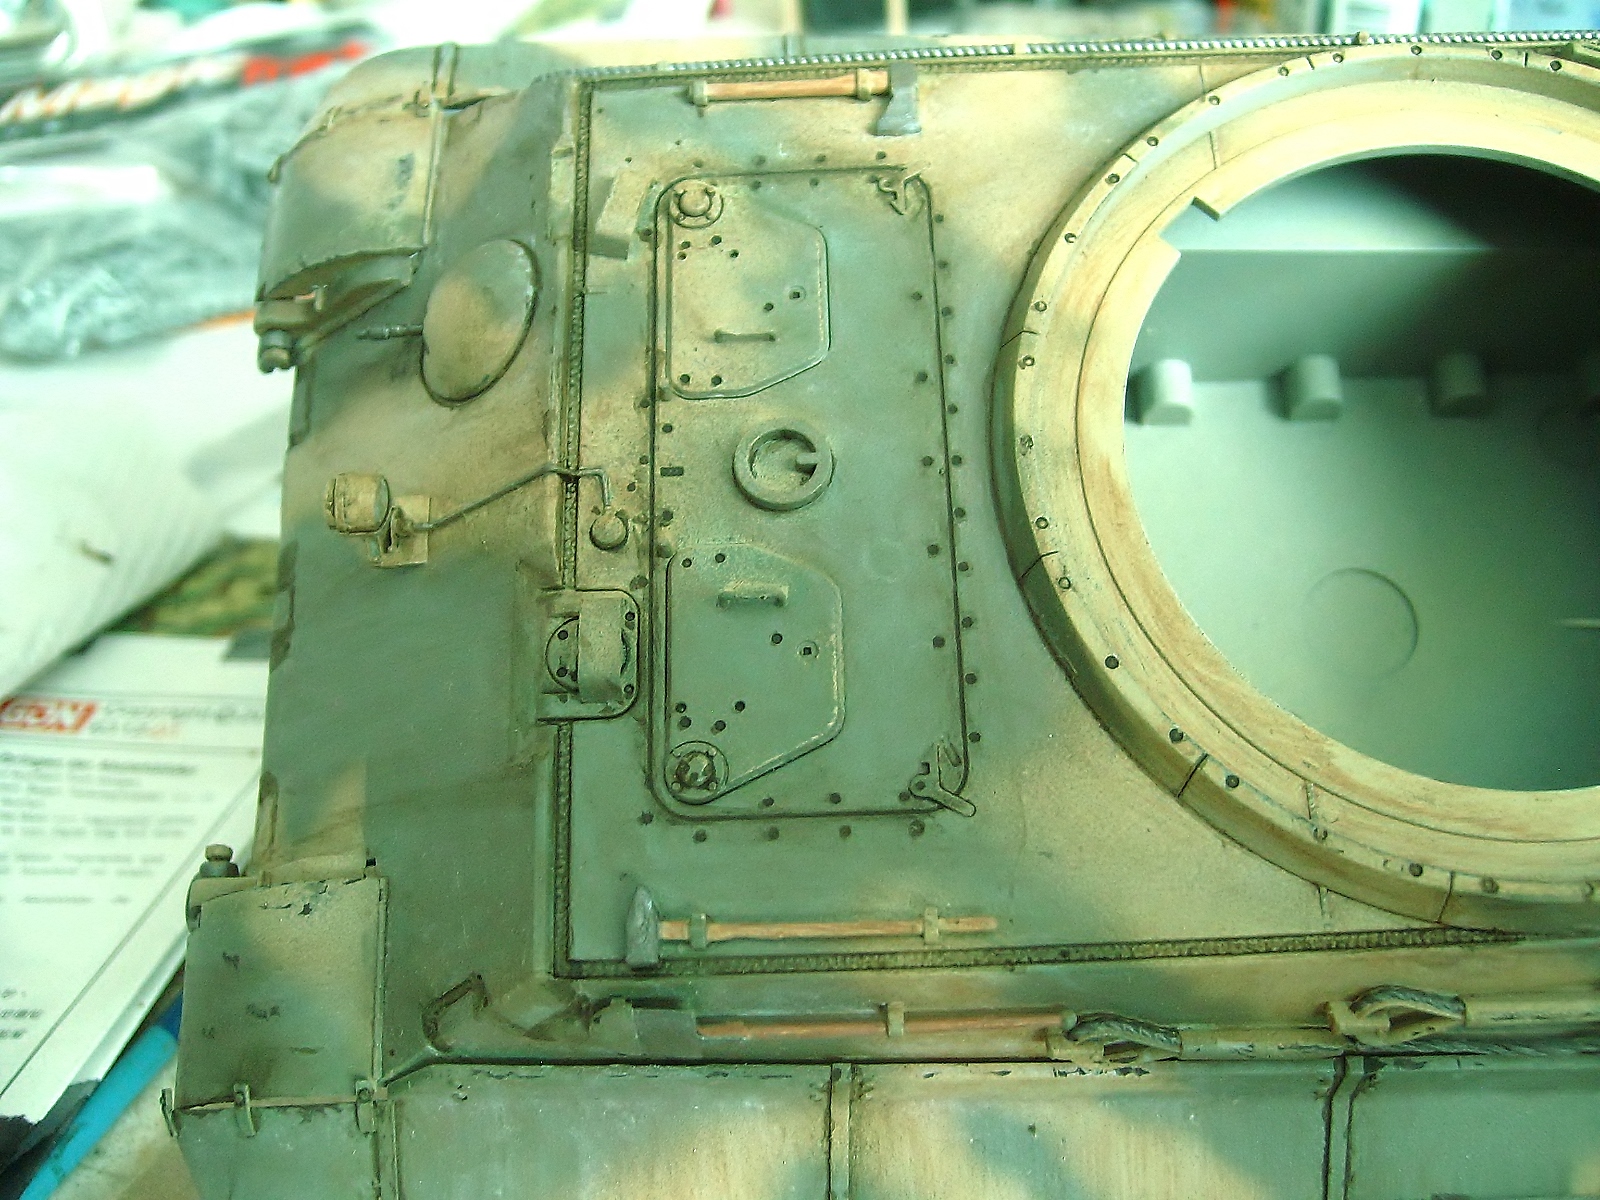
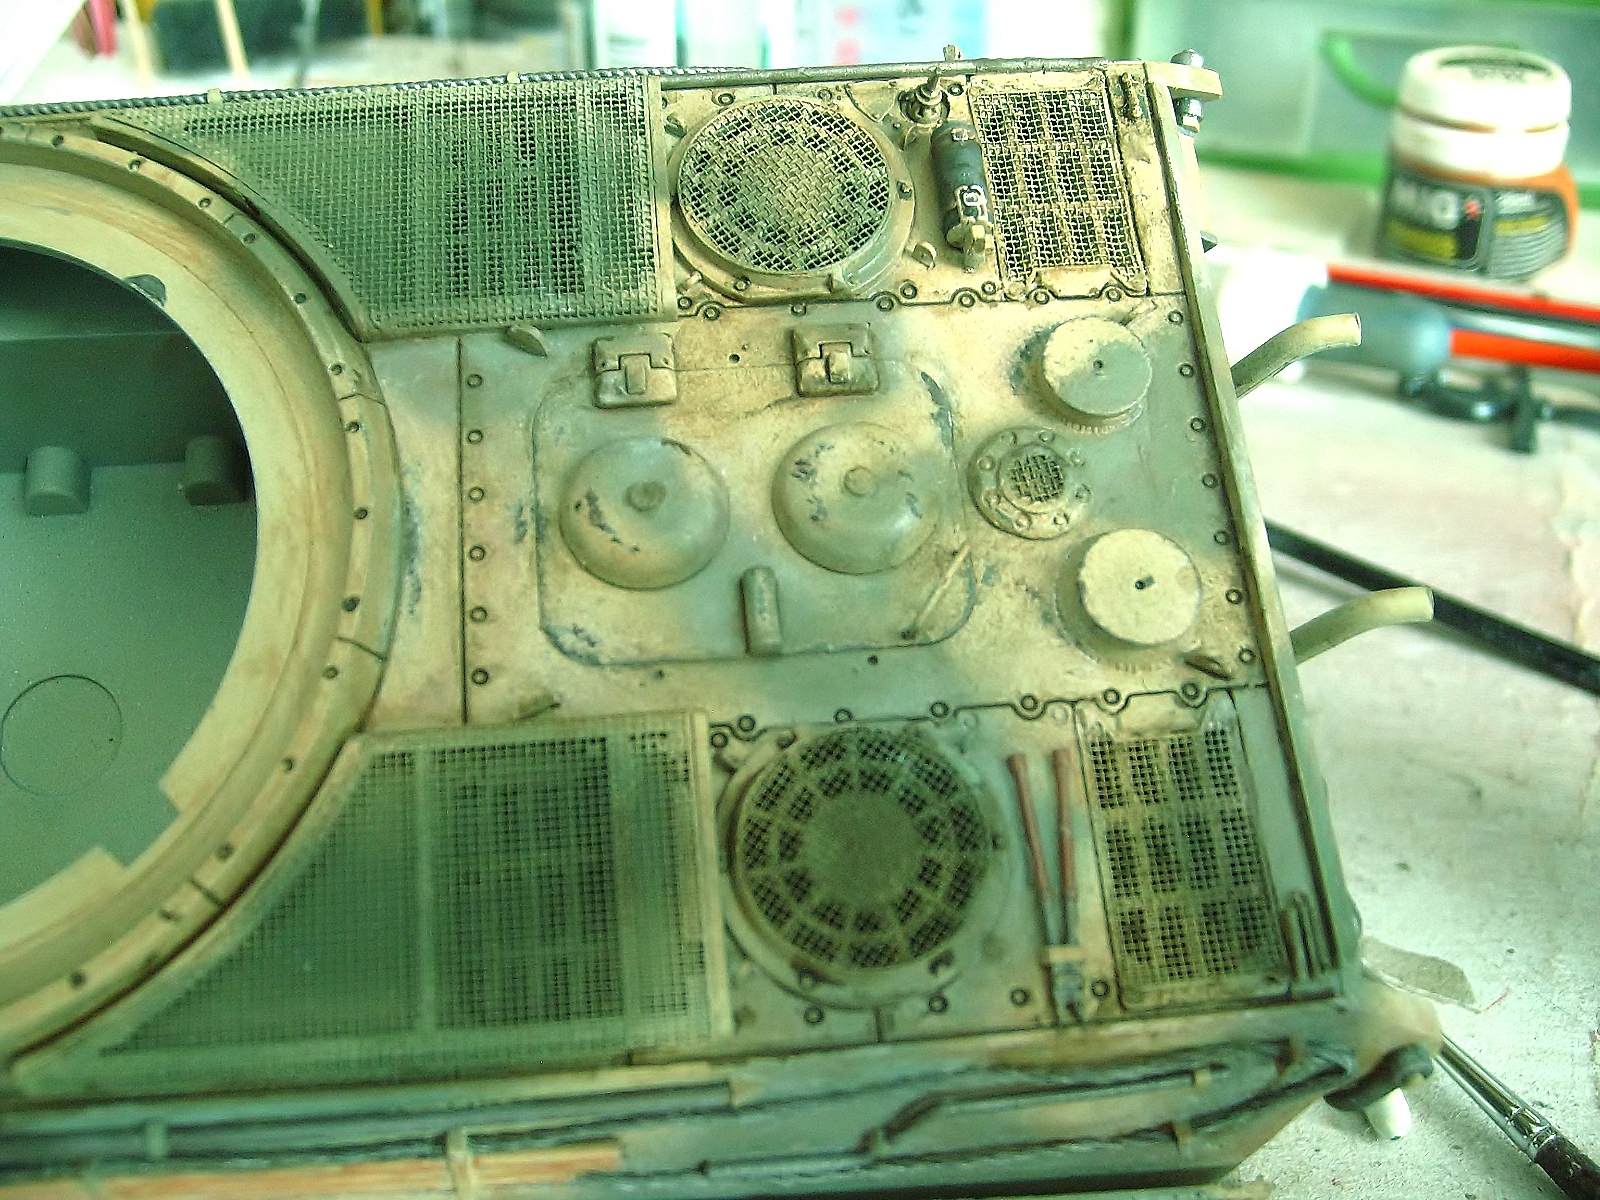
This kit was a disaster caused by the ex-owner (shame) and it not have some details, but it can resolve during the weathering. Here I applied the Vallejo blank Primer before to start the painting.
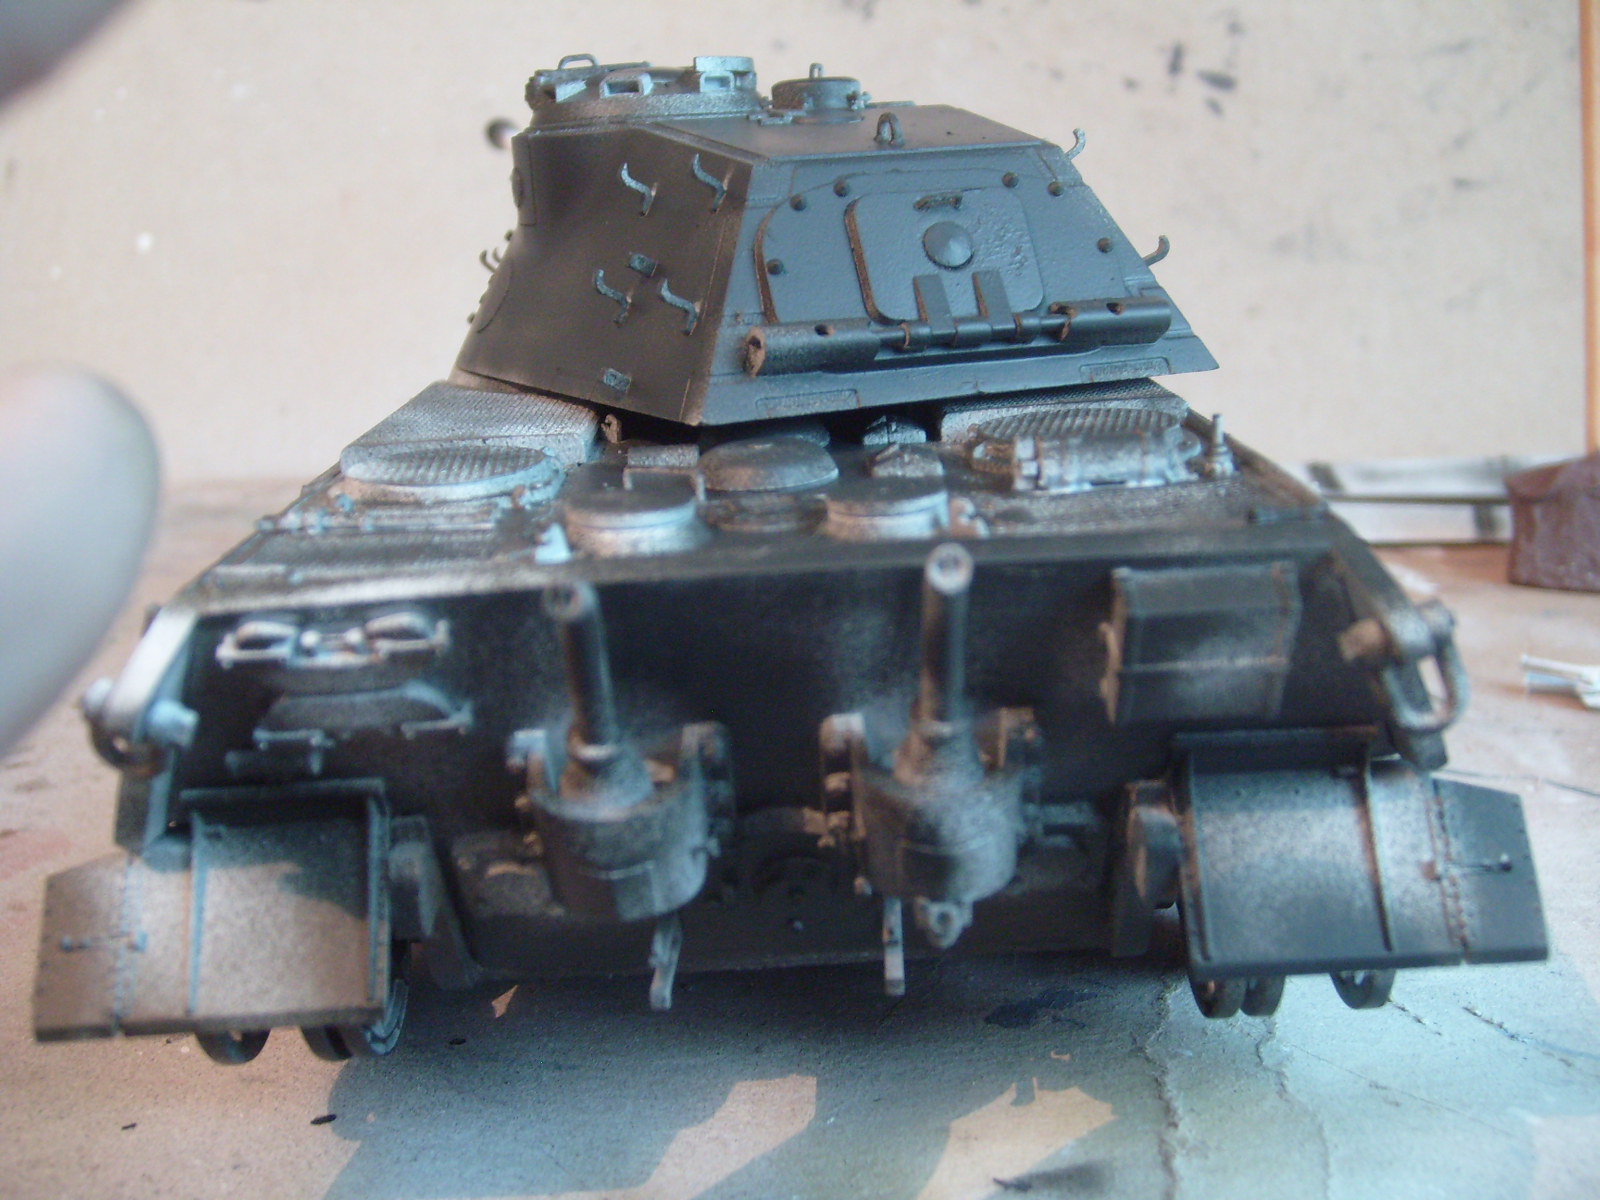
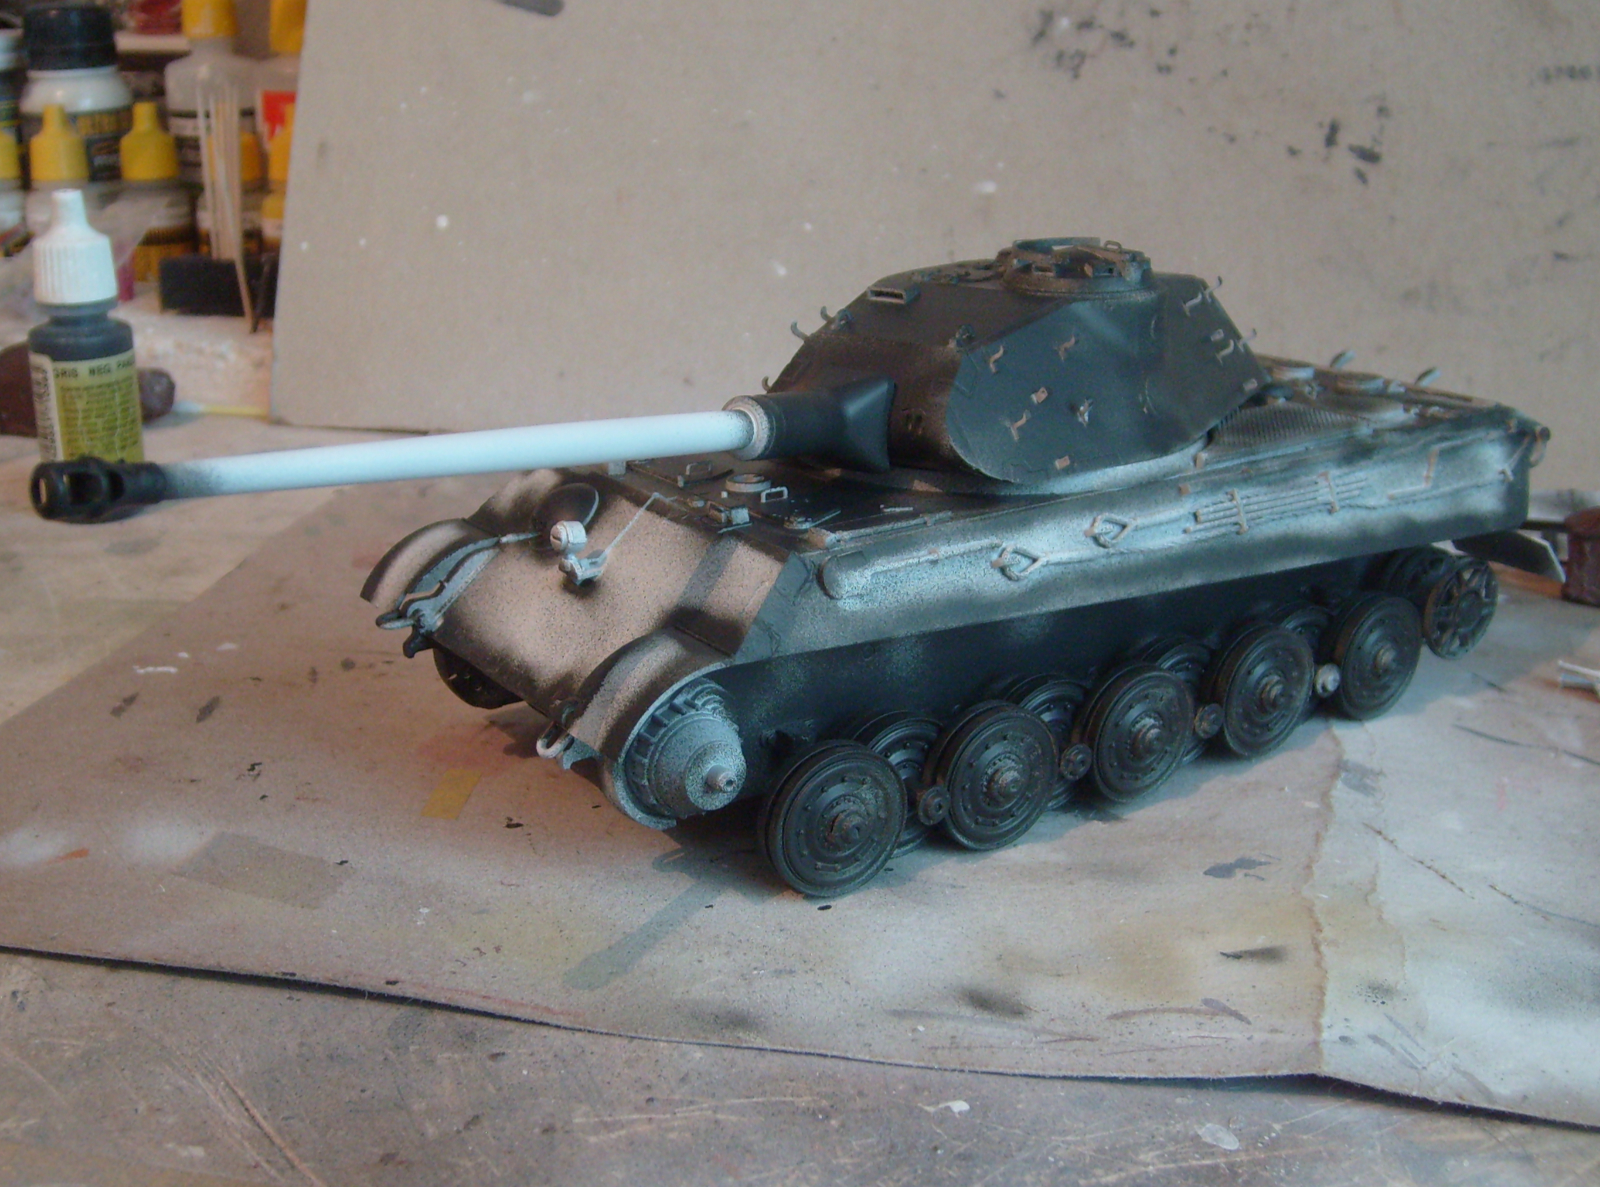
Here was Applied Vallejo/Model Air Black-grey, nothing artistic or spectacular but, it looks ugly, hee, hee.
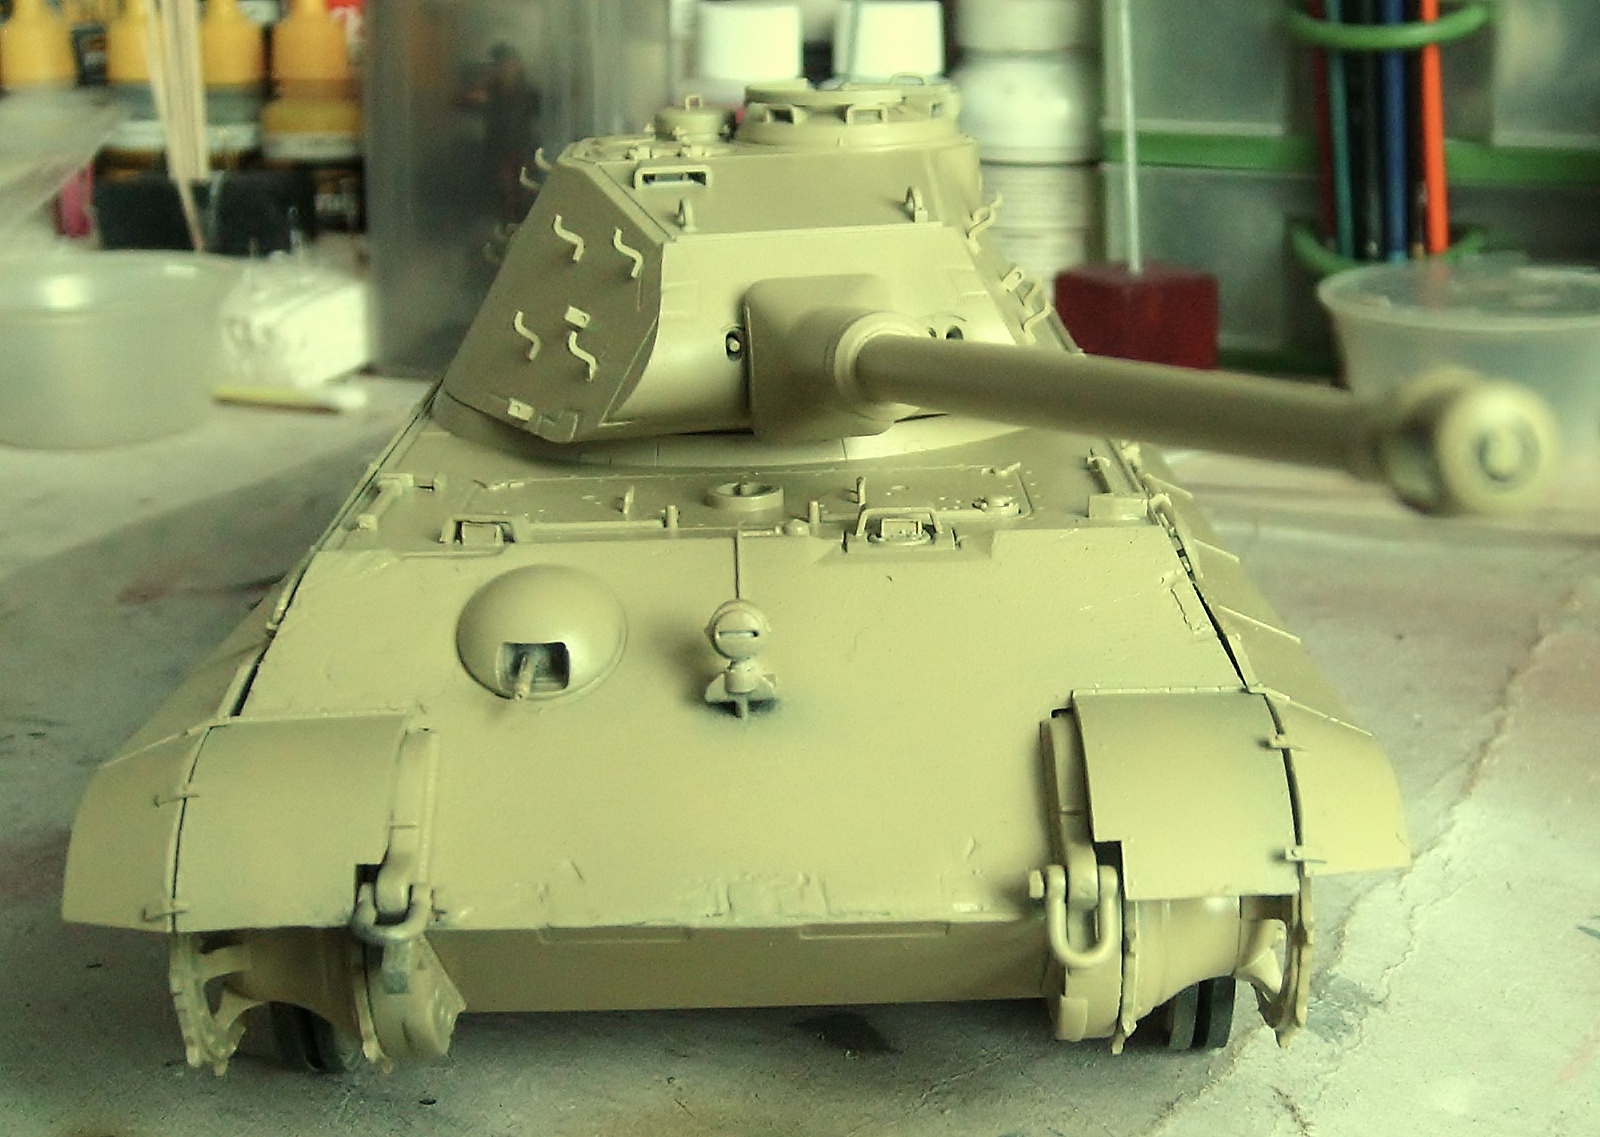
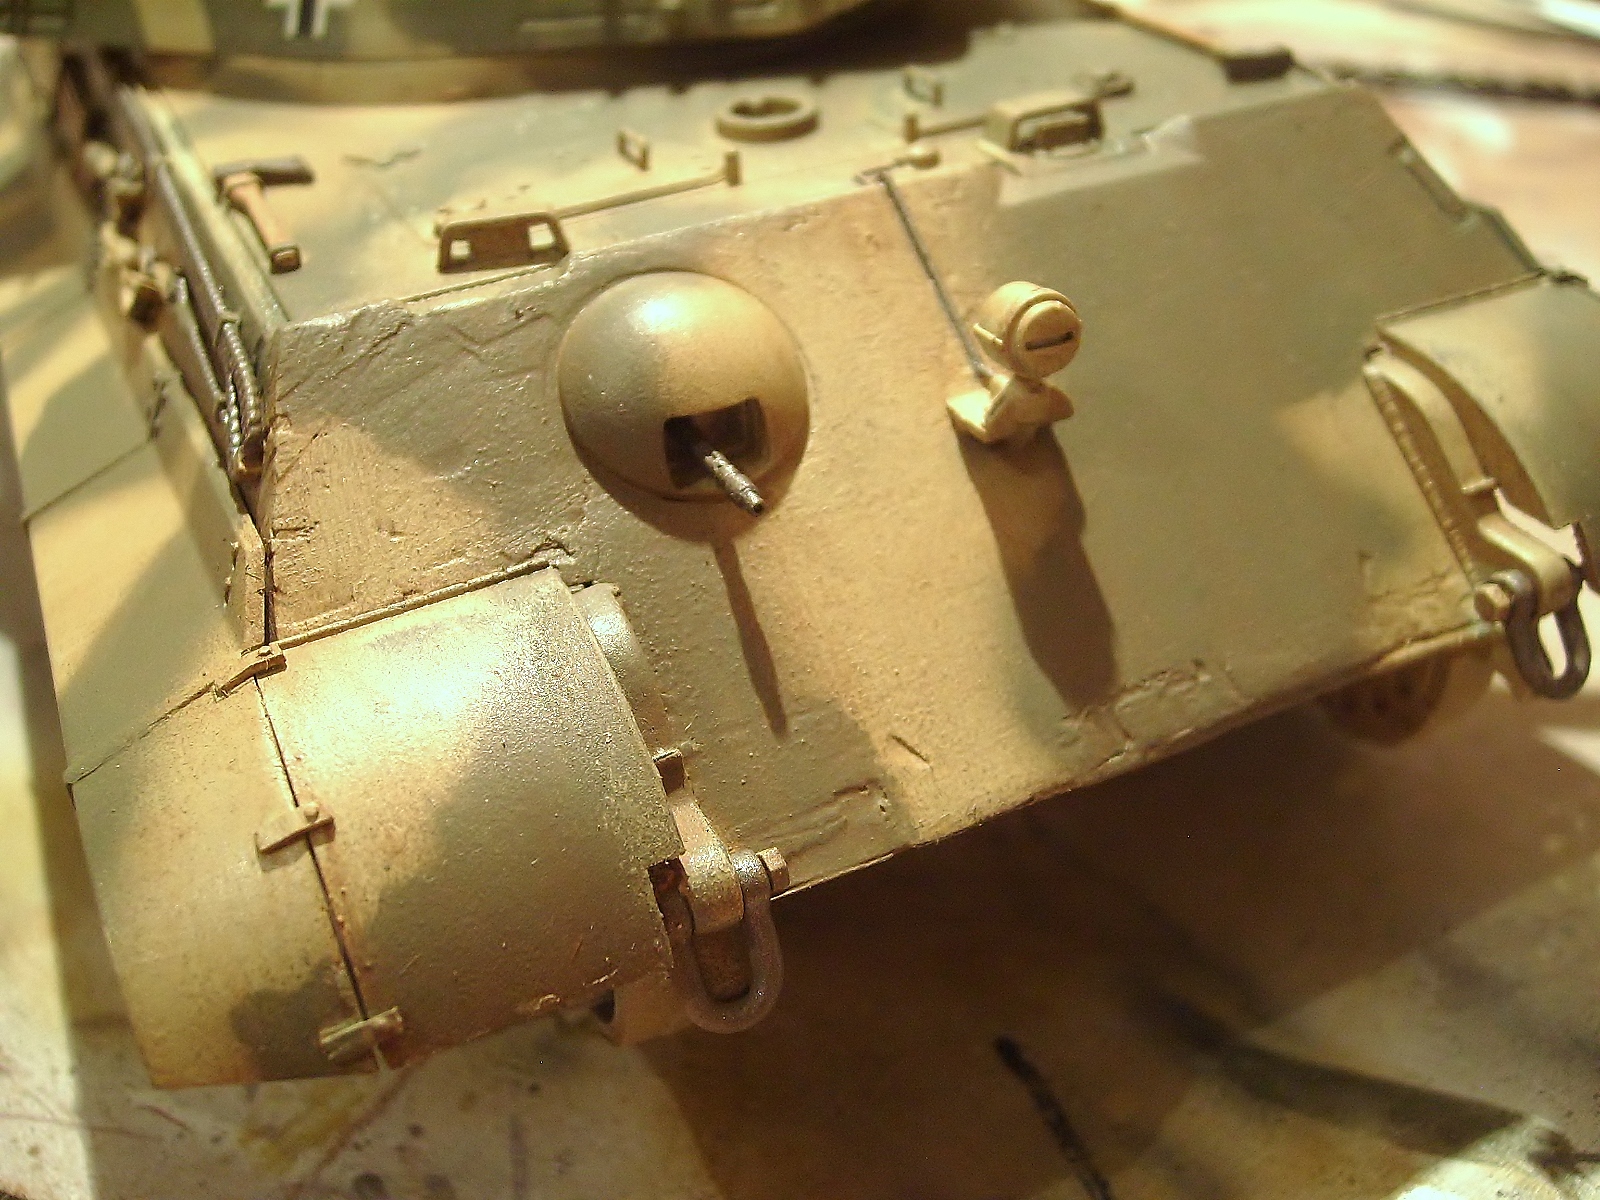
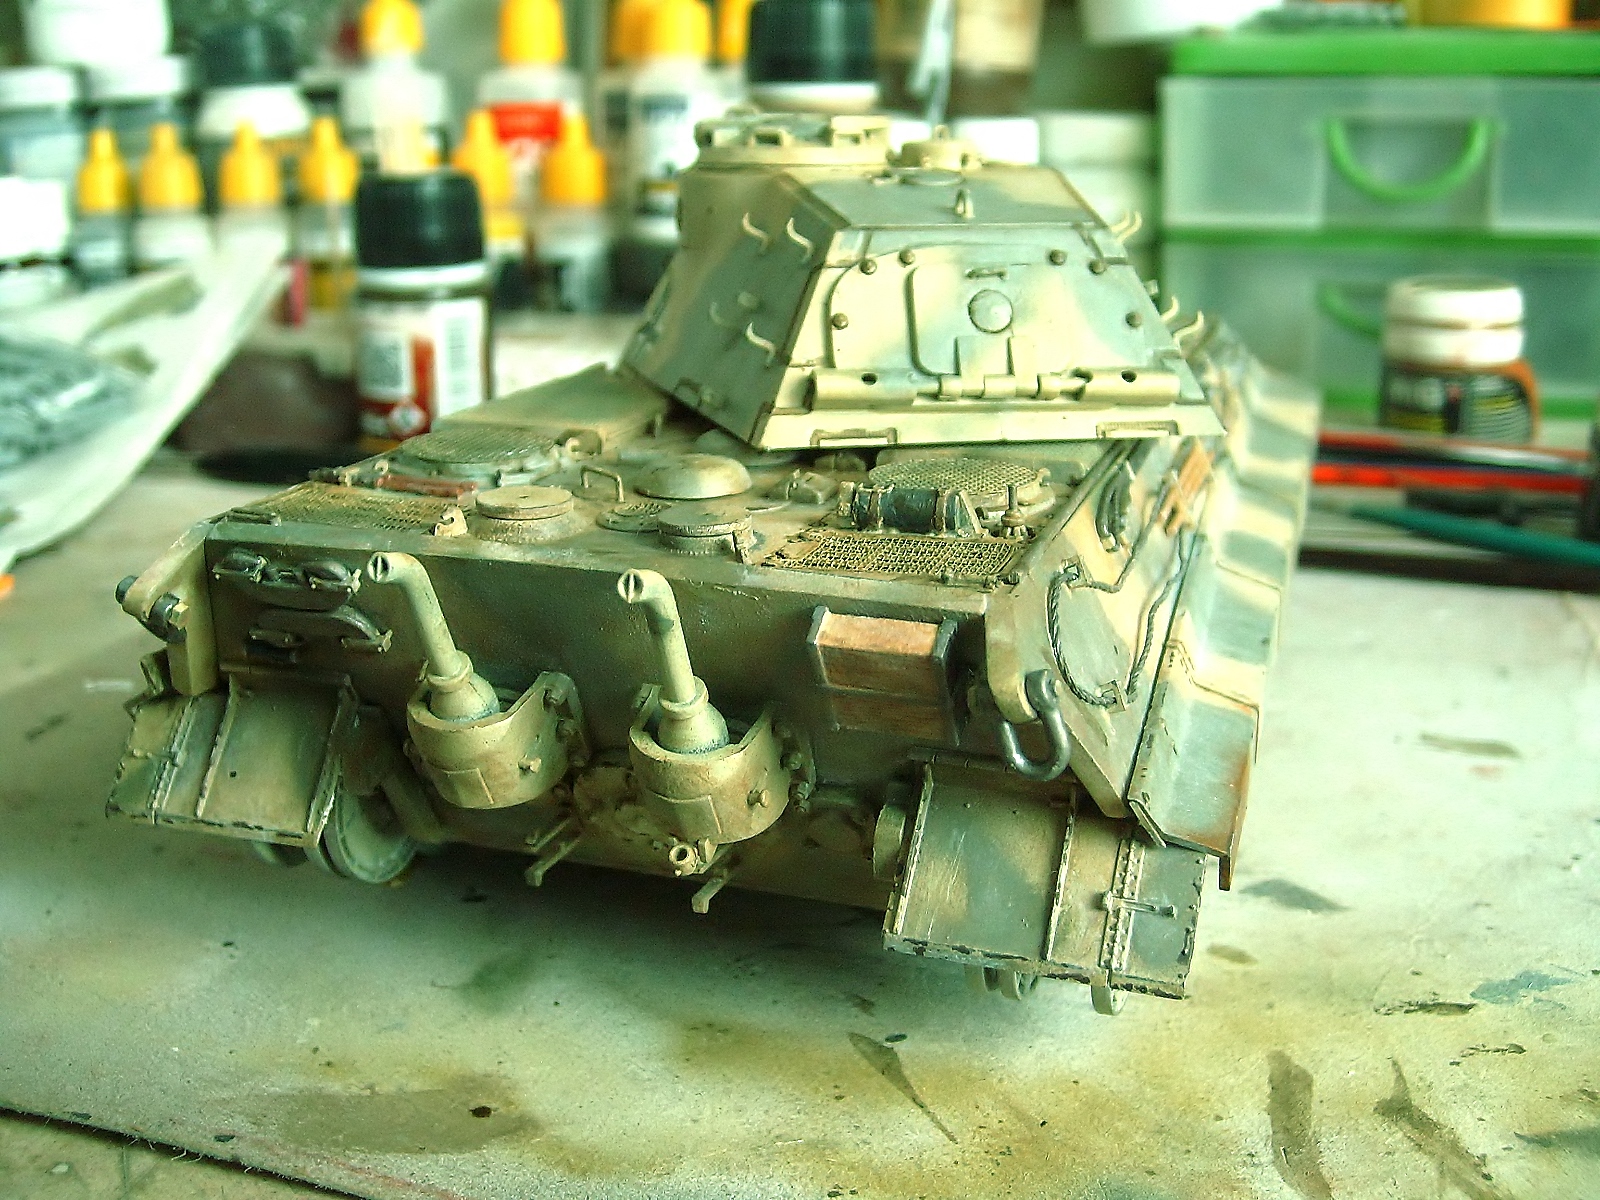
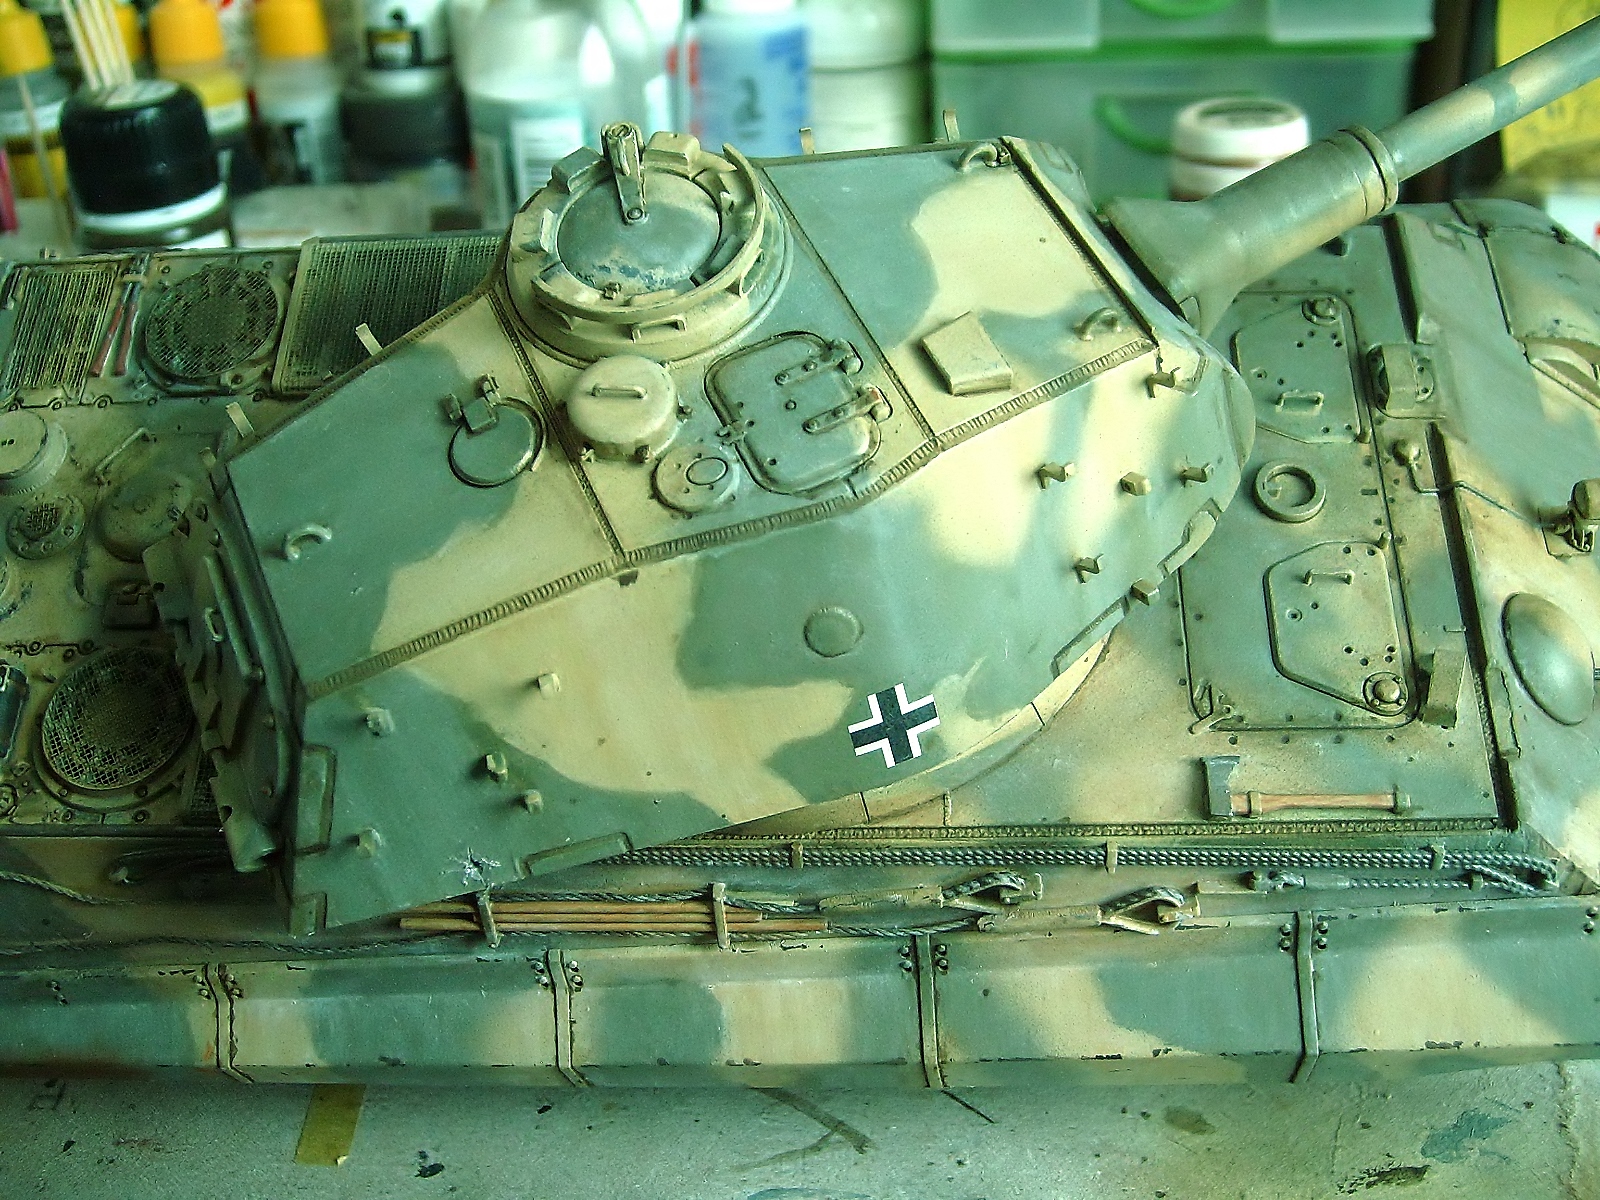
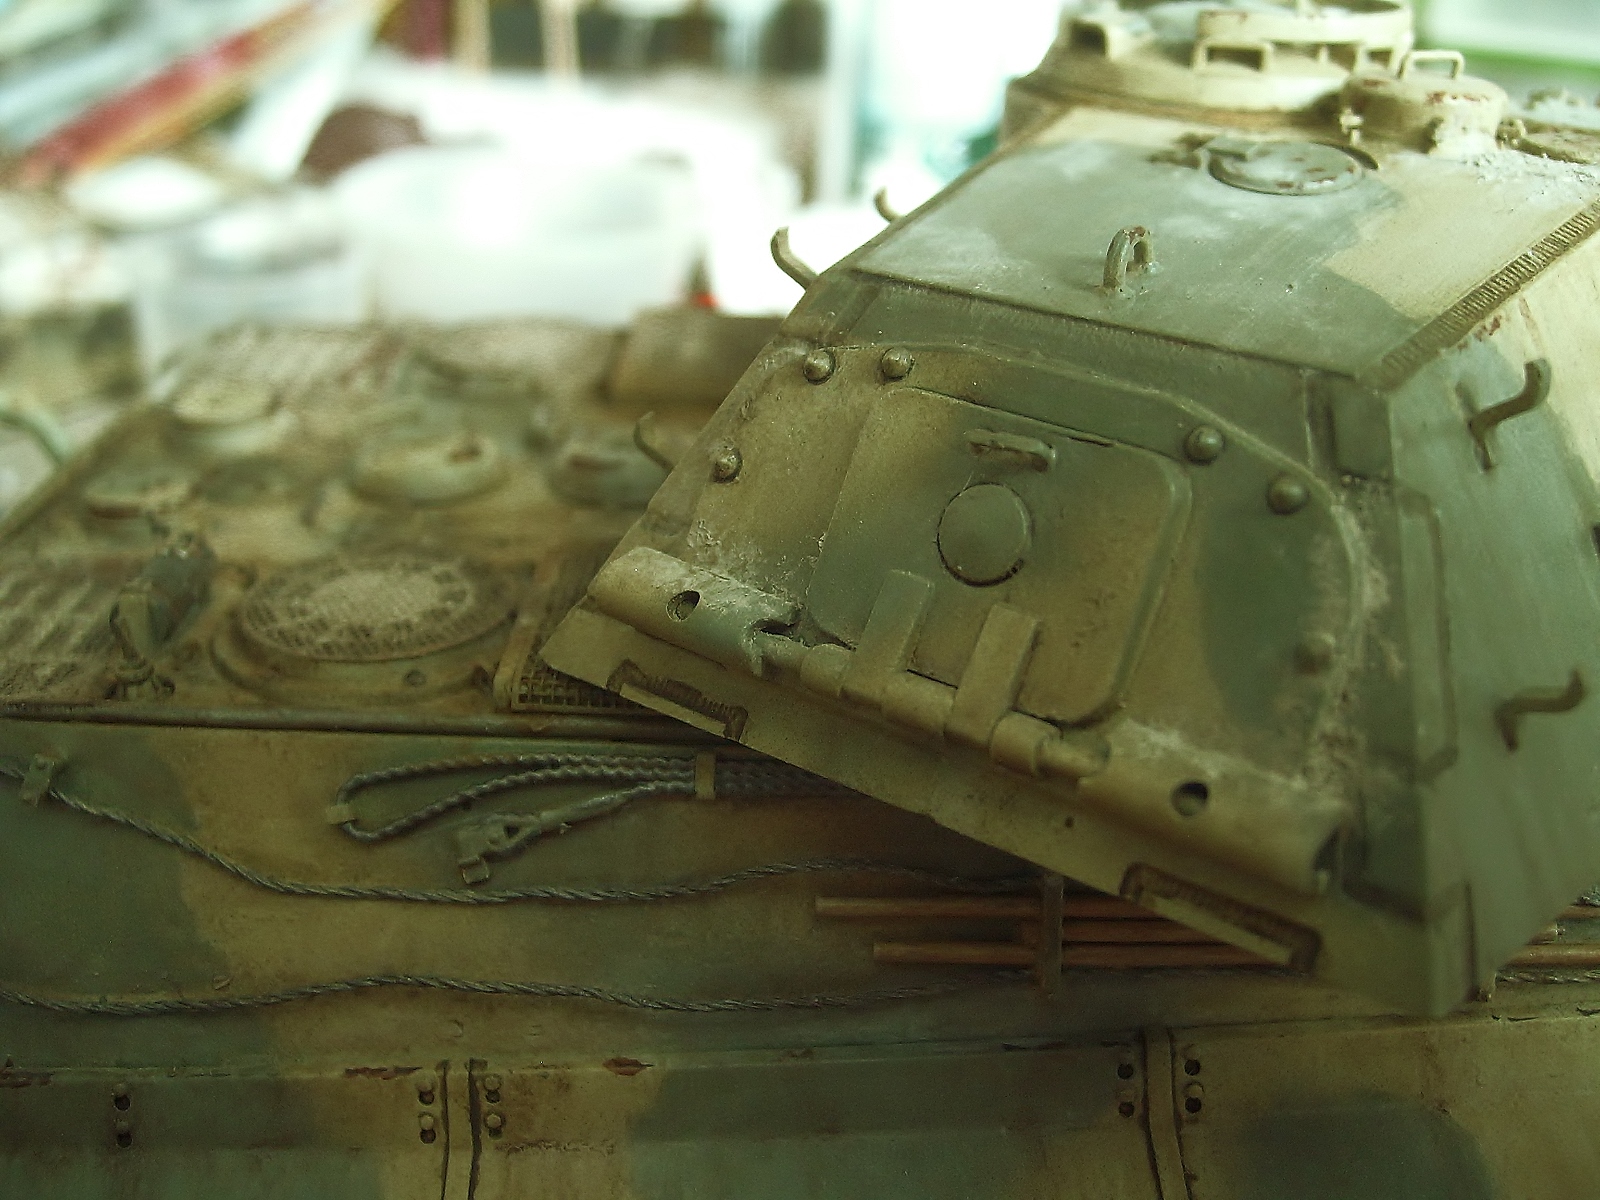
Here I used AMMO/MIG paint with RAL7028 (A.MIG-011) Dunkelgelb (Aus’44 DGI.), not was necessary flow with thinner. The skirts, are not glued yet.
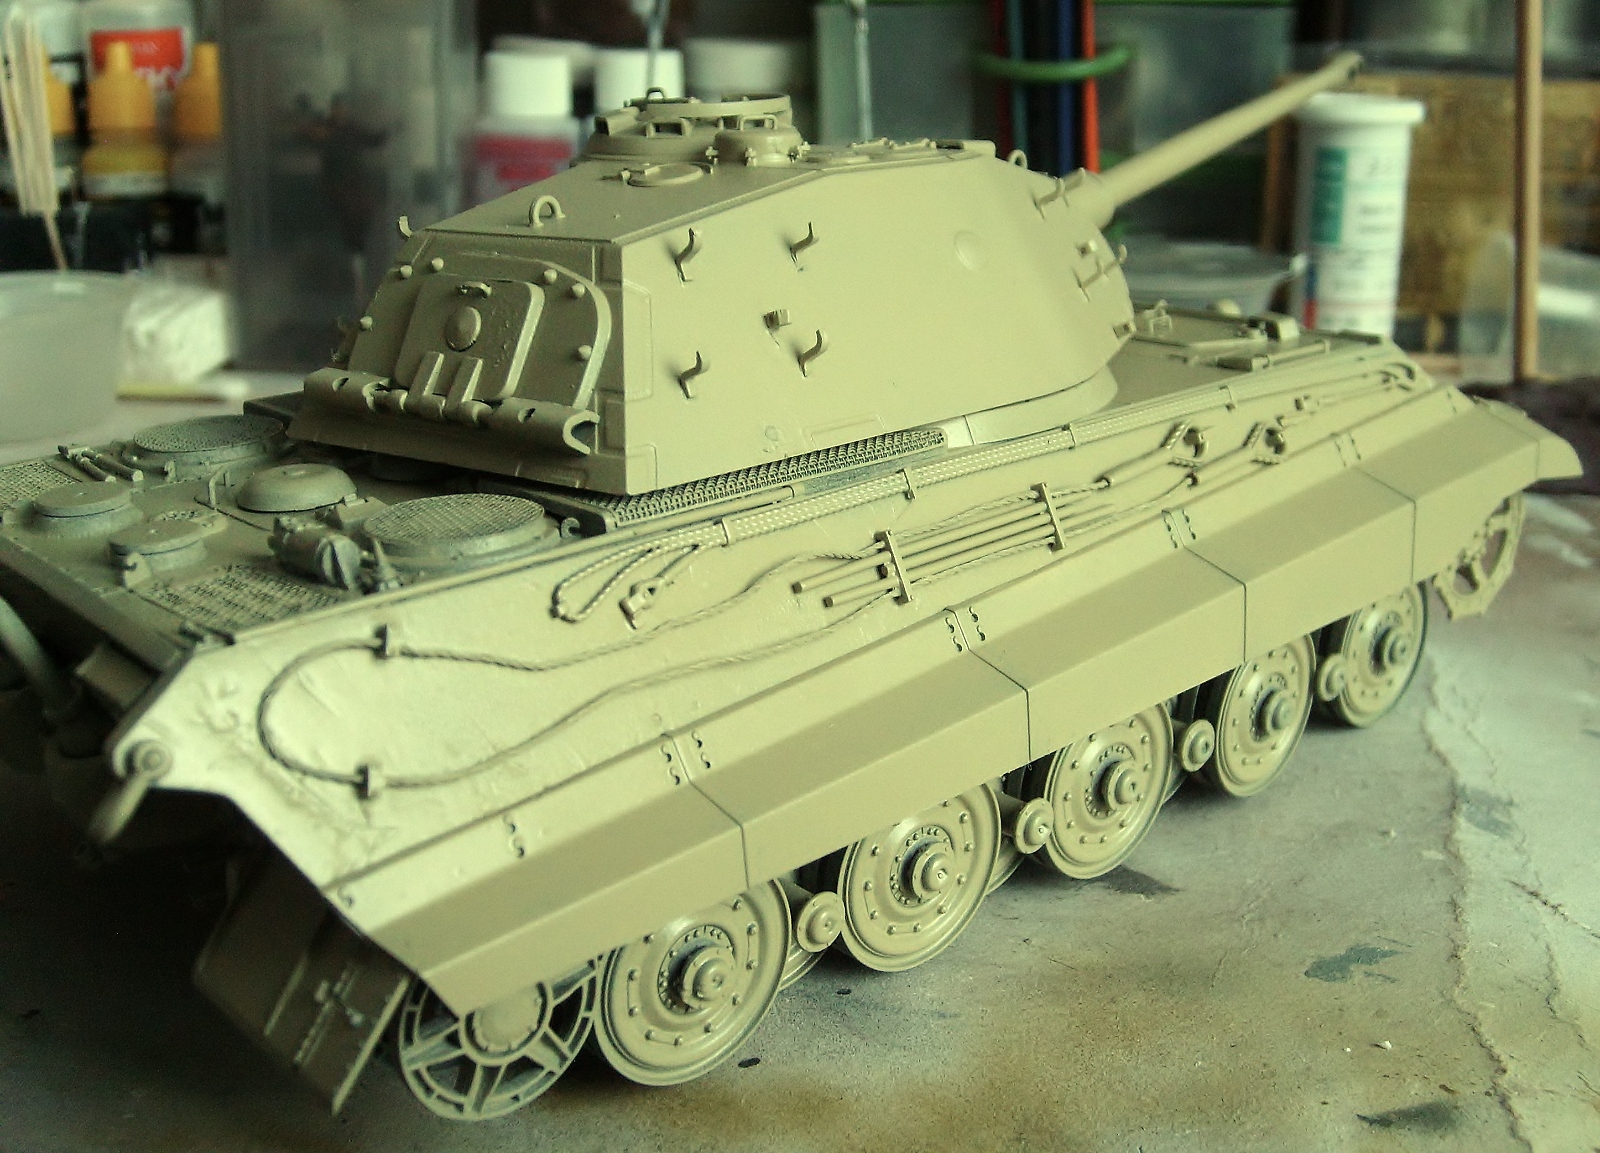
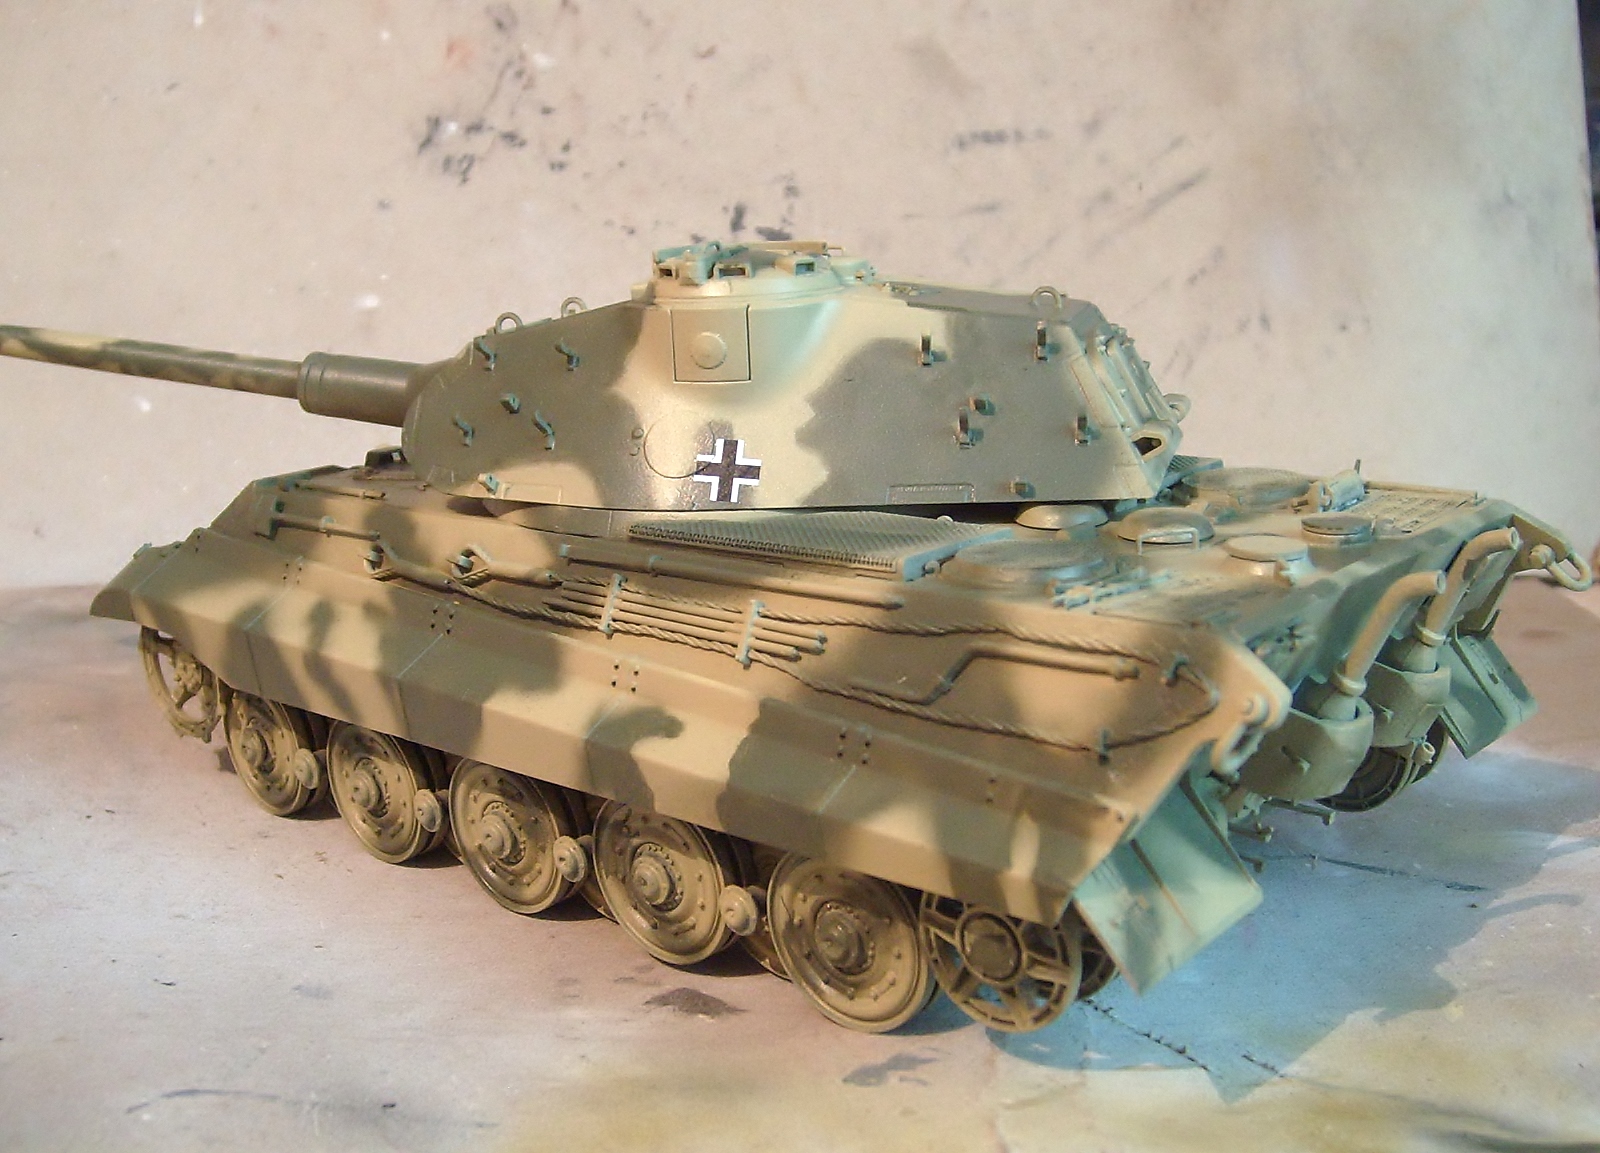
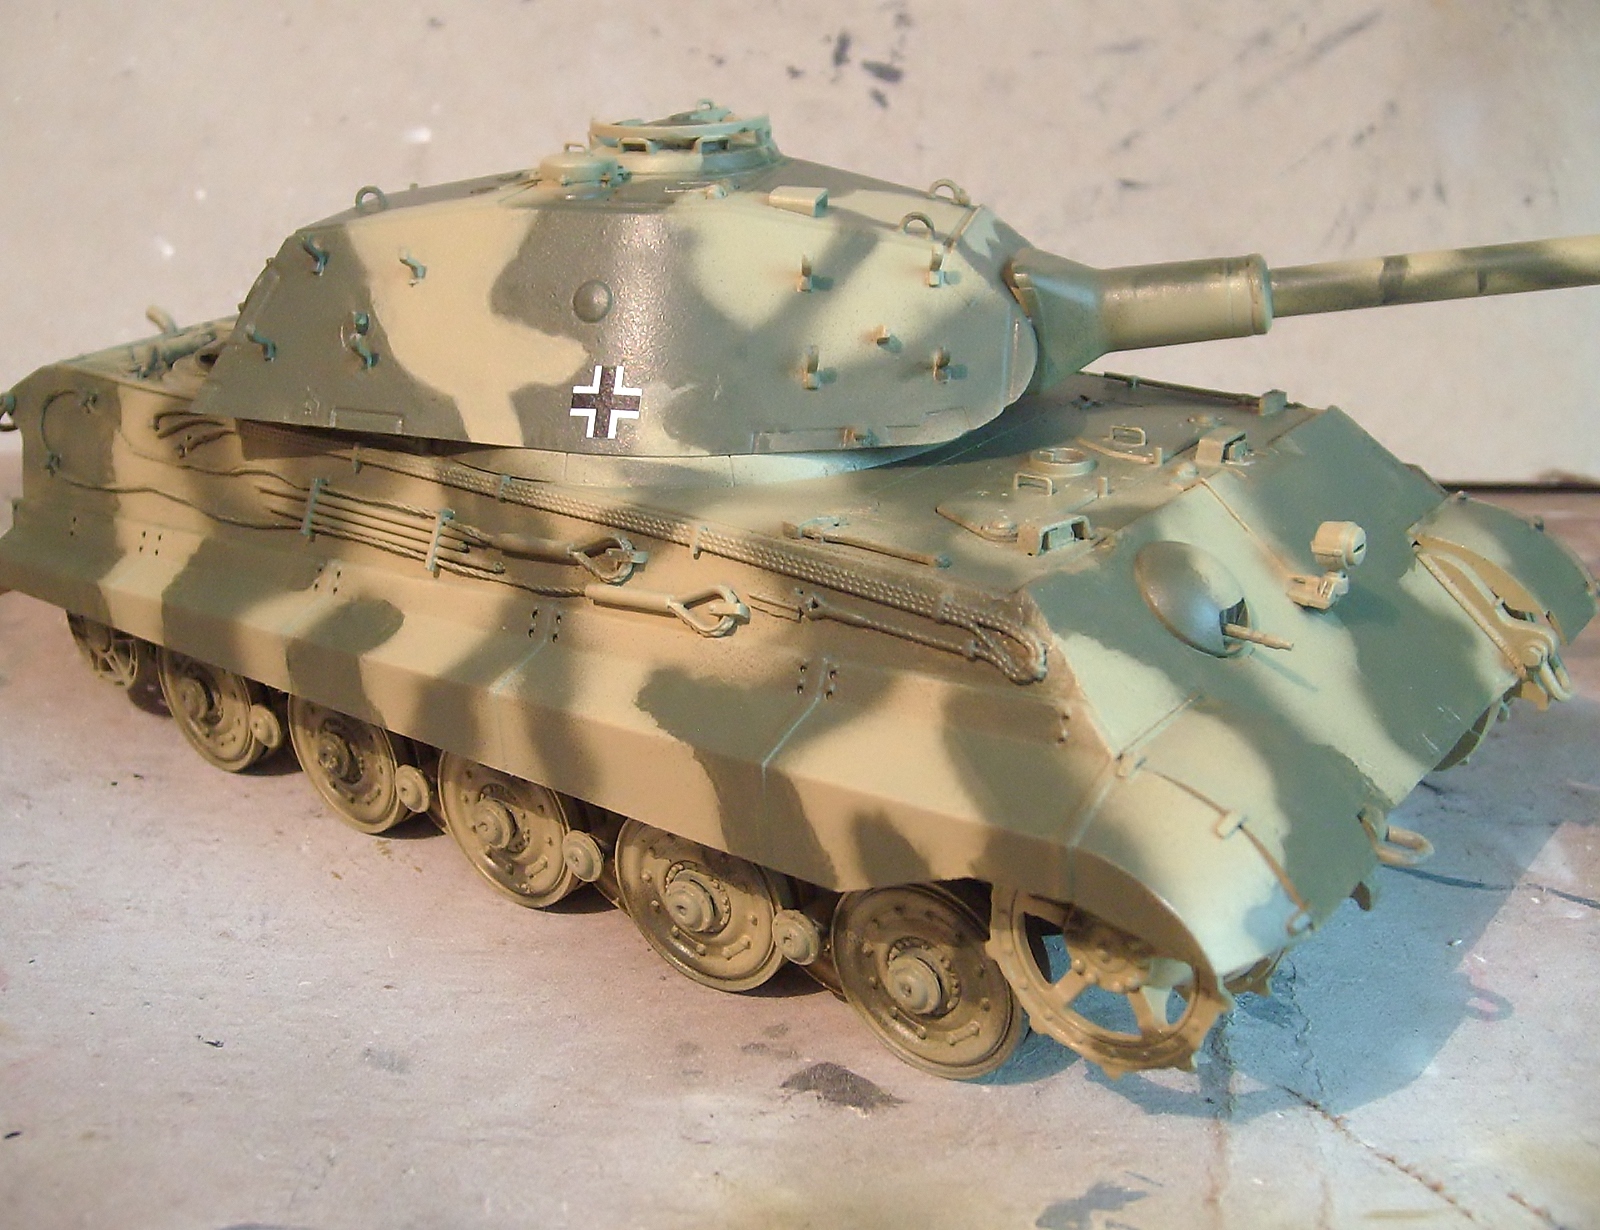
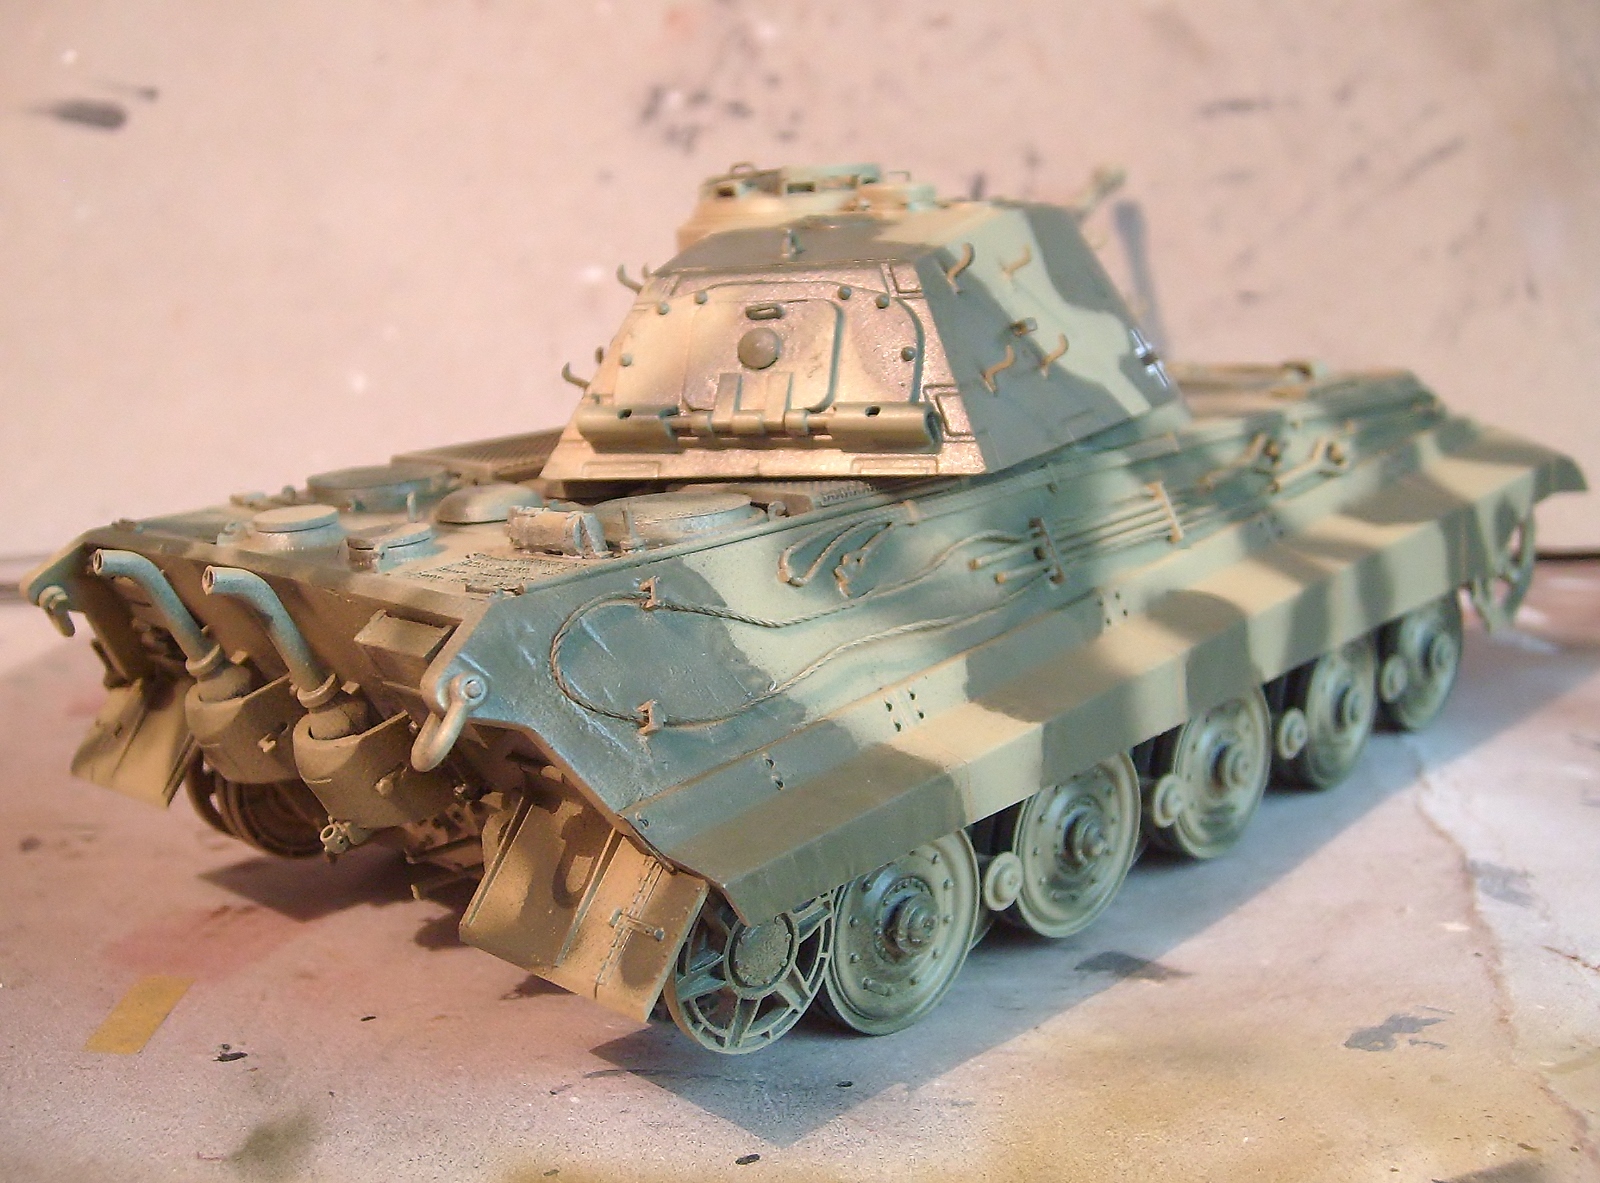
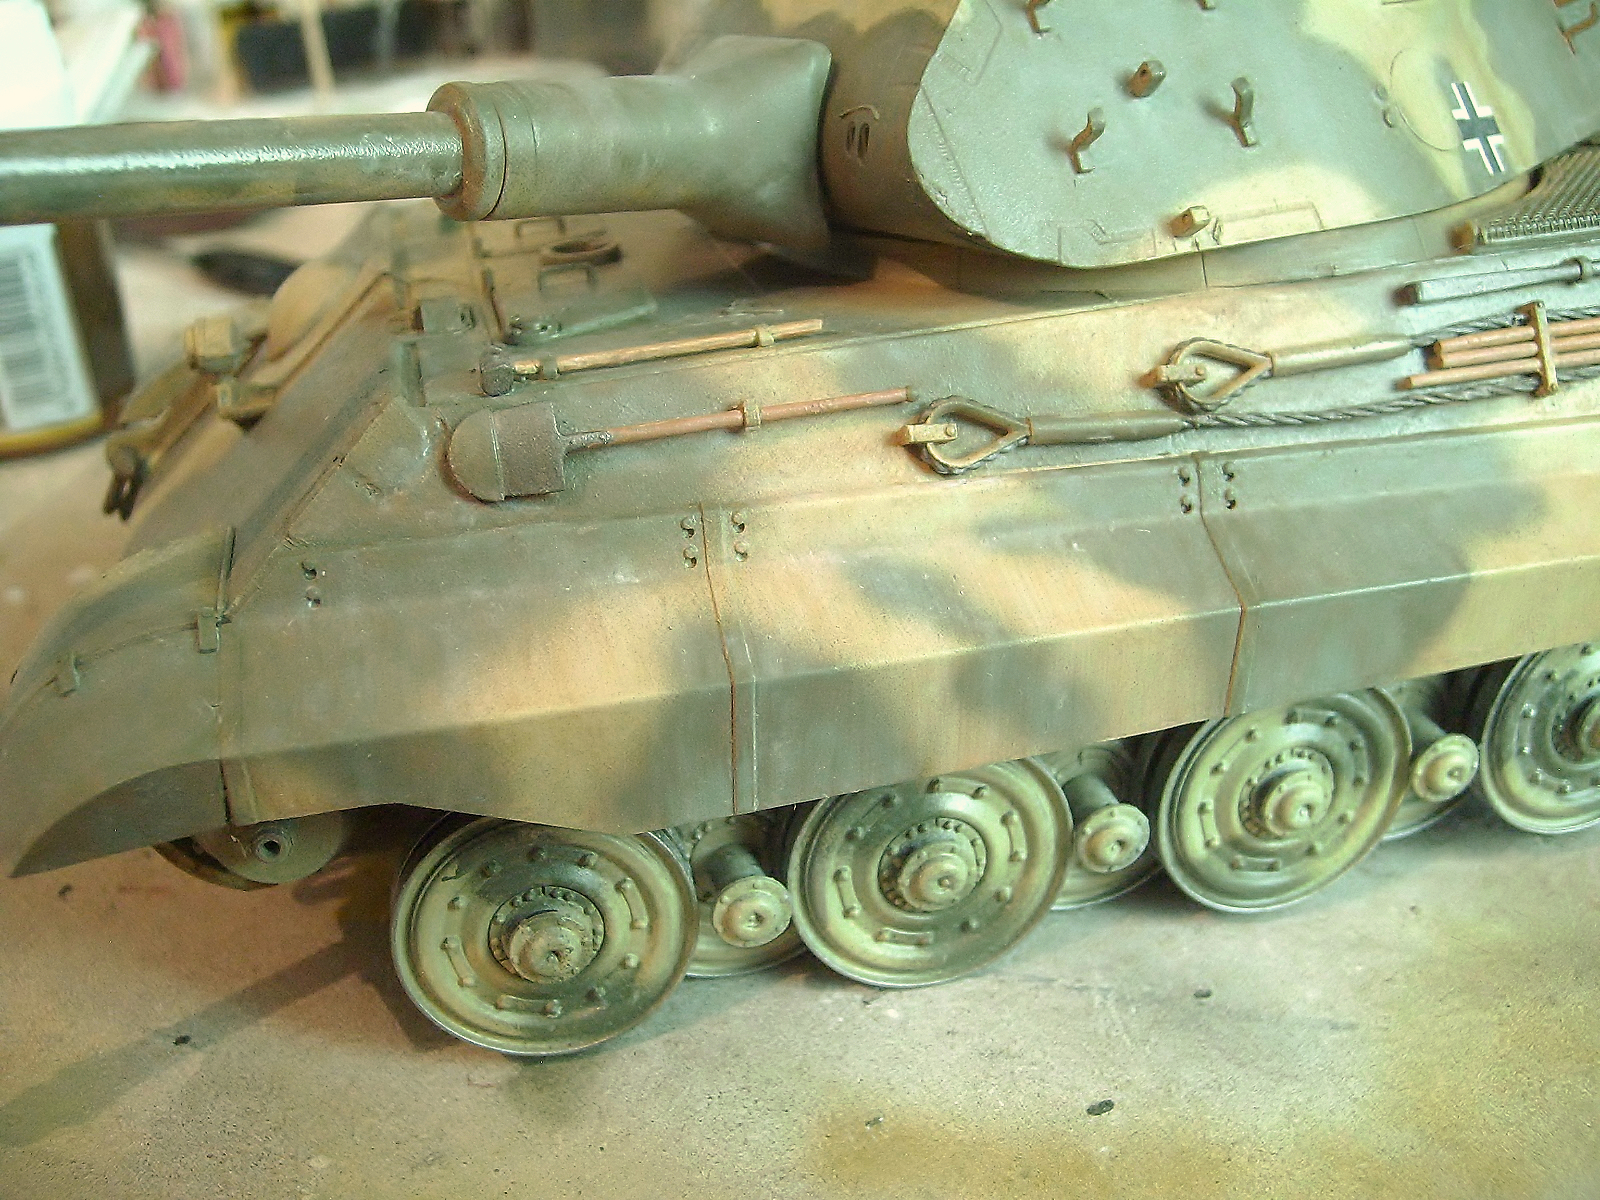
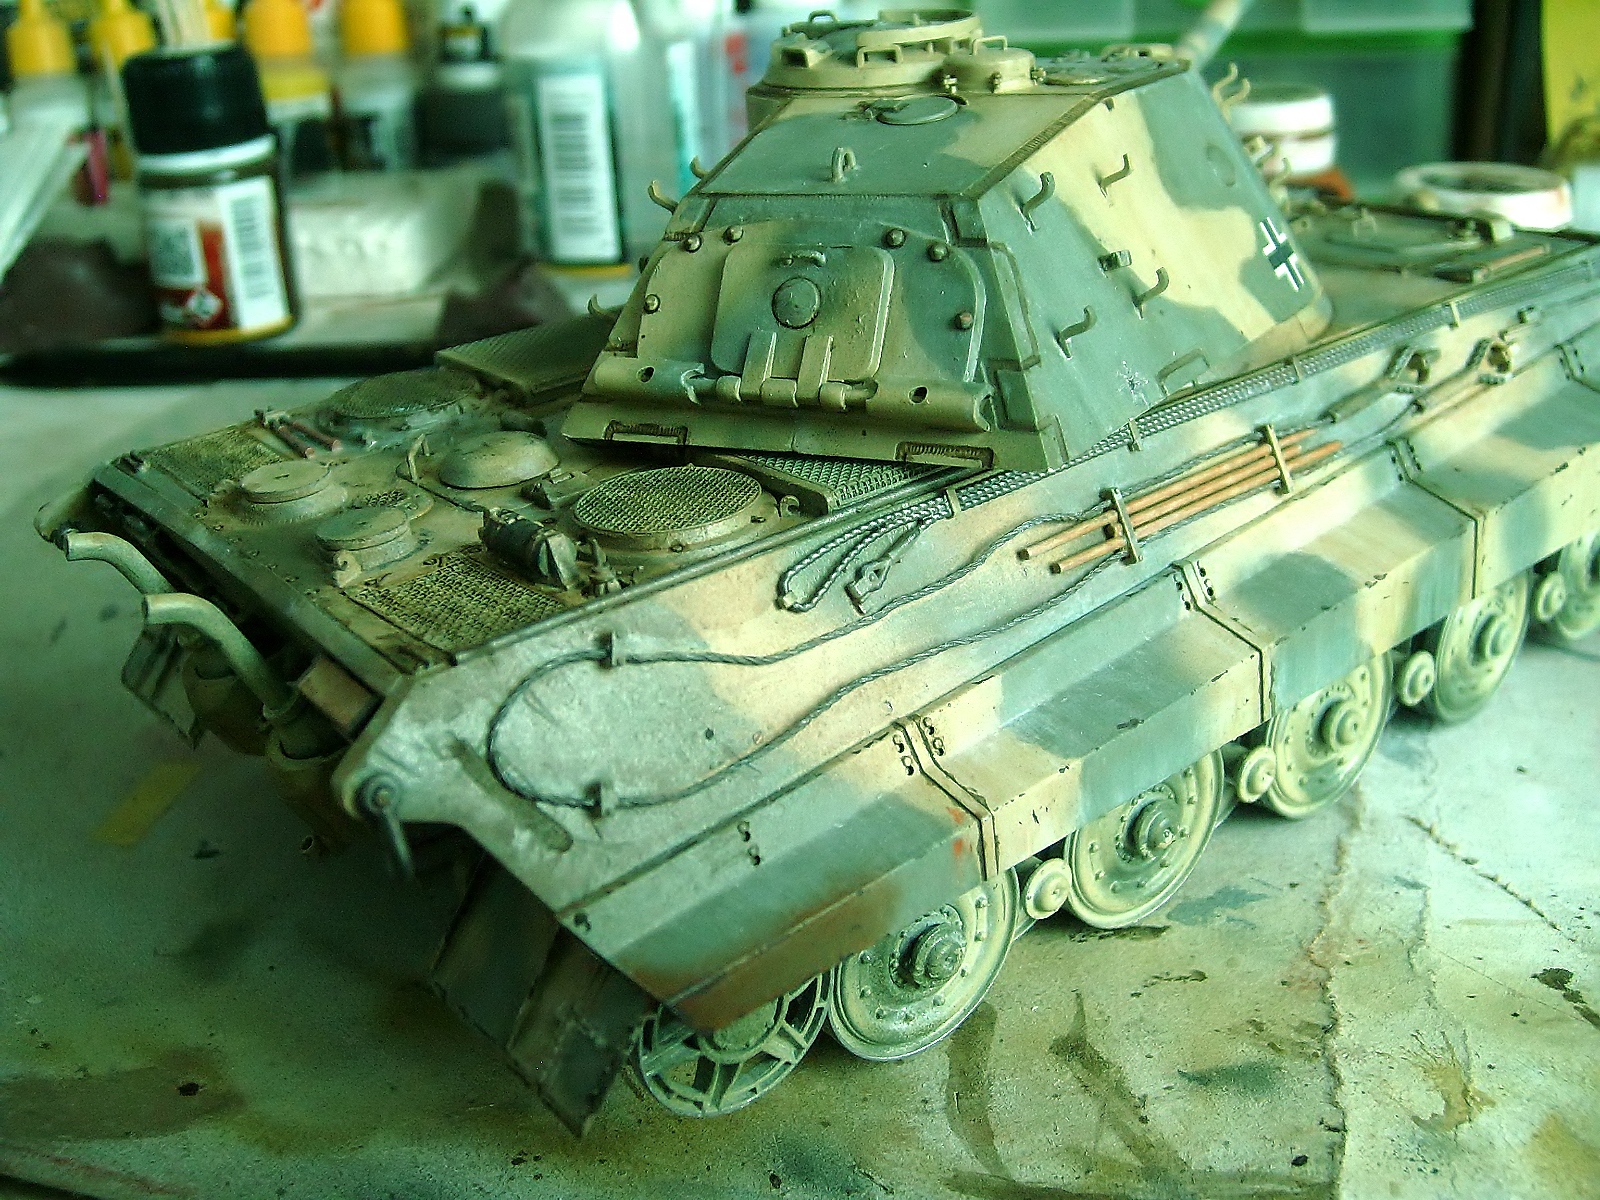
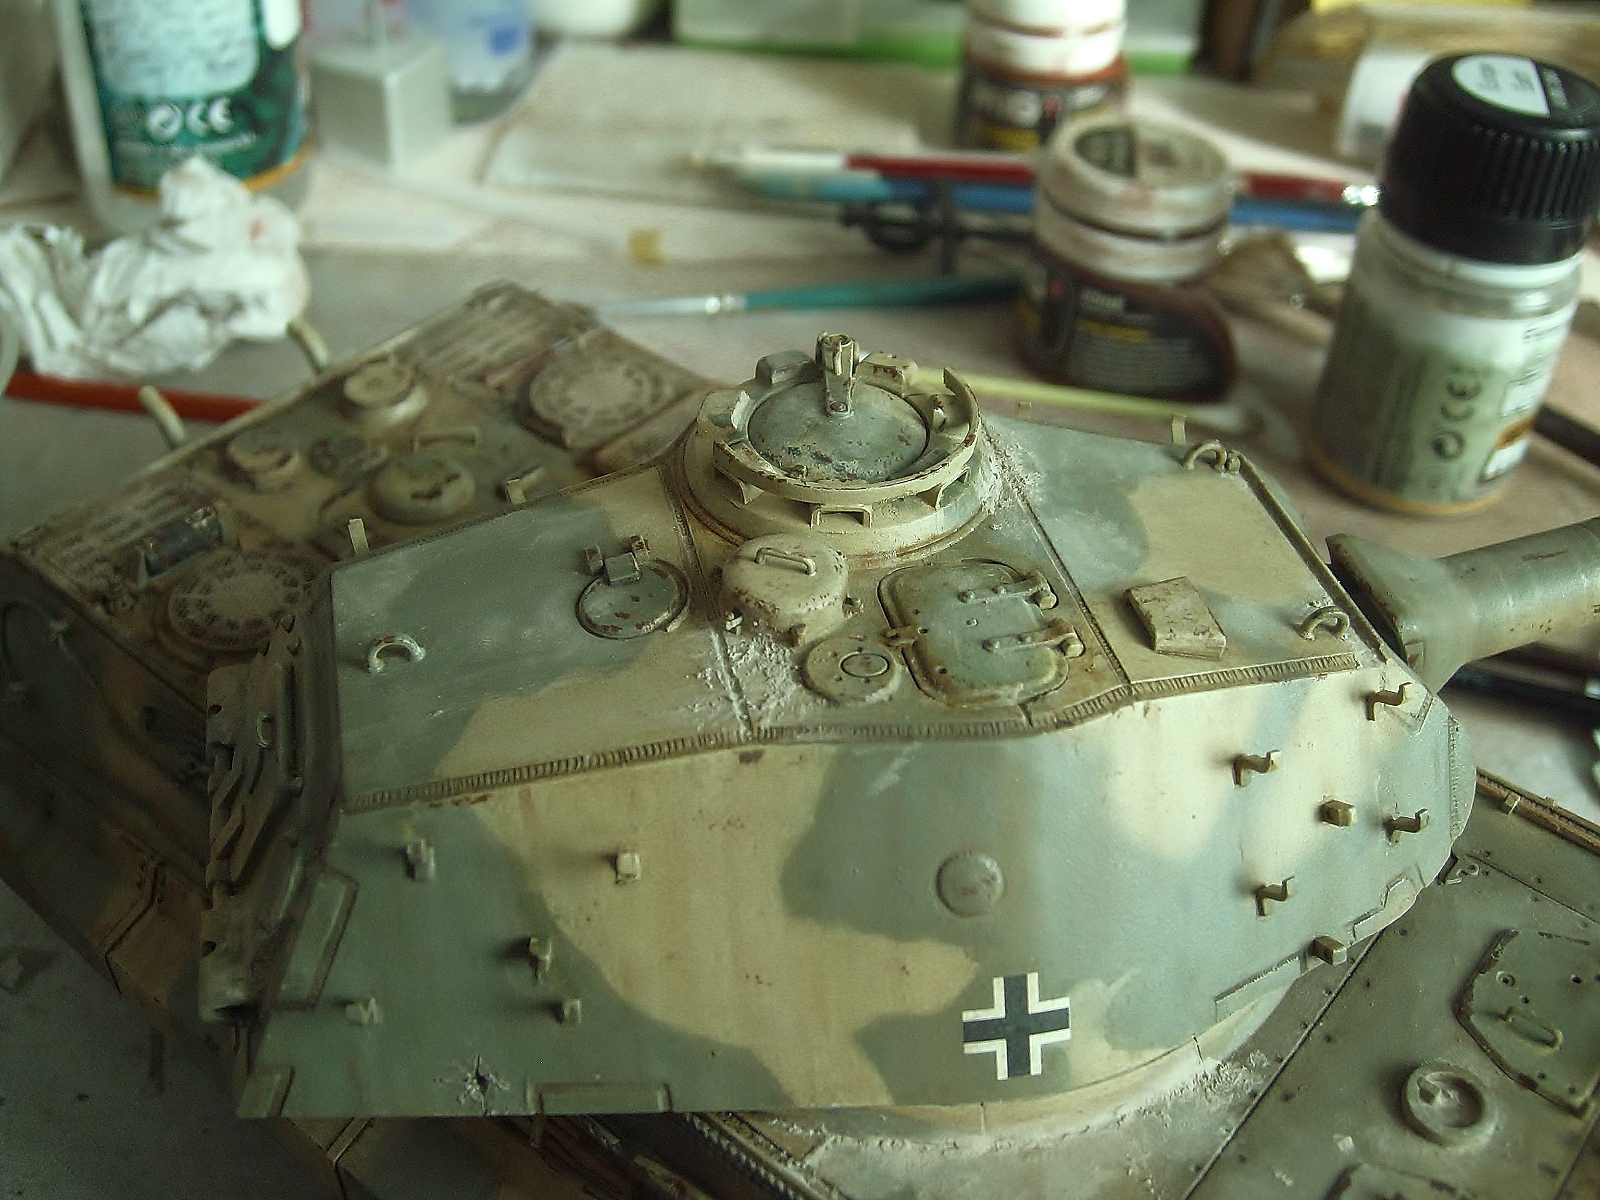
Here I used AMMO/MIG paint with RAL6003 (A.MIG-02) Olivgrün, not was necessary flow with thinner and coat of MIG-Satin Lucky Varnish before to start weathering. The skirts, are not glued yet.
Soon more pics!
Regards!
Rodolfo
3 Likes
Thanks for rescuing this poor abused kit 
You’ve certainly given it new lease of life Rodolfo, well done.
 Hello friends!
Thanks for your kind comments!.
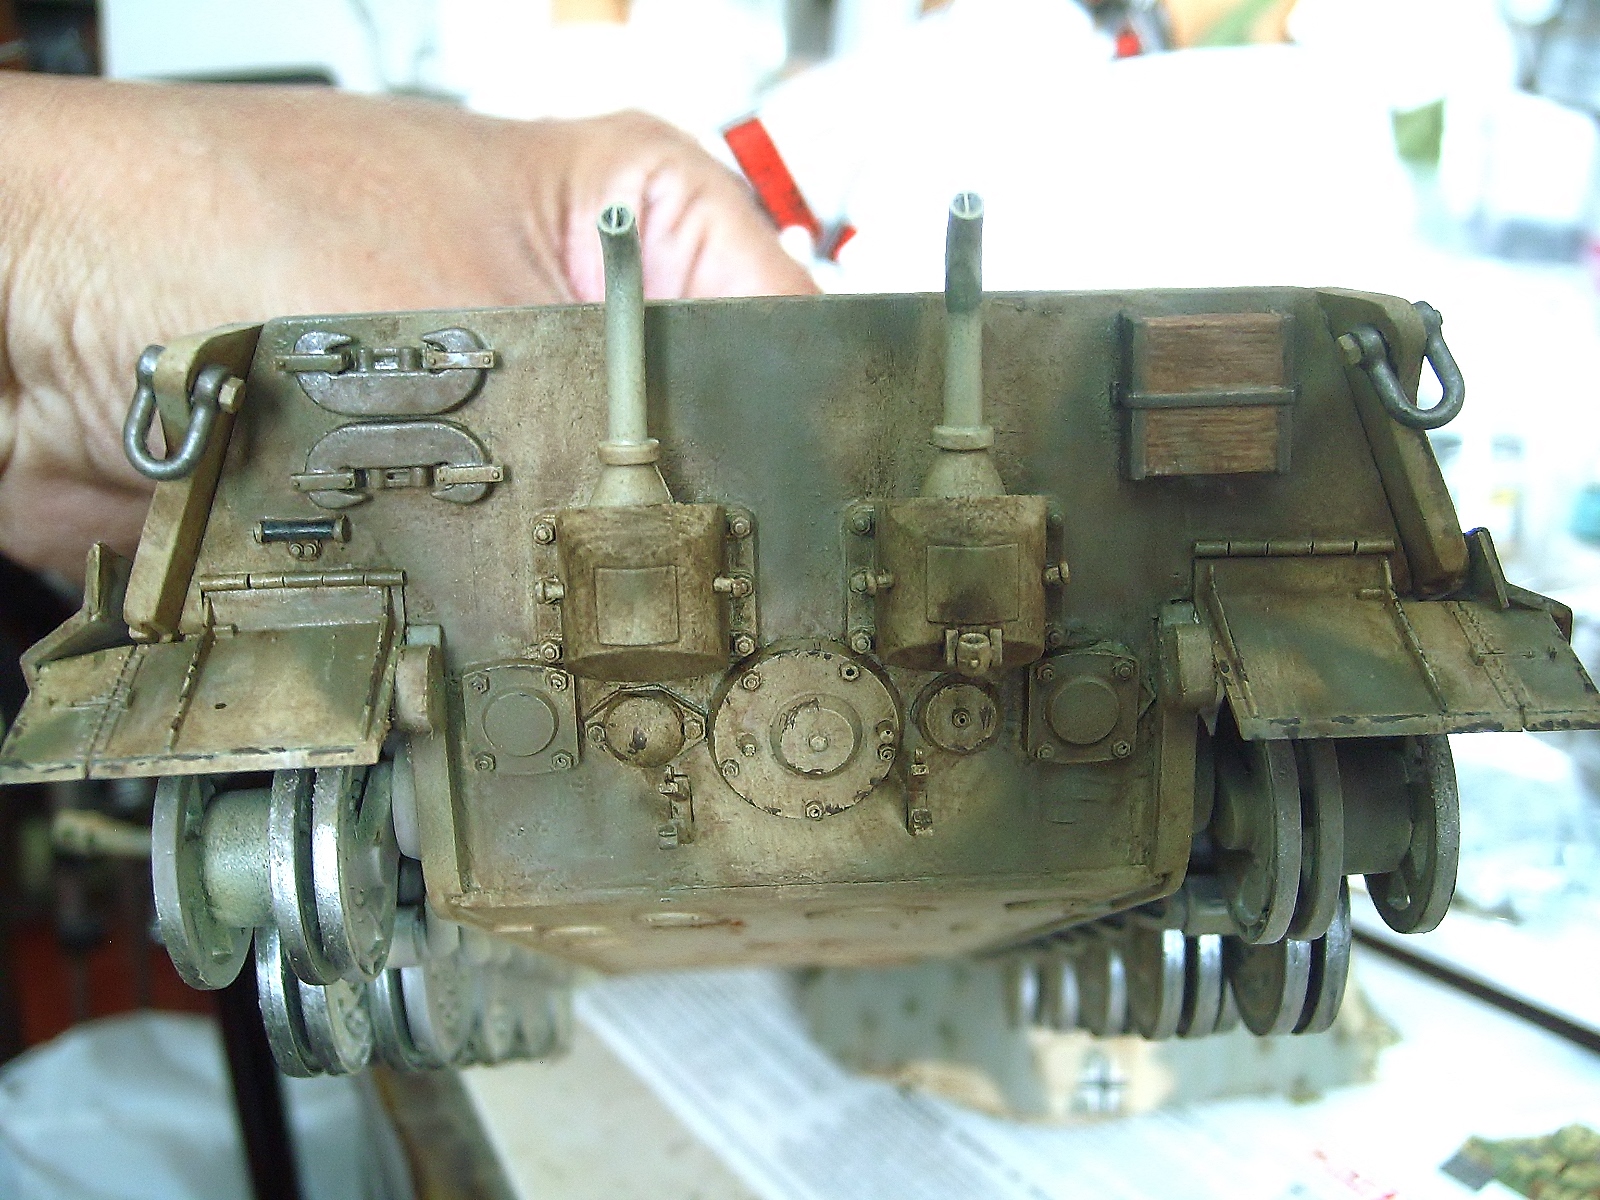
@ Robin_Nilsson - this kit was battered up from the entire surfaceand try to smooth it out by sanding it carefully.
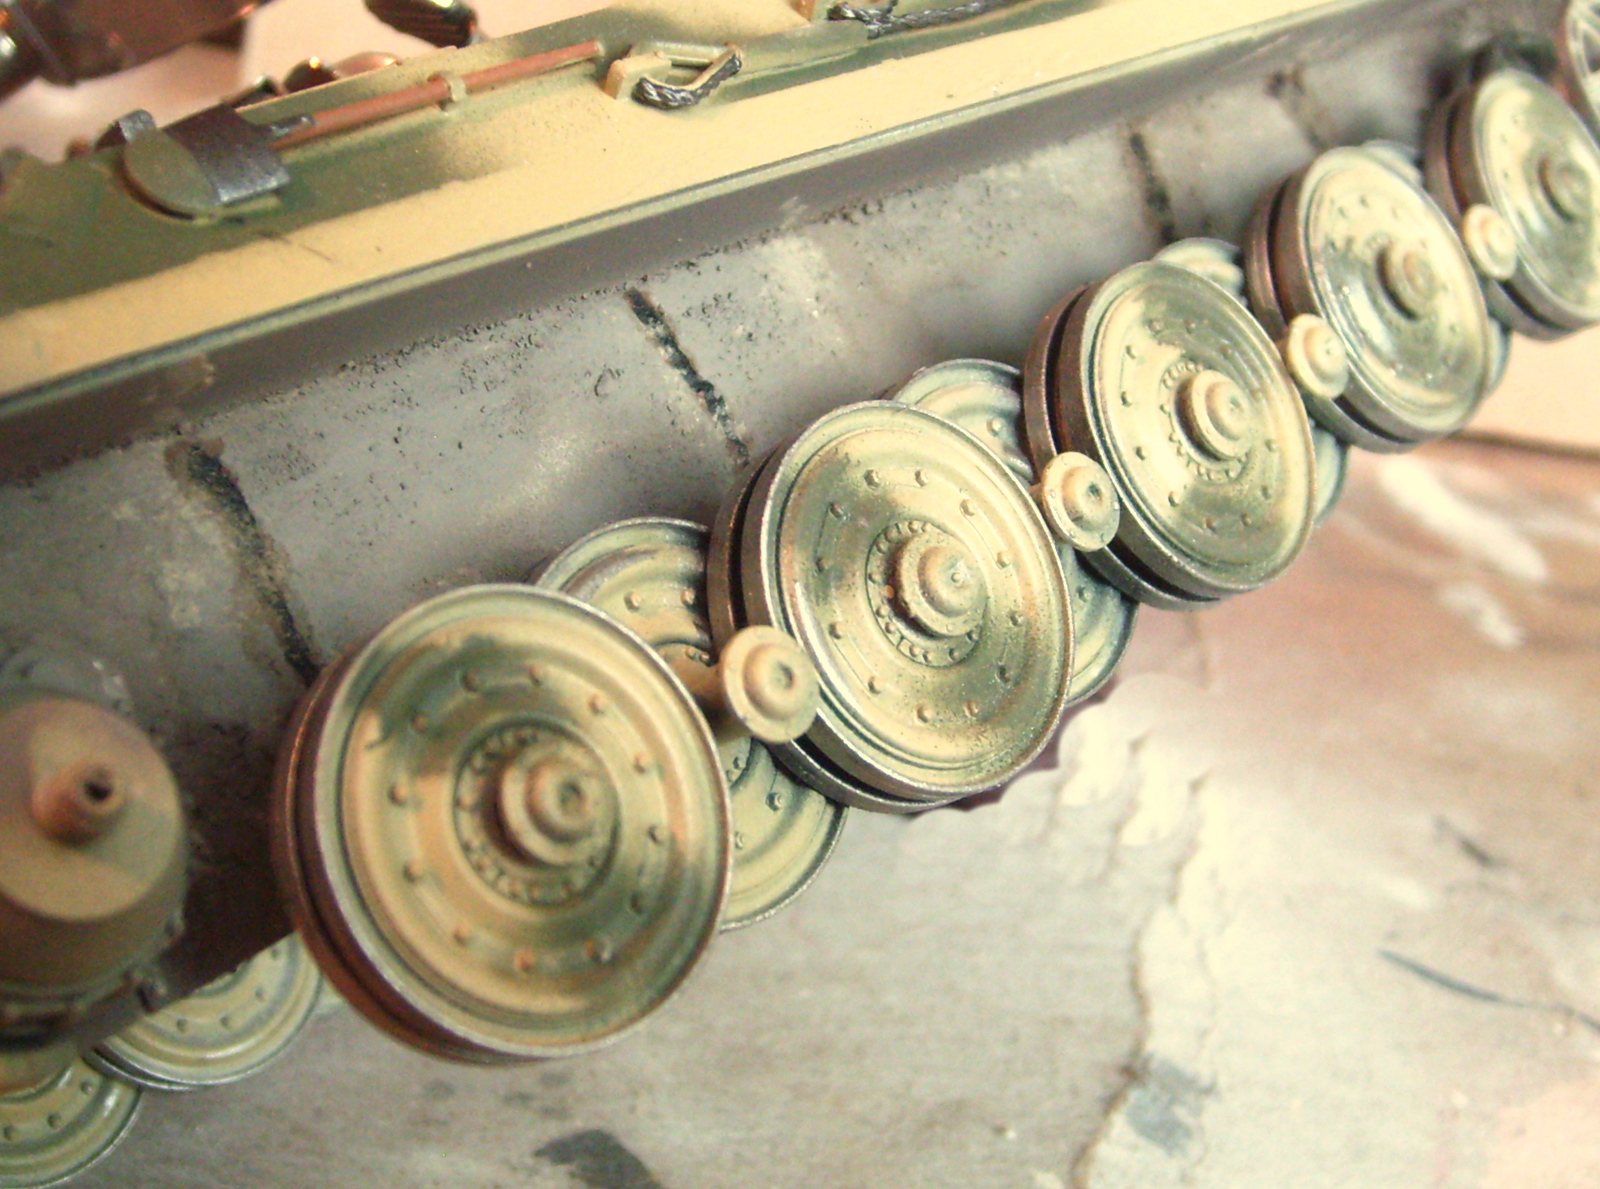
@ Johnnych01 - apart the kit had missing ilder wheels and PE partially destroyed  , I used tools of another kit (spare parts). I will buy the tracks because are missing too!.
Regards!
Rodolfo
 More pics of my actual WIP
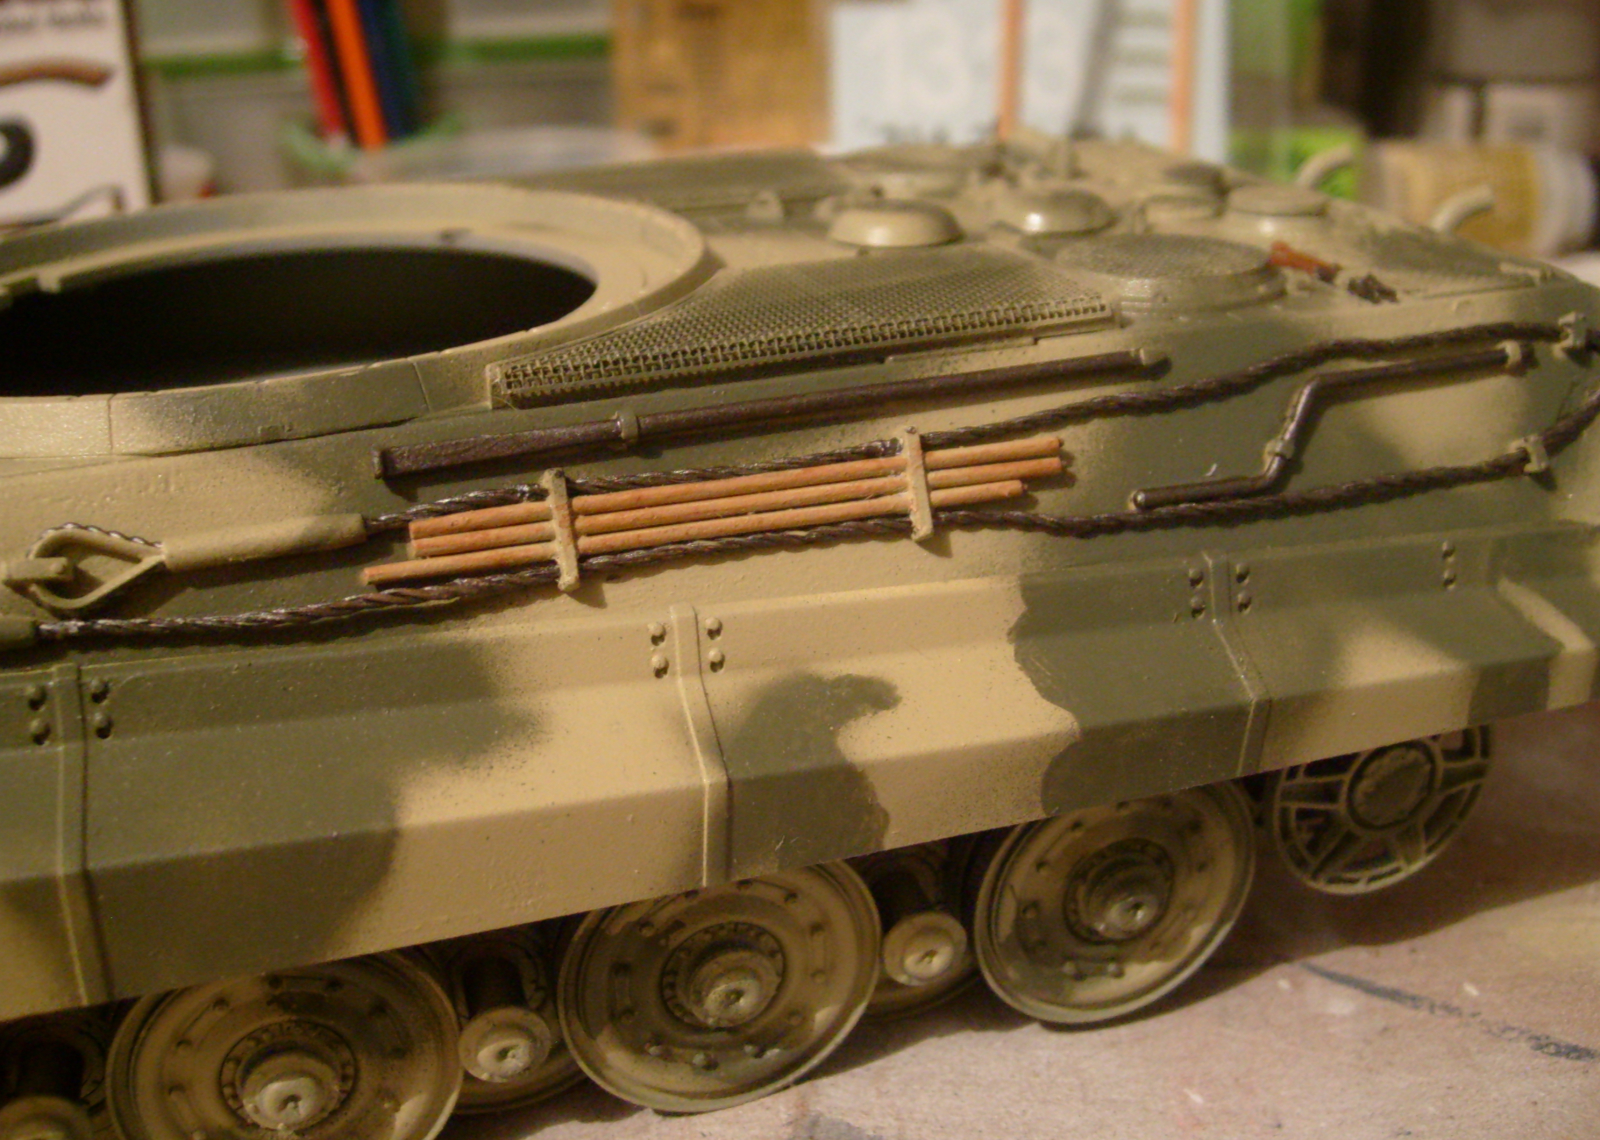
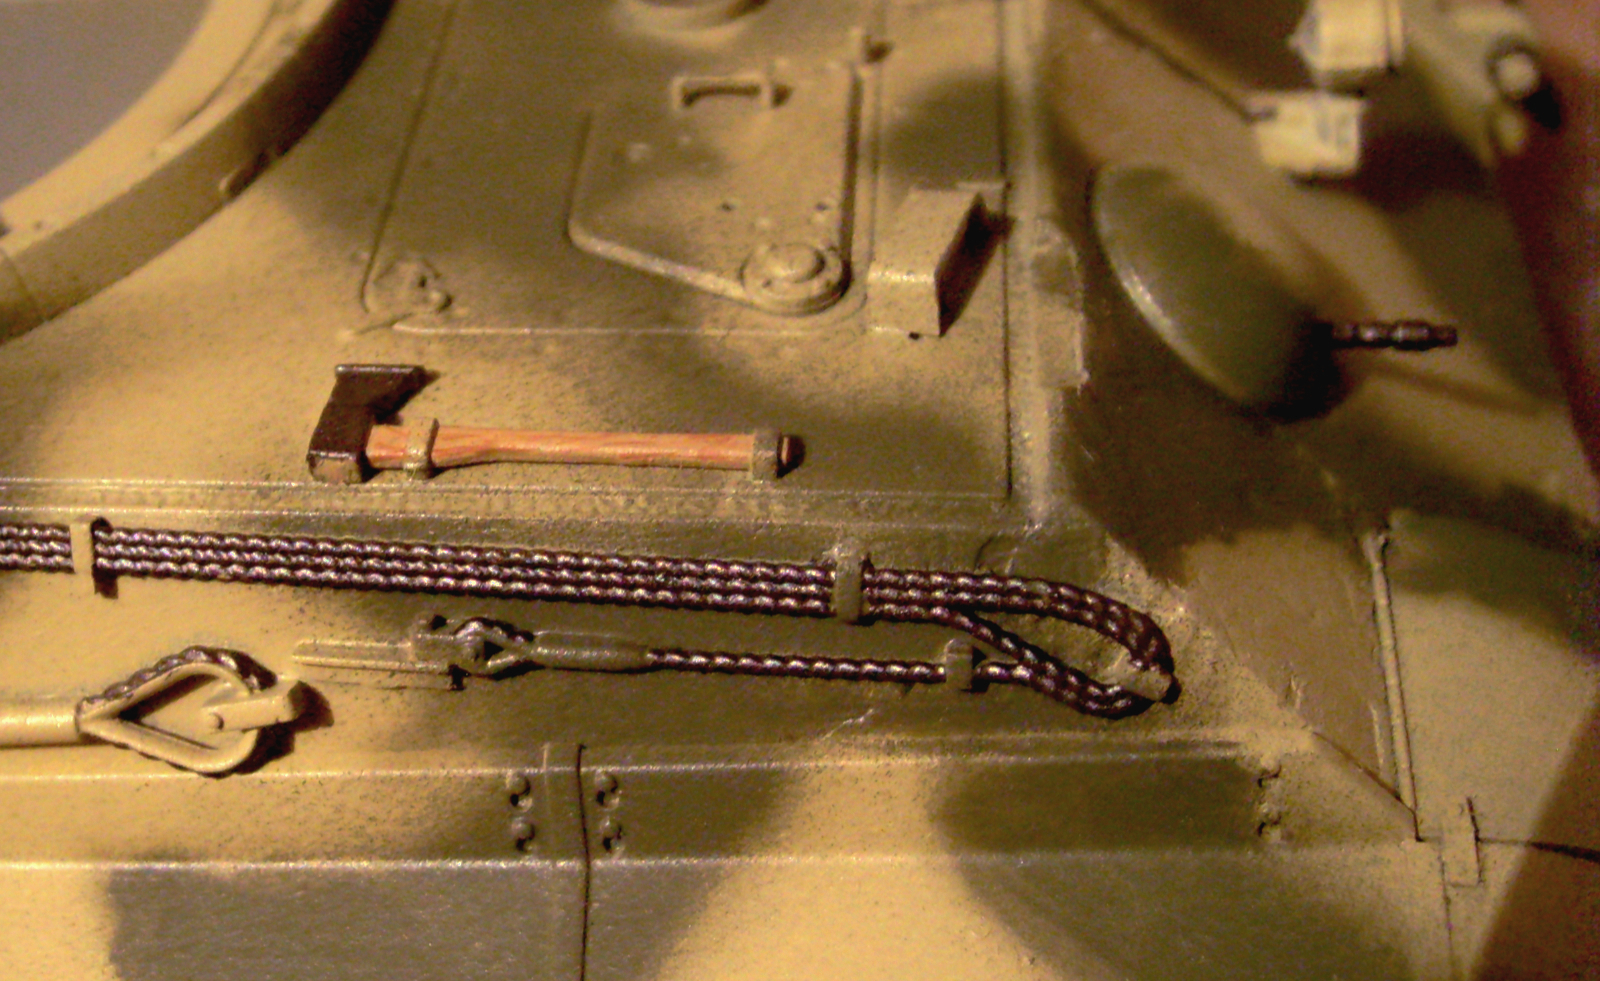
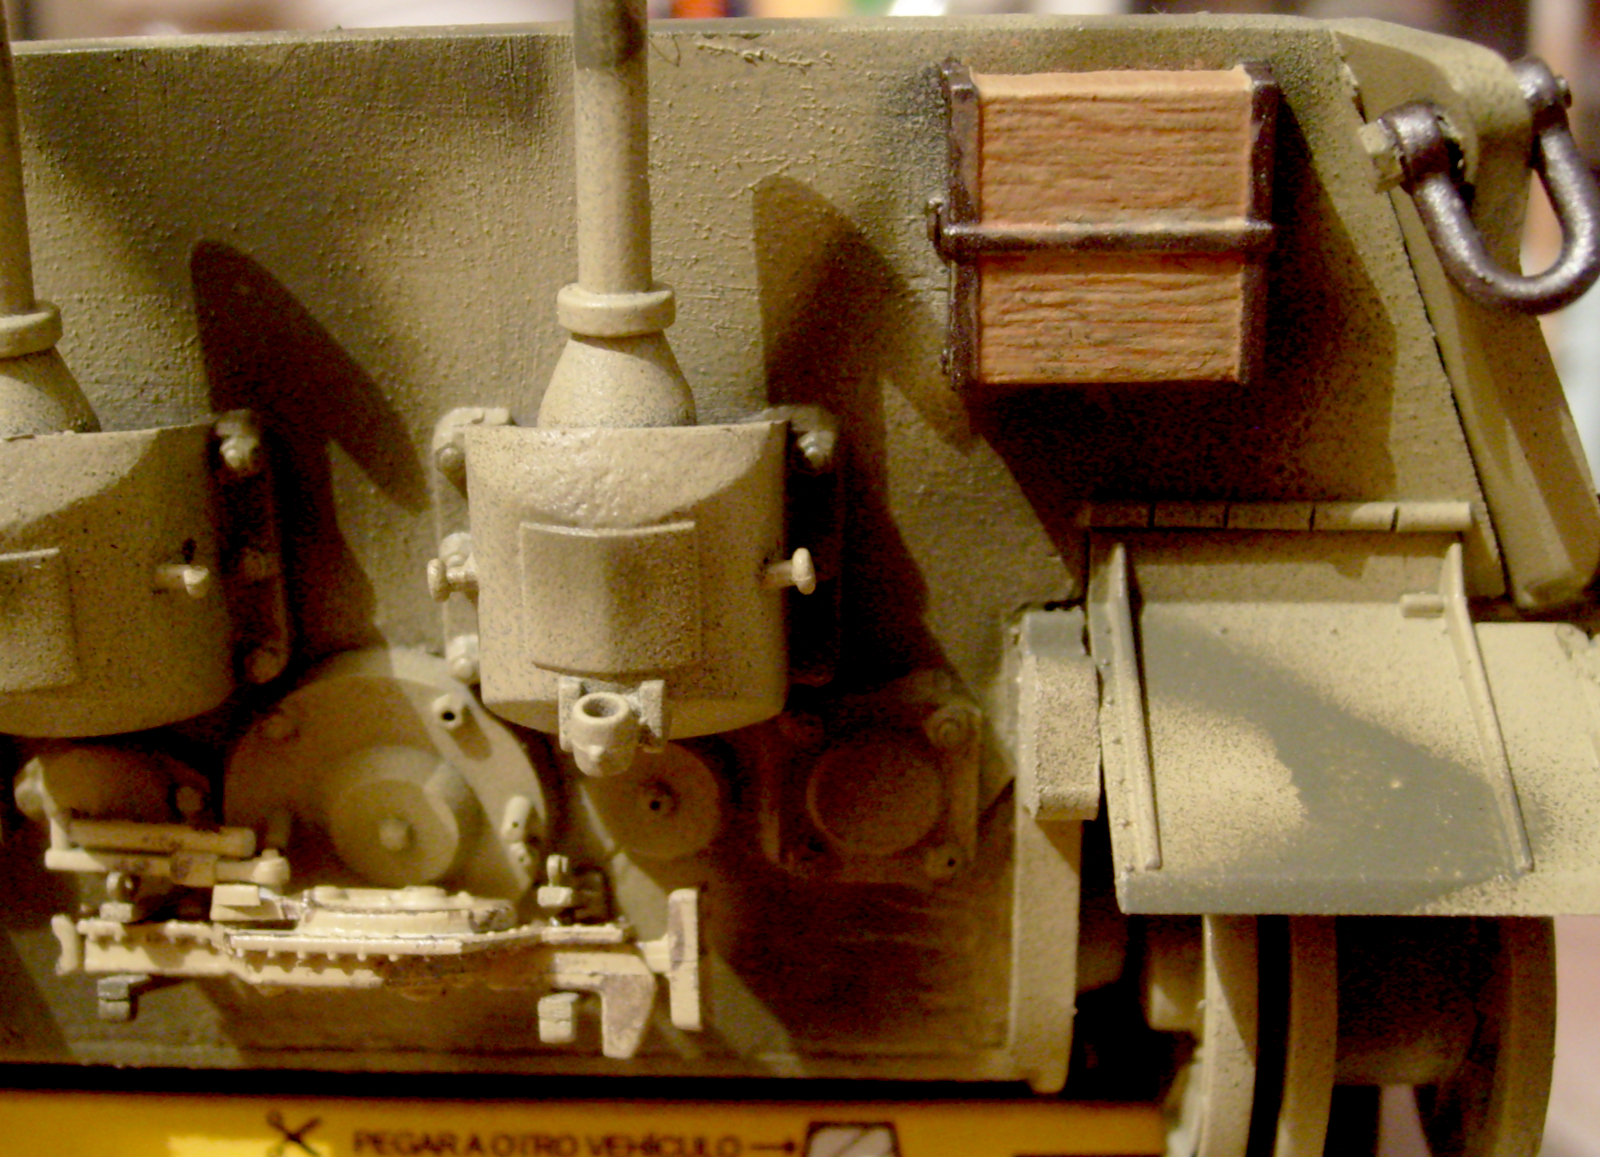
Here I used AMMO/MIG Tool Color Set: Combination of New wood, Light Wood and Old Wood, Bakelita and Gun Metal were applied The skirts, are not glued yet.
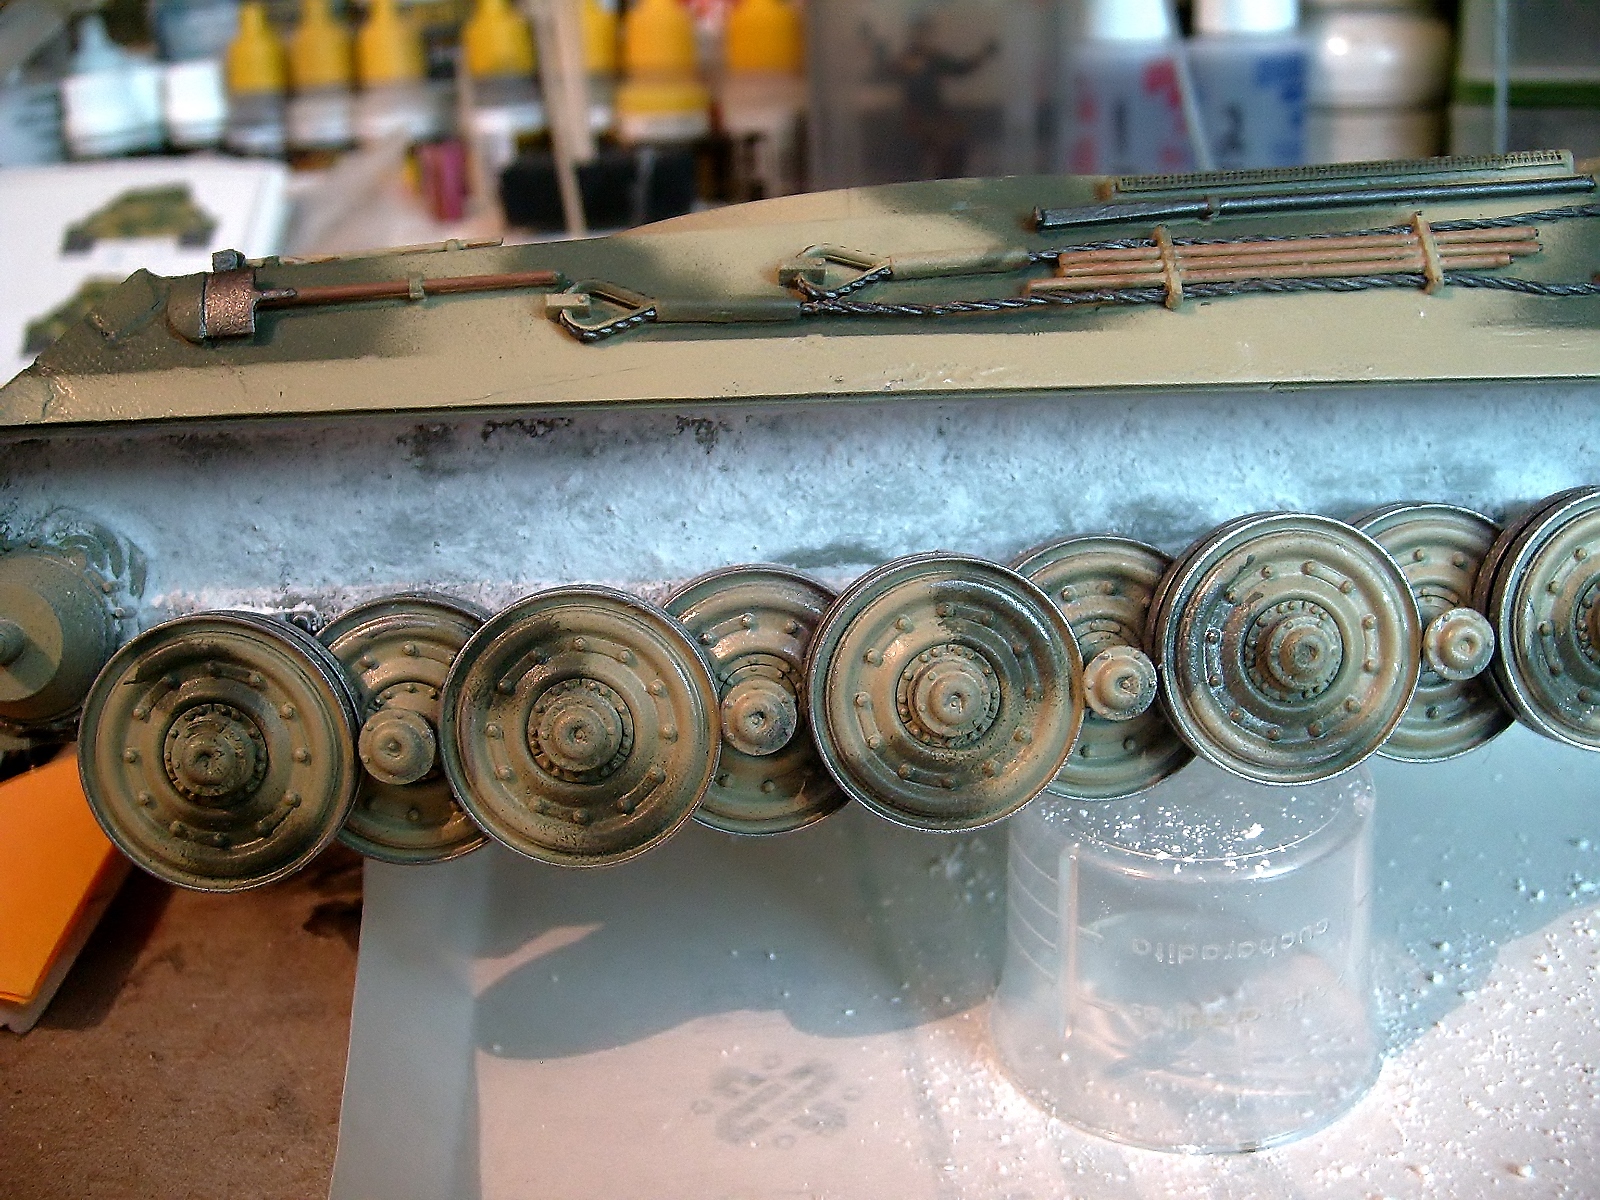
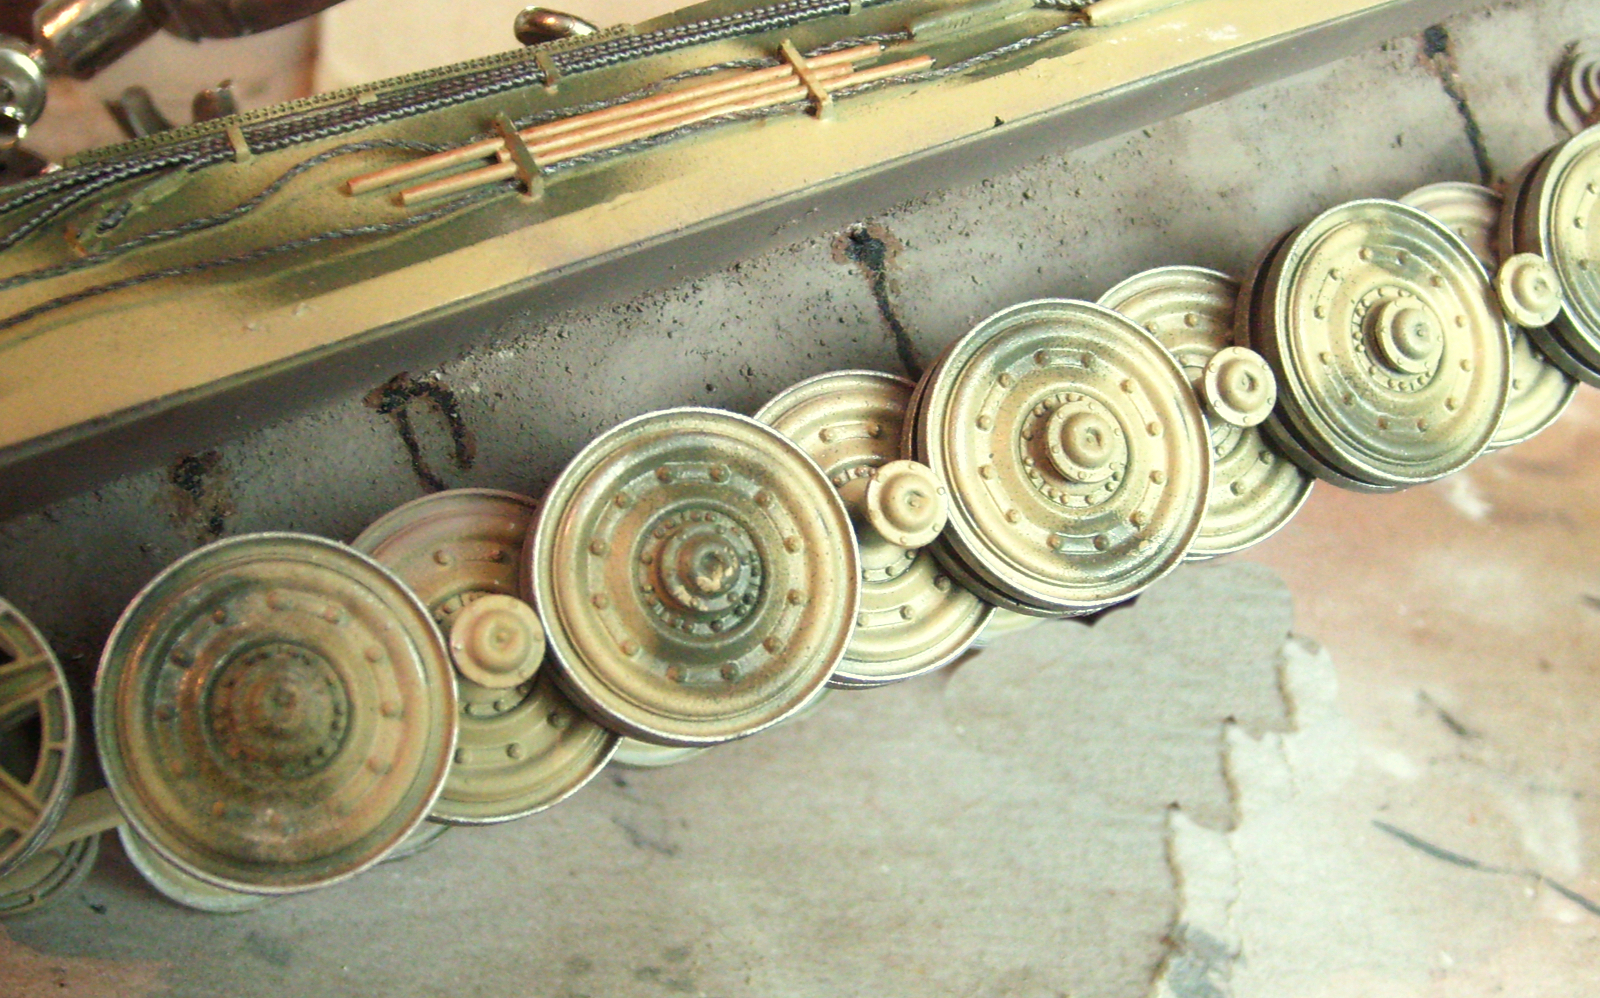
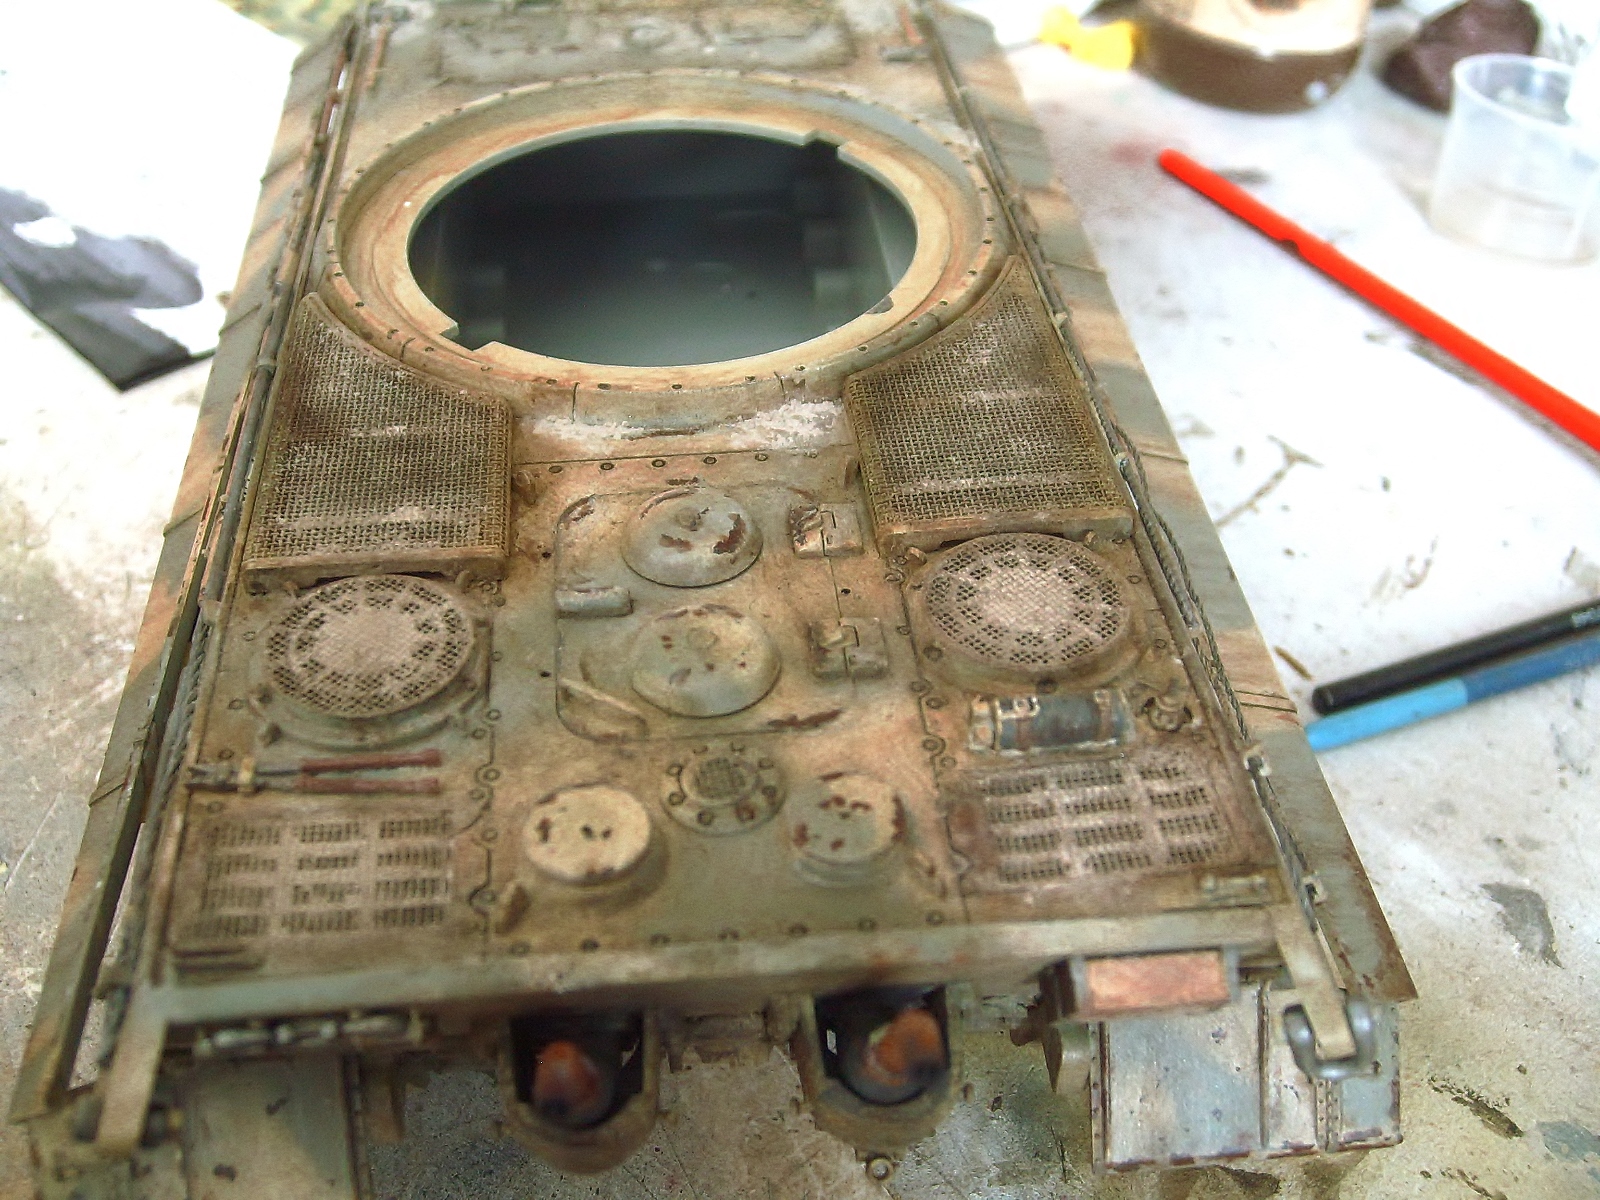
Earth on Chassis: I have added a layer of white glue to add plaster and avoid using so much pigment, it is also easy to paint.
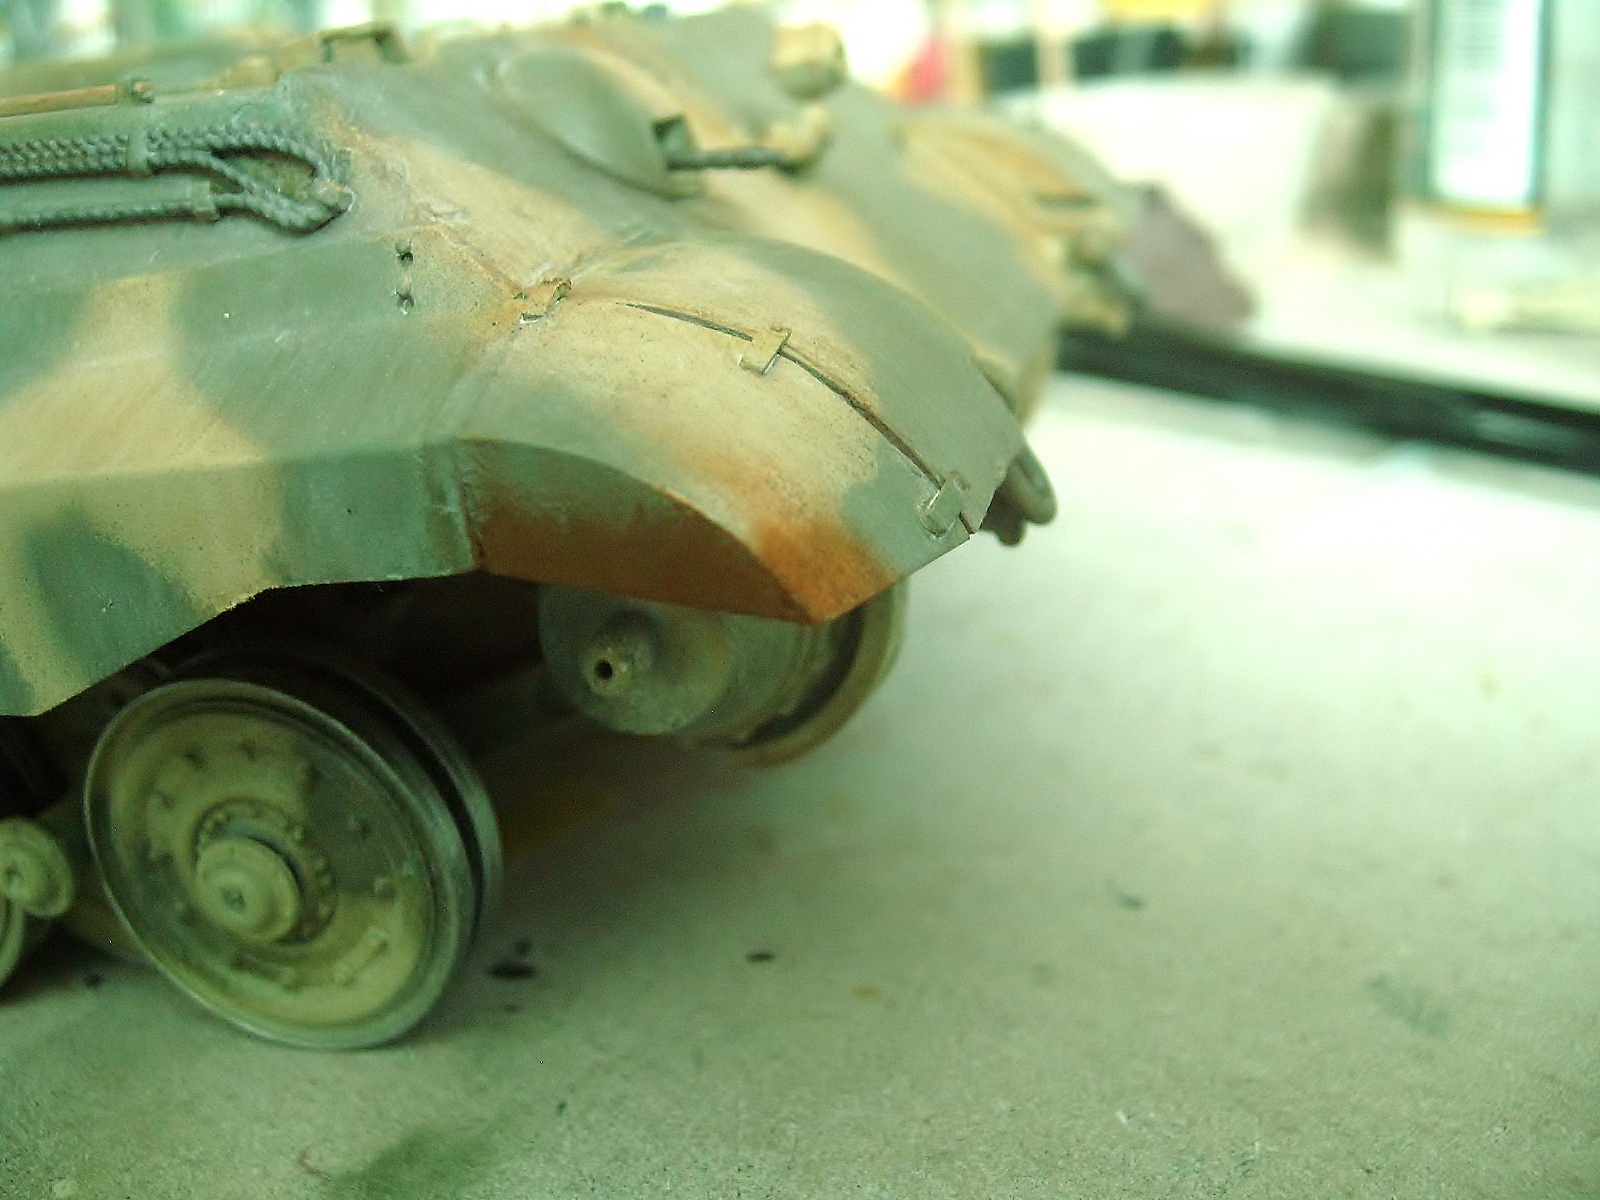
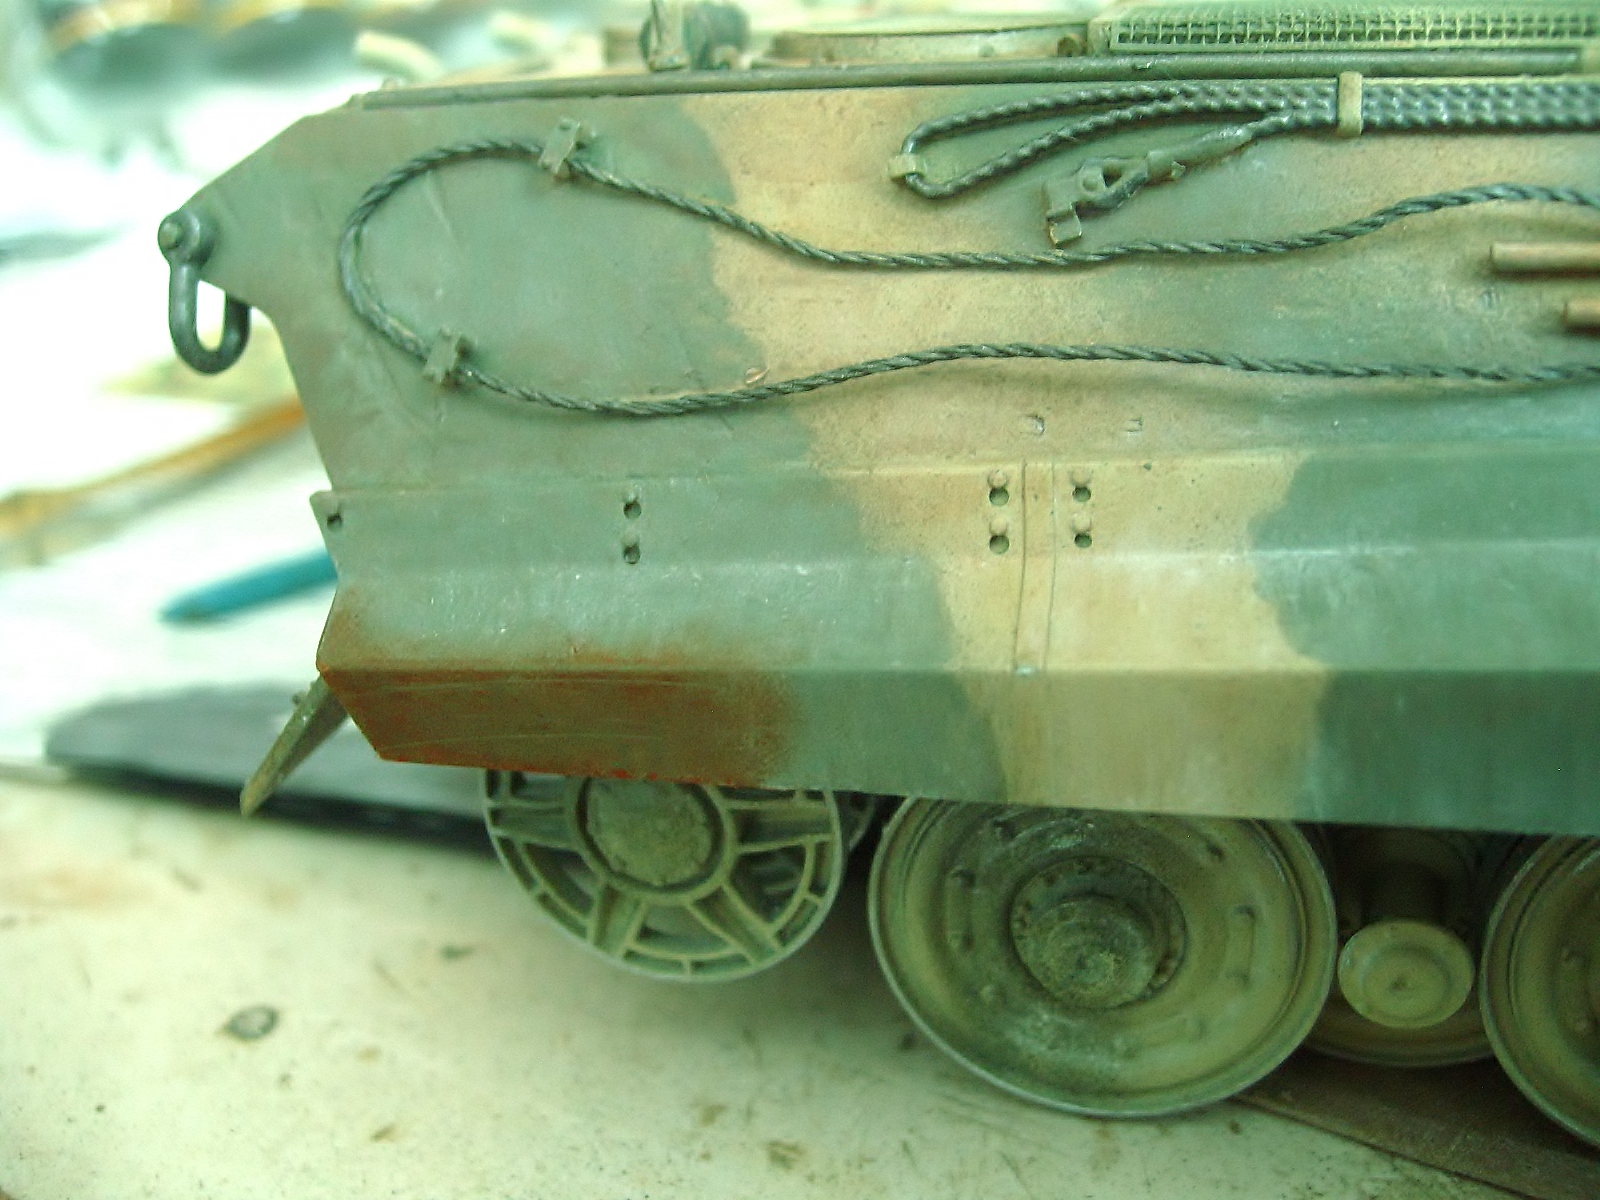
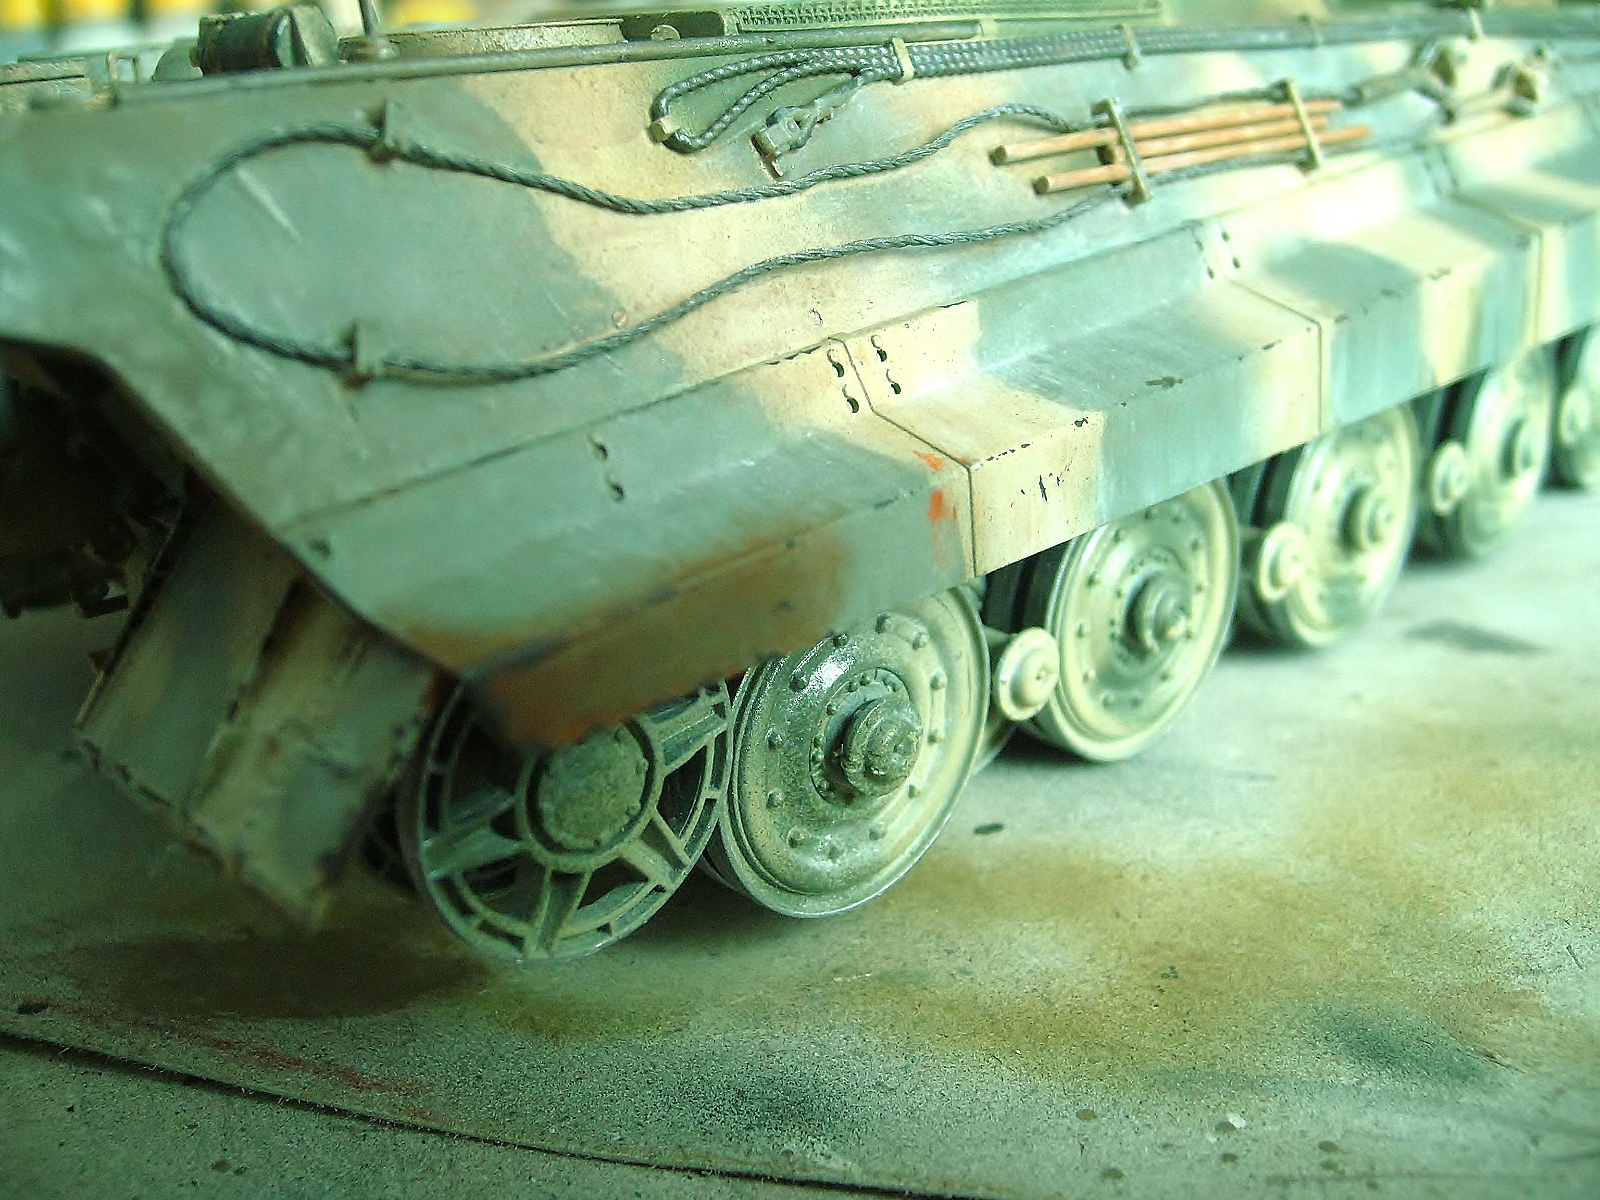
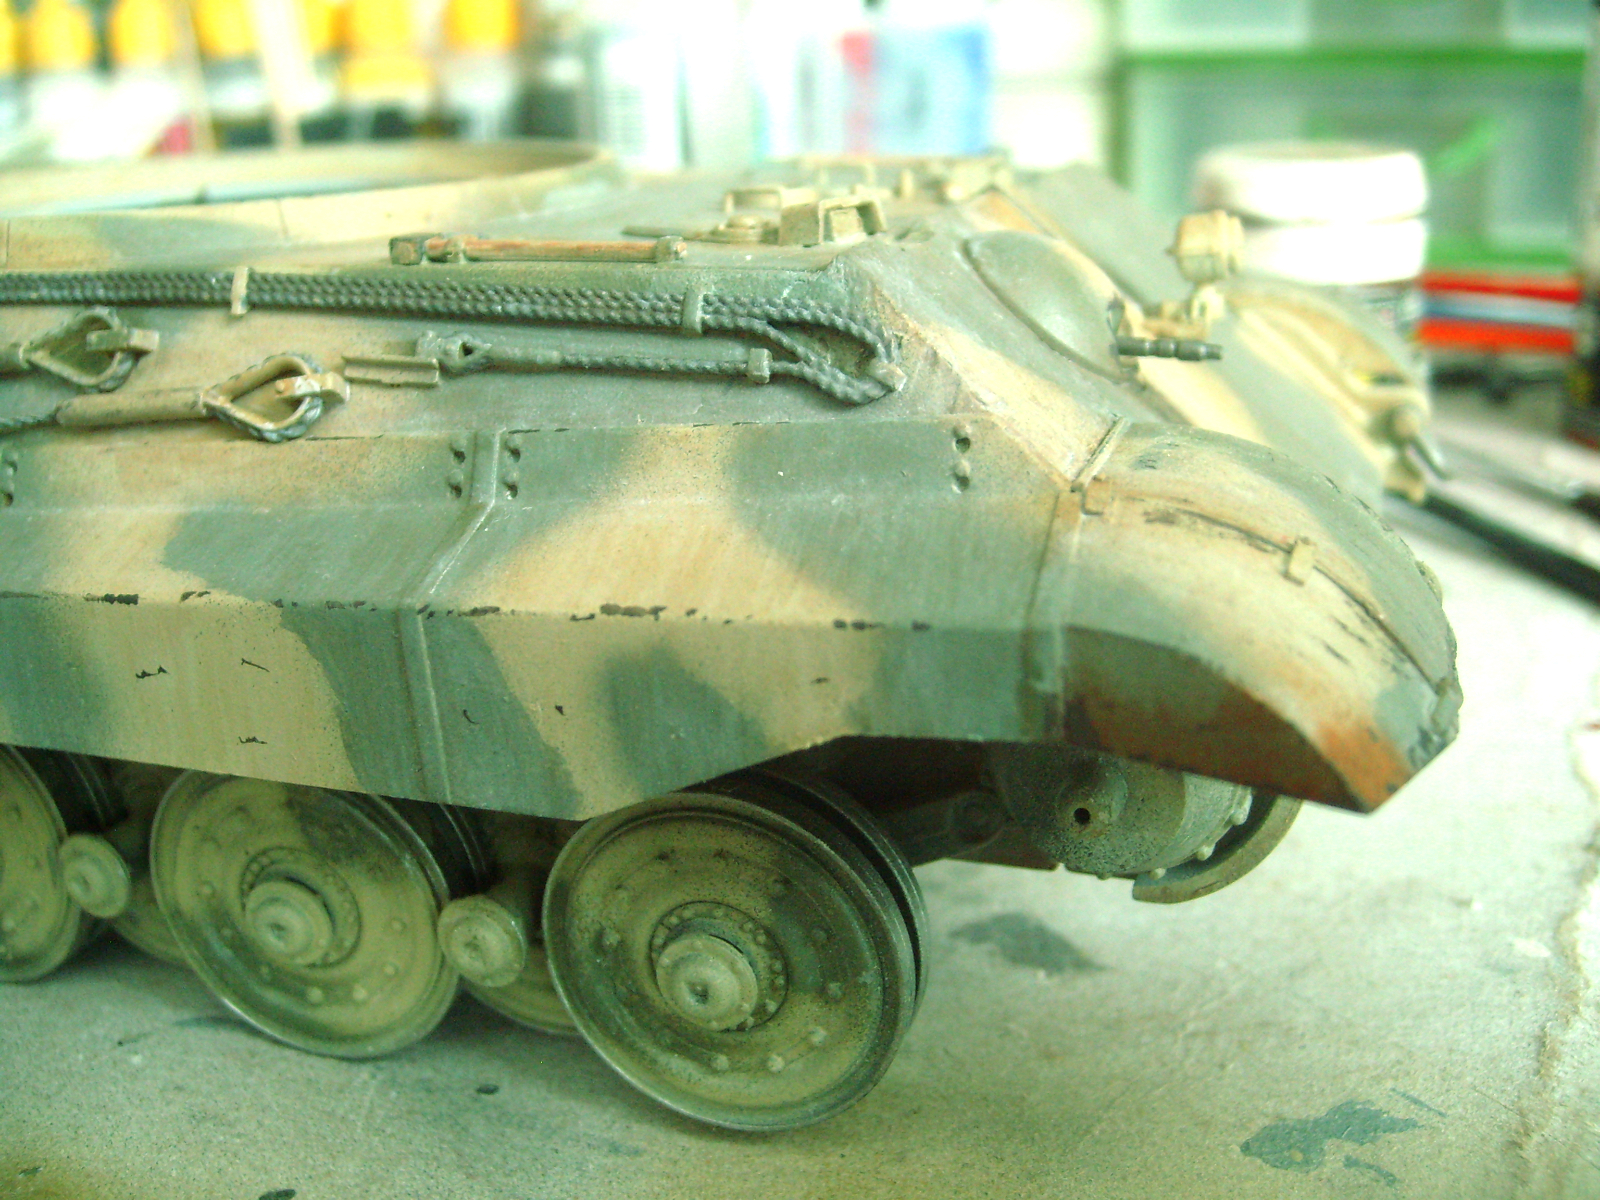
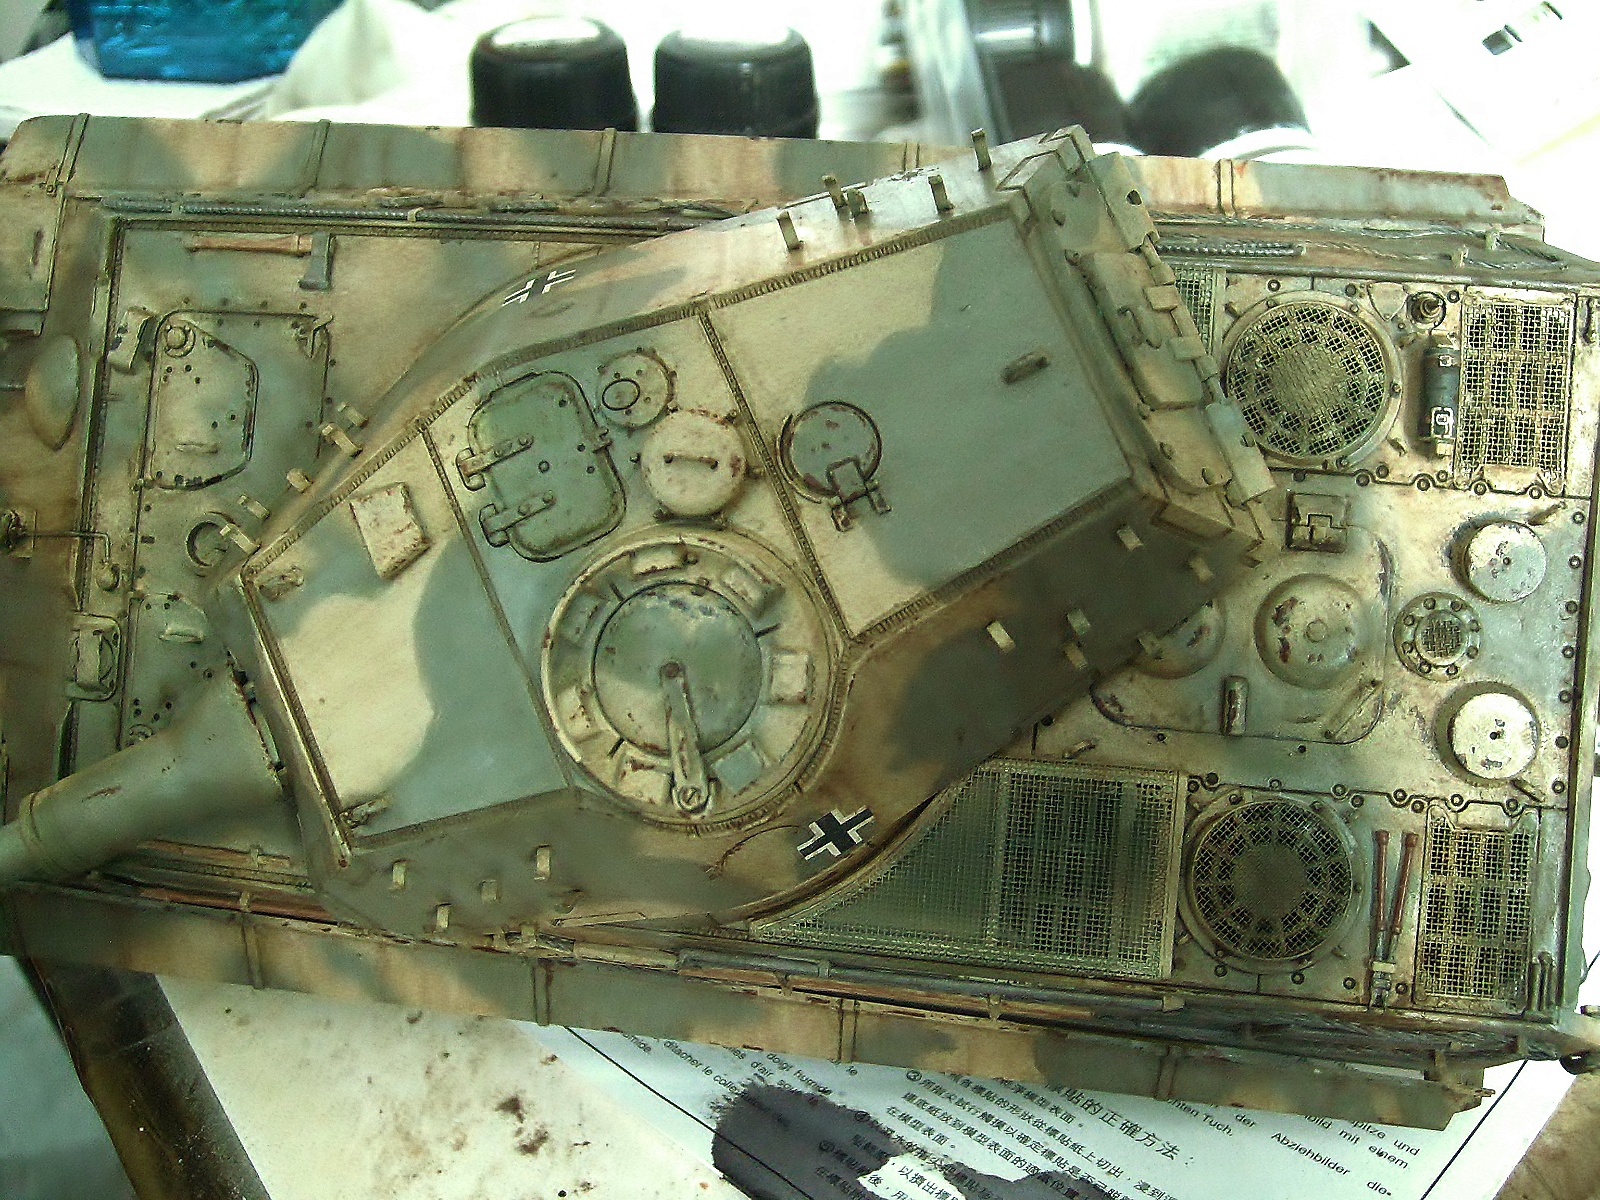
Here I used Tamiya paintings mixing XF-19 Sky-grey with XF-52 Flat-earth copying the tone Europe earth of MIG pigments; the paiting mixed was thinned with Lacquer (yellow cap). Added brown and black tamiya acrylics with a touch of MIG Europe earth on the lines.
Regards!
Rodolfo
1 Like
 Hello friends!
More updates:
I applied Filters A-MIG-1510 and some discret sratches pressing the brush to remove the paint and uncover black color that is as a previous layer. Skirts continue without glueing.
Regards!
Rodolfo
3 Likes
Great recovery, was the zimerit a option? i see it on the box art. just woundering, looks great though!
Thanks for your kind comments Joshua!. The box art refers to the famous tank Anneliese which it coming with zimmerit; this is optional without zimmerit carried to Arnhem.
More updates:
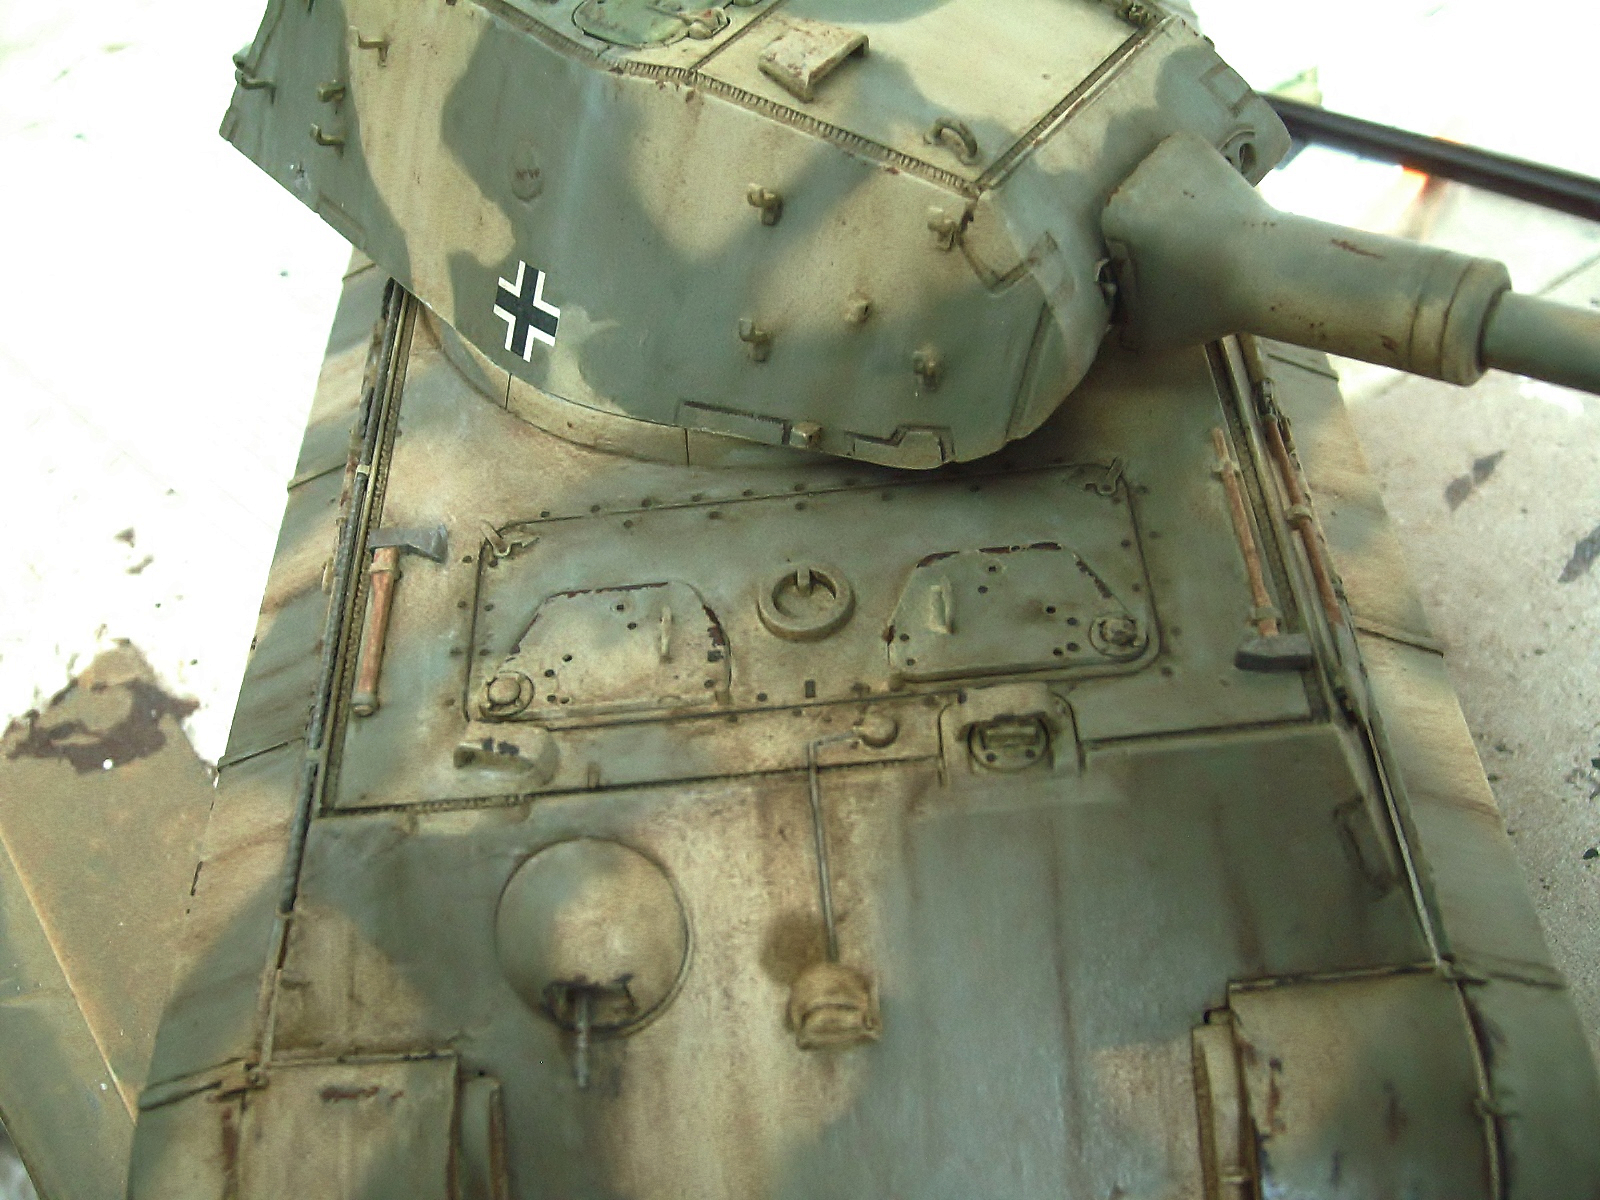
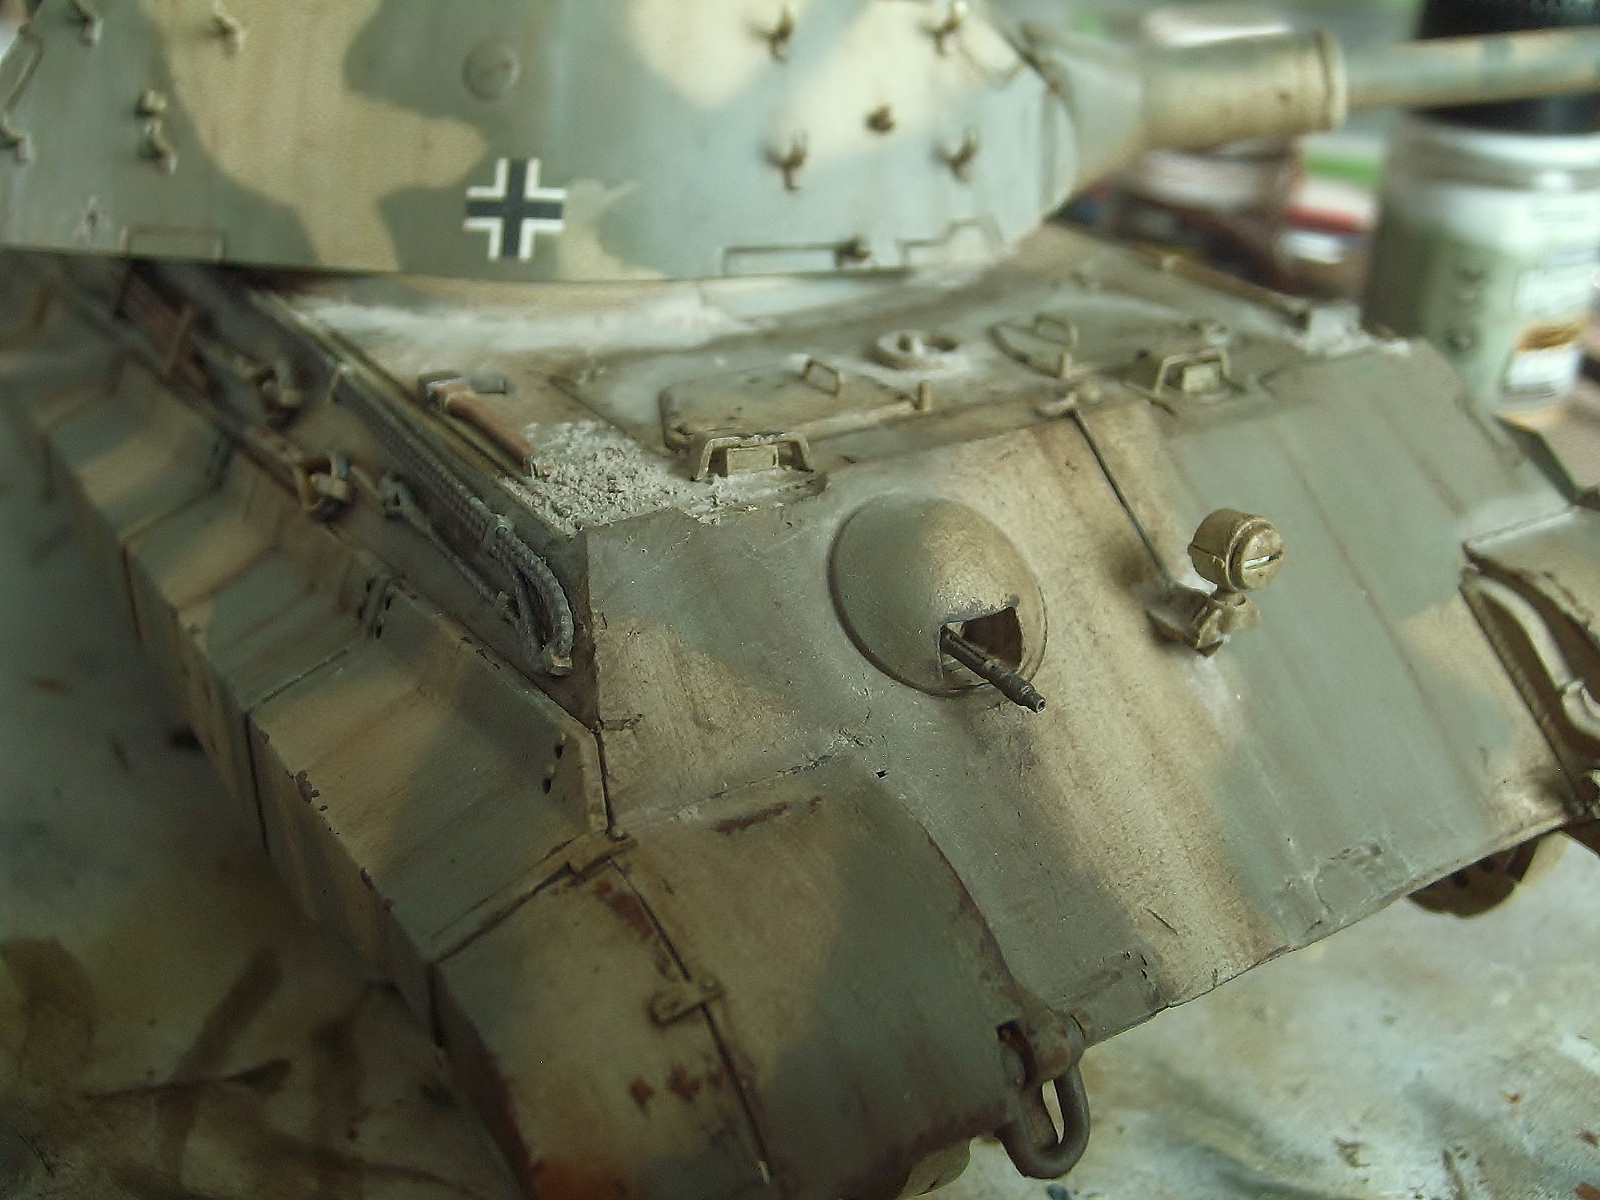
I have seen pics that white powder covering the tanks so I did it simulated with white MIG / Oilbrusher with Enamel Odourless Thinner, now i need to apply more weathering the whole tank.
Regards!
Rodolfo
1 Like
Well done Rodolfo, it is a great save. It’s looking really good. I may look at getting Porsche version as I’ve only ever done the Henschel version.
Thanks for your kind comments Johnny!, this is my first King Tiger porsche too.
More pics:
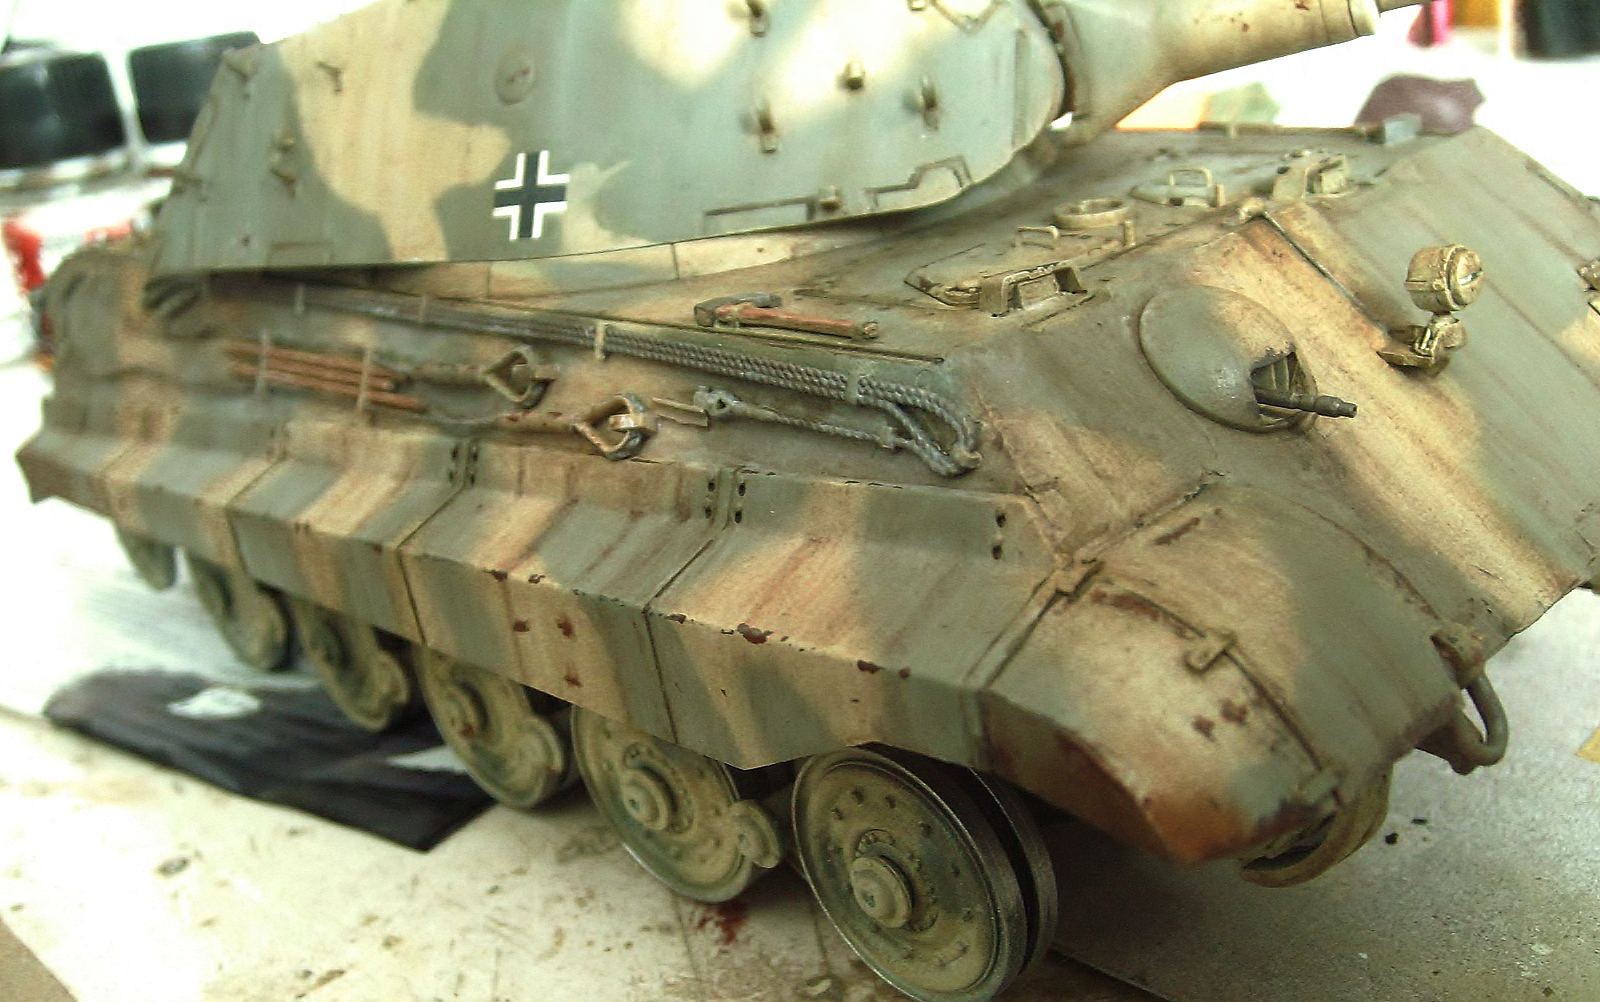
I applied small dots of Oils MIG/Oilbrusher Red tile + Black and I blend it gently by adding another point of Red tile again in order to obtain a smooth reddish. I will continue the weathering ad details.
Regards!
Rodolfo
Hello friends!
More pics:
I added some more scratches and a light weathering using Wash A.MIG-1000; I continue working more details.
Regards!
Rodolfo
Hello friends!
More pics:
I added some more scratches and a light weathering using Wash A.MIG-1000; I am continue working more details.
Regards!
Rodolfo
Rodolpho, your Tiger II is looking great so far! I just got Dragon’s Henschel turret Tiger II in today, I can’t wait to get started!
Thanks for your kind comment Justin!. In last July I finished the Turret version too!.
more pics!
I applied A.MIG-1000 general washes in all the tank, (after of the previous wash on srcrews and details was necessary to wait 12-24 hours in order to avoid removing this work with the general wash). I applied A.MIG-1203 Streaking Grime in front, rear and sides in all tank.
Regards!
Rodolfo
Hello friends!
More pics:
I refined more scratches with Vallejo Sadle brown mixed with black and over them with A.MIG-43 shadow rust.
Regards!
Rodolfo
1 Like
Very nicely done, it keeps getting better.
Very Nice Save!
Its always harder to go back and undo someone elses mistakes with a kit than just building the kit.
Thanks for your kind comments friends!
More pics:
Now I applied Oilbrush earth color and European earth MIG/Pigments with Odourless thinner. Next step, exhaust pipes.
Regards!
Rodolfo
Thanks for you kind comment Dale!
More pics!
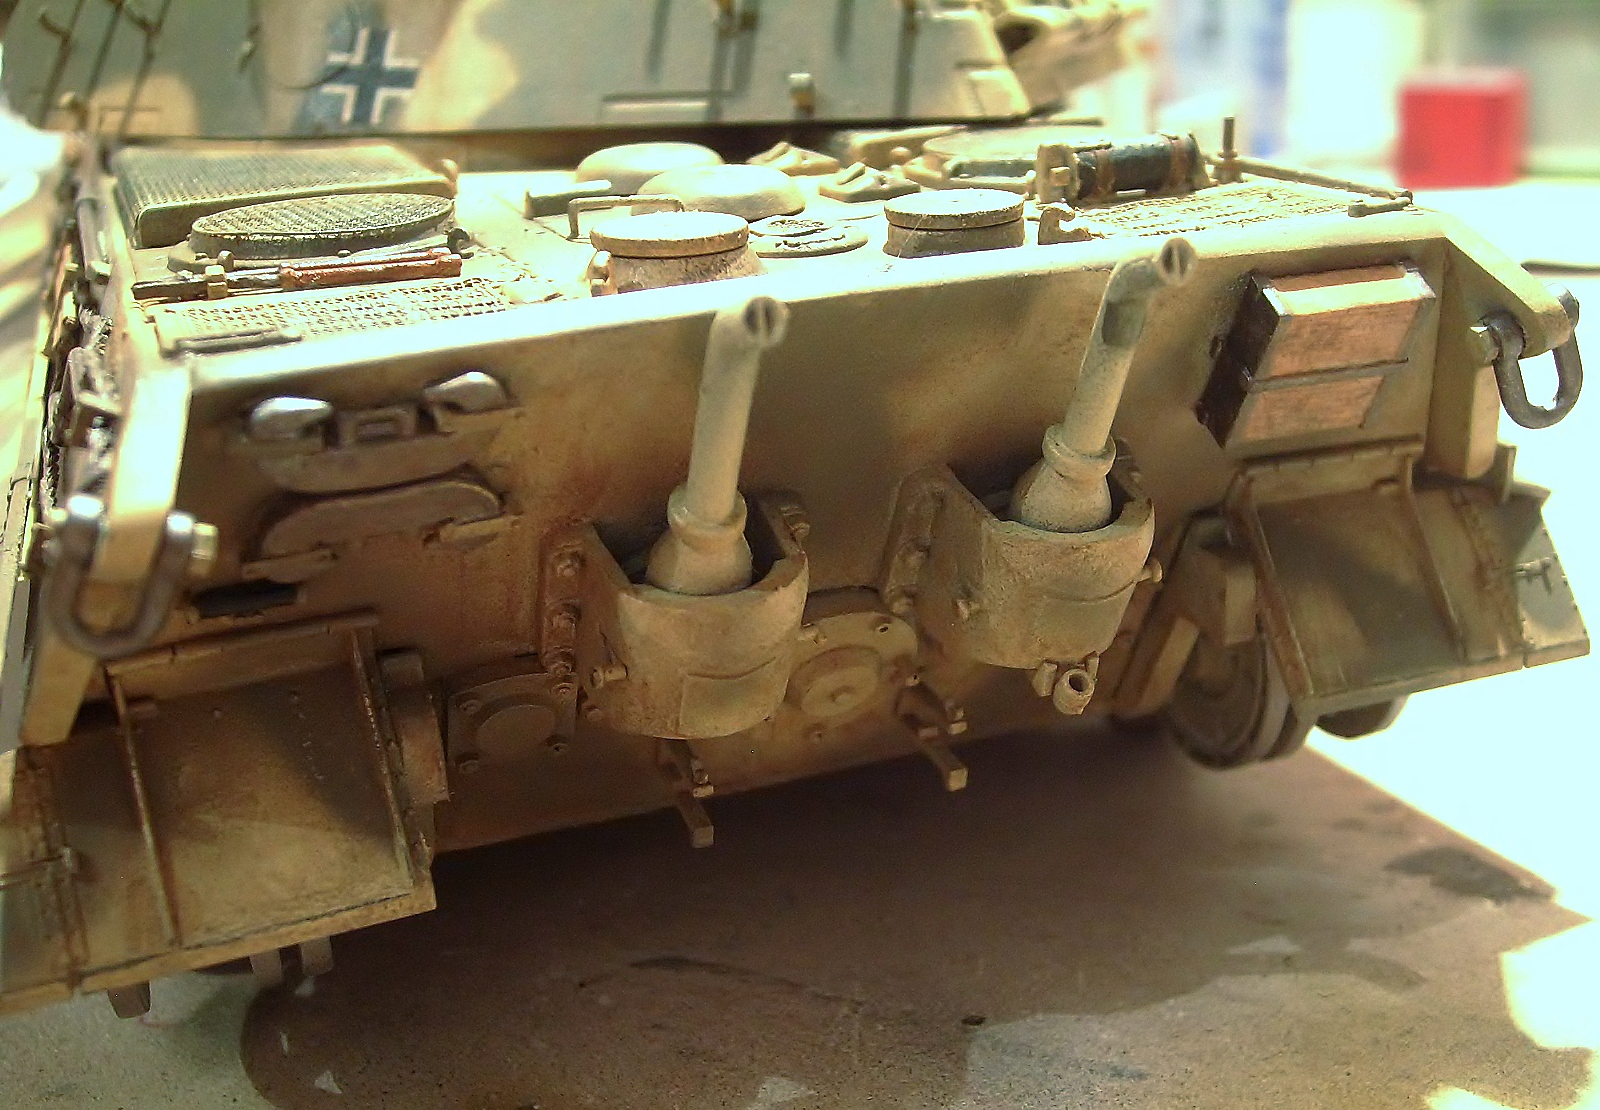
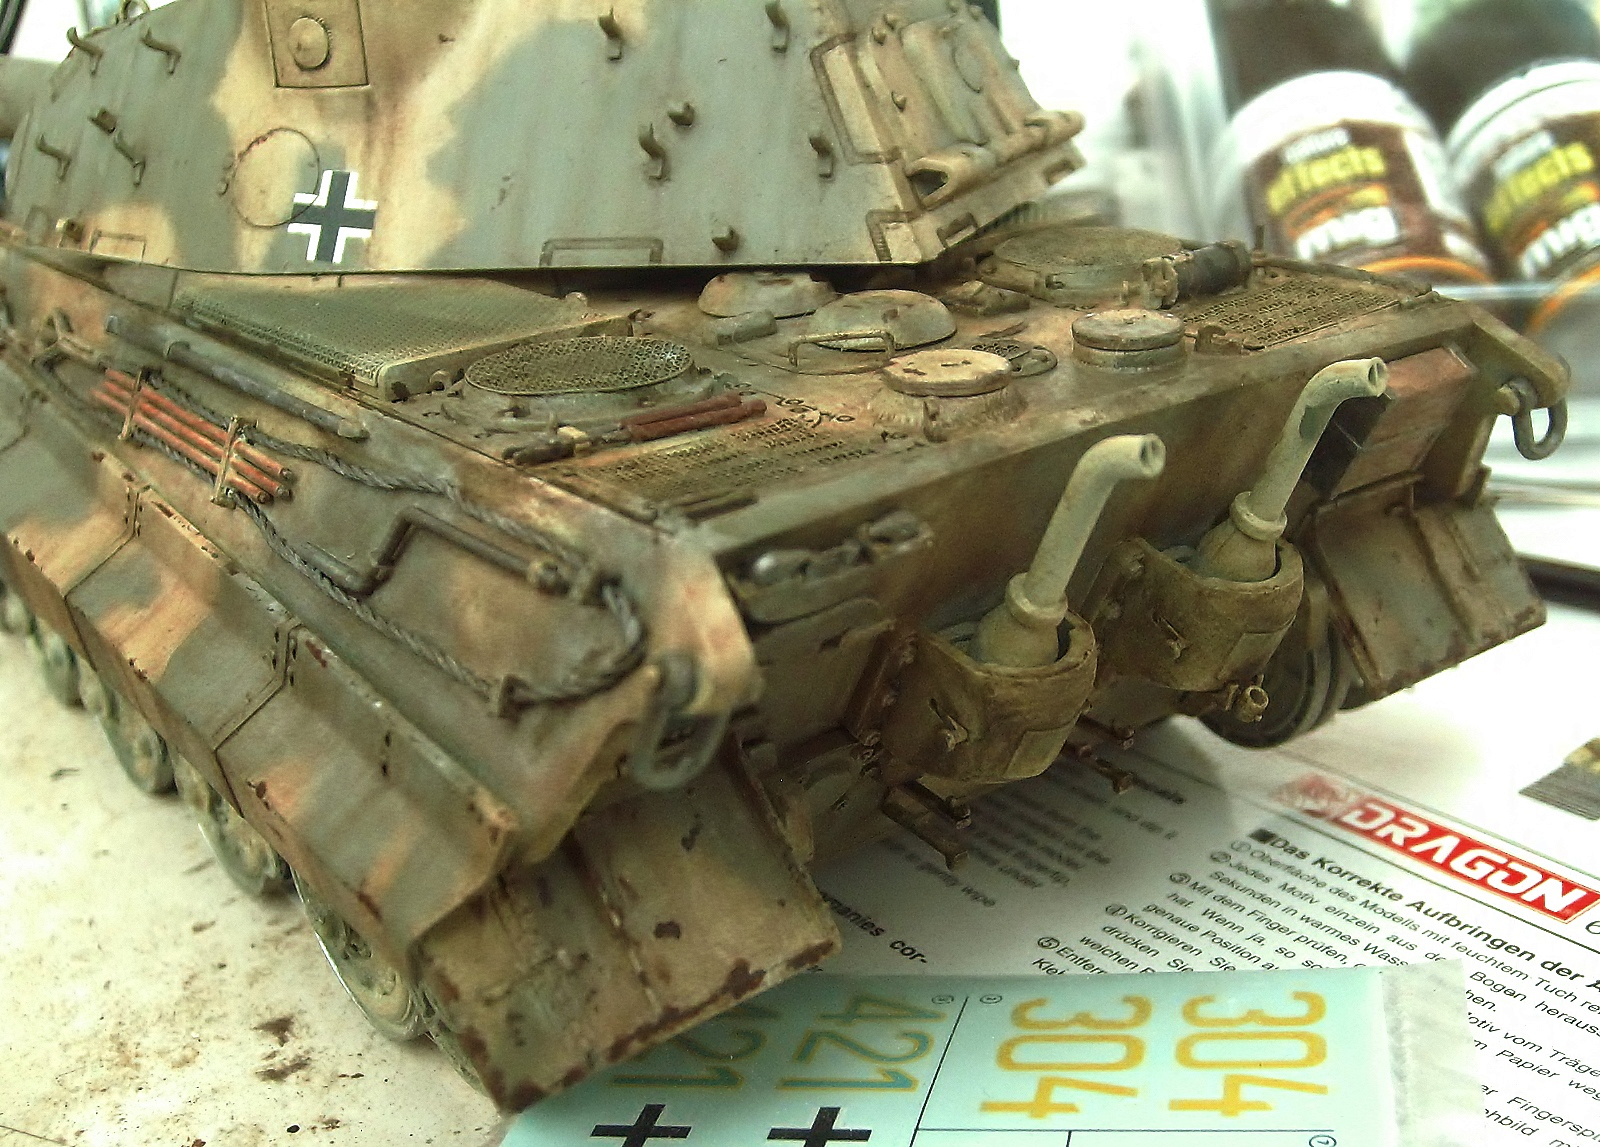
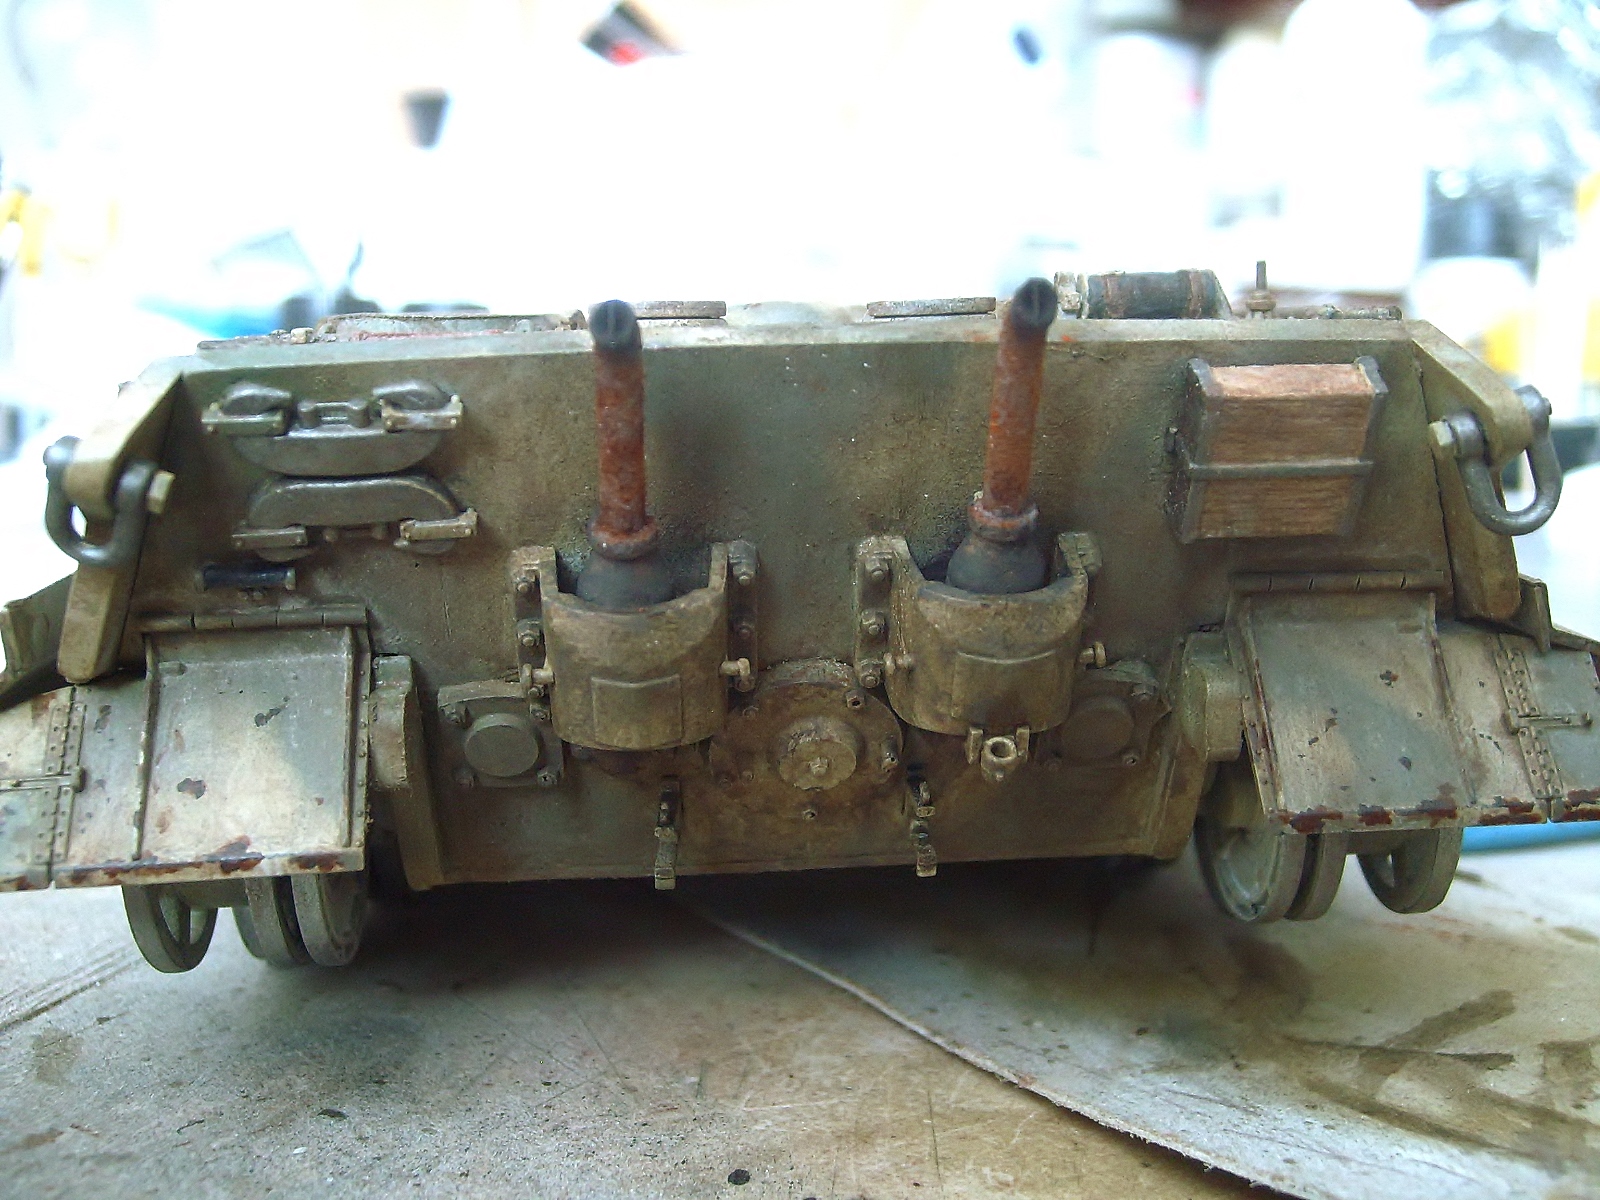
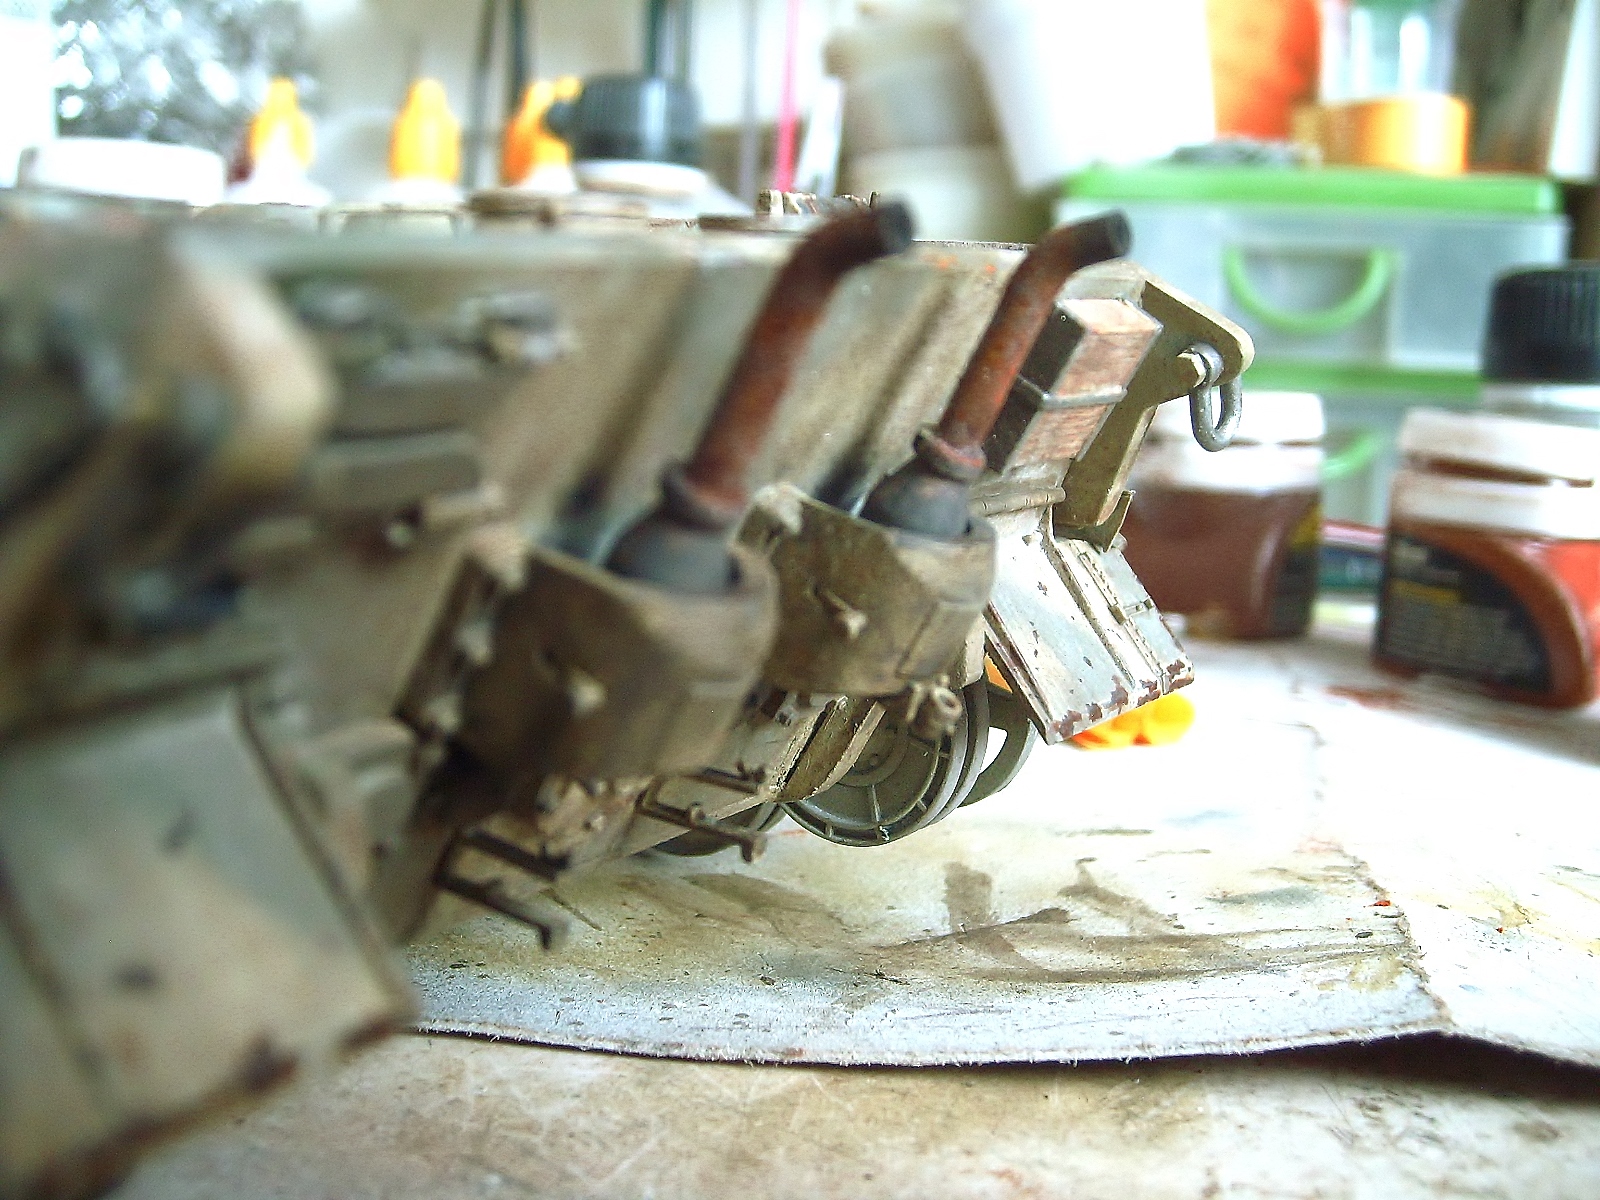
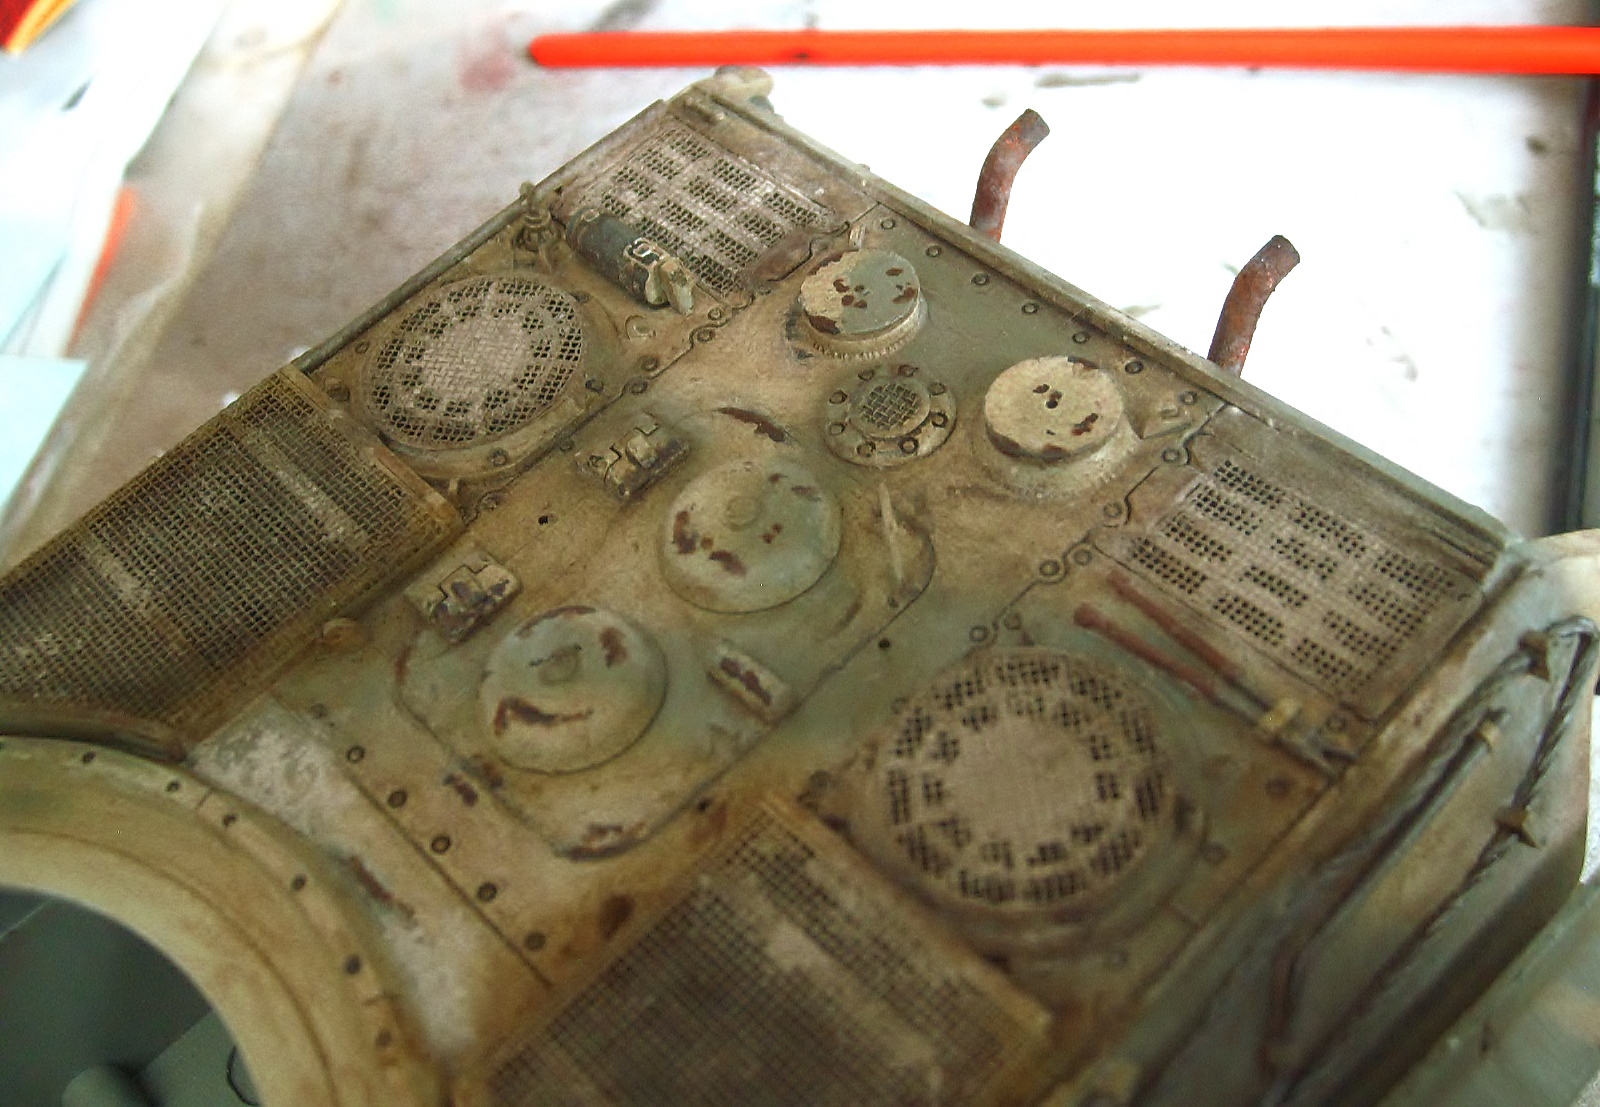
Grids and plates were retouched using brown and european earth pigments. For exhaust pipes I used black-brown (Vallejo) and small touches of pigments with white, light rust and old rust and below in the ball basis was applied black pigment + Nature effect A.MIG 1403 Earth.
Regards!
Rodolfo