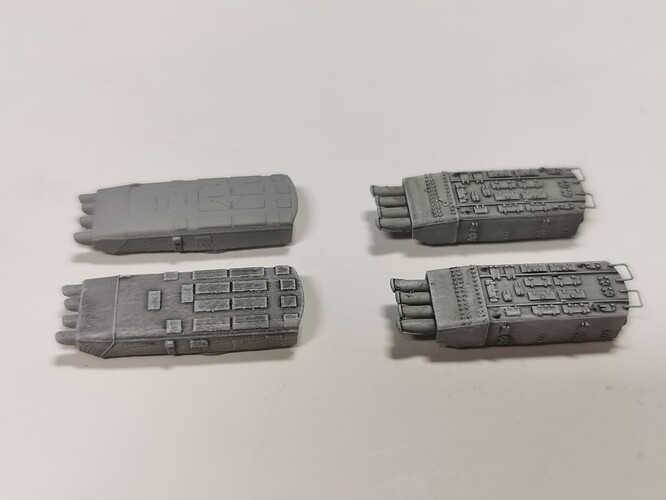
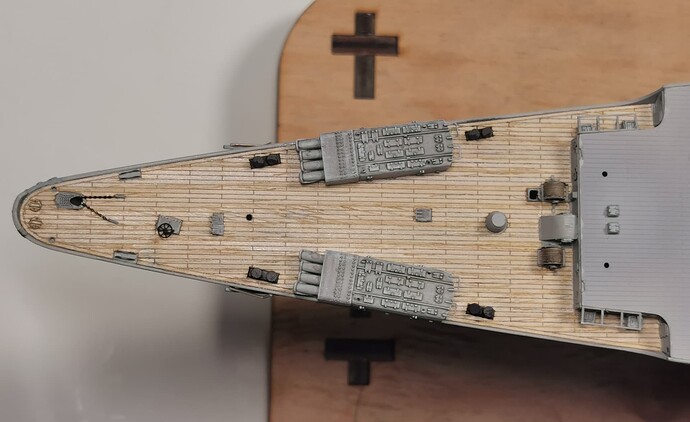
Sometimes it is superfluous to buy specific upgrades: Here you see the kit´s armored torpedo launchers painted and highlighted against the 3d printed ones by shapeways. Maybe the surface look is more “even” with shapeways parts but I definetely like more the more pronounced kit ones. Here you can judge yourself which one you would better like; I have just primed one and painted and highlighted the other one against the ones provided within the kit ![]()
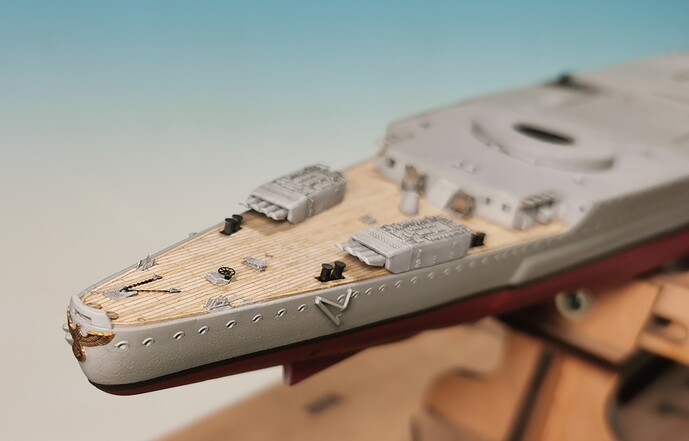
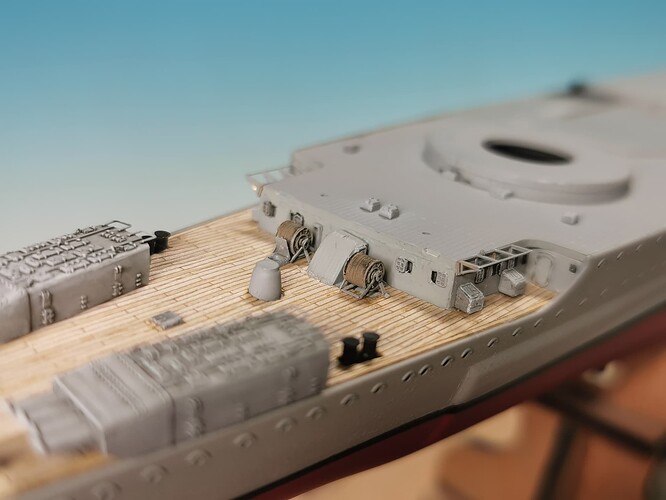
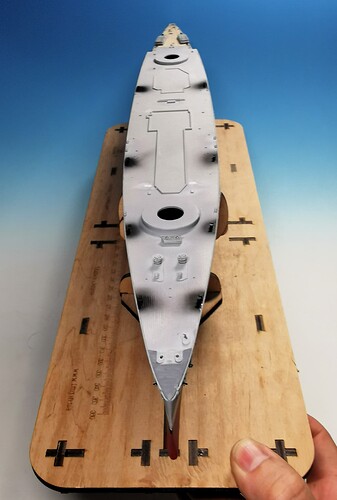
I finished the ship´s quarterdeck today exept of the stairs to the upper rear deck and the railings which will be attached only at the very end of this build in order not to damage them during the build phase
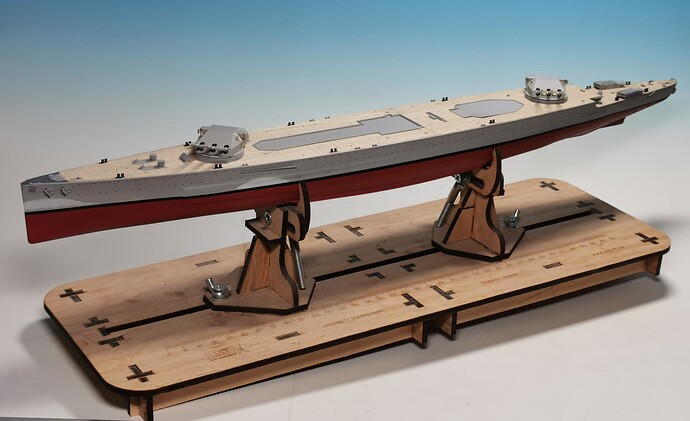
And as a last action today I did glue on the remaining plastic decks unto the ship´s hull
Now up to a beer from the ship´s caboose! Cheers ![]()
![]()
Excellent progress Thomas. torpedo tubes look great along with all the other details and decking ![]()
Thomas, I agree with you about the kit torpedo launchers - with your upgrades they definitely look better than the Shapeways parts. And the wood deck really sets them off.
The bronze eagle on the stern looks good too… did you see that the Uruguayans recently recovered it?
https://www.washingtonpost.com/world/2023/06/29/graf-spee-nazi-eagle-uruguay/
Tim, yes I did read about the recovered eagle and that it was displayed for some time in a hotel foyer there ![]()
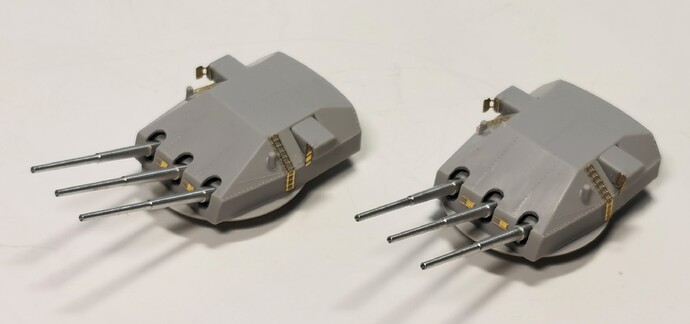
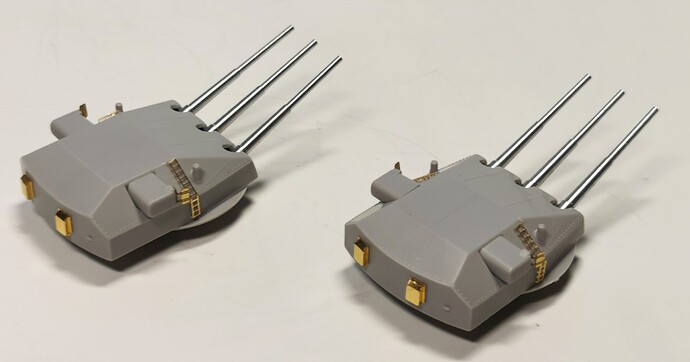
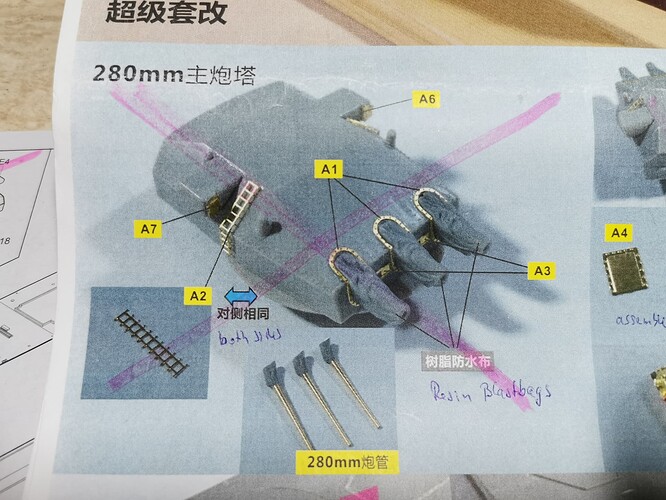
Finished building both 28 cm triple gun main turrets. The etched parts are a mixture of Very Fire and Eduard. The barrels come from Aber
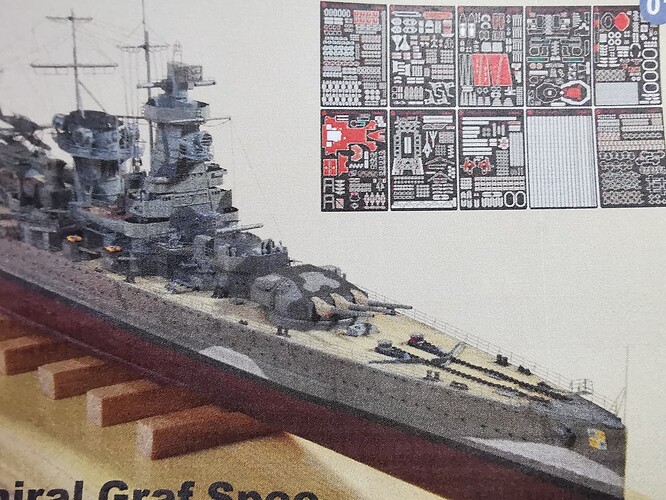
Very Fire advices you to install their included resin blast bags which really look intriguing but until now I never found one picture of the Graf Spee with blast bags attached. Sometimes it is adviseable not to blind trust the model companies. Maybe the sister ships Lützow and/or Admiral Scheer did have blast bags ![]()
Back at the workbench again ![]()
Fantastic work on the turrets, they look great.
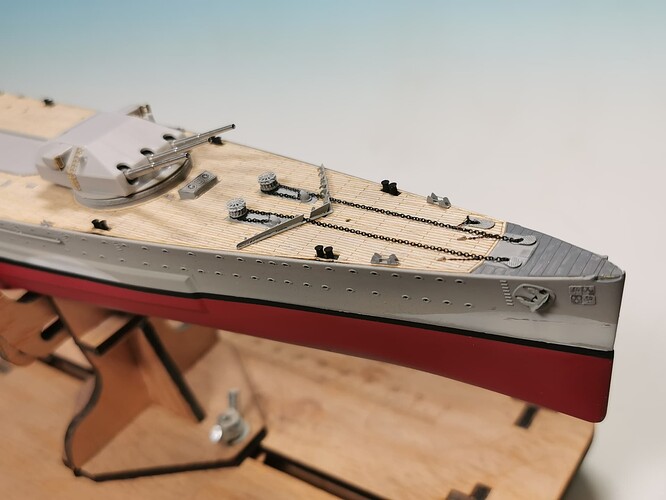
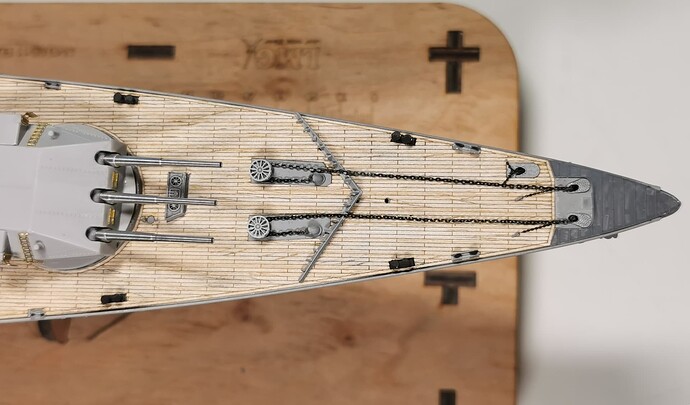
Finished the bow deck with the breakwater and the anchor chains and its stoppers today. Just one 20 mm FlaK AA gun is missing there
Following with interest, Thomas ![]()
Looking GOOD, Thomas - and fast work, too!
Thank you to all watchers and commentators ![]()
![]()
@Tim: Yes I am fast at this moment because I enjoy my last free holidays until Monday morning work will embrace me again and slow down production time…
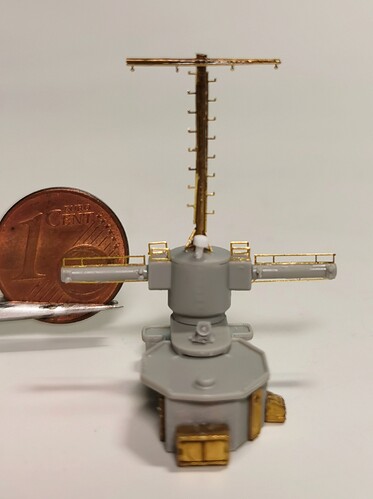
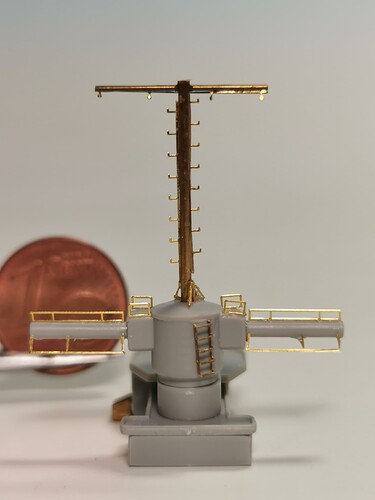
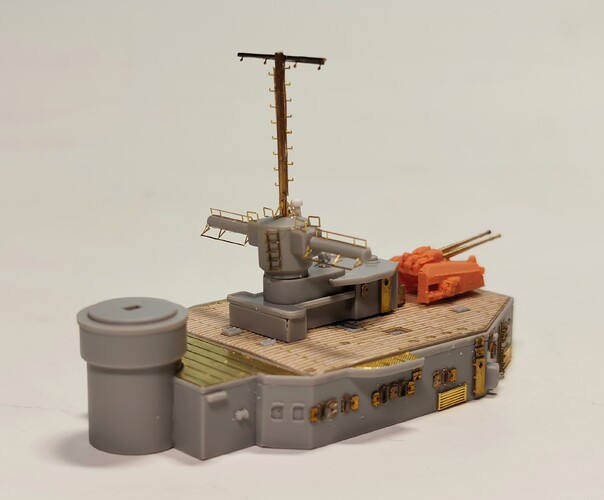
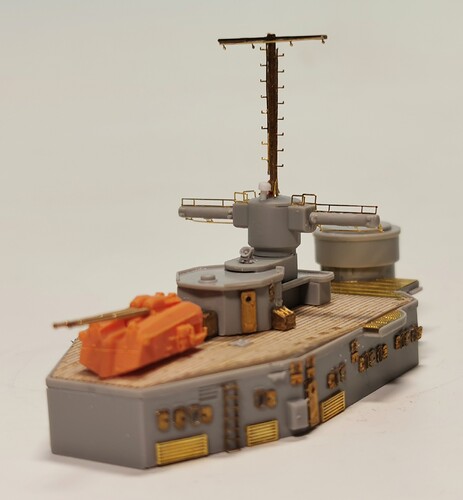
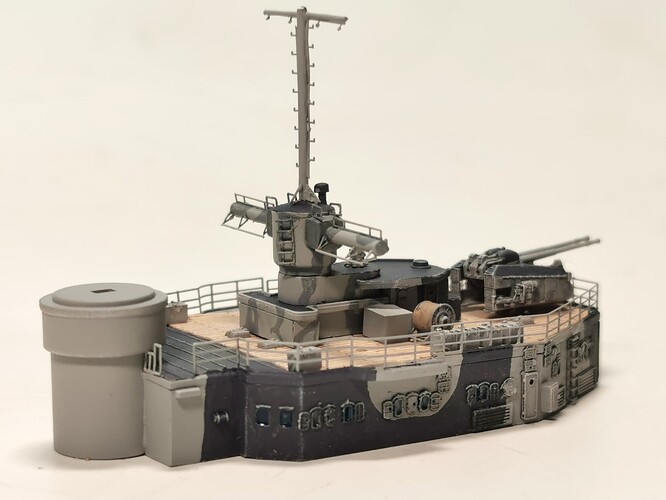
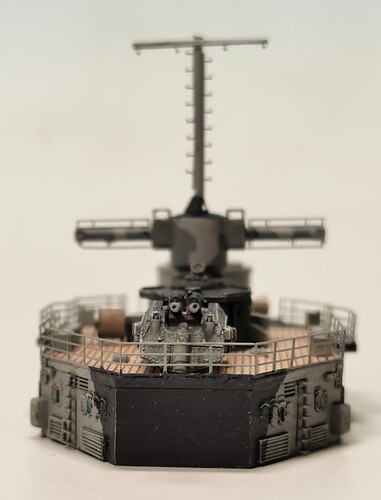
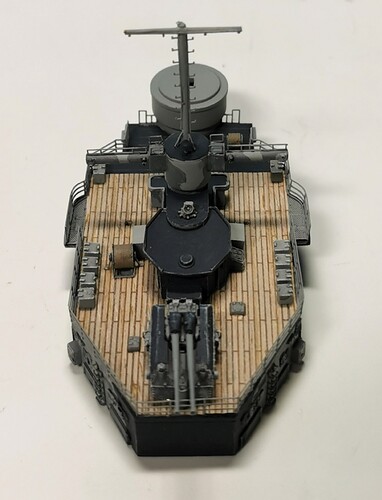
Last update for today: I started the rearmost superstructure compartment and the aft fire control post with its small conning tower with 10.5 mtr. rangefinder dome and small antenna mast on top.
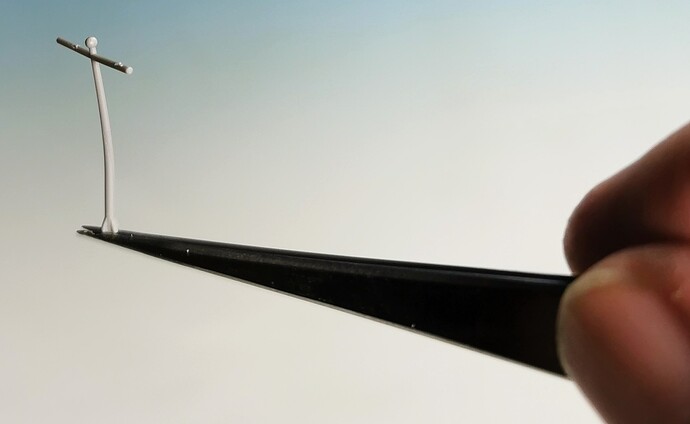
The kit´s small antenna mast came dented with the sprue and looked too weak to me for keeping strait with the riggings after.
I therefore made my own antenna mast out of 1,0 mm and 0,5 mm brass rod. I removed the kit´s plastic target giver and removed it with a resin one from Veteran, looks better. The etched parts are a mishmash of Eduard and Very Fire parts. Very delicate… ![]()
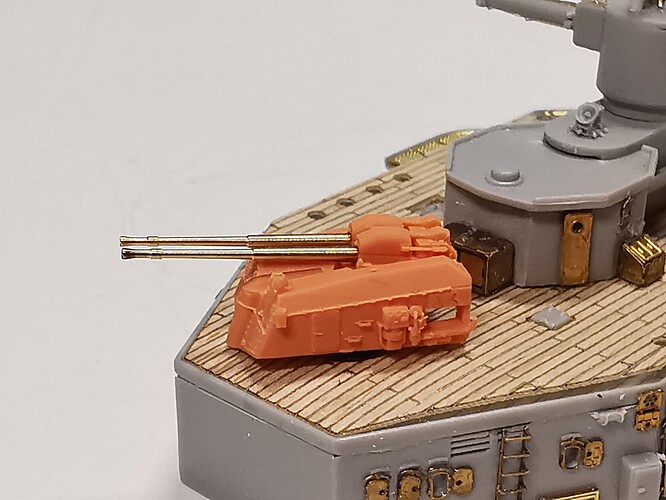
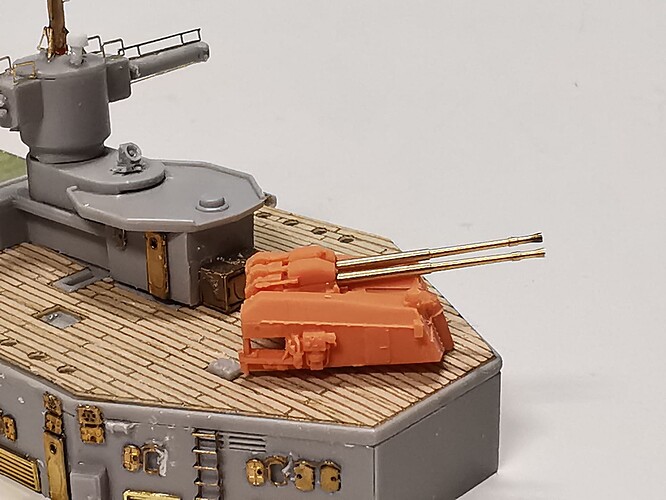
Together dryfitted with the rear superstructure and the rearmost 10.5 cm dual gun from WULA (barrels from Aber).
That 3d printed 10.5 cm L/56 C 33 guns from WULA look terrific and are very detailed, I like their stuff a lot
Thats it for today folks ![]()
![]()
One word: WOW!!
This build is phenomenal, can’t wait to see where it goes! The attention to detail and the patience to deal with that photo etch is amazing. Keep it up!
That part of the superstructure looks fantastic Thomas… the new brass mast is a winner. Top work
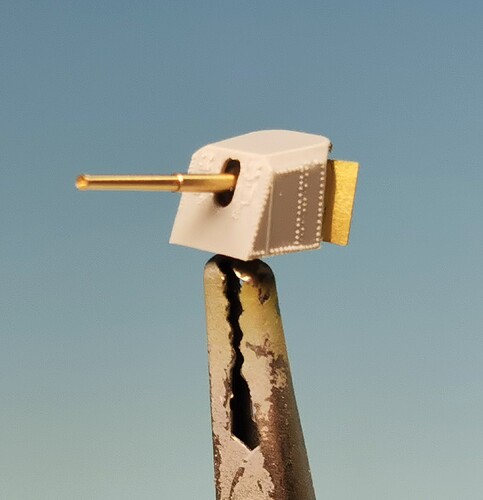
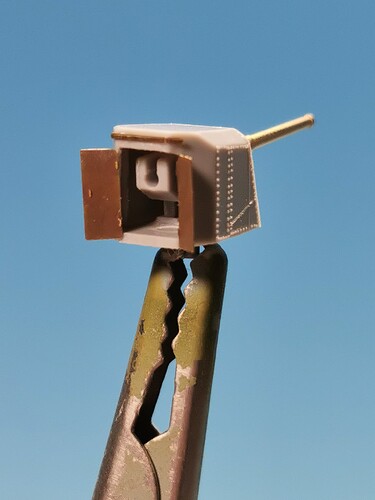
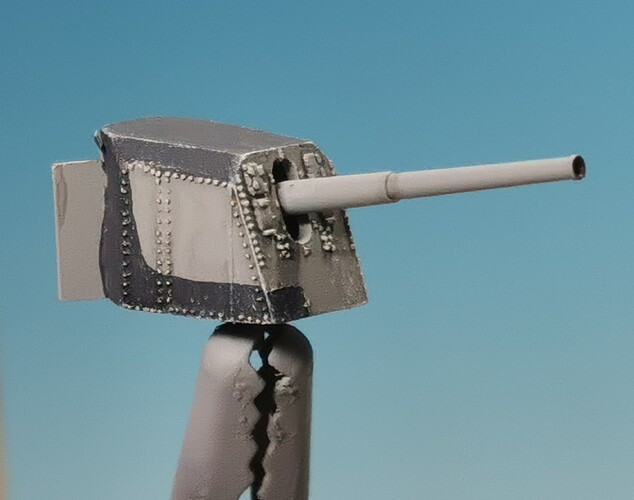
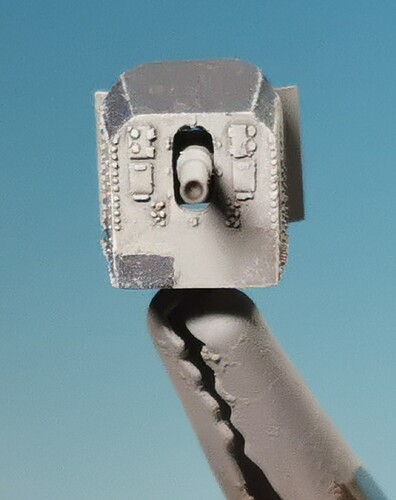
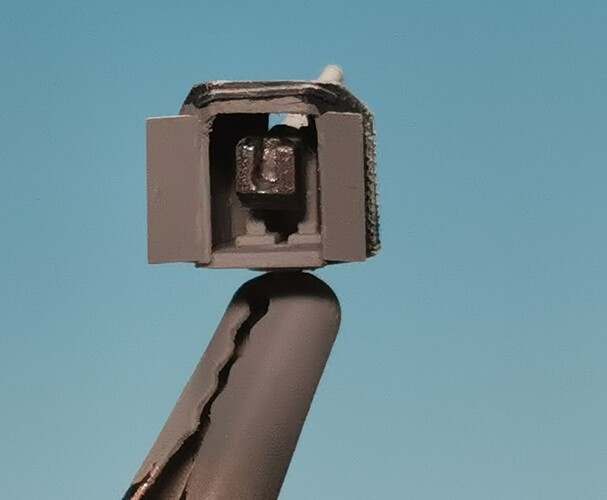
Tackled all eight secondary 15 cm quick firing guns. Trumpeter did just show the rear superstructure doors partly; I sawed them off and replaced them with Eduard´s etched doors all open. The tiny rainguards are also from Eduard. Turned barrels are from Aber. The riveting of the turrets look too stark at some areas; therefore I carefully sanded them down a bit and they do look more realistic now
Some first railings were also bended and applied to the rear superstructure. All needed cable reels were prepared and now there is a lot of stuff waiting to get its first shot of primer
Off for lunch - a tasty greek Moussaka and Retsina whine is waiting now for me ![]()
![]()
![]()
Great job on the secondary gunhouses, especially the rivets. Until I read your comments, it was not at all evident that you had reduced them, so good work!
Thomas,
great work, and really interesting to see how the aftermarket “opportunities” evolved over time - the Graf Spee was my very first 1/350 scale kit, first kit that I used PE (the Eduard set) and brass barrels. That was around 2010 (I think).
You are doing a fantastic job as always, and it great fun following your build log!
And, some posts above - you’re spot on to omit the blast bags, I’ve seen pictures of Deutschland/Lützow and Scheer with blast bags, but never of Graf Spee. Some pictures even of the scuttled ship clearly show the main guns without blast bags, so she didn’t even have them during her final battle.
Cheers
Jan
Hey Jan thank you for the flowers and thank you for the confirmation that Graf Spee really didn´t had blastbags - done everything right then ![]()
How about a picture of your Graf Spee? Would be interested how yours are looking! Actually the Graf Spee was the first kit where I bought an extensive extra upgrade set for. I am glad I just build it now with more experience and not then as this one is really demanding and the instructions are really confusing and tend to ommit quite some parts. Have really seen much better instructions than this one…
Today I am able to show quite some pictures of my progress of this week´s evenly work in the hobby cellar ![]() :
:
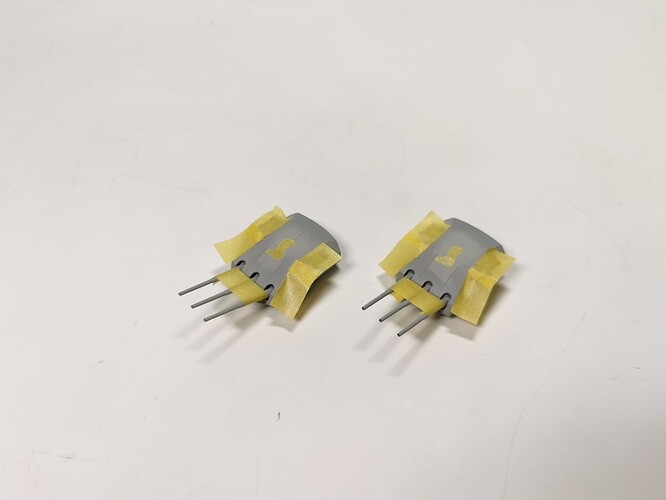
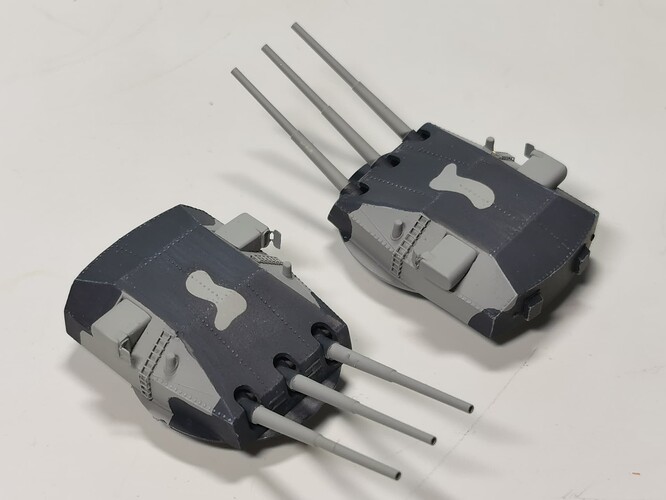
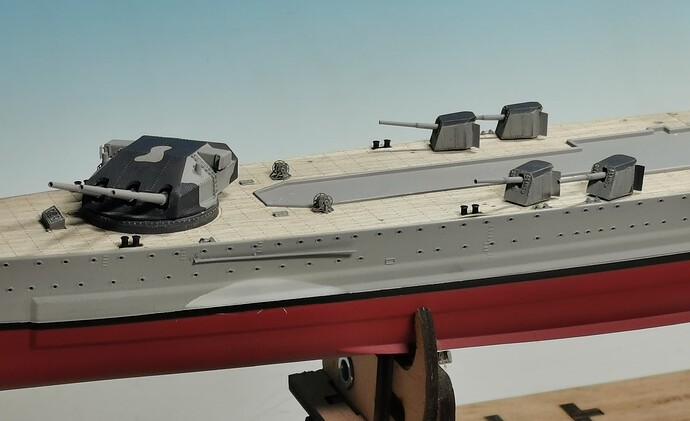
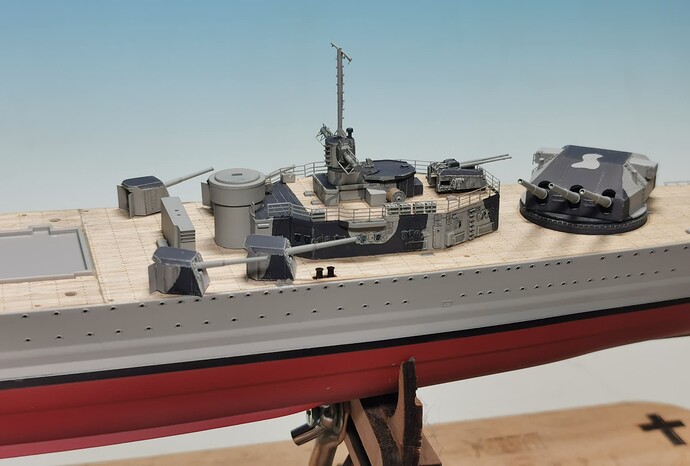
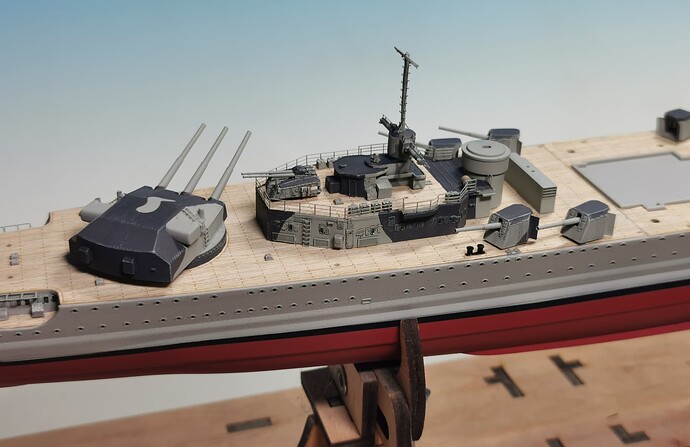
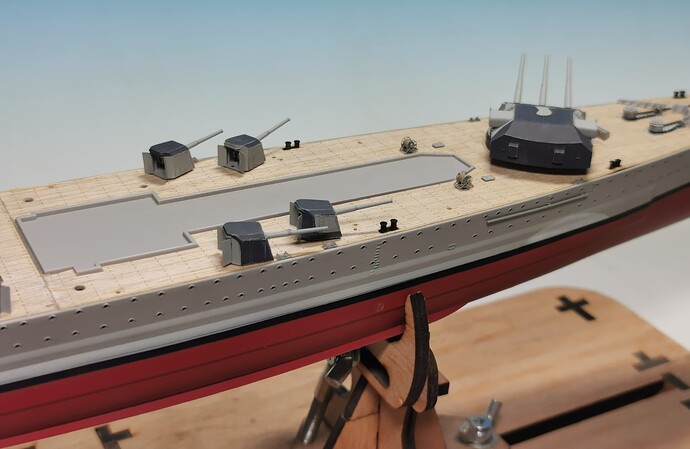
I finished painting all the camouflage at the main and secondary guns. For the main guns I decided to mask and spraypaint the dark grey color around the upper spot of light grey at the triple main gun turrets. This way the color etches look more cleaner than with the brush. After painting I gave a thin wash with black glaze and, after all was dry a subtle light grey drypainting. So far I am quite satisfied
The rivets of the secondary guns came out quite well with this method and these surfaces look very promising to me.
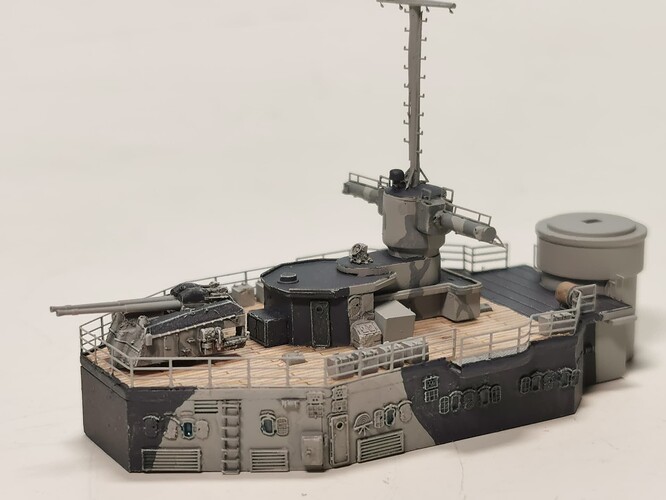
After this was done I also treated the rearmost superstructure the same way. The windows were painted inside with vallejo 309 periscope blue and after this “closed” with Kristal Klear. The dark grey stripes are very subtle and therefore demanding to paint with a small brush but it looks good to me
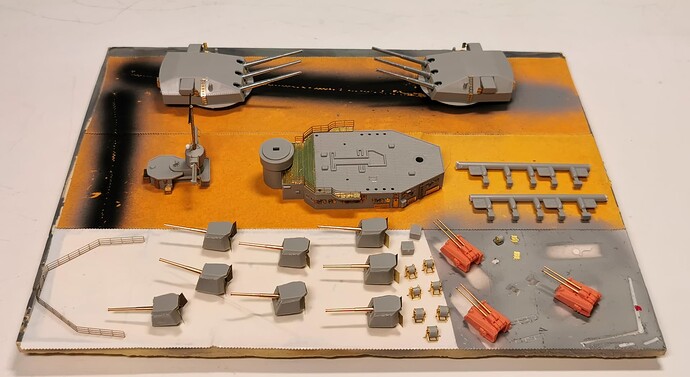
Rear superstructure, main and secondary turrets, some more deck hatches and cable reels ready installed at the ship´s deck. The secondary guns are not glued - I will have a look if they are in stowage or fighting position later…
Thats it for tonight - Es geht weiter! ![]()
![]()
![]()
Will do!
Have to get her out of the corner from her shelf and take some pictures, should get that done during the weekend! ![]()
