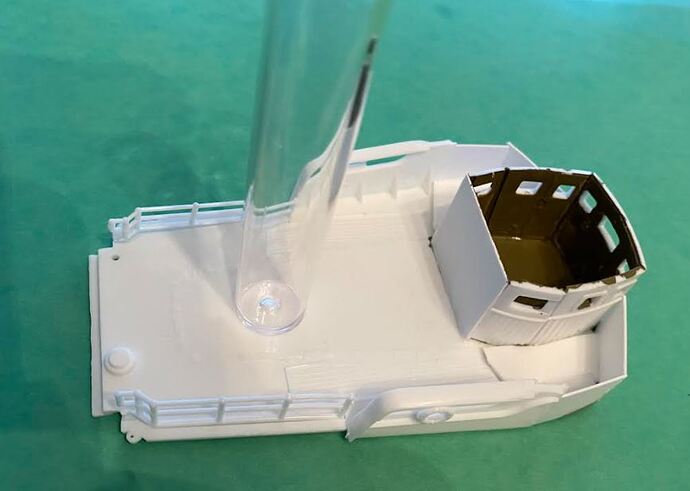
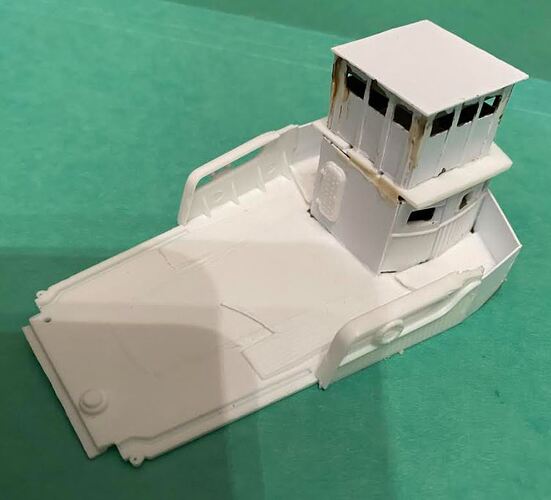
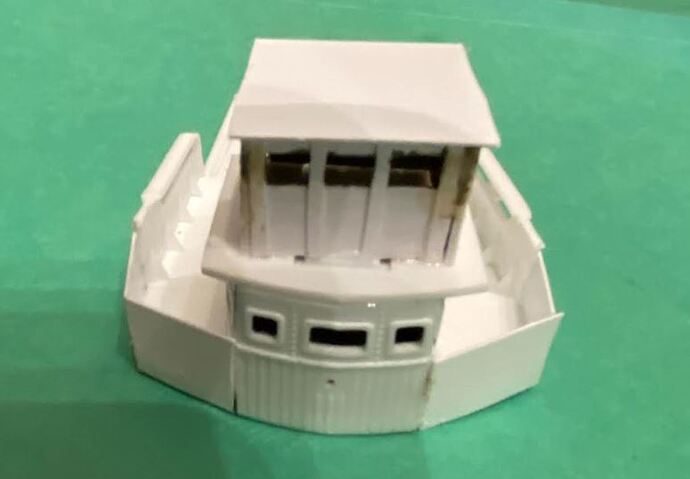
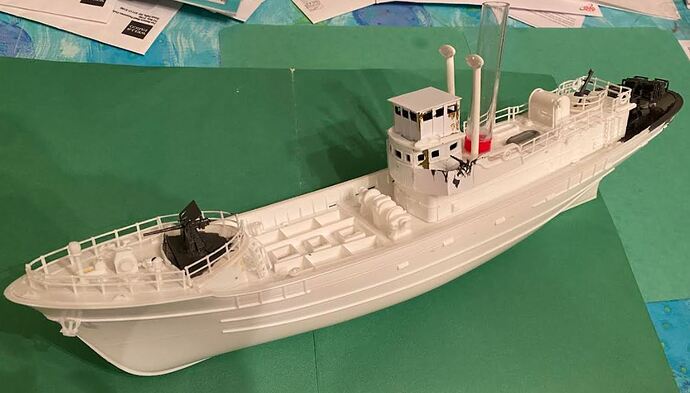
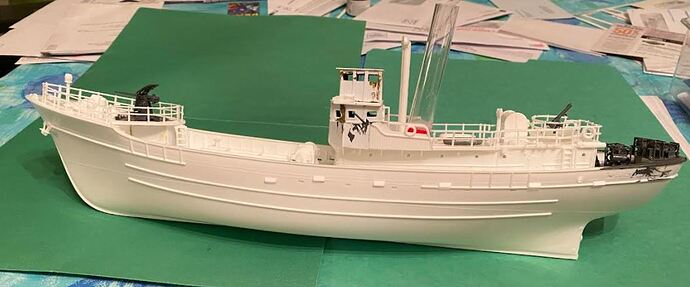
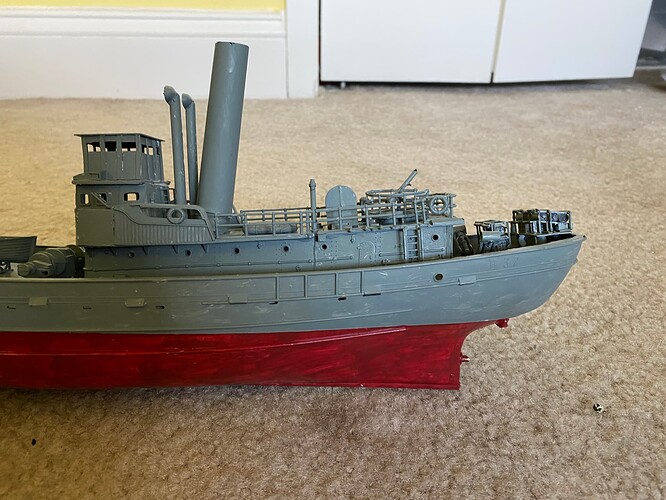
Bridge wings complete, with a step up from the scrap sections of roof (to give the Lewis guns a better field). The tube solder came in will be the new funnel/
The compass house installed, completing the major alterations. Now to install the bits and pieces and mechanicals.
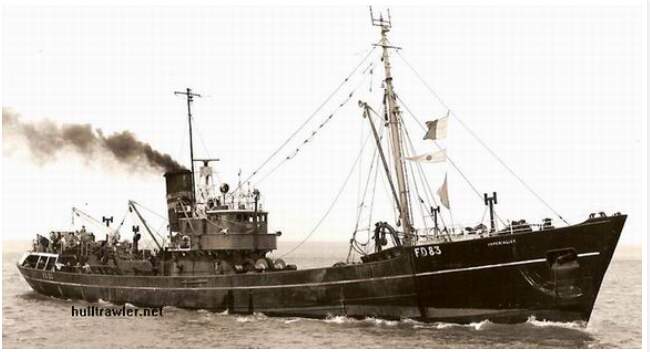
Here is HMT Imperialist during the war and after the war, showing I’m on the right track with my changes. ![]()
During war with low stern and depth charges and a compass house. The conversion was eventually more extensive, with an open upper bridge around the compass house, 20mm tubs at the lower bridge, 4" gun and 40mm and a radar shack bolted into the well deck.
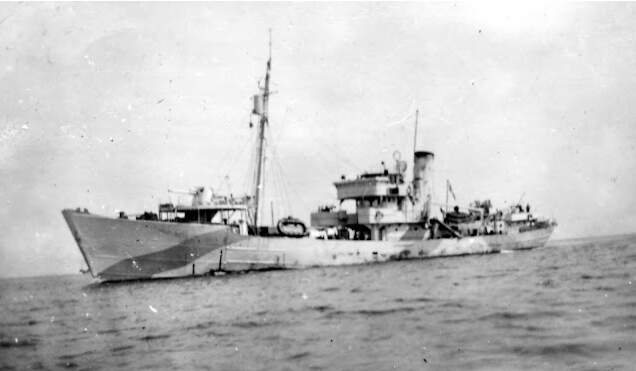
Here is Imperialist after the war with upper bridgework gone and the same raised stern as on the Lindberg kit.
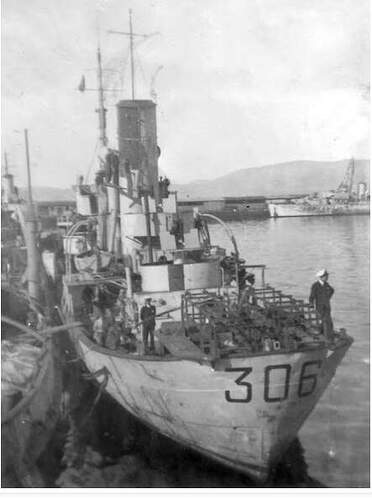
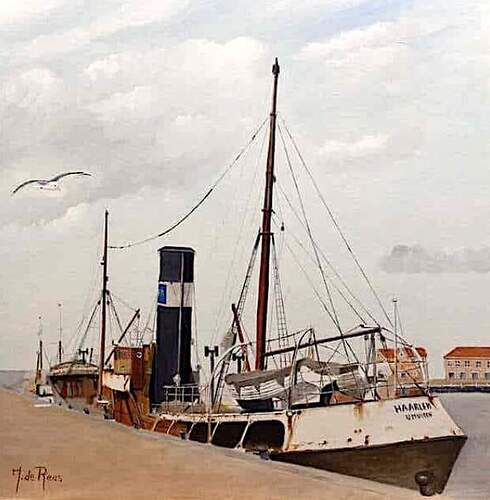
From the same site, Anti-Submarine Trawlers in WW2: HMT Haarlem FY306
here is the stern of HMT Haarlem showing depth charge racks raised to clear the rail and surrounded by an access platform and then postwar with the raised stern. The site also has much detail about life on wartime trawlers.
Really enjoying this build Danie, looking forward to seeing how this pans out, ![]()
![]() .
.
I found this on ebay, not sure if it’s of interest, but might save you some scratch building, ![]() .
.
G, ![]()
Thanks for the pointer. It’s about 1/5 too big and the vendor’s usual shipping area doesn’t include the US.
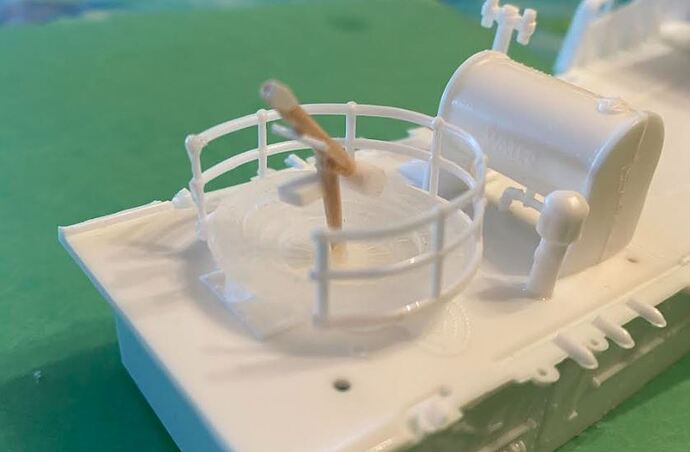
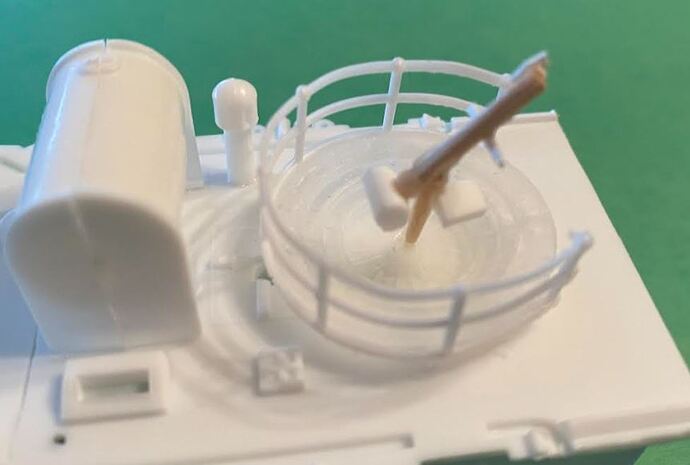
But fortunately I was just finishing my Holman Projector. A bit clunky, but still potato-worthy:
Great little ships, often with amazing history!
Being a quiet and unreliable sailor for real life issues vs. hobby life lately, count me in at least as watching and following with high interest!
Cheers
Jan
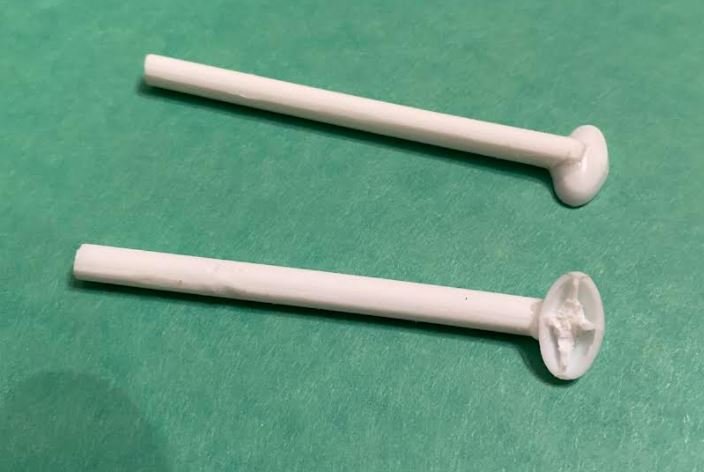
The stubby mushroom vents plus sprue make workable tall cowl vents more typical of 1940s steam trawlers. Not wanting to main myself or amputate any fingers, I clipped out what I could of the mushroom stems and left the rest to be hidden with black paint.
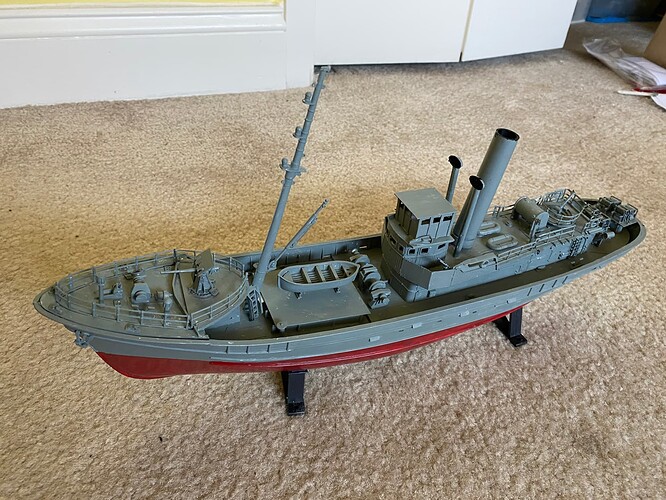
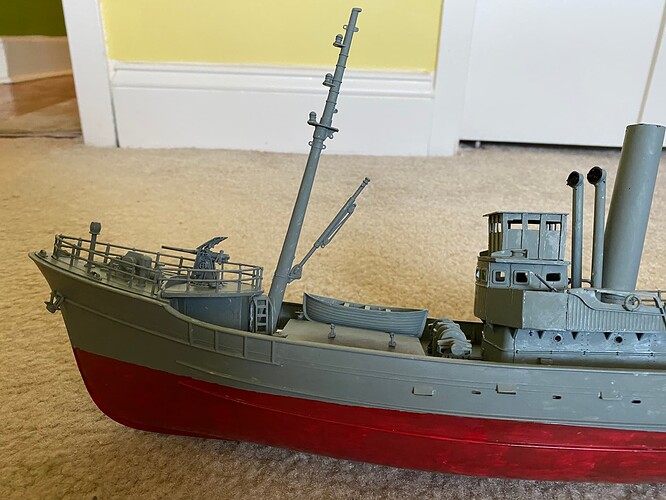
Everything is put together (except the mast, which has glue setting on the boom) and the first coat of acrylic is brushed onto the 3d resin parts before spraying the entire trawler.
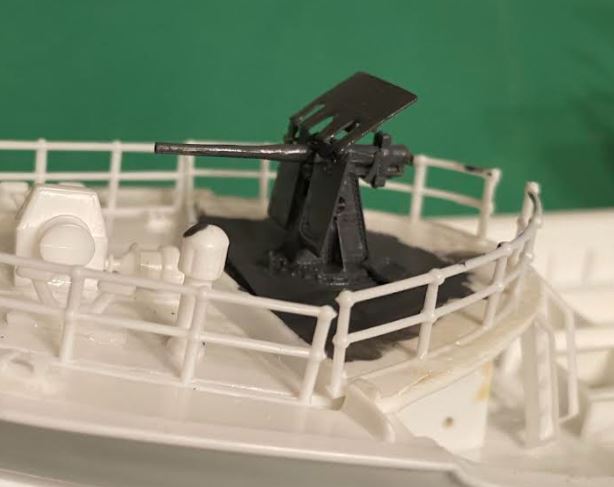
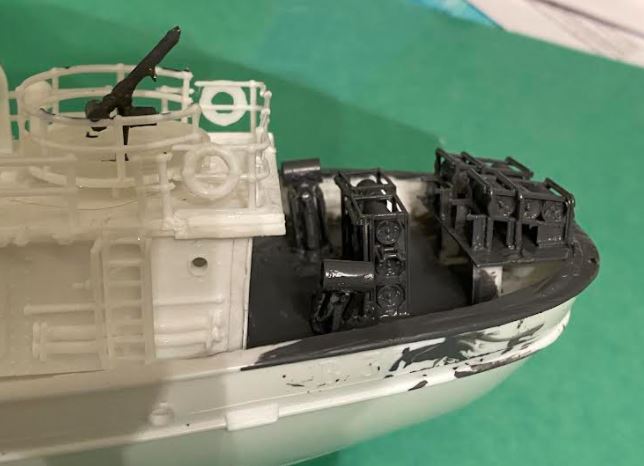
Online swatches made Tamiya IJN Grey (Sasebo) seem a good match for Home Fleet Dark Grey. But on the model it looks so dark as to hide all the detail. That might make good camouflage, but makes it hard to see everything. I think I’ll go for a lighter Tamiya shade.
Being a lowly trawler, I’ll paint it grey overall with red below the waterline. My shop only had plain flat red, so I’ll have to try adding a bit of khaki and black to try to bet a more weathered hull red.
Looking good Danie. Does she have a name yet? Perhaps HMT Jigsaw in honour of her construction?
That’s a good idea, especially since you can find nearly every detail on some photo of a trawler or other but would be hard pressed to find just this combination. So its a jigsaw in more ways than one. 
Omg this is such a cool build thread!!!
Having just gotten a resin printer Im defiantly gonna build one of these and use your thread as reference!
Amazing job!
This page is full of photos:
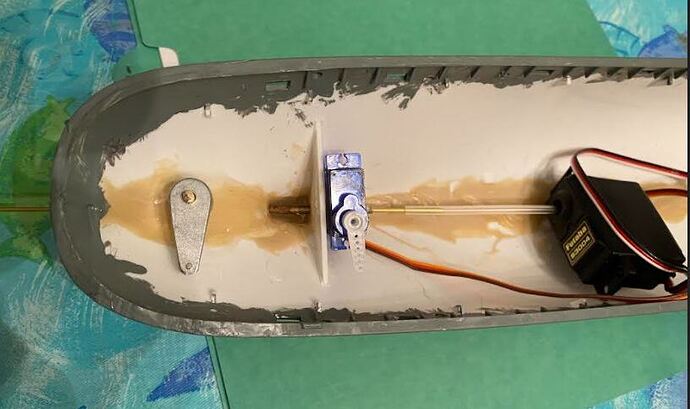
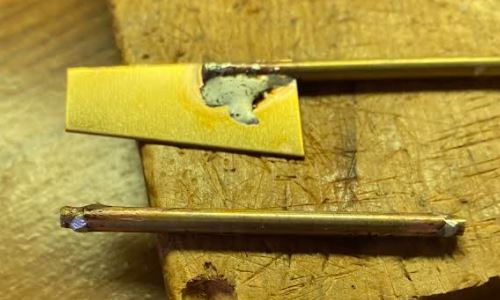
Rudder and stuffing tube soldered together.
No airbrush and the shop hasn’t the color in spray, so all hands turn to with brush & paint pot to slap on the first coat of paint:
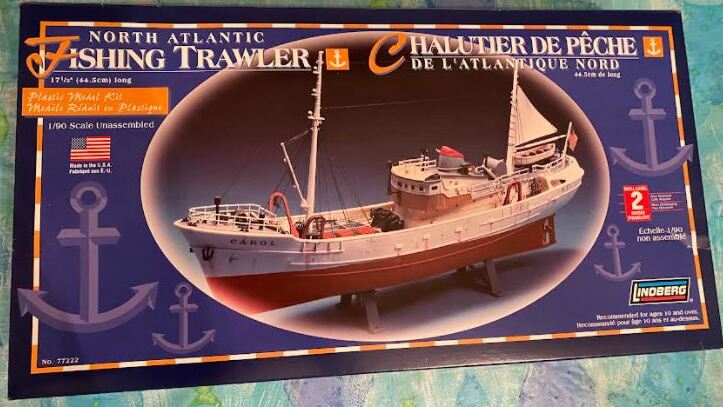
Now doesn’t it look JUST like the picture on the box? 


Great build Danie, and what caught my eye was the Holman projector … I used to live in Camborne and always passed the Holmans huge workshops which was of course mosty used then and before for the Corninsh and general mining industry. I had no clue they had made a weapon of war … Sadly its all closed down now and all a housing estate. 
I think the brush paint is a good choice. In my mind, this thing should look like it’s got 100 coats of paint on it. Given the grey would have been done in a hurry as part of the conversion, probably with a bunch of guys with brushes and rollers, this is just adding to the look.
The King Edward Mine Museum near Troon has two examples of Holman Projectors:
