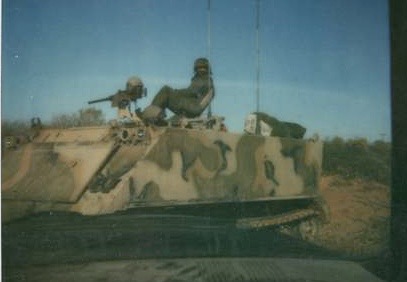
The 1/16 scale Andy’s hobbies M113A1 kit is a rebuilt M113 with the driver side rear fender having the “trough”. It also has the curved underside parts for the fenders, making them accurate.
2 Likes
No such thing as an M113AS3. The closest to that idea would be the Tenix turret version. That image is a M113A1 With T50 turret, that’s it. Nothing more.
As for the mud guard in-fills, I pushed AFV Club hard to include them in the Australian kits as the side skirts were not fitted too often and no other plastic company had them in their kits.
3 Likes
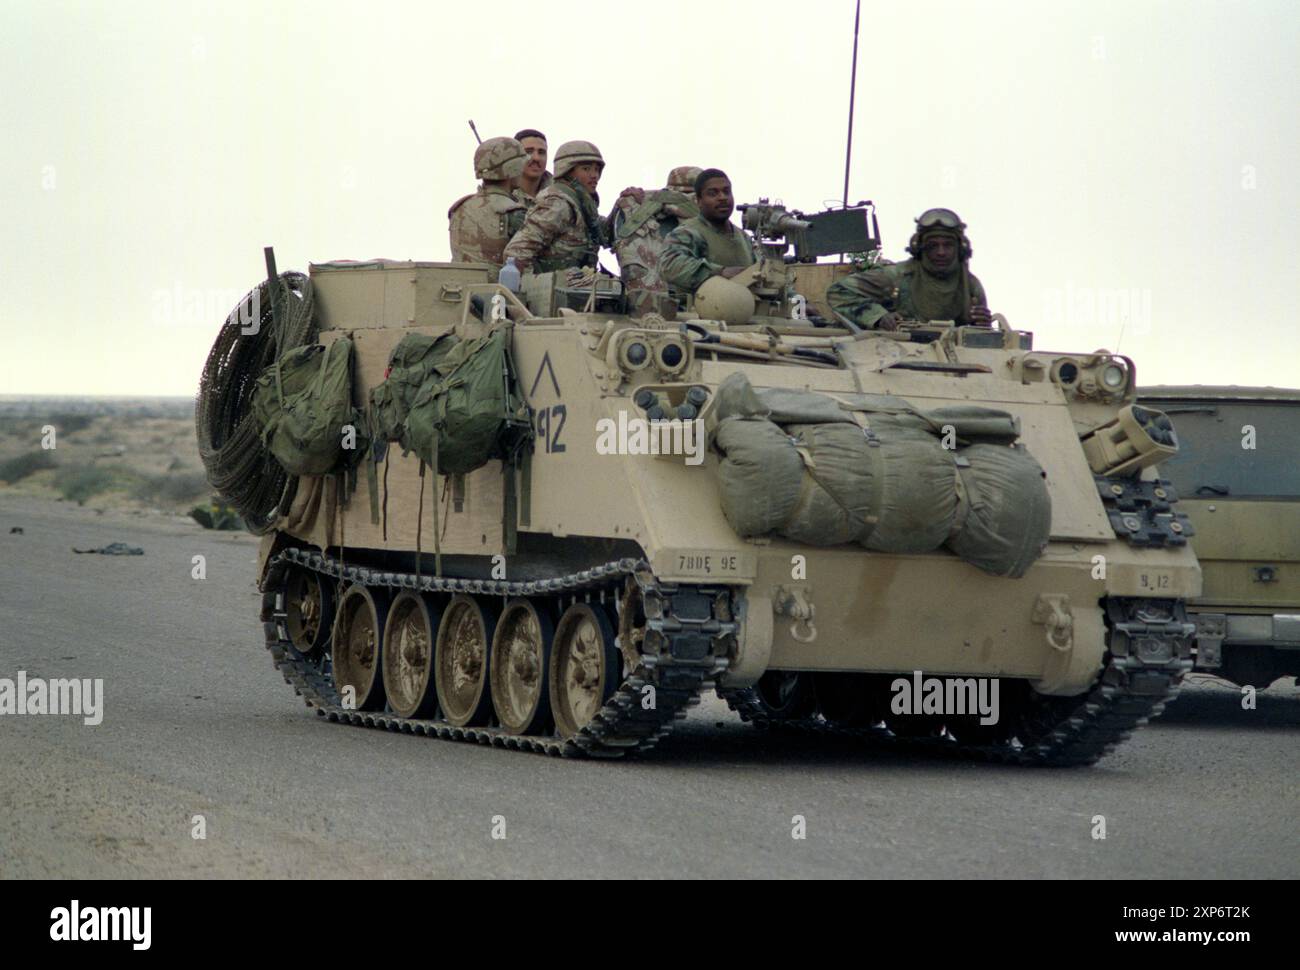
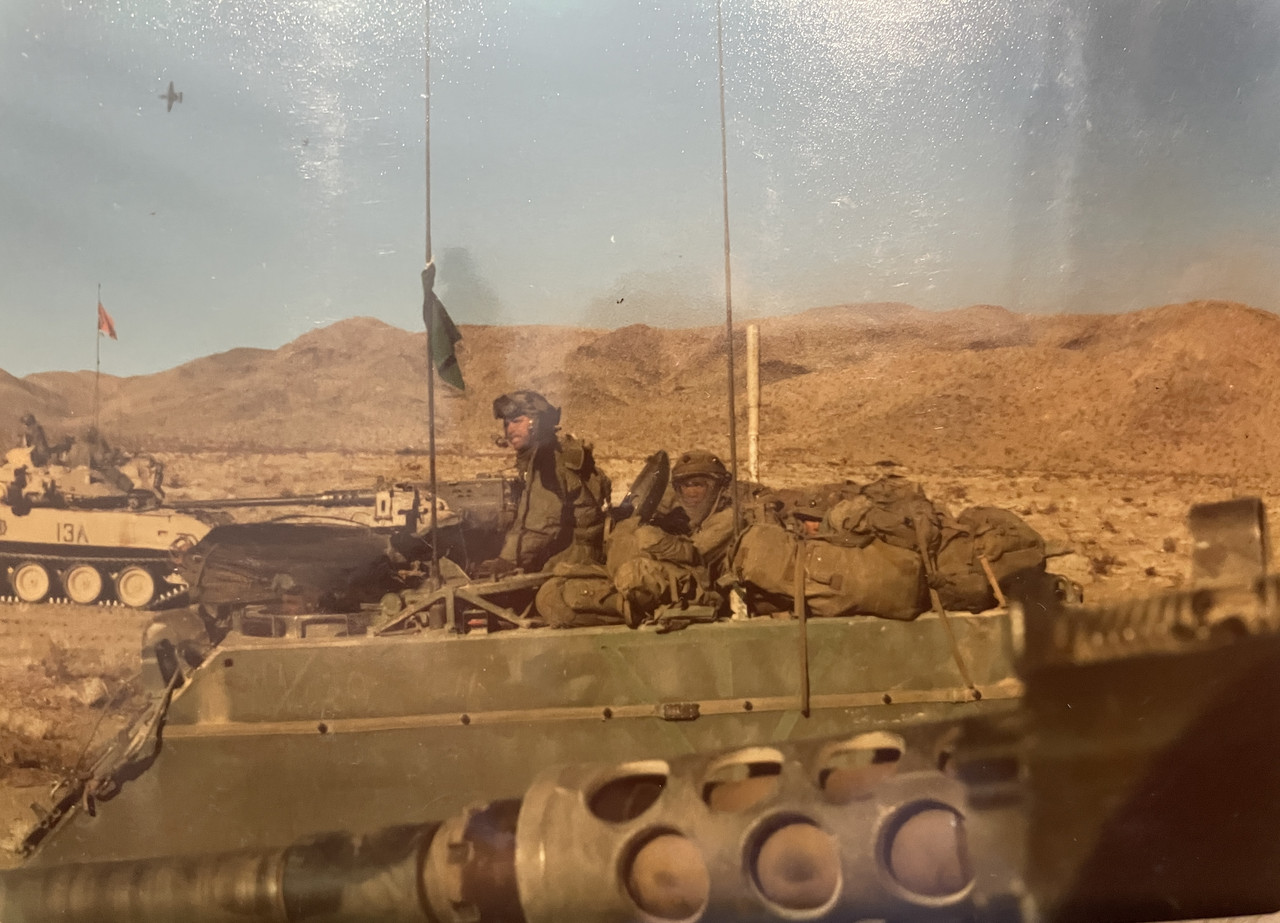
I’m about done with mine, built it as a Desert Storm vehicle. I’ve done a bit of research but there aren’t that many photos of M113’s in the 1st Gulf War, so excuse the inaccuracies. At the moment it’s 80% done, still needs weathering and stowage. I do have a couple questions: in the first Gulf War, were the US military supplied with glass bottled soft drinks, or cans only? How about plastic bottled waters? In this reference photo, I presume that is barbed wires hanging off the rear of the vehicle, what is that pole the wires are hung on? And how is it attached to the vehicle?
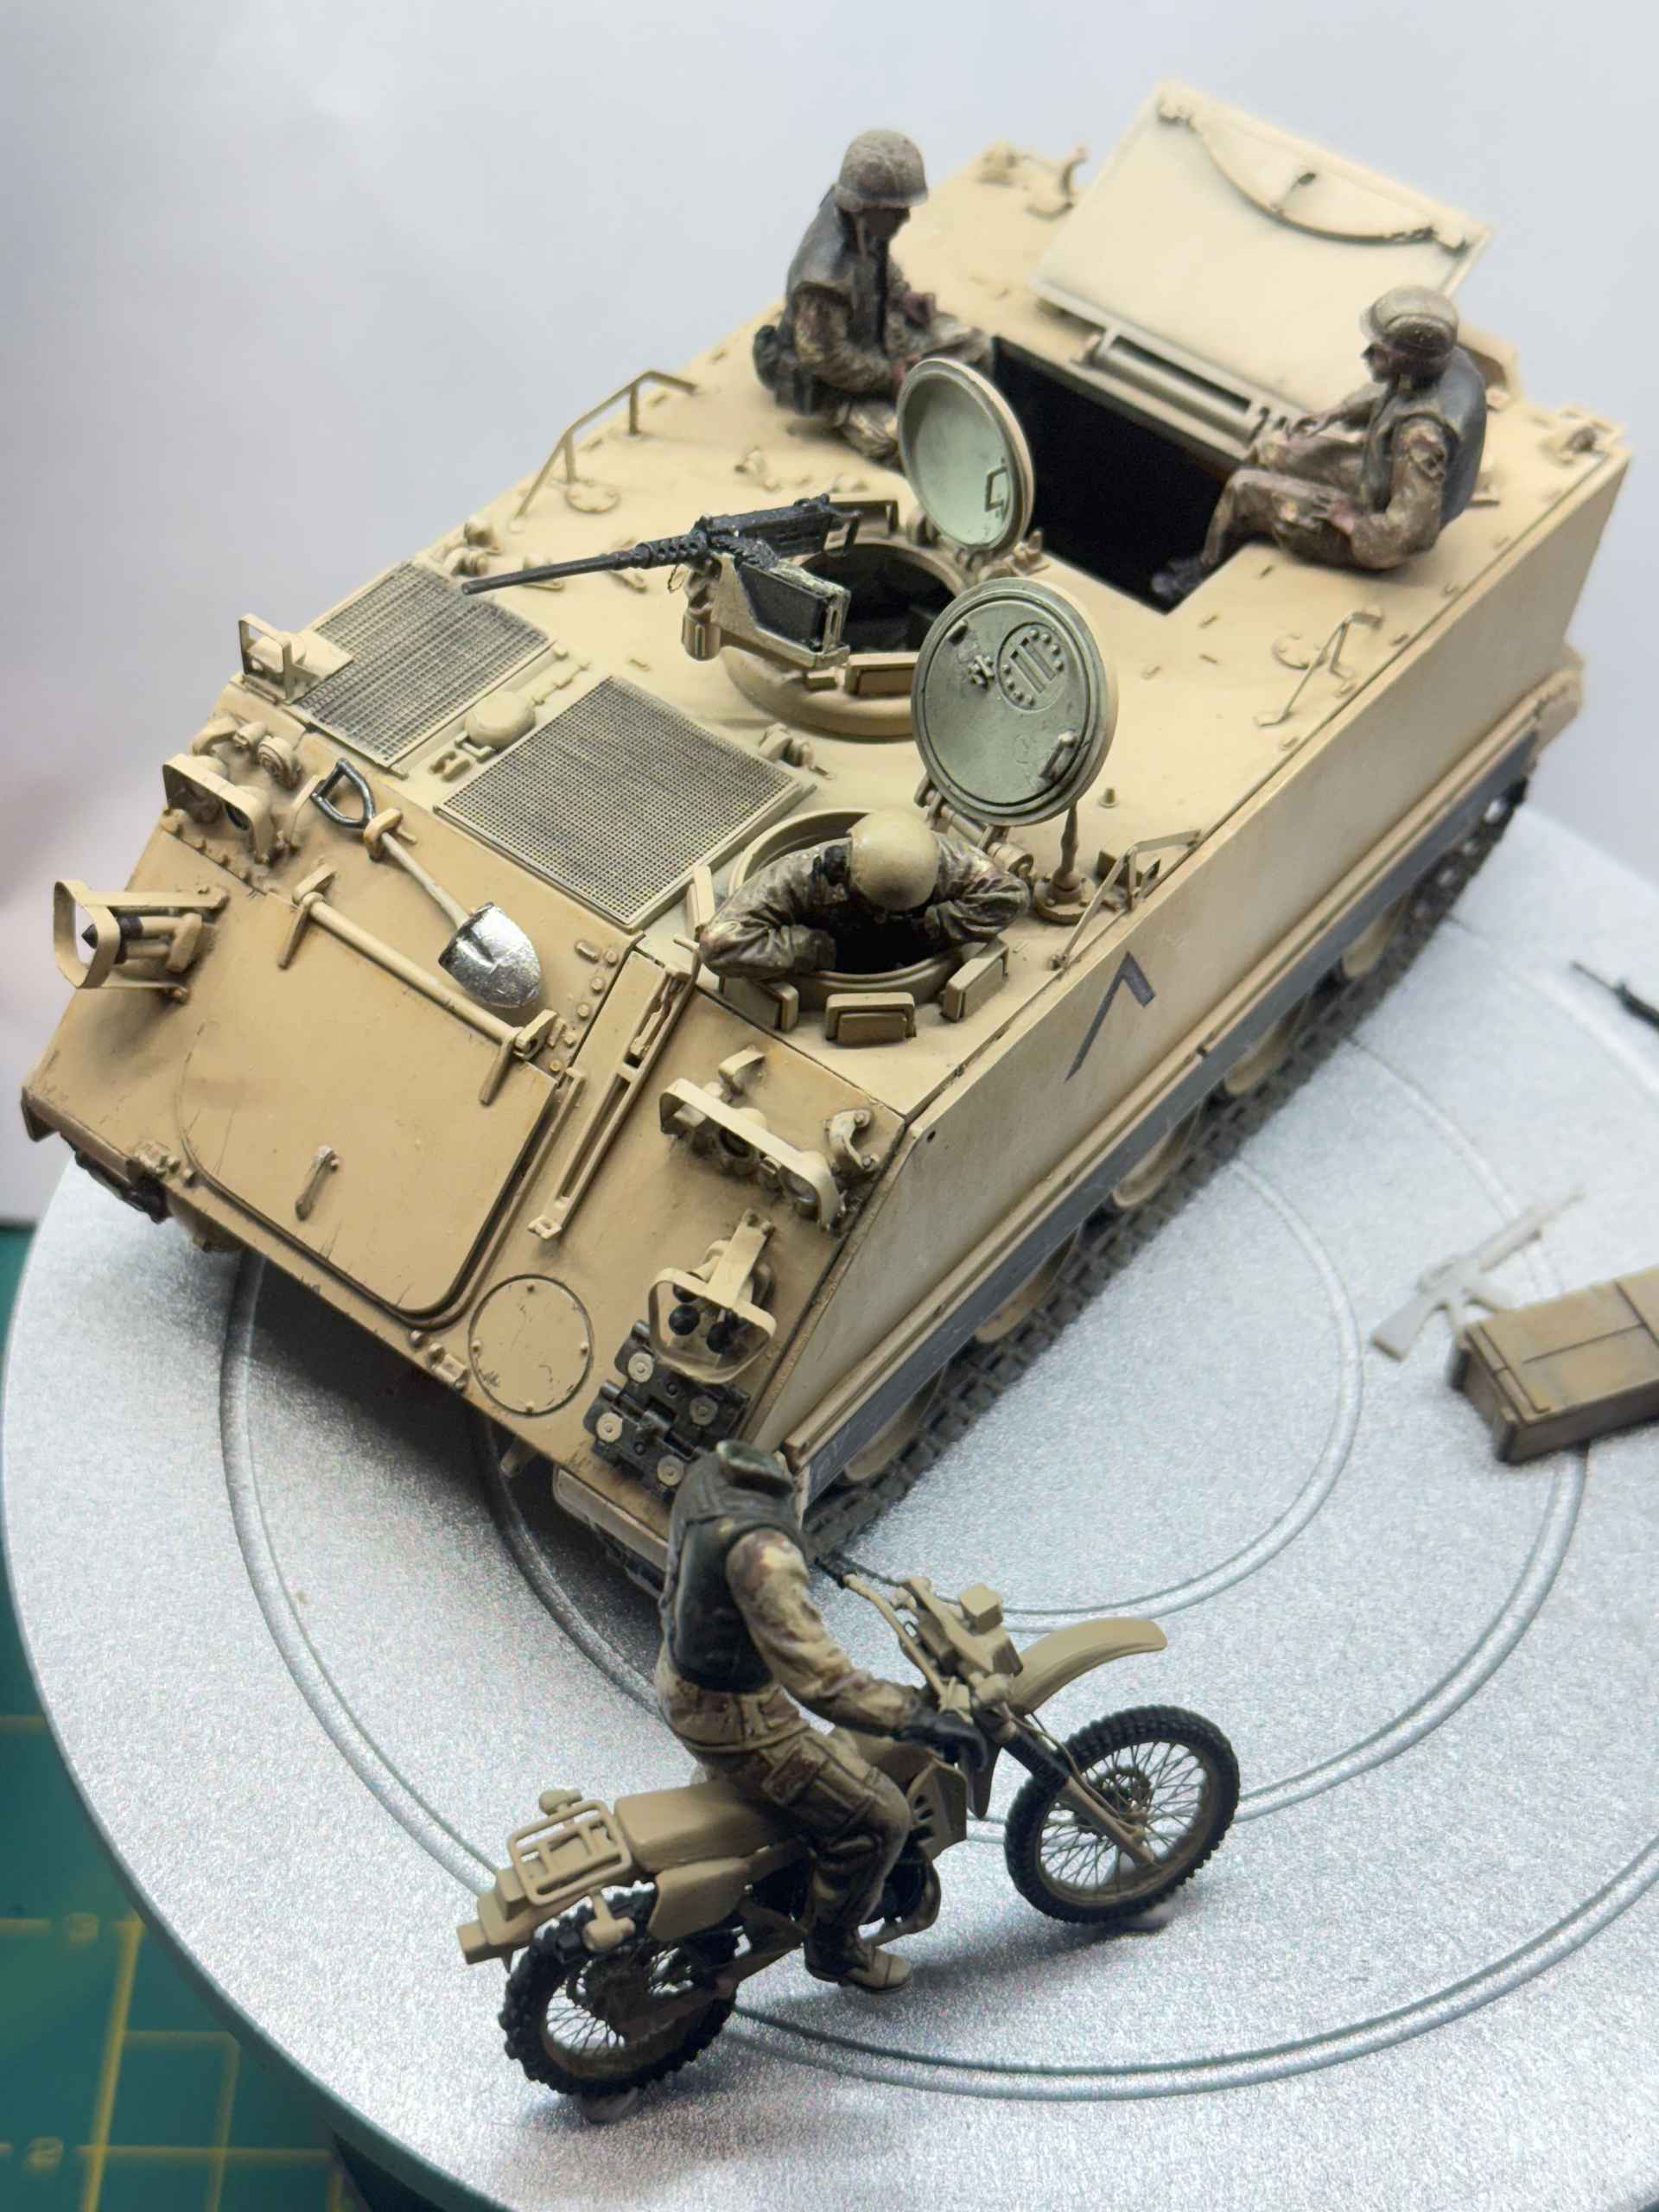
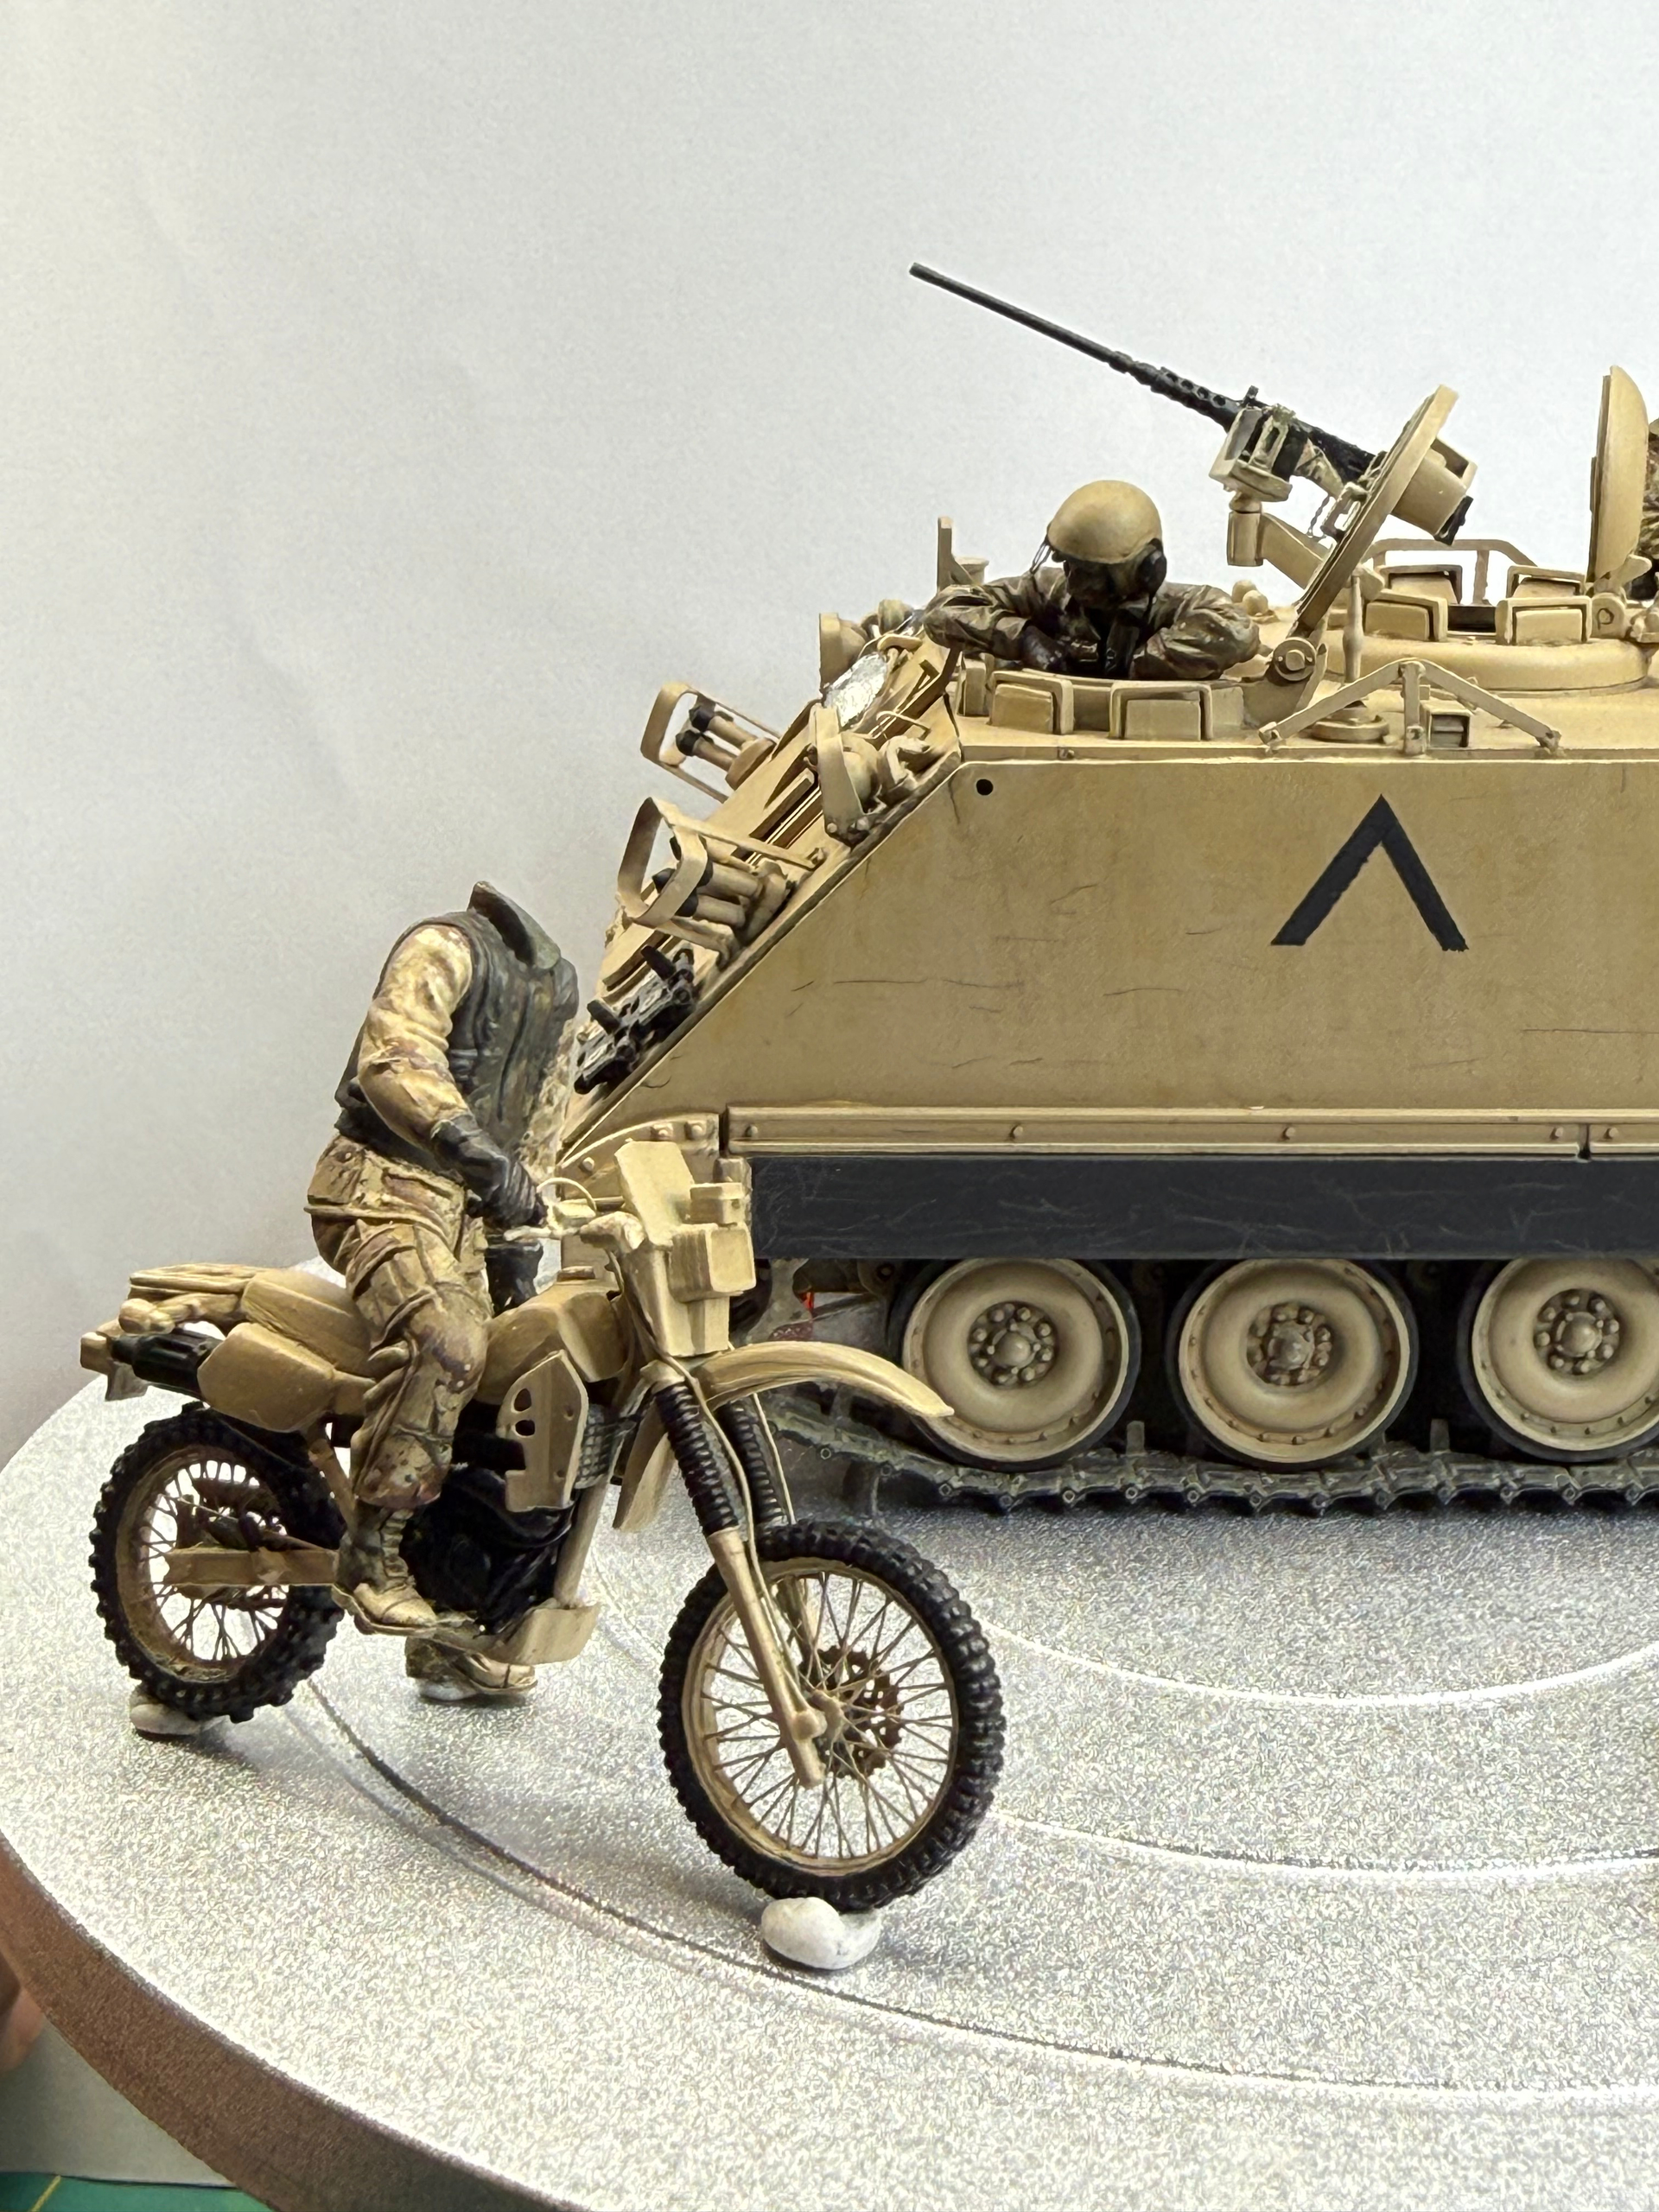
Here are a couple photos of mine work-in-progress, excuse the headless motorcycle rider, I’m still finishing the head:

3 Likes
That’s some great figure painting. The concertina wire is probably hanging on a length of picket like this:
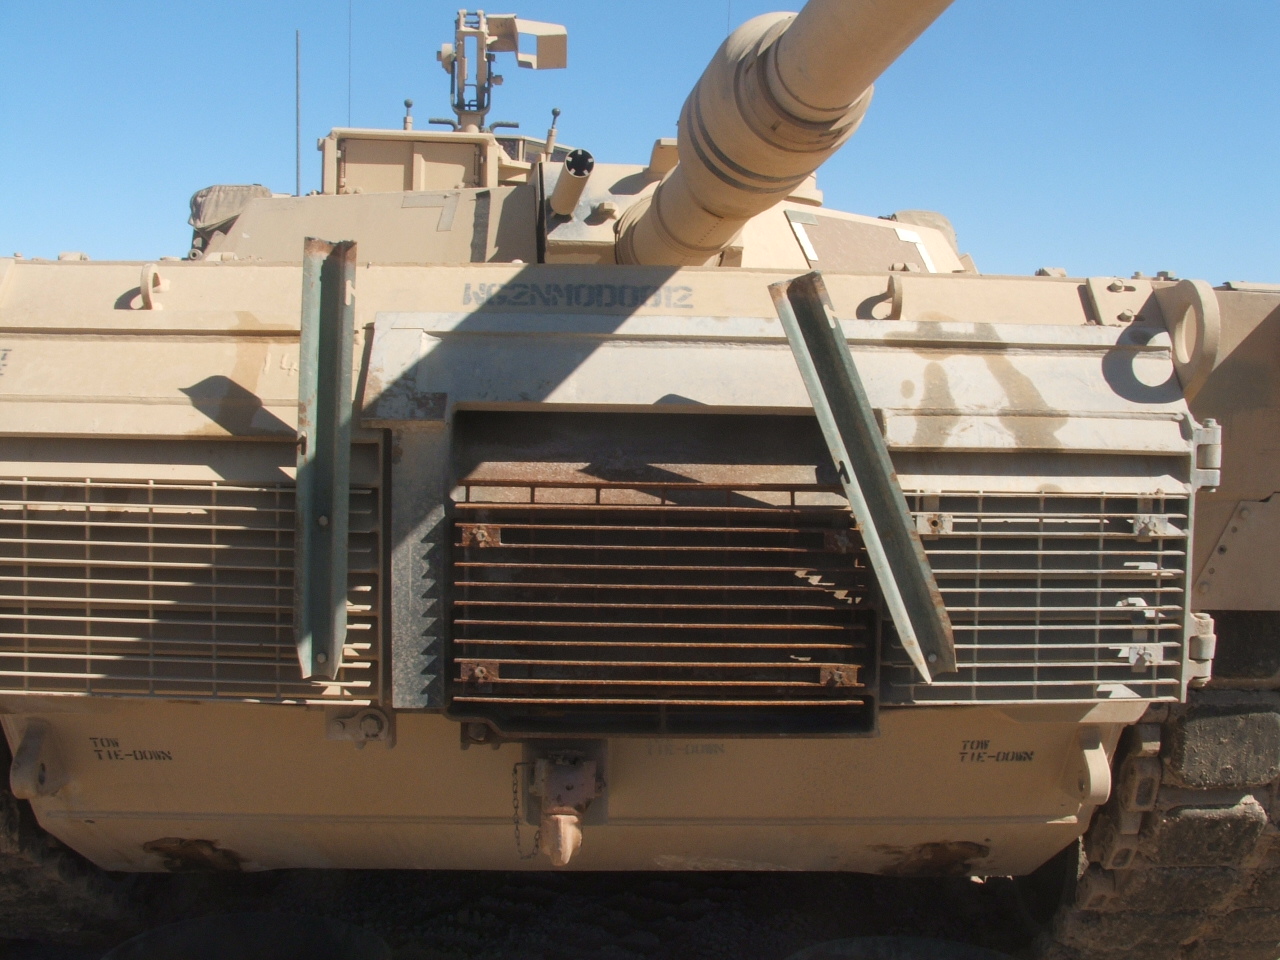
Generally soldiers like to use existing bolts for mounting accessories. I believe the M113 may have a few…
There was bottled water available but that was not the main source.
Canned soft drinks were available from local sources - valuable space on transports would not have been use for it.
And you would not have seen Coke more than likely. It was blacklisted by the Arab League.
1 Like
It looks like the concertina is on a picket that is most likely bolted to the side of the hull using the holes for ERA armor that are on all M113A3s.
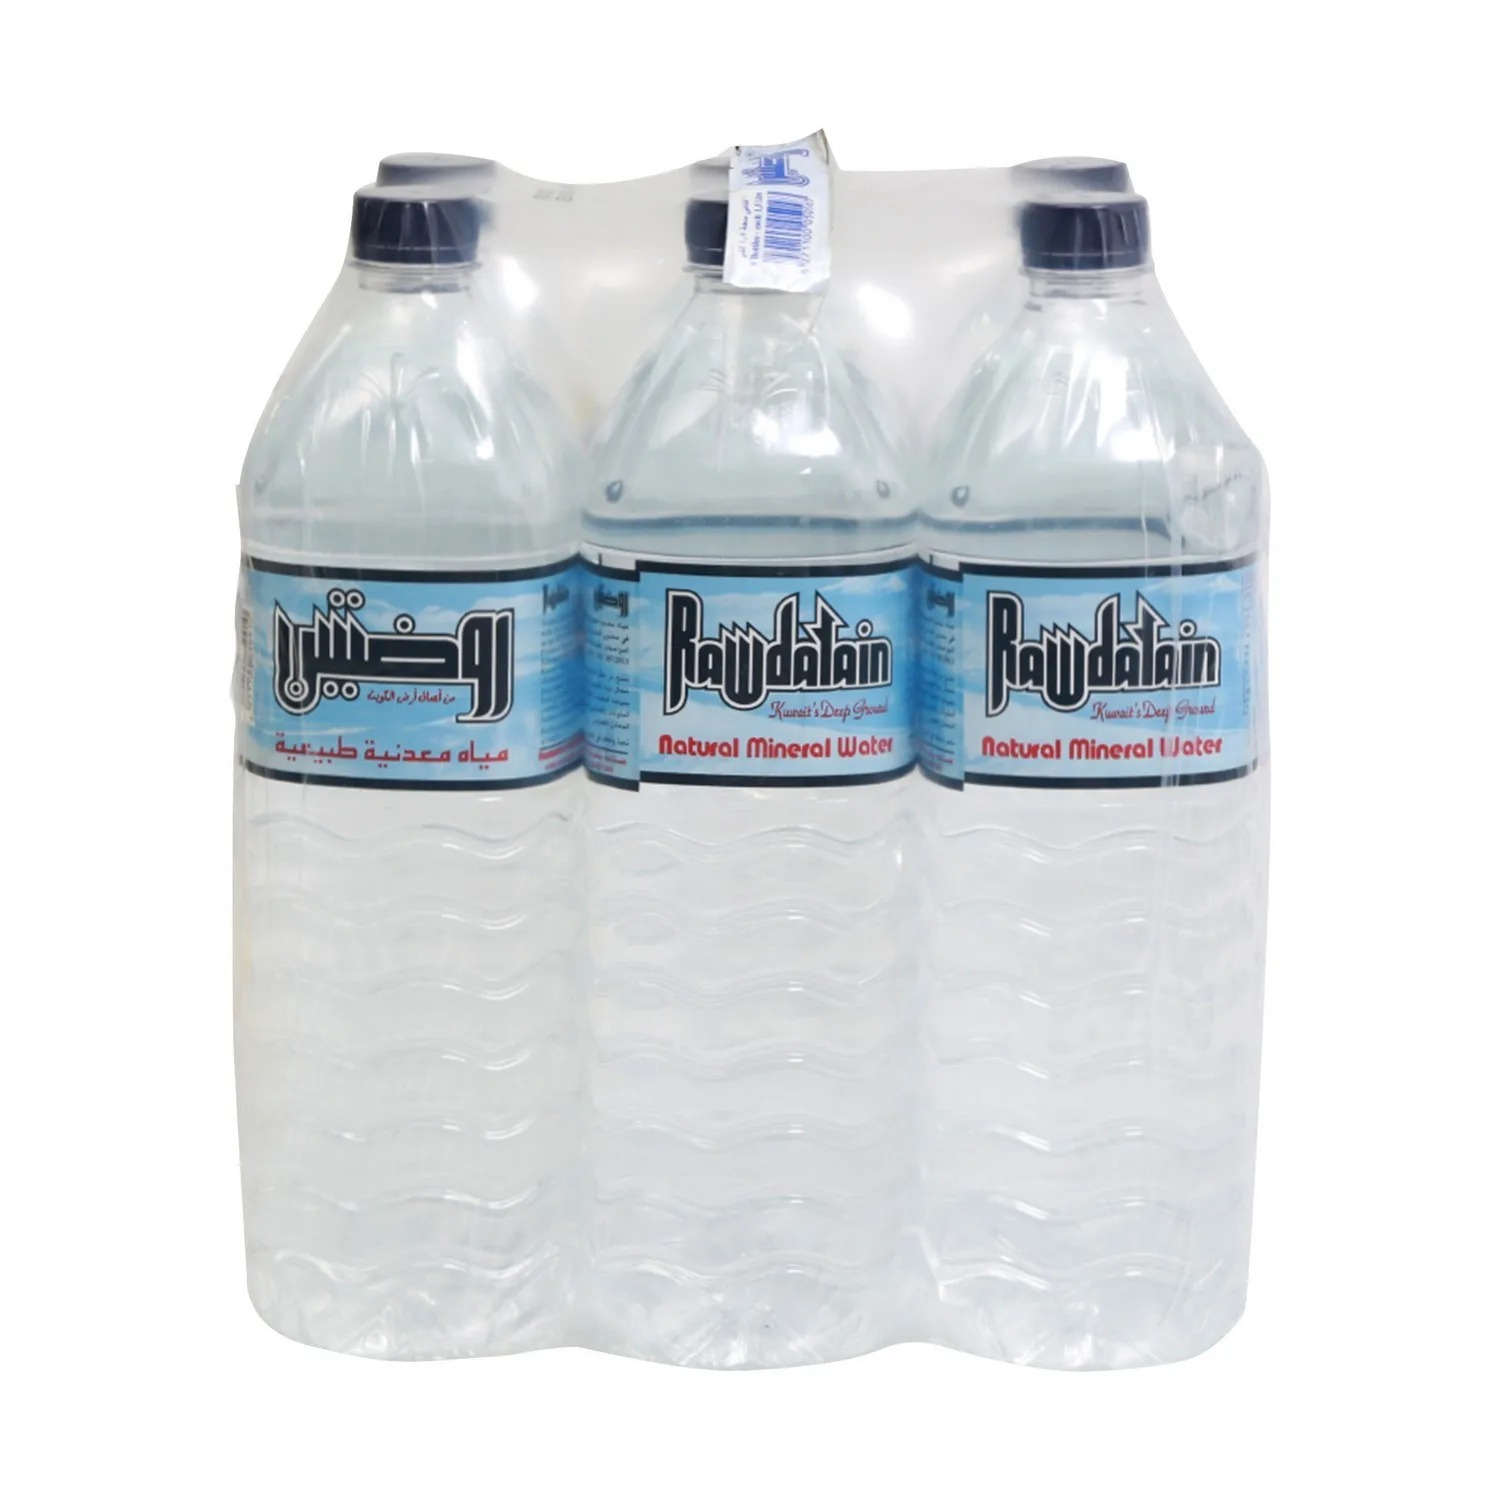
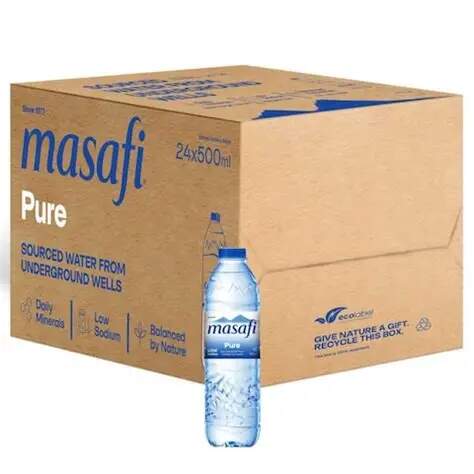
For the water, it was plastic bottles from a few Middle Eastern companies like Rawdatain and Masafi. They came in paper boxes with individual plastic bottles inside.

One last note, the insides of the hatches should not be interior green, but the same as the exterior color. Some were left in dark green when the overall vehicles were repainted sand, while others were repainted sand along with the vehicles.
2 Likes
Do not use or create boxes with the Rawdatain label. Masafi is fine.
Al-Rawdatain bottling plant was located in northern Kuwait, deep within occupied territory and near the Iraqi border - the U.S. military had absolutely no access to it. It was only much later when their facility was rebuilt that Rawdatain supplied water to the US military.
Additionally, the US military relied heavily on its own Reverse Osmosis Water Purification Units (ROWPU) to purify seawater, alongside logistical water support heavily provided by Saudi Arabia.
1 Like
Nice build, but some advice…
Repaint the hatch interiors a shade of darker green, whatever base color the vehicle was before being painted desert sand, they are not and never sea foam green.
Lay the drivers hatch all the way dawn to full open position, there is no provision to say for the hatch to be vertical like that, fully open or fully closed.
Lay the TC hatch back a tad too, not full verticals the way you have it.
Other than that, nice build and I’ll be watching to see the finished product! 

3 Likes
Thanks for all the advices, regarding the commander’s hatch opening angle, there’s a “stopper” that prevents it from opening all the way down, I presume this is an accurate representation of the actual vehicle? So while it can be opened a little bit further from the straight up position, it won’t go much further back. Maybe I should trim the stopper?
2 Likes
You can’t see the hatch stoppers here, but there are the proper angles for the Driver and TC hatches.
2 Likes
Thank you, that looks about right where the hatch of the kit would stop too.
1 Like
The TC hatch sits back and makes a perfect place to sit. Having the hatches like that is asking for a very painful day. great build for the most part I’m waiting to see the end.
1 Like
I’m interested in how you did the spokes on that bike.
1 Like
I used the voyager photo etched kit for the Tamiya Japanese JGSDF bike. The Tamiya kit depicts a Honda 250, which is very similar to the Kawasaki from the Dragon kit that I used. The spokes are wrong though, the Honda having one extra set of spokes, but it still looks a heck of a lot better than the plastic wire spokes. I also used the brake discs and chain from the photo etch kit, again as the two bikes are very similar, everything fits pretty well.

3 Likes
That’s exacly what I had thought to do once, but I could never find the Voyager set in stock when I was looking for it. Gave up on it, at least for the time being. Very well done!
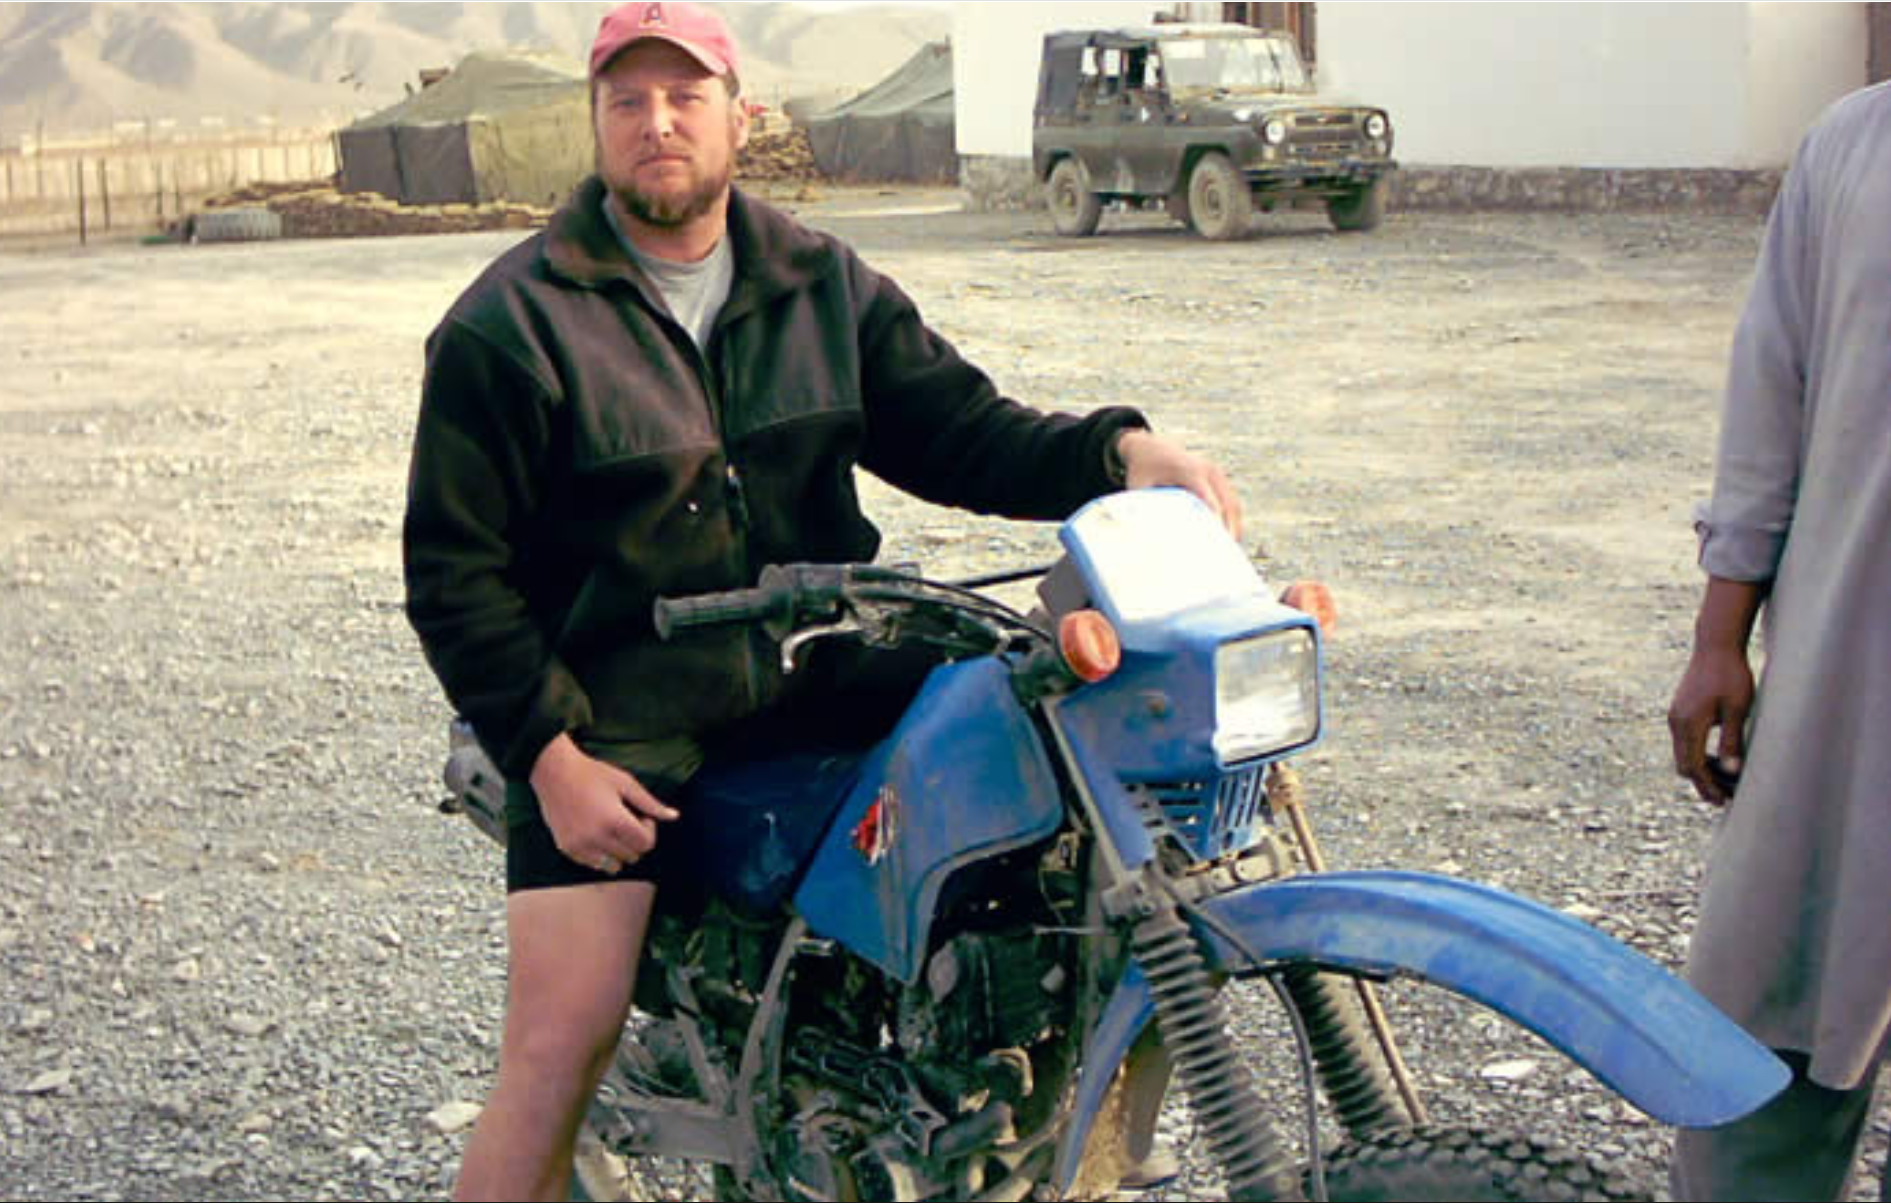
This is still very much on my to do list - the bike I rode in Afghanistan, although that’s not me - its the other Rob, whom I replaced when he rotated out of Orgun-e.
2 Likes
Very cool! The dragon kit is super fiddly and fits poorly, it’s also quite brittle, the bike frame broke several times in the process of the build. The Honda from Tamiya has the engine molded on the frame, which I think at this scale is probably a better solution. Quick question, in my research, I’ve seen riders wearing both the normal kevlar helmet and actual open faced bike helmets (which I chose), what was the convention for choosing either one?
1 Like
Neither. In SF we wore baseball caps. My guess is commanders would have required the Kevlar, since you had to have it with you anyway..
My usuals (Amazon, etc.)still don’t have the set, but I just found it on Hobby easy!
You’ve inspired me to get after this again. I thinl I even have a thread somewhere.
1 Like