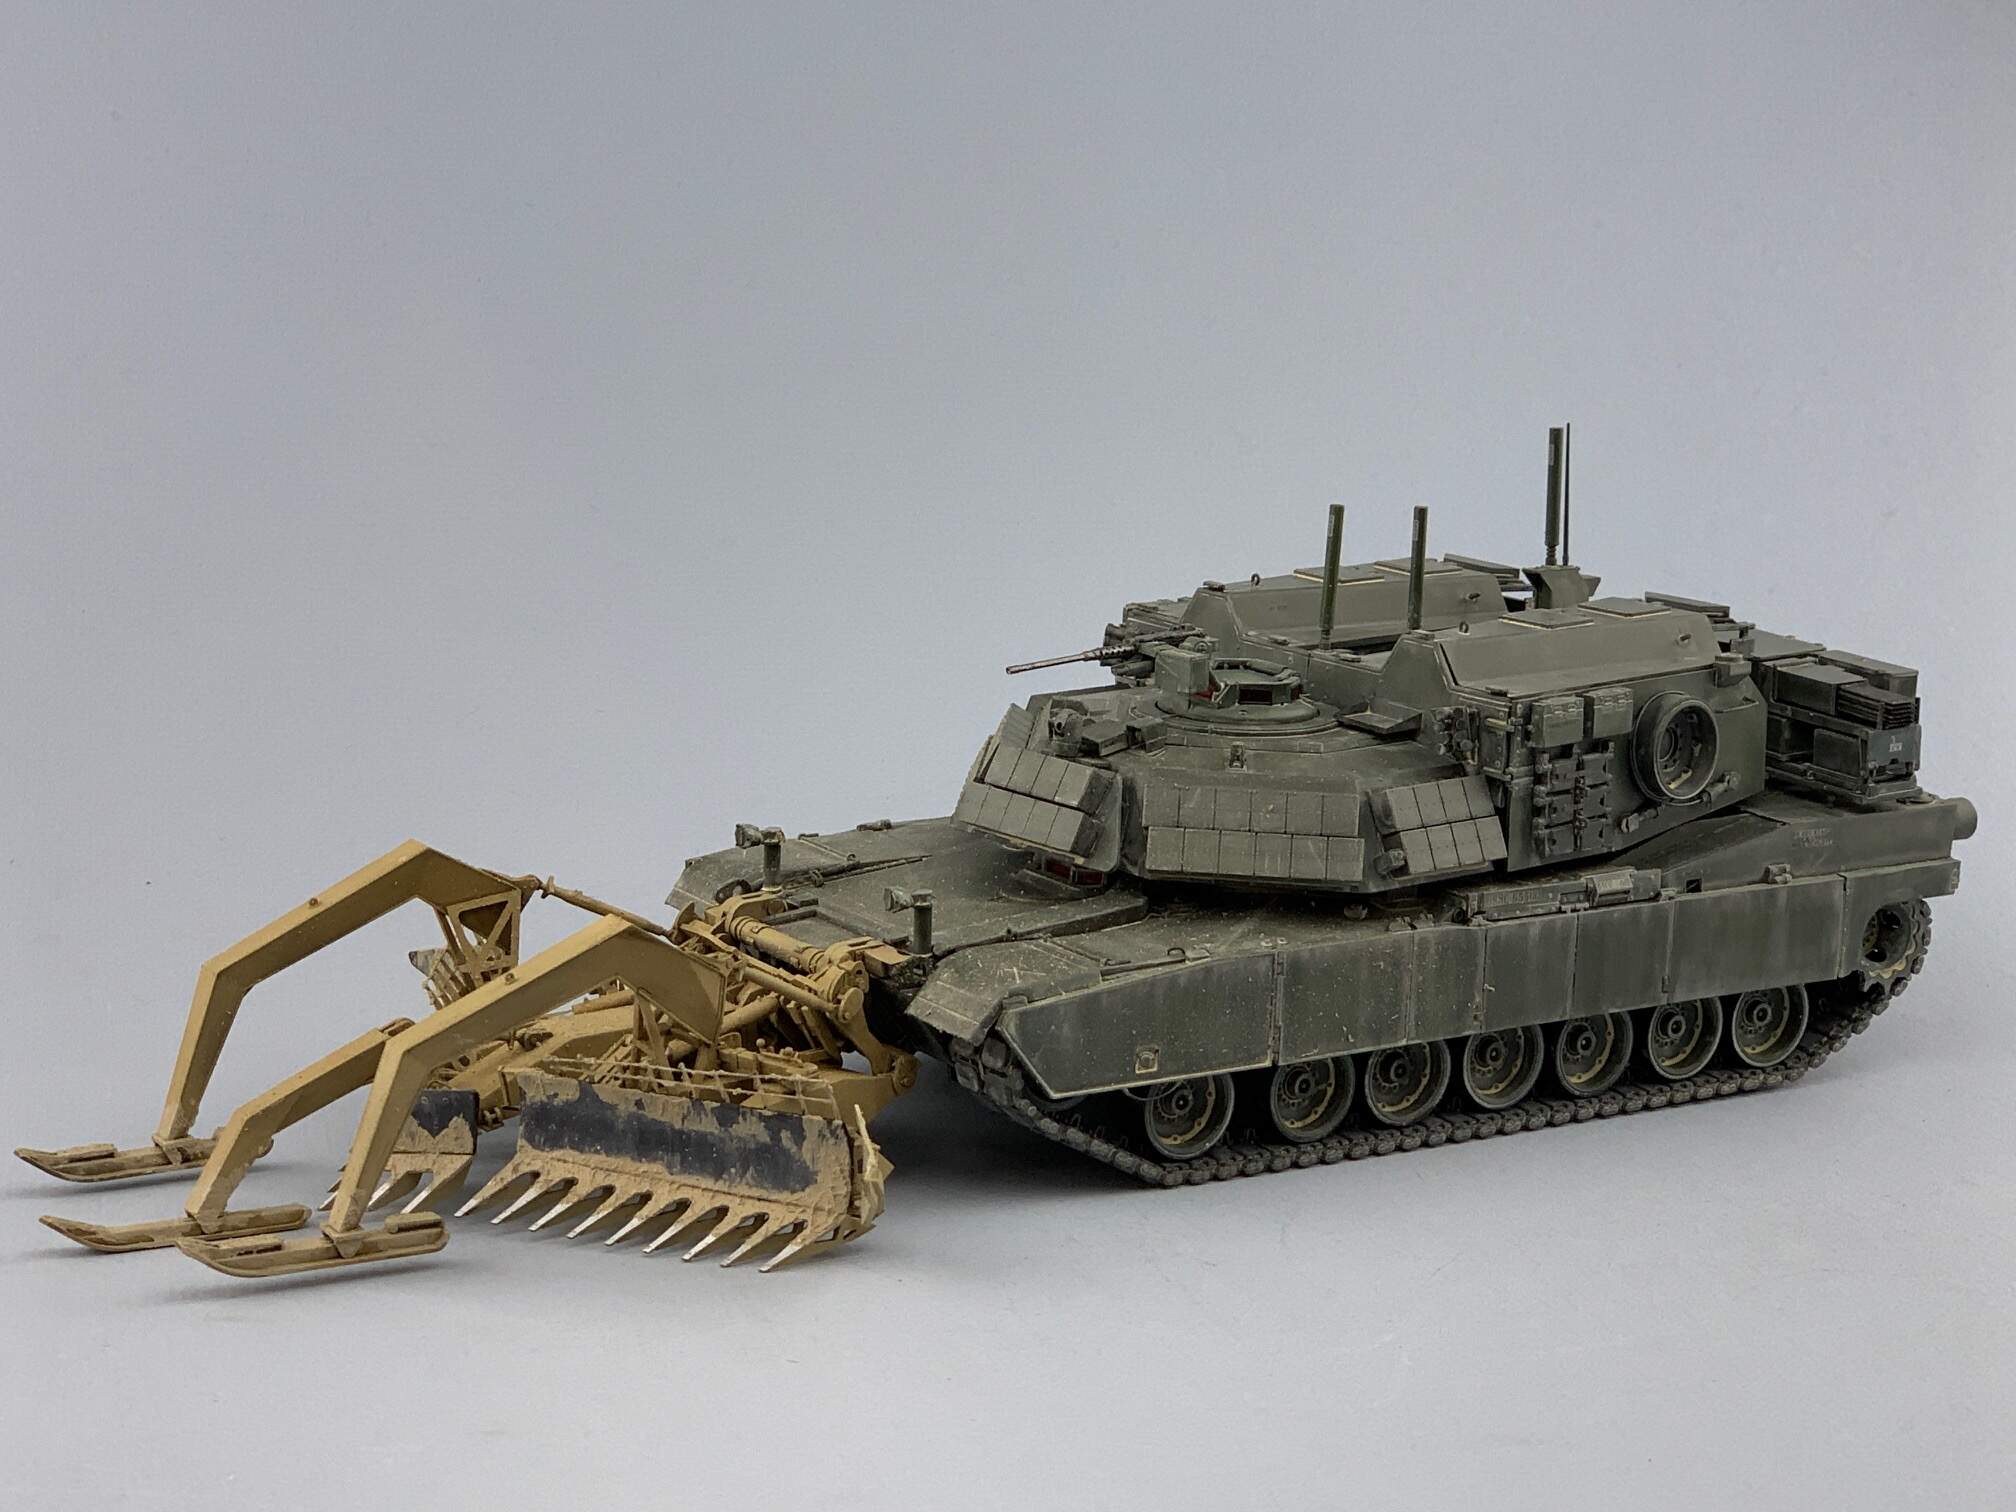
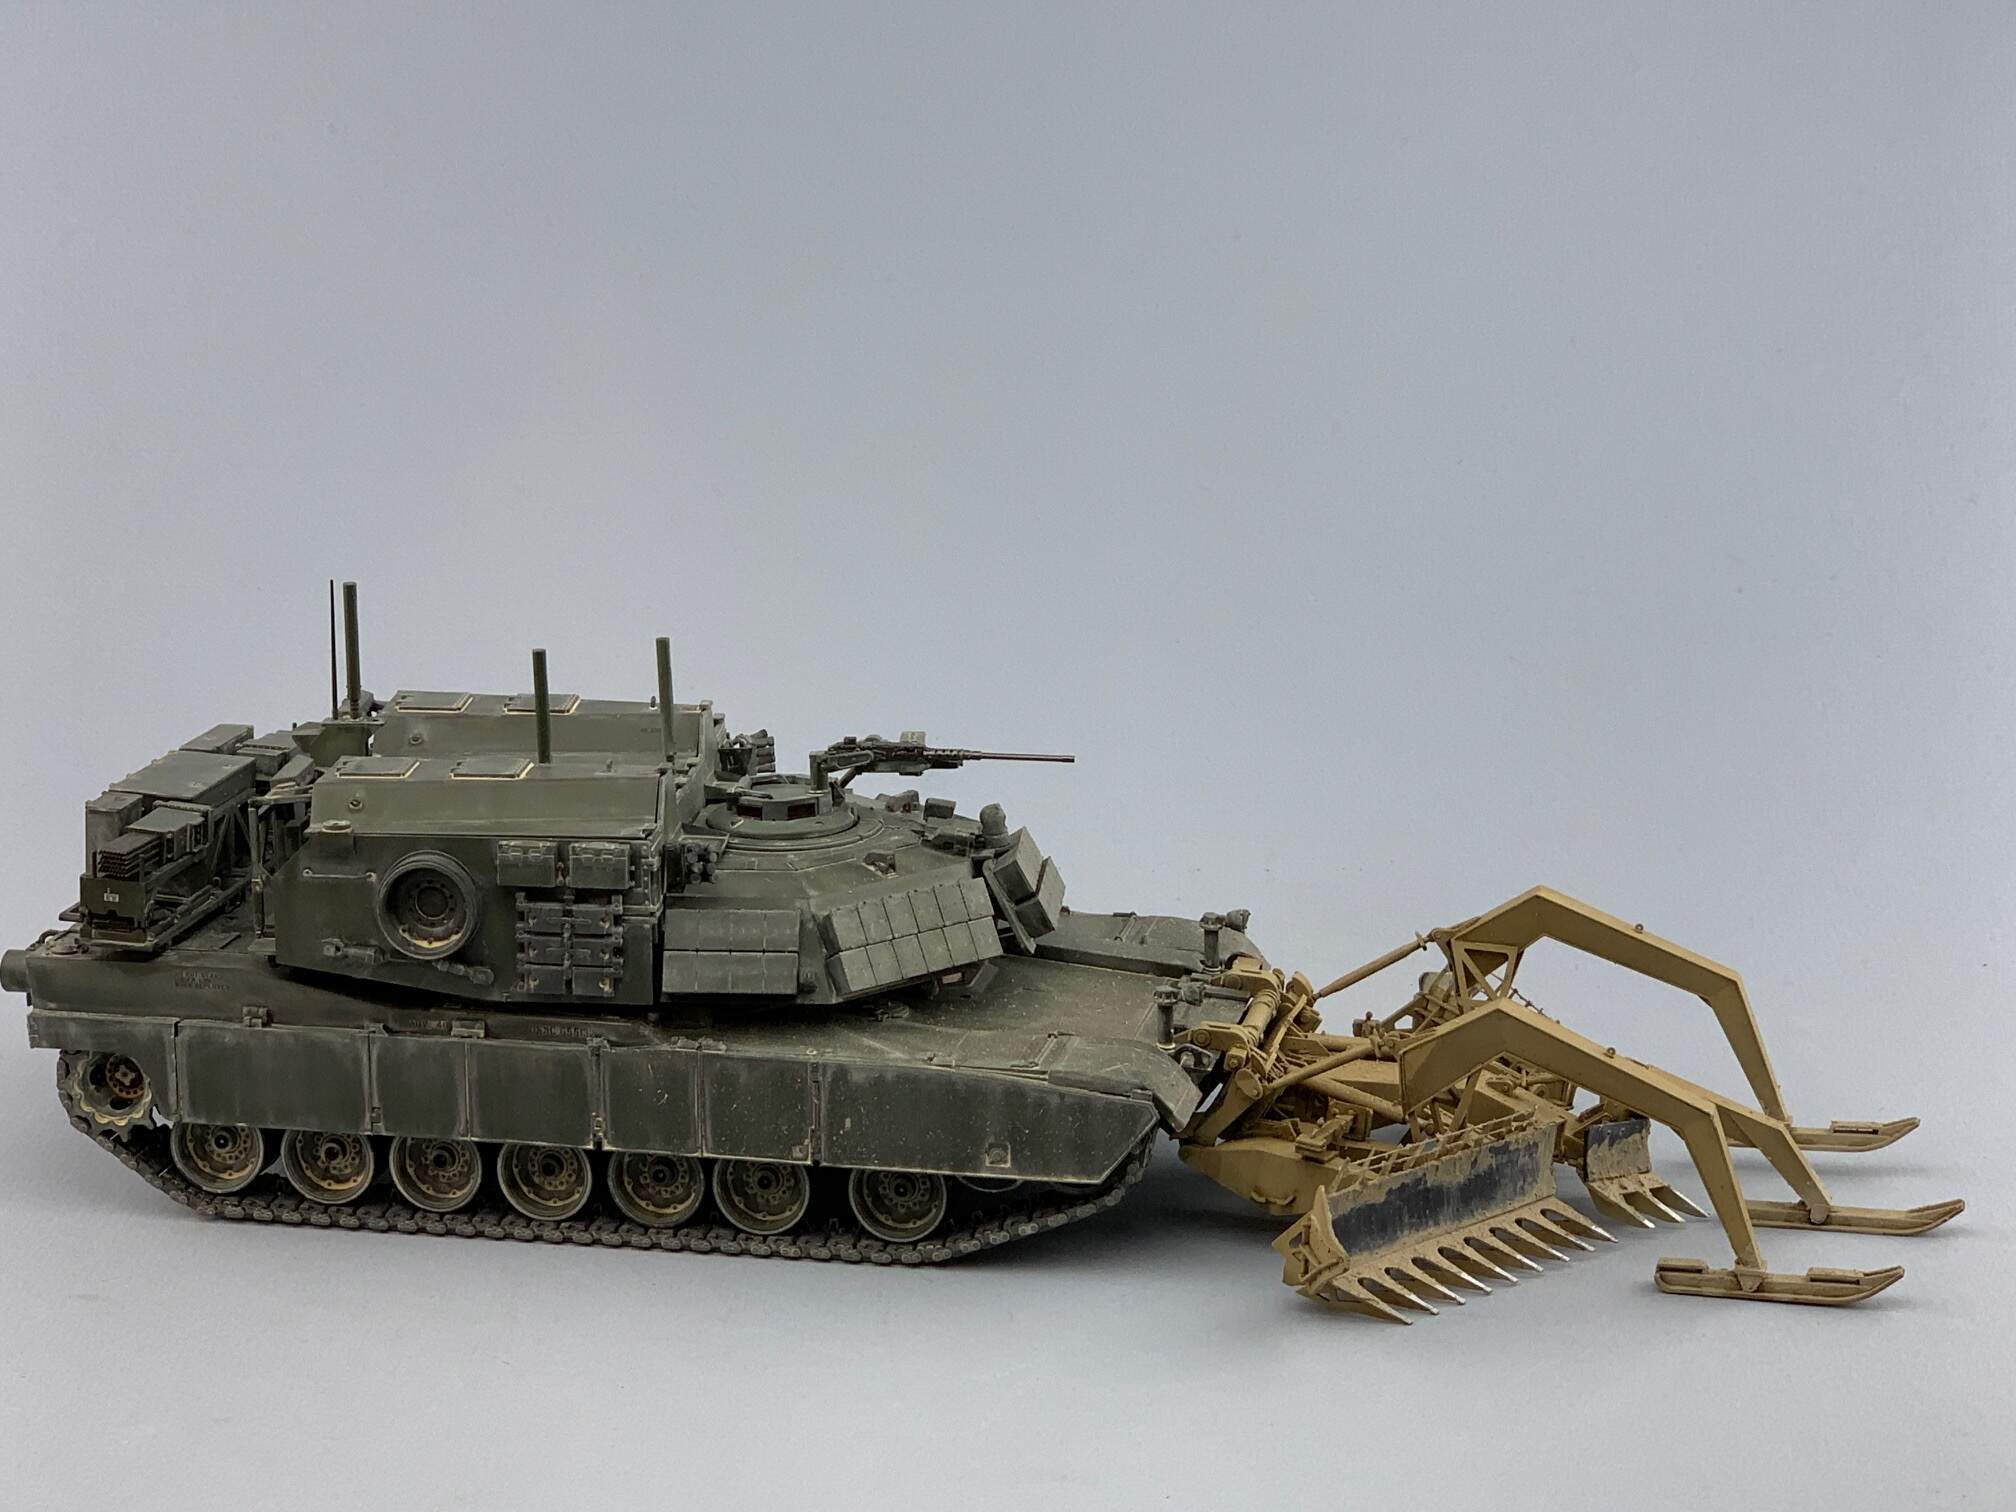
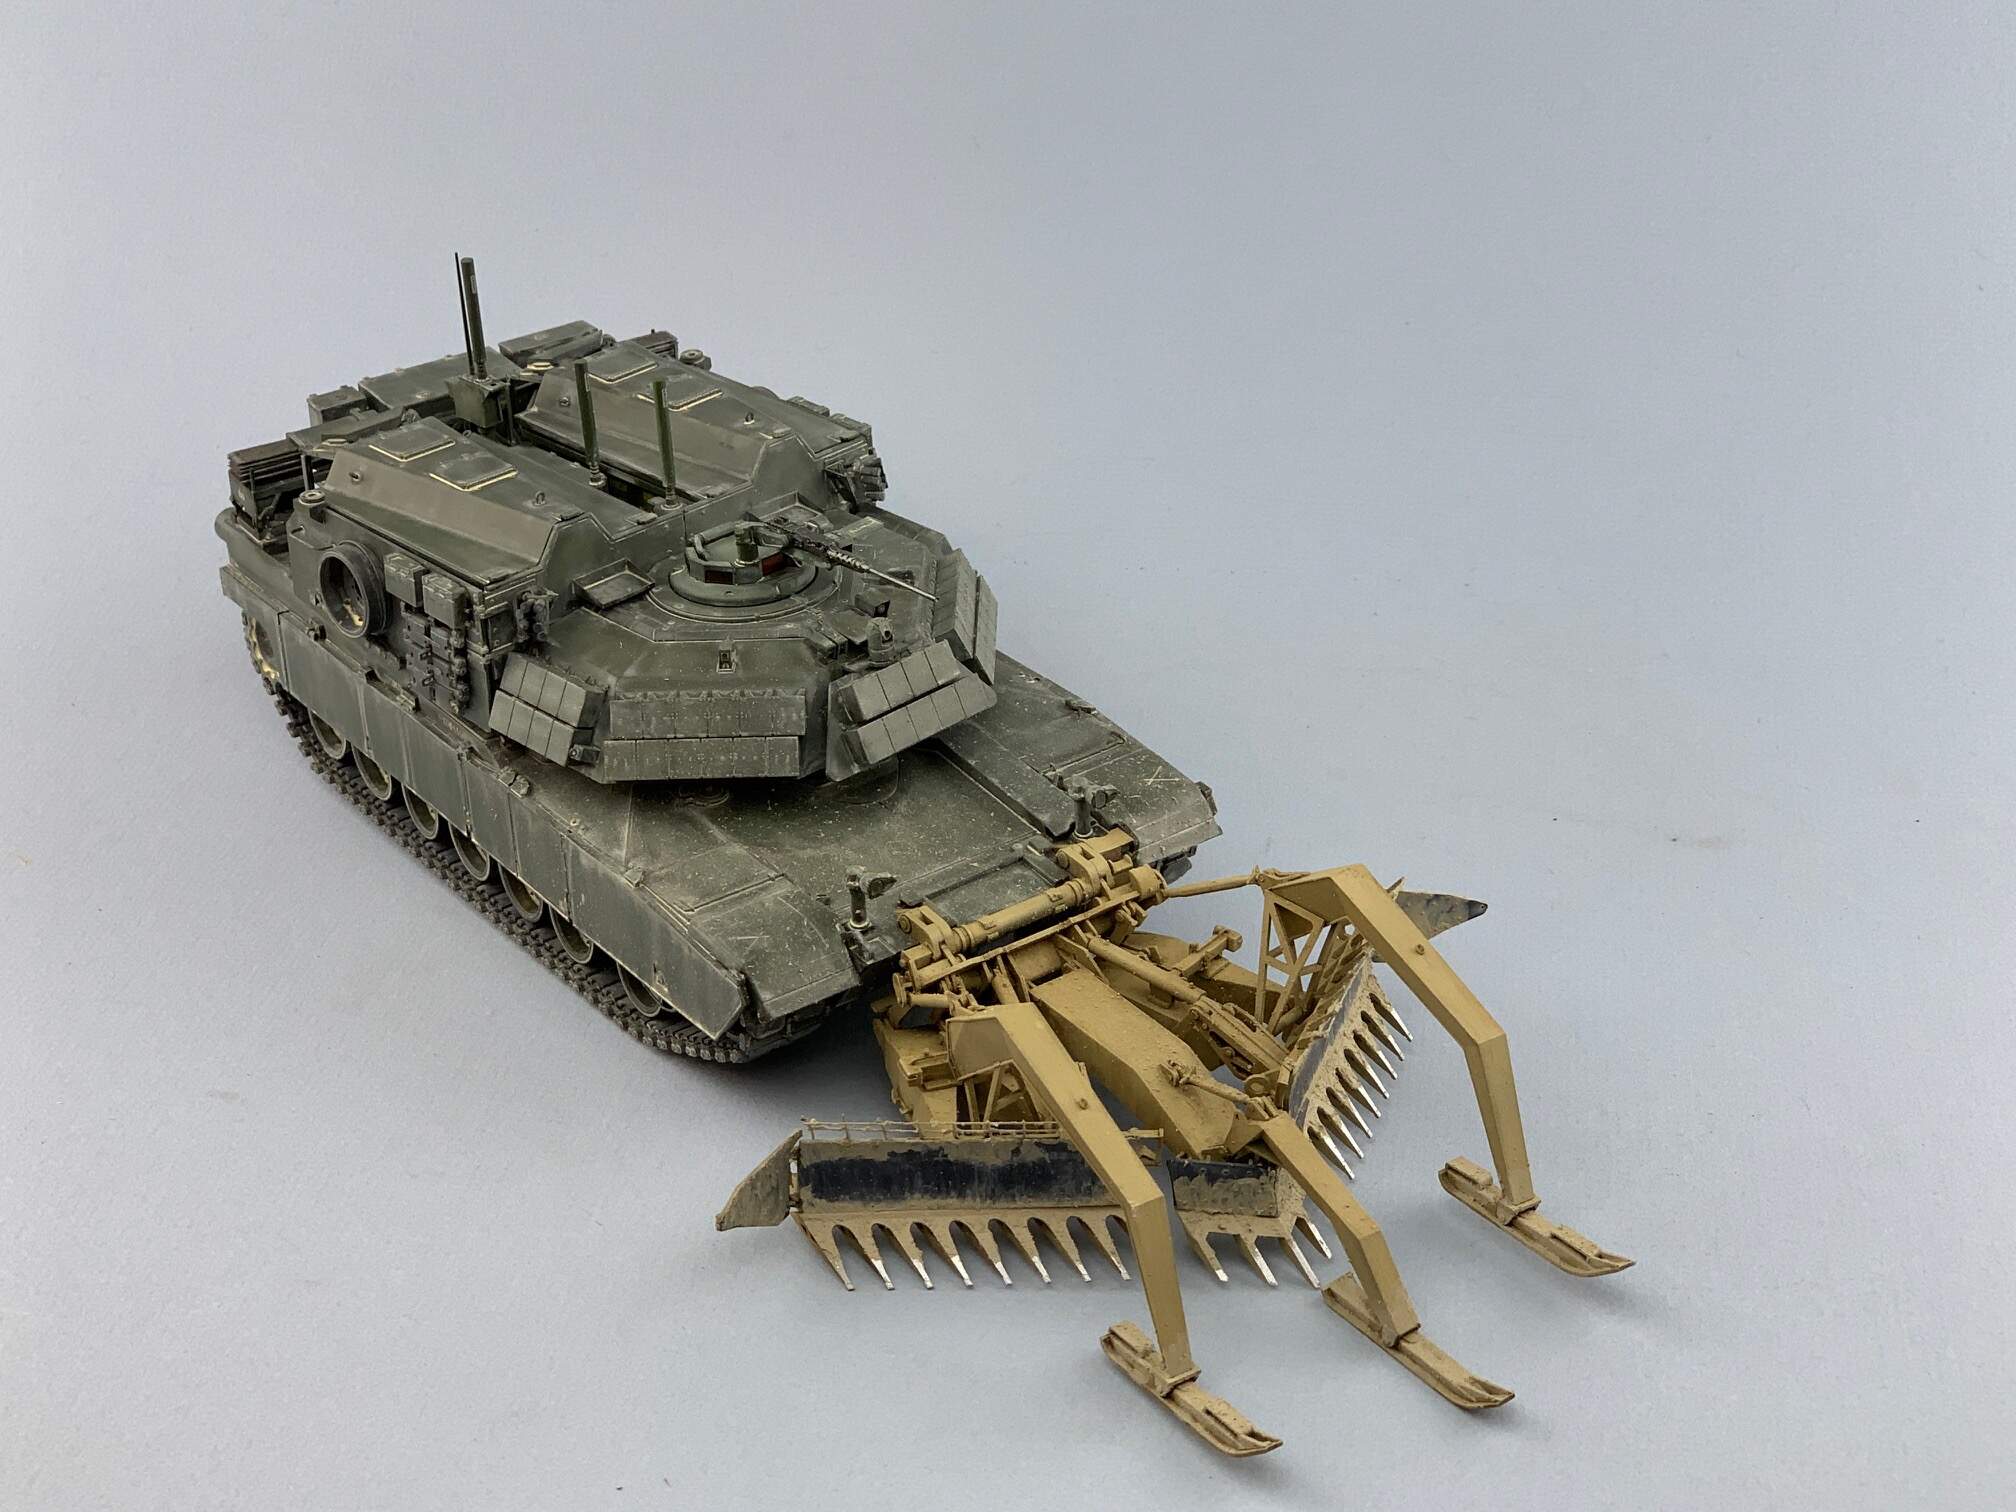
This is the RFM kit. The blade and skids were a handful to assemble and tank to the front of the tank. The railing on the top of the blade was particularly challenging being made of PE supports and thin wire. Thanks for looking.

5 Likes
Nice job here
1 Like
good job looks good
1 Like
Very nice job! Are the tracks link and length or indy?
Very nice!..really like the paint job and weathering that is not overly done.
Cheers,
Wow! Impressive looking. I bet you it’s the star of you display.
Looks great! I’ve got this one in my stash as well!
Thanks for the heads-up about the blade.
Still a top-notch job, though!


Yeah, I pretty much disregarded their sequence for the blade and figured it out on my own. Part of the problem is when you get to those steps things don’t make sense, i.e. they tell you to attach parts but there is no way to really do it and seems not right. You have to skip to almost the last phase and look to see how it all finally comes together. Probably doesn’t make much sense now but when you look I think you will understand better. Good luck.
That’s a ugly beast with the Pearson blade.
You nailed it. However it looks like the caps over the wheels hubs are missing.
I haven’t built a RFM yet. They look great. I’ll pay extra attention to the instructions when I start my German SPz Puma.
Olivier
Ha you’re right. Don’t know how I managed to miss that. 
Looking Good! I have the kit in my stash, waiting for the build!
Really nice work.
Their Puma is a great kit.
I’m sure it is. And unlike the Revell kit, it is a production version and not a prototype.
Olivier