I’m not sure I could do an M3A2 ODS build for '91 as the ODS imnprovements had not been envisioned yet. Nope, I mean Iraq, 2003. Original tracks were still in use on more than one Bradley.
1 Like
Right, that was where my confusion was. I’m sure you have photographic evidence, but I never saw any Brads w/T157 tracks in Iraq. The old DML MLRS tracks are not that bad though. I have used them on a few older Brads to replace the rubber band T157 tracks.
1 Like

Here’s another oddity - this M3A2 still had the work platform as late as 2005. And it’s from Tal Afar, a place I have history with. My team was on a COP (Combat Outpost) and we couldn’t even get our mail delivered to us, so we had to drive to Tal Afar every once in a while to get our mail and actually eat in a DFAC. And get looks from Sergeants Major because our M9’s were set to fire. (they didn’t even want magazines in the weapons there, but we won that battle.
But I digress - here’s the Bradley with the work platform

So I want to use the old triangular pad tracks which I now have, the work platform, and a Missile Countermissile Device, which I just received from BGT from down unda!
6 Likes
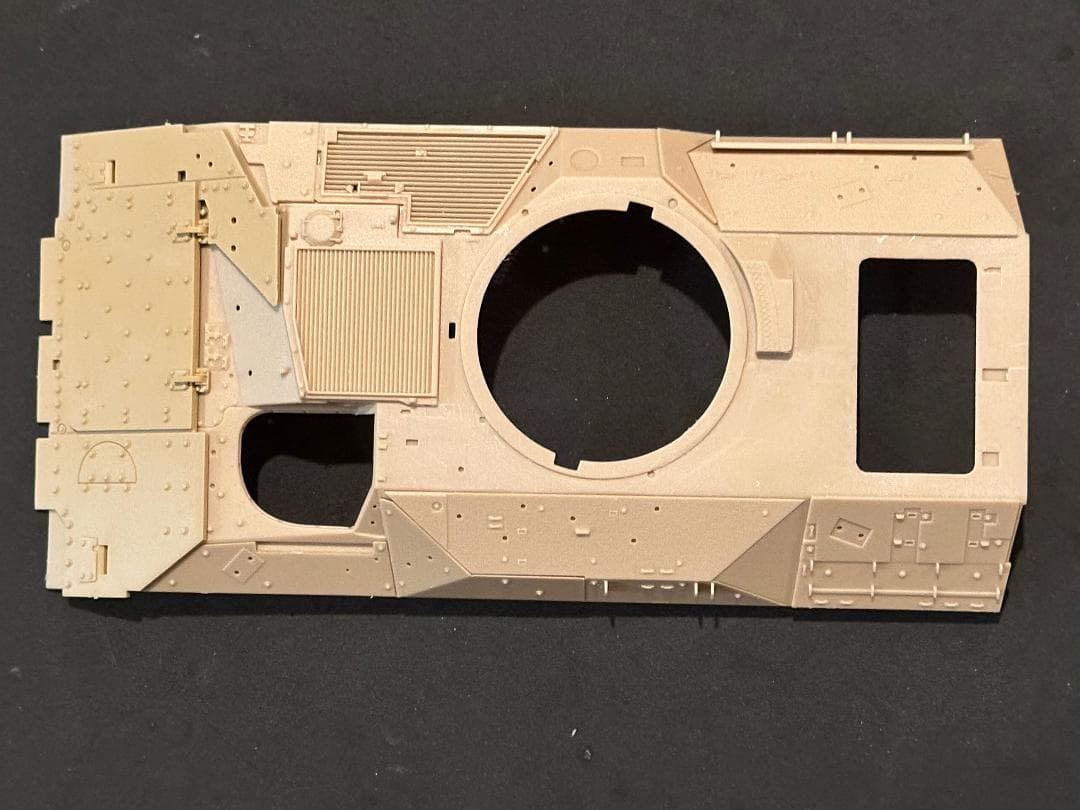
So, enough conjecture about the best way to get about getting an M3A2 ODS Bradley. I decided to move on with my idea of removing the roof armor. I started off by gluing some 120 grit sandpaper to a 1/4 plate of steel.
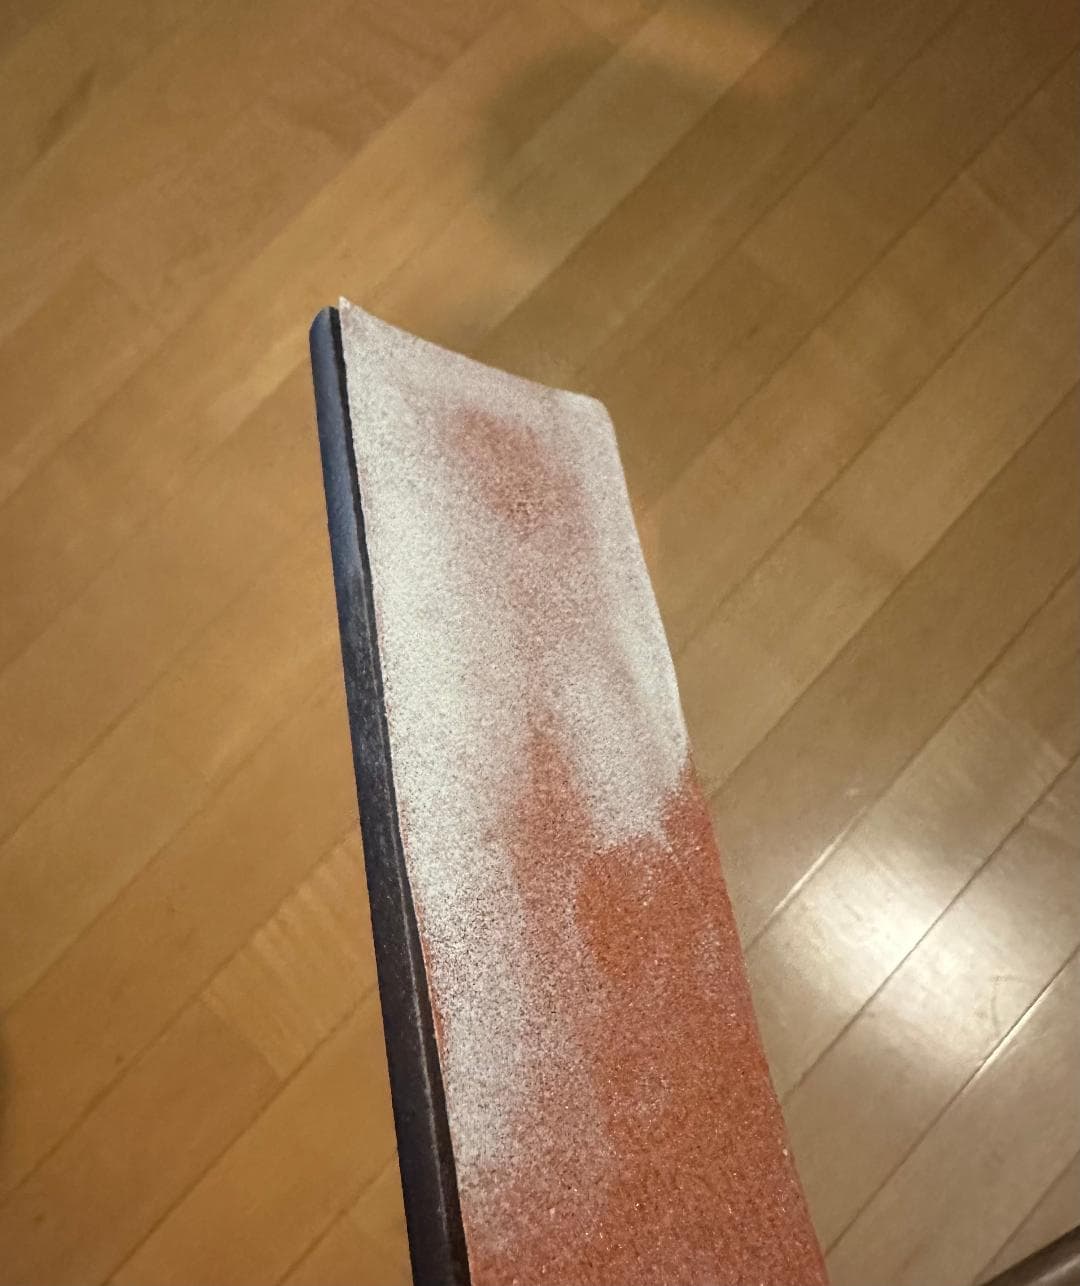
If all goes horribly wrong I can still splice in a section from an unused Bradley hull. The dimensions are identical, and any splicing would be hidden by the new angled armor plates.
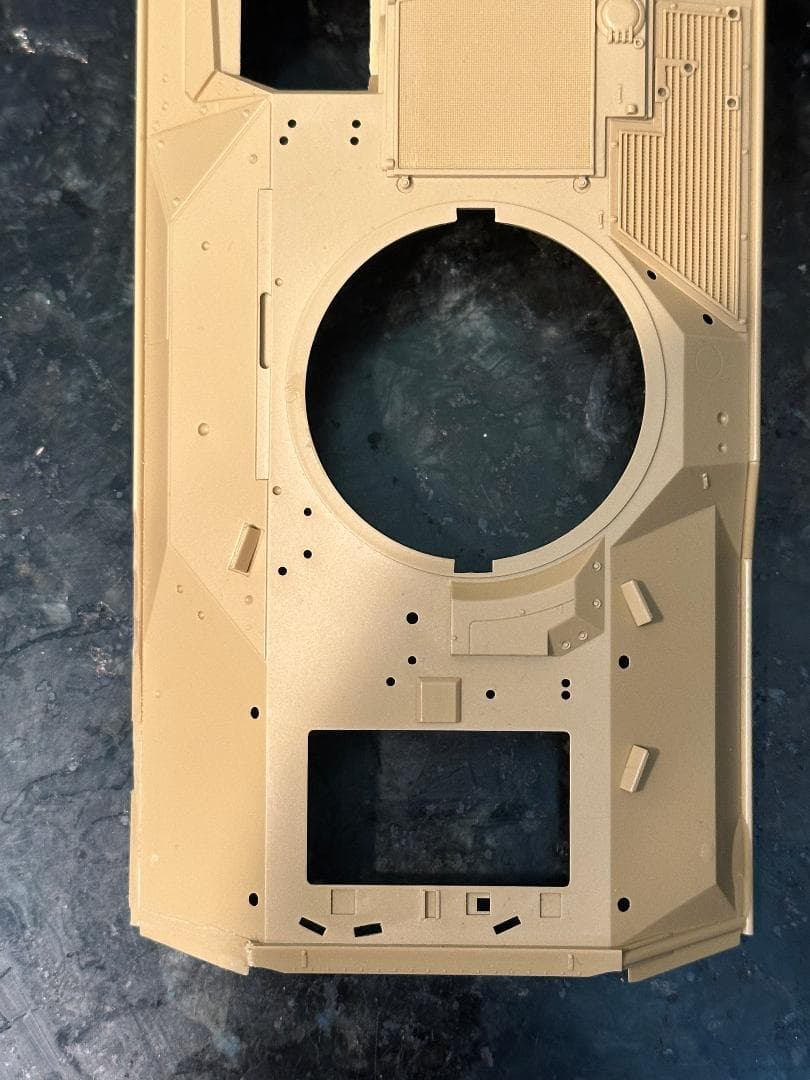
Qapla’! Worked like a charm. It took about three minutes with that sanding bar. I finished it off with some sort of foam emory board I purchase at a beauty supply store, Total time was less than ten minutes. Probably closer to eight,
As you can see all of the roof armor around the hatch is completely gone.

A standard M3A3 on the right for comparison.
Using an Academy hull as Gino suggested was never going to be an option for me. I’ve gone that route twice before - you can see in the very first photo in this thread how I had to cut off the sideplates to remove the swim barrier stowage. Then you have to put them back on. It’s too time consuming to ever want to do it again, especially with the number of new kits you can use.
And then of course you have to fill in the notch in this front armor plate
And fix everything wrong with the rear end:
Then you still have to transfer an assload of parts from another kit, putting them on incorrect swingarms, and hope everything works out. I’m satisfied with the course I chose and am certain I saved several hours of work. Besides that the bolt detail is very soft on the Academy kit due to how they molded the hull. The Meng bolts are very crisp.
So, the hard part is over. Now all that’s left is to finish building most of the kit as is, although I will need to go with different side armor plates. Plus the lower armor mounts are of the older angle iron style rather than the cast ones so, I’ll use my PE set for that.
Add the old triangle track from the MLRS, the work platform, and the frontal armor, the MCD, and some bits and bobs, and it should be a pretty standard build.
4 Likes
Robert what is the work platform you refer to ?
1 Like

Oh ok. Never heard that term before. Interesting.
1 Like
Nice work. How many Brads do you have on the bench now?
Thank you. Unless you have TS/SCI clearance that information remains undisclosed. I already have enough people questioning my sanity. Let’s just say it’s more than six. Plus there are my other projects - Gato, railroad bridge, Miss Molly Loco, a few more 1/48 trailers, Lackanooki build, B-25 fire bomber. I’d better stop there…
5 Likes
You probably should have stopped a long time ago, but too late now.
Ken
2 Likes
No wonder your wife wants a drawdown.
1 Like
She’d settle for being able to weave her way through the garage without being poked by a handlebar. Or for the Sportster and Buell to disappear from her parent’s covered back porch.
(They stored their excess furniture in our garage for over a year when they moved around the corner from us)
2 Likes
And I see they’re available now on eBay. I’m going to have to give them a try on this project - I loved your footman loops. Jenky old DML parts can go on some OG M2 builds instead. ![]()
Seeing these painted up in your post convinced me. They’re definitely going on this build.
So, life threw me a curve ball not too long ago and I’ve been unable to model or do much of anything the past two weeks, but I tihnk I’ll be ready by next week. I accidentally bumped into the door frame and it sent searing bolts of pain though my shoulder - a good sign that ther’es no nerve damage at least!
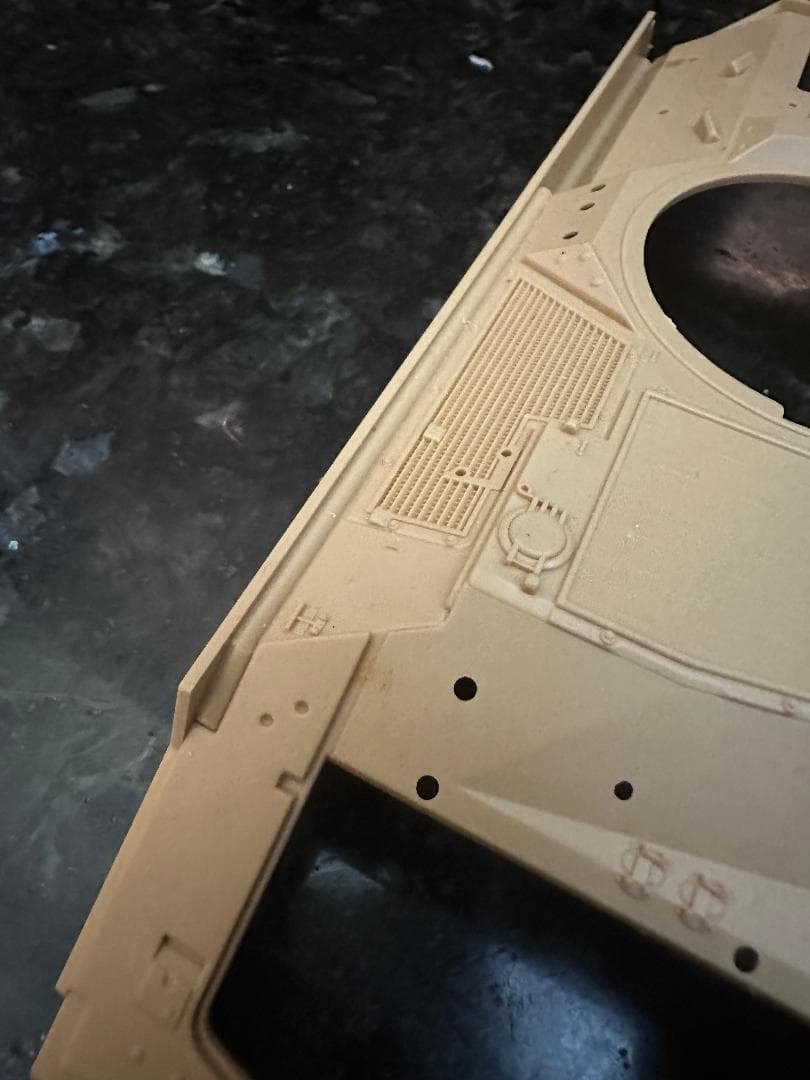
Here’s where I left off:
Upper hull with amor removed. Academy glacis Armor added.
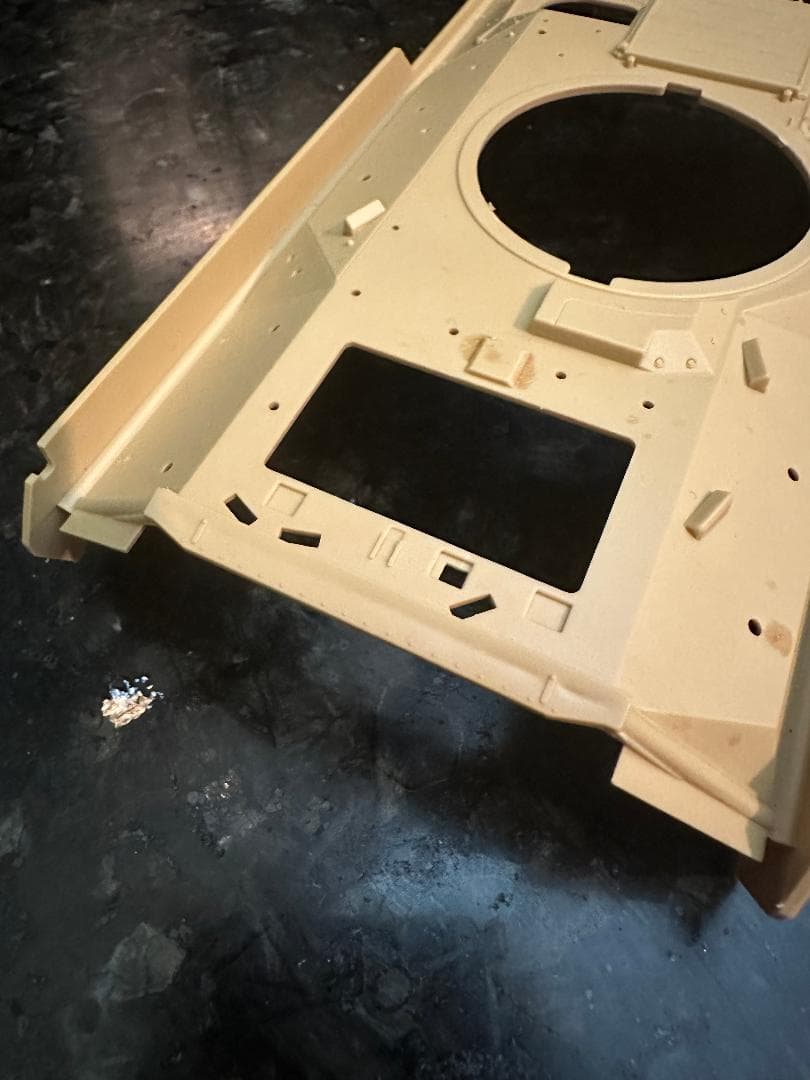
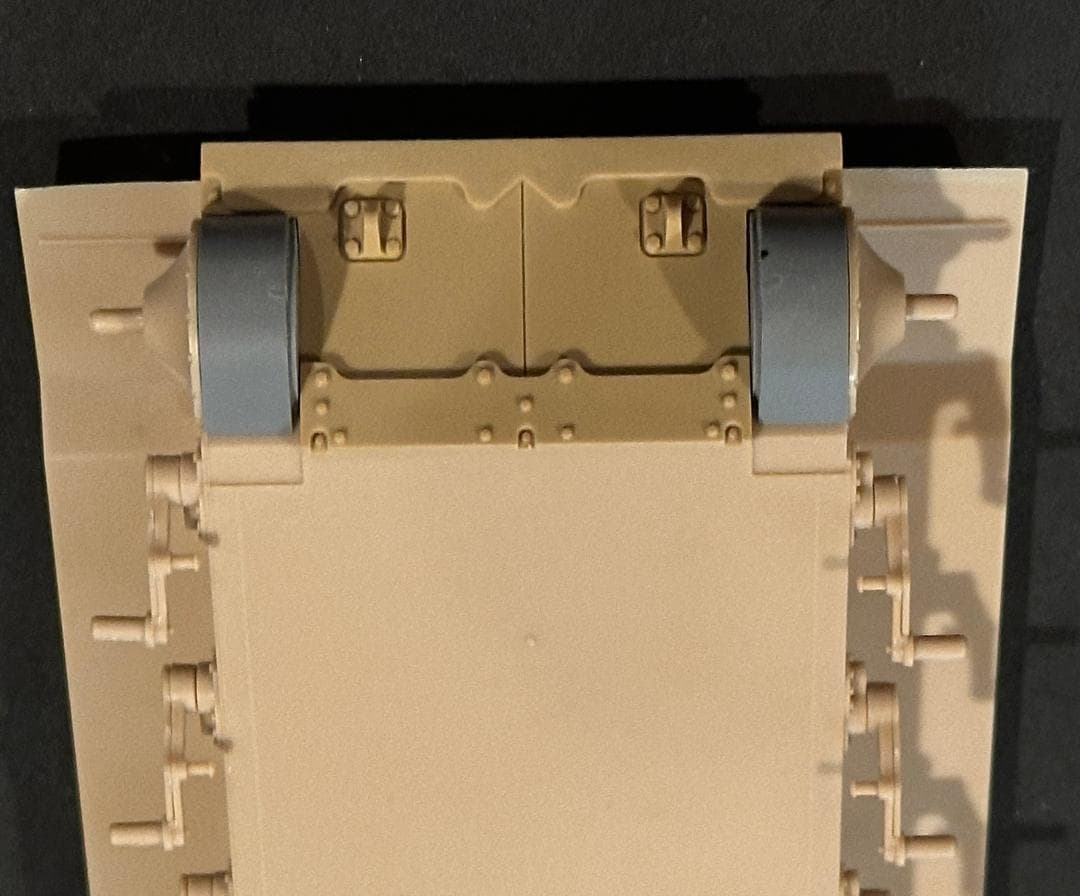
Corrected lowe hull armor plate. Stll lacks replacement bolts and scribe mark. It does fit like a dream with corrected final drive housings, which also need a few bolts added.
Hoping to be back in the saddle soon.
6 Likes
I got you covered. I think you are gonna like what you get. ![]()
1 Like
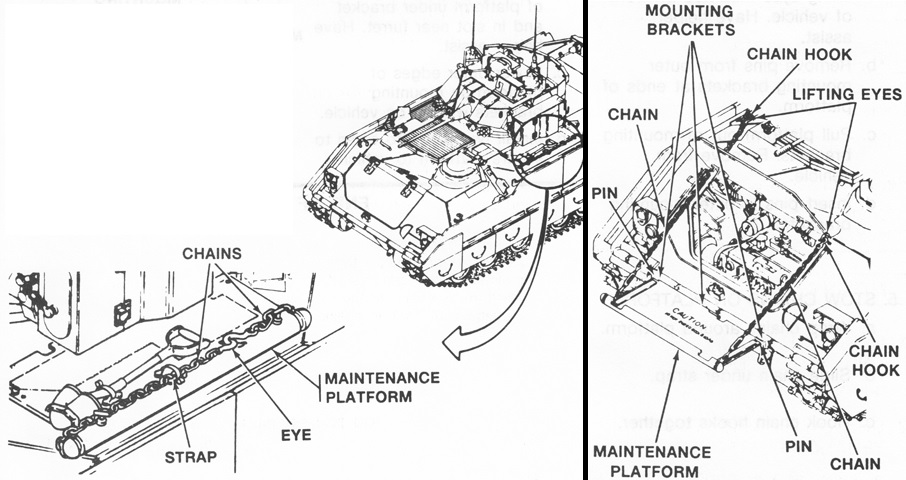
A little more clarification on that platform I forgot to mention. It mounts to the front of the Bradley in place of the trim vane, and is used to aid in performing maintenance on the power pack.
Looking forward to it!
2 Likes
Exactly. It would be cool to see someone model it. It will not be me.
2 Likes
Great pic, now it’s clear to me.
1 Like
Are you going to attempt it?
1 Like