M978A4 HEMTT Fuel Truck (Former M983A4 build)

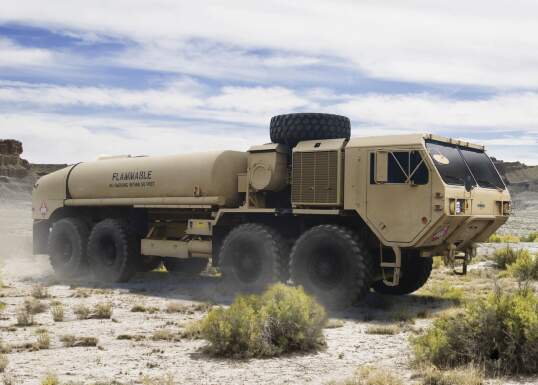
This is now going to be an M978A4 HEMTT Fueler. It is the latest version of HEMTT which has a new air-ride suspension, new longer cab from the M1074 PLS, and a new engine area arrangement.

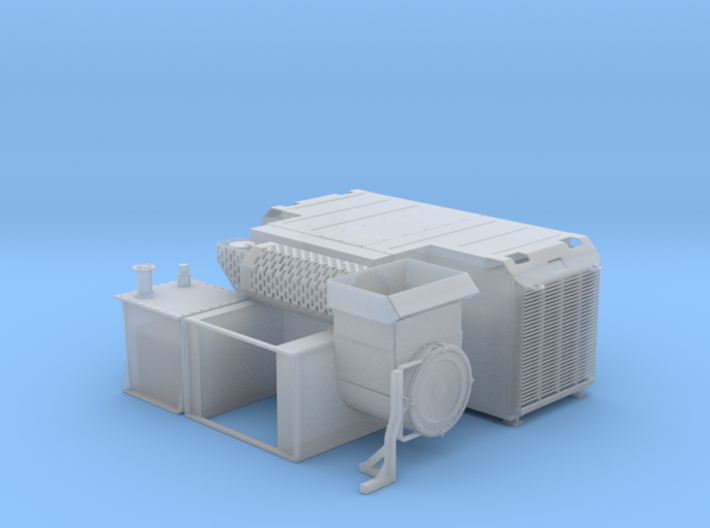
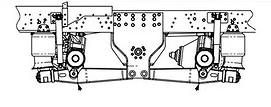
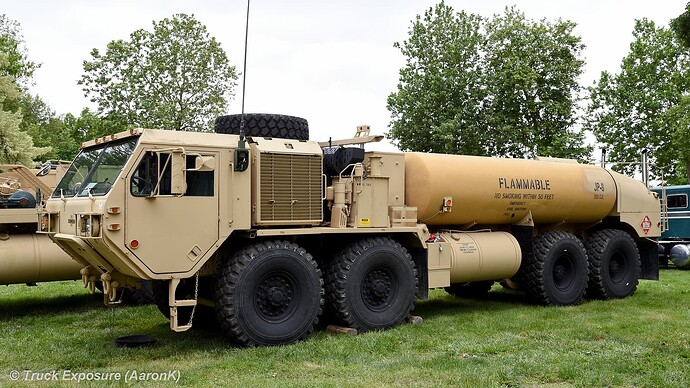
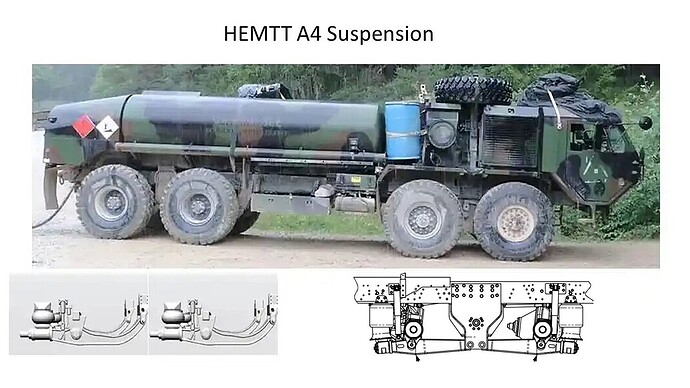
A few reference pics.
image

There is no kit nor conversion set (so to speak) for an A4 HEMTT. To that end, most of it will be scratch/converted starting with the Trumpeter M983A2 frame (left over from my M985A2 build) and the rest will be from an Italeri M978A2 kit. I will also add the ProArt Pump Compartment set.

I started with the suspension. As I said, it has a new air-ride suspension with the front and rear ones being different.

I started with a set that incorrectly has 4 of the rear suspension units, as opposed to two rear and one front, like above, that I got off Shapeways. Additionally, the mounts and air bags on them are too short to give it the proper stance and fit the axles.
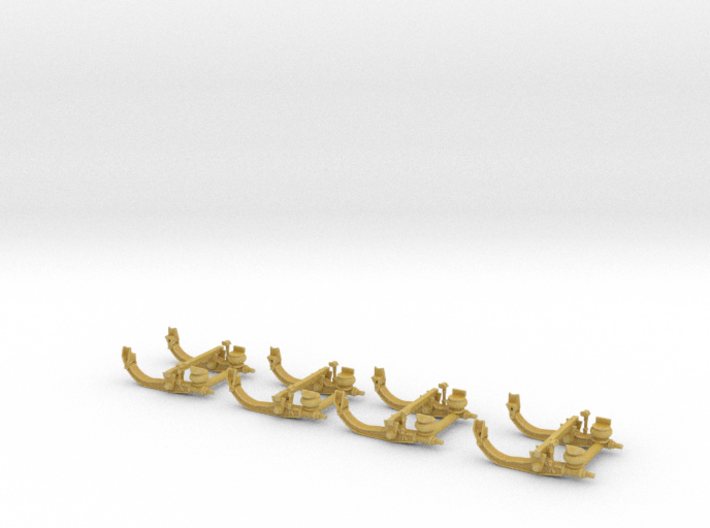
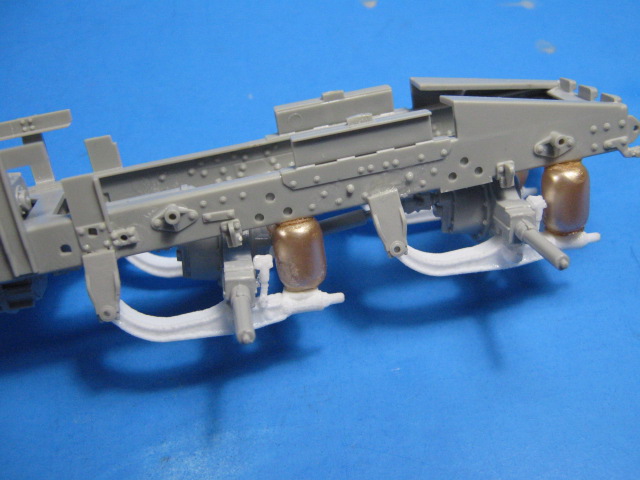
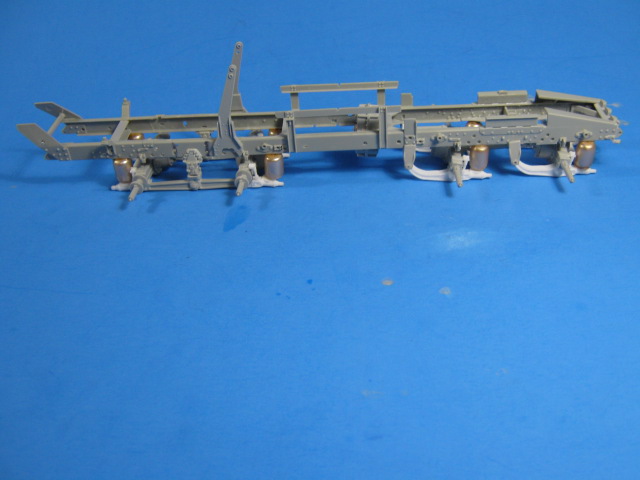
I started with the rear units which are individual cantilever mounts. To fix them, I cut off the bags and axle mount tabs. I then added pieces from the kit that go onto the sides of the axle mounts to extend the mounts for the new rear units. The bags are beads from my wife’s jewelry-making kit.
IMG_2416

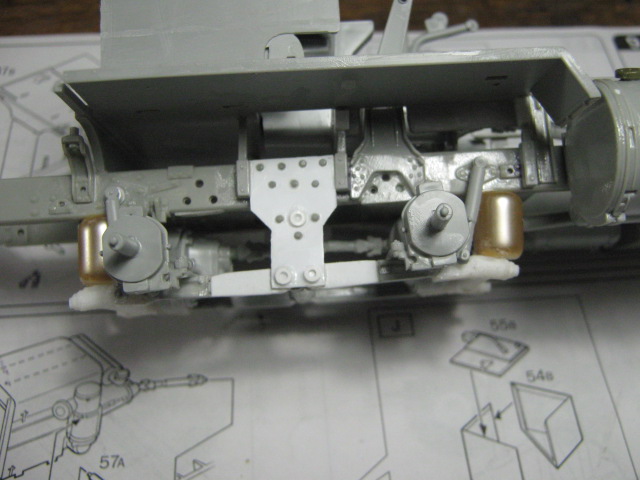
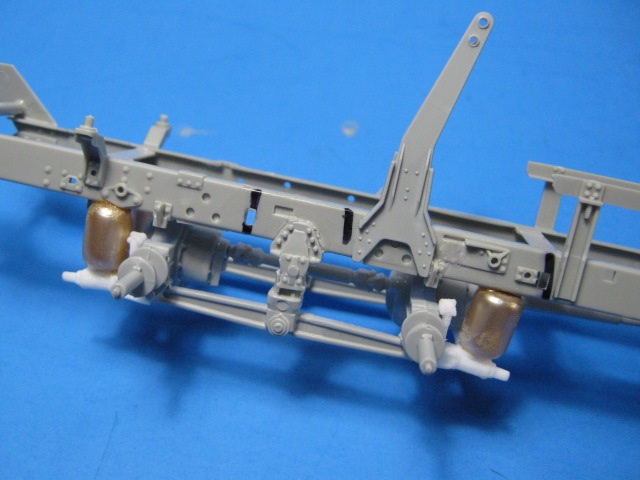
On the front, the suspension is anchored in the center and has arms that the axles pivot on from this center point. To replicate them, I used the kit suspension unit cross bars and cut off the springs. I also cut about 1/8 inch from the top of the mount. I also added the end that attaches to the frame to this center section and added a couple pieces that went on the inside of the kit suspension units to finish both sides of the new center mount/pivot point. On either end of these new arms, I cut away the rear section of the Shapeways mounts, just behind where the axle would mount. I added these and the same air bag bead to each end. I may rework the mount to look more like the TM drawing above, but I think it is a good start.
IMG_2417

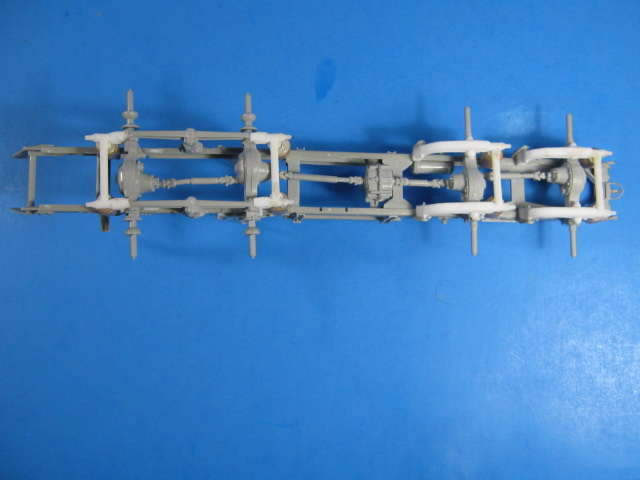
Here is the full new air-ride suspension.
IMG_2411
IMG_2413

More to come on the truck later in the week.

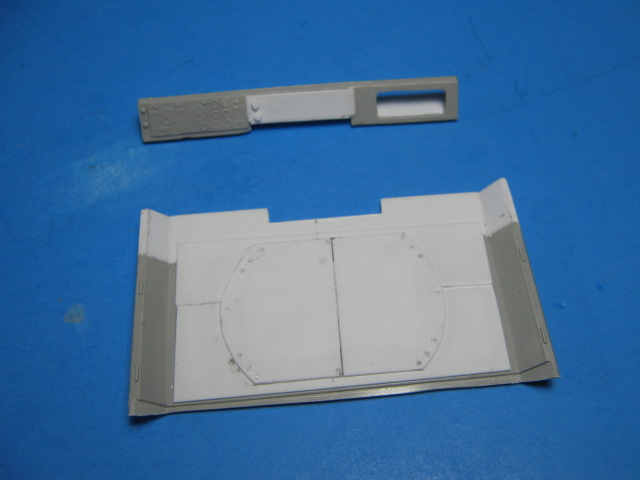
Next up will be the new engine deck. There is one at Shapeways by the same guy who did the suspension units. It looks OK, but he wants over $100 bucks for it. I will be doing it myself using sheet and shaped styrene.
6 Likes

Hi Gino,

This looks like it will be a great project. Very good idea with use of the beads - they will look just fine once it’s painted. Looking forward to seeing more.

Cheers
Nick

1 Like

I reworked the front axle mount. I think it looks a lot more like the TM pic now.

IMG_2418

image

4 Likes

Hi Gino,

The new bracket looks good - worth the effort to do so.

Cheers
Nick

1 Like

Thanks Nick. I like how it came out.

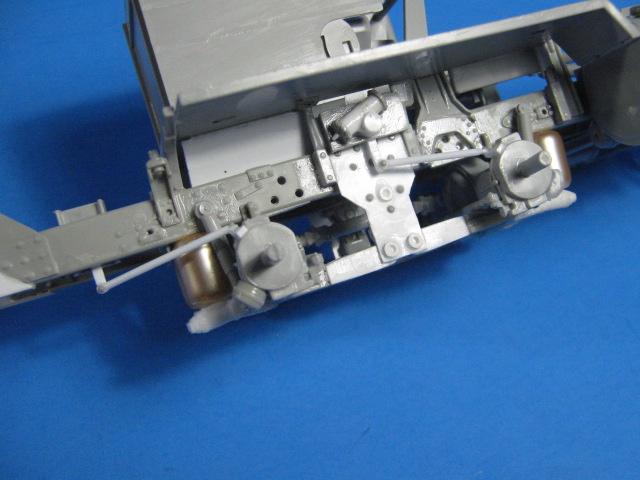
I’ve gotten back to work on the truck. I have completed the suspension. On the front, I added air brakes, shocks and the steering gear boxes and arms. HEMTTs have two front steering gear boxes, one for each axle. The front one is inside the frame rails ahead of the front axle. The rear one is mounted on the outside of the rails between the two axles.

IMG_2468

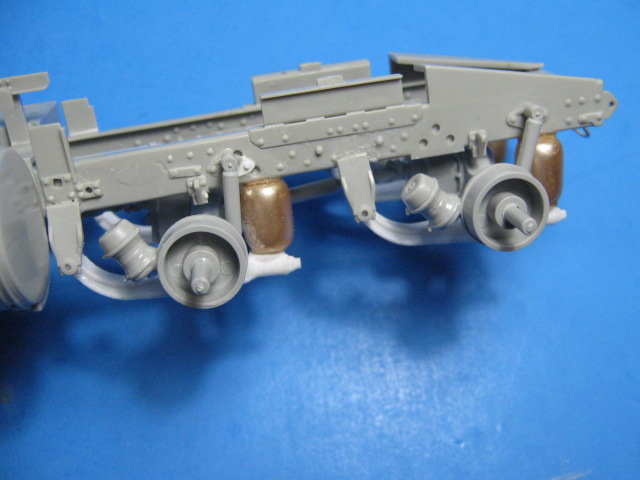
On the rear I added shocks and the air brakes.
IMG_2469

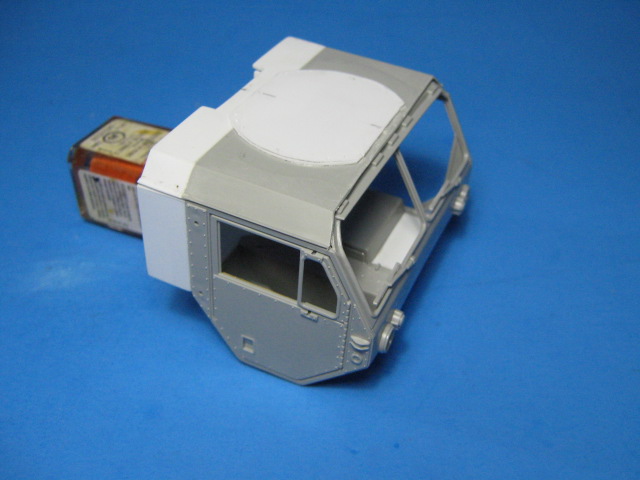
Once the suspension was done, I moved to the cab. The A4 cab is longer and has a roof plate where a gun turret can be added. I replicated both of these by adding 1cm to the length and a cut down circle of plastic for the gun ring cover. I also cut down the front of the roof. The A4 doesn’t overhang at the front to make like a brow/sun shield.
IMG_2470

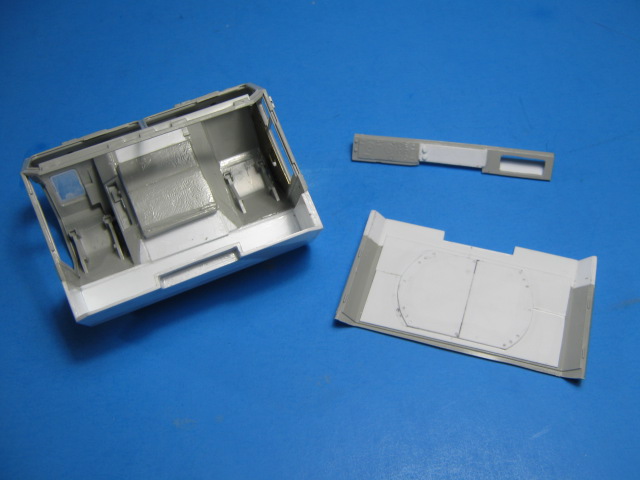
I also added details on the inner roof, and details to the dash to make it look more like an A4. I reworked the center tunnel cover as well.
IMG_2471
IMG_2472

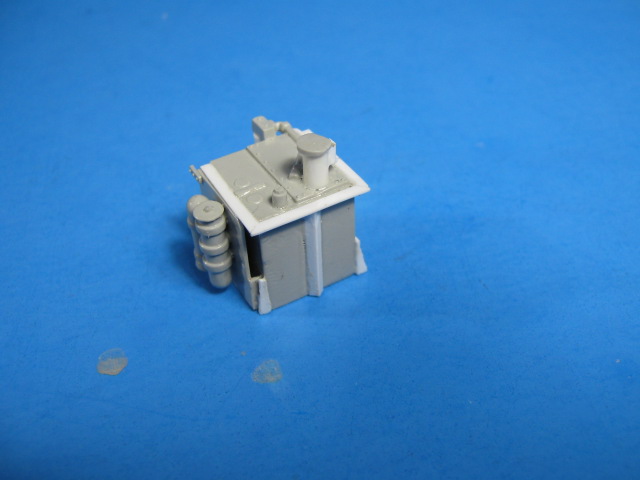
I also detailed the hydraulic fluid reservoir with filters on the side and rear, and lip and frame details.
IMG_2473

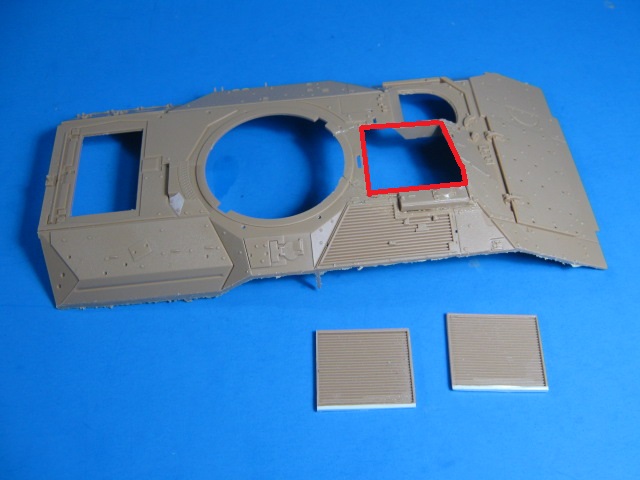
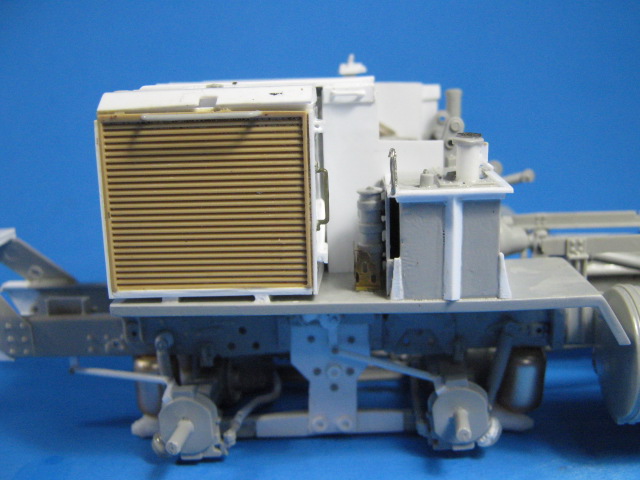
Next I will move to the side-mounted radiators. I am starting with the louvers from the top intake of a Bradley. I had bought a couple Kinetic M3A3 hulls for the side skirts and other details. I cut the intakes out of them and squared them up. Next I will build up the boxes for them.
IMG_2474

More to come later as I continue the build.

8 Likes

Good work!

Please don’t forget to replace the overhead lamps above the front windows and position lamps on the left and right hand side of the cap.

1 Like

Yup, those are on the “To Do” list.

2 Likes

I like what you have accomplished so far.

Cheers,
Ralph

2 Likes

Thanks Ralph. I should have another update by the end of the week. Was at the beach for the 4th and head back home tomorrow. Can’t wait to watch fireworks over the water tonight. :fireworks: :sparkler: :firecracker:

1 Like

HI Gino,

This is looking really good Your work on the suspension is quite inspiring -

Cheers
Nick

1 Like

Thanks Nick. Based on your suspension work, that means a lot.

1 Like

I have pretty much completed the A4 engine surround and details around it.

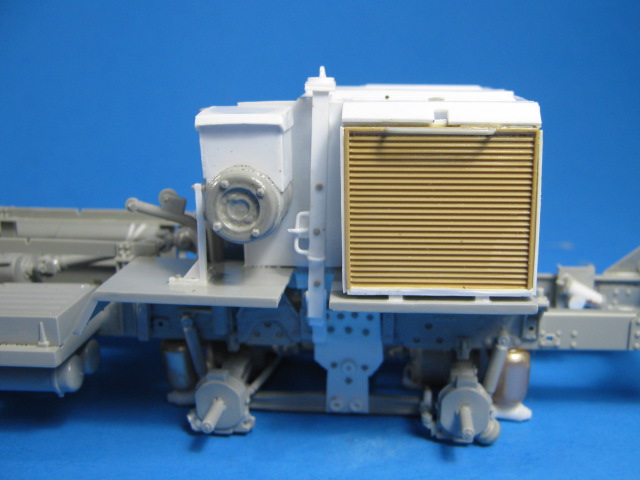
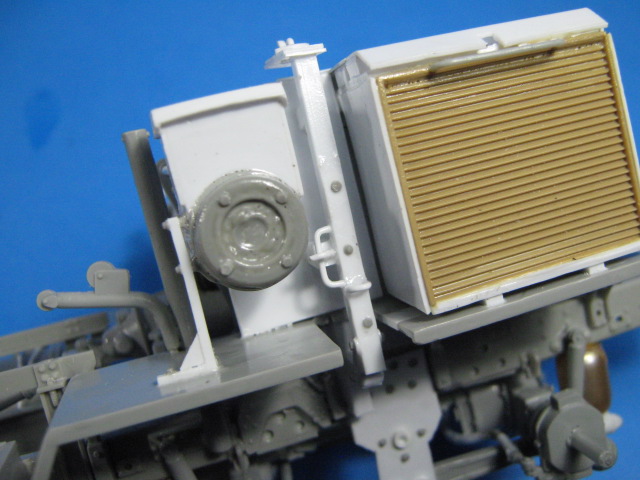
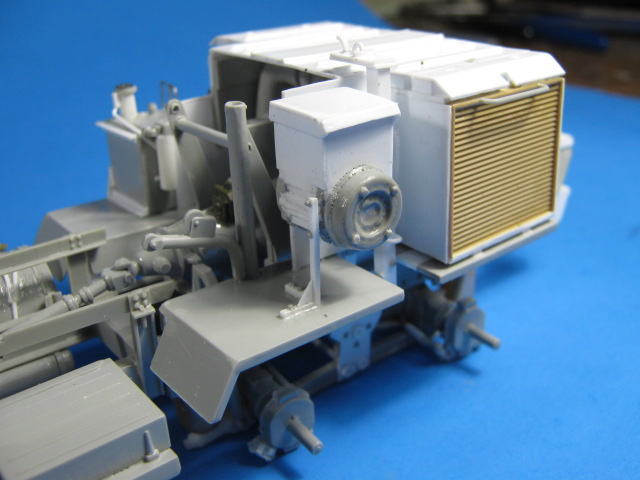
As I showed above, I used Bradley air intake louvers to make the side-mounted radiators. I finished them off with sheet styrene to make the boxes and added details from angle styrene and other detail pieces. I used a couple grab handles left over from something to complete them.

IMG_2475
IMG_2477

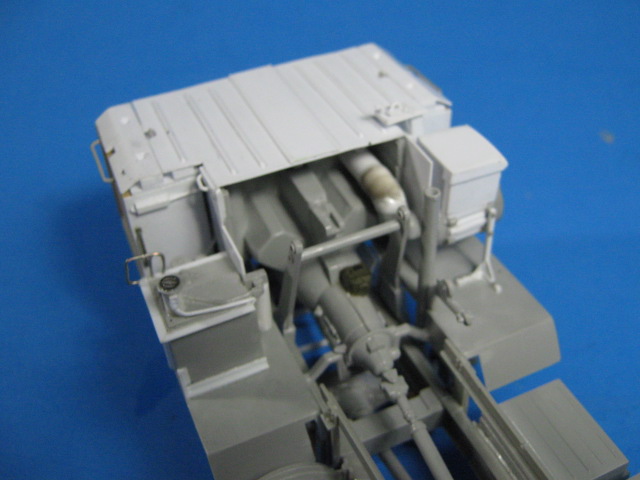
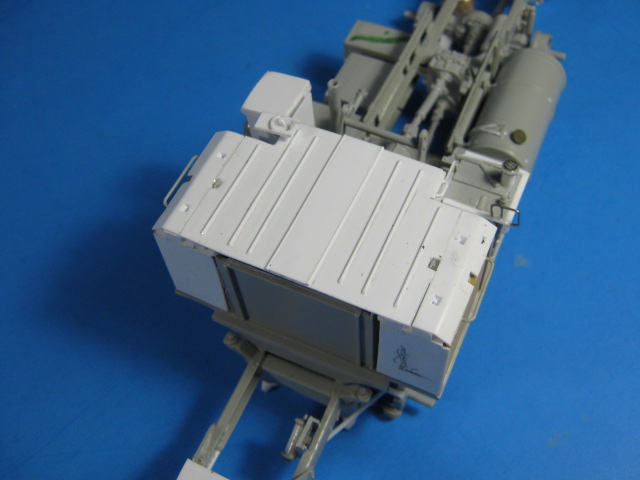
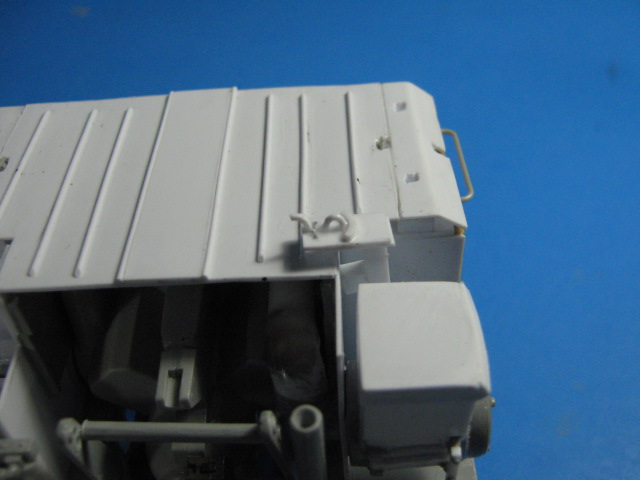
I made the top flat part over the engine out of sheet styrene and thin styrene rods as stiffeners. You can also see some of the details on the hydraulic tank as well. I added some hoses and a PE mesh circle detail on top of the extended tube. I also made a grab handle out of wire. You can also see on the right side in the first pic a new air intake tube that I made from the kit’s tube and a bent piece of 1/4 inch styrene tube. It is the same diameter as the kit part and matched perfectly.

IMG_2478
IMG_2476

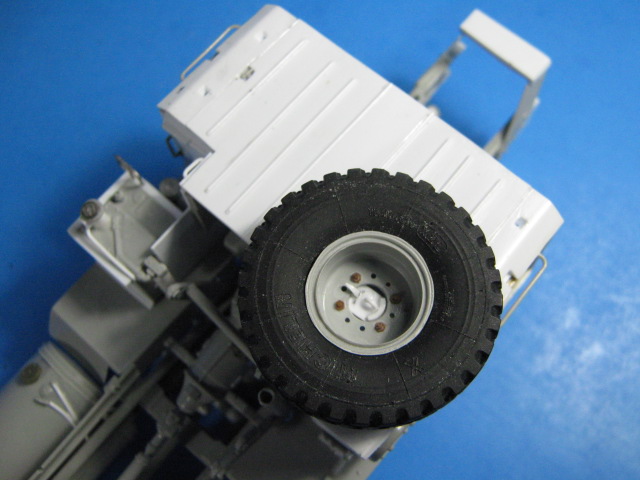
On top, I made the holder for the spare tire. It is made out of square stock styrene and sheet styrene with some angle and bolt heads for details. I also added bolts to the spare’s rim. The actual piece hinges out and down to lower the spare tire.

IMG_2481
IMG_2482
IMG_2480

To the left of the spare tire holder you can see the air cleaner. I took the kit air cleaner drum and turned it sideways, then cut is down to fit on the side fender. I built the top box from sheet styrene and the support from square stock styrene. Again, I detailed it with some bolt heads and smaller parts. The front disk started as a 1/48 aircraft tire, highly modified.

IMG_2479

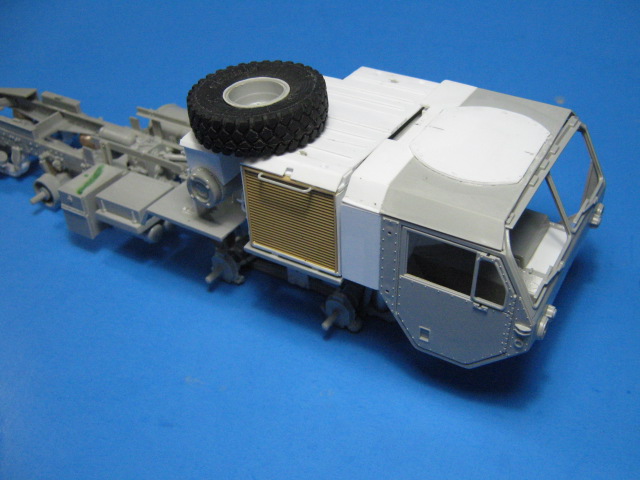
Here it is mocked up with the cab in place to see how it looks overall. Not too shabby if I do say so myself.

IMG_2483

Next up is continuing with the cab details and then adding the rest of the tractor parts on back.

13 Likes

Gino that is outstanding scratchbuilding your details are amazing!

2 Likes

Thanks Matt. I really like how it is turning out.

1 Like

Excellent scratch building!

1 Like

Thanks Rick.

1 Like

Kudos! (Super Seriously!)

Finally someone had the guts to build the A4. Which of course now means some model manufacture will come out with a kit for the rest of us!

2 Likes

Thanks Mike. I hope someone does come out with a HEMTT A4 kit. It is a PITA to build, lots of sheet styrene work. I really like it though. I’m actually considering building an M978A4 Fueler…maybe. I’m a glutton for punishment. :unamused:

1 Like

Some excellent building going on Gino and that is topped with the scratch building details you are throwing into it all. Superb work.

1 Like