@phantom_phanatic, well, I wouldn’t call the Etendard any beauty contest winner. Although it does have a certain elegance.
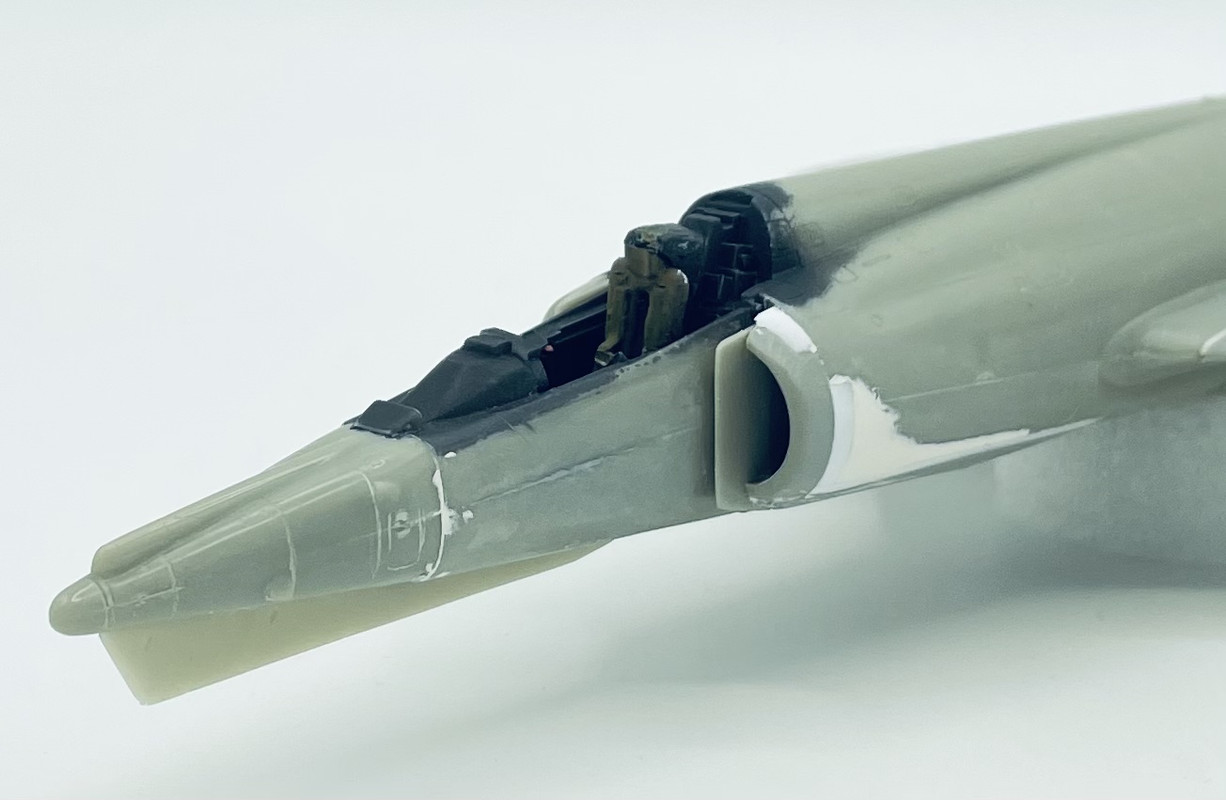
Now for my Etendard… this one has been fighting me too! The intake area had some warping, so needed a good amount of shims and putty to fair everything in smoothly. I also used strip styrene to fill in the gaps at the wing roots, upper and lower surfaces. I was afraid that putty would crack and fall out, and I’m out of gel CA for gap filling. The local shops are a good distance away and I didn’t want to lose the bench time, so it was a case of using what I had on hand.
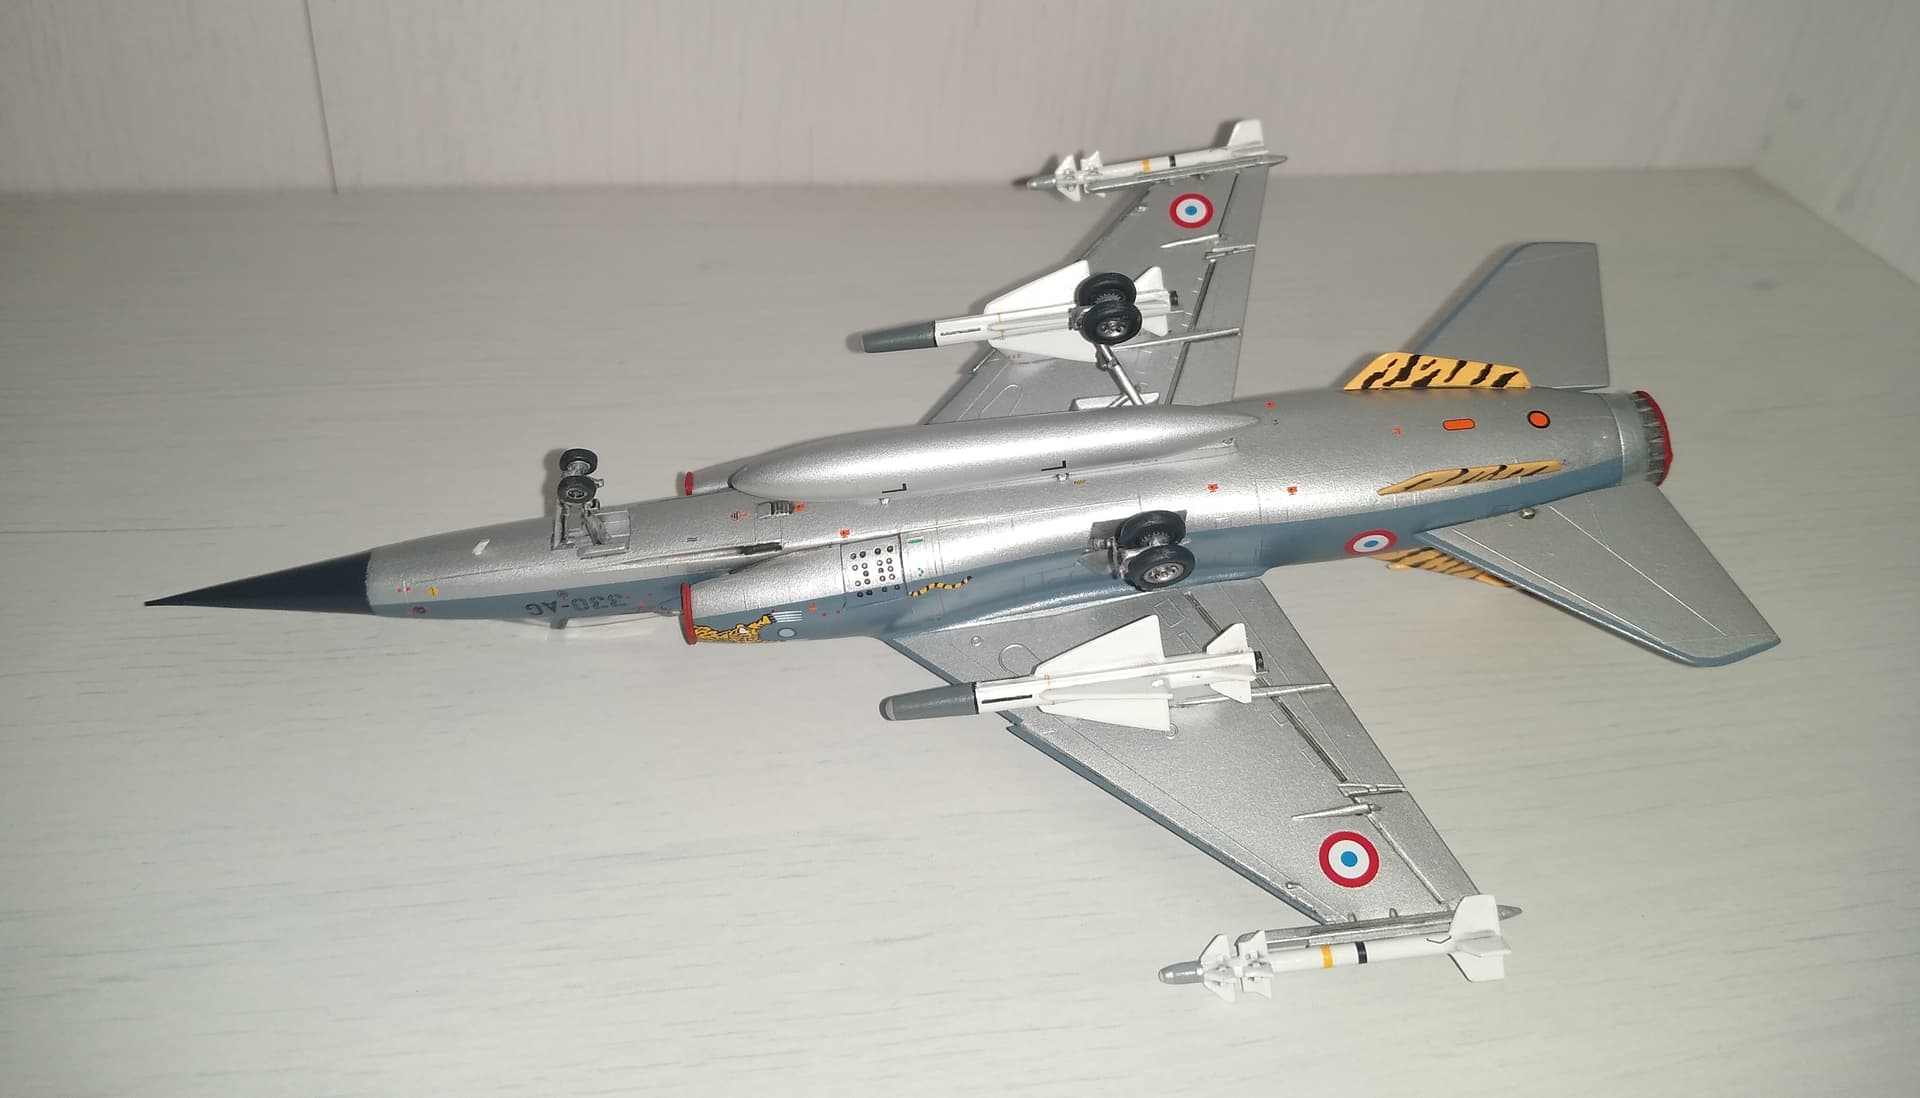
Once I had all the sanding completed, I added the tail and the under nose strake so characteristic of the Etendard IV
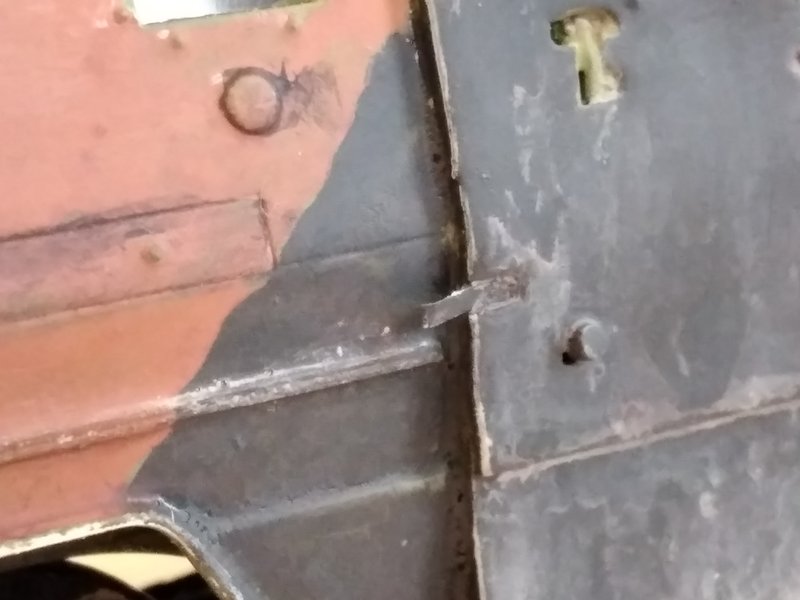
Here’s a close up of the worst filling area
I left off the wingtips and the staibilator is not glued in place to aid with painting that I should be able to start after adding the last few little scoops and such…
And I’ve just noticed that at some point I’ve knocked off the nose pitot tube. My own fault, I should have replaced the fragile kit part with a steel pin. Will have to repair that in the near future.
Looking forward to seeing the last builds finished.
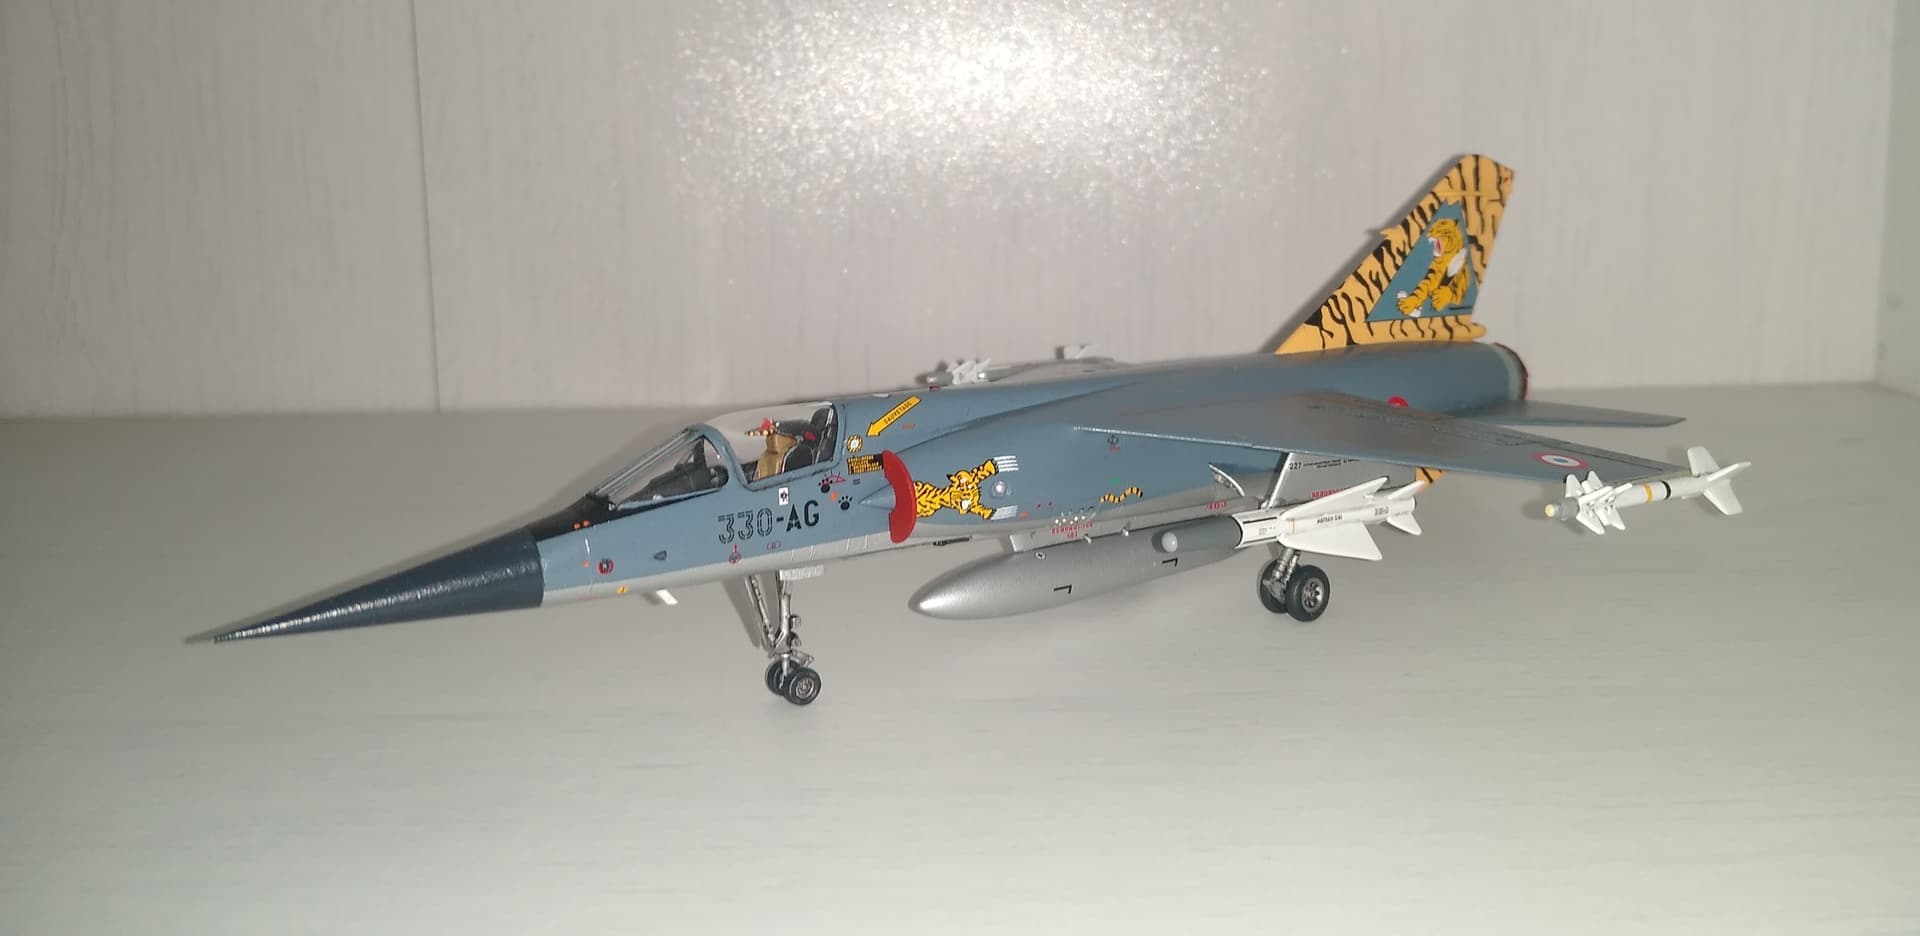
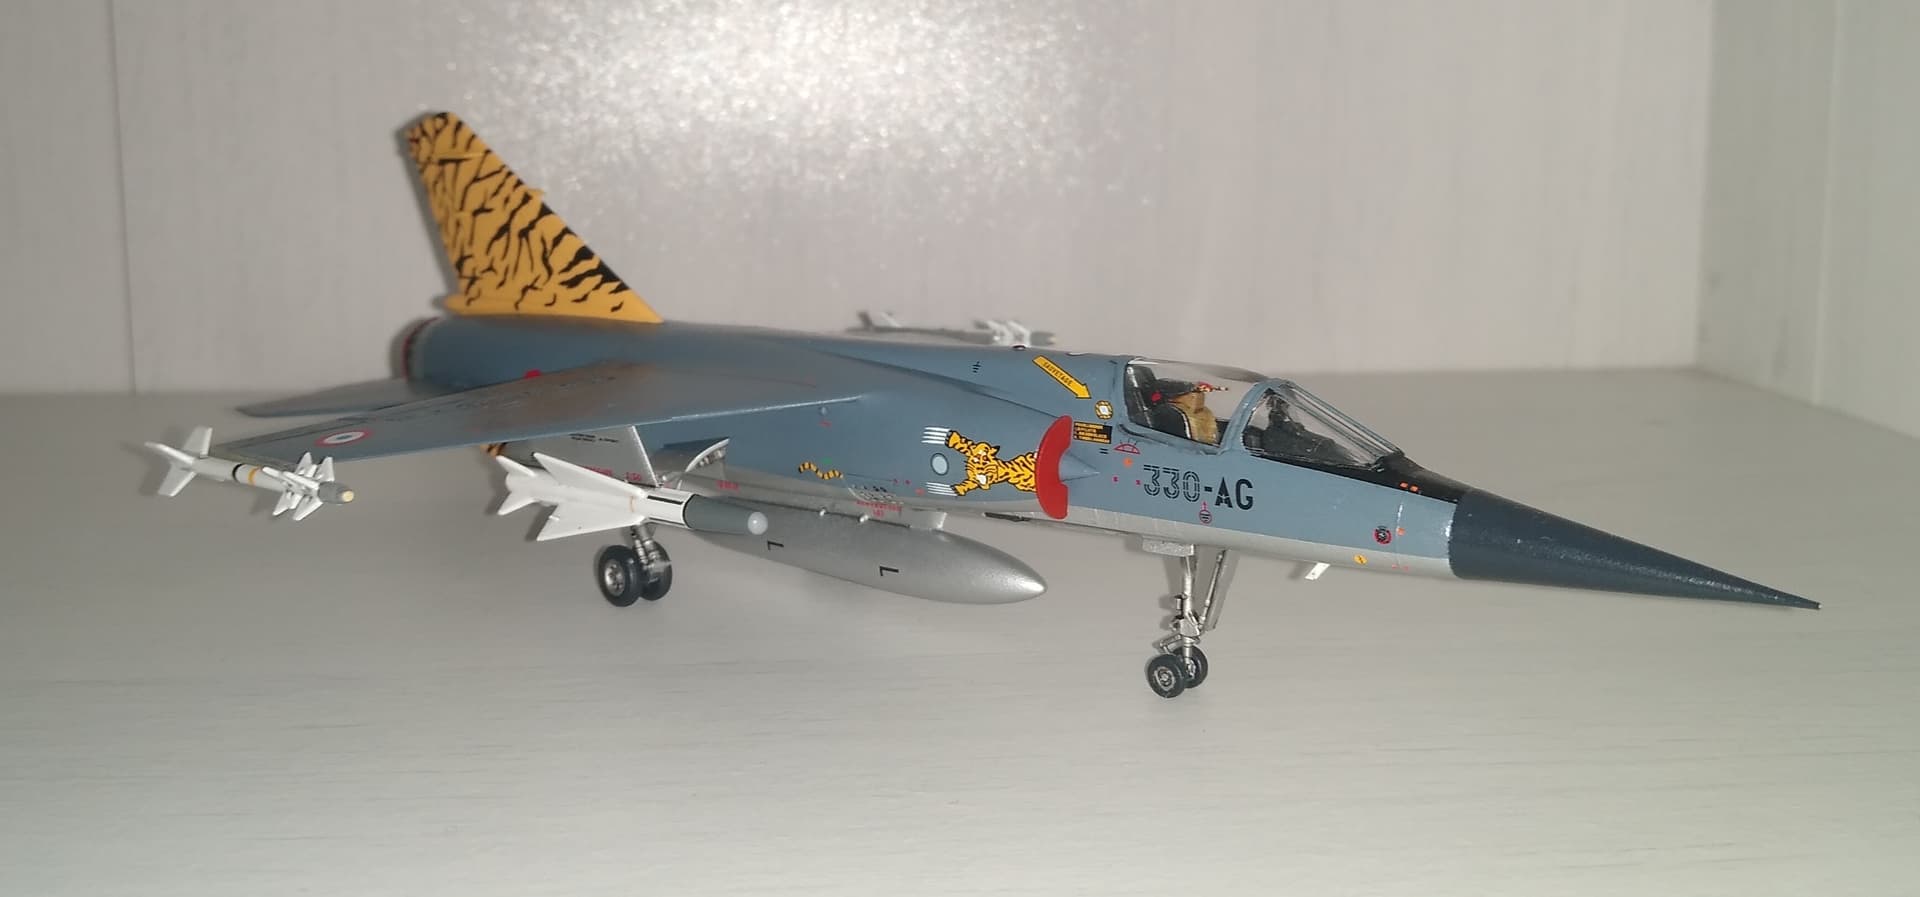
Carlos, I used Vallejo’s Modelair Aluminium and then coated with their gloss varnish from the Metallic range. Really nice paint to work with.
It’s actually not the colour it should be. It’s supposed to be more of a grey shade. The old Humbrol 56 aluminium is a bit closer to what they used. I was hoping that the final satin coat was going to dull it down. Own worst critic!
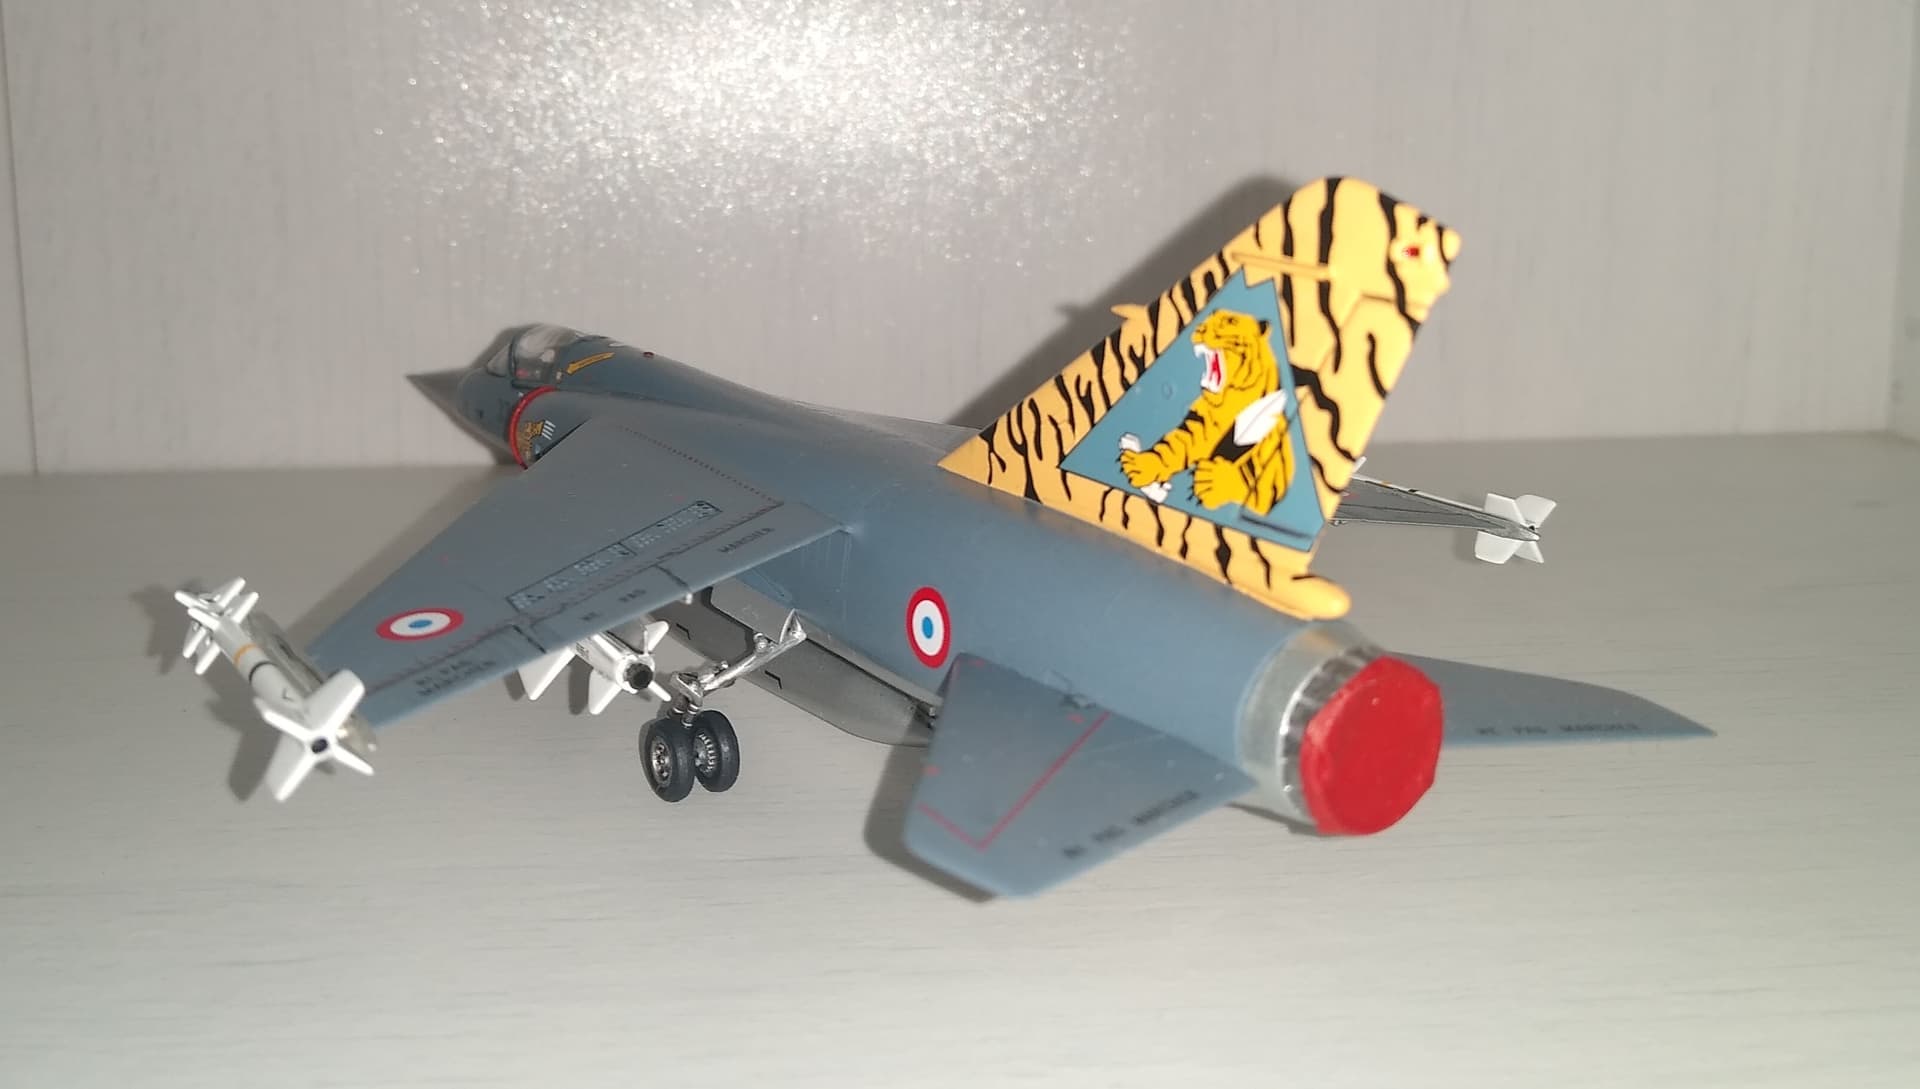
I can always say it was given a clean & polish for the Tigermeet.
Sounds good Stephen, thanks for that info. I have both Humbrol 53 and Model Air Aluminum in my paint collection. The Model Air shade sure is brighter and more vivid than the Humbrol color.
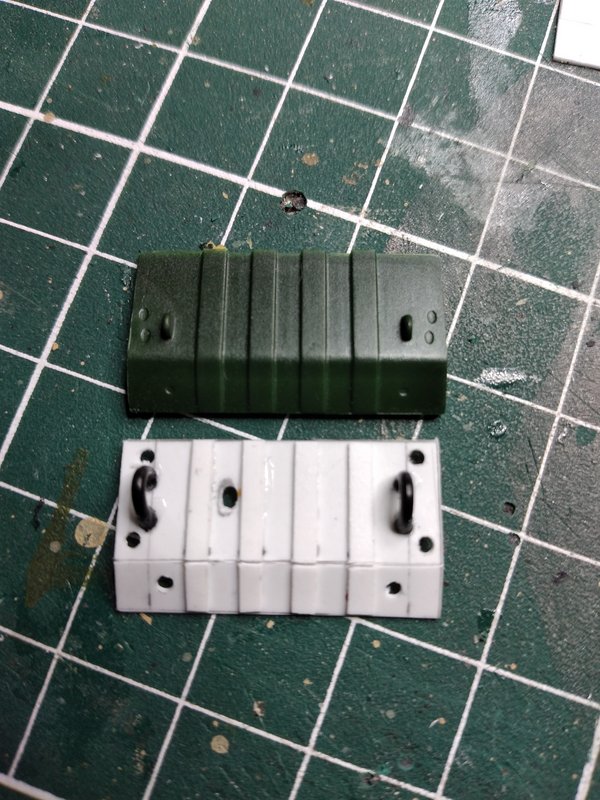
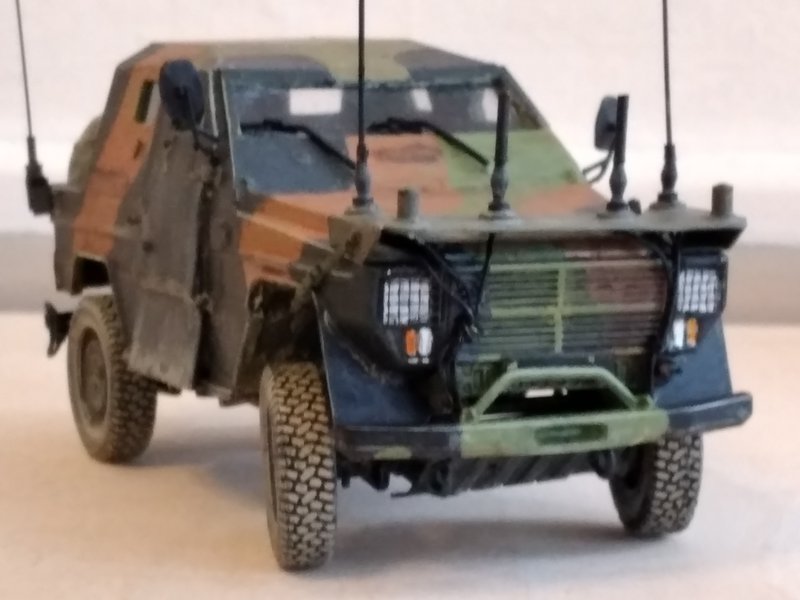
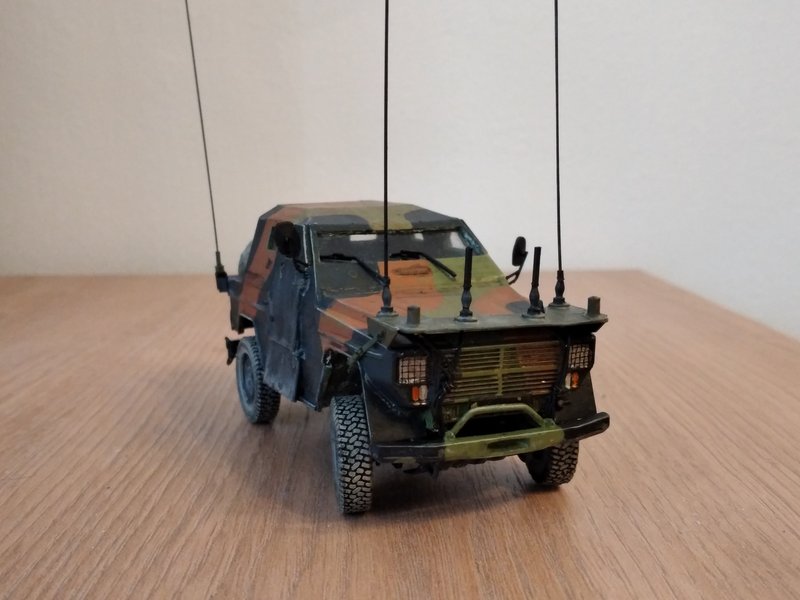
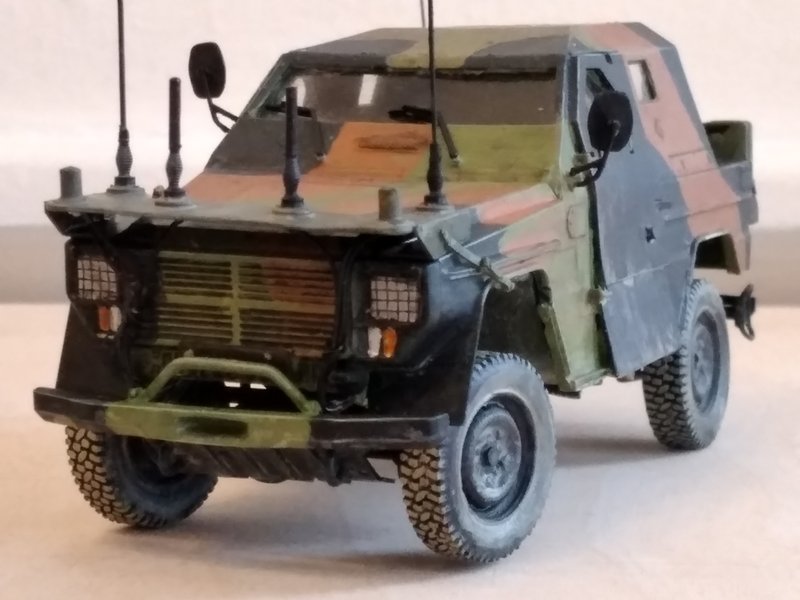
Front lights protections are provided in resin in the conversion. I have thought they were too thick so I have replaced them with photoetched mesh. Also they were wrong (4x4 square instead of 5x5 square)
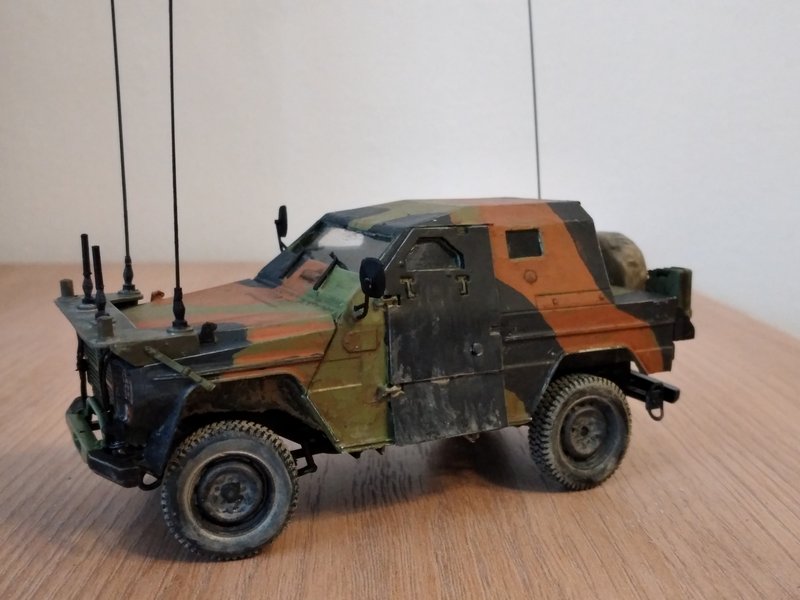
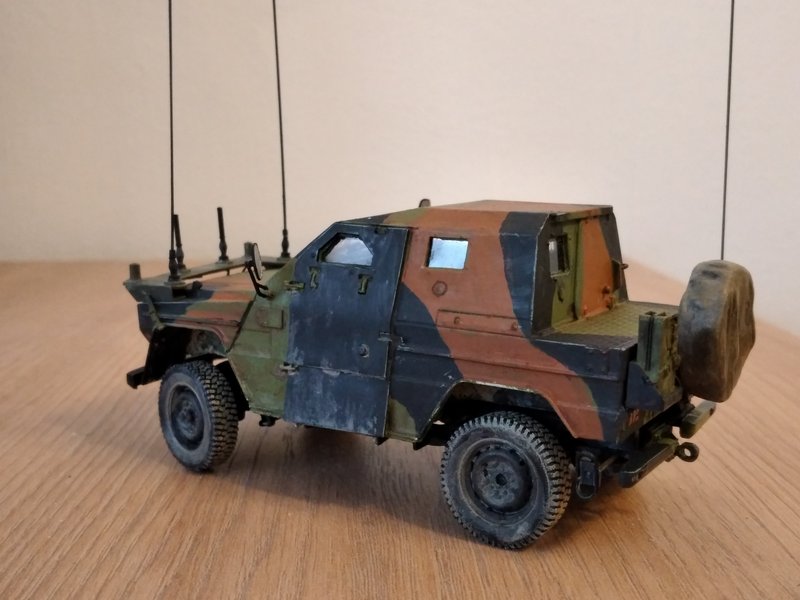
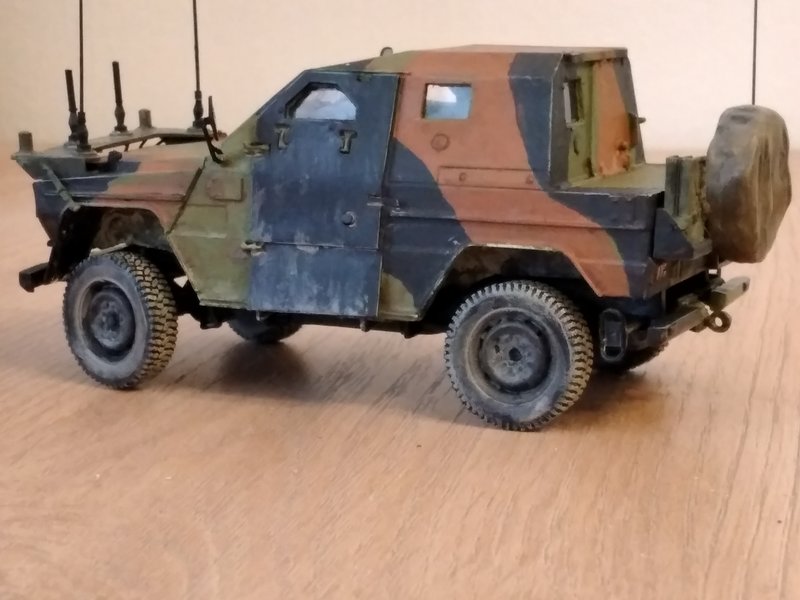
I call it done.
I am satisfied to have finished this kit.
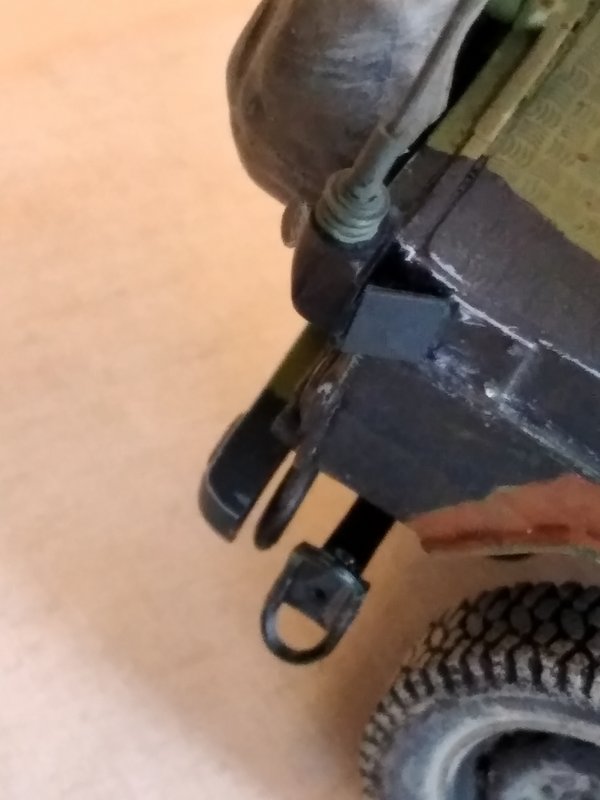
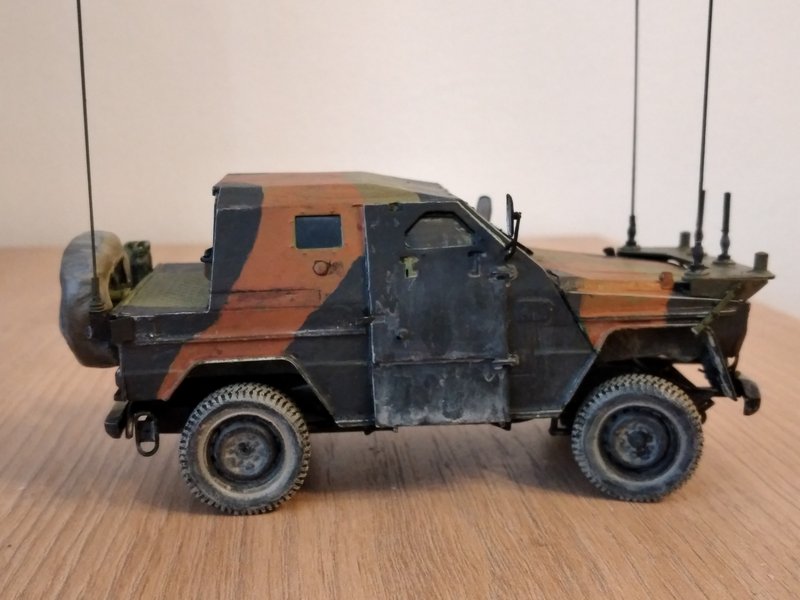
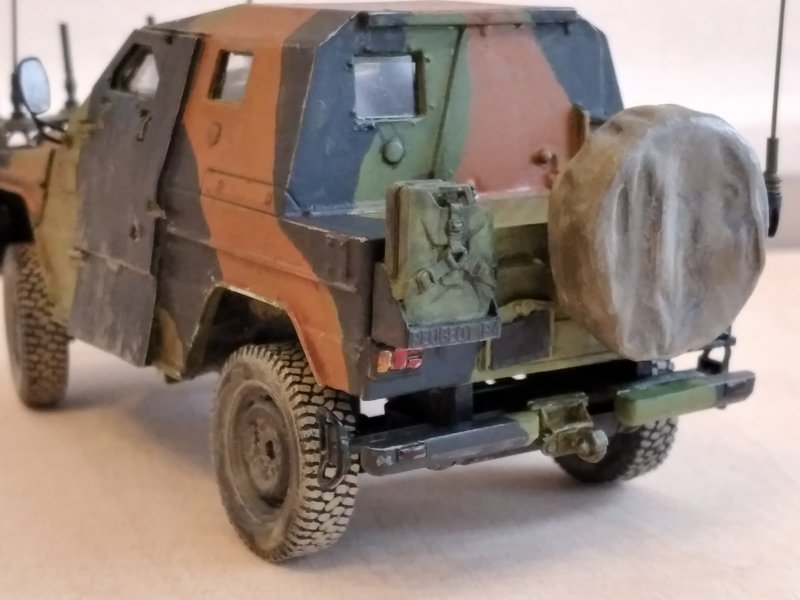
The conversion is very basic with almost anything for the interior except 2 seats and a wheel. Just rims for the road wheels replaced in my built by complete wheels from Azimut Productions.
The camouflage paint was very difficult, first because I am color blind, and there is very few pics available on the internet of this version of the Peugeot P4.
It would have been very usefull if Blast Models had joined a camouflage drawing for it.
No precision for the length of antennas. I think mine are a bit big.
The resin cab is difficult to put in place. It is not the best of Blast Models products.
That’s a rather unusual and seldom seen vehicle. A good job you’ve made of what sounds like a challenging conversion. All the effort you made with the colors paid off as they look authentic.
Well, 14 out of 23 is a pretty good rate for one of these campaigns. Thanks guys, it’s been fun, maybe next time I’ll do something more fun than a biplane on a schedule.