True. I have a lot of shelving and stuff on my walls already but I can probably toss a few kits on there if I rearrange things.
1 Like
Your paint is really bringing this one to life.
Paul
2 Likes
Nice. I built this and have another one I would like to build. One bit of input, getting the cab lined up right was very tricky. I’m not sure I figured out how to do it well on the first kit I built. I’m sure you are aware of potential issues like this on any kit but wanted to call attention to it.
Just looking at your pics kind of makes me want to get back to my second one.
1 Like
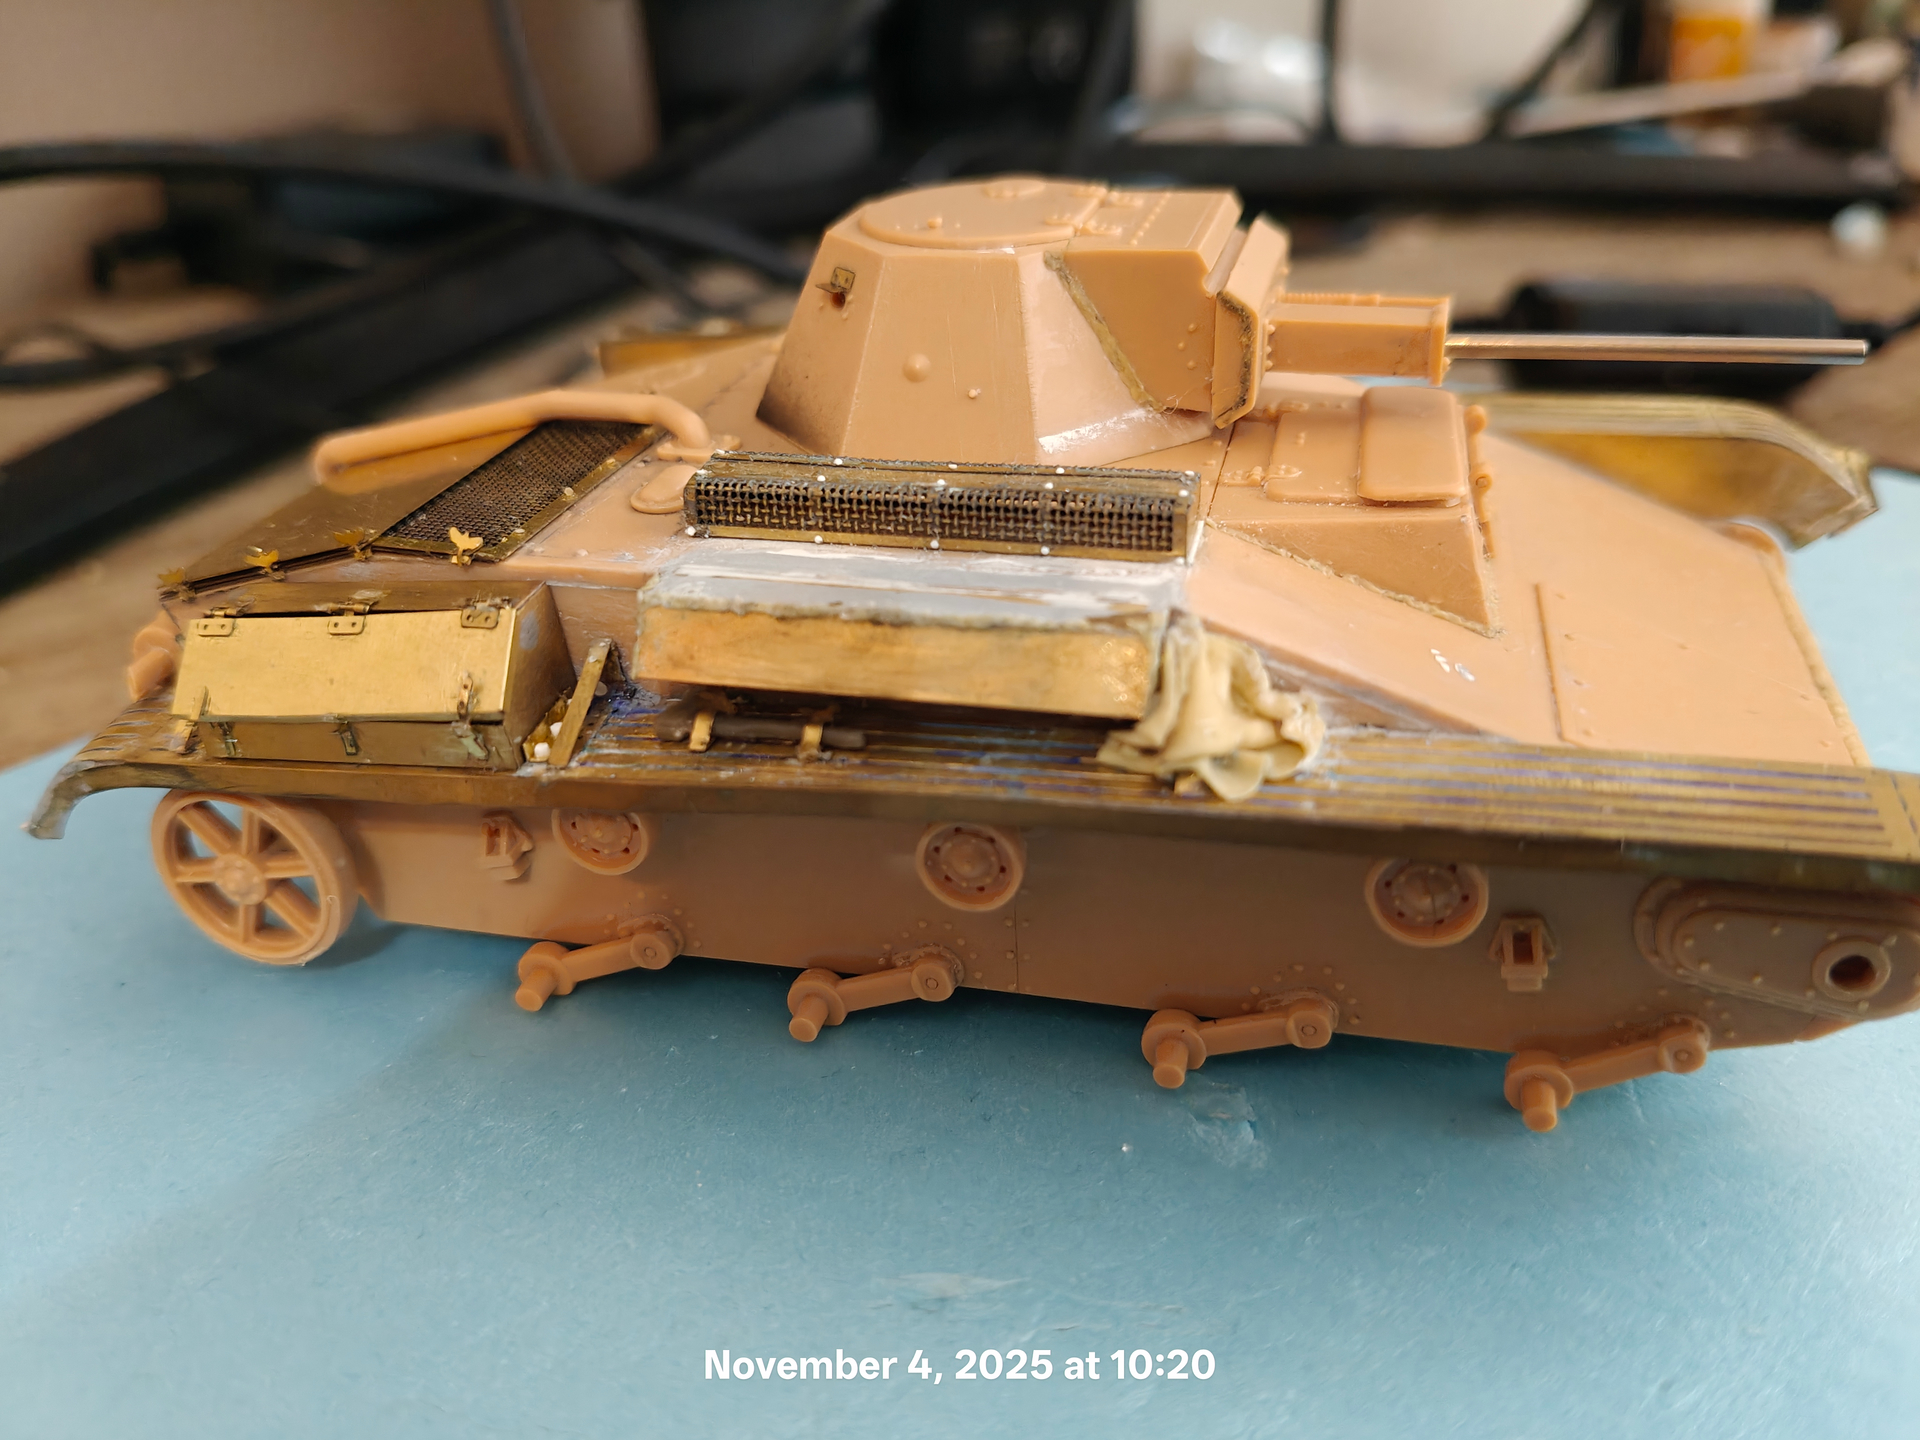
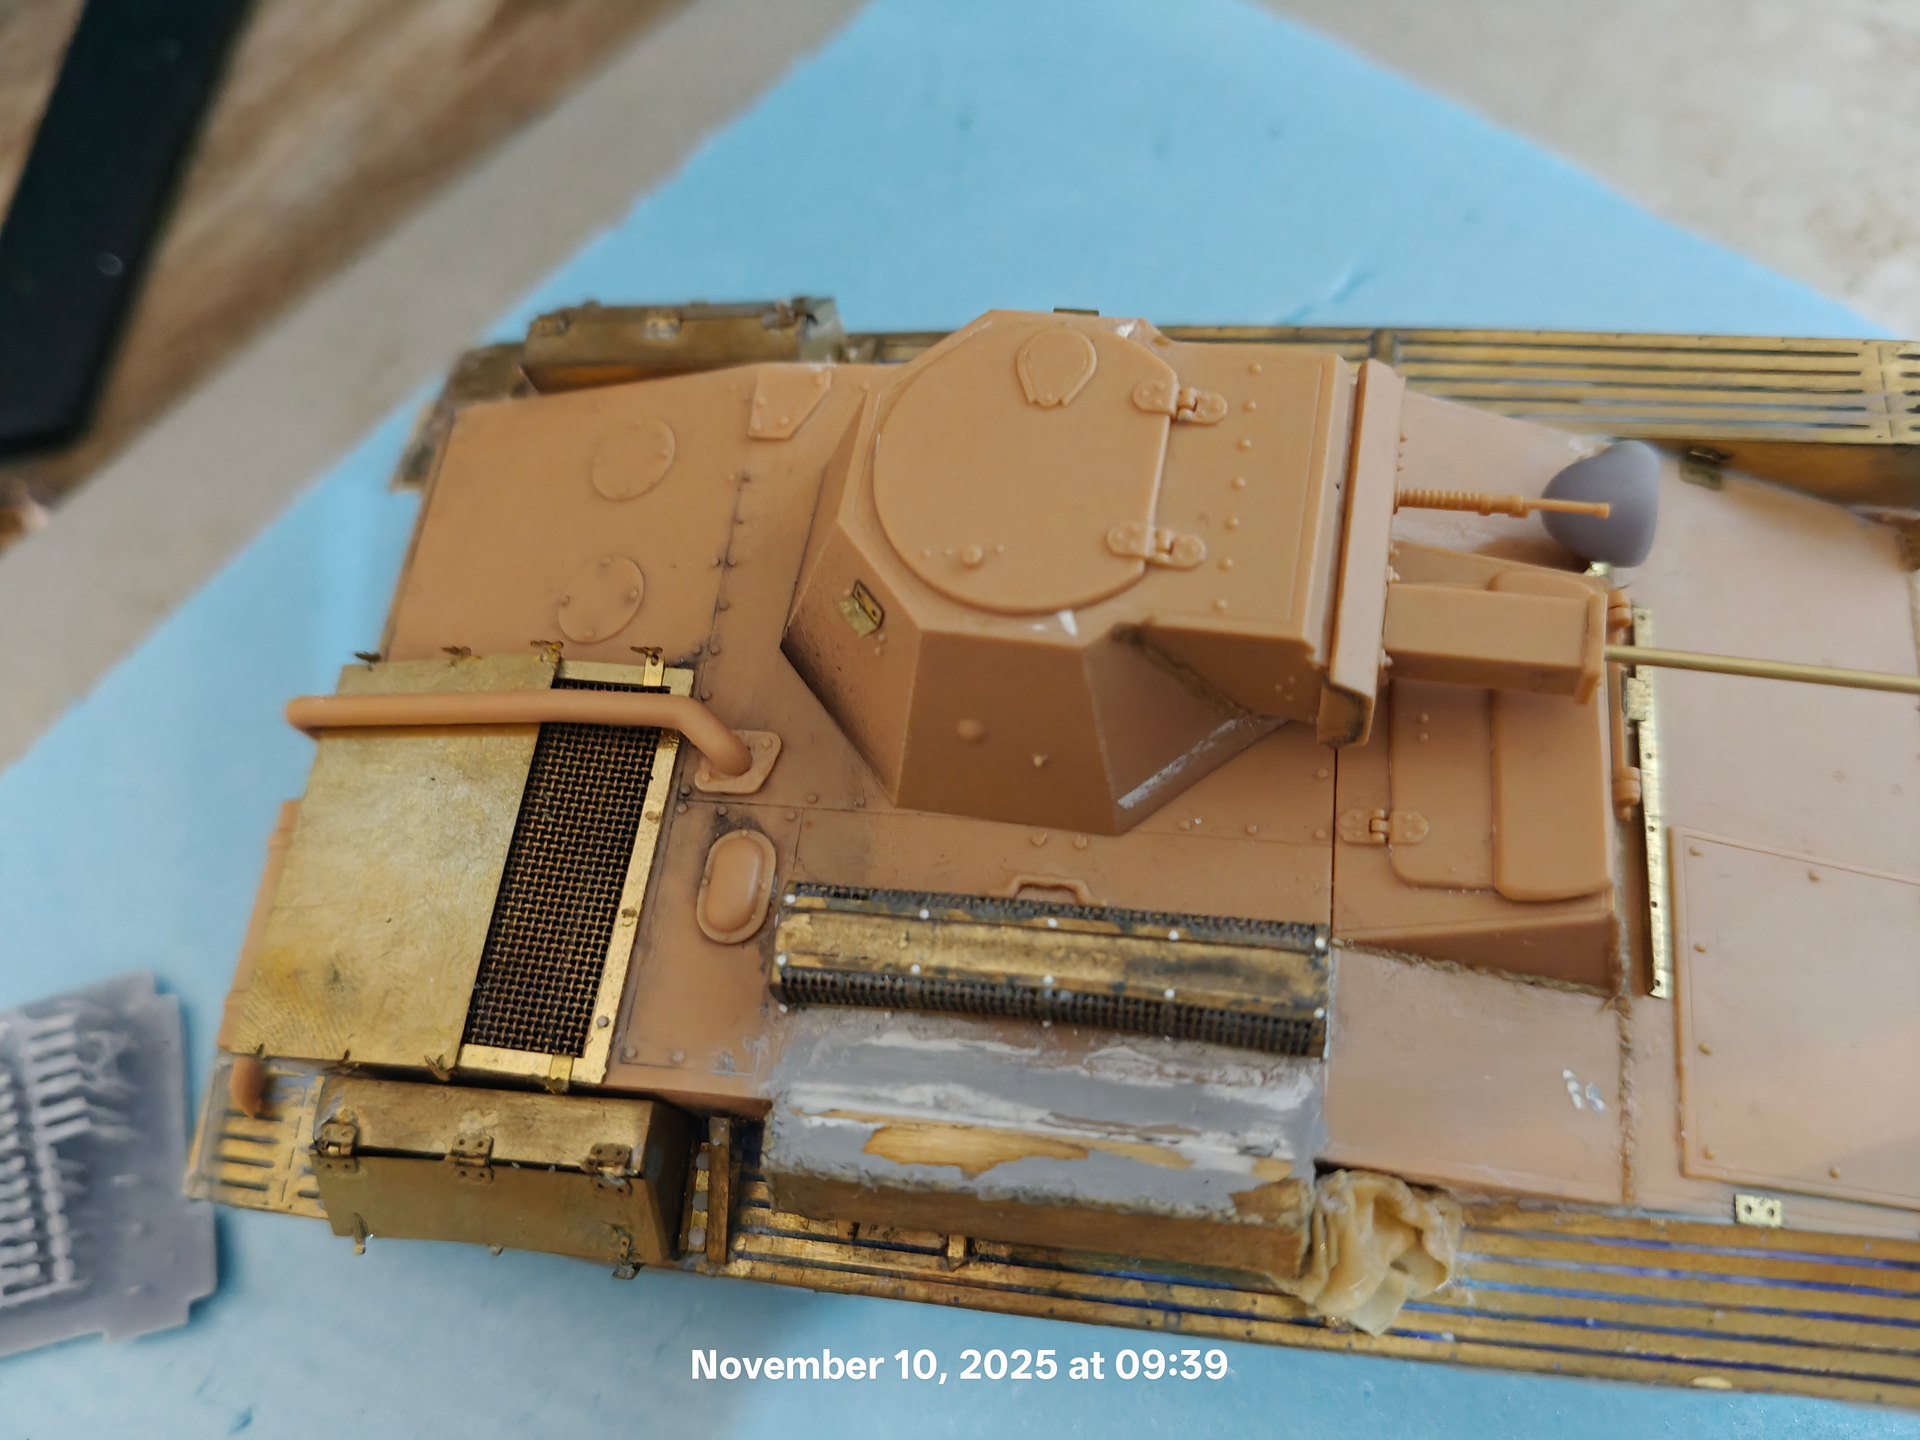
Added some more pe on the pig. Still have to add some small bits from the pe set, then need to place the tool brackets. Will ignore The jack holder as I am not that great at scratch building.
Also the metal tube is from there T-30/T-40 kits but has the same 1.5 mm diameter as the plastic barrel. As it is that is probably twice as thick as it should be. Will replace it with a 1mm tube


11 Likes
I am currently working on the chassis and related parts, but it is a typical MiniArt kit, so you have to be careful with everything! But thanks for pointing it out. I already have a couple of MiniArt kits behind the belt, so I know what I can expect from this kit. ![]()
3 Likes
I have primed my helicopter and hope to paint sometime this weekend, will upload photos sometime soon.
2 Likes
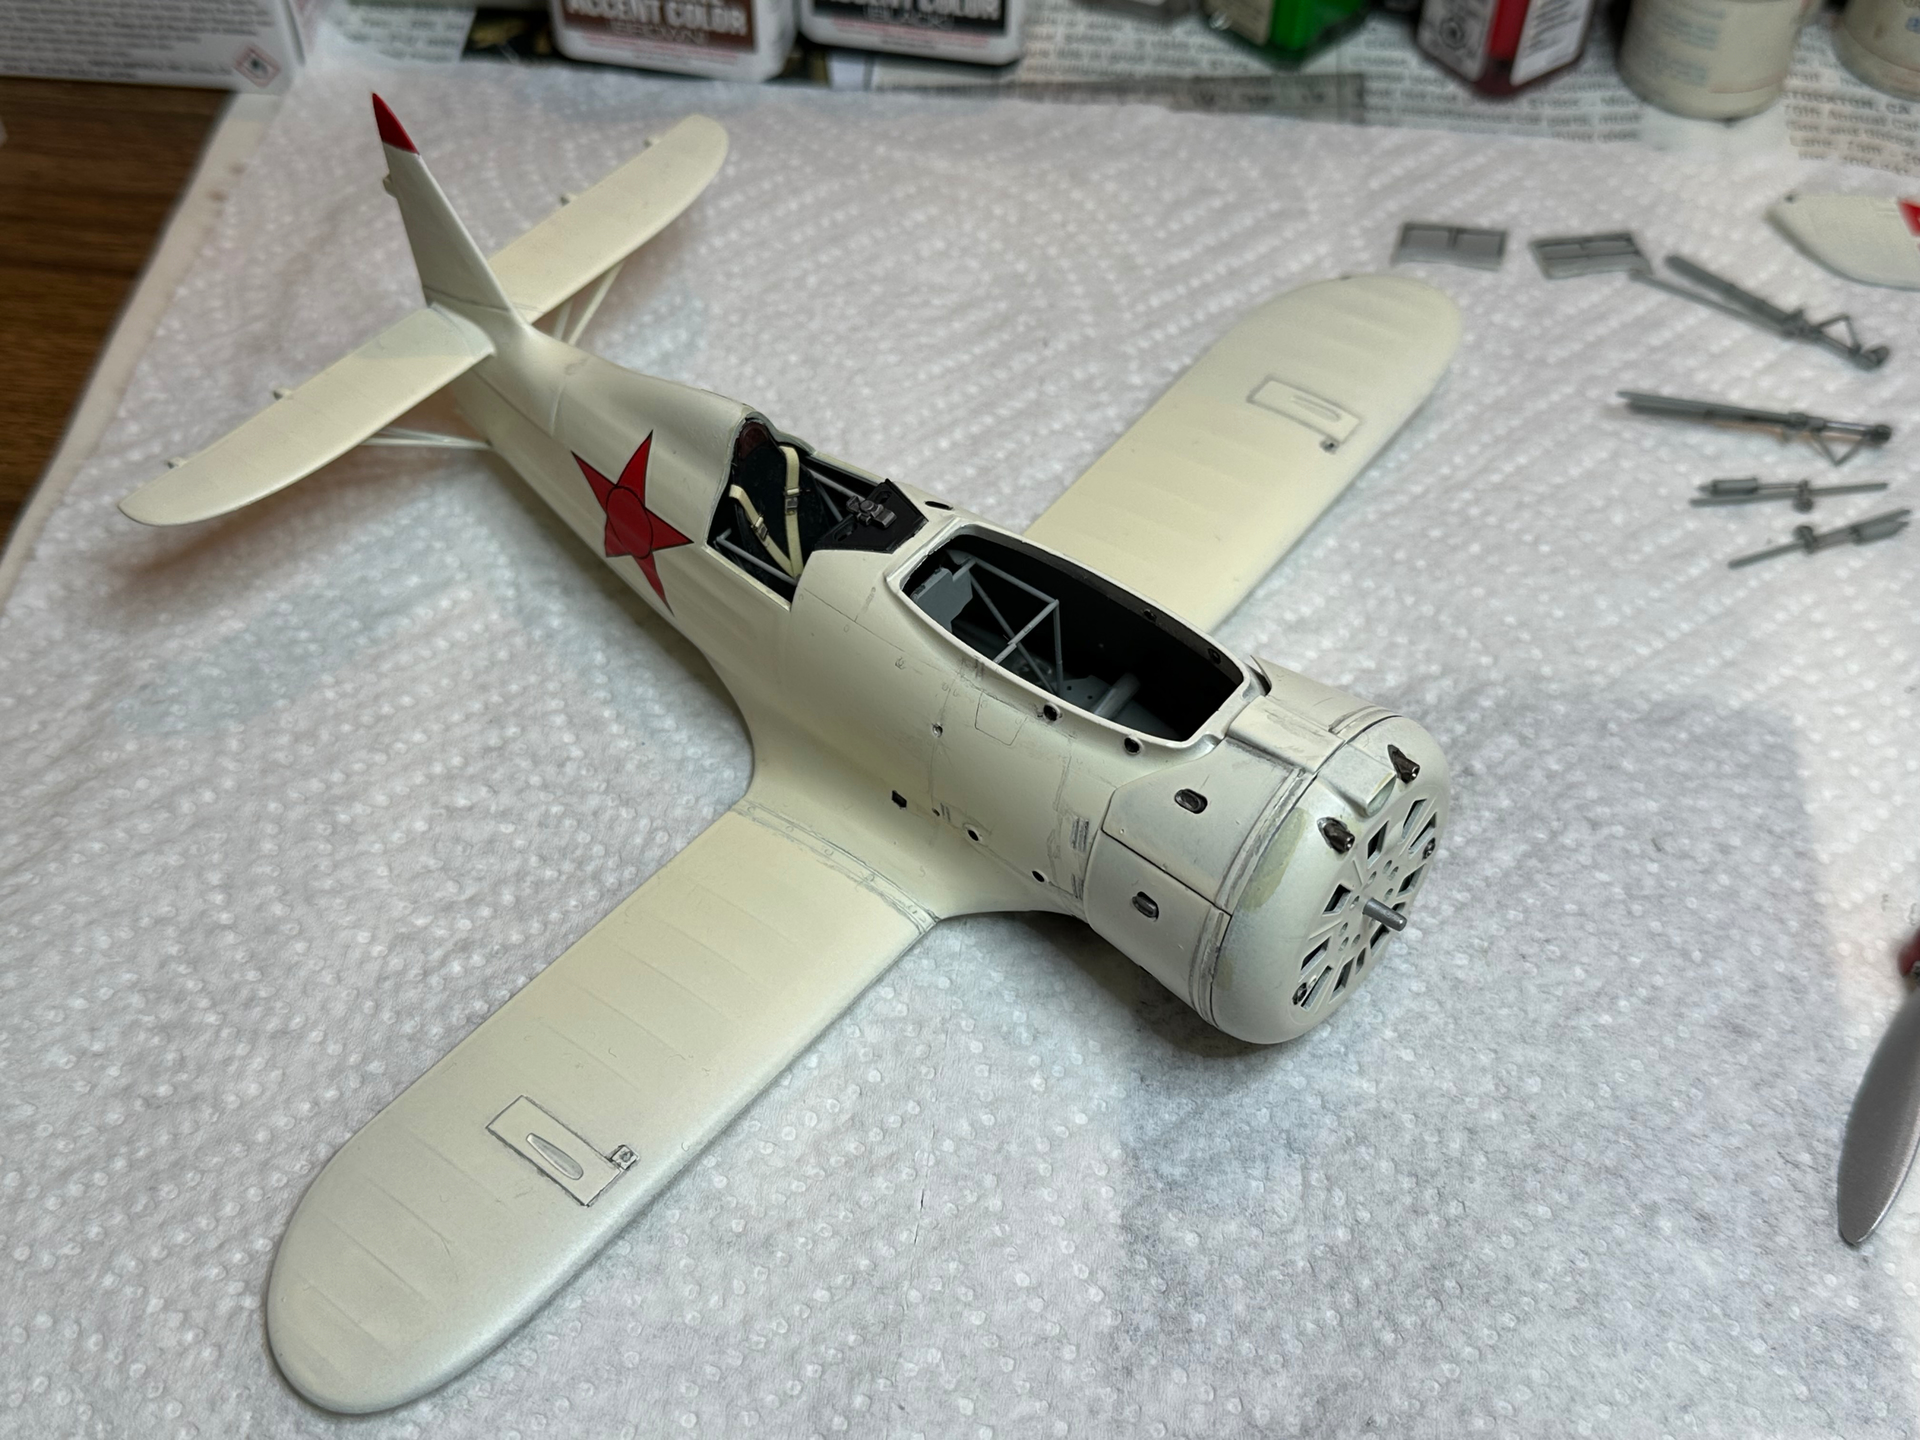
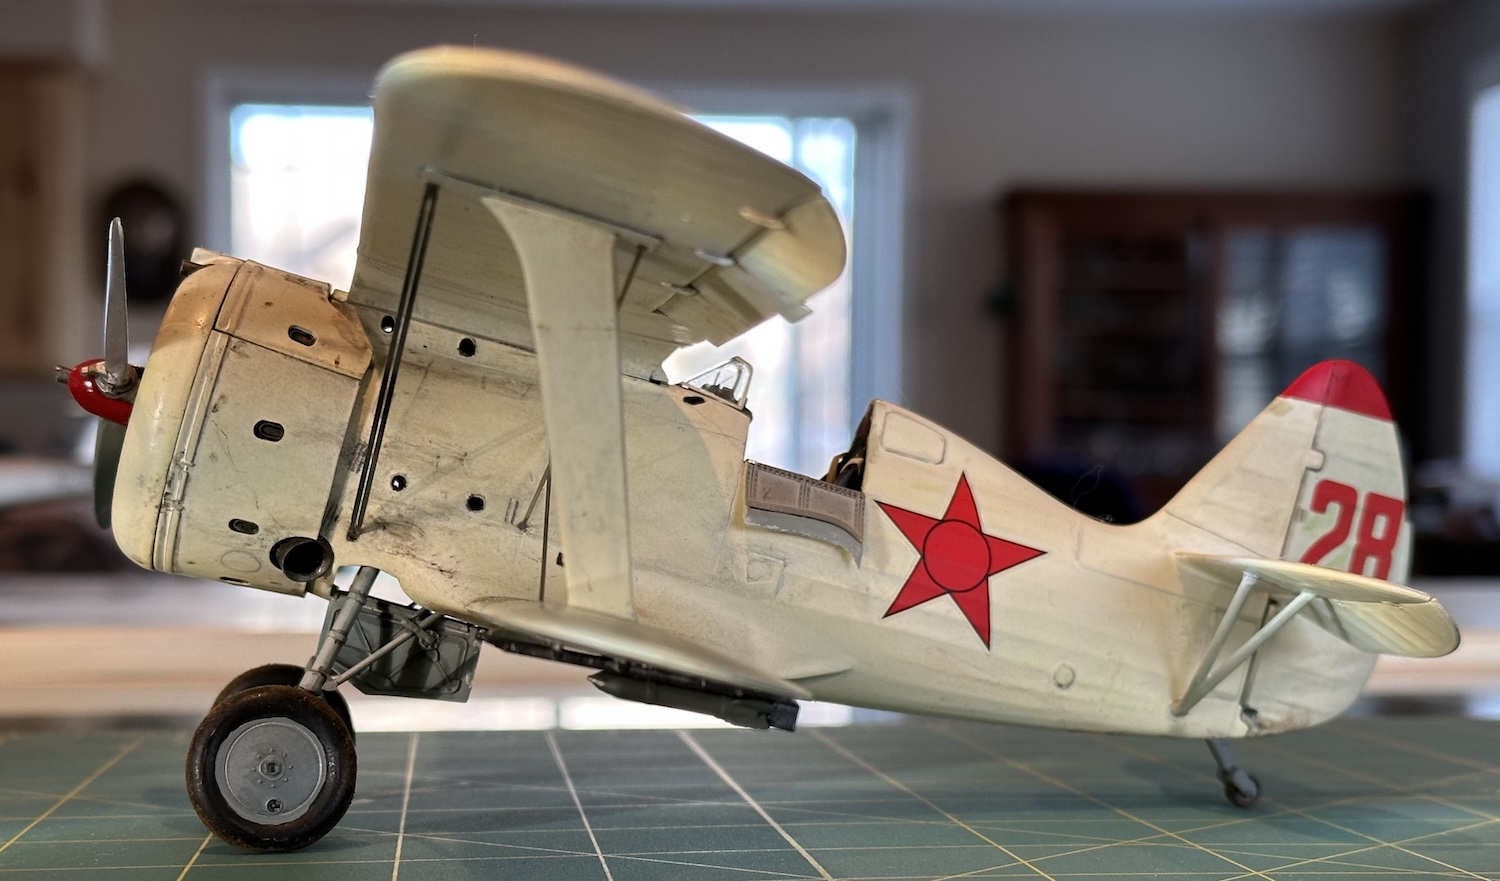
More work done on the ICM 1/32 Polikarpov I-153. I decided to live with the crooked star on the top wing. If anyone asks, I will just attribute it to vodka.
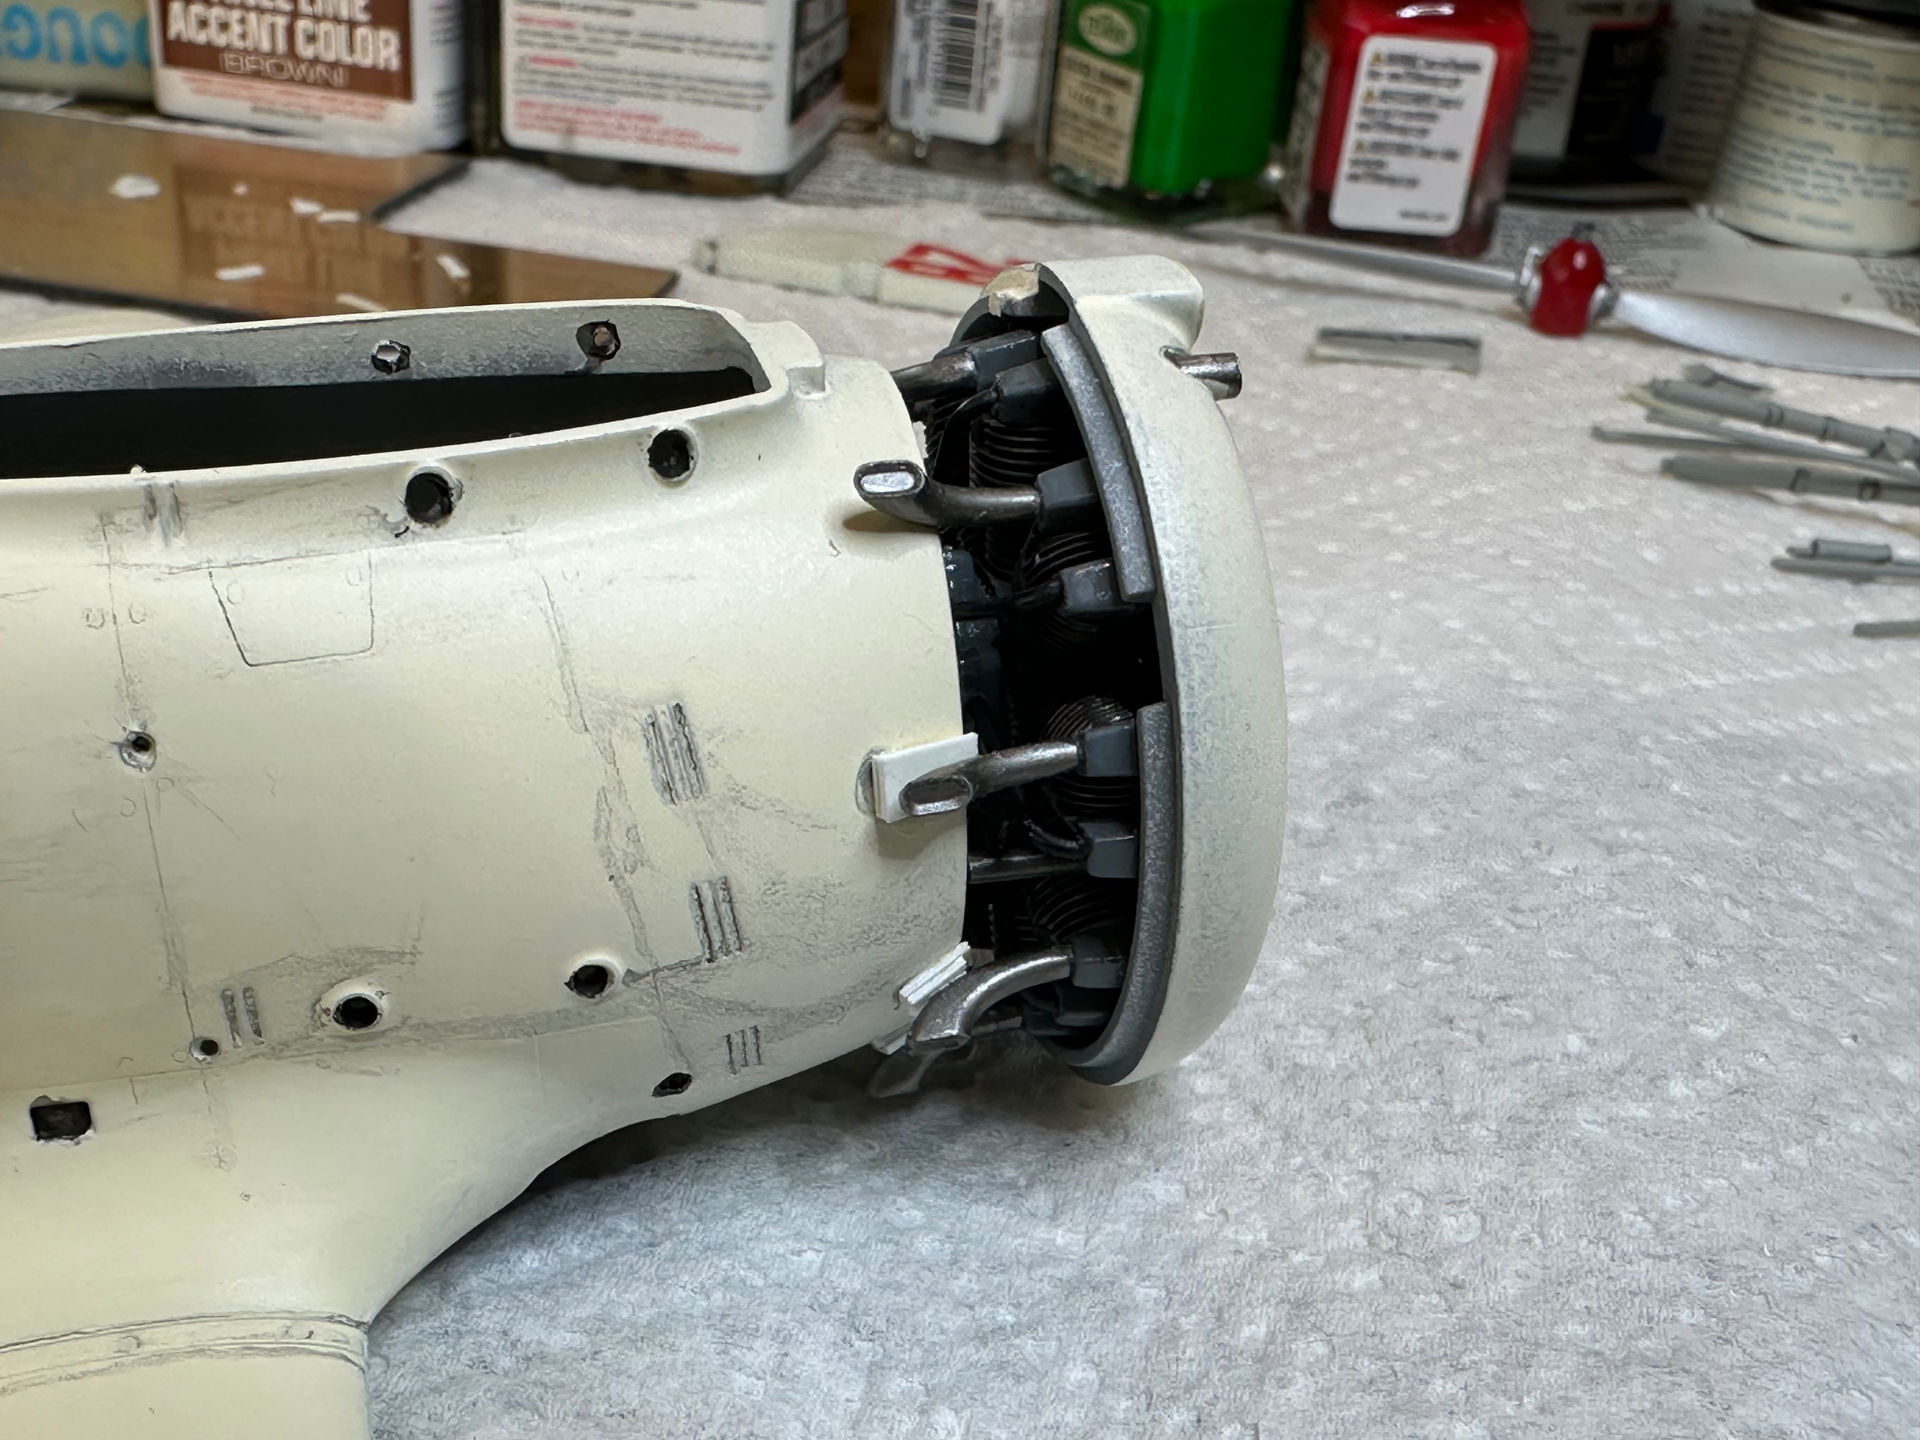
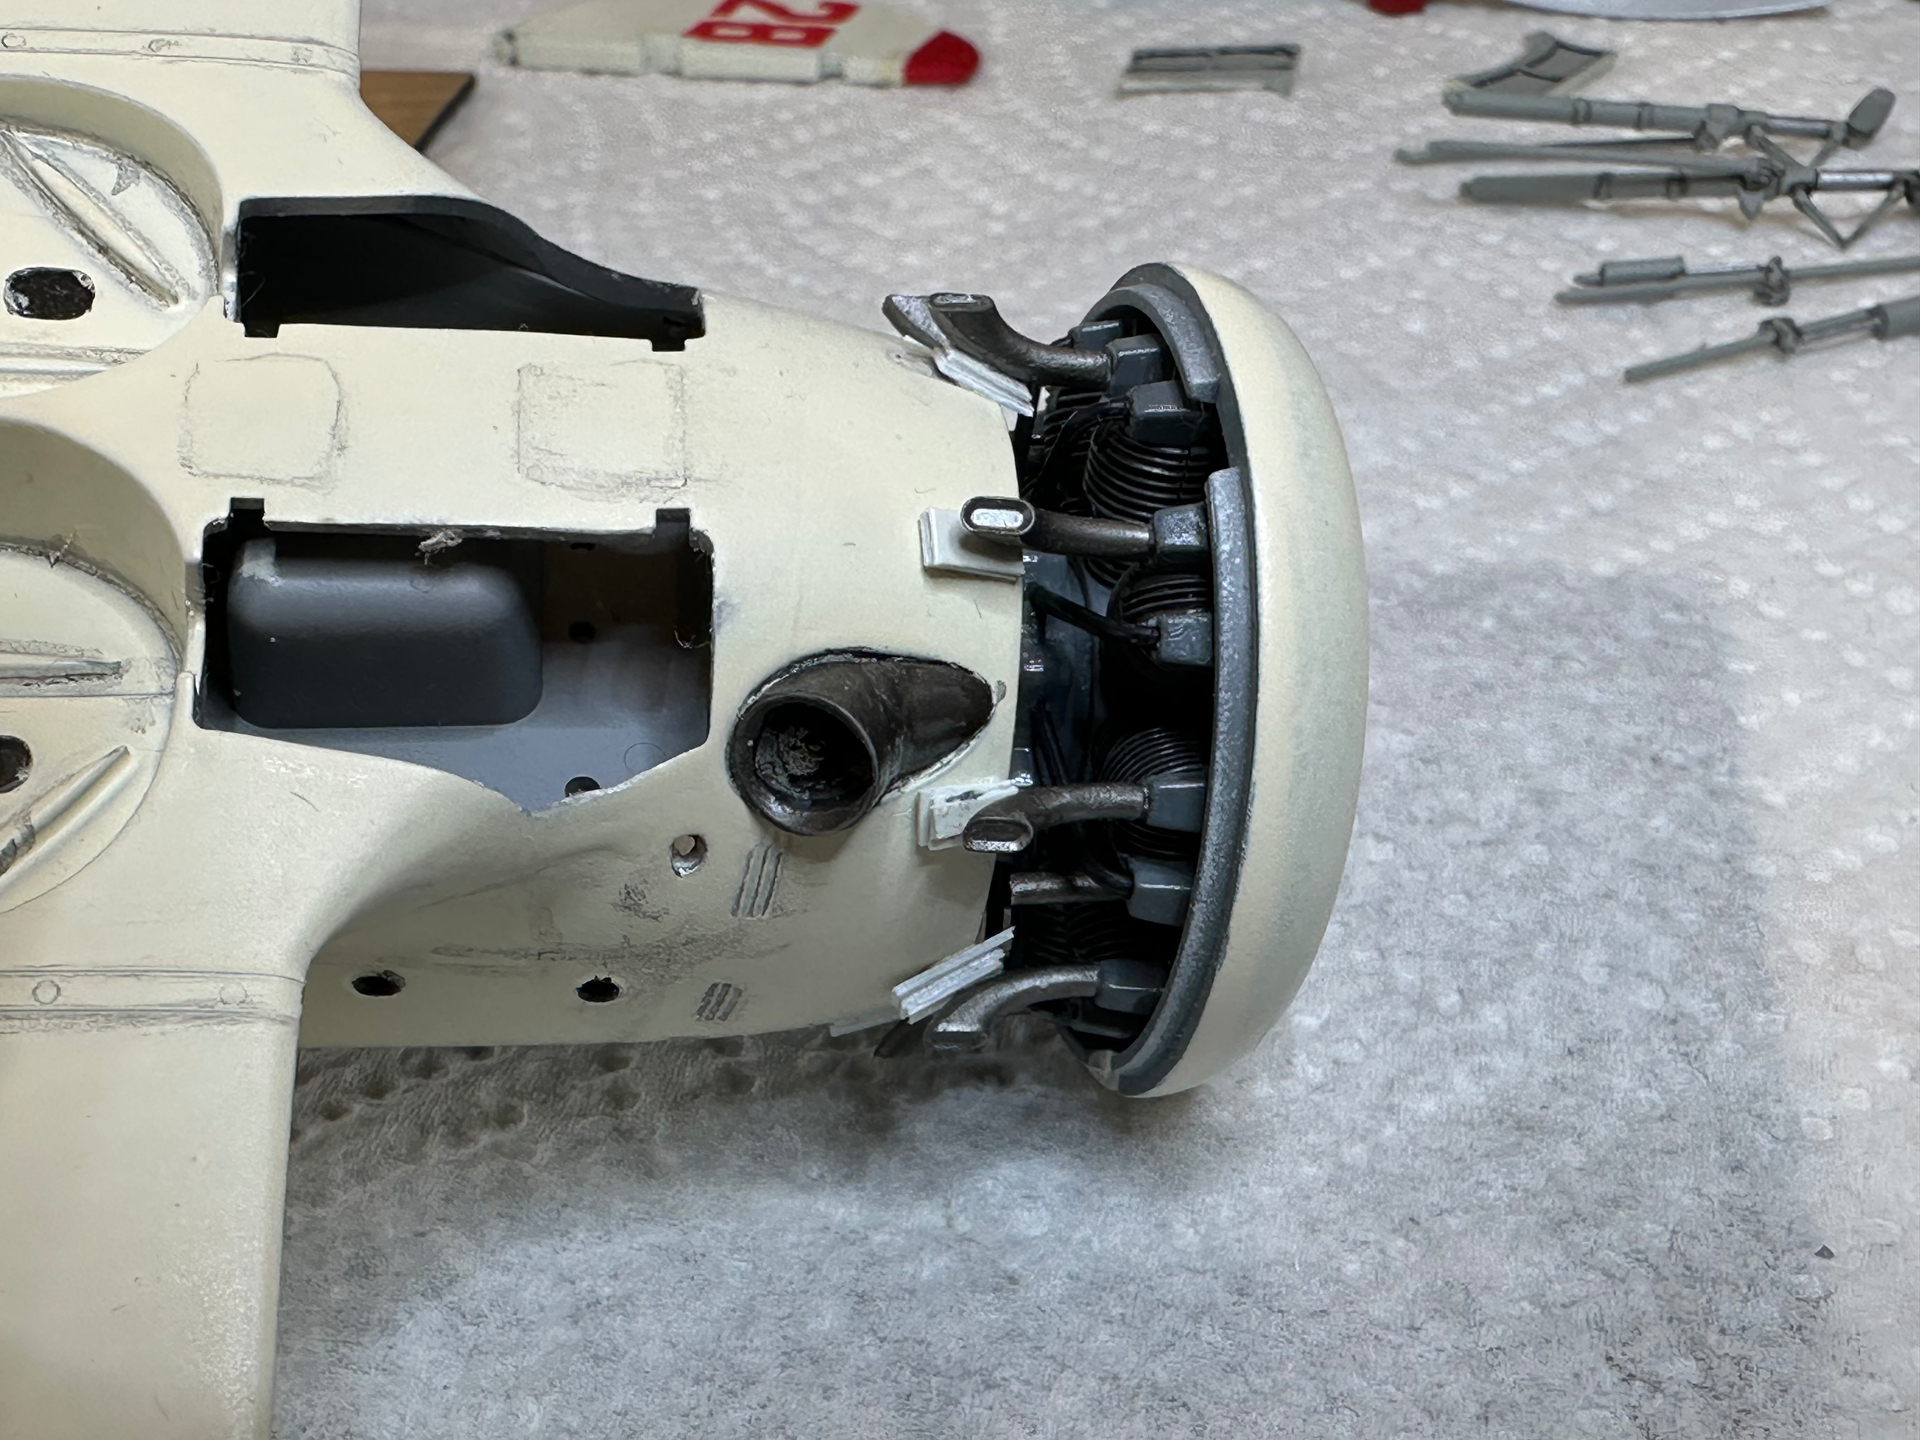
The model & its sub assemblies were shot with Tamiya flat clear. It dulled down nicely. I knew that attaching the motor was going to be tricky and that turned out to be the case. The motor itself was not an issue, the problem came with the exhaust stubs which are supposed to just be slightly proud of the cowling holes. Most were nowhere near that hole and needed top be shimmed up with bits of plastic card. The kit provided exhaust stub jig was great for radial position but of no use whatever in deciding how to angle the stubs out from the center. I guessed and guessed wrong!
The shimming process turned out to be a multi step process as there is enough flexibility in the assembly to require adjusting the shims that had already been installed as addition stubs were shimmed. Any thought I might have entertained of leaving the top cowl off to view the very nice engine had to be abandoned at this point as the shims could not be hidden.
A mystery here - the exhaust uses stubs. So why the big collector exit? I thought possibly ICM had made a blunder but the reference photos do show both exhausts! Any idea why?
Paul


11 Likes


Looking great! This project is coming together well.
Paul
2 Likes
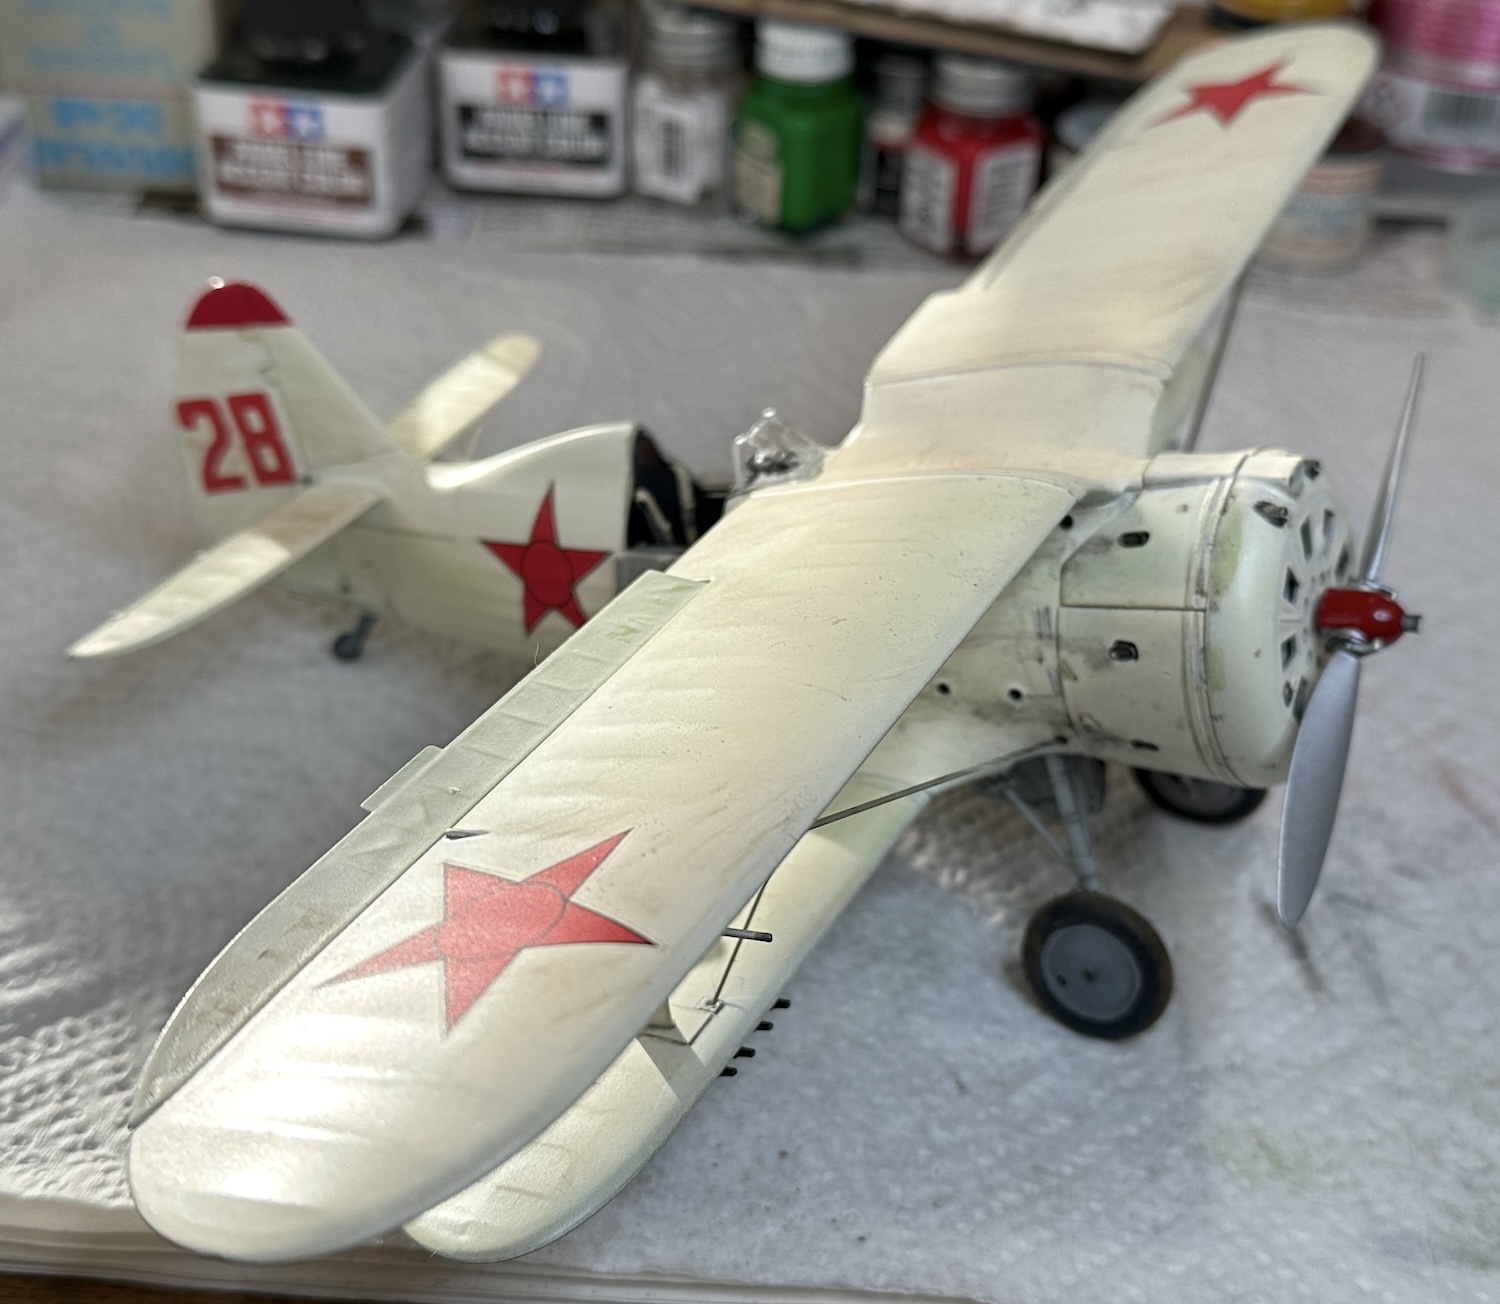
A bit more work is getting done on this I-153. Going back a step or two - I had problems with a Tamiya rattle can of Racing White and should have been binned it straight away. It came out thin and runny and with sags. I sanded most of the worst off and tried again with the same results. Only one other can was in stock and that one acted as it should. The original intention was to lightly coat the model so that the grey primer showed through in places. That was achieved, not by design but by poor paint & poor technique.
After several coats with the good can, it too was running low and I had to choose where to hit it better and where to leave it as it was. I was not happy with what I had done and there was not enough paint to continue in that direction. Time for a rethink.
What I really had in mind even though I had not put it into words was a white winter finish that looked as if it had been applied over a summer scheme. What was wanted was not grey showing through, at least in most places, but green & brown.
After the flat clear was applied I got out a seldom used set of artist’s pastels. These were used to add an almost ghosted color to the white and generally dirty it up in places. This aircraft would have lived outdoors in a forward location and would not have looked pristine in any case. I used a brush, cotton swabs and most of all my fingers to apply the pastels. They stay in the tooth of the paint but not fully, they can be wiped off leaving traces of color, more like I had in my mind’s eye.
Here is the project as unit is now. There is still much to do but the end of this protracted build is near. Here are a few pics of it as it is now. Interplane struts and rigging yet to be added and propellor just on to see what it looks like.
Paul


16 Likes
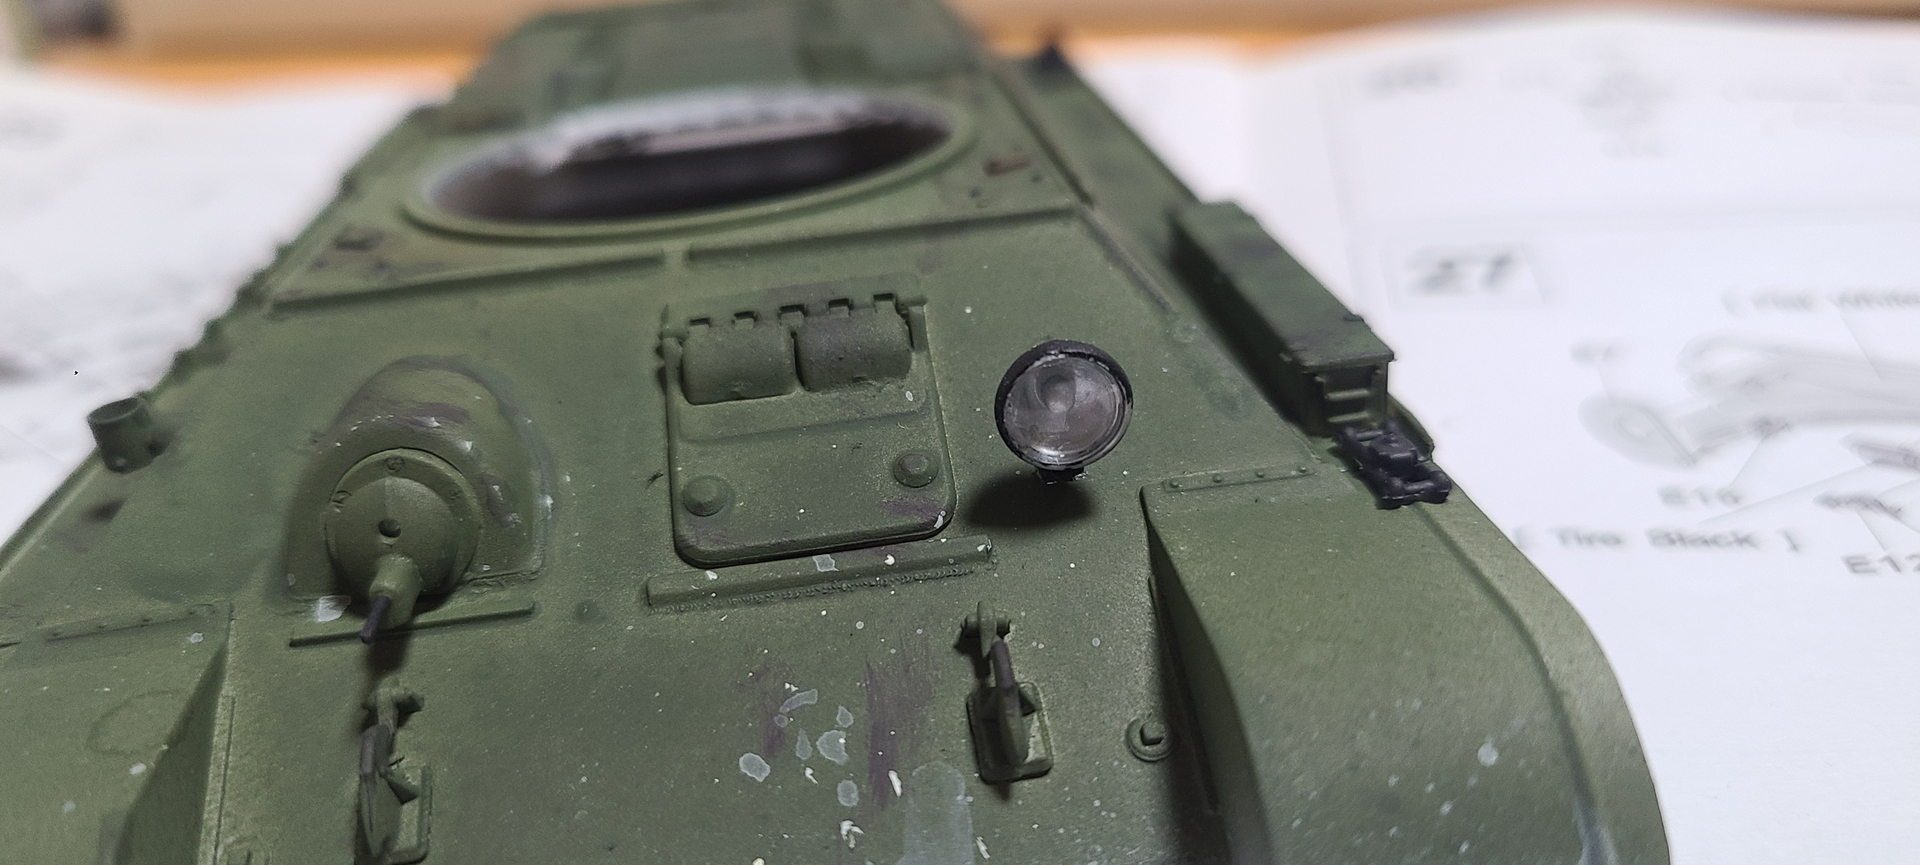
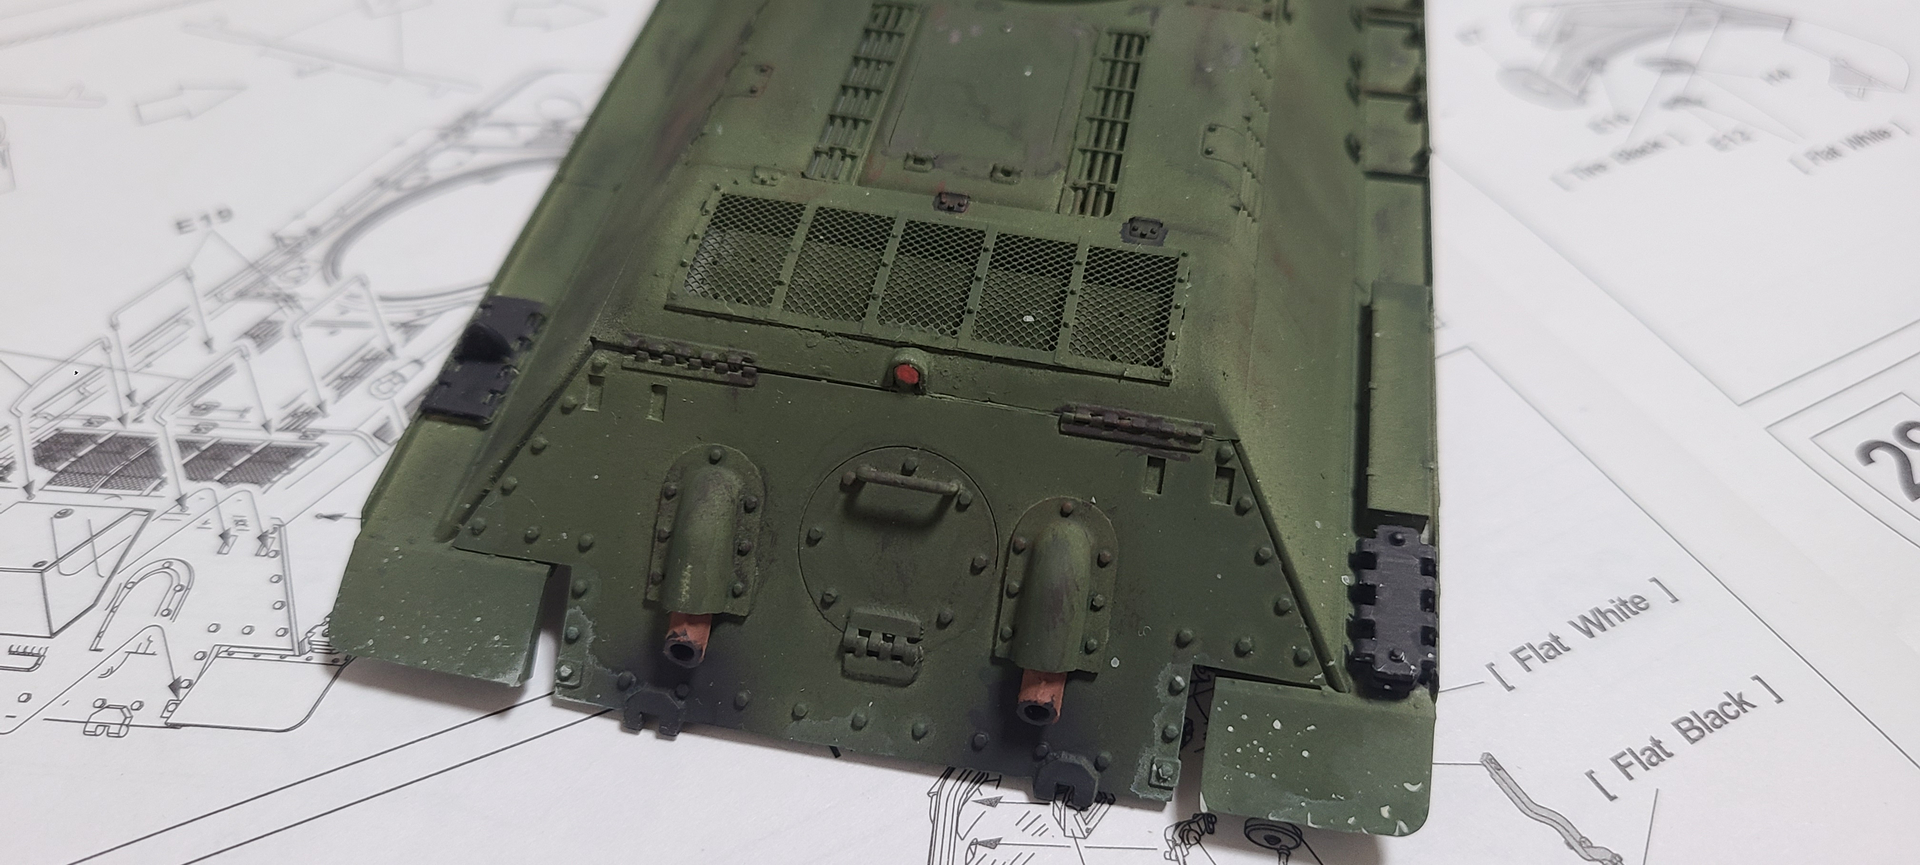
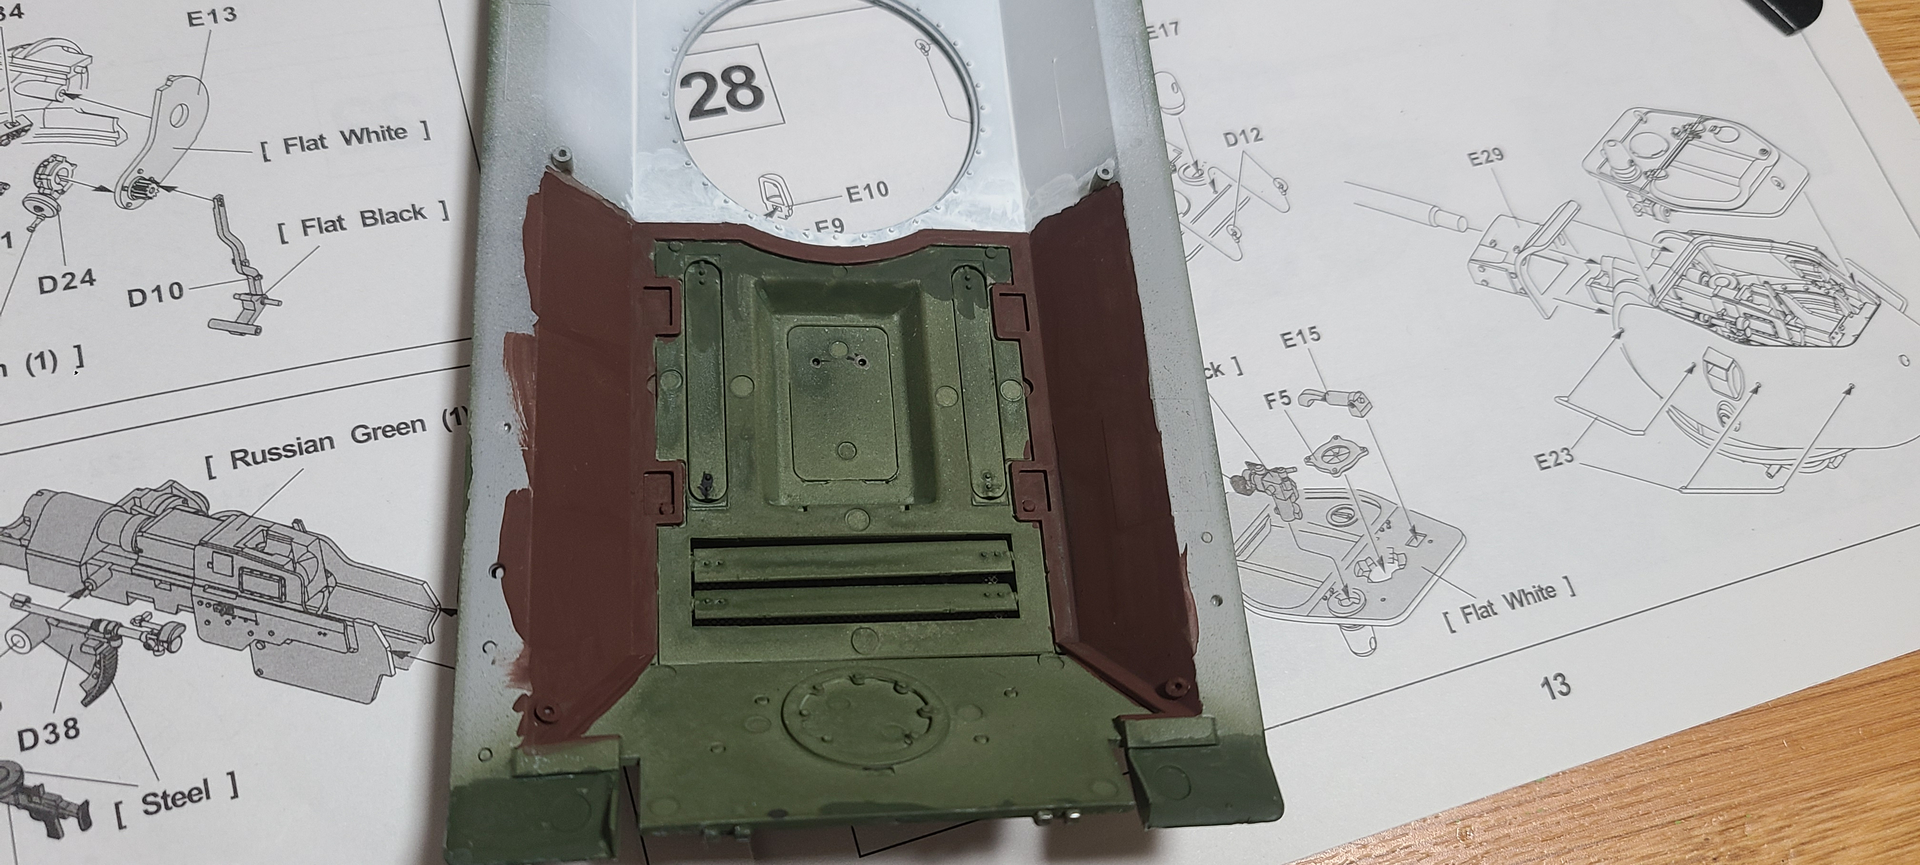
1/35 AFVCLUB’s T-34-76 1941 is finished.


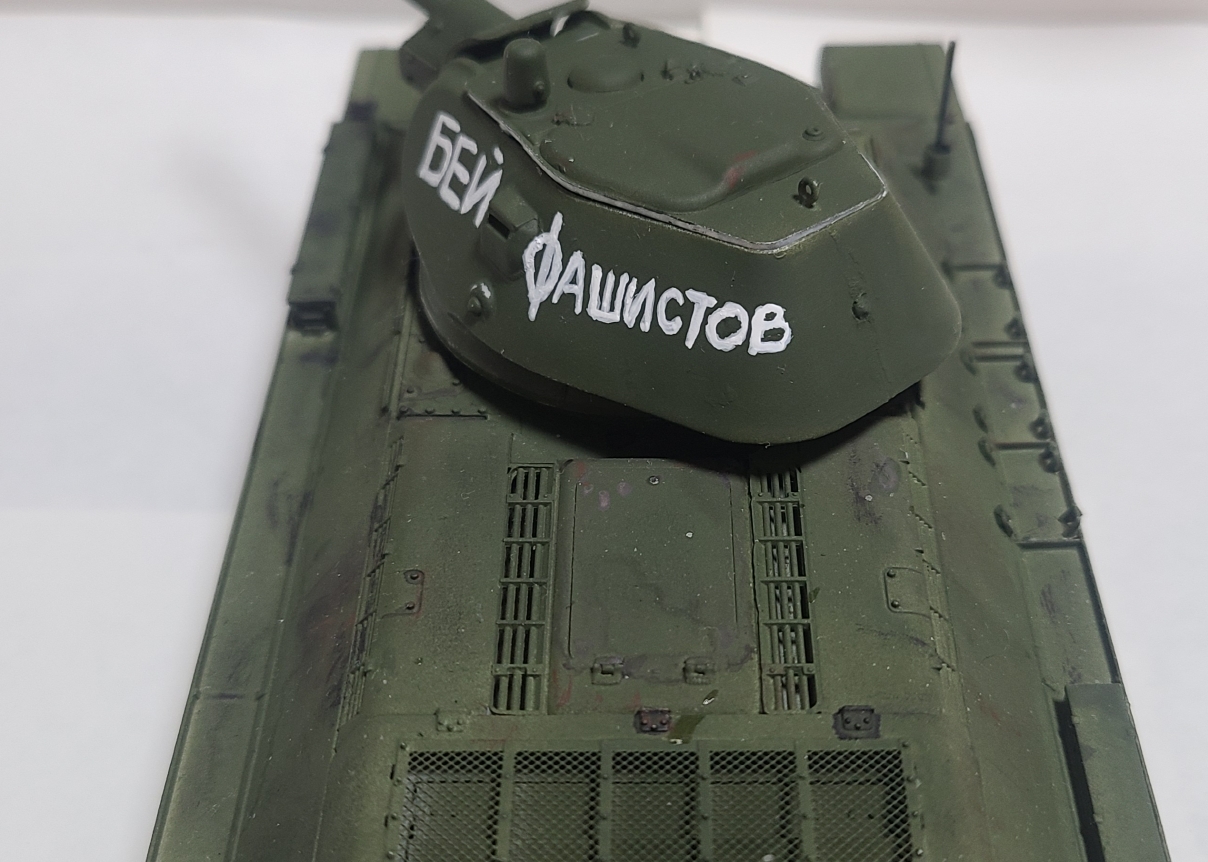
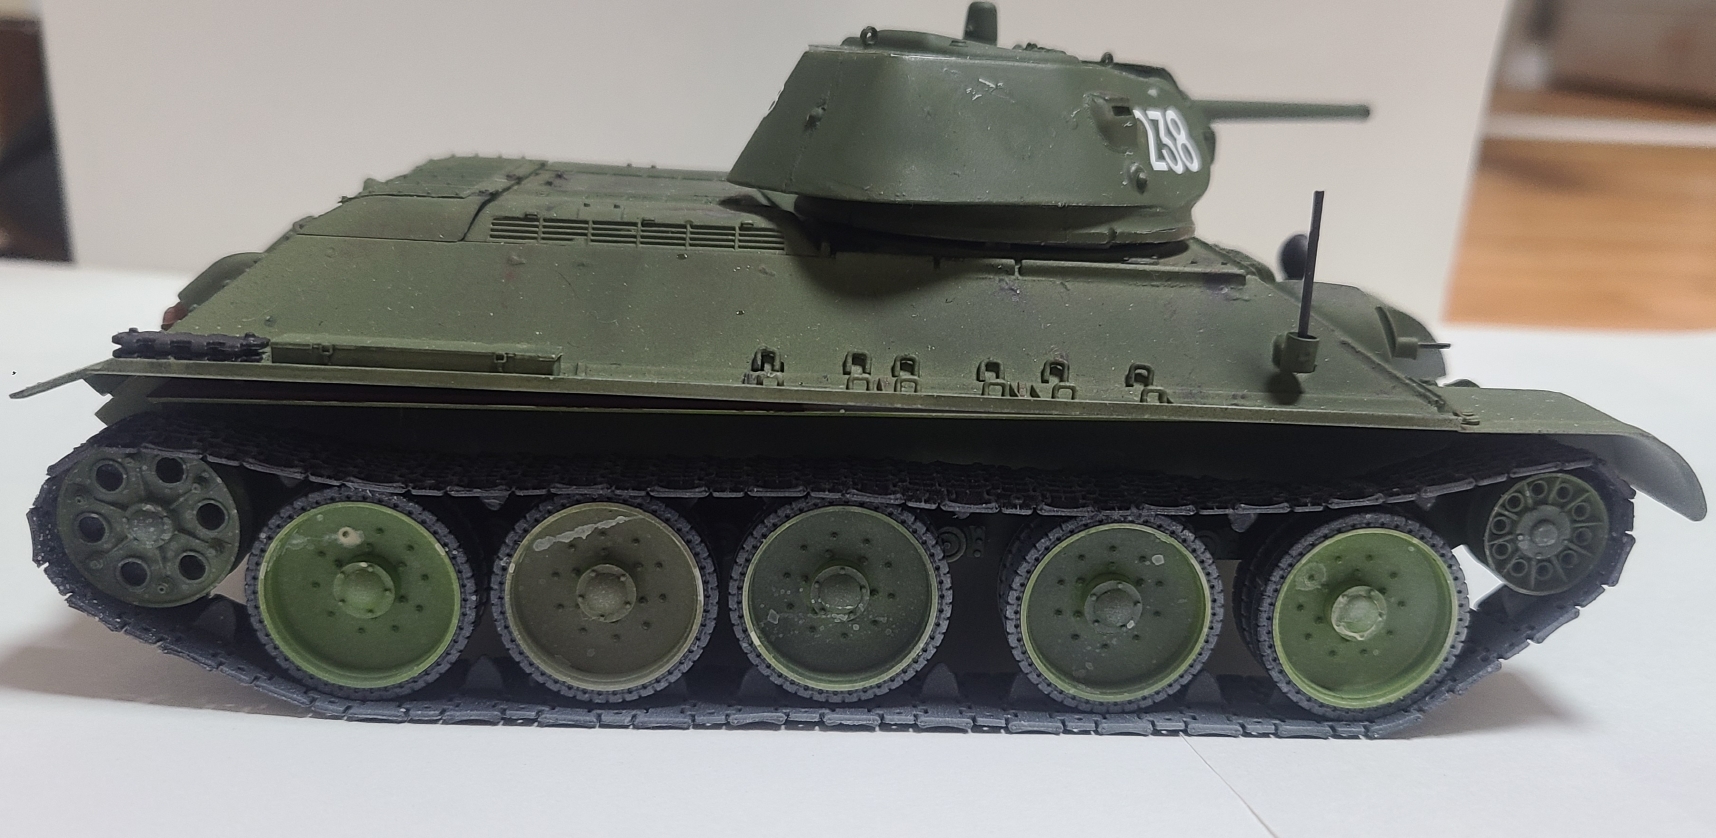
The different wheel colors are historically accurate, so I painted them that way.
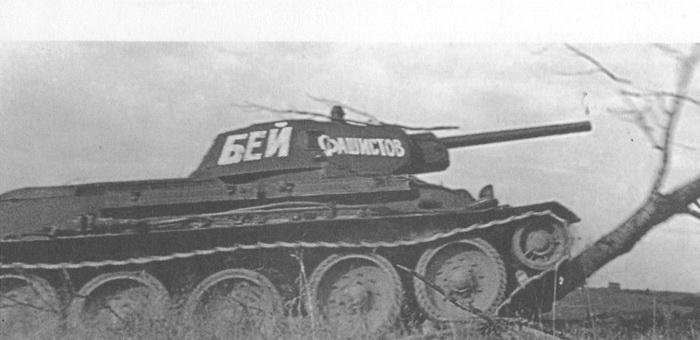
БЕЙ ФАШИСТОВ (Destroy the Fascists)
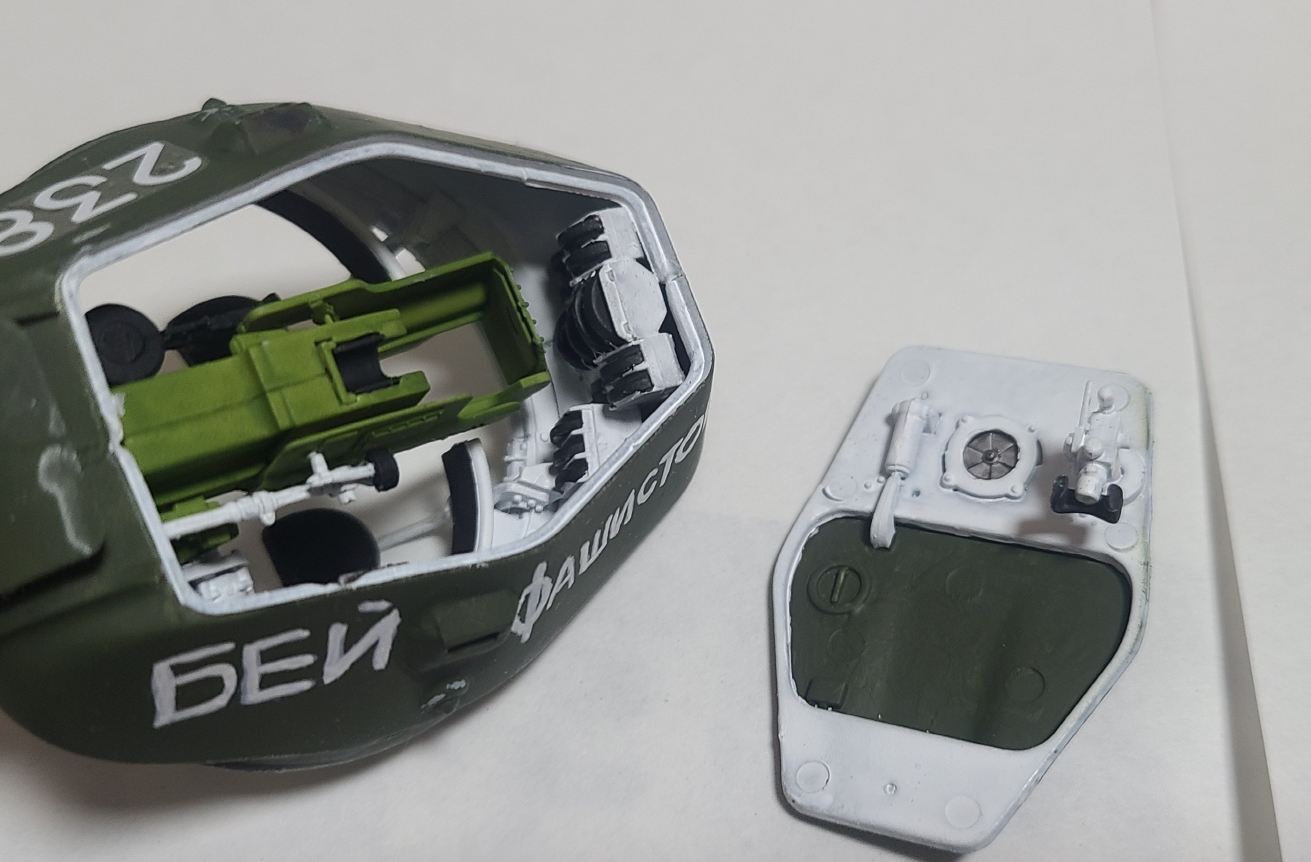


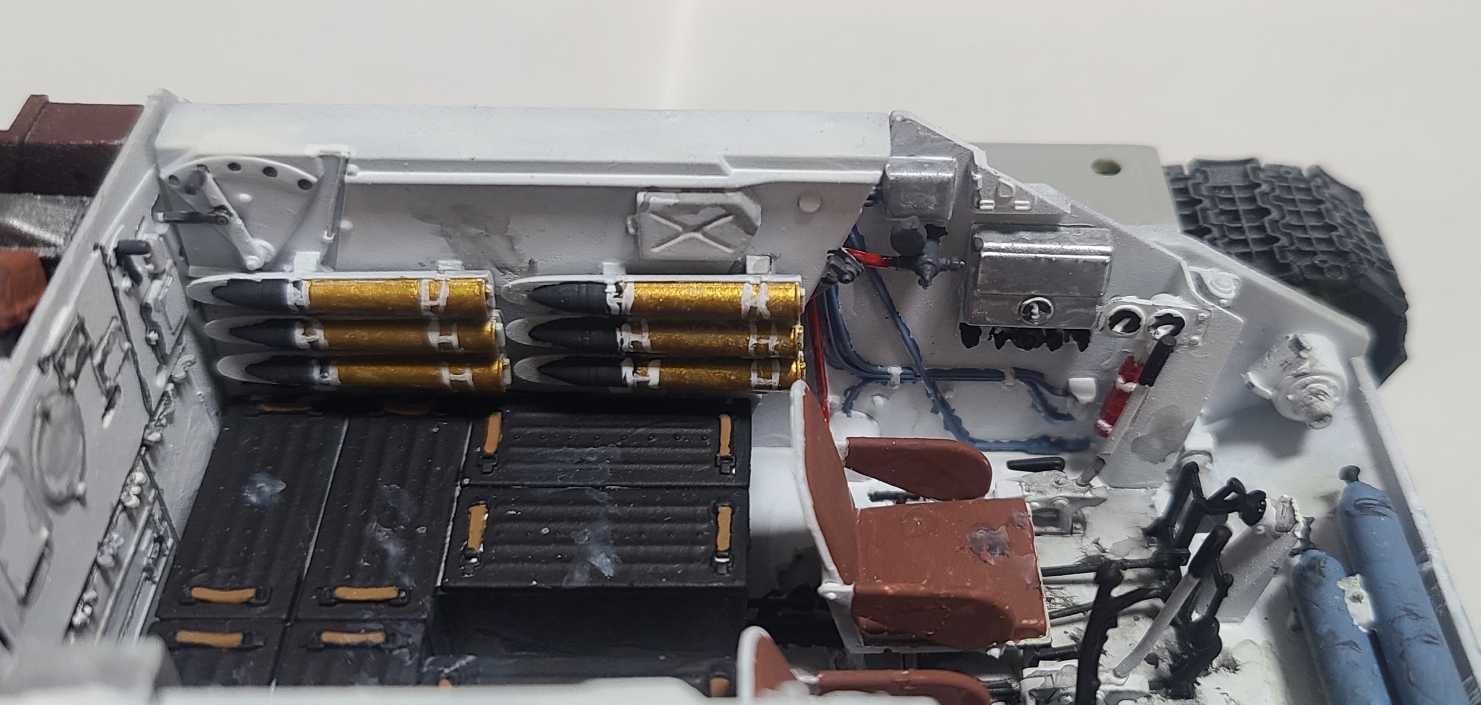
Originally, The shell rack has clamps, but the kit doesn’t have clamps, So I made it with hand drawing. lol.
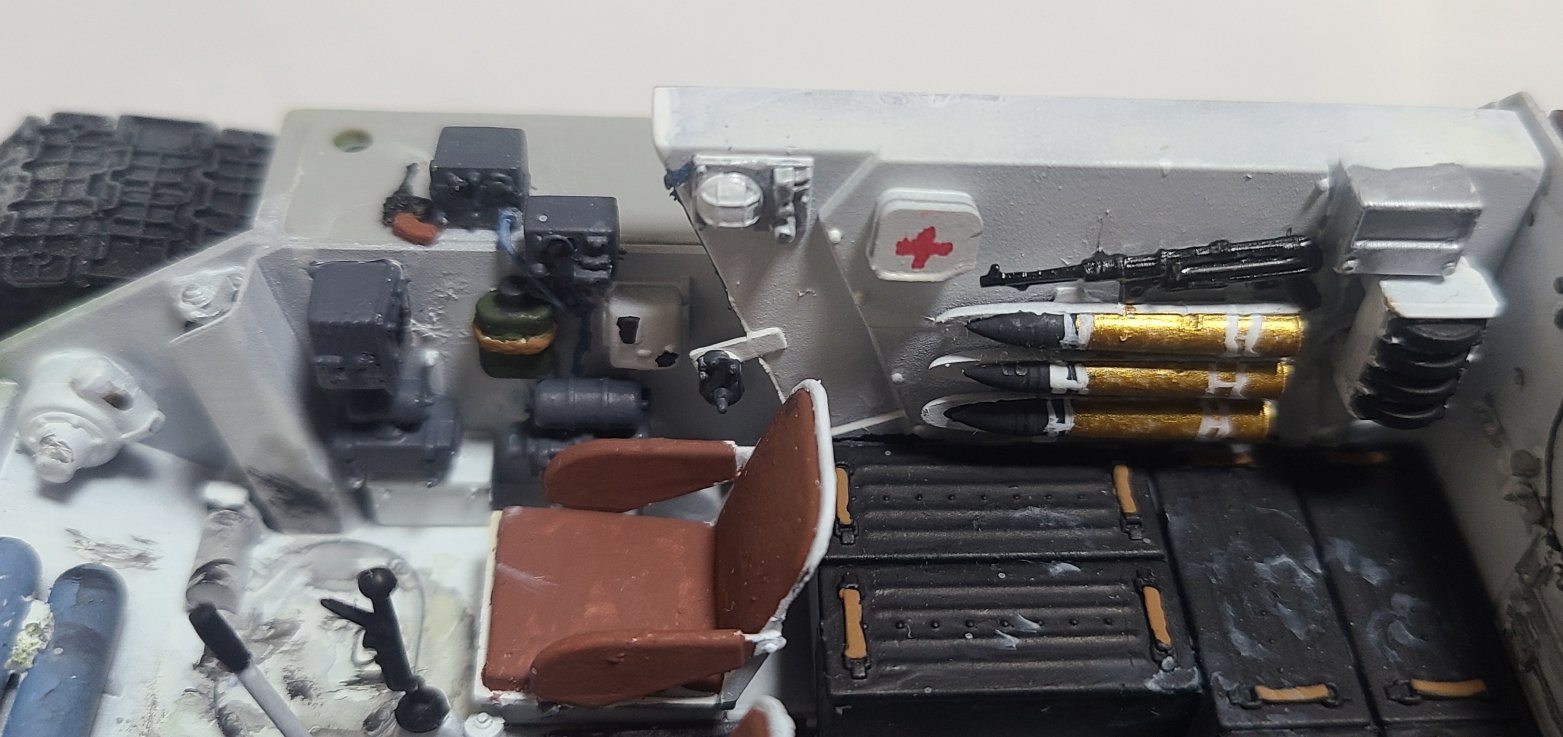
I placed revolver and souvenir from german. A MP 38 SMG.
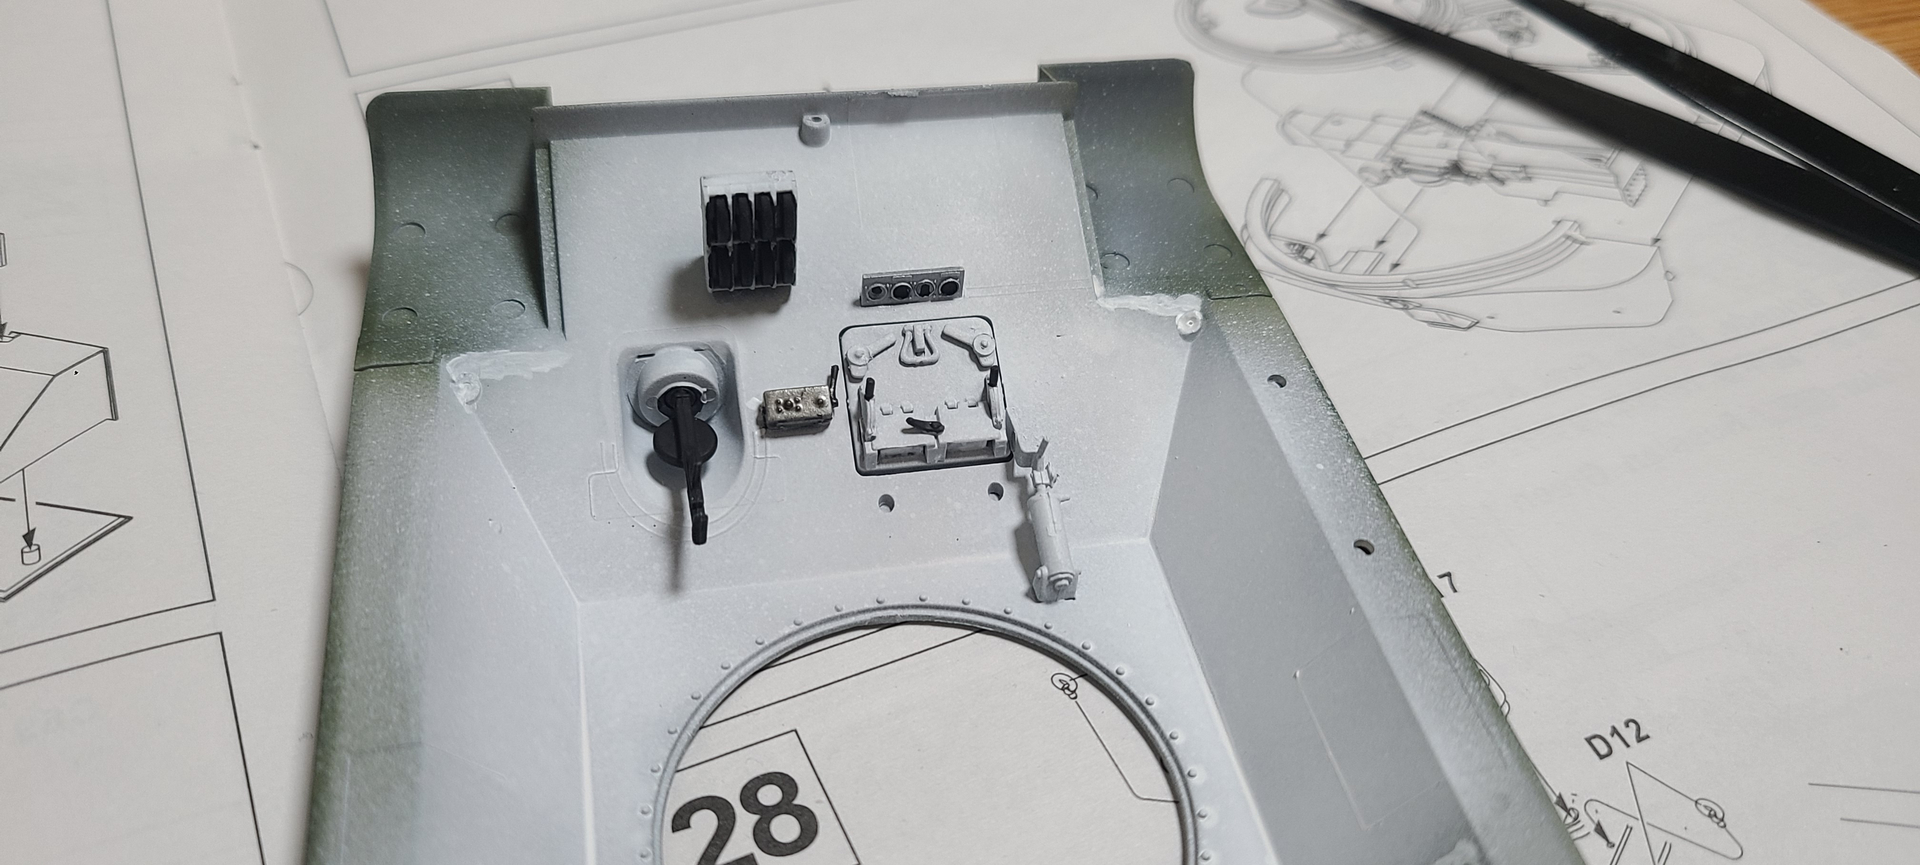
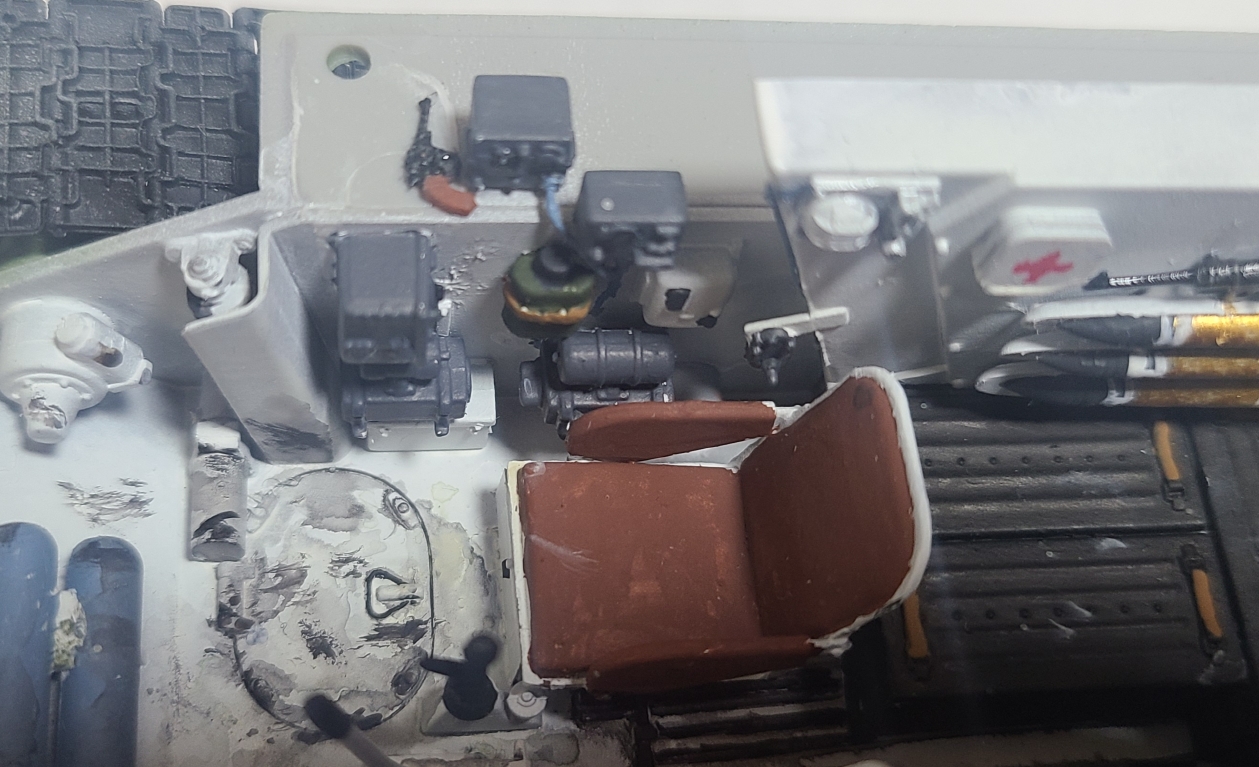
At first, I didn’t know what that equipment was.
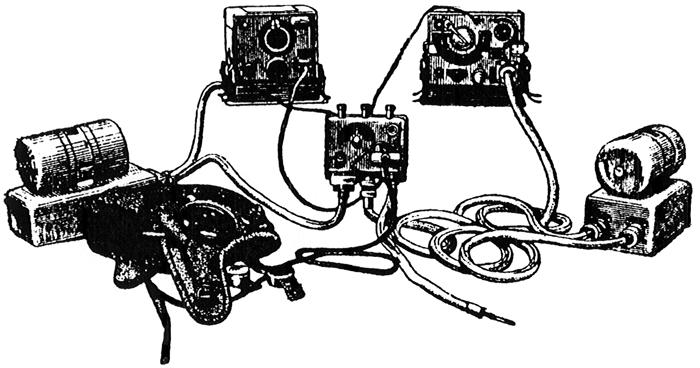
It was devices for radio. Rotary transformer and 9-P Radio.
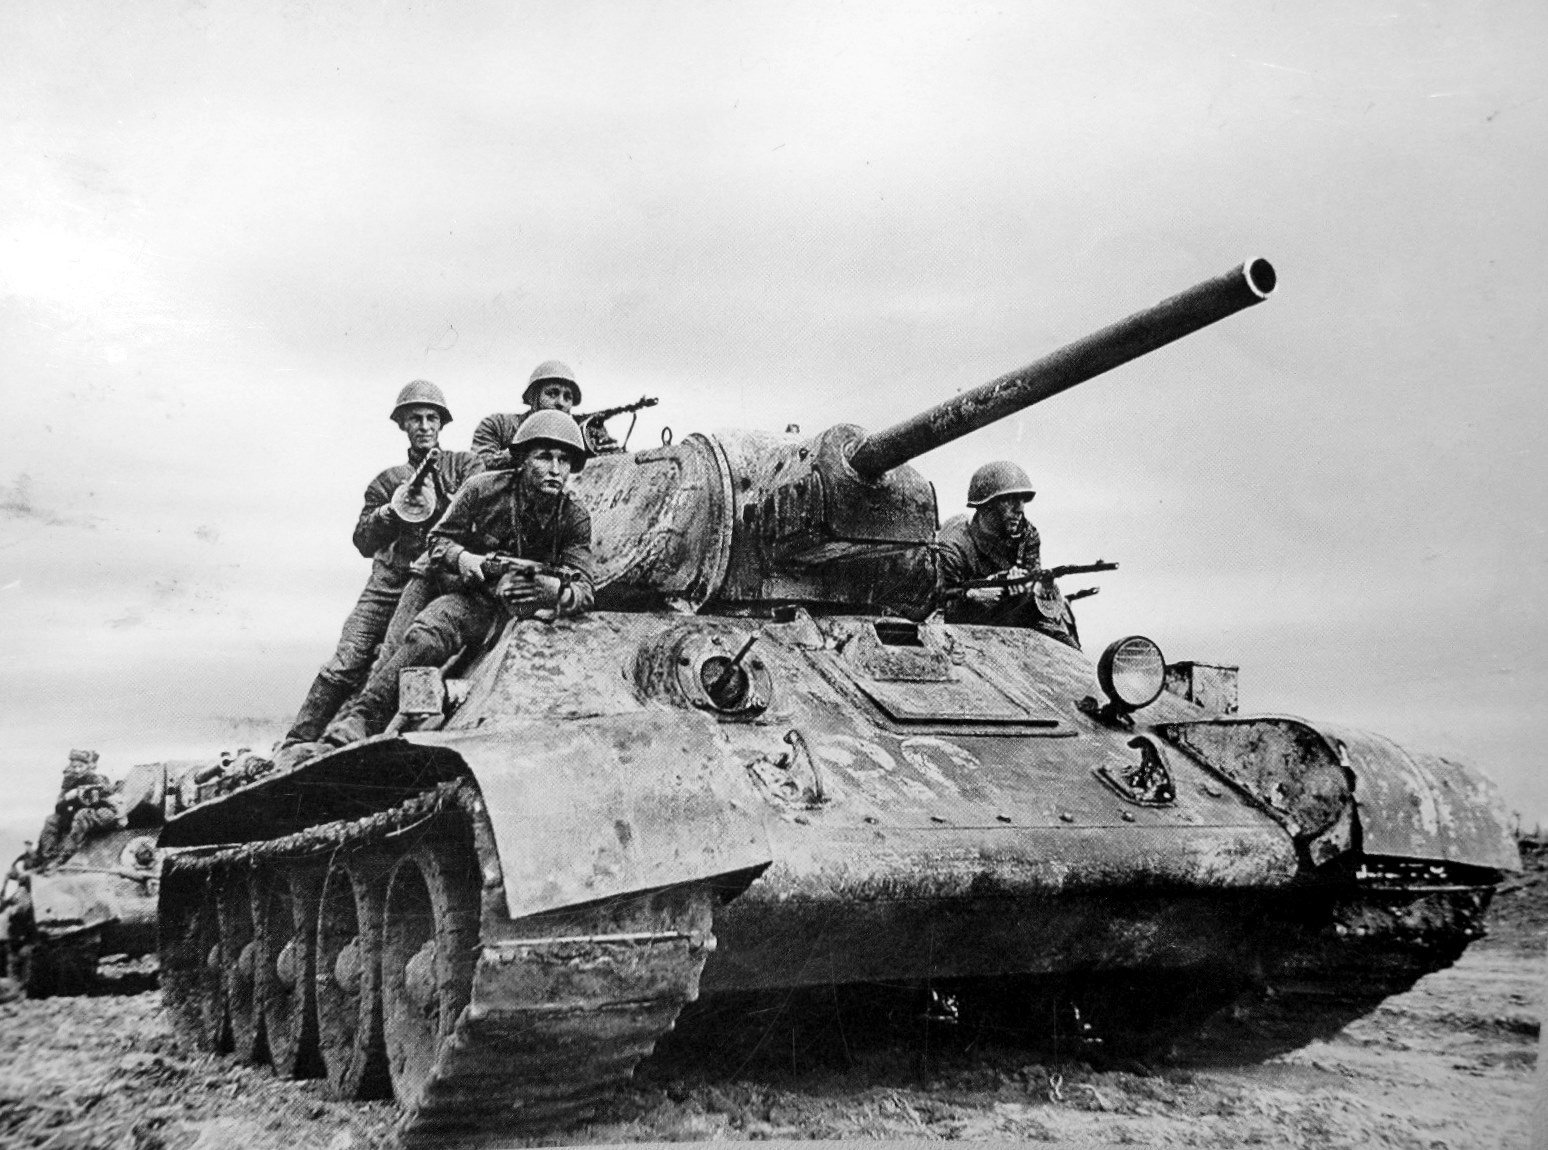
What I was trying to build was originally a early 1941 version, but I gave up because I didn’t know how to make the driver’s periscope for that early version.
So I made an early version of Factory 112. It differs in that it has no handrails.
16 Likes
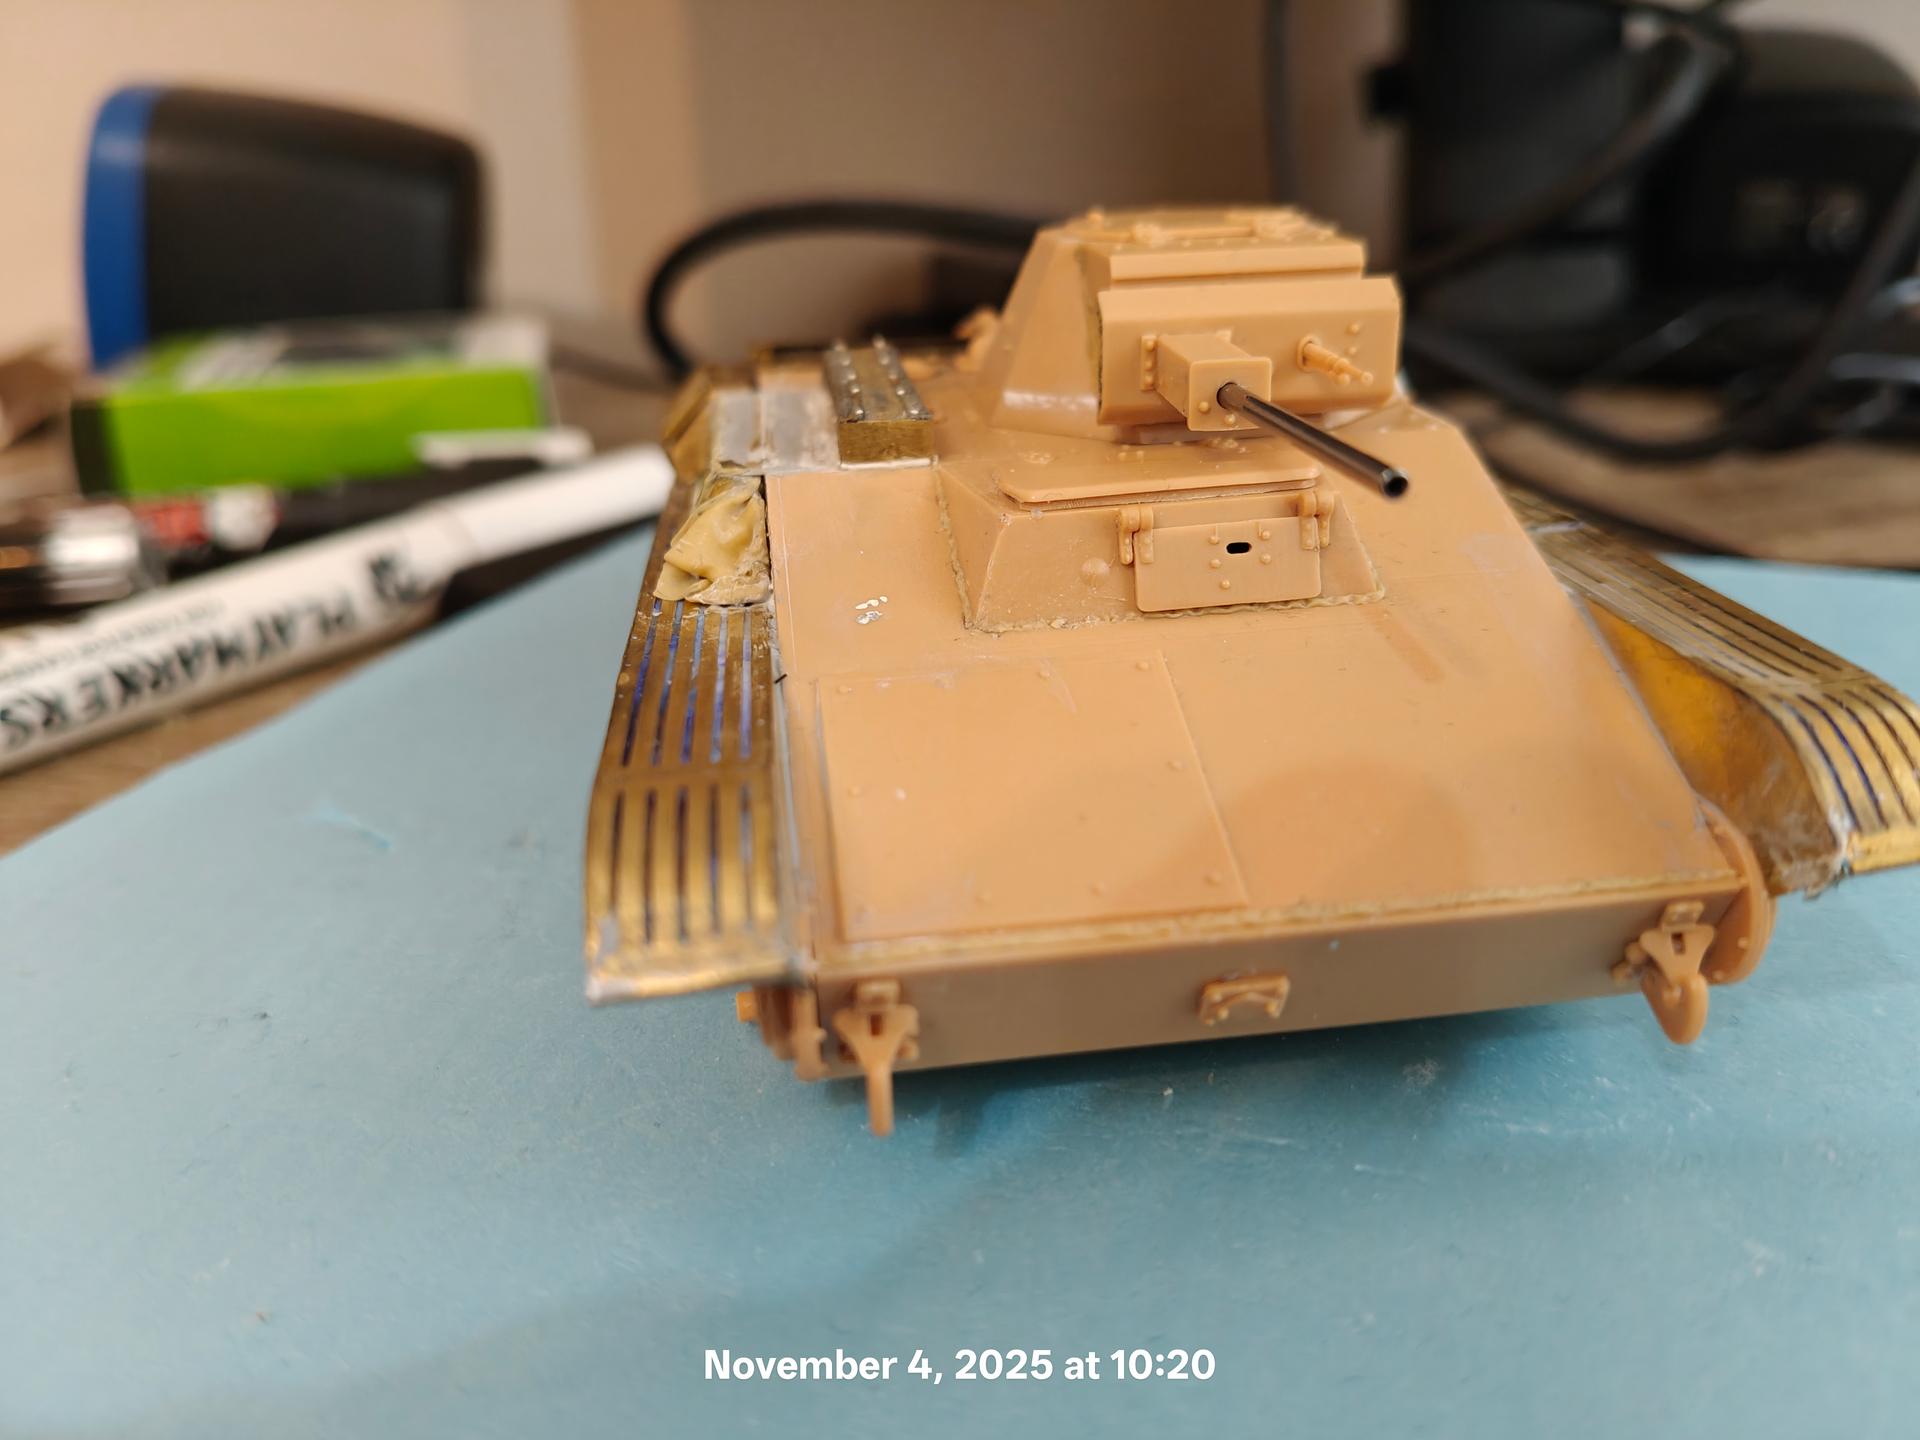
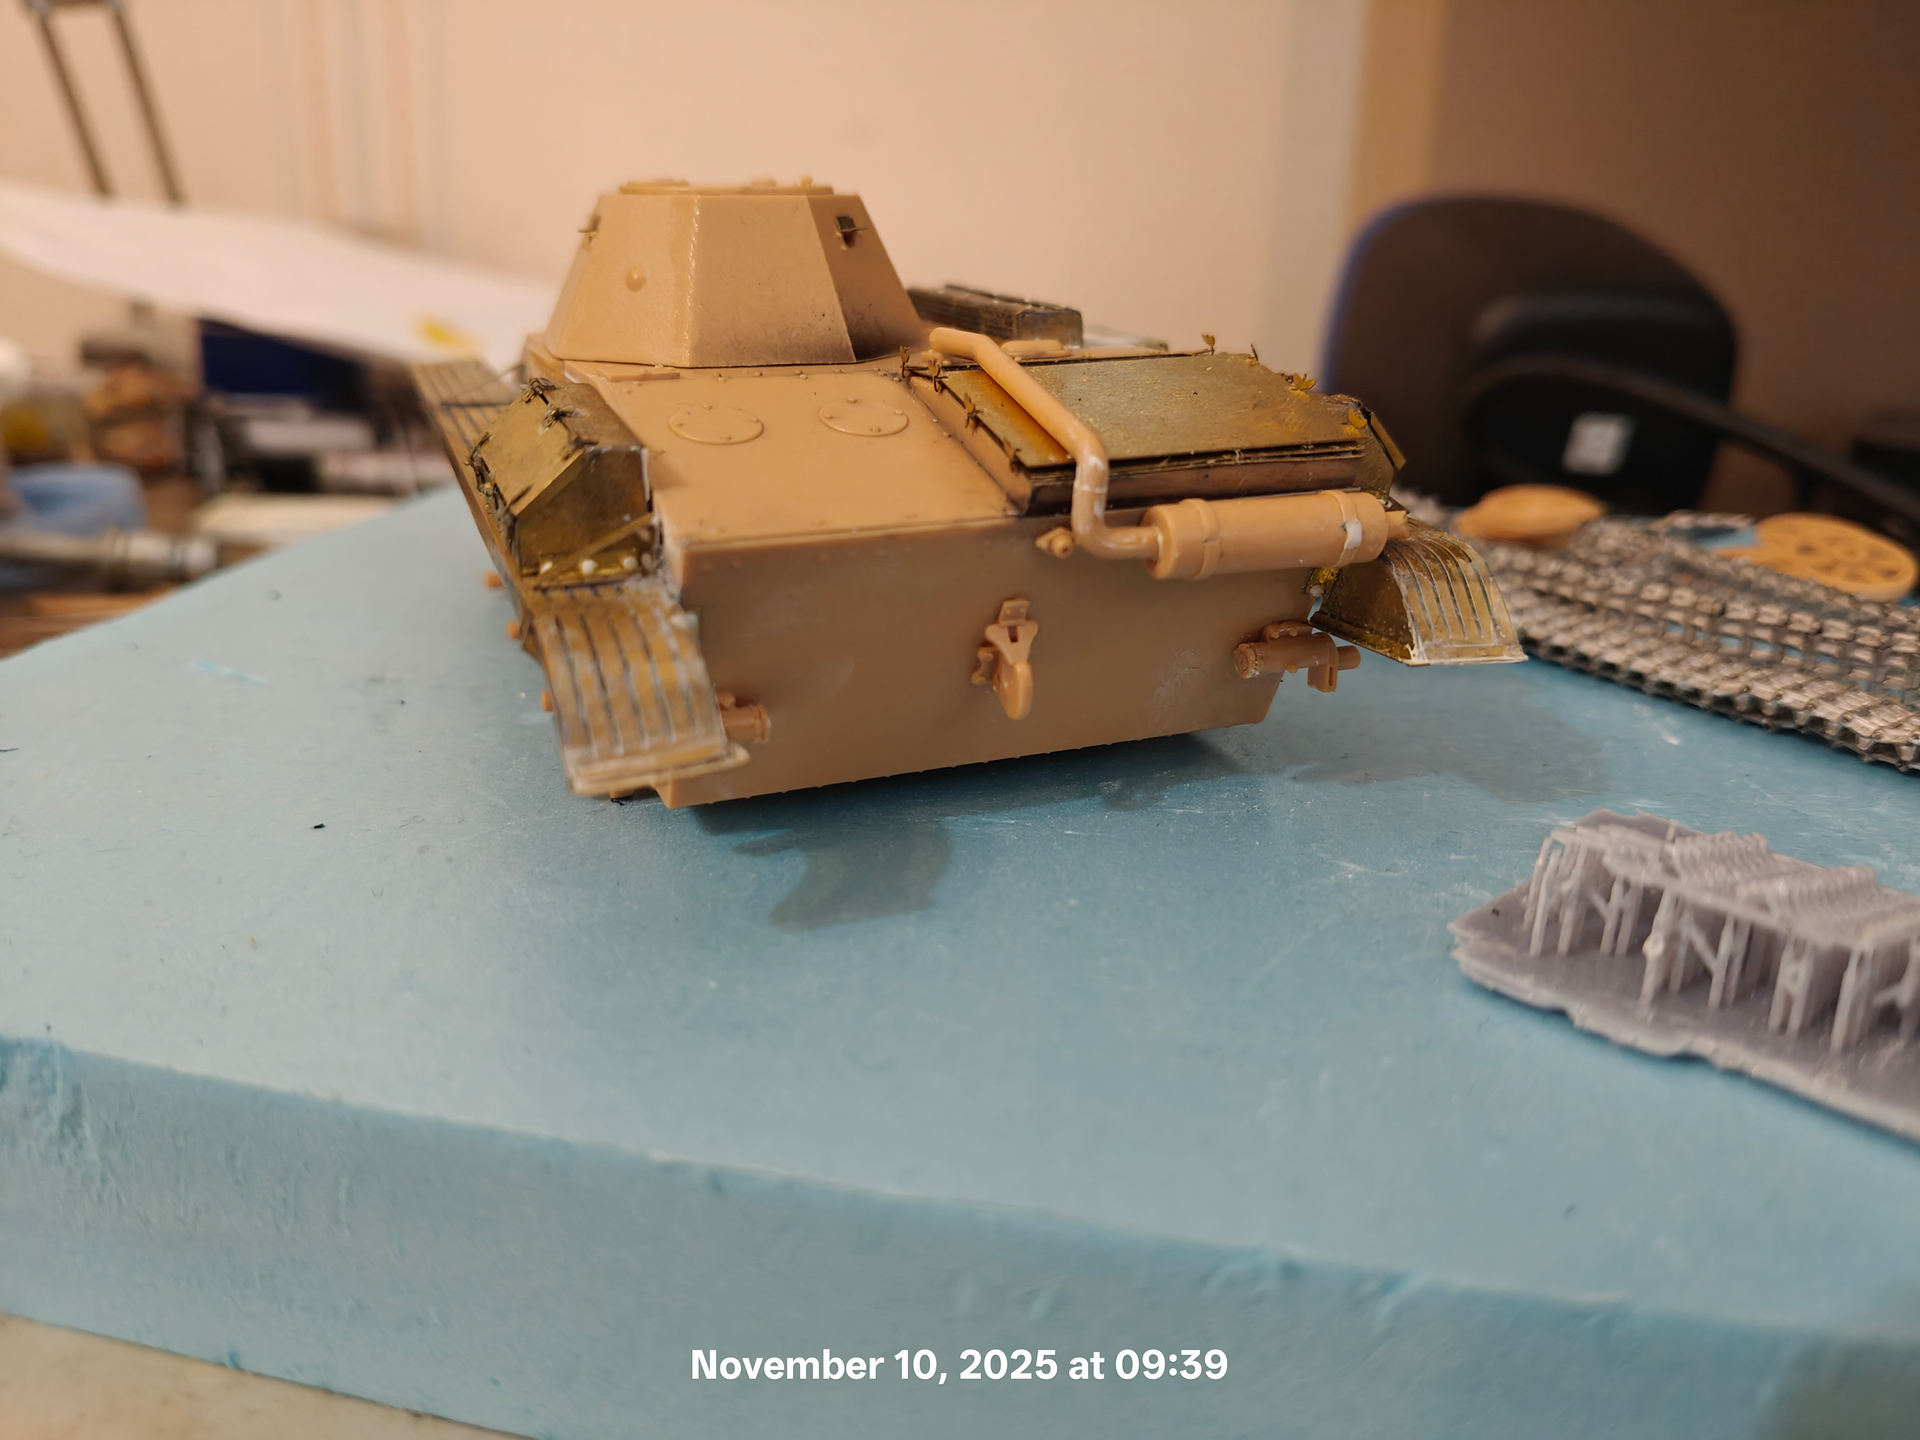
Finished the Eduard PE set. Still need to add the tool clamps on the left side and correct the bracket for the muffler which I sanded to much off…
Ohhh. And I added a 0.9-1 mm brass tube for the 2cm autocannon


14 Likes
The build is nice, but the nomenclature everyone is using is weird
The kit you are build represents a vehicle from 1943. The kit labels it as a mod 1942, I guess because it has the right angled back and the large back fuel reservoirs.
112 used the small, narrow turret right after Kursk, when they changed to the softedge larger turret with cupola. The small cast turret is different than the ones from 1941 as the screwed plate on the back was eliminated. The same small turret was used also very rarely by factory 174.
If you truly wanted a mod 1941, dragon 6418.
I will laud your model even if not 100% accurate
4 Likes
Thank you!
3 Likes
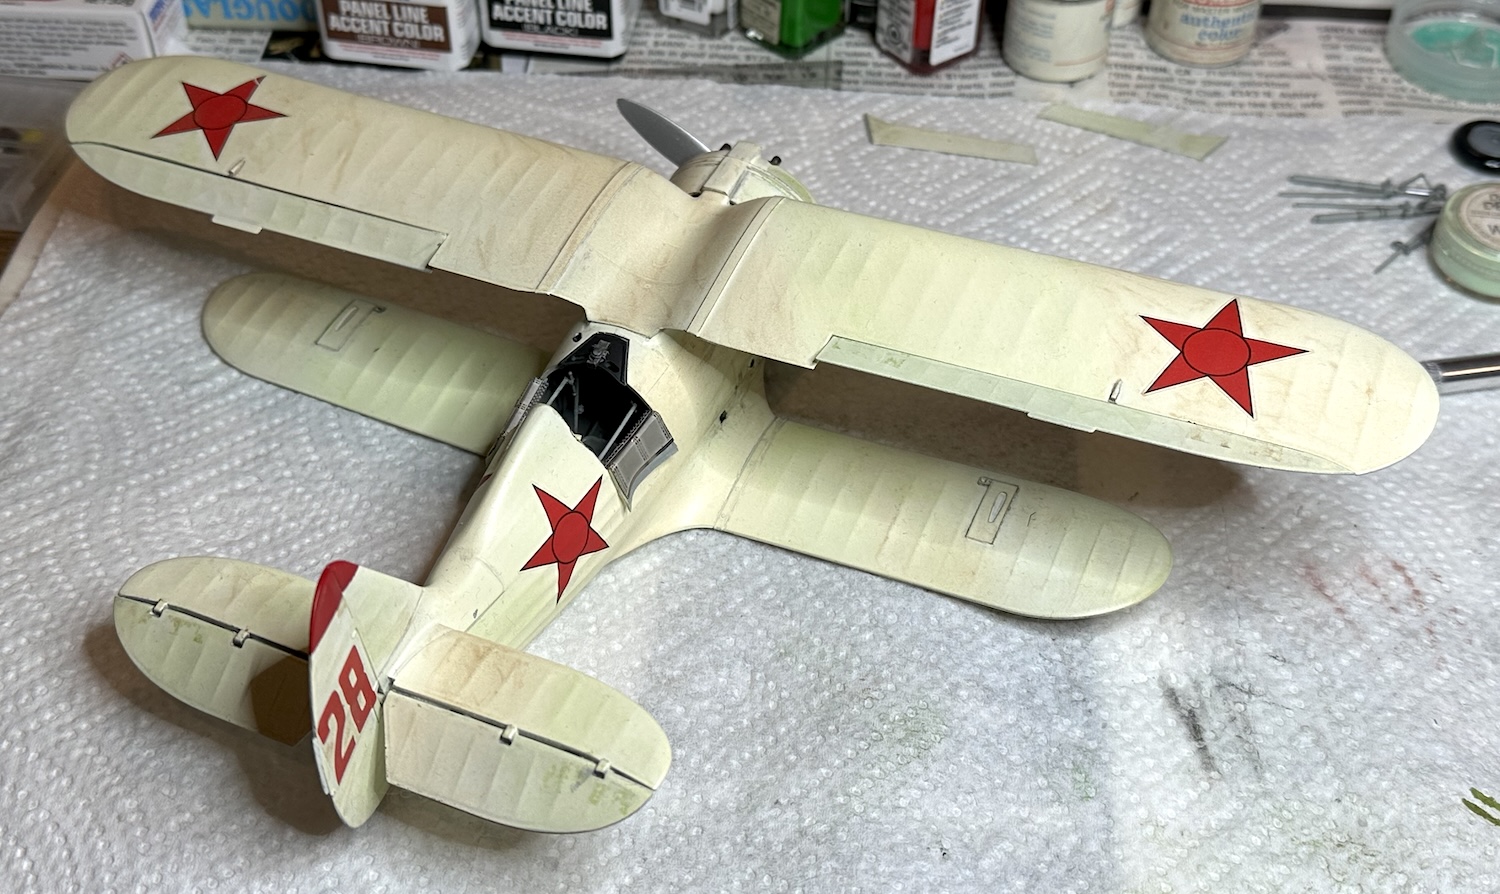
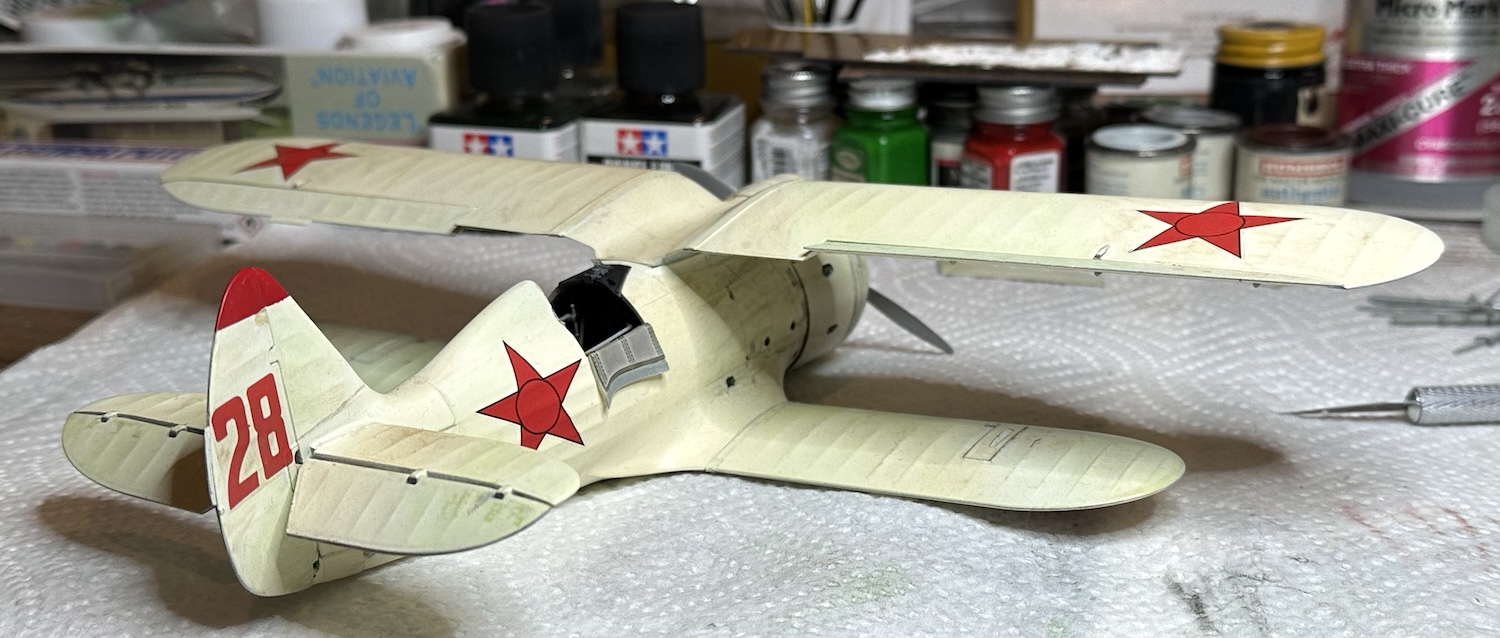
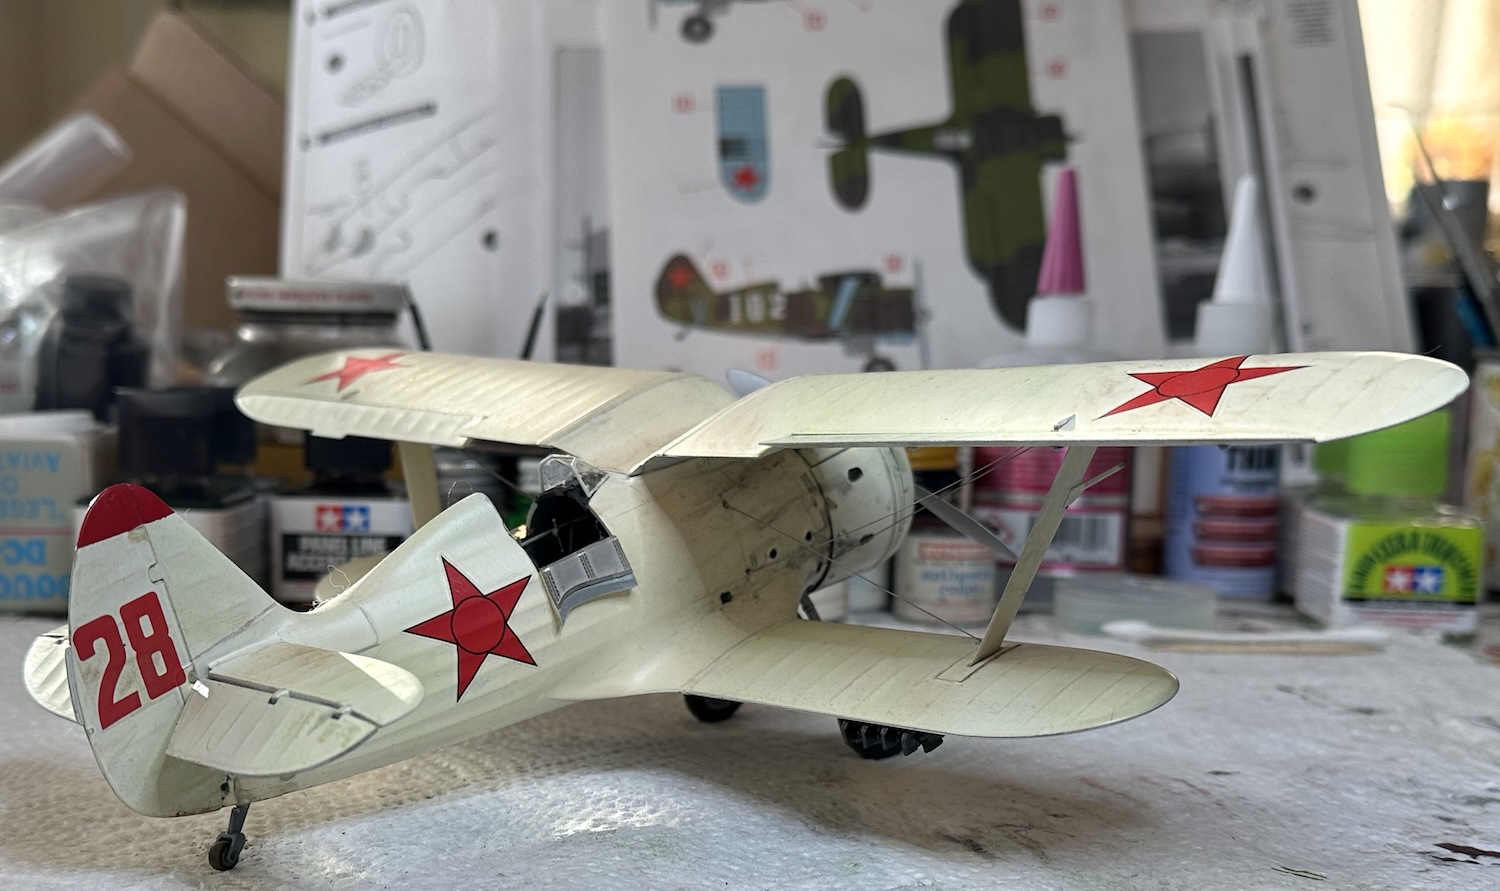
The interplane struts and PE rigging are on the 1/32 ICM Polikarpov I-153. The rigging was pretty easy as the holes were already predrilled at the correct angle early in the build.

Next the rocket rails and the landing gear were added:

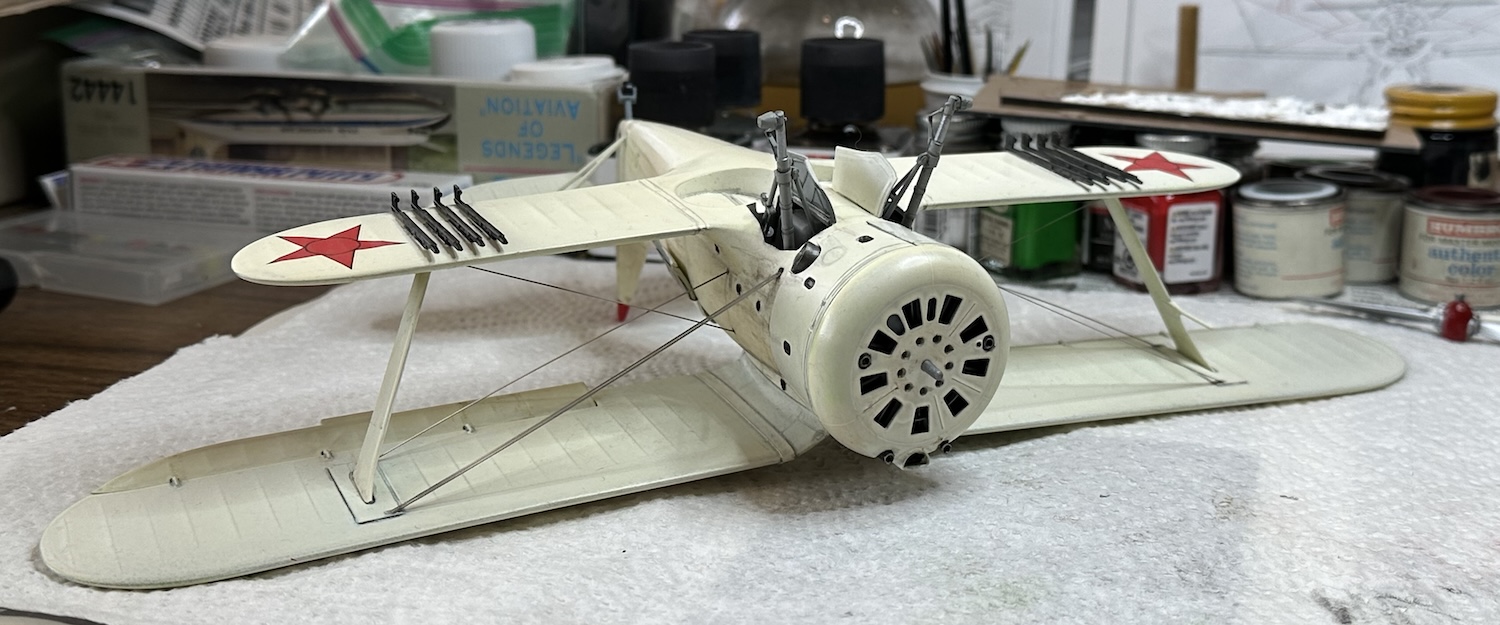

Then rockets & the wheels were fitted. These wheels were pigeon towed on the real aircraft. I would have guessed this beast would have been prone to ground looping . . .

The windscreen & propeller were added last. A bit go Blutac holds the propellor in place.


16 Likes
Although I’m not into building “wingy things”, your clean work really stands out- well done, Paul!
Cheers,
Angel
3 Likes
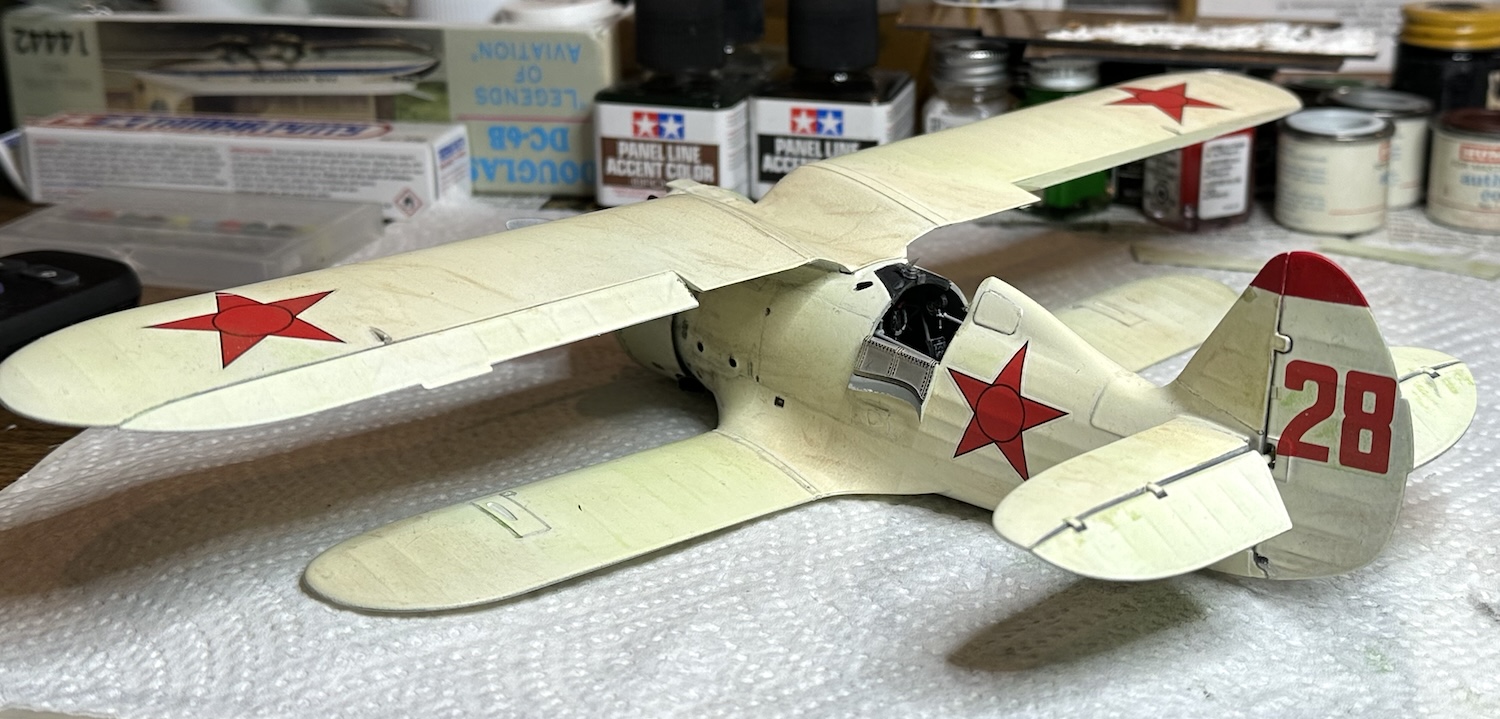
Oil leaks & streaks were added along with exhaust streaks. This little fellow would almost certainly have been operated from dirt fields with lots of Spring mud. I have seen pictures of these aircraft still wearing their Winter coats into June. By that time they would have shown a lot of wear & tear and so I added dirt & grime here & there.


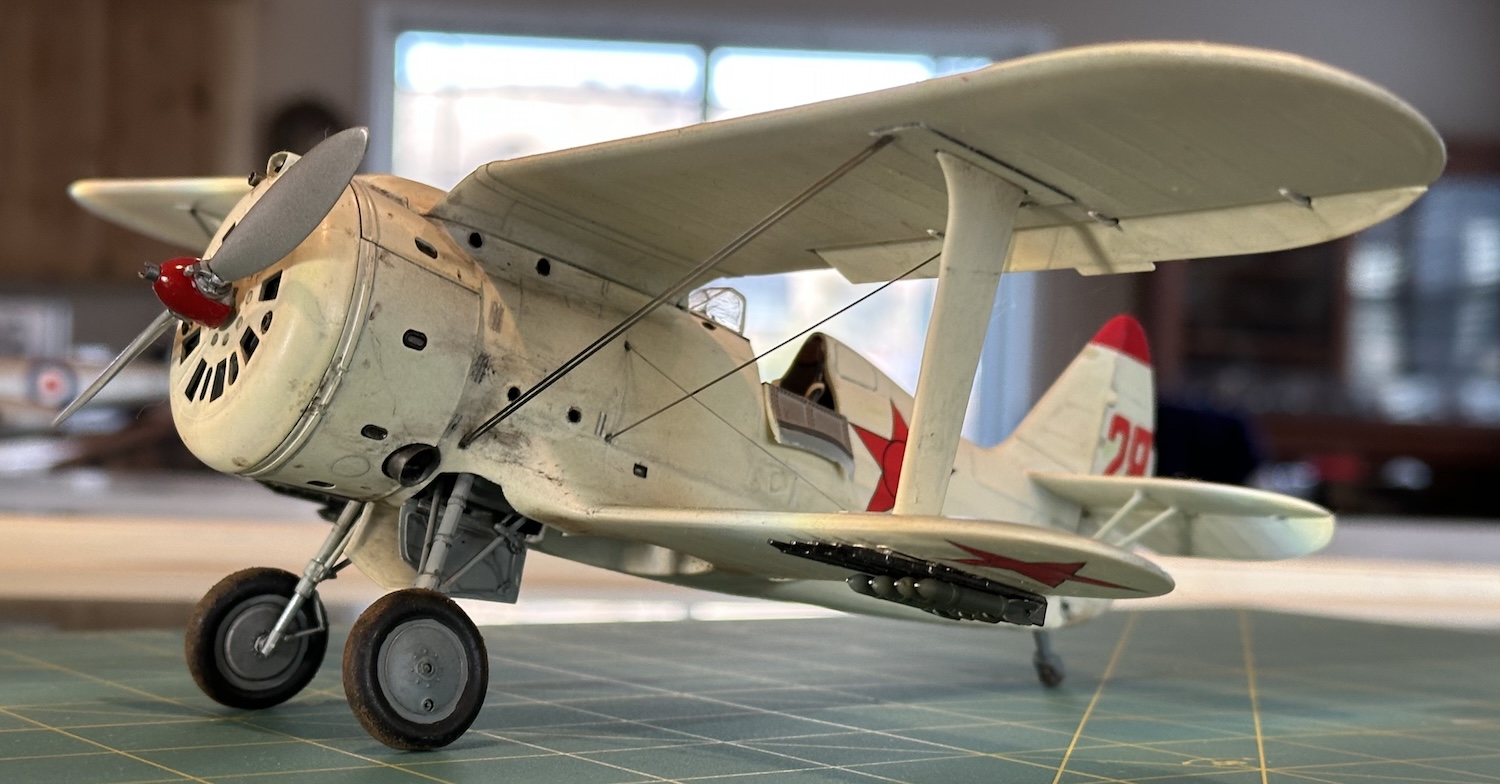


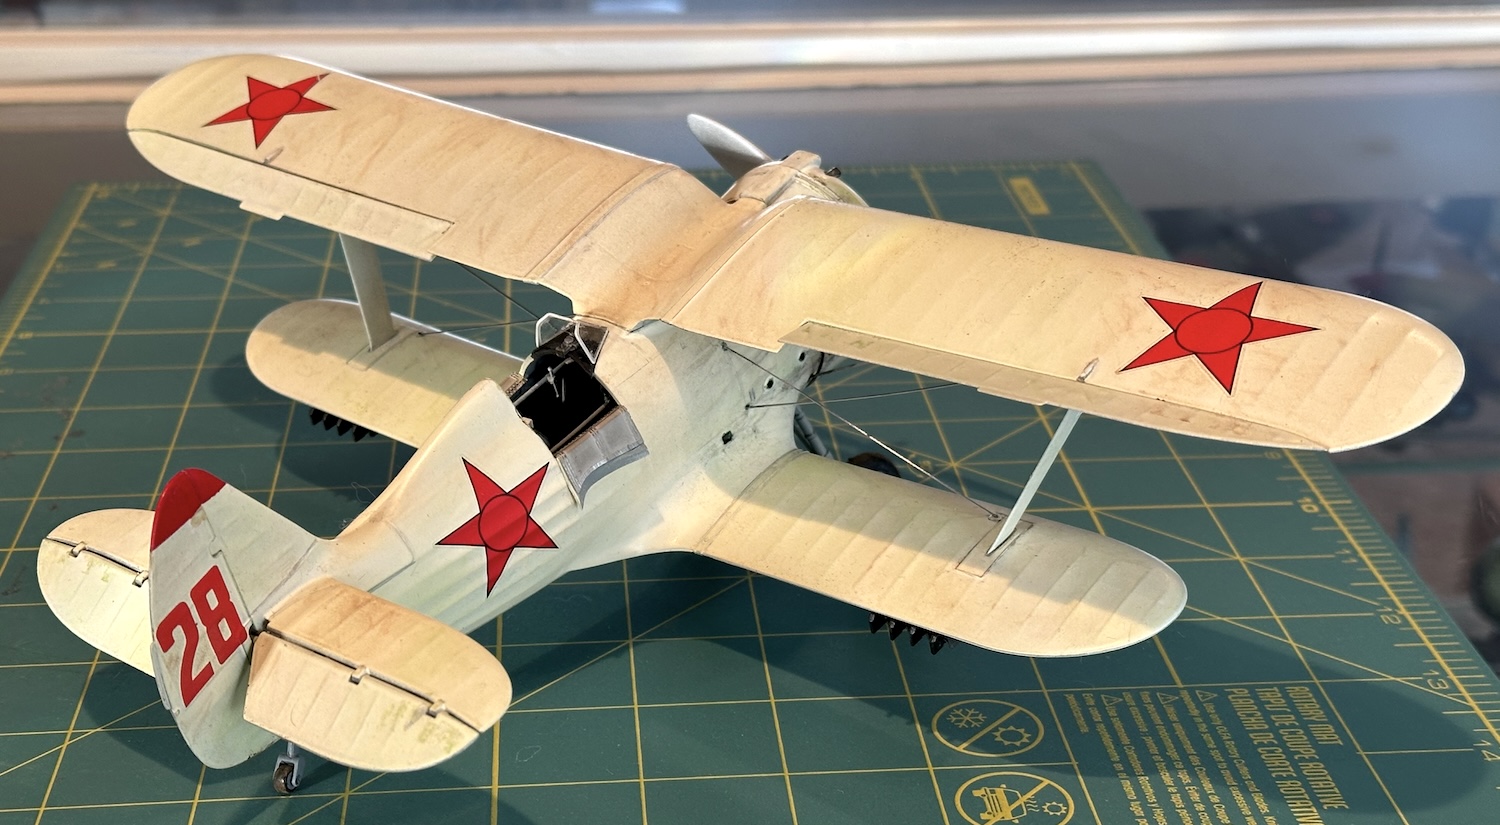
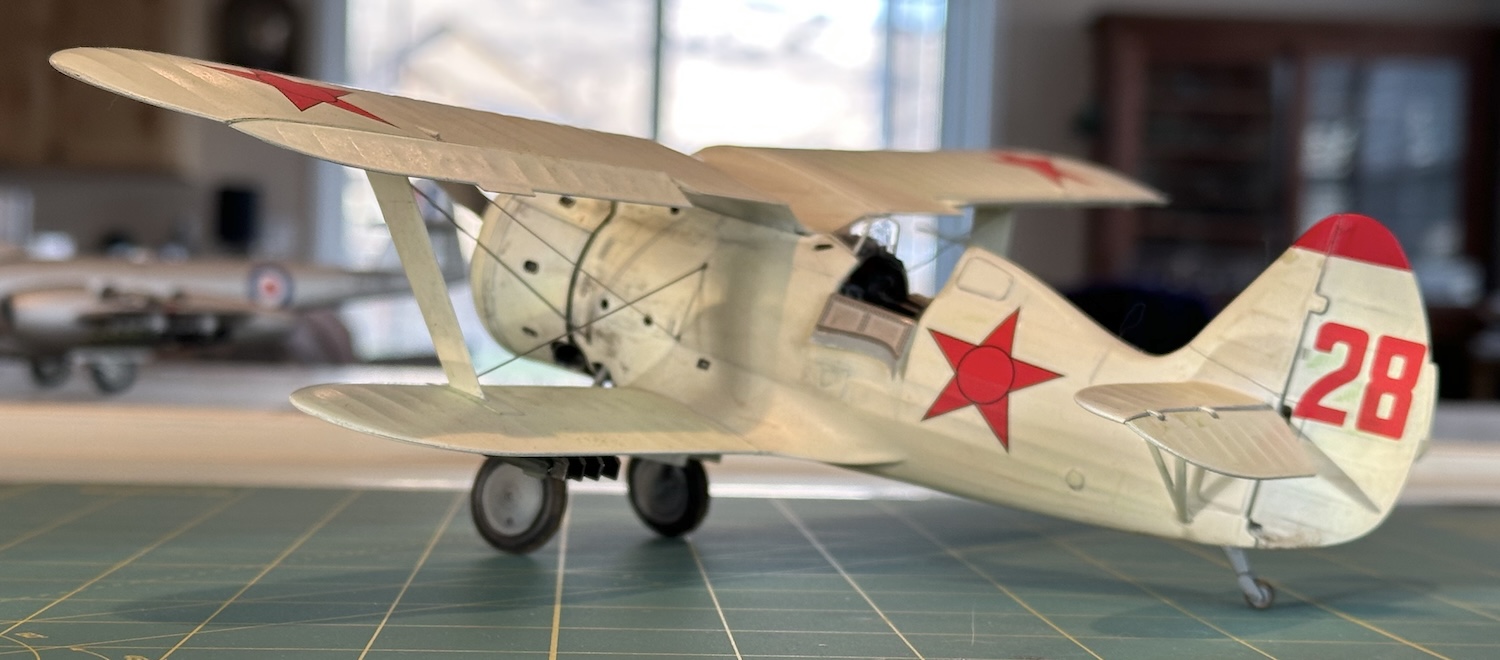
This one is finished. It was an enjoyable build with a few issues, the largest of which was the poor jig for the exhaust stubs. ICM could have easily made the slots hold the stubs out at the correct angle as well as locating them radially.
Paul
17 Likes
Thanks Angel, this aircraft build had some things in common with armor builds, the weathering for example. I enjoyed the process of building and my eyes still enjoy seeing it.
Paul
3 Likes
Finished the assembly process with the extract details. This was not that easy for me. Let
bring out the airbrush now


F

11 Likes
Excellent!!!
I love it
1 Like