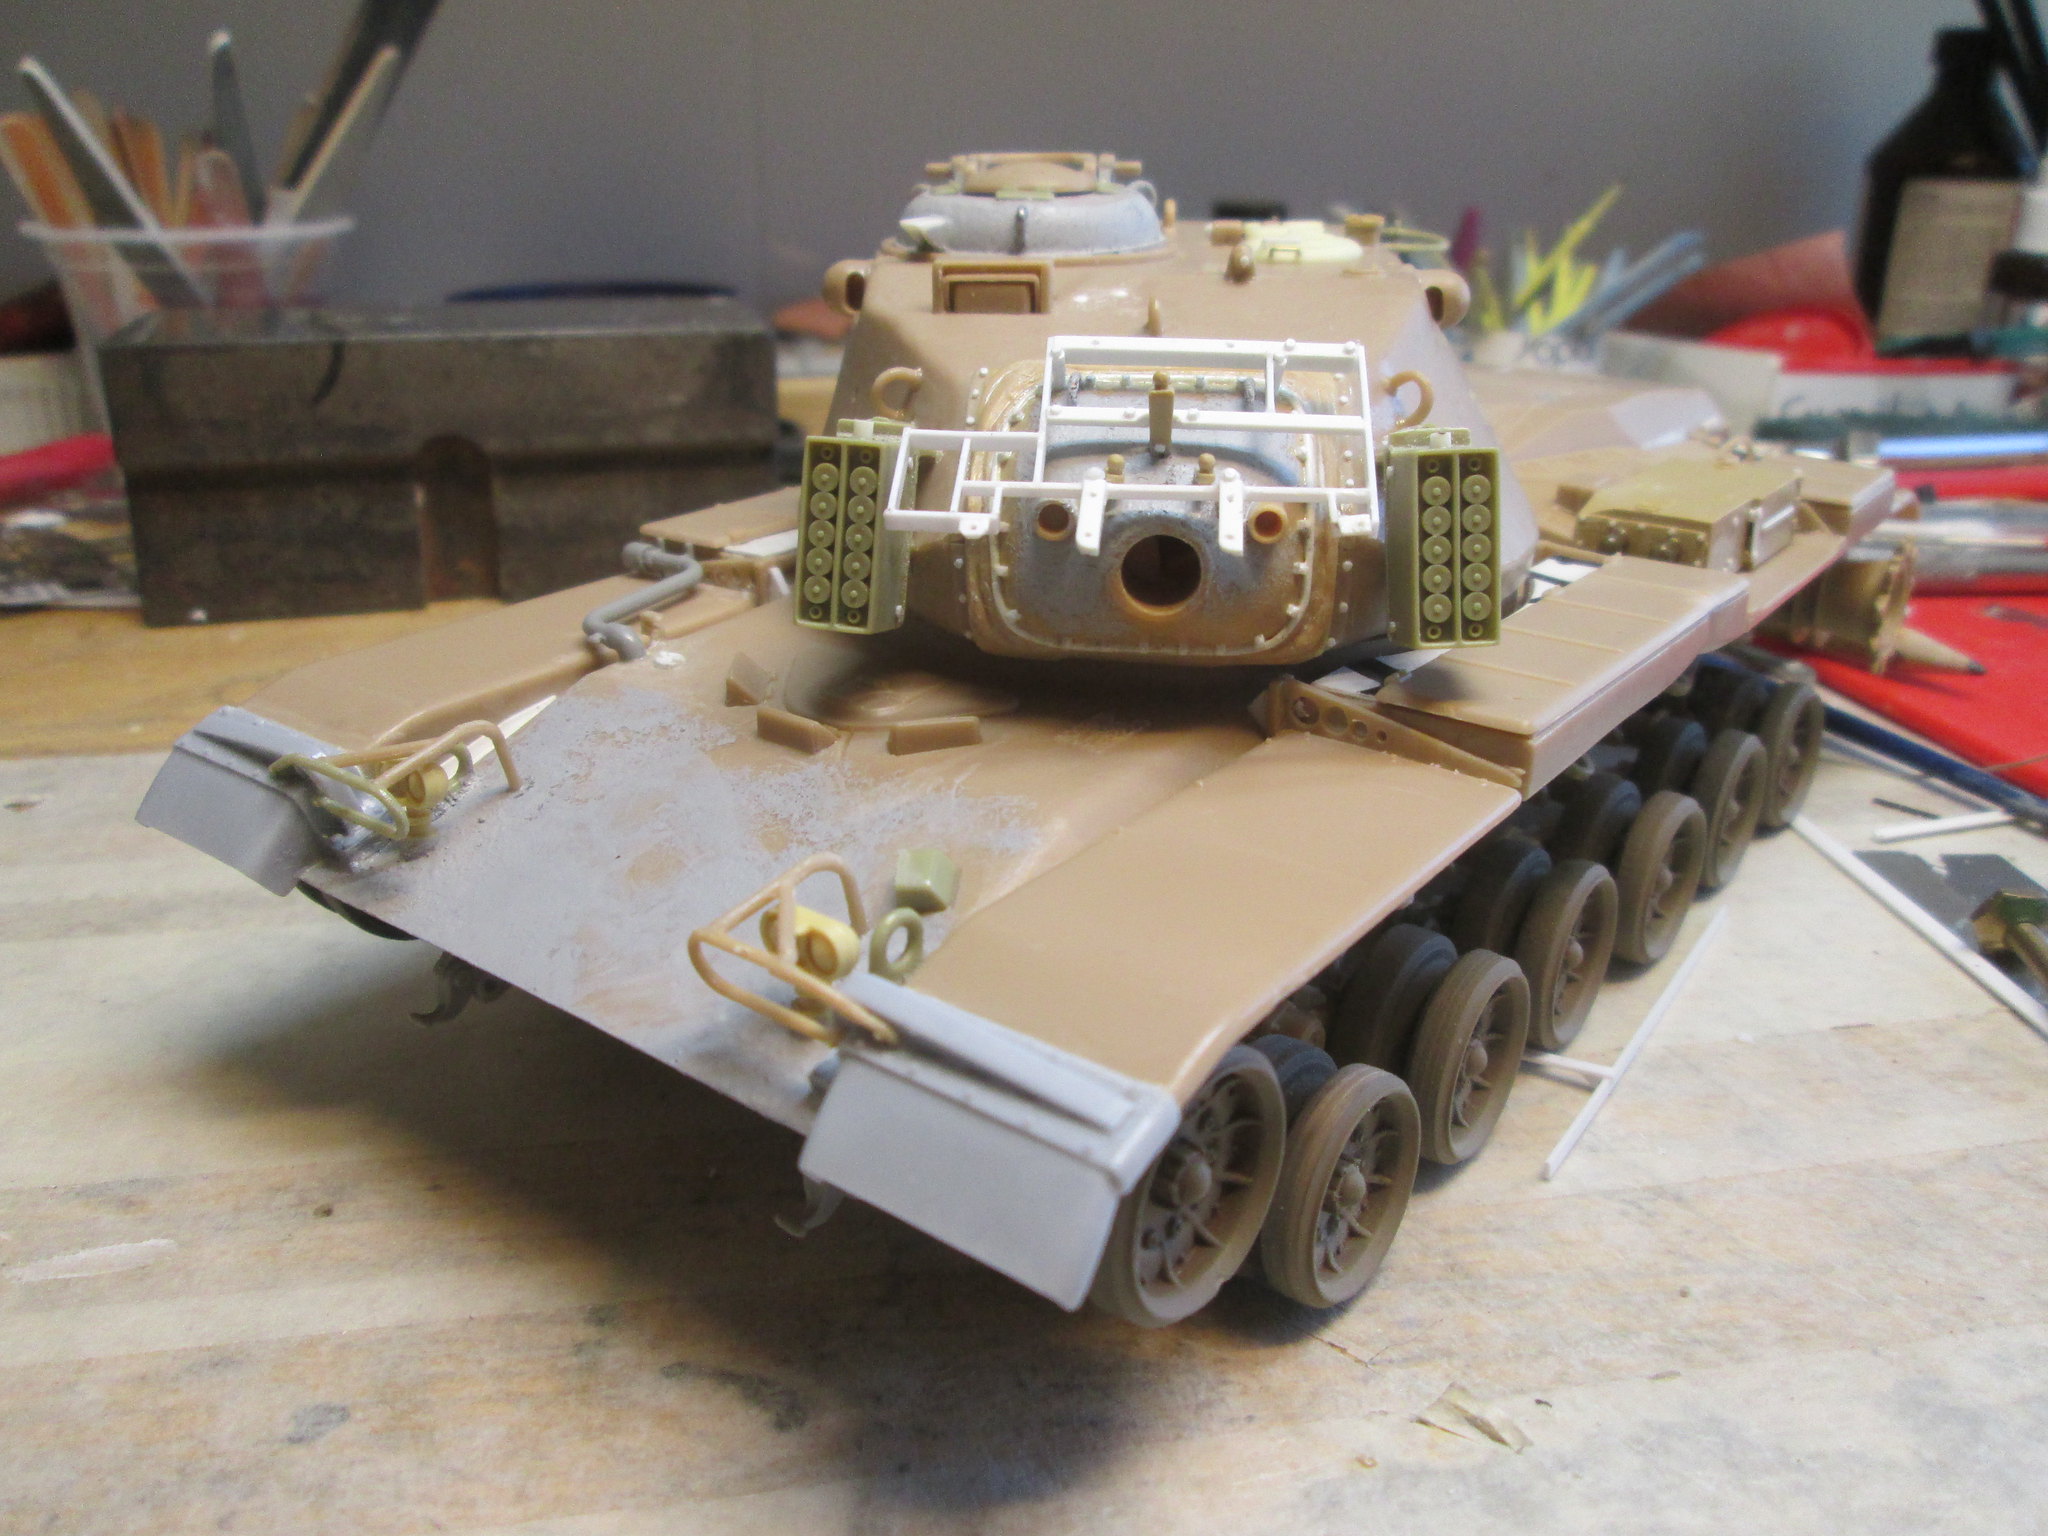
One more attempt to use up some spare parts, partial kits and other bits I keep moving out of the way. I started with a partially assembled kit bought at a show for next to nothing, intending to rob it for parts, but for some reason started on it. I wanted to do a reasonably accurate 6B, and being a glutton for punishment decided once again to try and “correct” as much as I could. I had most of a full set of the Verlinden “Blazer” conversion so that got used along with kit parts from ESCI, Academy and I think there’s some Tamiya bits too. I keep saying to myself I ought to just dump all this stuff and build the Takom and AFV Club kits on the shelf, but dang it I like doing this.
The extent of my goofiness:
 IMG_2026 by Russel Baer, on Flickr
And this, more to happen here:
 IMG_2027 by Russel Baer, on Flickr
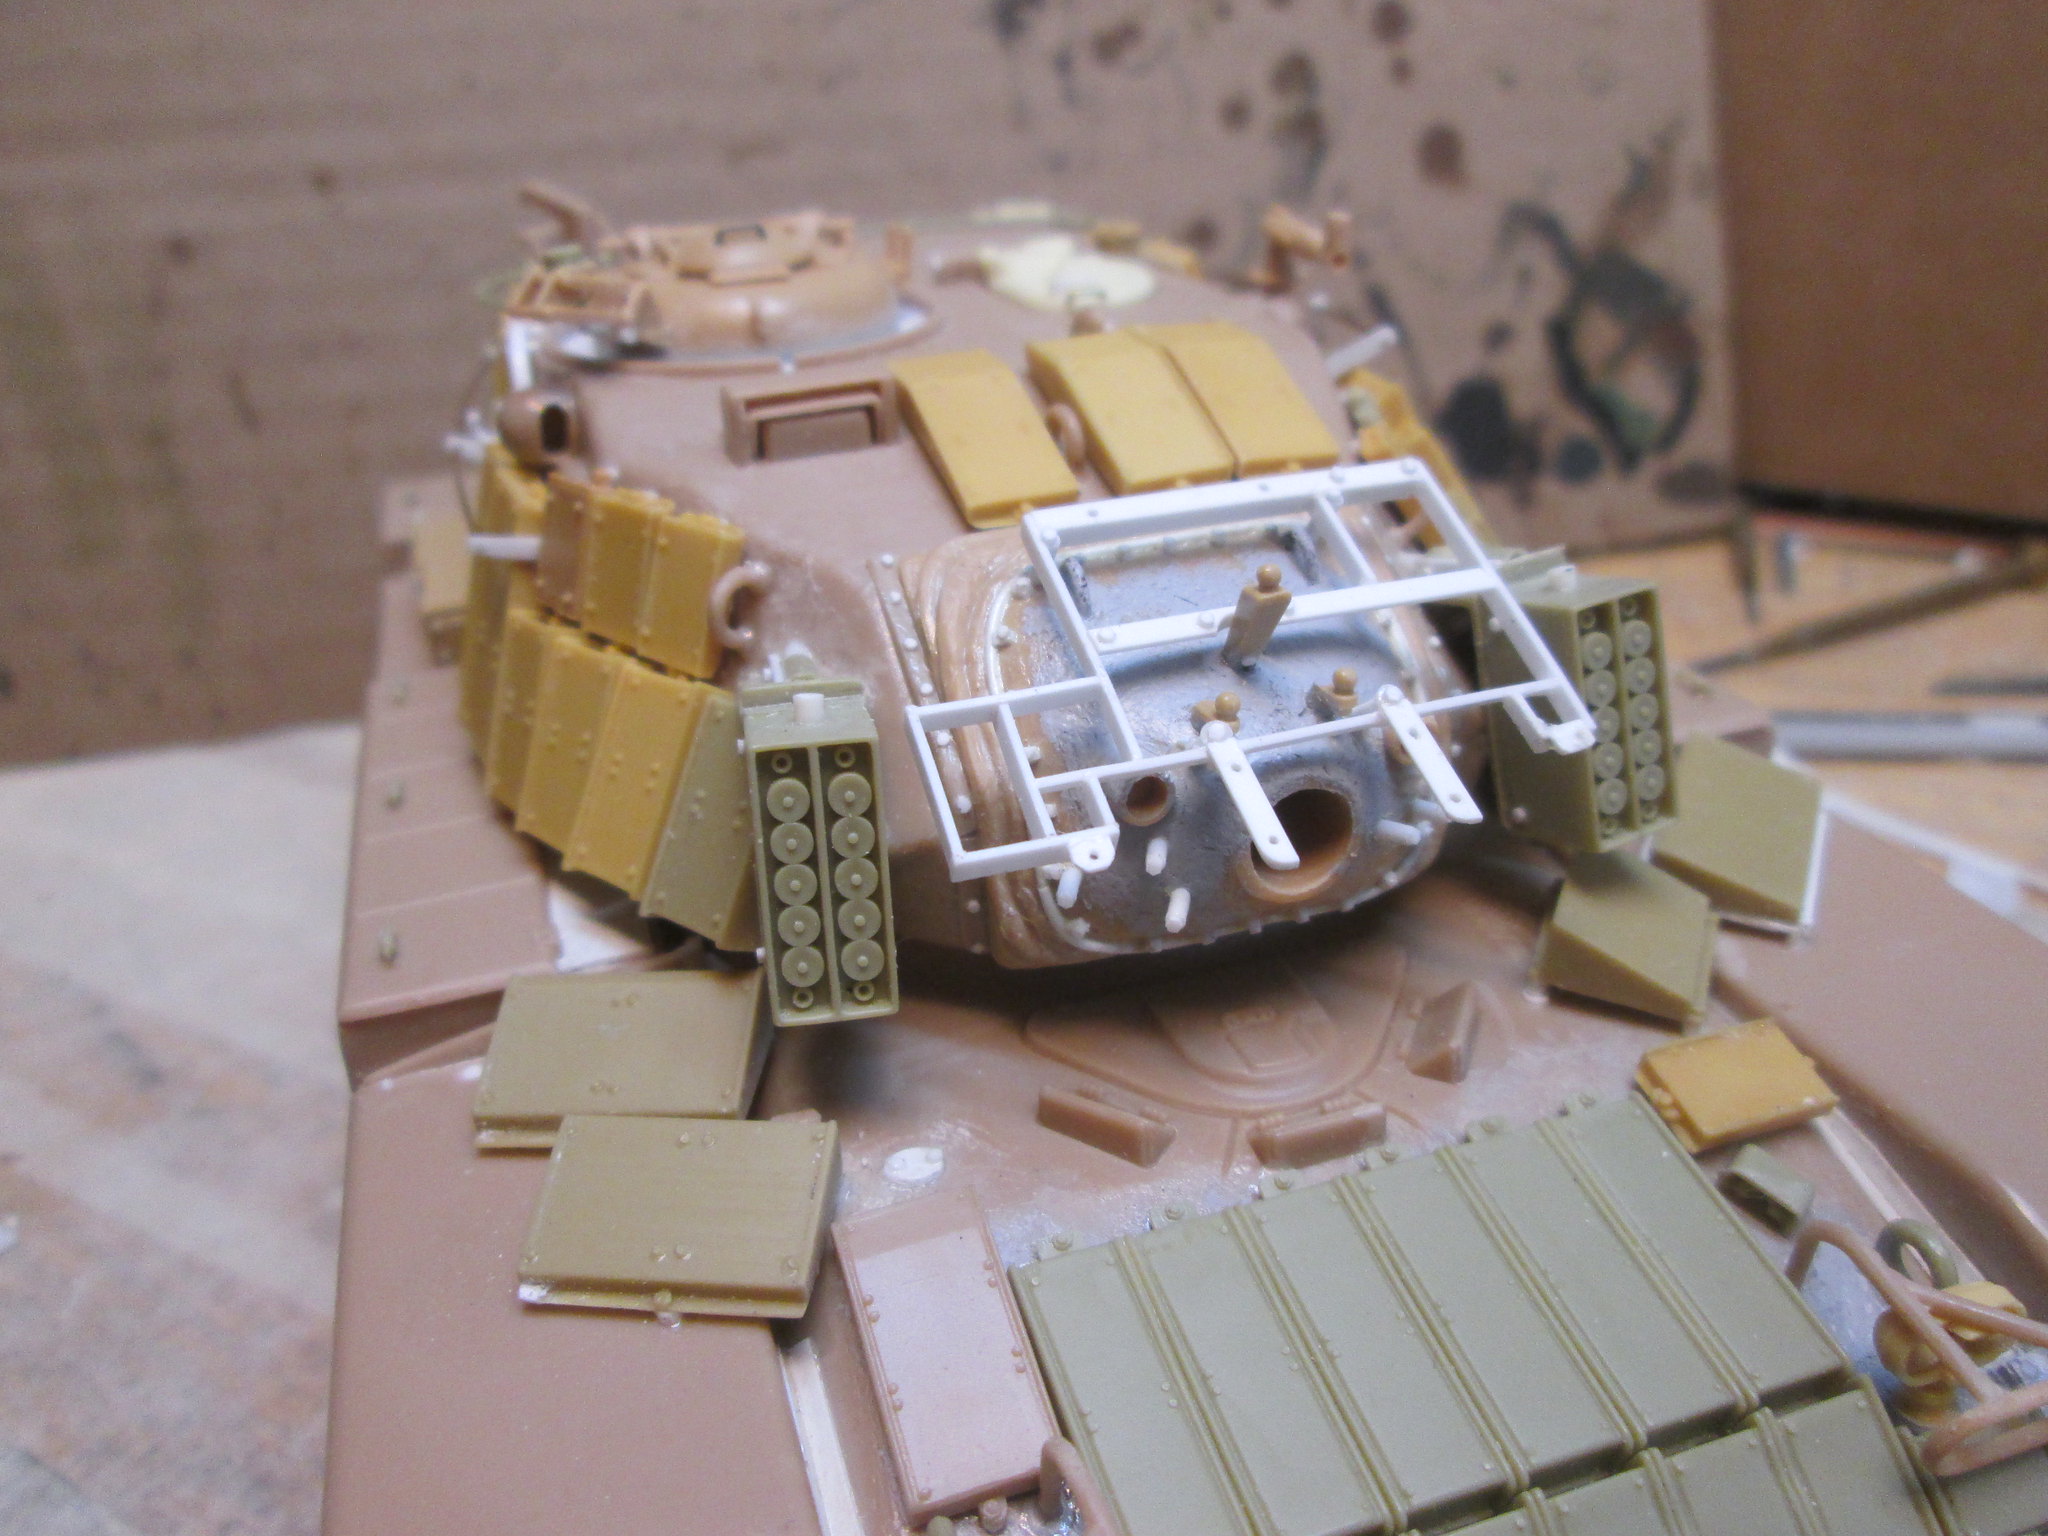
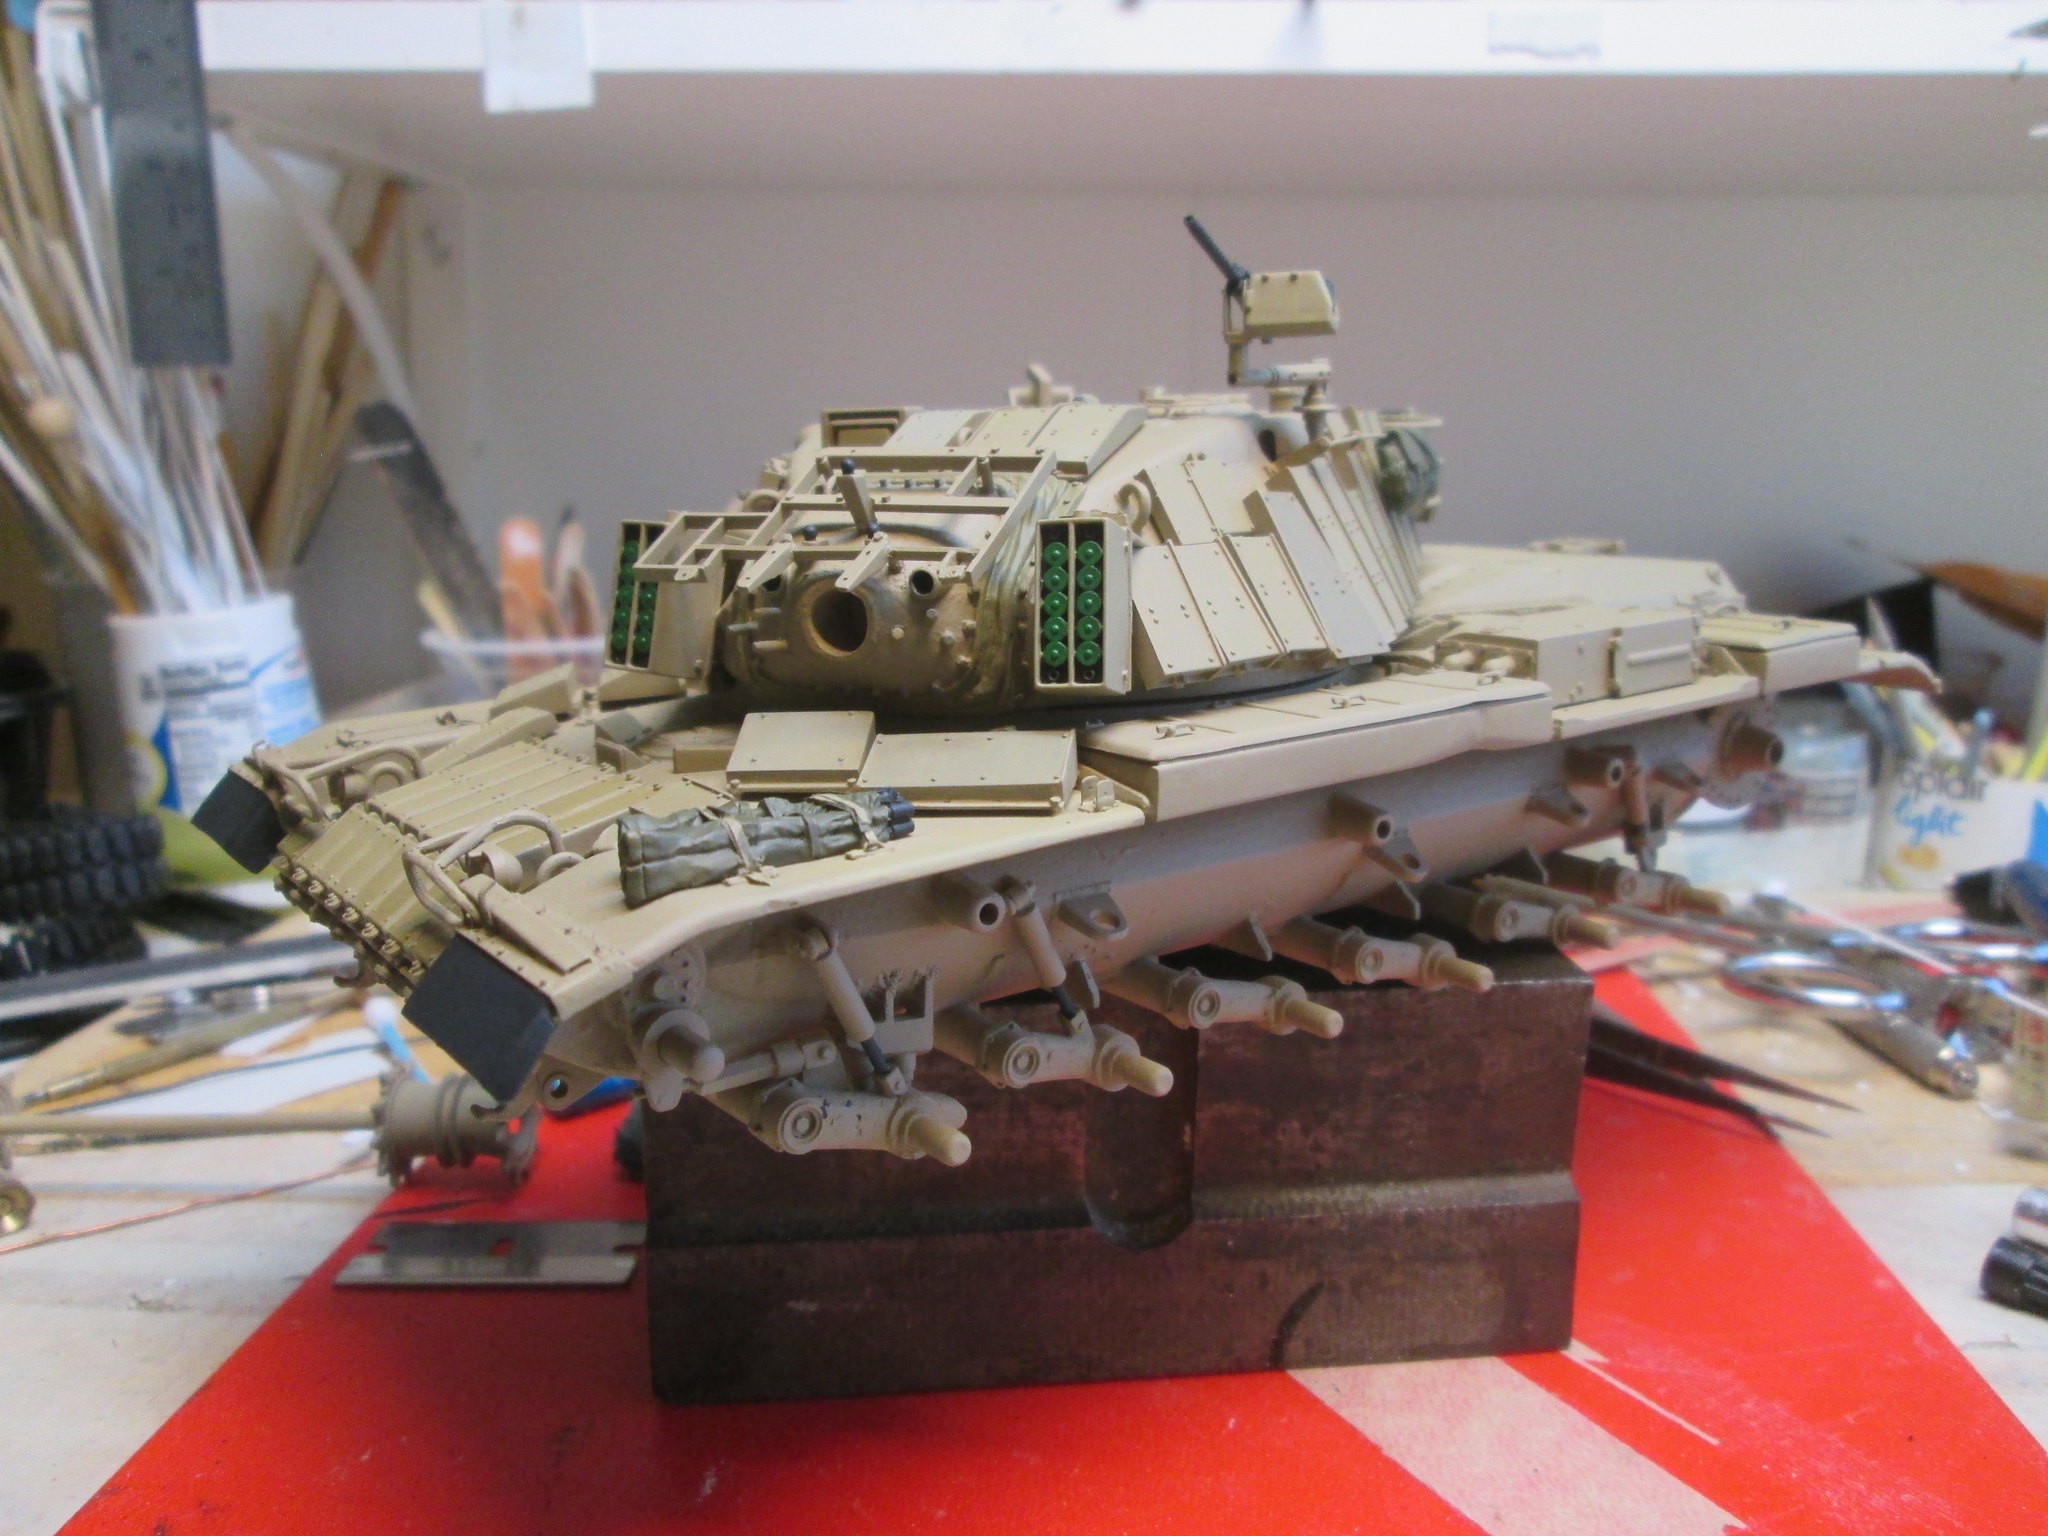
I wanted to do one with reasonably accurate turret ERA, so I scratched the bracket and “fixed” the mantlet cover:
 IMG_2028 by Russel Baer, on Flickr
Turret and ERA nearing completion:
 IMG_2279 by Russel Baer, on Flickr
 IMG_2280 by Russel Baer, on Flickr
I guess it’s less money than buying the AFV Club kit when I look at it, and I have to say it’s fun, but that’s all relative. I’ve got another hull in progress, using Tamiya parts and making a “slick”. On this one I’m “fixing” the front glacis…
 IMG_2133 by Russel Baer, on Flickr
…and the rear:
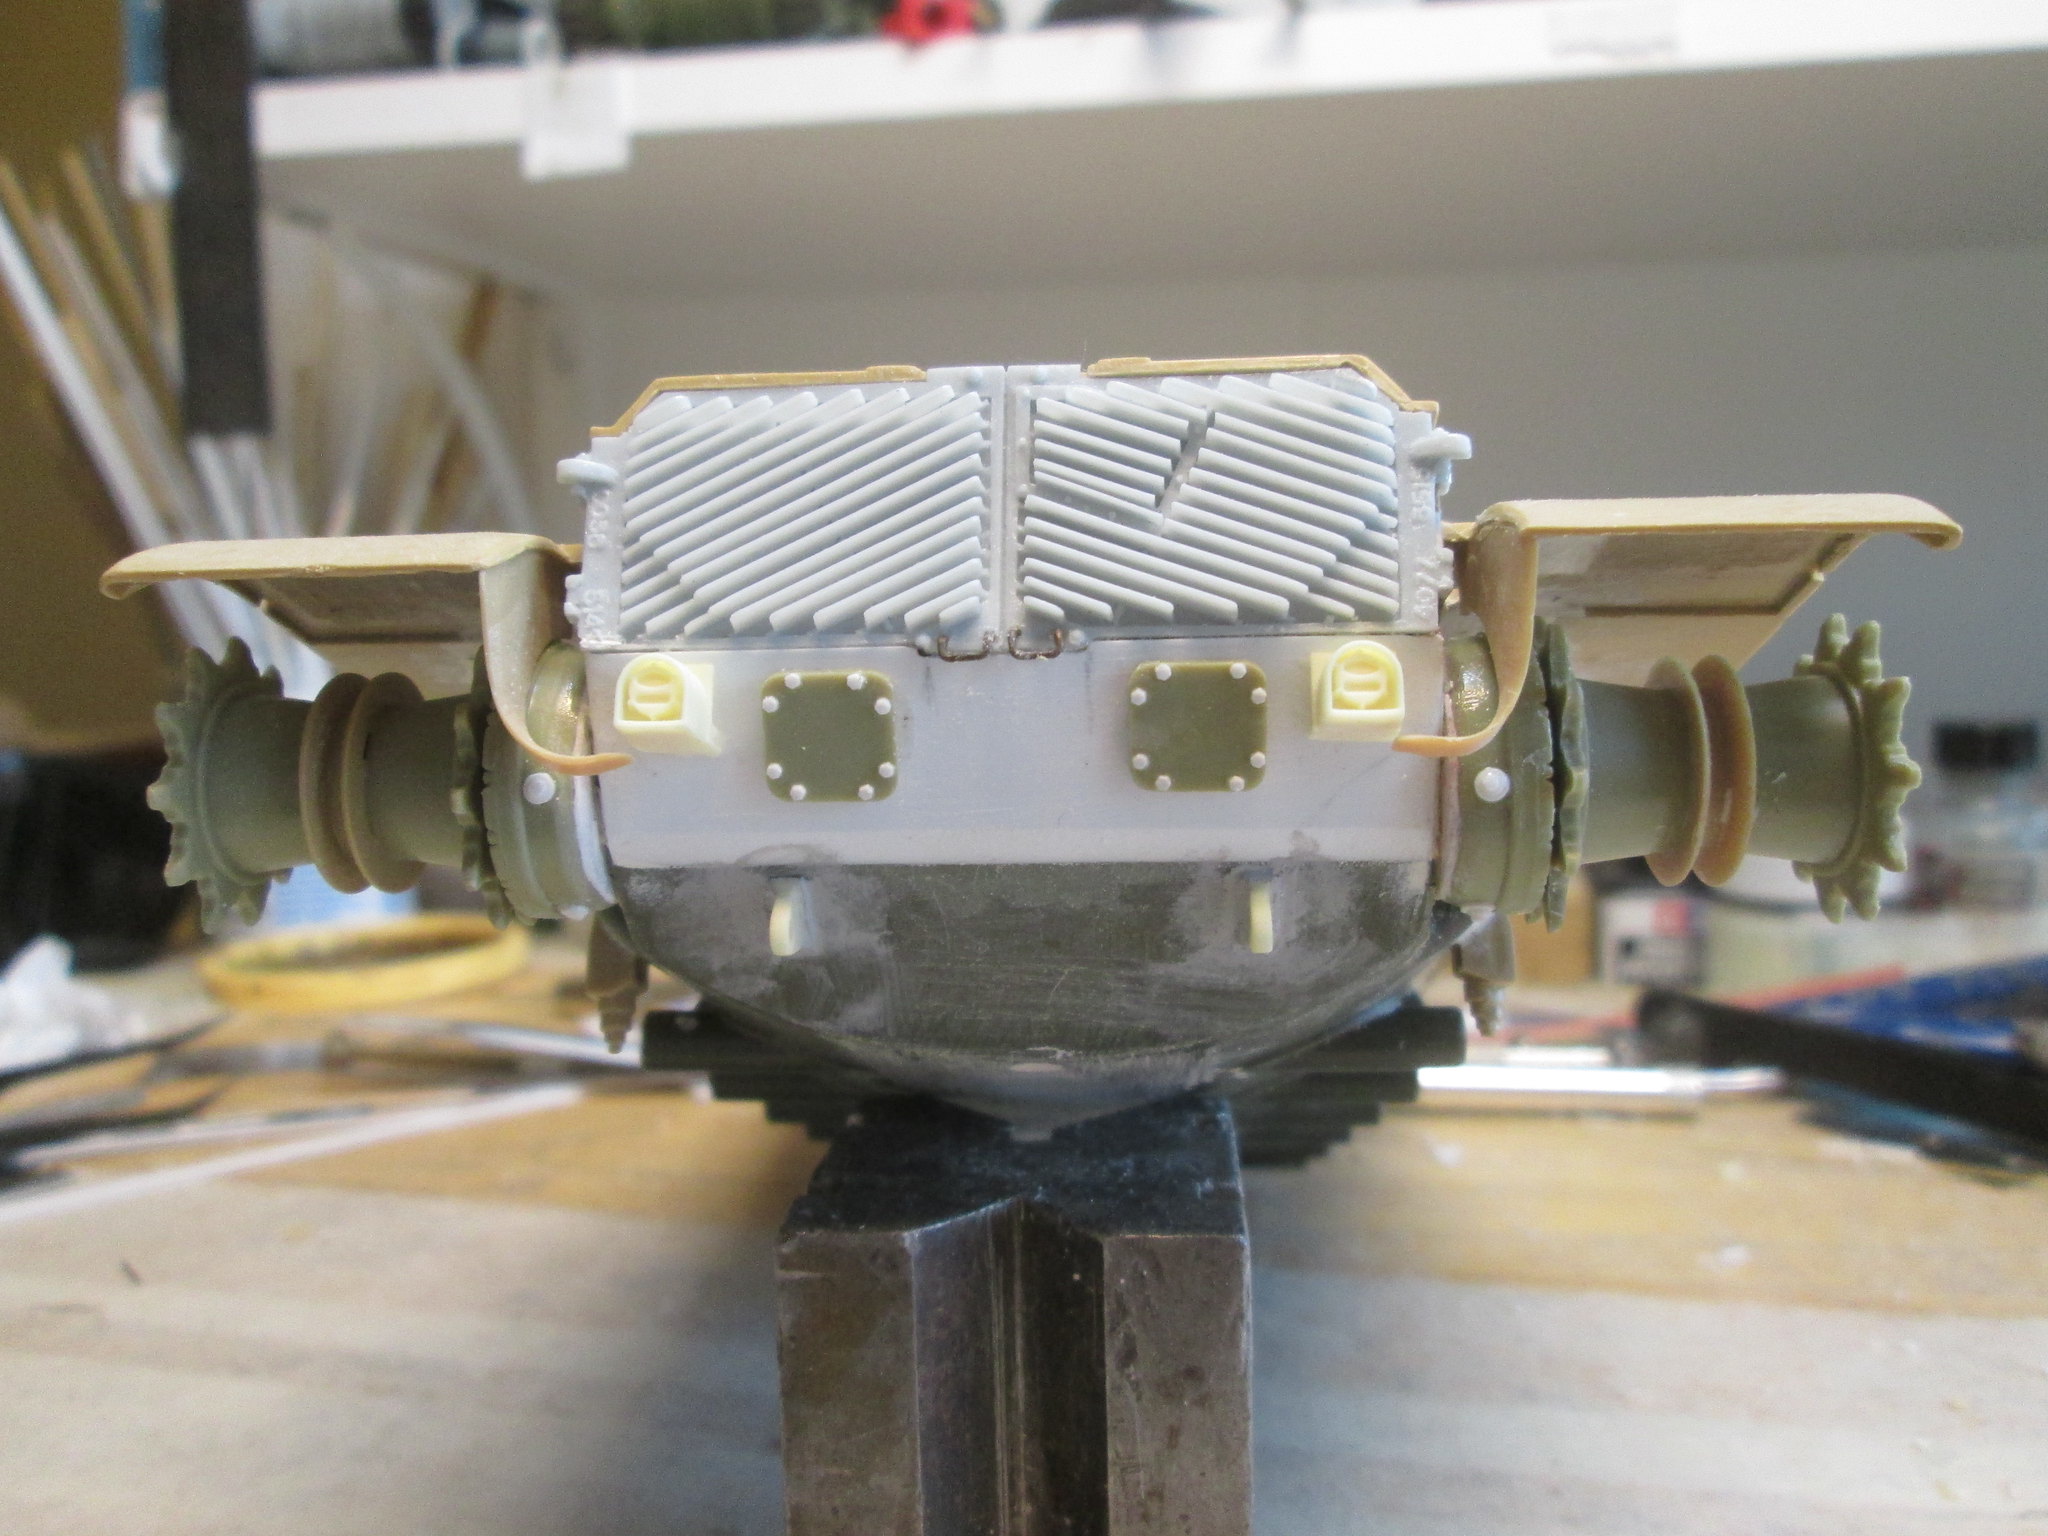 IMG_22
81 by Russel Baer, on Flickr
Nuthin’ but spare parts so far. The clincher will be the turret.
Mortar mount & mantle ERA frame look great, nicely done !
What was wrong with the front that needed “fixing?”
Ken
It looks great so far, Russel.
If I were to pick only one thing to revise is correcting the oversized Urdan cupola. ESCI’s or Dragon’s is simply too big - so I’d do some major surgery (like I did to mine - see below) or replace it with a spare part from another recent kit or an AM resin part.
Here’s mine in work in progress for reference: ESCI's IDF M60A1 Blazer in progress - #2 by James_Lee
Will follow this thread.
Kind regards,
James
Ken: Take a look at where the center driver’s periscope is, and the distance between the back of it and the driver’s hatch. The glacis should have no cutout for the 'scope. I’m thinking the slope of the glacis is off, which seems to hold up when comparing to a Takom or AFV Club hull.
James- Good point, I have a couple of old Verlinden cupolas which I think may be undersize, and one (I think) of the newer Academy units from the later Magach 7C and -6Gal batash, I’ll dig around.
I like what you’ve got going on with yours.
Sean, thanks!
nice super mix!
remember to drill the drive wheels!
Tuned in and watching, great subject and project. The ESCI Magach 6B kits have a very special place in my modelling hart, I have been collecting aftermarket and detail sets for years for them, so as to build most of the M-60 variants in IDF service. 
Yes, two sets of sprockets to add mud relief holes to, so much fun!
Nikos, same here, working my way through the inventory.
Here’s a pic with the better cupola started, mortar is just laying there, not sure if I’m going to try and make it work or not.
 IMG_2283 by Russel Baer, on Flickr
I’ve gotten a little more done here, still need to come up with the tent and stretcher for the front fenders and a couple of bits here and there. I’m going to leave the mantlet ERA and 50 cal off, digging through the stash for two 30 cals for the loader and TC. I scratched up an extra can rack for the turret basket, based on a couple of pics, neither very good but to lend some credibility I used extra fender braces for the sides. It’ll take two cans.
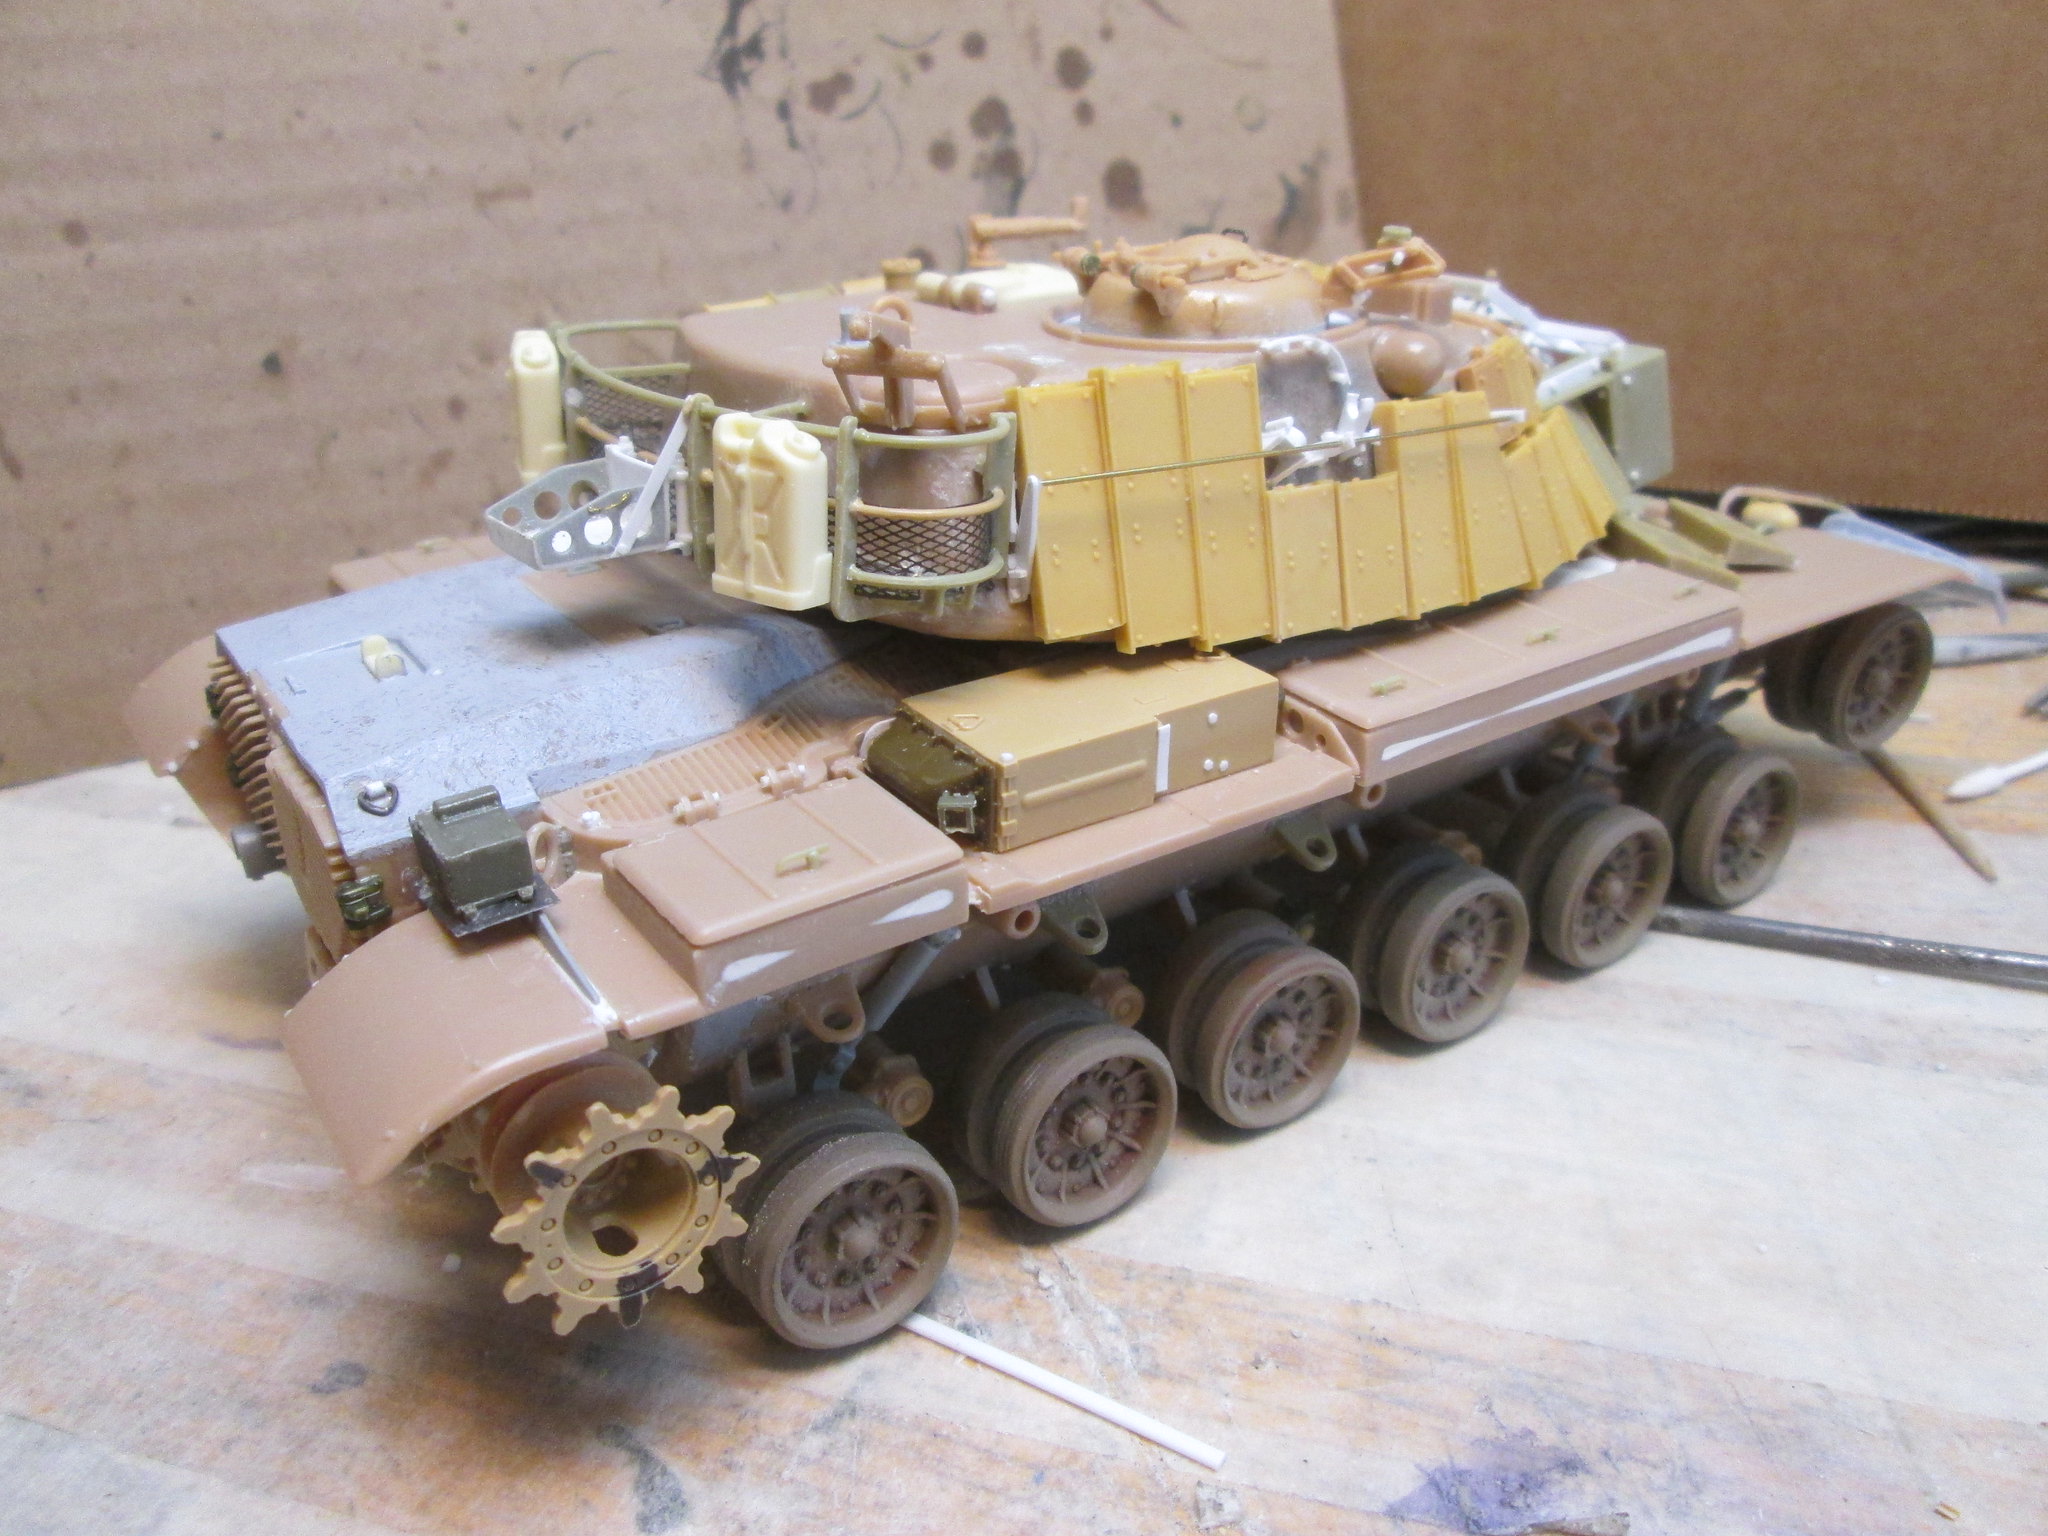 IMG_2316 by Russel Baer, on Flickr
 IMG_2315 by Russel Baer, on Flickr
 IMG_2317 by Russel Baer, on Flickr
Both turret hatches are operable, still contemplating figs.
Very nice all those different colors, almost a multi color camouflage pattern 
One color, sort of… I’ve used a very light application of different acrylics over my enamel base coat here and there to create some visual interest, mostly on different ERA blocks, not unlike some pics I’ve seen. Maybe replacements?
 IMG_2375 by Russel Baer, on Flickr
 IMG_2376 by Russel Baer, on Flickr
Still lots of detail painting to do, markings and more stowage to add, plus weathering.
As always you do some great models,
Cheers,
Ralph
Great job. Fixing the glacis must have been a real pain. Enjoy the next steps!
Olivier
Thanks guys. Olivier, I did the glacis “fix” on another hull, one that won’t have ERA on it, and yes, it was a bit of a pain. This is as far on it as I am now:
 IMG_2277 by Russel Baer, on Flickr
I really should stop buying and building these old Tamiya/Academy and ESCI kits, but I still have a good time with them.
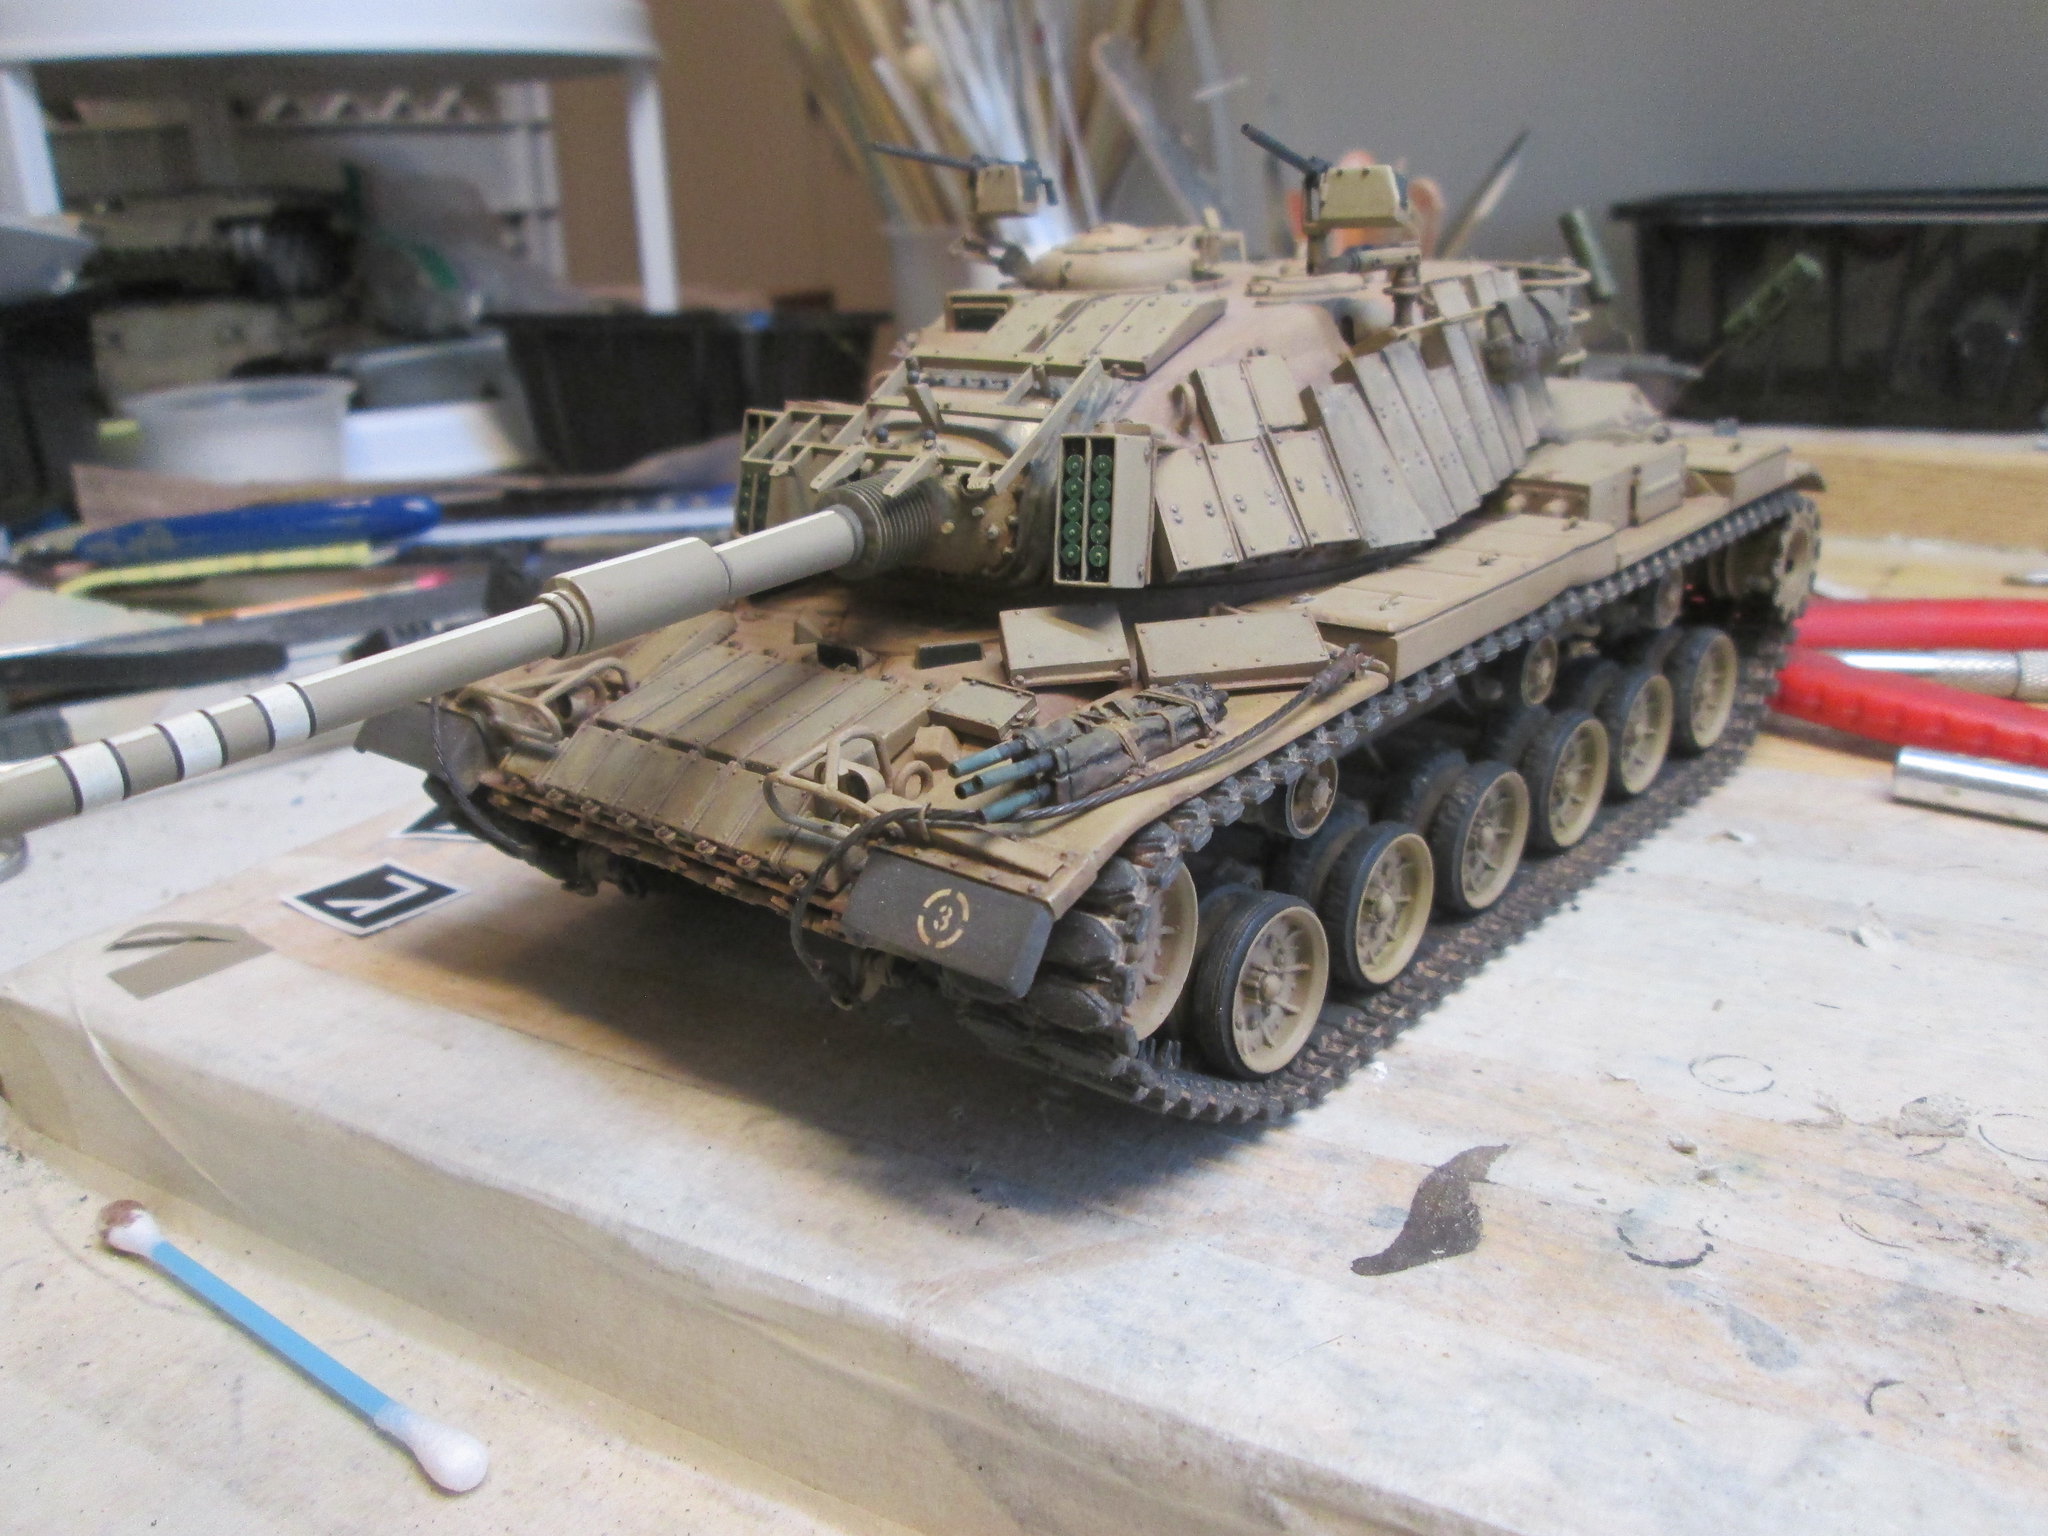
So here’s a couple of shots of the 6B with the base layer of dirt and grime on. The step after will be the application of highlights and very light pastels. I want to make the ERA pop, so I’ve actually shaded under it with a couple of brown washes, not quite a pin wash but very locally applied and feathered.
 IMG_2380 by Russel Baer, on Flickr
 IMG_2379 by Russel Baer, on Flickr
,
Getting a little closer to adding stowage and antennae and stuff. Tracks are Takom, with the pads scuffed using a rough sanding drum in a Dremel, at very low speed. I also beat up the road wheel tires the same way, using a bit and a drum. I want a serious “end of a long road trip” look.
 IMG_2382 by Russel Baer, on Flickr
 IMG_2381 by Russel Baer, on Flickr
I do plan on adding a fair bit of stowage, working from a couple of pics in the Desert Eagle Magach book, #25, showing tanks towards the end of the trip to Beirut, Peace for Galilee operation.
Anyone see anything “off”, please holler.
I don’t know about “off” but the roadwheels look great, really chewed up.
Ken
I think it looks excellent. The only thing that I see, but I’m not sure about it because it might be the camera angle, is the tracks look to be touching the underside of the fenders. Otherwise I love it.
Cool, thanks. And yeah, the tracks may well be too close to the undersides of the fenders, stuck with it though.
Stowage is coming along nicely, which will about finish this.
Stowage shots, including a couple with unsecured items that I’m “testing” to see if they work. The ammo crate is like seen in a couple of pics, as is the oil can, which would invite some nasty spilled fluid on the fender, more visual interest. I’m considering a half wadded up orange ari recogintion tarp too, but I do not want to cover up my stowage items in the basket. Thoughts?
 IMG_2415 by Russel Baer, on Flickr
 IMG_2416 by Russel Baer, on Flickr
 IMG_2418 by Russel Baer, on Flickr
I’m trying the ammo crate on the front rather than outboard of the air filter housings for a couple of reasons: 1) While I can see a good way to secure them on the rear, actually doing it may be beyond me, and 2) when placed upright as in pics, all the crates I have (Verlinden, Academy and Esci) interfere with the turret traverse. Hmmm…