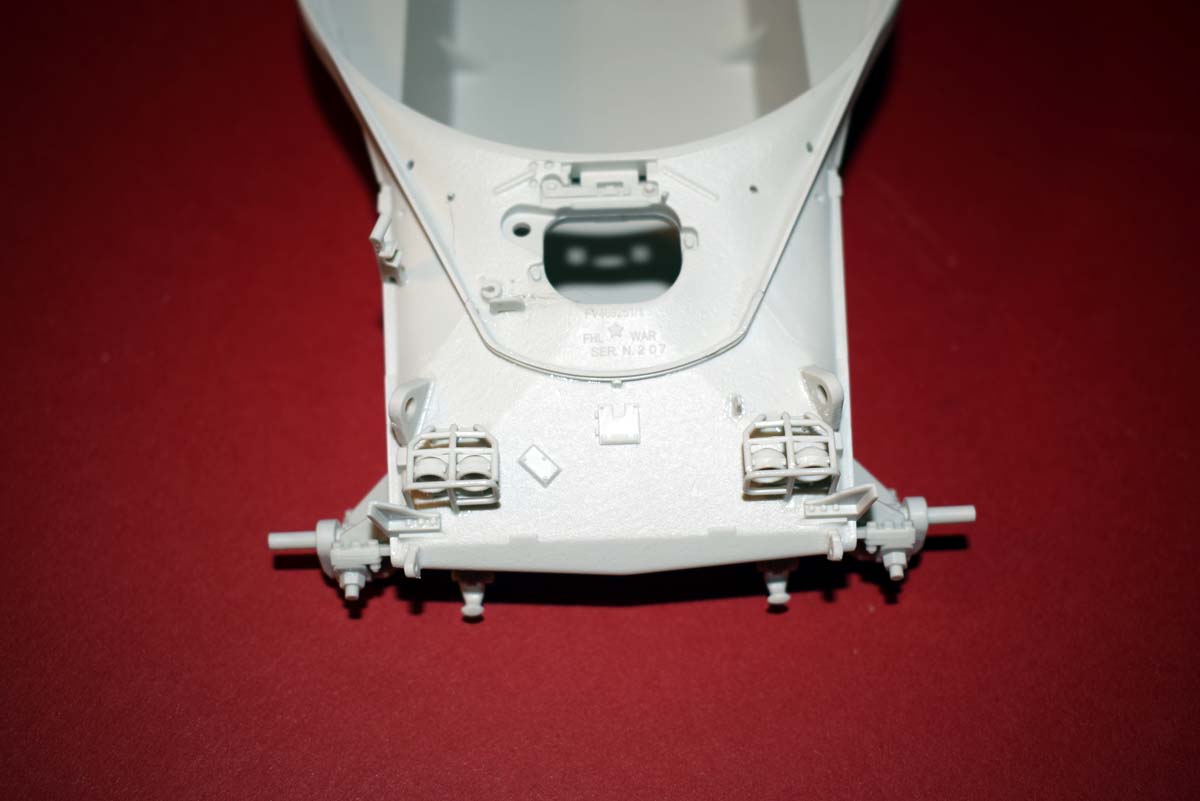
The next area tackled is the retainer for the drivers hatch and there is some very nice detail that is easy to tackle. this is followed by what I believe where added to remove a shot trap and the driver’s hatch. The armour behind the drivers hatch is shown on a Mk 12 Chieftain and also shows the correct display for the hatch in an open position.
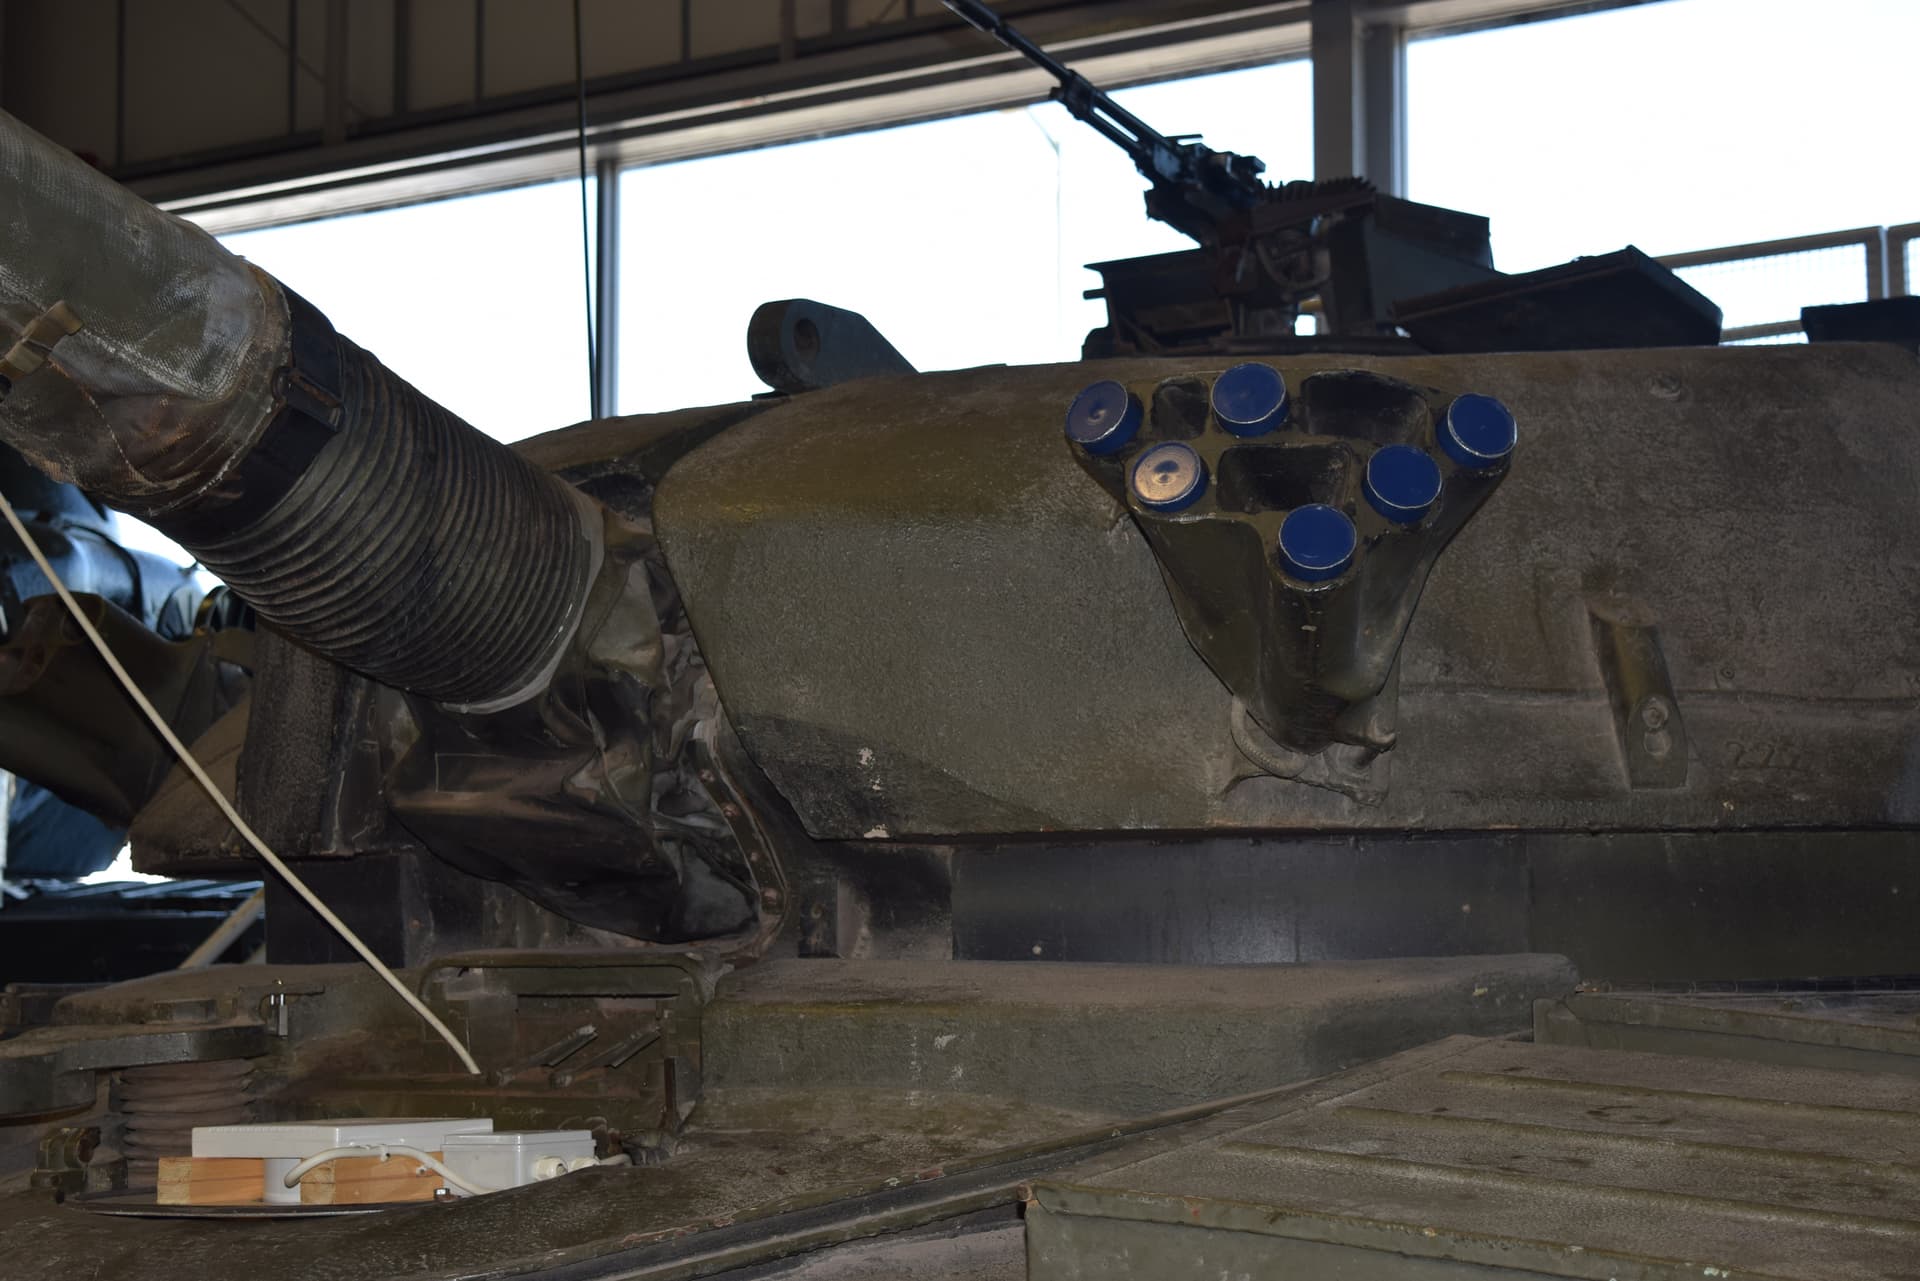
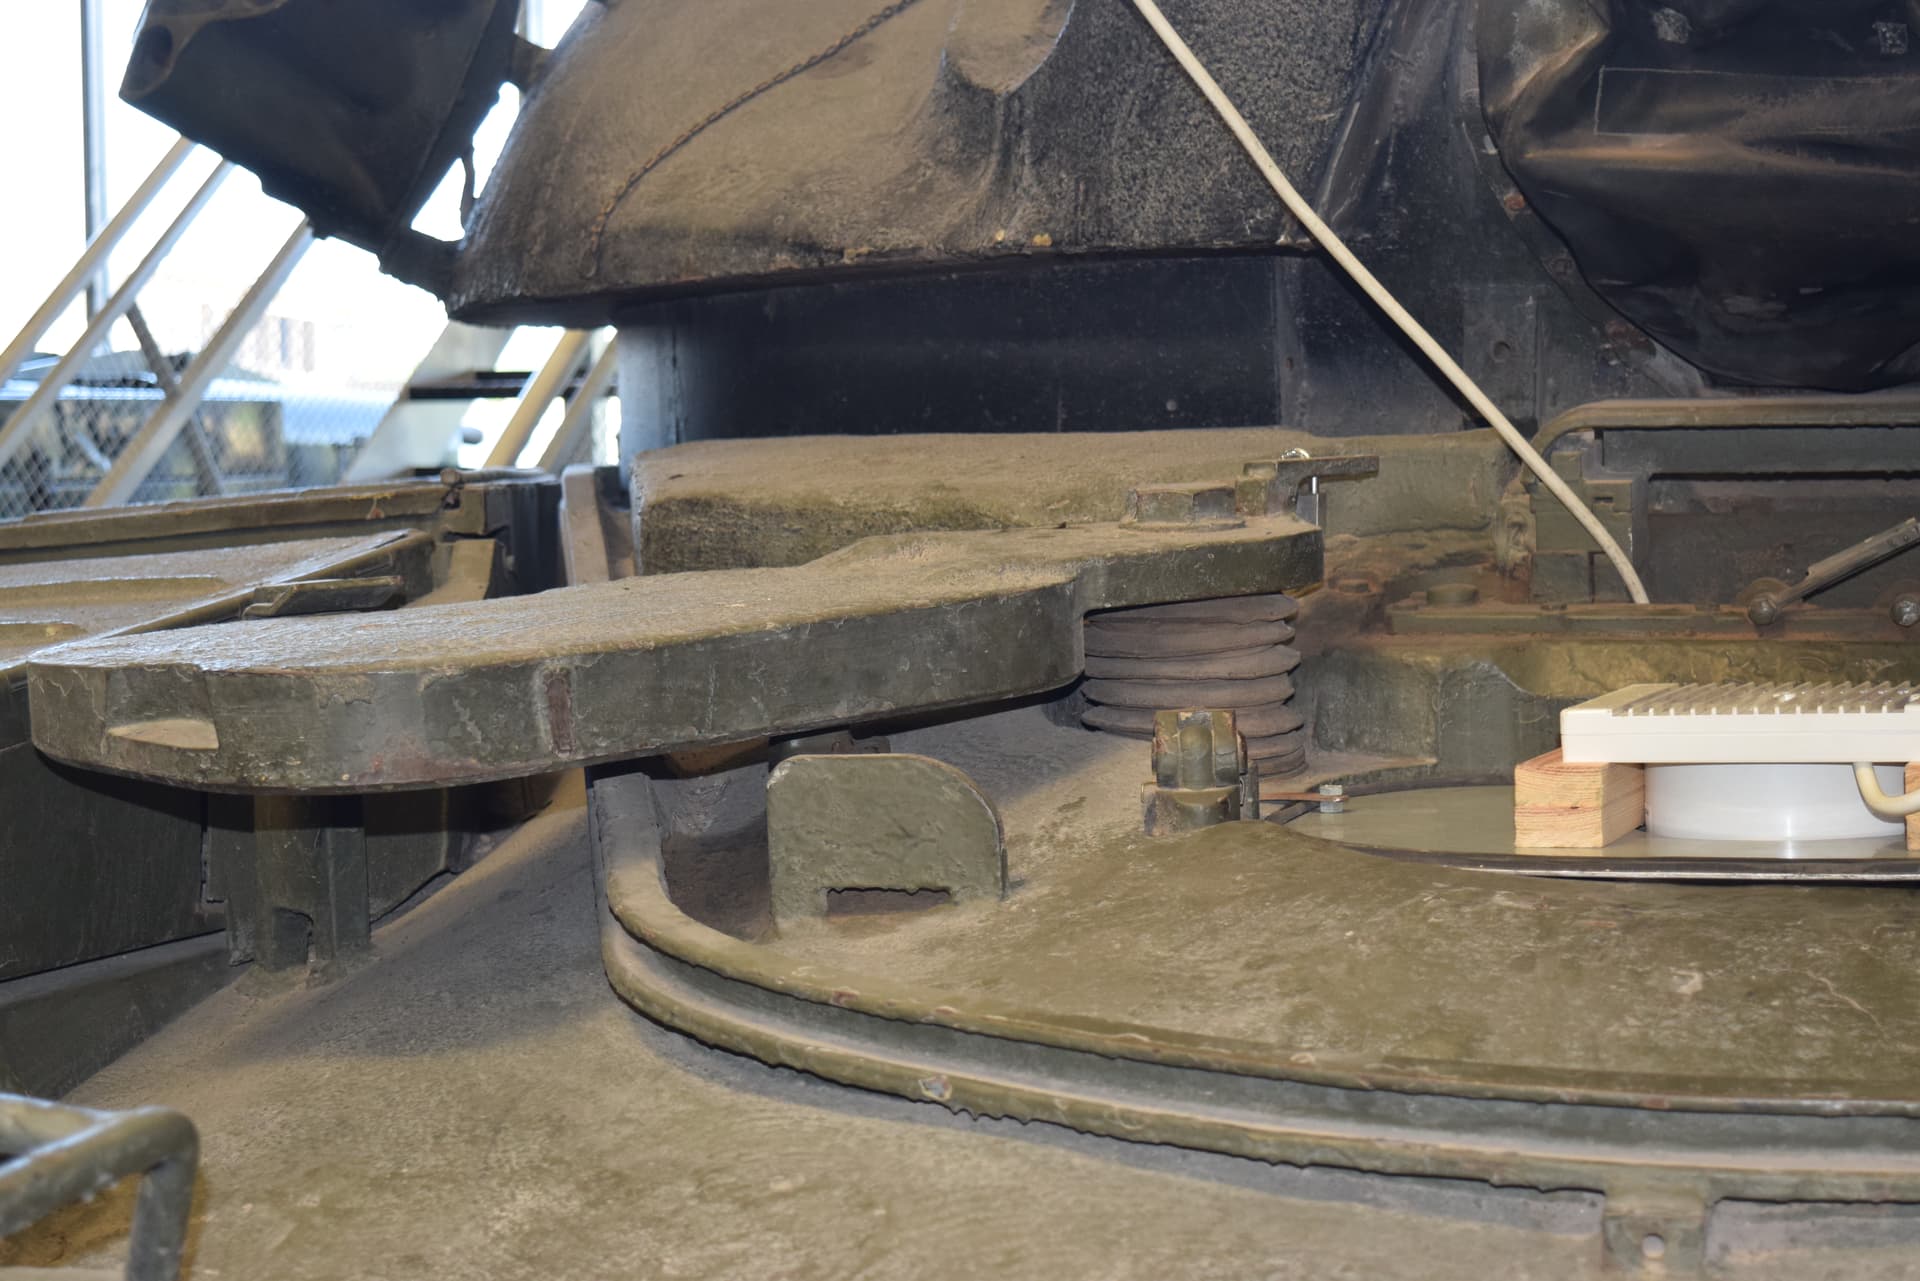
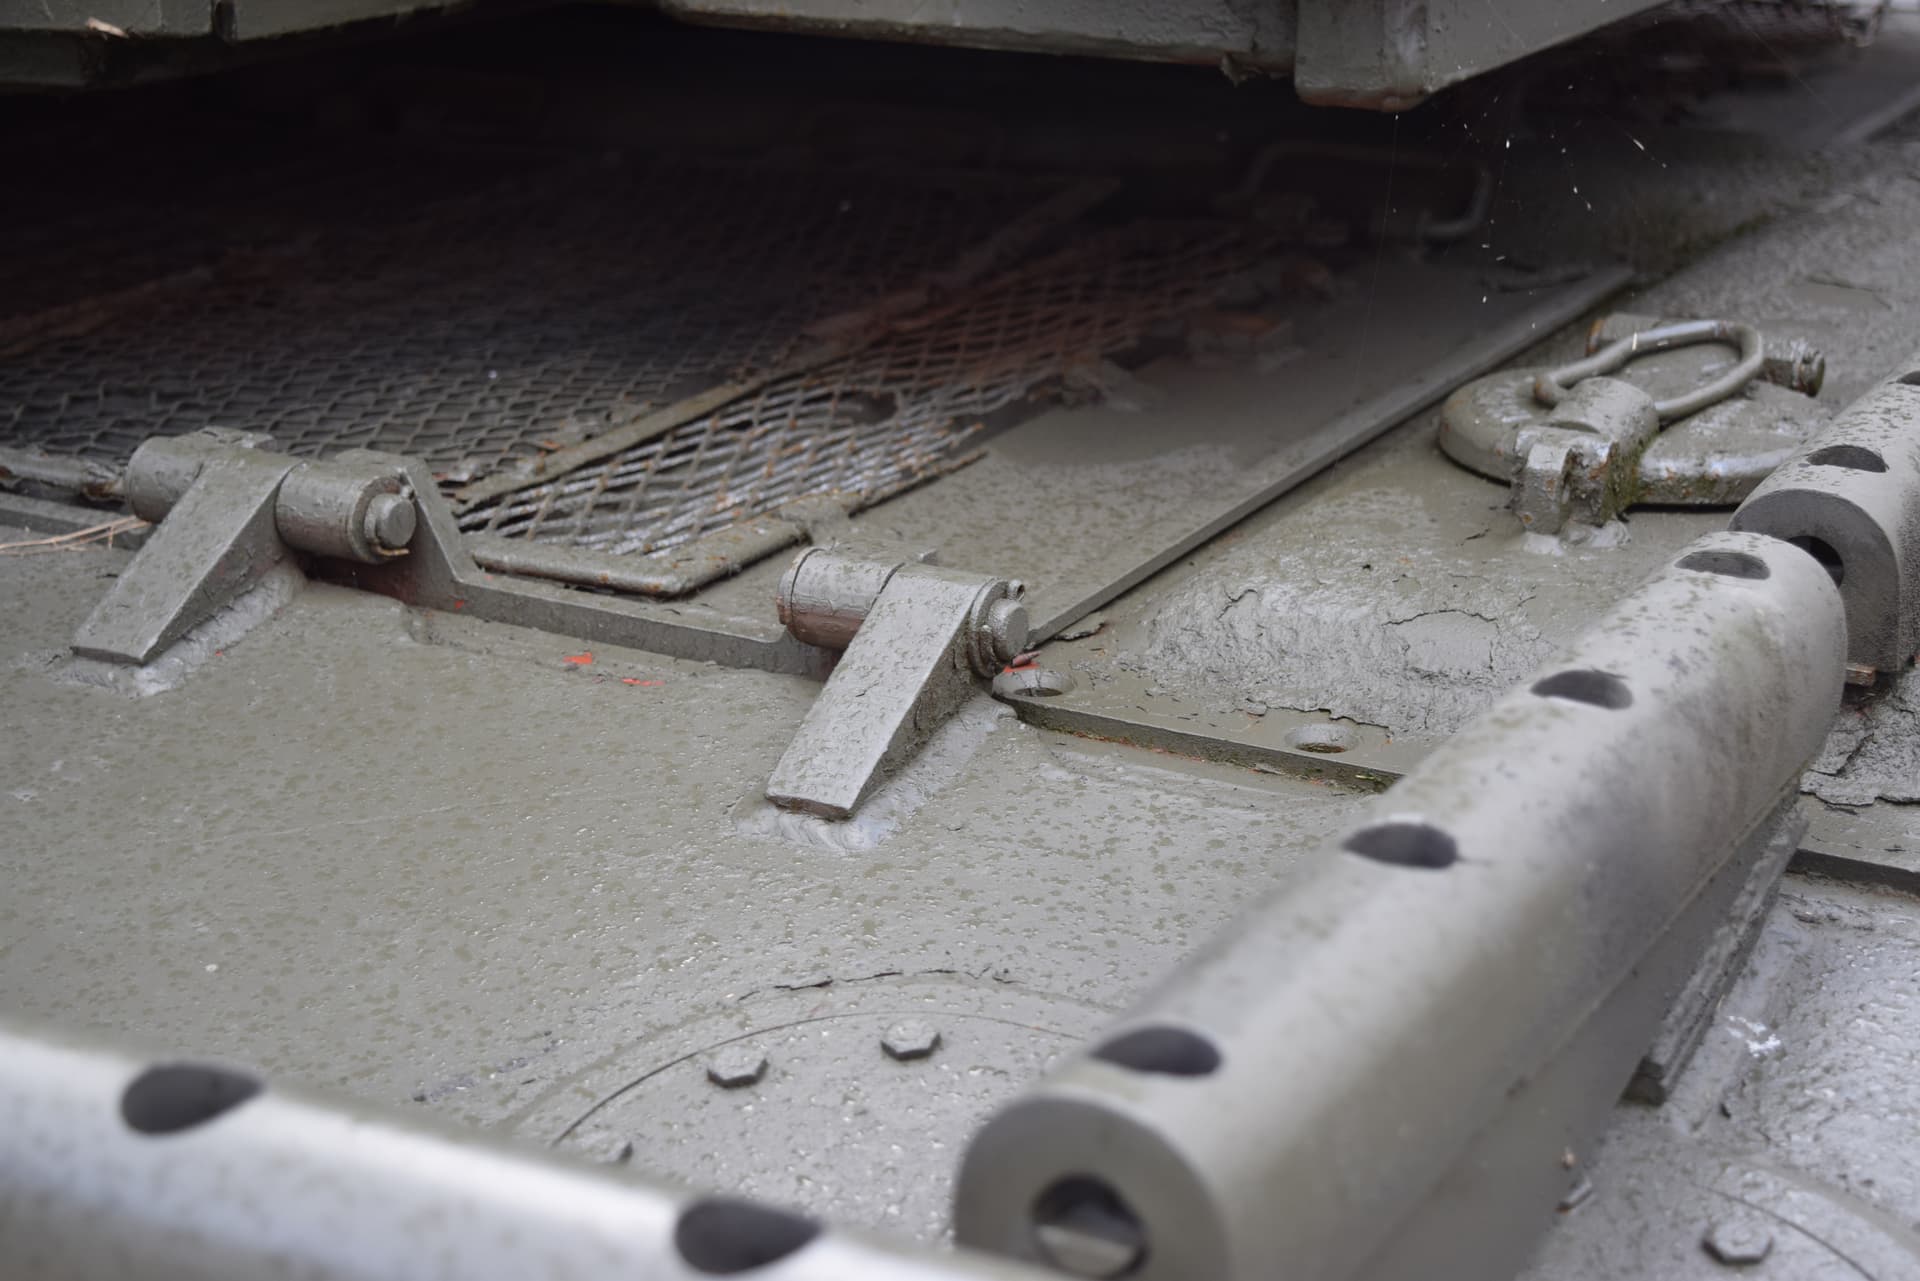
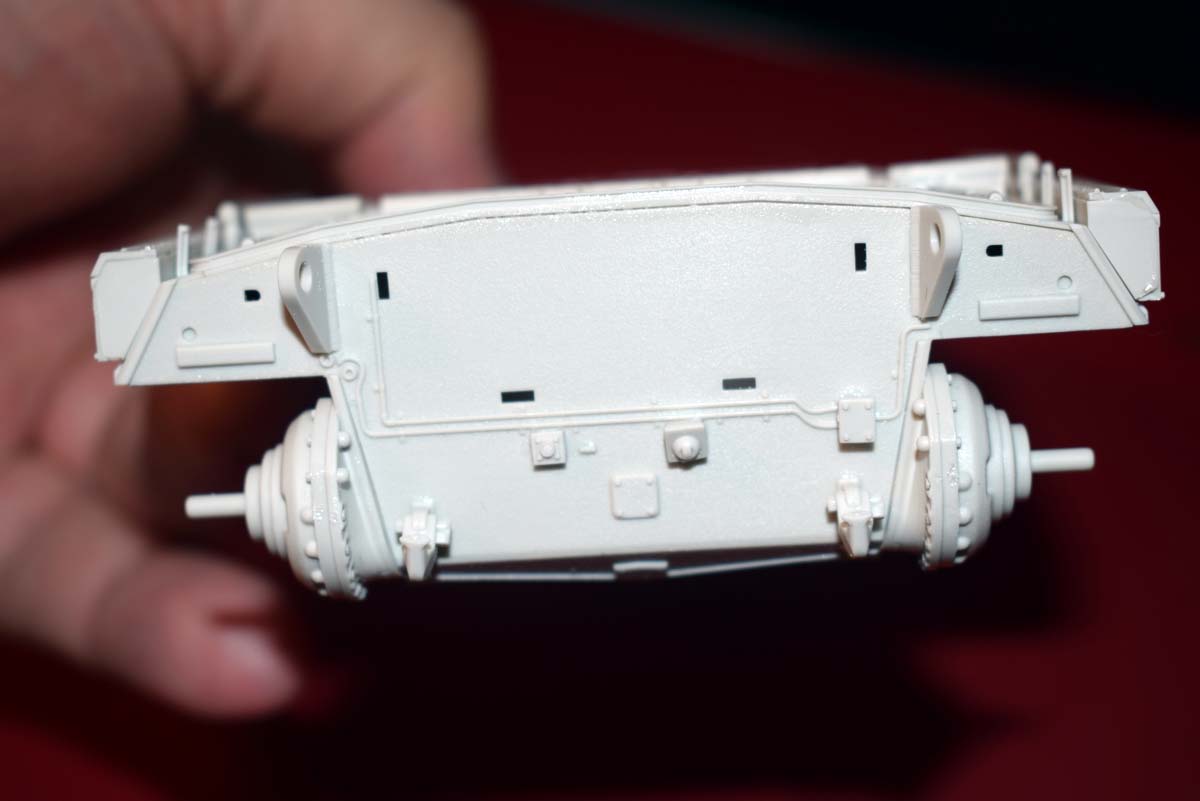
Next up are the bump stops at the rear and the turret ring. The ring fits very well and my only question is why is it it a separate moulding? The rear bumps are very good replications of the real thing and should please all.
In my old unit 15th/19th Hussars the splashplate was always removed and replaced with a half coffin bin which then usually held the track tools and drivers toolbag. It also acted as a splashplate as well. This is the half bin I scratched to fit to the front of my Mk11.
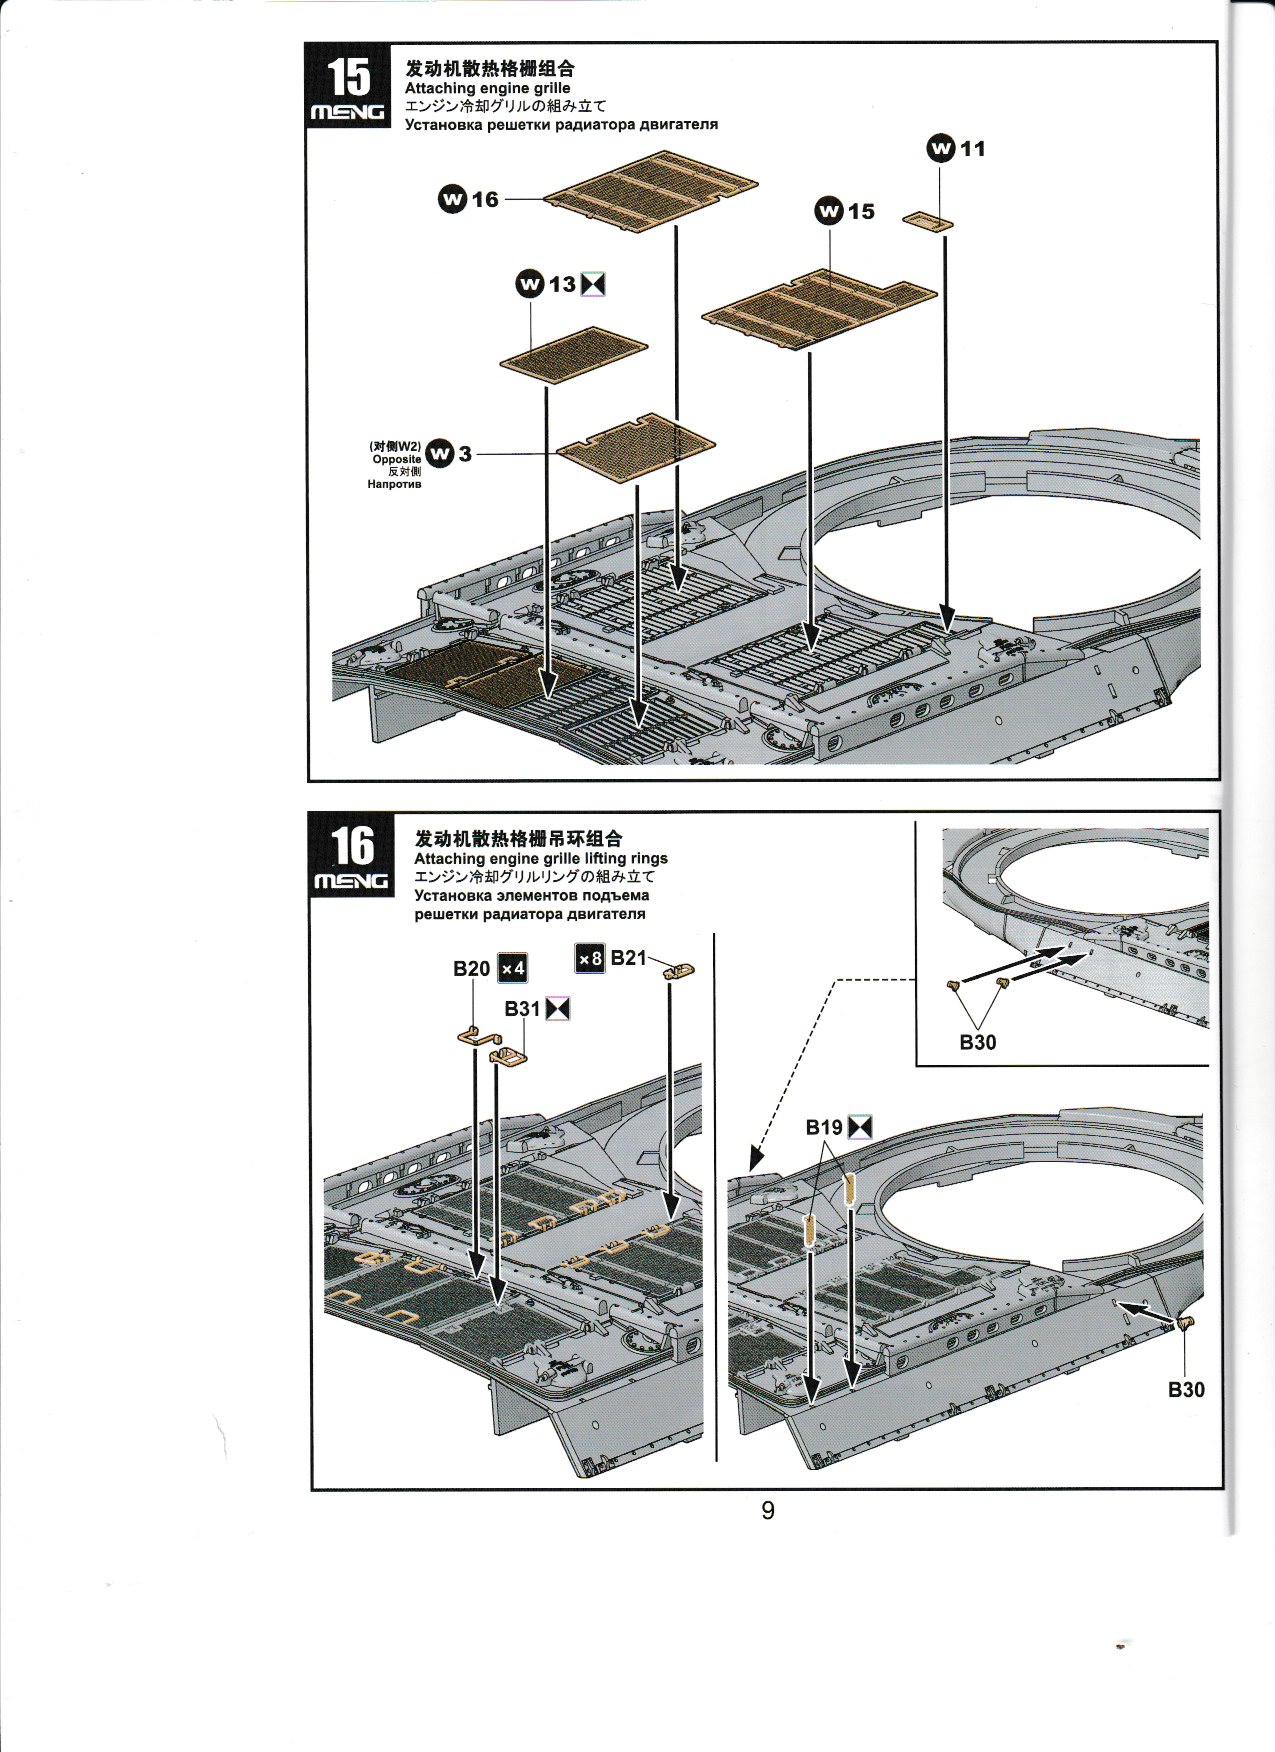
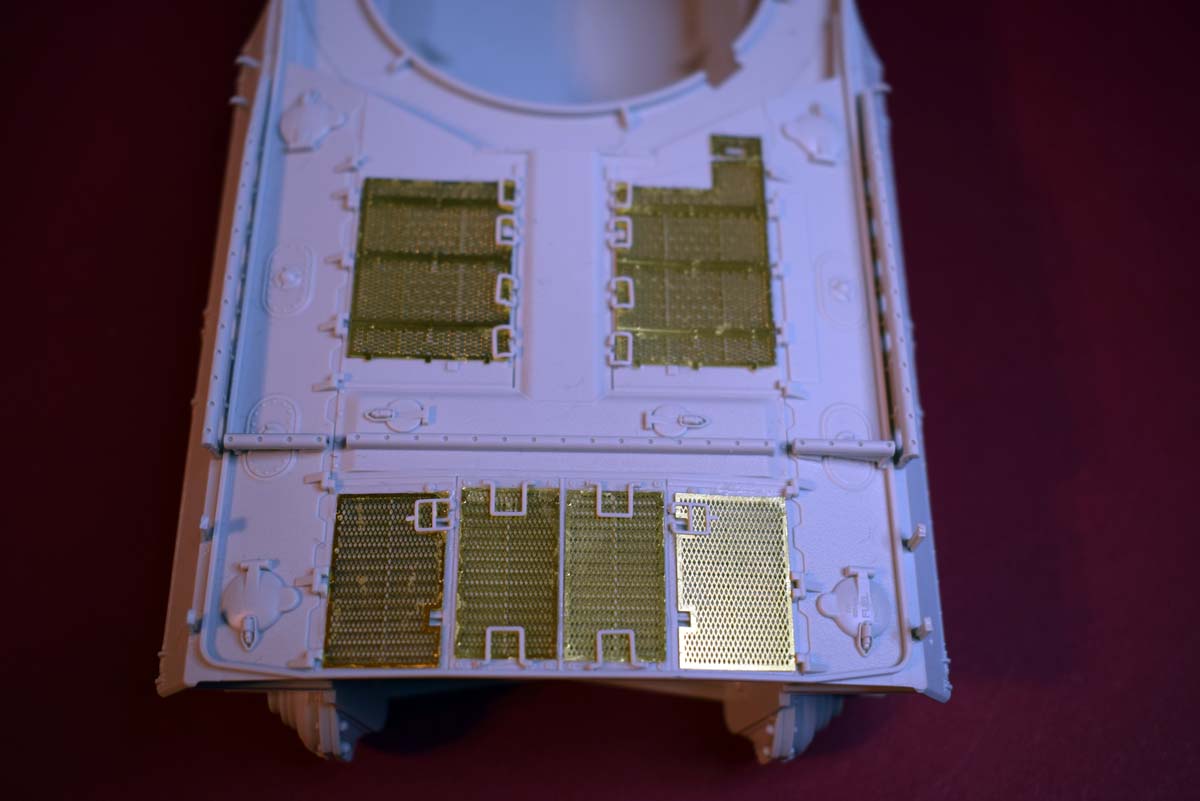
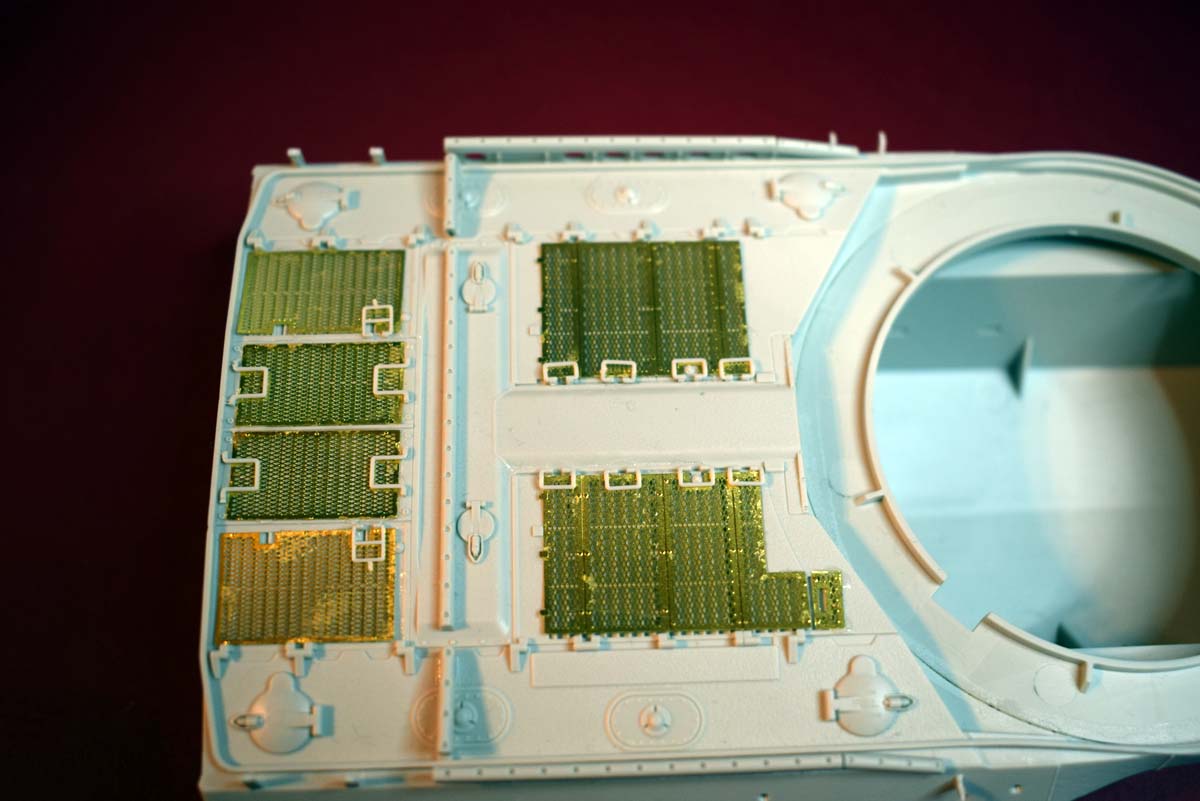
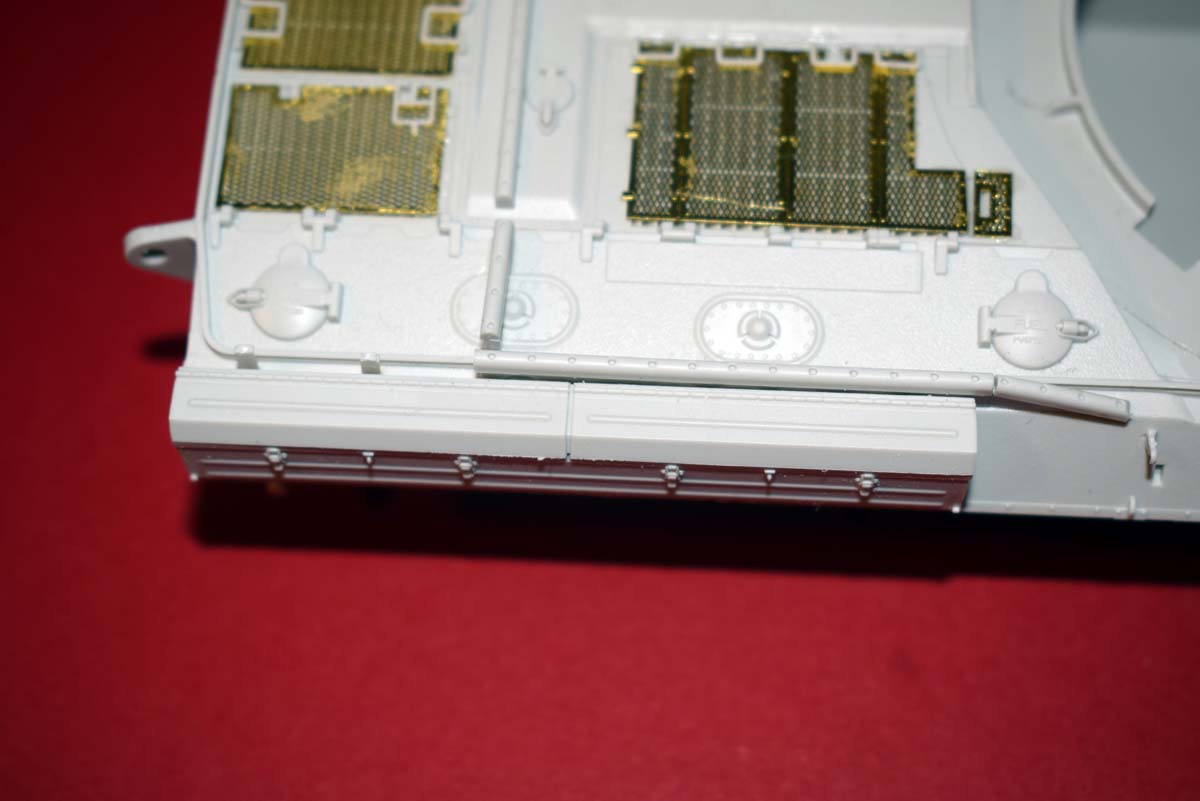
Photo etched grill covers and lifting handles came next and the photo etch was easy to work with, but these are going to be removed and replaced potentially with 3D printed offerings from FC MODELTREND and so we should be seeing which does the job to best effect. Something I really appreciate is that the lifting handles are plastic and so have a better profile. It should be noted that removal and clean up is a little difficult as they could easily be damaged during either stage.
A couple of easy steps one of which I am glad I tackled much earlier which was the mating of the lower and upper hull and so yes it can be done sooner with no downsides.
Thats different Max. Was it a Tp, Sqn or Regt wide thing ? first time I’ve ever seen that. Was there a reason for it or just to have a bit more stowage ?
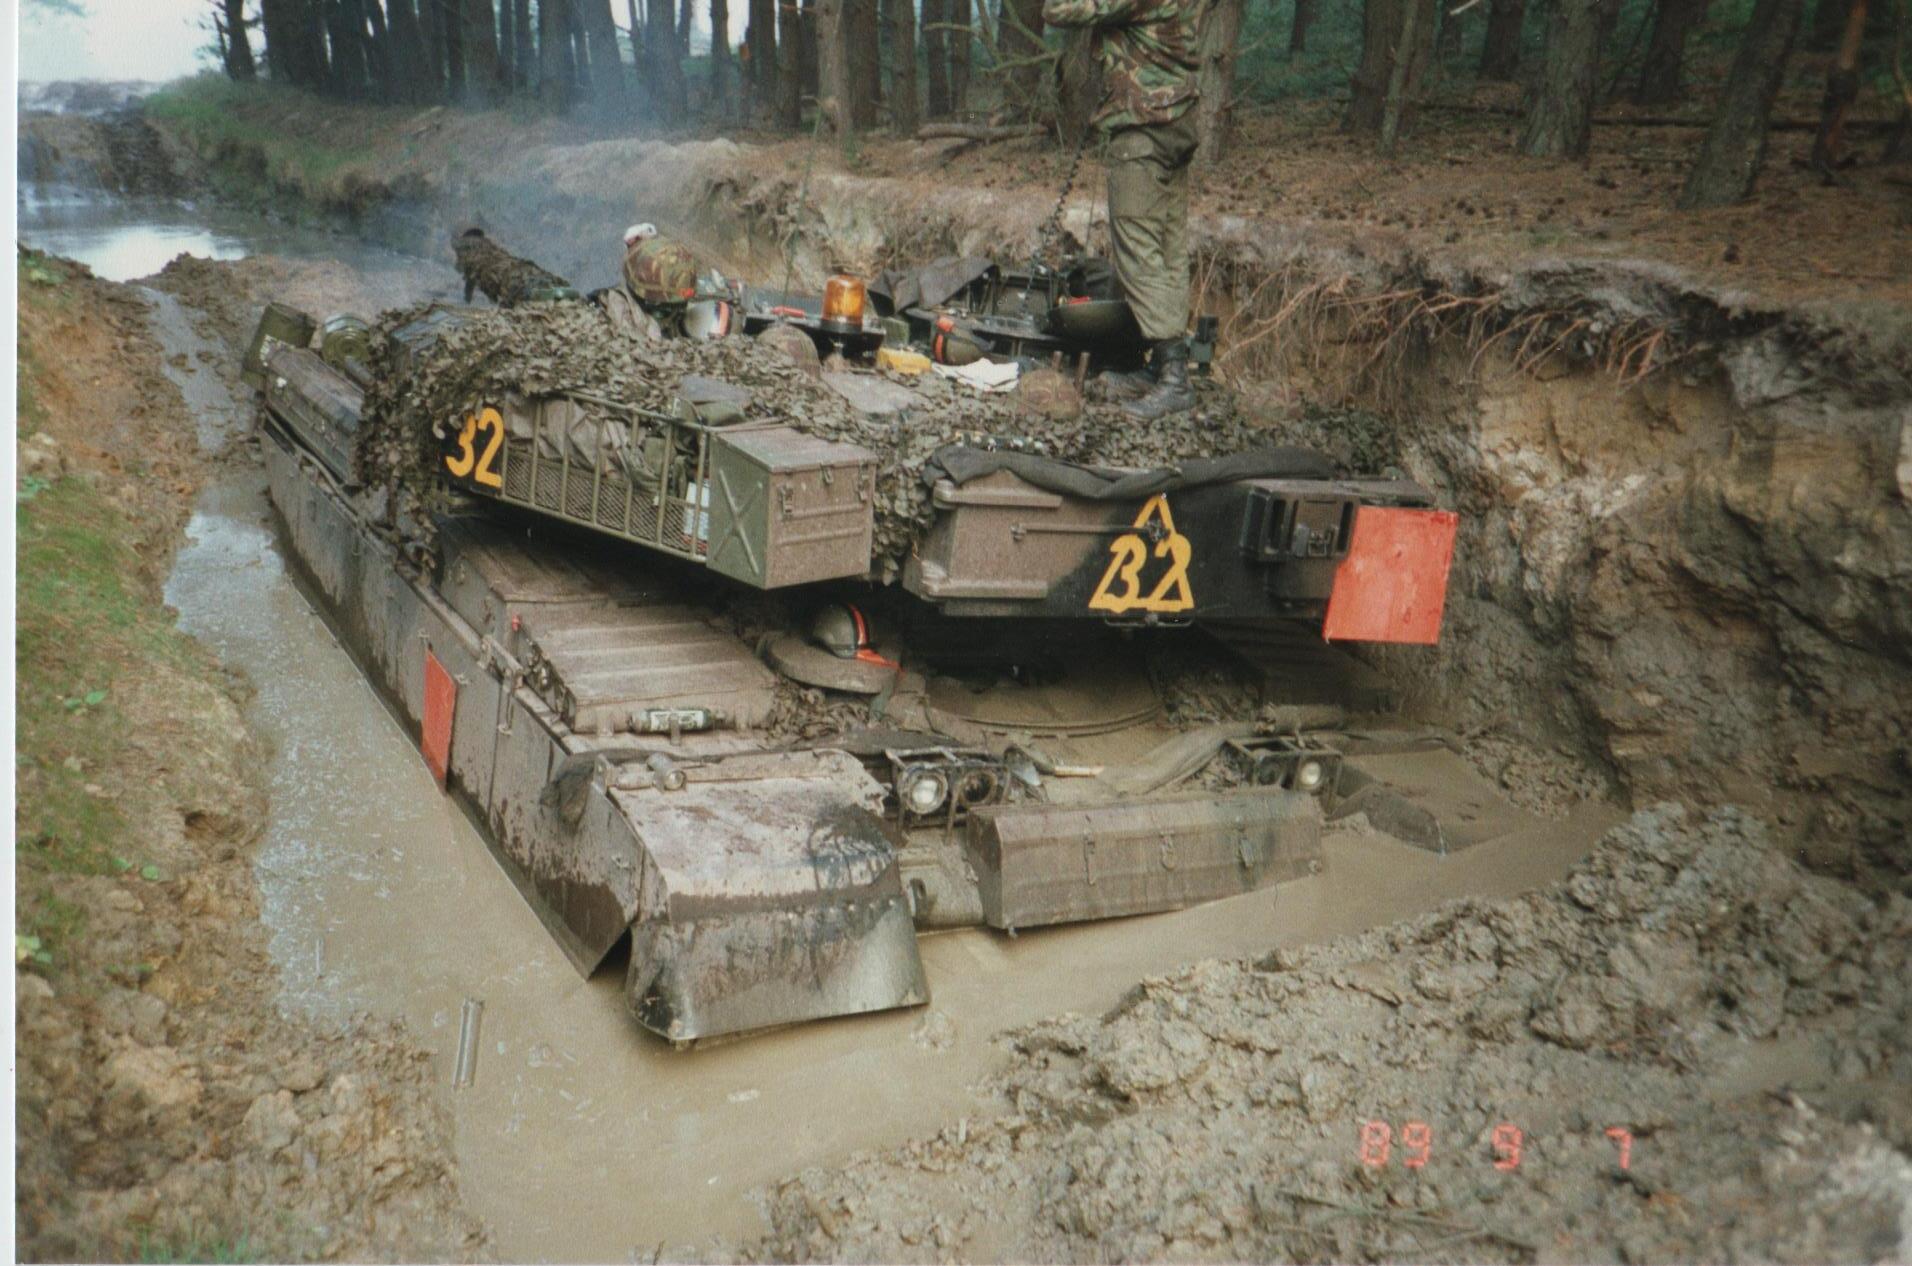
That is the perfect picture of a bogged in Chieftain and a Dvr who is seriously going to be getting very dirty soon and who is also on top of the crap list lol …
One thing I wish i had done more of is take pictures on exercise while I was out there.
Herman: the differences are very minimal as regards parts and process.
The suspension and tracks are workable.
Light guards are easier to use.
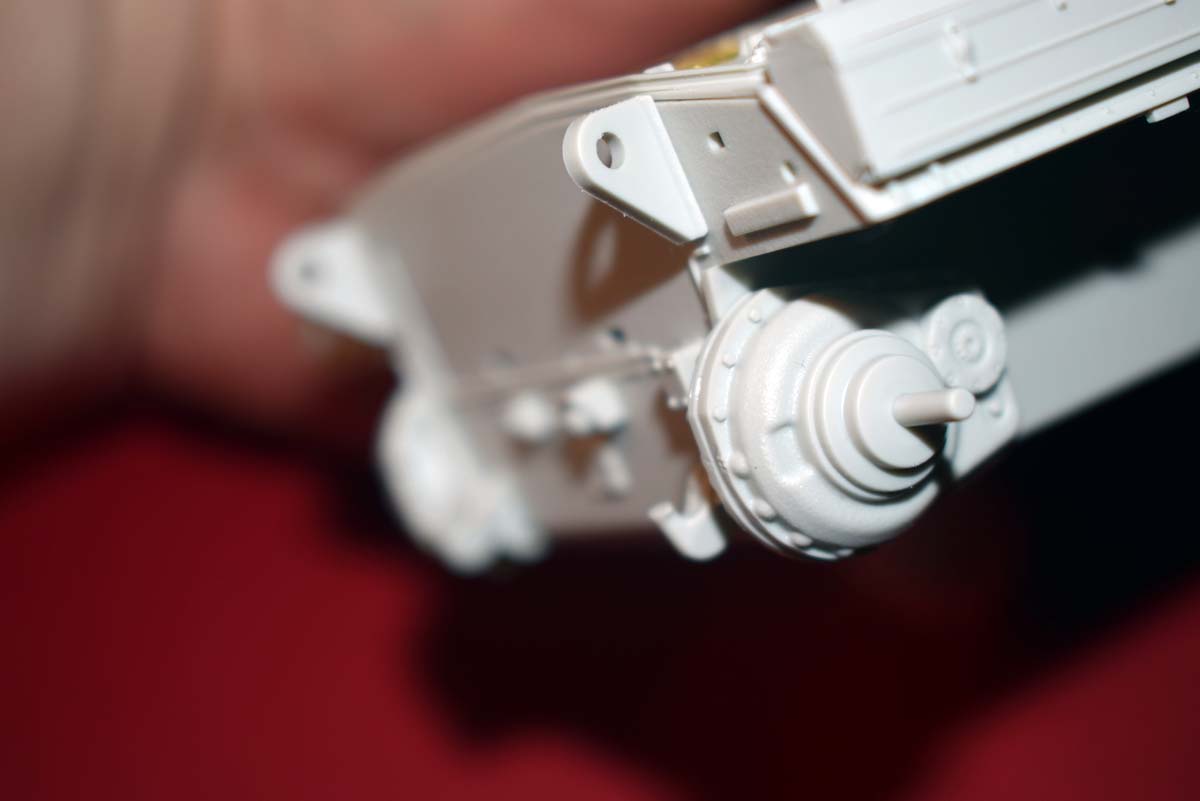
Drivers hatch spigot is not as detailed as the Takom offering
Turret designed differently.
Yeah it took two Cent ARV’s to get us out, couldnt go forwards or backwards. we used two 50 ton shackles on the hull lifting eyes to pull us. I’ve got so many pictures form my time in Germany.
The bin didn’t go much higher than the splashplate and realistically when you’re driving you’re looking at the ground about 20 feet in front of the vehicle anyway. Even without a splashplate or bin you can’t see the ground in front of the wagon.
Yup and good drivers remembered that you were driving to account for the ground that was coming in a second or two not what you were currently gong over.
Drivers who need to look at the ground directly in front of the vehicle should drive VW beetle.
Those who have driven something with a hood/bonnet are used to not seeing the nearest
10 - 15 feet of ground
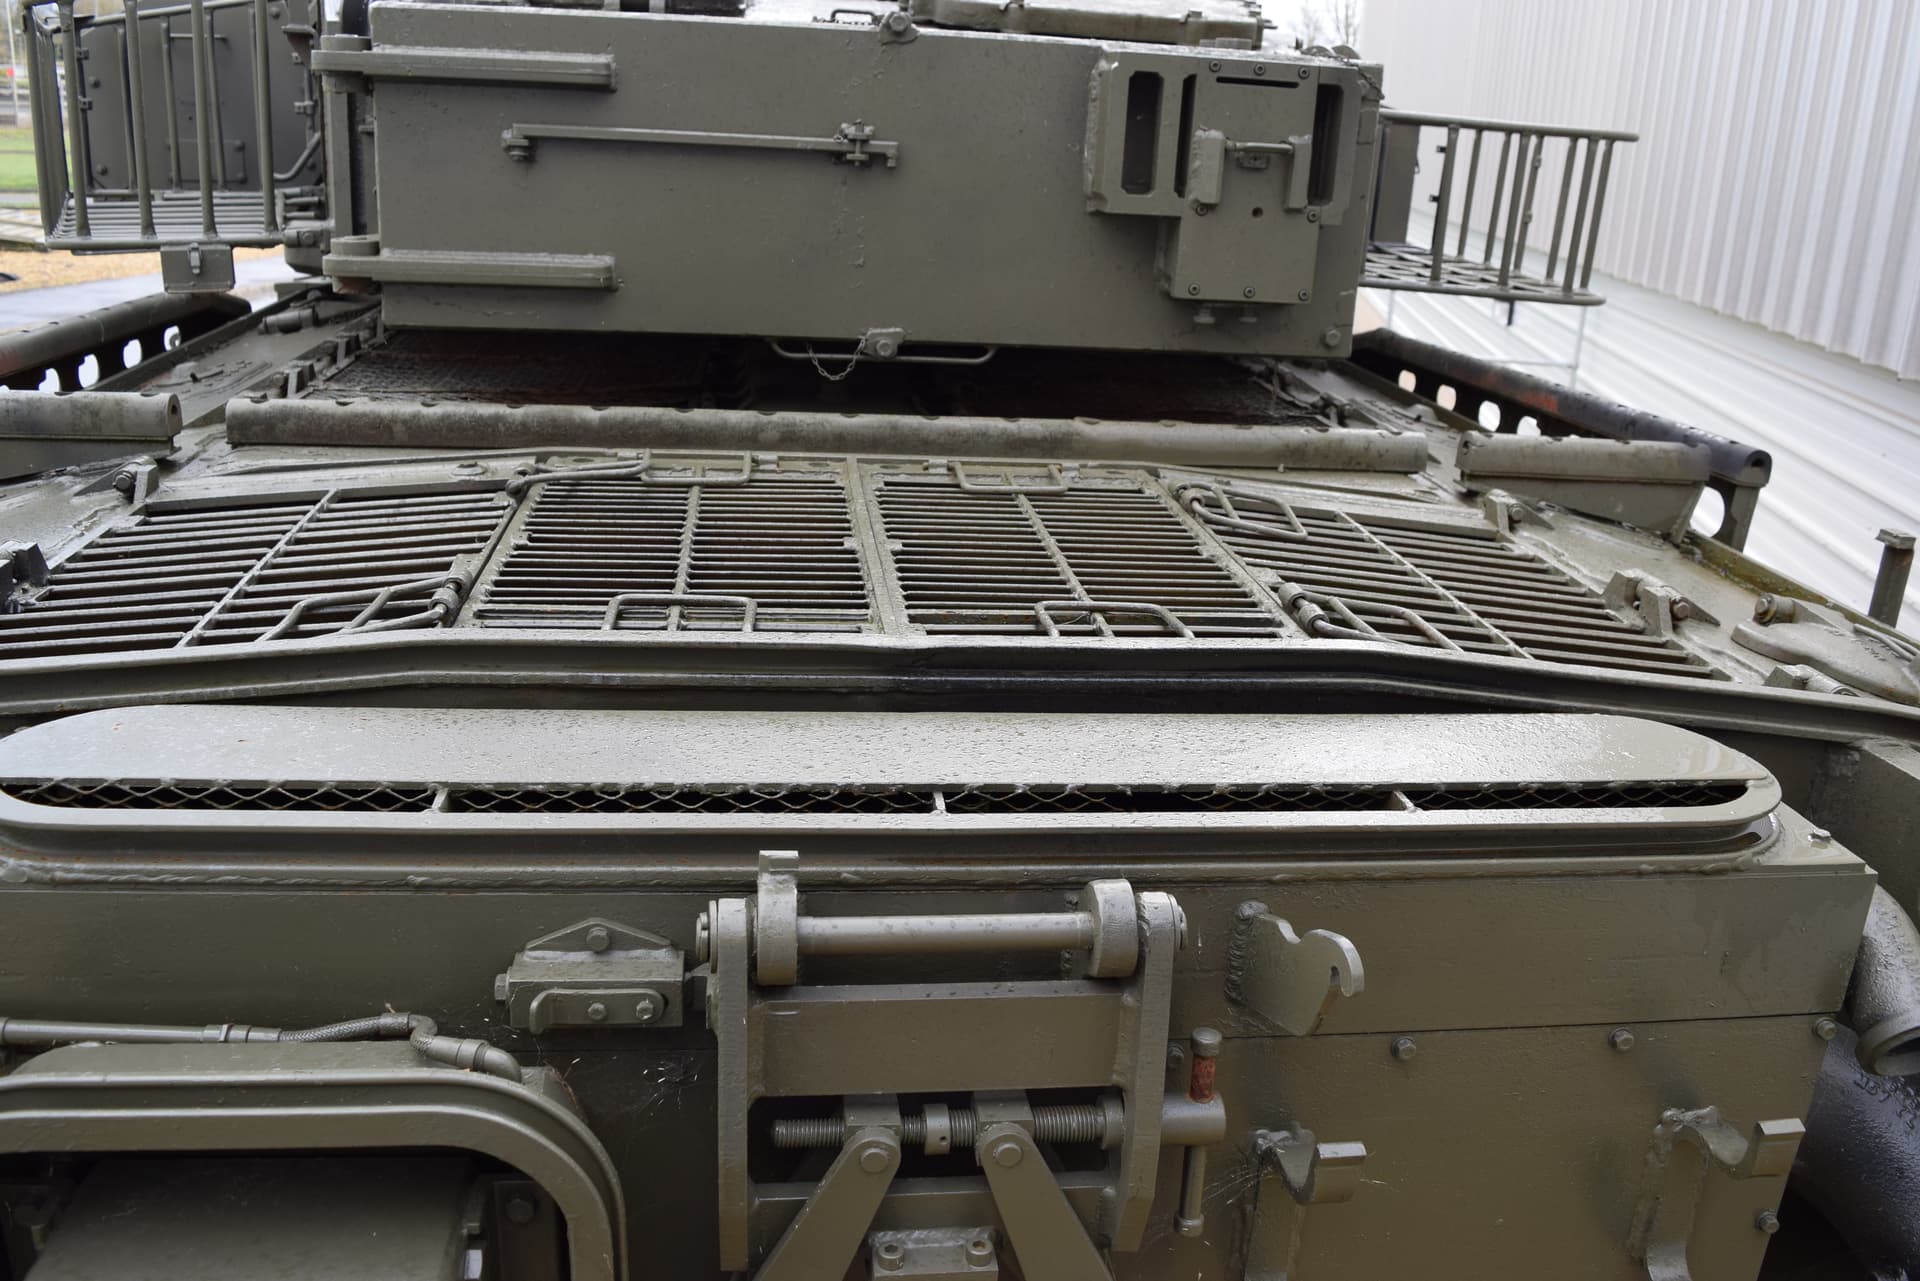
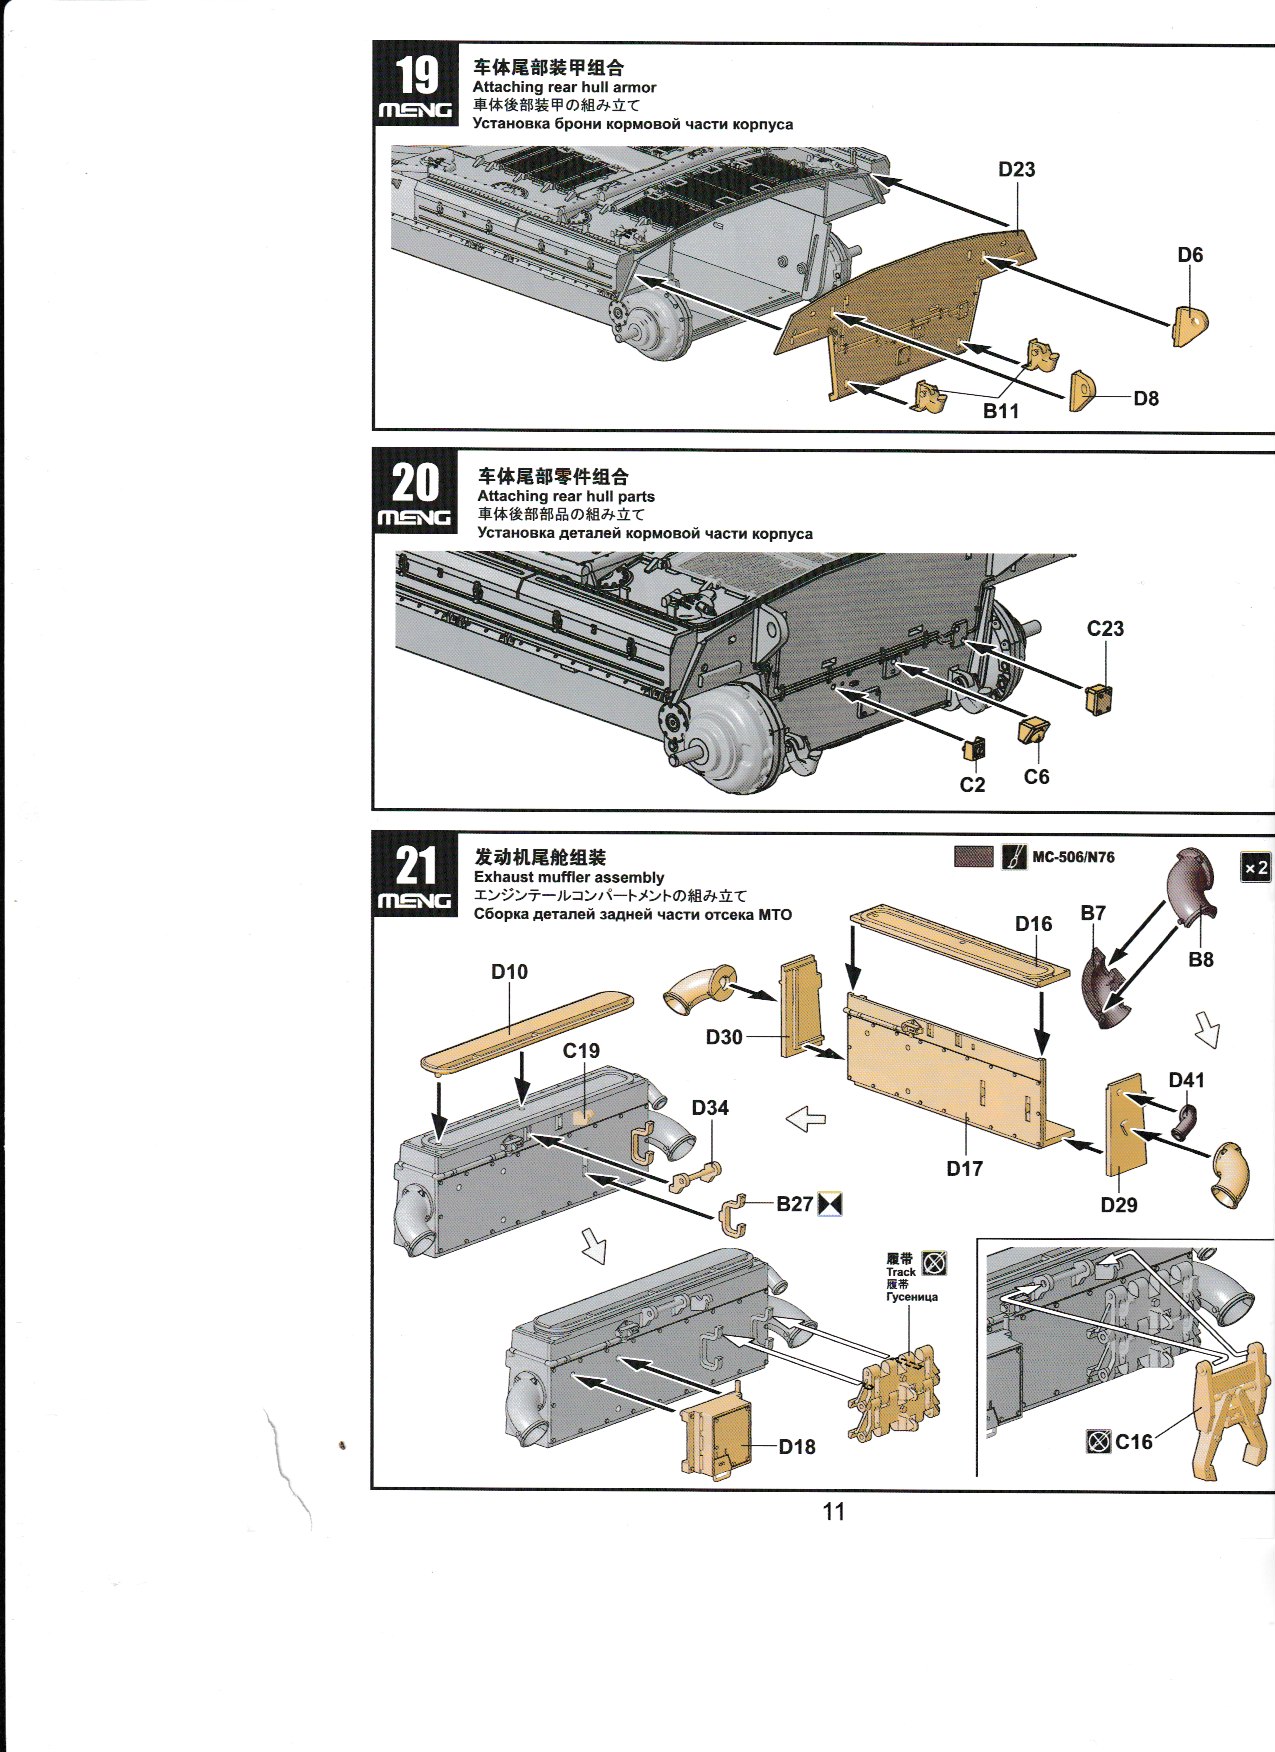
Small update for you as I have started on the rear of the hull.
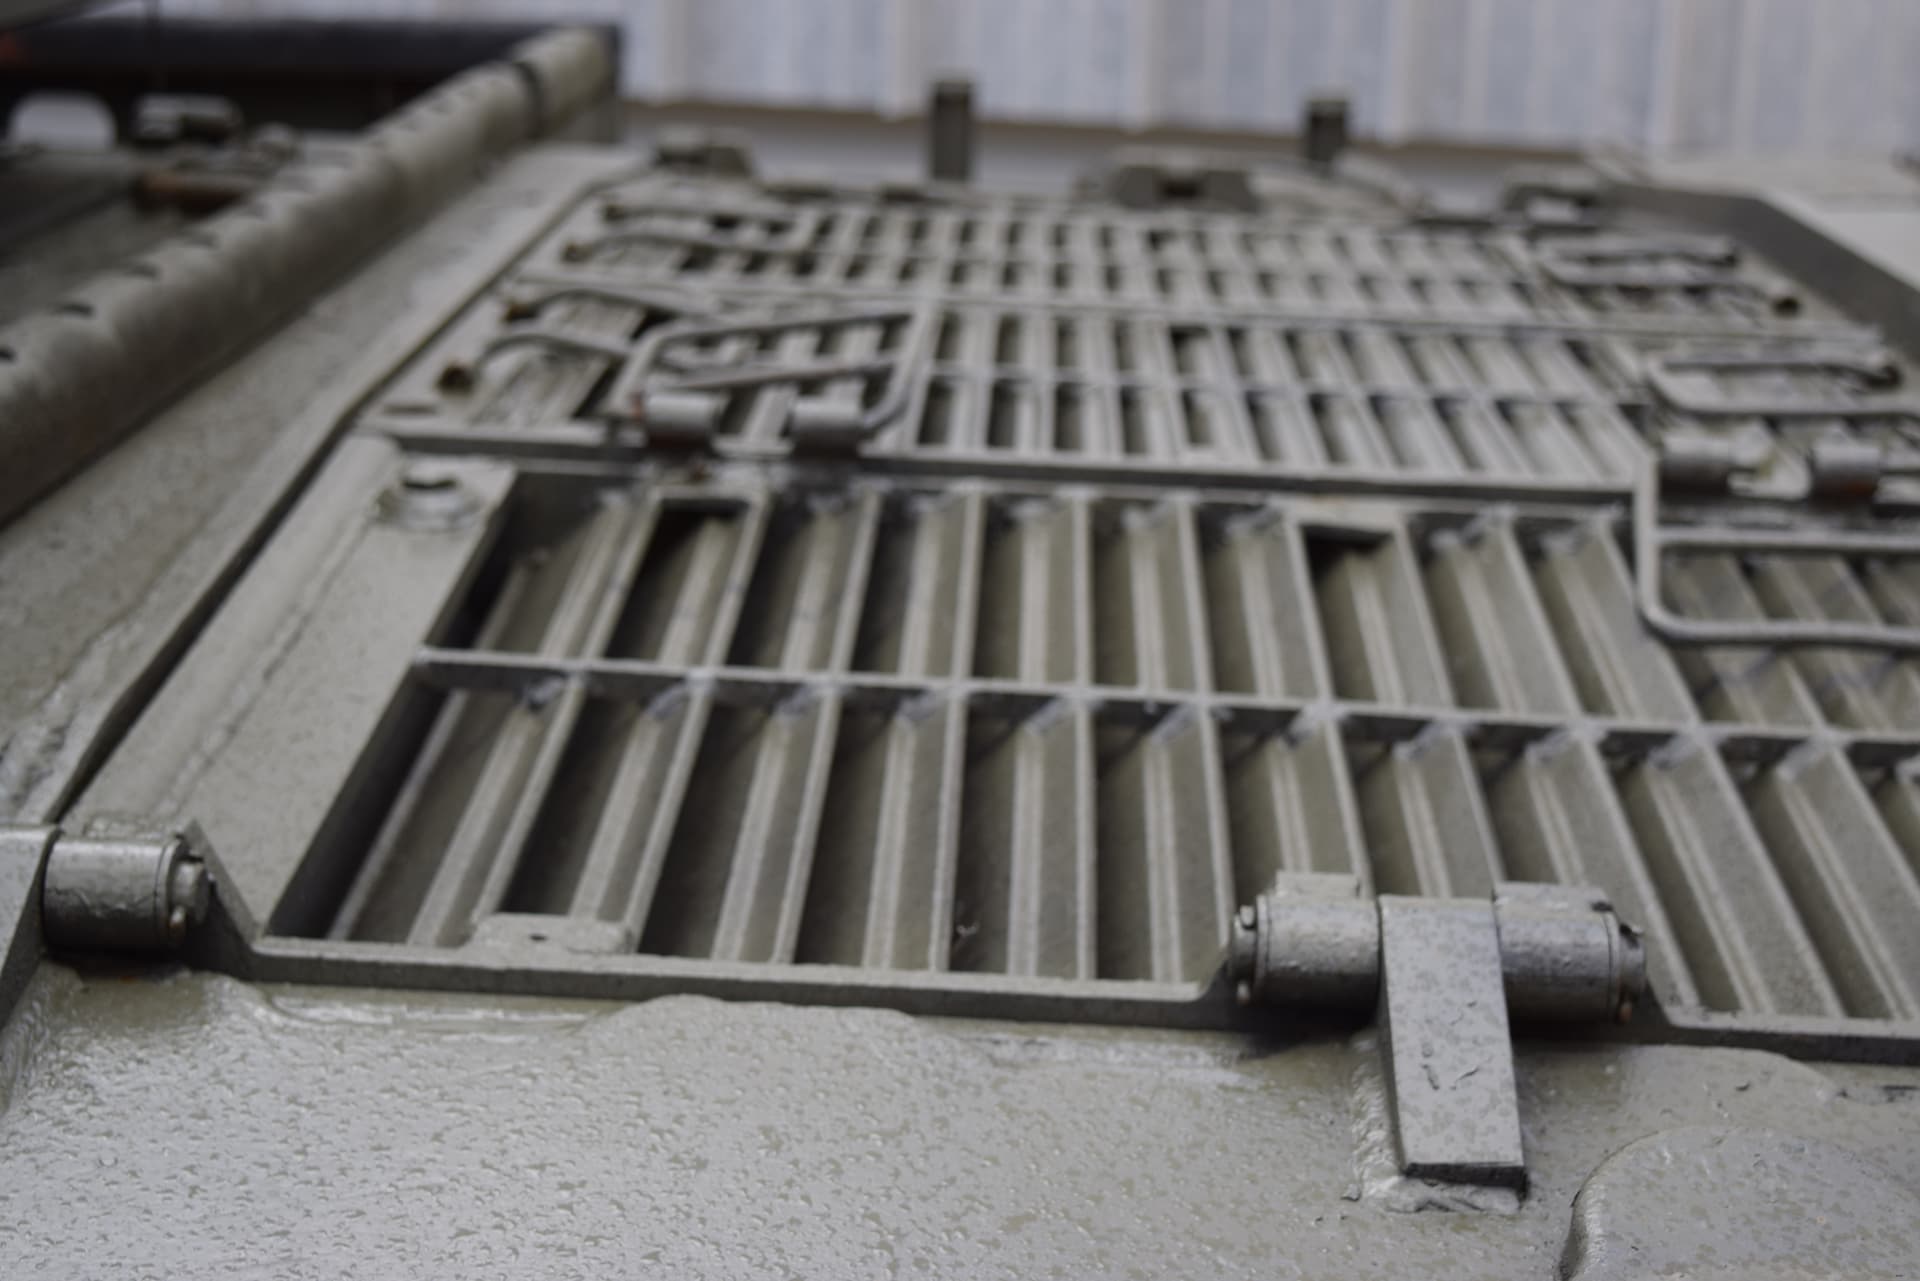
There are some real high marks to this area of the model in that the rear plate is a very good fit and I wish every kit went together as well as this part did. Please also note the cable conduit detail which is something most models require us to add ourselves.