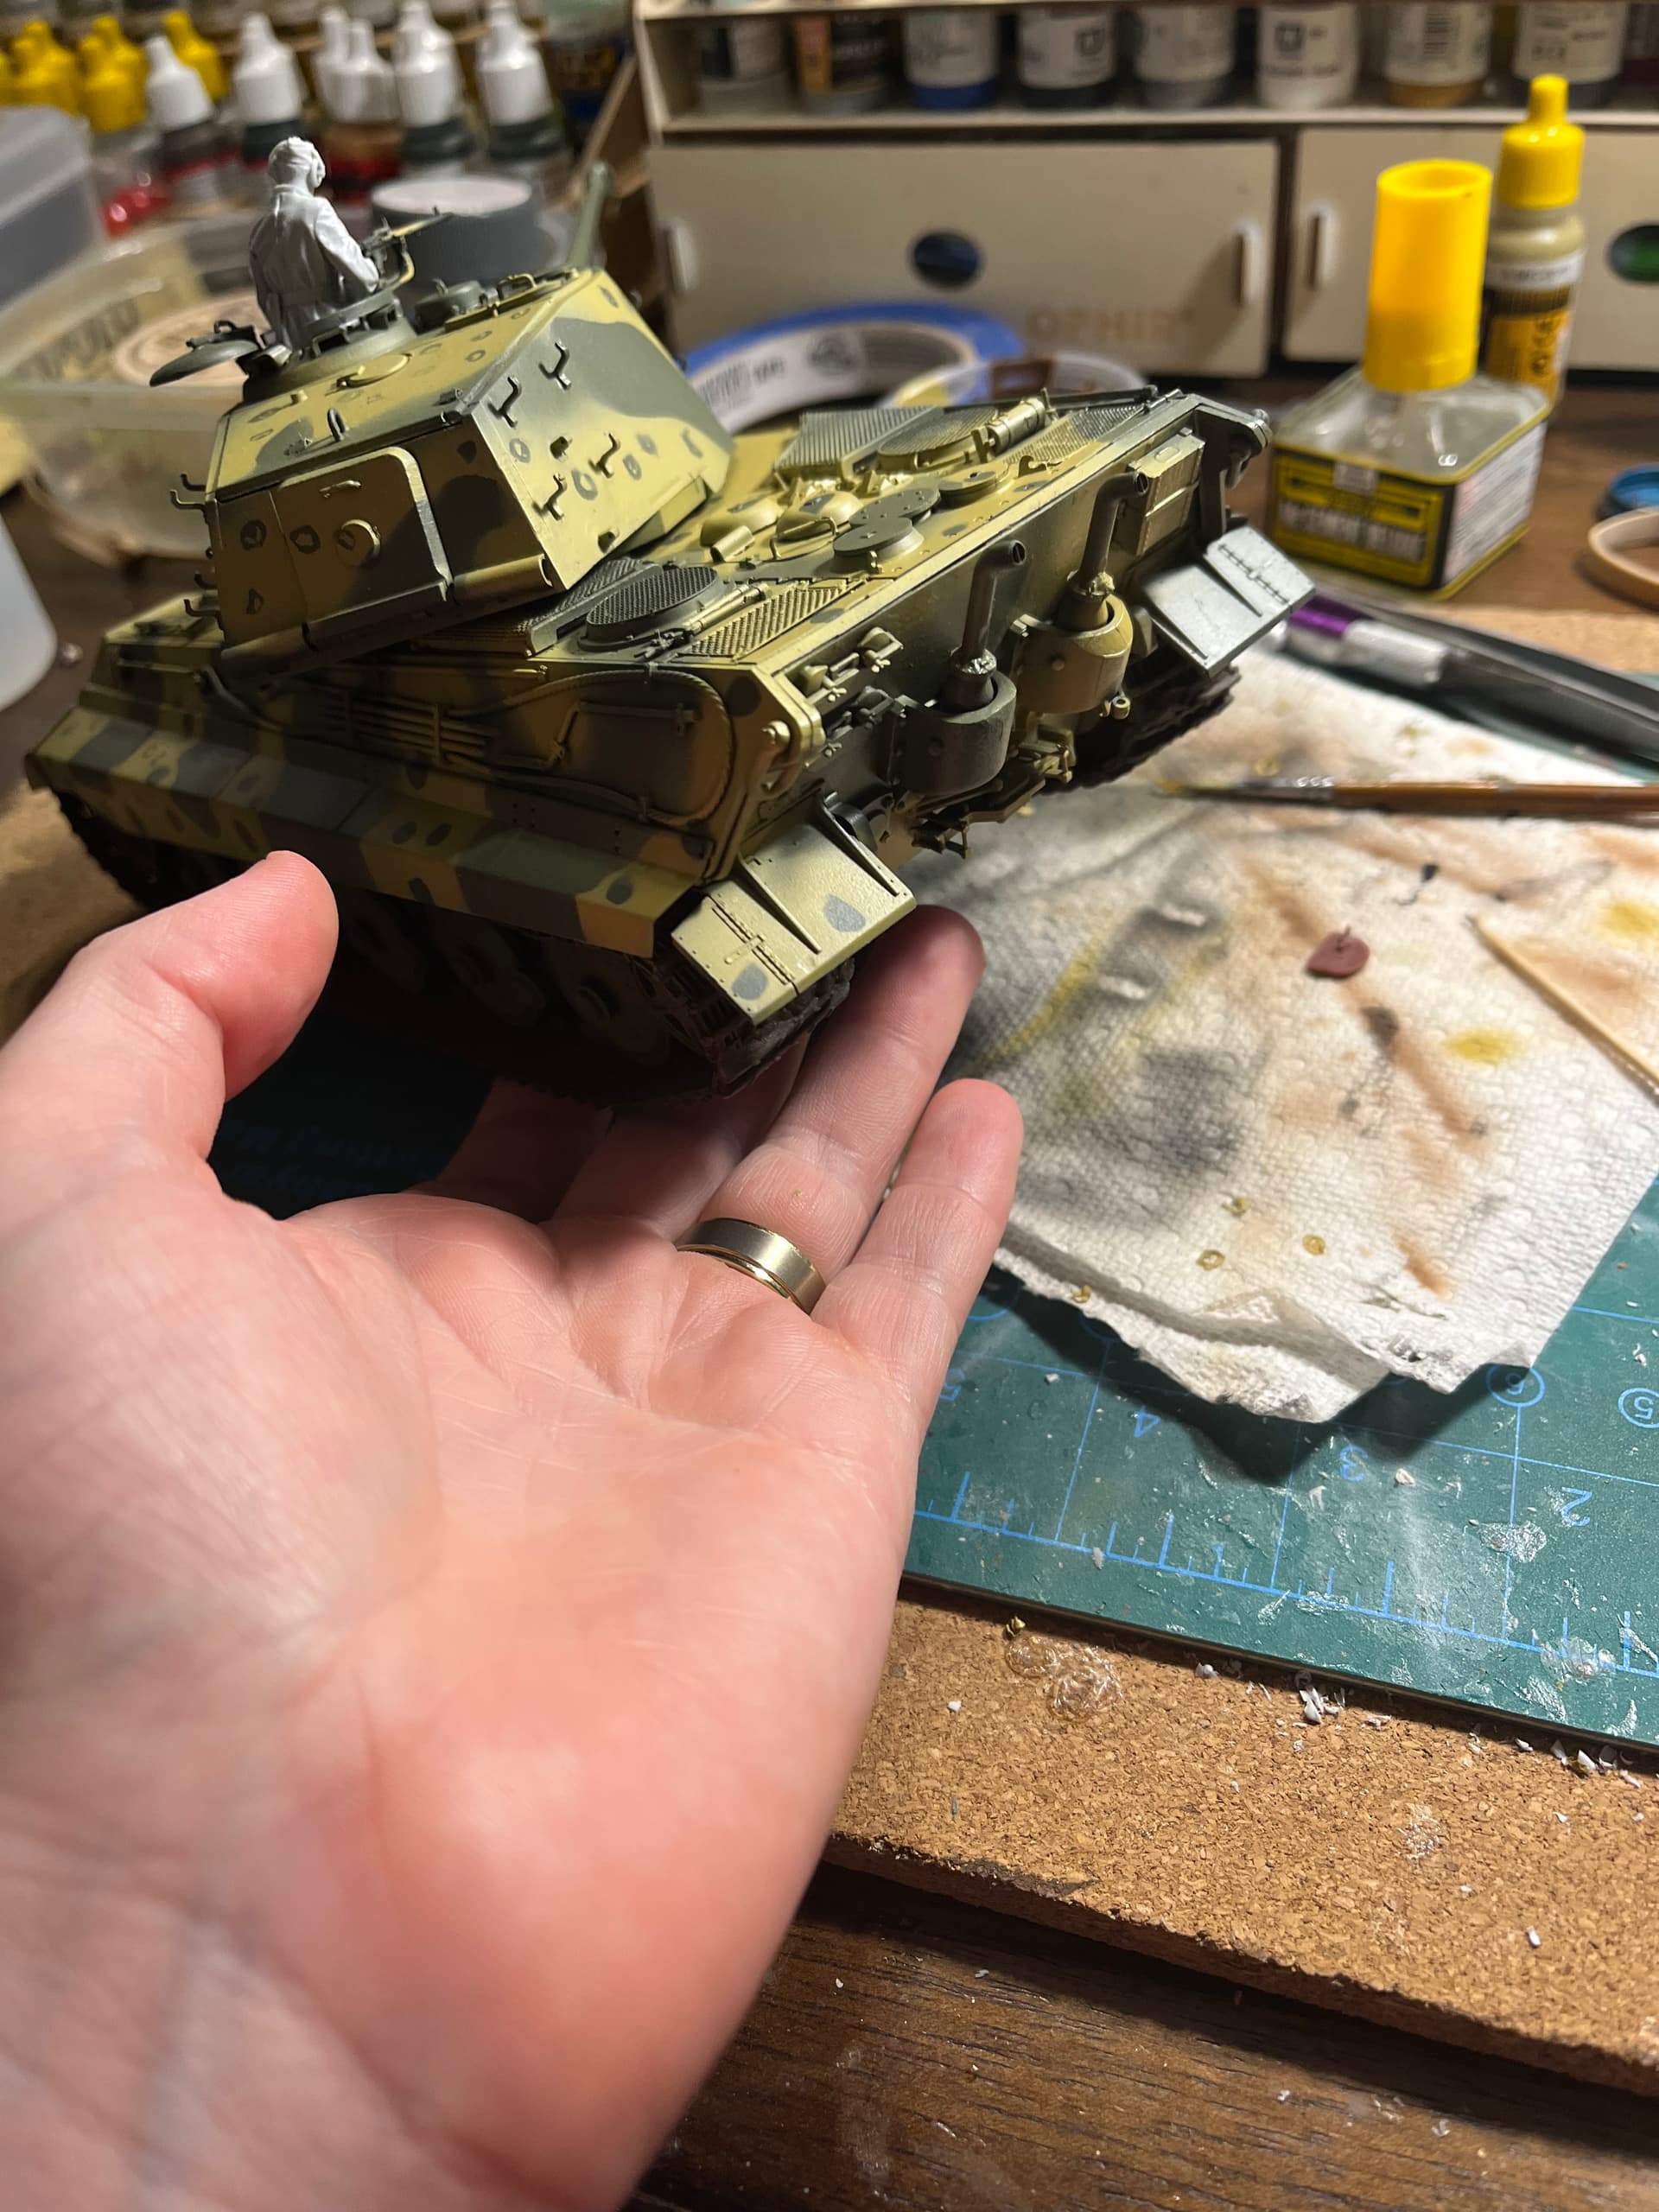
I bought a meng 1/35 King Tiger Henschel off of eBay back after Christmas. For the kit for a decent price, owner had started it but only built the wheels. I decided this would be the best time to try the octopus camouflage pattern. My plan is to do a vignette with it in a field. Here’s my progress as of day 2 of building it.
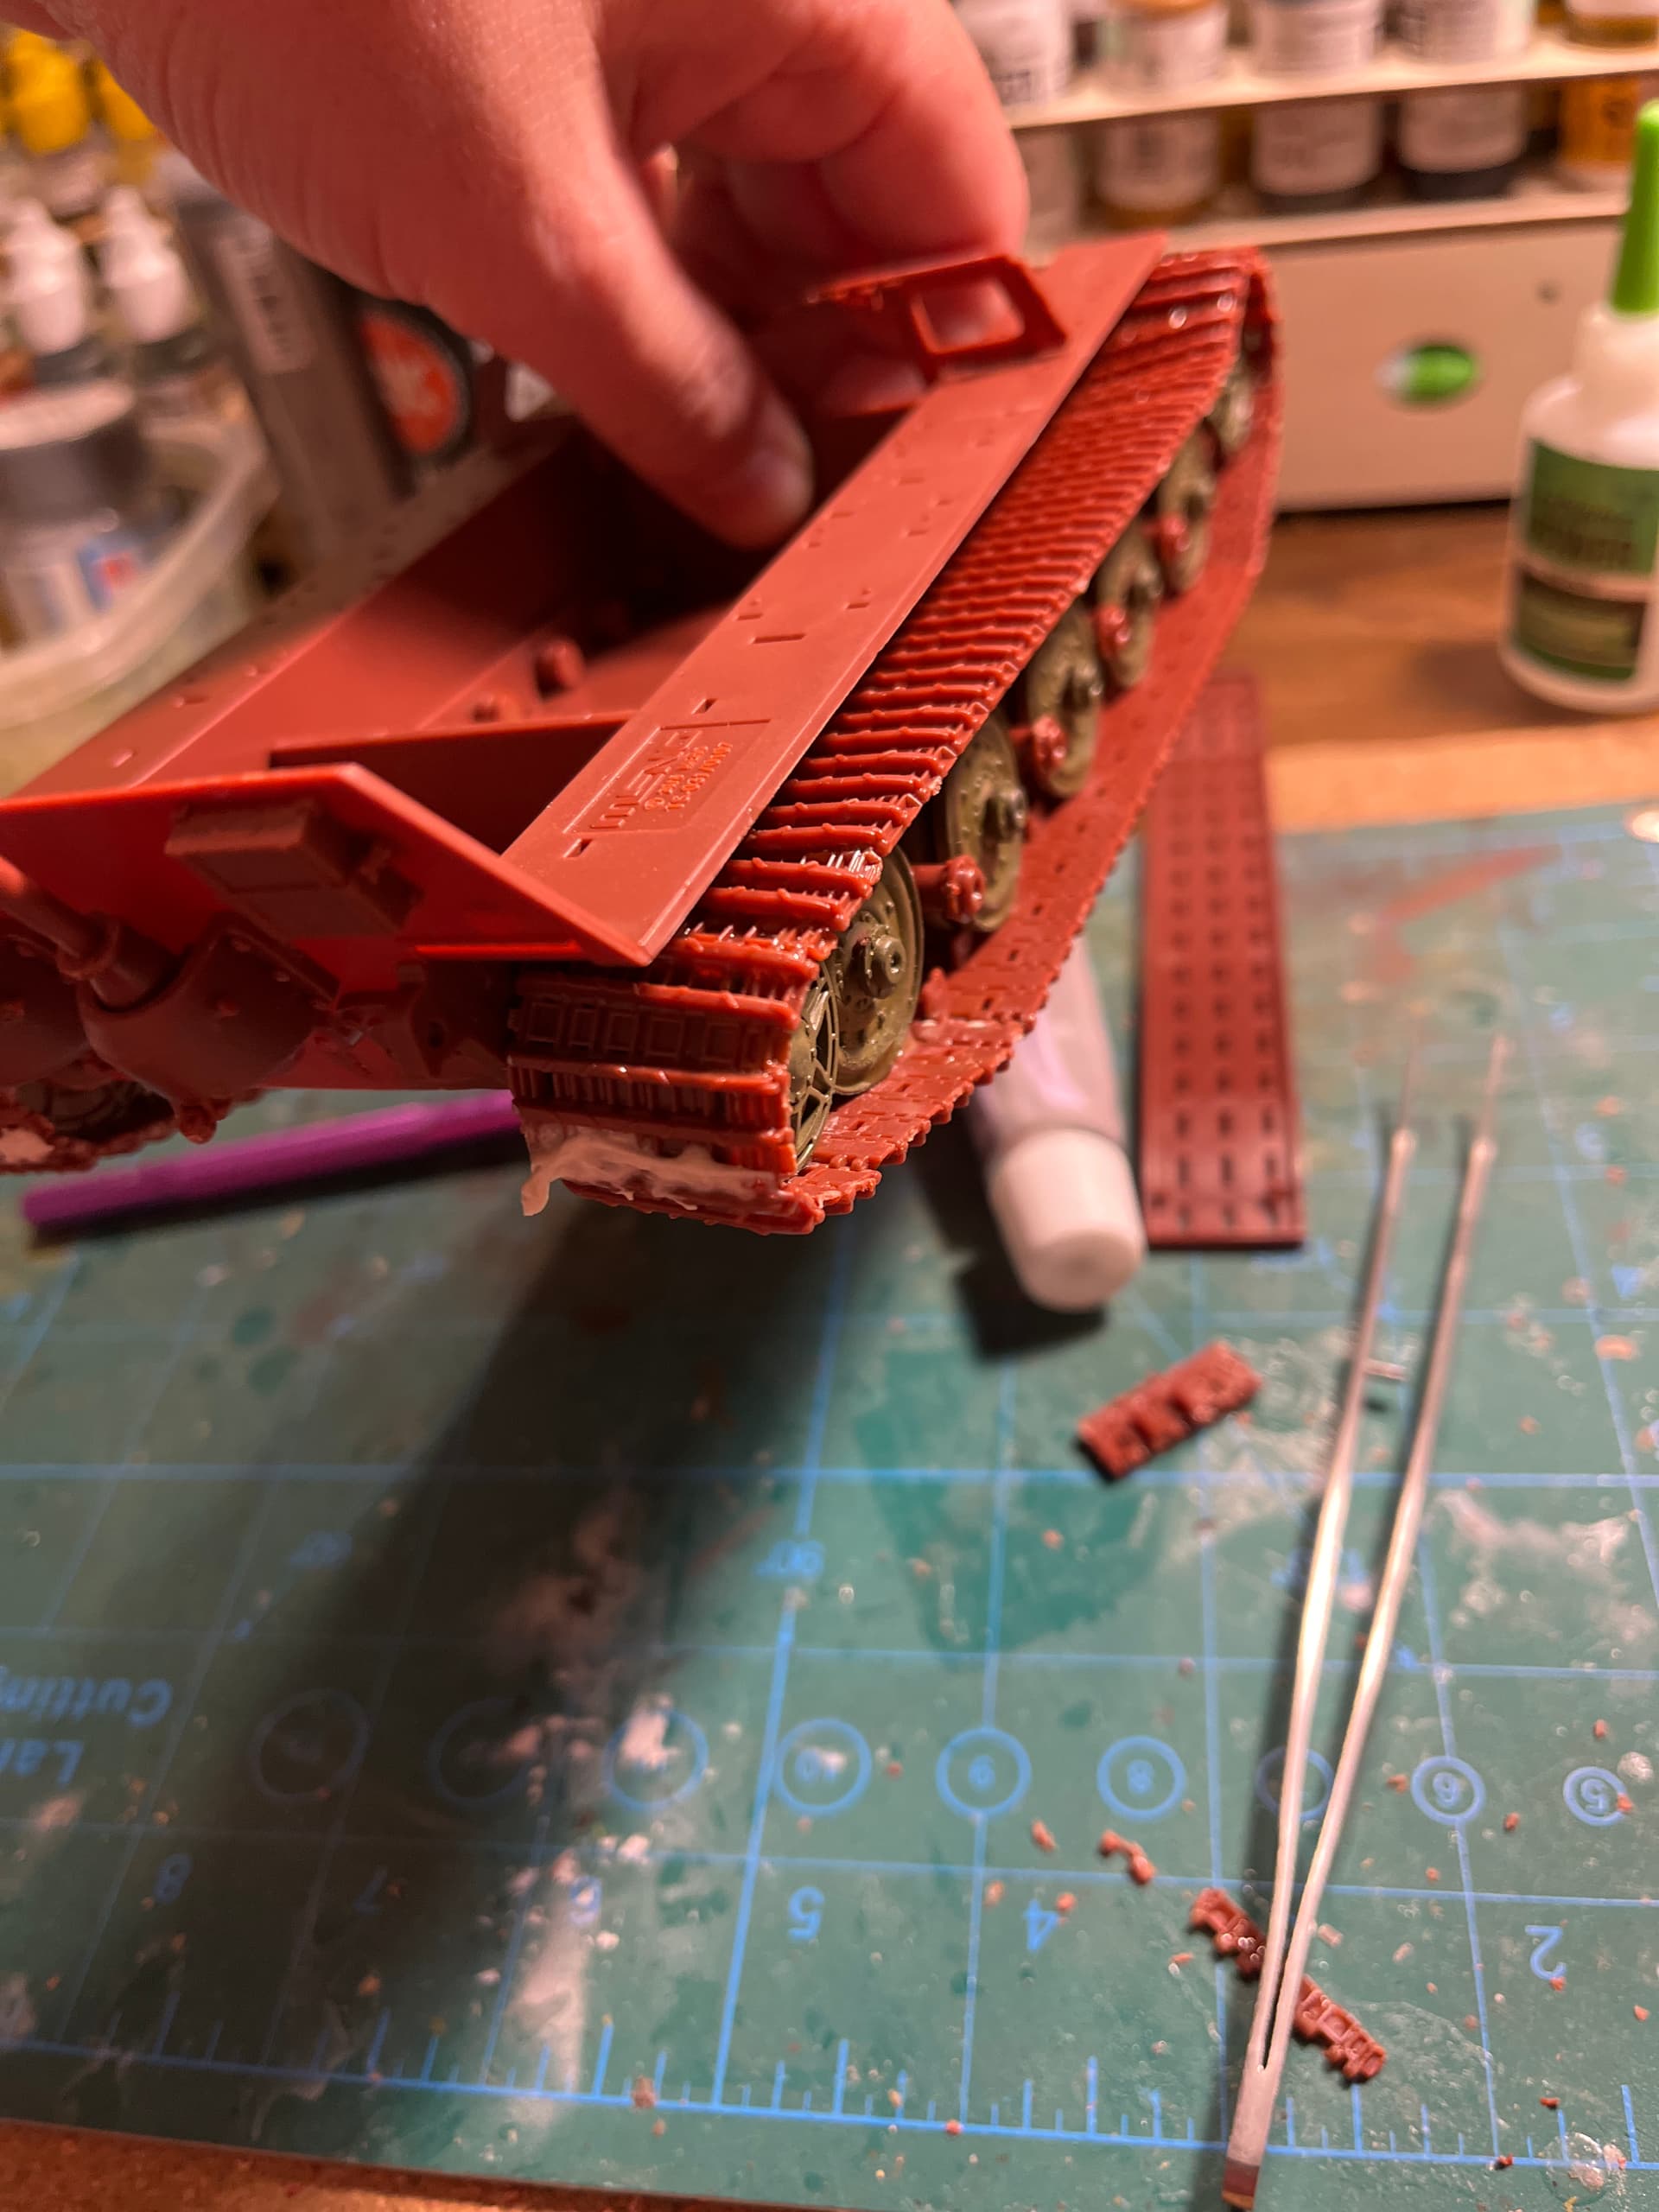
I realized that I’d have to build the track on the tank as the wheels are a bit finicky. One of the torsion bars snapped in the box so i don’t have the best of faith that it will hold if i try and pull it off later, but who knows may give it the ole college try.
@Dan thank you, i feel like i got a steal on this kit it’s missing the figures and the clear parts but for $20 that’s not bad. I trying to get better about painting tracks/wheels together and separate from the body but i don’t think that’ll happen on this build.
looks like you got a decent deal even with those missing parts wchich are easily scratched…
Will you paint the tracks and running gear at this early stage and cover them, or at the end ?
@Johnnych01 im going to play with it a bit, I’m thinking i can still slide the track and suspension off right now and paint it separately. If that fails i will either prime it and paint it now or will just do it all at once. I’m leaning towards painting it before covering it if my original plan doesn’t work. I’m doing the octopus pattern so at least the wheels and running gear will be all one color and not alternating.
Just a quick update, i finished the other set of tracks. I’m leaning towards painting the lower hull this weekend and then covering the tracks. The track fit isn’t horrible but there is some what if a balancing act you have to play with them. The tracks number prescribed is a bit much but when you pull one or two off it’s to short. I had to sit for an hour the Last two nights and figure out how to best balance the tracks and get the right look, we’ll that and some epoxy to fill any unsightly gaps.
@tankerken I’d have to see about adjusting the idler wheel, i didn’t think of that when i was putting the tracks on earlier.
Did some research,
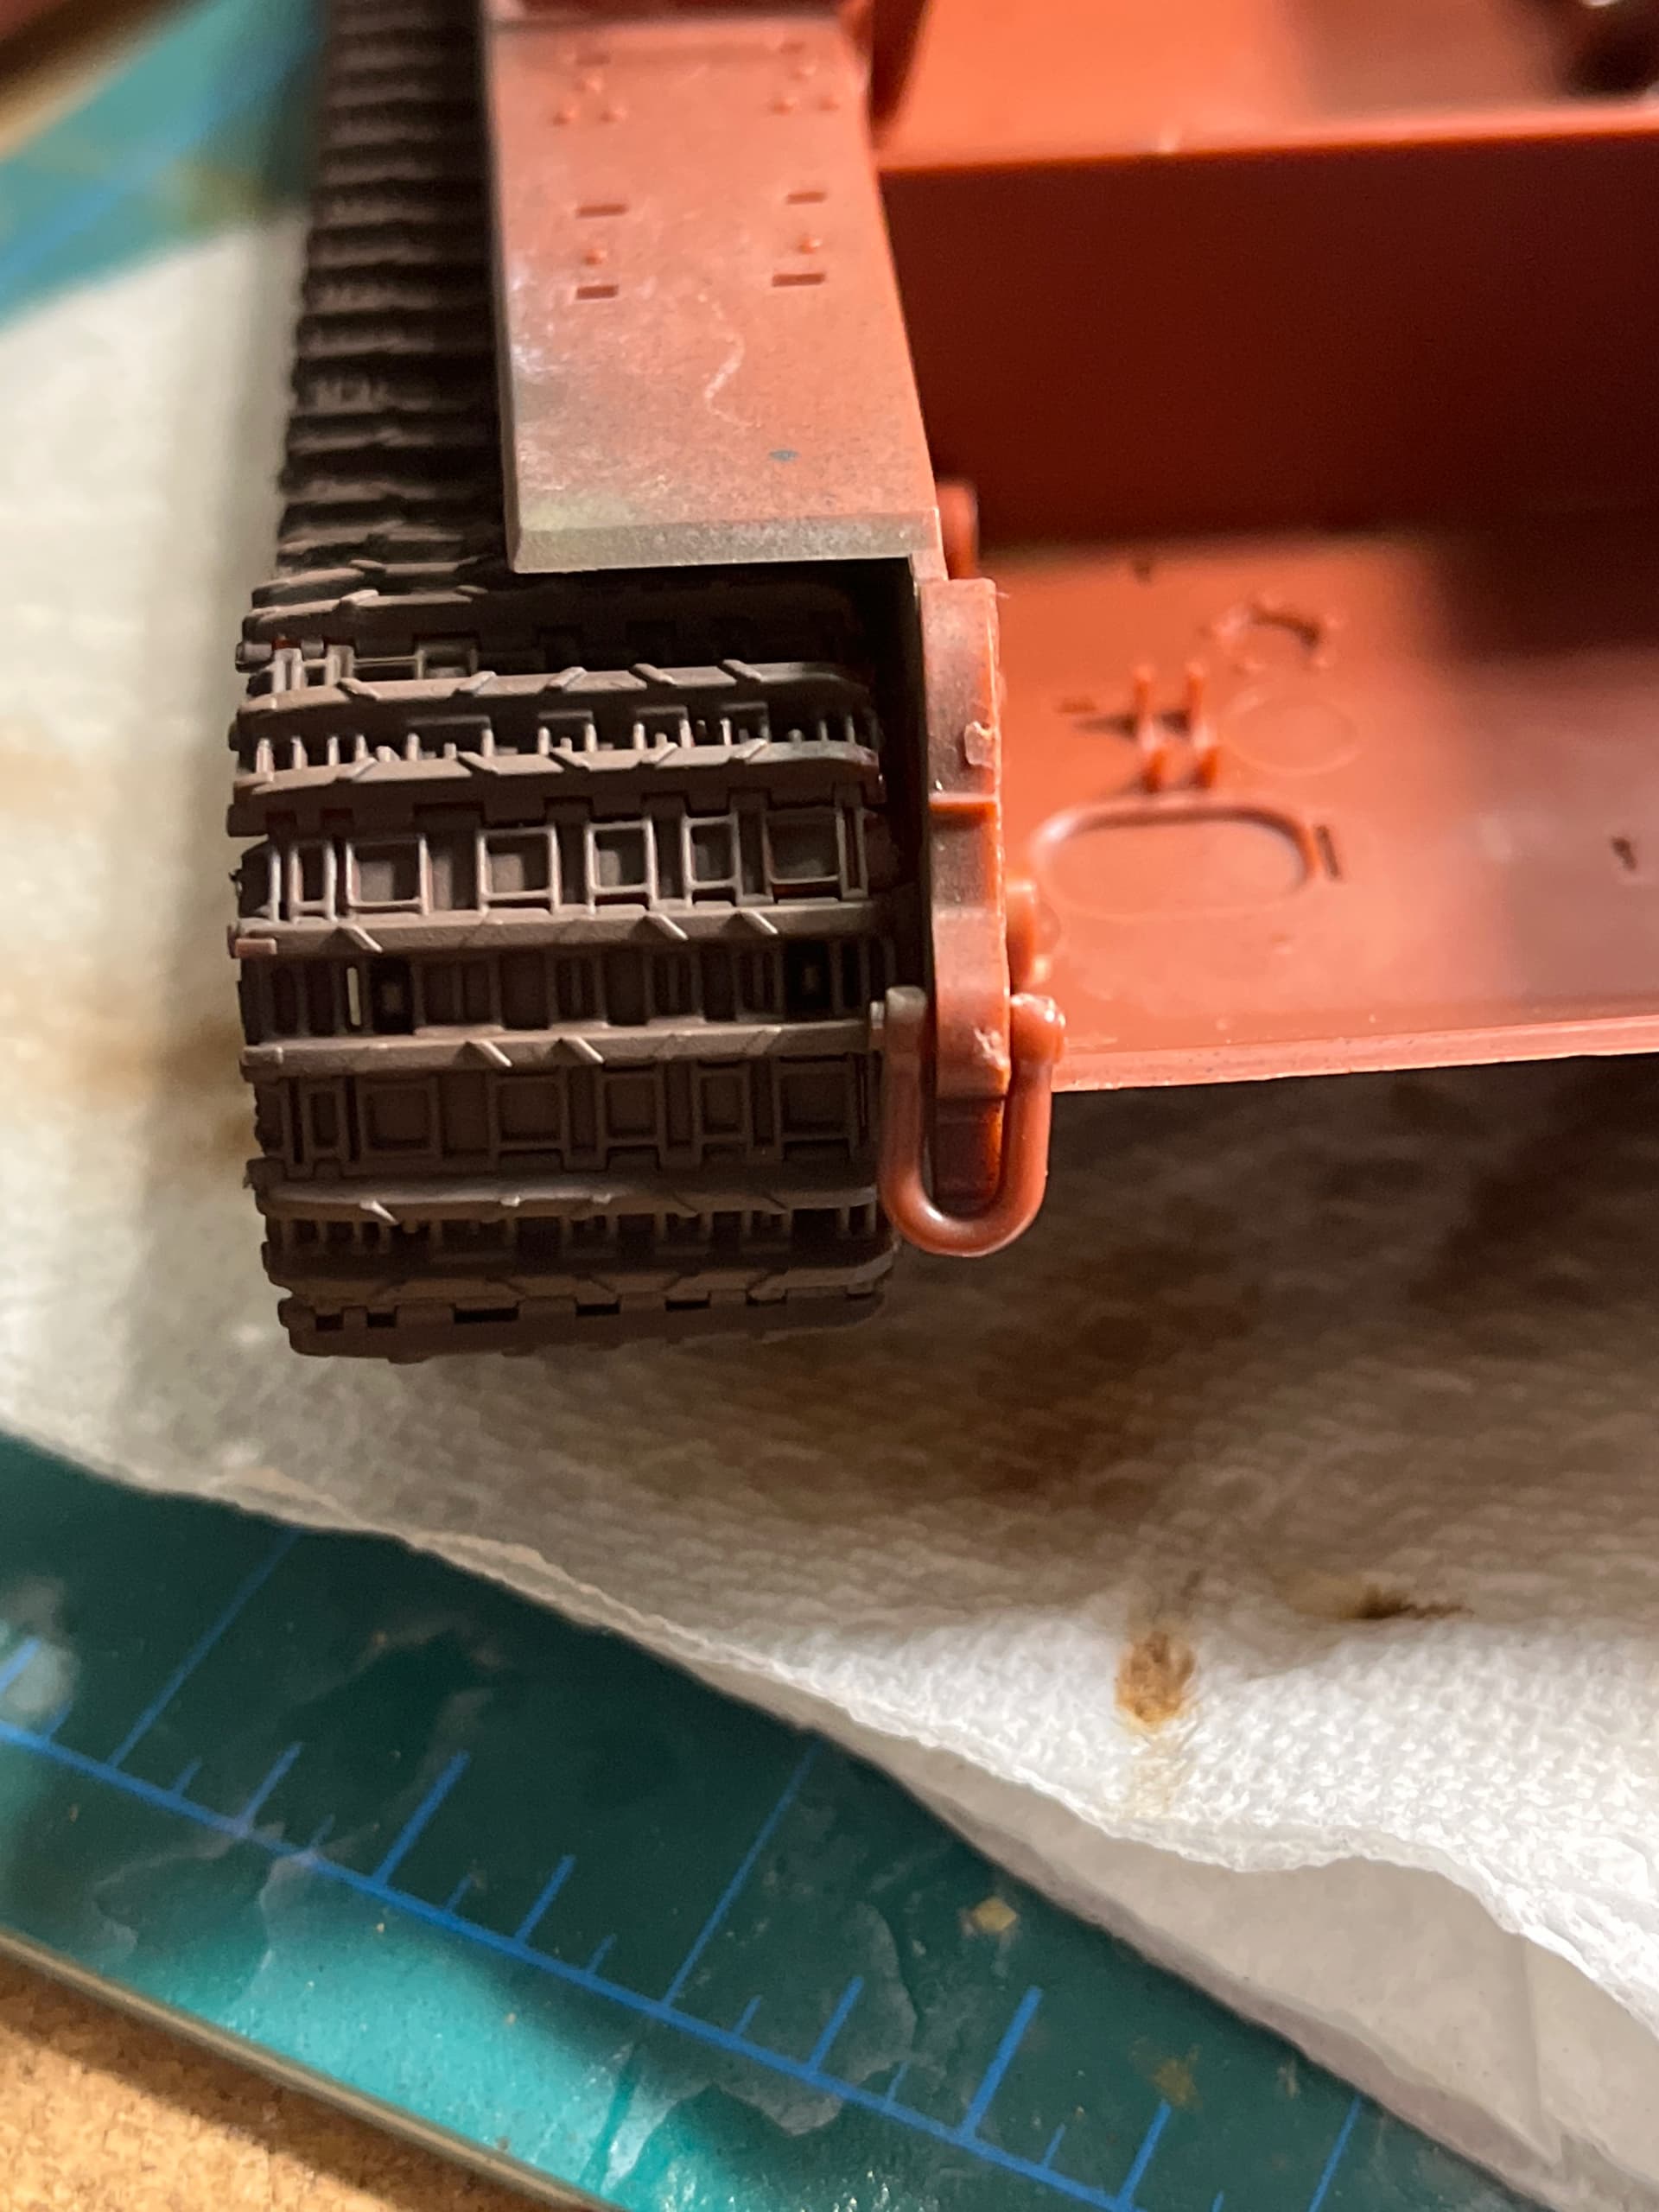
This guys build looks as if this is an issue with the kit. He had to guide horns connect and hid it under a wheel. I was able to screw with it a bit and avoid this but maybe for the sake of loosening it up i add another track link and hide it under a wheel.
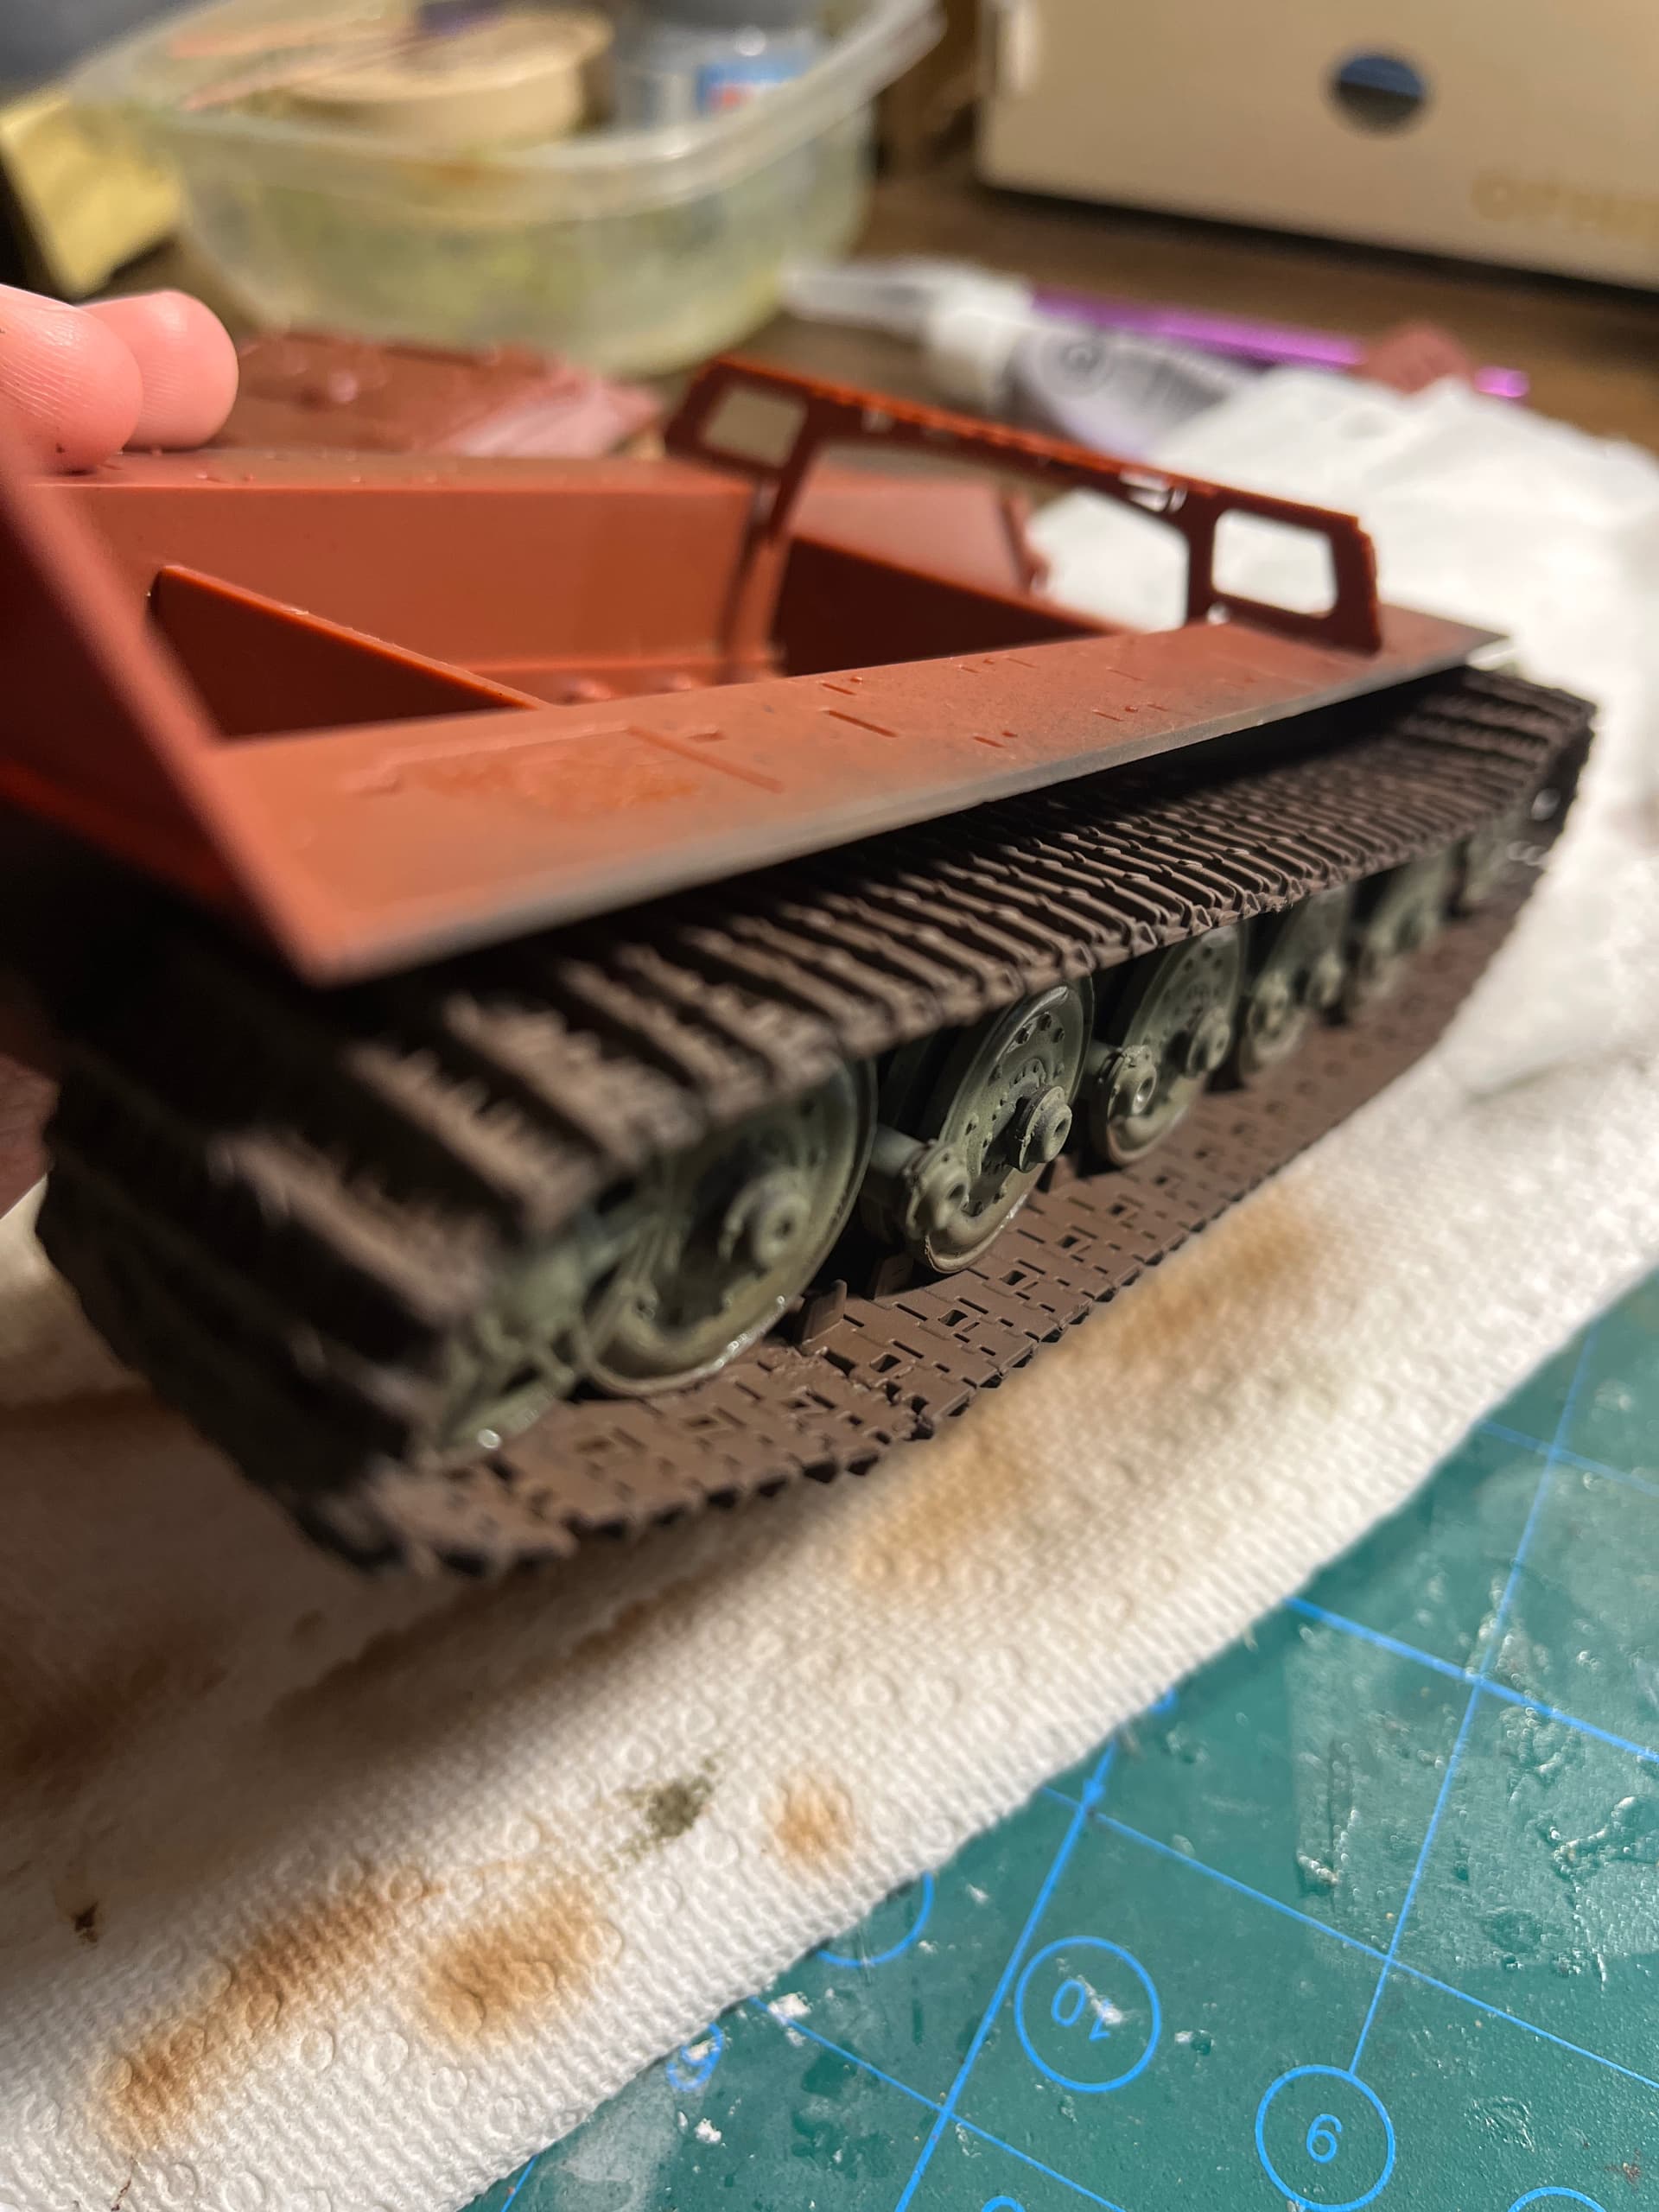
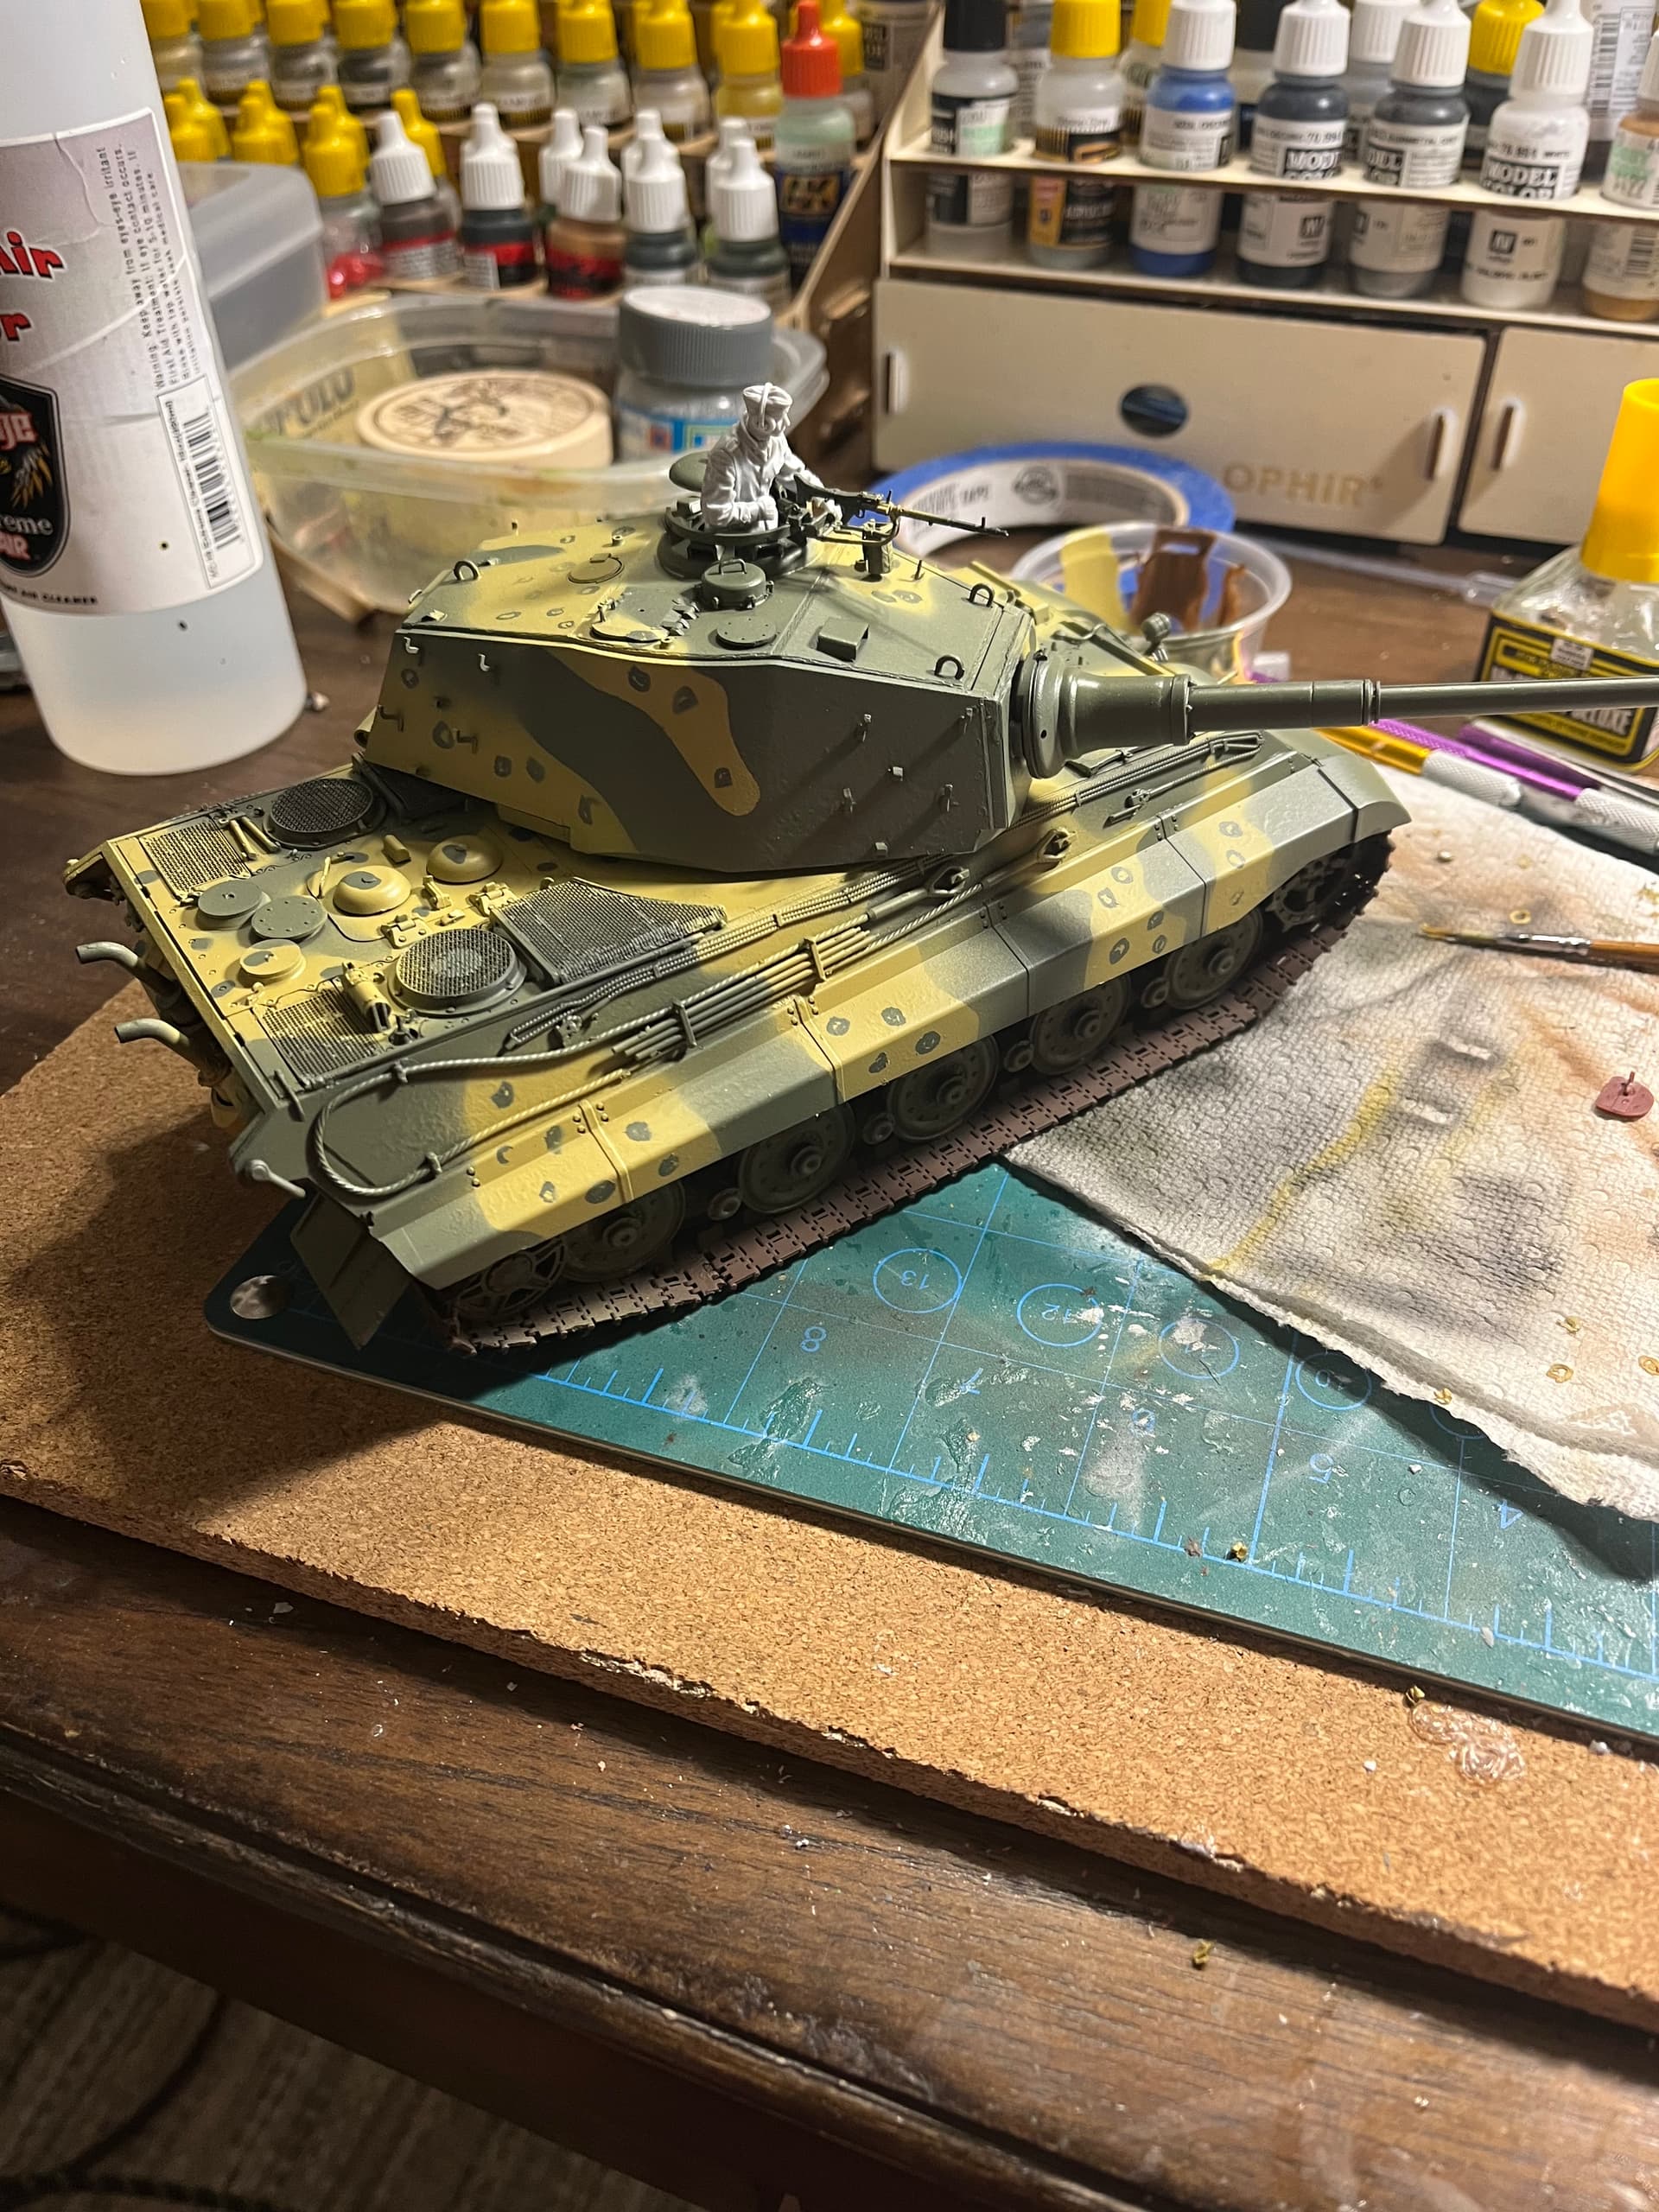
Continued building this weekend. Took some time yesterday and today to prime the tracks and paint them. Tracks and wheels were primed with AK interactive black then painted with Olivegrun PT. 2 from ammo Mig, tracks were painted with dark track from ammo Mig. Im pretty happy with the results at this time, i will give the tracks a wash of Track wash from ammo when the kit is completely painted. The wheels will need some work, I’m going to go over them and paint the rim with a silver to give it a used look.
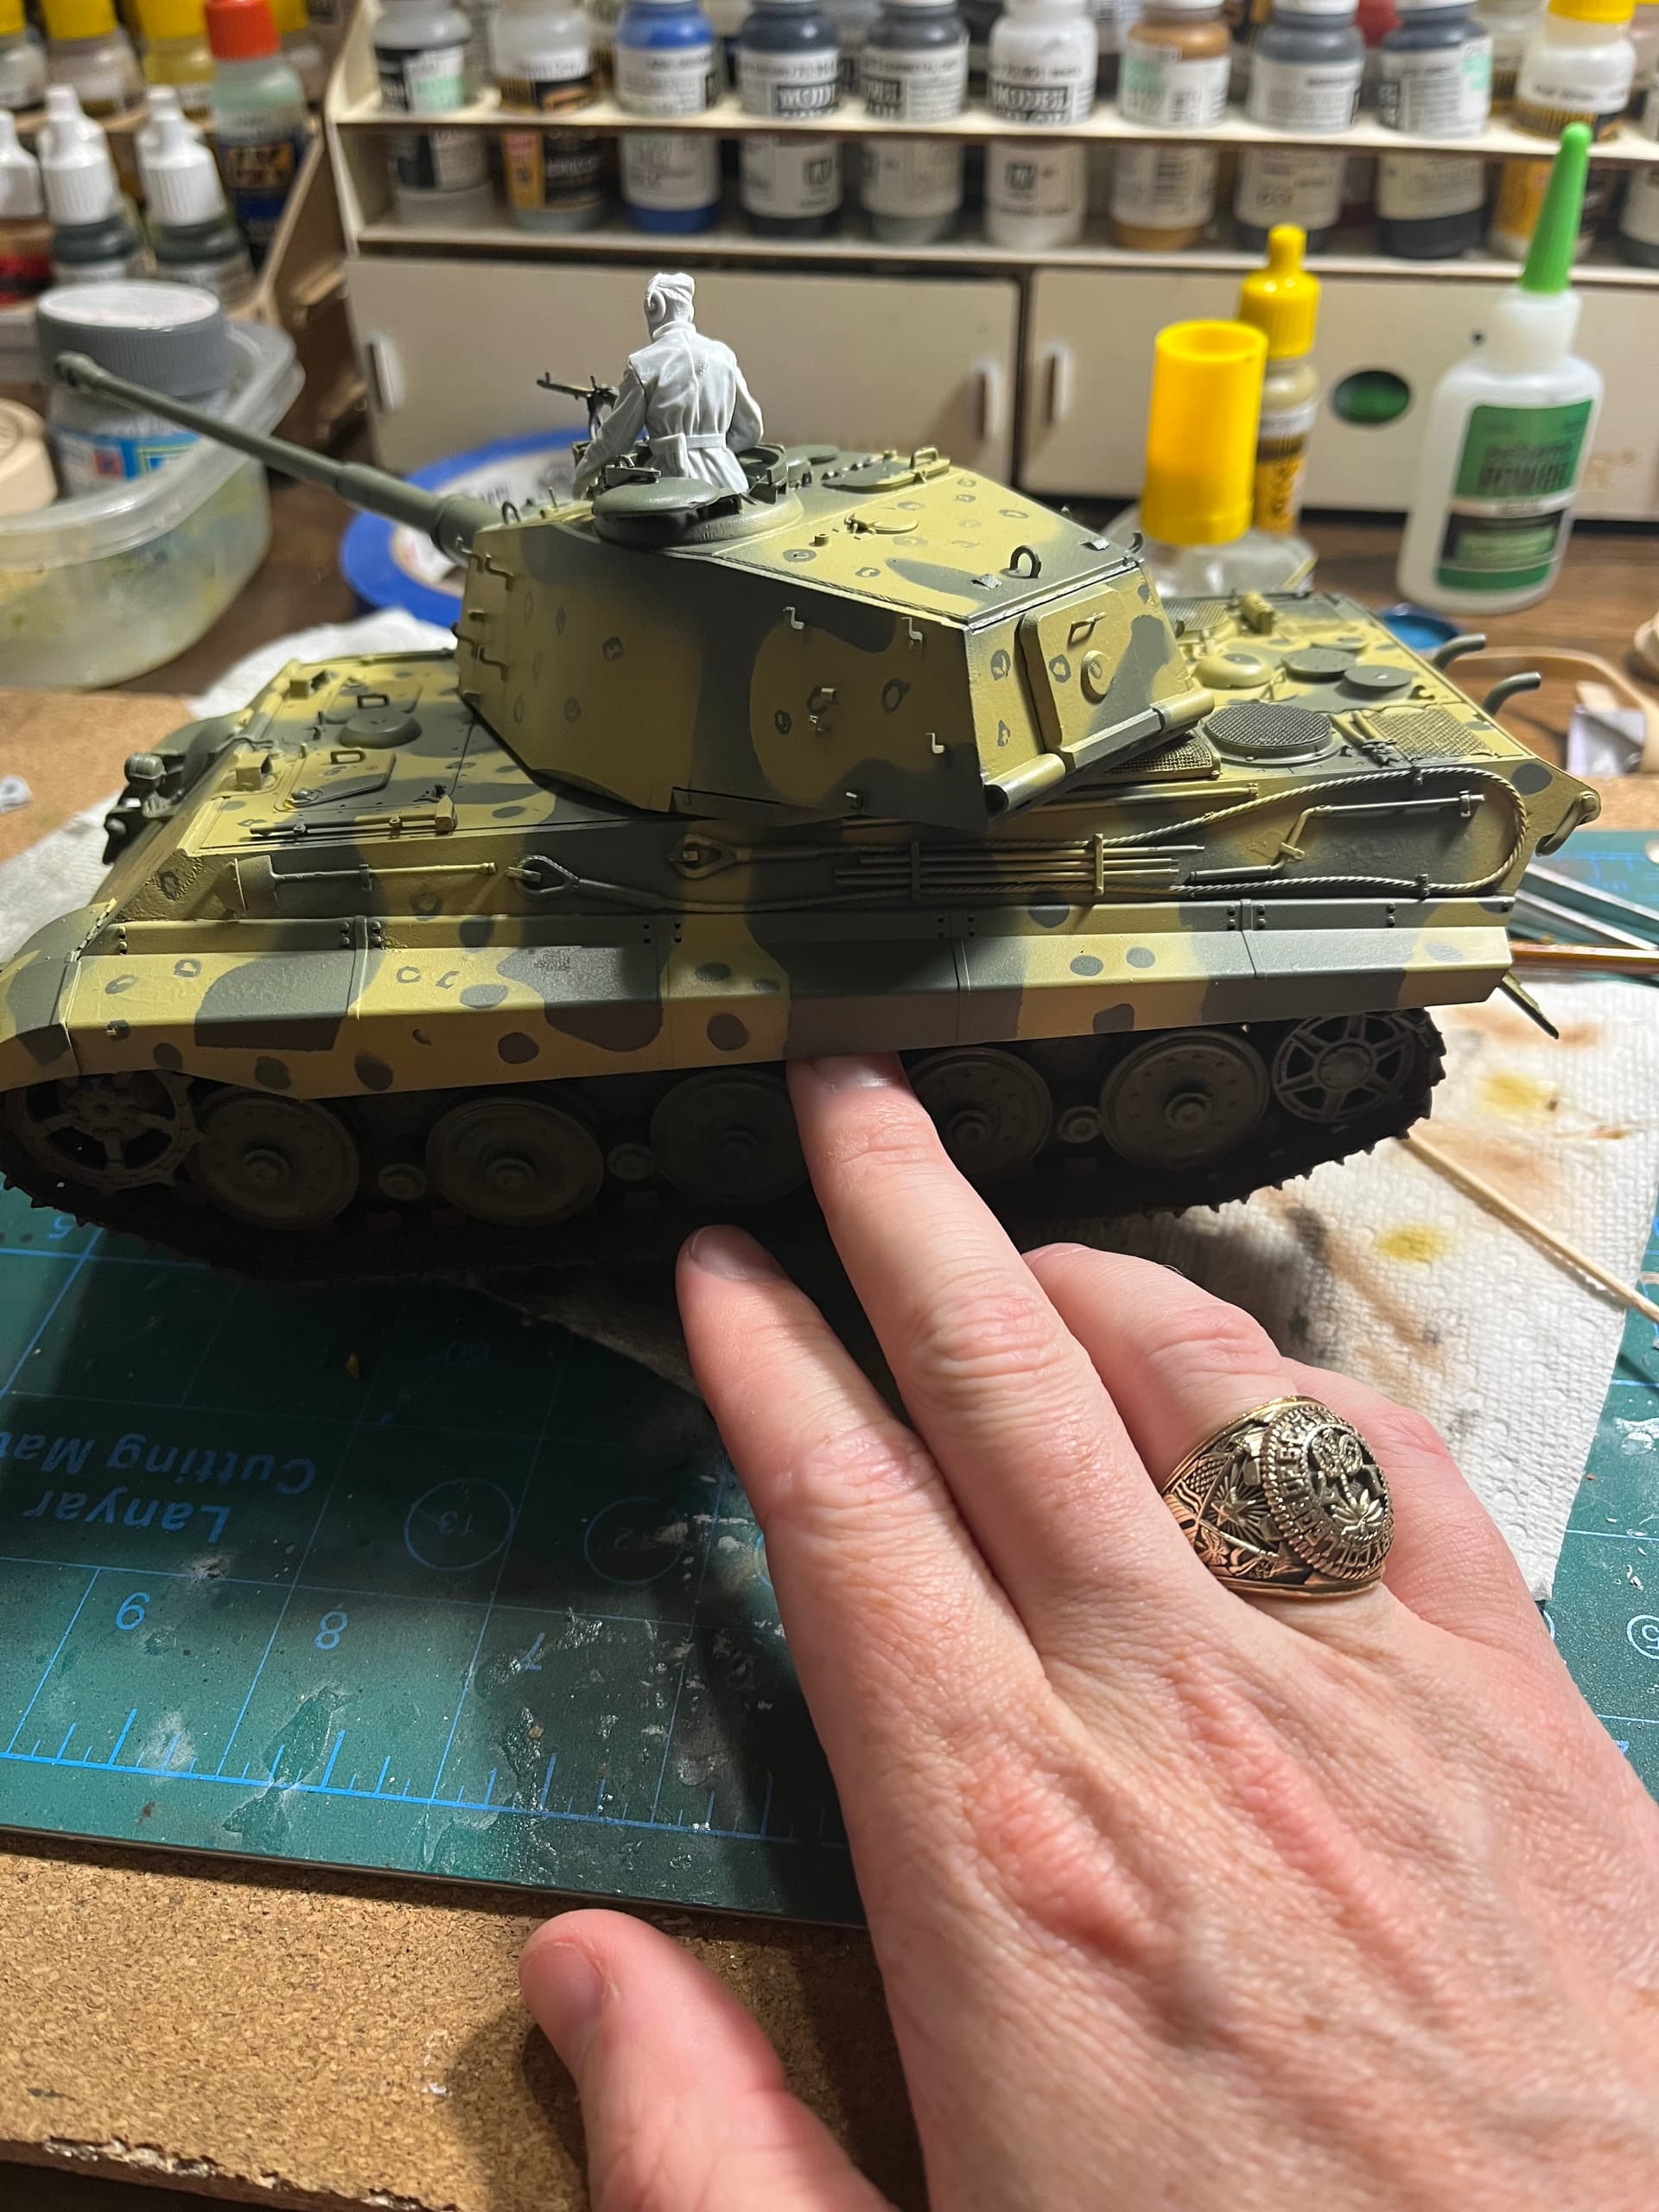
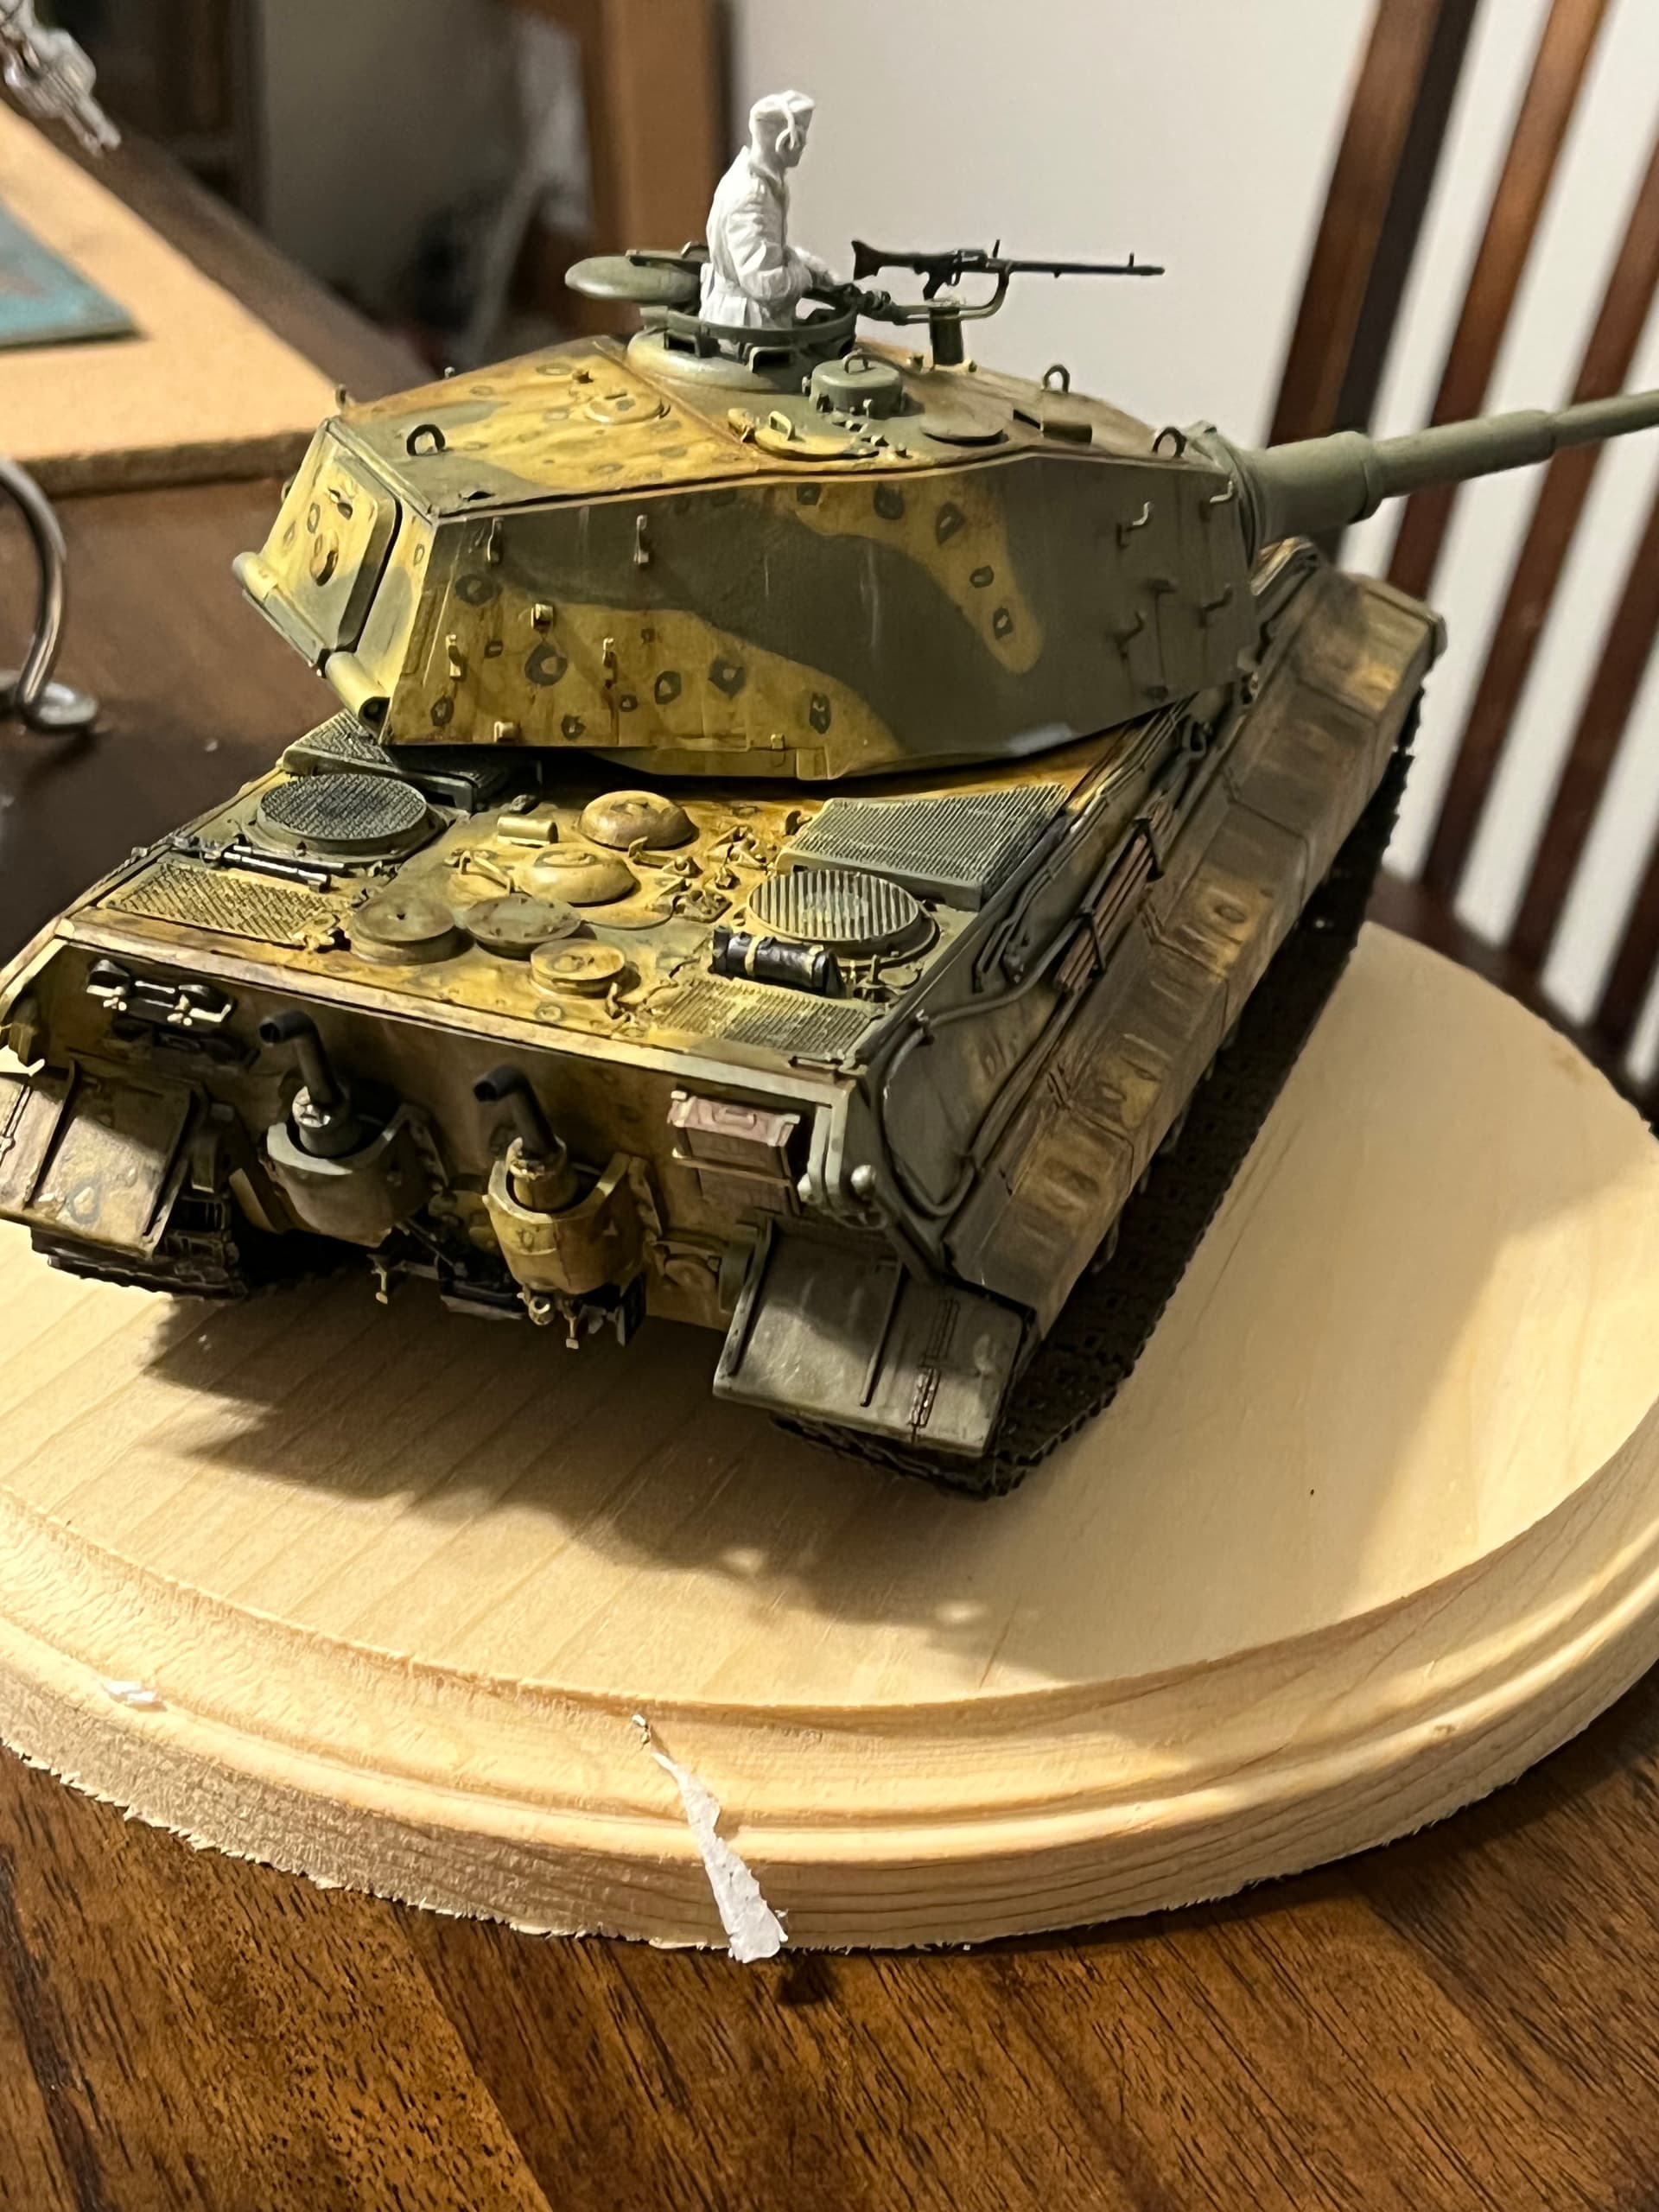
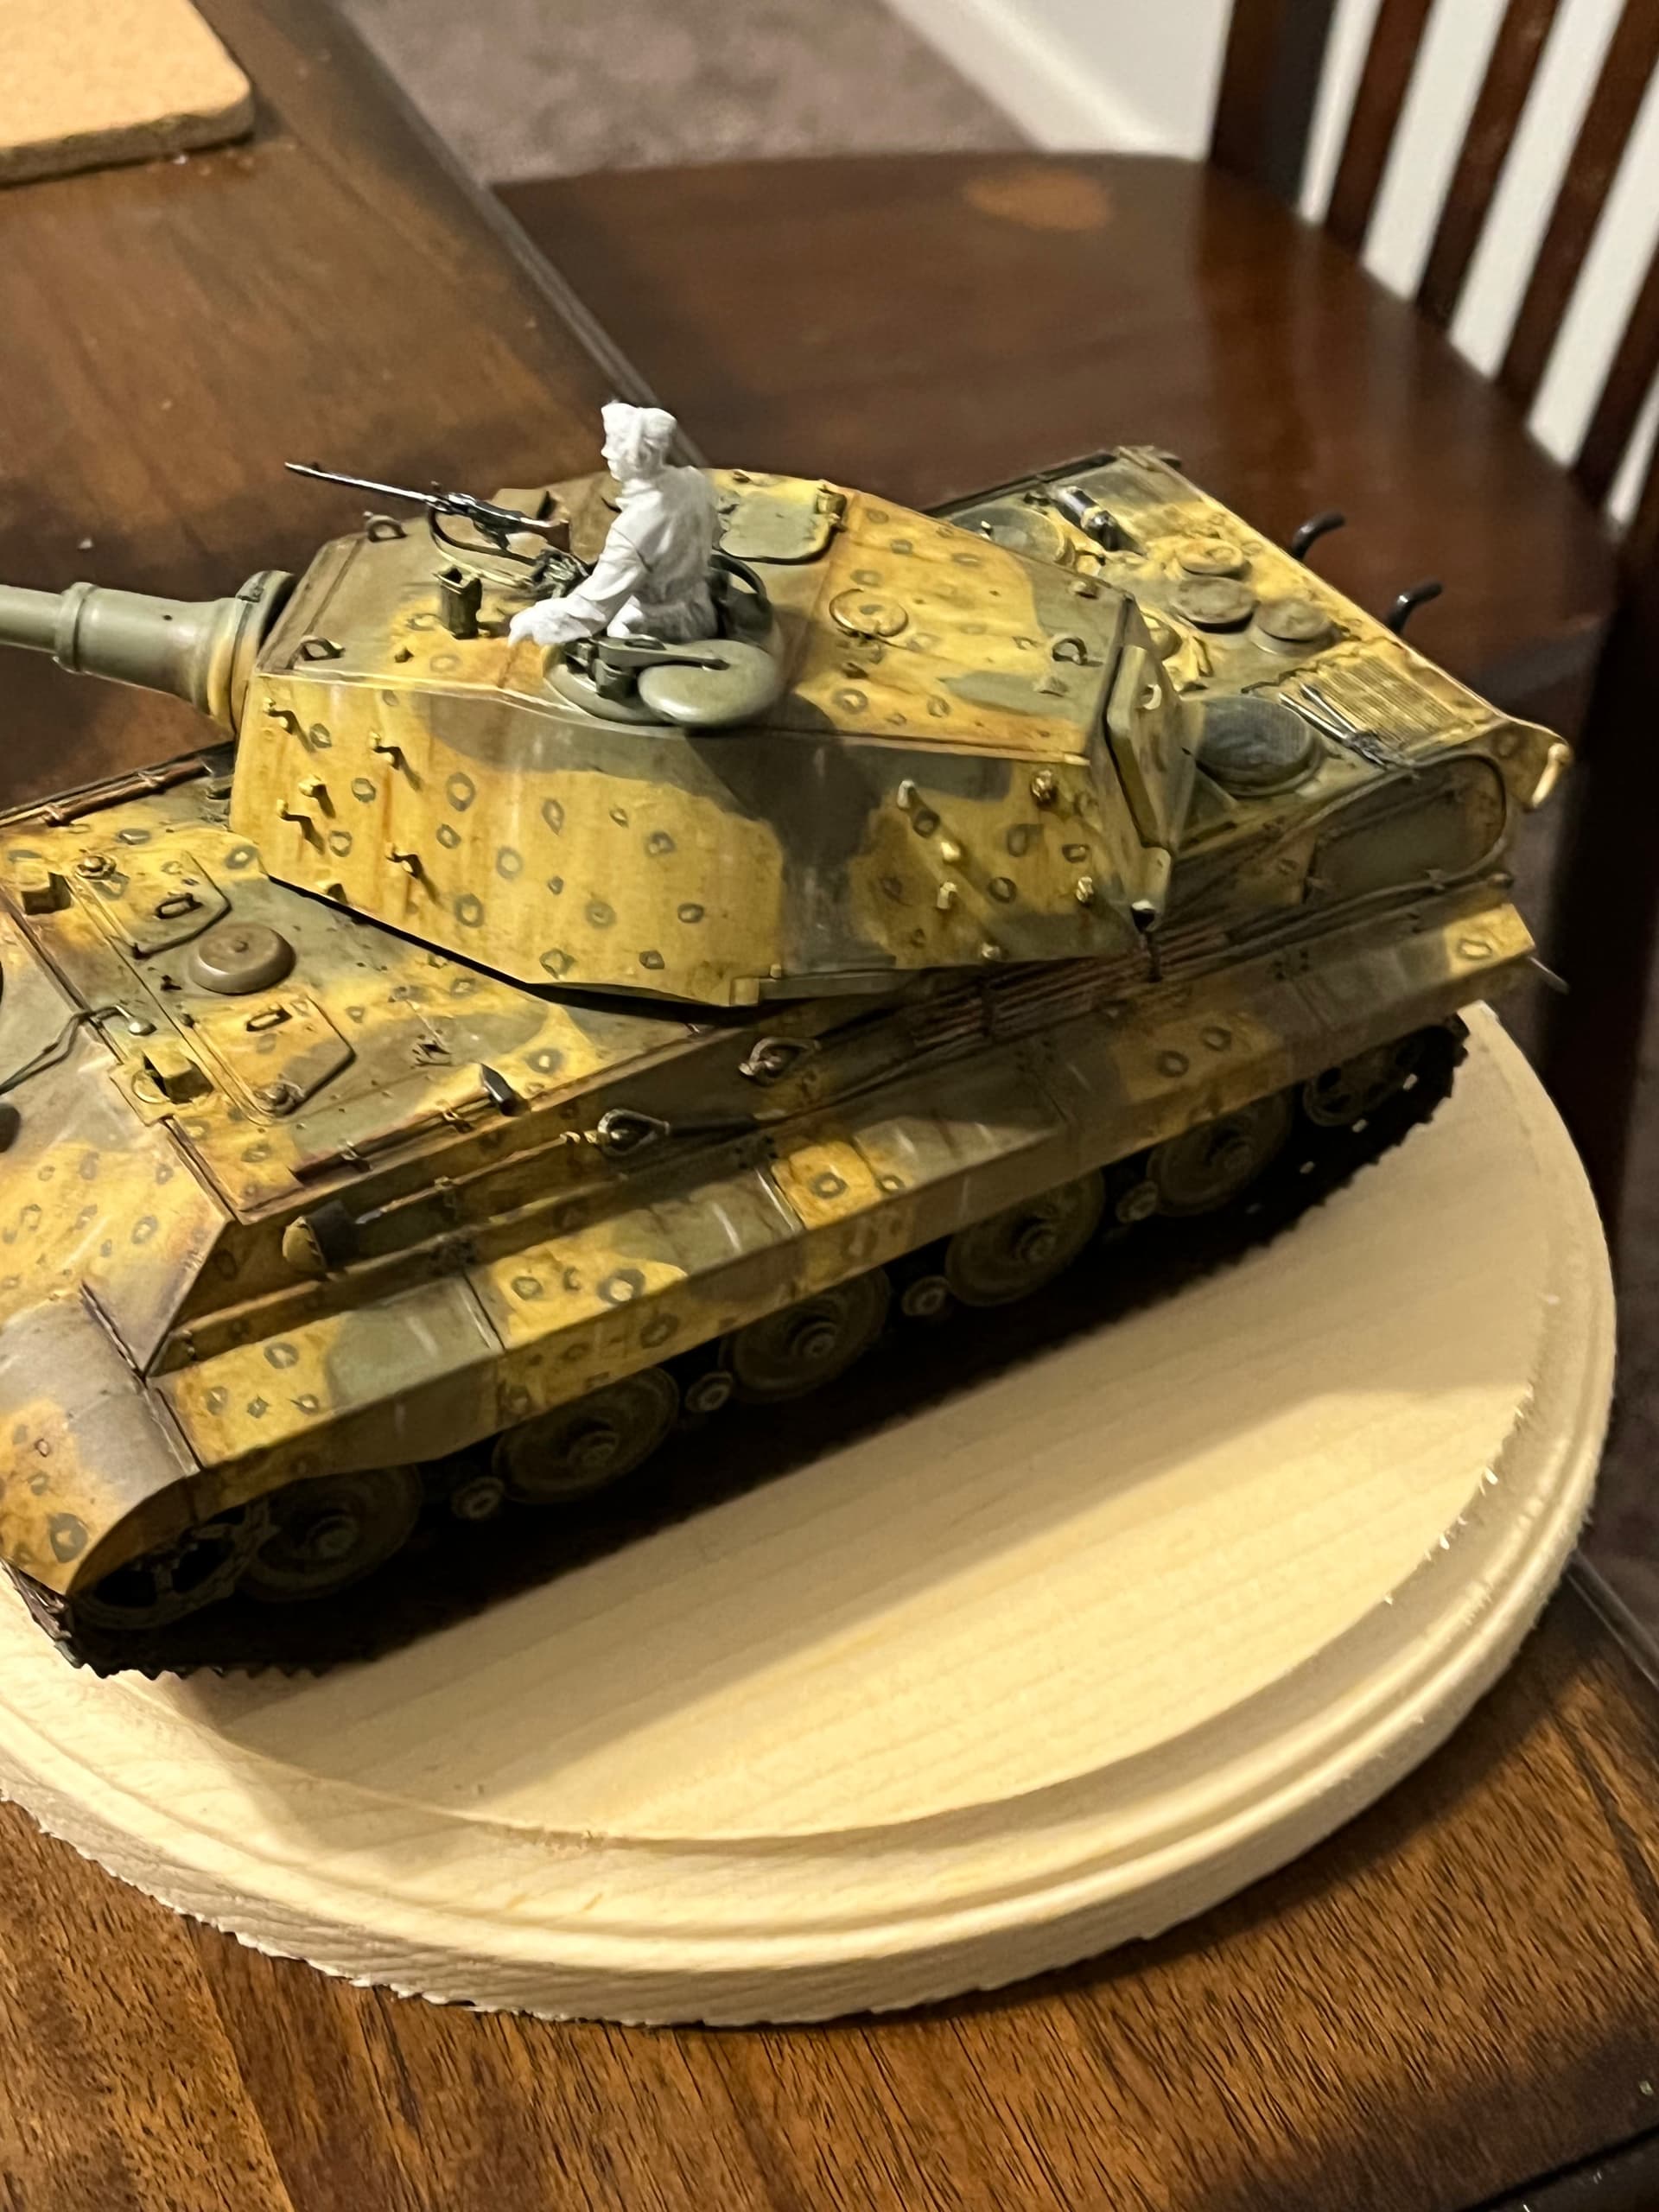
Finished up my initial painting. Have the two tone scheme and an attempt at making octopus circles, I’d say I’m at an 85% solution at this part of painting. Definitely going to do a highlight application tomorrow in the tan and green sections after that I’ll begin doing touch ups, My plan is to add some more green camo spots by doing brush pricks in the tan parts of the camo letting it dry then using a toothpick to apply some small dots.
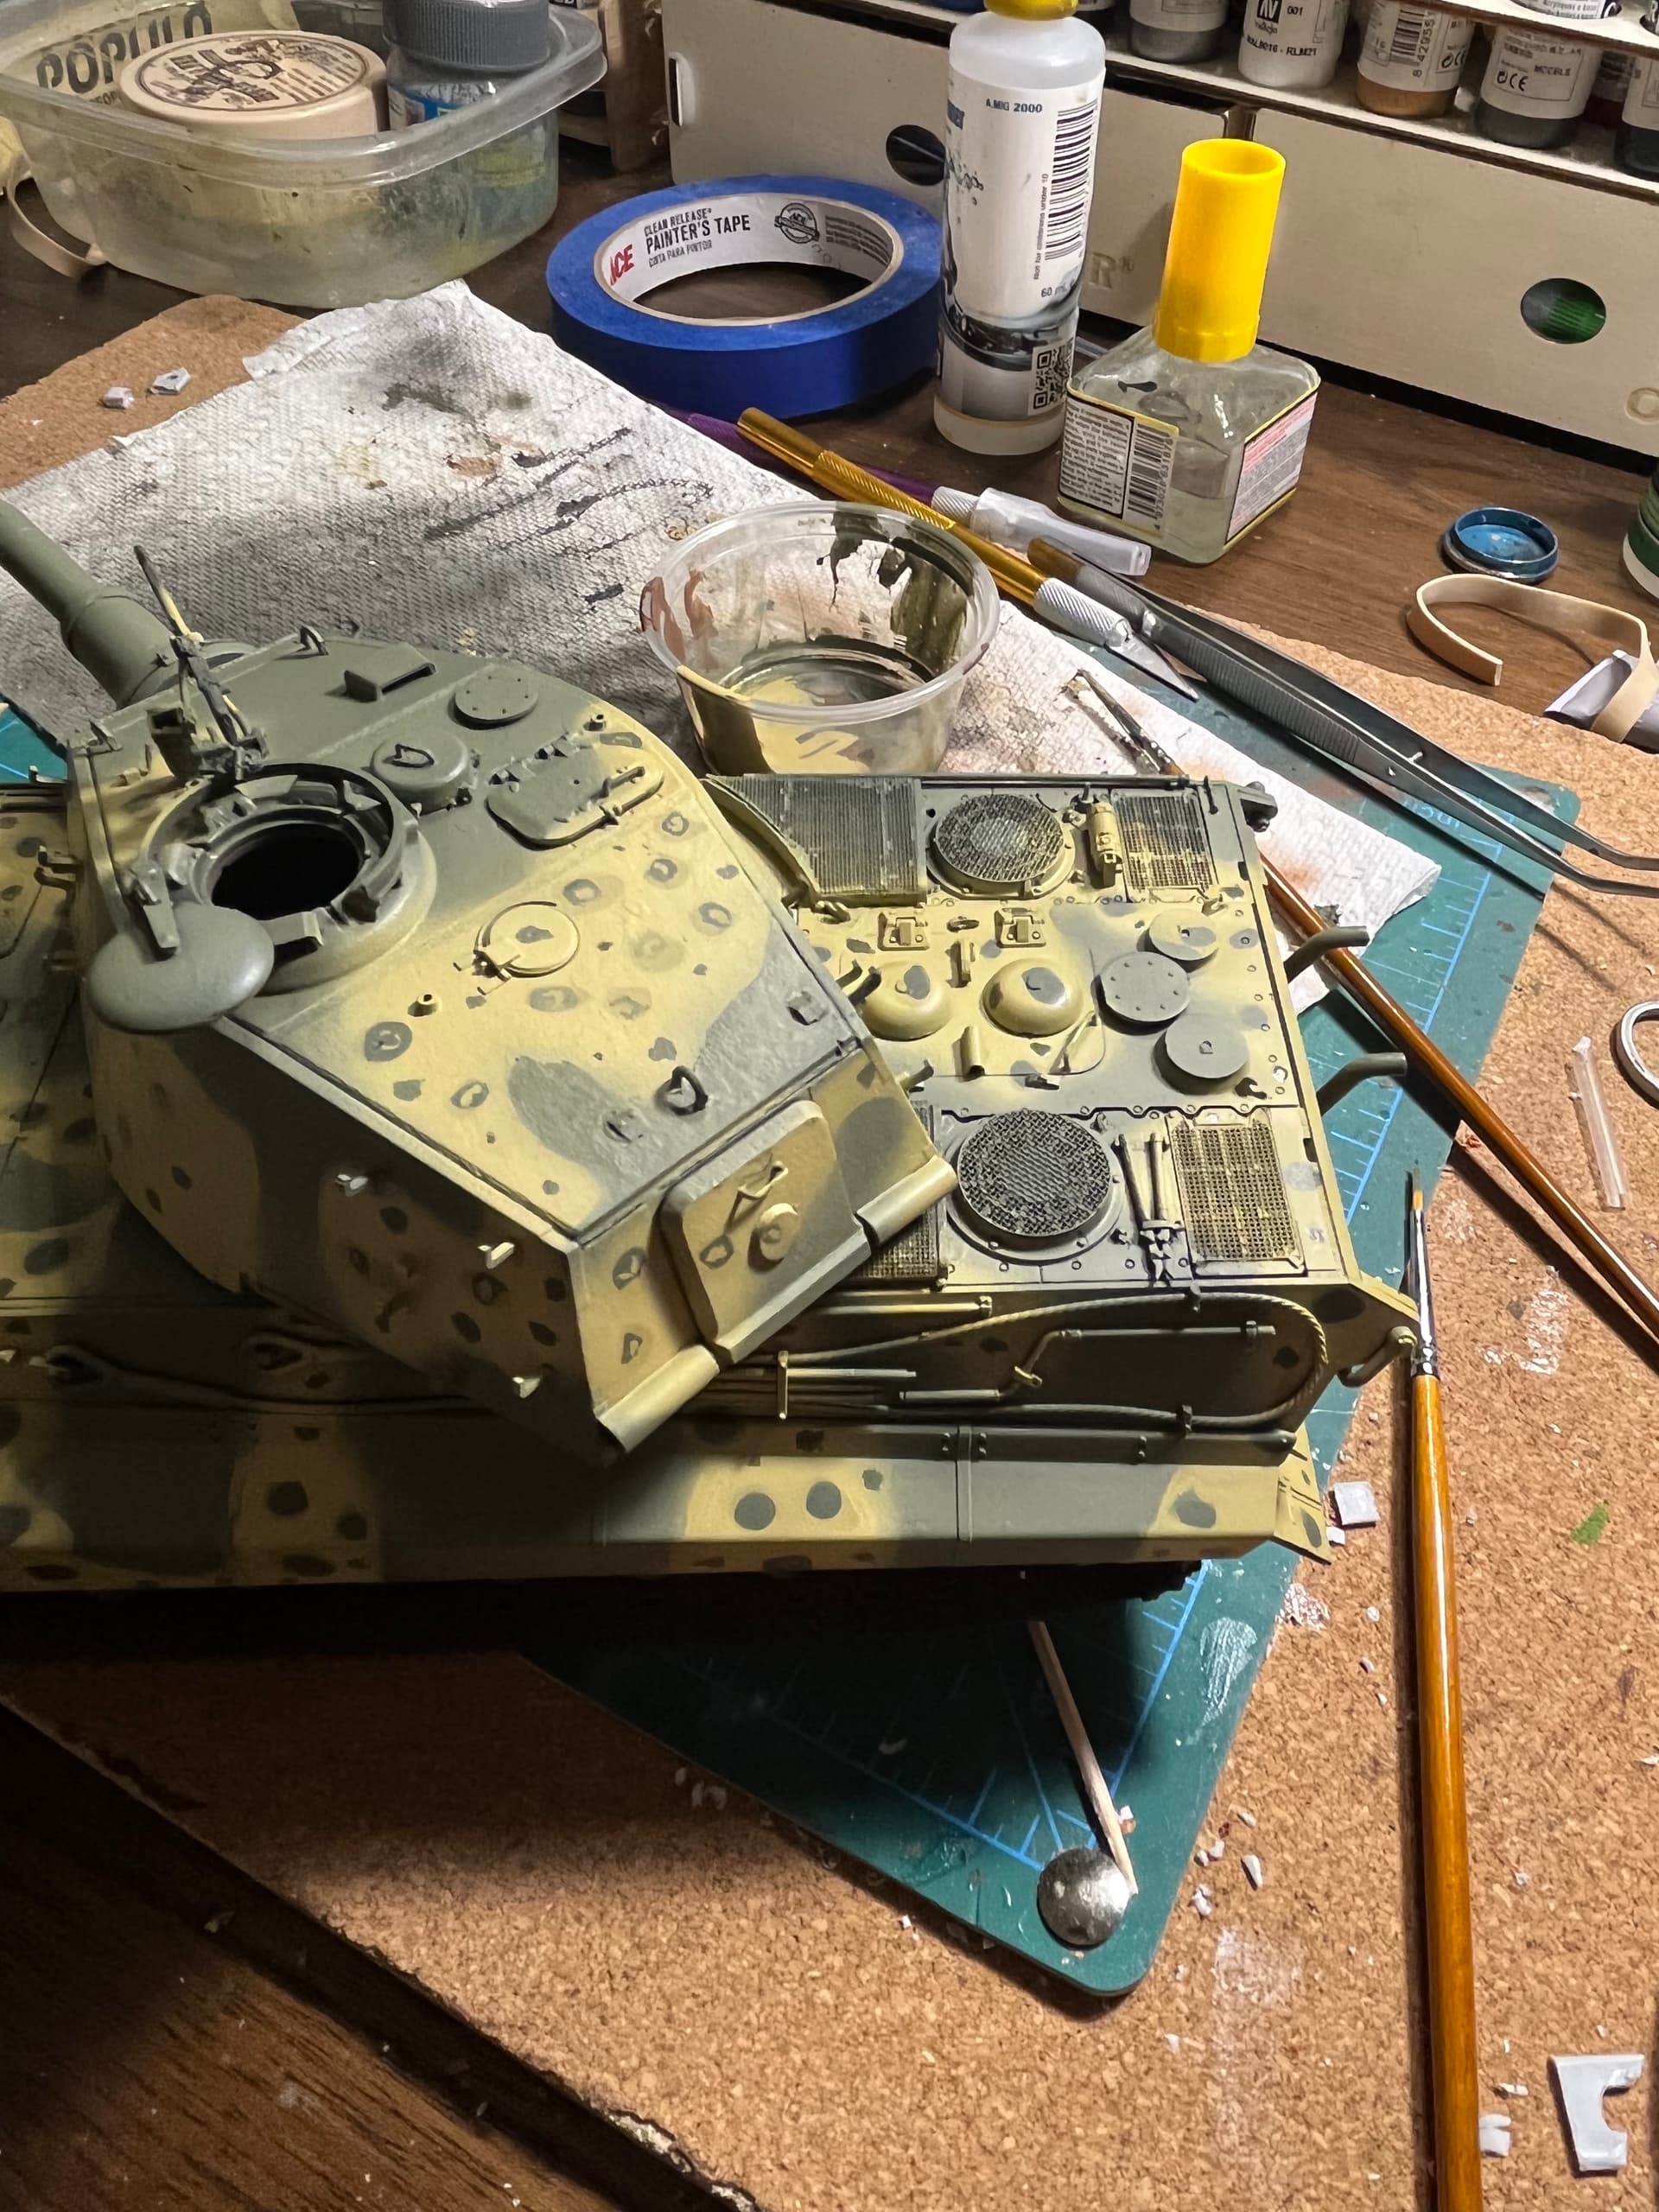
Another night of painting complete. I added highlights and more octopus spots to my King Tiger. I may have been a bit spot happy but i think it’s almost spot on, no pun intended.
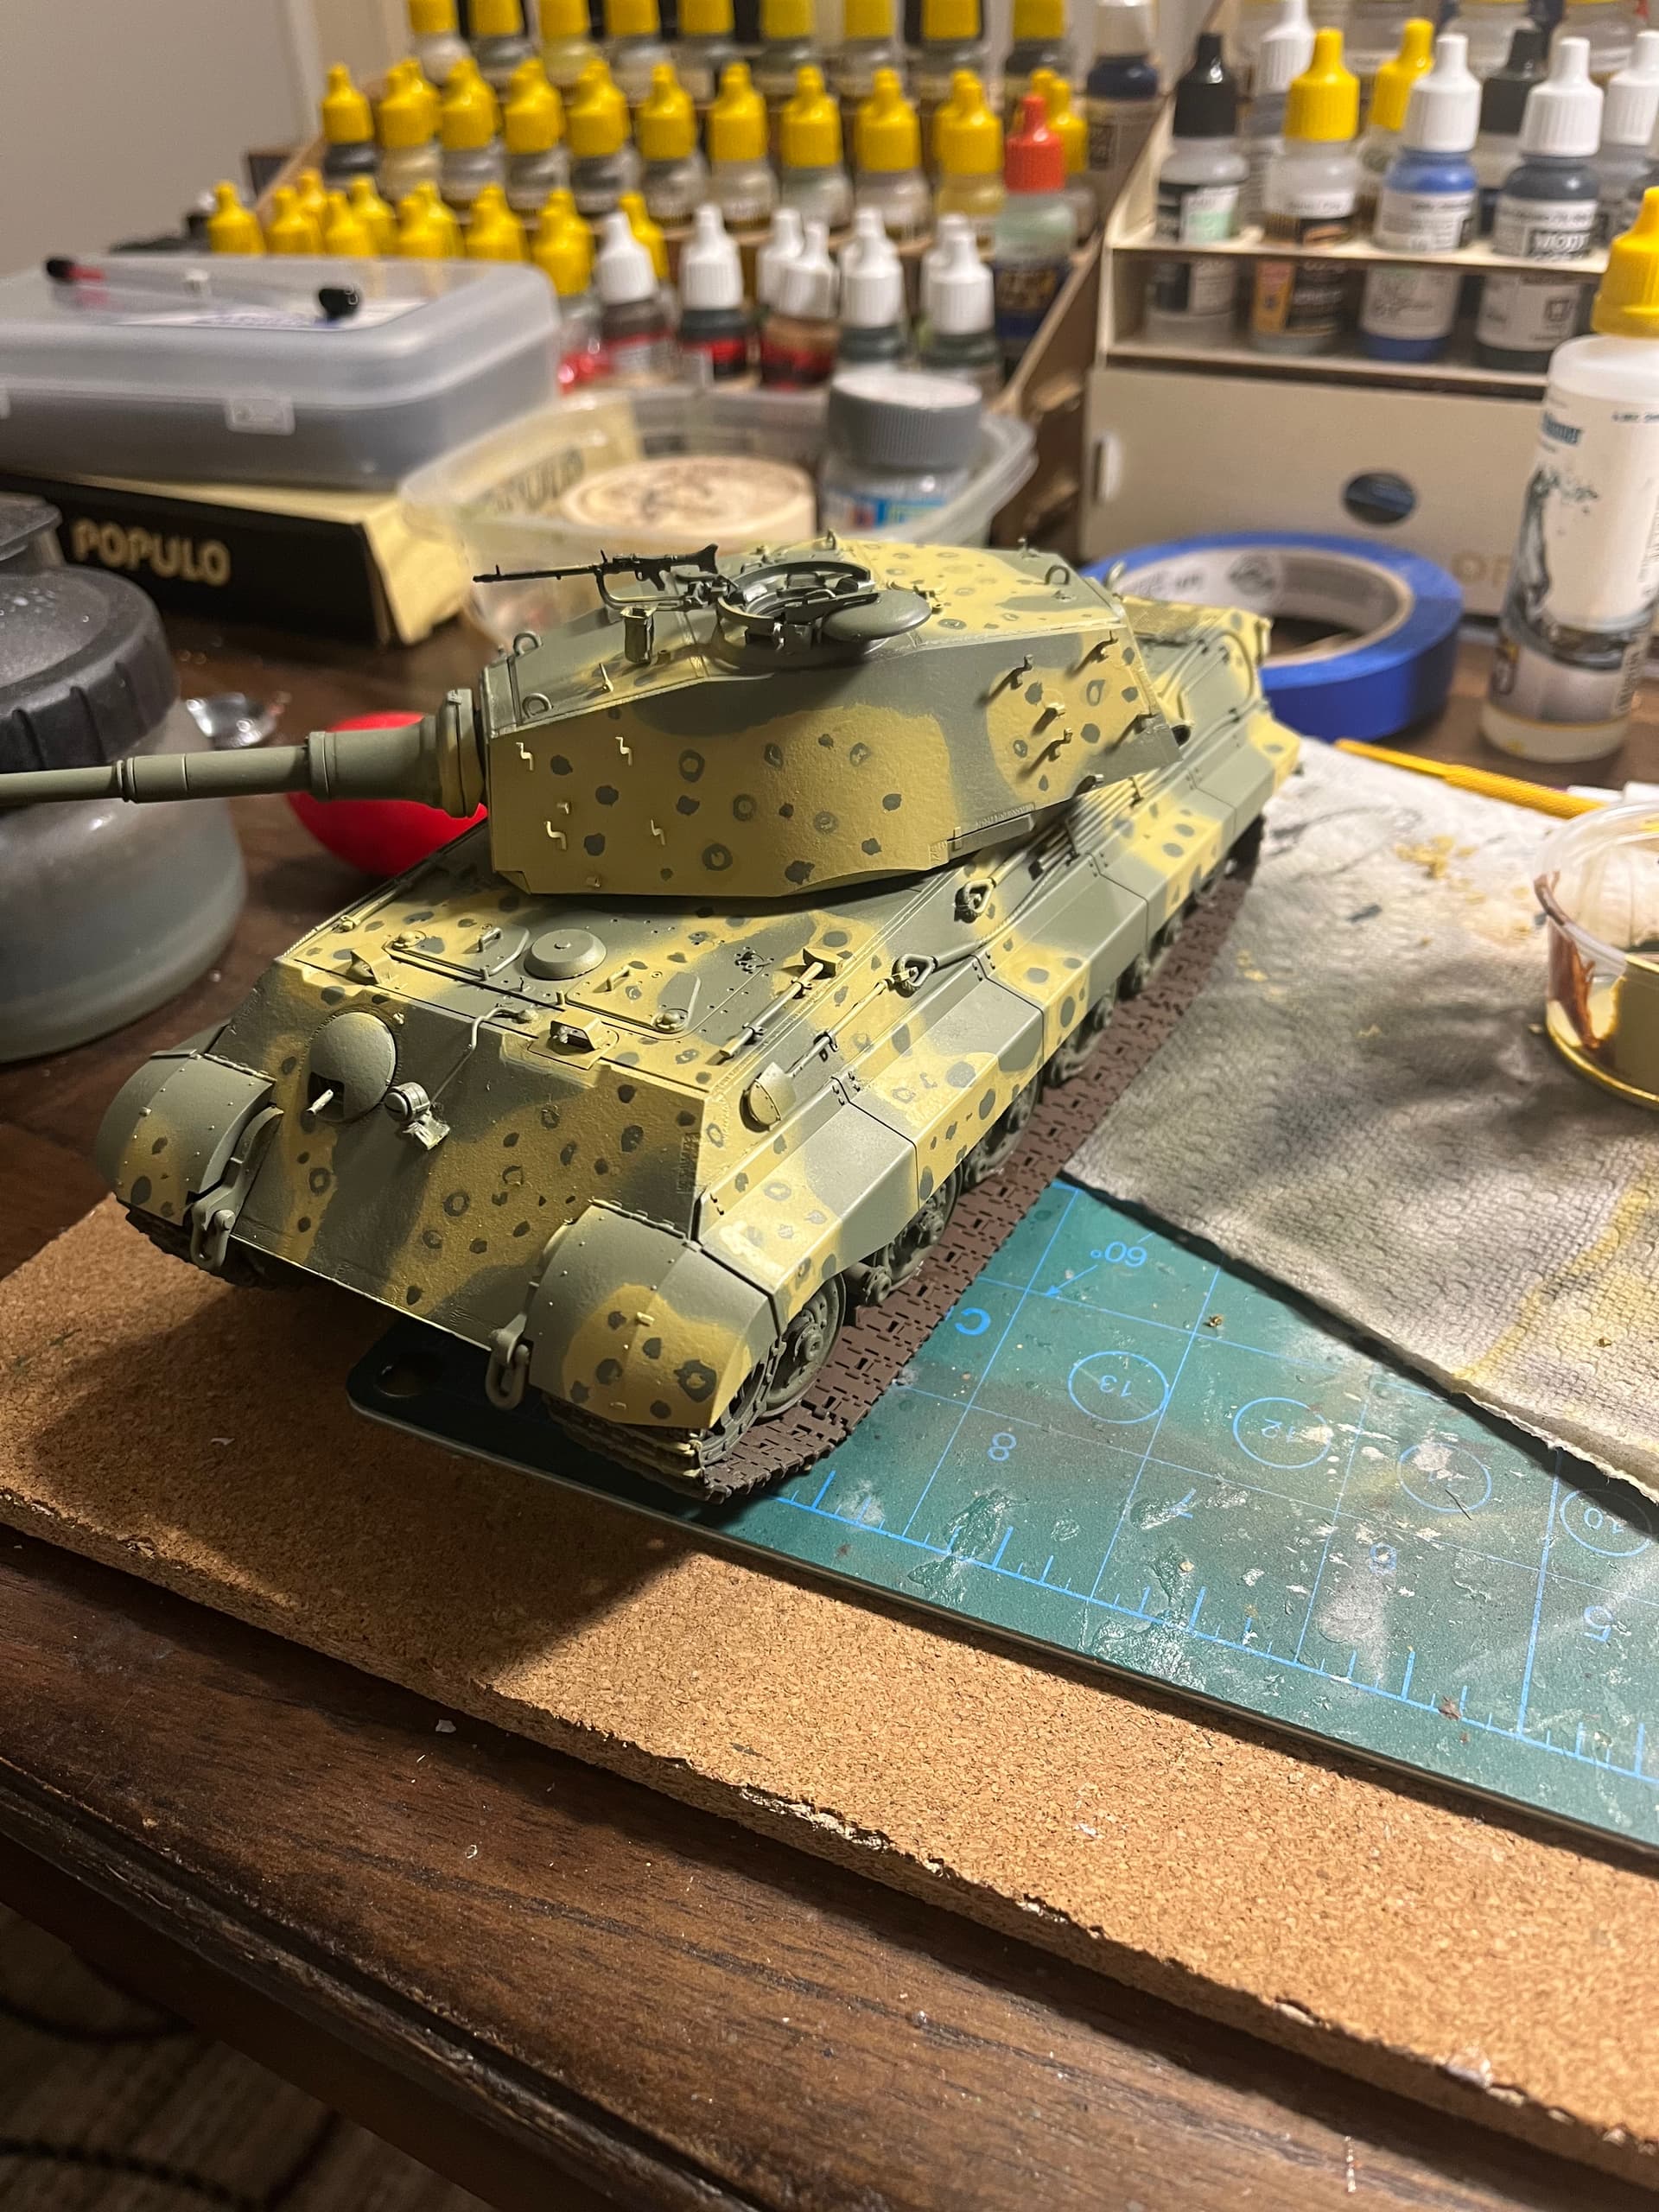
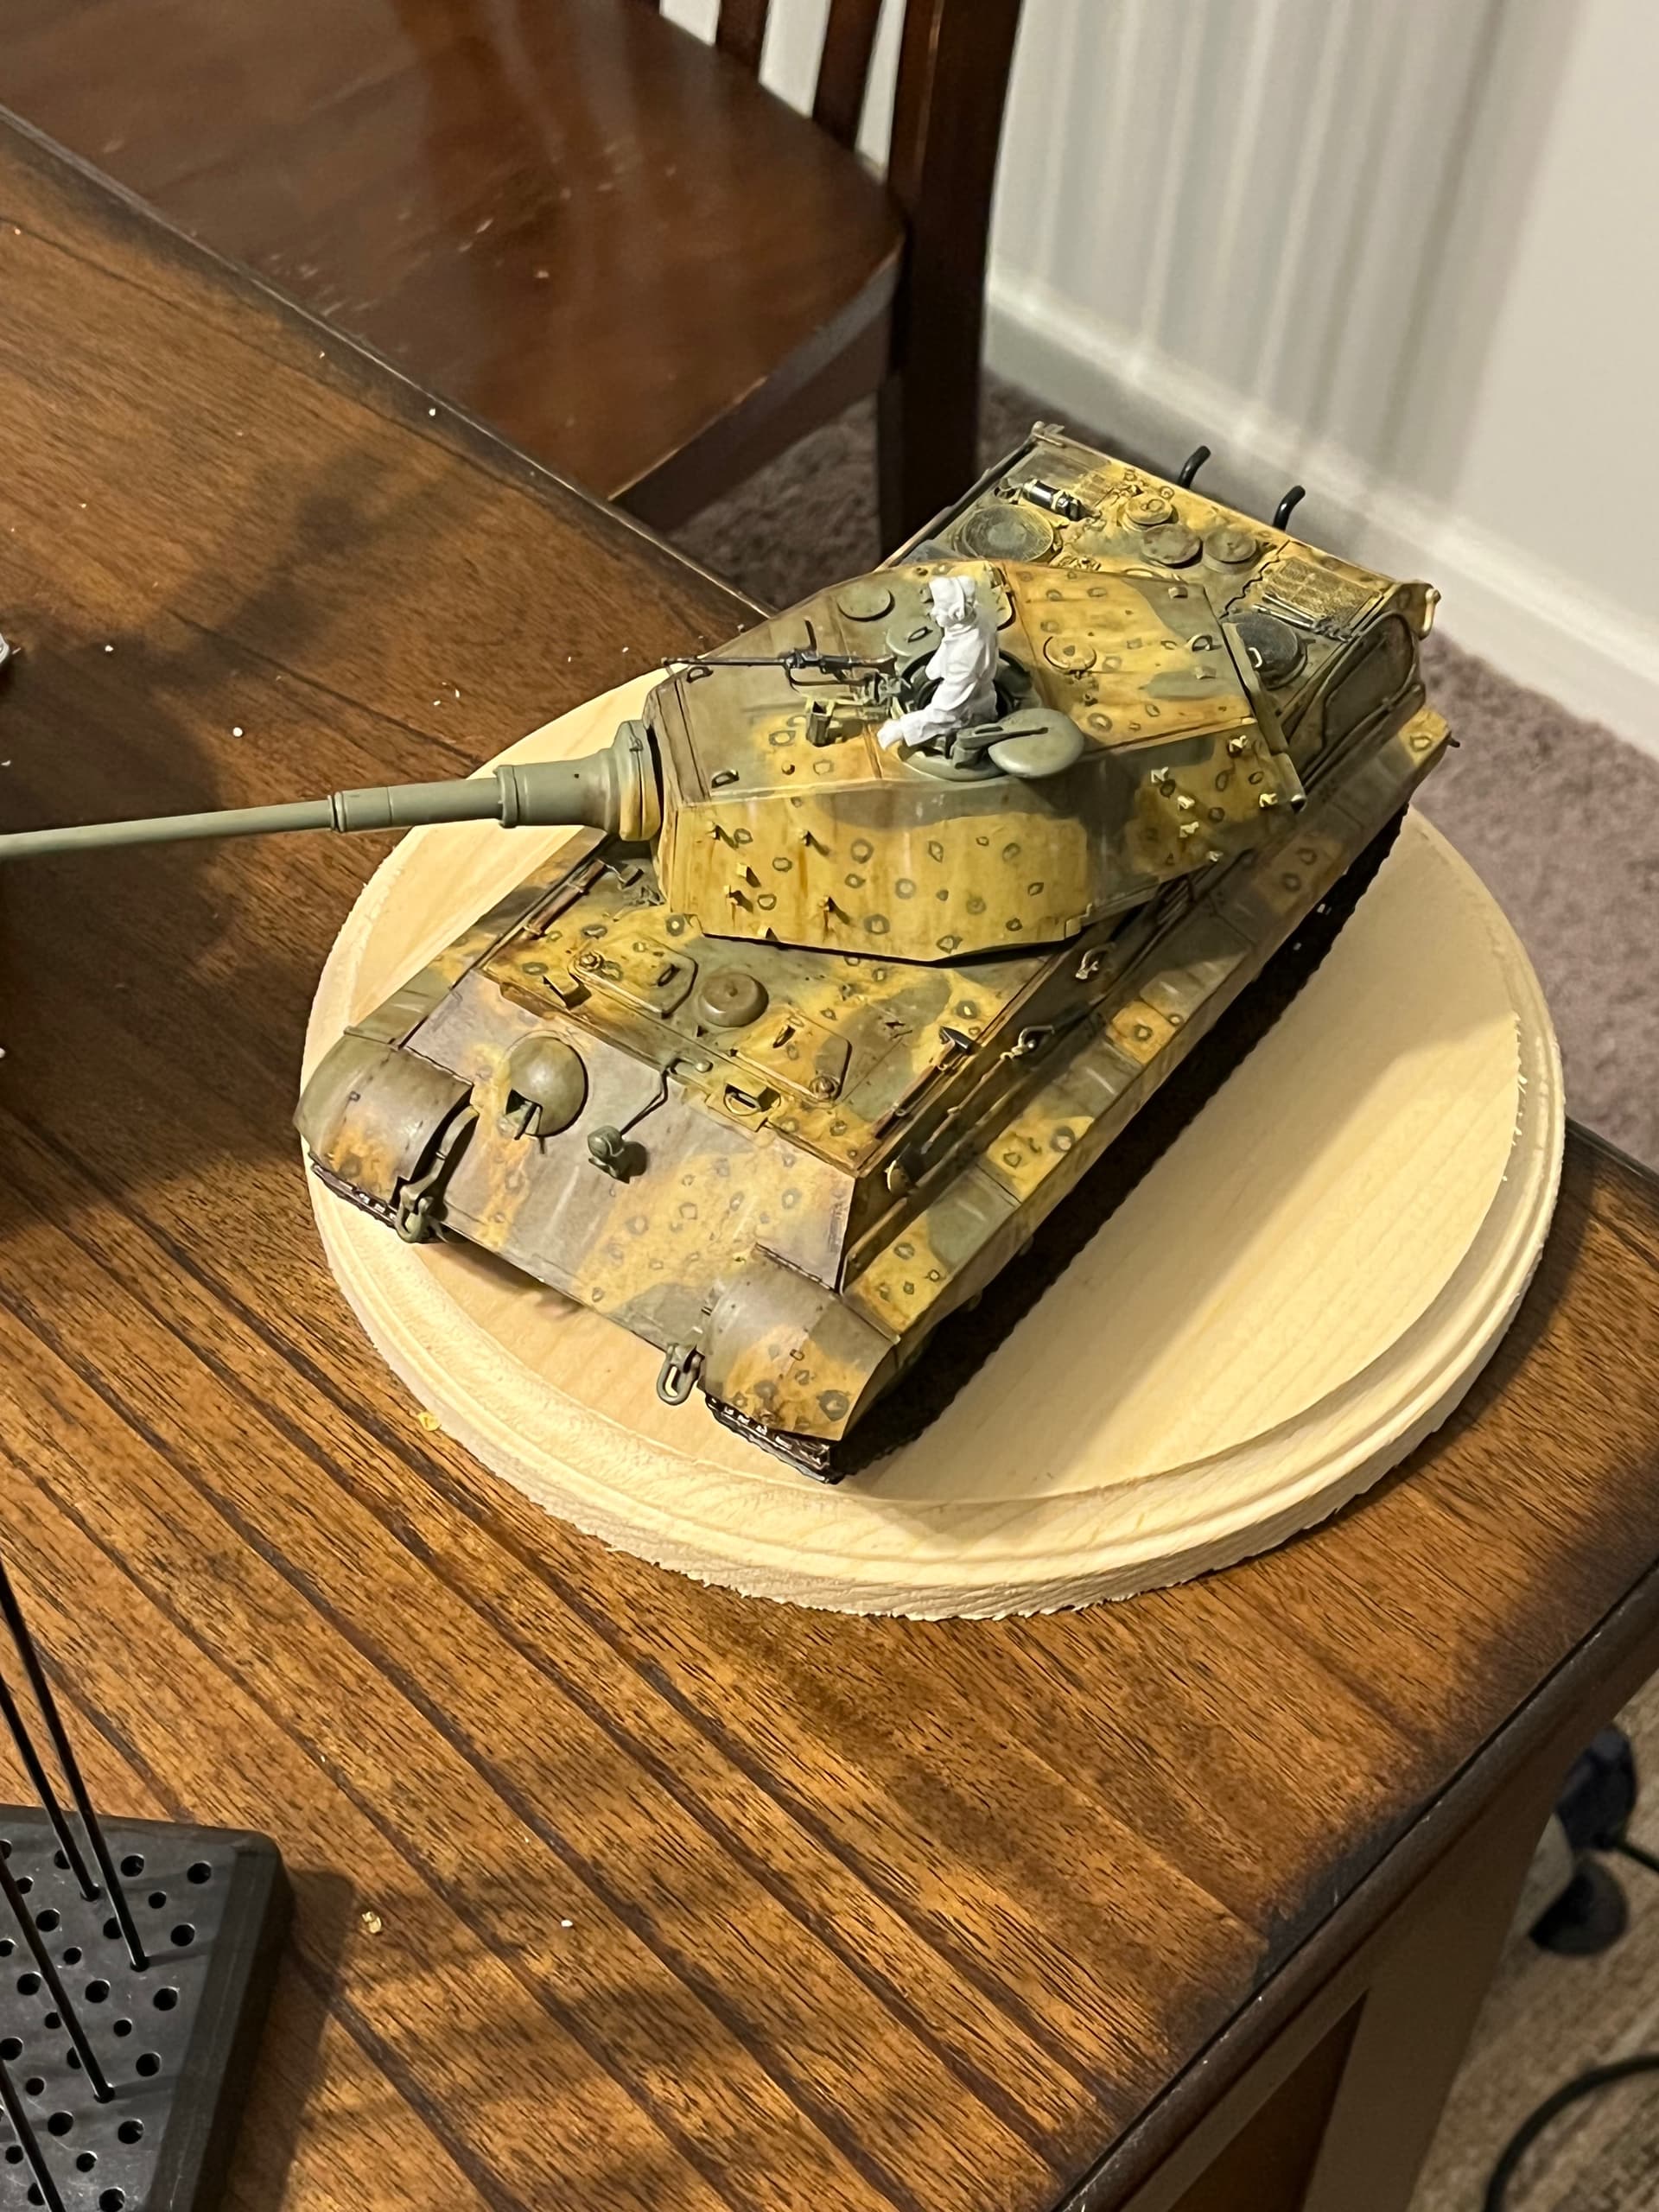
Here’s the finished cat, now time to do a diorama base for her. I finished the weathering with adding washes with oil paints and a few of ammo migs washes as well. I used brown for green vehicles and did an oil wash with burnt umber mixed in lighter fluid. Streaking was with oils as well using brown, white and burnt umber. Next up will be a dio base of an overgrown field. Hope you all enjoy!
Very nice. Cam scheme is very good and let’s it have that slightly different look to the usual offerings. Should look nice and predatory lurking in an overgrown field
@Johnnych01 thank you! It was a very fun paint scheme and at times challenging. Definitely learned a lot from it but also allowed me to try new techniques that i was afraid to try on previous builds. The base will be easy, styrofoam, ammo Mig grass Matt and some dried ammo Mig mud. Pictures to follow this weeks
Here’s an early shot of the dioama base, waiting for the plaster to dry but ground is set. Will add ammo Mig mud and then paint it all black and begin adding color.
@tankerken honestly to me it looks a bit static/ toying and with a primer it will bring it all to a neutral beginning. I also want to play with some of the colors, make it more spring like. I understand what you are saying though, i don’t think my color deviation will be all that different. I have noticed in some of the YouTube video that a lot of guys tend to repaint these Grass Matt’s.
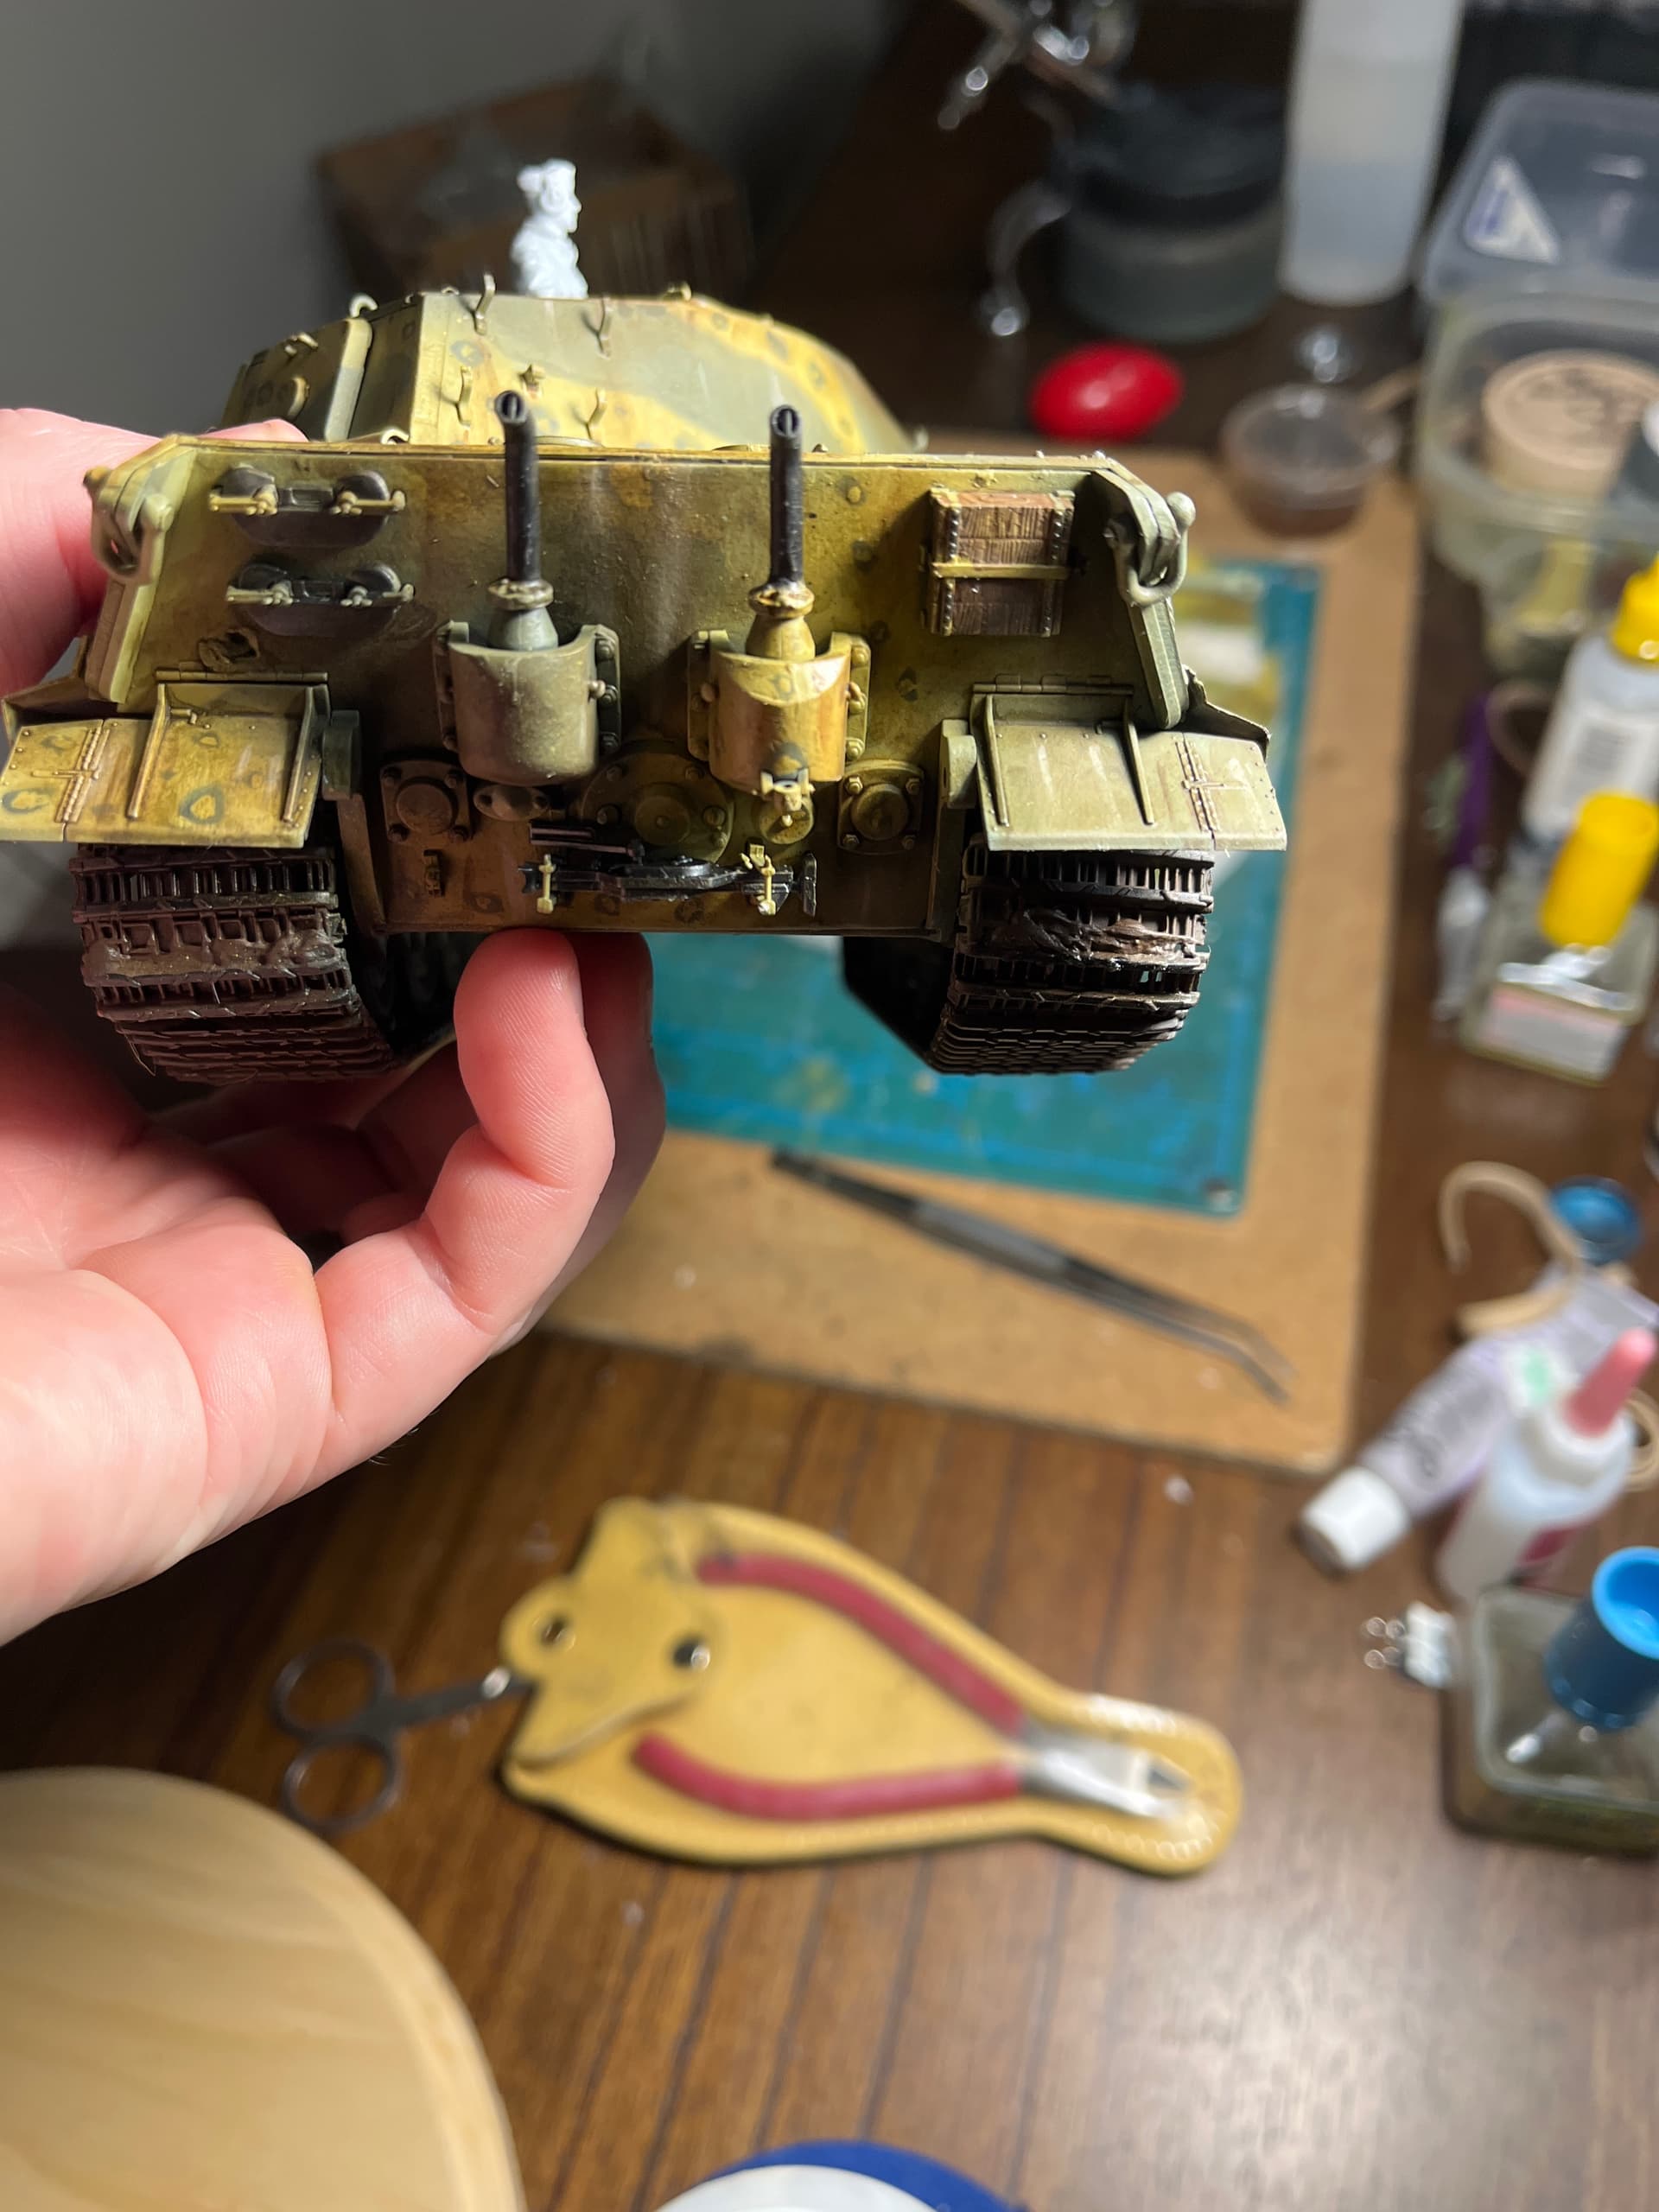
Back to the first photo at the top of the thread. It has been mentioned multiple times that some had a problem in the construction of the Meng Tiger 2 in that the roadwheels had a tilt to them. They were not parallel to the tank hull sides when installed. Did you notice any of those issues?
@TopSmith yes there’s a bit of a tilt, if you look at one of the photos of the rear of the vehicle you notice it coming off the rear wheel. The track appears to be tilting a bit. I didn’t catch it until after i painted the kit. There wasn’t much of a remedy for it, that’s why I’m also trying to build a dio base that can obscure some of the track imperfections. Another imperfection with the kit is that if you don’t sag the track just right you end up with a link and half length missing or being over by a a link and a half.
"I haven’t built the kit yet (in my stash). I am trying to figure out the cause of the problem and fix it prior to gluing together. It makes sense that the sprocket is correct because it is glued to the hull separately from the road wheel arm assembly. My thinking is that part C3 and 4 are the problem. I think it must somehow sit higher in the hull than it should and that causes the road wheel arms to tilt when attached. (Just a guess). I am looking for your thoughts as to the cause.