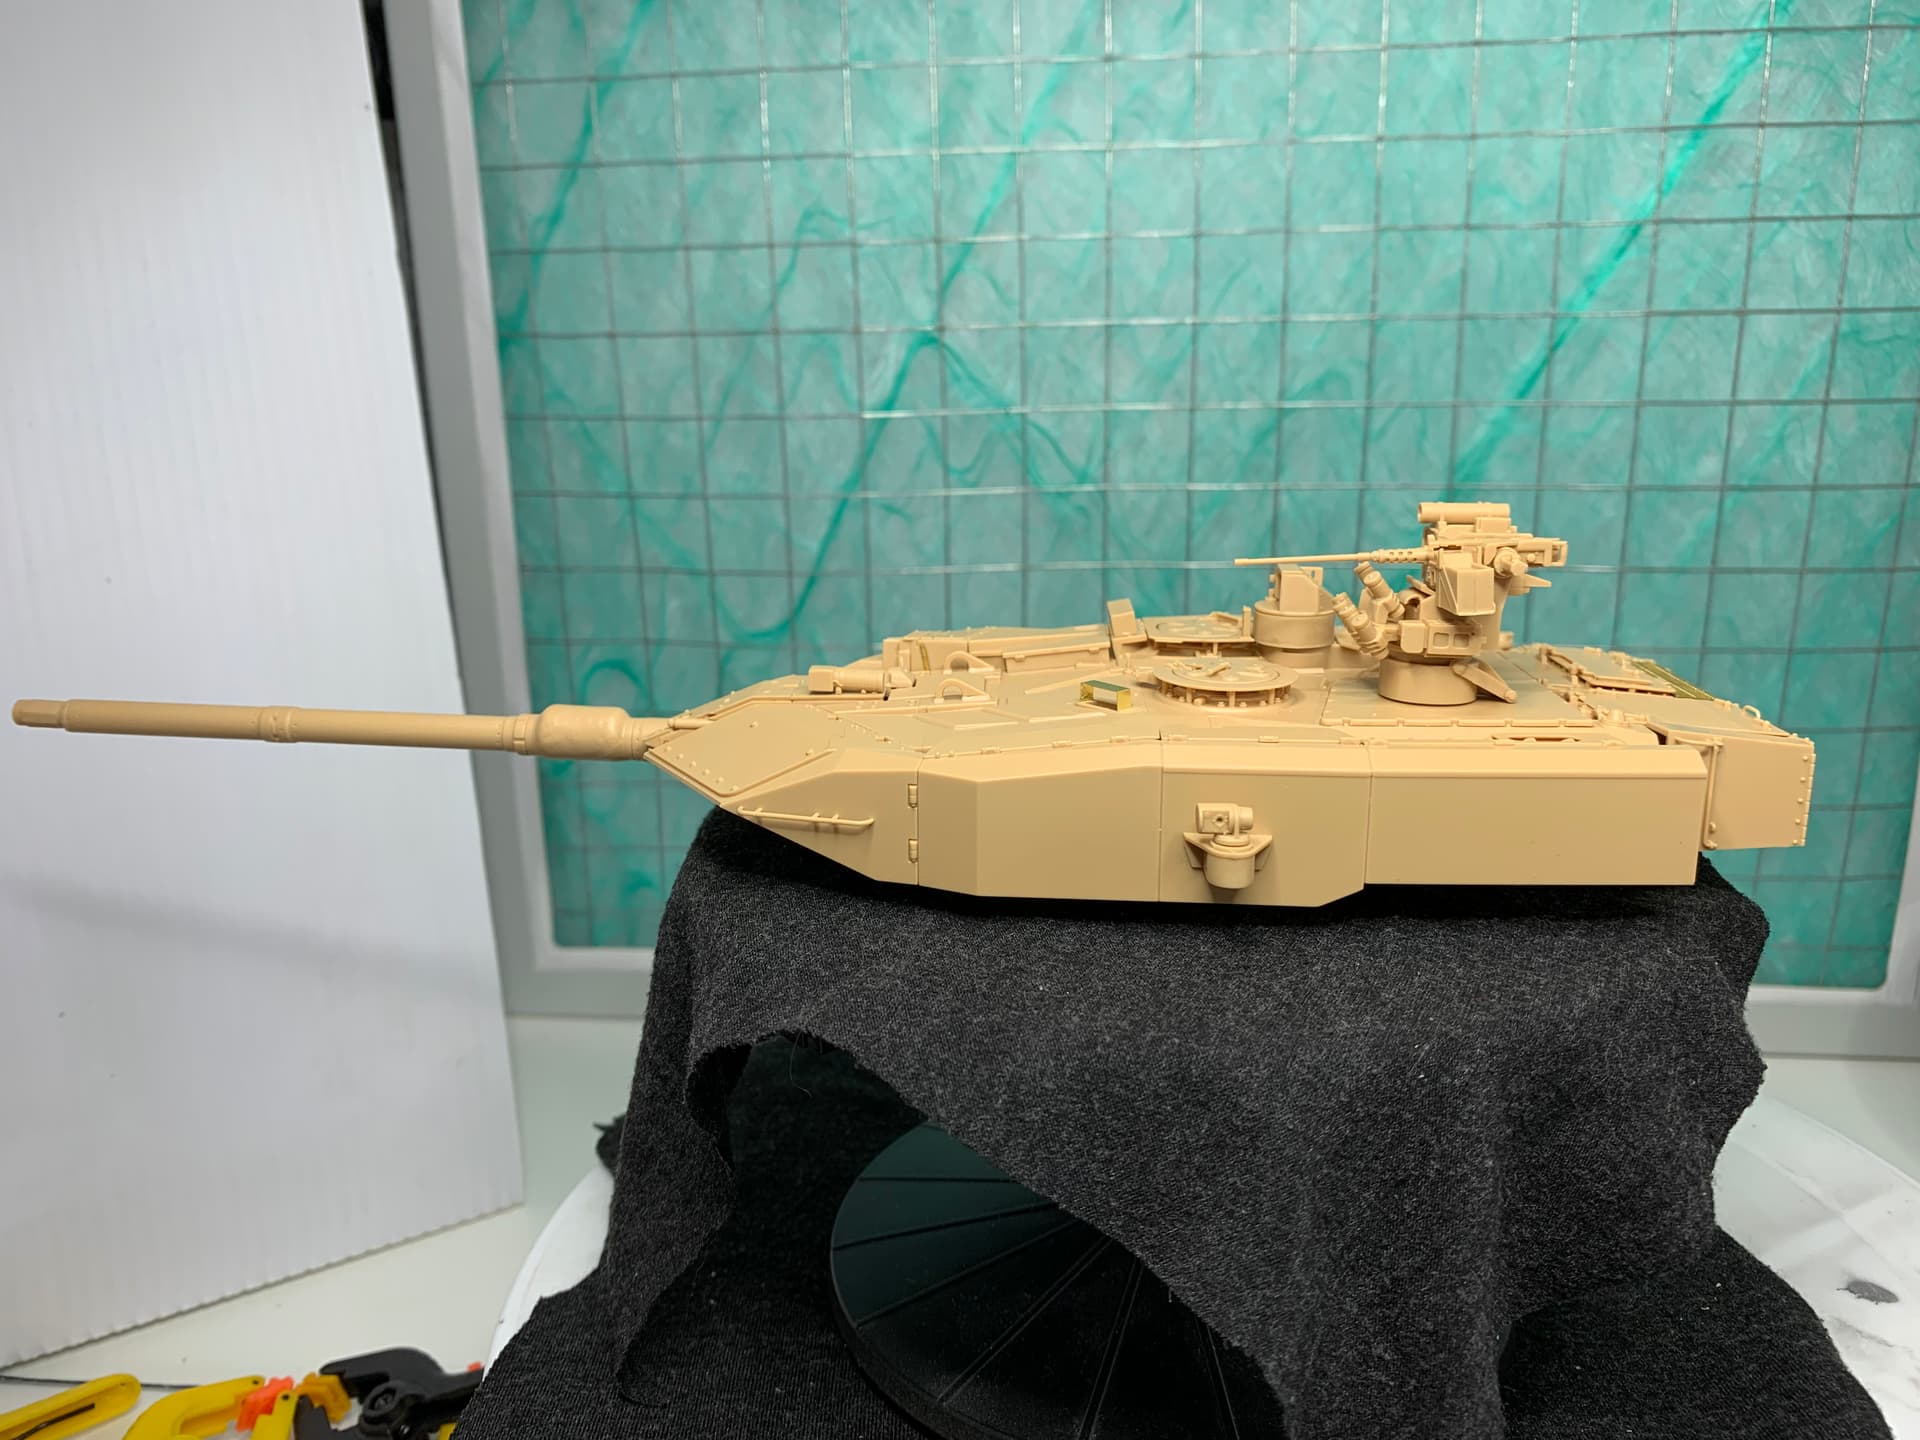
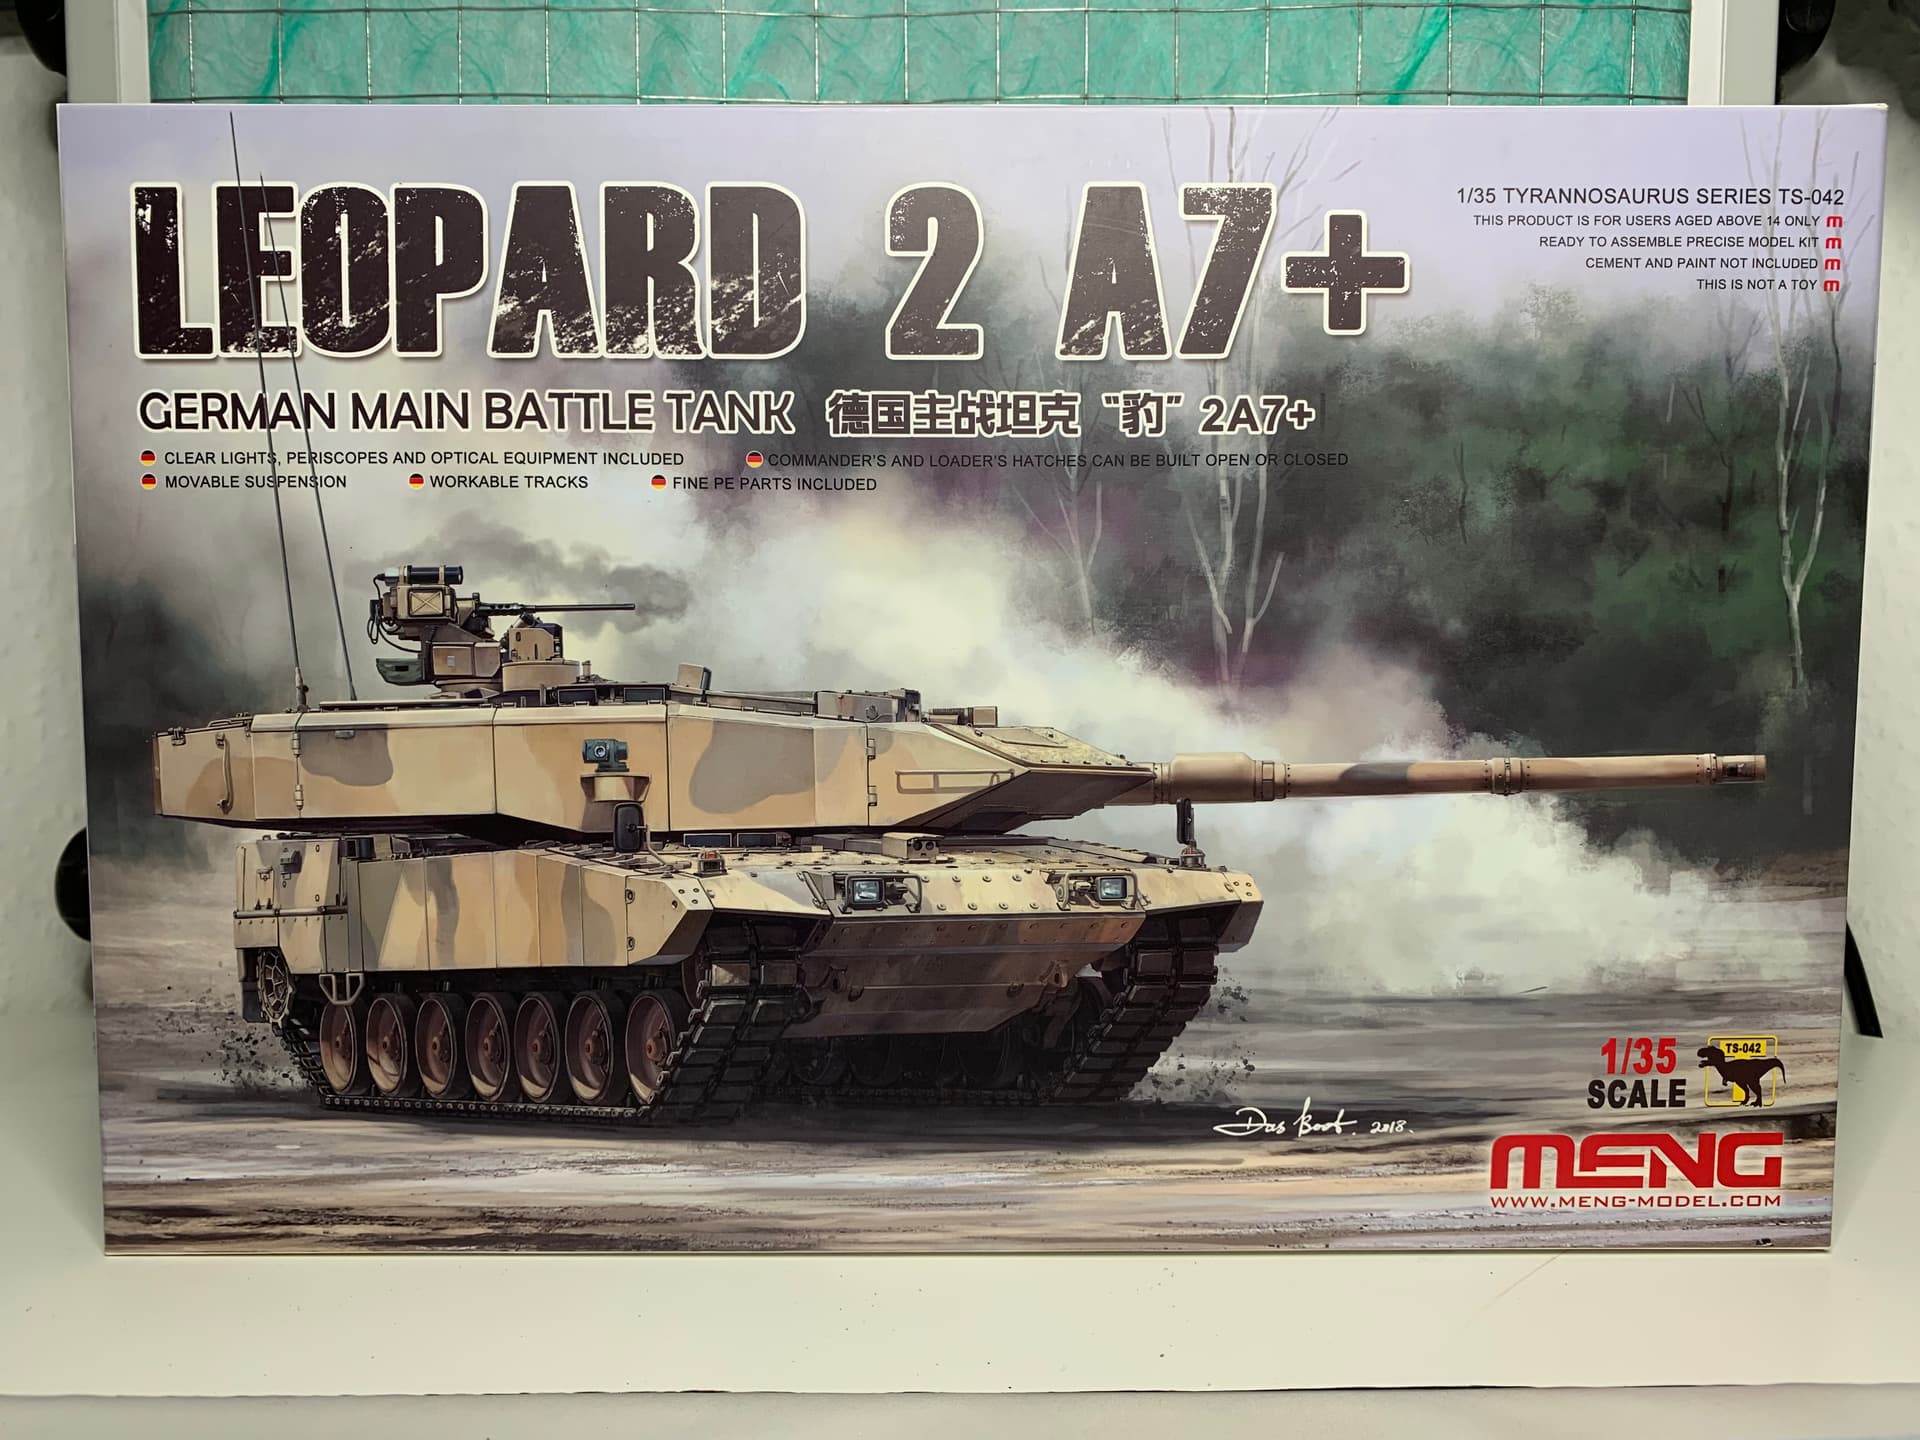
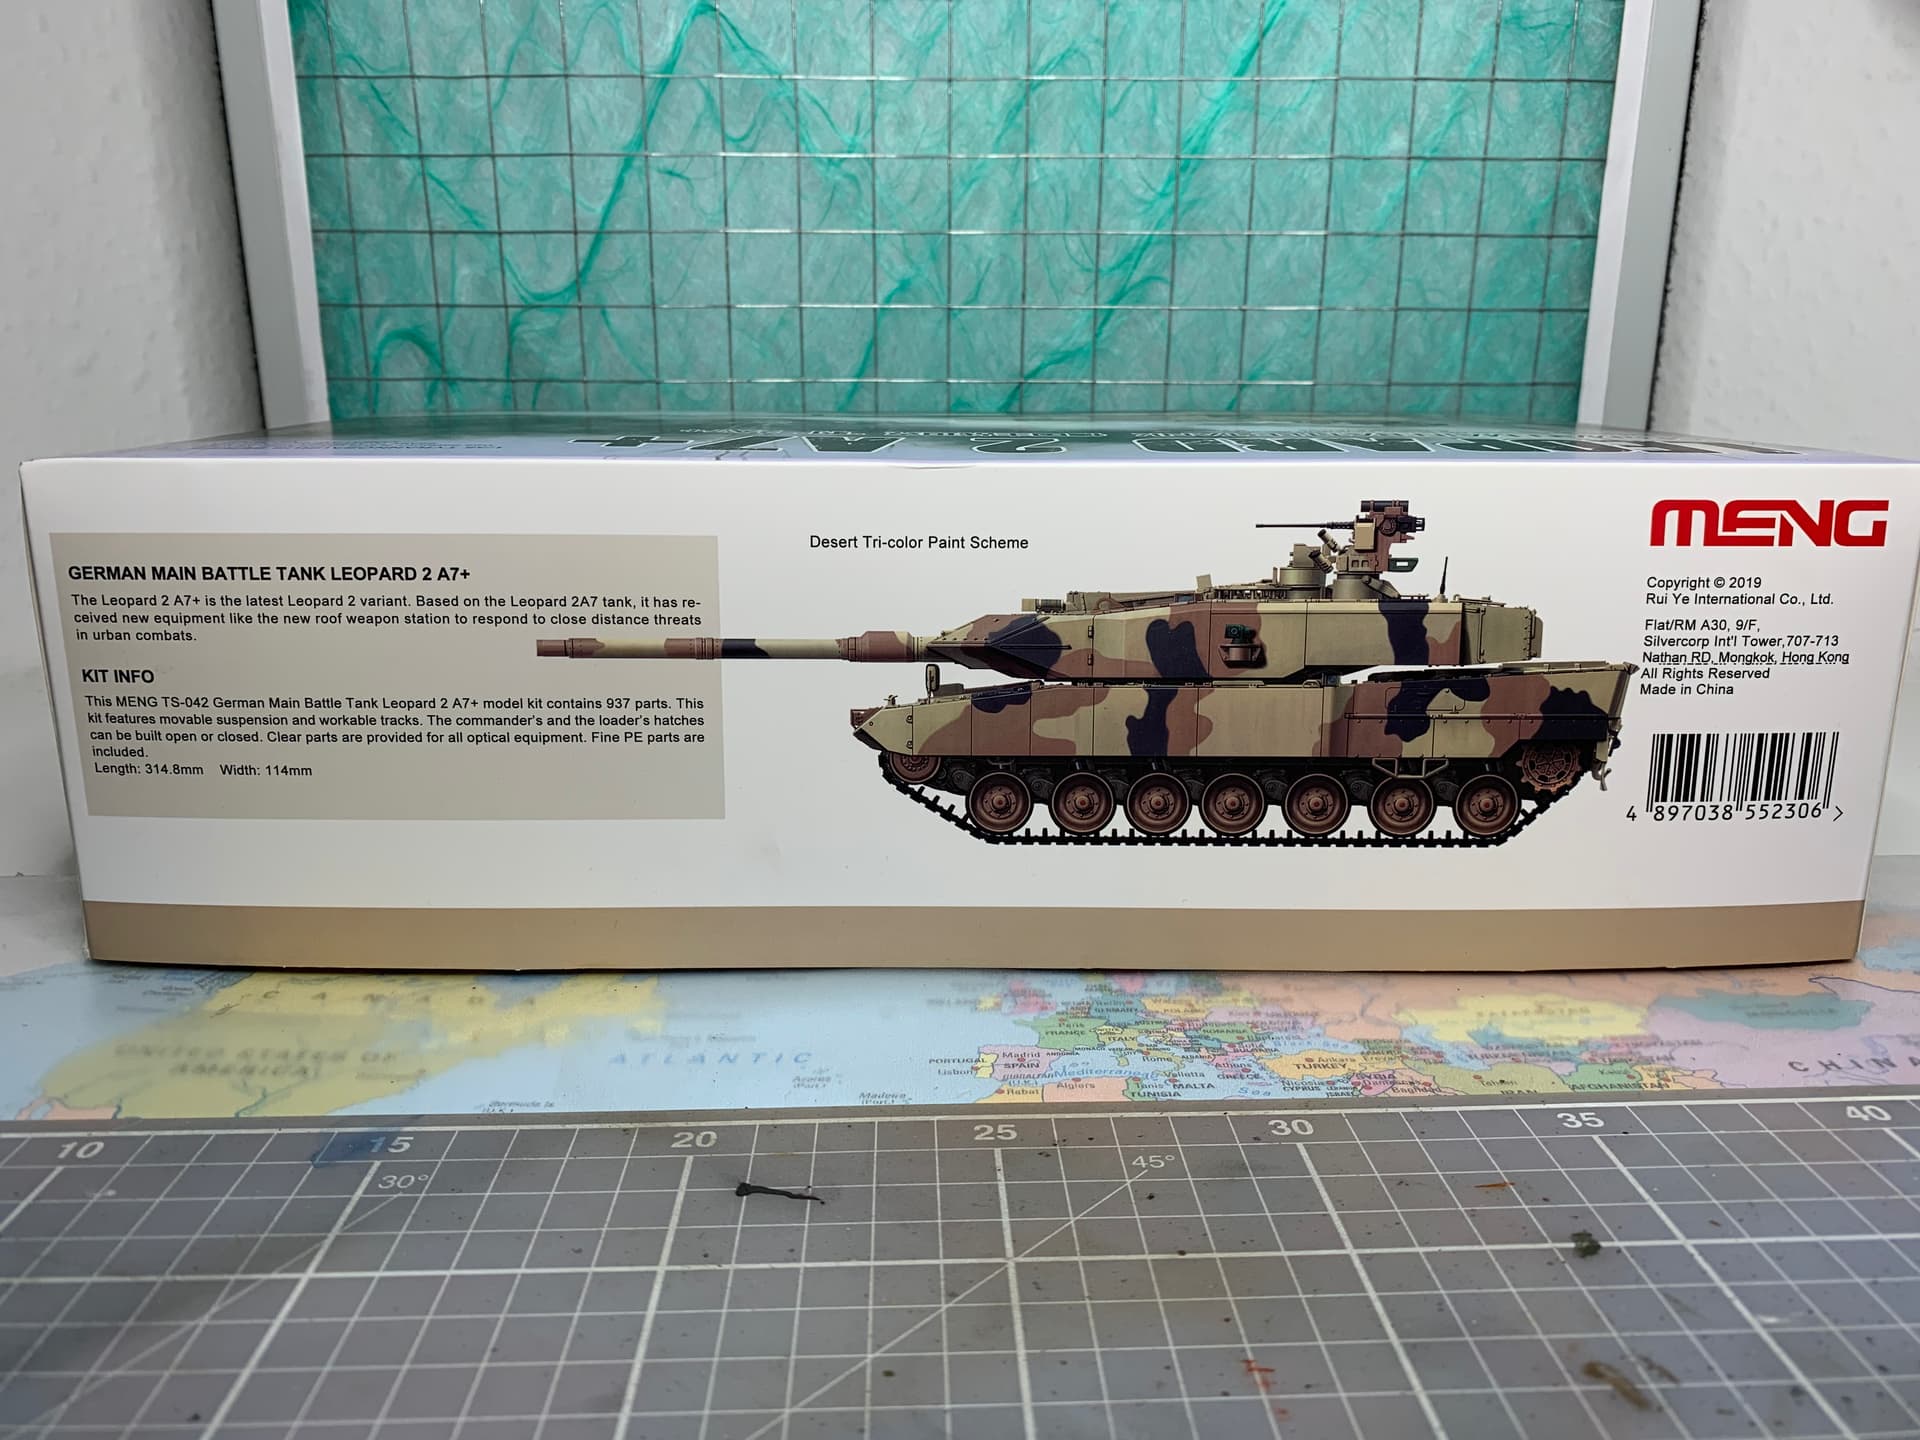
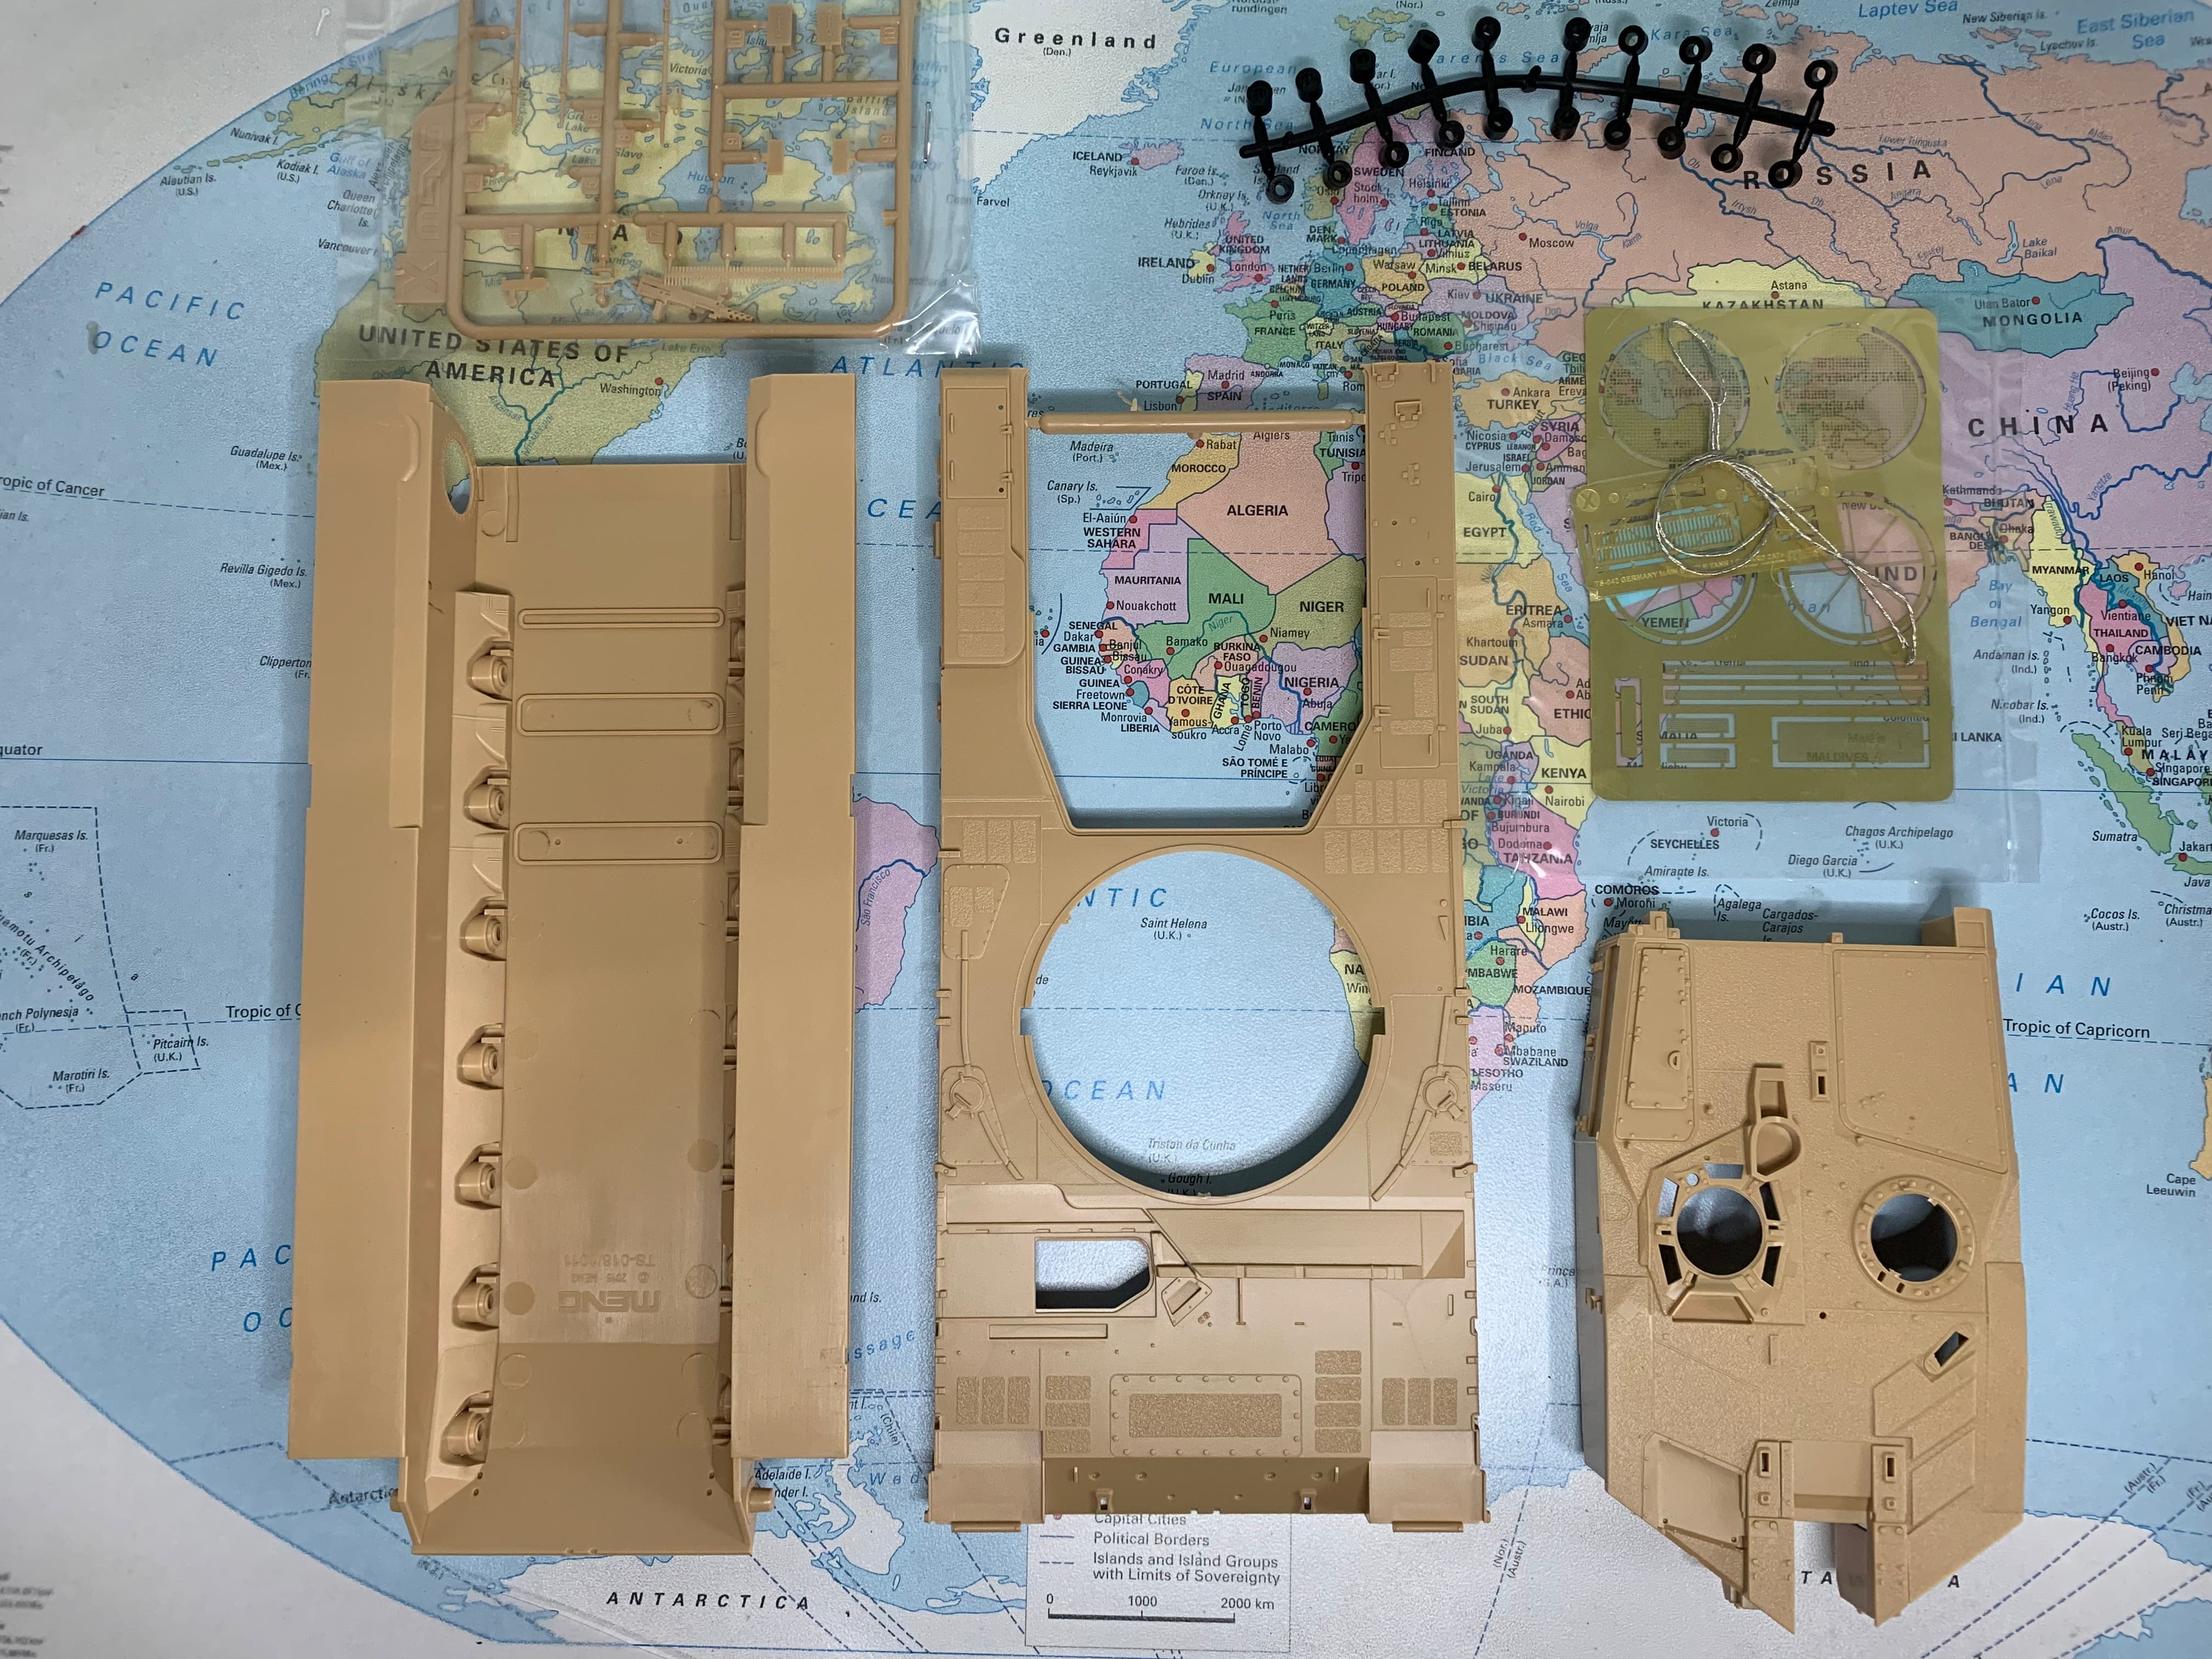
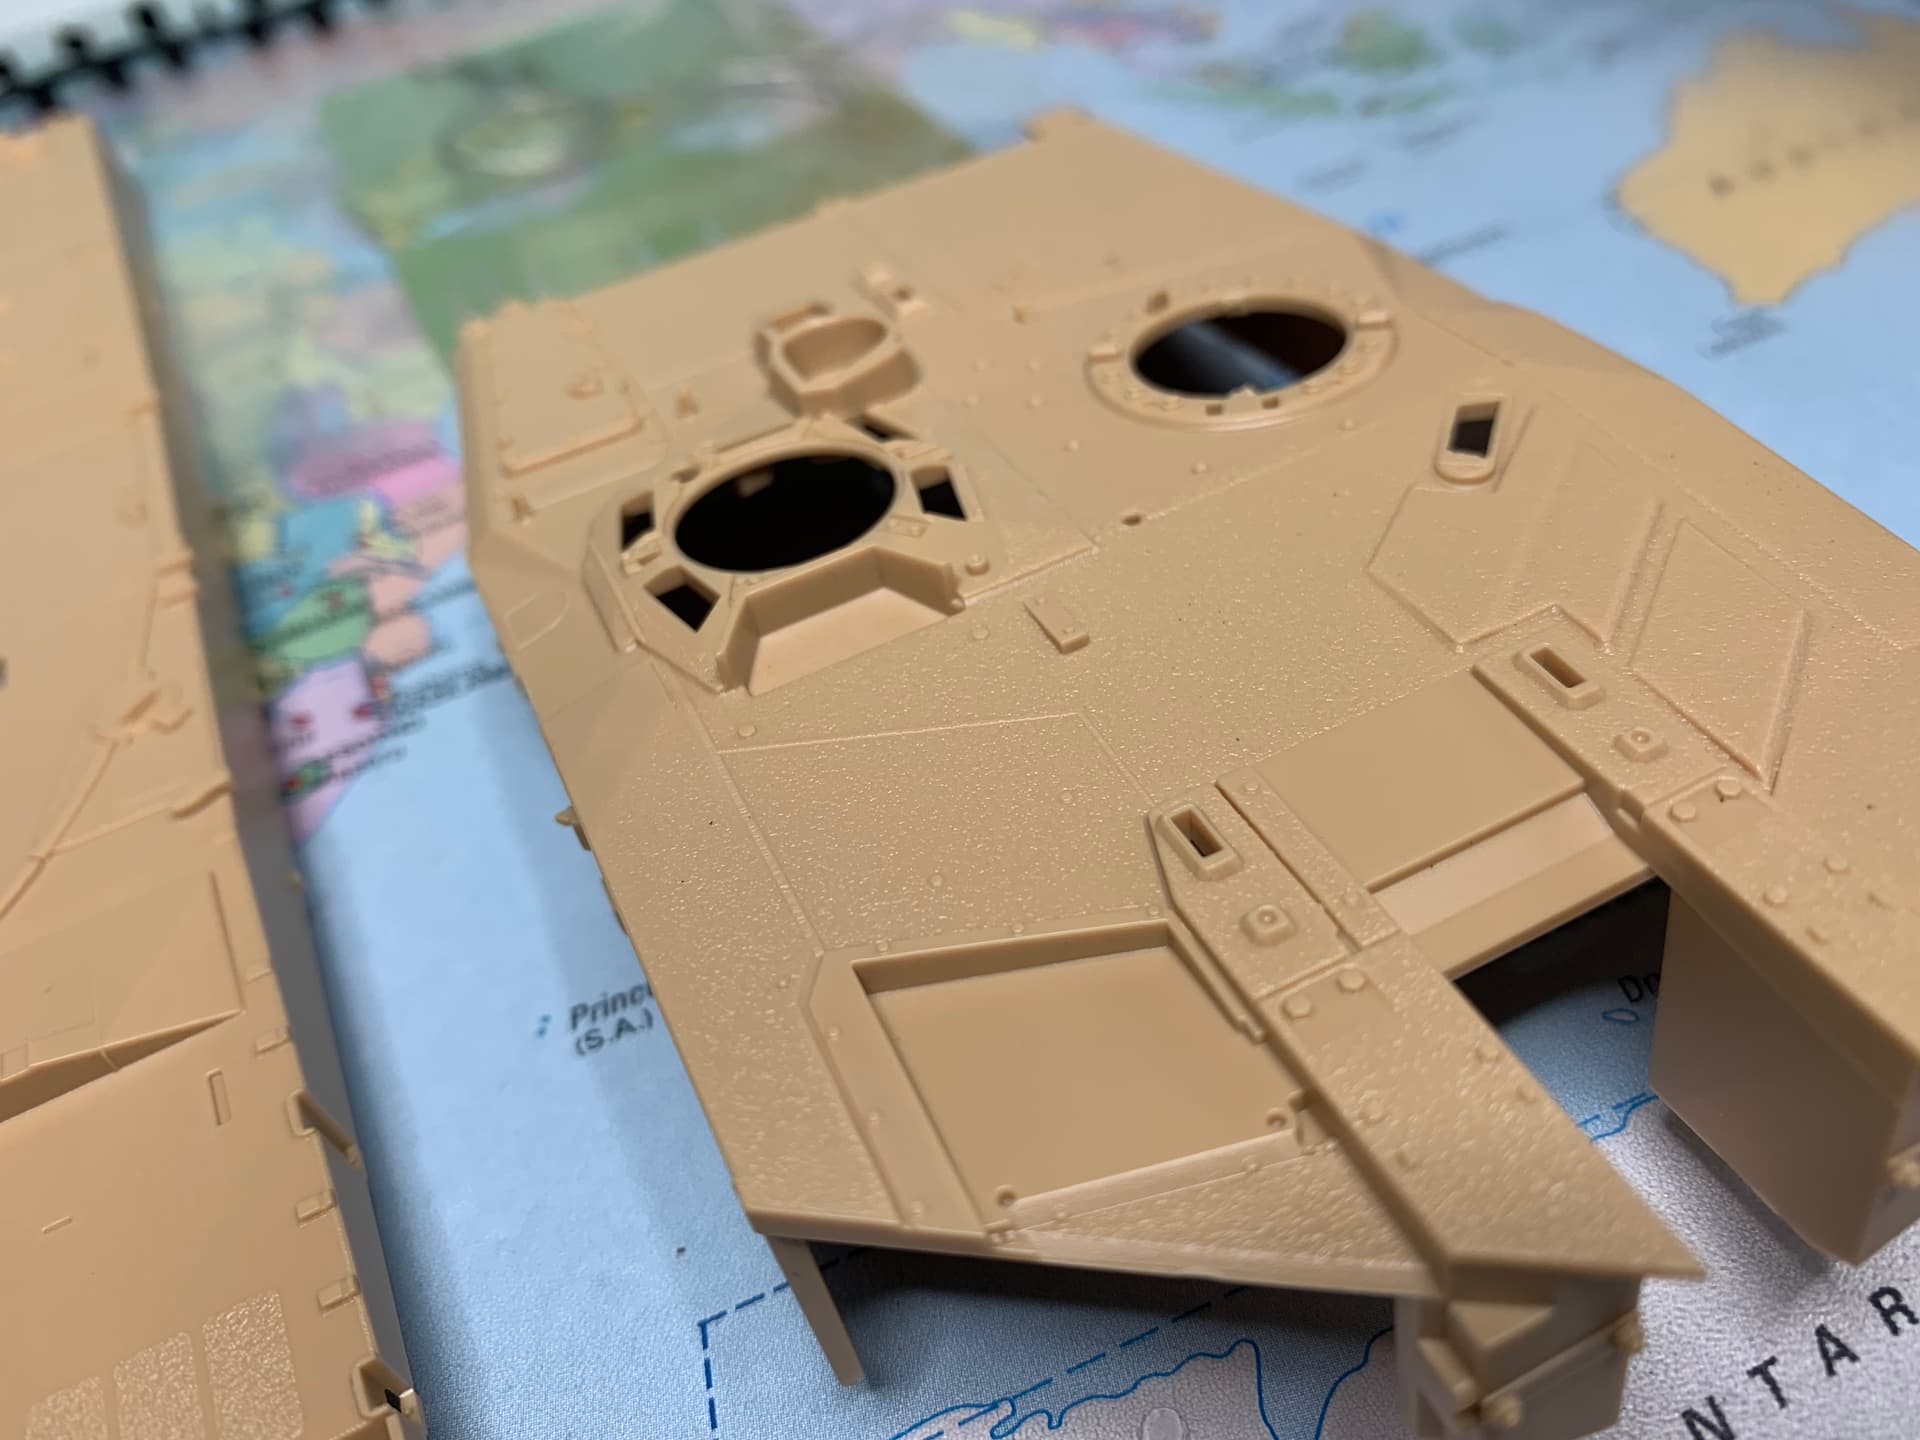
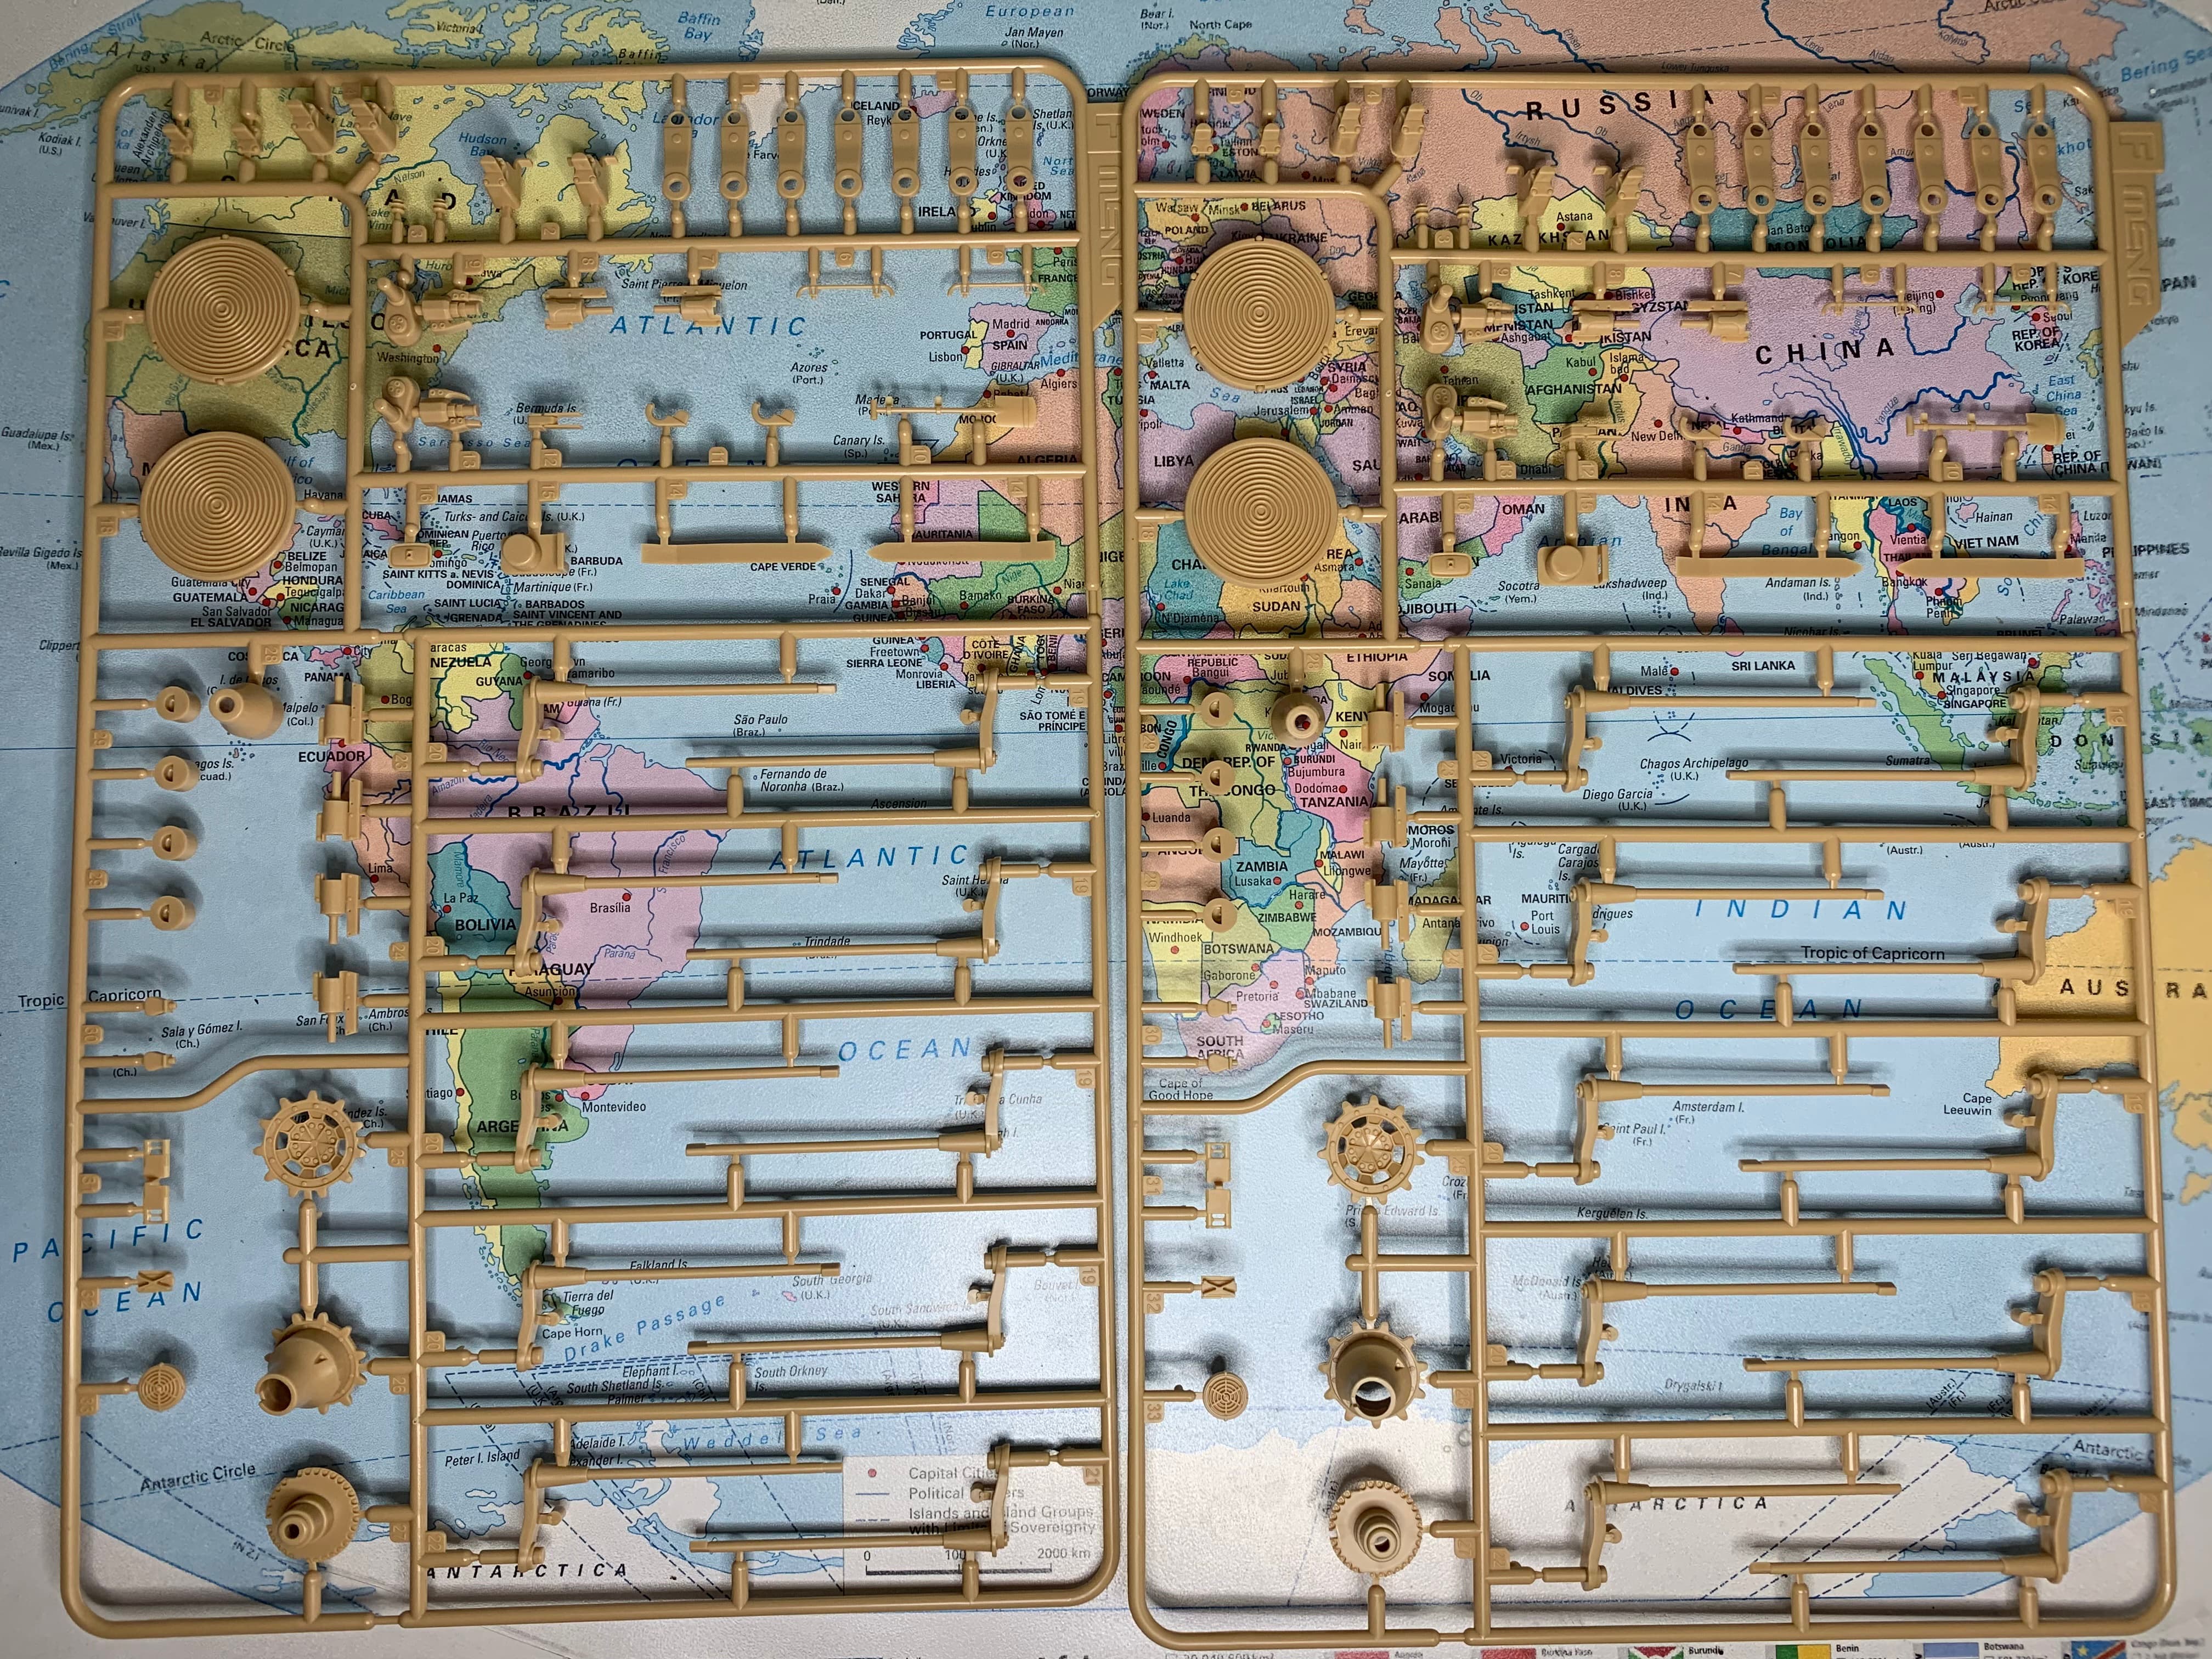
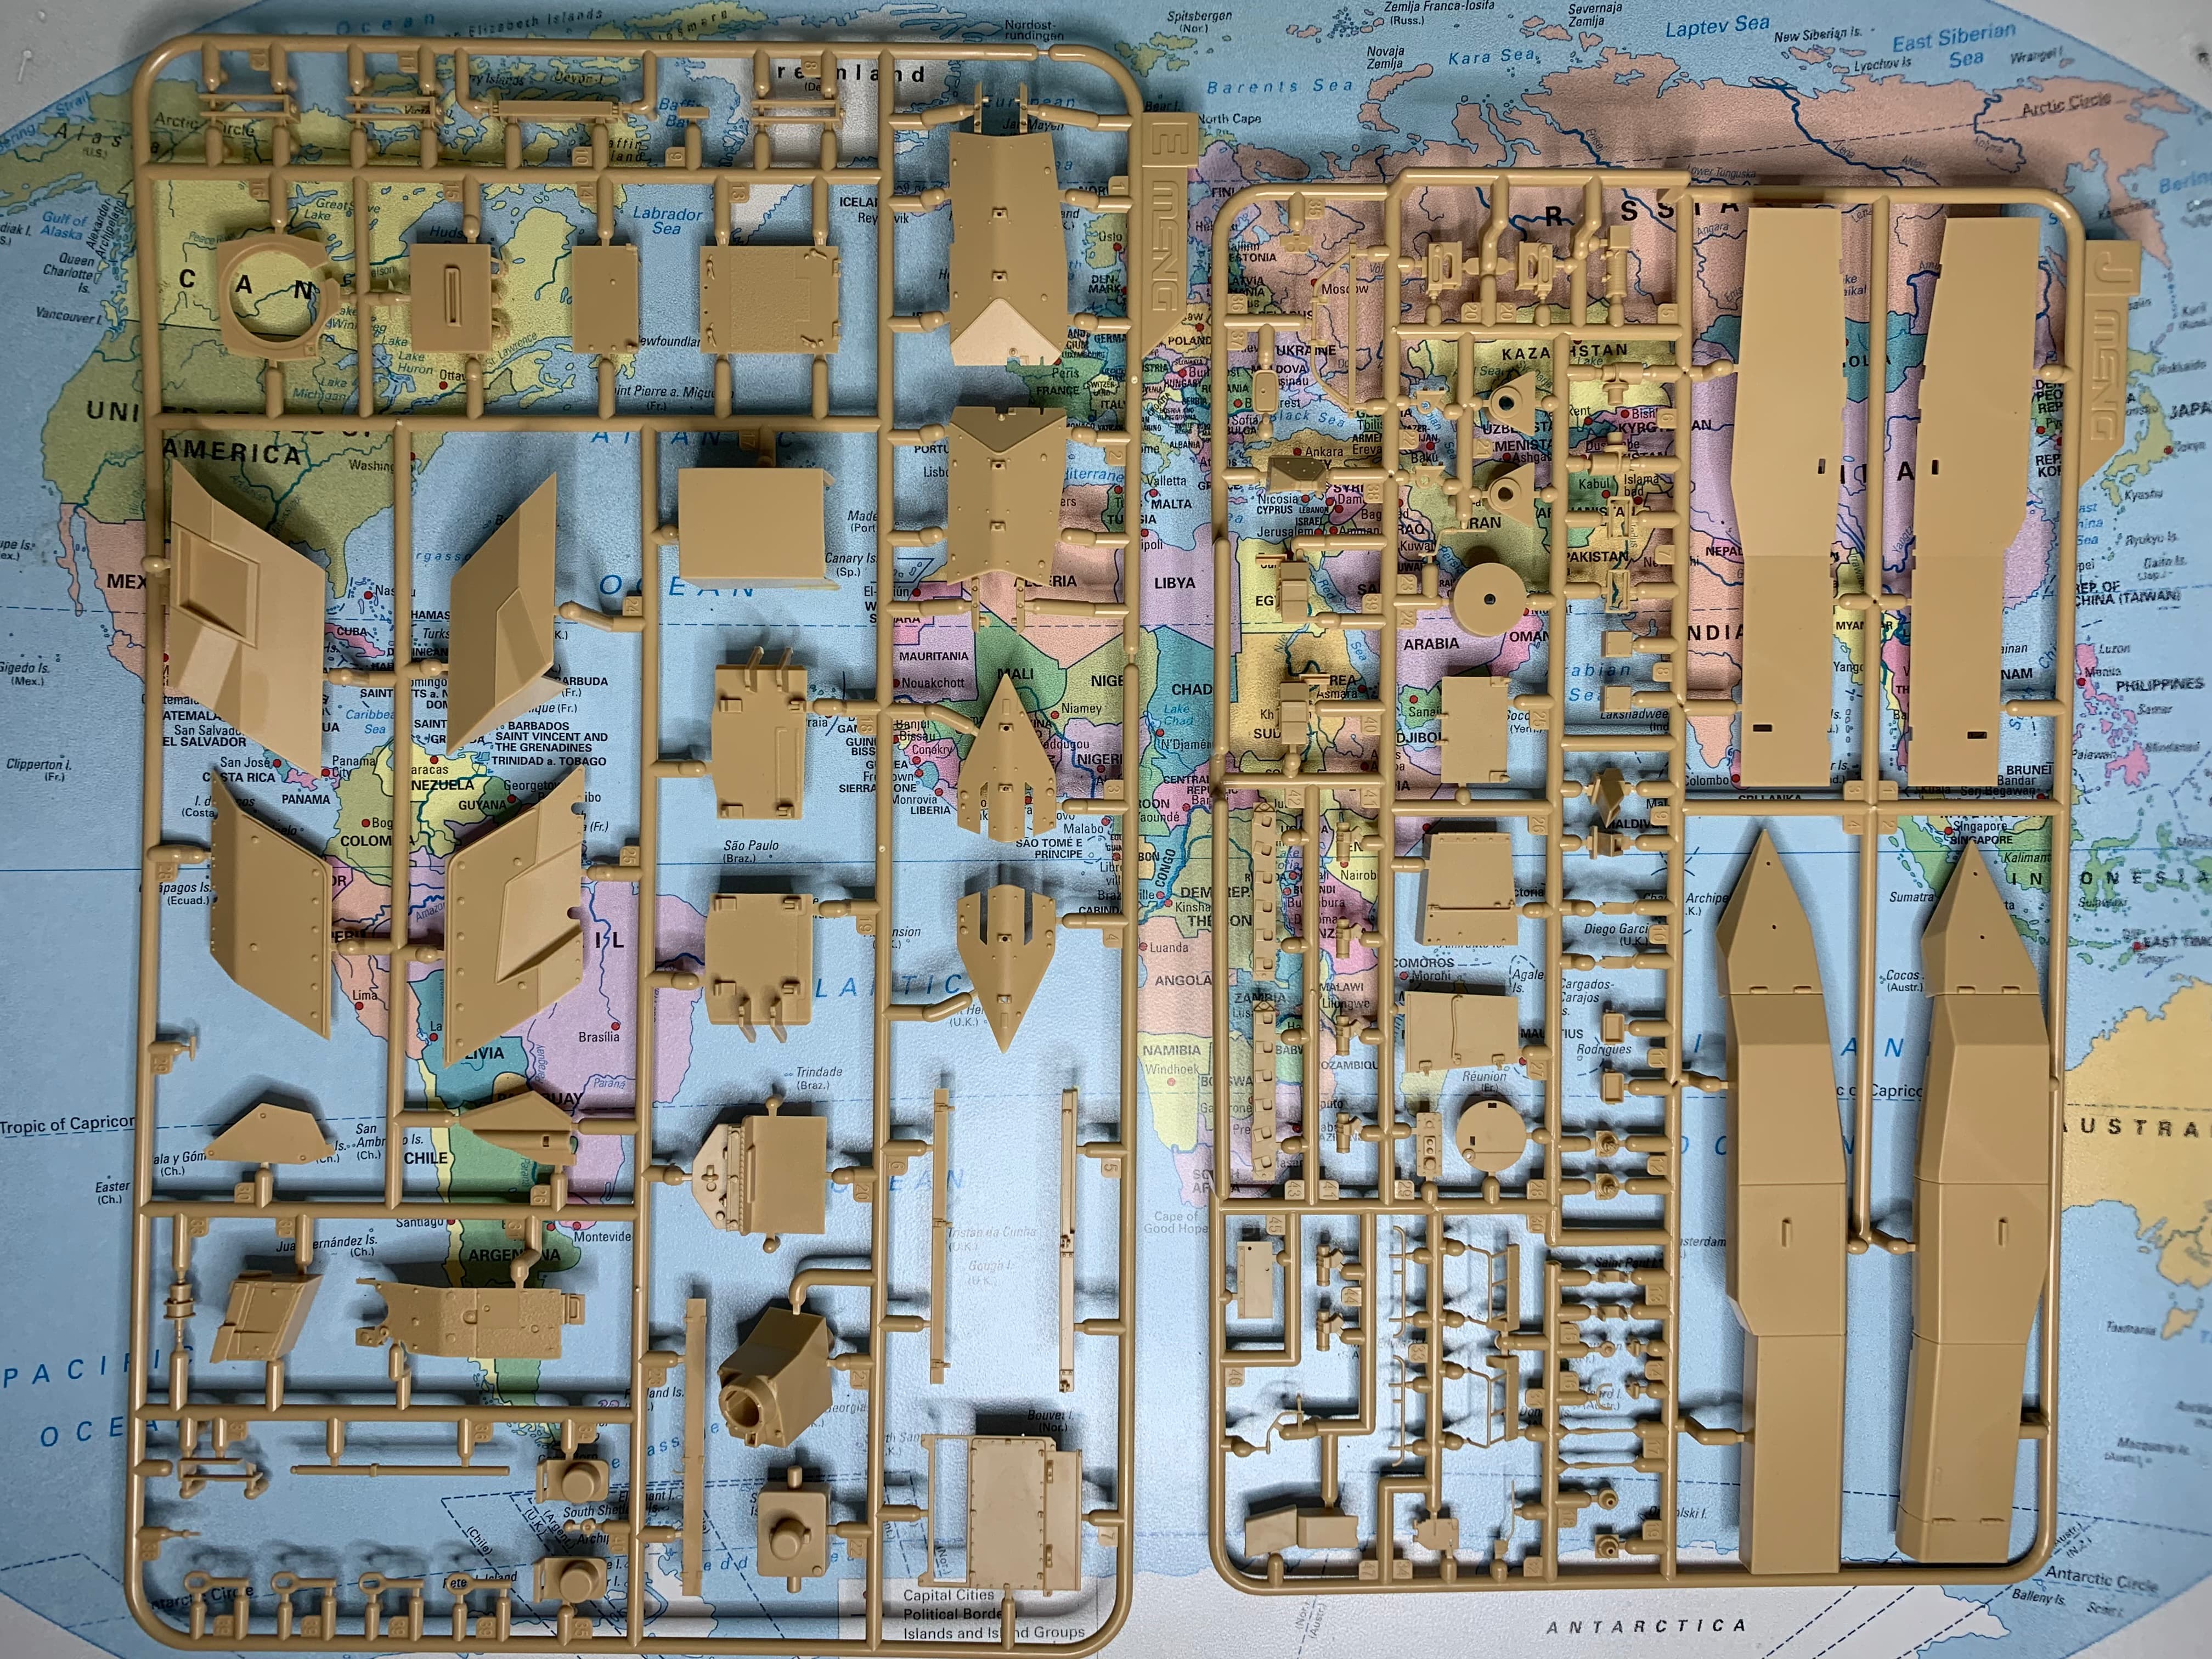
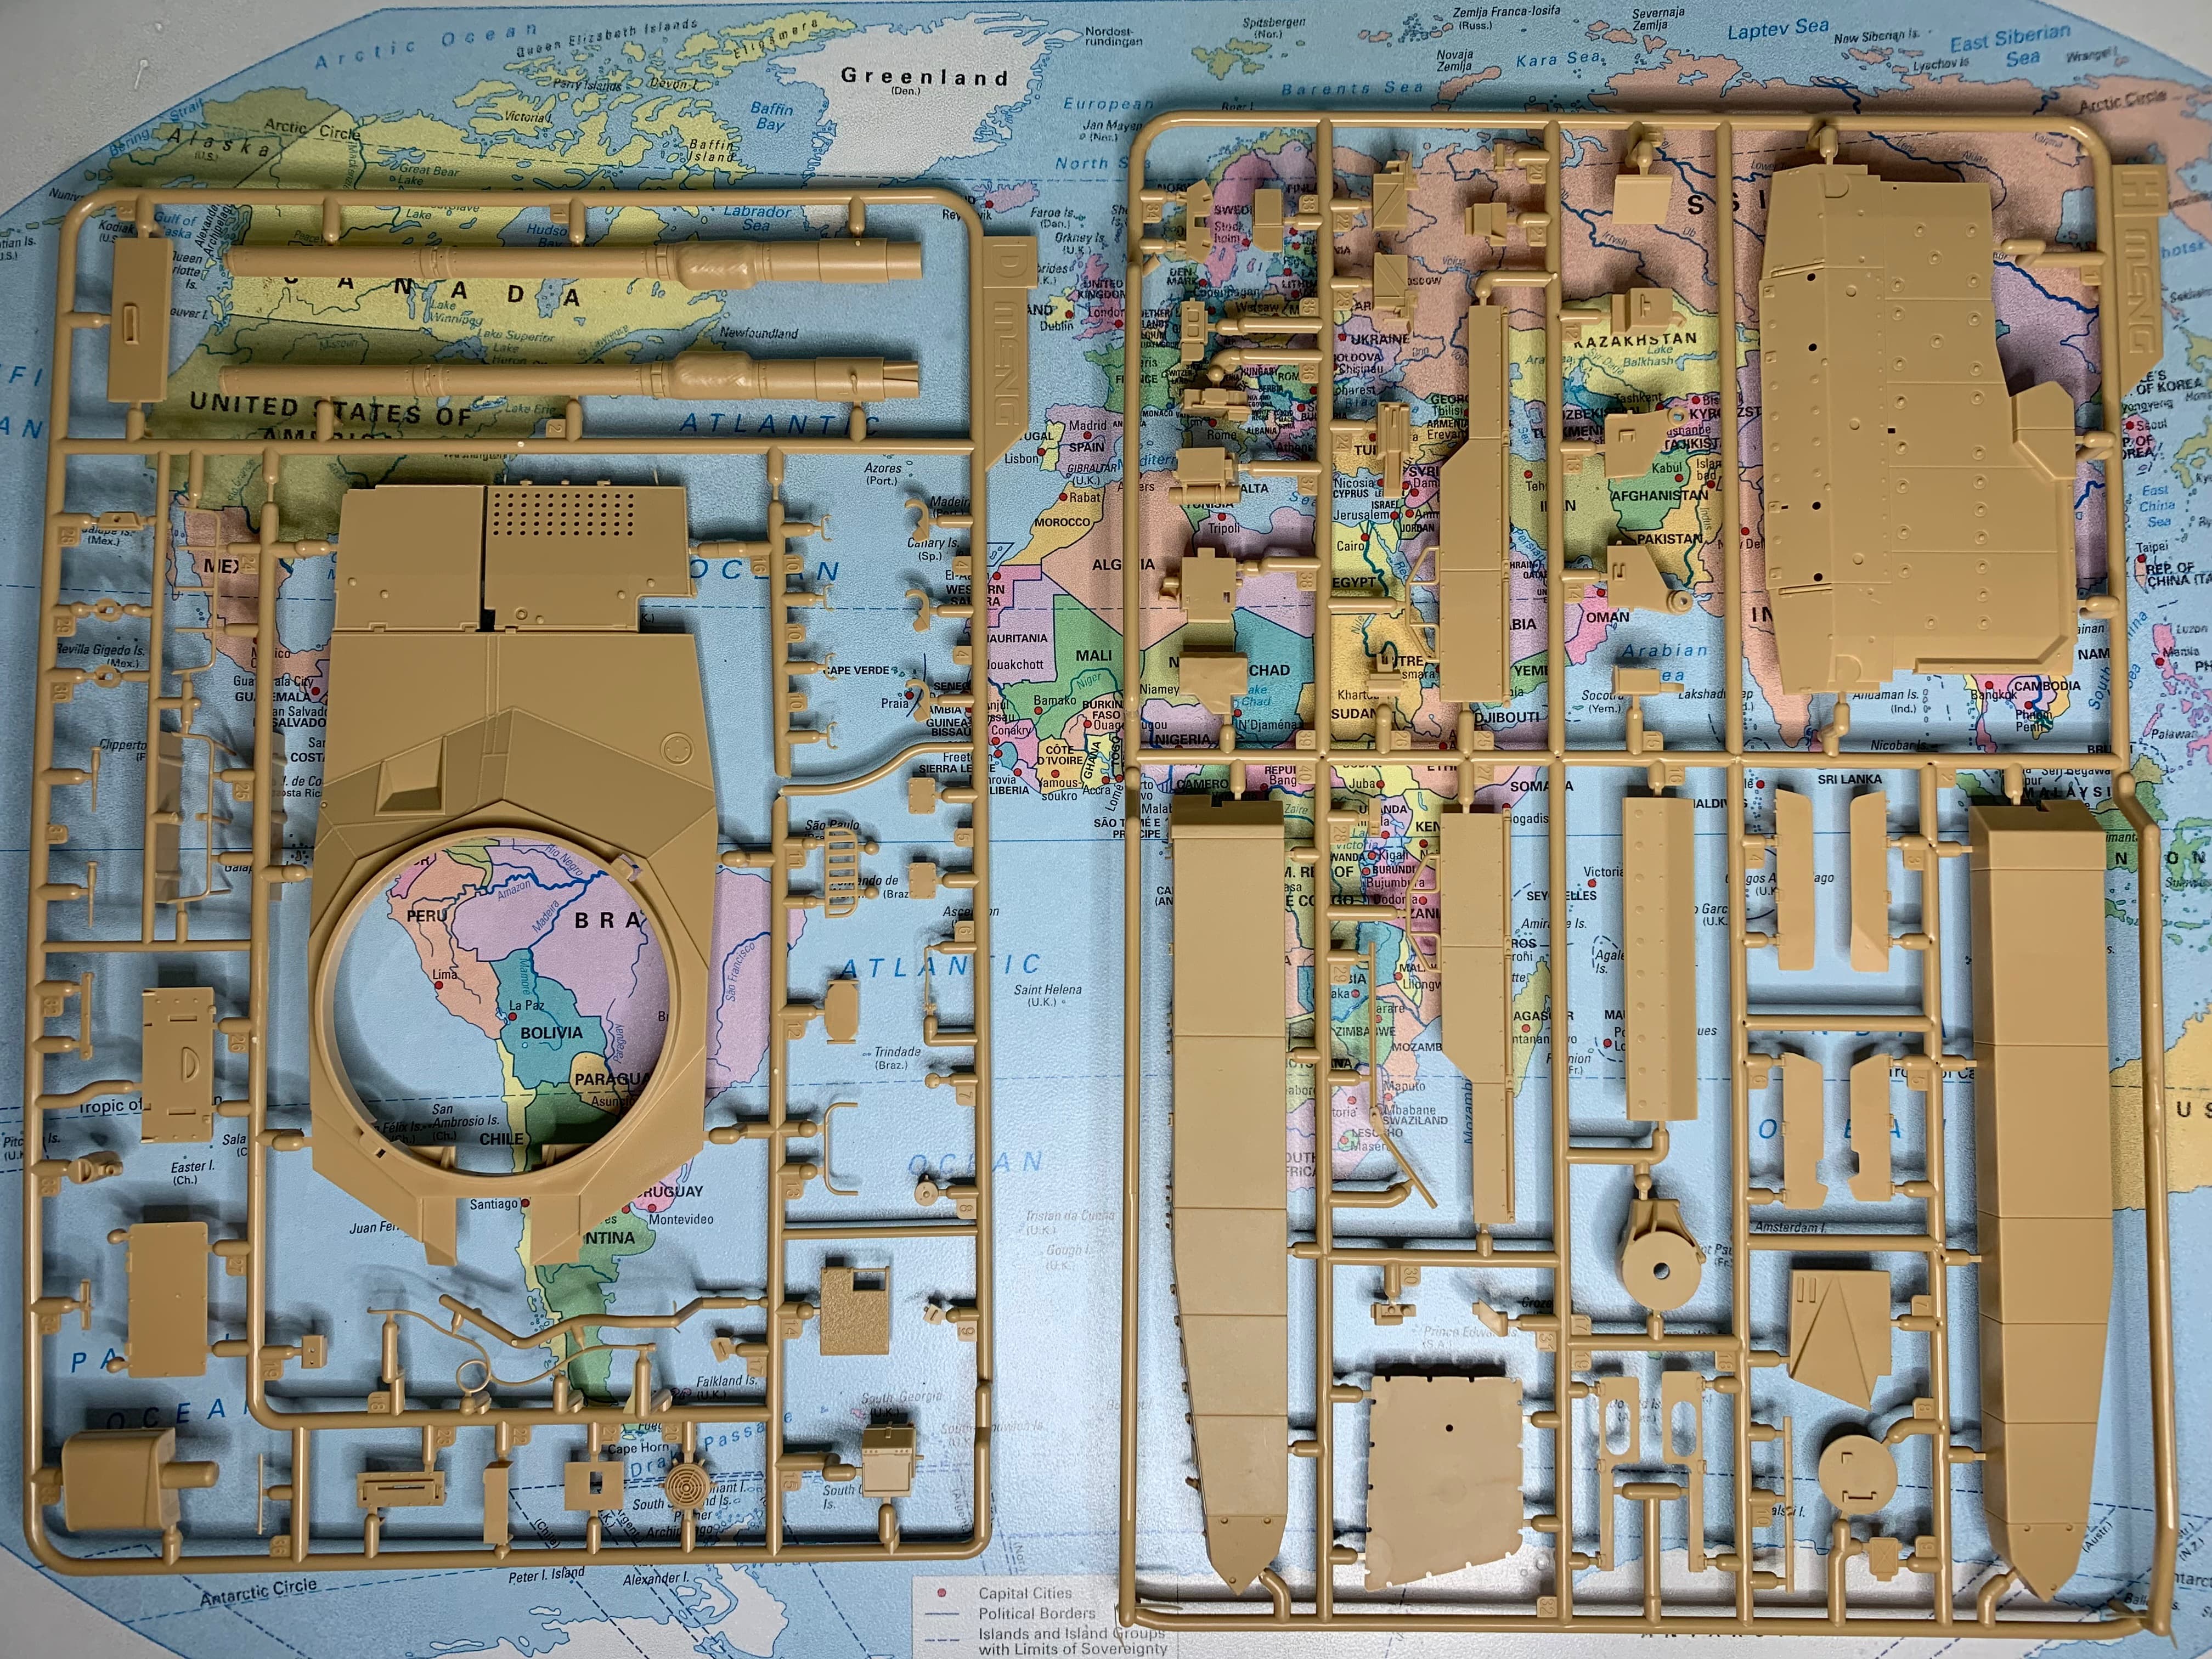
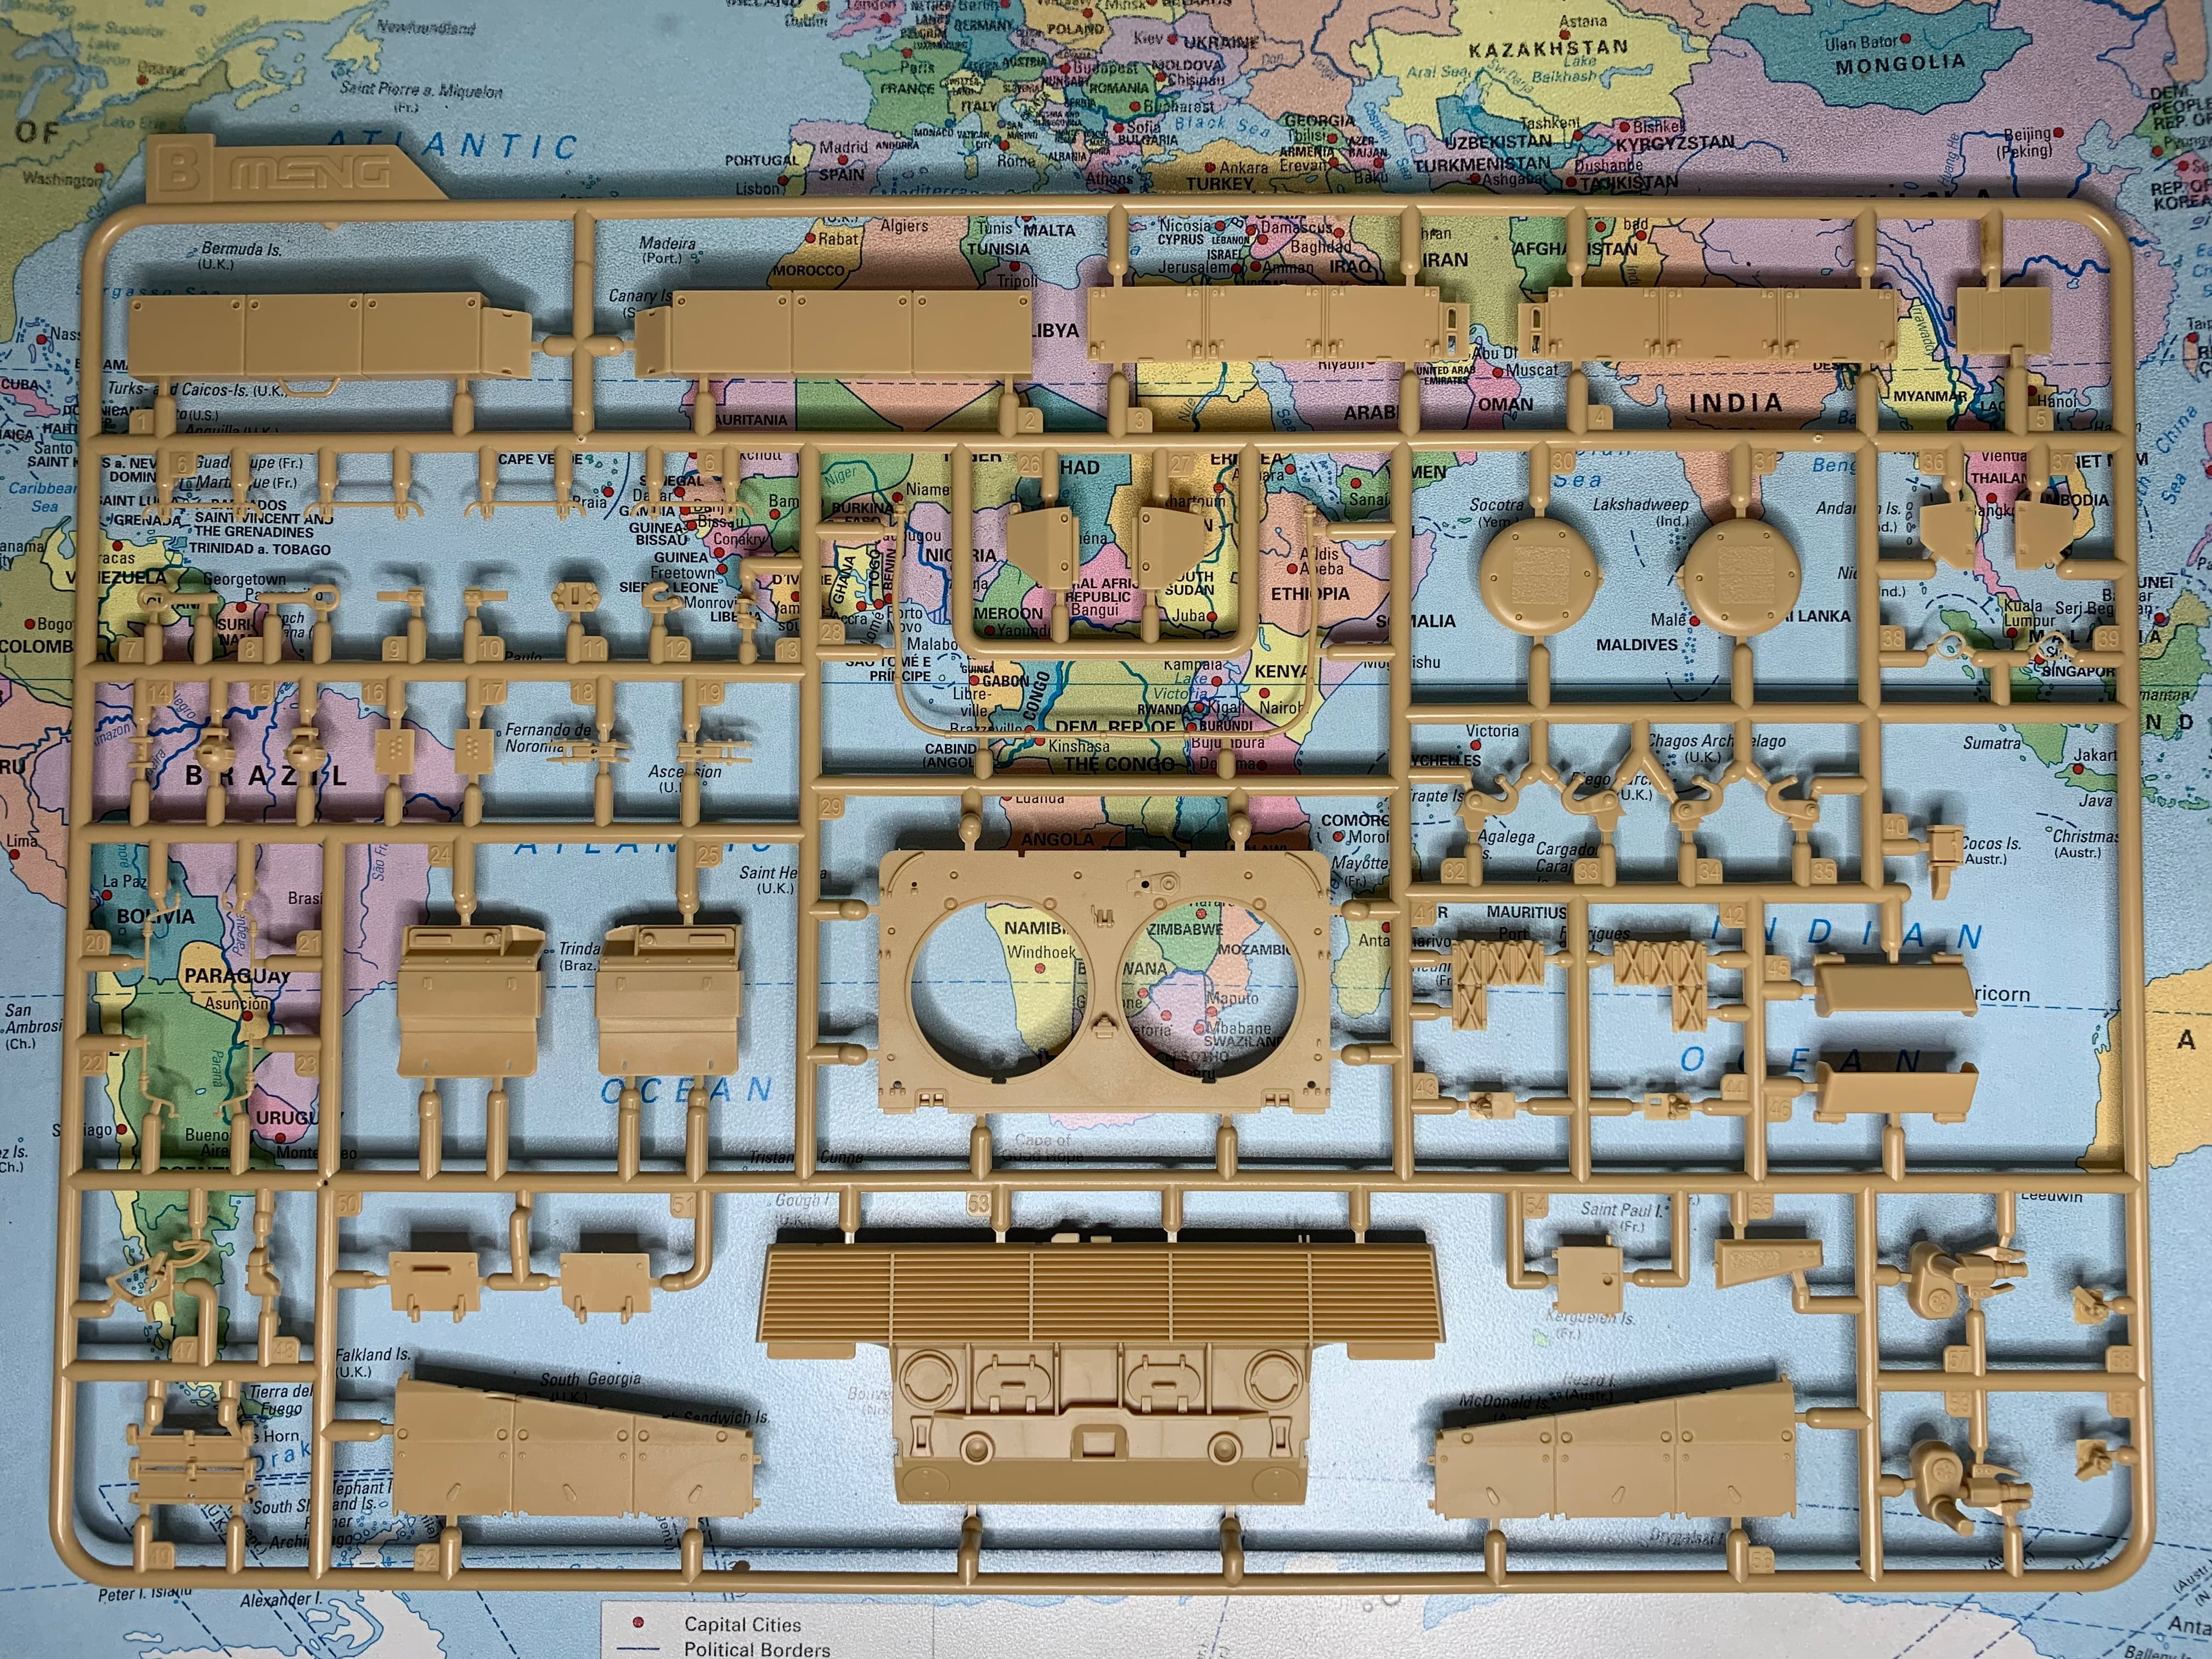
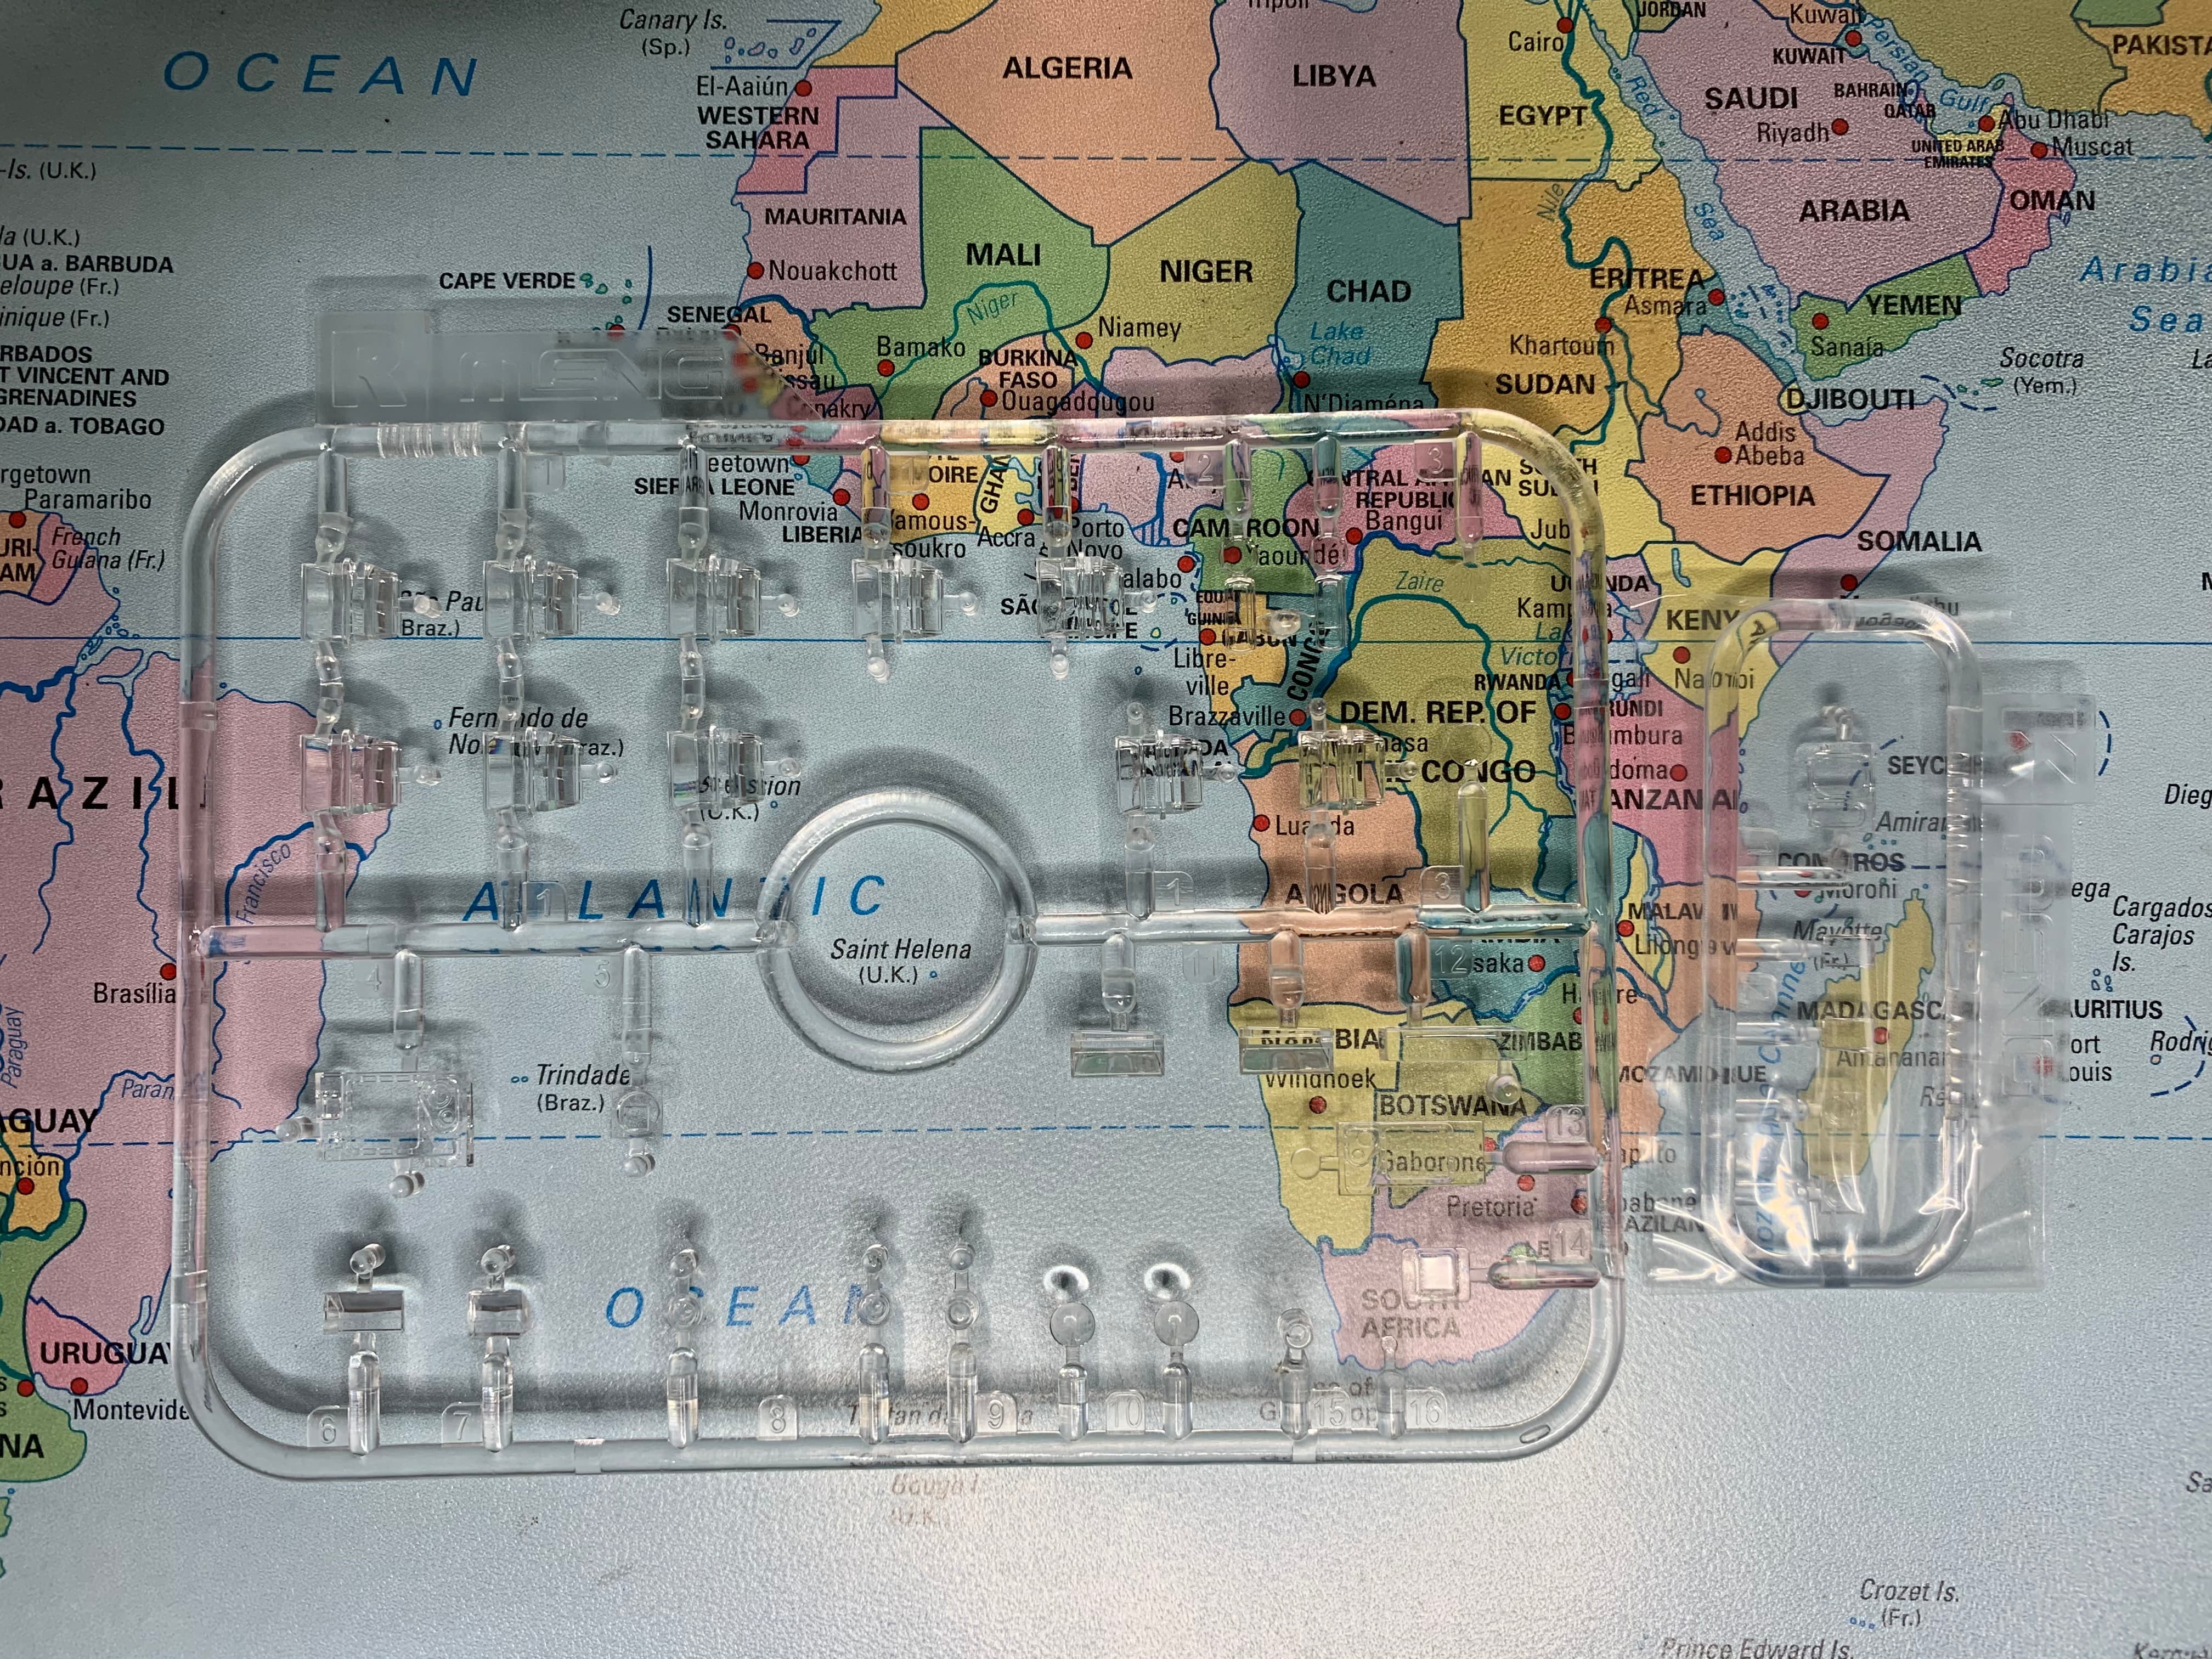
Time to start something new. My first Meng kit. The parts look really nice and crisp, with just a few very small bits of flash. There is anti slip present and some very nice slide moulded parts for the 50 cal.
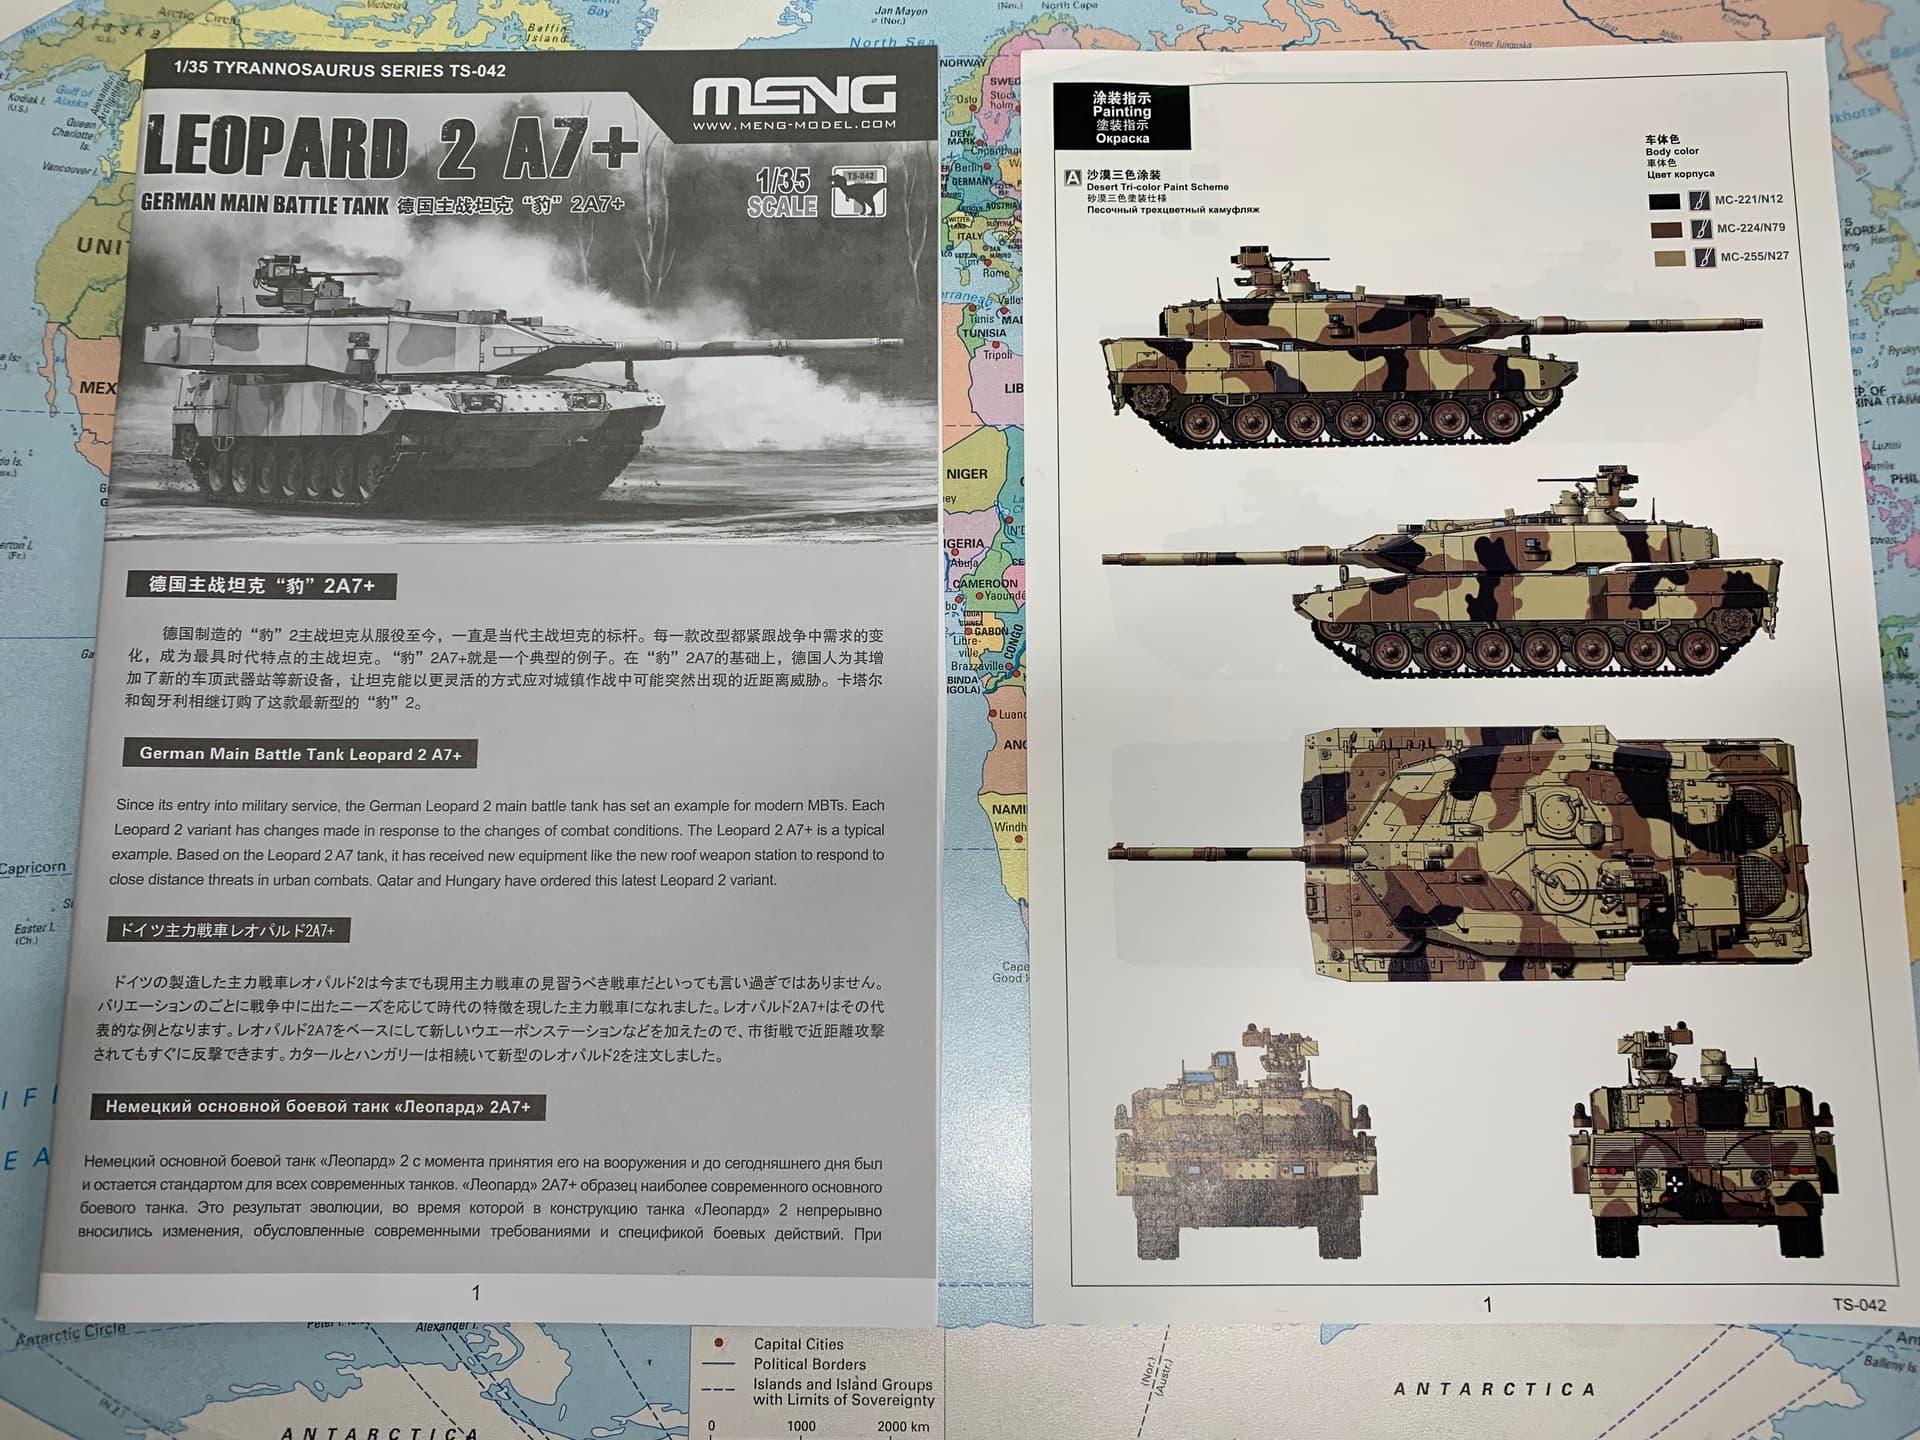
Once again the inspiration is an Andy Moore build. Don’t know what camo’ I’ll end up doing but probably the desert finish…
I am sure you will enjoy building the kit. Let me help you in one point: I built the Gepard SPAAG from Meng recently and the working suspension did not work for me at all. I had to fix-glue them finally. You might run into the same issue, be prepared.
I am serously interested in this kit so I am on for the ride. How well done is the nonslip texture. Is it good to go or a good reference for masking and texturing?
Will be along for this one as well Jim as this is on my must have list (and soon)… I hope you didn’t get it from AMS lol… I had my eye on it … It is hopefully going to be a birthday pressie to me at the end of the month… SWMBO doesn’t know that yet lol
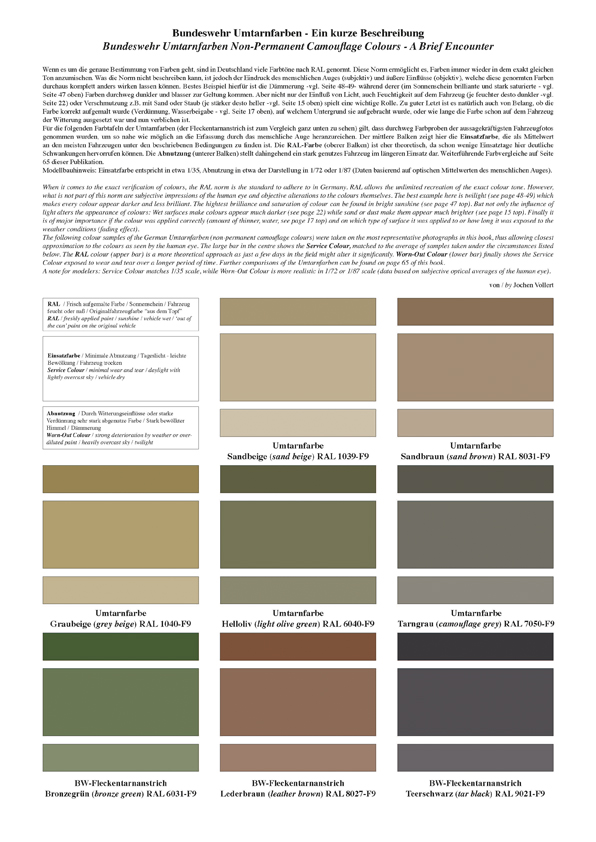
I have the same kit my stash for a build far in the future. The desert camo is pure fantasy, what if - call it what you like. So far you can only build a KMW Demontrator. Here are some pics of the real deal BW – KPz Leopard 2A7+ Urban Operations | TANK-MASTERS – Photos & Journalism | Military Photos & Journalism
Funny thing is, this tank has a dutch registration, but the Netherlands have no Leopard 2 anymore …
Hungary will buy the Leopard 2A7+, ASAIK, but I don’t know when they will get them.
The HDF will receive the first units next year as I remember but the final configuration is not yet known so I keep my kit in the stash until the first vehicle arrived and photographed.
Tamas @Agriamodeling , thanks for the heads up regarding the suspension, I think I will be following your example and gluing the arms in place.
Greg @TopSmith , the non slip looks pretty good to my eye, the pics don’t show it very well but it feels good to me.
John @Johnnych01, I did get it from AMS I’m afraid, however they do still have it in stock so the better half can still give you a happy birthday! They also have more bandai Star Wars in stock, in fact may have bought something for the alternative camo campaign…
Thanks Torsten @BlackWidow for that link. That’s the camo I am aiming for, but I didn’t have these pics. The instructions have the dark colour as black when it should be Sandbraun. Andy Moore used Hellioliv in his build which, while not accurate, looks very nice. I’m not too worried as it’s a demonstration vehicle, and I’m quite comfortable with a loose interpretation of possible future schemes.
Great subject Jim and I think the camo choice will make an awesome looking beast. If the anti-slip is anything like the Meng Merkava Mk 4M I am currently doing it will be a particular highlight of the kit- even under several layers of paint it is still excellent looking. I think Meng have really nailed that aspect on their current kits.
Sandbraun? I see the darkest patches as RAL 7050-F9 Tarngrau.
The patches on the real thing might possibly be a tad more pure gray than the colour sample in the spektran link …
Not quite as black as very faded teerschwarz though:
My eyes could be deceiving me though …
Maybe you could check other Bundeswehr vehicles in desert camo (google Wüstentarnung or Wuestentarnung)
Thanks for the support Karl @Karl187 , yeah the non slip is more than acceptable for me.
I know what you mean Robin @Uncle-Heavy. On that chart your suggestion does look more plausible. I’m just going on what I read in the build on the Modelling News,
There really isn’t much I can find online about the scheme, although I haven’t deployed my strongest google-fu to be honest. I was drawn to this kit as I felt I could have a bit of fun with the finish.
I will do some experimenting before committing to the kit as usual but may well be going with Master Moore’s interpretation, or something even more left field…
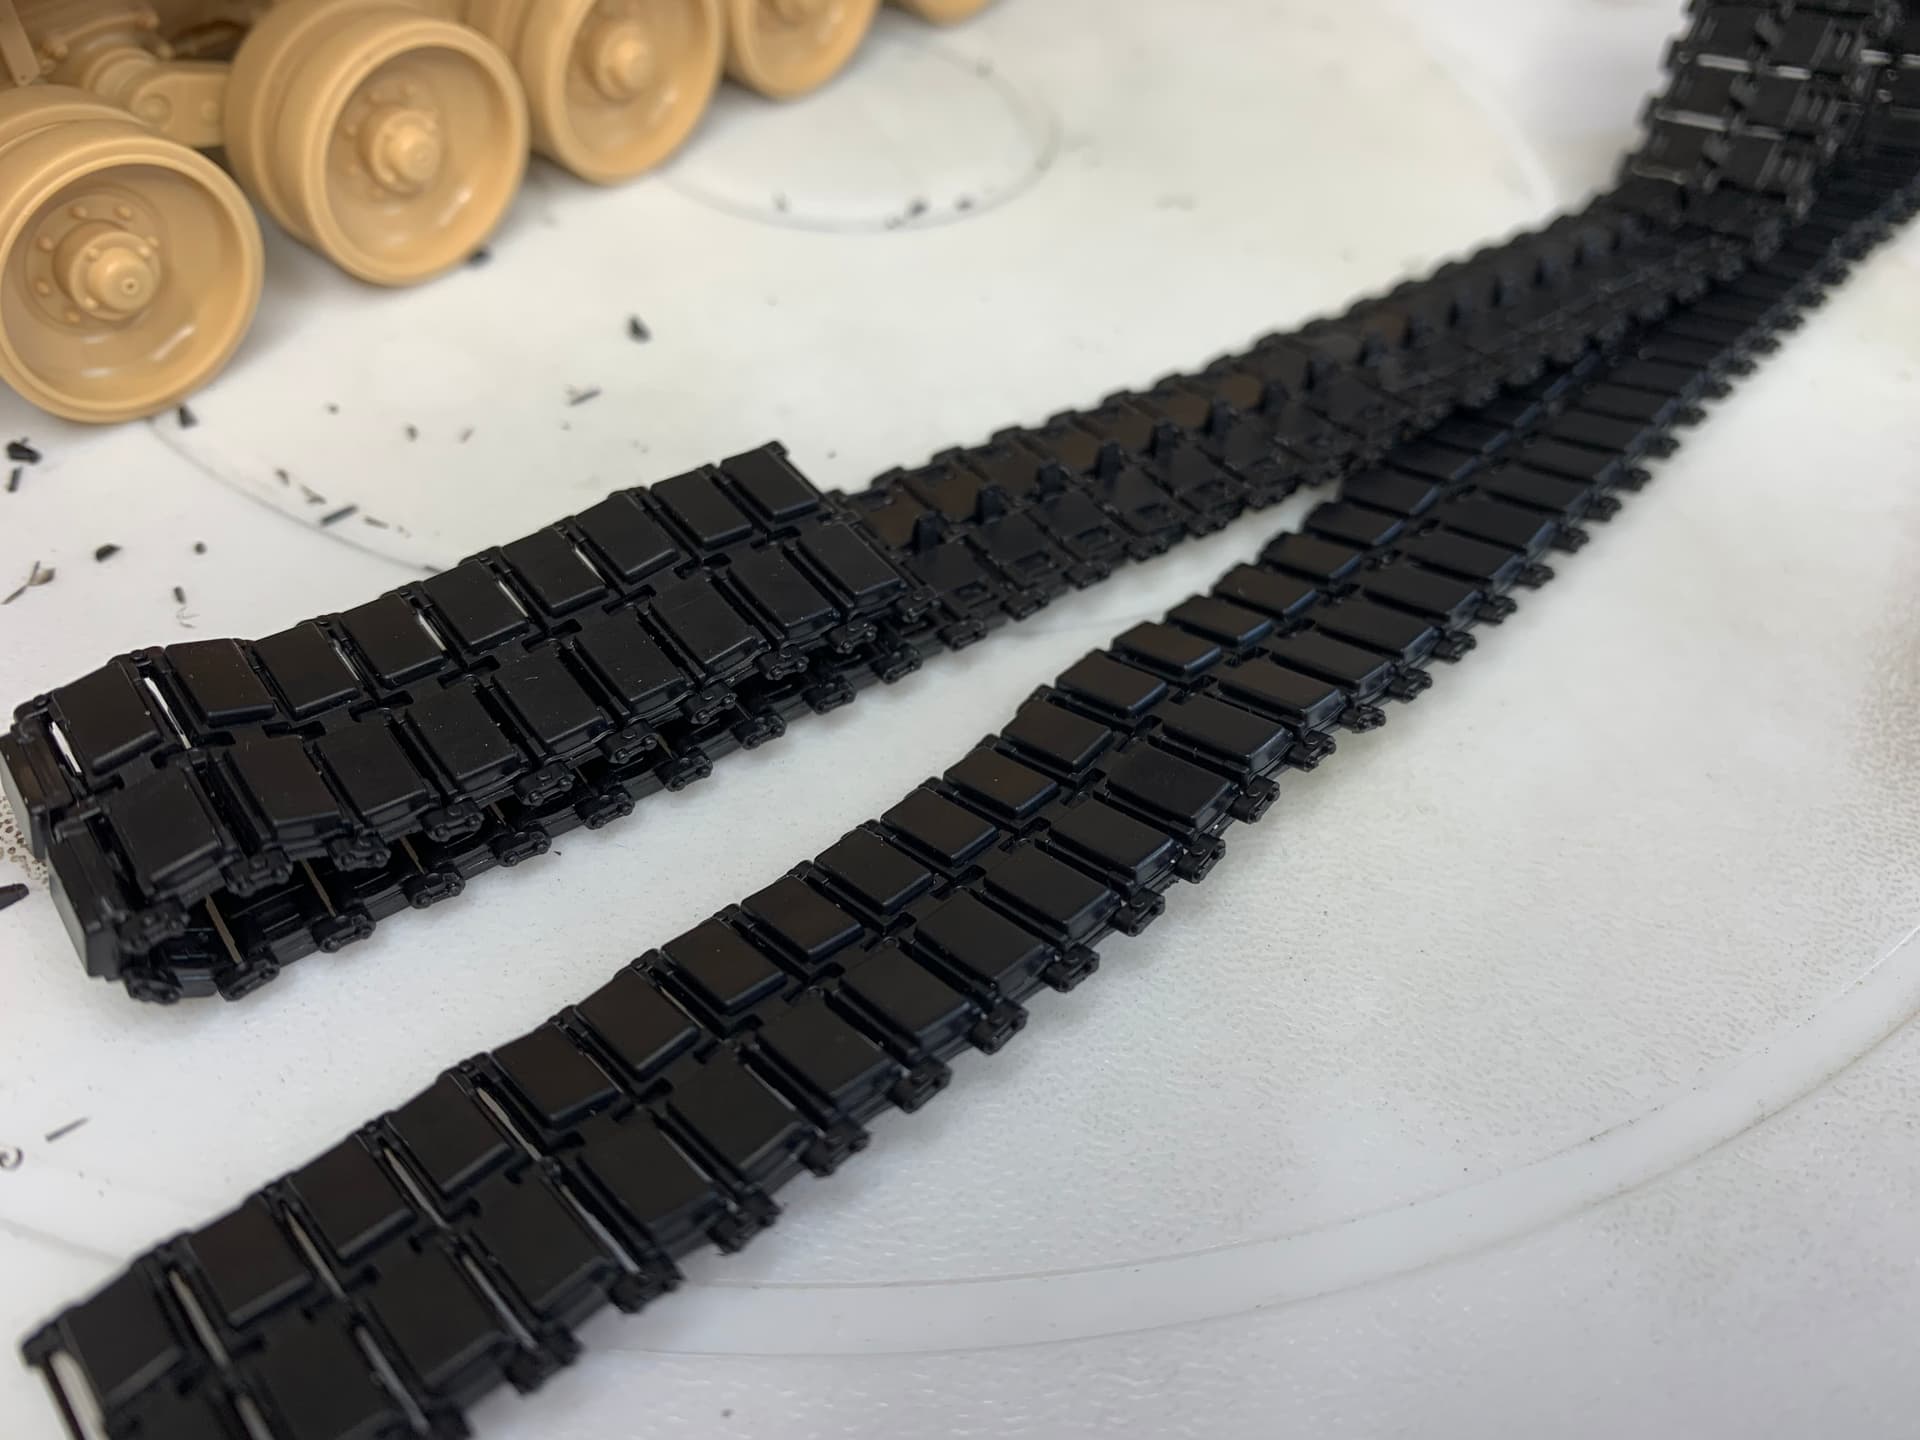
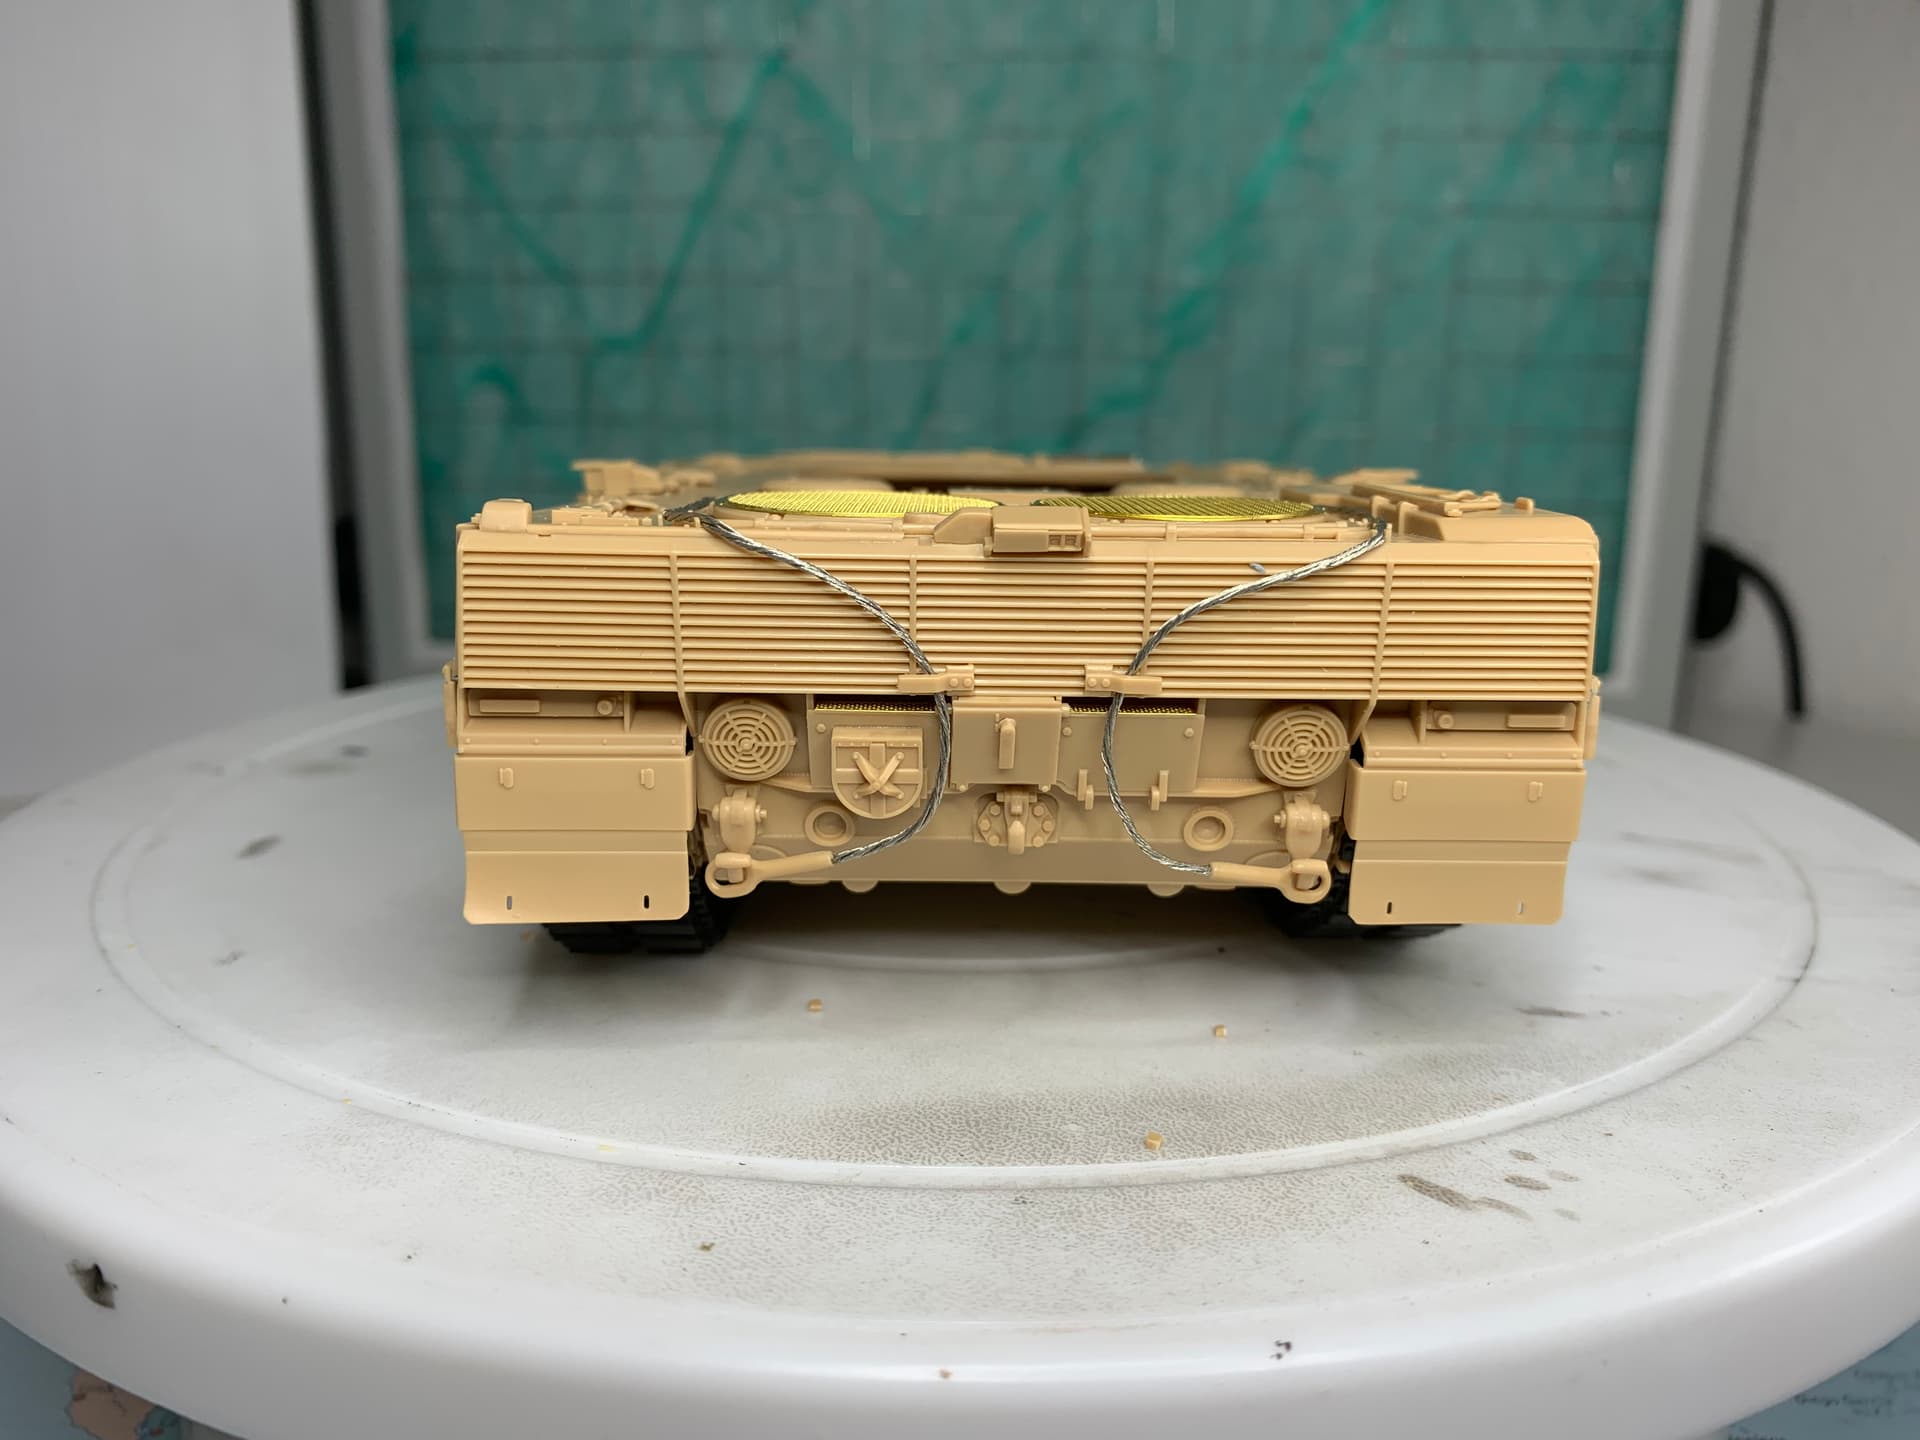
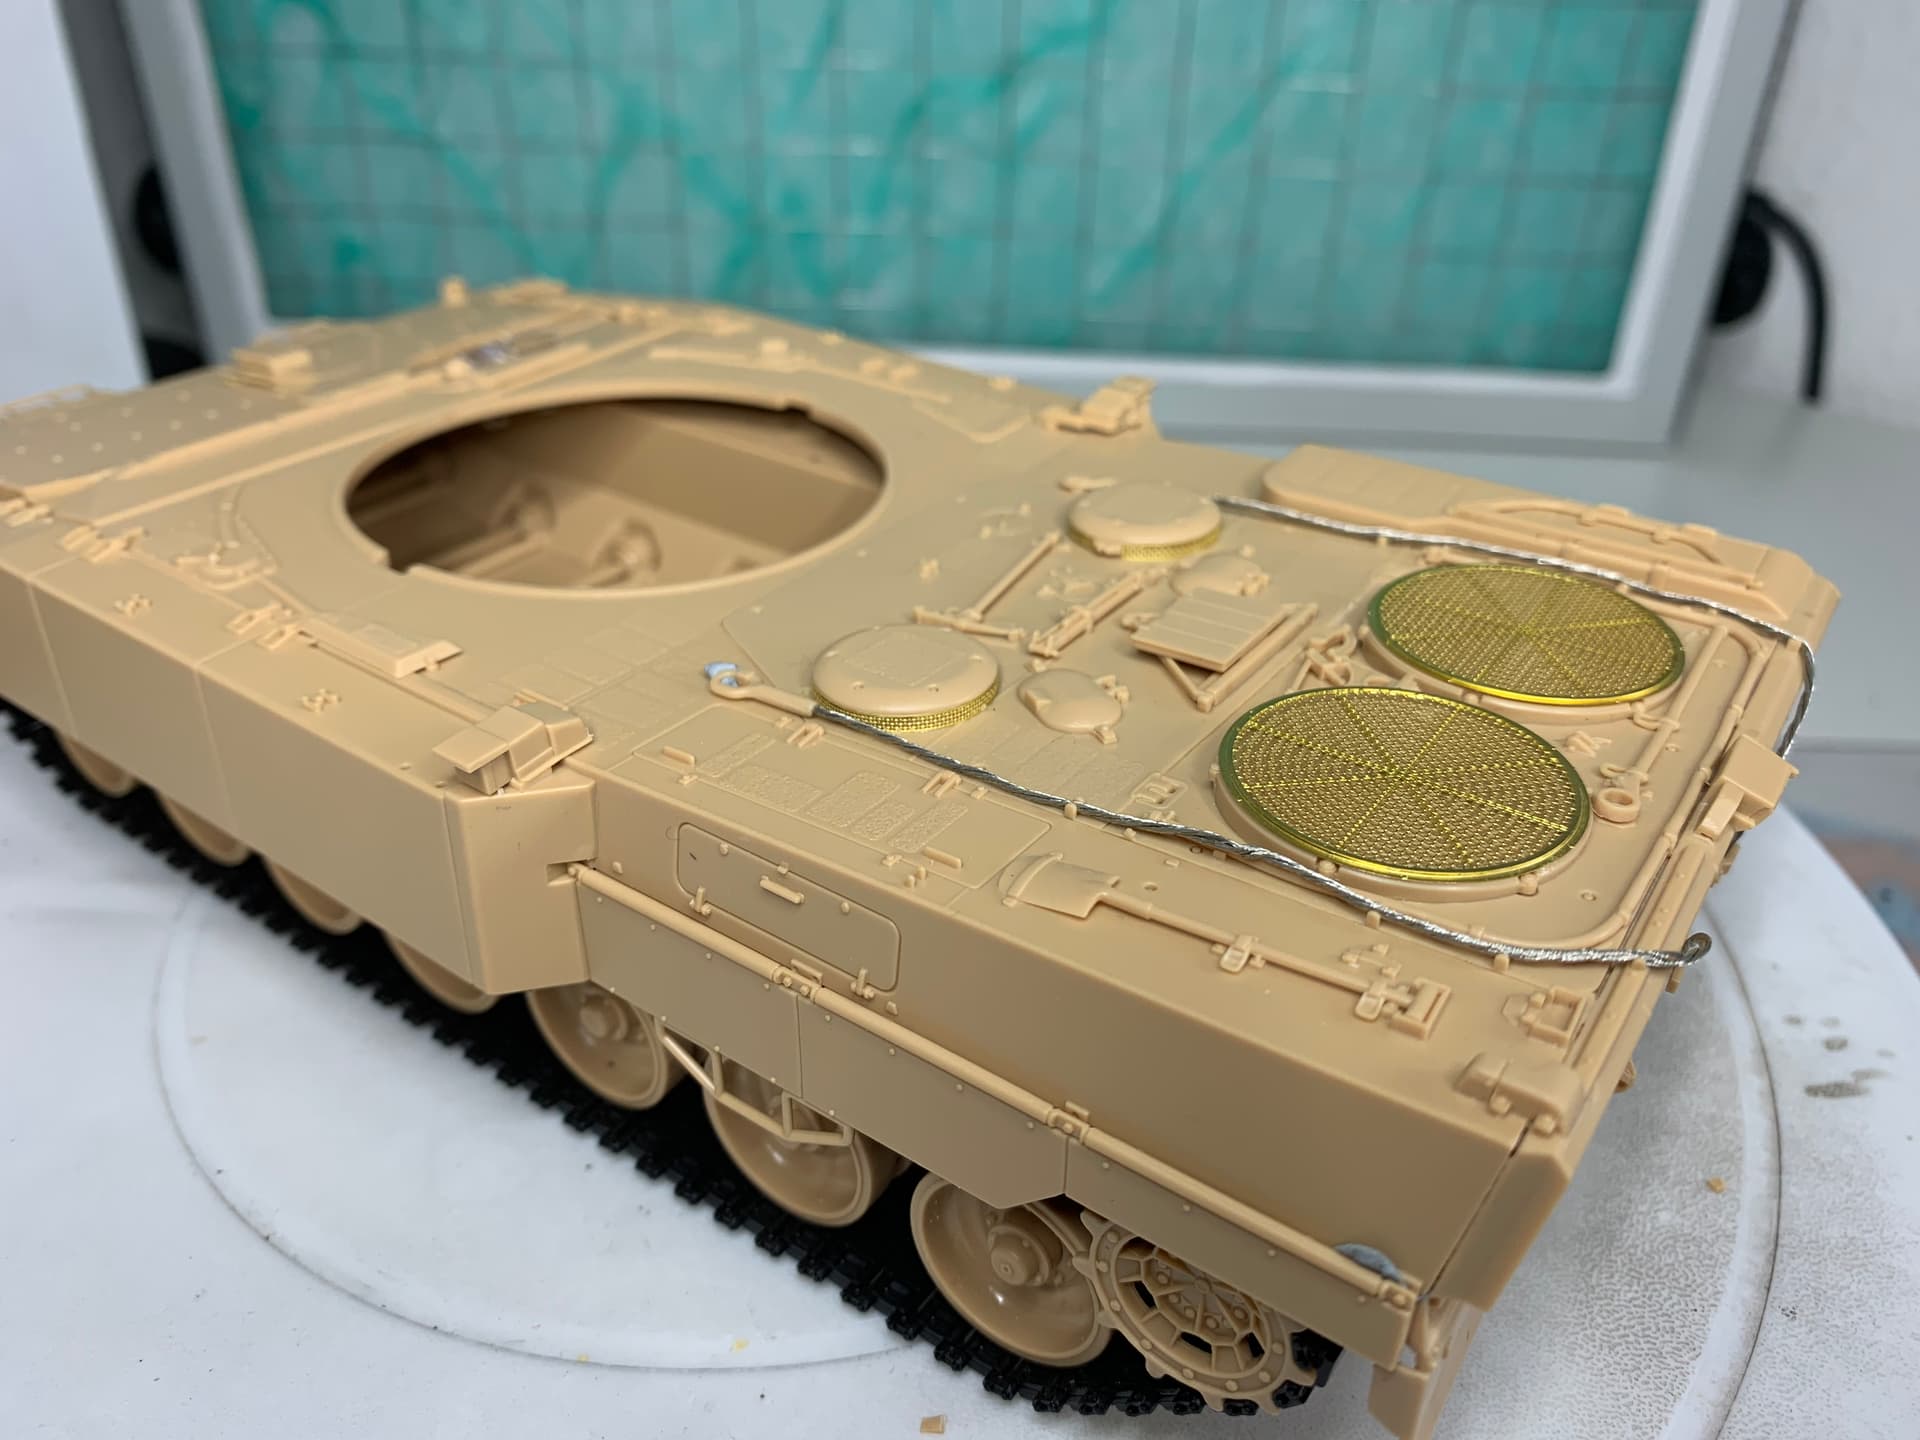
Have put together the running gear and one side of the tracks. Some road wheels needed the inner joins shaved down or they would have been pretty buckled. I have glued the front and back road wheel stubs in place, making sure they are level, and left the other ten with movement for now.
The tracks go together nicely, just a push fit which I didn’t glue and they seem to hold up well, some ejector marks on the mating surfaces but just need to shave the protruding ones, the plastic is a softer more pliable type than normal.
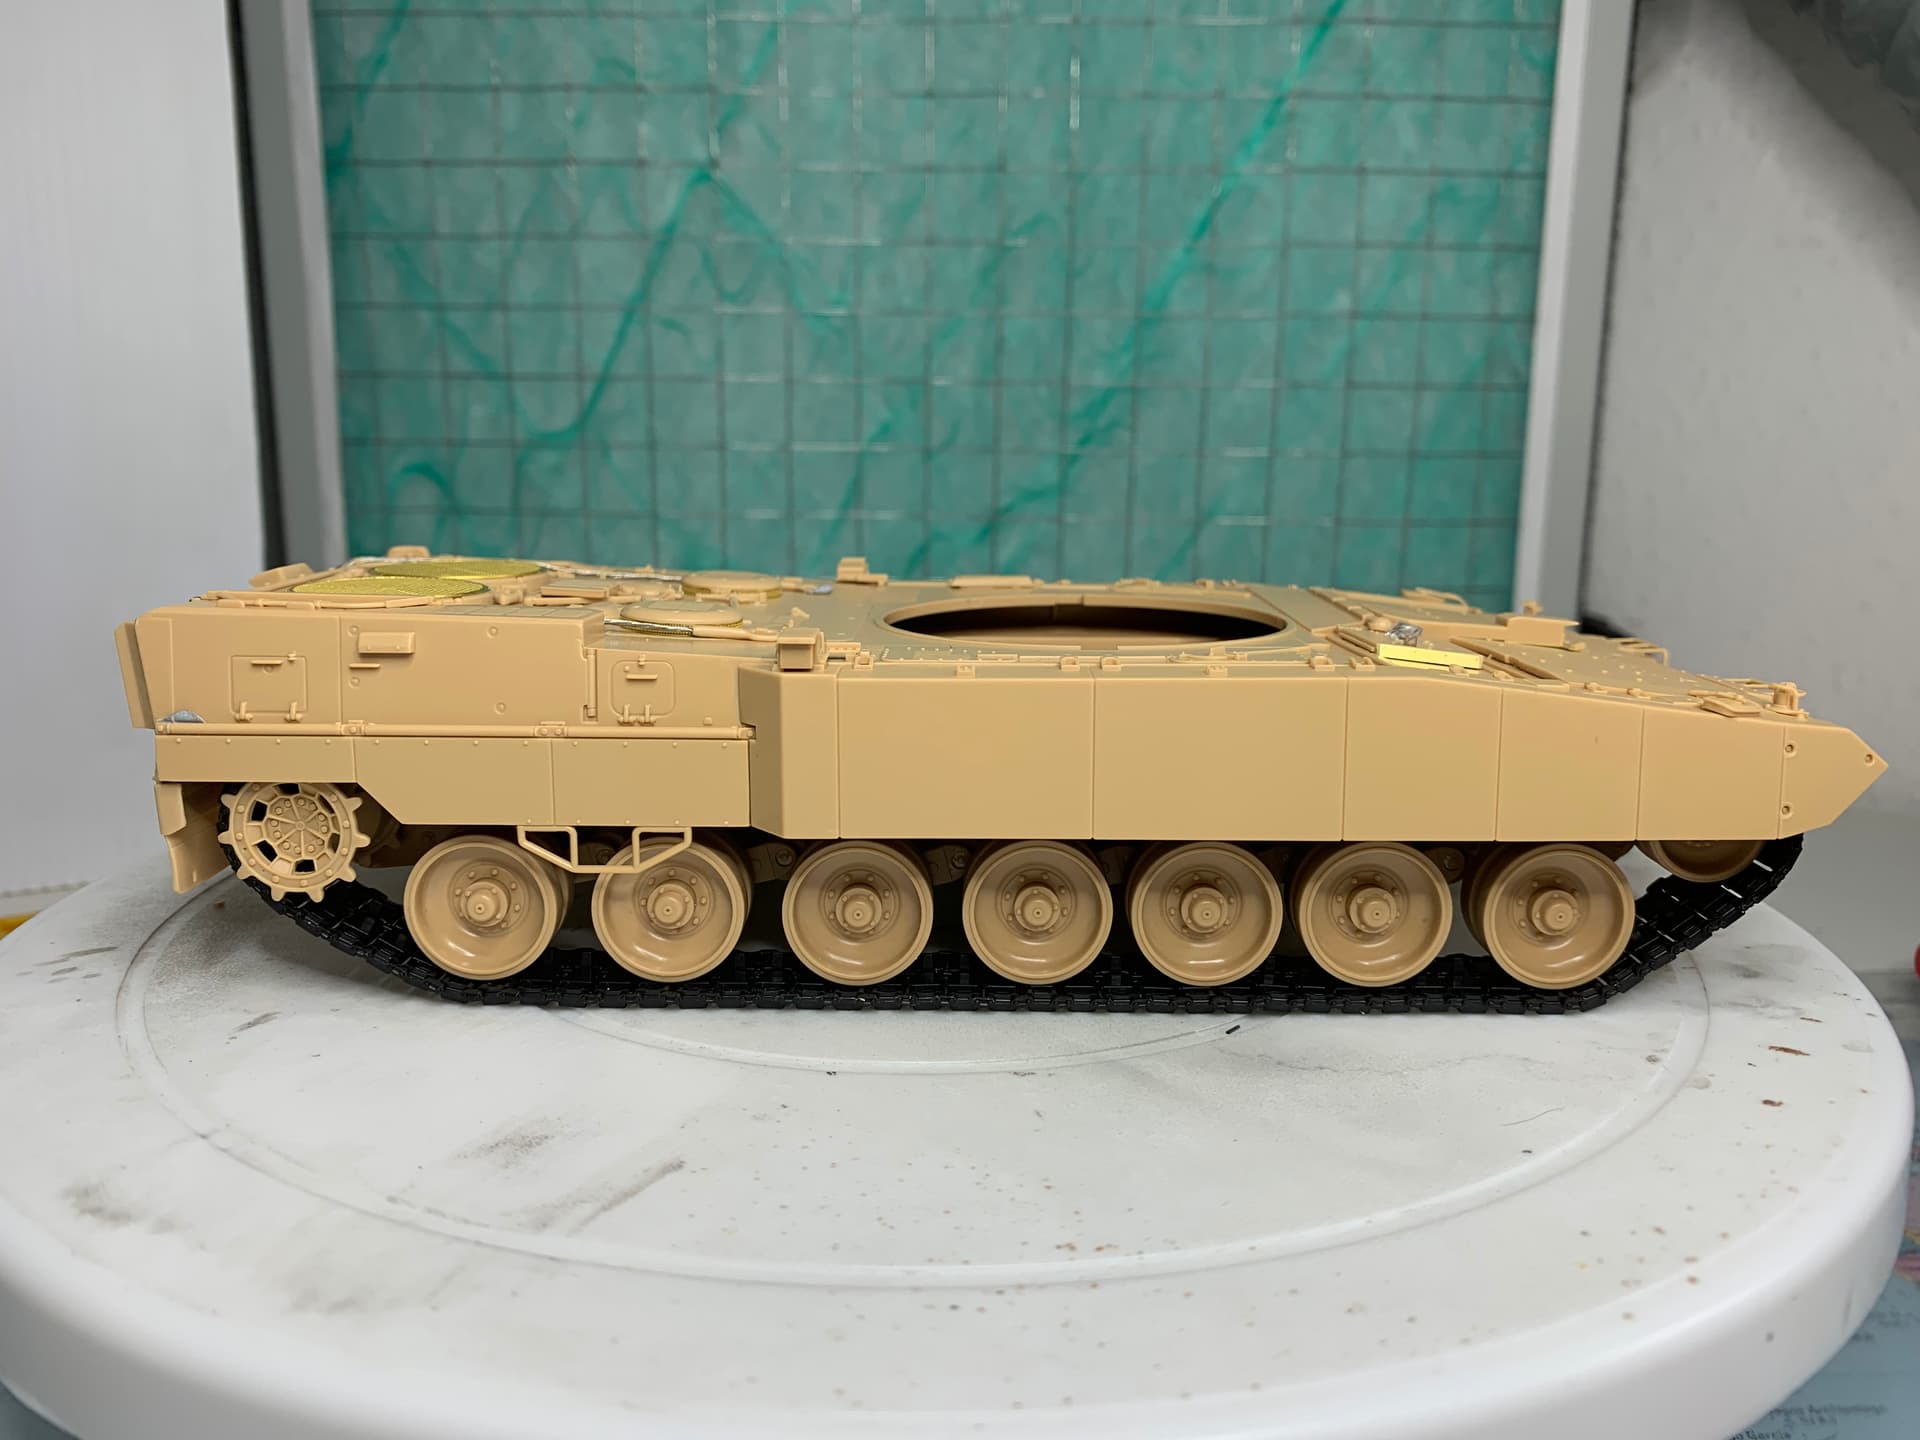
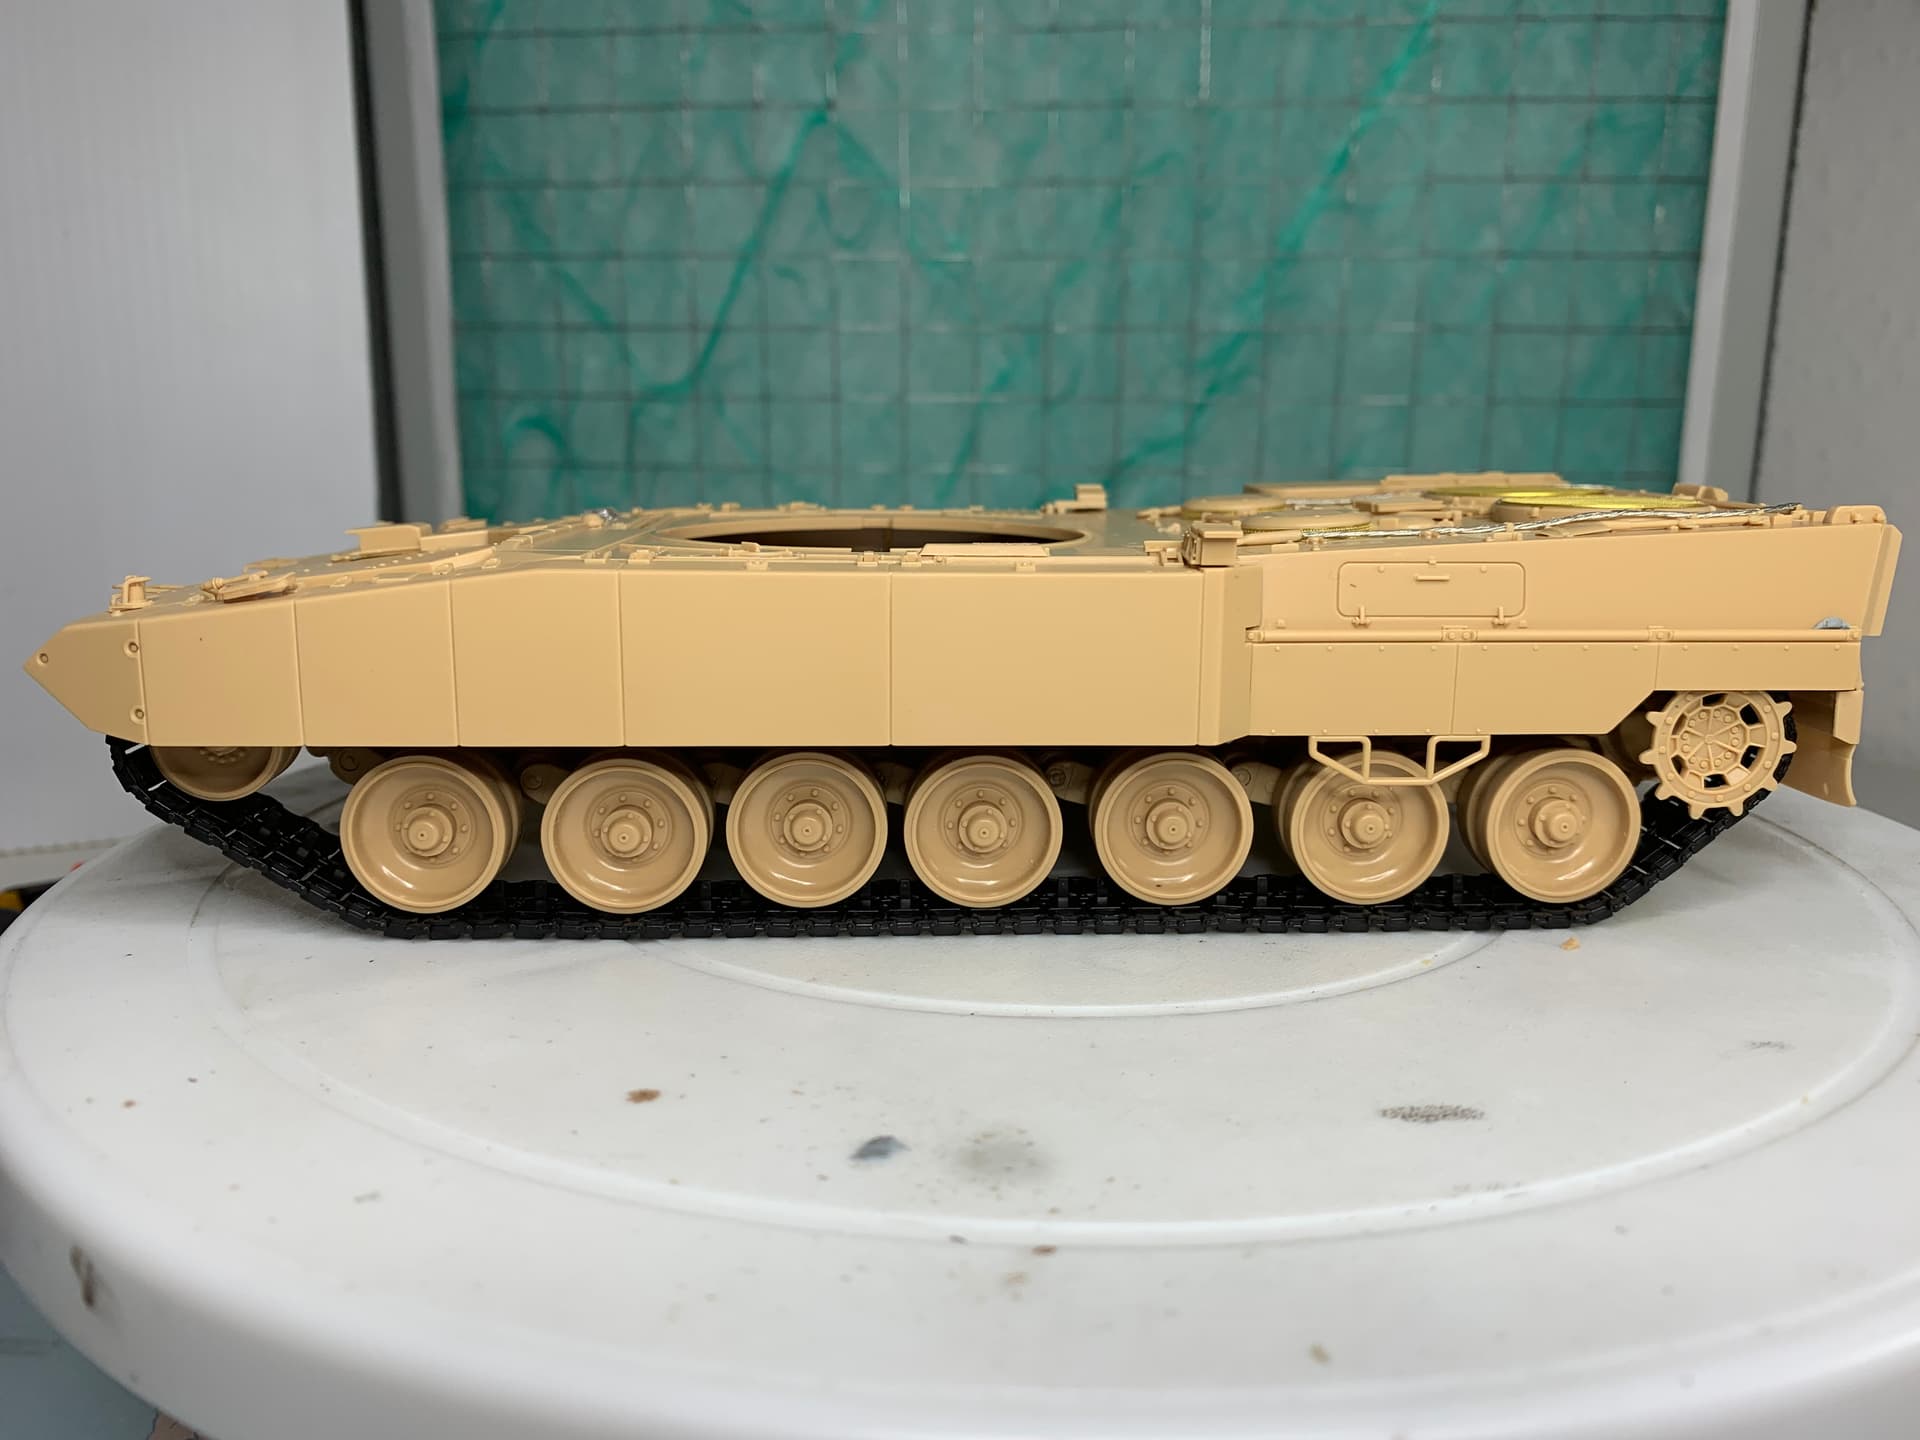
The upper hull piece was slightly banana shaped but careful gluing and clamping has it in place. The join at the front will be hidden behind the add on armour anyway.
Trying to figure how I’m going to go about the painting of the running gear, as I hate doing it before the rest because of the skirts, I think I have a cunning plan…
Thanks Matthew @SSGToms, the tracks certainly were an epic undertaking, but satisfying if in a masochistic kind of way!
Thanks John @Johnnych01 , the running gear actually went together without too much sweat, and ended up fairly level.
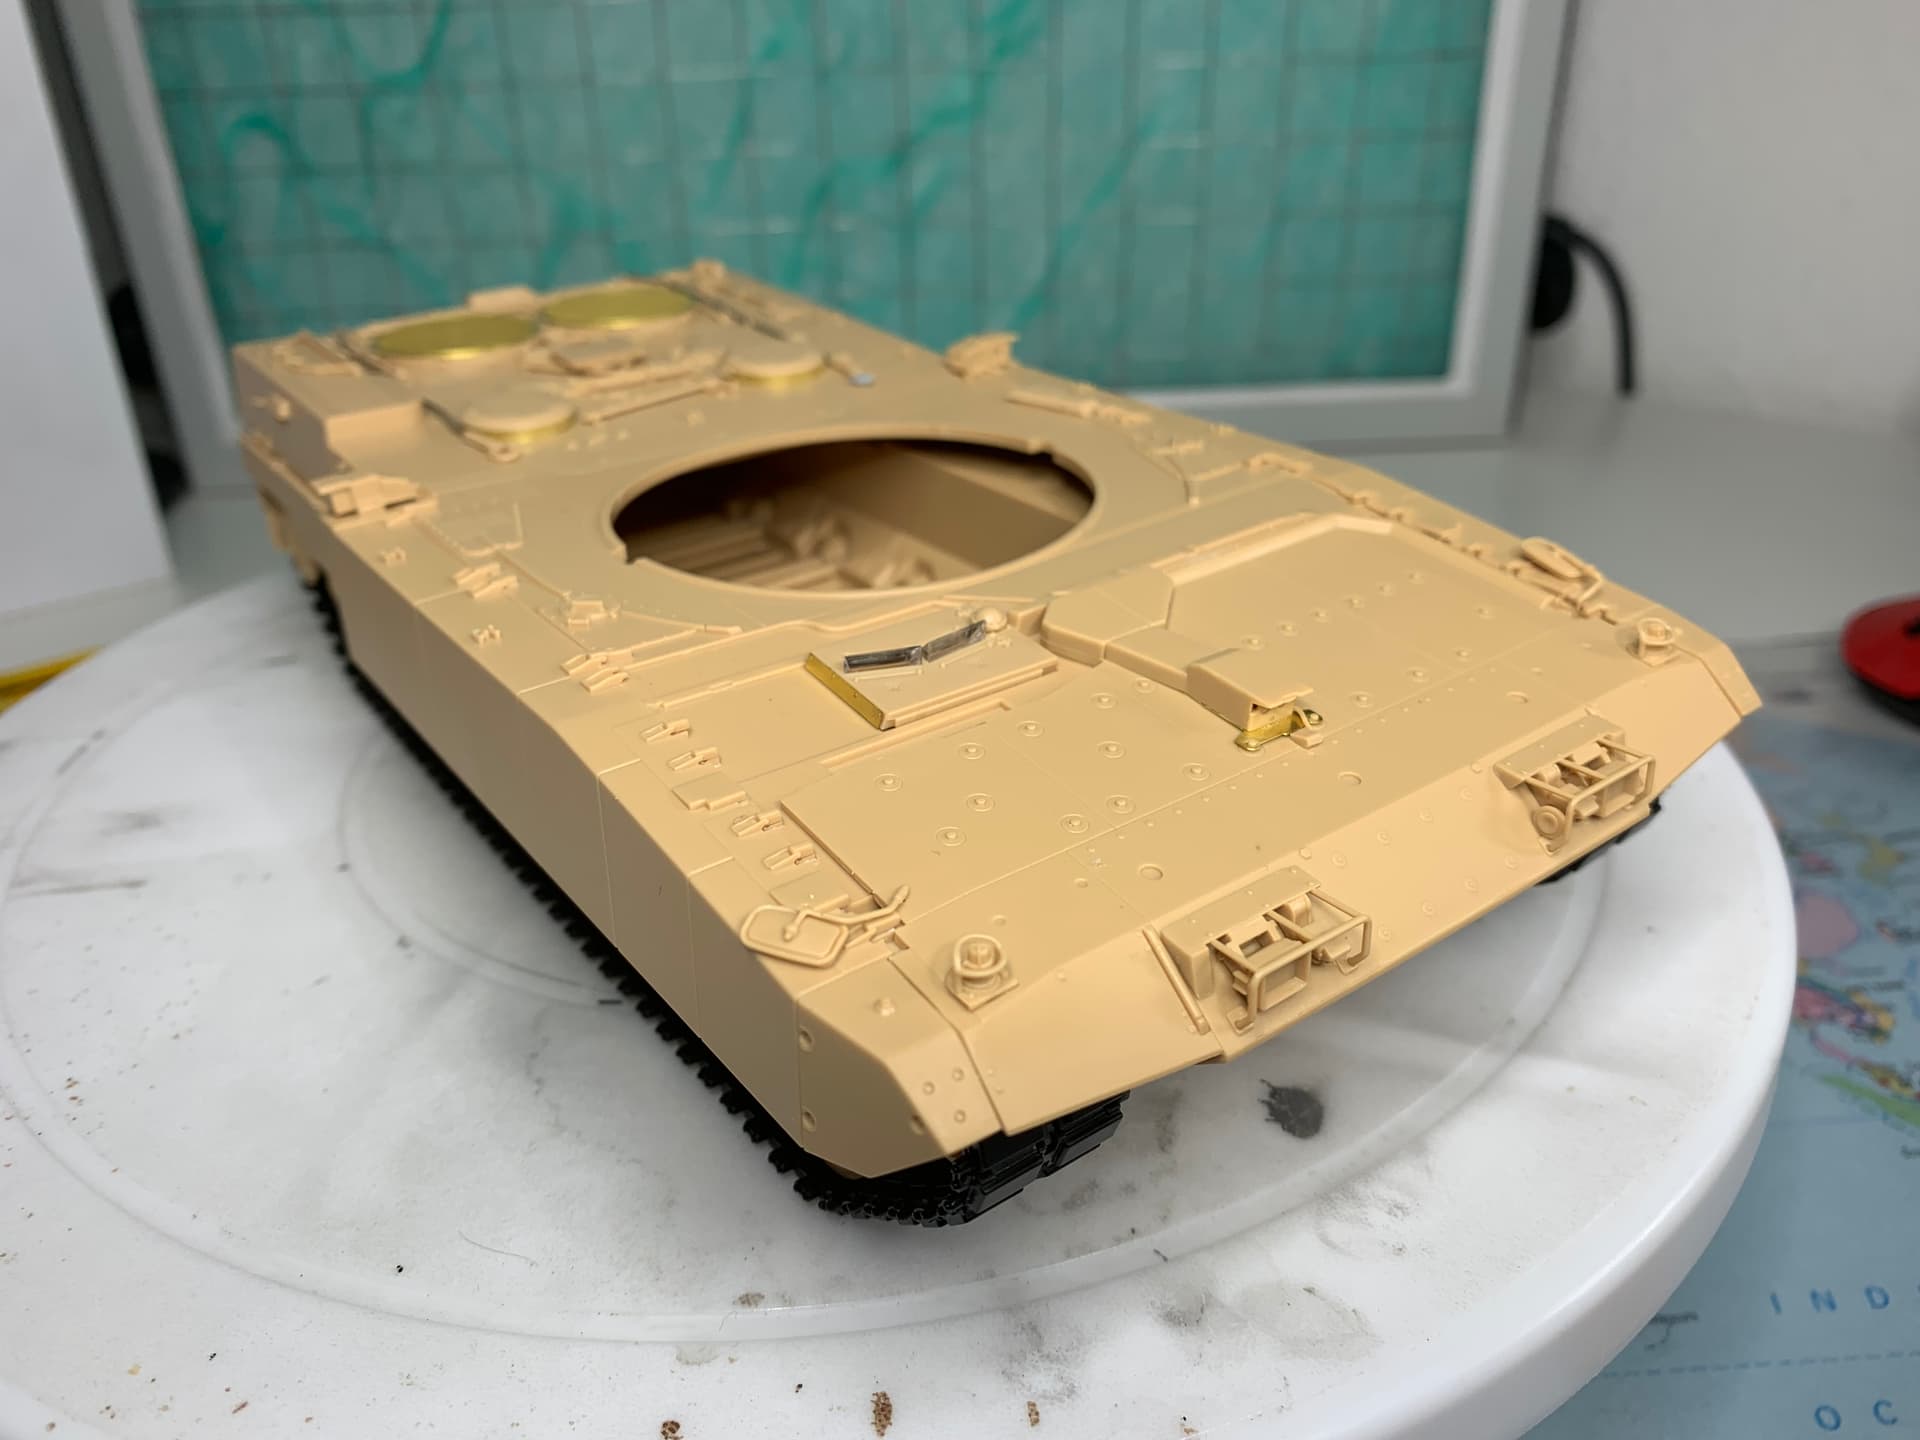
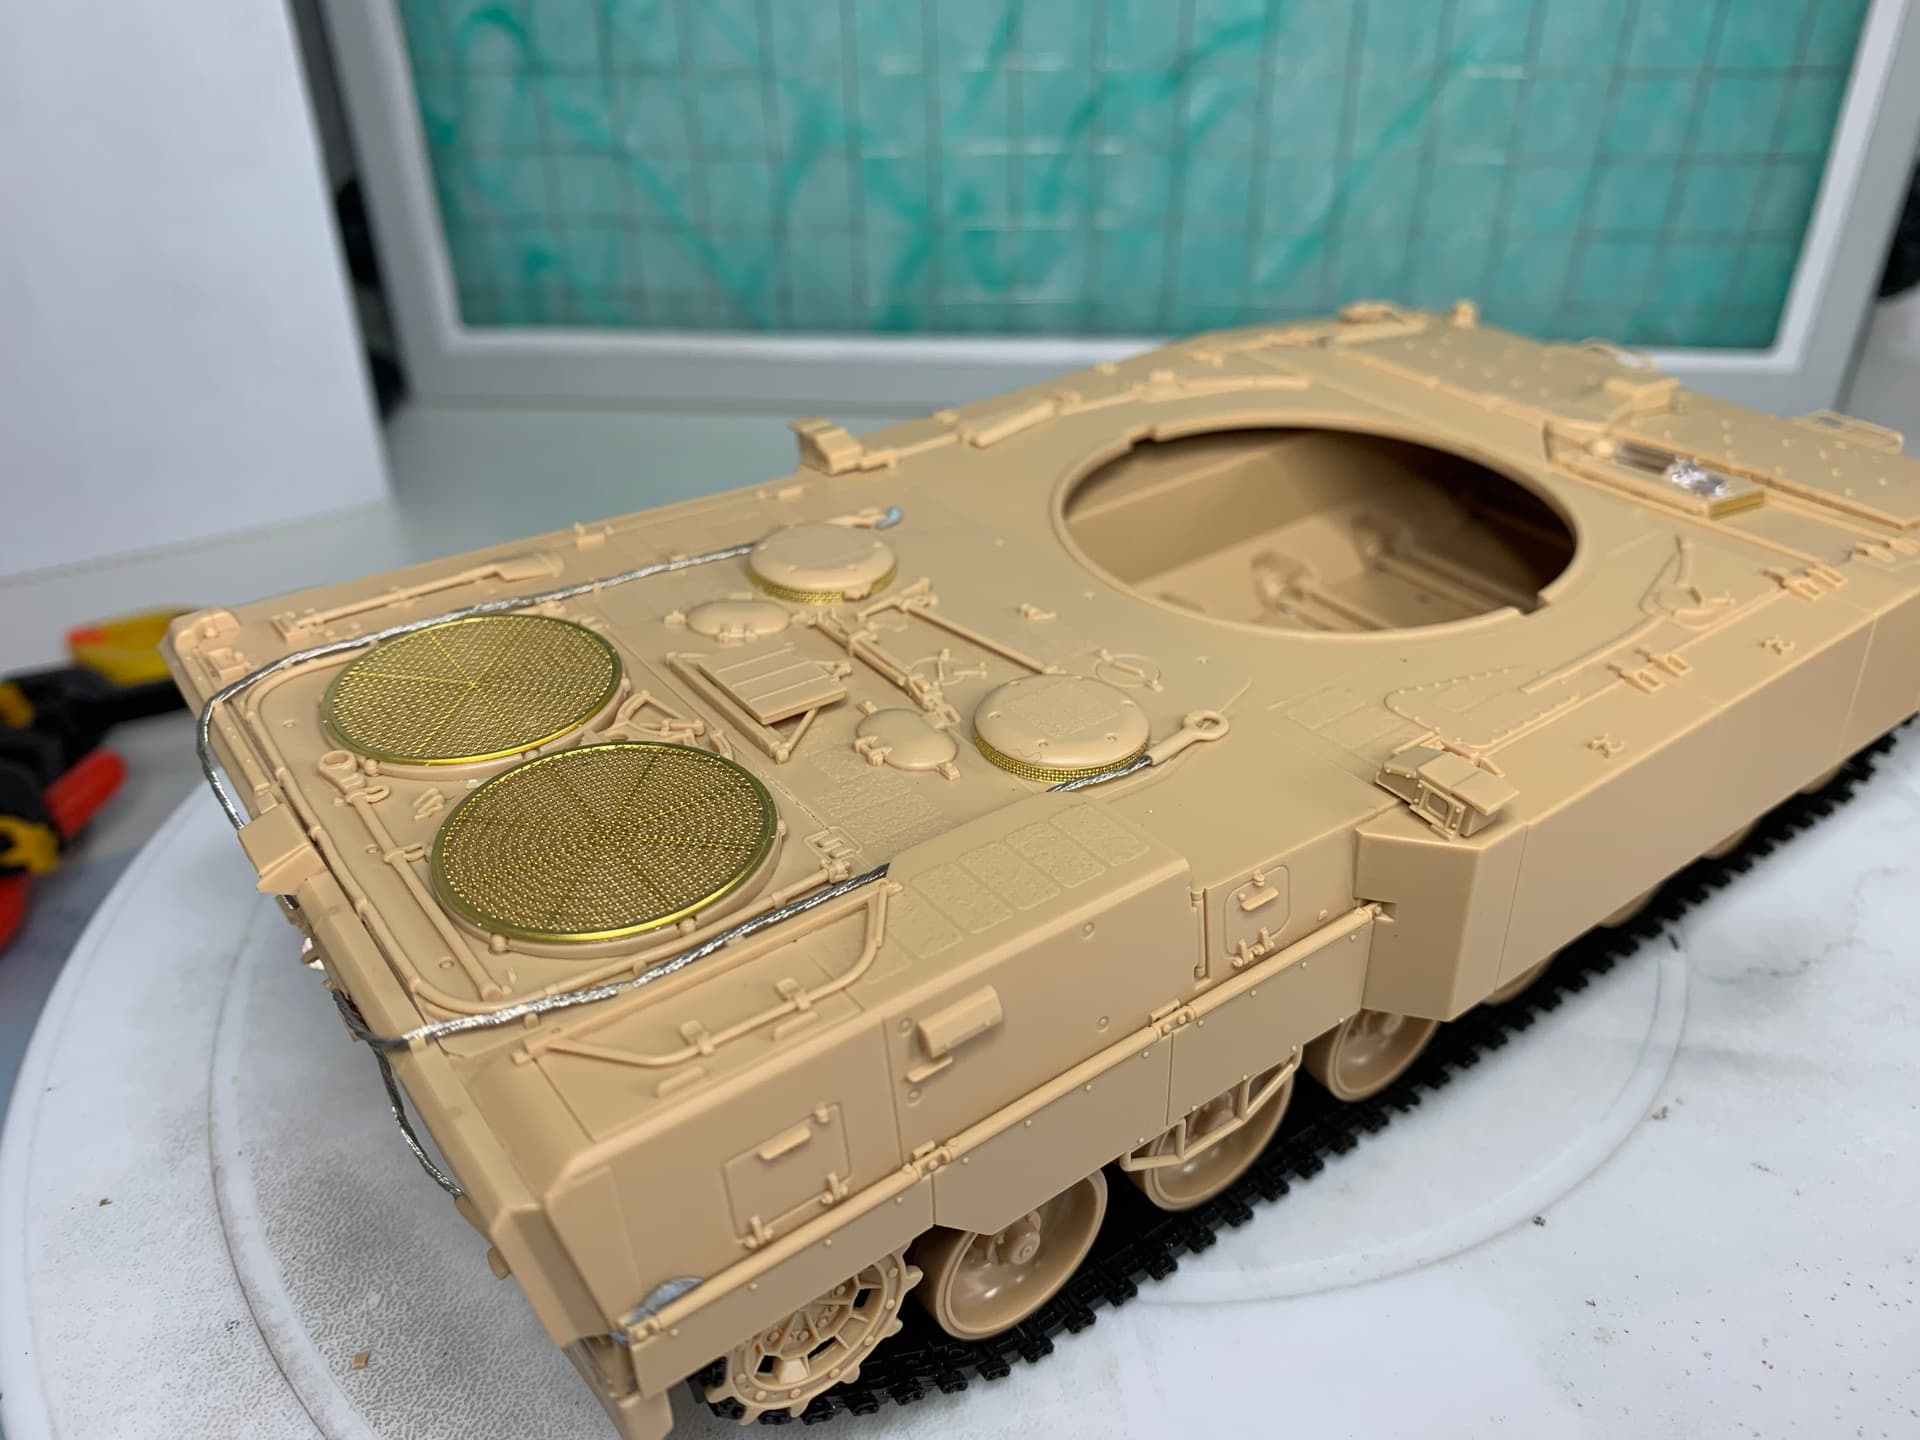
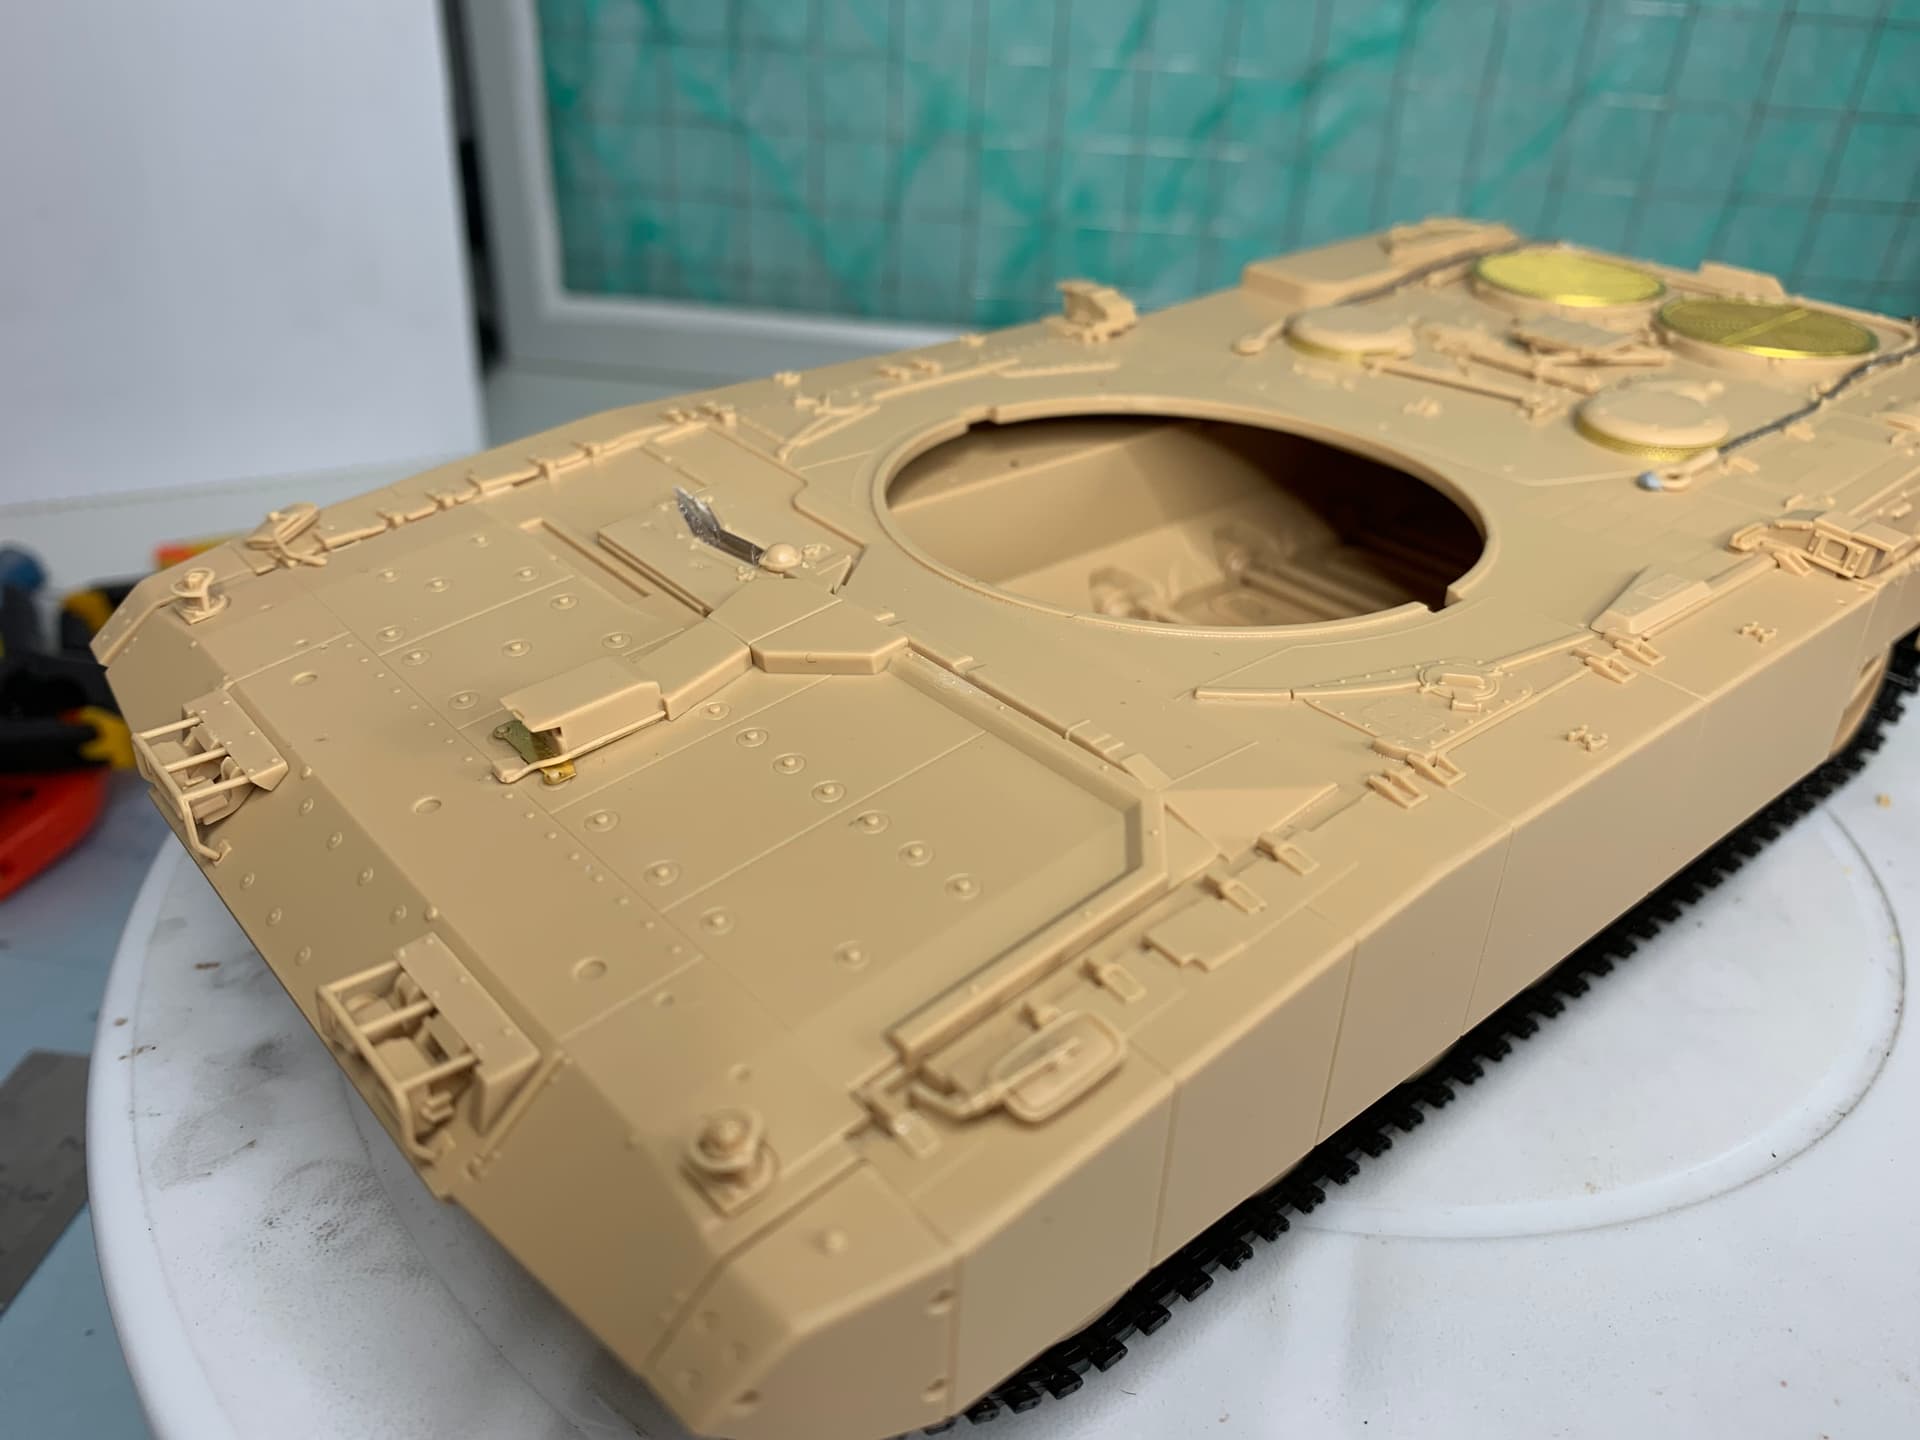
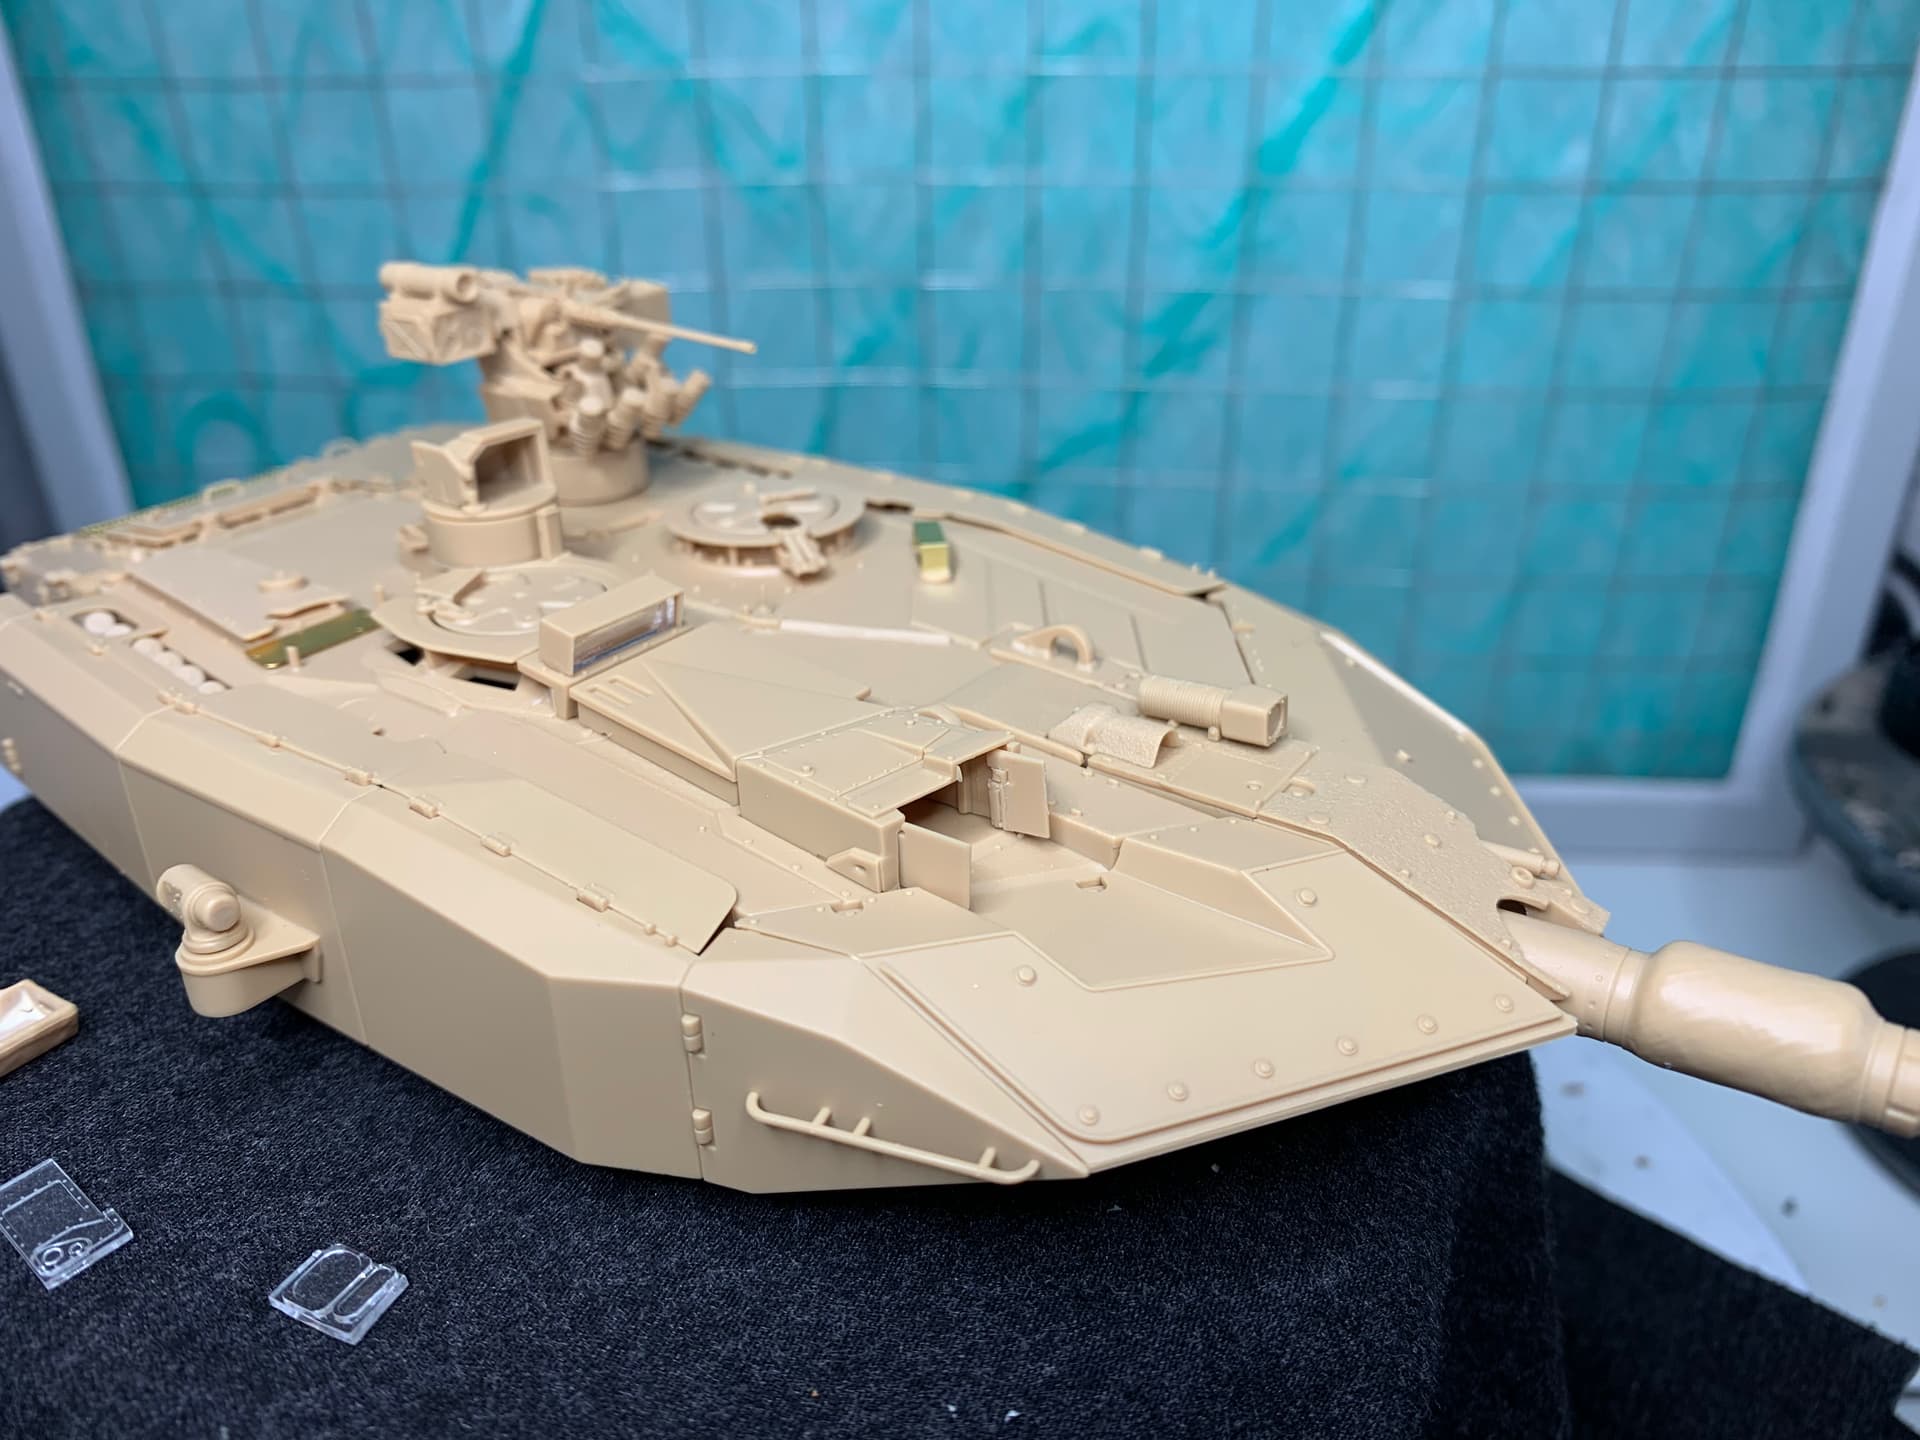
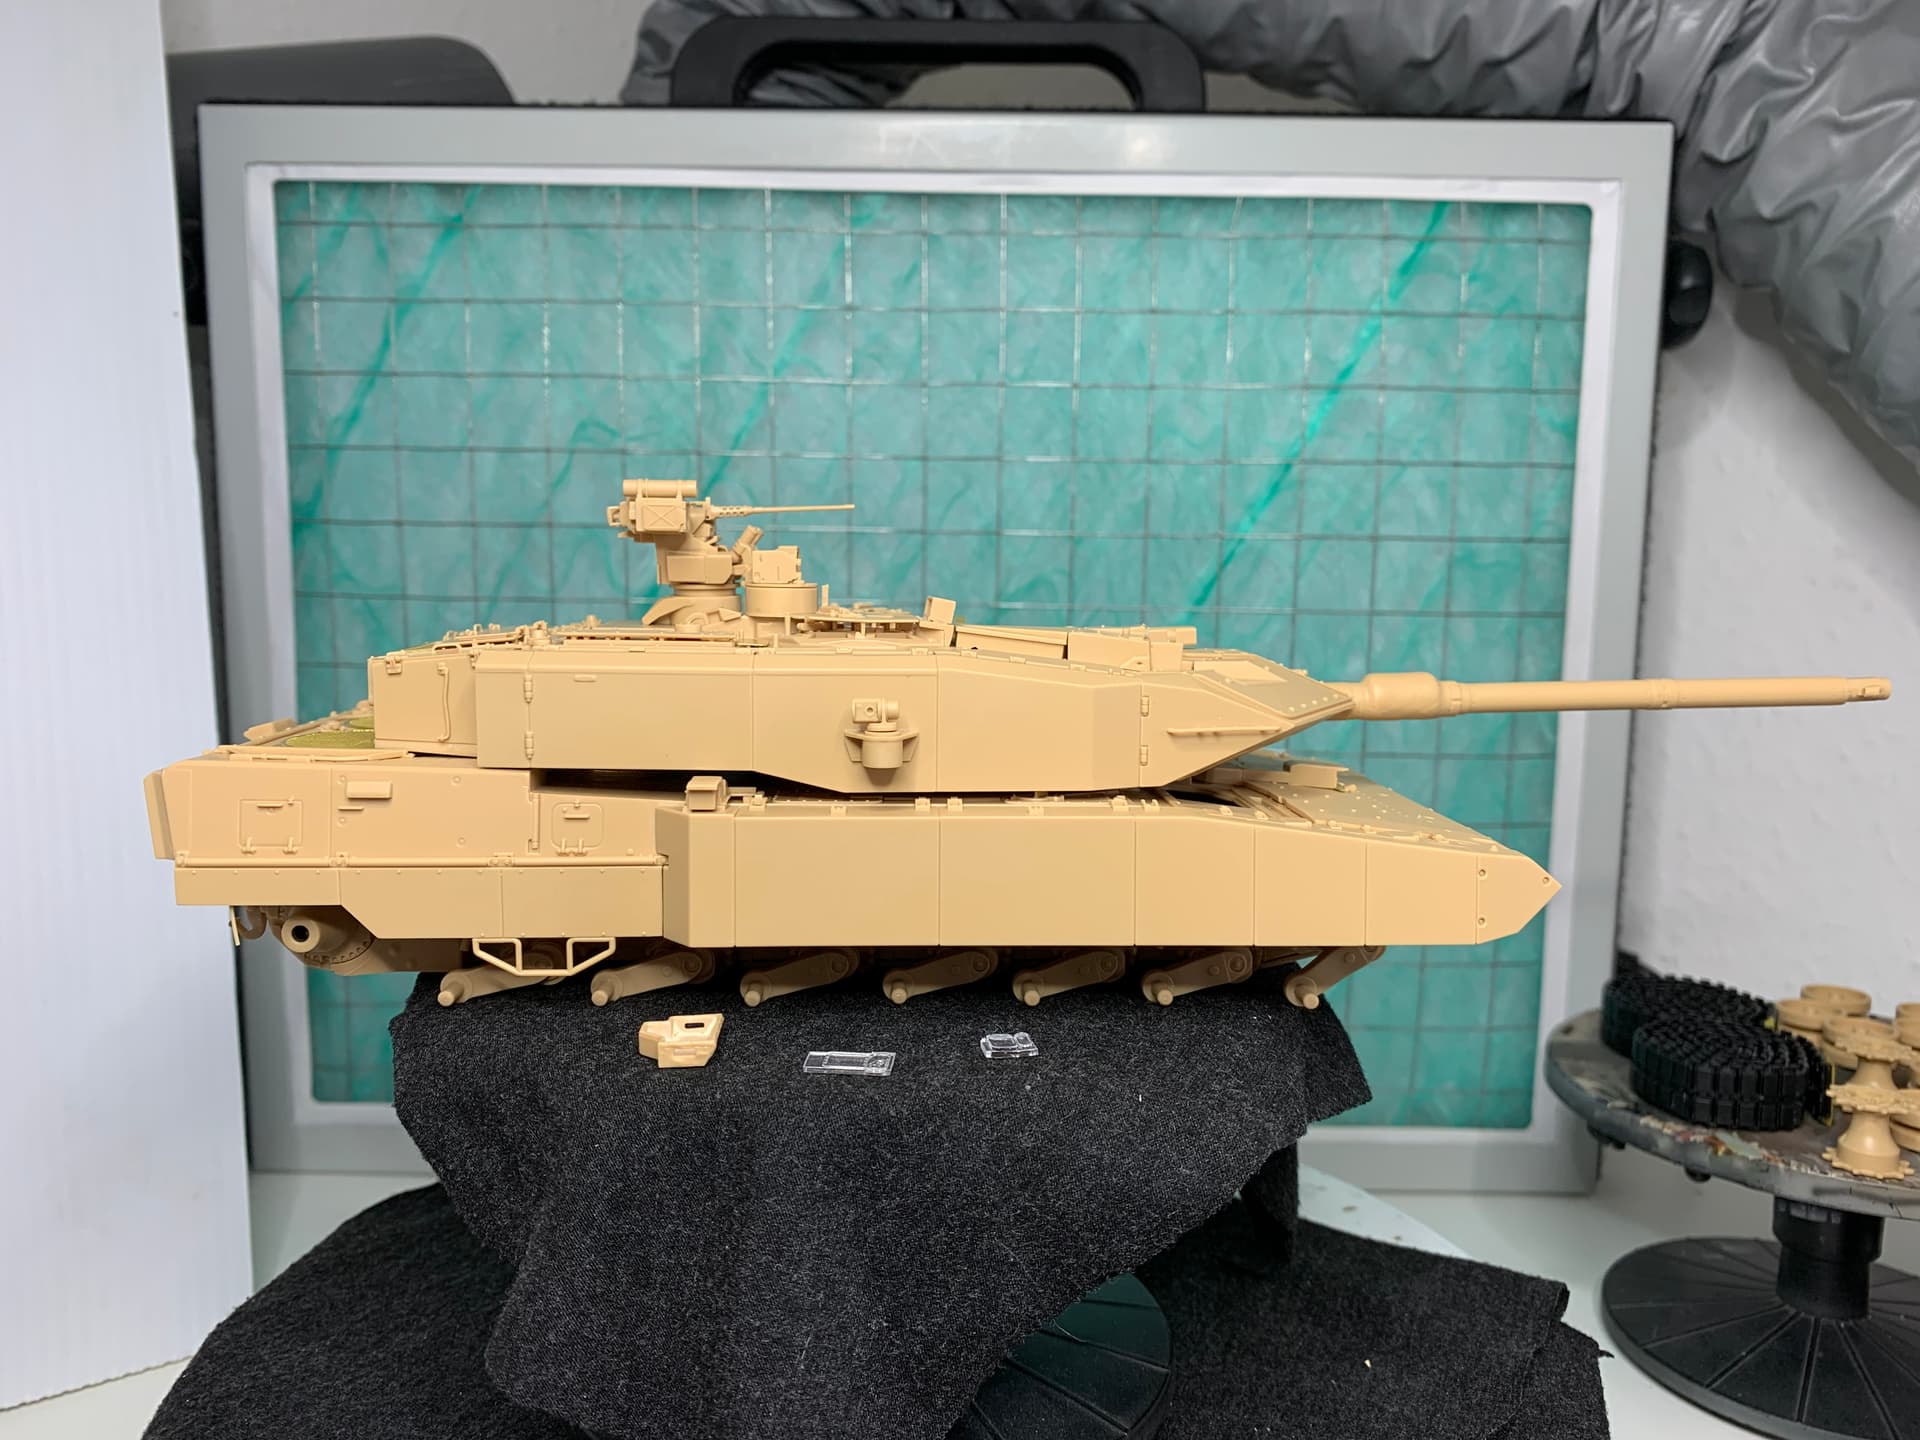
So, now have the hull put together. The side armour is glued in place, however the rear side plates are removable and the stub for the return roller isn’t glued which is going to allow removal of tracks and running gear for painting, that’s the plan anyway. Parts like the lights, rear view mirrors, drivers hatch and rear mud guards are also not fixed in place yet. A couple of places to tidy up and onto the turret.
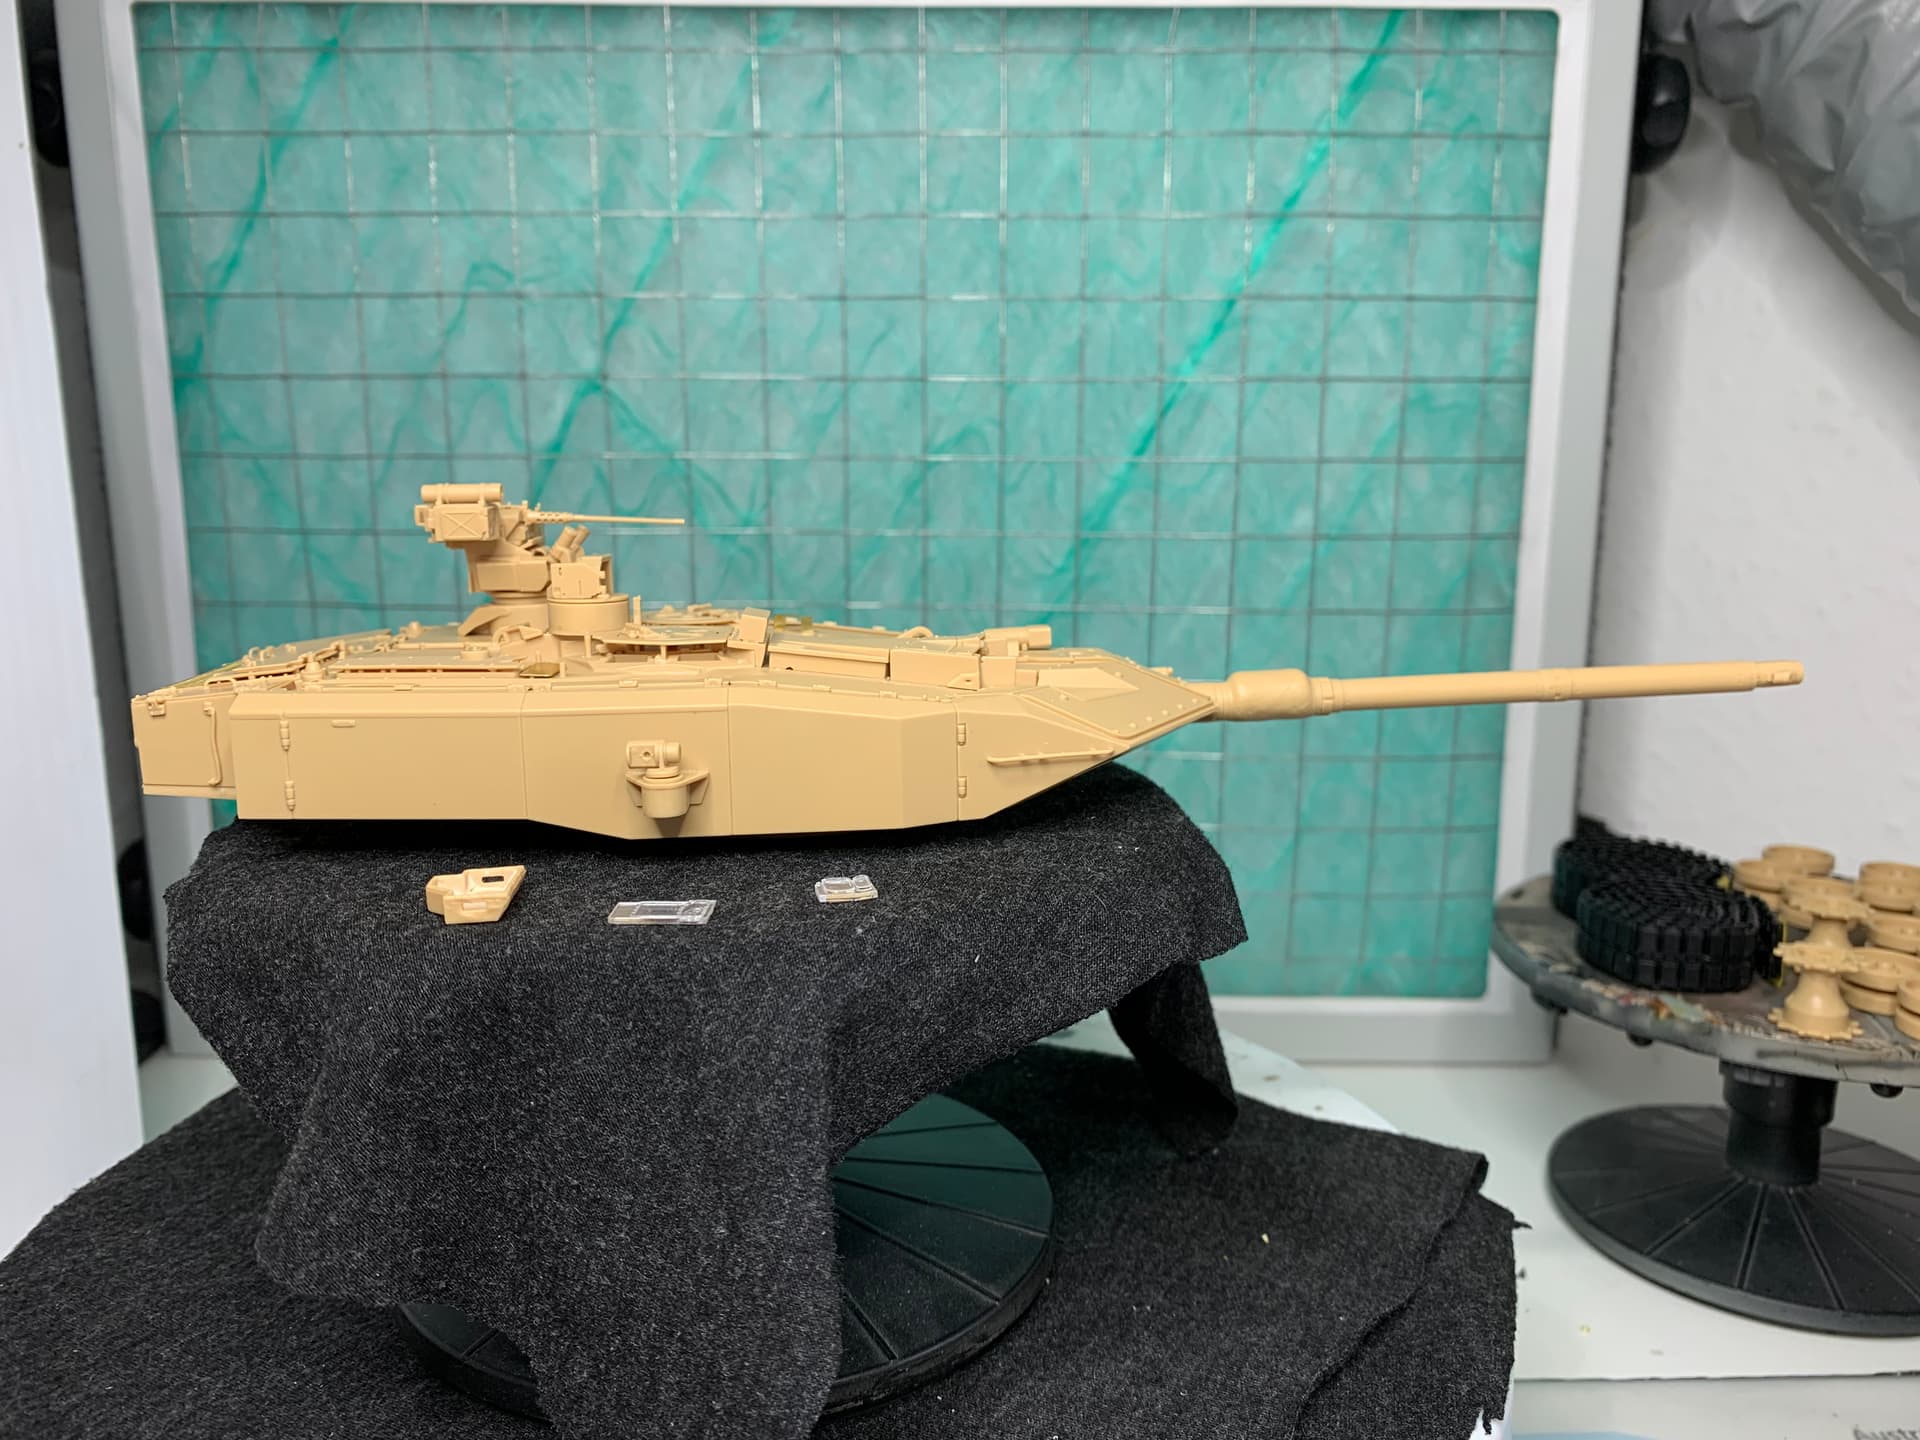
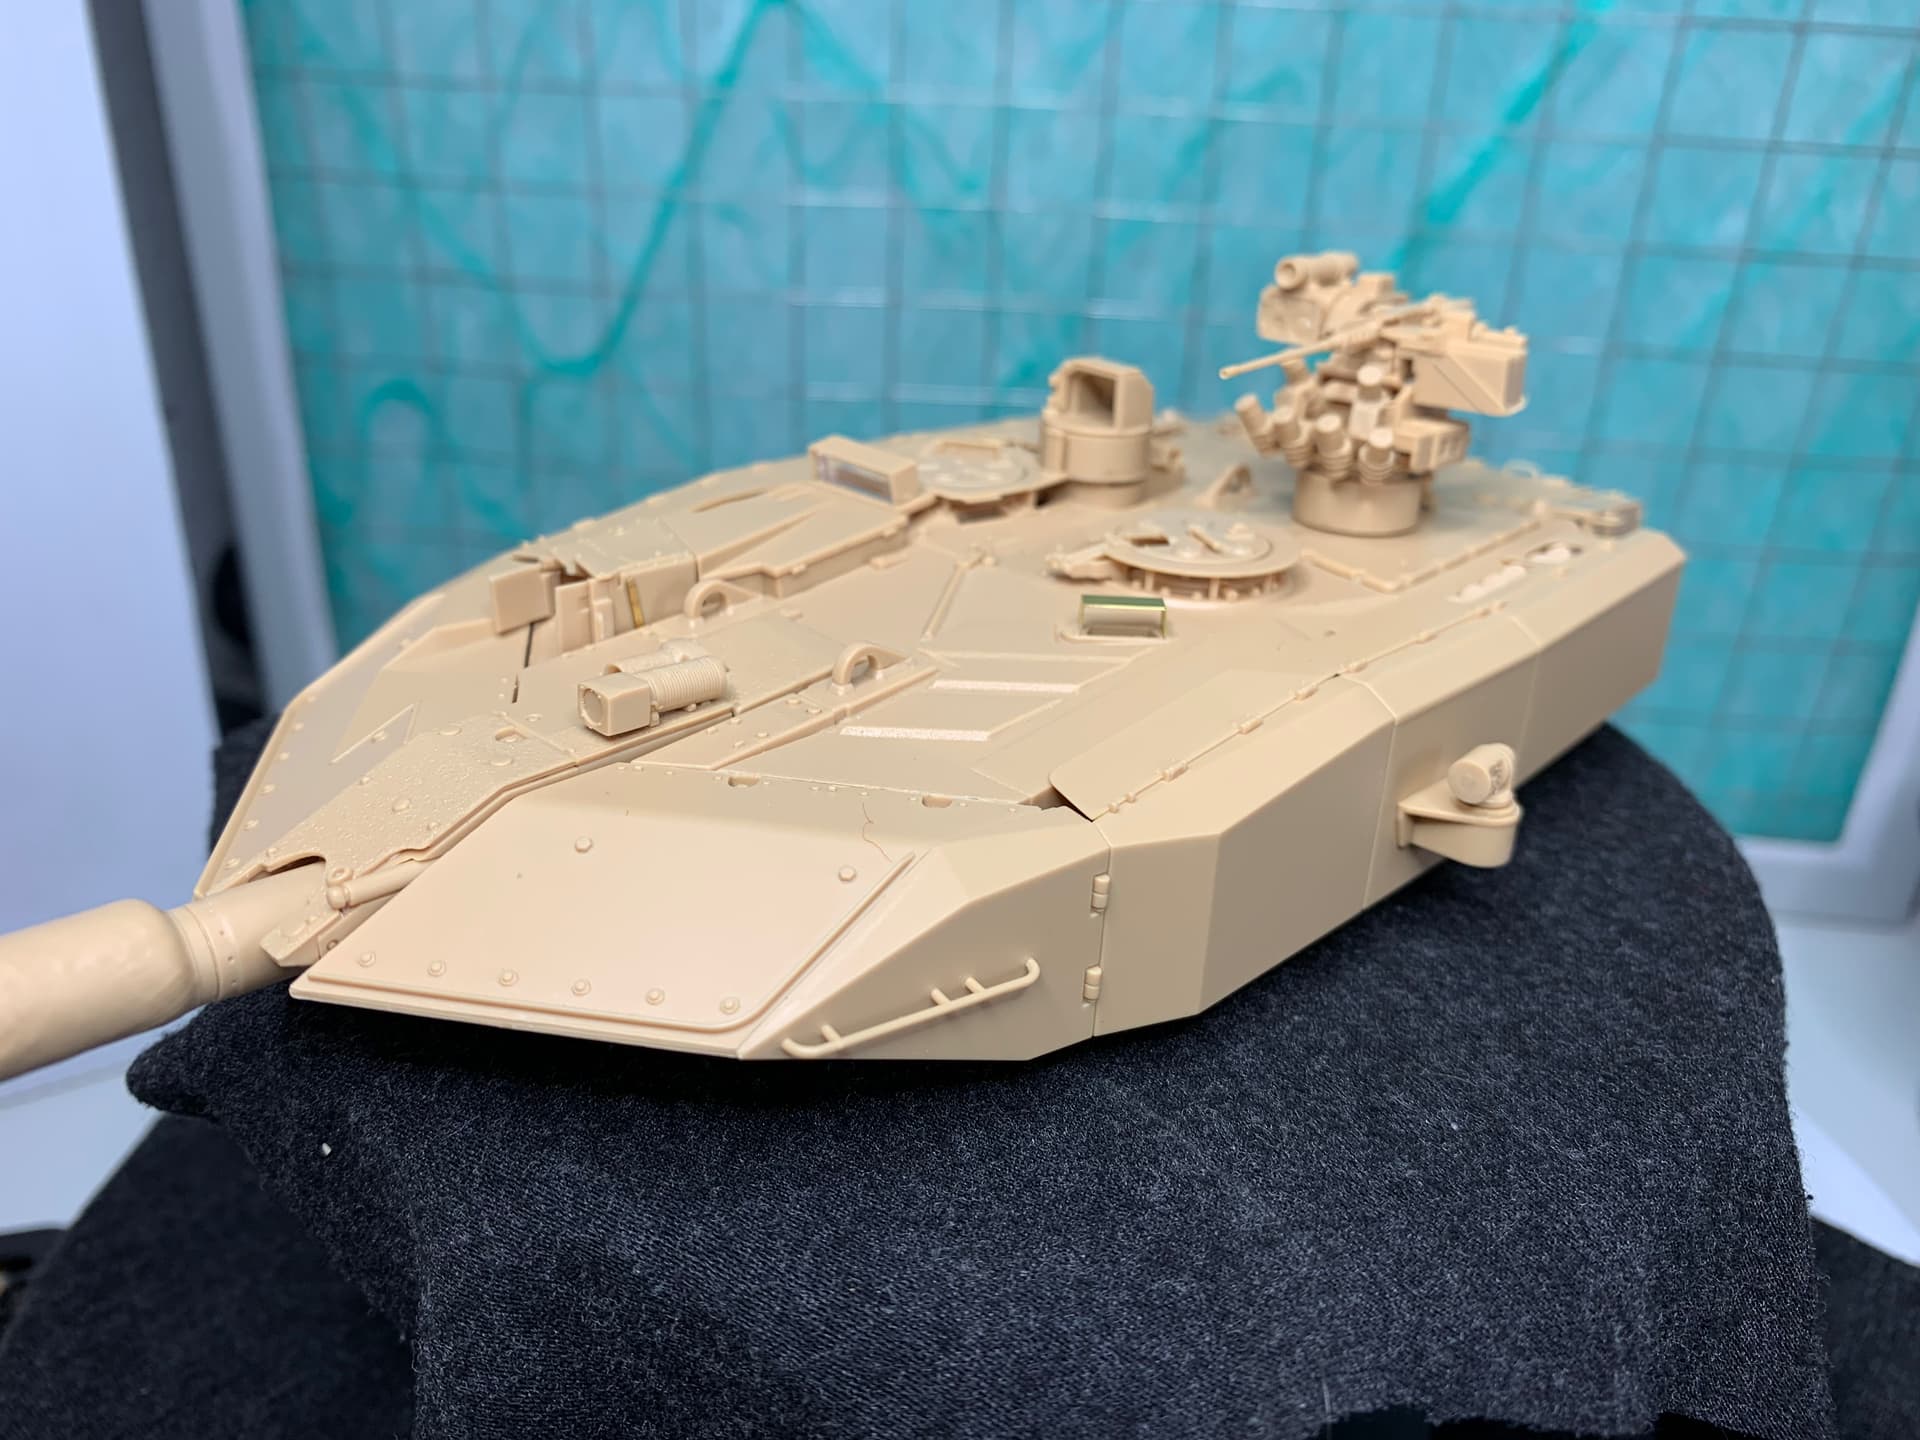
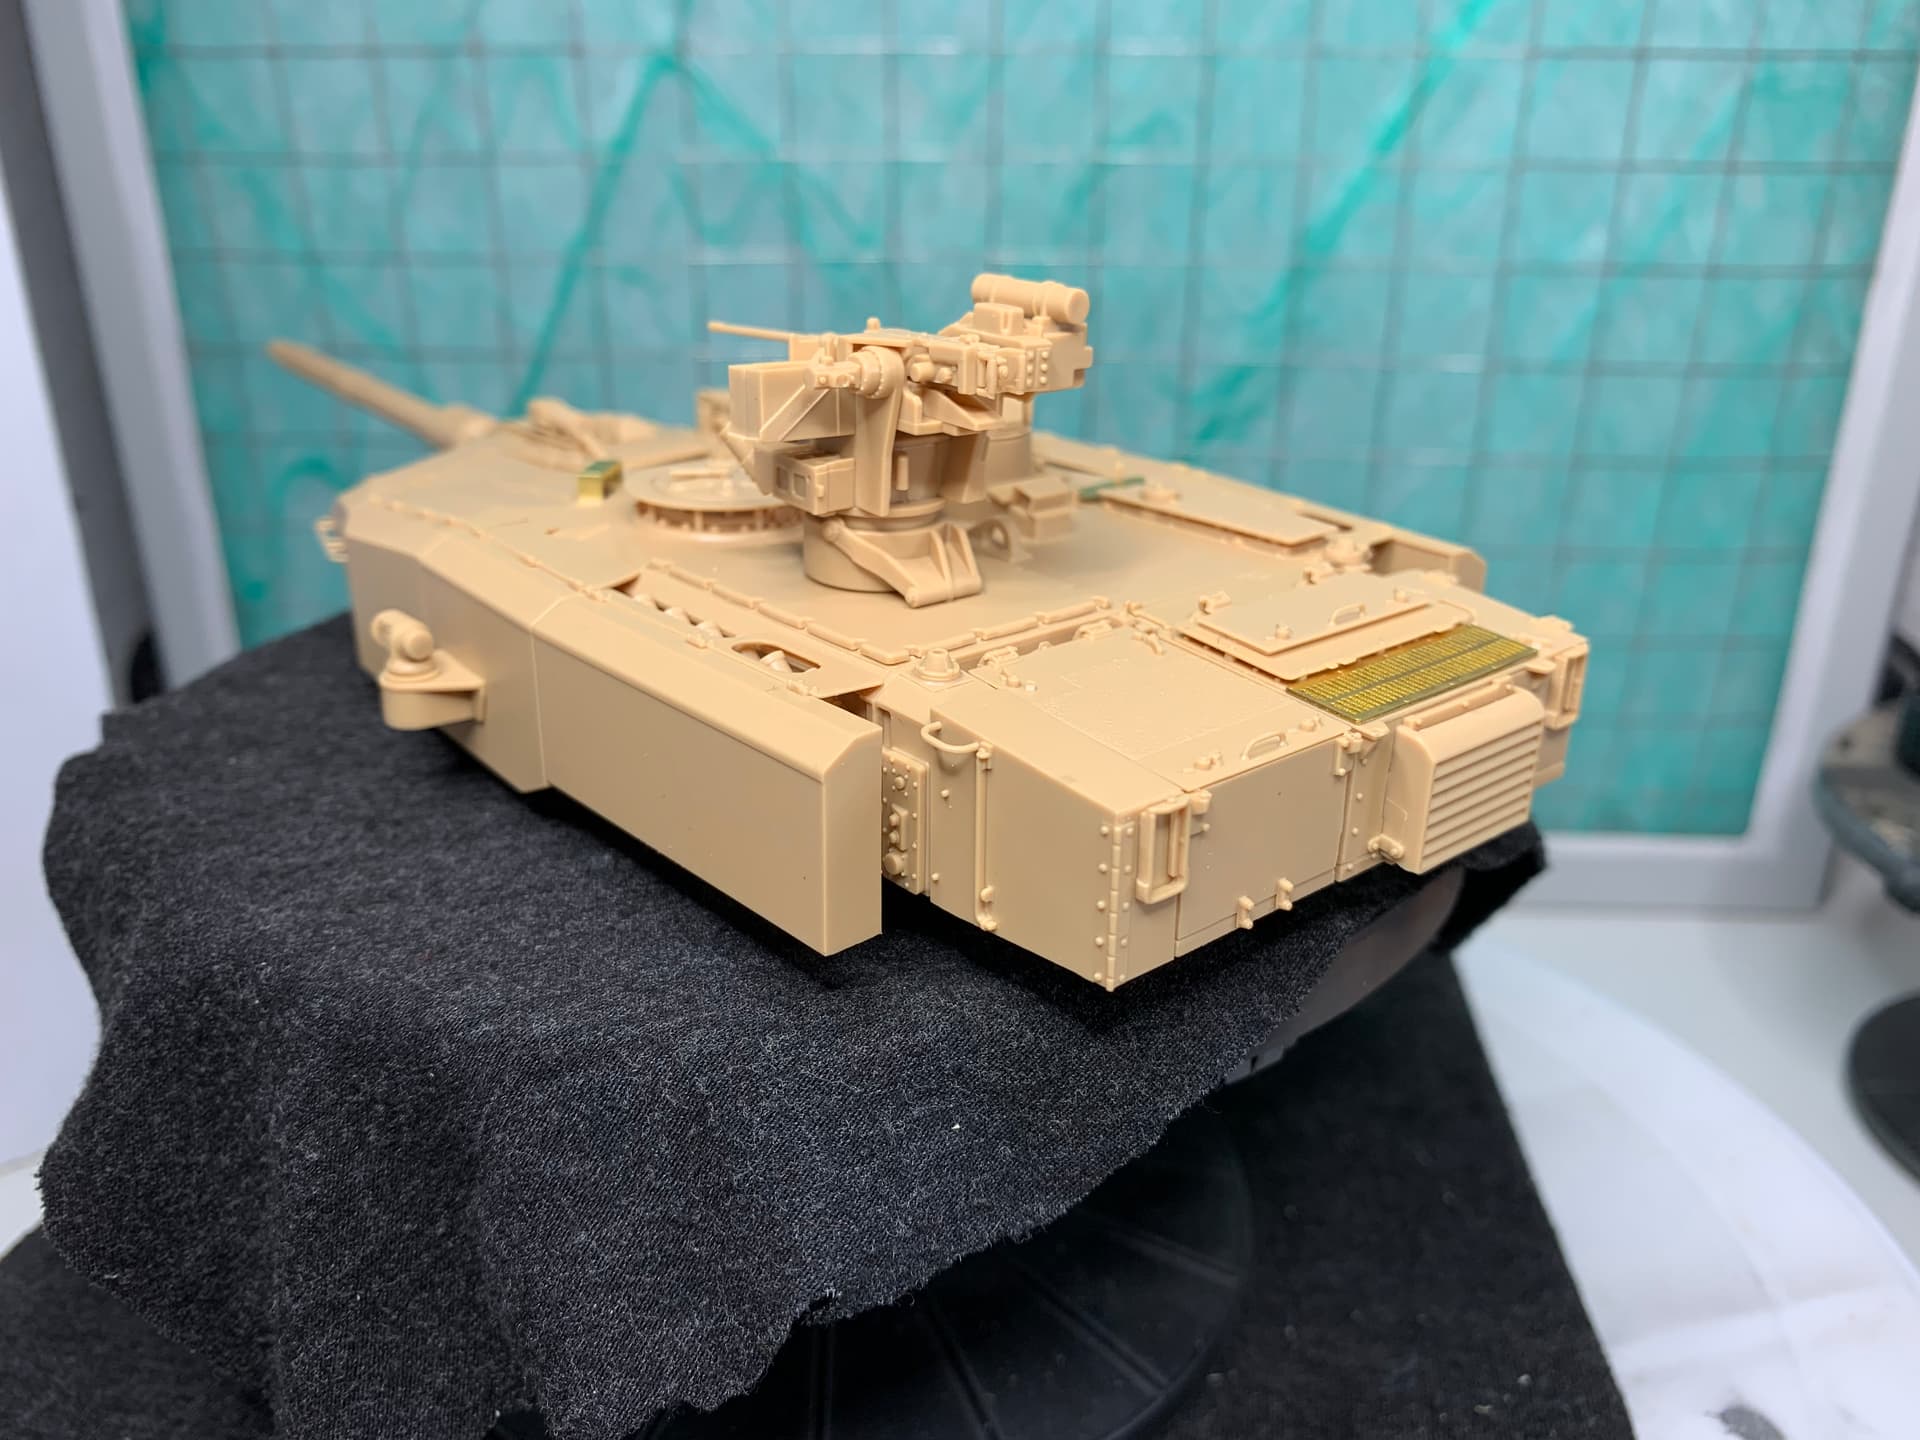
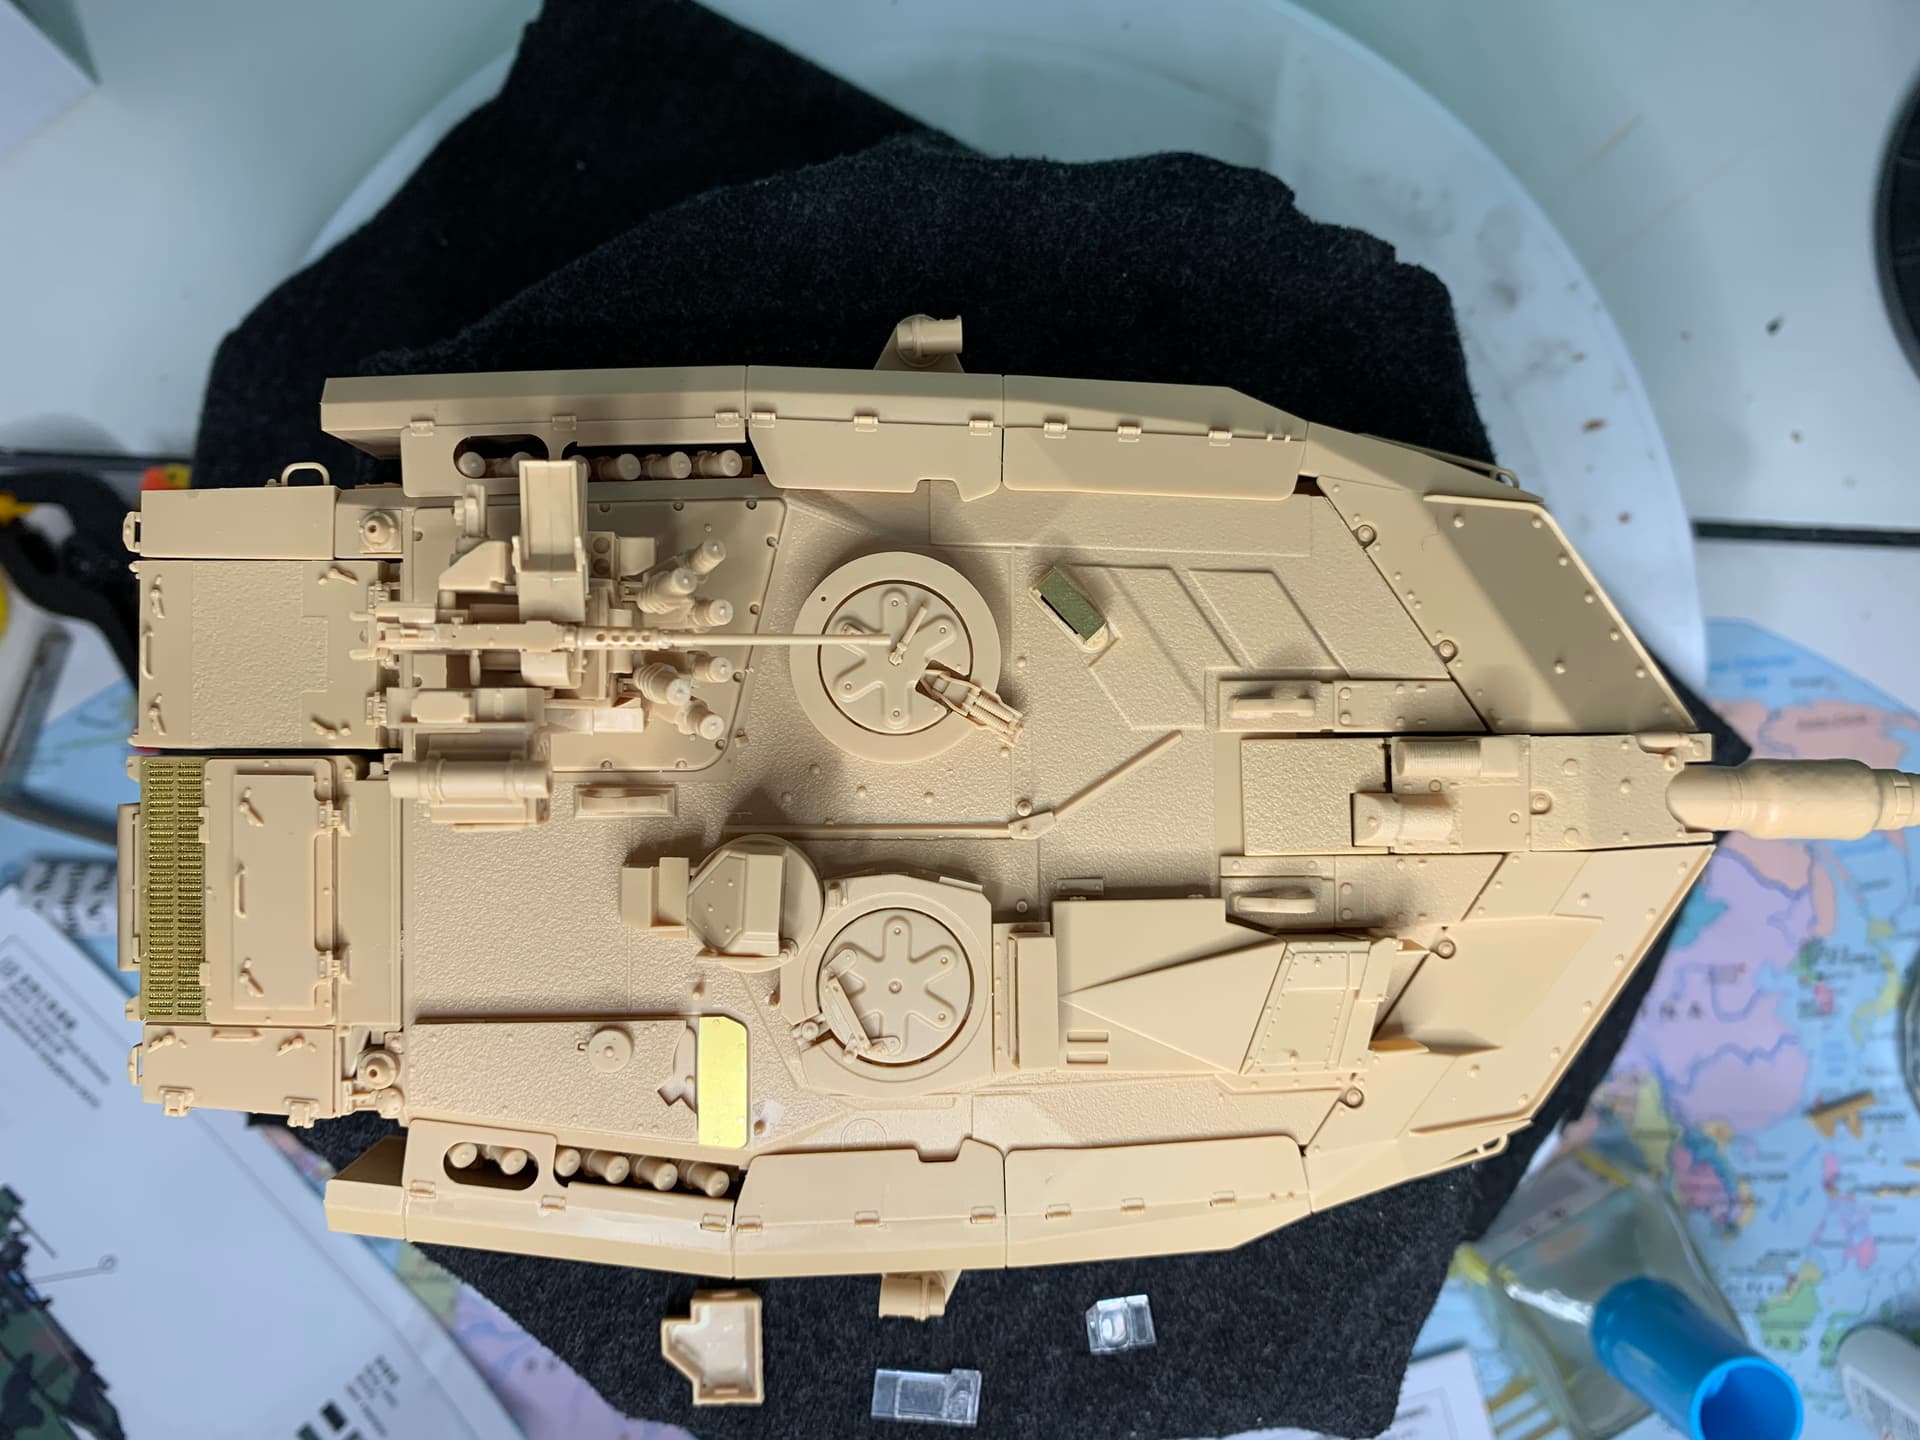
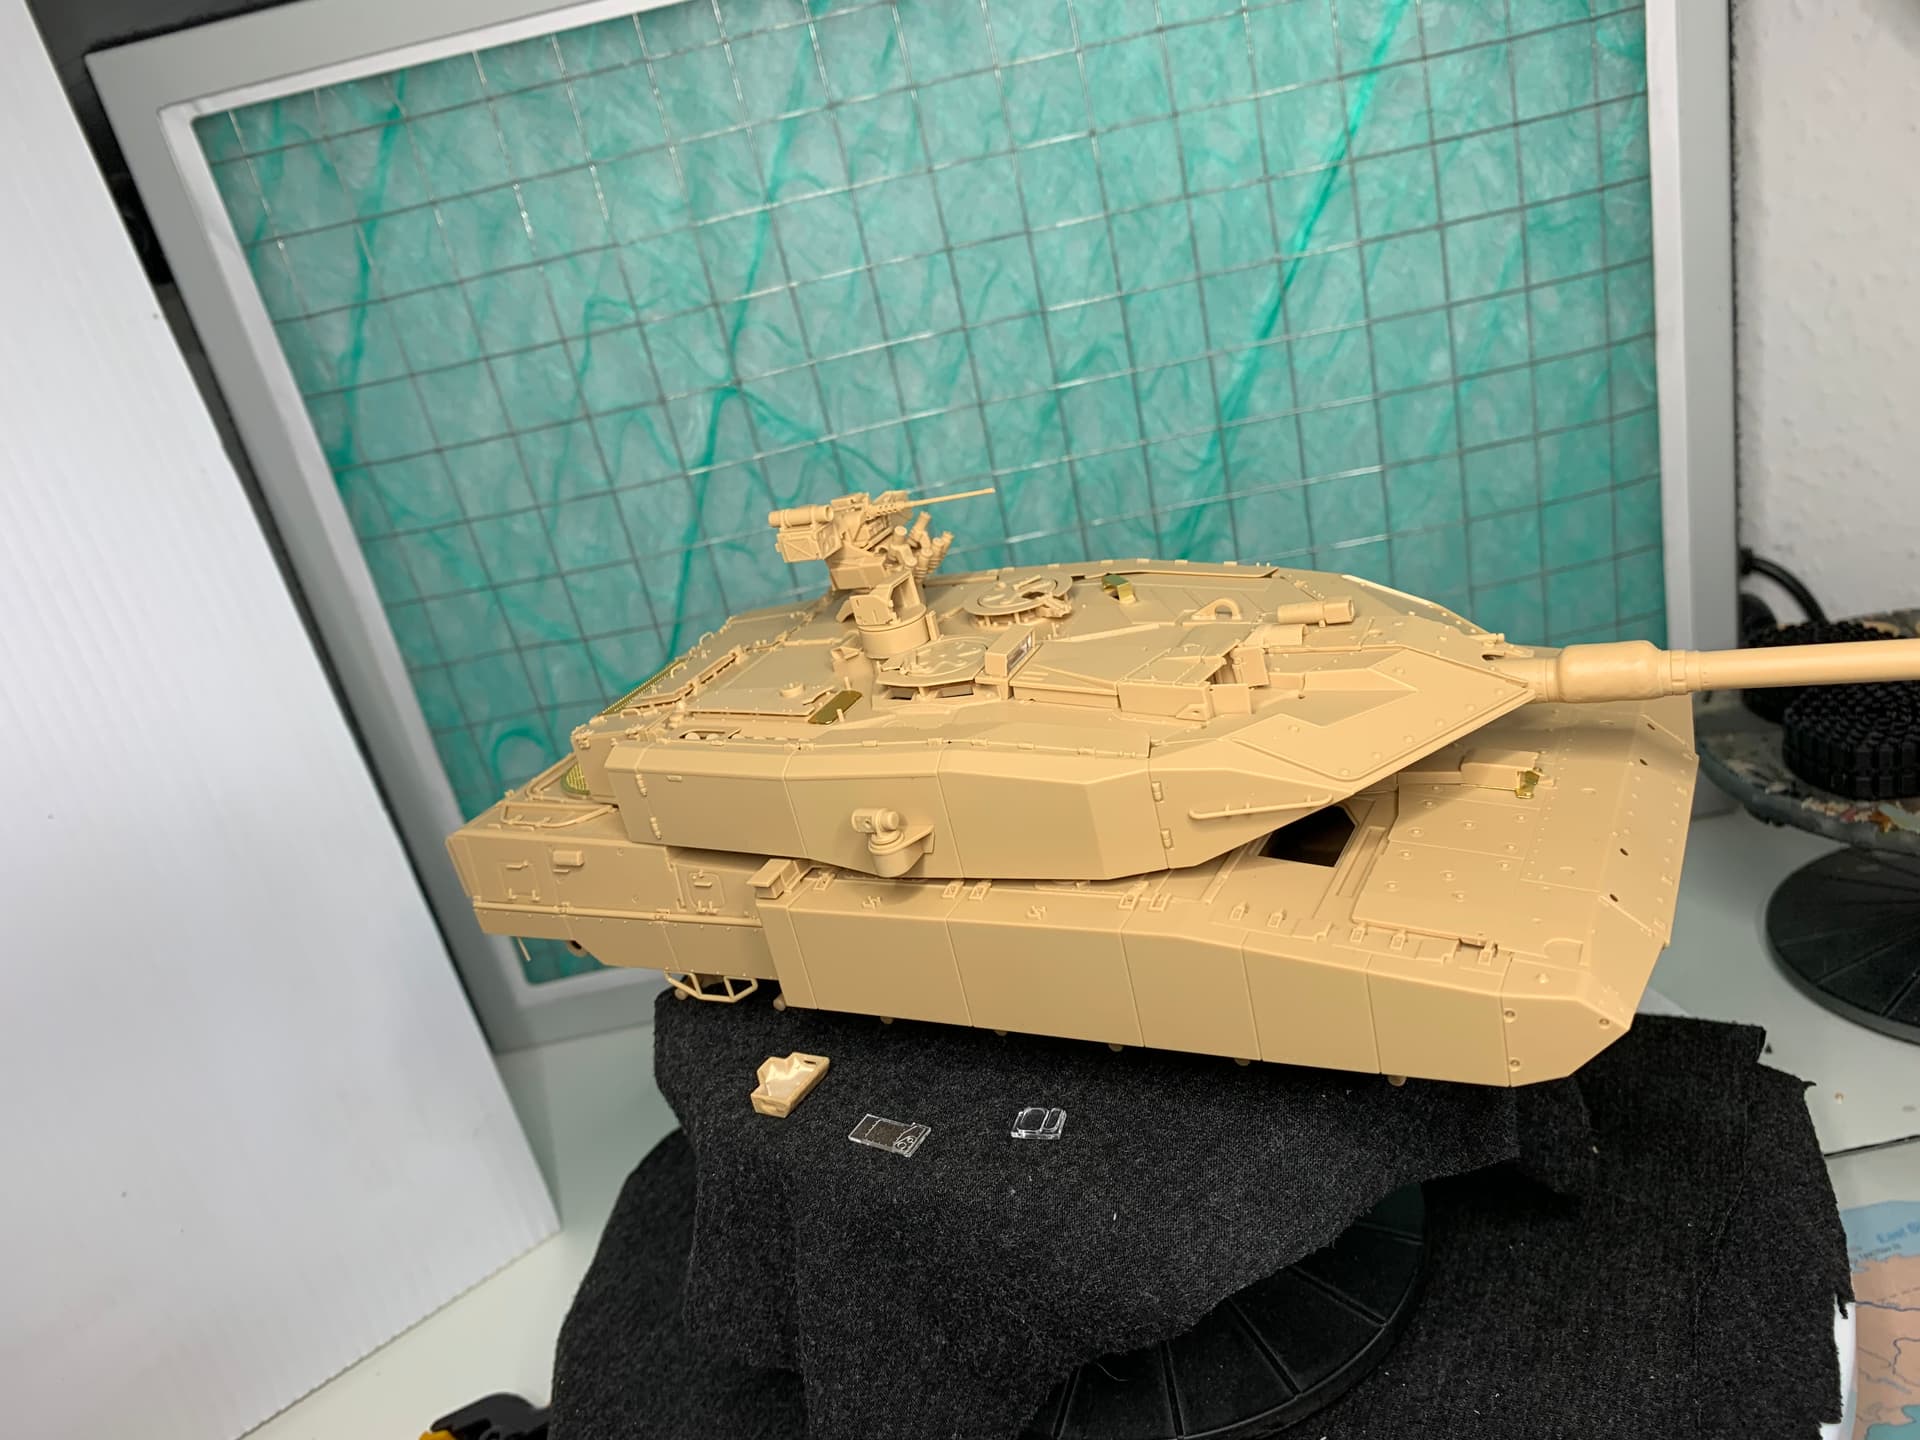
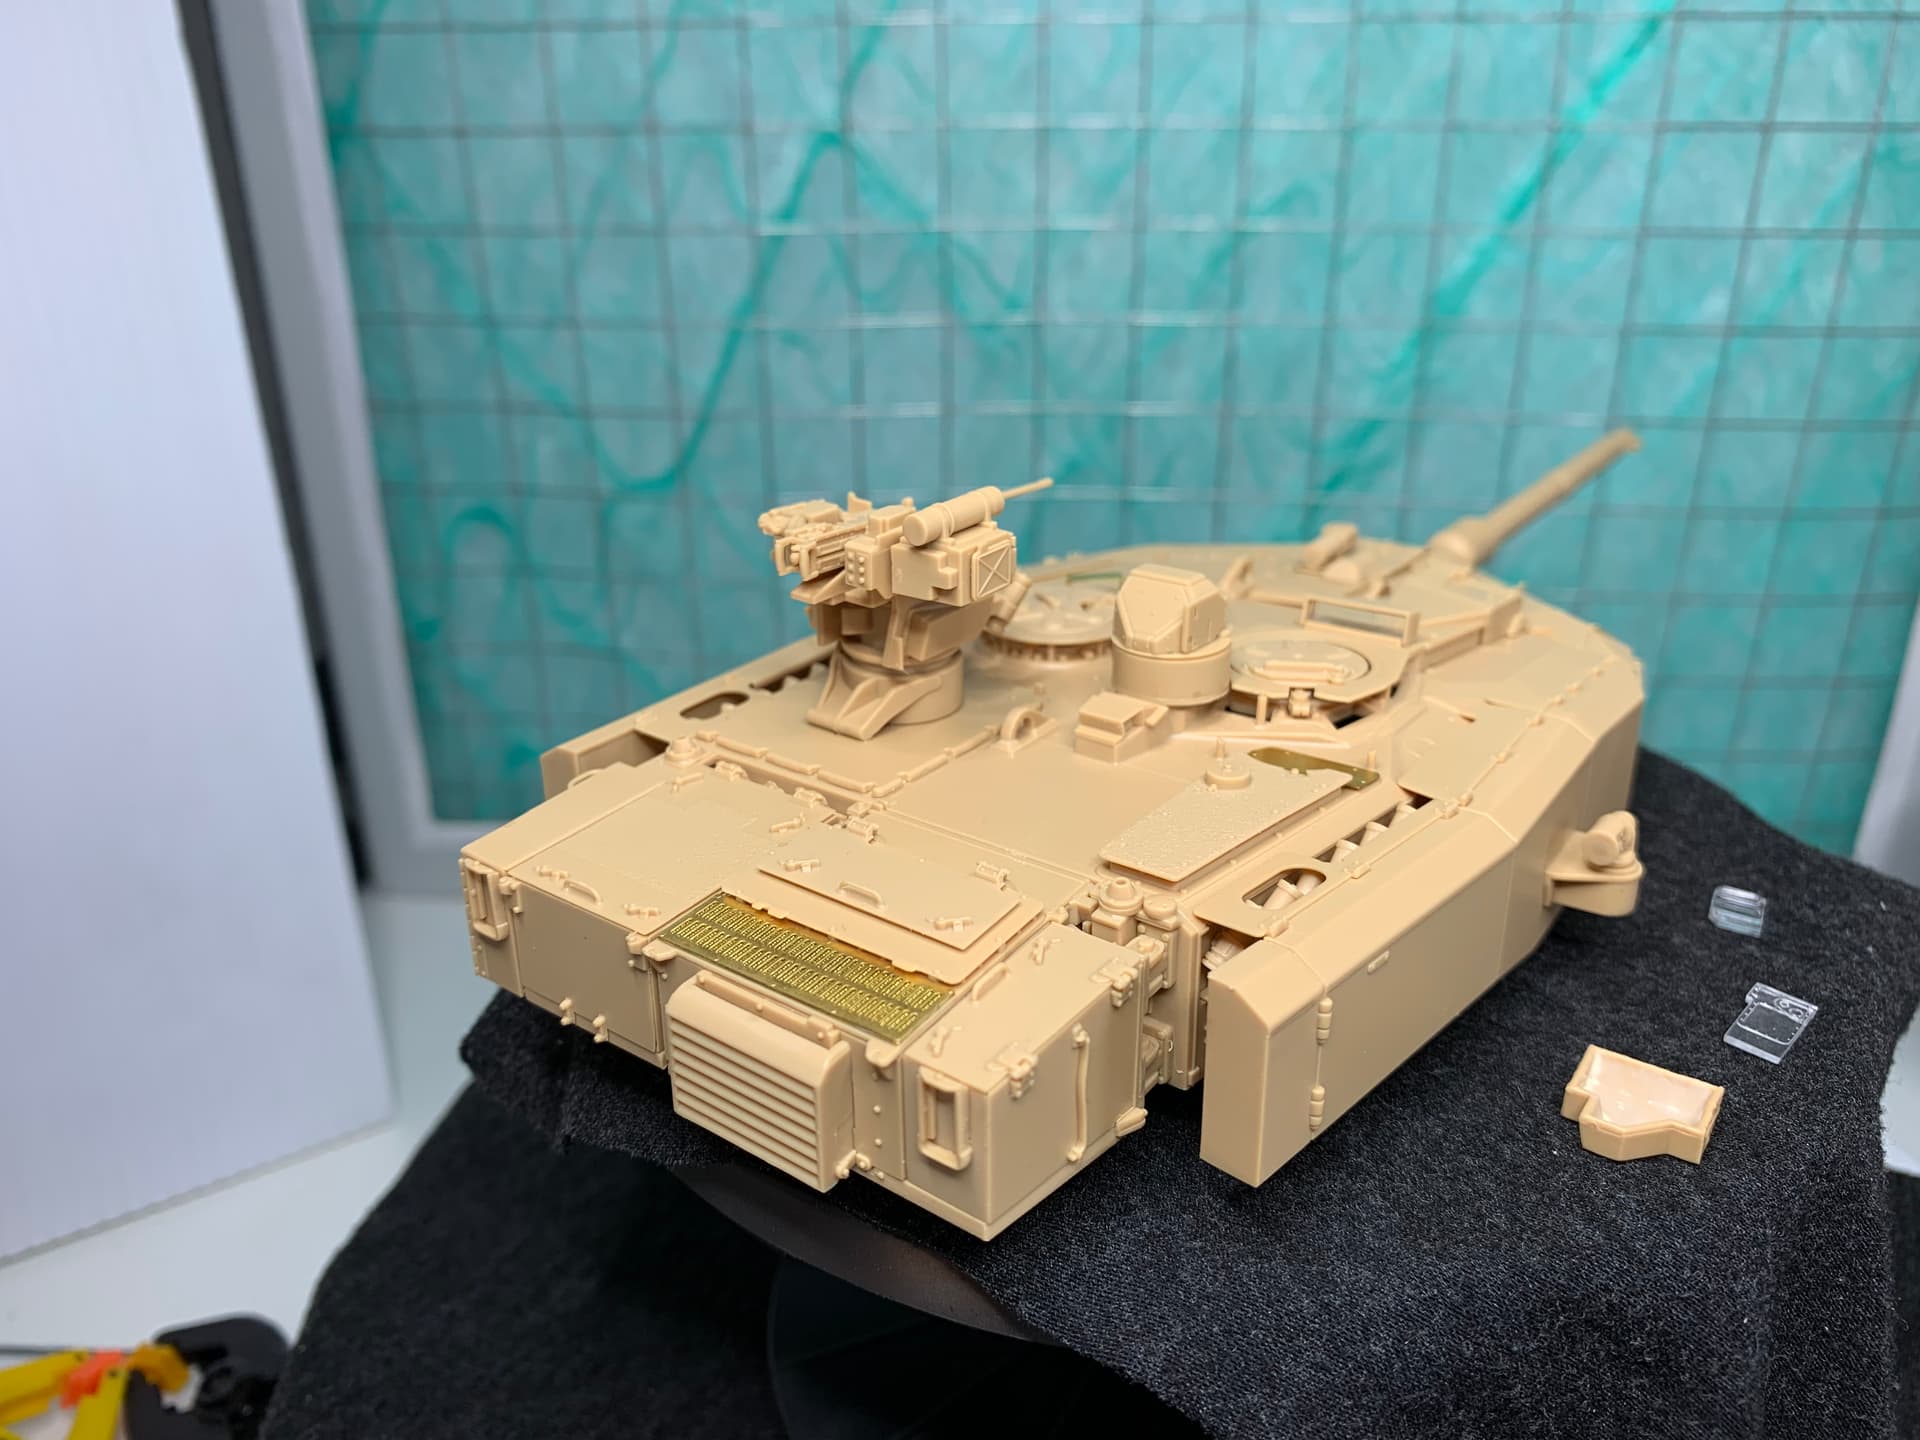
And now we have the turret built. It goes together nicely with only minor fit issues here and there. The side armour, main gun, commander and main sights are removable for painting. The auto turret needs some more work but is well done by Meng I think. With the additional armour and the ac and storage boxes on the back the turret is huge!
Just some snagging now and wash up ready for paint.
Thanks John. I think I am going to go with Andy Moore’s scheme I posted the link to earlier, but I reserve the right to change my mind!
As it’s a demonstrator I don’t feel too constrained with the finish, however there are still lots of little jobs to do before paint. The pictures are always handy to see areas that need attention.
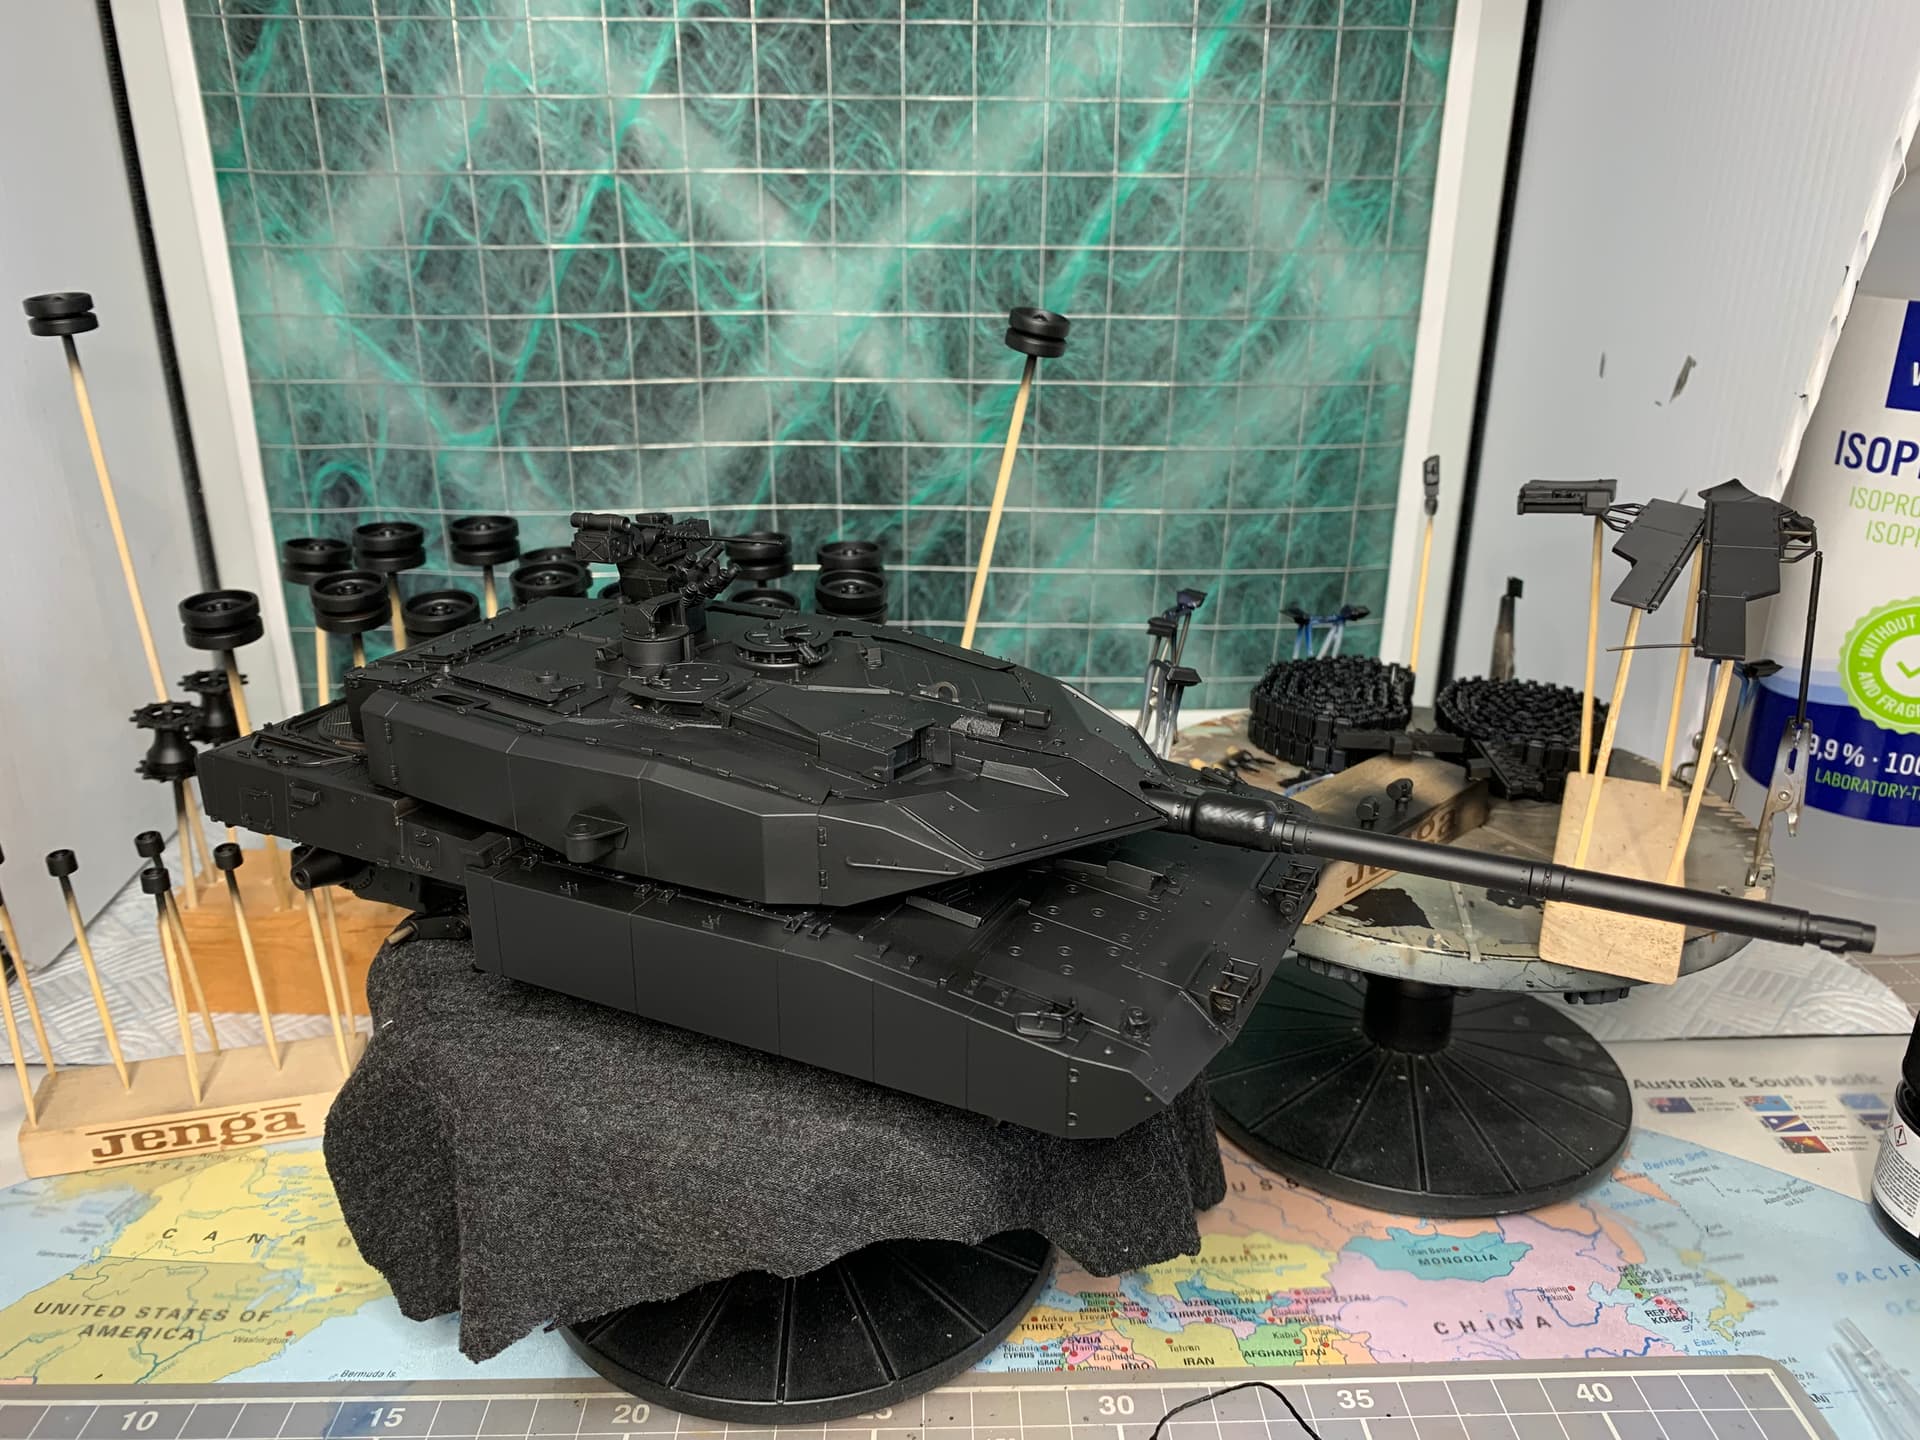
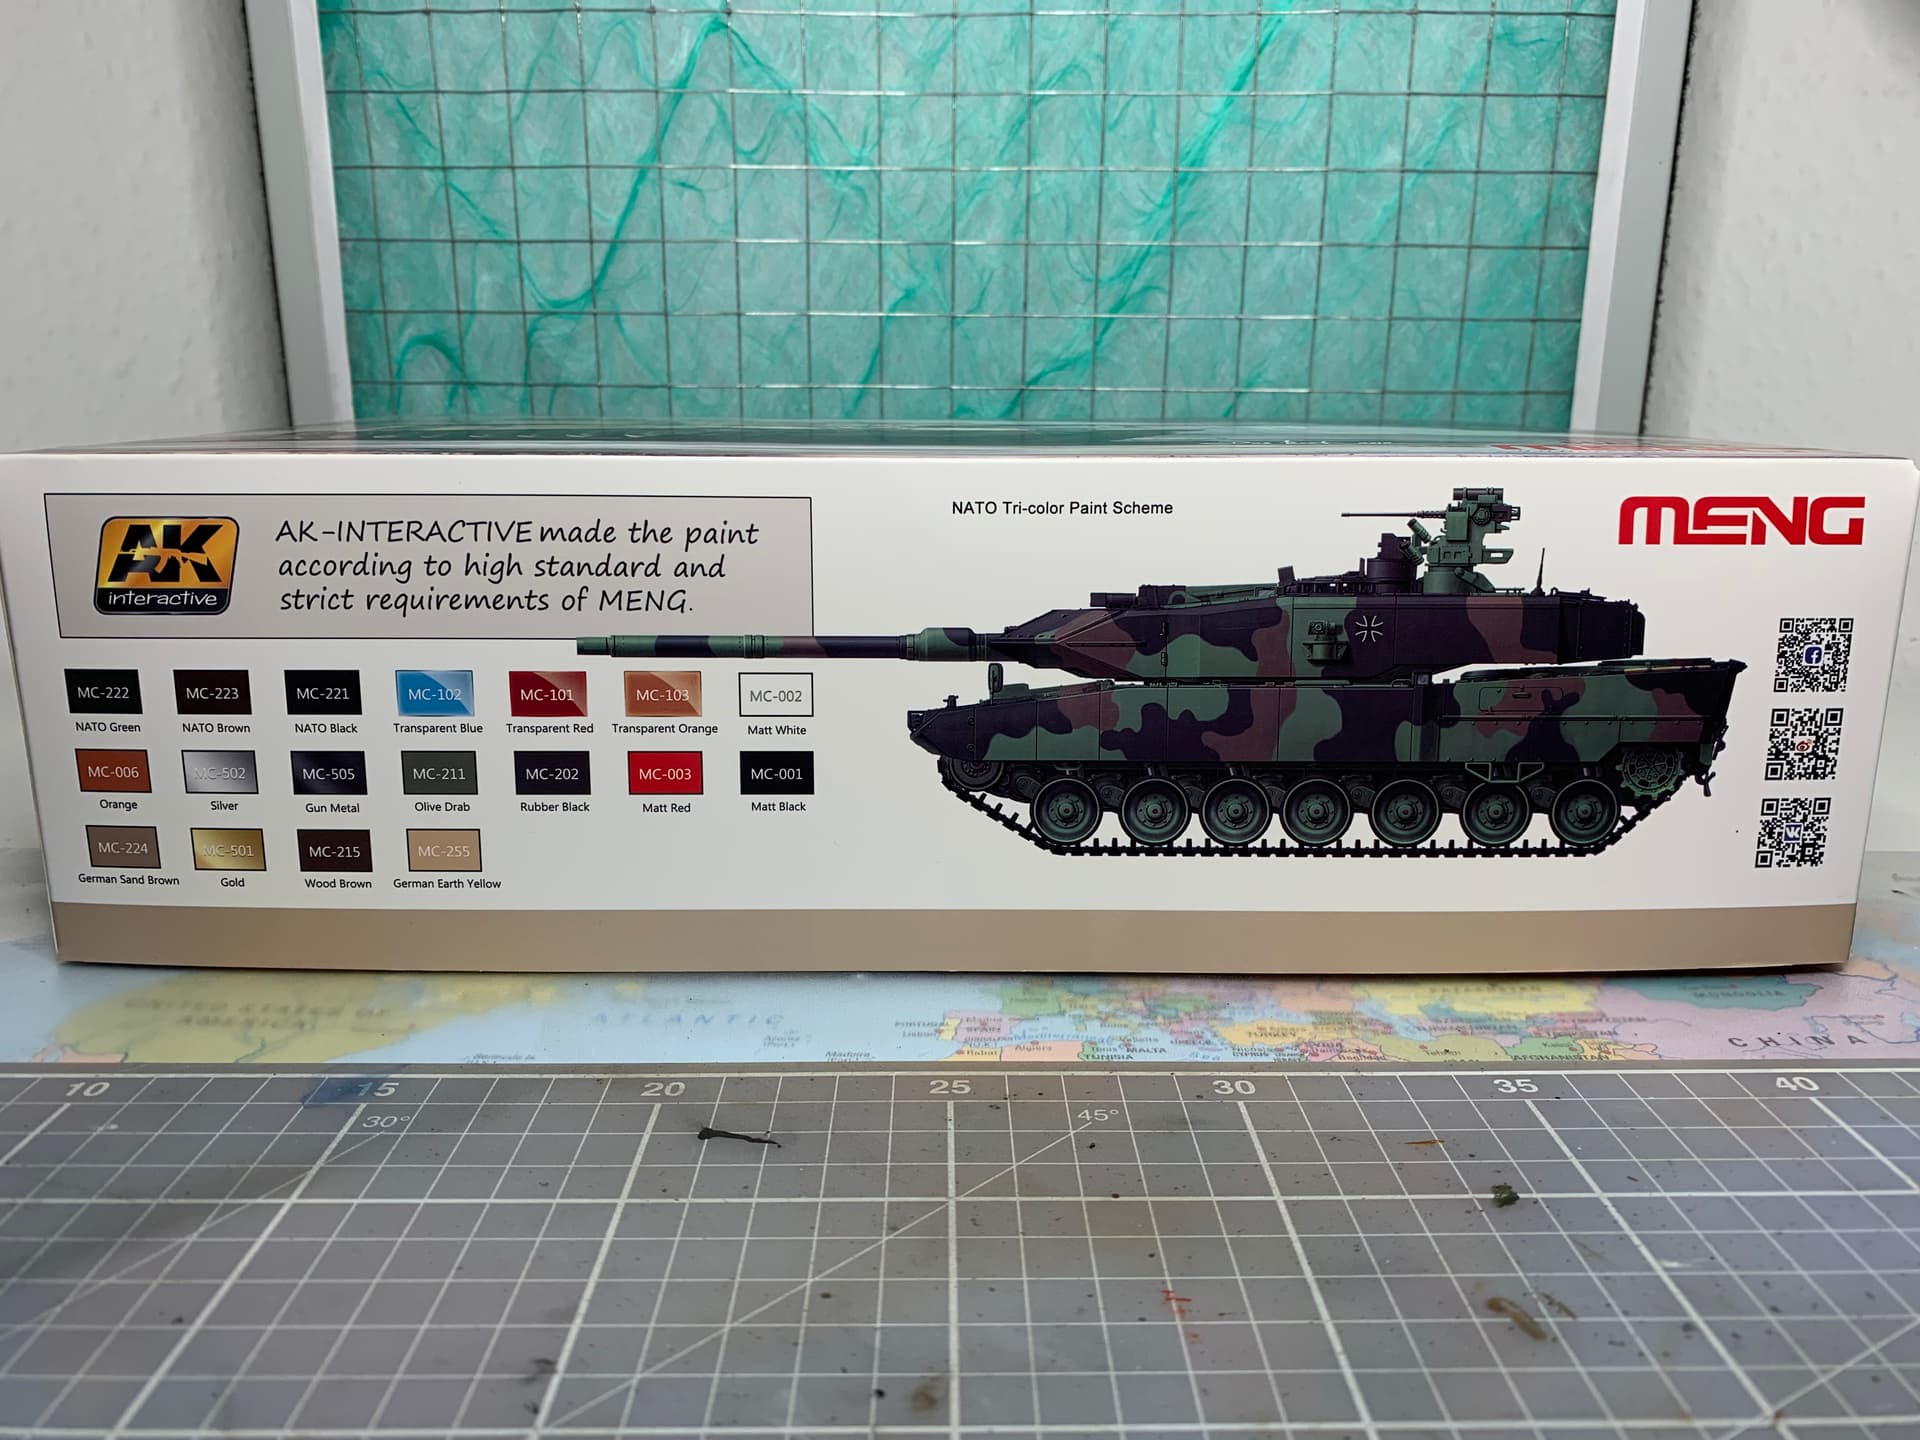
Finally decided on a scheme for this. Going to be NATO three tone. I know there isn’t an actual A7+ in that scheme but I don’t have anything on the shelf in that finish and I haven’t painted anything green since my Churchill back in 2018.
So a base coat of Mr Surfacer 1500 black. An epic task on all that tan plastic! I’m going to give the AK Real Color NATO set a shot and see how that goes. I may do some spray outs first to compare it to the Tamiya colours first…


 … It is hopefully going to be a birthday pressie to me at the end of the month… SWMBO doesn’t know that yet lol