and I have made little progress. Life and all, you know how it is. Anyway, I saw Chris’ (hpiguy) review of this kit, and for some reason I had to have it. The only reason why I have any affinity for the Grand National is that while I was stationed at Ft. Knox, KY, in 1991, one of the guys in my unit wouldn’t stop talking about his Grand National. He loved that car, and it really is a cool car.
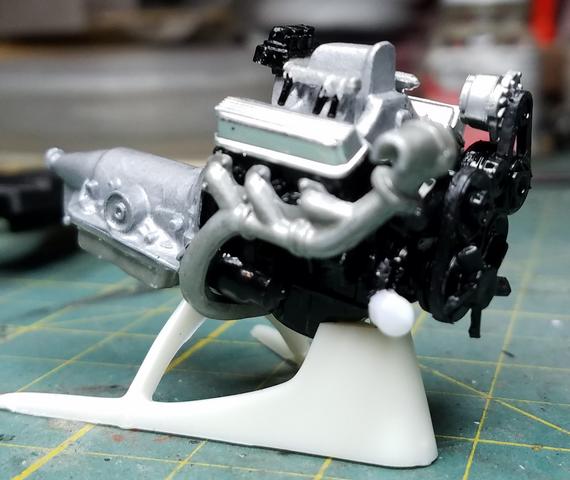
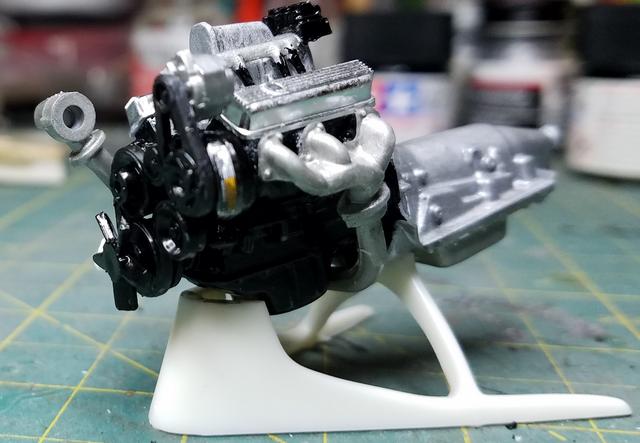
Here is where I am so far. I have completed the Buick turbocharged V6.
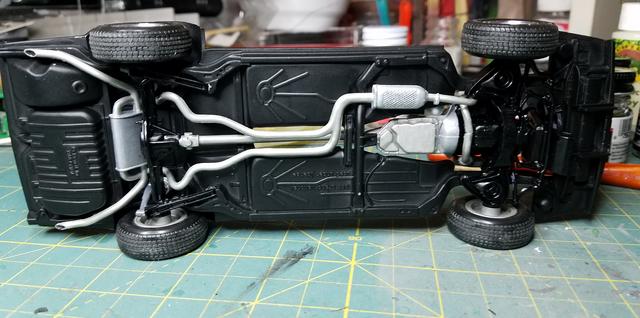
Well, the next update has arrived, and we have a rolling chassis. Ok, not really, I usually glue the wheels solid so my models don’t roll. The engine, wheels, & chassis are complete, and if it ever stops raining I’ll be able to work on the interior & body. Ah, Autumn in Central New York! At least it isn’t snowing yet.
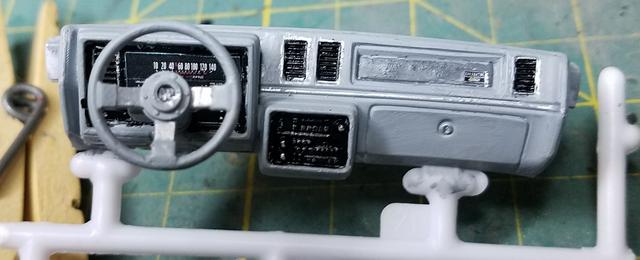
Managed to get some more work done on the Grand National. Here is a shot of the completed dash:
Basic color is Model Masters Dark Ghost Grey with Tamiya Semi-Gloss Black details.
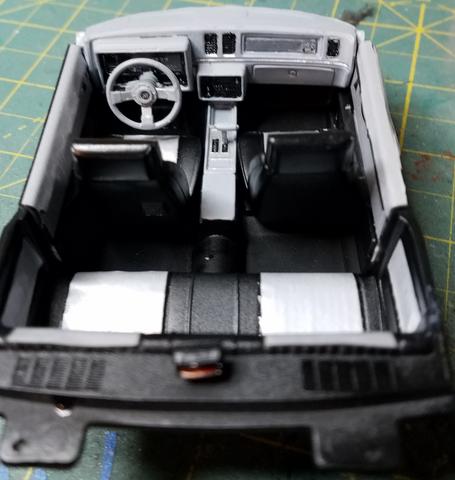
Here are a couple of shots of the almost completed interior:
The overall color is Dupli-Color Semi-Gloss Black with the silver/grey decals from the kit. I am still fighting with the decals to settle down over the molded details on the seats & side panels. The decals are quite thick, and even after 8 coats of decal setting solution, they are barely settled down. If I knew then what I know now, I would have just painted the silver/grey.
It’s really strange to see a kit offer decals in order to represent the different colours of the seats and doors… If they don’t settle maybe you need to strip them off and go for paint
Well, I had a major setback with the Grand Nation al: I snapped the windshield in half. If I can’t fin d a replacement, I’ll have to go to Revell on bended knee to ask kindly for a new windshield. And it was coming along so nicely, too.
Jim
The interior is coming along quite nicely. As for the the kit decals for the seats fighting you every step of the way, I’d try Solvaset as it will make just about every decal conform to the surface the decal is on. Just let it soak till it’s almost dry, then using a Q tip carefully work the decal to perfection.
As for Revell replacing the windshield, I sure hope that they feel the holiday spirit and send you one sooner then later.
I’ve had 2 types of experiences with Revell: firstly they were super helpful and sent out spares at no cost; second time, the kit was out of production, and so even though they wanted to, they couldn’t help.
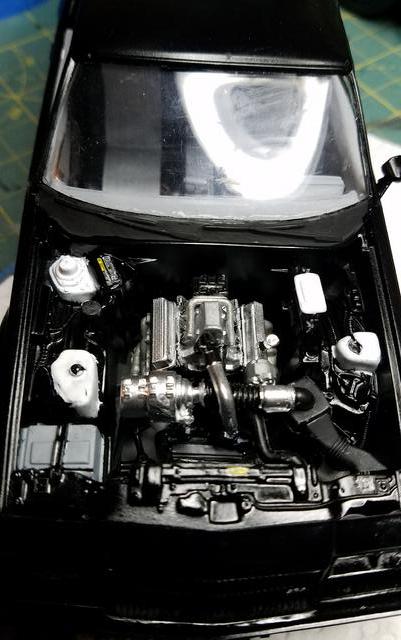
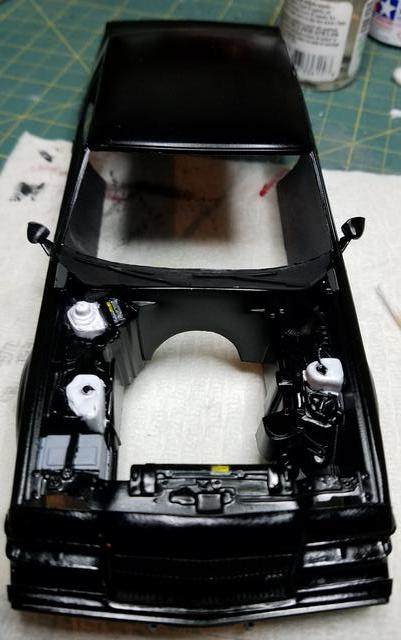
The last two steps of this build have been a real nightmare! In the process of installing the interior & chassis I have knocked off the right mirror, popped out the windshield (twice), and knocked out the left turn signal. Well, enough complaining. Here is the completed engine compartment:


 It’s still in production…