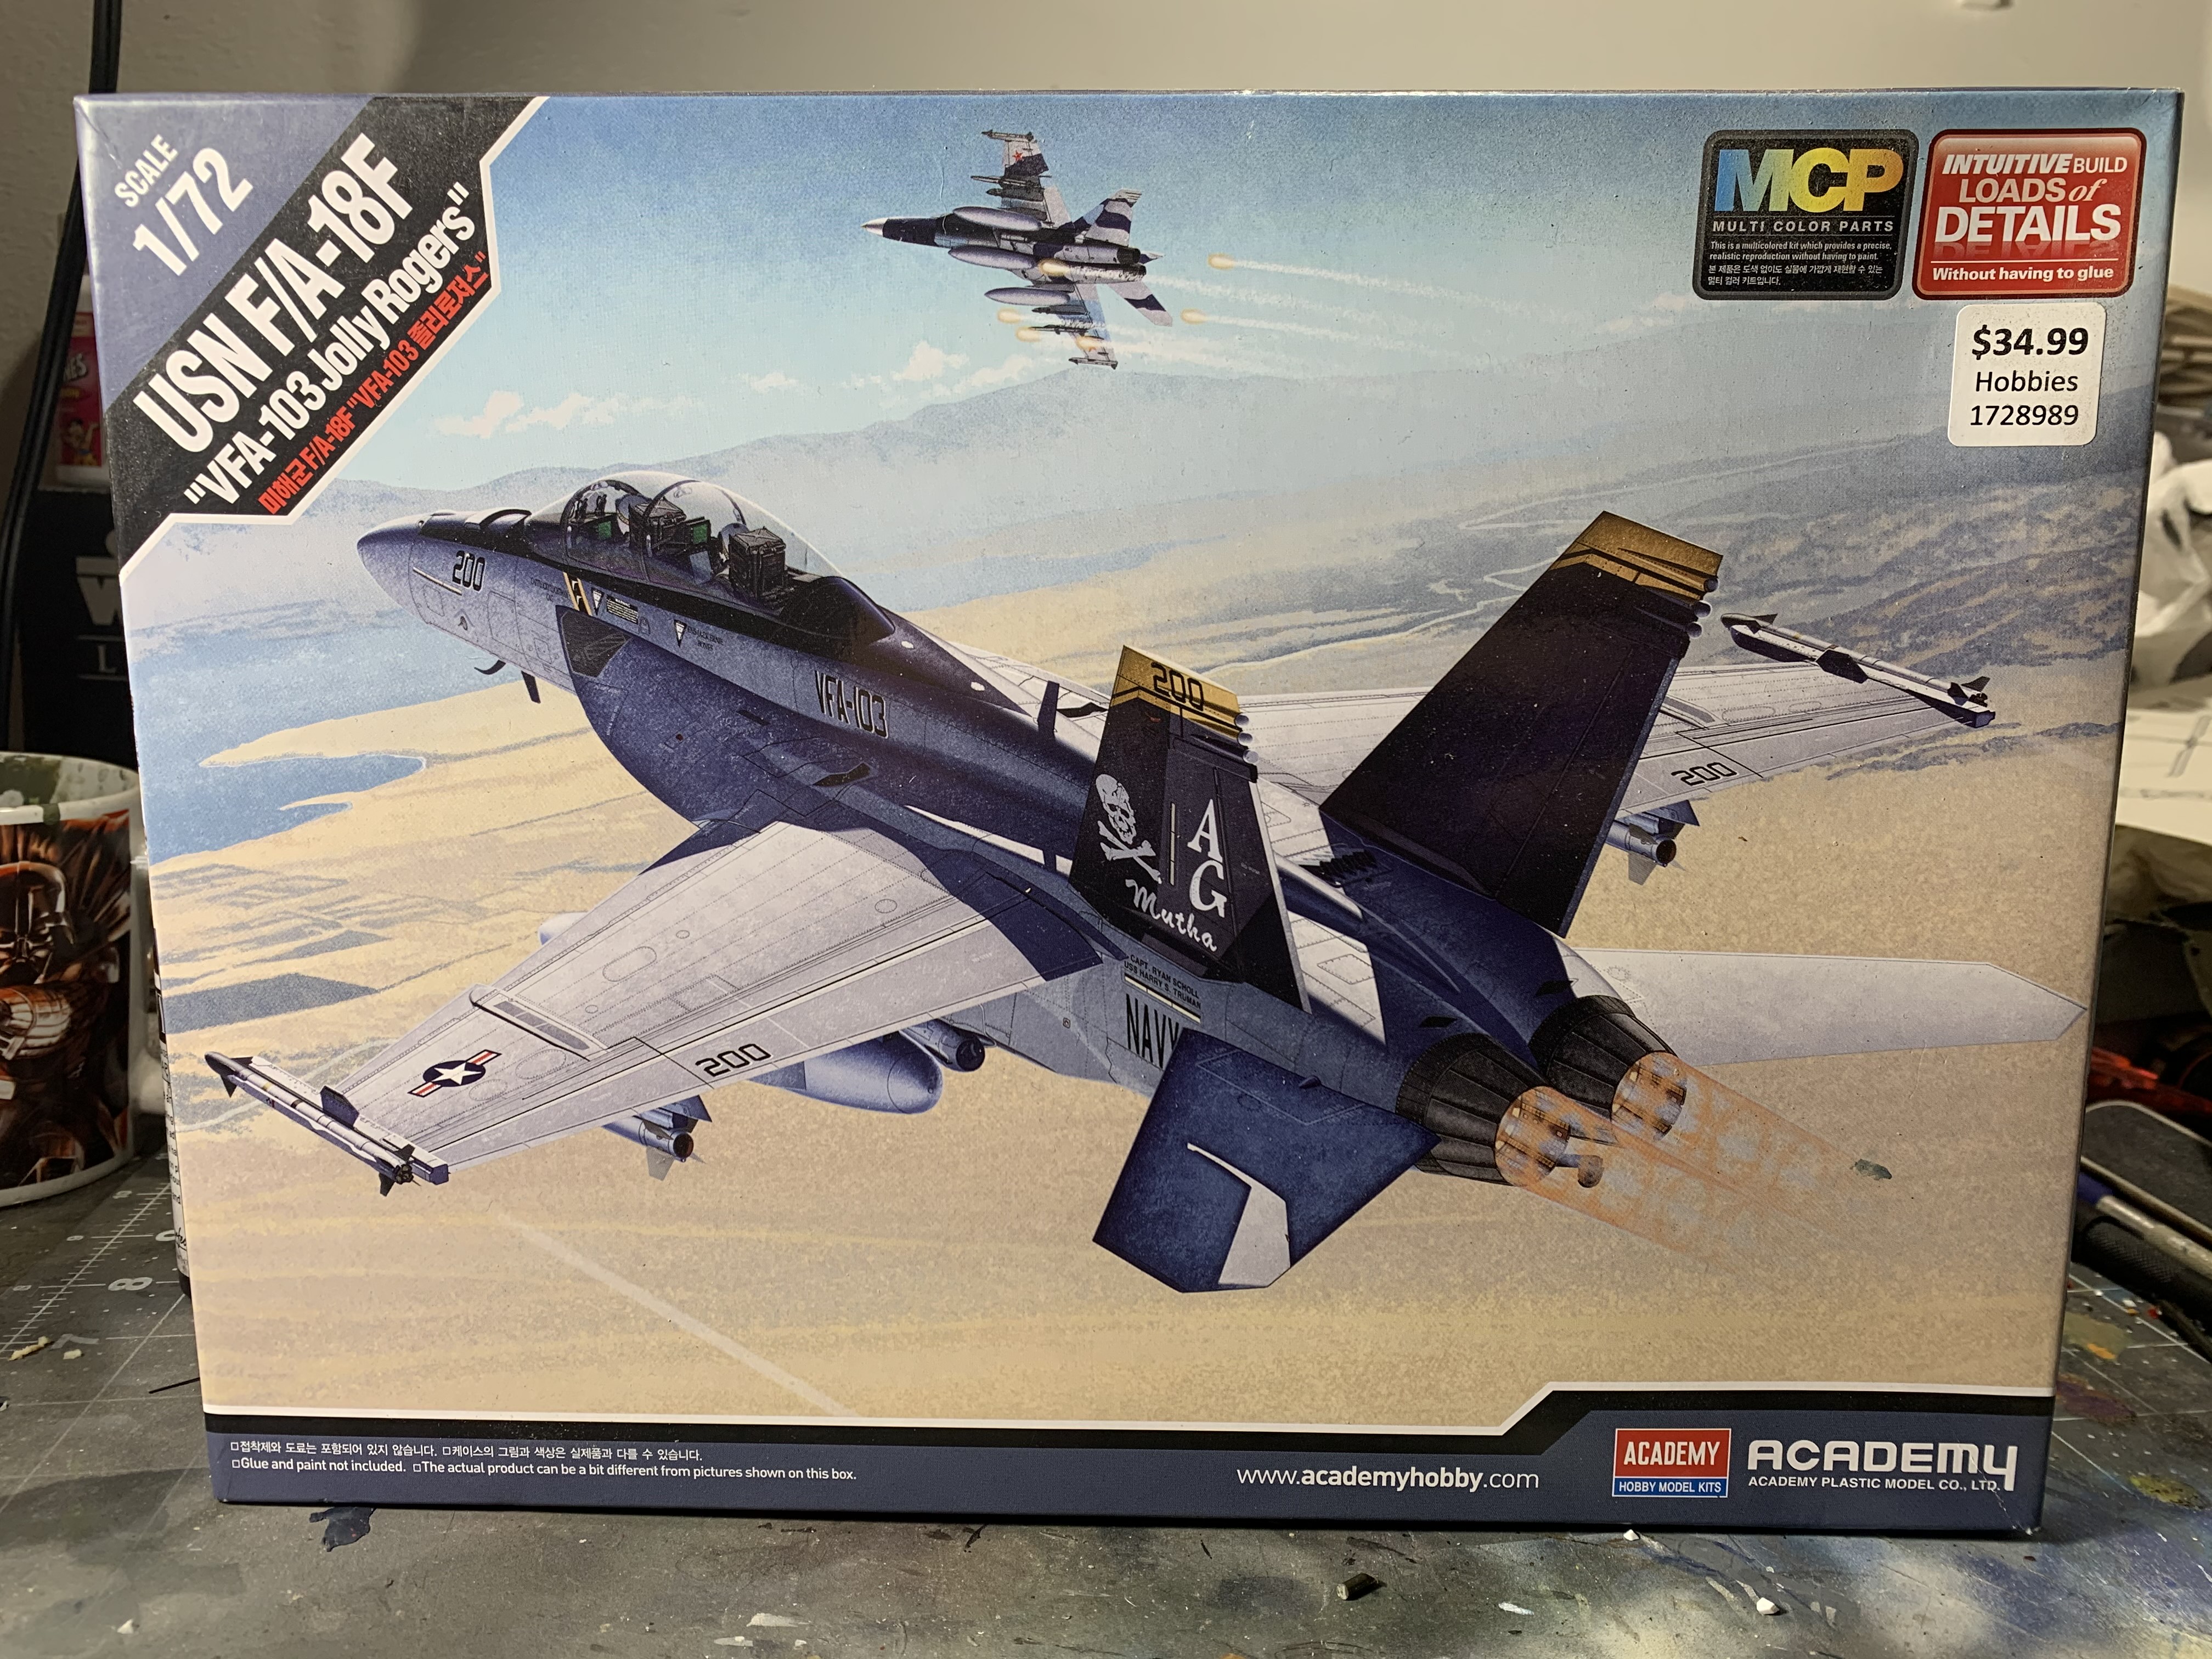
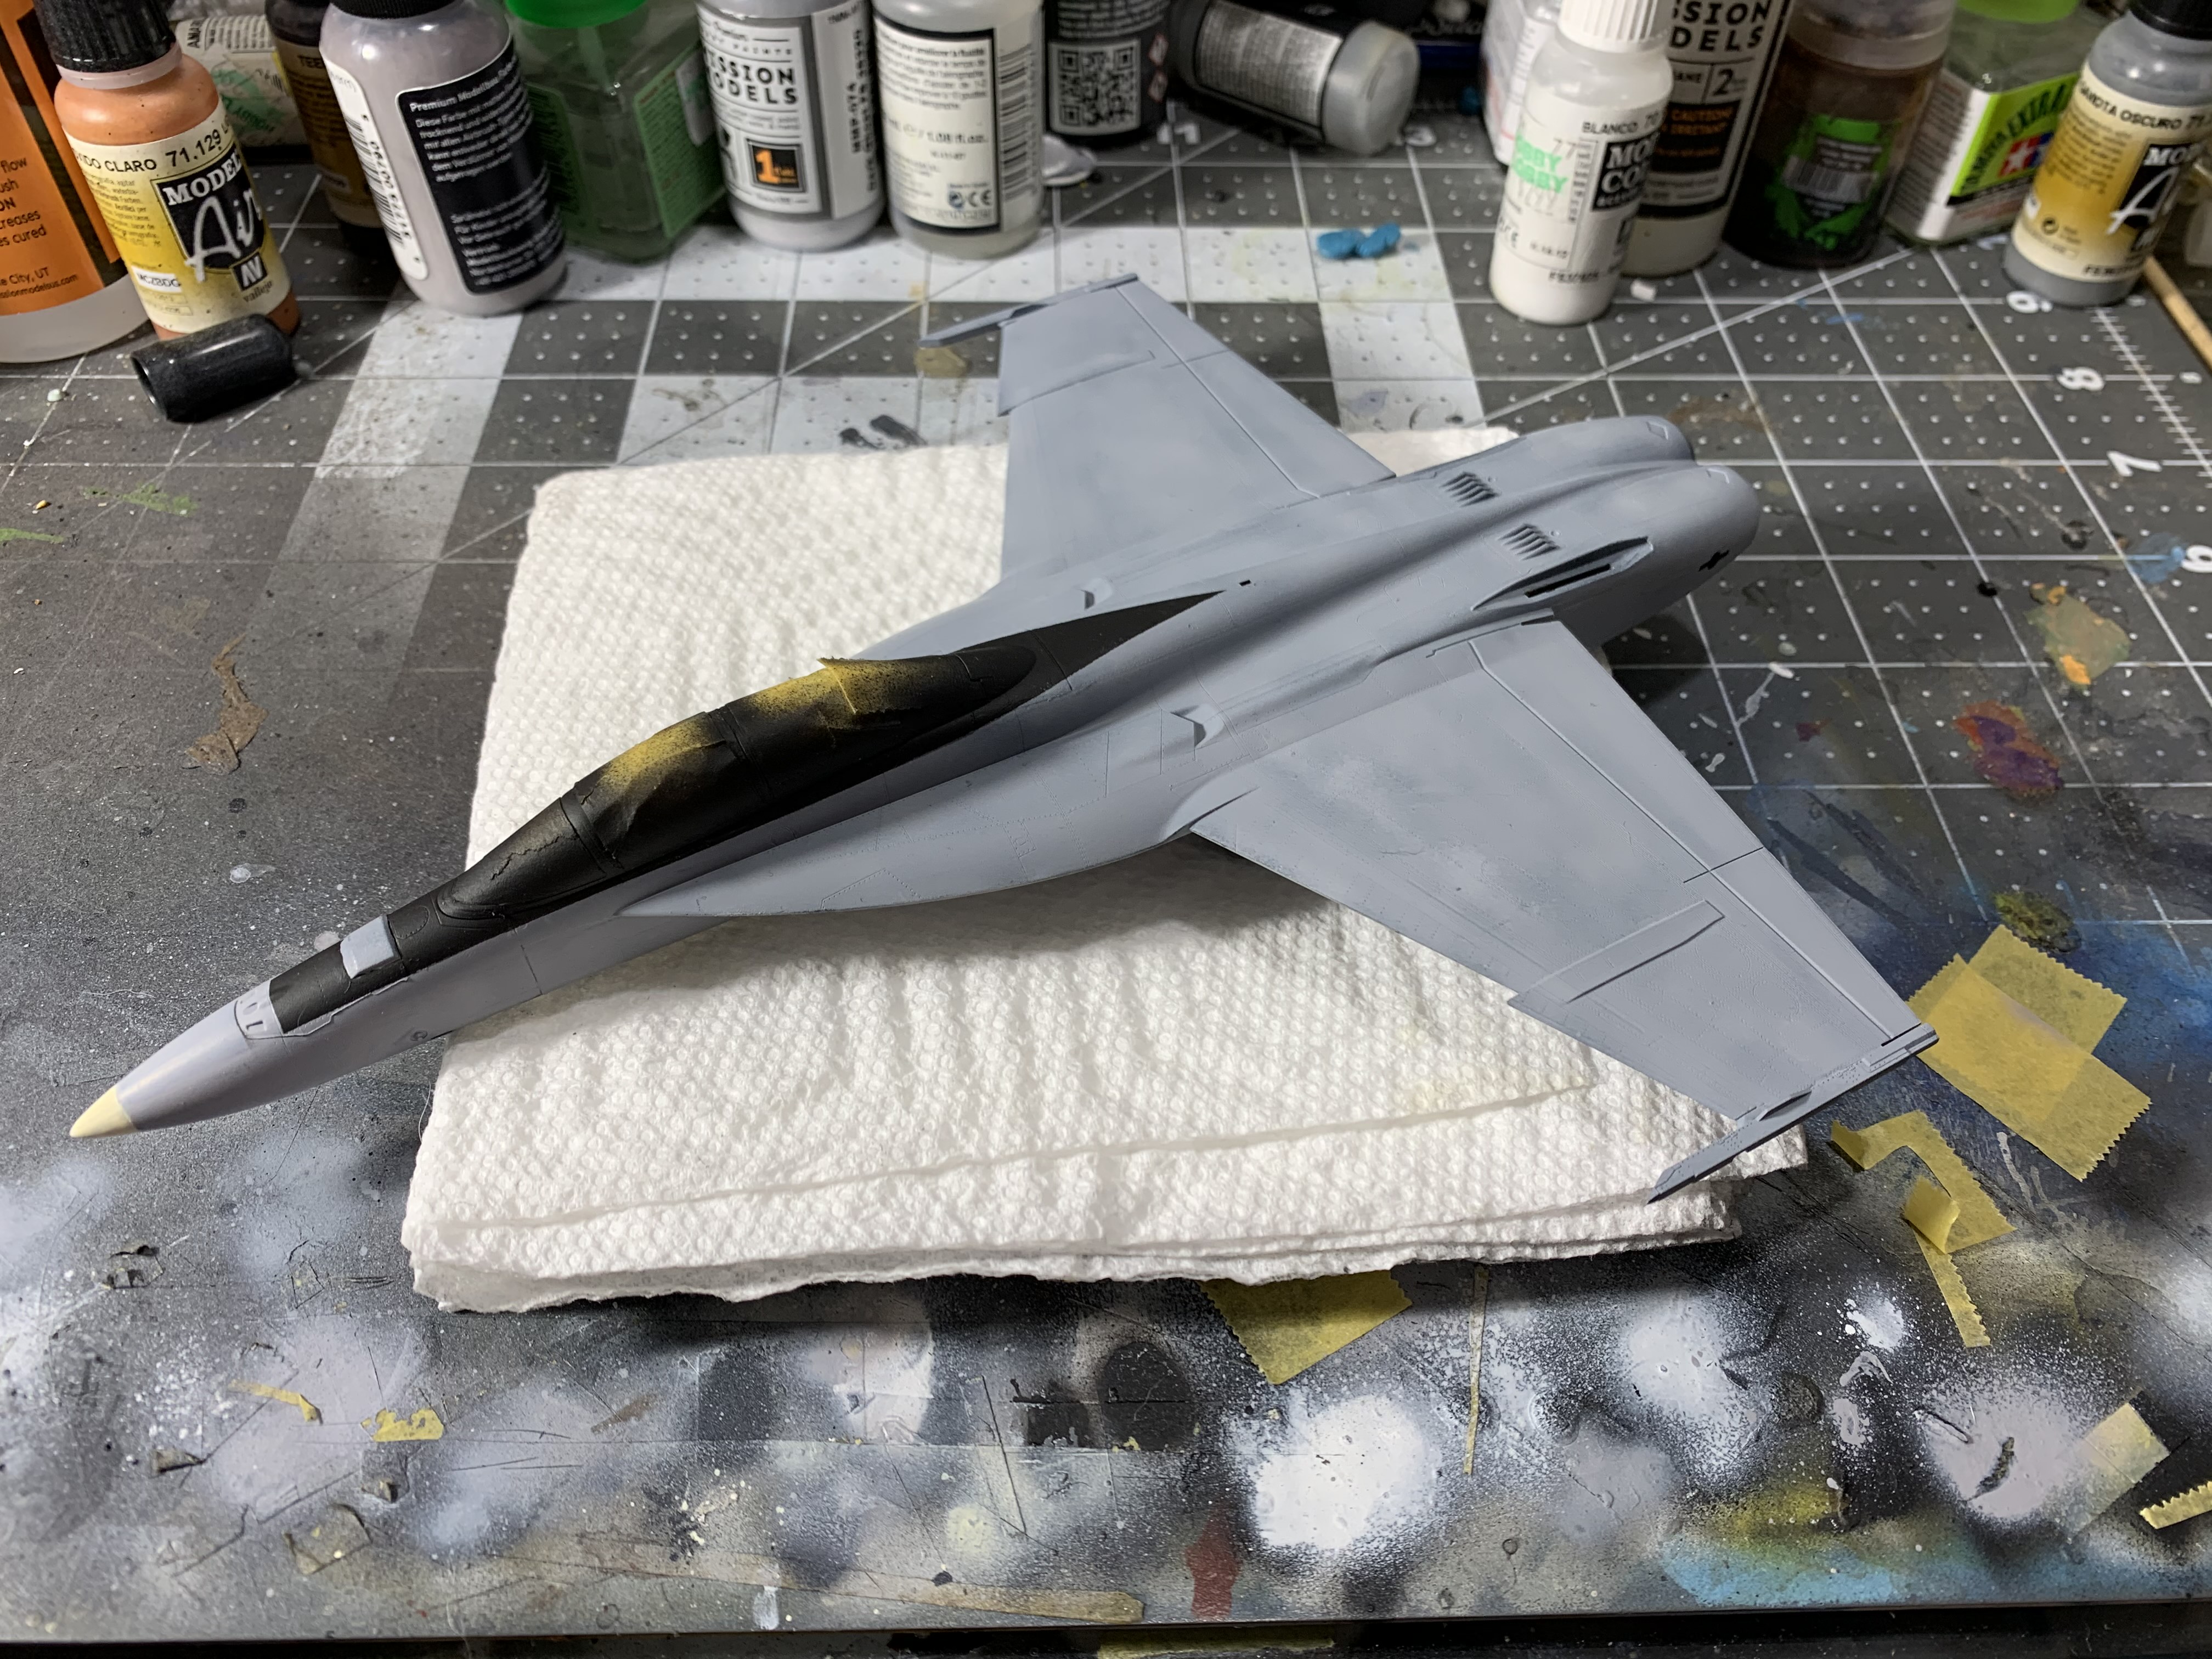
I would like to join up with this superbug, was having trouble figuring out what I would build when I saw it in my stash.
.
2 Likes
Welcome aboard. Enlisting is a lot simpler on the new site. Just say you’re in and start building. Just remember to hang bombs on it. 

Nice progress, Christopher!
Looking forward to see more 
It was difficult to choose which model i wanted to build. My hearth was between an A-20G and a F-15E.
After a few days of reflection, i finally opted for the strike eagle.

3 Likes
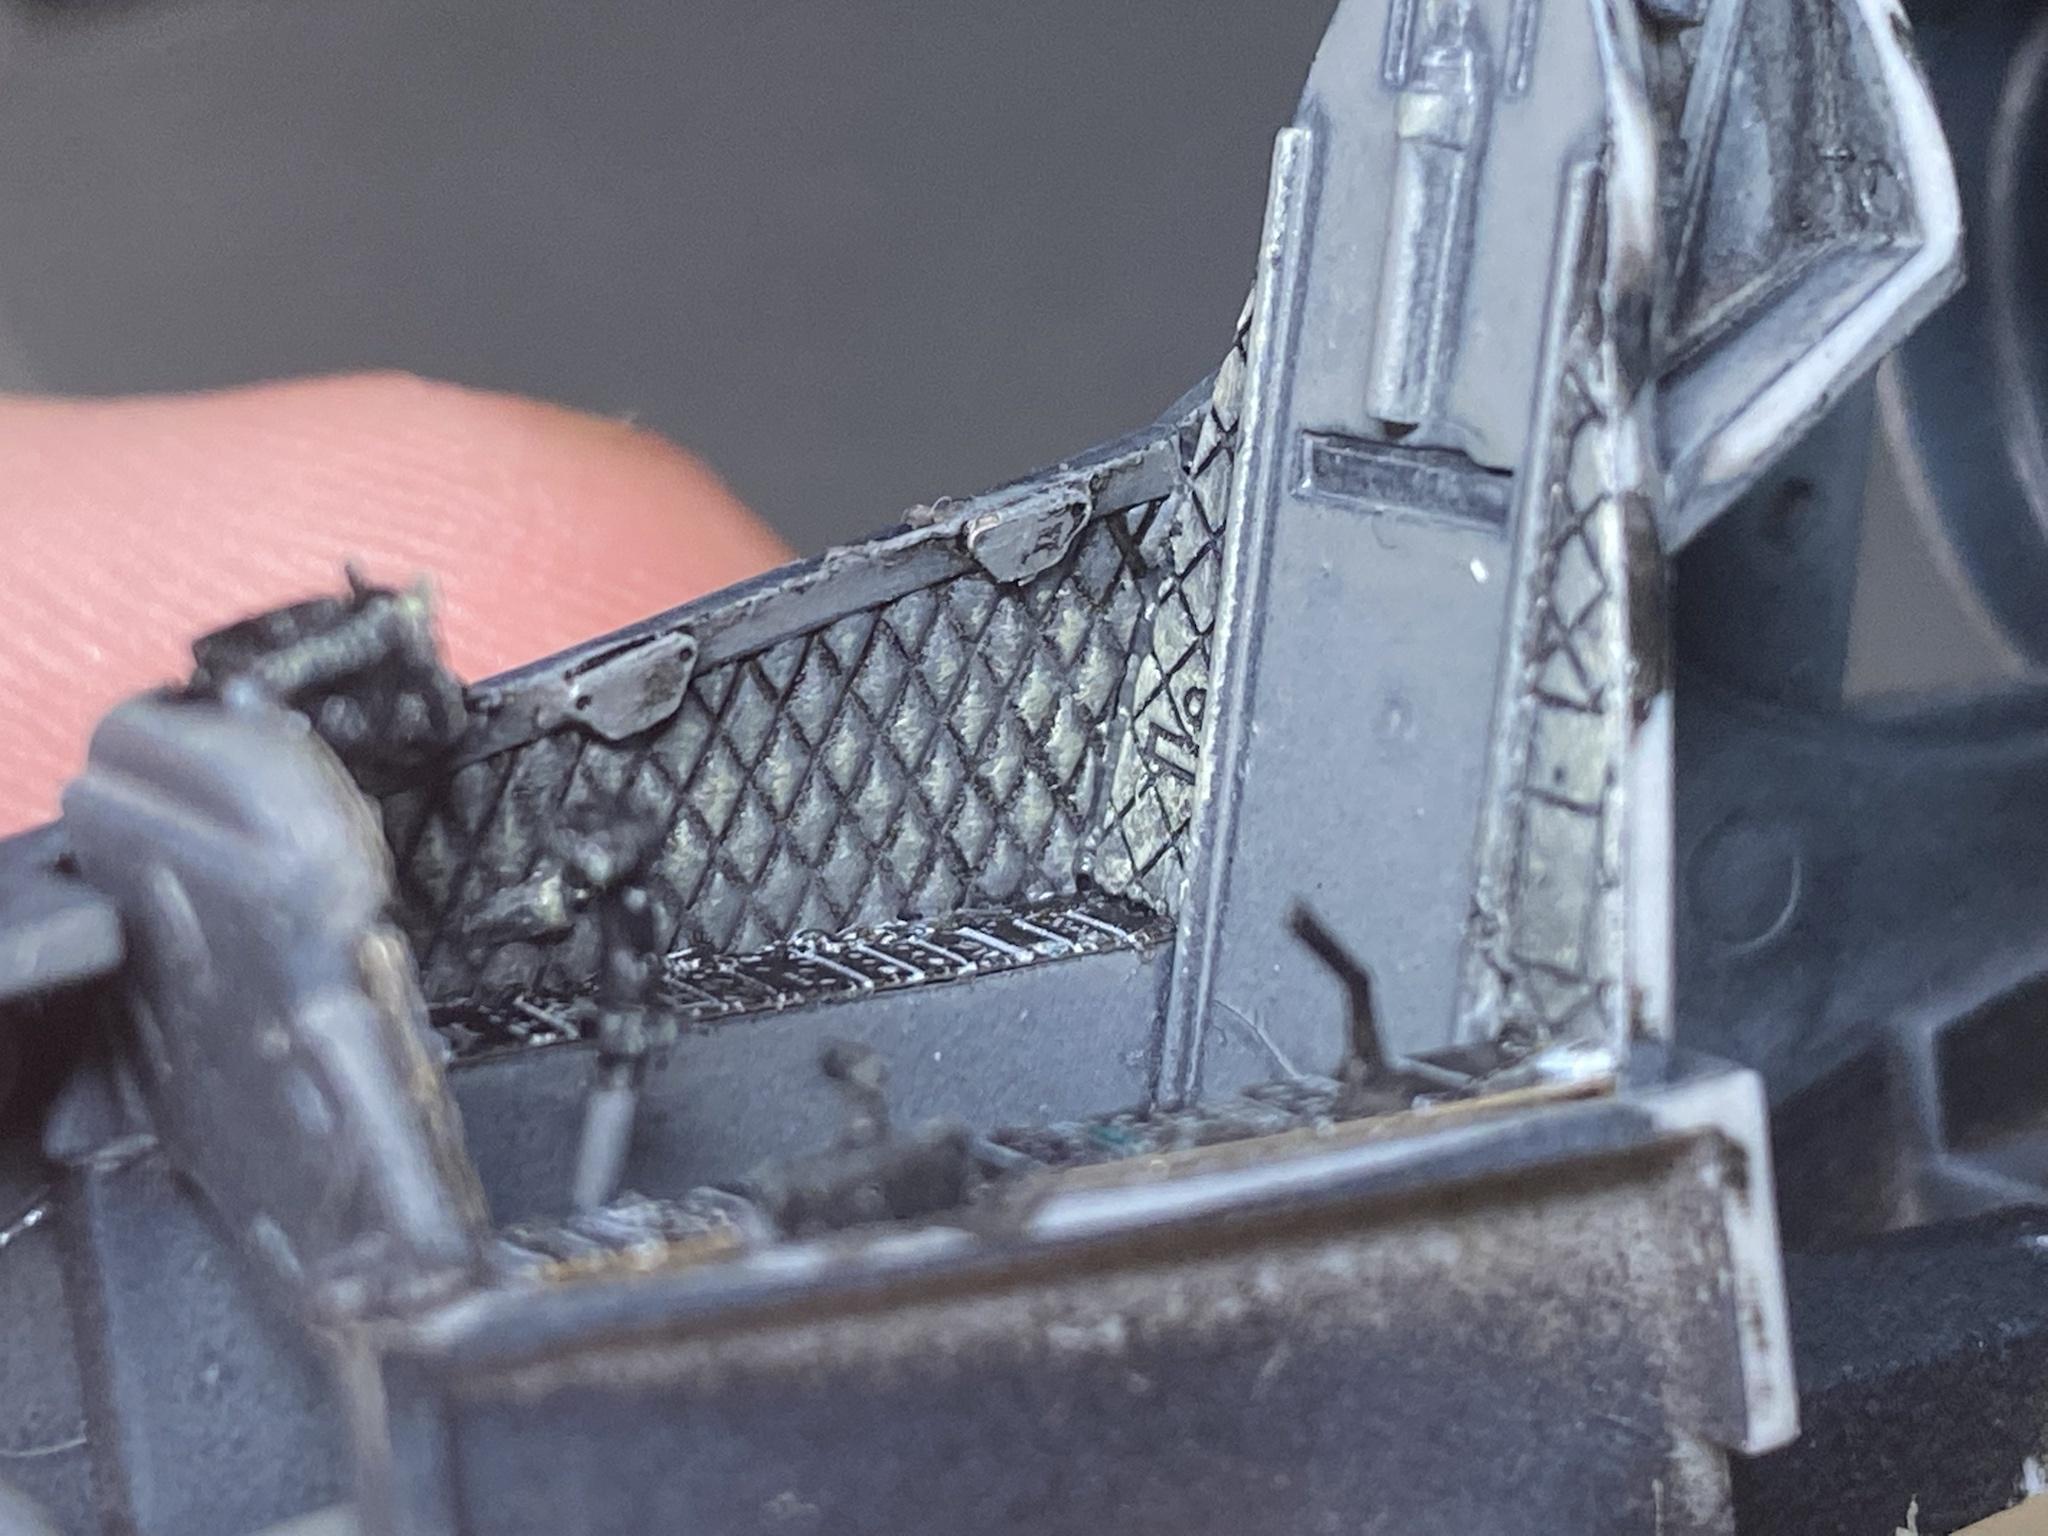
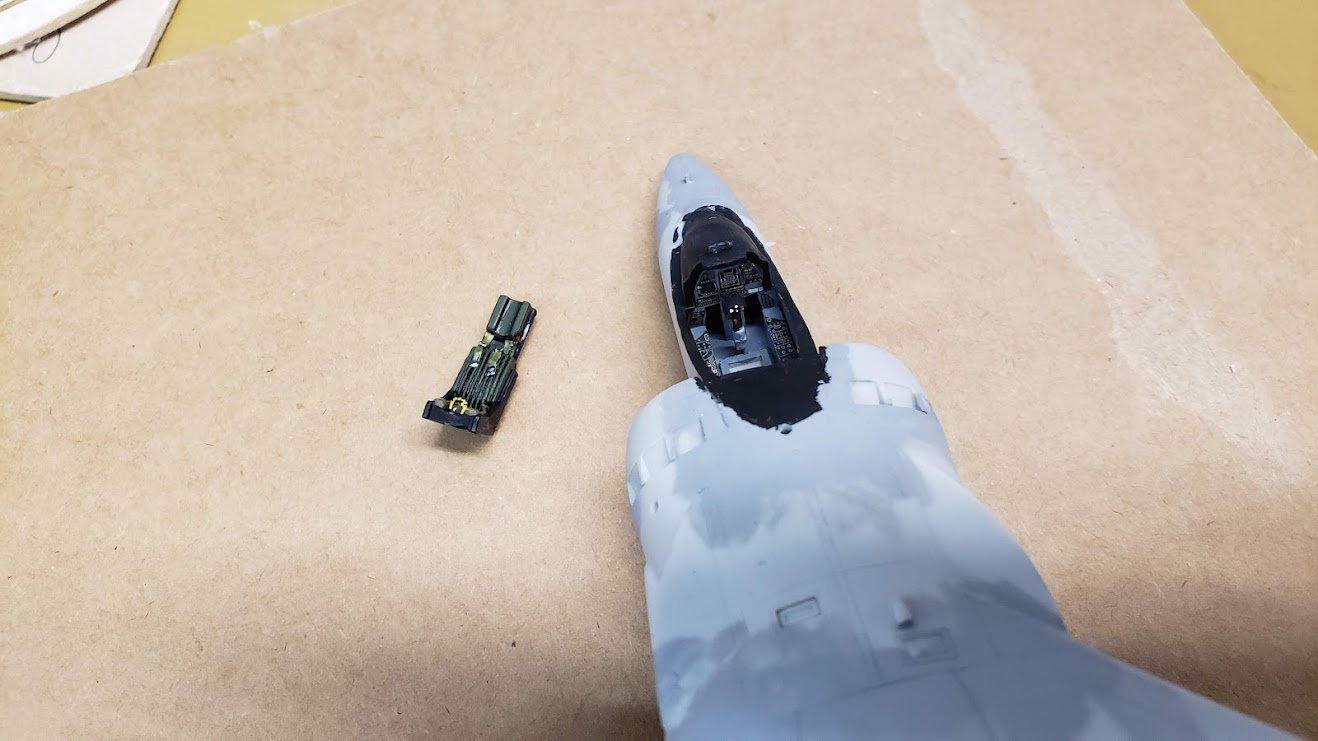
Take a look to the cockpit just before you close it, is the last time you will.
Well, not exactly but most of this will be virtually invisible when I install the ejection seat and close the office.

2 Likes
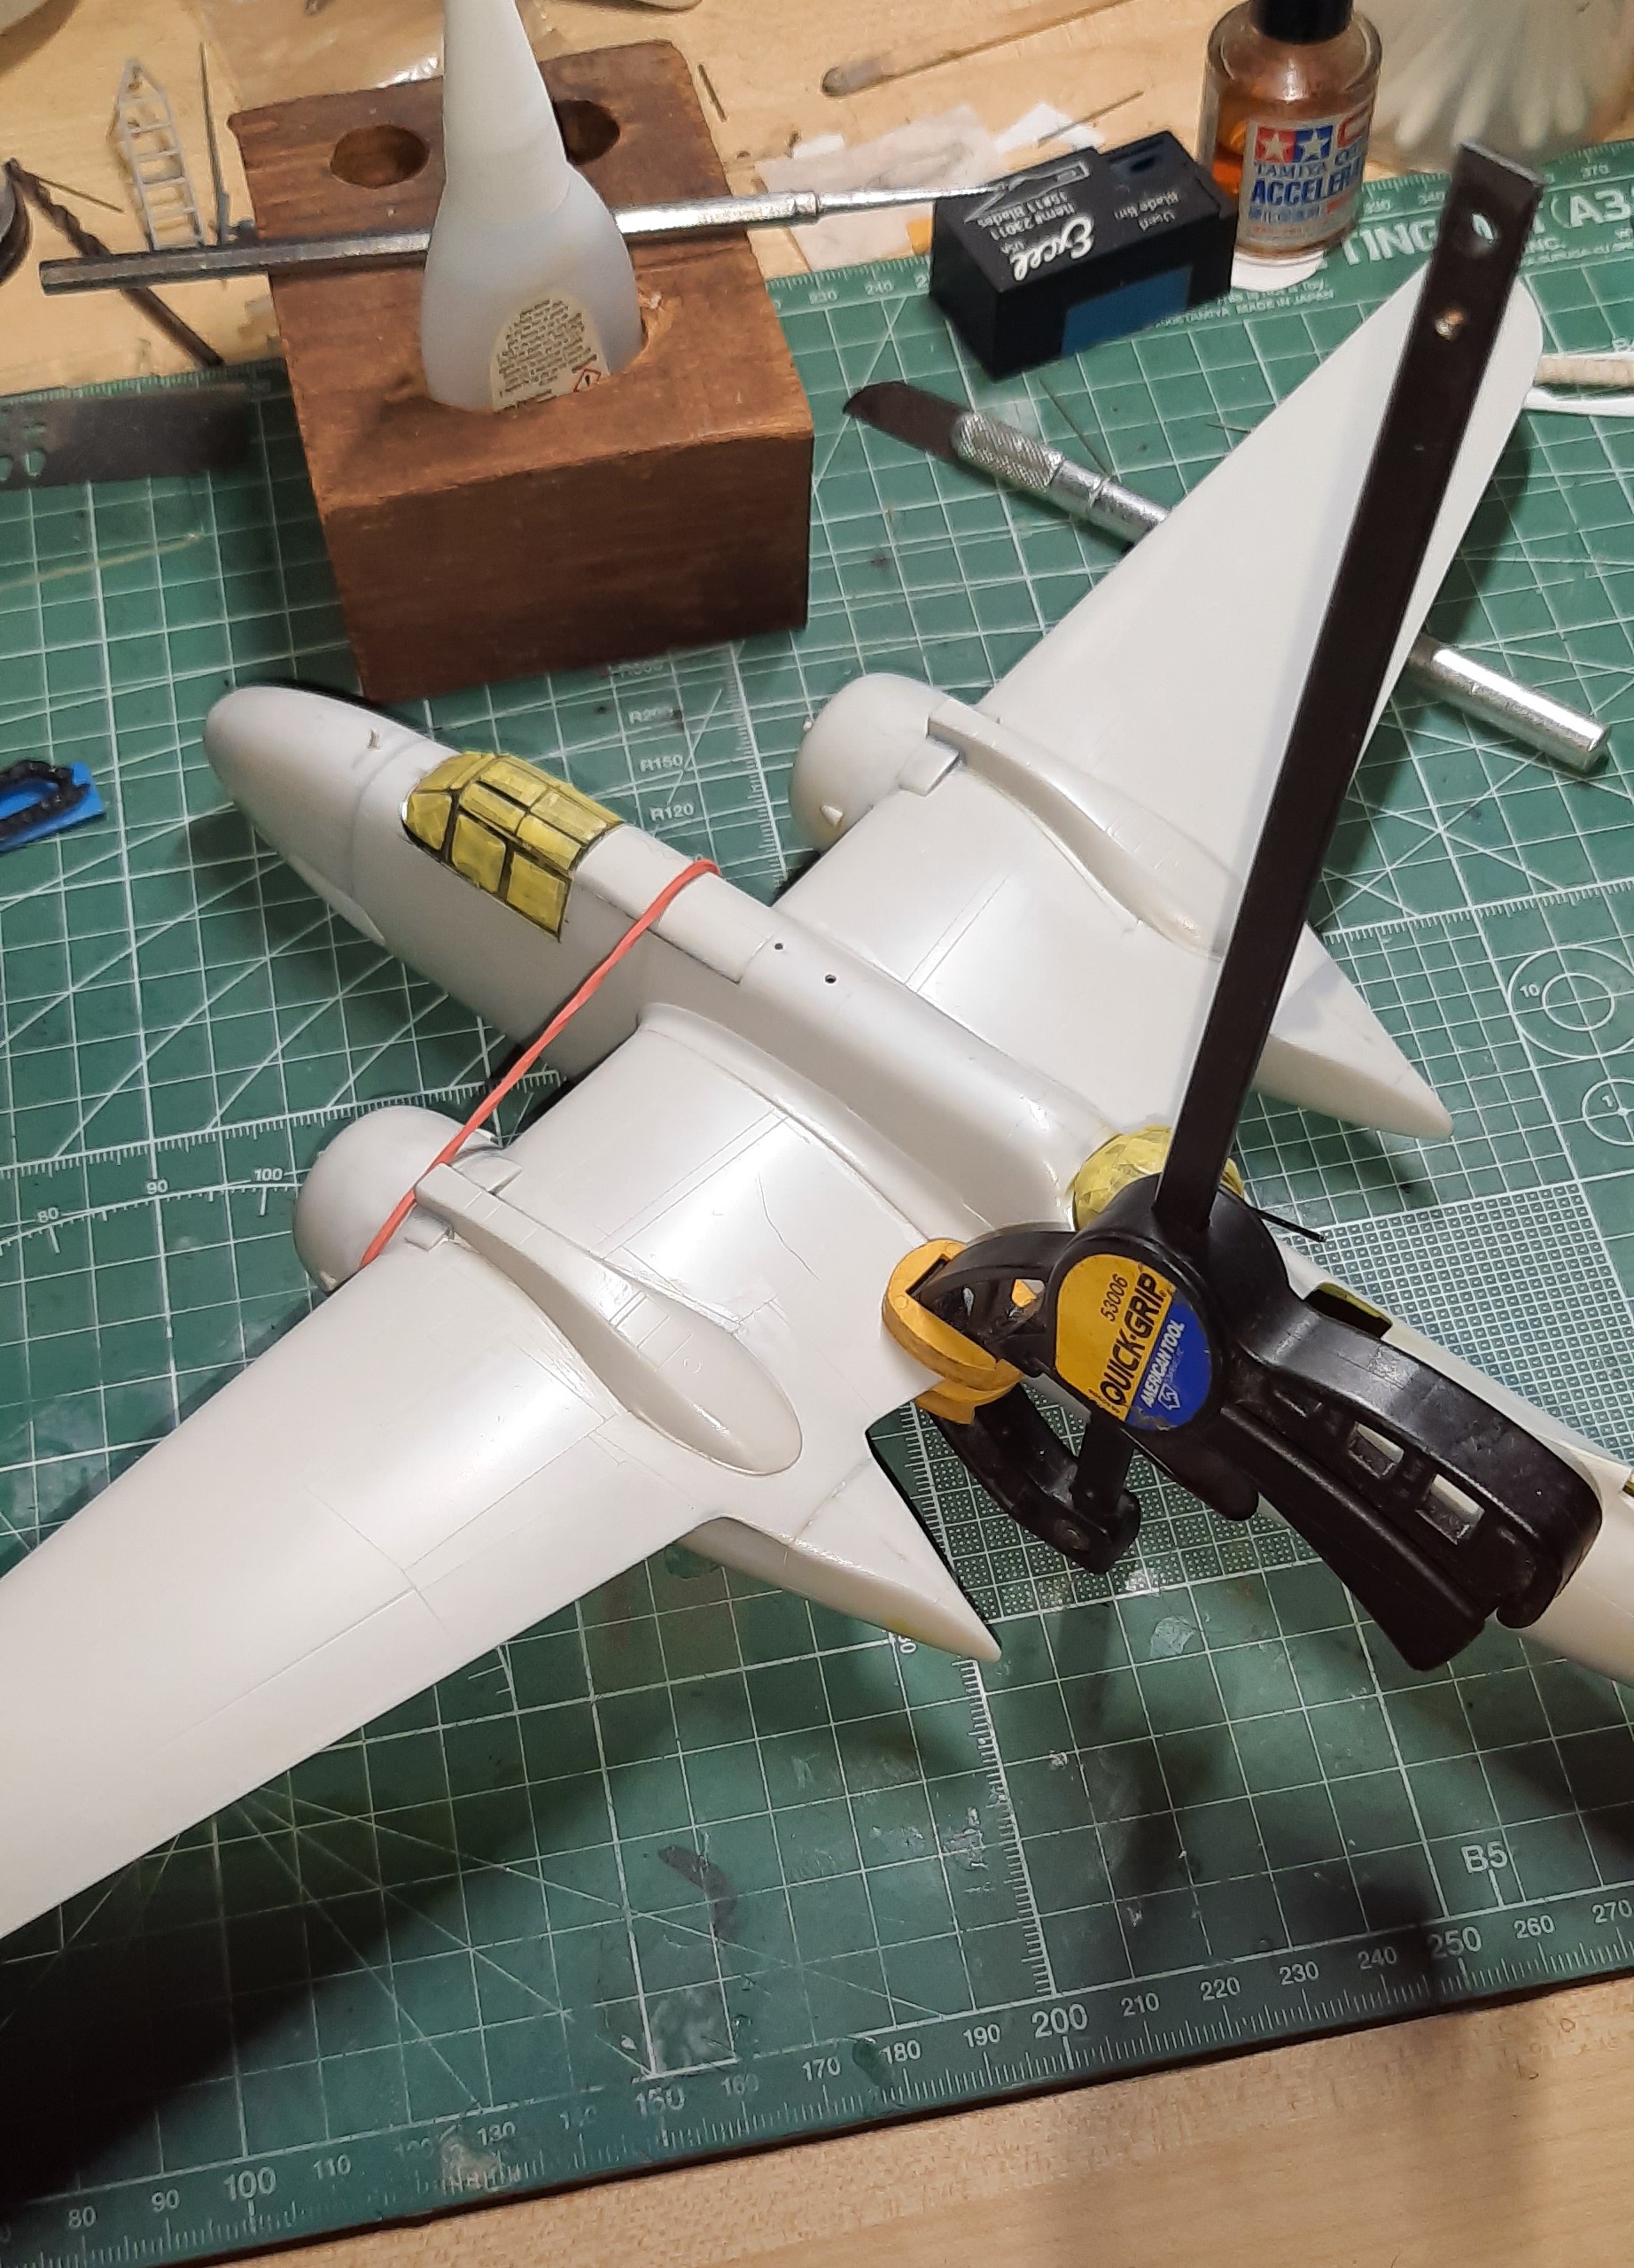
It’s starting to look a little like an A-7A. Nearly ready for the paint shop.

It’s an old Hasegawa and it came with a lot of ordinance,I just can’t figure out what it is.

I’m guessing the larger bombs are supposed to be Mk 82 slicks. But I have no idea what the smaller shapes are. My first thought it was a Snake Eye, but the fin configuration is all wrong. The kit sets up with these on a TER on the outboard pylons. But none of my references suggest what would only three bombs out there. Any one have any clues?
3 Likes
Hi All,
It’s been a while since I’ve done an update, so here goes it!
I got the cockpit done, which is pretty nice. In fact, this kit is quite nice, and priced right! A little bit of work, and it’s got all the things we want in a kit!
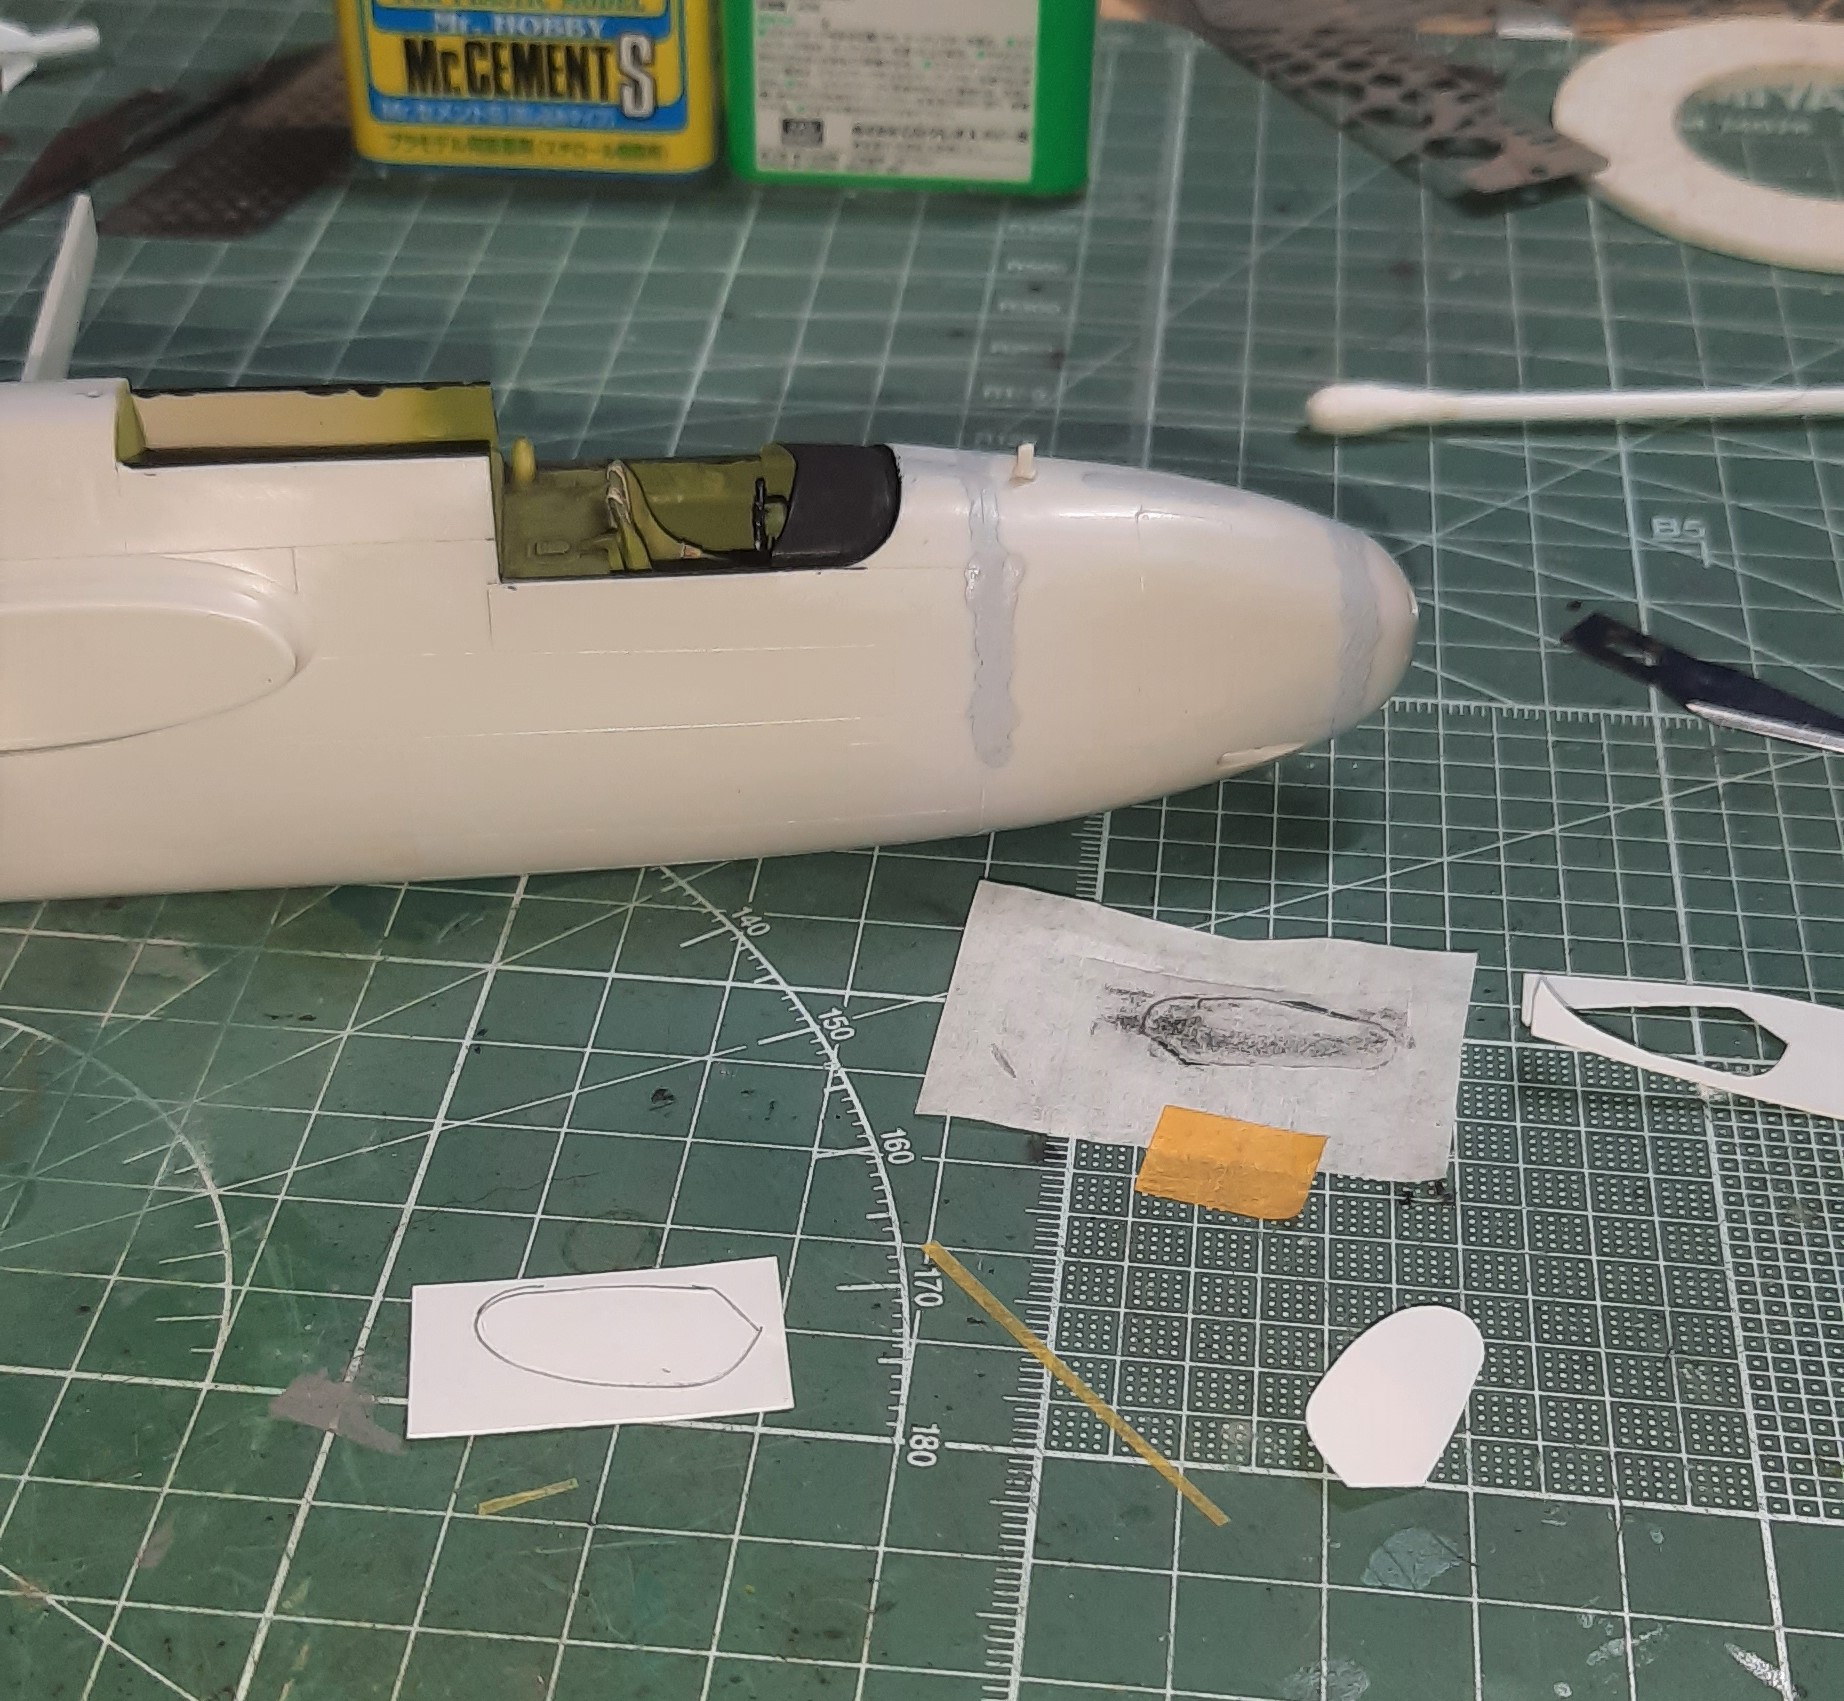
One area of improvement I found that could be helped was the 50 cal. outboard gun doors. Initially, I though they were armored areas, but turned out to be door covers. Fun lesson on history. To enhance this area, that was weak, was to make some outlines of the raised panels and then cut some 0.10" plastic stock (really thin!), and use a tracing of the raised panel line. I cut it out, and after cleaning the front end up, I glued it down. Then sanded it so that it was in the scale of the plane. So far, this is a little add on that really helps. The only other area that could use some help would be some screens on the intakes of the engine nacelles, and for my audience they won’t know. Yet, I think I’ll do it, to make the plane look better.
I did the engines up, an area that was a bit tough was aligning the carbs, but overall they look good.

Wings go on next, and test fitting shows only minor filling will be needed. I’m really liking this kit that’s pretty old! So far, it’s fun, and affordable, and looks really great!
More to follow! Take care, wash your hands with soap and water, and have a blast modeling! I am!!
2 Likes
Sadly I’m going to have to bow out of this one. I’m over-committed and just lost a chunk of my free time. Sorry about that.
Hi All,
Phil, you’ll be missed, good luck getting under-committed. Something I can’t seem to do as of late.
A quick update! I got the wings on, and the overall fit was good, though there will be some sanding and filling needed. Nothing big though.
Have fun!
2 Likes
@thedobber I strongly recommend getting after market decals for that kit as the ones that come in the box are horrendous and just won’t bed down no matter how much micro sol/set you use.
1 Like
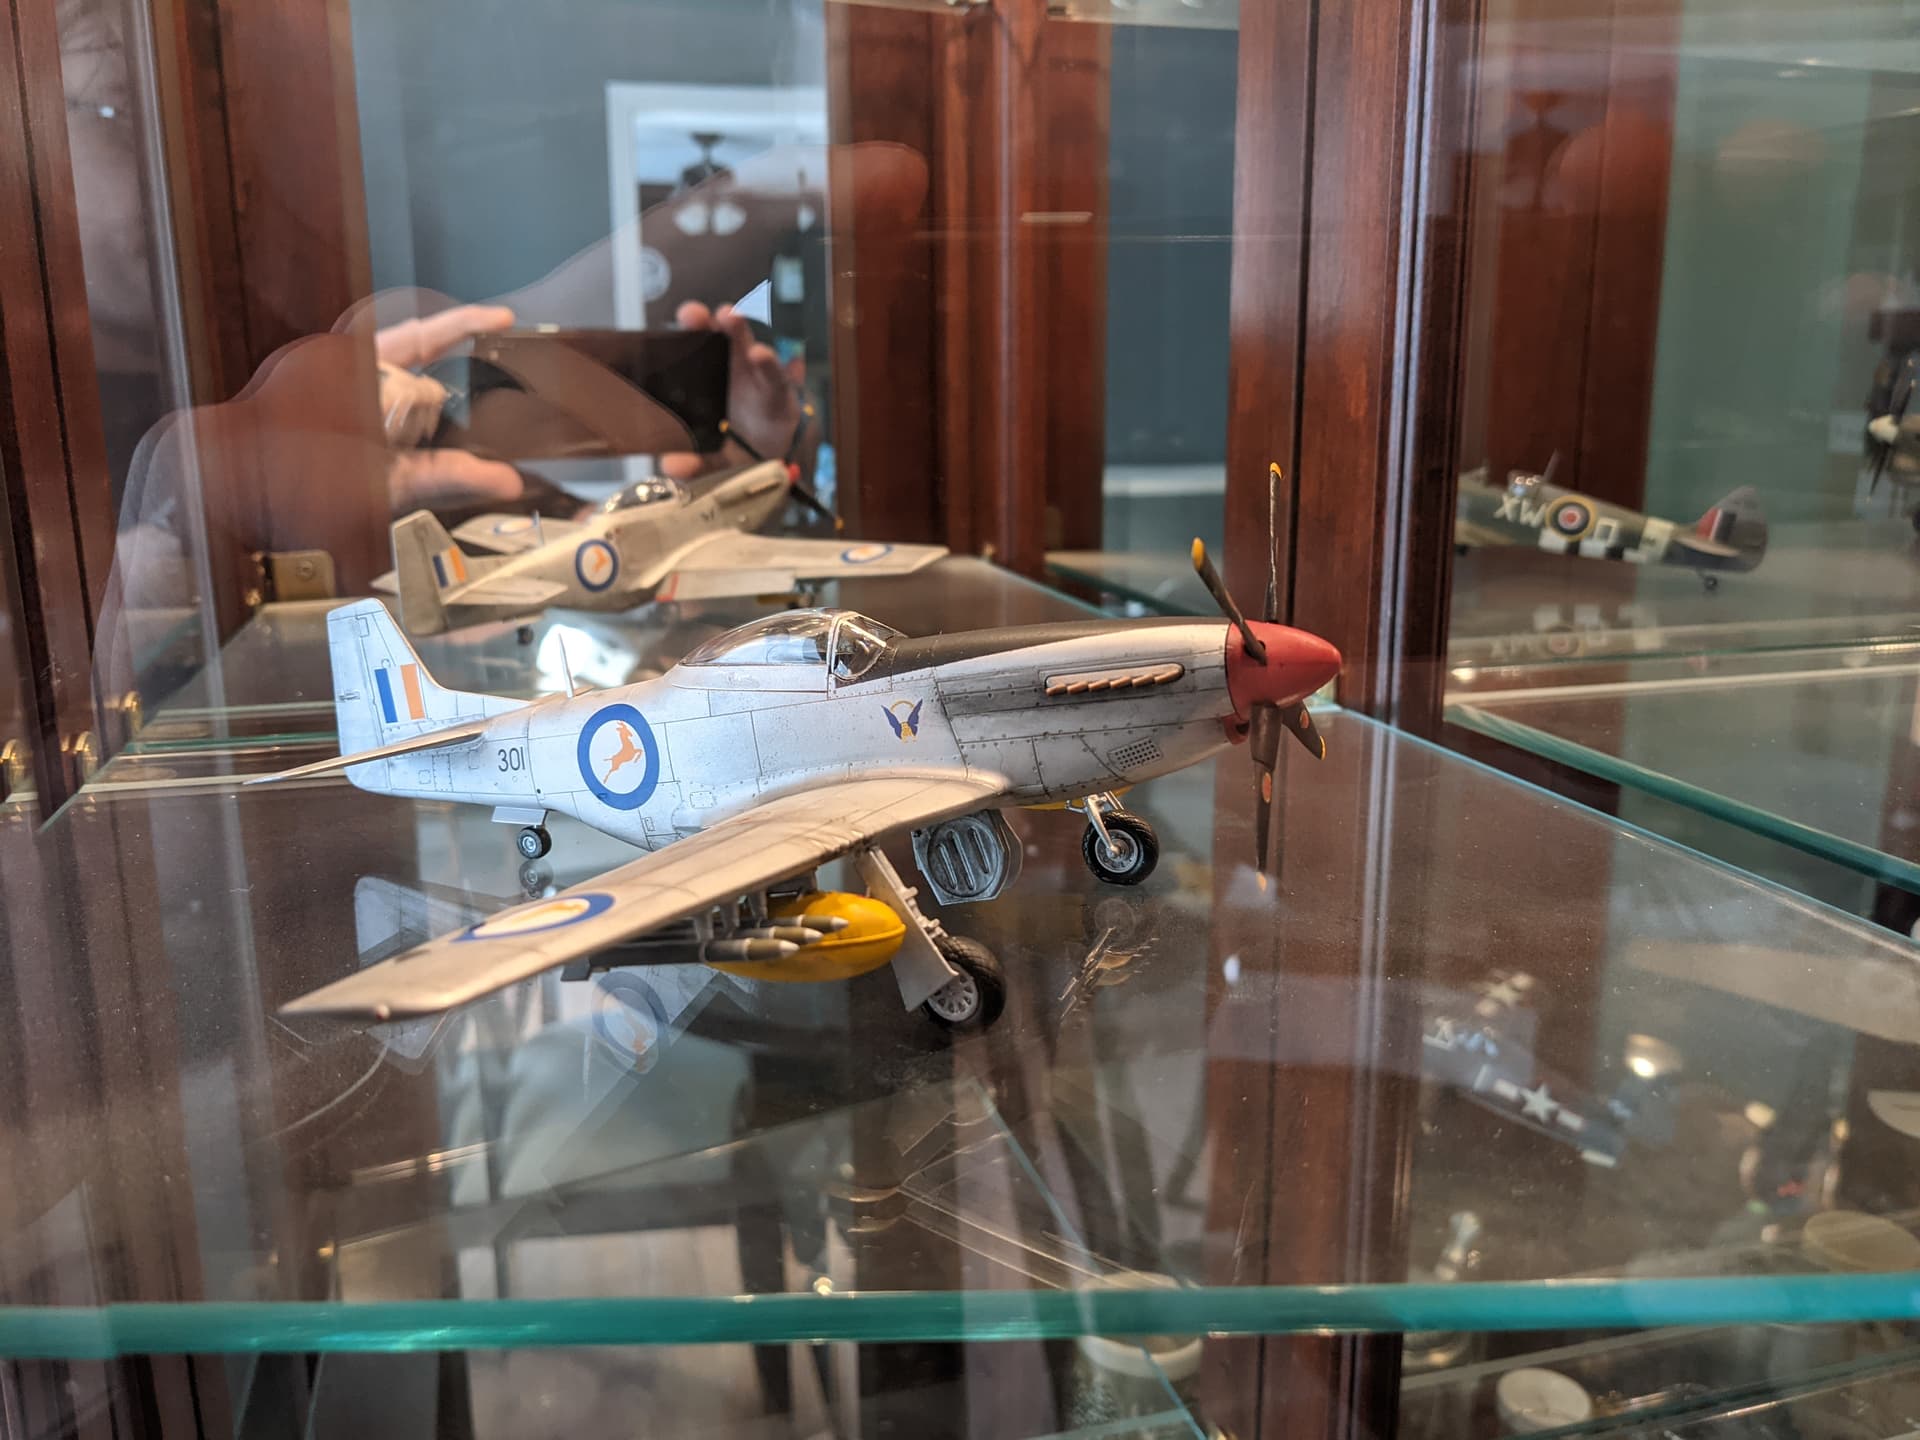
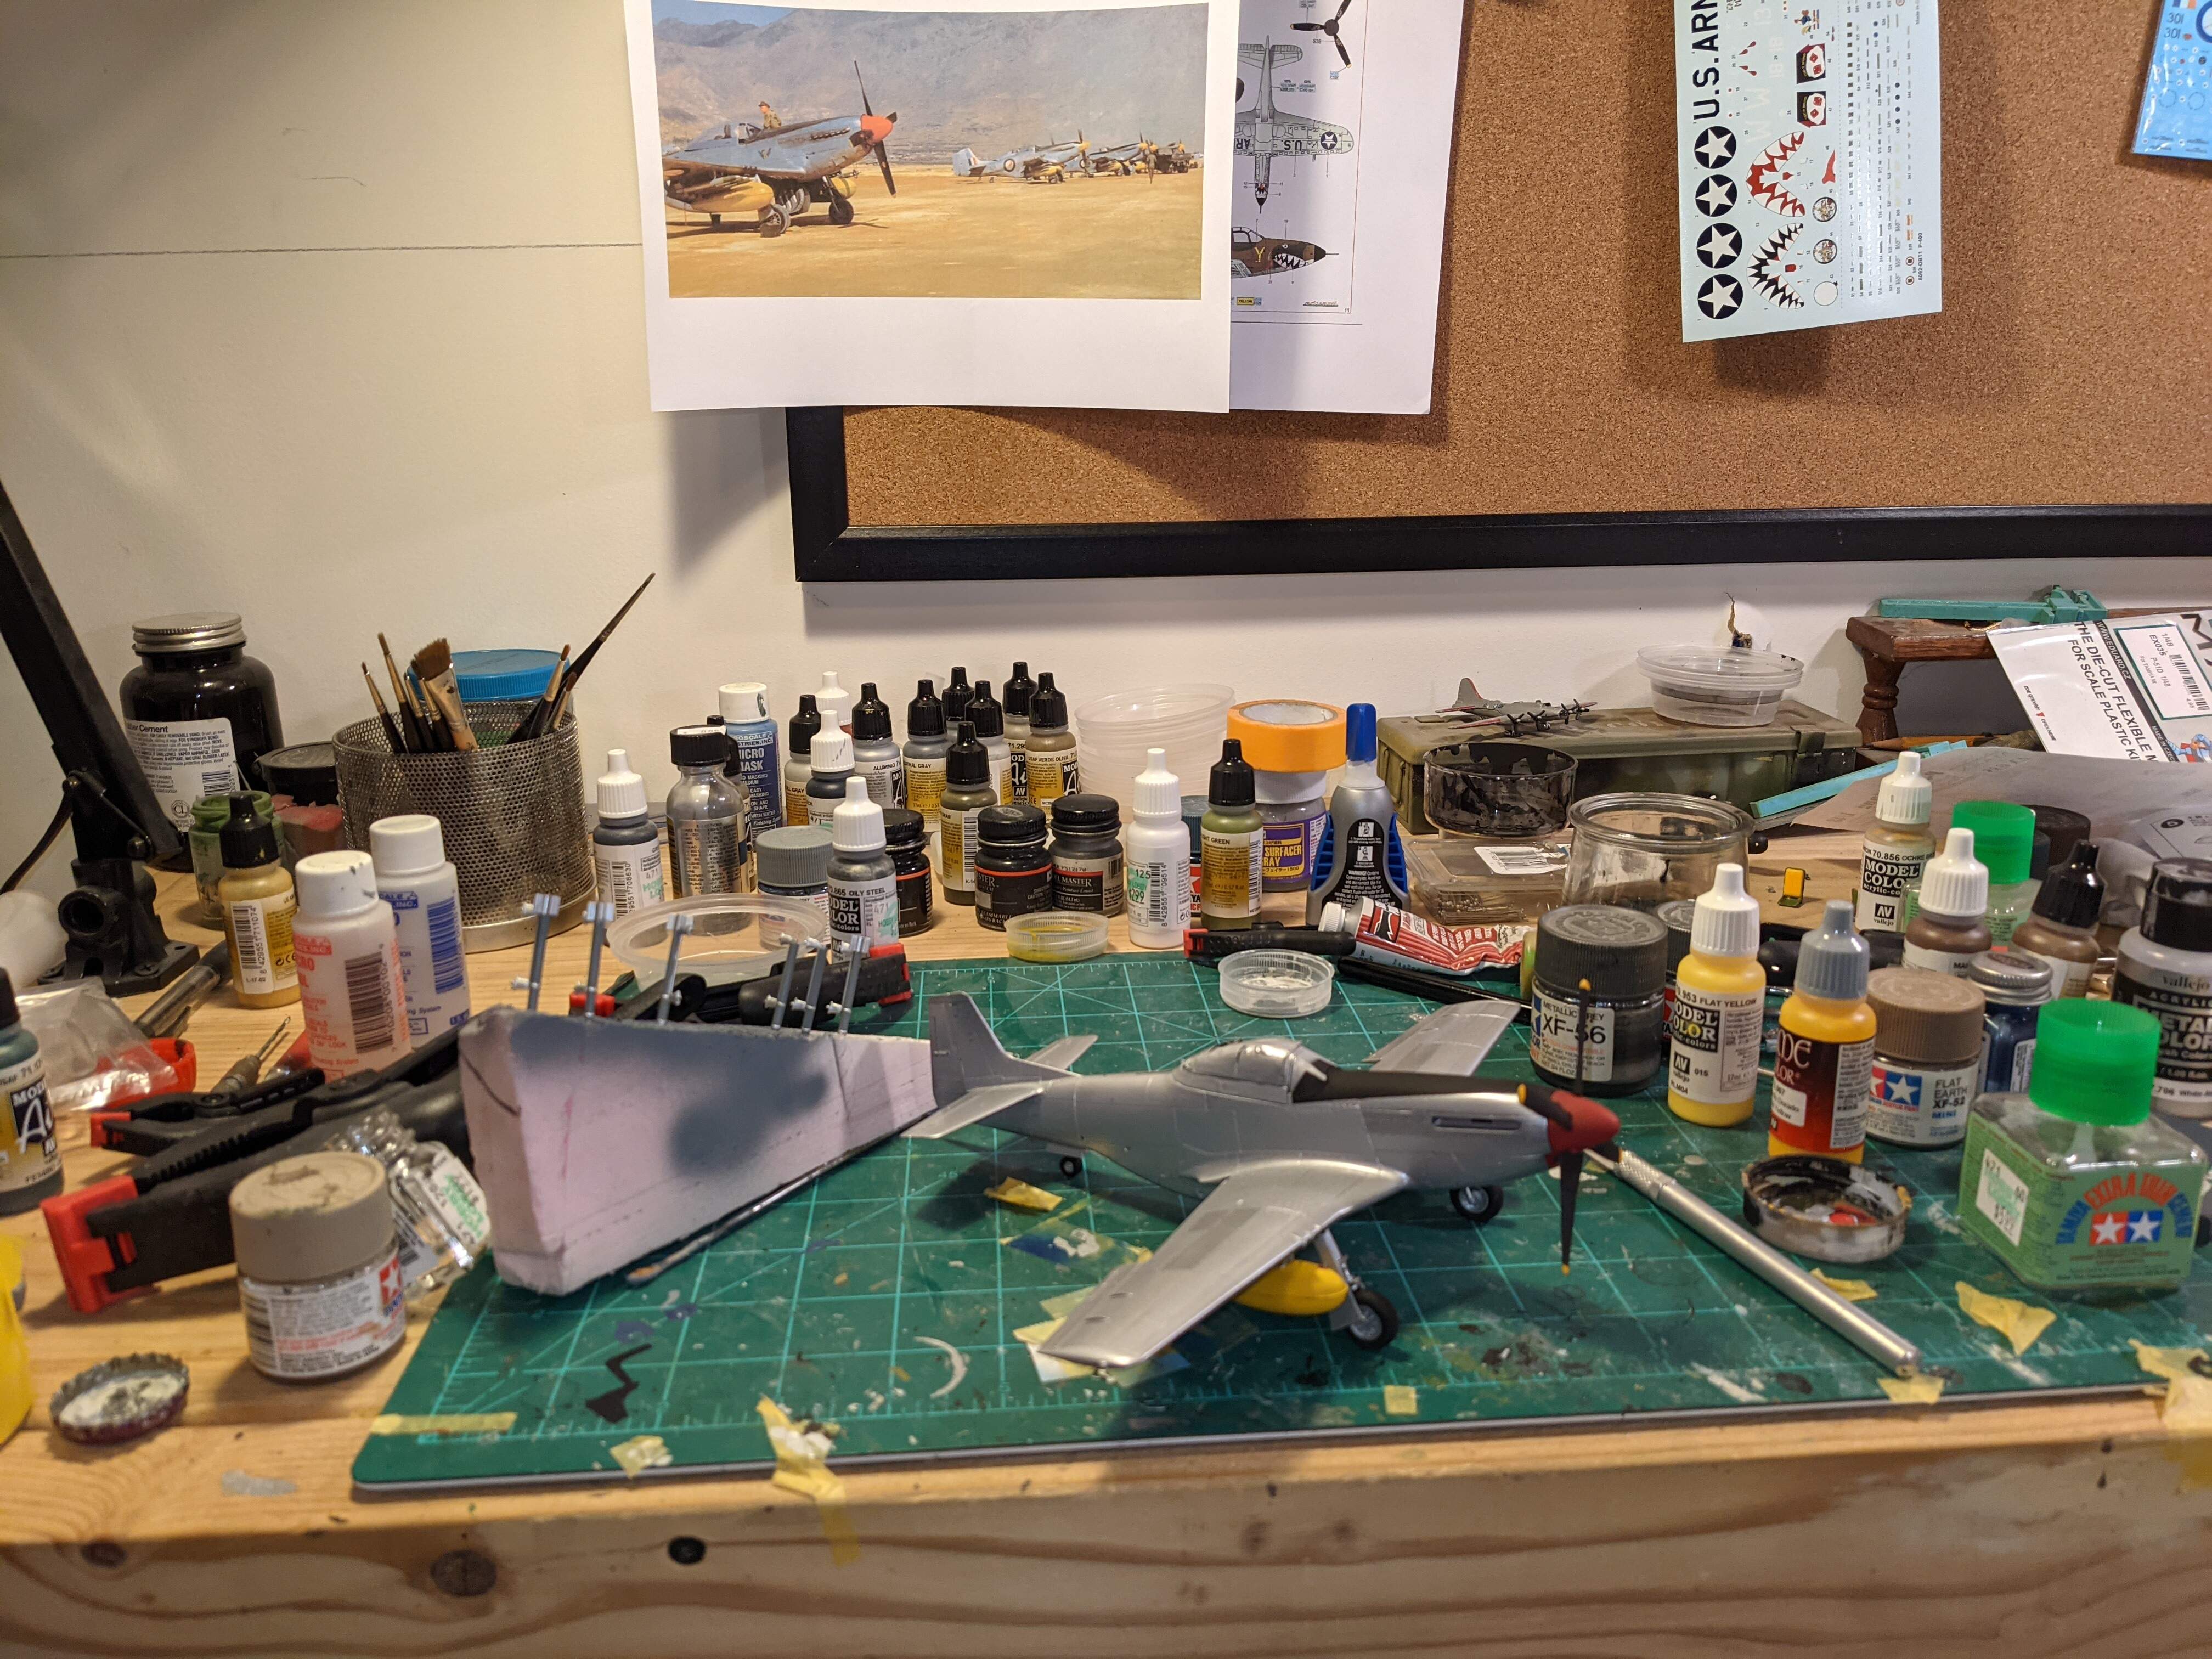
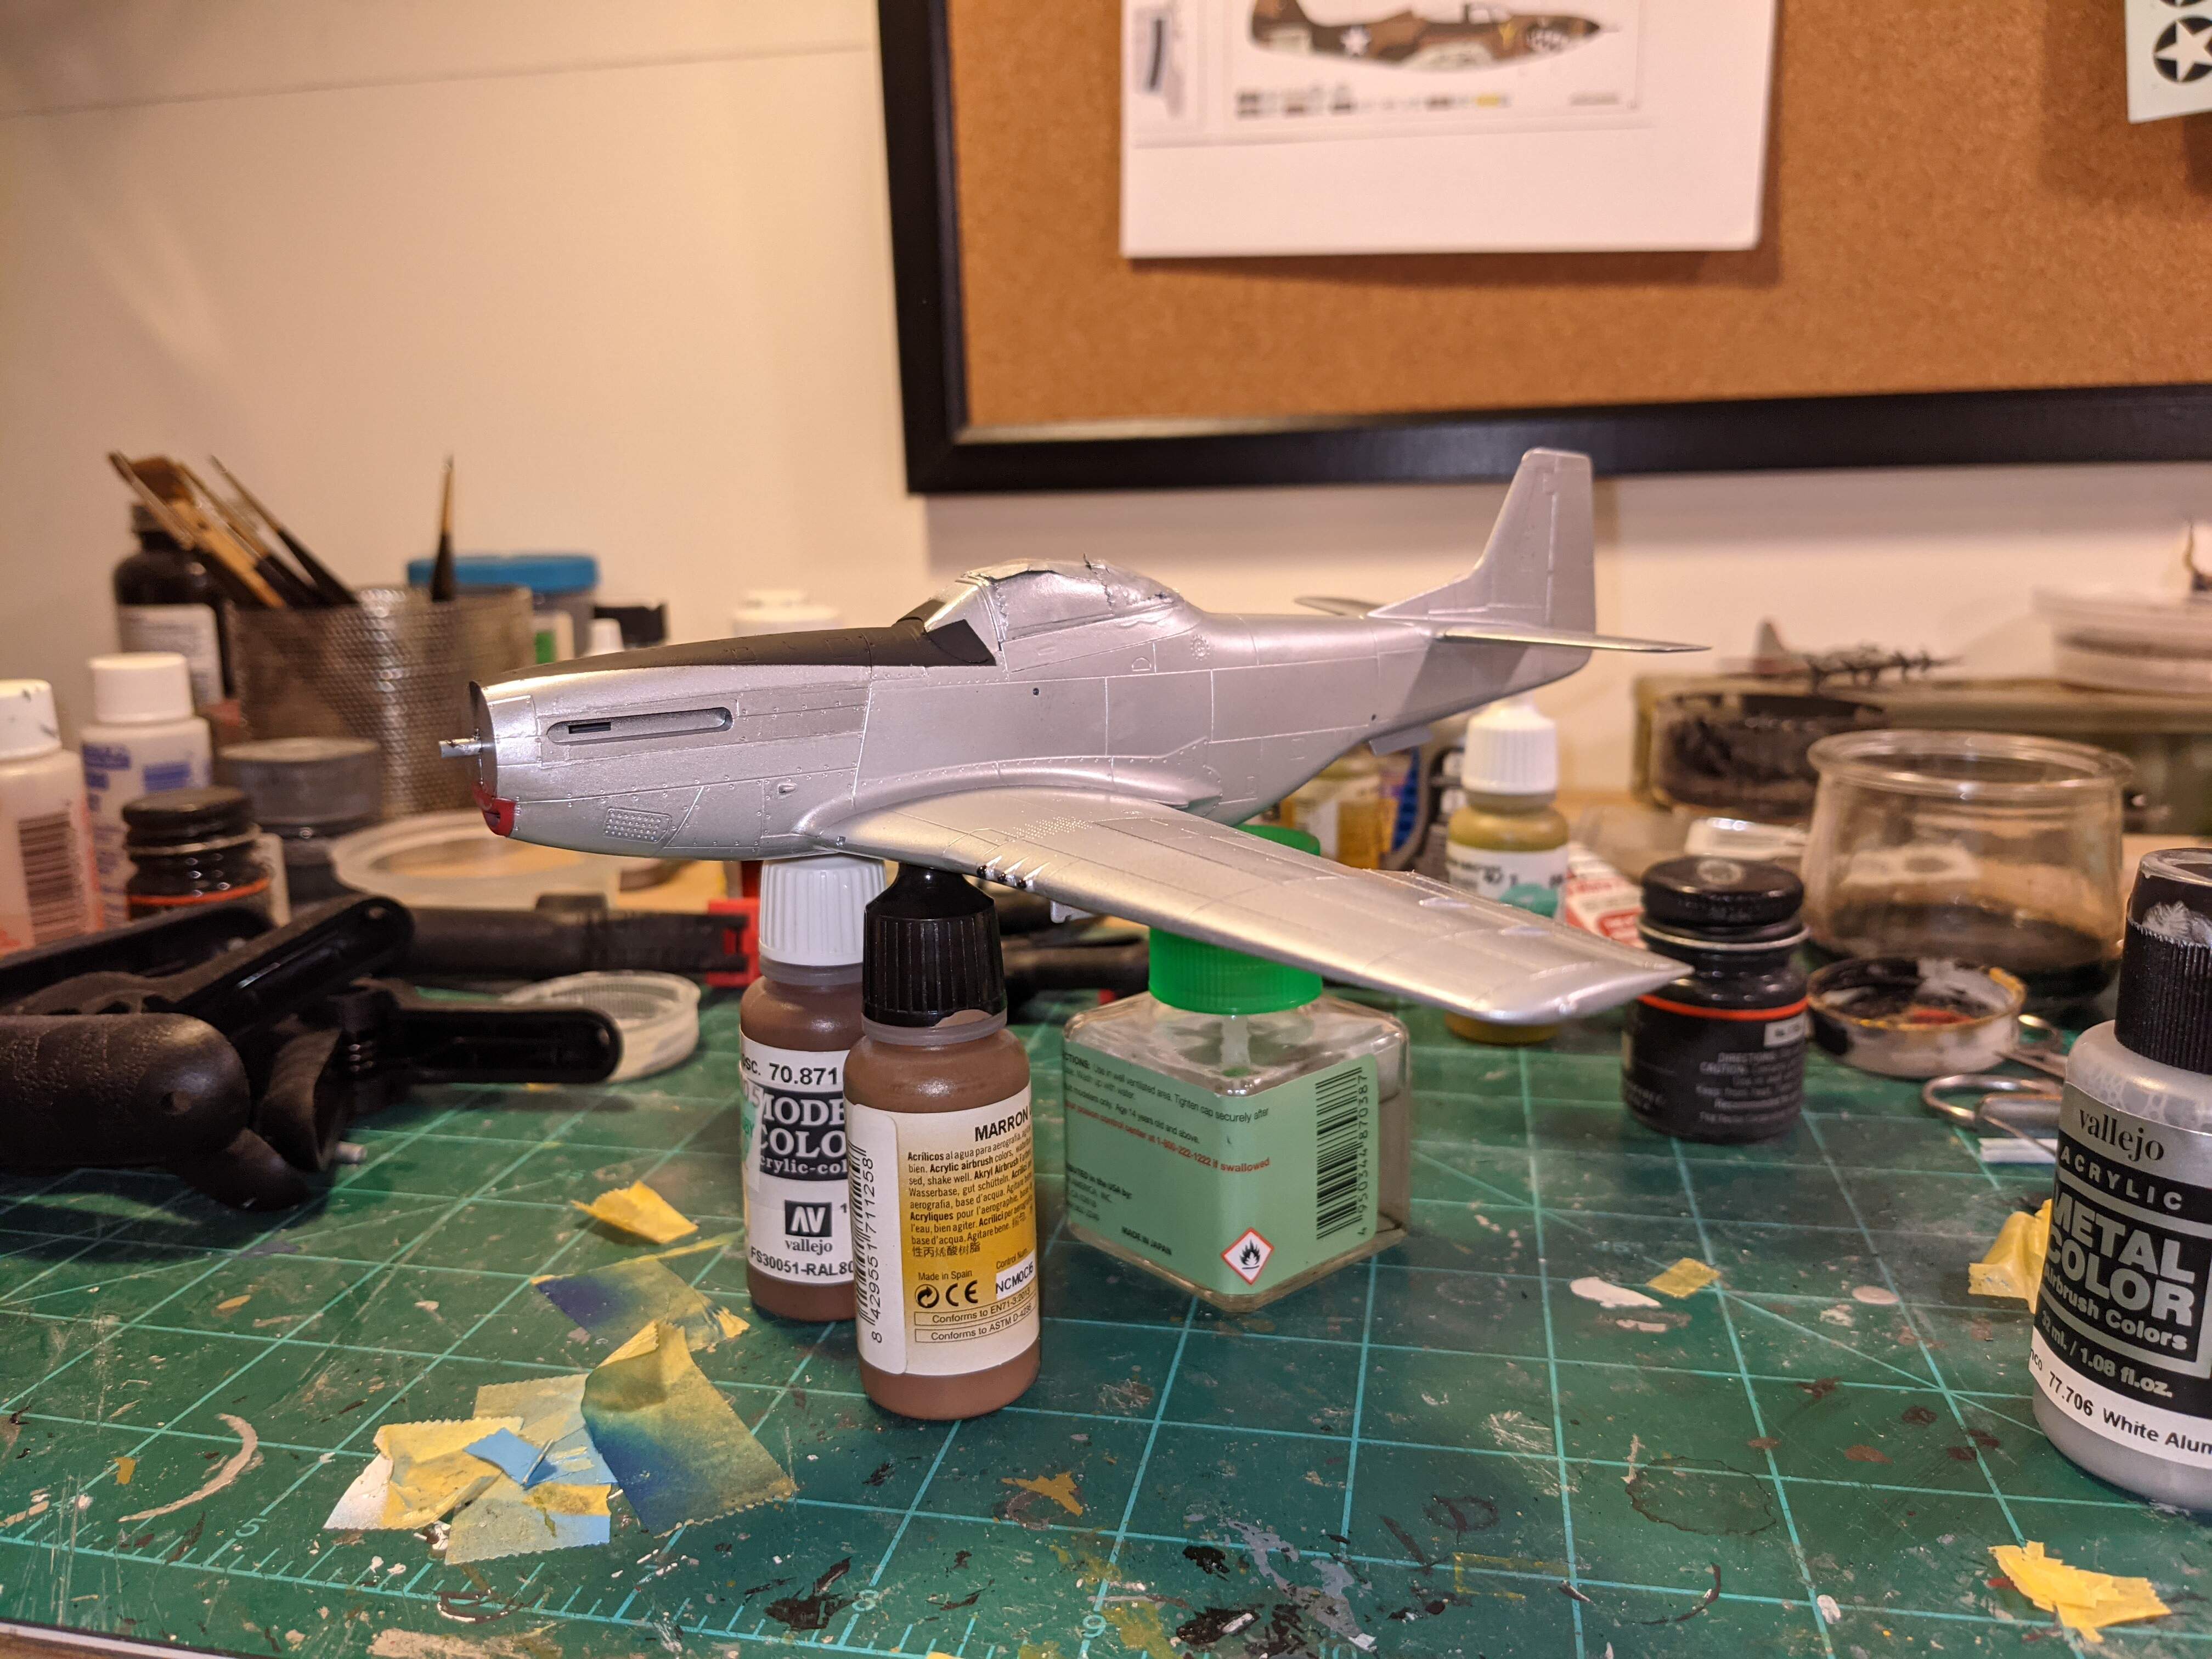
Here are some in progress photos of the SAAF F-51D from the Korean War I’ve been working on. The last photos I put up we’re of the cockpit. Since then I’ve had to start pretty much from scratch not once but twice after catastrophes involving alclad. I tried Vallejo’s metal colors for attempt 3 which you can see in the photos.


3 Likes
I have extra decals for the A-20 Havoc. I have used all the Russian decals for my build, but I believe the set for the RAF and US machines are almost complete except for some minor stencilling.
I will gladly share - in the past I got some Phantom decals from one of our friends on this forum - now I happily give back to the community 

Hi All!
Nice job Cody, looks good so far!
I’ve been busy doing things. To date, I got the tail on the A-20G, and cleaned up the seams, and rescribed any lost detail.

Next came a primer coat of MS 1500 Black, and a review for anything that needed rework. As always, there was some, this time a seam on the top of the rudder that was remedied with some super glue.
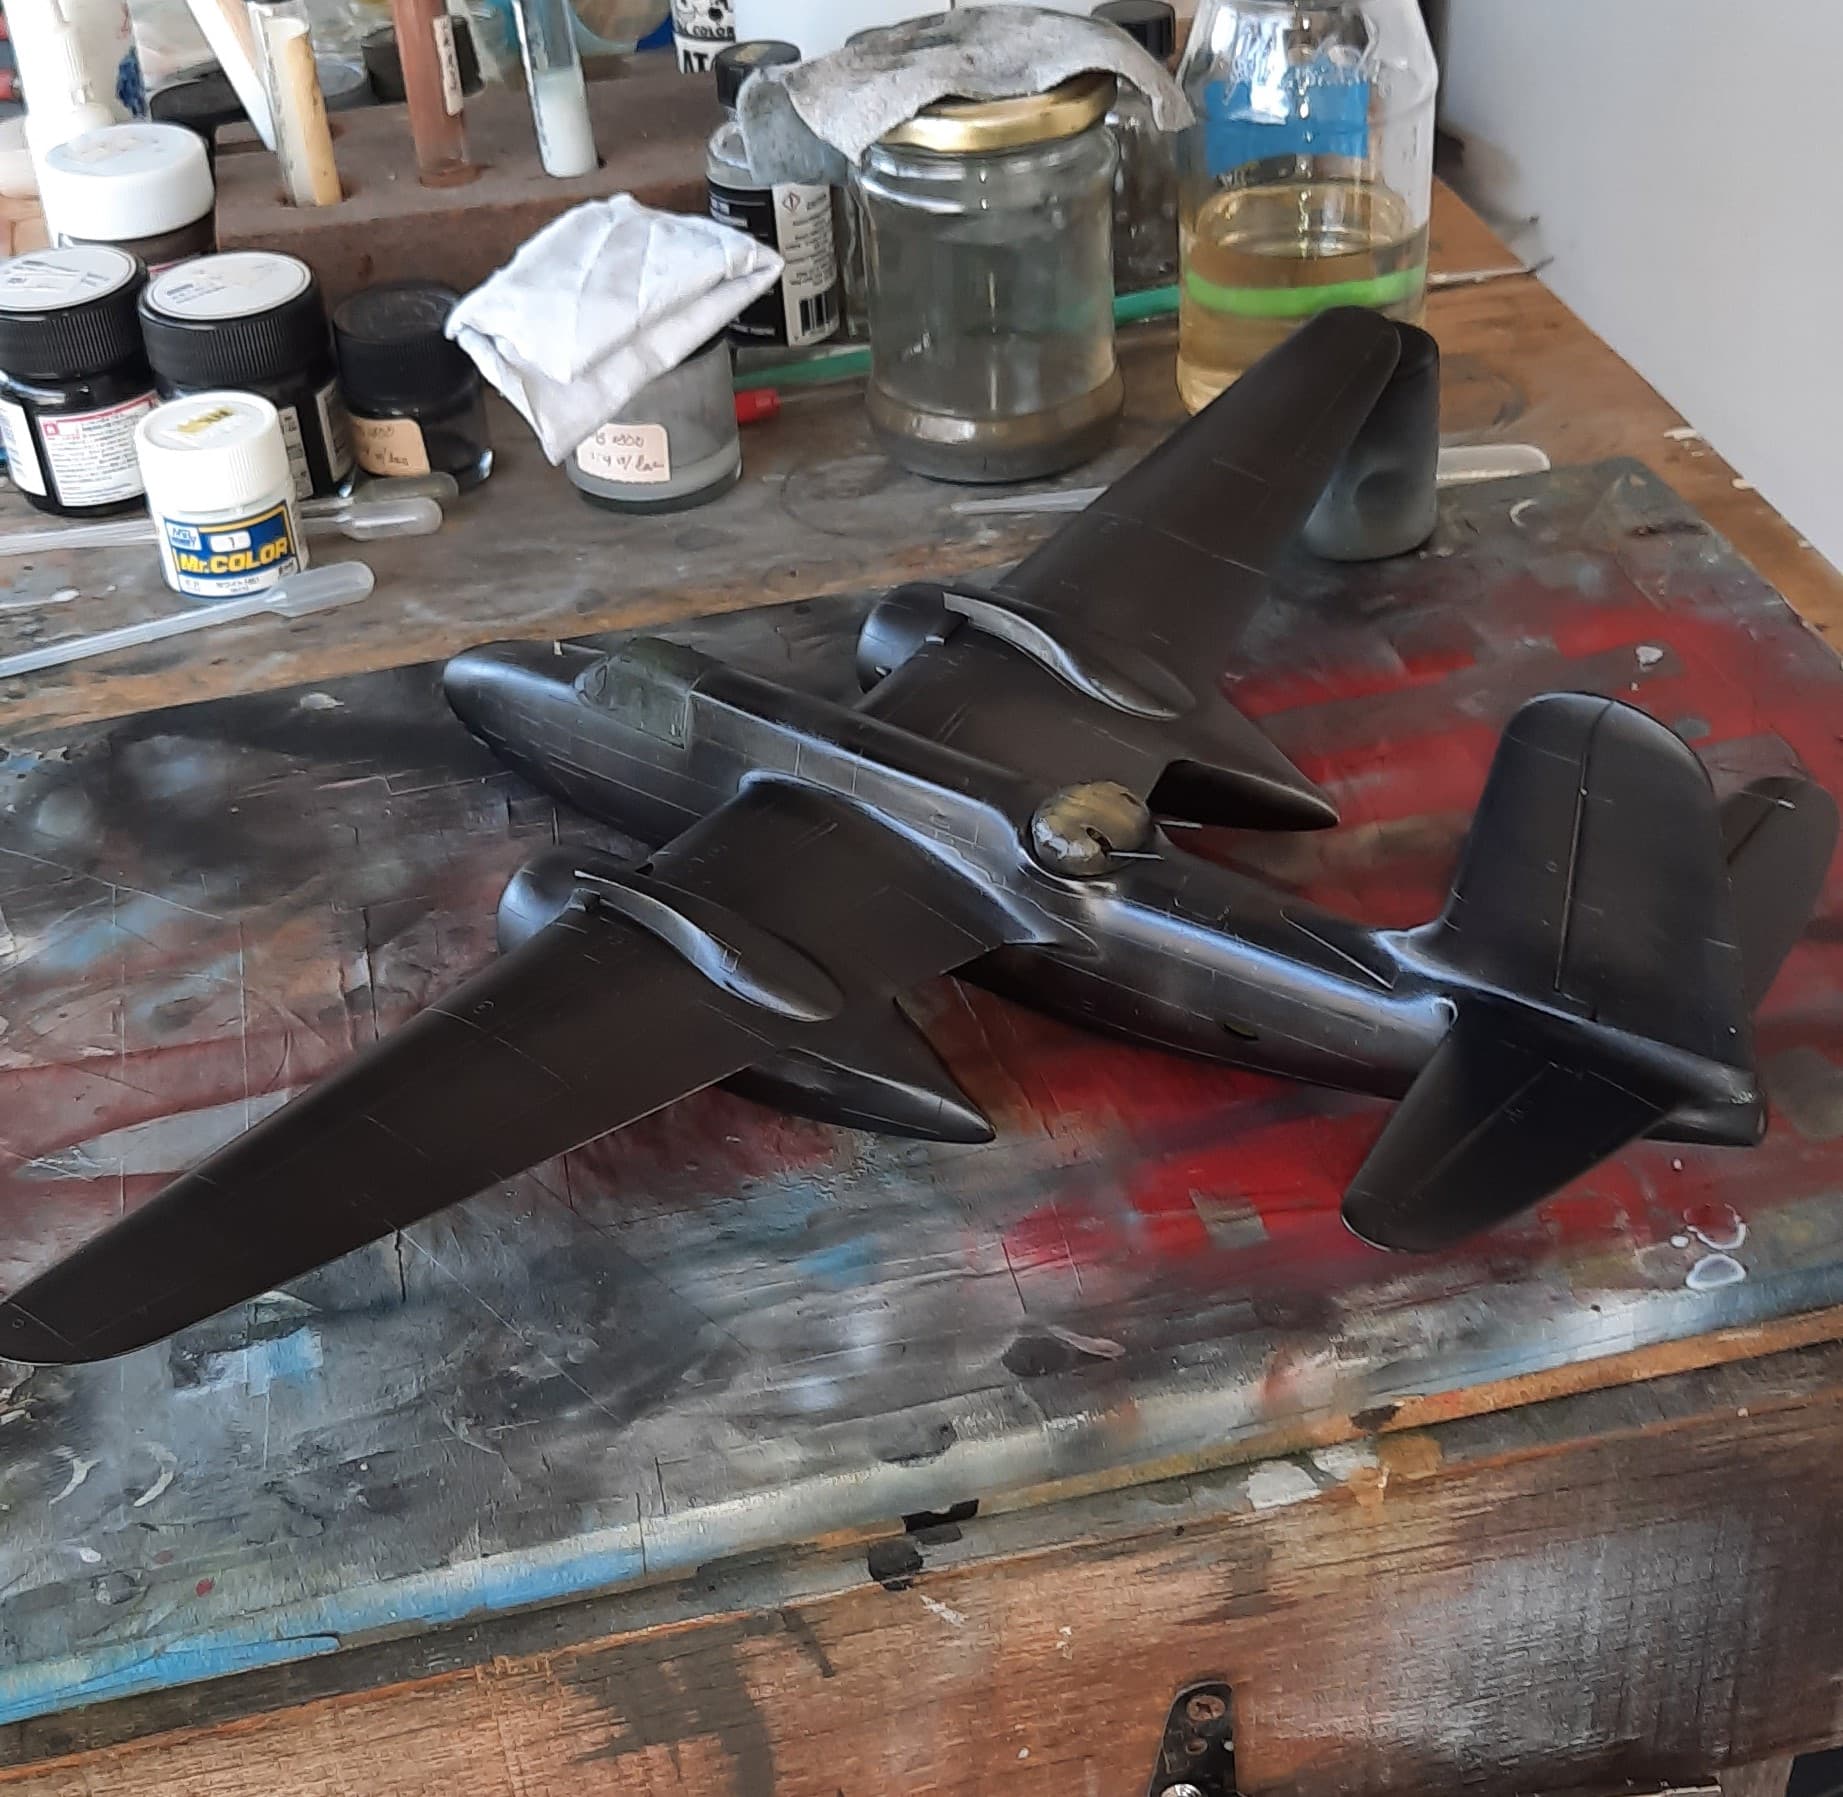
I then proceeded to paint the bird in her usual OD over Neutral Grey, using Tamiya paints mixed with about 25% White to scale and tone the paint down.
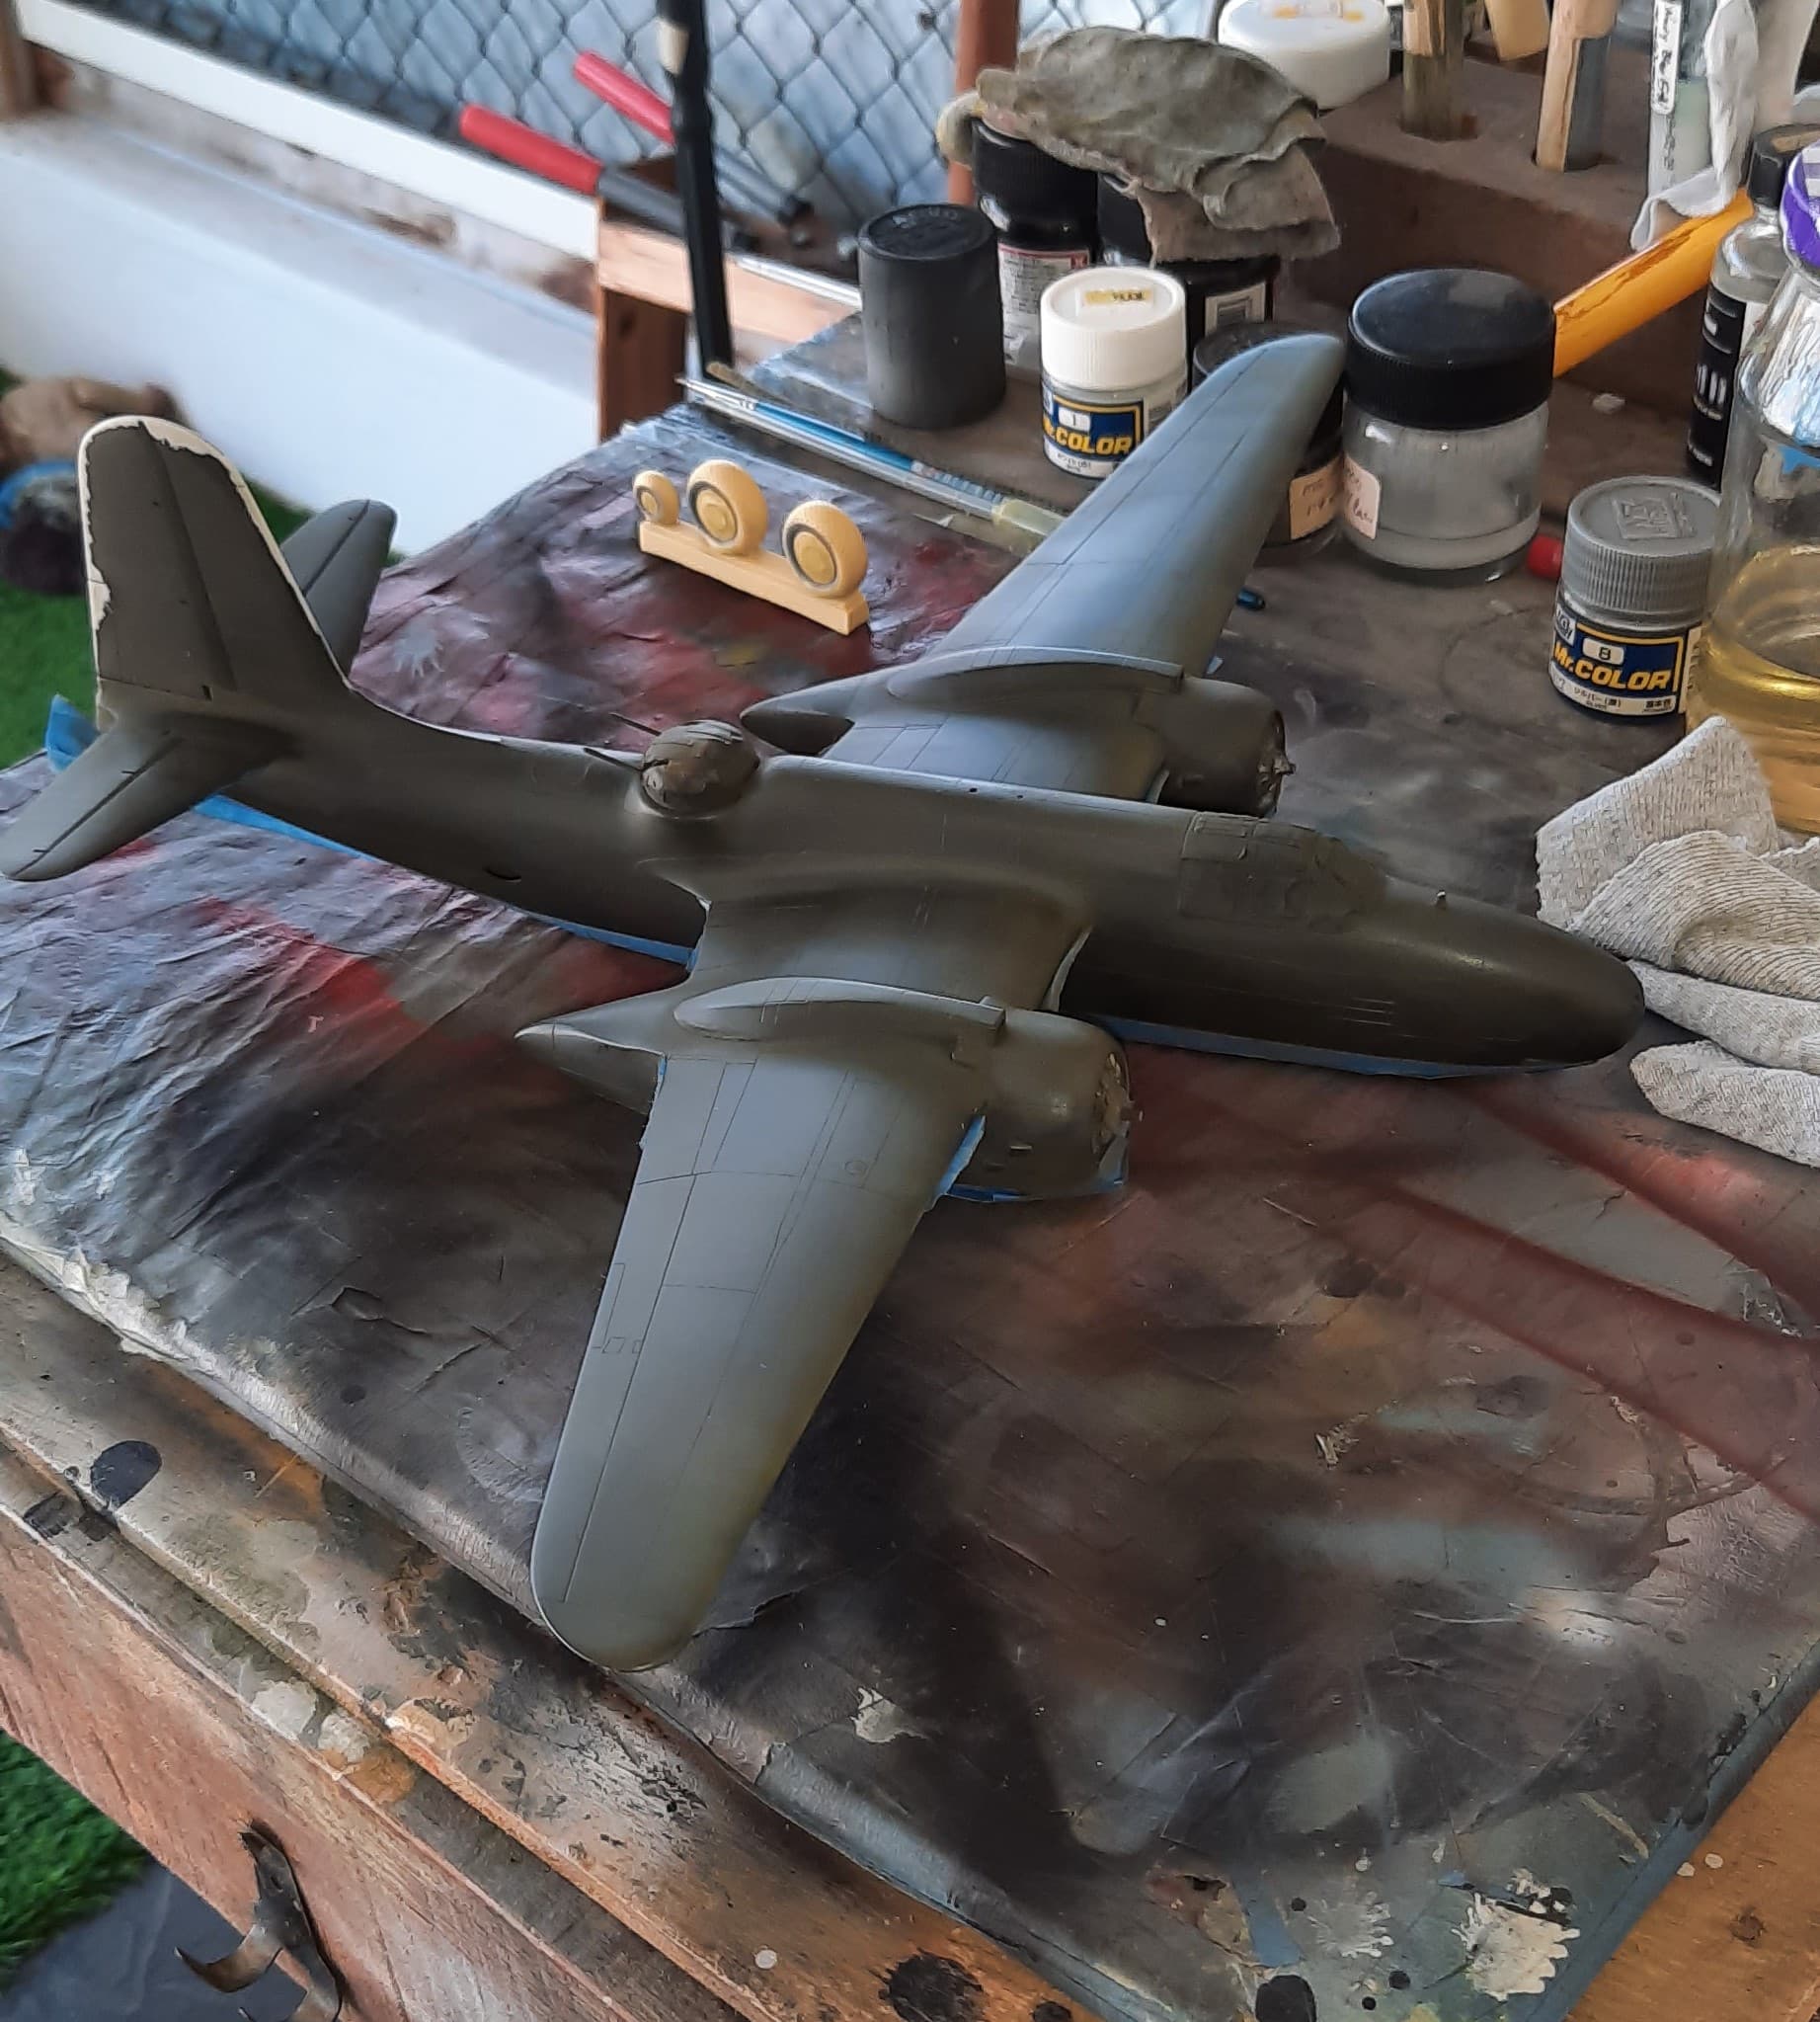
I did the control surfaces using the OD mixed 50/50 with white, turned out ok. I’m planning for a fairly weathered plane representing a bird from Hollandia, New Guinea. Then to add some more fading to the paint, I tried something a little new. I picked up a weathering stencil and gave it a go, using some thinned down White.
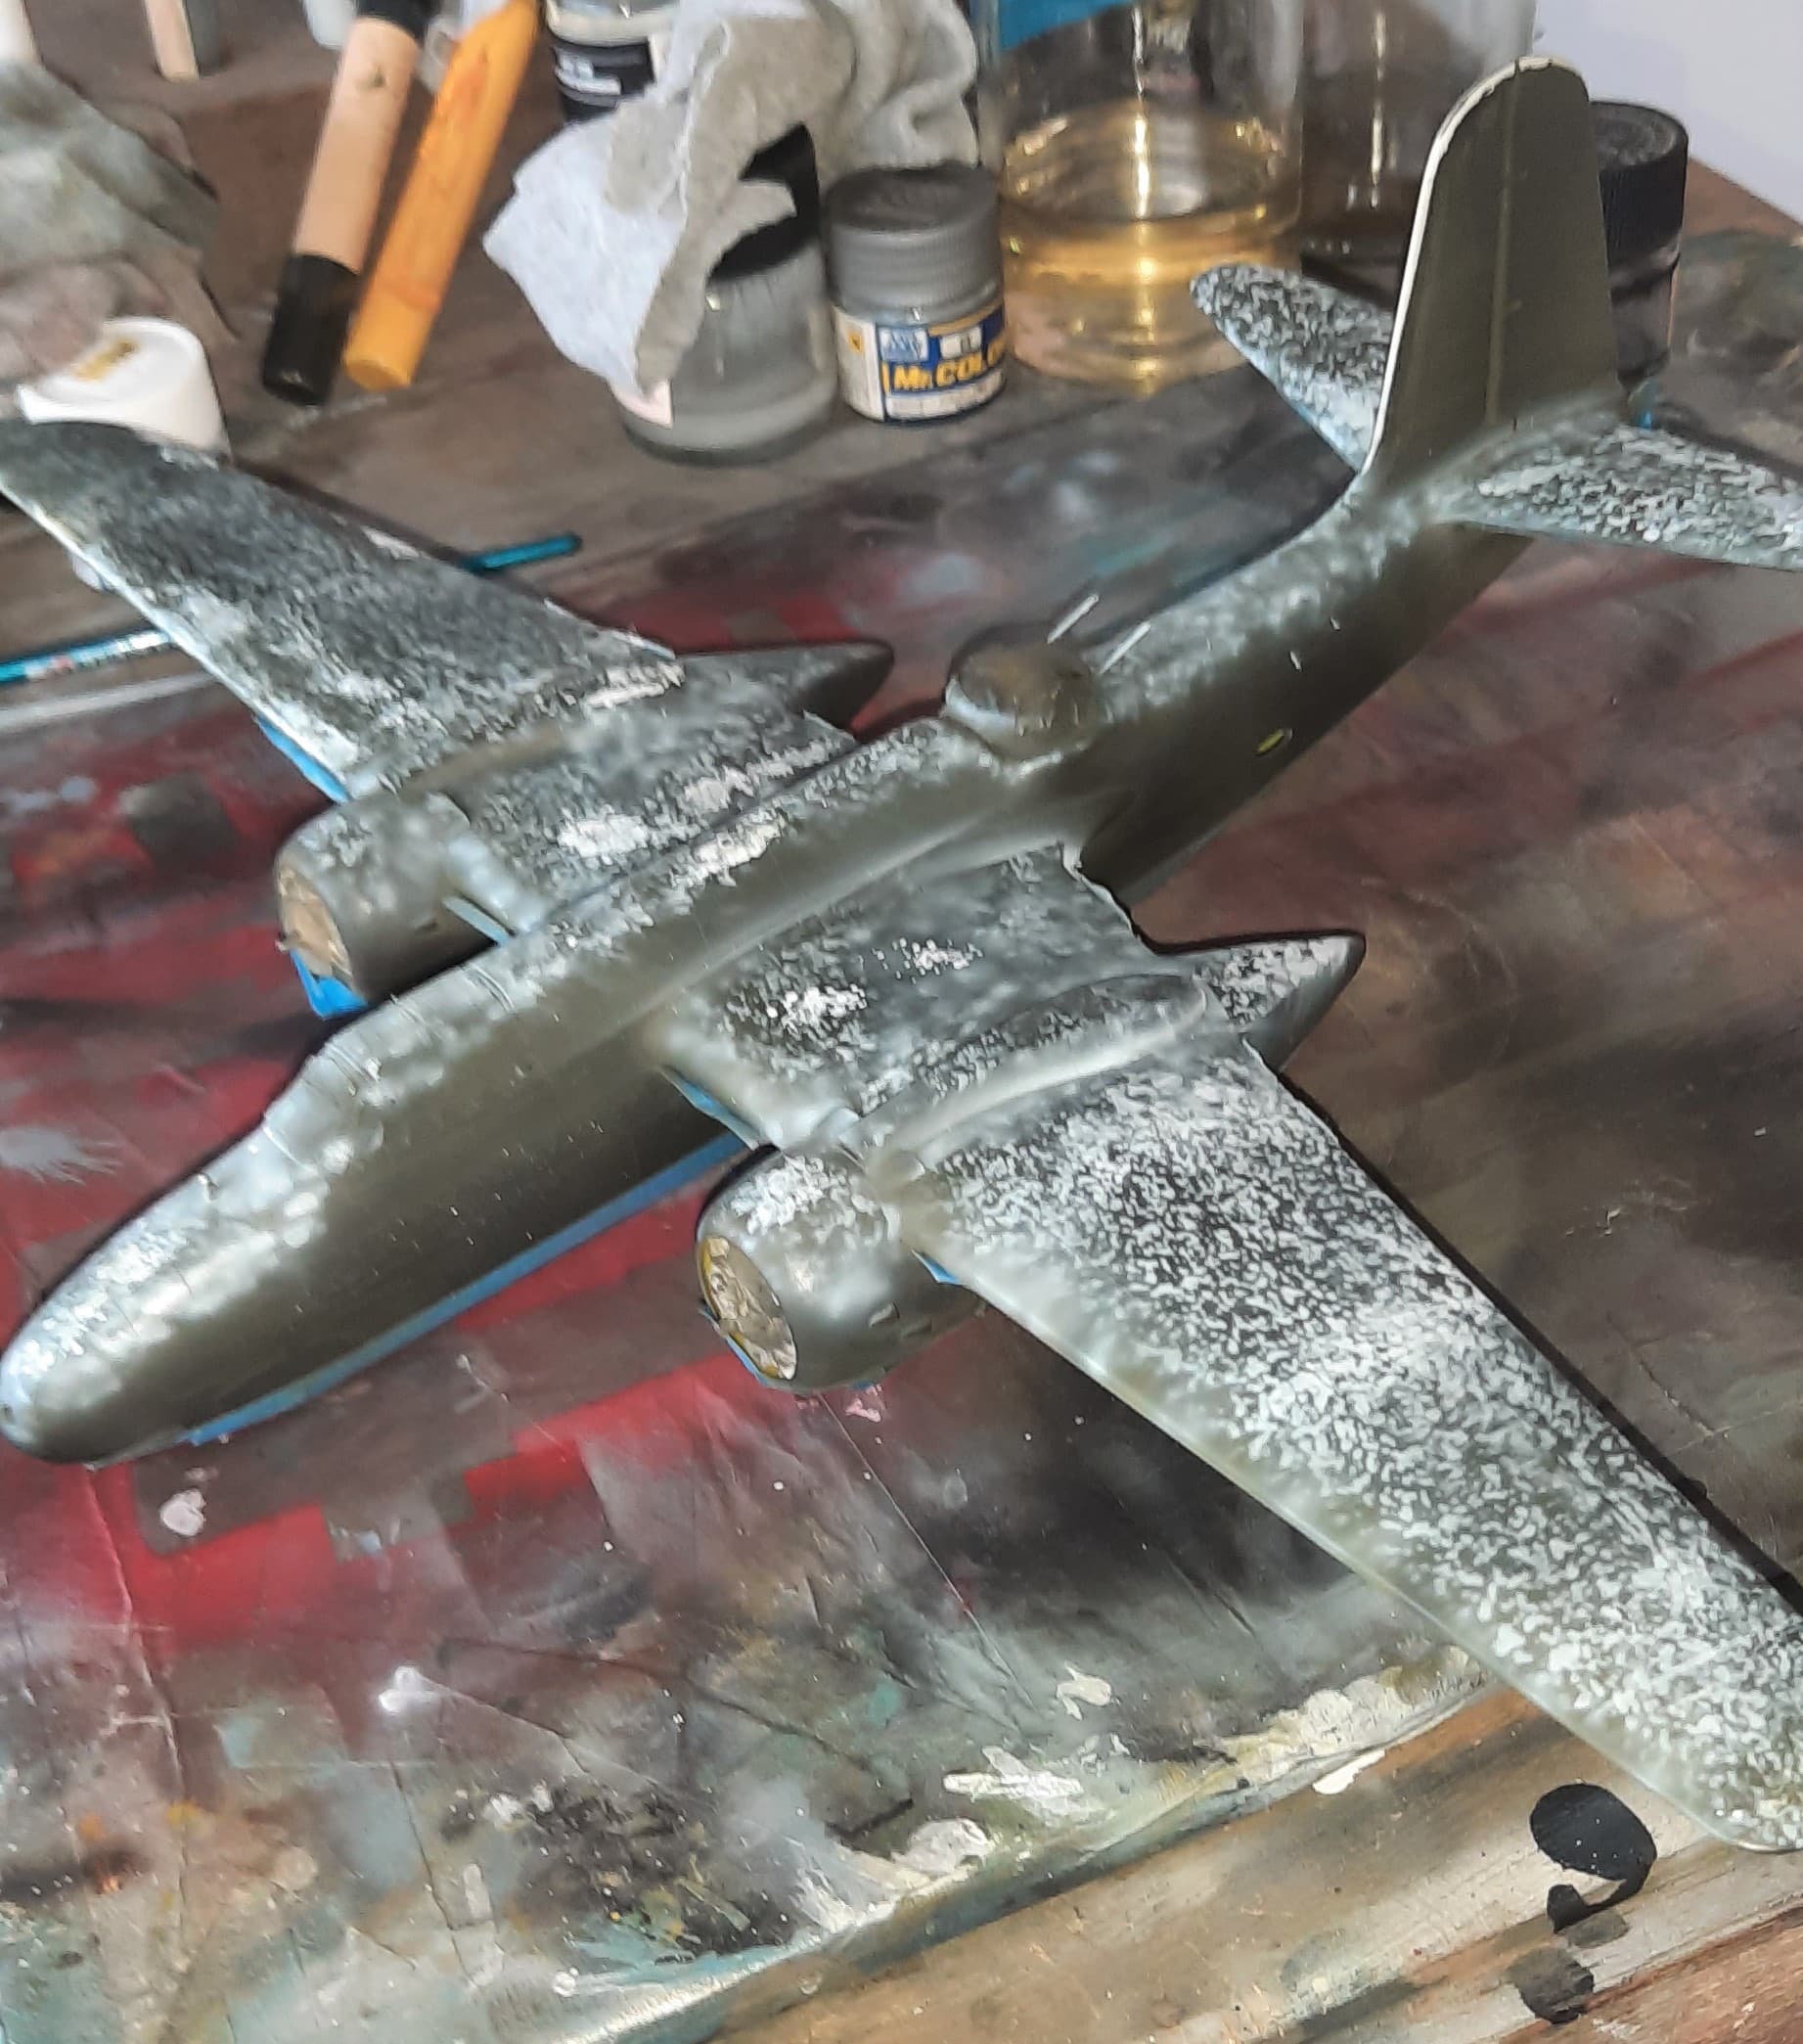
I painted over with the thinned OD, and hoped to get a neat fading effect, but, I didn’t turn out too well. So I reworked the top by going a little heavier on the OD, and then did a lightening effect on the panels using the OD whitened, that was used for the control surfaces. This turned out much better, though it really eats the time!

Then using some of the original OD I blended the panels together. I think I turned out ok.


Onto the decals, a panel wash, some more weathering, and then the small stuff. The more I’m working on this one, I do have to admit for a kit that was molded in 1994, it’s really a good kit! Plus I got it for 11.49 USD and it came with extra decals and a nice set of resin wheels, that look much better than what AMT molded. So far, I’m very pleased with the purchase, and fun that this one is providing!
Have fun, wash your hands with soap and water often!!
6 Likes
Looks great, John!
Very nice fading effect. 
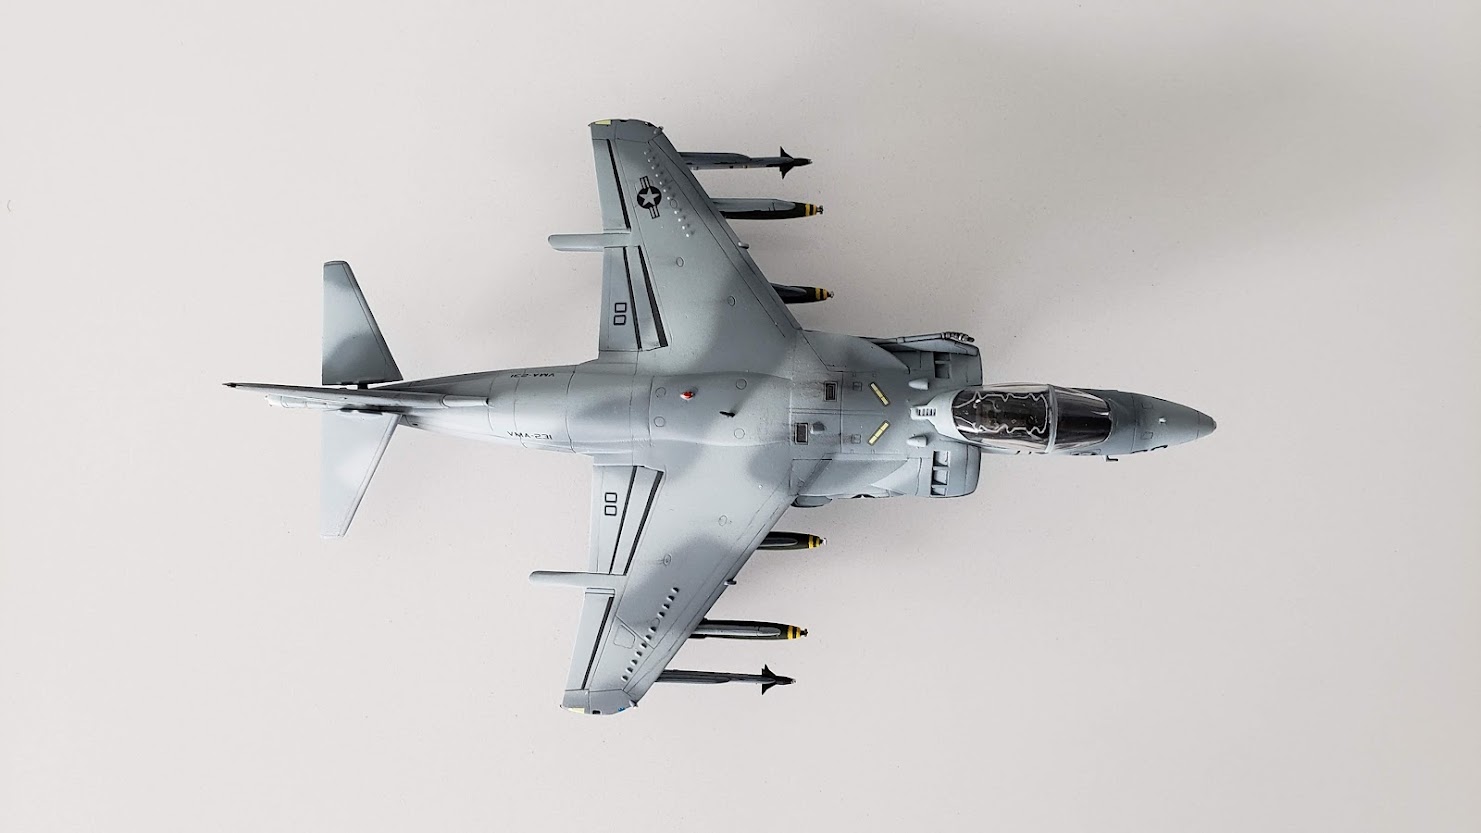
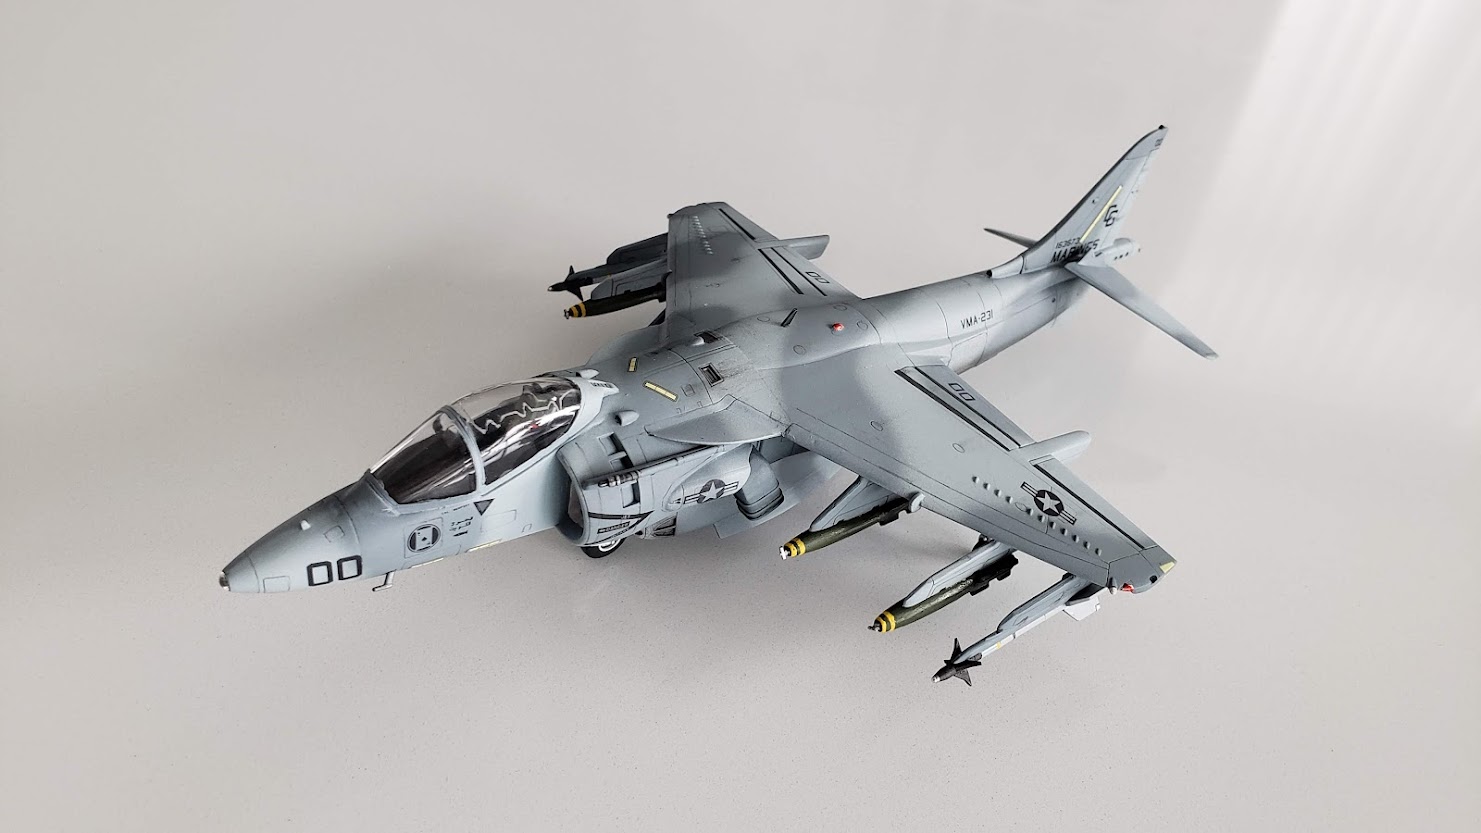
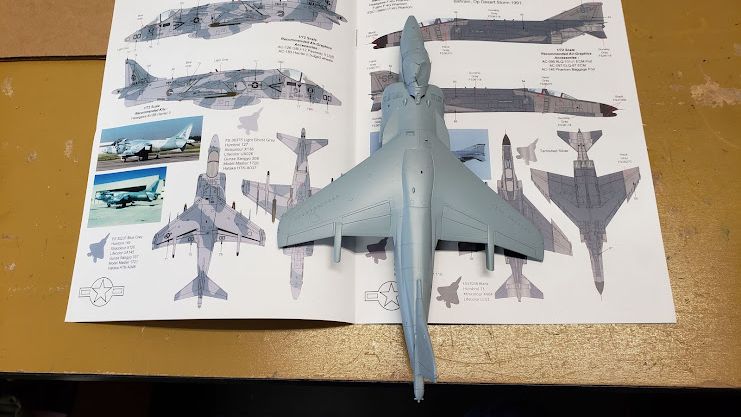
I’ve forgotten to post in progress photos for the Harrier 2.
Fuselage assembly and cockpit:

Initial coat of paint
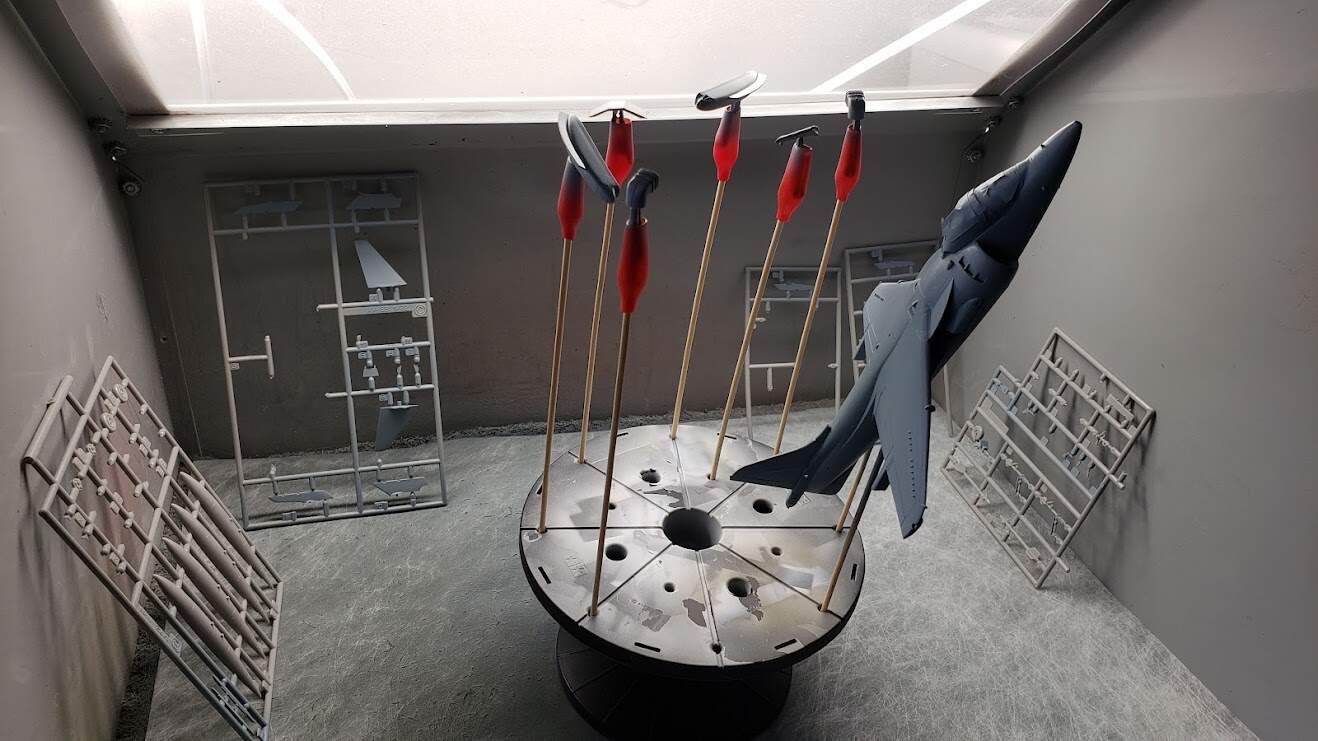
Going with a Gulf War wrap around paint scheme
Camo done

Decals complete
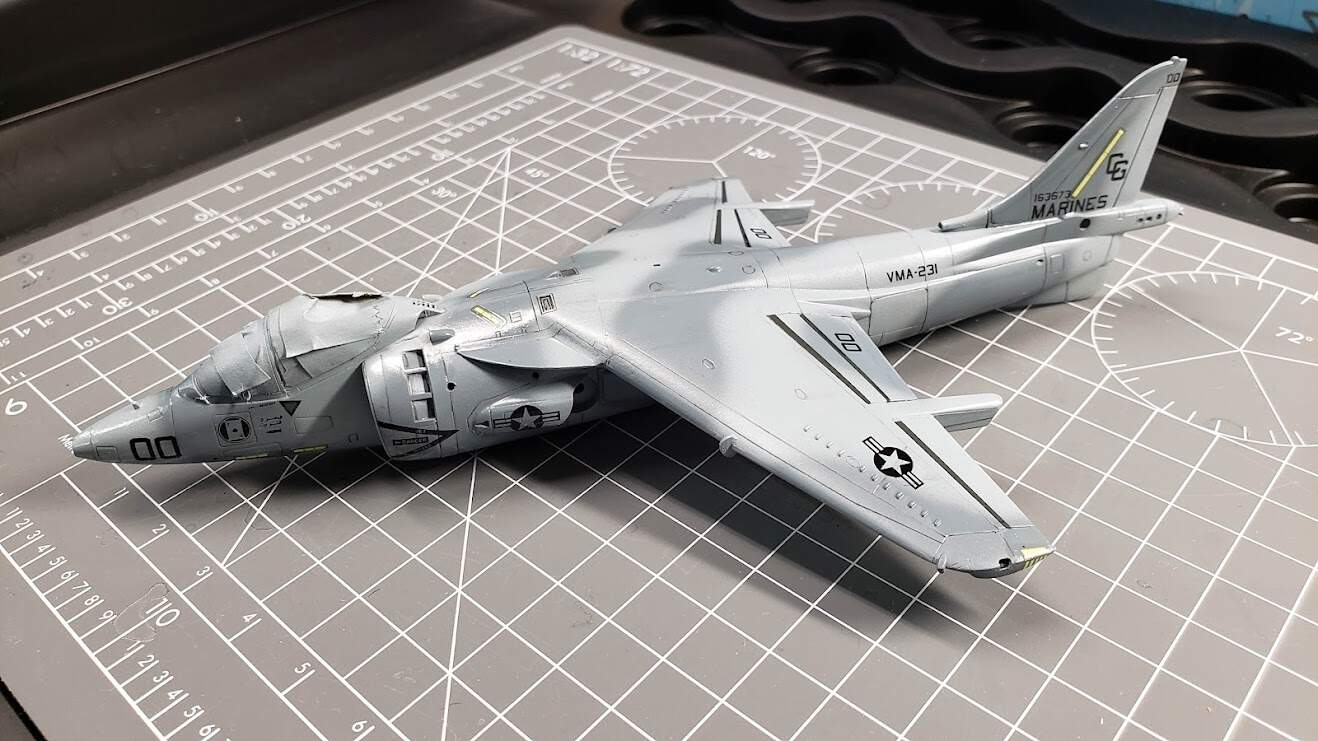
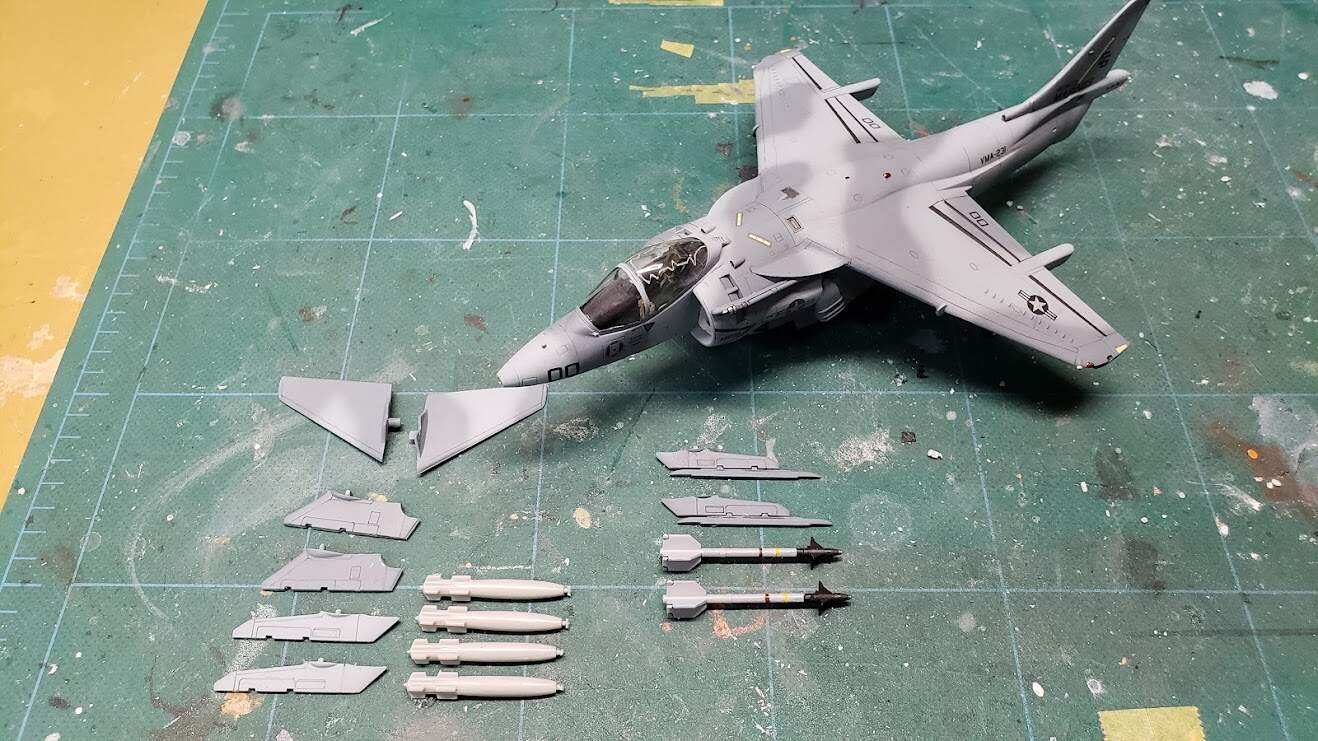
Mostly done, just awaiting the ordinance
7 Likes