I always finish my color painting (base coat) with a clear gloss coat - decals - gloss coat, then a clear flat coat. Then I start the oils. I prefer working the oils on a flat coat because they stay in the place you put them and are easier to manipulate. You can always spread a wash with your brush. I do this because I had several disasters before I began sealing the base paint with clear coats. The oil paint would permanently stain the base coat and darken it to the point of ruining the entire model. That required “The Dip” (eg. Roger Rabbit), stripping the almost finished model down to bare styrene and starting the painting process over. The clear flat coat allows you to retain the original colors of your base coat while applying and removing the oils at your will and leisure - you are in control. And at all times in modeling, that’s right where you want to be.
I was thinking of doing this on my current project. For the main reason that the gloss darkened the base coat, so it’s hard to tell how dark I am making the wash relative to the underlying base. I would like to apply my flat then do the wash.
Two questions. 1) what are you using for your flat? I assume it is something acrylic and not dull cote or else the wash would interact with it. 2) does the flat coat remove the staining issue? Previously I’ve been nervous about doing the wash over the flat clear as I too have had staining issues on flat base coats with oils
I make my own clear flat. It’s a proprietary blend secret formula that’s 70% Future and 30% Tamiya Flat Base. Dead Flat (a lot of people throw this term around but this stuff really is) and it won’t frost or milk on you. As long as your clear coat is complete, you won’t have any issues with the paint being stained by the oils. If when the oils dry you have any pools or tide marks, you can simply remove them with a cheap stencil brush moistened in mineral spirits. Just scrub them away.
Fantastic! I’ll make that up, I am assuming sprayed through an airbrush?
I lied on only having two question lol! Approximately what pressure? And how crucial is the mix? The future is easy to measure with a syringe, but the flat base is thicker and I can it being more of a challenge
Cheers!
Yes, airbrushed, but you can do touchups with a brush, it works well. I spray at 12PSI with a .05 nozzle. For the mix, I have a bottle that I marked 7/10th’s of the way up. I fill it to the line with Future, then the rest with flat base. Shake. Makes it easy.
Thanks a bunch, gonna give this a go!
You are very welcome, have at it!
@Tank_1812 beat me to it. Mike has several books out and they go into nice detail about various ways to use oils. You’ve said it yourself as there is not much of a downside to them- they are forgiving yet versatile.
I would suggest, varnish wise, to experiment and listen to the excellent advice in this thread. What I will say is that, personally, I like satin varnish- not too glossy or too matt- it suits oils and enamels. Gloss, Satin and Matt all behave differently with oils. Best thing is to test them and see.
as an old fart I am quite happy with my standard set of
Acrylic/laquer base, I do like AK paints but mostly use good old gunze
Humbrol enamels
Windsor newton oils
I have never felt the need for these new fashion brands/filters/modulation/oil eye liner brush things sets etc etc, seems just like a marketing spam
The one exception is pigments, I do like them but I was following Tony Greenlands lead back in the 80s anyway so for me they are not really that new (an in all probability all paints are just pigments in different states anyway!!)
simple techniques, washes, dry brushing, basic chipping with a sponge etc get me 99% of the way
So to answer your title
I like to do a windsor and newton black grey wash mostly, heavily thinned and I always pre wash the surface of the kit with thinners. Once every detail has been picked out I let the thinners dry and if I want to start the streaking a simply dry brush dragged down will draw a very subtle amount of the oil paint down from bolts, creases etc
very simple and for me still very attractive
edit I often use the humbrols as a faster drying dot paint to add colour variation in a base coat instead of oils as they have so many colours, 12? greens for example its really simple
I gave the mix a try and it’s not working out for me. I tried it on an old test piece and It’s drying white?
I’m wondering how opaque the mixture should be? This is how mine looks
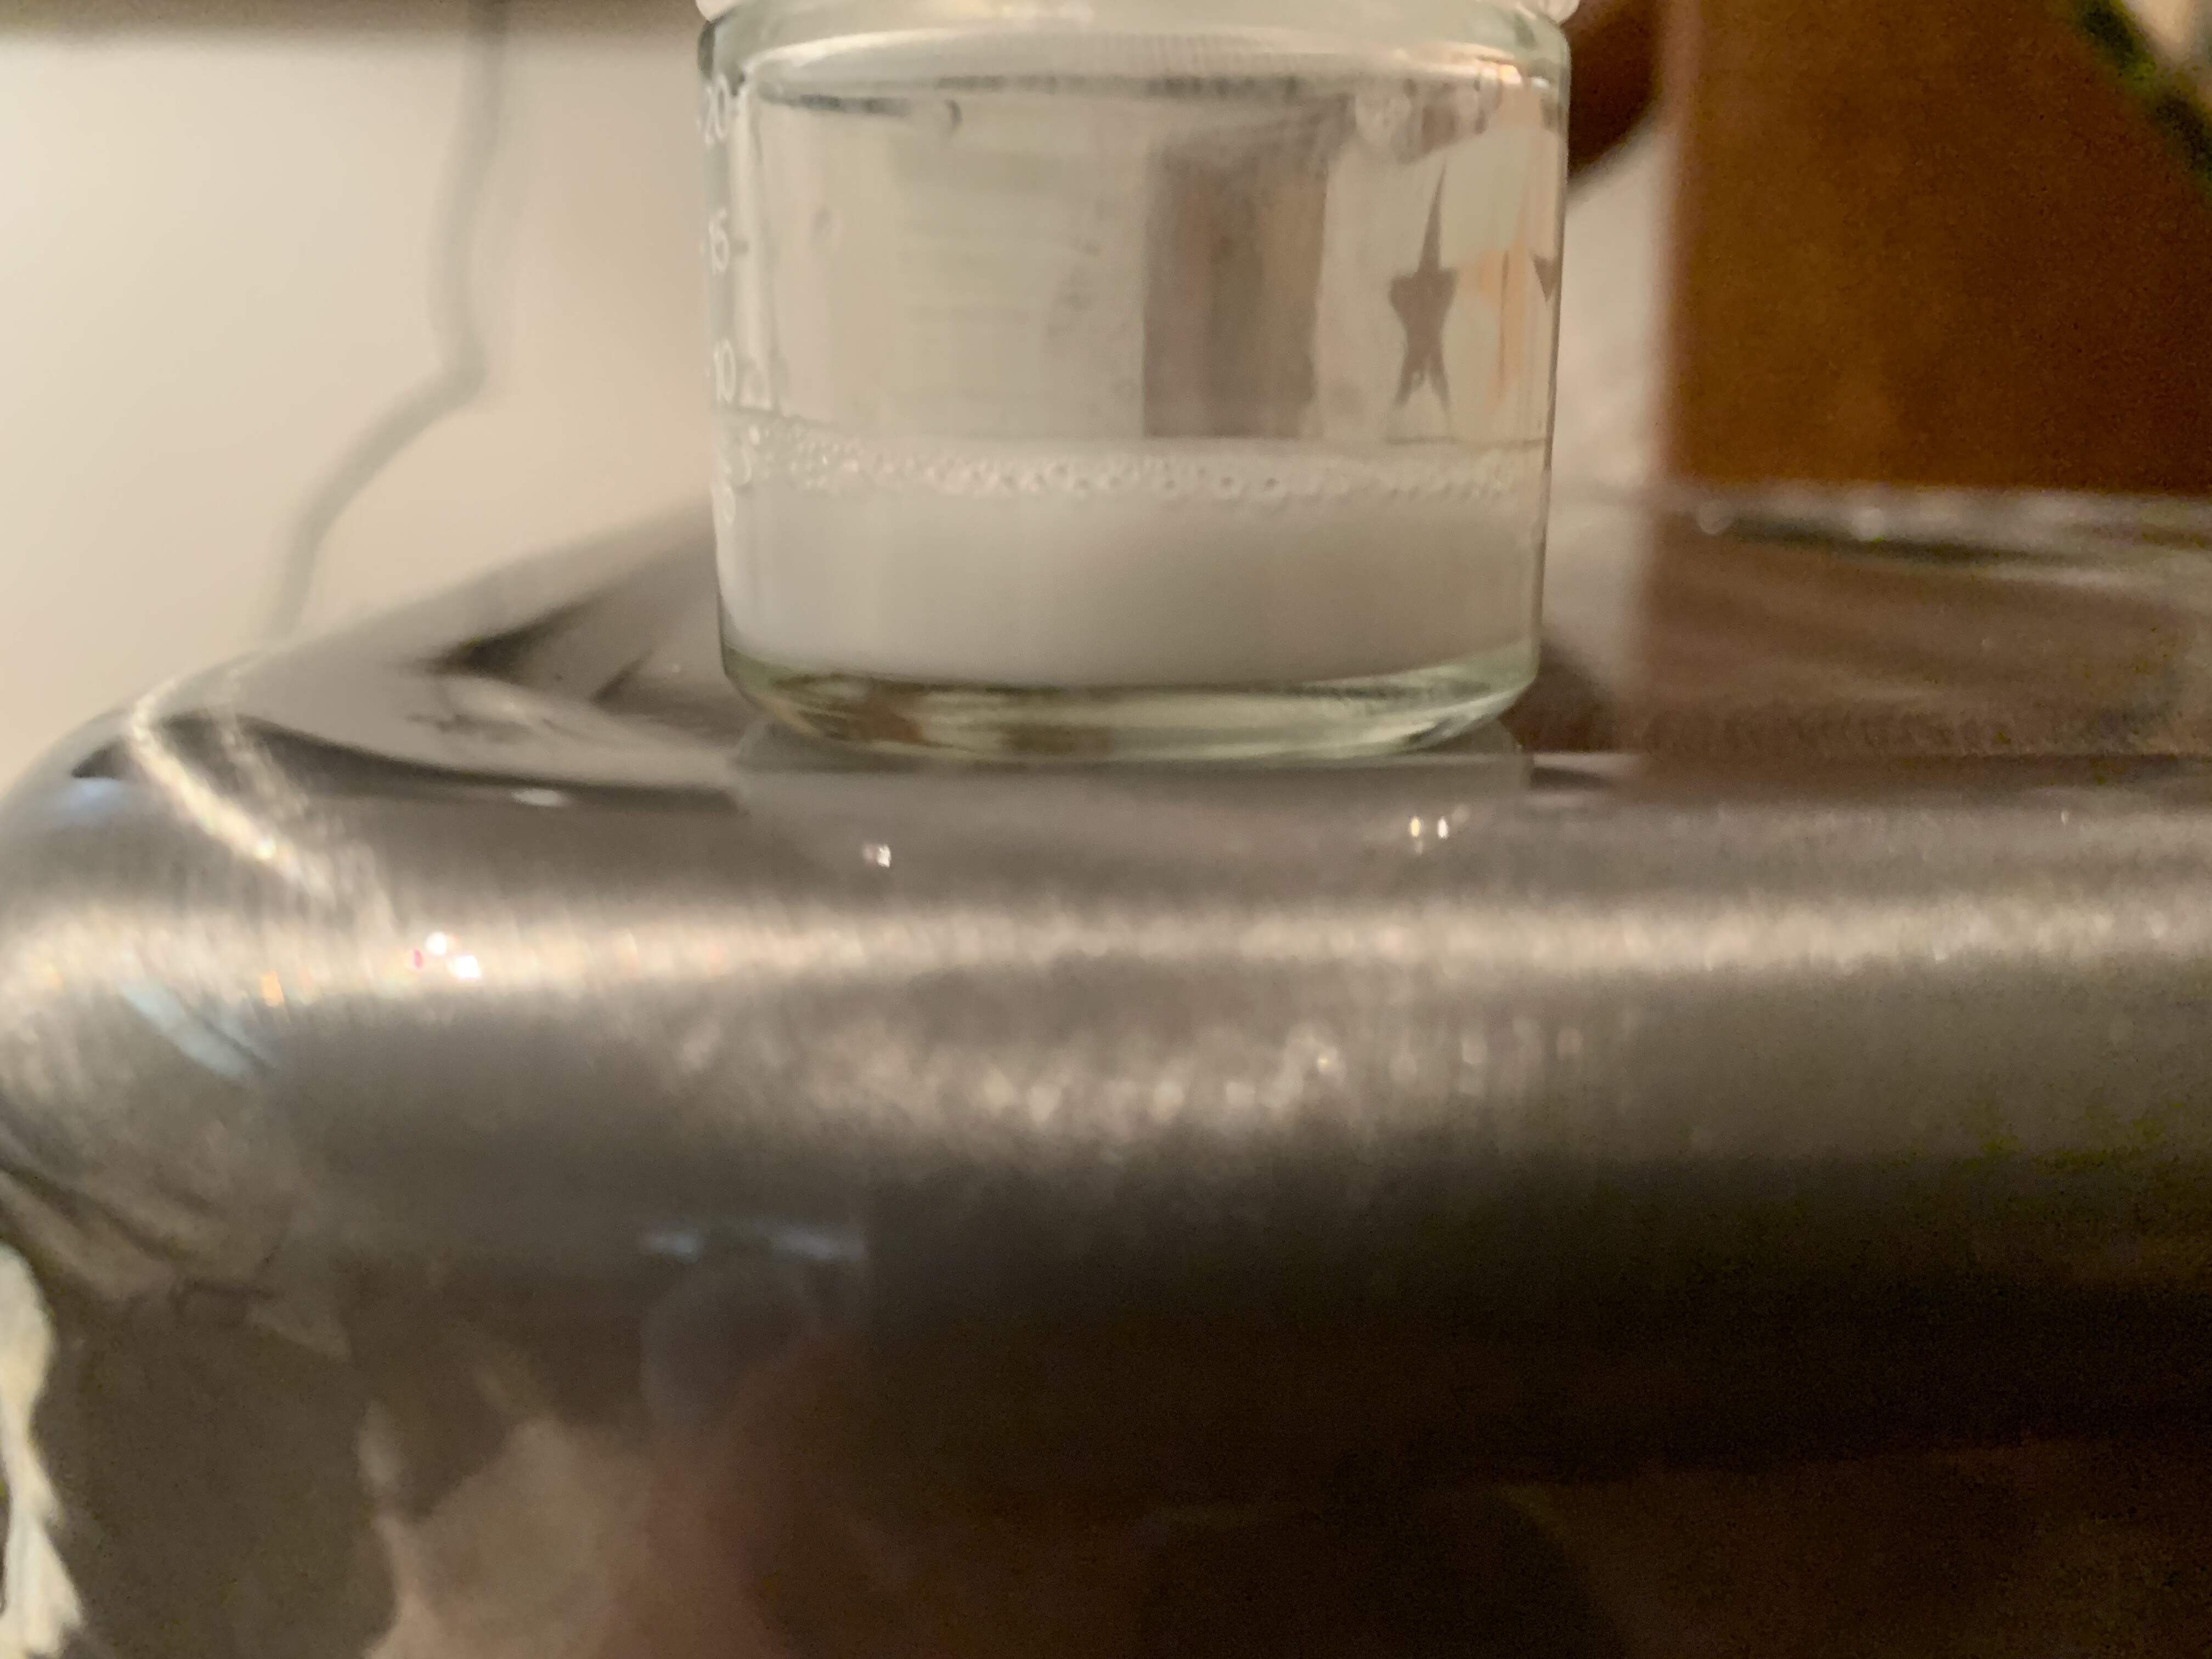
My guess is that My flat base is older and perhaps more concentrated with age, meaning my 70%-30% mix is actually probably much stronger? Anyway I trust your method think my mixture was off and was hoping the picture might help narrow down if I just need more future, or perhaps a new bottle of flat base!
Cheers
@Mead93 interesting, how old was your base?
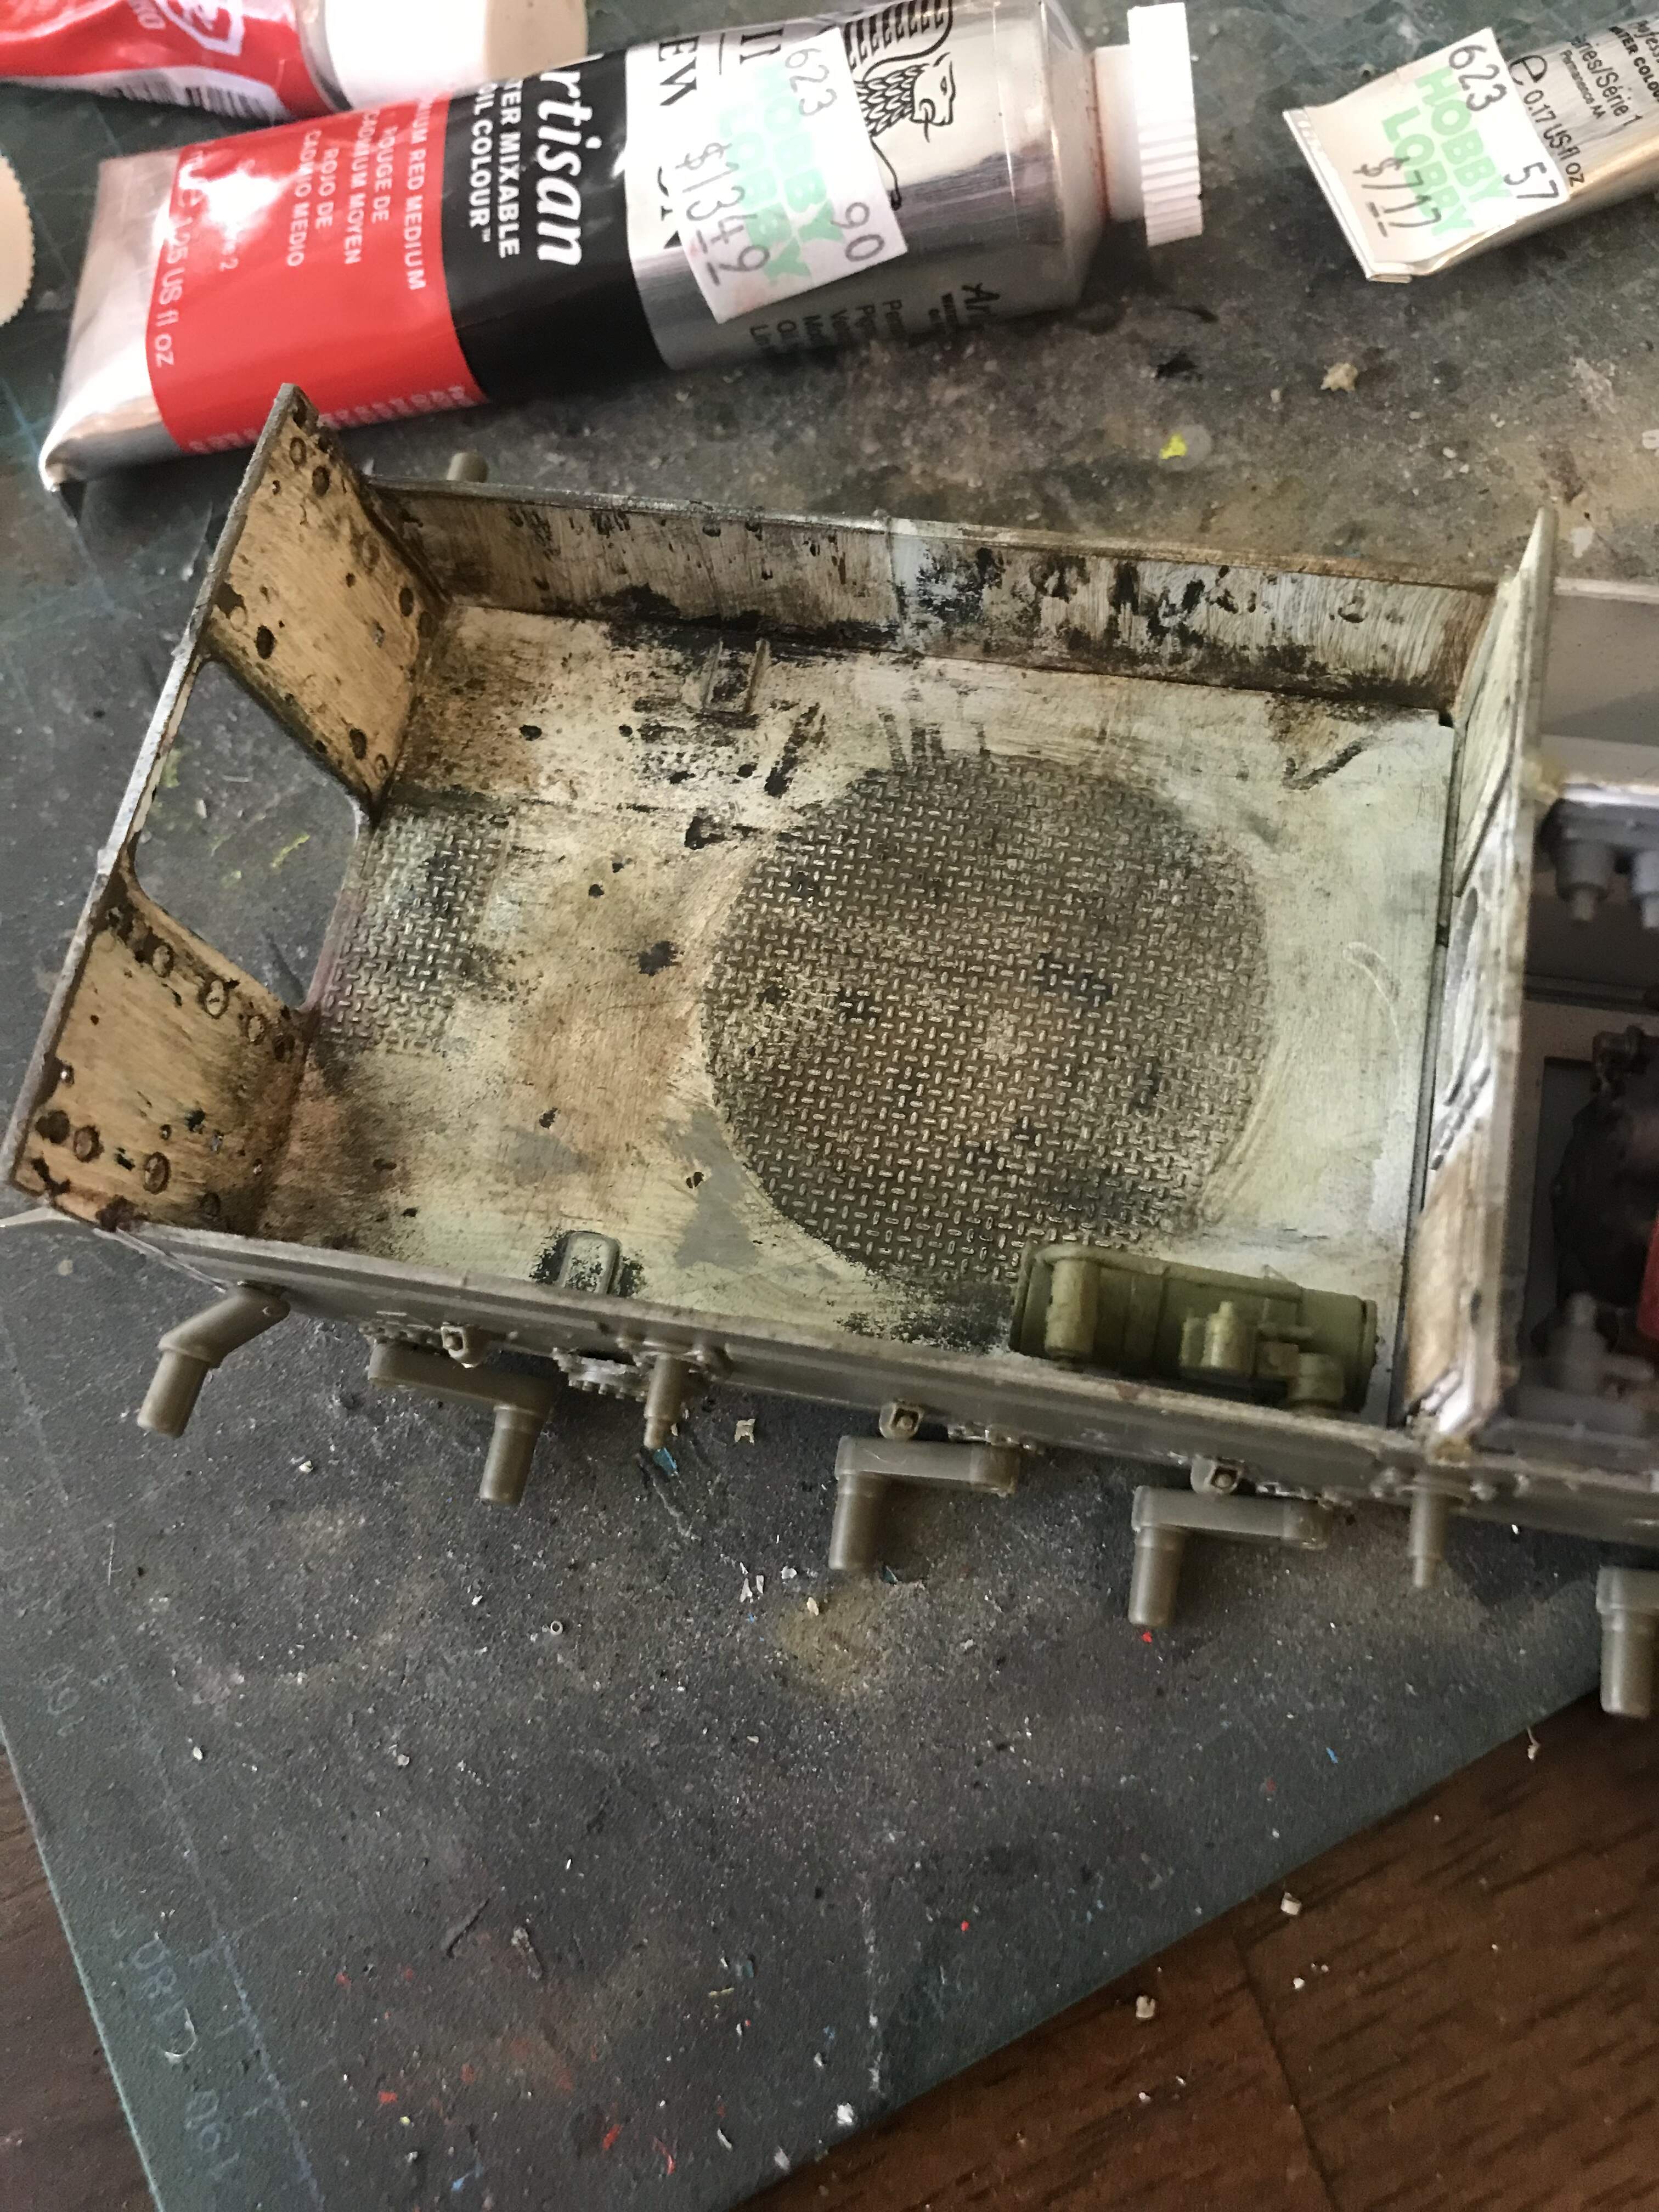
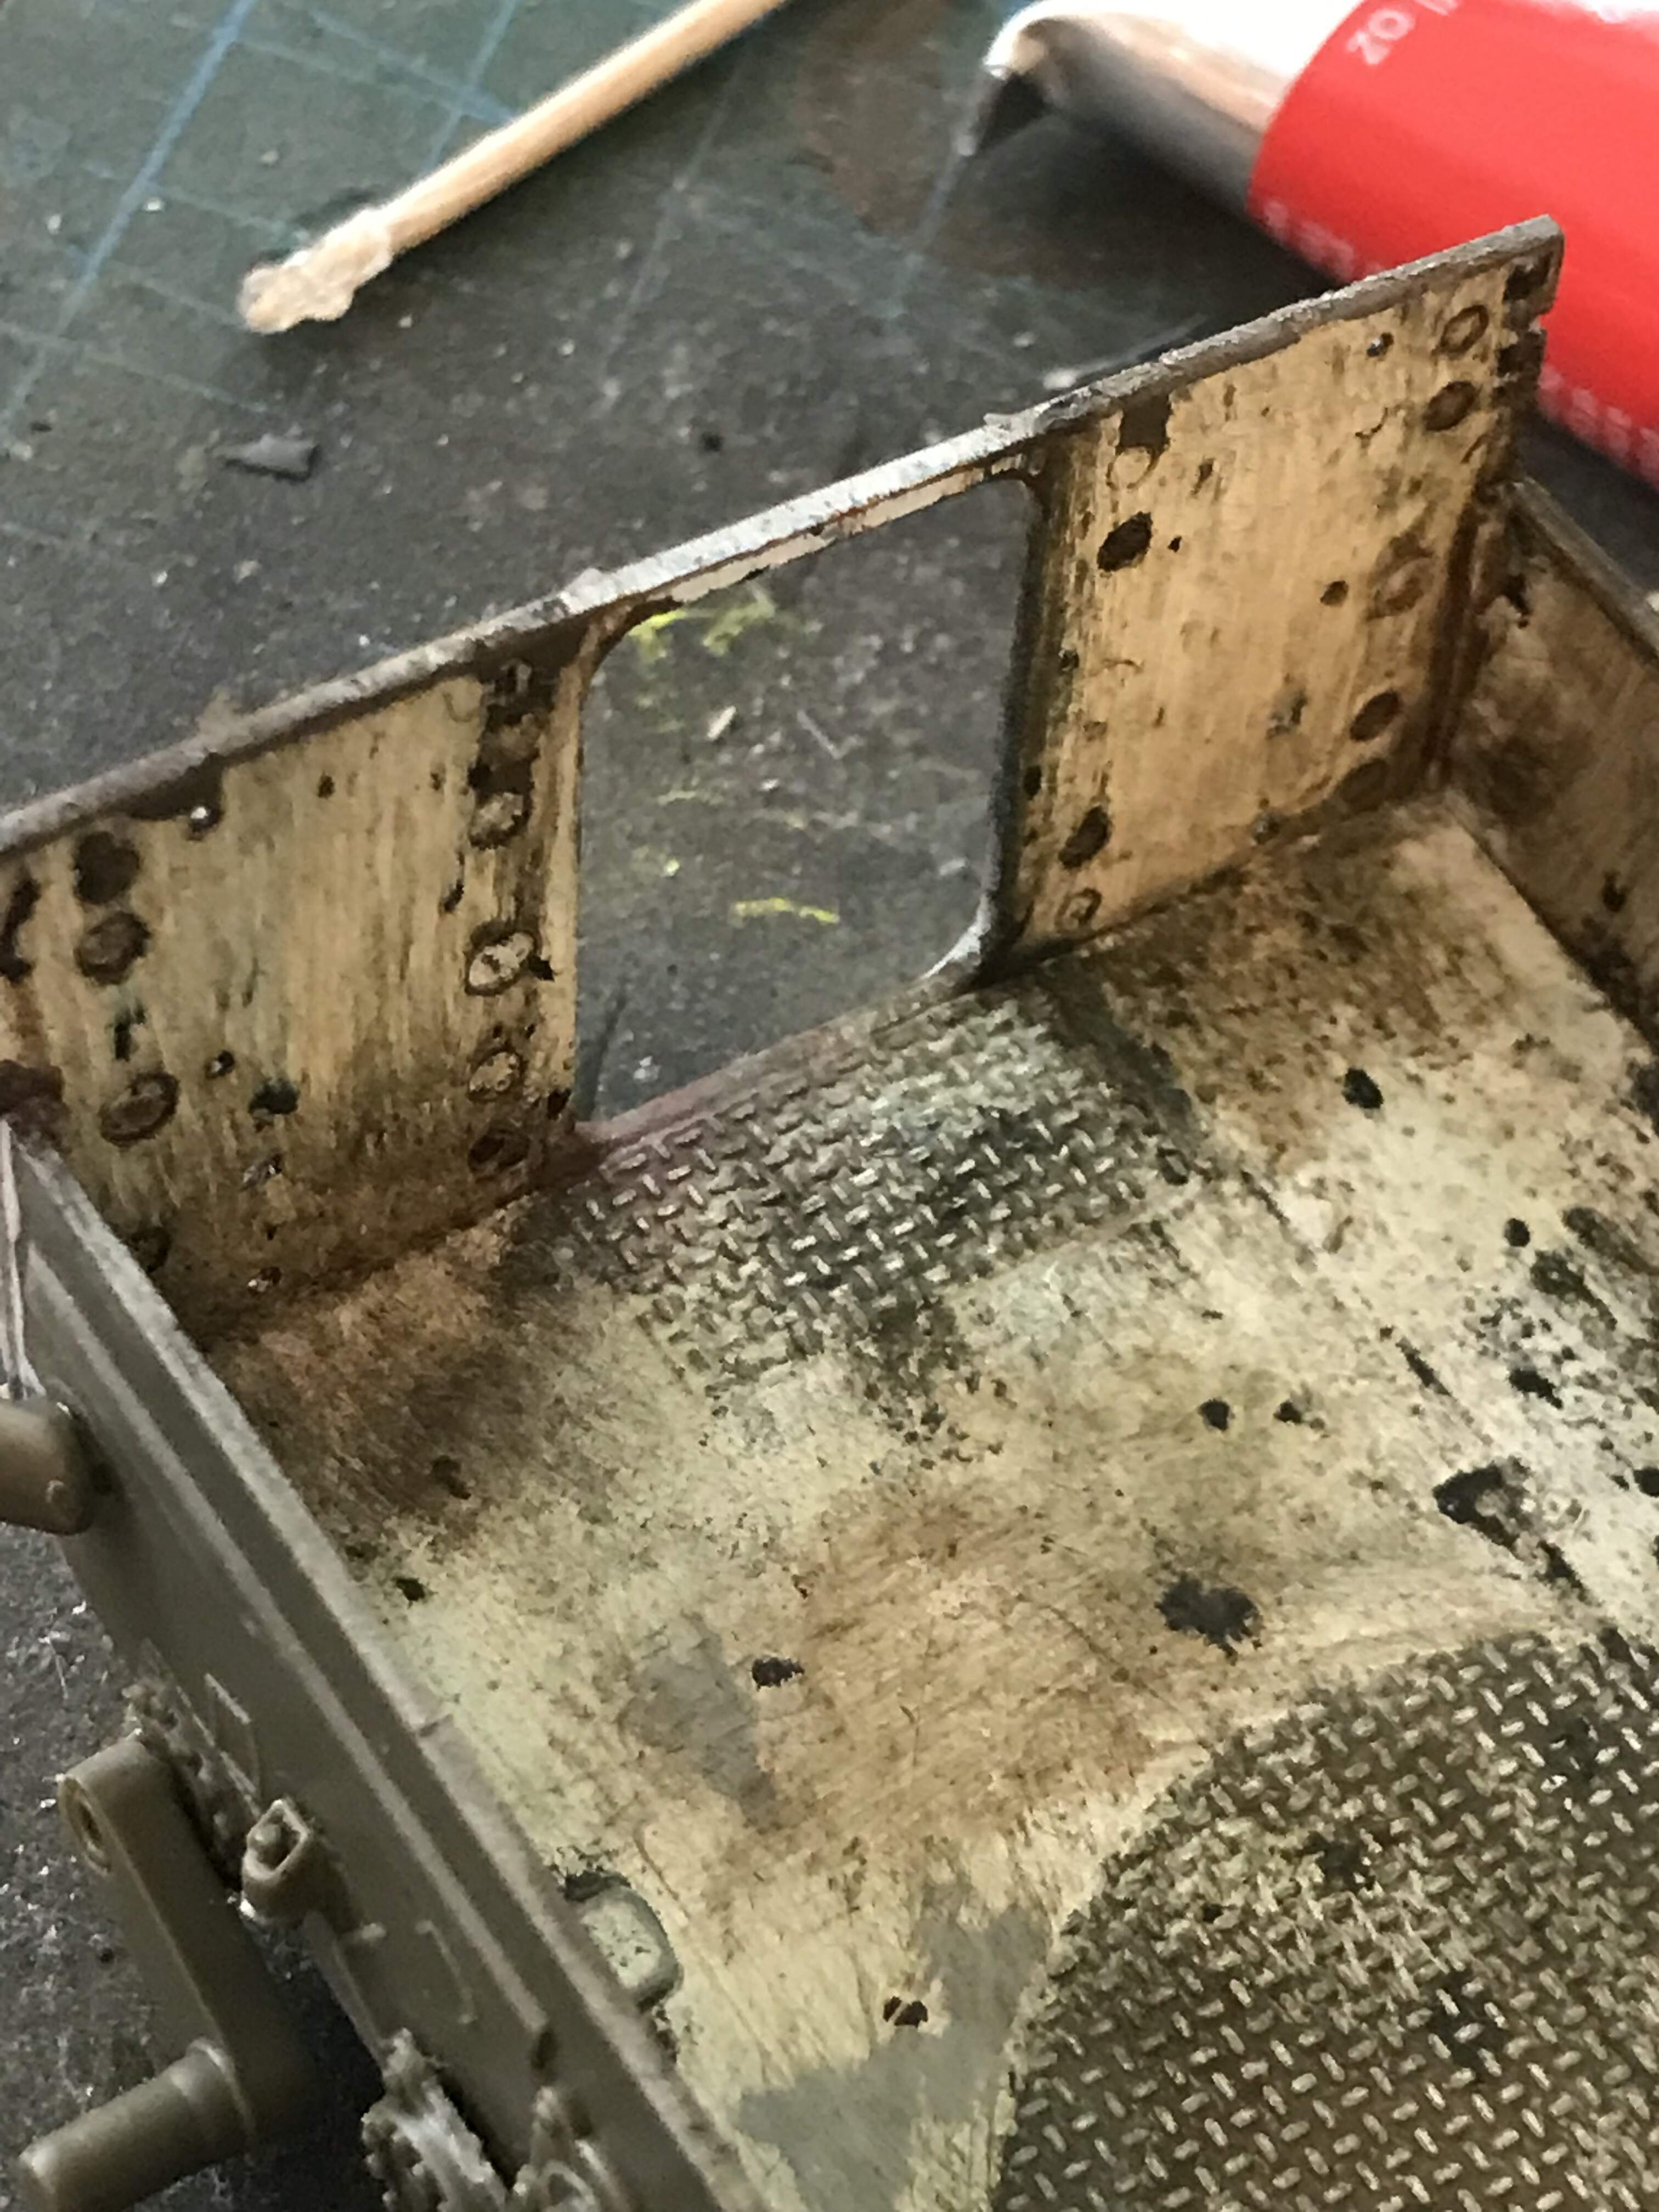
Also i went and picked up some oil paints today from hobby lobby. I’ll be posting what the interior on my pla type 89 looks like after dot filter!
It’s pretty old, my guess over 5 years, probably closer to 10, I’m think I’ll need to add more future but I’m not really sure how it’s supposed to look
@Mead93 thats interesting I’ve never attempted this before but wanted to this afternoon.
I haven’t either but it seems like a good method, y mix probably just needs a tweak. Glad I tested on scrap
So, I don’t mix up large quantities anymore of washes or oil filters. I will use a toothpick to take a small, rice grain or pea sized blob of oil paint from the end of the tube and place it on the bottom of a disposable plastic pallet. (I recycle and reuse the bottoms of over-turned plastic, single-serving fruit cups for this purpose.) I’ll meter out a few drops of thinner into the recessed area, and then mix thinner and oil paint together using my brush. This allows me to infinitely vary the concentration of paint and the opacity of the wash.
I use ordinary odorless paint thinners, essentially the same thing as mineral spirits. This is also what I use to clean the brushes I use with oil paints.
I don’t really use “general” washes any more, preferring carefully applied pin washes, oil-dot filters / modulation, and variations of the oil-dot method where I apply straight or slightly thinned oils directly to the surface and then blend and feather them. This is the same technique I use to create oil paint streaks to replicate many different effects - dirt streaks, rain or water streaks, rust streaks, oil, fuel, etc.
Sometimes I’ll pre-wet the area with straight thinners, and sometimes I don’t. Pre-wetting can help the colors spread and blend over a wider area, but not pre-wetting can help concentrate the colors in smaller, more well defined areas. Pre-wetting can extend the working time on the oils in that area. Oils applied without pre-wetting should be worked very quickly, so I will usually only work on one small spot at at time with this method (a single oil, grease or rust streak, for example).
When ever I use pin washes, I work in a small area so that I have time to use a clean brush, slightly dampened with thinners, to remove any excess and prevent tide marks from forming. This needs to be done before the wash thinner has a chance to dry, so working in a small area allows that to be done. I will also try to orient the model so that the surface is flat and horizontal which helps with controlling the washes. Do one area, then move on to another. Reorient the model as needed. Doing careful pin washes takes time.
For oil-dot filters, I usually pre-wet the area, apply JUST ONE COLOR of paint dots, then feather and blend. Again, it’s more controllable to work with a horizontal surface, but less critical. I try to keep the amount of paint small so that I can blend it out completely into a transparent filter with no clearly defined edges. I do just one color at a time since doing multiple colors at once usually results in all of them blending together and creating a “muddy brown” filter color. If that’s the goal, then just start with a muddy brown color. Normally vertical areas are usually worked in vertical streaks or oval patches. Horizontal areas are usually worked in random “blobby” shapes.
Variations on the modulation / filter theme are to use oil colors that will darken or lighten the base color to intensify shadowed and highlighted areas. This can be done even down to micro-details. If you think about it, dark pin-washes around details create artificial shadow contrasts around those details, and the filter / modulation technique can be used on top of the same details to add highlights, further increasing the amount of contrast. The same idea can be done using darker oil-dot filters / modulation around the bottom edges of turrets, interior corners of fenders, under fenders, the lower areas of gun mantlets, etc. with complementary lighter colors added as filters on the adjacent highlighted areas.
Finally, in my book, there is no clear and distinct line between these techniques that makes them “weathering” or “color modulation” or “shadows and highlights.” My goal is to create a continuous and harmonious finish that presents the subject the way I envision it. ALL of the finishing techniques work together and form layers that build one upon the other to create the final look.
It may be helpful to think about the mechanics of the techniques individually, but in actual use, they form a seamless whole. When the model is viewed, almost all of the finishing steps should be impossible to separate visually, and they all should contribute to something that looks the way the viewer expects it to appear.
It appears the mix is just a little finicky. I think the white color was too much base, I added more future and now have something somewhere around satin
I just got home from a club build day. I was going to tell you to add 50% Future to what you had there, but I guess you have it sorted out now. Just play with the ratio until you get the finish you like.
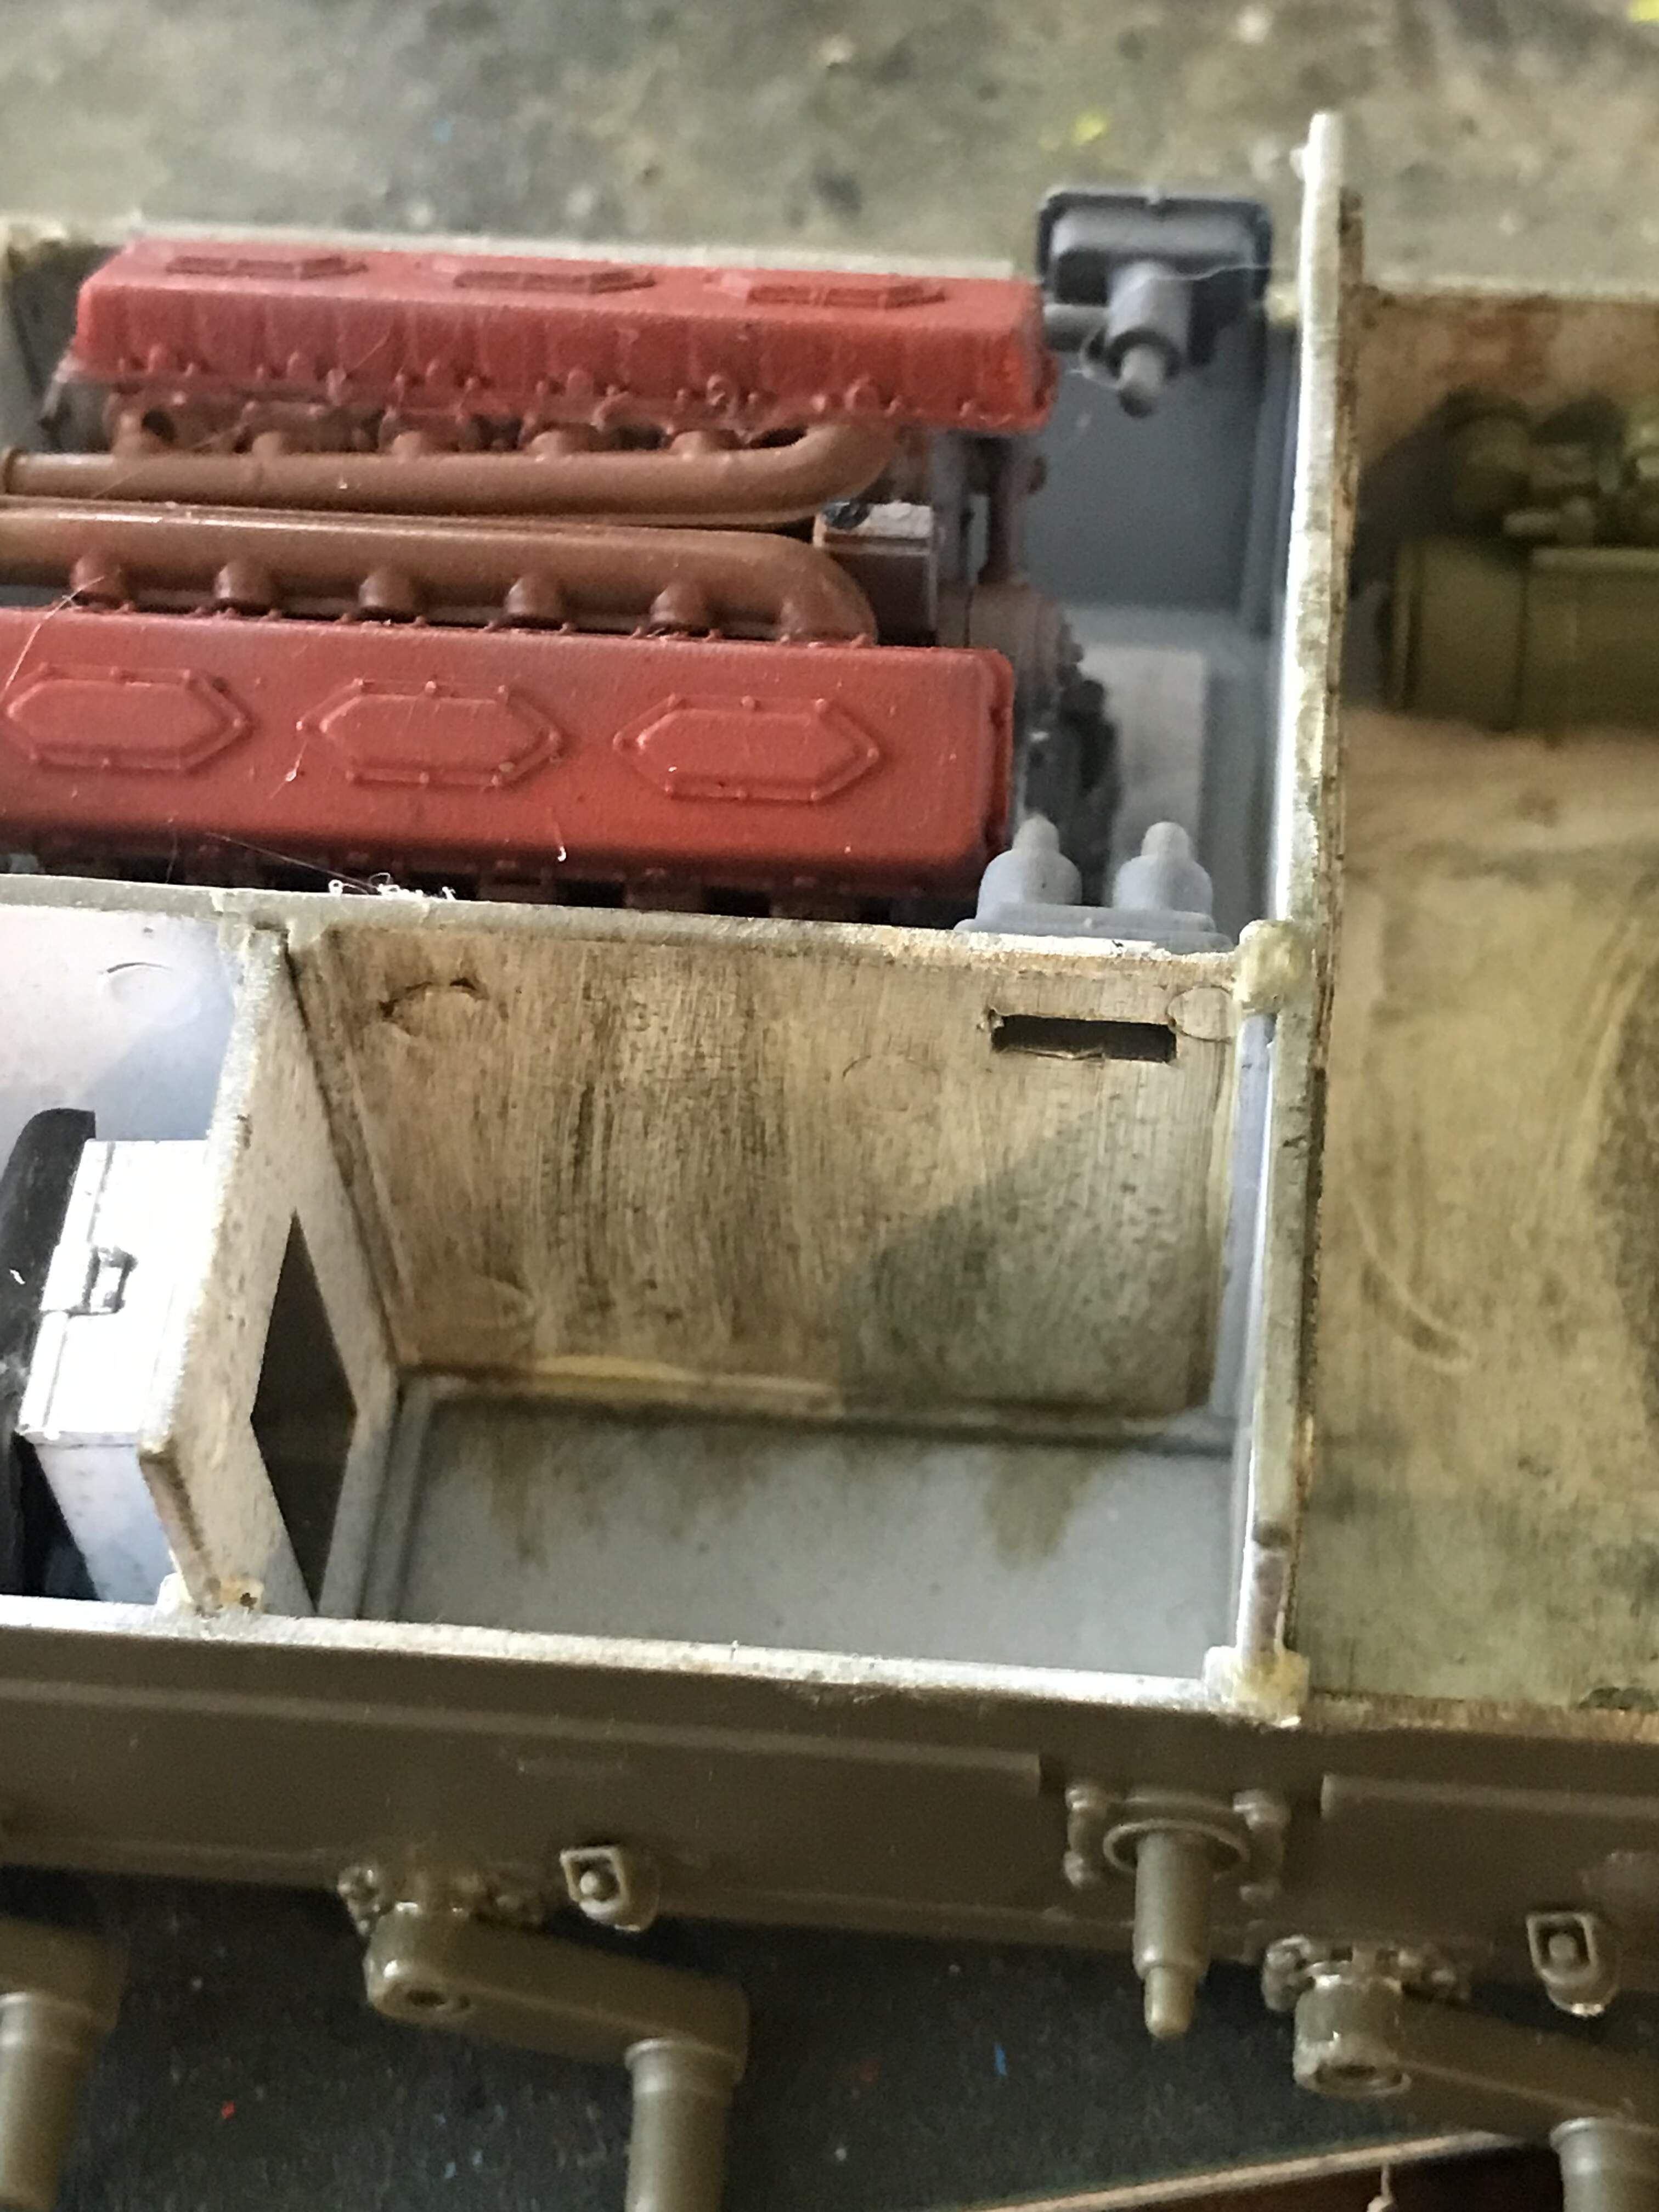
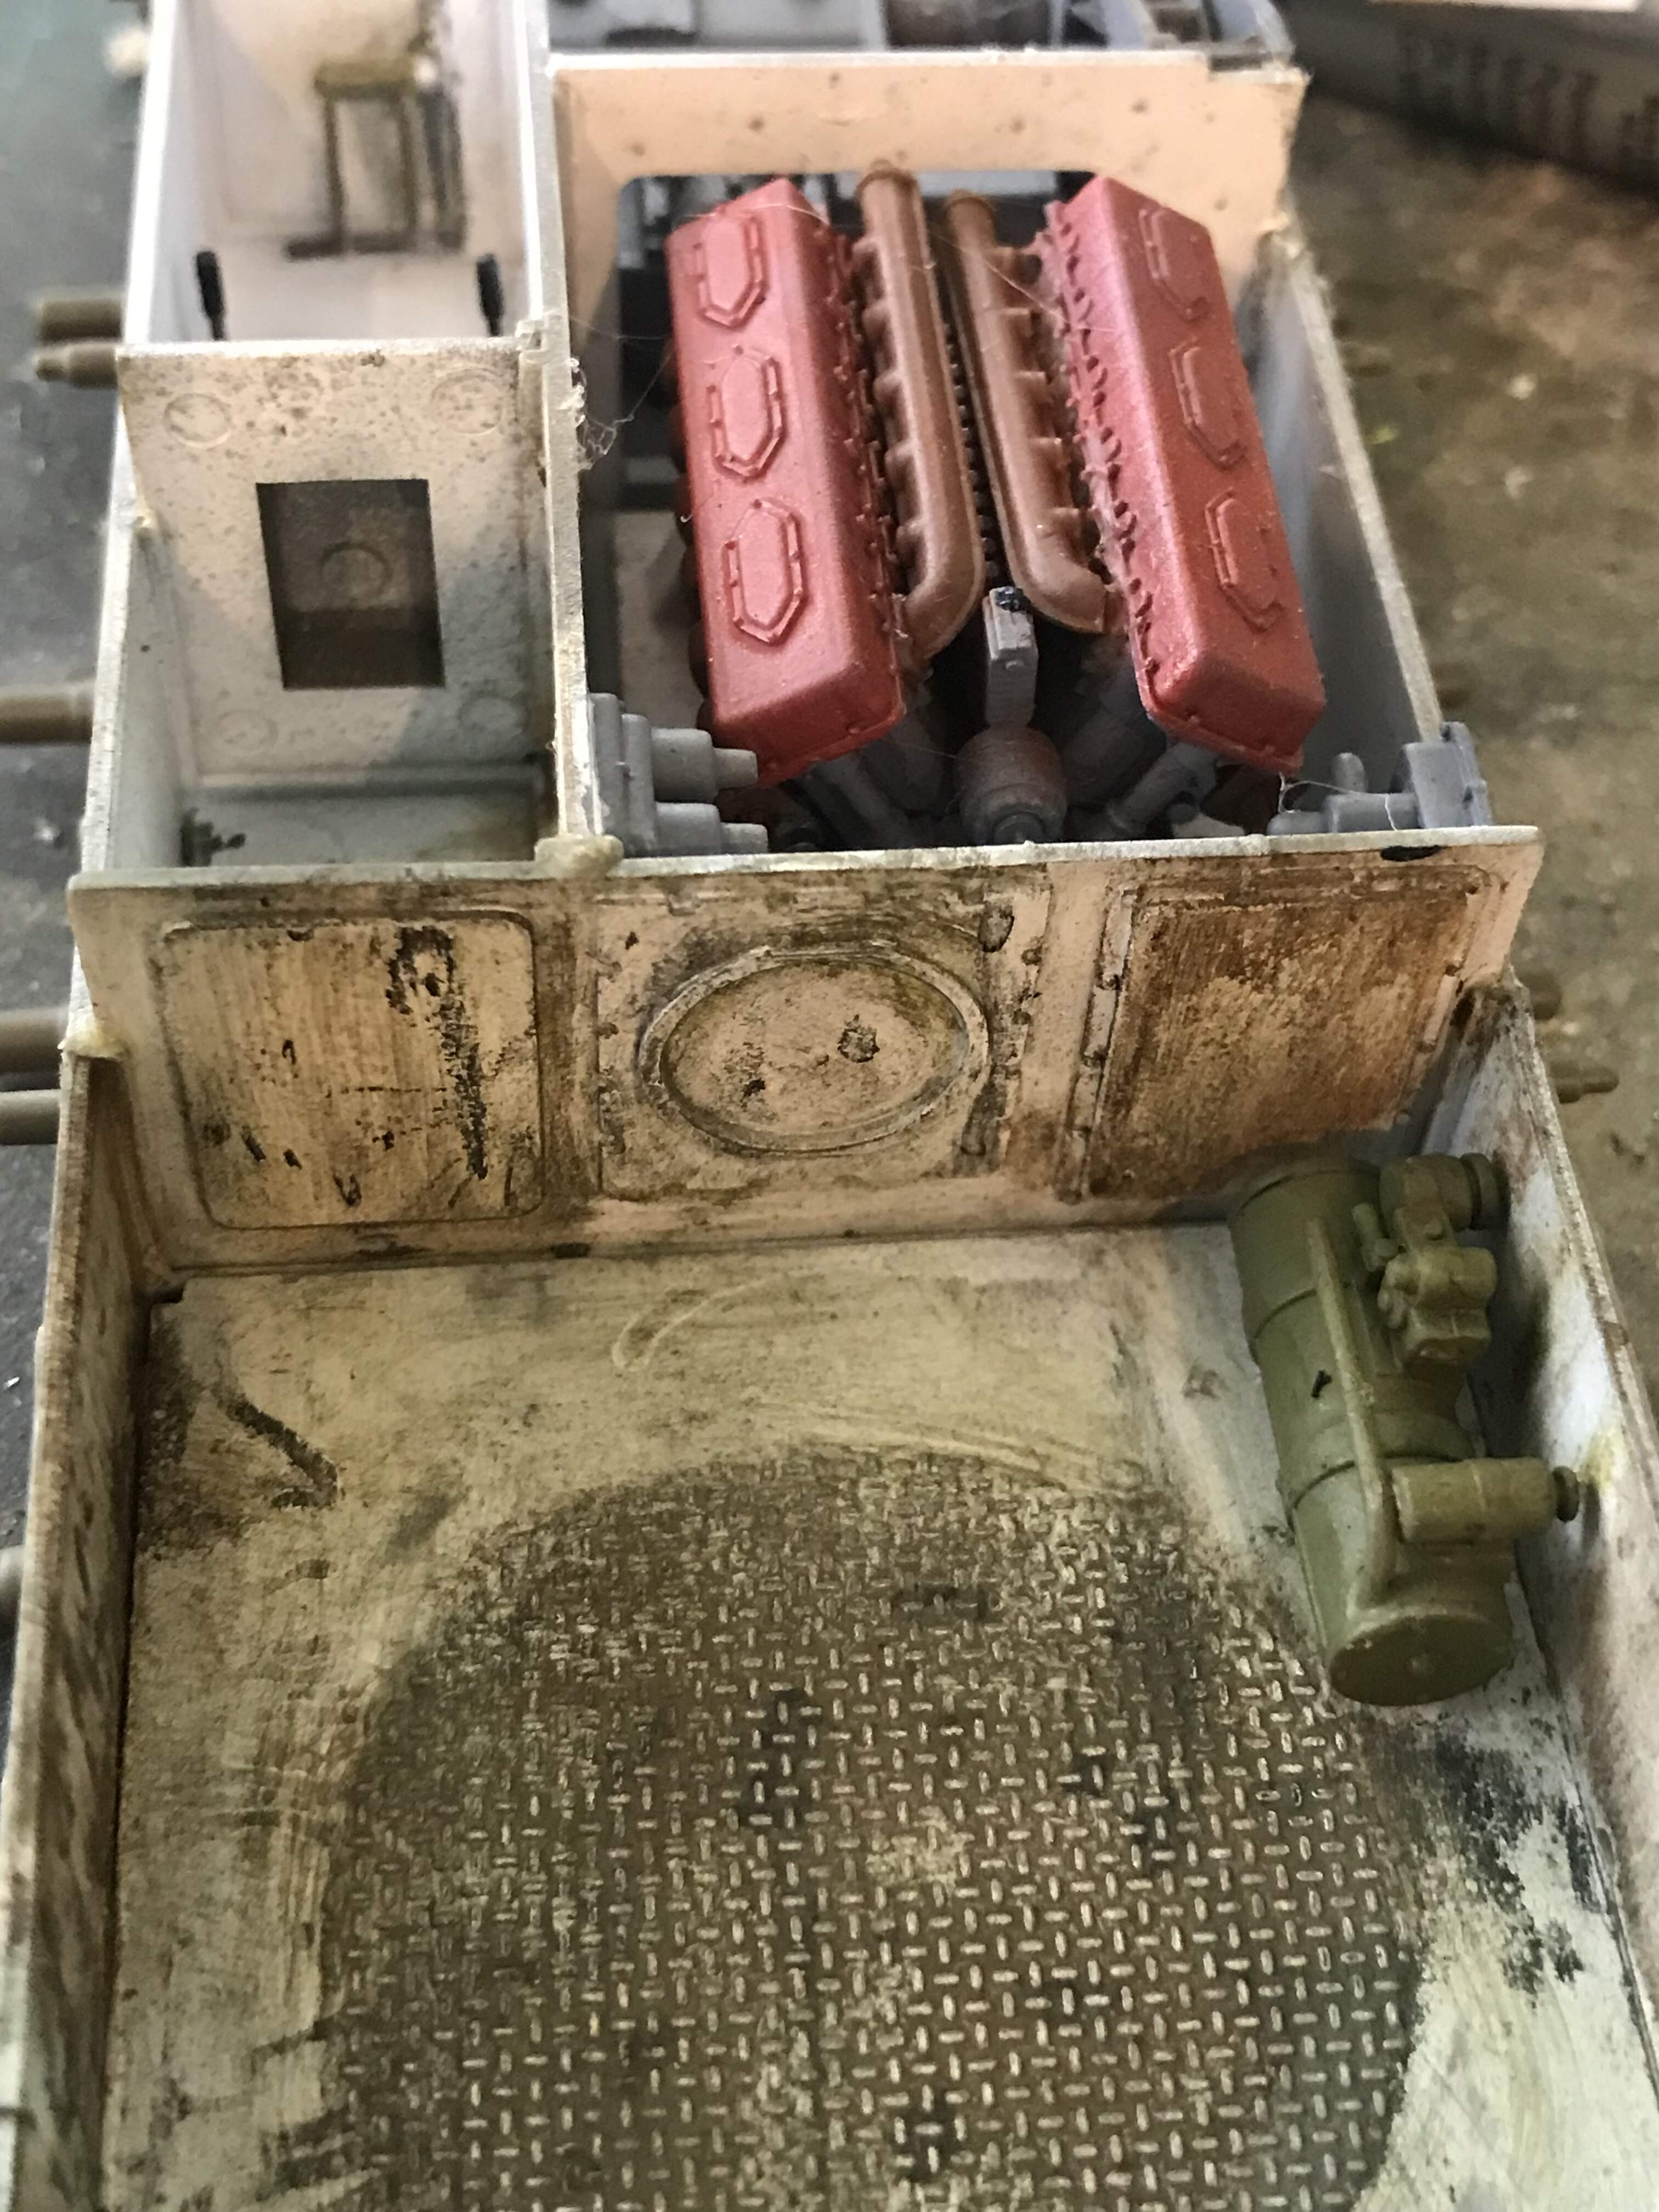
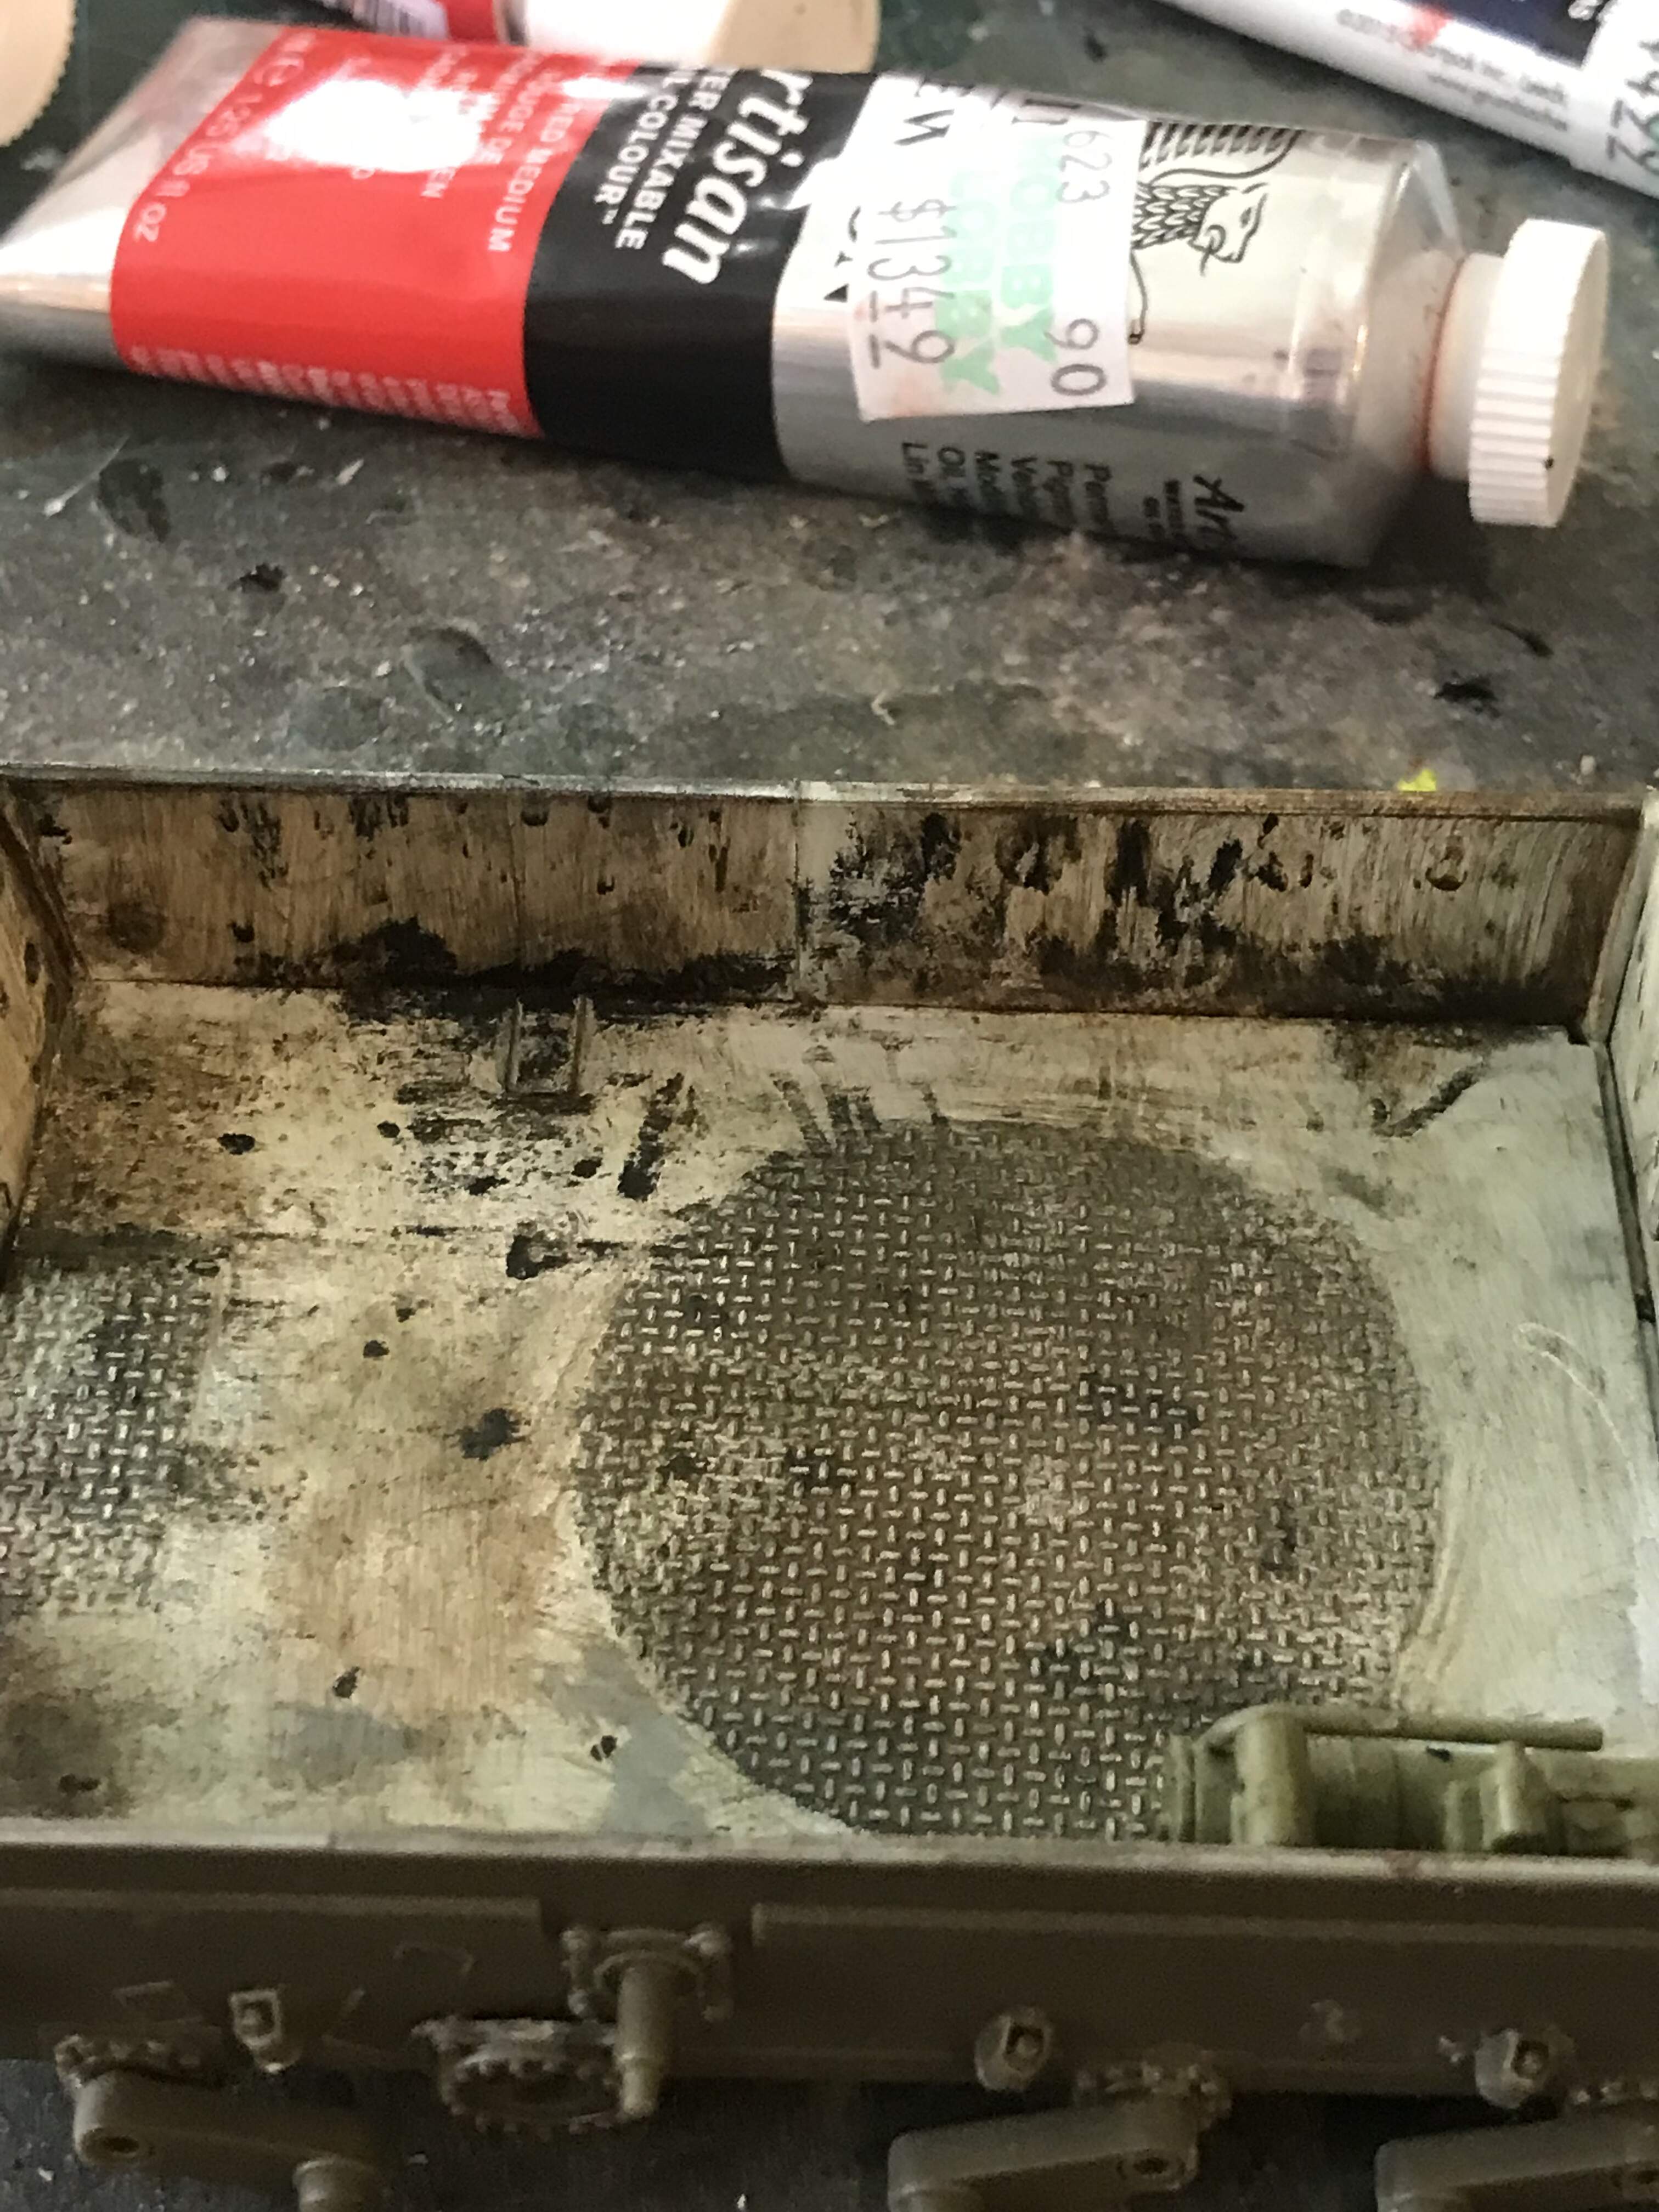
Okay gents, i did my first oil dot filter and well I got a streaking effect. I’ll be honest i was a little discouraged but played with it for the past two hours and I think it’s better. I used burnt umber primarily for the walls and then started mixing yellow and red with burnt umber and got the base floor color that’s in the books and crannies. I feel like I have a better understanding of how to do this now.
Thanks! I think I’m close to a good flat, jsut a bit of sheen left, playing around with the mix
I went to a $2 shop and purchased a set of 12 colours. They work just fine. Dob onto a piece of cardboard and let the oil soak out. Then dots on the vehicle. Dampen brush, not wet, the brush with white spirits. And remove the dot. IMHO less is more. You need to remove almost all the oil paint. Be very subtle.